18 Ikea Bedroom Office Ideas on a Budget

My bedroom office started with a free afternoon, not a shopping trip. I had a desk I already owned, a chair that wobbled a little, and a bedroom that had to do two jobs at once.
I stood in the doorway and looked at the room the way a stranger would. The desk faced the wall. The papers lived in piles. The lamp sat in the wrong corner, and the chair squeaked every time I sat down. Nothing in that room was broken. It was just never given a proper plan.
So I gave it one. I spent almost nothing. I moved things first. I painted one wall with a tin I already had. I found a second-hand desk that only needed a wipe and a new handle. One small change a week, and by the end of the month the room felt like a real office.
Before we get going, one honest note. These rooms take their cue from the flat-pack, build-it-yourself style. They are not the brand’s own rooms, and this site has no link to the brand at all. What follows is my own take on that simple, plain, put-it-together-yourself style, with ideas that keep the cost low.
These 18 Ikea Bedroom Office Ideas are about doing more with less. Cheap fixes. Free moves. Small spends that change the whole room. You do not need a big budget. You need a plan, a free afternoon, and the things you already own.
Start With a Free Afternoon, Not a Shopping Trip
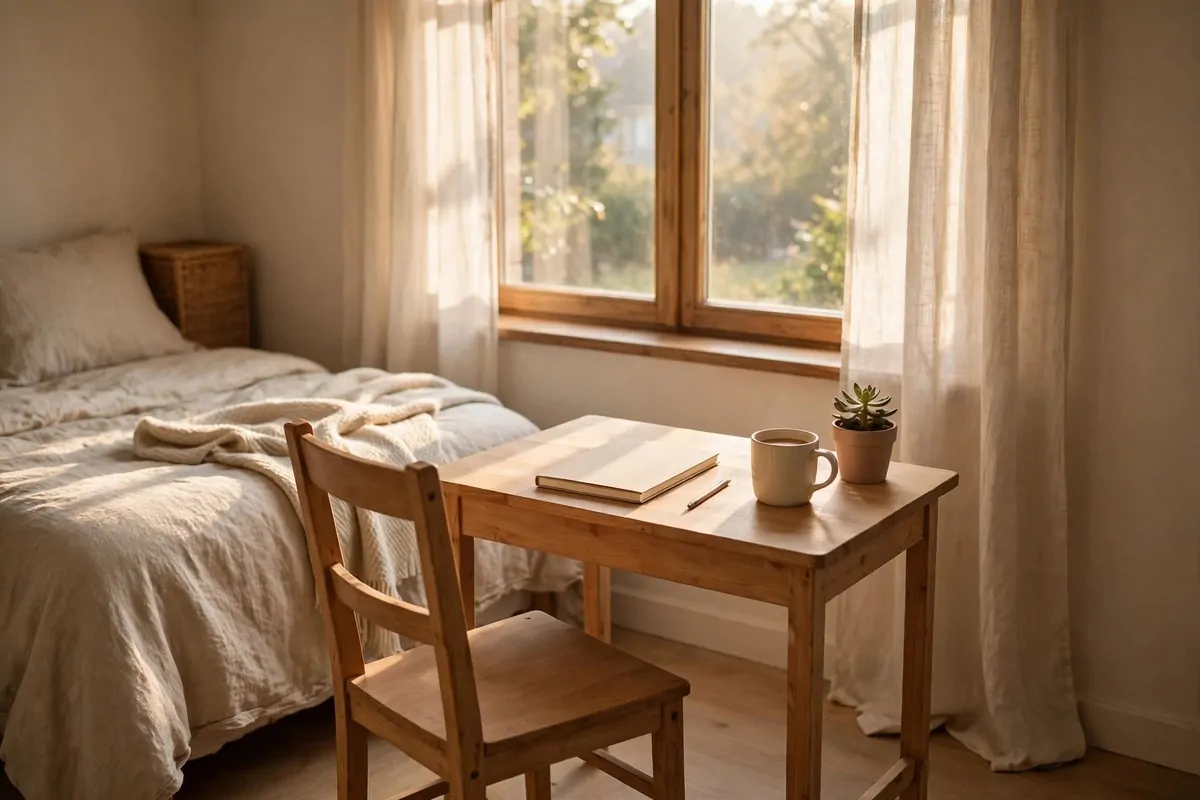
The best budget move costs nothing at all. It is moving the furniture you already own.
I dragged my desk away from the wall and turned it so it faced the window. It took ten minutes and a little sweat. The light fell on my notebook instead of on my back. My eyes stopped hurting by lunch. That one free move changed how the whole room felt.
Walk around your bedroom and look for the spot with the best light. That is where the desk belongs. A desk in a dark corner makes every workday feel longer. A desk by the window makes the same work feel lighter.
Push the bed to the other side if you have to. A bed and a desk can share a small room, but they need their own corners. Give the desk the bright corner. Give the bed the quiet corner. Both jobs get better at once.
Clear the desk top completely before you move anything. Take every paper, mug, and cable off it first. A clear desk is lighter to move, and you will see what you actually own when it is all in one pile on the bed.
Move the chair next. Sit in it at the new desk spot and check the view. Can you see the window without turning your neck? Can you reach the plug without crawling under the desk? If not, shift things again while the room is still in pieces.
Take a photo of the room before you start. Then take one after. The difference will surprise you, and the photo will remind you what a free afternoon can do. I still look at mine when I feel like buying something new.
Do the move on a Saturday morning, when you have time to live with it. Sit at the desk for an hour before you decide it is right. A layout that looks good in five minutes can feel wrong after an hour of real work.
If the new spot does not work, move it back. Moving furniture costs nothing but time, and you learn something every time you try a new layout. My desk has lived in three corners of this room, and each move taught me what the room needed next.
One Tin of Paint and the Room Wakes Up
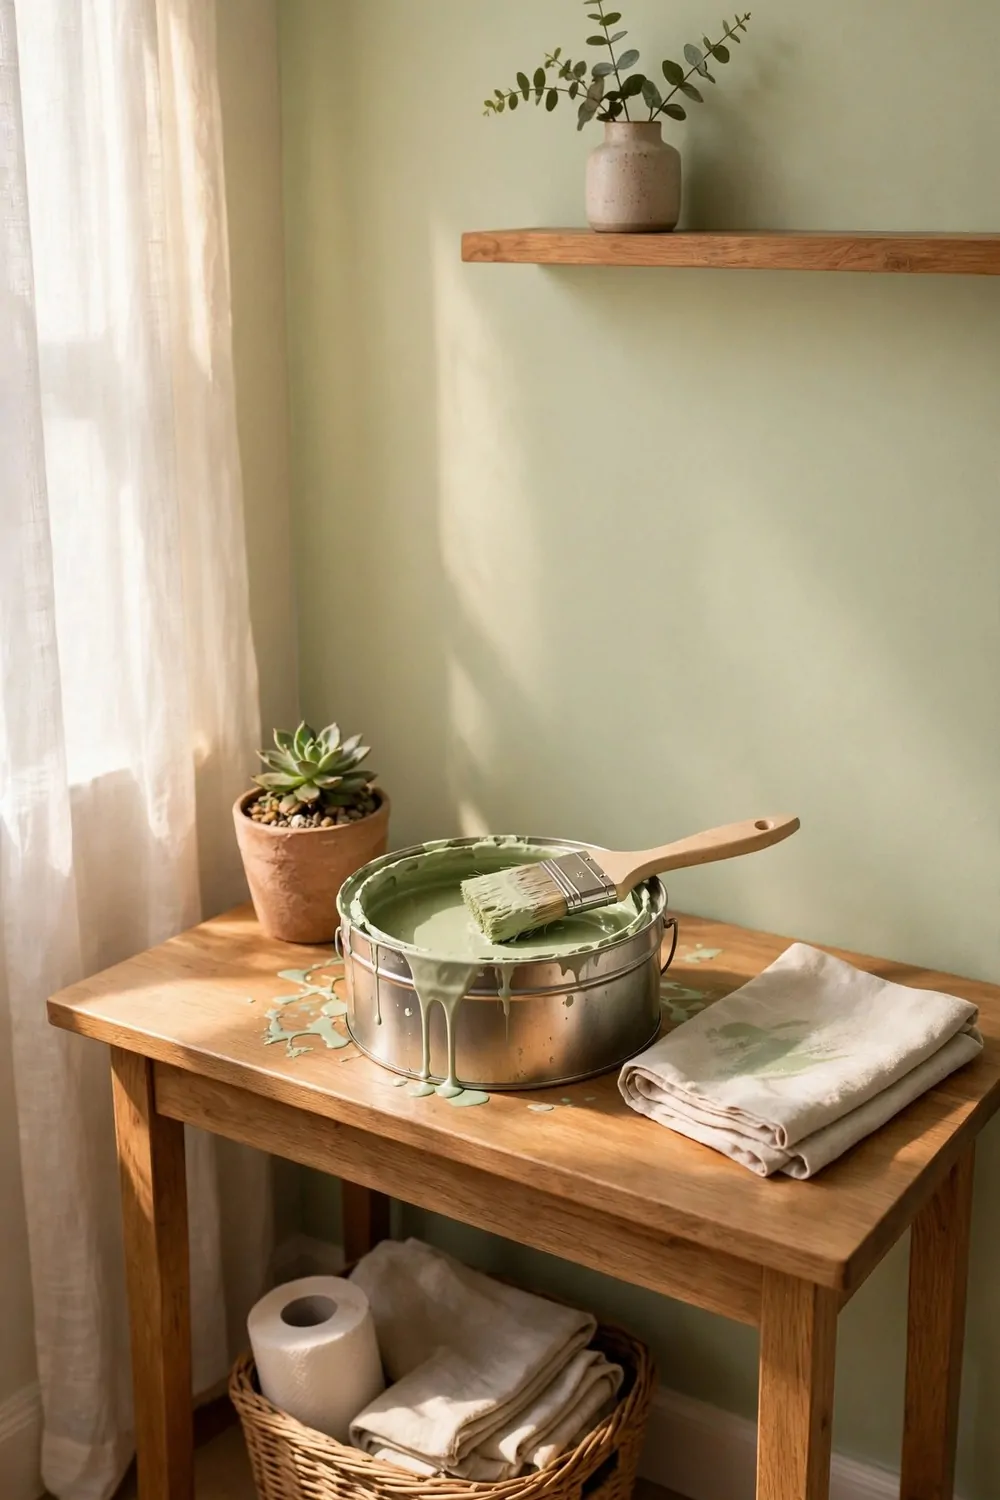
Paint is the cheapest way to make a room look new. One tin goes a long way in a small bedroom.
I painted the wall behind my desk a soft pale green. It was the wall I stared at all day, and it used to be plain white with a few scuffs. One coat in the morning, one coat after lunch, and the whole corner felt fresh. The desk looked better against it, and so did the shelves.
Pick a pale colour you can live with for a long time. Soft cream, pale sage, or a light warm grey all work. Pale colours bounce the light around, and a small room feels bigger. Dark colours can work too, but they show every mark, and a budget room needs paint that forgives.
Paint only the wall behind the desk if the whole room feels like too much. One accent wall is enough to give the office its own zone. The rest of the room can stay as it is. Your eye will read that one wall as the office, and the rest as the bedroom.
Use a tin you already own if you have one in the cupboard. Half a tin is often enough for one wall. Ask a friend or a neighbour if they have a leftover tin in a colour you like. Paint is the one thing people always have sitting around, half used.
Put old sheets on the floor before you open the tin. A drop cloth costs nothing if you use sheets you already own. Tape the edges with plain masking tape so the line stays straight. A neat edge makes a cheap paint job look like a careful one.
Let the first coat dry fully before you start the second. I know it is tempting to rush. A second coat on wet paint goes patchy and wastes the tin. Make a cup of tea, sit in the garden, and come back in an hour.
Wash the brush in warm water when you finish, and it will last for the next wall. A brush you clean properly can paint five rooms. A brush you leave in the tin is rubbish by morning.
A Second-Hand Desk With Good Bones
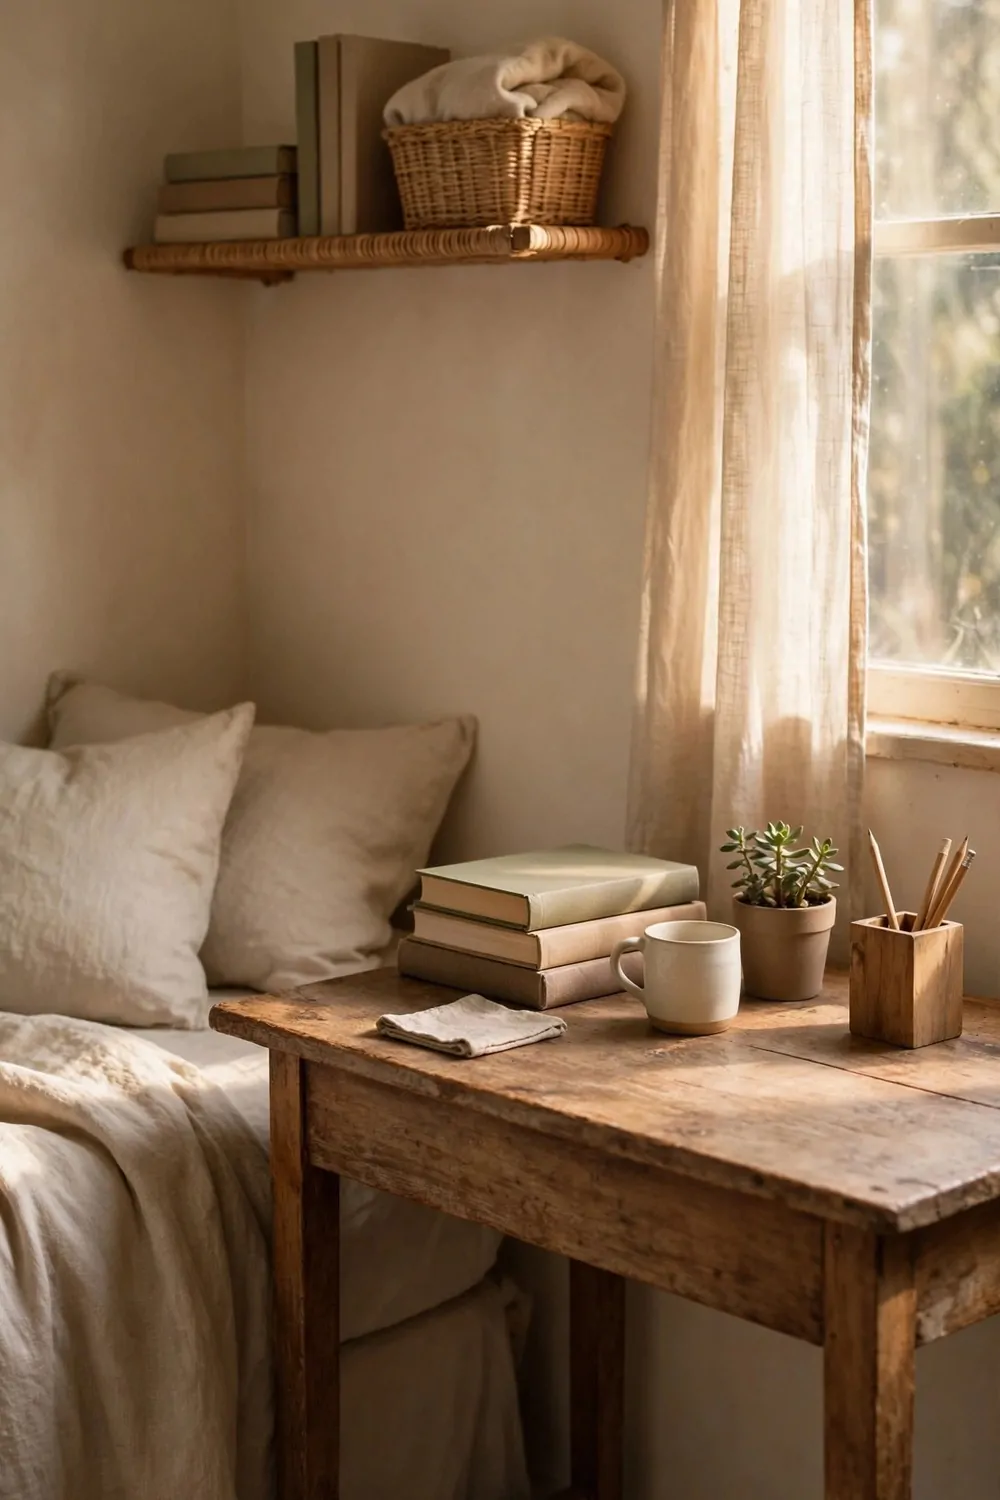
A second-hand desk is the smartest buy in a budget bedroom office. The wood is already solid, and the price is a fraction of a new one.
I found mine at a car boot sale on a Sunday morning. It was a plain wood desk with one sticky drawer and a wobbly leg. The seller wanted very little for it. I took it home, tightened the leg with a screwdriver, and wiped the top with a damp cloth. It looked like a different desk by lunch.
Look for a desk with a solid top and strong legs. Scuffs and scratches do not matter. A scratch is just a story, and a coat of paint or a desk pad hides most of them. What matters is that the desk does not wobble and the drawers slide.
Measure your bedroom corner before you go looking. Write the numbers on a scrap of paper and keep it in your pocket. A desk that is two inches too wide will not fit, and you will have to carry it all the way home again. I learned that the hard way, once.
Check the drawers when you look at a second-hand desk. Pull each one out and push it back in. A drawer that sticks can usually be fixed with a little candle wax rubbed on the runners. A drawer that is cracked right through is a different problem, and you should walk away.
Sand the top lightly if the old varnish is rough. One sheet of sandpaper and ten minutes of work will make the surface smooth enough to write on. Wipe the dust off with a damp cloth and let it dry before you put anything on it.
Put a desk pad in the middle of the top when the desk is home. A plain leather or felt pad protects the wood from pen marks and cup rings. It also makes the desk feel like a proper workspace, even if the desk itself cost almost nothing.
Keep the receipt or the note of where you found it. Not for the money. For the story. A desk with a story feels better to work at than a desk that arrived in a box with no past at all.
A Plank and Two Brackets Make a Shelf
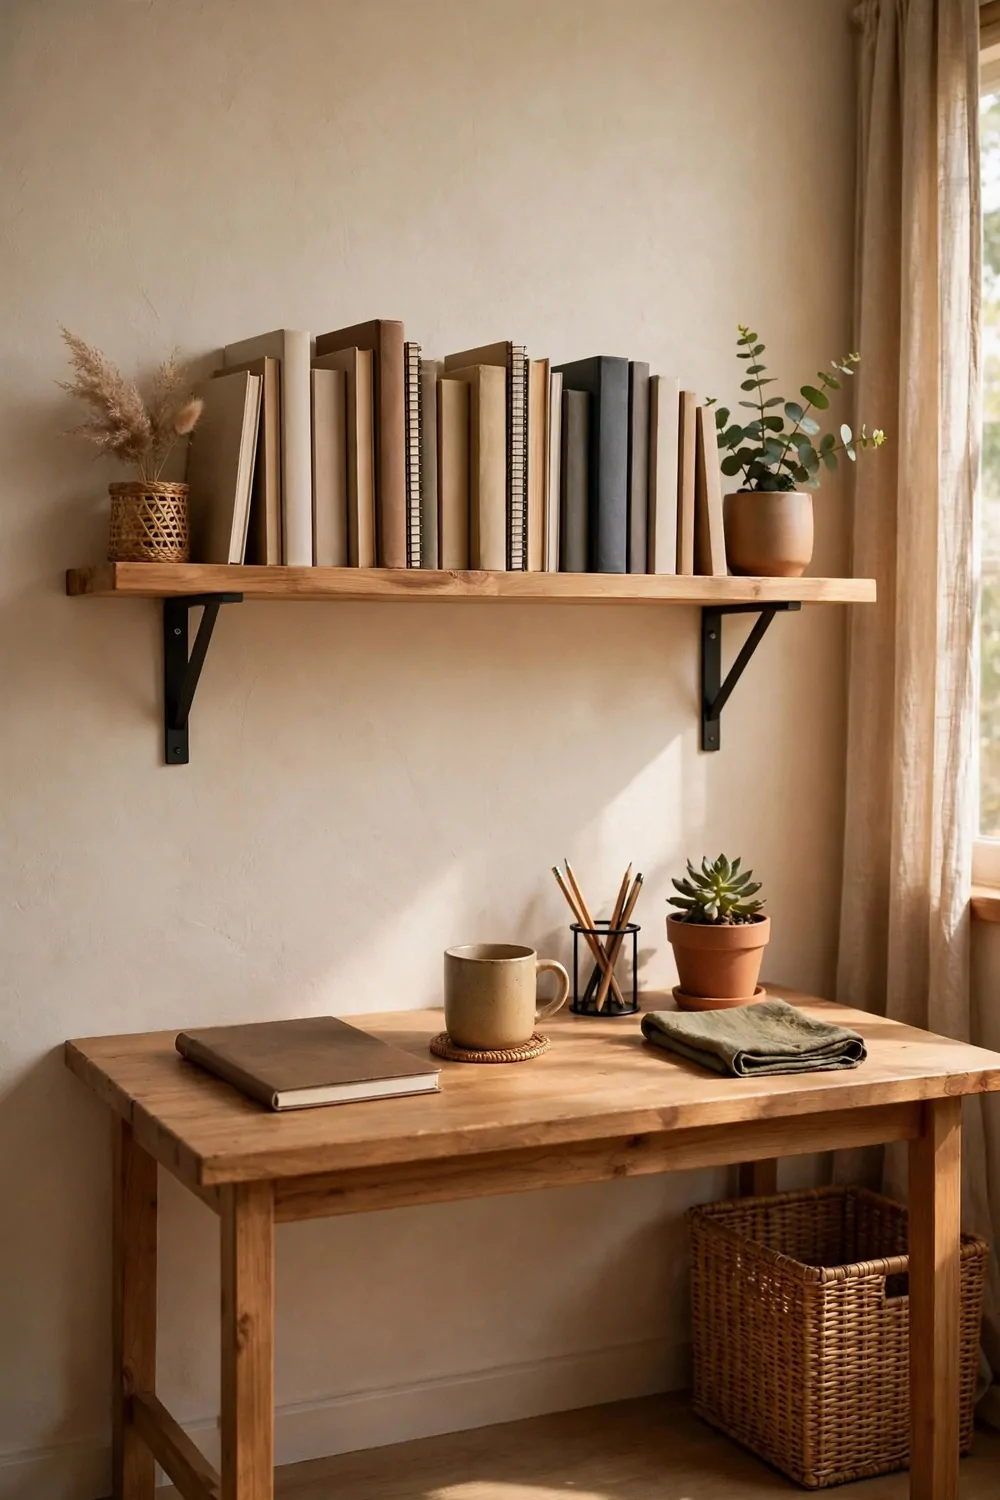
A shelf does not need to be bought. A plank and two brackets do the same job for a fraction of the cost.
I had a spare plank of wood in the garage, left over from an old project. I bought two plain brackets from the hardware shop for a few coins. Twenty minutes with a drill, and I had a shelf above my desk that held my books, my notebooks, and a small plant. It is still there.
Pick a plank that is straight and strong. An old shelf board, a piece of a wardrobe, or a plank from a timber yard all work. Run your hand along the edge. If it feels rough, sand it smooth with one sheet of sandpaper. A smooth edge is kinder to your hands and your books.
Fix the brackets to the wall first. Use a spirit level, or a phone app that does the same job, to mark a straight line. A shelf that tilts by a finger’s width looks wrong from the door. A level shelf looks right from everywhere.
Screw the brackets into the wall studs if you can find them. Tap the wall and listen for the solid sound. A bracket in a stud holds a shelf full of books. A bracket in plain plaster holds very little, and your books will end up on the floor.
Put the shelf at arm’s reach above the desk. Too high and you will never use it. Too low and you will bang your head on it. Sit at the desk, reach up, and mark the spot where your hand naturally stops. That is the right height.
Keep the shelf for the things you reach for every day. Notebooks, pens, the book you are reading now. The things you use once a month belong higher up or in a cupboard. A shelf that holds daily things gets used. A shelf that holds clutter gets ignored.
Paint the plank the same colour as the wall if you want it to disappear. Paint it the same colour as the desk if you want it to match. Either way, one thin coat is enough, and the shelf will look like it was always part of the room.
The Little Drawer Unit That Swallows Clutter
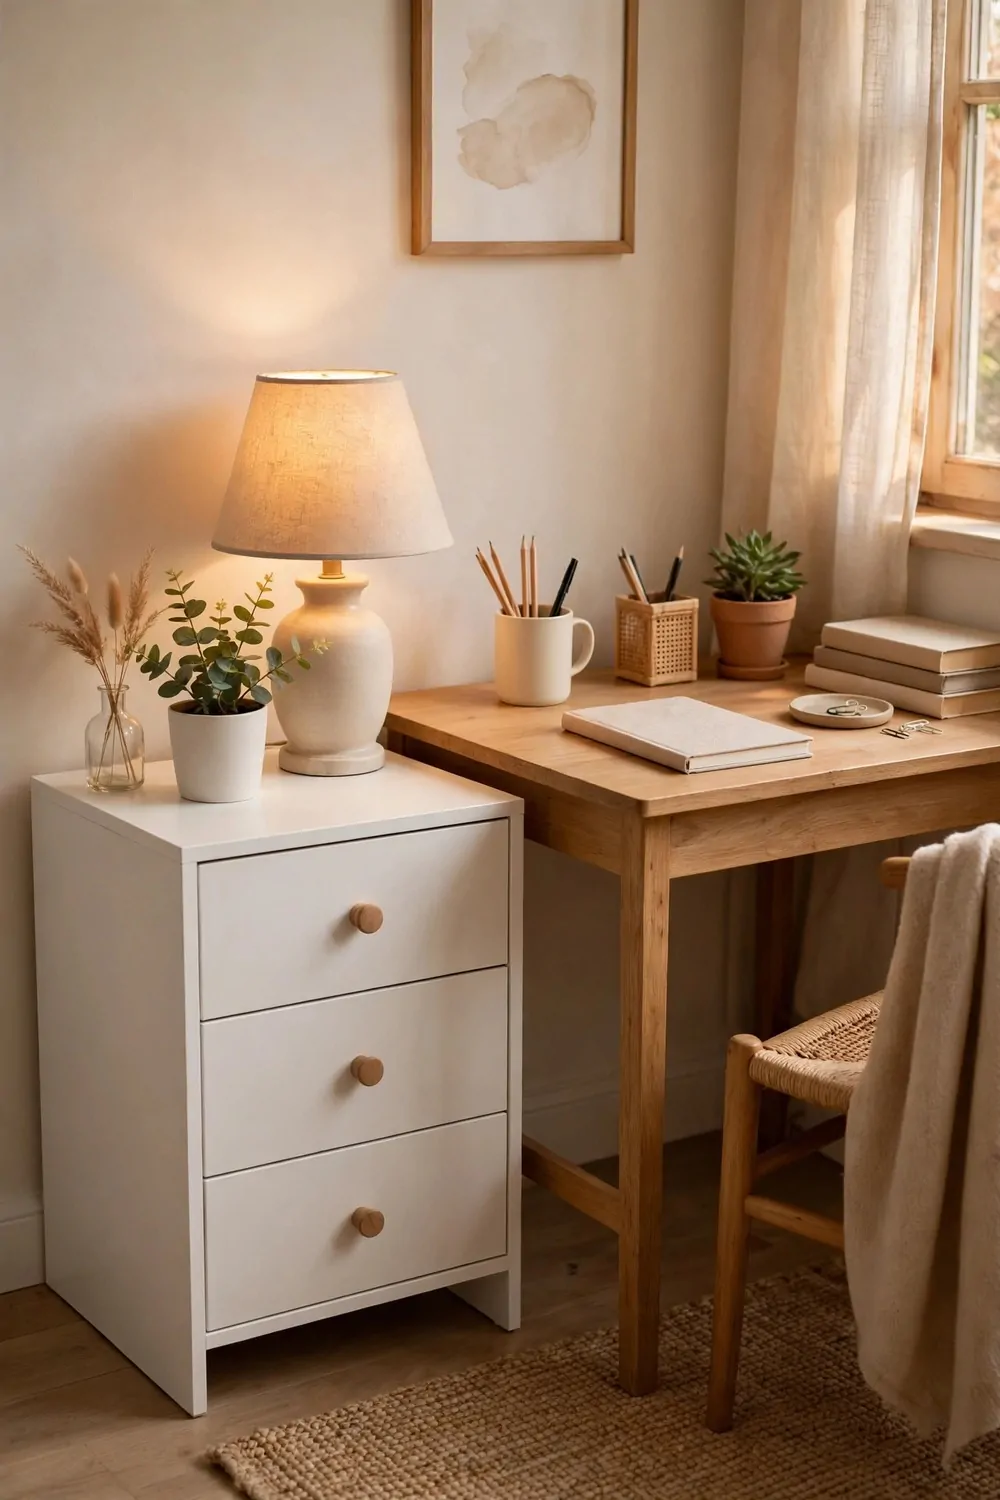
Every bedroom office needs one place where clutter goes to hide. A small drawer unit does that job better than anything else.
Mine sits beside the desk, low enough to use as an extra surface. The top holds my lamp. The drawers hold cables, spare pens, notebooks, and the papers I need this week. When the desk top is clear, the room looks tidy, even if the drawers are full.
Pick a drawer unit with three or four drawers. Fewer drawers and it fills up too fast. More drawers and it becomes a filing cabinet, not a bedroom piece. Three deep drawers are the sweet spot for a small room.
Put the things you use every day in the top drawer. Pens, a notebook, your charger. The middle drawer is for this week’s papers. The bottom drawer is for the things you need once a month. That order means you open the top drawer ten times a day and the bottom drawer twice a month.
Label each drawer with a small plain tag. One word is enough. Pens. Papers. Cables. A label on the outside saves you opening three drawers to find one pen. It also stops other people putting things in the wrong drawer.
Keep one drawer half empty on purpose. A drawer unit with no free space has nowhere for the next thing to land. That empty half drawer is where the next project goes, and it keeps the desk top clear.
Put the drawer unit on wheels if you can. A unit that rolls can move out of the way when guests come, and roll back when work starts. It can also tuck under the desk when the room needs to feel bigger.
Wipe the top of the unit once a week when you clean the desk. A drawer unit with a dusty top looks like storage. A clean one looks like furniture. Ten seconds with a cloth is all it takes.
A Chair That Costs Less Than Lunch
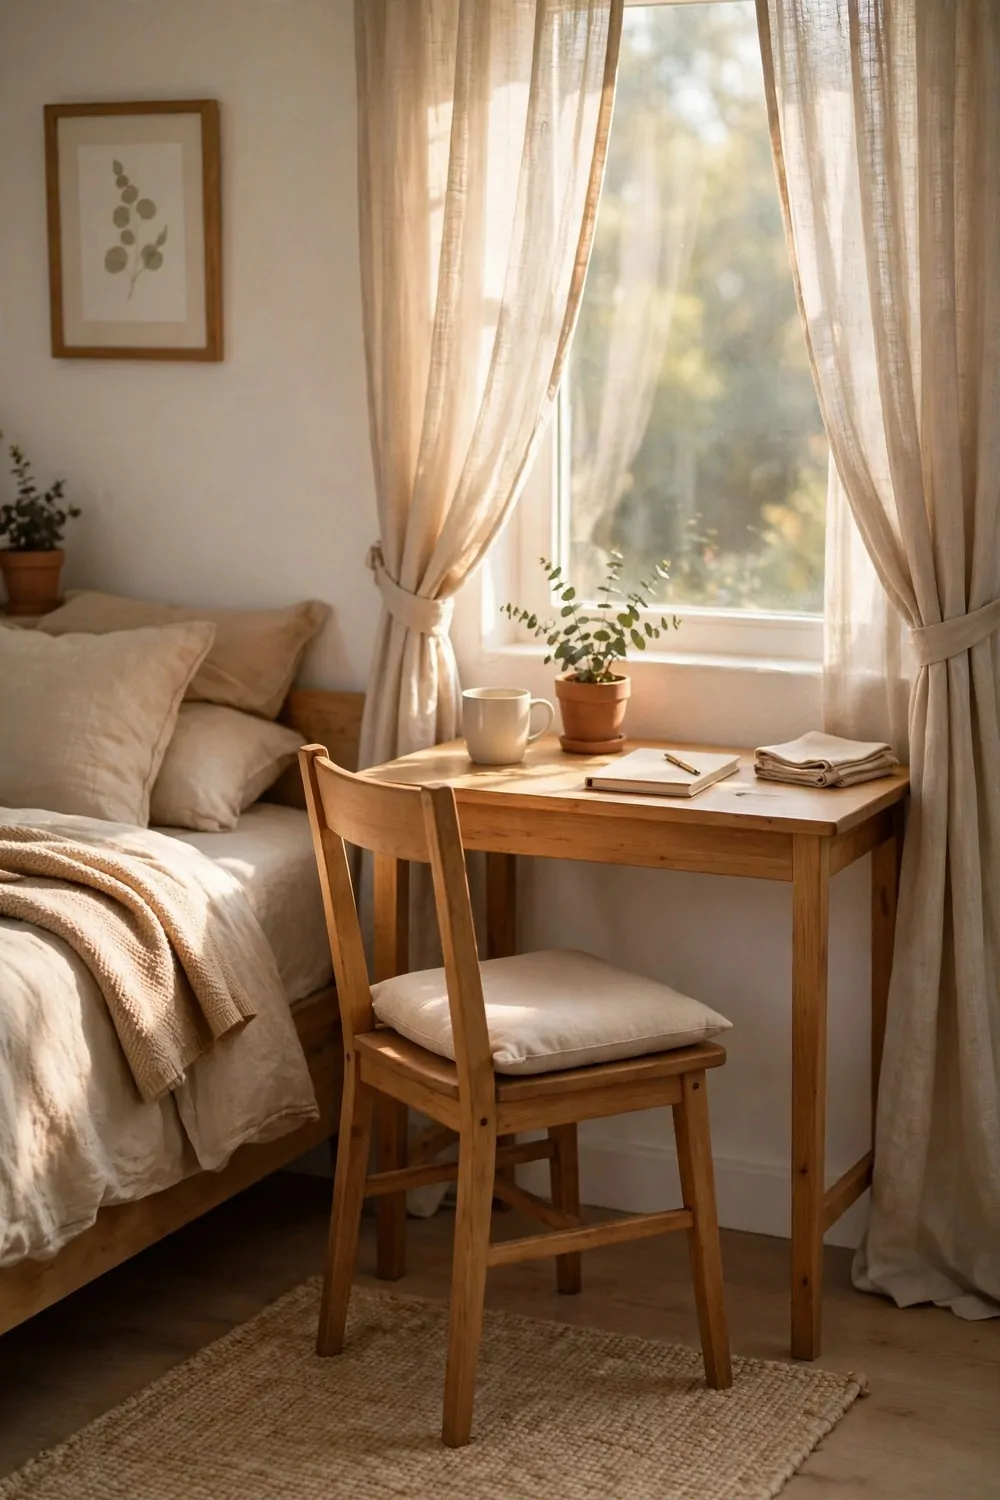
A good office chair does not have to cost a lot. A second-hand wooden chair and a plain cushion can do the job just as well.
I found my chair at a charity shop for less than the cost of lunch. It was a plain wooden chair with a hard seat and a wobbly back. I tightened the screws, added a flat cushion in a plain colour, and it became the chair I sit in for hours. My back stopped aching within a week.
Sit in the chair before you buy it. A chair that looks fine can feel wrong after five minutes. Sit down, lean back, and put your feet flat on the floor. If your knees feel cramped, the chair is too low. If your feet dangle, it is too high.
Look for a chair with a straight back and a seat that is wide enough for you. Arms are nice, but they are not a must. A chair without arms slides right under the desk, and that matters more in a small bedroom than armrests do.
Add a flat cushion if the seat is hard wood. A plain cushion in the room’s main colour ties the chair to the rest of the room. A cushion with a loud pattern fights the bedding and the rug. Plain wins every time in a small room.
Slide the chair right under the desk when the day ends. A chair left out in the middle of the floor makes the room look busy. A chair hidden away under the desk makes the bedroom feel calm again at night. It is a small habit, and it changes how the room feels after dark.
Oil the chair joints once a year with a drop of oil on each screw. A chair that squeaks is a chair that is slowly coming loose. One drop of oil and a quick tighten keeps it quiet for another year.
Keep a small blanket over the back of the chair in winter. It warms the room up, and it gives you something to wrap around your shoulders on cold mornings. A chair with a blanket on it looks lived in, not showroom perfect, and that suits a bedroom office.
The Lamp You Already Own, Moved to the Right Spot
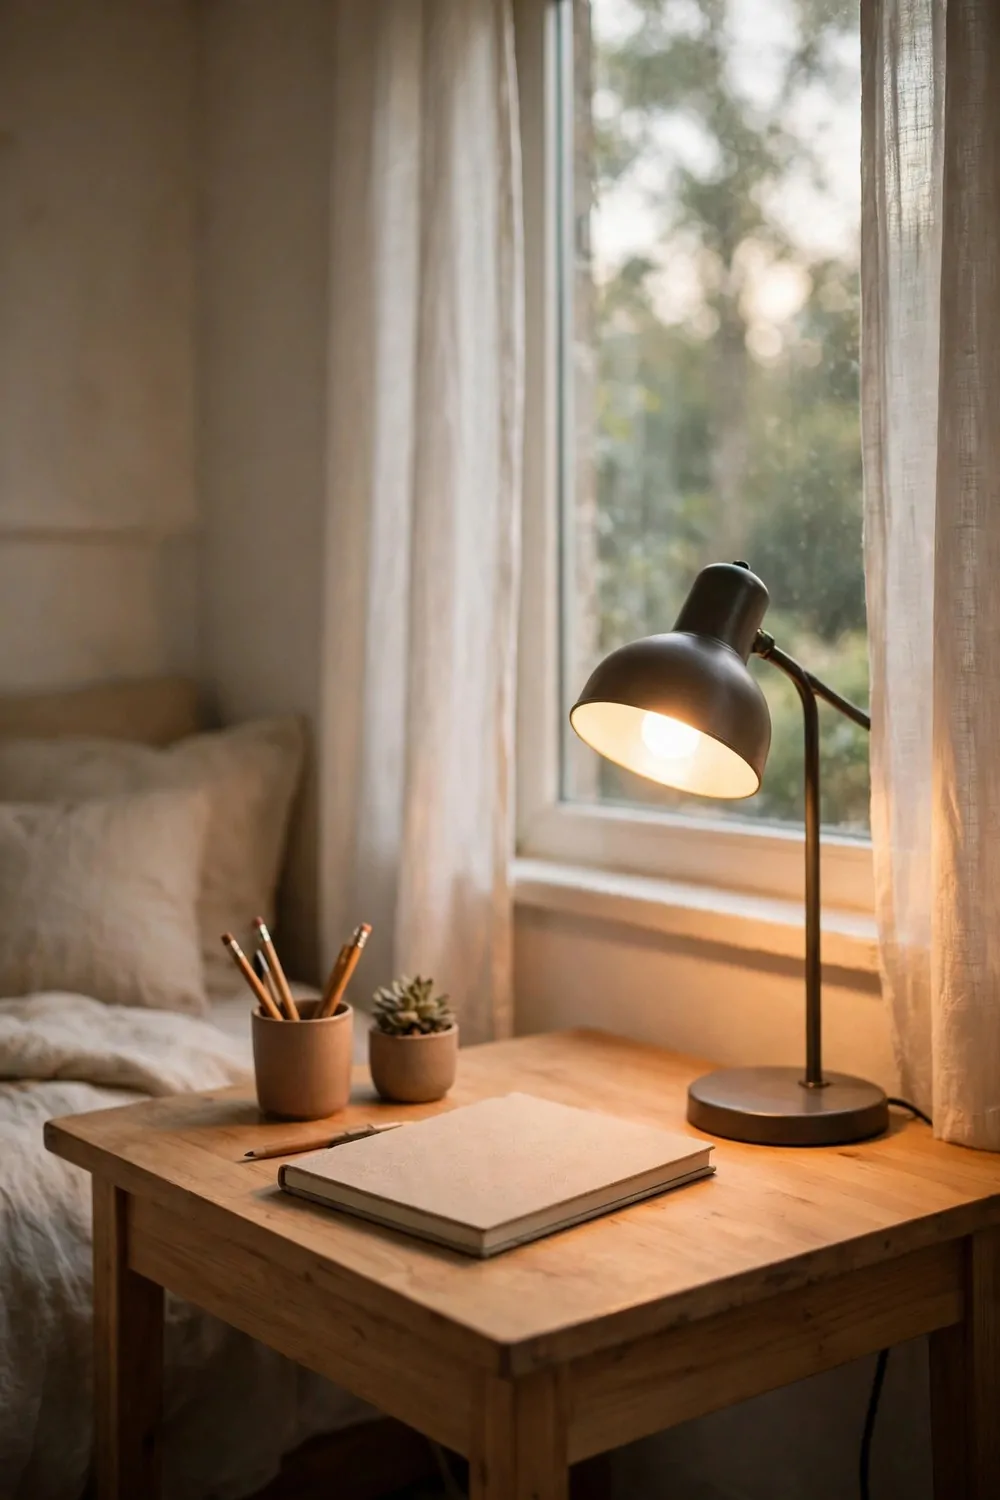
The right lamp is often already in your house. It is just sitting in the wrong room.
My desk lamp used to live on a side table in the living room, where nobody ever used it. I moved it to my desk, and suddenly I had warm light exactly where I needed it. It cost nothing. It just needed a new home.
Walk around your house and count the lamps. Most homes have one too many in the living room and none in the bedroom office. A lamp that sits unused in one room is a lamp waiting for a job in another.
Put the lamp on the side of the desk away from your writing hand. That way the glow lands on your page, not on your hand. Your shadow never covers the page, and your eyes stay relaxed for longer.
Pick a warm bulb, not a bright white one. Bright white light makes a bedroom feel like a shop floor. A warm glow makes it feel like a quiet evening at home.
Switch the lamp on before you open your laptop. One small click, and the corner changes from a bedroom corner into an office. One more click when the day ends, and the corner turns back into a bedroom. That little ritual tells your brain when work starts and when it stops.
Keep a spare bulb in the drawer unit so the light never goes out on a busy morning. A lamp with a dead bulb is just a decoration taking up desk space. A spare bulb in the drawer costs a few coins and saves a dark morning.
Wipe the shade once a month with a soft dry cloth. Dust dulls the light fast, and a dusty shade throws half the light of a clean one. It is a two-minute job, and the whole desk looks brighter after it.
Boxes You Already Own, Dressed Up Plain
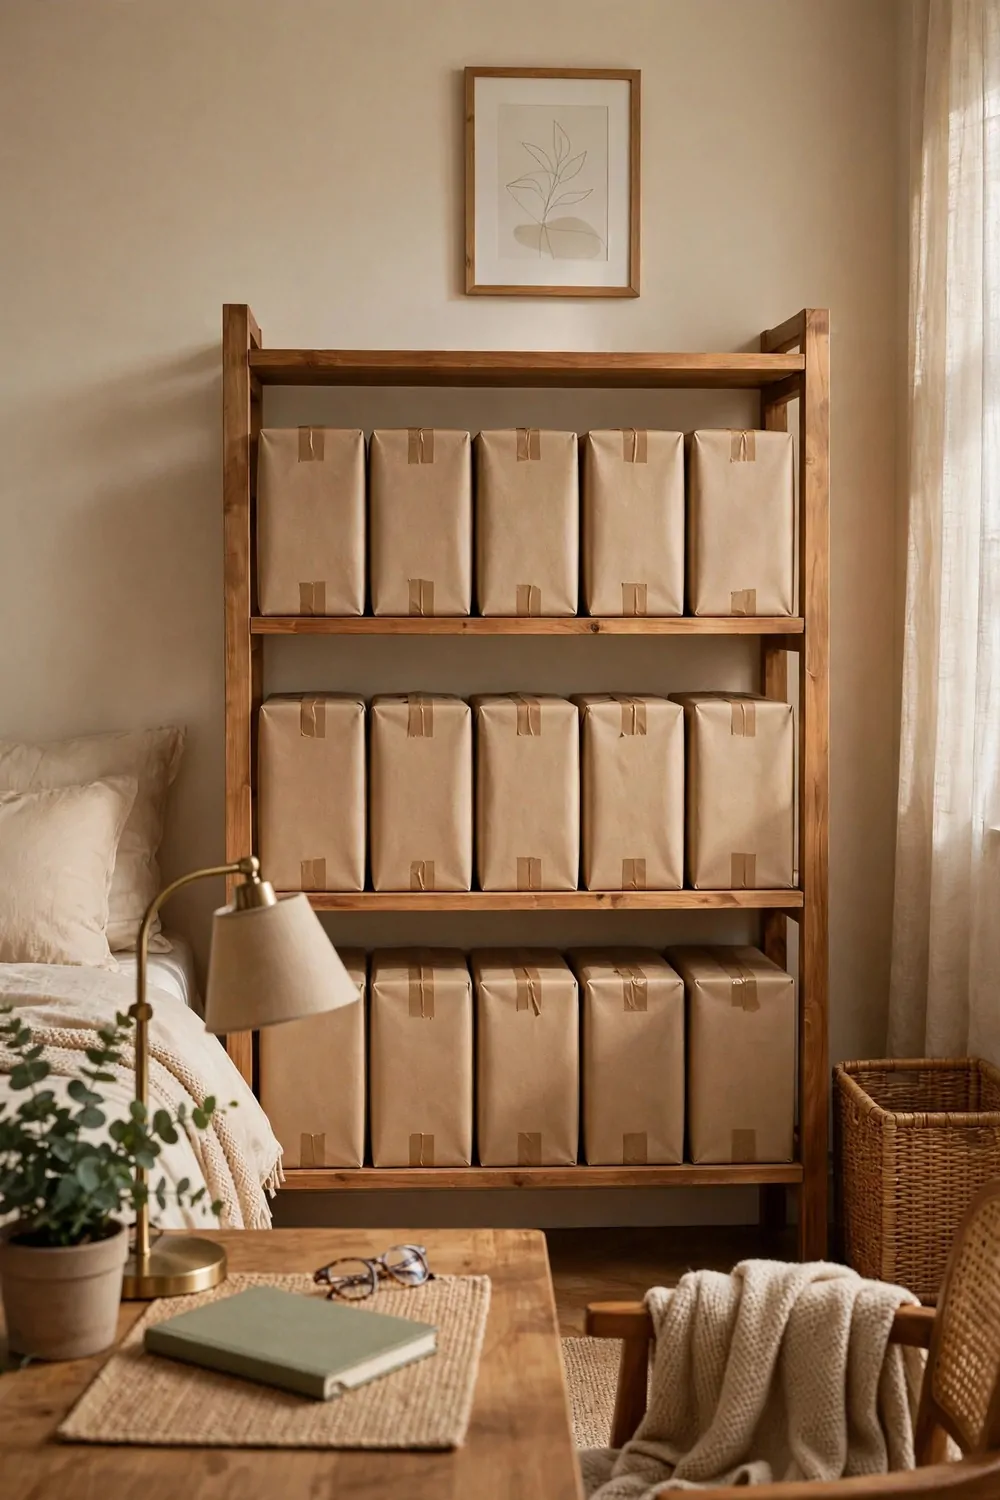
Storage boxes do not need to be bought. The boxes you already own can do the job, dressed up a little.
I had a pile of plain cardboard boxes from deliveries, sitting in the cupboard doing nothing. I wrapped each one in plain brown paper, the kind you wrap parcels in, and lined them up on my shelf. They looked like a matching set, and they cost me nothing but an hour and a roll of paper.
Pick boxes that are the same size if you can. Boxes in the same size sit neatly on top of each other. A shelf of boxes in five different sizes leans and looks untidy, even when every box is full. Same size, same paper, and the shelf looks planned.
Wrap each box the same way. One sheet of paper, folded neatly at the corners, with a little tape on the inside where nobody sees it. A box wrapped in the same paper as its neighbours looks like part of a set. A box wrapped in a different colour looks like a stranger.
Label each box in the same handwriting, with the same pen. One word is enough. Papers. Cables. Notes. A label on the front saves you opening five boxes to find one thing. It also makes the boxes look like they belong together.
Put the boxes you open every day at eye level. The boxes you touch daily should live where your hands can reach them without stretching. The boxes you open twice a year live up high, where you need a step stool to reach them. That order keeps the shelf useful, not just tidy.
Keep one box empty on purpose. A shelf with no free box has nowhere for the next thing to land. That empty box is where the next project goes, and it keeps the desk top clear when life gets busy.
Replace a box when it gets soft or torn. A cardboard box lasts a year or two if you treat it gently. When one wears out, wrap a new one in the same paper, and the set stays matching. Nothing in a budget office needs to last forever. It just needs to work today.
A Pinboard Made From Cardboard and Cloth
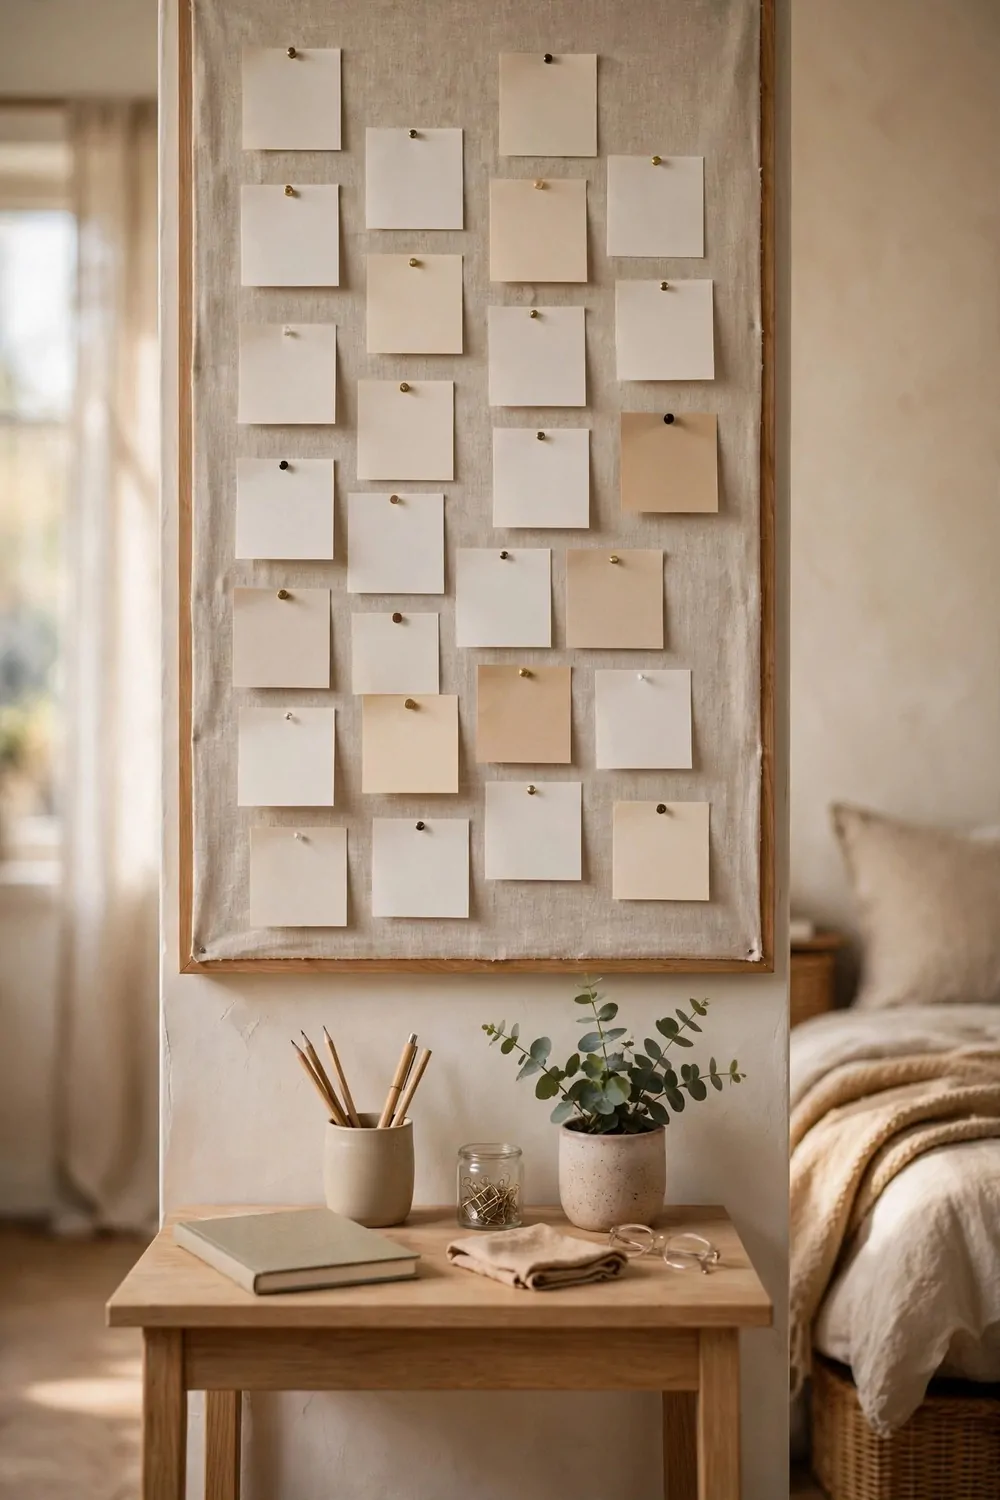
A pinboard keeps your ideas where you can see them. You can make one for almost nothing.
I made mine from a piece of thick cardboard and an old pillowcase. I stretched the cloth over the cardboard, pinned the back with tape, and hung it above my desk with two small hooks. It holds my weekly list, a postcard, and a photo that makes me smile. It cost me nothing, and I look at it every day.
Find a piece of thick cardboard first. A flattened delivery box is perfect. Cut it to the size you want, and check the edges are straight. A wonky pinboard looks wonky on the wall, and straight edges are free if you measure twice.
Pick a plain cloth to cover it. An old pillowcase, a tea towel, or a scrap of curtain fabric all work. Plain colours look best. A busy pattern fights the notes pinned on it. The notes are the stars here, not the cloth.
Stretch the cloth tight over the cardboard and tape the back. Pull it snug, or the cloth will sag in the middle. A tight cloth holds pins well. A loose cloth lets them fall out, and your notes will end up on the floor.
Hang the pinboard at eye level when you sit down. A board hung too high is a board you never look at. A board at sitting height becomes part of the day. You will glance at it without thinking, and that is the point.
Here is what belongs on a pinboard, and what does not.
- This week’s list, short and plain.
- One photo that makes you smile.
- A postcard or a note from a friend.
- Nothing else. The board is not a drawer.
Change the notes every Monday. Take down last week’s list, even if some jobs are still undone. A fresh list on Monday feels like a fresh start. A board full of old notes feels like a museum of things you never did.
A Curtain That Hides the Desk at Night
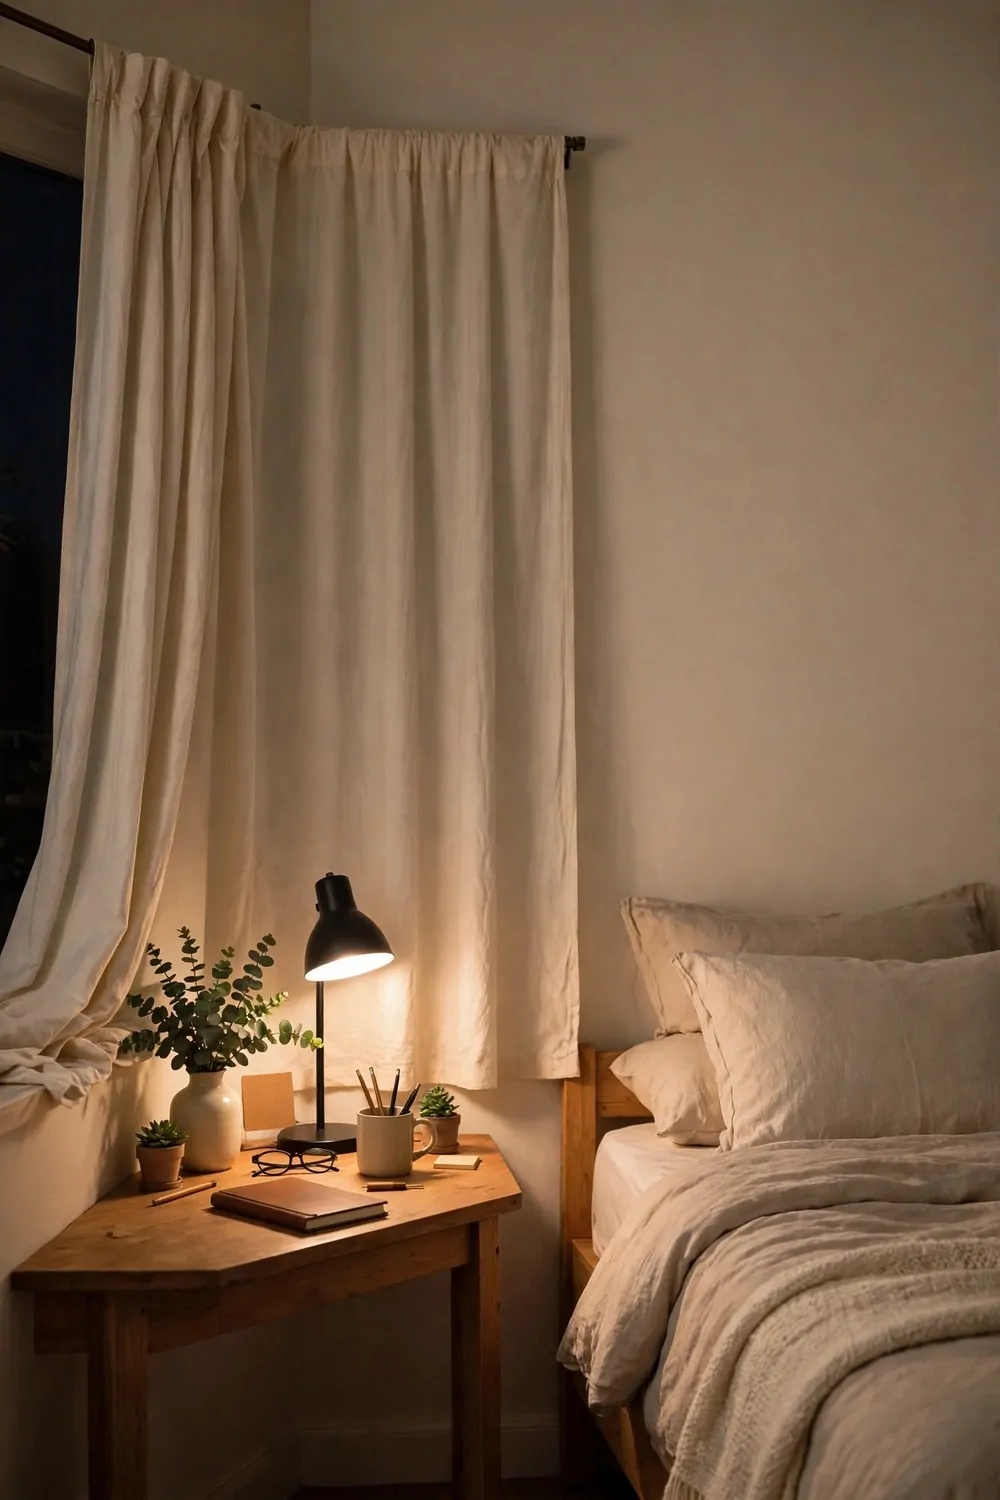
A bedroom office has one problem a normal office never has. The desk stares at you all night. A curtain fixes that.
I hung a plain curtain on a tension rod across the corner where my desk lives. At six in the evening, I pull it across, and the office disappears. The bedroom is a bedroom again. It takes five seconds, and my sleep got better within a week.
Pick a curtain in the same colour as your bedding. A curtain that matches the bed makes the room feel like one calm place. A curtain in a clashing colour looks like a tent in the corner, and your eye will keep going back to it.
Use a tension rod if you do not want holes in the wall. A tension rod wedges between two walls and holds a light curtain with no drilling at all. It is the kindest option for a rented room, and it costs a few coins.
Hang the curtain rod high, near the ceiling. A long drop makes the wall look taller, and the desk vanishes fully behind the cloth. A short curtain leaves the desk legs poking out, and the trick only half works.
Pull the curtain across at the same time every evening. Make it part of your closing routine. Laptop shut, chair tucked in, curtain pulled across. Three small moves, and the workday is done. After a few evenings, the pattern feels automatic.
Give the curtain a wash each season so it stays fresh. Curtains hold onto dust and stale air. A wash each season keeps the corner smelling clean, and the fabric hangs better after it.
Keep the curtain plain, with no pattern. A plain curtain in the room’s colour lets the bed and the desk shine when it is open. A patterned curtain fights everything else in the room, and it is the first thing your eye lands on.
One Small Change a Week
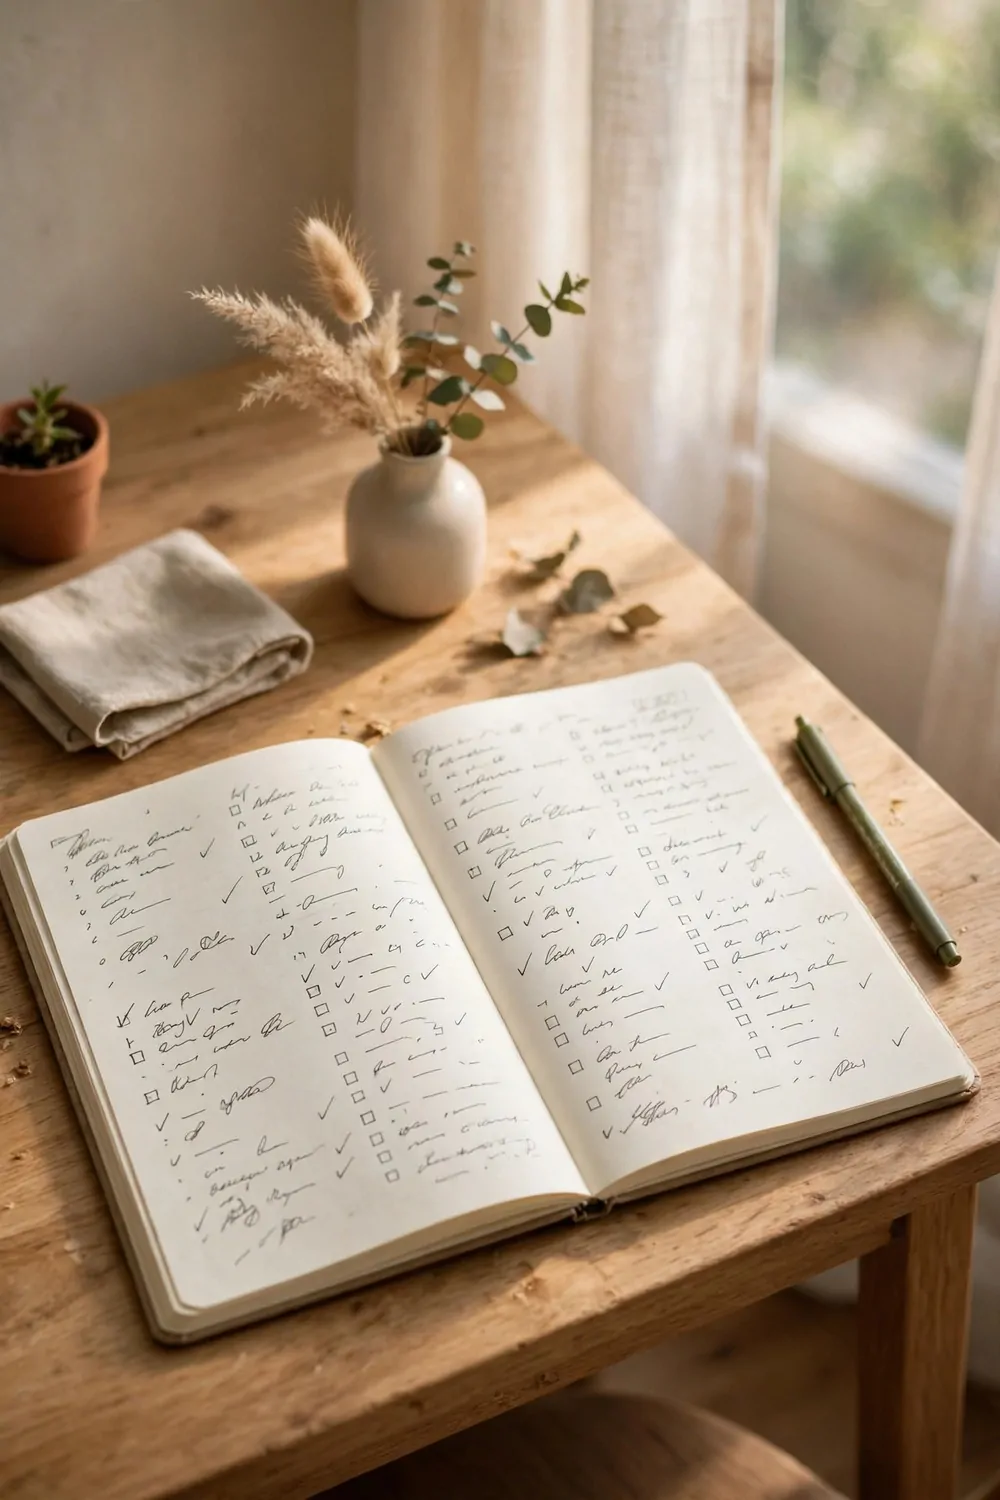
A budget bedroom office is not built in one day. It is built one small change a week.
I made a simple plan on a notebook page. One change each week, for six weeks. Week one, I moved the desk. Week two, I painted the wall. Week three, I found the second-hand chair. By week six, the room felt finished, and I had never spent much in any single week.
Write your own plan before you start. Six weeks is enough for a small room. Write one change per week, and keep each change small. A plan on paper stops you buying five things at once and regretting four of them.
Here is the plan I used. You can copy it, or write your own.
| Week | One change | What it costs |
|---|---|---|
| Week one | Move the desk to the window | Nothing |
| Week two | Paint the wall behind the desk | One tin of paint |
| Week three | Find a second-hand chair | Less than lunch |
| Week four | Put up a plank shelf | A plank and two brackets |
| Week five | Sort the drawers and label them | A few plain tags |
| Week six | Hang the curtain and tidy the cables | A tension rod and some string |
If one week’s change does not work, do not force it. Move the desk back, swap the chair, or skip that change and try the next one. A plan that bends a little is a plan you will actually finish.
Do the free changes first. Moving furniture and sorting drawers cost nothing, and they make the biggest difference. The changes that cost a little come later, when you know what the room still needs.
Tick each week off when it is done. A tick on a page feels good, and it keeps you going. If a week gets busy and you miss a change, just do it the next week. The plan is a guide, not a test.
Stop after six weeks and live with the room for a month. Sit at the desk every day. Notice what still bothers you. Most of the time, nothing does, and the room is done. A plan that ends is better than a project that never stops.
The Cable Fix That Costs Nothing
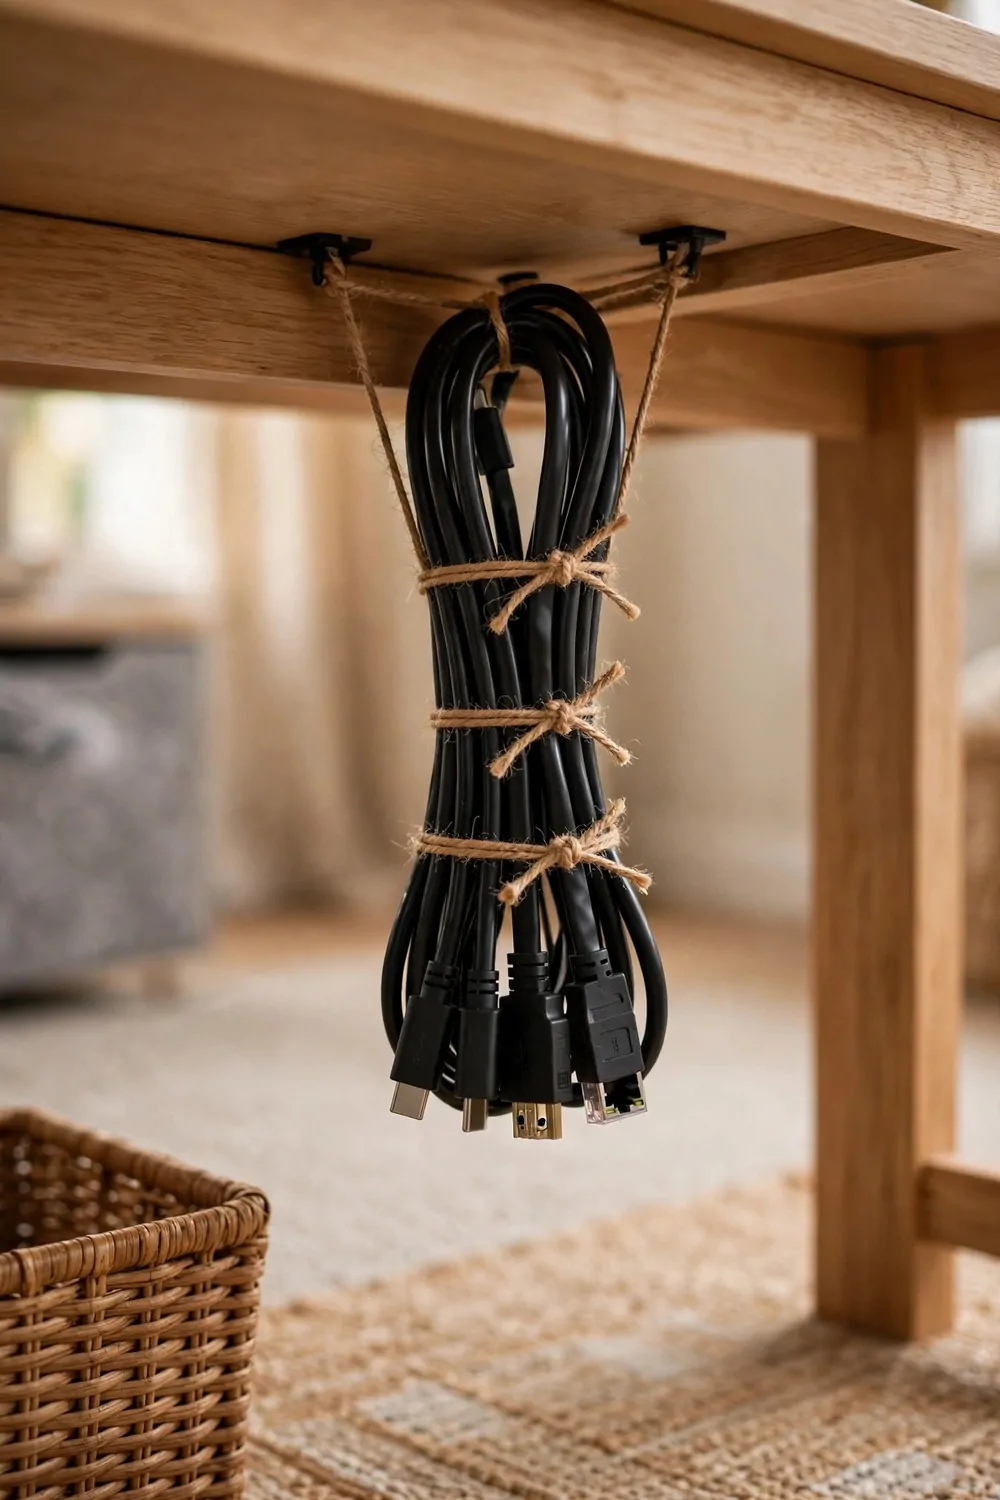
Cables are the messiest part of any bedroom office, and the fix costs almost nothing.
My cables used to hang off the back of the desk like vines. The laptop cable, the lamp cable, the phone charger. They tangled, they collected dust, and they made the whole corner look messy even when the desk top was clear. One evening I fixed them all with string and a few bread ties.
Gather every cable and lay them out on the bed. Untangle them one by one. Throw away the cables that belong to things you no longer own. Most homes have at least two mystery cables in a drawer, and they will never be missed.
Tie the cables you keep into one neat bundle. A piece of string, a bread tie, or a hair tie all work. Tie them loosely, not tight, so you can add a cable later. A loose bundle looks tidy. A tight knot looks like a problem.
Run the bundle along the back edge of the desk, where nobody sees it. Tape it to the underside of the desk top with a strip of tape, or hook it over a small nail. The cables should travel in a straight line from the plug to the desk. Straight cables stay tidy. Loopy cables look messy.
Label each cable with a tiny tag if you share the desk. One tag per cable, and nobody unplugs the wrong thing by mistake. A tag made from a scrap of paper and a bit of tape costs nothing and saves a lot of arguments.
Keep the phone charger in the drawer unit, not on the desk. A charger on the desk top is a cable that never sits still. A charger in the drawer is there when you need it and invisible when you do not.
Check the cables once a month when you tidy the desk. Pull the bundle out, dust it, and put it back. A cable bundle that never gets checked slowly turns back into a tangle. One minute a month keeps it neat.
A Rug Borrowed From Another Room
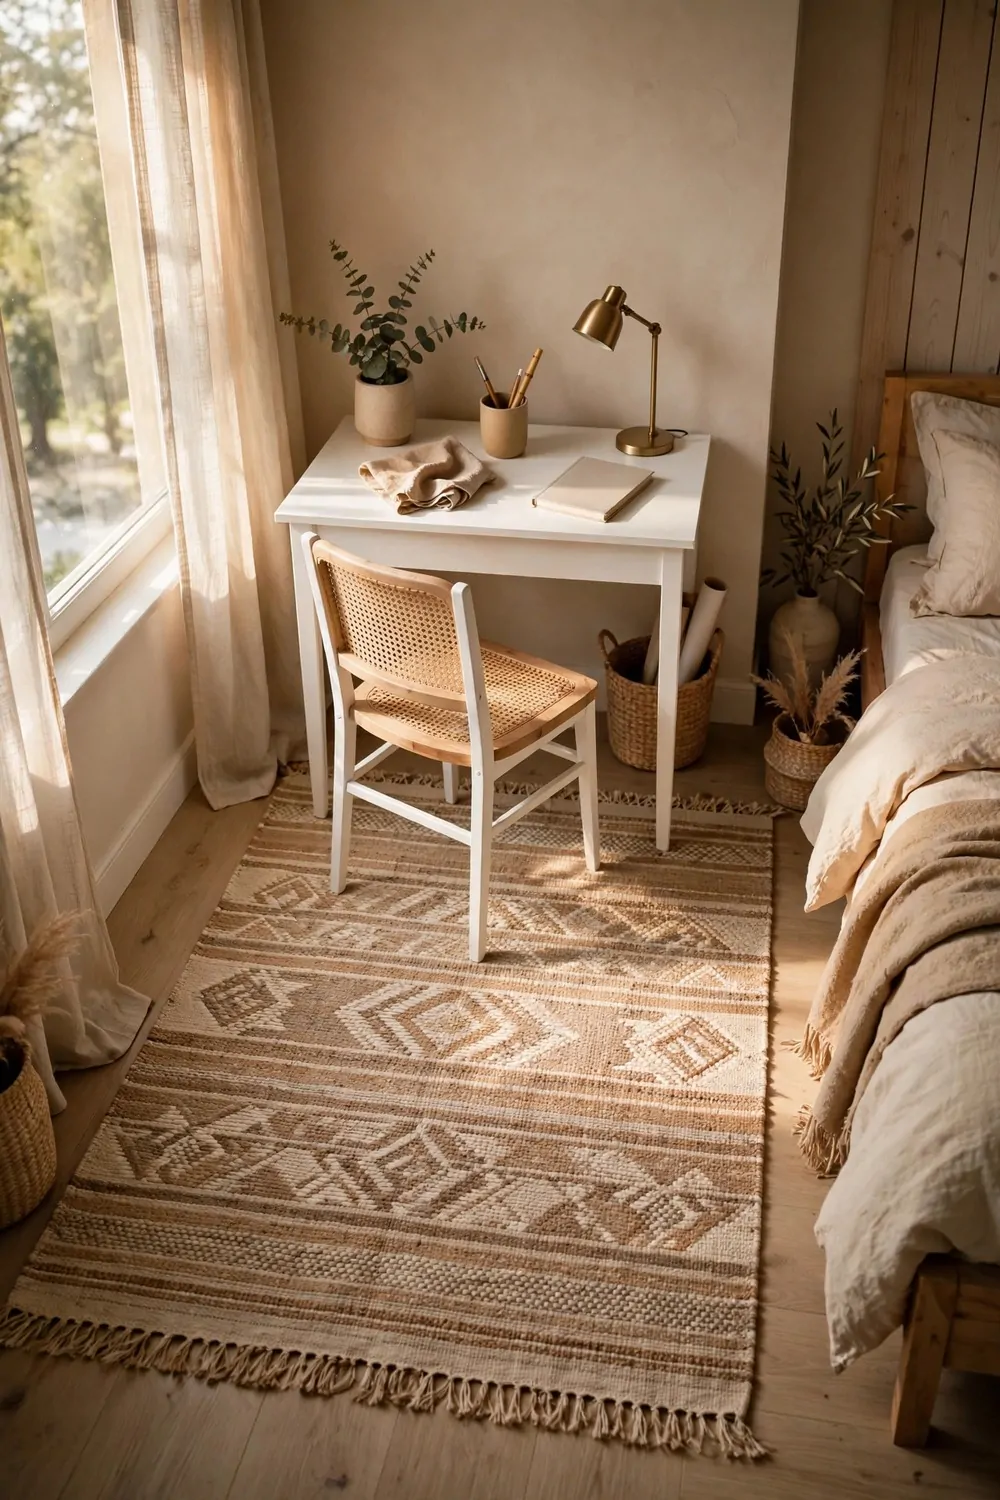
A rug makes a bedroom office feel finished, and the cheapest rug is the one you already own.
I took the rug from my hallway and put it under my desk. The hallway did not miss it, and the office corner felt warmer the same day. My feet stopped touching the cold floor, and the chair stopped sliding around. It was a free move, and it changed how the room felt.
Walk around your house and look for a rug that is doing nothing. Hallways, spare rooms, and the space beside the bed often hold rugs that nobody notices. A rug that sits in a forgotten corner is a rug waiting for a better job.
Pick a rug that fits the desk and the chair as one little island. When you roll the chair back, its legs should still rest on the rug. A rug that ends halfway under the desk looks like a doormat that lost its way.
Go for a rug that lies flat and low. A puffy rug makes the chair wobble, and a wobbly chair is one you avoid sitting in. A flat rug keeps the chair steady, and it slips under the desk without a fight.
Run the vacuum over the rug each week, and take it outside for a good shake once a month. A fresh rug brightens the whole corner, and the desk on top of it looks better as well. A rug that never gets cleaned turns grey and dusty, and a small room feels stale fast.
Put a non-slip mat under the rug if it slides on a wood floor. A small piece of rubber mat, or even a damp cloth underneath, stops the rug from creeping. A rug that stays put is a rug you never have to think about.
If the rug does not fit the corner, turn it around. A rug turned sideways often fits a spot it never fit before. Try it both ways before you decide it is the wrong size. Rooms are funny that way, and a turn can change everything.
Plants That Cost Pennies
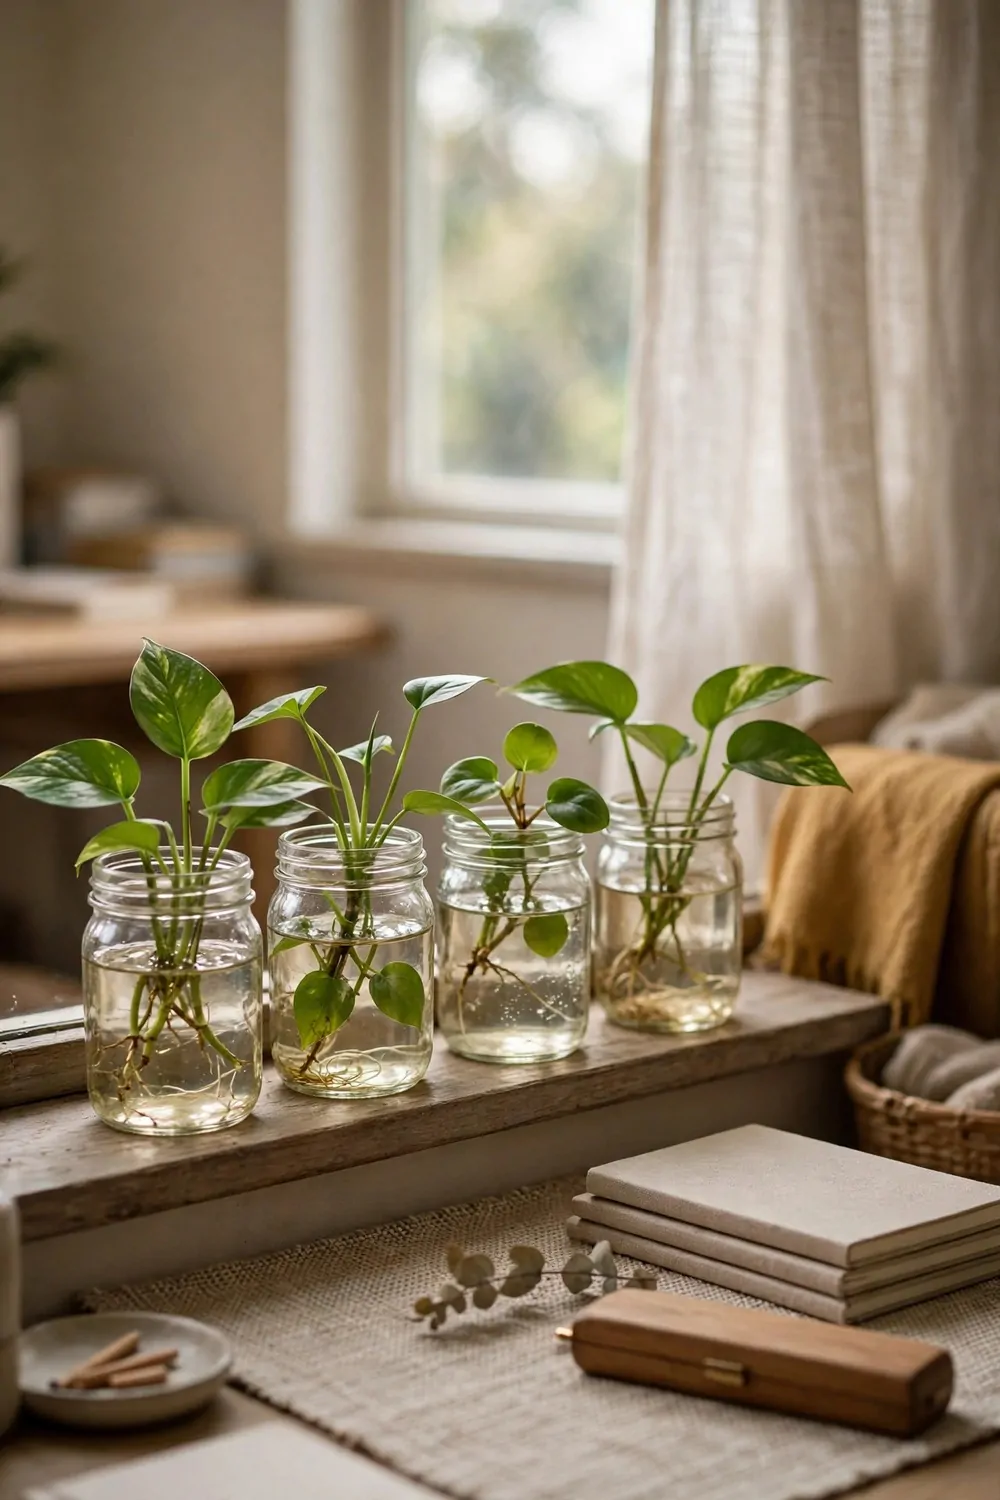
A plant makes a desk feel alive, and the cheapest plants are the ones you grow yourself.
I started with cuttings from a friend’s plant. She snipped a few stems, I put them in jam jars of water on my windowsill, and within a few weeks they had roots. I potted them in old yogurt pots, and now they sit on my desk. They cost me nothing but patience.
Ask a friend for a cutting before you buy a plant. Most plant owners are happy to share a stem or two. A cutting in a jar of water is a free plant, and it comes with a story. A plant you grew yourself feels better on a desk than a plant you bought in a hurry.
Use jam jars and yogurt pots as plant pots. Wash them well, poke a small hole in the bottom of the pot, and fill it with soil from the garden. A jam jar on a desk looks charming, and it costs nothing. Save the pretty pots for later, when the plant is bigger.
Keep the plant little. A tiny plant on a desk looks tidy. A large plant on a small desk looks like the desk is struggling to hold it. One little green thing is enough. Two little plants are plenty. Three is a jungle, and a jungle belongs on the floor, not the desk.
Give the plant a small drink once a week, always on the same day. A little water is plenty for a desk plant. Too much water is what kills most of them, not too little. Pin a reminder on your pinboard if you forget, and the plant will stay green for you.
Move the plant closer to the window if it starts to look sad. Plants need light more than they need fuss. A week by the window usually brings a drooping plant back to life. If it does not, take another cutting and start again. Plants are forgiving that way.
Keep the plant pots on a small tray so water never reaches the desk wood. A tray catches the drips when you water, and the desk stays dry. A plain saucer or a baking tray lid does the job, and it costs nothing if you already own one.
Free Pictures for a Bare Wall
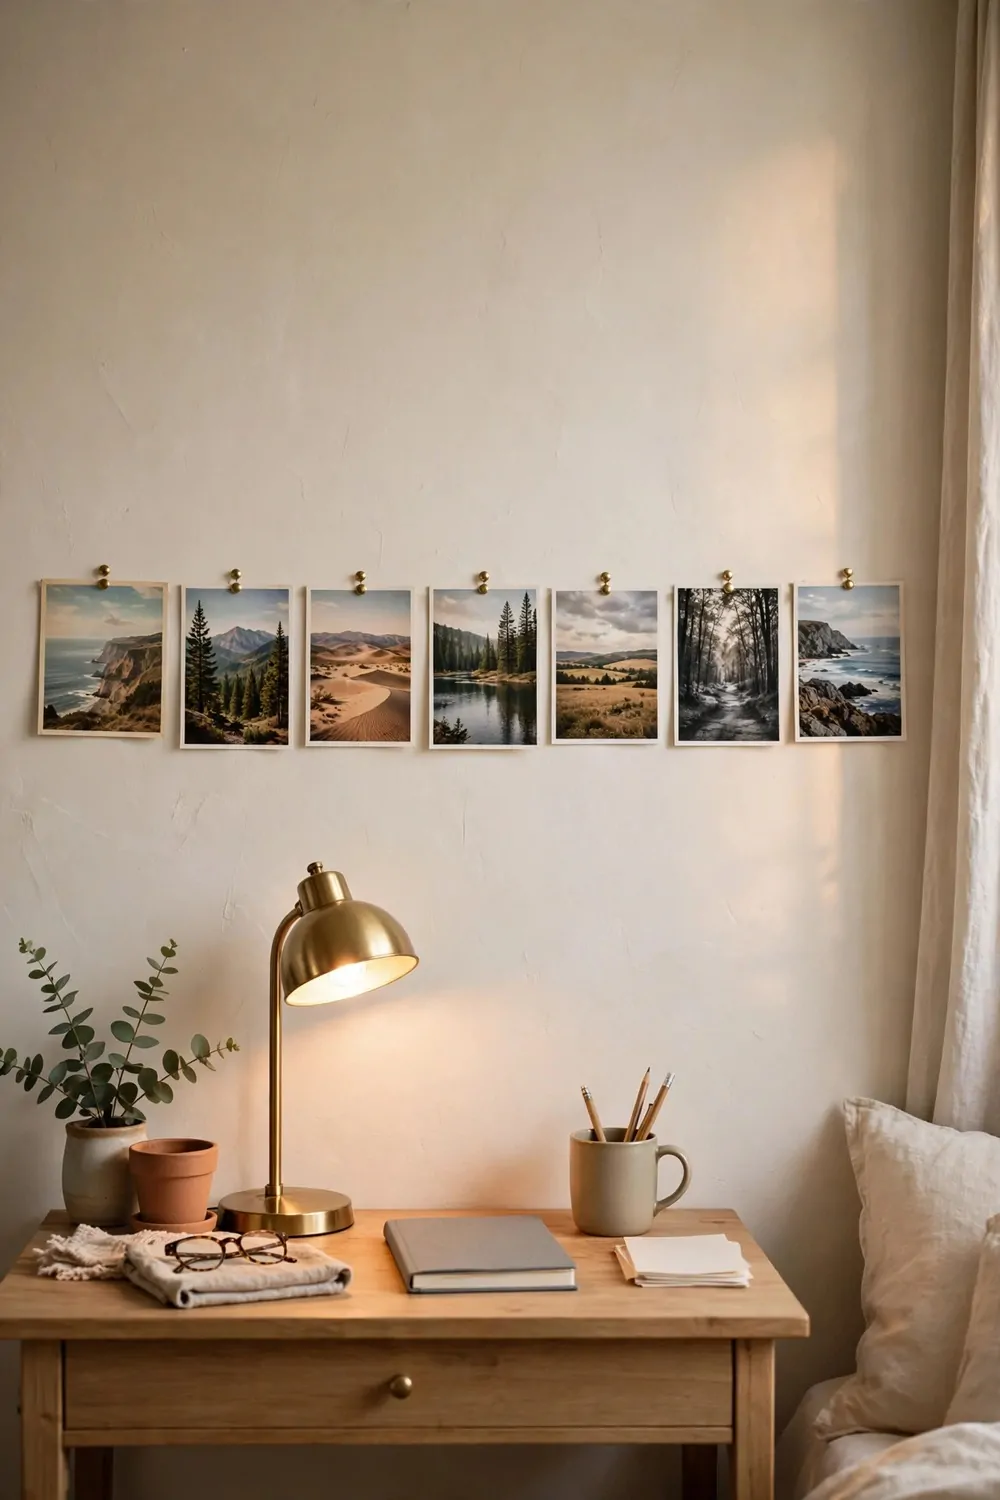
A bare wall makes a bedroom office feel unfinished. Free pictures fix that.
I filled my wall with postcards from friends, a photo I printed at the library, and a drawing my niece made for me. None of them cost anything. They are pinned in a neat row above my desk, and they make the wall feel like mine. A wall with pictures on it feels like a room someone lives in.
Look around your home for pictures you already own. Postcards in a drawer. Photos on your phone that you never printed. A drawing from a child in the family. A picture you love is a picture you already have, not one you need to buy.
Print one or two photos at the library if you have no printer at home. A library printer costs a few coins for a small print. Pick the photos that make you smile, not the ones that look fancy. A photo that makes you smile is worth more on a wall than a pretty picture that means nothing.
Hang the pictures in a straight row at eye level. Same height, same gaps, and the wall looks planned. A row of pictures at different heights looks like an accident. A straight row looks like a gallery, even if the pictures are just postcards.
Use plain frames if you have them, or pin the pictures straight to the wall with small pins. A frame makes a picture feel finished. A pin makes it feel casual. Either way works, as long as every picture is hung the same way. Mixed hanging looks messy.
Change one picture each season. Take down the oldest one and put up a new favourite. A wall that changes a little each season stays fresh. A wall that never changes becomes invisible, and you stop seeing it altogether.
Keep the wall to one row of pictures, not five. A wall covered in pictures feels crowded in a small room. One neat row above the desk is enough. It gives the eye somewhere to rest, and it leaves the rest of the wall calm.
The Bedside Table That Works Two Jobs
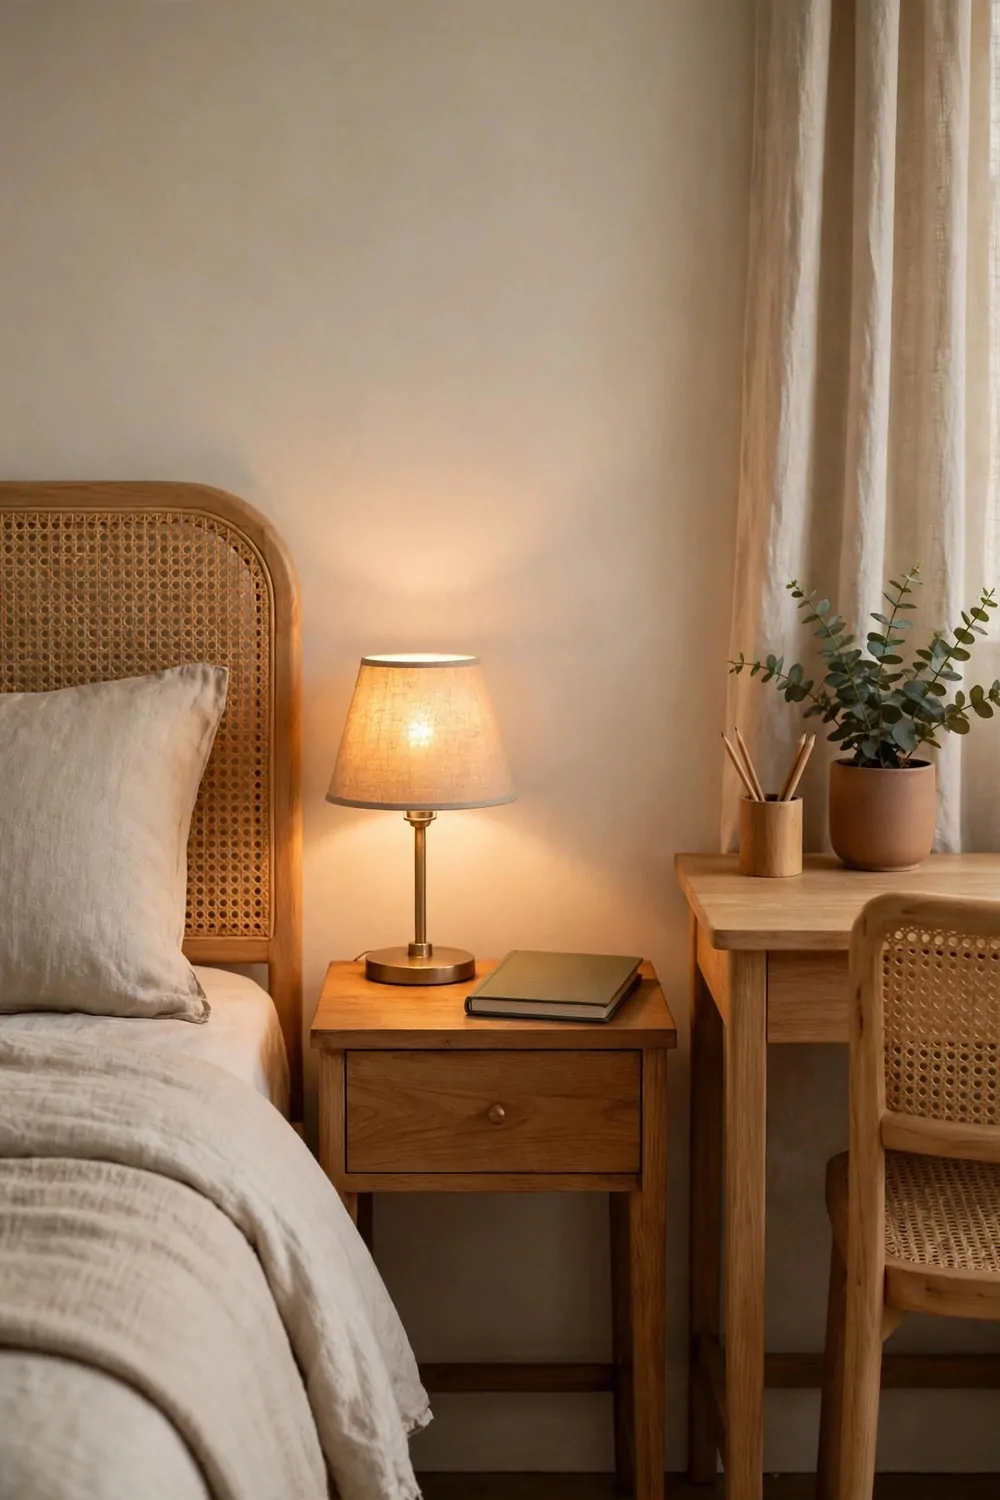
A bedside table can do two jobs at once. It can hold your lamp at night and your office papers by day.
Mine sits between the bed and the desk. At night it holds a glass of water and a book. In the morning it holds my notebook and the papers for the day. One small table, two jobs, and no extra furniture in the room.
Pick the bedside table you already own and give it a second job. A table with one drawer and a small shelf is perfect. The drawer holds the things you need at night. The shelf holds the papers you need in the morning. Nothing new to buy, just a new plan for an old piece.
Put the notebook on the table the night before. A notebook waiting on the bedside table is a notebook you will open in the morning. A notebook buried in a drawer is a notebook you will forget. The table is your launch pad for the day.
Keep the top of the table clear except for two things. A lamp and a notebook is enough. A table covered in clutter is a table that does neither job well. Two things, and the table looks calm.
Use the drawer for the small office things you need close by. A pen, a spare charger, a few paper clips. The drawer is within arm’s reach of the bed and the desk, so it is the handiest storage in the whole room. Treat it like the top drawer of the desk.
Wipe the table once a week when you clean the desk. A bedside table that does two jobs gets twice the dust. Ten seconds with a cloth keeps it looking like furniture, not a dumping ground.
If the table wobbles, tighten the screws or wedge a folded piece of cardboard under the short leg. A wobbly table spills water and drops pens. A steady table does two jobs without complaint. It is a two-minute fix, and it lasts for years.
Jars and Trays From the Kitchen
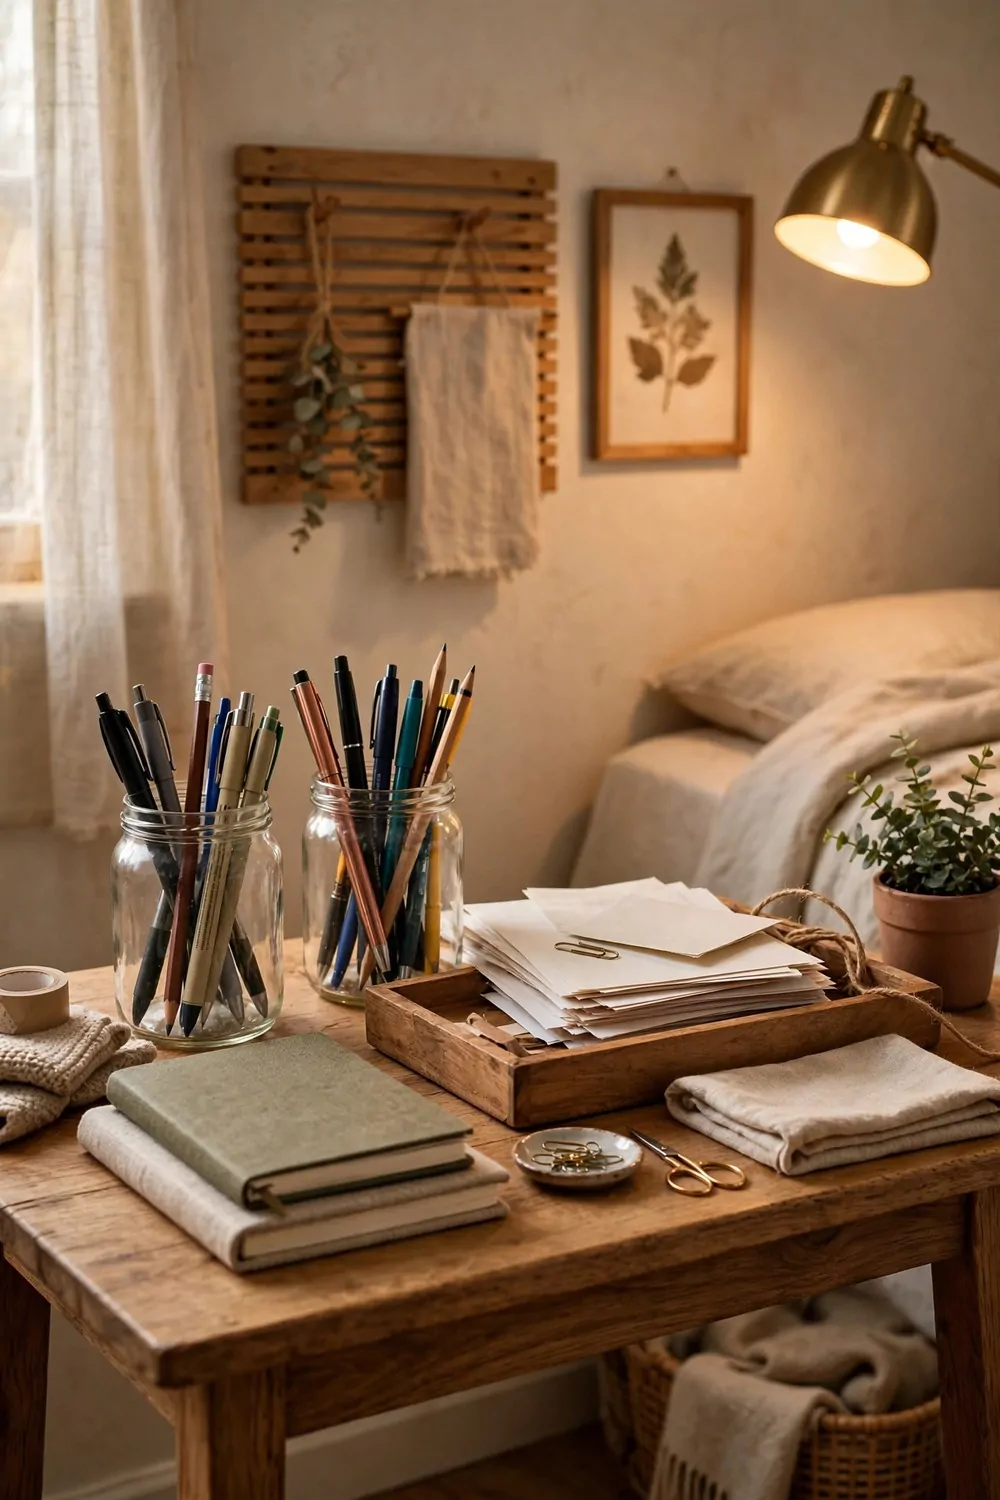
The kitchen is full of storage that works just as well in a bedroom office. Jars and trays are the best of it.
I took three glass jars from my kitchen cupboard. One holds pens. One holds paper clips. One holds the small bits that used to roll around my desk drawer. They sit in a row on my desk, and I can see what is inside each one. No more digging through a drawer for a pen that works.
Wash the jars well before you use them. A jar that smells of jam is a jar that will make your pens sticky. Hot water and a little soap, left to dry overnight, and the jar is ready for desk duty.
Put a jar for pens on the right side of the desk if you are right handed, and on the left if you are left handed. The jar should be where your hand naturally reaches. A jar on the wrong side is a jar you will knock over every day.
Use a tray for the papers that are in progress. A plain baking tray, a wooden tray, or even a shallow box lid all work. The tray holds today’s papers in one neat pile. When the day ends, the tray goes on the shelf, and the desk is clear again.
Here is what kitchen things can do in an office.
| Kitchen thing | New job in the office | Why it works |
|---|---|---|
| Glass jar | Pen and pencil holder | You can see what is inside |
| Small tray | Papers in progress | One neat pile, easy to move |
| Jam jar lid | Paper clip dish | Clips stay in one place |
| Mug | Brush and ruler holder | Tall things stand up straight |
Keep the jars to three, no more. Three jars in a row look tidy. Six jars on a desk look like a kitchen cupboard exploded. Pick the three things you reach for most, and give each one a jar. The rest can live in a drawer.
Wash the jars once a month when you tidy the desk. Dust and ink build up fast in an open jar. A quick wash keeps them clear, and a clear jar is a jar you can trust to hold the pen you need.
The Ten-Minute Tidy That Keeps It Cheap
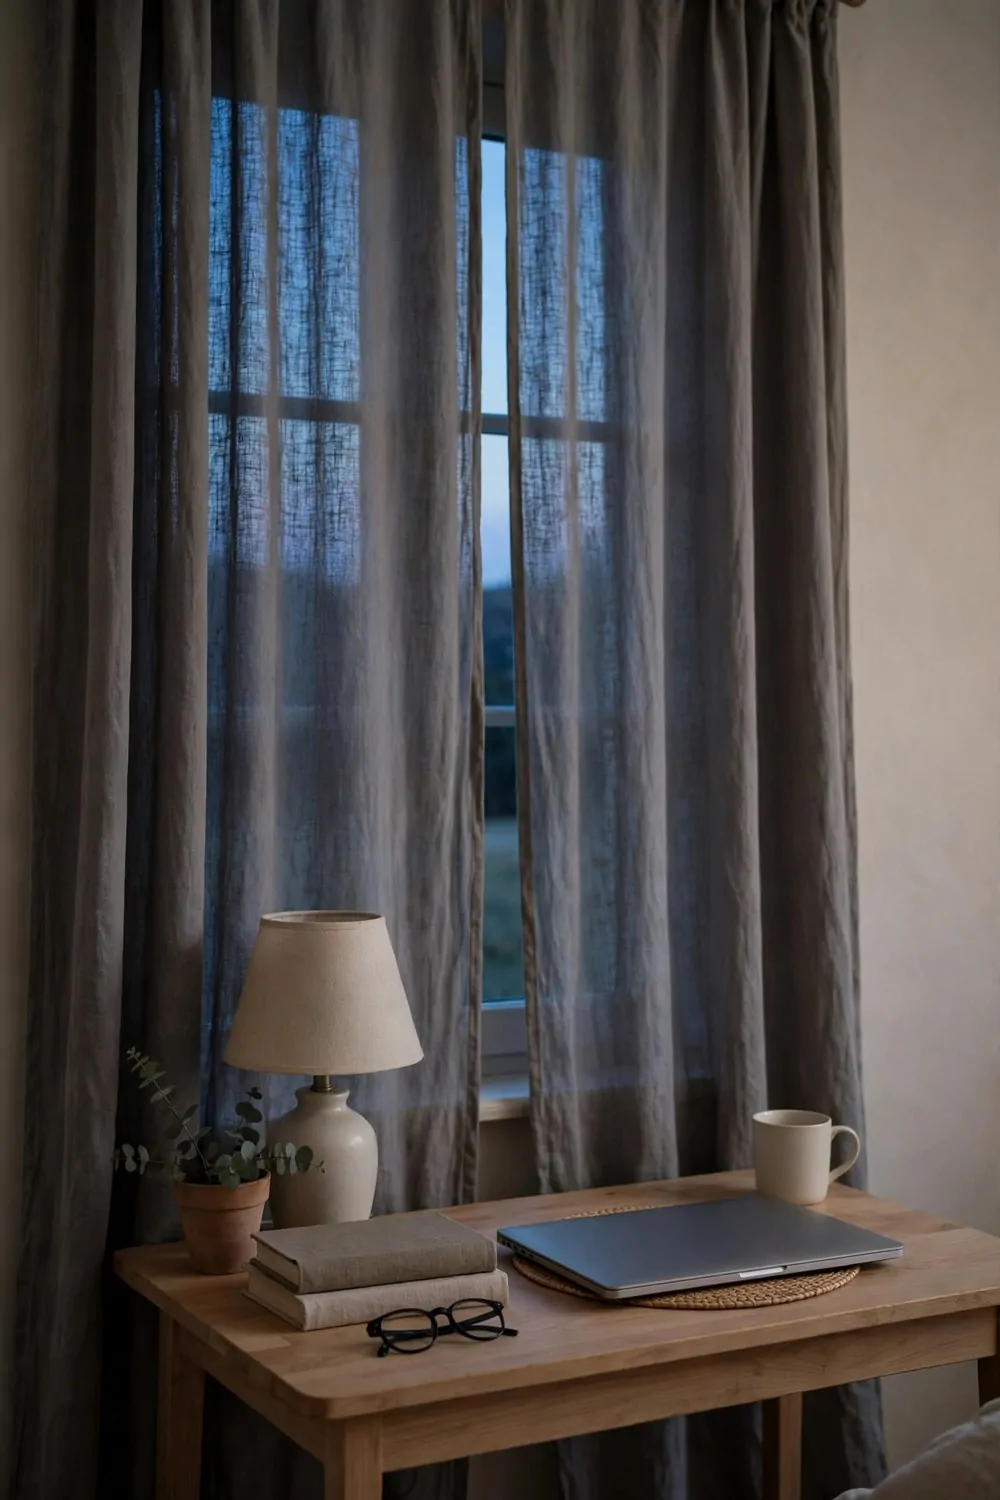
A budget bedroom office only stays cheap if it stays tidy. The tidy takes ten minutes, every evening.
My evening tidy takes ten minutes from start to finish. I straighten the books, drop the pens back in the jar, shut the laptop, slide the chair away, and pull the curtain across. Ten minutes later, the room looks the way it did the day I finished setting it up.
Do these ten minutes at the same time each night. After a week or two, you will do them without thinking at all. Skip a few nights and the habit fades away. A habit that runs daily is a habit that works. A habit that runs sometimes is just a nice idea.
Keep the routine short. Ten minutes is enough. A long routine is one you will give up on by Friday. Short and daily beats long and rare, every single time.
Stand in the doorway and take one last look before bed. That is the view a guest gets first. If the room looks calm from there, your work is done. If one thing still looks off, fix just that one thing and stop. Finished is the goal, not perfect.
Put the notebook back on the bedside table when the ten minutes are done. A notebook waiting there is a notebook you will open in the morning. A notebook left on the desk is a notebook that gets buried under tomorrow’s papers.
Write tomorrow’s first job on a scrap of paper and leave it on the desk. One short line. Your morning self will be glad your night self took the trouble. It is the cheapest trick in this whole list, and it works every single day.
Start tonight. Ten minutes, every evening, and tomorrow morning your room will still look like a budget office that cost almost nothing and works like a dream.
Keep Reading
If you liked these Ikea Bedroom Office Ideas, these designer-made, spare-inch and everyday-use office ideas will give you even more ways to make a small bedroom work hard on a small budget.
- 17 Small Second Bedroom Office Ideas That Look Designer-Made
- 20 Extra Bedroom Office Ideas to Use Every Spare Inch
- 20 Ikea Workspace Ideas for a Desk You’ll Actually Use
A bedroom office on a budget does not need a big spend. It needs a free afternoon, a few small changes, and ten minutes at the end of the day. Start with the free moves, do one change a week, and let your smallest room surprise you.