27 Studio Apartment Storage Ideas That Actually Work

The first night in my studio flat, my suitcase sat on the floor for a week. I had no place to put my shoes. My coat lived on a chair.
The flat was one small room, and every thing I owned seemed to fight for the same spot. My books piled up near the bed. My clean clothes shared space with my dirty ones.
I felt tired just looking at it. I wanted a home that felt calm, not a room that felt full.
So I started small. I moved one box, then I hung one hook, and then I found a spot for my shoes.
Little by little, the room began to breathe. I could walk across the floor without stepping on something.
I learned that a studio does not need more space. It needs smart spots for the things you already own.
In this one post you will find all 27 ideas, and you can pick the ones that fit your flat and your budget.
1. Under-Bed Storage Boxes
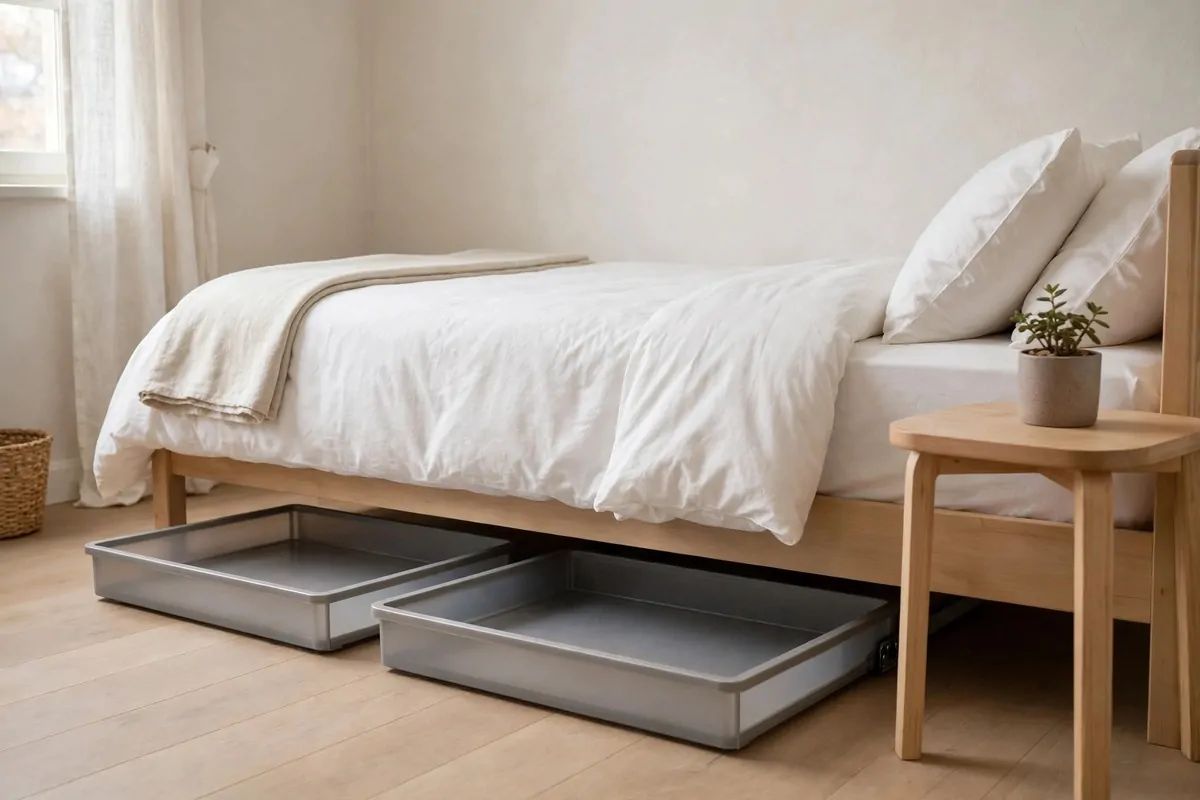
My bed takes up a lot of room in my studio, so I looked under it one day. There was a big empty space just sitting there doing nothing.
I bought two flat boxes with lids and slid them under the bed. They fit so well that I forgot they were there. They were light enough for me to slide in on my own.
Now my extra sheets live in one box. My winter jumpers live in the other box, and they stay clean and flat.
I like boxes with small wheels or handles on the ends. They pull out fast when I need them, and they slide back in with one push.
Typical cost is $15 to $40 for a set of two flat boxes, and clear ones help you see what is inside.
Label each box with a small tag on the front. You will not have to pull out three boxes to find one thing.
Keep heavy things in the boxes near the head of the bed. Keep light things near the foot, so they are easy to lift out. I check the boxes once a month, and I take out what I no longer use.
Vacuum the space under the bed before you put the boxes in. Dust builds up fast there, and clean boxes last longer.
This idea works in a rented flat because you do not drill or change a thing. You just use the space you already have.
2. Over-Door Hooks and Racks
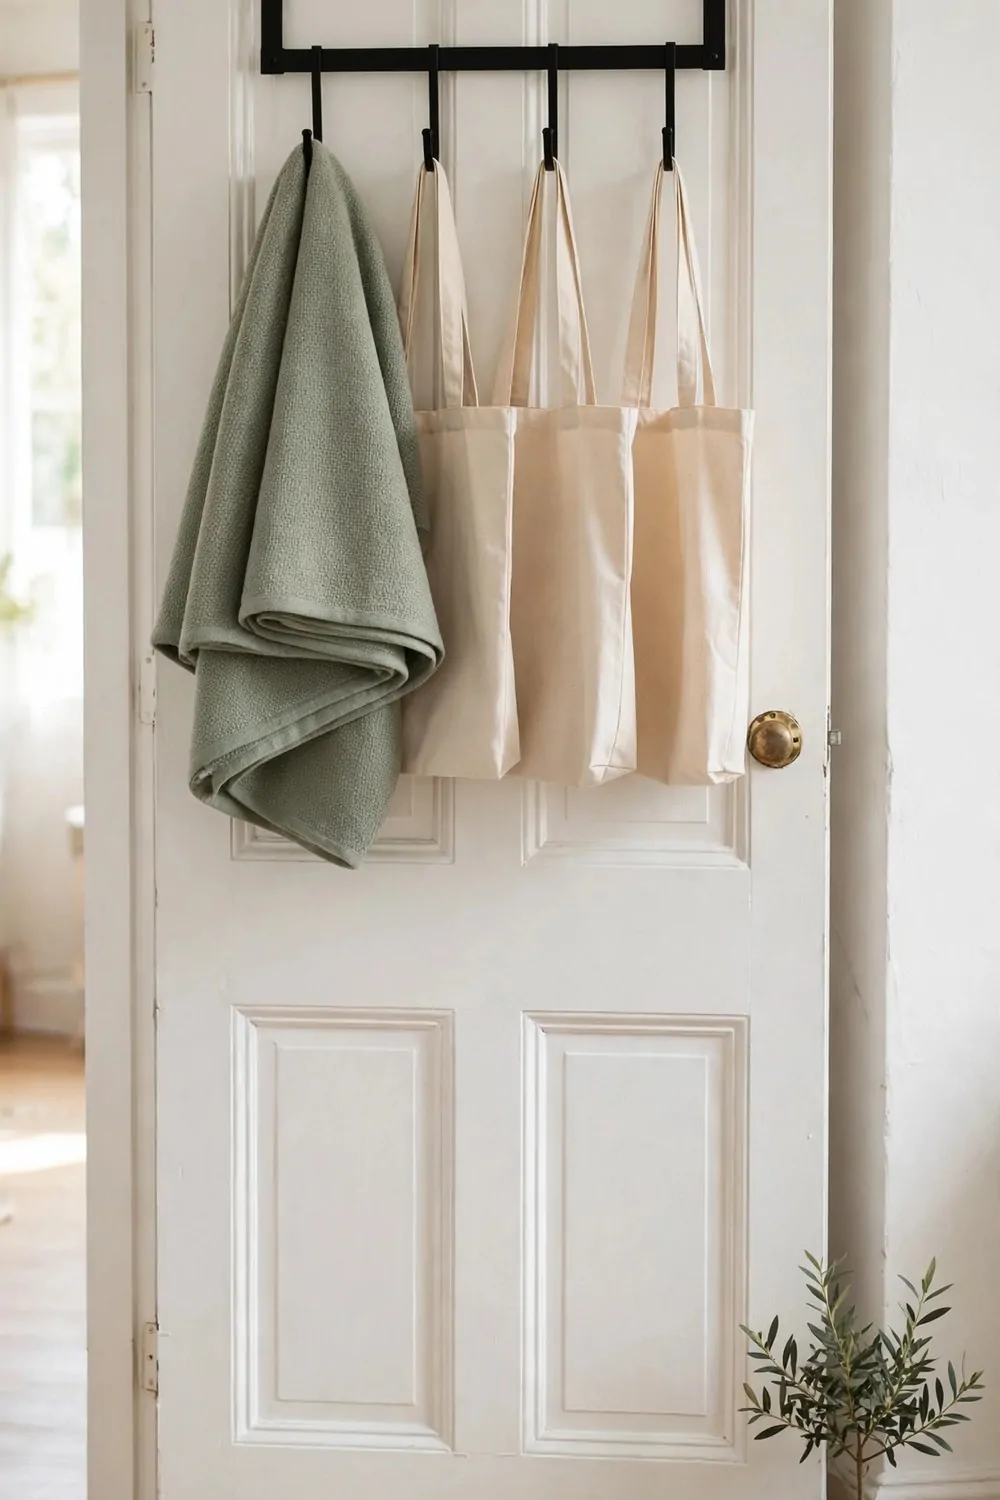
My studio door was just a door until I hung a hook rack over the top of it. Now it holds my coats, my bag, and my scarf.
You do not need tools for this one. You lift the rack over the door, and it hangs there by itself. It took less than a minute to hang it, and I did not need any help.
I keep my most used coat on the front hook. My bag goes on the next hook, so I can grab it when I walk out.
Typical cost is $10 to $25 for a good over-door rack with five or six hooks.
Pick a rack that feels firm and does not wobble when you open the door. A thin one will slide around and make noise.
Do not hang too much on one door. If it gets heavy, the door may not close right, and that gets annoying fast.
I use the back of my bedroom door for clothes I will wear again. A clean top or a pair of trousers can hang there for a day or two. I keep a spare hook free, so there is always room for one more coat.
In the bathroom, a small over-door rack holds towels. It keeps them off the floor and they dry much faster up in the air.
When you move out, you just lift the rack off. There are no holes to fill and no marks to fix.
3. A Tall Narrow Bookshelf
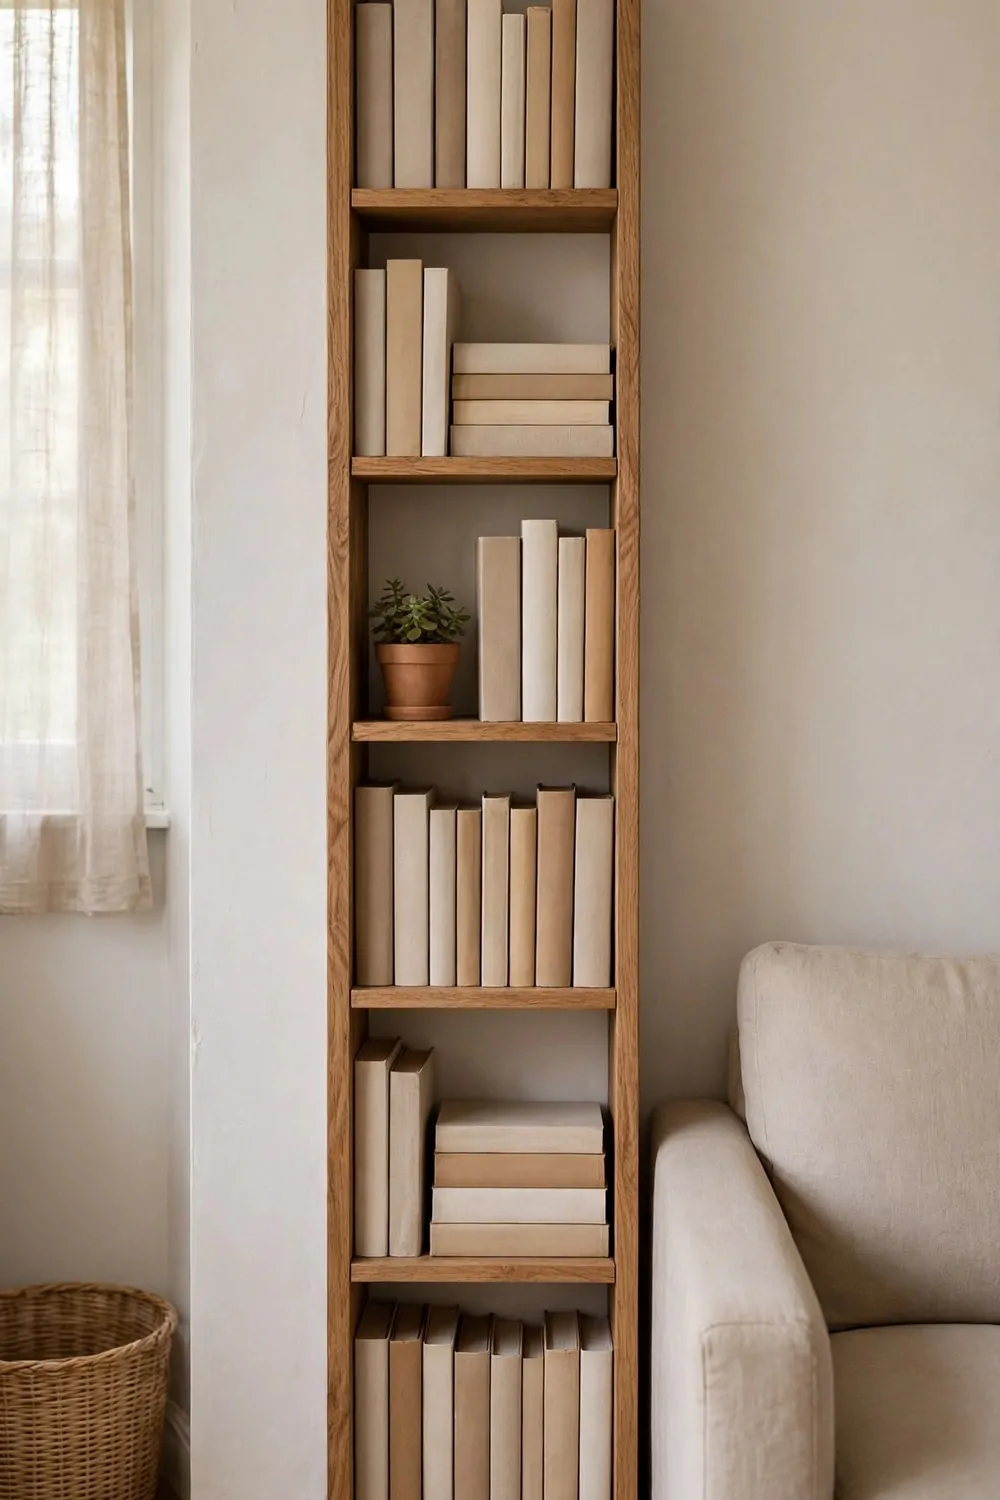
I had no floor space left in my studio, so I looked up at the wall. The space above my head was empty, and that gave me an idea.
A tall narrow bookshelf uses that empty height. It takes up only a small patch of floor, but it holds a lot. The shelf feels solid, and it does not wobble when I touch it.
I put my books on the middle shelves where I can reach them fast. My plants and a small lamp sit on the top shelf.
A simple wood shelf is $40 to $70, a tall metal shelf is $60 to $100, and a tall shelf with drawers is $80 to $120. Typical cost is $40 to $120 for a tall narrow shelf, and a simple wood one looks neat in a small room.
Put the heaviest books on the bottom shelf. That keeps the shelf steady, and it will not tip forward when you pull a book out.
Leave a little space on each shelf. If every shelf is packed full, the shelf looks messy and it is hard to find one book.
I keep a basket on the lowest shelf for chargers and small bits. It hides the mess and it looks tidy from the door. I dust the top shelf once a week, and it takes less than a minute.
Push the shelf flat against the wall. Even a small gap behind it wastes space and makes the room feel tight.
This shelf is great for a renter because you can move it to a new flat. It is just one piece of furniture, and it does a big job.
| Shelf type | Typical cost | Best for |
|---|---|---|
| Simple wood shelf | $40 to $70 | A calm plain look |
| Tall metal shelf | $60 to $100 | A strong modern look |
| Tall shelf with drawers | $80 to $120 | Extra hidden storage |
4. Storage Ottoman in the Living Area
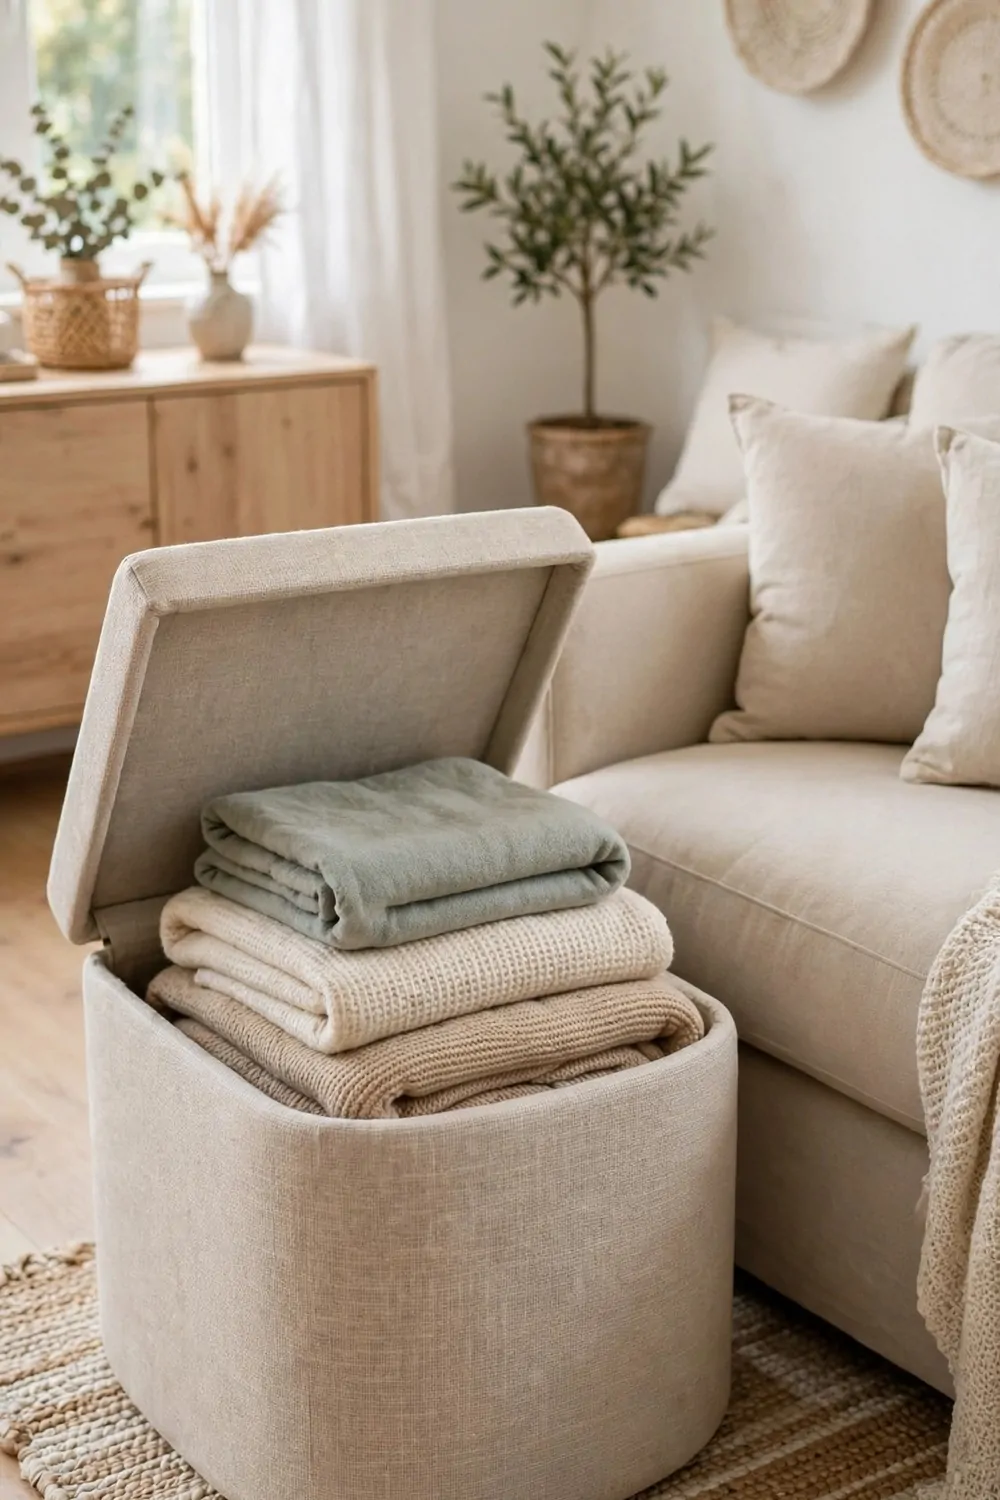
My living area is just a corner with a chair and a small rug. I wanted a footrest, but I also needed a place to hide things.
A storage ottoman gave me both. I rest my feet on it in the evening, and I lift the lid to store blankets inside. The fabric feels soft when I sit on it, and the colour fits my rug.
I keep two soft blankets in mine. I also keep a few magazines and a small game there, so they are close but out of sight.
Typical cost is $35 to $90 for a storage ottoman, and a fabric one feels soft and warm in a small room.
Pick a size that fits your chair. If it is too big, you will bump into it every time you walk past.
Look for a lid that stays open by itself. That way you can use both hands to put things in or take things out.
I move mine to the side when friends come over. It turns into an extra seat, and no one knows it holds blankets too. I fluff the blankets once a month, so they stay soft and fresh.
Keep the lid closed when you are not using it. An open ottoman just looks like a box, and a closed one looks like a neat seat.
This is a renter friendly pick because it needs no fitting at all. You buy it, you place it, and it starts working right away.
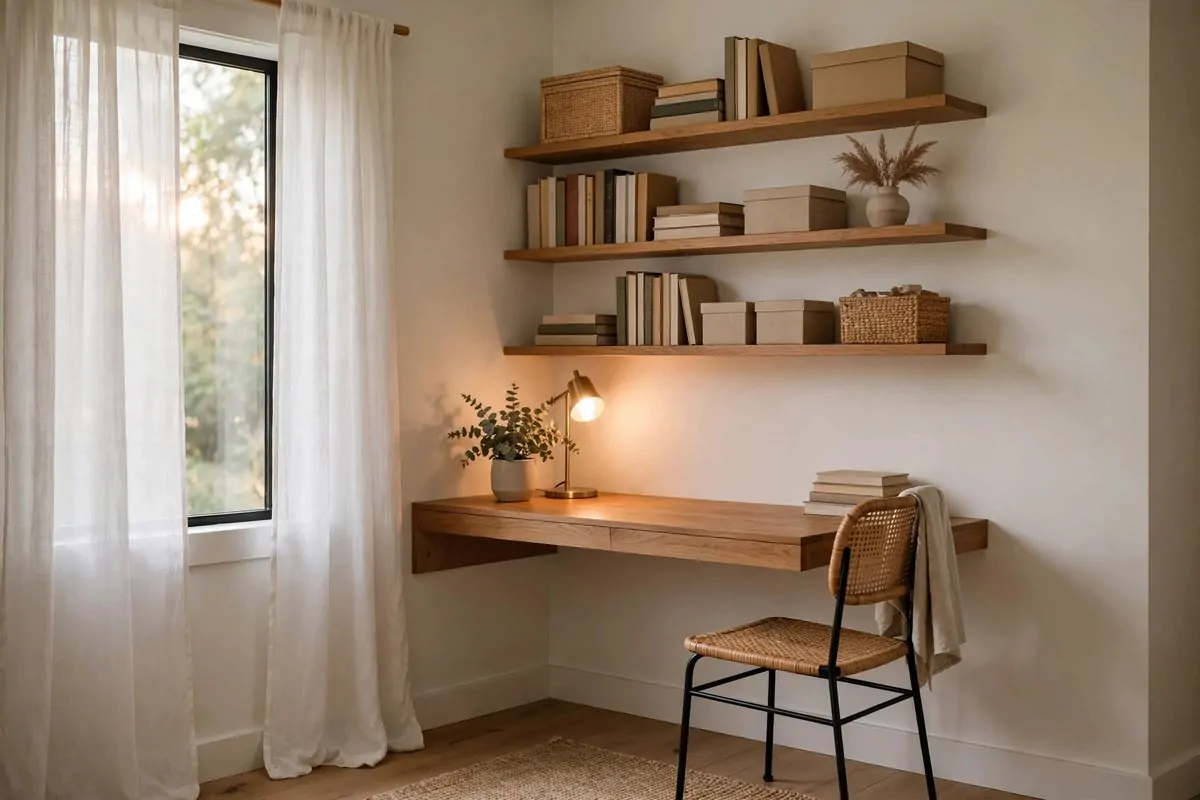
5. Wall-Mounted Floating Shelves
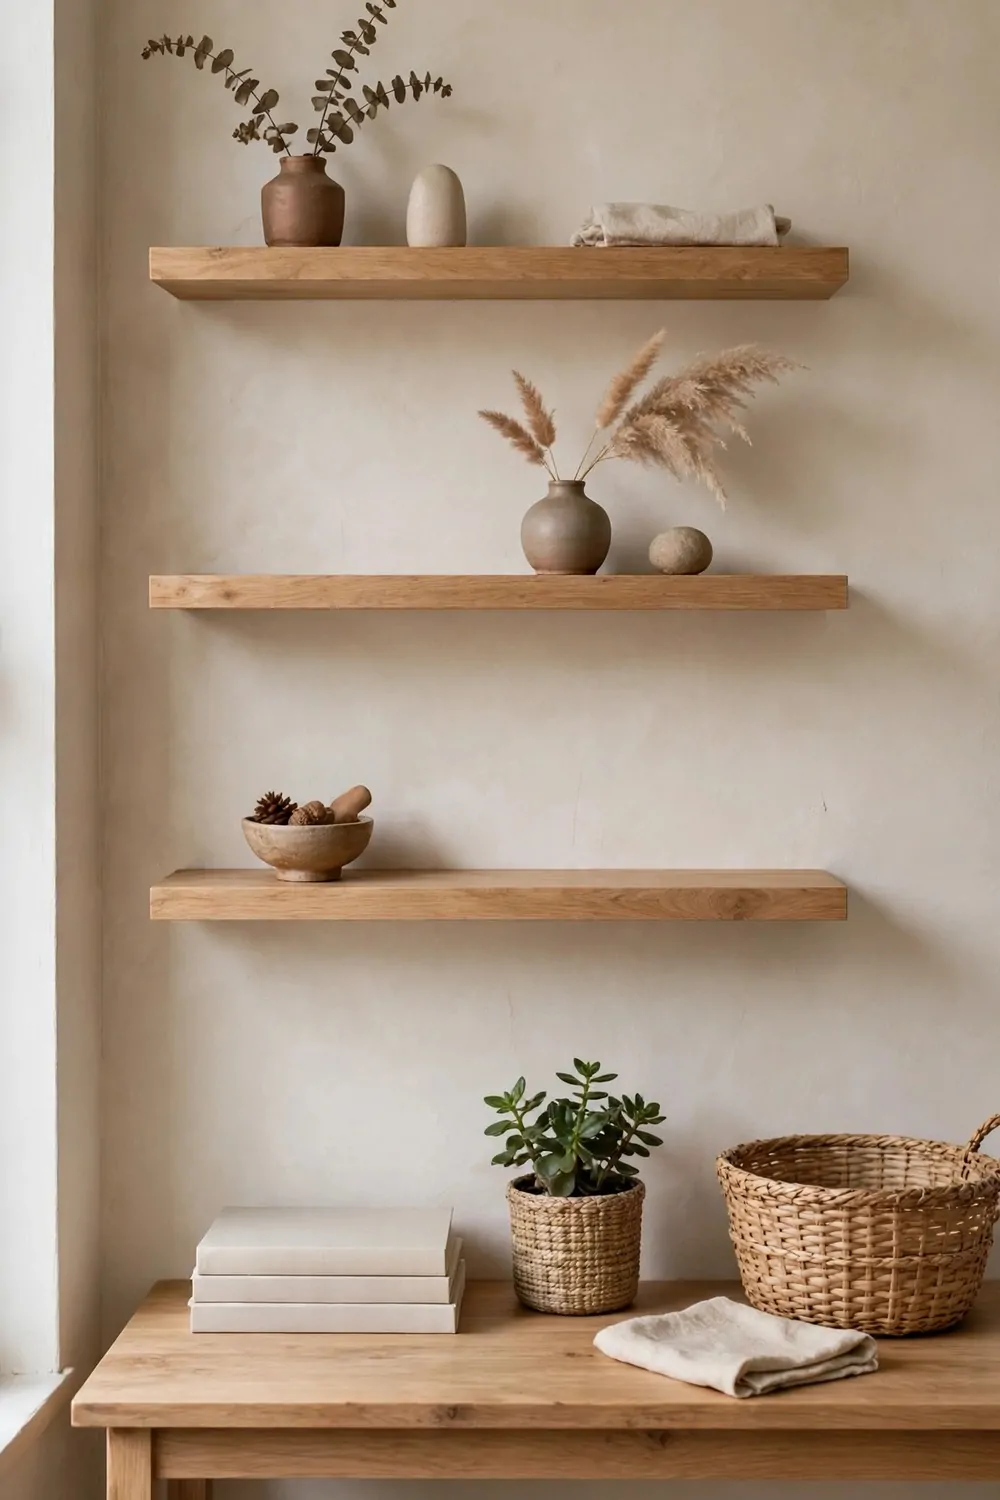
My walls were bare, and my floor was full. I needed a spot for my cups and books that did not touch the floor at all.
Floating shelves gave me that spot. They stick out from the wall, and the space below them stays free for other things. My desk looks tidy now, and I can find my books without a hunt.
I put two short shelves above my desk. One holds books, and the other holds a small plant and a clock.
Typical cost is $20 to $60 for a pair of floating shelves, and you can find short ones that fit a small wall.
Check your rental rules before you drill. Some flats allow small holes, and some do not, so ask first if you are not sure.
If you cannot drill, look for strong stick-on shelves made for renters. They hold light things well, and they come off clean.
Do not load a shelf with heavy books if it is a stick-on one. Keep it light, and save the heavy books for a floor shelf. I move the plant to the window once a week, so it gets some sun.
Leave a gap between shelves so you can reach in and grab a book. If they are too close, you will knock things over.
I dust my shelves once a week with a dry cloth. It takes one minute, and the whole wall looks fresh again.
6. Hooks Behind the Bathroom Door
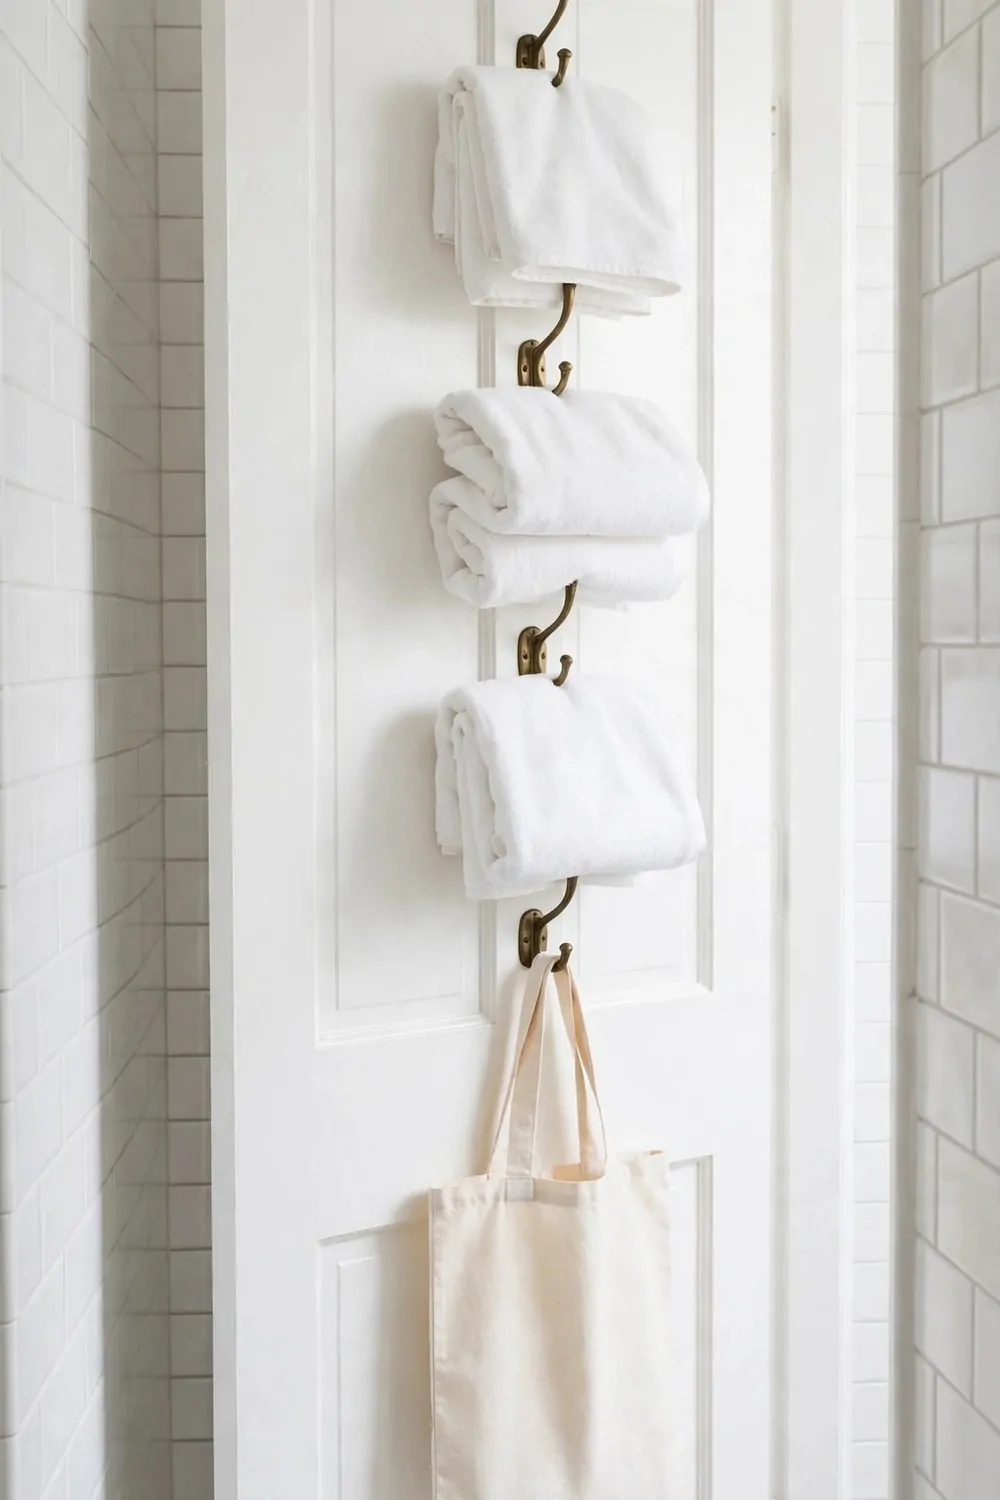
My bathroom is tiny, and there was no place for my towel. It ended up on the floor more times than I want to say.
Hooks behind the door fixed that in one day. I stuck two strong hooks on the back of the door, and my towel finally had a home. My robe dries fast too, and it is always ready in the morning.
Now my towel hangs up after a shower and dries fast. My robe hangs on the second hook, ready for the morning.
Typical cost is $8 to $20 for a set of stick-on or over-door bathroom hooks.
Pick hooks that can hold a wet towel. A weak hook will drop it on the floor, and that is the mess we want to stop.
Stick-on hooks work well on a smooth door. Press them on, wait a day, and then hang your towel on them.
I also hang a small bag on one hook for my hair tools. It keeps them off the sink, and the sink stays clear for washing up. I wash the small bag once a month, and it stays fresh and clean.
Wipe the door first so the hooks stick well. Dust and steam can make them loose if the door is not clean.
When you move out, peel the hooks off slow and clean. The door looks just like it did on the first day.
7. A Rolling Cart in the Kitchen
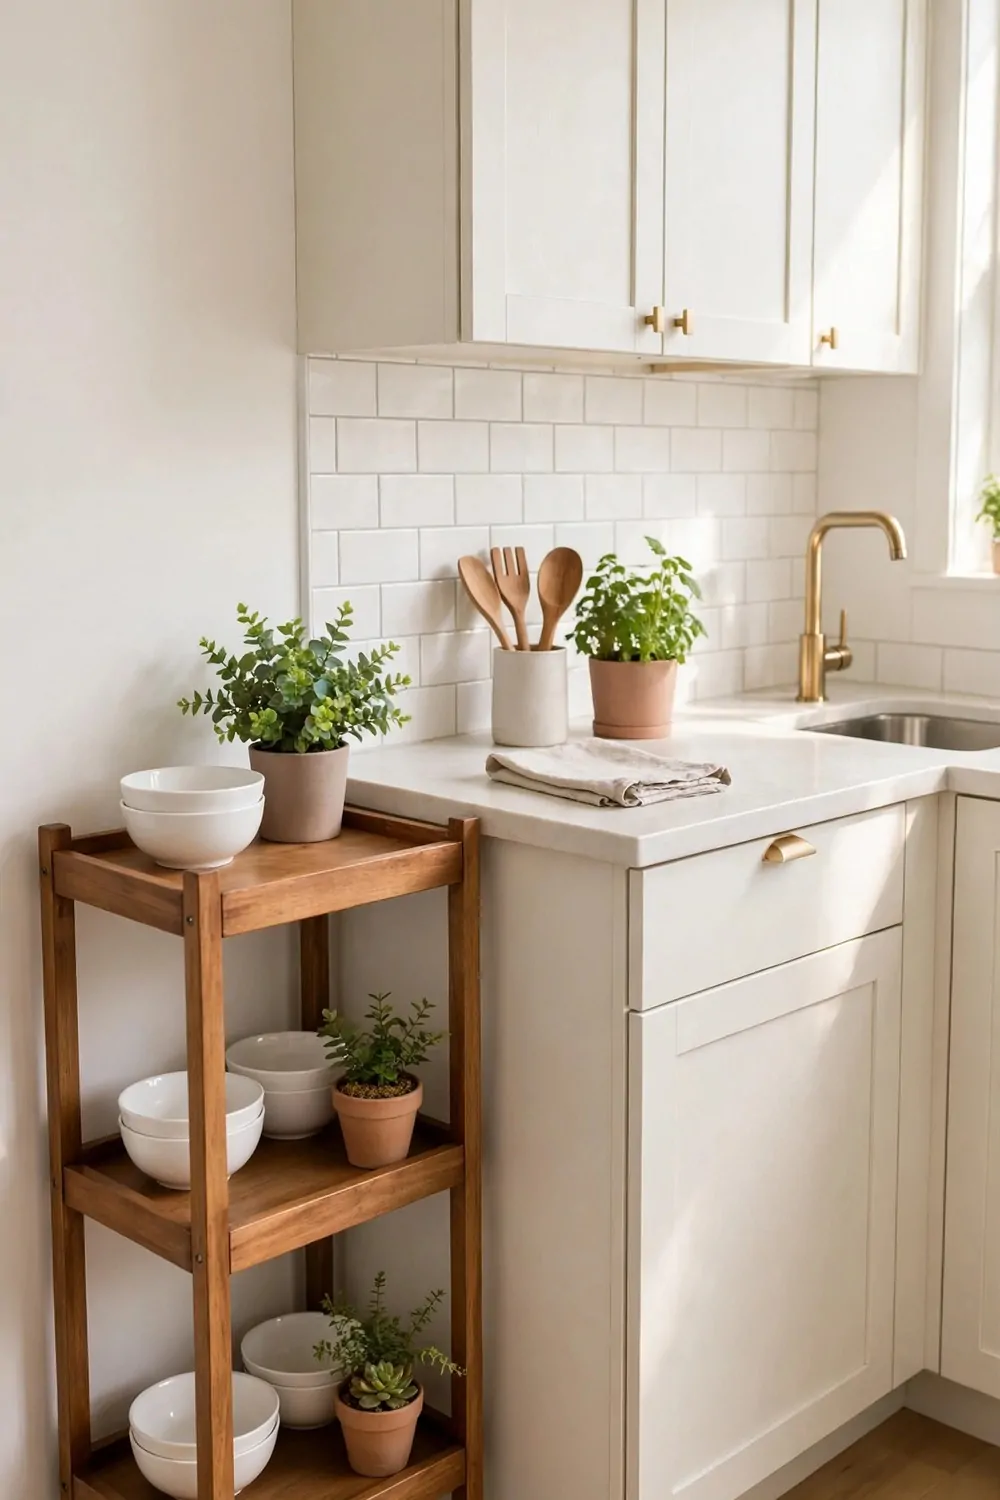
My kitchen has almost no counter space. I chop food, and then I have nowhere to put the plate down.
A rolling cart gave me a spare counter on wheels. I roll it out when I cook, and I roll it back when I am done. The wheels turn smooth, and the cart does not scratch the floor.
The top holds my chopping board and a bowl. The shelves below hold pots, oils, and a few dry food jars.
Typical cost is $45 to $110 for a three tier rolling cart with wheels that lock.
Lock the wheels when you cook. A cart that rolls away while you chop is no fun at all.
Pick a cart that fits between your fridge and your wall. Measure first, because a cart that is too wide will just get in the way.
I keep my most used pans on the middle shelf. They are easy to grab, and I do not have to bend down low to find them. I wipe the shelves after I cook, so spills do not dry on them.
Wipe the top after each meal. Food spills dry fast, and a clean top is ready for the next meal.
This cart is perfect for a rented flat. You can roll it to a new home, and you do not need to fit a thing to the wall.
8. Stackable Bins in the Closet
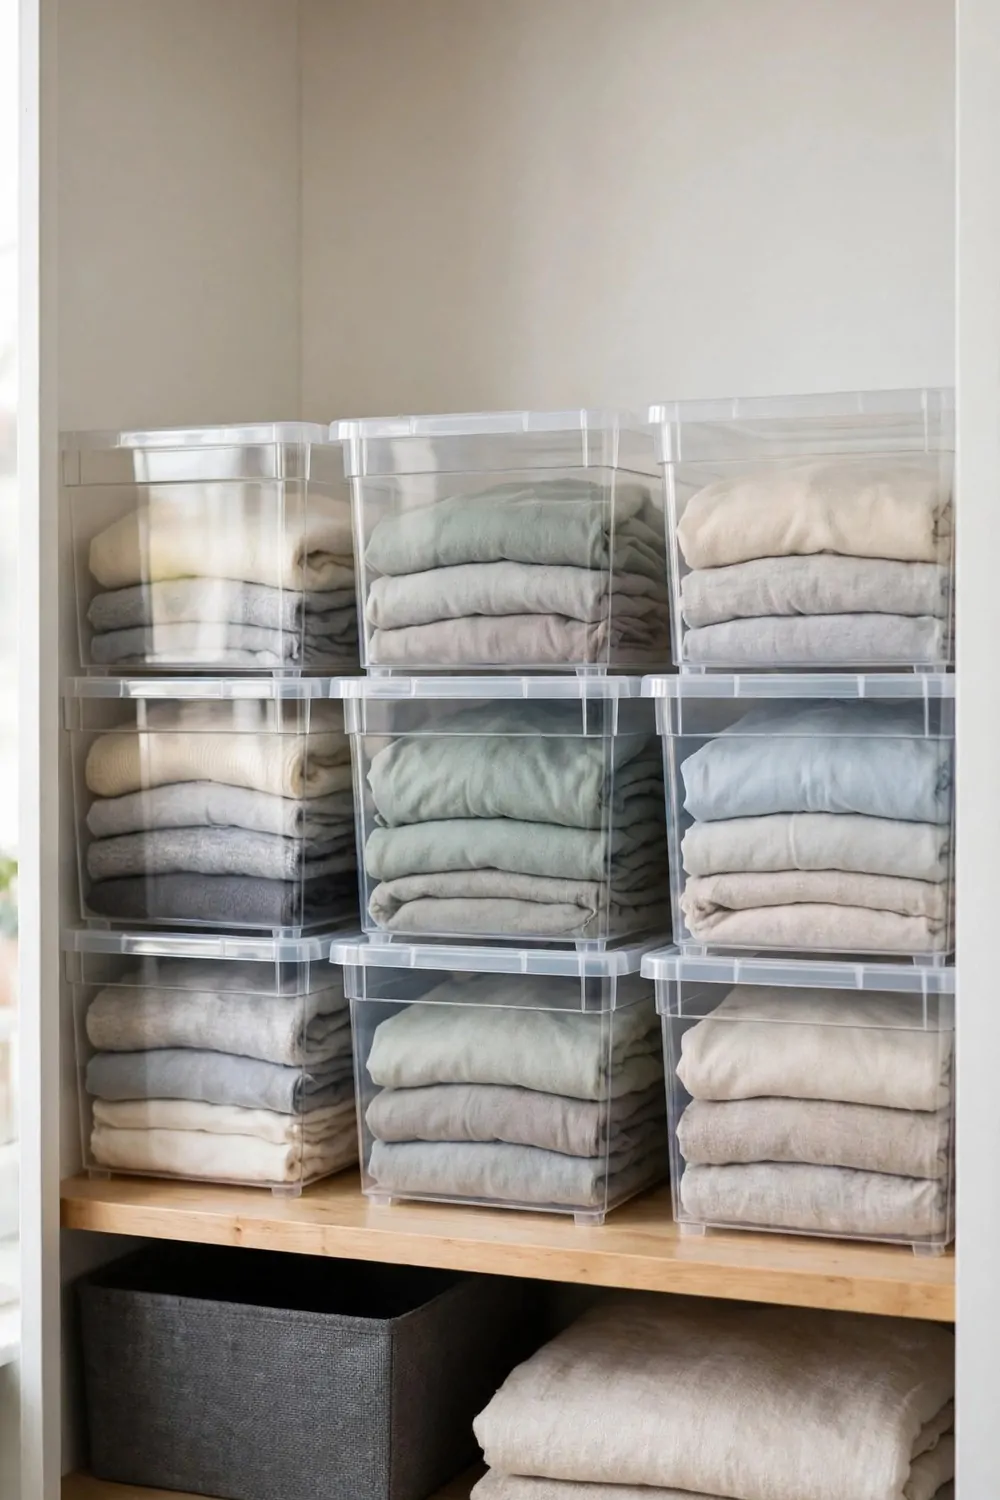
My closet was a mess of piles. I would pull out one top and three more would fall down with it.
Stackable bins changed that. Each bin holds one kind of thing, and the bins sit on top of each other like a neat tower. The tower looks neat from the door, and I smile when I open the closet.
I have one bin for tops, one for bottoms, and one for scarves and belts. I can see what I need in seconds.
Small stackable bins are $18 to $30 a set, medium stackable bins are $25 to $38 a set, and large stackable bins are $30 to $45 a set. Typical cost is $18 to $45 for a set of three or four stackable bins.
Pick bins that fit your shelf width. If they are too wide, they will not slide in, and if they are too small, you waste space.
Clear bins help a lot in a dark closet. You can see the colours inside without pulling each bin out.
Label the front of each bin with a small card. It sounds fussy, but it saves time on busy mornings. I refold the clothes once a month, and the bins stay neat and full.
Do not fill a bin to the top. If it is too full, the lid will not sit right, and the stack will lean.
I fold my clothes small before they go in. Small folds fit more in one bin, and the clothes stay neat.
| Bin size | Typical cost | Best for |
|---|---|---|
| Small stackable bins | $18 to $30 | Socks and small bits |
| Medium stackable bins | $25 to $38 | Folded clothes |
| Large stackable bins | $30 to $45 | Blankets and bedding |
9. A Bed With Built-In Drawers
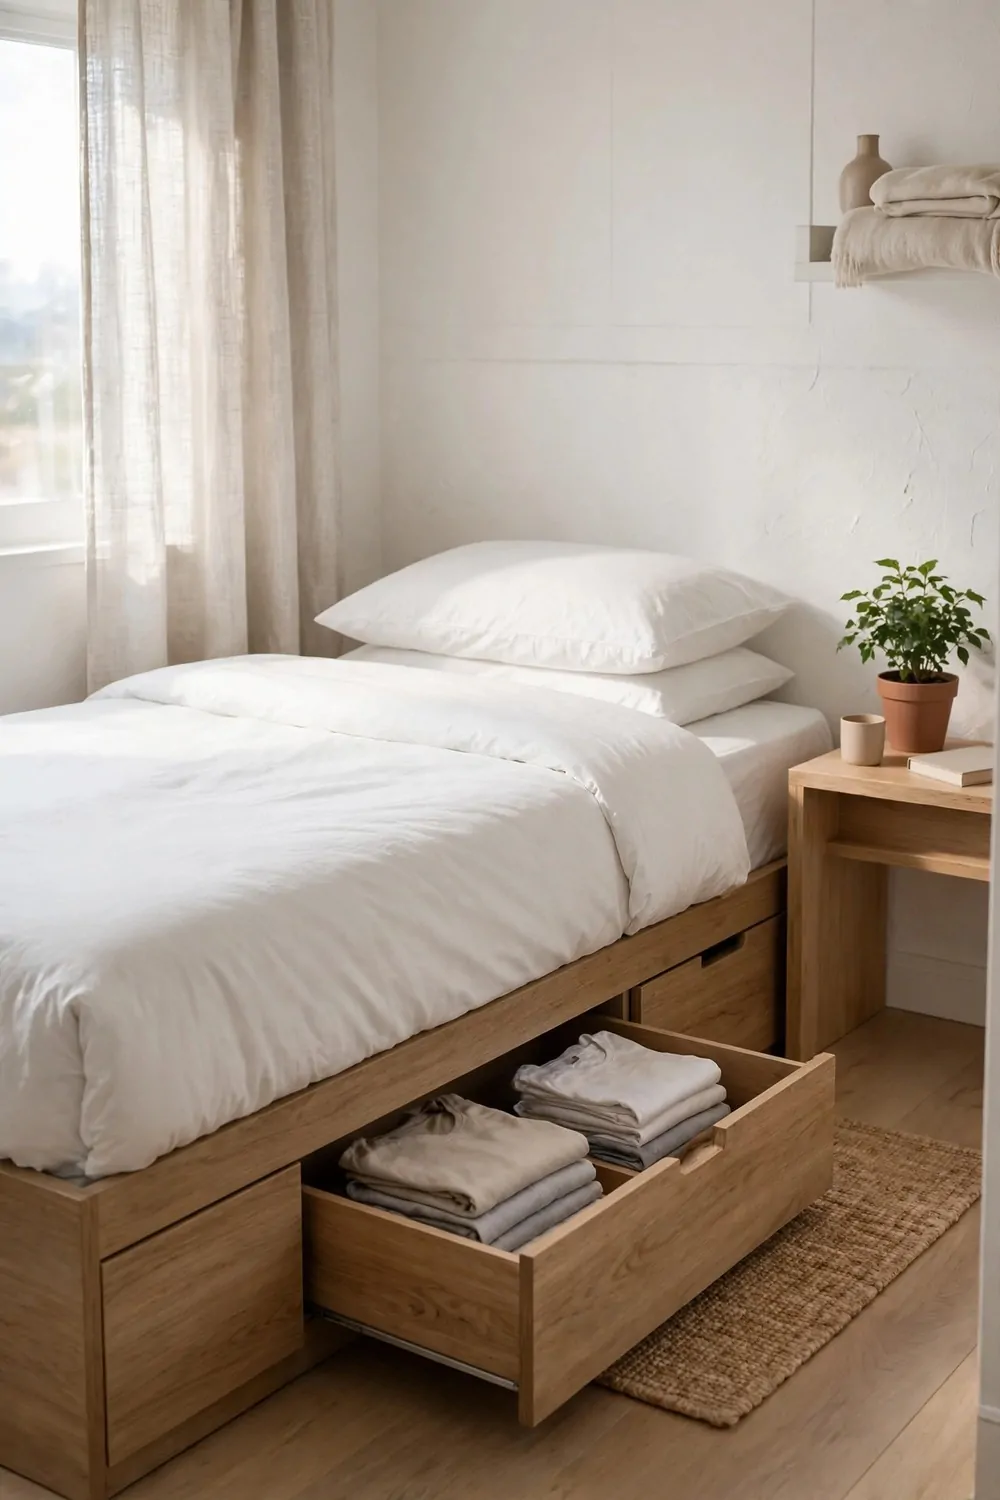
I used to keep spare sheets in a bag on the floor. It looked messy, and I tripped over it more than once.
A bed with drawers under it solved that. The drawers are part of the bed, so they use space that was already there. The drawers open smooth, and they close with a soft push.
I keep my sheets in the top drawer. My spare pillows go in the next one, and my out of season clothes go in the last one.
Typical cost is $250 to $600 for a bed frame with built-in drawers, and it can replace a whole chest of drawers.
Open the drawers slow and check they slide smooth. A drawer that sticks will annoy you every single day.
Keep the drawers light enough to pull out with one hand. Heavy drawers are hard to move, and they wear out fast.
I put a small scented sachet in each drawer. It keeps the sheets smelling fresh, and it costs almost nothing. I air the pillows once a month, and they stay fresh and soft.
This bed is a good pick if you plan to stay in your flat for a while. It saves floor space, and you may not need a big dresser at all.
If you rent and you move a lot, pick a bed that comes apart easy. Check that the drawers lift out, so the move is not too hard.
10. Vacuum Bags for Out-of-Season Clothes
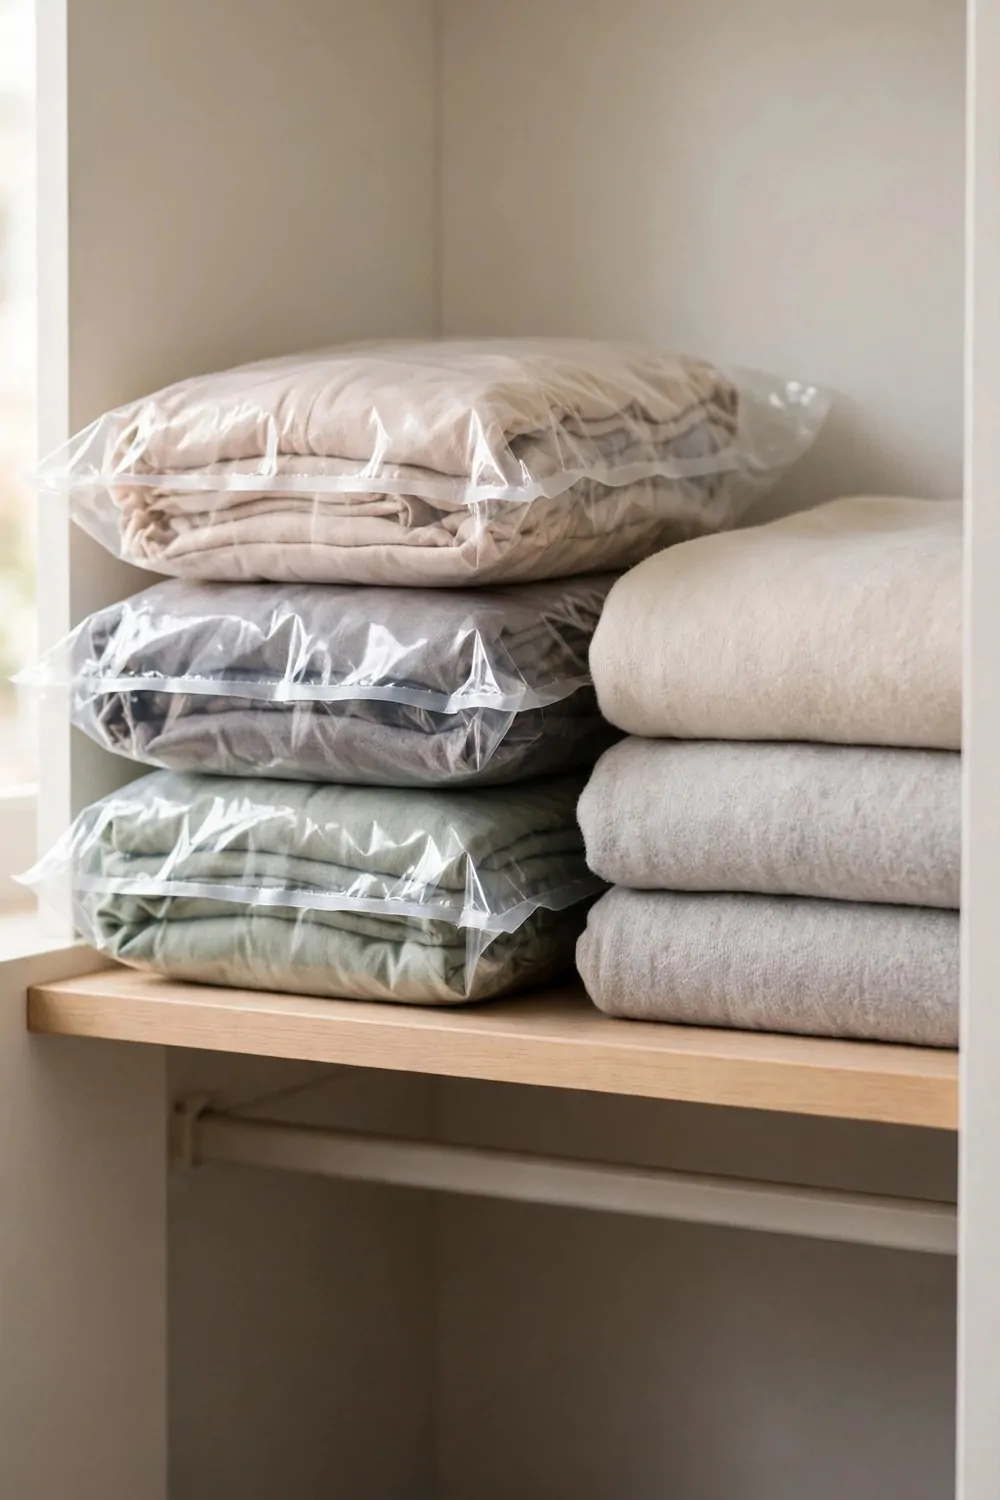
My closet was full of thick jumpers in summer. They took up half the space, and I did not wear them for months.
Vacuum bags fixed that. I put the jumpers in a bag, sucked the air out, and the bag went flat like a thin book. The flat bag slides in easy, and it does not take up much room at all.
Now those jumpers live under my bed in a flat bag. My closet has room for the clothes I wear right now.
Typical cost is $12 to $30 for a pack of four or six vacuum bags in mixed sizes.
Fold the clothes flat before you put them in the bag. Flat folds press down even, and the bag stays thin.
Do not overfill a bag. If it is too full, the seal will not close right, and air will creep back in.
Use a normal vacuum to suck the air out through the small valve. It takes less than a minute for each bag. I check the bags each season, and I swap the clothes round in time.
Check the seal after a week. If a bag has puffed up again, open it, press it flat, and seal it one more time.
When the cold months come back, open the bag and shake each jumper out. They fluff up fast, and they smell fresh after a quick airing.
11. A Shoe Rack by the Door
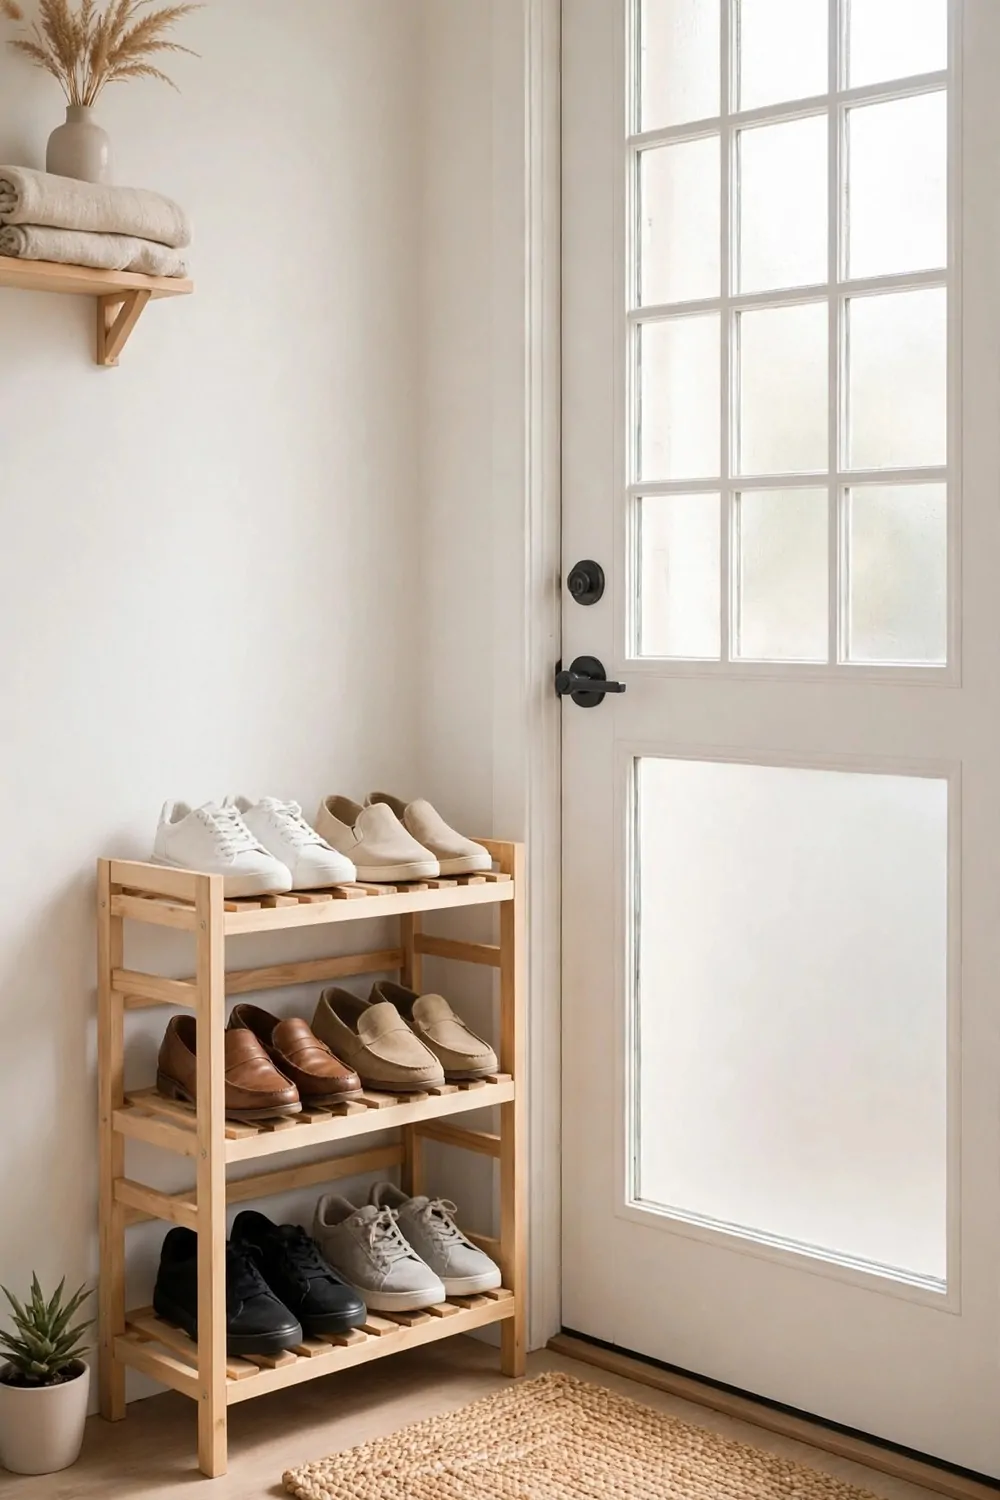
Shoes used to pile up by my front door. I would trip over them, and the hall always looked messy.
A small shoe rack by the door gave each pair a spot. Now I step in, I take my shoes off, and they go straight on the rack. The hall looks clear now, and I do not trip when I come home.
I keep my daily pair on the bottom row. My other pairs sit on the rows above, and I can see them all at a glance.
Typical cost is $20 to $55 for a two or three tier shoe rack that fits a small hall.
Measure your hall before you buy one. A rack that sticks out too far will block the door, and that is a pain.
Pick a rack with open shelves so air can move through. Shoes dry faster, and the hall smells better.
I keep a small tray under the rack for wet days. Rain drips on the tray, not on the floor, and I wipe it in seconds. I wipe the tray each week, and the hall stays clean and dry.
Limit the rack to the shoes you wear most. Store the rest in a box in the closet, or the rack will fill up fast.
This is a simple renter fix. It needs no holes, no glue, and you can move it in one lift when you change flats.
12. Magnetic Strips in the Kitchen
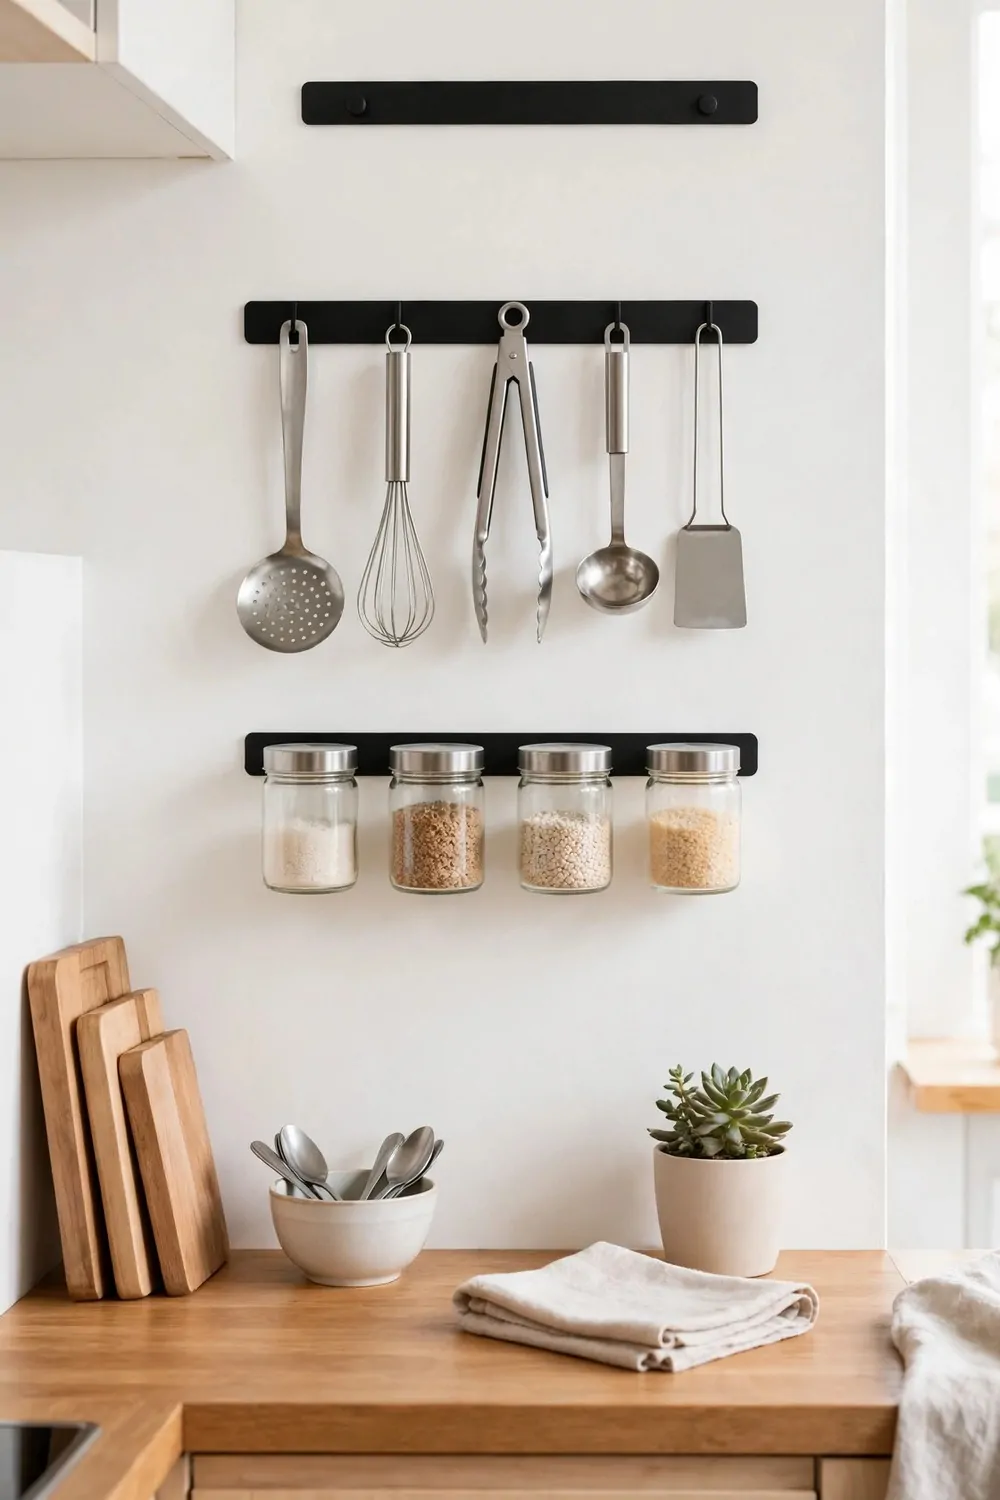
My kitchen drawer was full of knives, and I could never find the one I wanted. I had to dig through a pile each time I cooked.
A magnetic strip on the wall changed that. My knives stick to the strip in a neat row, and I can see each one. The row looks neat, and I can pick the right knife in one second.
I put the strip on the wall near my chopping board. My most used knife is right there, and I grab it without thinking.
Typical cost is $15 to $35 for a wall magnetic strip for knives and small metal tools.
Check your rental rules before you screw one to the wall. Some flats allow small screws, and some prefer stick-on strips instead.
Stick-on strips work for light knives and scissors. Keep the heavy cleaver in a drawer, because it may be too much for glue.
Keep the strip up high, away from small hands. Knives on a wall look tidy, but they must stay out of easy reach. I wash the spoons after I use them, and they go straight back on the strip.
Wipe the strip once a week. Food dust can build up on it, and a clean strip holds the knives better.
I also stick my small metal measuring spoons on the end of the strip. They hang there in a row, and I never lose them now.
13. A Fold-Down Desk With Shelves
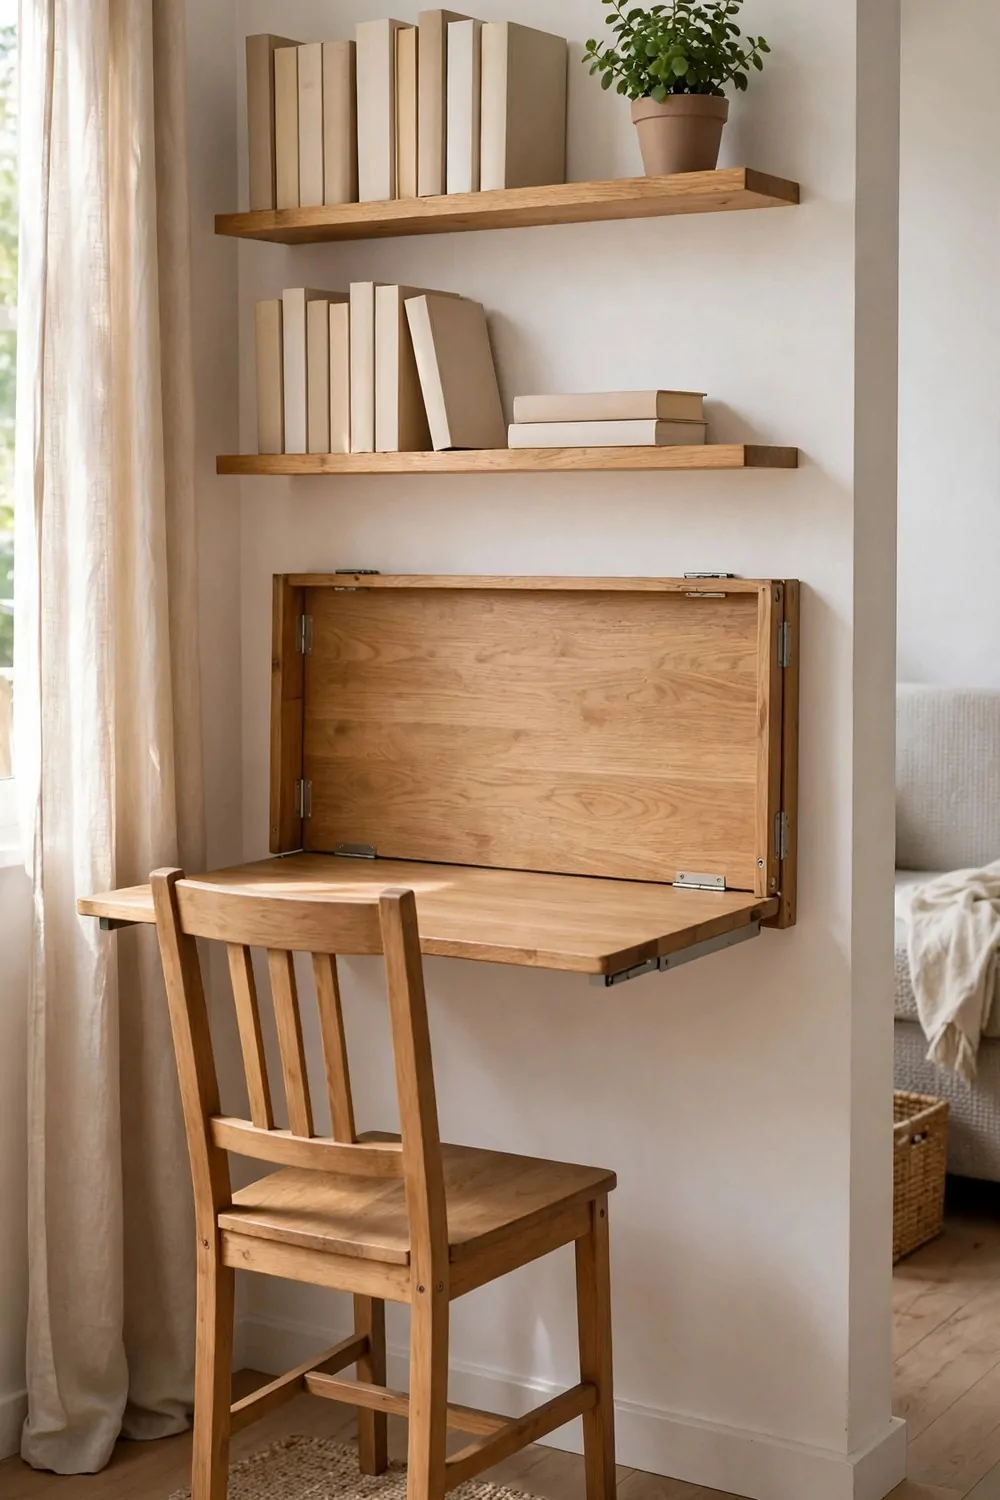
I work from my studio, but I had no desk. I used my dining table, and then I had nowhere to eat.
A fold-down desk fixed that. It folds up flat against the wall when I am done, and my room feels big again. The desk feels firm when I type, and it does not shake at all.
I pull it down in the morning and put my laptop on it. The small shelves above hold my notebooks and pens.
Typical cost is $80 to $180 for a fold-down desk with two or three small shelves.
Pick a desk that is wide enough for your laptop and a notebook. If it is too small, your arms will feel cramped.
Check that the desk locks flat when it is up. A desk that drops down on its own is not safe, so test it before you buy.
I keep only work things on those shelves. When work ends, I fold the desk up, and my home feels like home again. I clear the desk each night, so the next morning starts clean and calm.
Use a small chair that tucks under the desk or folds away. A big chair will eat up the space you just saved.
This desk is a smart pick for a small flat because it gives you a work spot and then it hides. You get the desk, but you keep your floor.
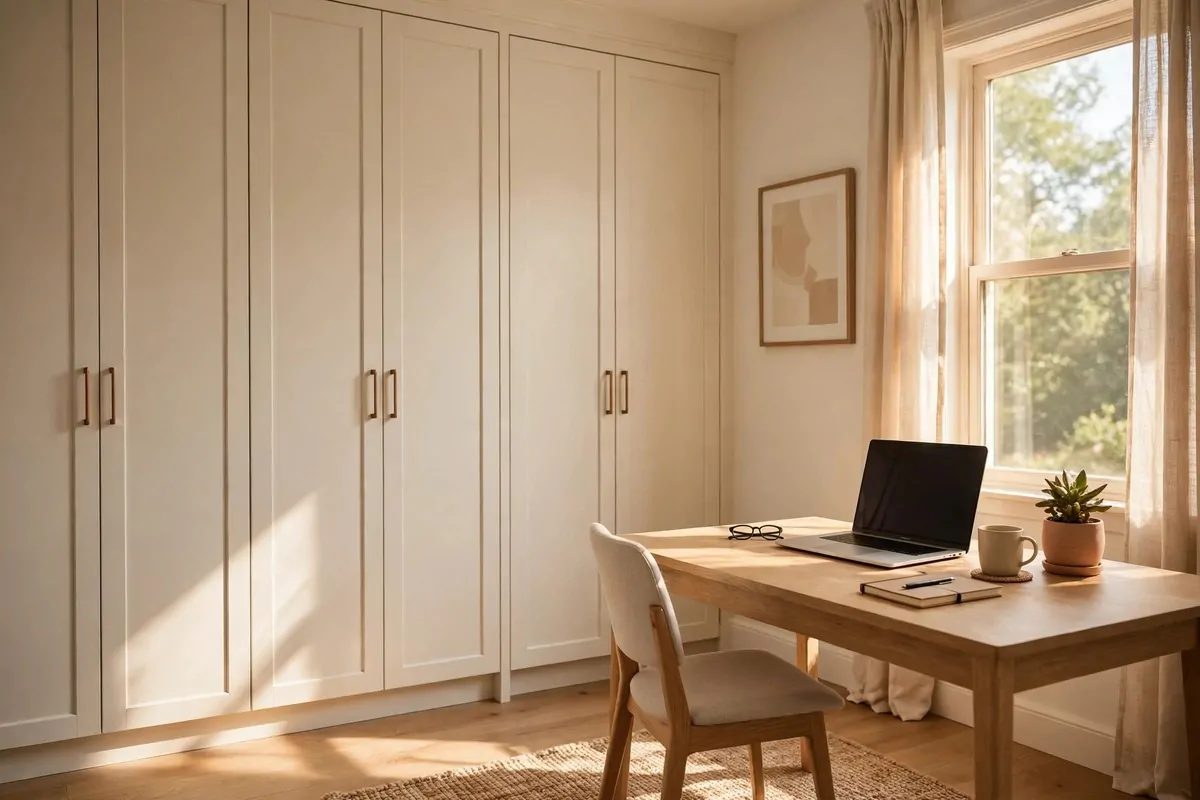
14. Baskets on Top of the Wardrobe
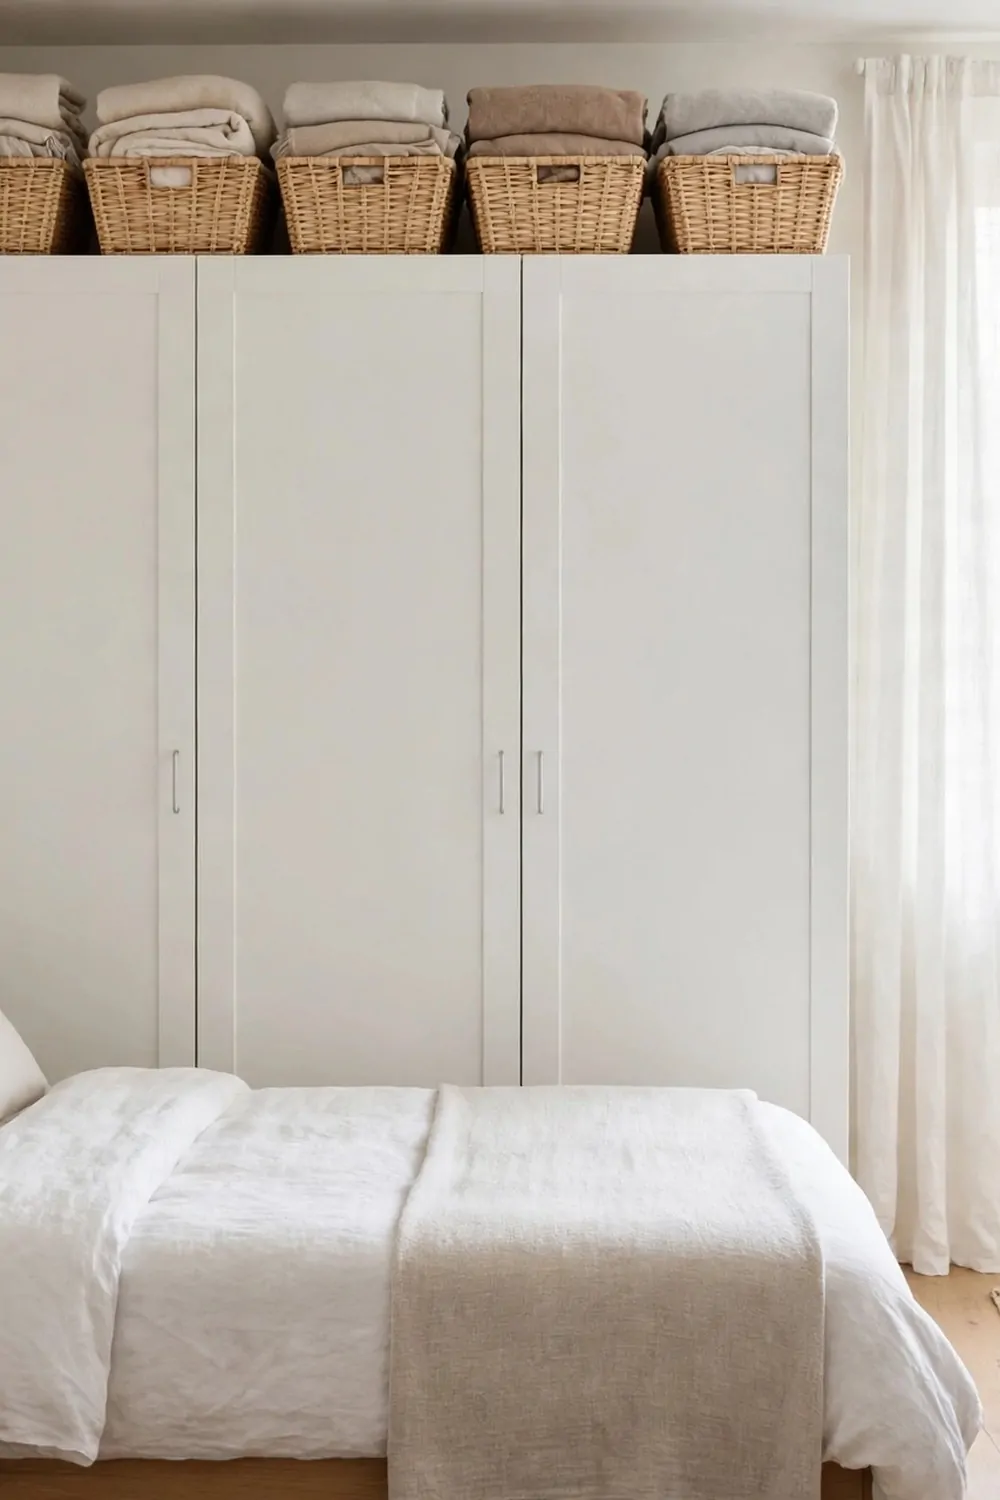
The top of my wardrobe was bare, and the space above it was just empty air. I felt like I was wasting a good spot.
Baskets on top of the wardrobe use that air. They sit up high, and they hold the things I use only now and then. The baskets look pretty up there, and they match my wardrobe well.
I keep spare towels in one basket. My gift wrap and a few spare bags live in the other basket.
Typical cost is $15 to $40 for a set of two or three woven baskets that fit on top of a wardrobe.
Pick baskets with lids or a cloth cover. Dust settles up high, and a lid keeps everything clean inside.
Use a small step stool to reach them. Do not climb on a chair, because a chair can tip and that is not safe.
Label each basket on the front with a tag you can read from the floor. You will know what is up there without climbing up. I dust the lids once a week, and the baskets stay clean up high.
Keep the baskets light. Heavy baskets are hard to lift down, and they can strain the top of the wardrobe.
This idea needs no tools and no holes. You just place the baskets up top, and they turn dead space into useful storage.
15. A Tension Rod Under the Sink
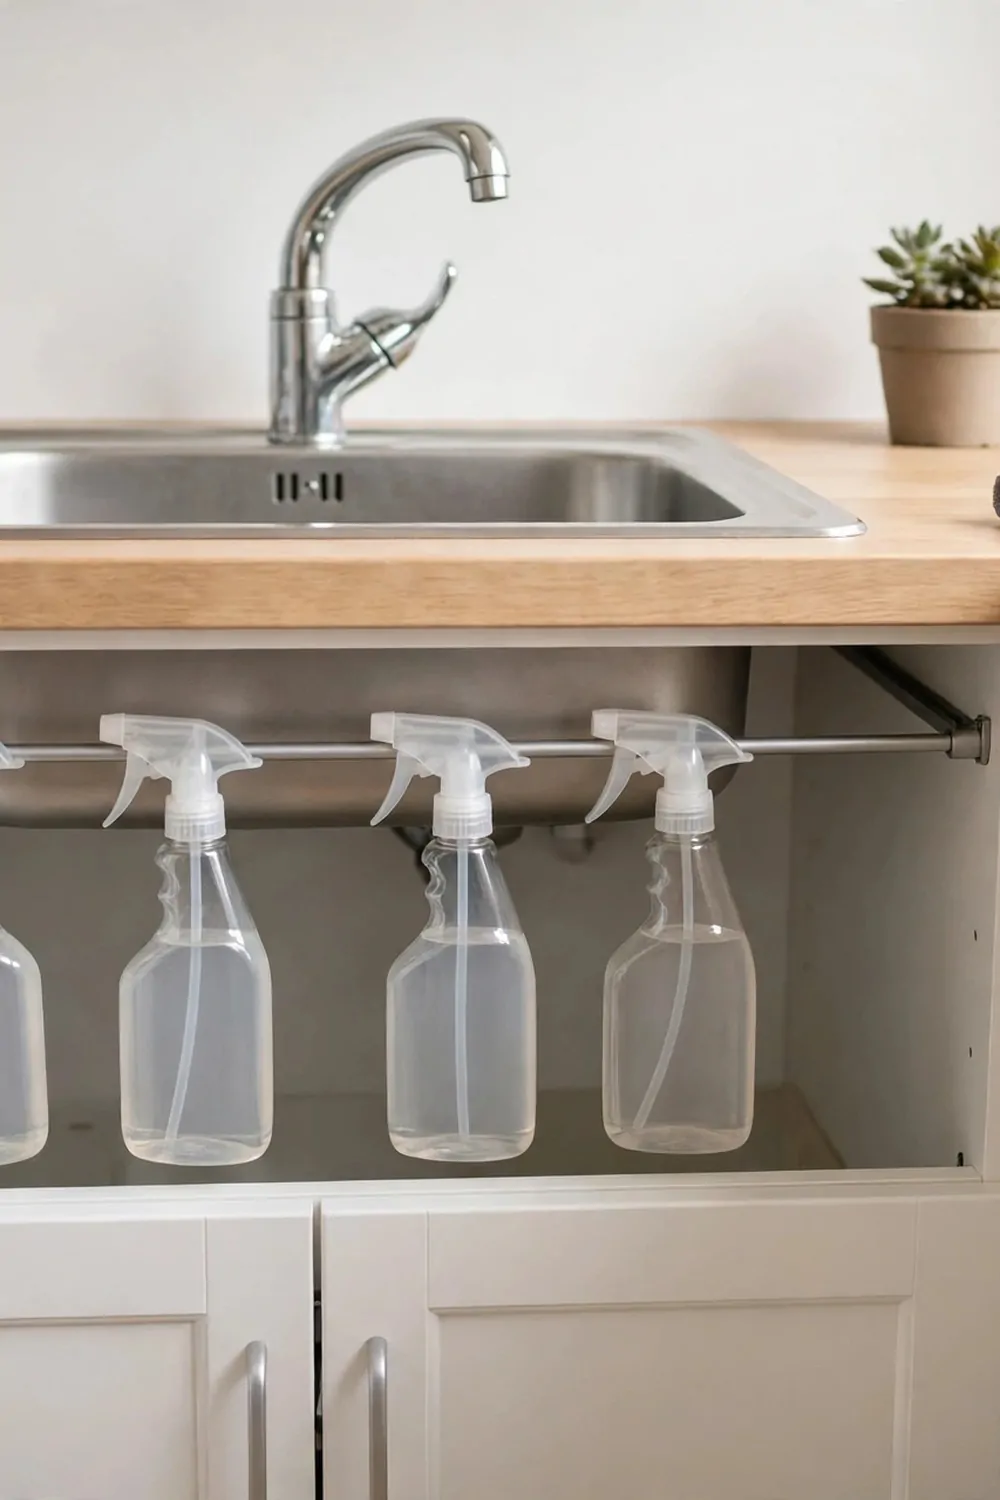
The space under my sink was a mess for a long time. Bottles fell over every time I reached in for one.
A tension rod changed all of that in one afternoon. It sits across the cupboard and holds my spray bottles up by their triggers.
You do not need any tools for this one. You just twist the rod until it fits tight between the two sides.
It takes up no floor space at all. The bottom of the cupboard stays free for bigger things like a bucket or a dustpan.
Typical cost is $5 to $12 for one good rod.
I hang my cleaning sprays on it and they stay neat. I can see every label now without moving five other bottles first.
If you rent your flat, this is a safe pick. It leaves no holes and no marks when you take it out.
Measure the inside of your cupboard before you buy one. A rod that is too short will slip down when you hang things on it.
One rod is often enough for a small studio sink. Two rods can work if you have a wide cupboard and lots of bottles.
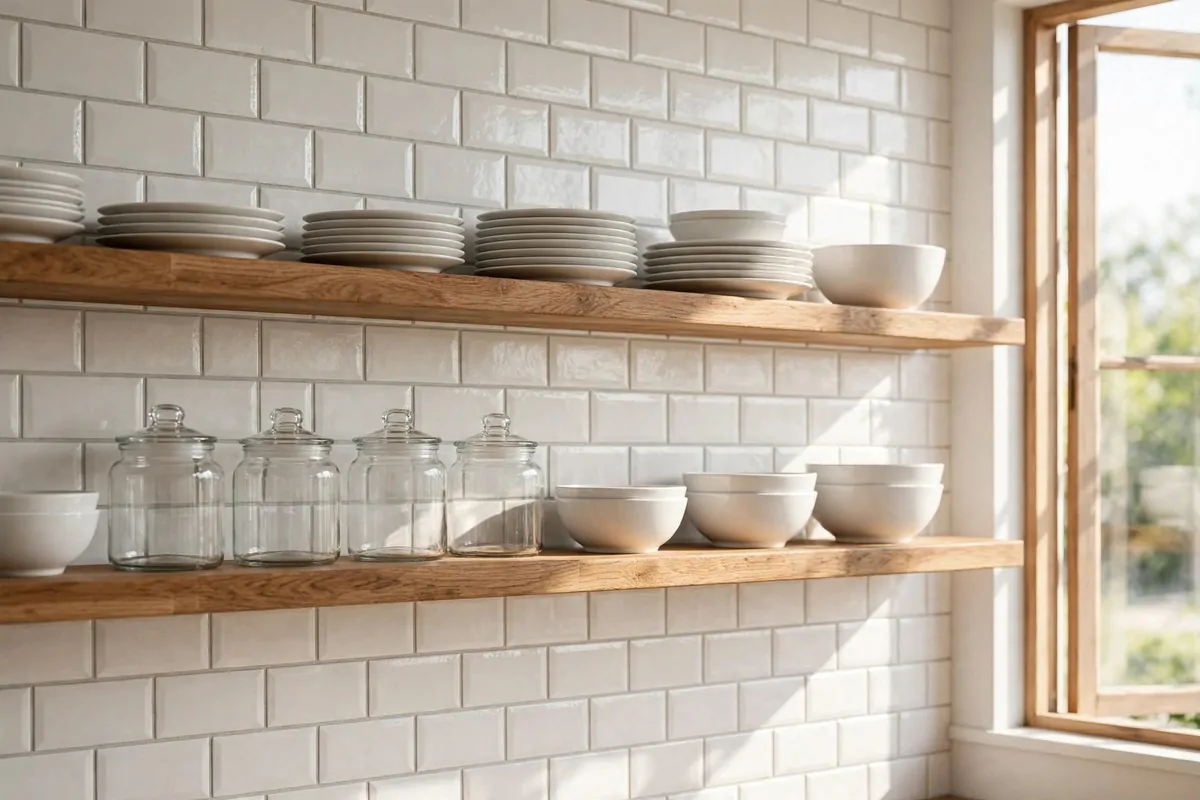
16. Clear Jars on the Kitchen Counter
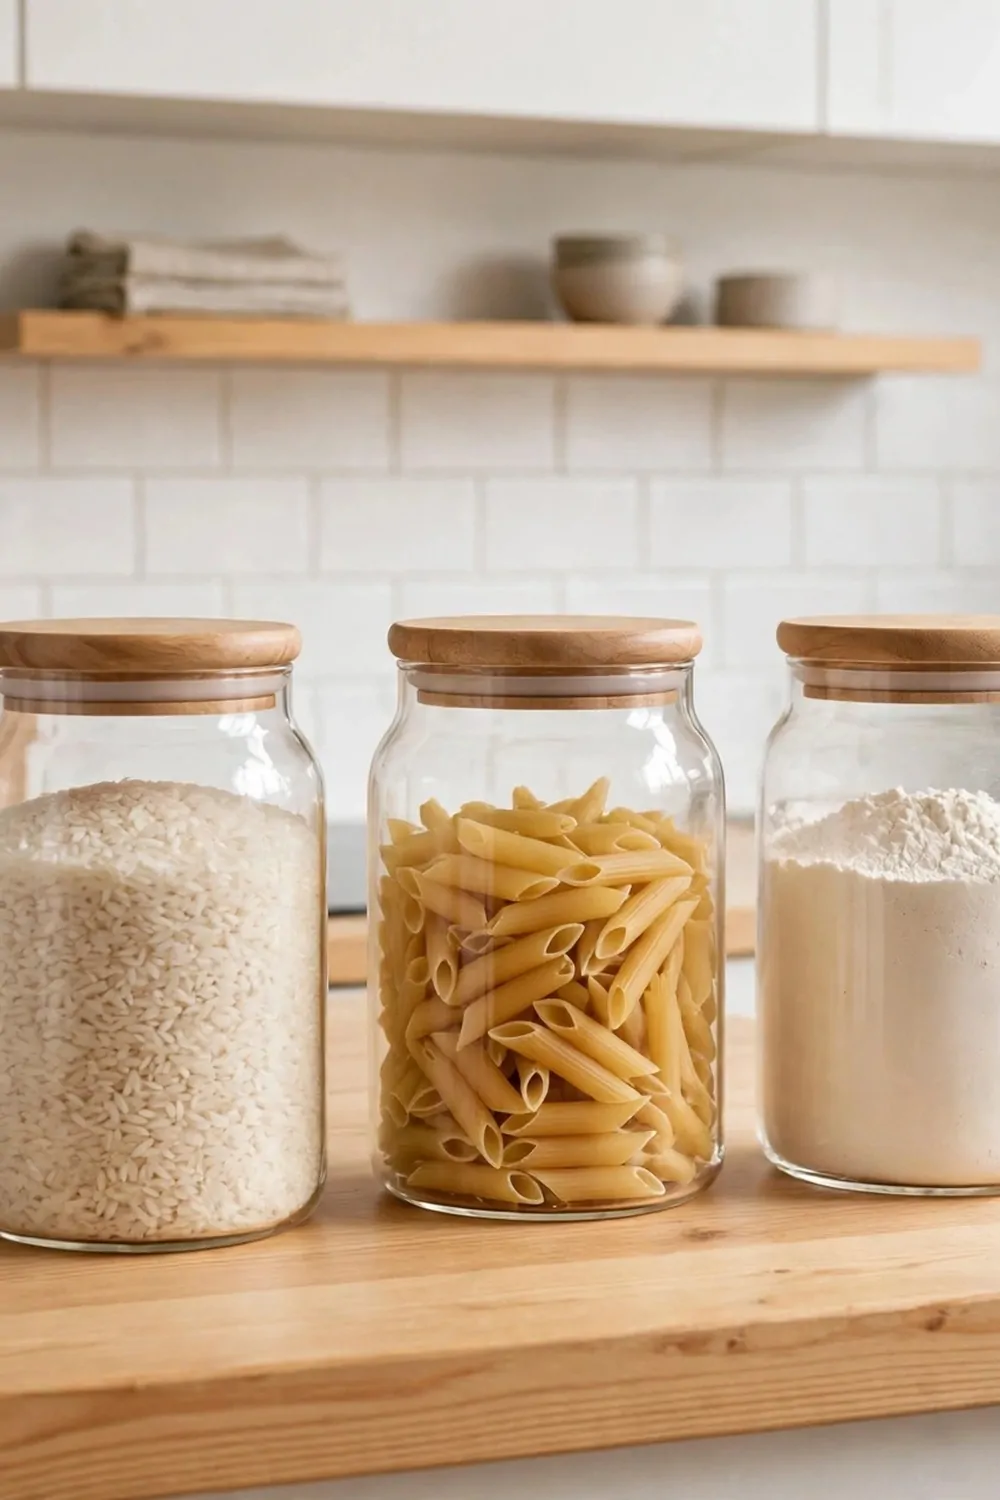
My kitchen counter used to look messy even when it was clean. Bags and boxes took up every bit of space.
Clear jars fixed the look in one go. Rice, pasta and oats all went into glass jars with lids that fit tight.
You can see what is inside each jar at a glance. That means you stop buying a second bag of something you already have.
Typical cost is $12 to $25 for a set of four jars.
I put the jars in a neat row near the stove. They look tidy and they free up space inside my cupboards too.
Pick jars with wide mouths so your hand fits in. Narrow jars look nice but they are hard to fill and hard to clean.
Small jars work best for spices and tea. Big jars suit rice, flour and pasta that you use every week.
You can move the jars around in seconds. That helps a lot when you need counter space for cooking.
Keep the lids dry and clean so nothing goes stale. A quick wipe each week keeps them looking fresh.
17. A Pegboard in the Work Corner
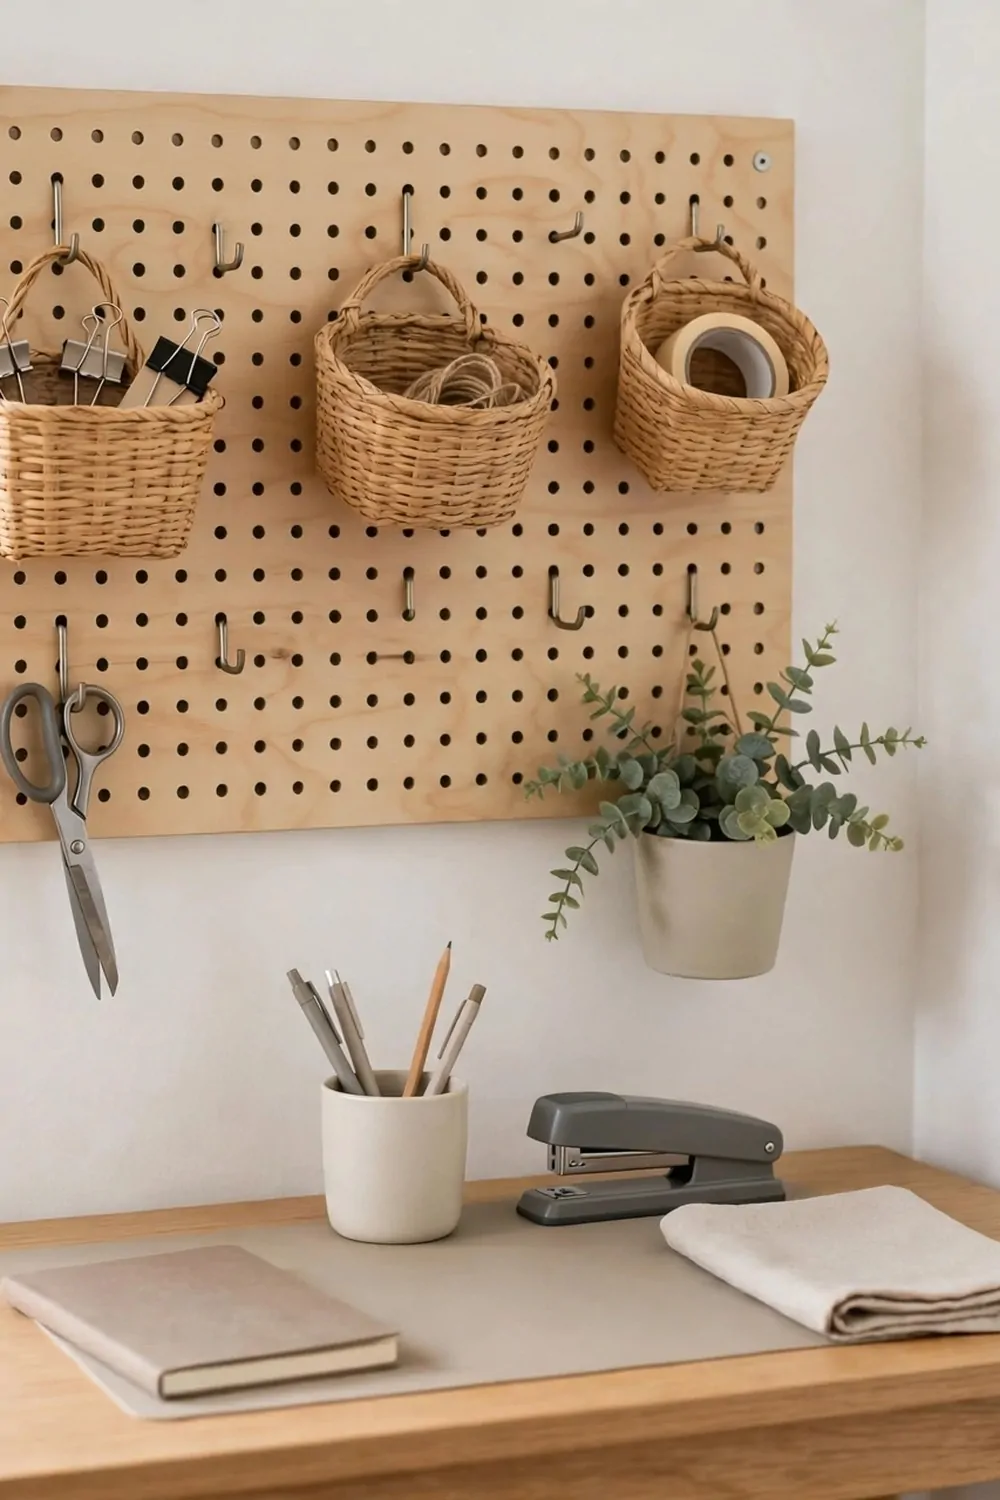
My work corner had papers and tools spread all over the desk. I could never find my scissors when I needed them.
A pegboard on the wall above the desk sorted it out. Hooks hold my scissors, tape and pens right where I can see them.
You can move the hooks any time you like. That means the board grows and changes with the way you work.
Typical cost is $20 to $45 for a board with hooks.
I keep a small shelf on mine for a plant and a clock. It makes the corner feel like a real work spot, not just a table in a room.
Most pegboards hang from two small hooks or strips. That keeps them renter friendly and easy to take down later.
Hang the things you reach for most at eye level. Put the stuff you use less often up high or down low.
A pegboard also stops things from piling up on the desk. When each tool has a hook, it goes back to its place.
Start with a small board if your wall space is tight. You can always add a second board later if you need more room.
18. Under-Sofa Storage Boxes
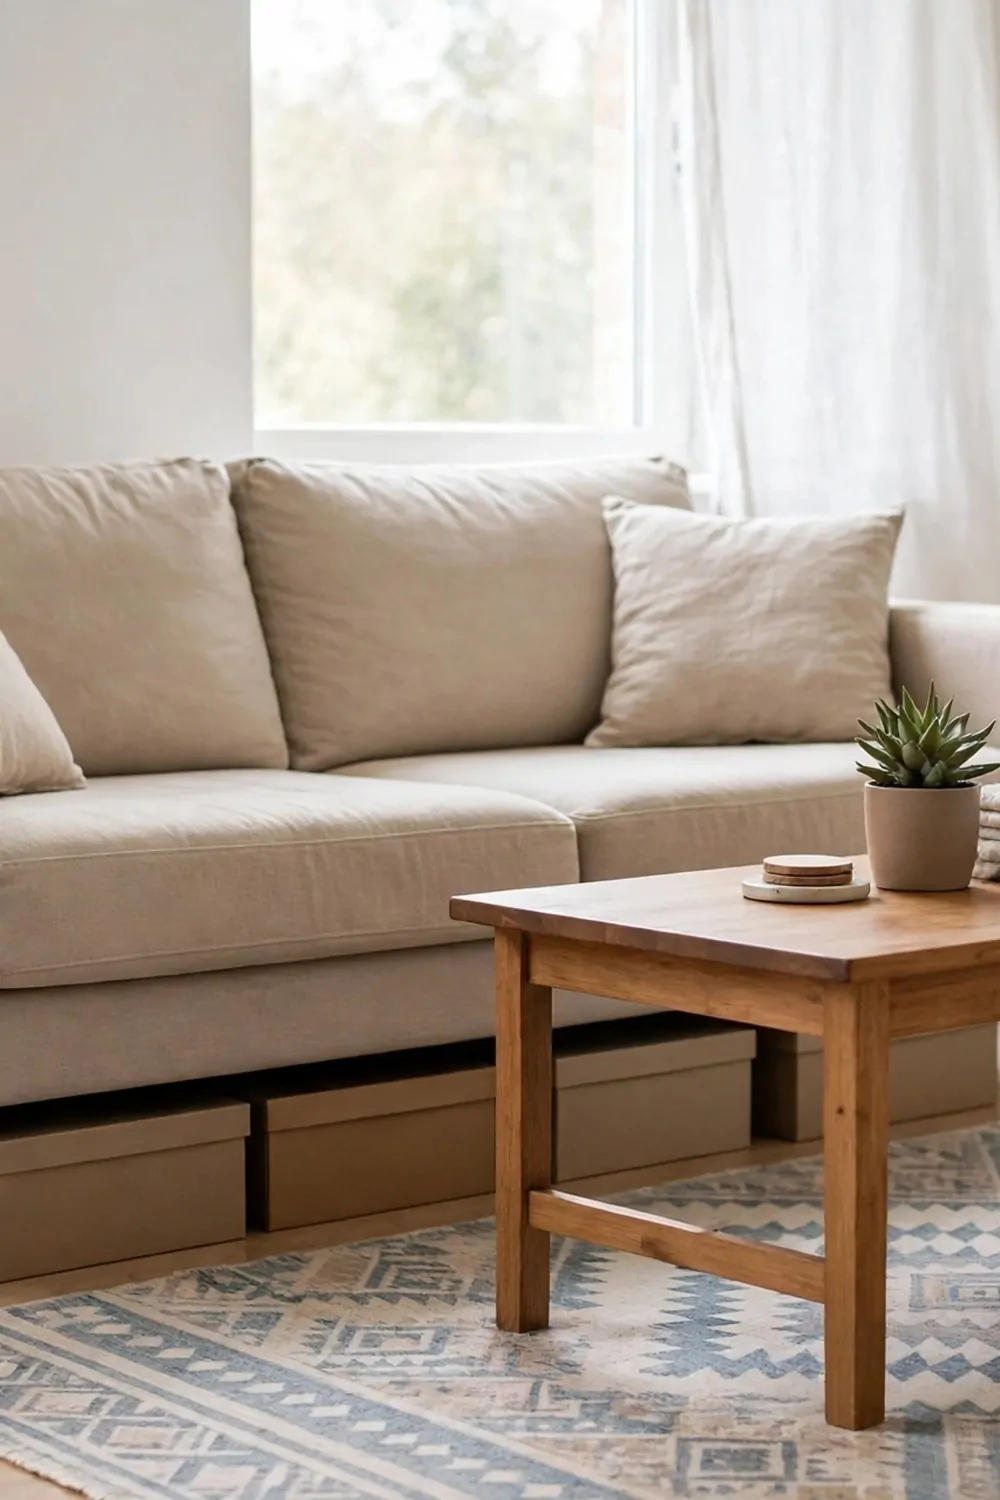
The space under my sofa sat empty for years. It was just dust and lost socks under there.
Flat storage boxes changed that fast. They slide under the sofa and hold blankets, books and spare chargers.
You cannot see them at all when they are pushed in. The room still looks clean and open.
Typical cost is $15 to $30 for a pair of flat boxes.
I keep one box for winter blankets and one for board games. When friends come over, I just pull out the box I need.
Pick boxes with lids so dust stays out. Clear boxes help you find things fast, but solid ones look neater.
Measure the gap under your sofa first. A box that is too tall will not slide in at all.
Wheels or a small handle make the boxes easy to pull out. You will use them more if they are easy to reach.
This trick works best for things you need now and then. Everyday stuff belongs closer to hand, in a drawer or on a shelf.
19. A Narrow Rolling Cart for the Bathroom
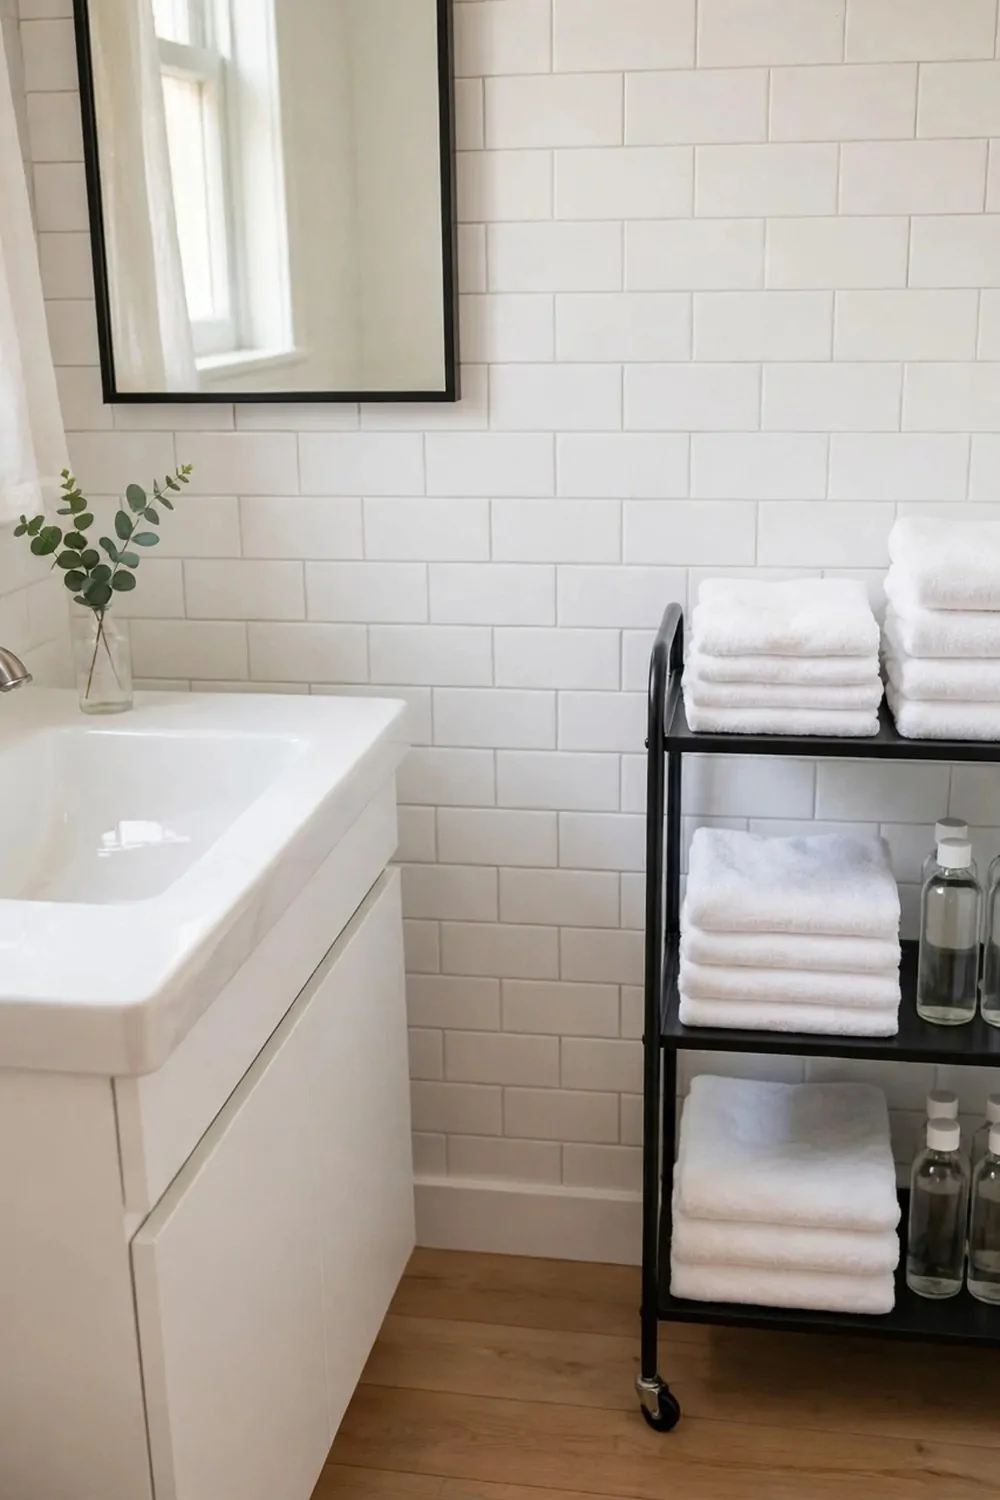
My bathroom had no room for a cupboard. Towels and bottles lived in a pile on the floor.
A narrow rolling cart fixed it. It fits in the gap beside the sink and rolls out when I need it.
The cart has three shelves, so everything has its own spot. Shampoo goes on top and spare towels go below.
Typical cost is $18 to $35 for a slim three-tier cart.
I roll it out to clean behind it once a week. That takes less than a minute and stops dust from building up.
You can move it to another room if you need to. I have rolled mine into the kitchen once when I needed extra counter help.
Pick a cart that is no wider than your gap. Measure twice, because a cart that is too wide is useless.
Small baskets on each shelf stop bottles from tipping over. They also make the cart look much tidier.
This is a great pick for a rented flat. It needs no screws and no holes in the wall at all.
20. Hanging Organiser on the Closet Door
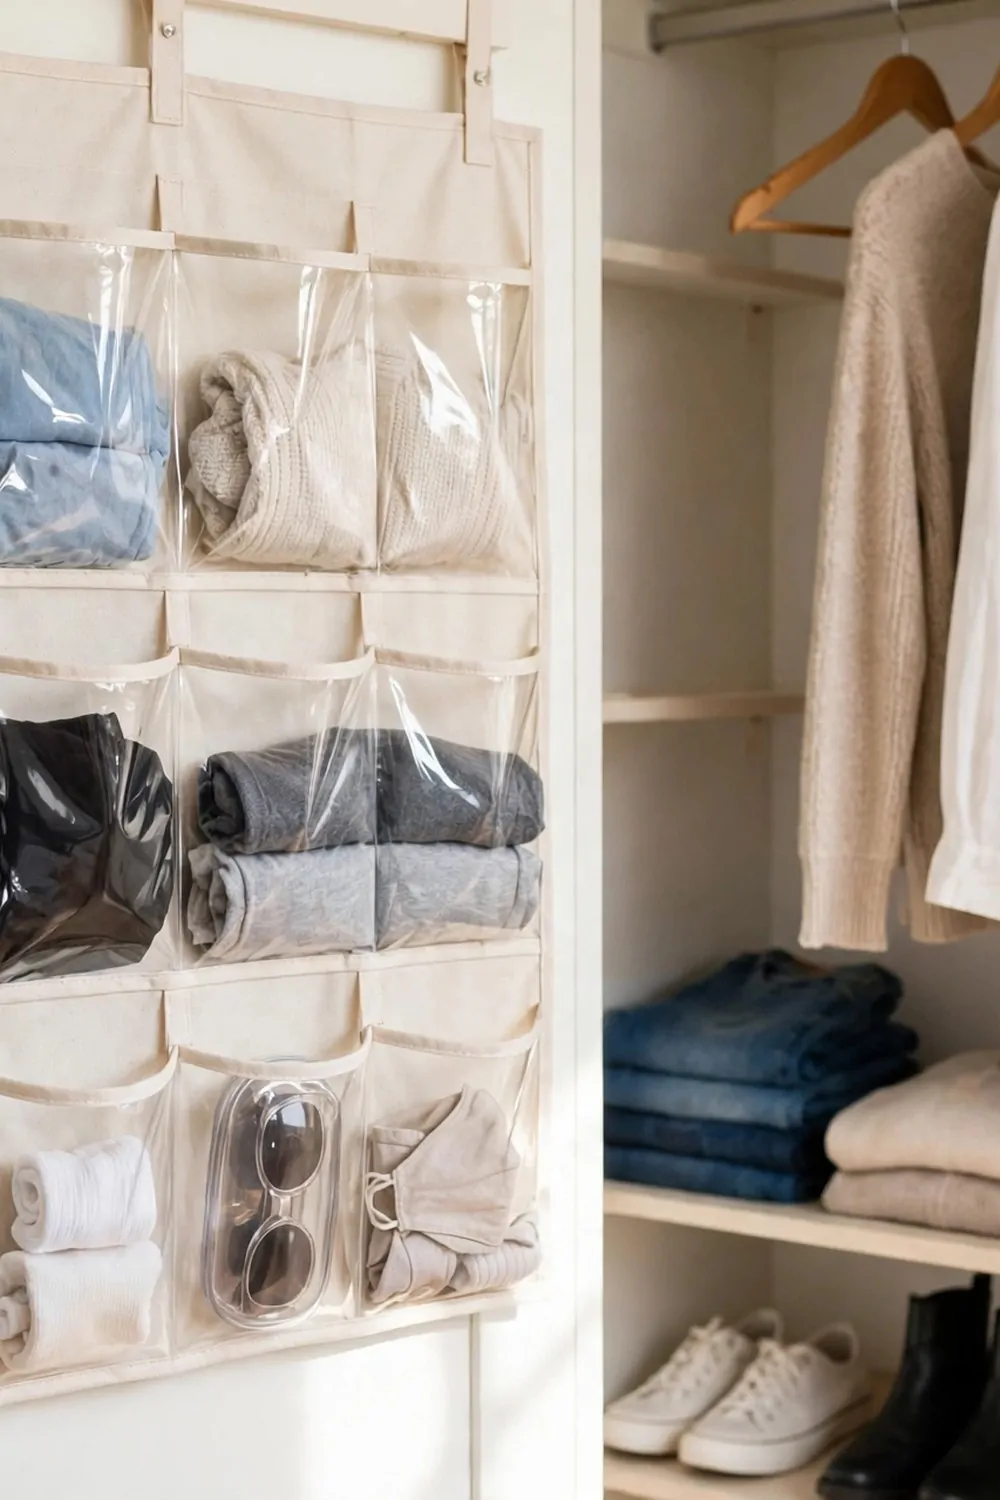
My closet door was just a plain door for years. Then I hung a fabric organiser over it and got a whole new shelf.
The organiser has clear pockets down its front. I keep scarves, belts and small bags in them.
You can see everything at once when you open the door. No more digging through a drawer to find one belt.
Typical cost is $10 to $20 for a door organiser.
It hooks over the top of the door in seconds. There is nothing to screw in and nothing to stick on.
I use the top pockets for things I wear a lot. The bottom pockets hold stuff I only need now and then.
This works on a bedroom door too, not just a closet door. Any door with a bit of space behind it will do.
Keep heavy things out of it so the door still closes well. Light items like scarves and hats are perfect.
If you move flats, you just lift it off and take it with you. It folds flat in a suitcase, which is handy.
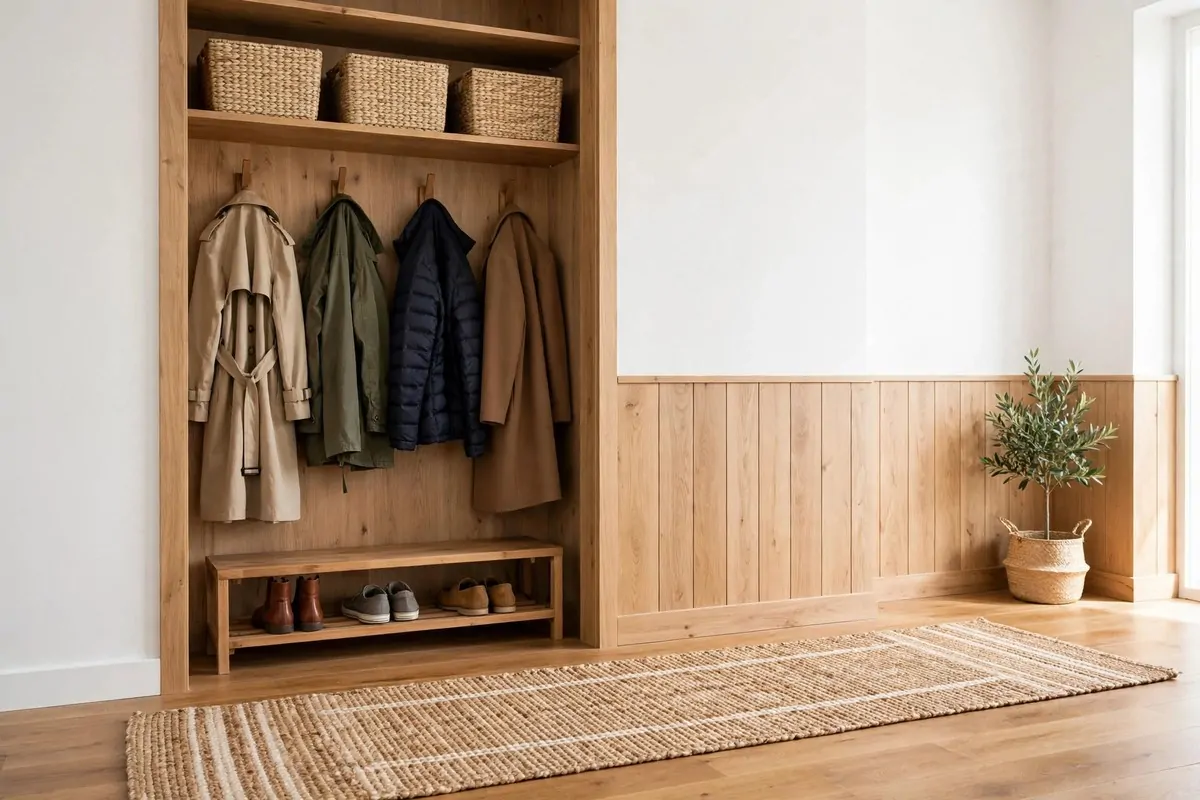
21. A Storage Bench in the Entryway
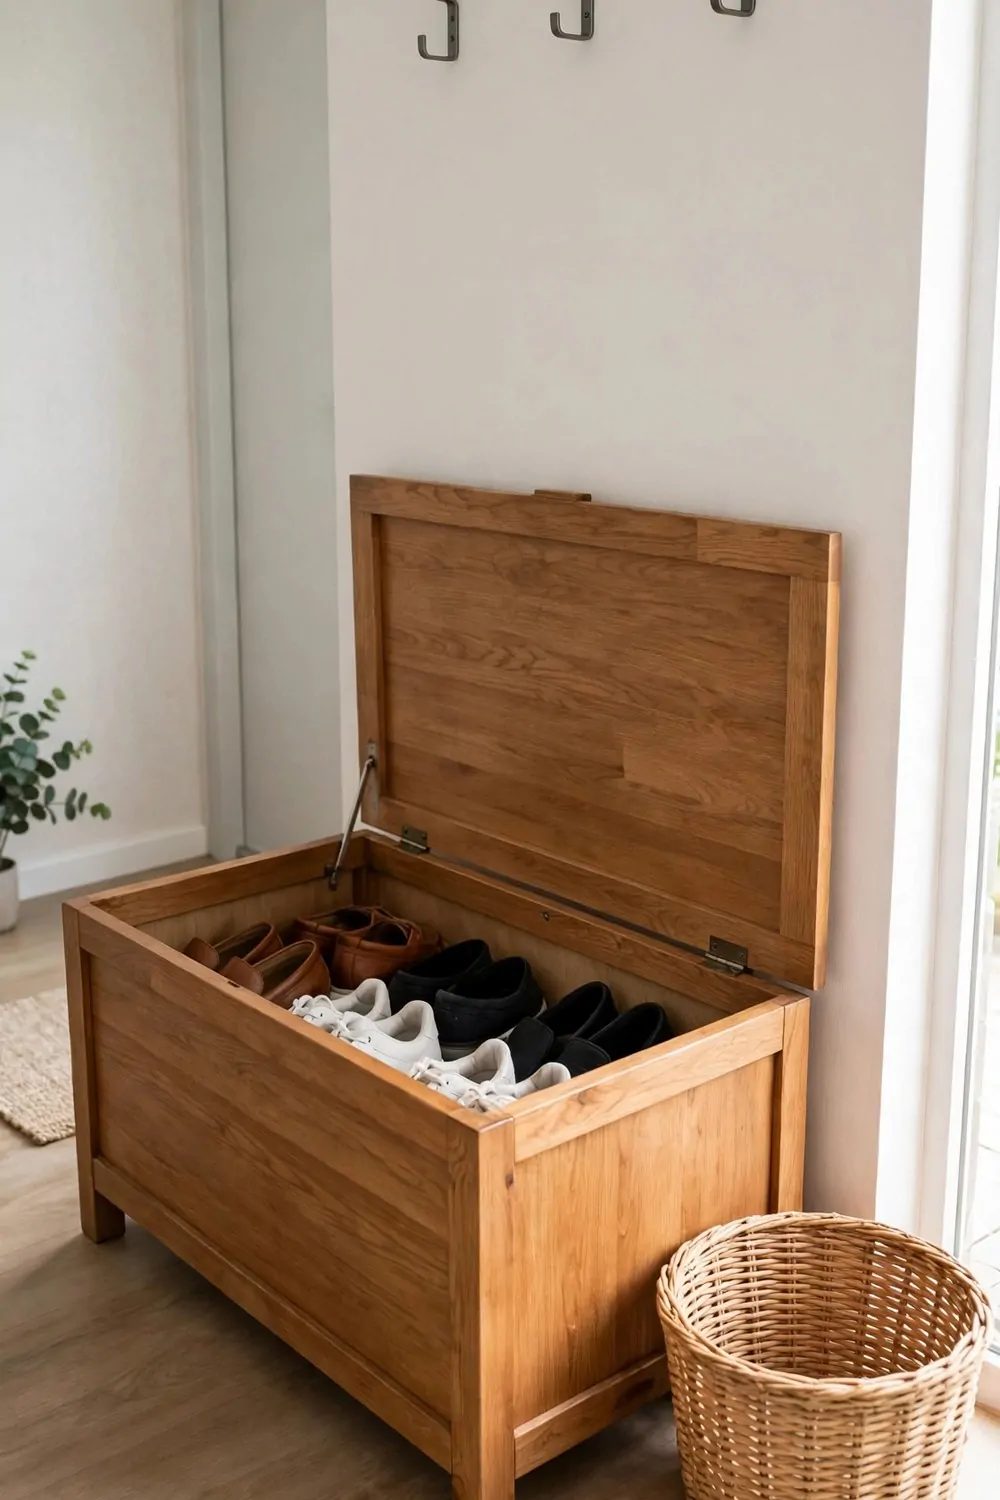
My entryway was the messiest spot in my flat. Shoes piled up by the door and bags hung on every hook.
A storage bench changed the whole space. I sit on it to put my shoes on, and the shoes live inside it.
The lid lifts up and the inside holds four pairs of shoes. My bag goes on top when I come home.
Typical cost is $40 to $90 for a bench with storage inside.
I picked a slim one so it does not block the door. It leaves room to walk past without turning sideways.
A bench also gives guests a place to sit. That small touch makes a tiny flat feel warm and welcoming.
Put a small tray on top for keys and mail. That way nothing important gets lost on the way in.
If you rent, a bench is a safe buy. It stands on the floor and needs no fixing to the wall.
Look for a bench with a flat top you can wipe clean. Rainy shoes leave marks, and a quick wipe keeps it looking new.
22. Labels on Every Bin and Box
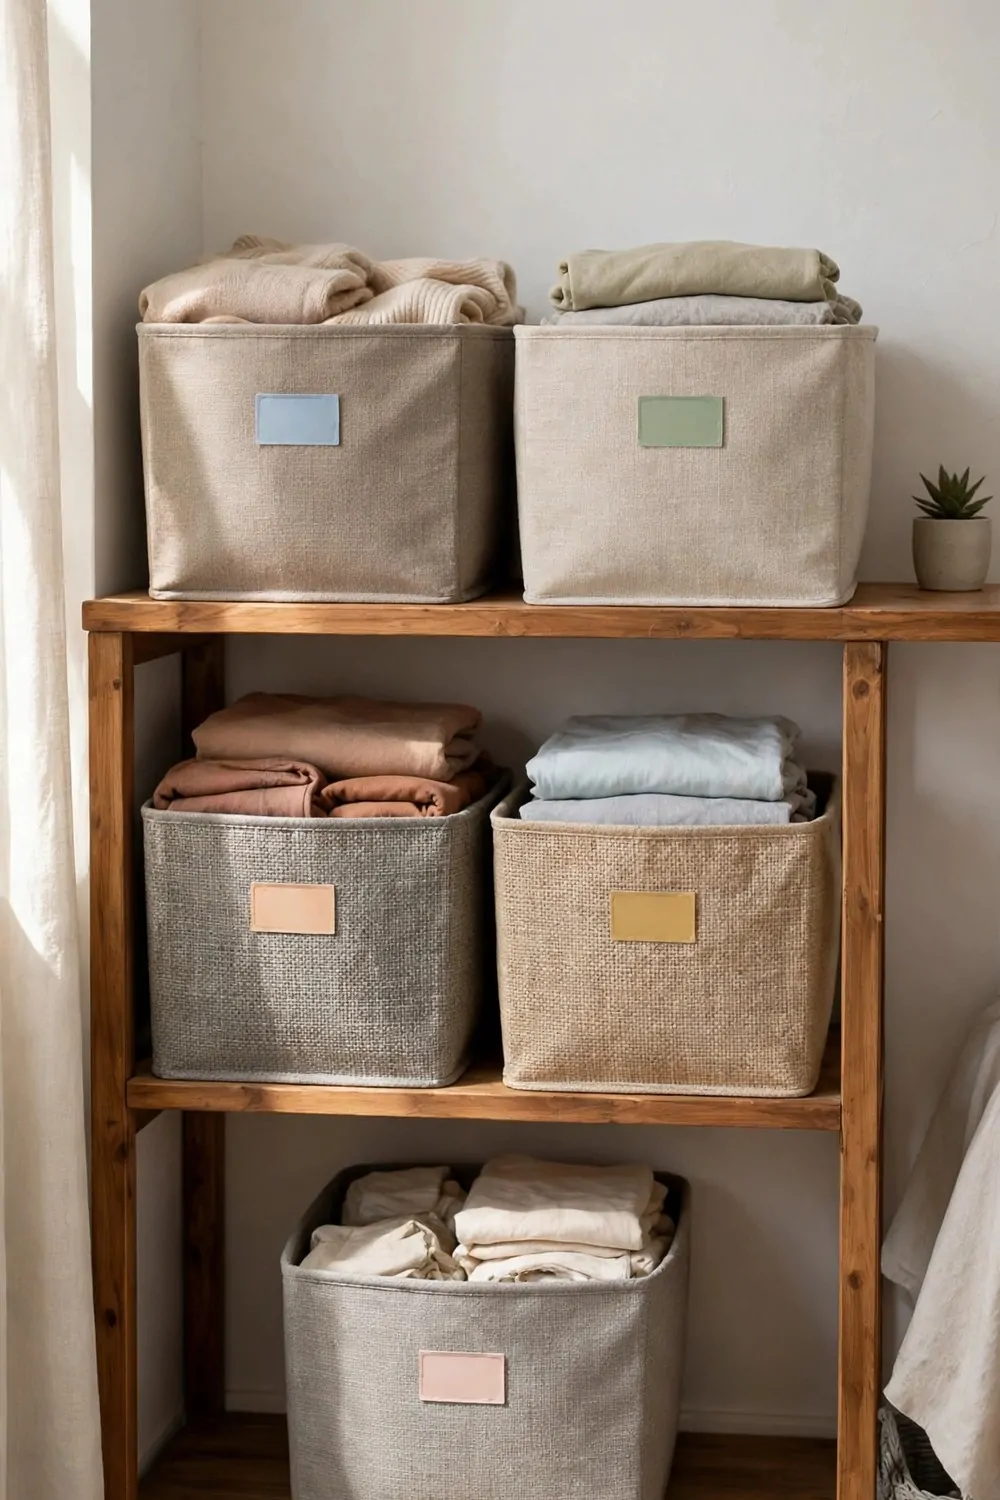
I used to open three boxes before I found the right one. It wasted time and made a mess each time.
Labels fixed that in one evening. Now every bin says what is inside it in big clear letters.
You can use a pen and sticky labels if you like. You do not need a fancy machine to make them look neat.
Typical cost is $3 to $10 for a pack of labels and a marker.
I label the box and the shelf it sits on. That way the box goes back to the right spot every time.
Use short words that anyone in the house can read. “Winter clothes” beats a long fancy name.
Labels help you put things away fast after laundry or shopping. When the spot is named, you do not just drop things anywhere.
Redo a label when the box gets a new job. Old labels cause more mix ups than no labels at all.
This is the cheapest idea on this list, and it makes every other idea work better. Start here if your budget is tight.
23. A Wall Grid for Small Bits
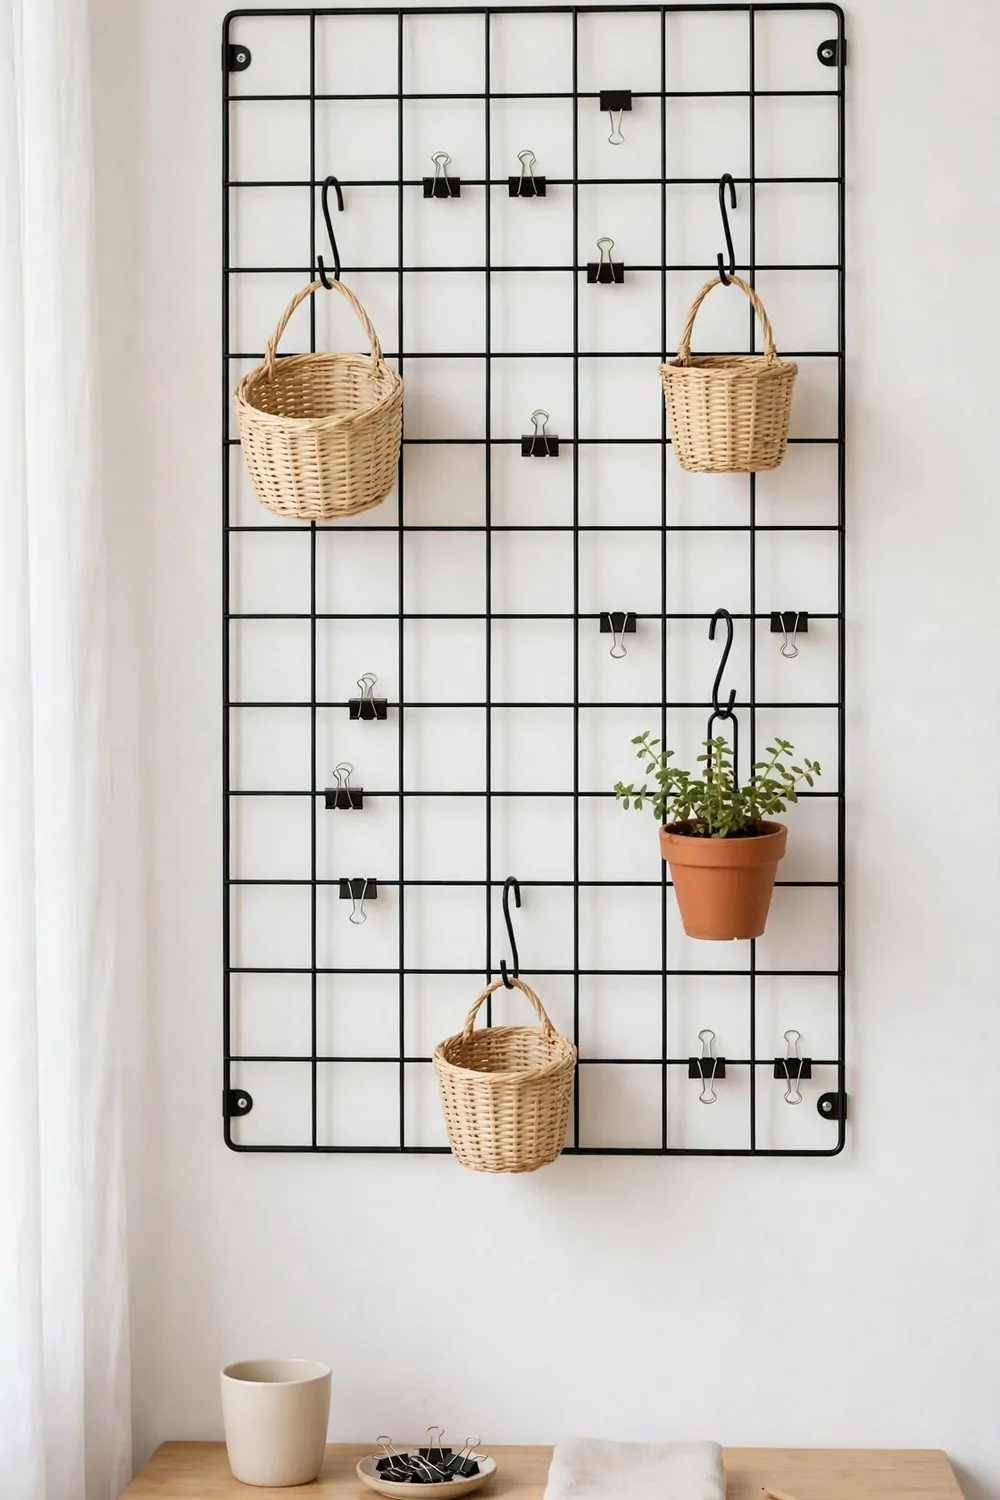
Small things used to vanish in my flat. Hair clips, keys and spare batteries all ended up in one junk drawer.
A wall grid gave them all a home. It hangs on the wall and holds clips, hooks and tiny baskets.
You can clip notes and photos to it too. It works like a board and a storage spot in one.
Typical cost is $15 to $30 for a grid with clips and hooks.
I hung mine near the desk where I lose small things most. Now I can see my clips and pens without opening a drawer.
Most grids hang from one or two small hooks. That makes them easy to move and easy to take down when you leave.
Put the grid at a height you can reach without a chair. If it is too high, you will stop using it.
Small baskets on the grid hold bits that cannot hang. I keep spare batteries and tape in one of mine.
Change the layout when your needs change. A grid is meant to be moved around, not fixed forever.
24. Stacking Drawers Under the Desk
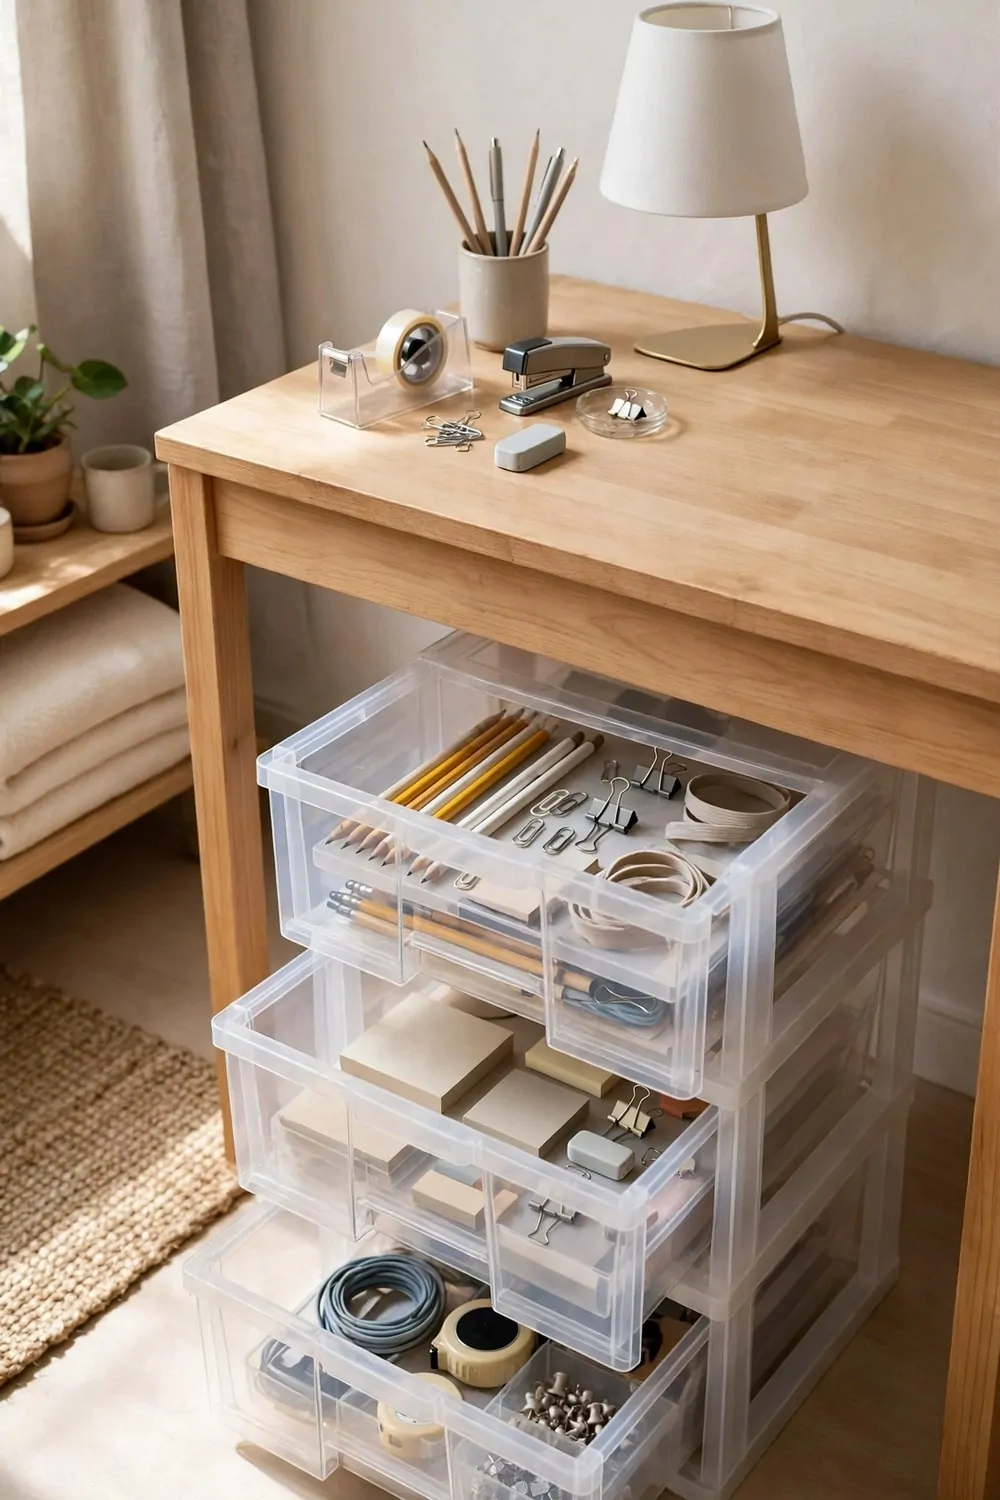
The space under my desk was wasted for a long time. Cables lay on the floor and papers piled up in a corner.
Stacking drawers filled that gap well. They sit under the desk and hold pens, chargers and notebooks.
You can stack two or three units high. Each drawer pulls out on its own, so you only open the one you need.
Typical cost is $20 to $40 for a set of stacking drawers.
I keep the top drawer for things I use every day. The bottom drawer holds spare cables and stuff I rarely need.
Clear drawers let you see what is inside without opening them. Solid drawers look tidier if you like a clean look.
Measure the height under your desk before you buy. A unit that is too tall will not fit under the top.
These drawers are easy to move to a new flat. They are light, and they stack neatly in a box when you pack.
Keep the drawers light so they slide well. Heavy drawers stick and are no fun to open every day.
25. A Ceiling Rack for Pots and Pans
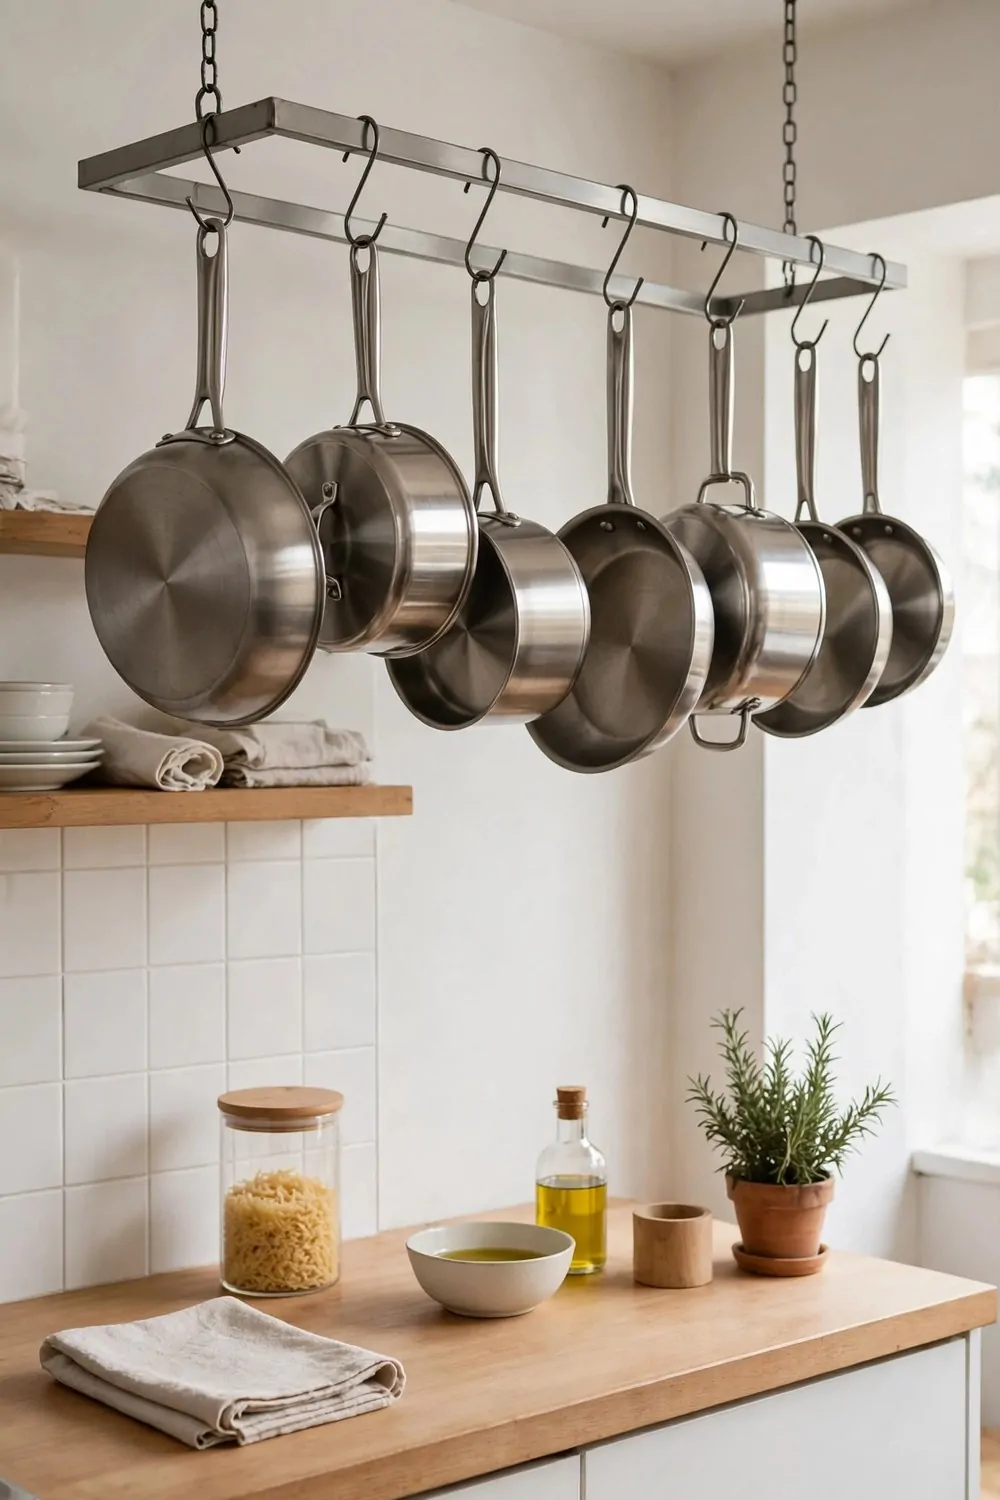
My cupboards were full of pots and pans. I had to pull out three pans to reach the one at the back.
A ceiling rack freed up all that cupboard space. Now my pans hang above the kitchen counter where I can grab them.
Hooks hold each pan by its handle. They hang at different heights so they do not bang into each other.
Typical cost is $30 to $60 for a rack with hooks.
I hang my most used pans at the front. The big pot I use once a month hangs at the back.
Hang the rack high enough that you do not bump your head. It should sit above your reach, not in your way.
This works best if your ceiling is solid and your landlord says yes. Some racks need screws, so check your rules first.
If screws are not allowed, a strong tension bar between two walls can hold a few light pans instead.
Wipe the pans before you hang them back up. Grease drips make a mess on the floor below.
26. A Slim Cart Between the Fridge and the Wall
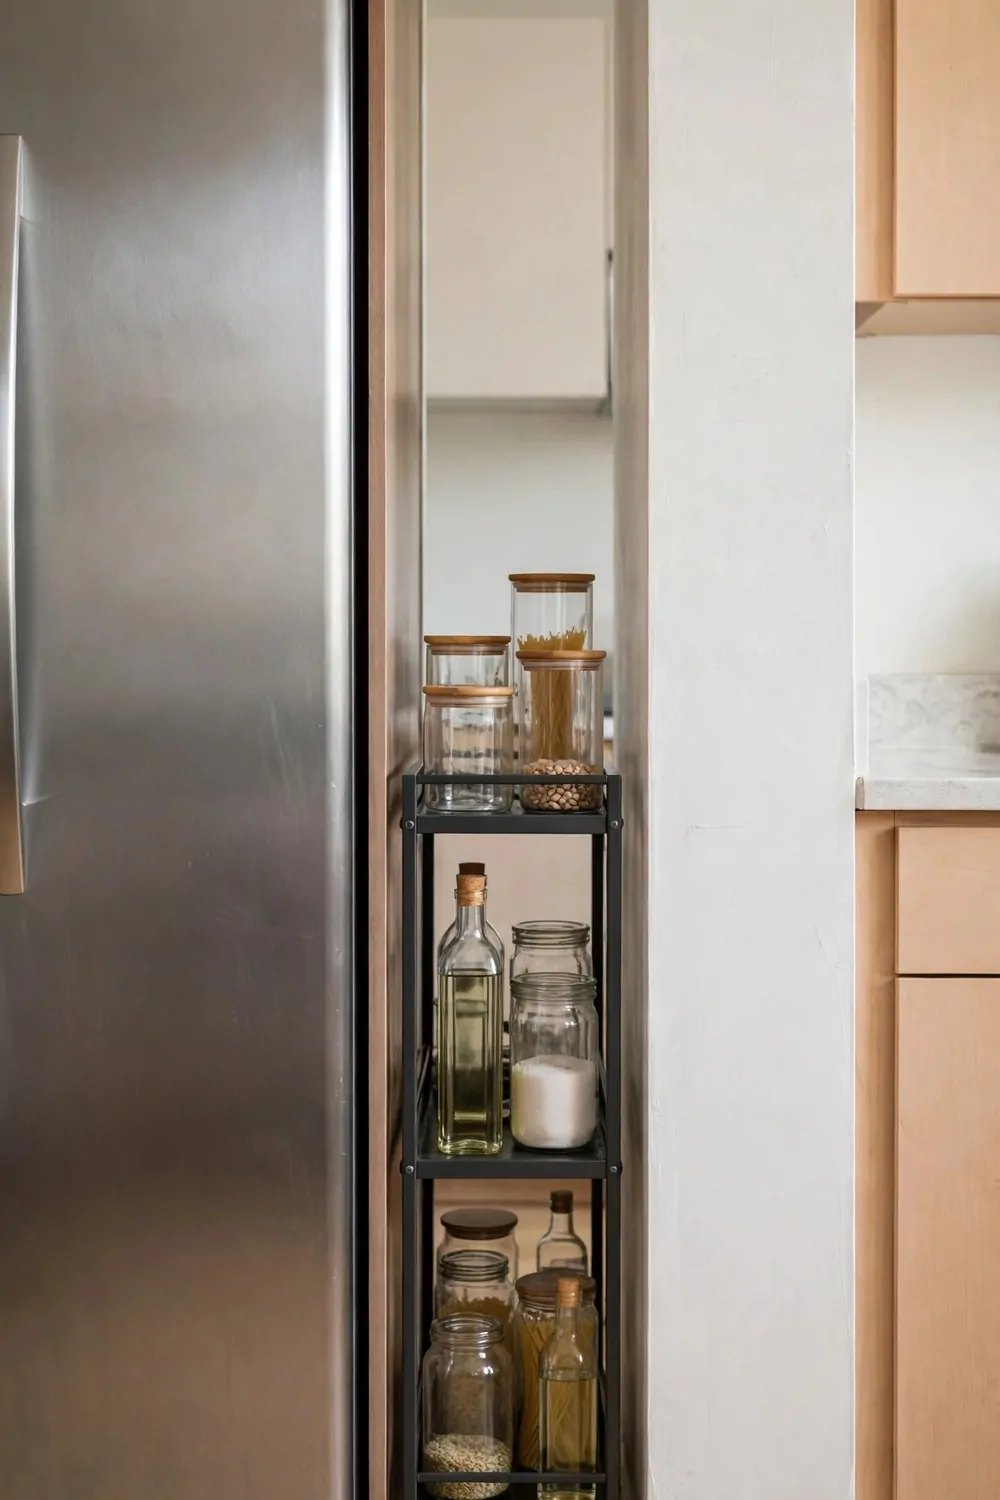
There was a thin gap between my fridge and the wall. It was too small for a shelf and too big to ignore.
A slim cart slides right into that gap. It is only a few inches wide, but it holds a lot.
Spices, oils and sauces live on its shelves now. I pull the whole cart out when I cook and push it back after.
Typical cost is $20 to $35 for a slim rolling cart.
I keep the things I use most on the top shelf. The bottom shelf holds spare bottles I only need now and then.
The cart has small rails on each shelf. They stop bottles from falling off when you roll it in and out.
Measure your gap before you order one. A cart that is even one inch too wide will not fit.
This cart is great for renters because it needs no fixing at all. It just stands in the gap and rolls when you need it.
Clean the gap behind the fridge once a month. Dust builds up fast in a tight space like that.
27. A One-Day Studio Storage Reset Plan
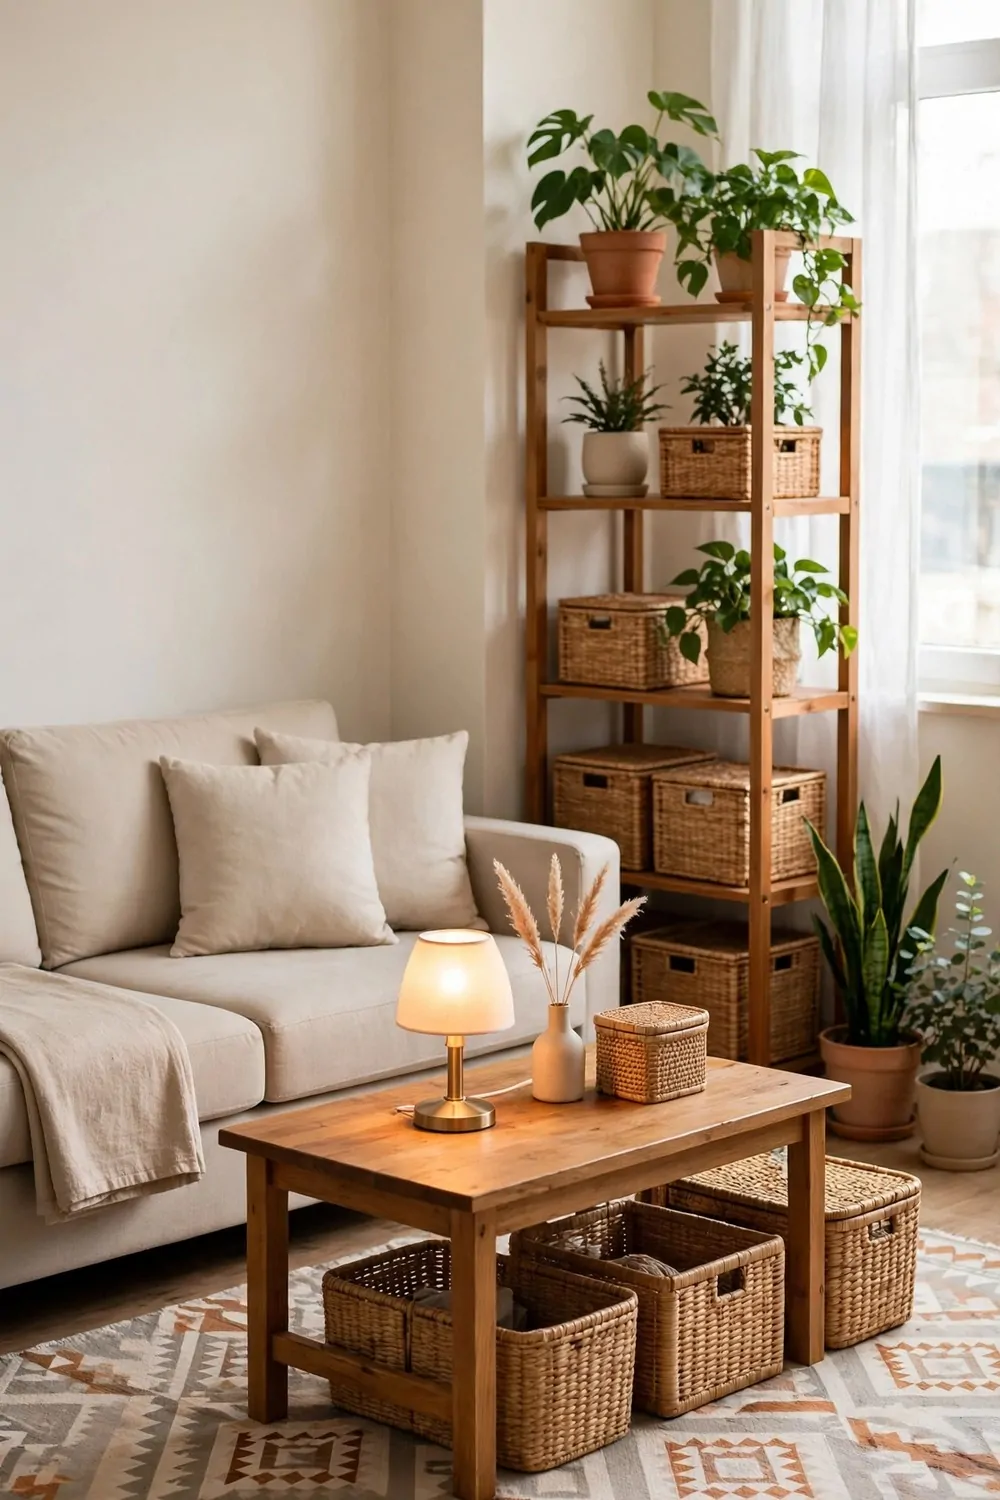
You do not need a whole week to fix a messy studio. One good day can change how the whole flat feels.
Start in the morning and work room by room. Finish one spot before you move to the next one.
For the living area, pick up everything that does not belong there. Put loose things in a box and sort them later in the day. Typical cost is $15 to $25 for baskets and hooks.
For the kitchen, clear the counters and wipe them down. Move food into jars and hang pans where you can reach them. Typical cost is $20 to $30 for jars and a small rack.
For the bedroom corner, make the bed first and then sort the clothes. Fold what you keep and bag what you do not need. Typical cost is $10 to $20 for boxes and labels.
For the bathroom, throw out old bottles and wipe the shelves. Put daily items in a small cart and spare towels in a box. Typical cost is $10 to $15 for a cart and baskets.
For the entryway, line up the shoes and hang up the bags. Put keys in a tray and coats on one hook each. Typical cost is $5 to $10 for a tray and hooks.
The total for the whole day is $60 to $100. That covers every room and leaves your flat tidy from door to window.
End the day by sitting down and looking around your flat. You will see open space you forgot you had, and you will want to keep it that way.
| Room | Main change | Typical cost |
|---|---|---|
| Living area | Baskets and hooks | $15 to $25 |
| Kitchen | Jars and a small rack | $20 to $30 |
| Bedroom corner | Boxes and labels | $10 to $20 |
| Bathroom | Cart and baskets | $10 to $15 |
| Entryway | Tray and hooks | $5 to $10 |
| Total | Whole day reset | $60 to $100 |
Keep Reading
If you liked these ideas, you will love these posts too.
- 25 Apartment Decorating Ideas on a Budget
- 20 Dollar Store Home Decor Ideas That Look Expensive
- 34 Budget Home Makeover Ideas Room by Room
- 21 Rental Living Room Ideas That Feel Like Home
- 23 Rental Bathroom Ideas That Need No Drilling
- 25 Rental Kitchen Ideas That Renters Can Actually Do
Try the reset plan this weekend and see how light your studio feels by Sunday. One tidy day can make the whole week feel easier.