27 Compost Garden Ideas That Turn Scraps Into Soil

Our kitchen bin used to fill up fast, and every peel went in the trash until I learned what those scraps could become. I felt a little sad each time I threw good peels away.
I started small with a tiny pile in one corner of my yard. I did not buy much at first, and I learned by watching what changed each week.
Compost is just old plant bits turning into dark soil over time. You mix wet green bits with dry brown bits, and tiny life in the pile does the slow work for you.
You do not need a big yard or fancy tools to start. A small spot, a little water, and a bit of care can turn your scraps into something your plants will love.
I made a few muddy mistakes at the start, and I learned from each one. My pile was too wet once, and too dry another time, and both times a small change fixed it.
In this post I share simple steps you can copy at home. Each idea is plain, cheap, and easy to try with things you may already have.
All 27 ideas are here in this one post for you to read today, from the first pile to the last finishing touch.
1. Start a Simple Compost Pile in a Corner
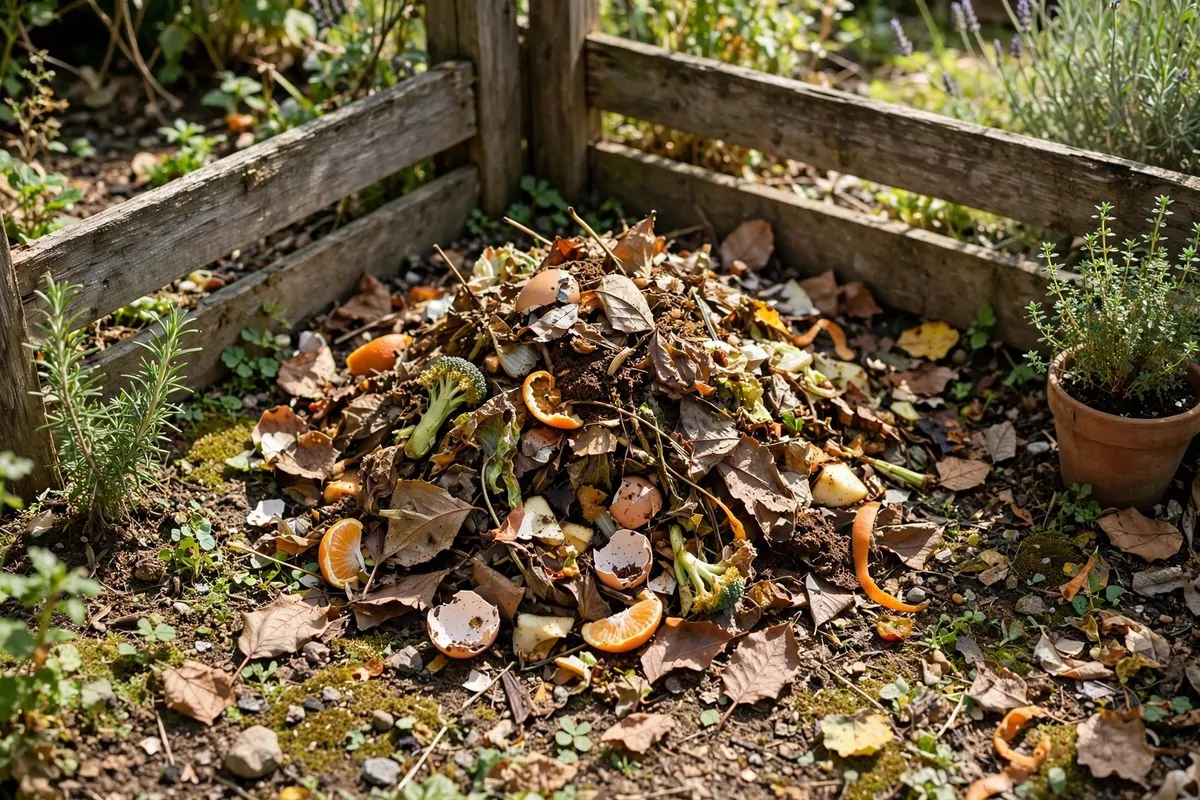
Pick a flat corner of your yard that gets a little shade in the hot part of the day. A spot near your back door makes it easy to carry scraps out.
Clear the grass and small stones from that spot first. You want the pile to sit right on the soil so worms can find their way up into it.
Start with a layer of dry leaves or small twigs on the ground. This base layer lets air move under the pile and keeps it from sitting in a puddle.
Add a thin layer of kitchen scraps next, like peelings and fruit skins. Cover them right away with a thin layer of dry leaves so the pile looks tidy.
A simple wire ring and a few stakes usually costs $0 to $15 for a small corner pile. You can also use scrap wood you already have at home.
Keep the pile about as wide as your arms can reach across. A small pile is easy to turn, and you can add to it a little at a time.
Add water with a light sprinkle if the pile feels dry like paper. You want it damp like a wrung-out cloth, not wet like a sponge.
Check the pile once a week and pull back the top layer to look inside. You will start to see dark bits forming at the bottom after a few weeks.
Be patient with your first pile, and keep adding small layers as you go. Your corner pile will grow into rich soil over a few months.
2. Build a Three-Bin Compost System
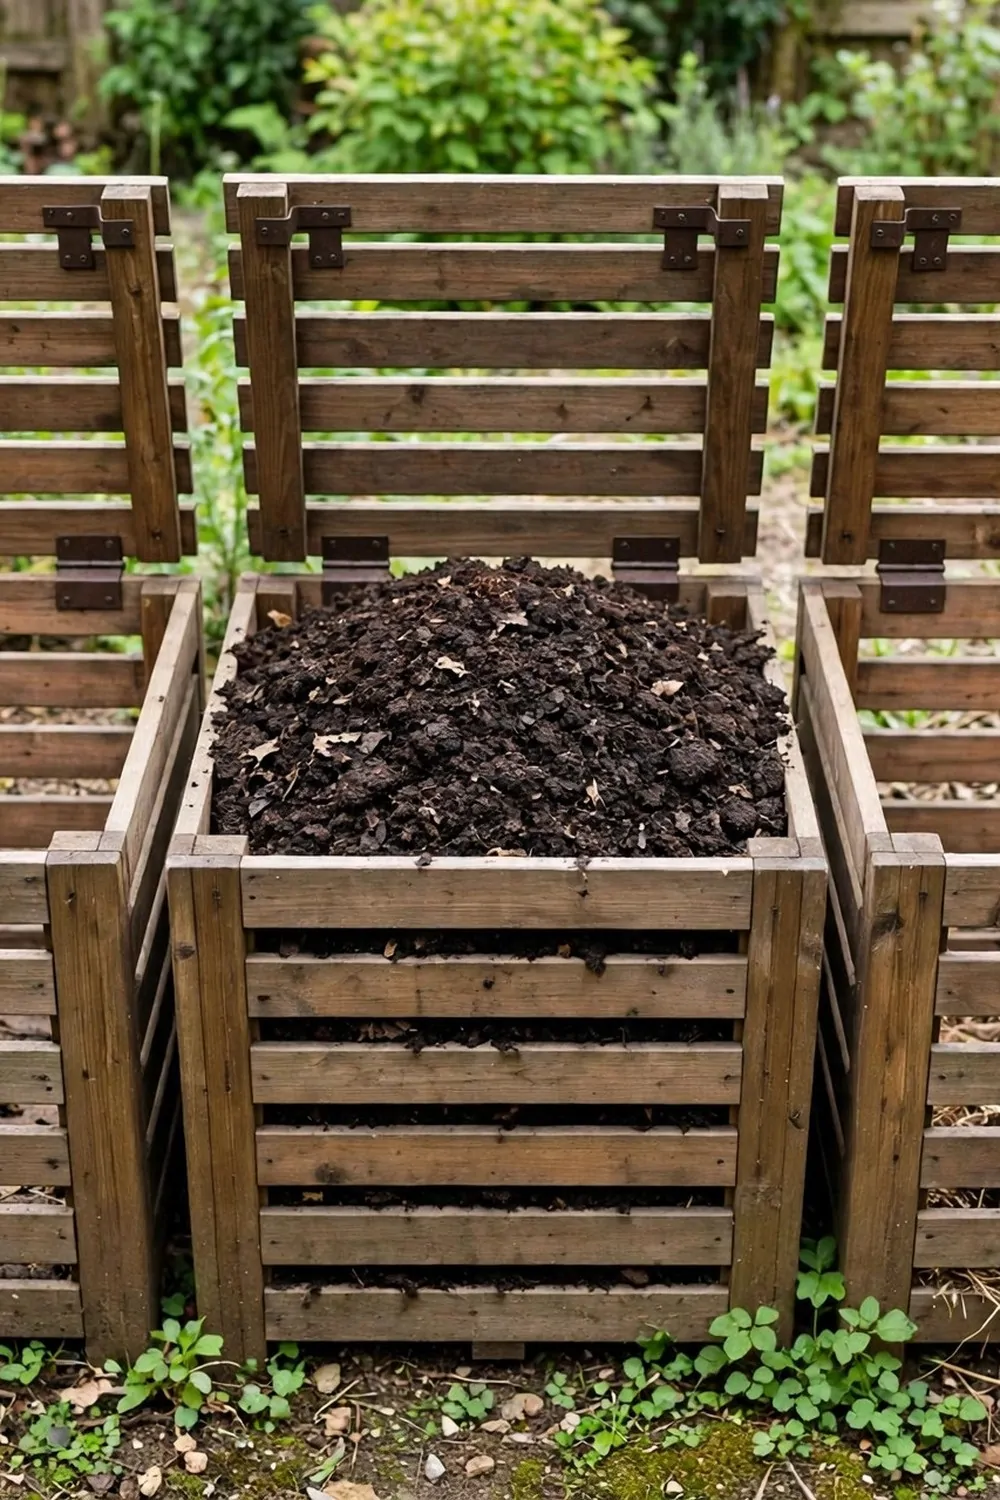
A three-bin system gives you one bin for fresh scraps, one bin for a pile that is cooking, and one bin for soil that is almost ready. It sounds big, but it is just three boxes side by side.
Pick a flat spot along a fence where you have room to work. Leave space in front of each bin so you can fork material from one bin to the next.
Build each bin about one yard wide and one yard deep. Pallets, scrap wood, or wire mesh all work well for the sides, and you can leave gaps for air.
Start filling the first bin with layers of greens and browns. Add kitchen scraps, leaves, and grass in thin layers so no one layer gets too thick.
A set of wood boards and screws usually costs $60 to $120 for a three-bin setup. You can save money by using pallets you find for free.
Move the pile from the first bin to the second bin when the first bin gets full. This move mixes everything up and gives the pile fresh air.
Let the second bin sit and cook while you start fresh scraps in the first bin again. You will see the pile shrink and darken as it breaks down over time.
Move the dark soil from the second bin to the third bin when it looks crumbly and smells like fresh earth. This last bin is where it finishes.
Use the finished soil from the third bin in your beds and pots. Then start the round again, and your bins will keep working for you all year.
3. Use a Tumbler Bin for Fast Compost
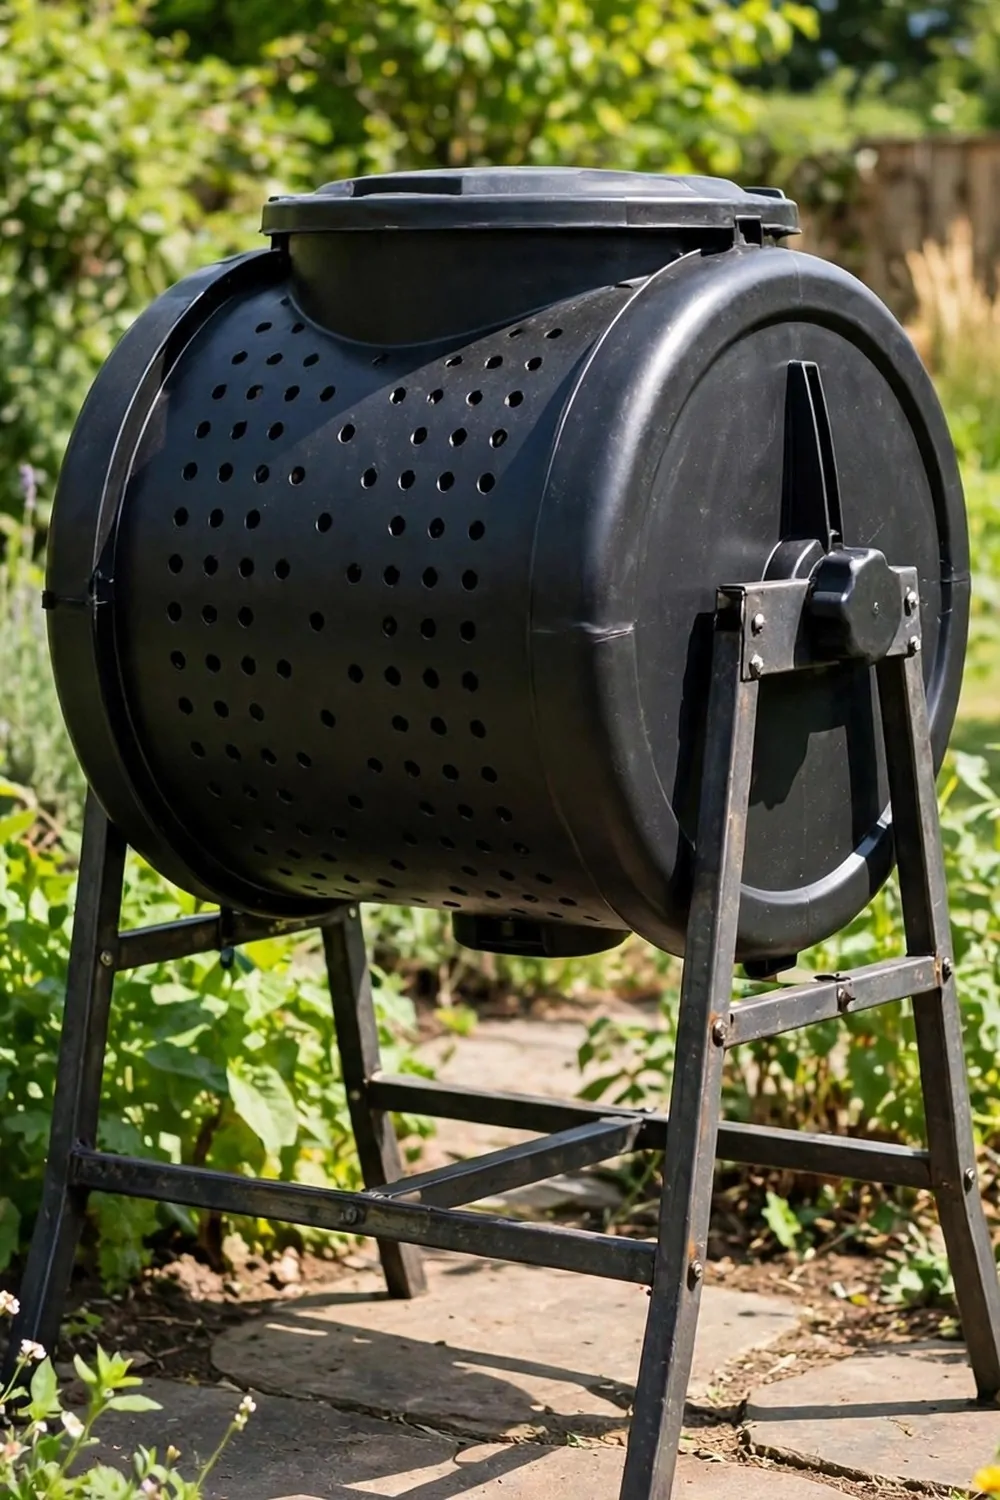
A tumbler bin is a round bin that sits on a frame and spins when you turn a handle. It holds your scraps off the ground and keeps the pile neat and tidy.
Place your tumbler on flat ground near your kitchen door. You want it close enough that you will use it often, but not so close that it blocks your path.
Add a mix of green scraps and brown dry bits to the bin. Try to keep the mix half wet and half dry so the pile stays damp and light.
A small tumbler bin usually costs $70 to $140 for a round bin with a frame and a lid. Look for one with a wide door so you can add and remove material with ease.
Close the lid tight after each add, and give the bin a few slow turns. Turning moves air through the pile and helps it break down a bit faster.
Check the dampness each week by opening the door and feeling a small handful. Add a sprinkle of water if it feels dry, or a handful of dry leaves if it feels wet.
Do not fill the bin all the way to the top. Leave room for the mix to tumble, or the bin will be too heavy to turn well.
Keep adding small amounts over a few weeks until the bin is about two thirds full. Then stop adding fresh scraps and let that batch finish.
Open the door after a few more weeks and look for dark, crumbly soil. Scoop it out, and start a fresh batch in your clean bin.
4. Try a Kitchen Counter Compost Caddy
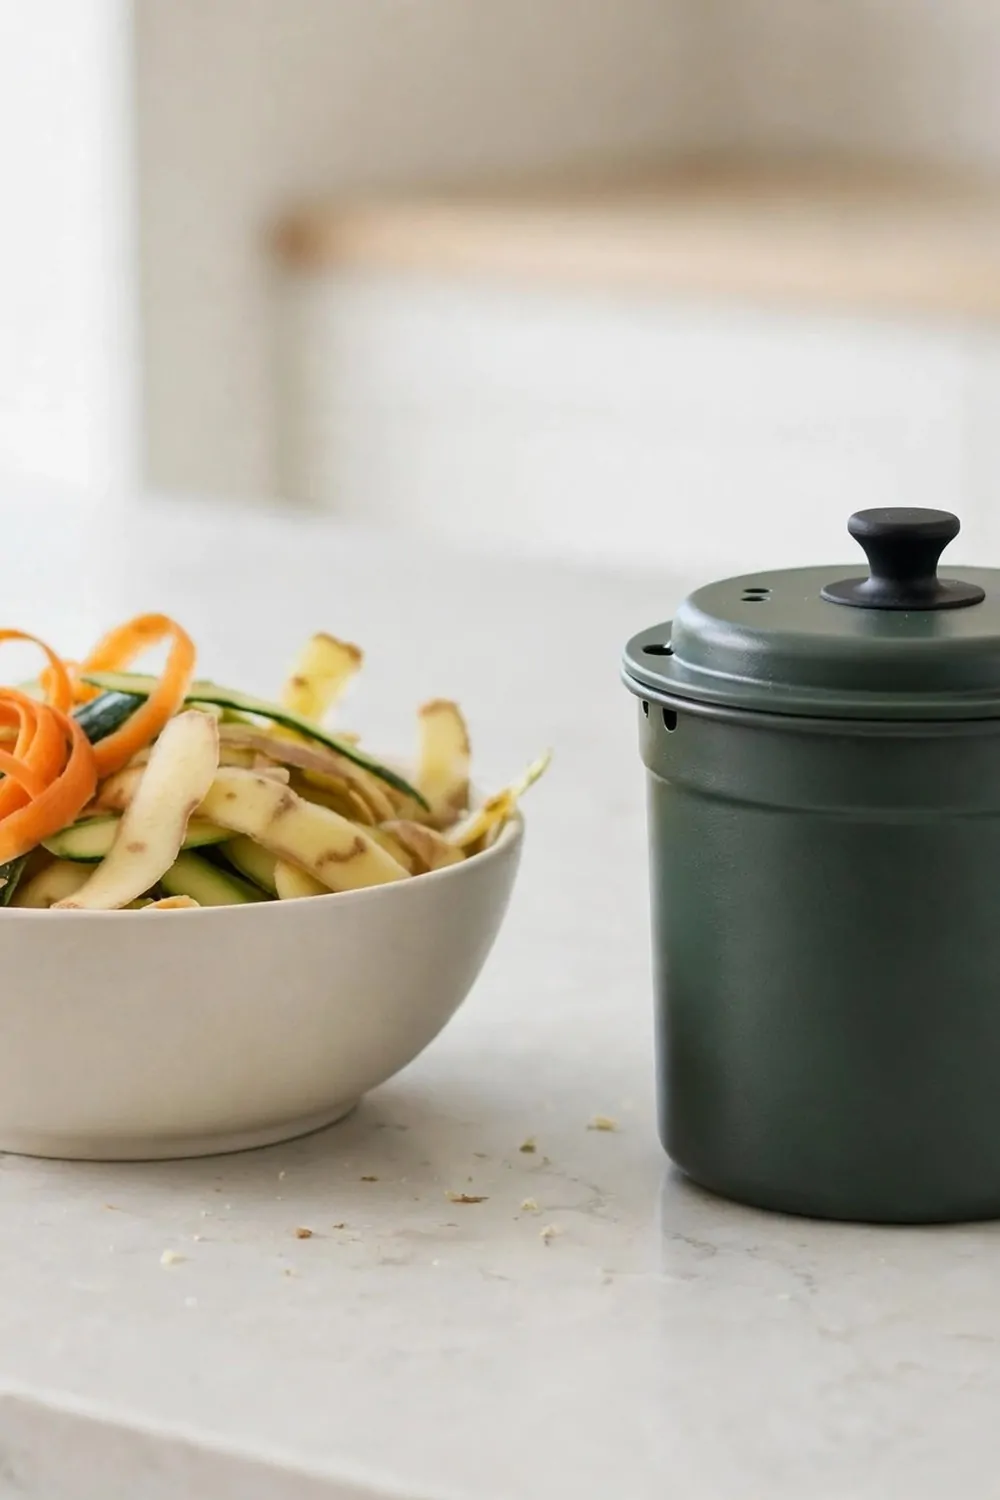
A kitchen caddy is a small lidded pot that sits on your counter and holds scraps until you take them outside. It keeps peels in one place while you cook.
Pick a caddy that fits your counter and has a lid that shuts well. A small size works best, because you will empty it often and it will not take up much room.
Line the caddy with a paper bag or a sheet of plain paper. This liner soaks up juice from fruit skins and makes the caddy easy to clean.
A small steel caddy with a lid usually costs $12 to $22 for a counter-size pot. A plain plastic tub with a lid can work too if you already have one.
Drop in peels, fruit skins, coffee grounds, and eggshells as you cook. Keep the lid shut between adds so the kitchen stays fresh and tidy.
Empty the caddy into your outside pile every day or two. Fresh scraps break down best when they move outside fast, before they sit too long.
Rinse the caddy with warm water and a little soap after you empty it. Dry it well before you put a fresh liner in and set it back on the counter.
Place the caddy near your chopping board so it is easy to reach. When the pot is close, you will use it without even thinking about it.
A caddy makes compost a daily habit instead of a big chore. You will be surprised how fast your outside pile grows from such a small pot.
5. Layer Greens and Browns the Easy Way
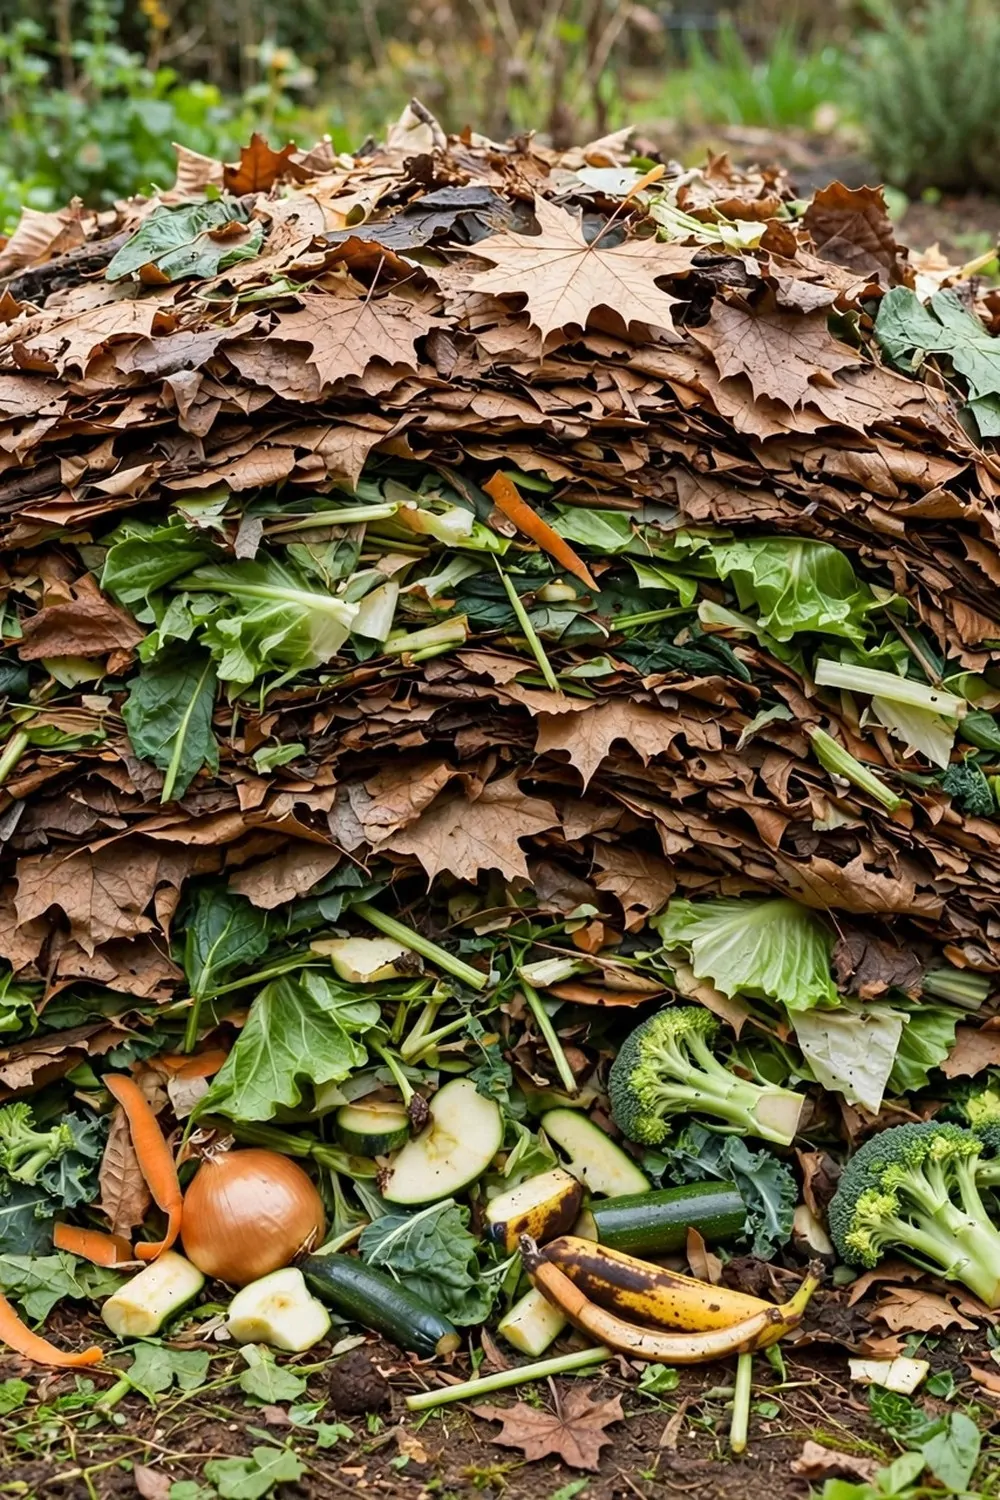
Greens are wet, soft bits like peels, fruit skins, and fresh grass. Browns are dry bits like leaves, paper, and shredded cardboard that soak up wetness.
Think of each layer as a thin blanket in your pile. You add a green layer, then a brown layer, and you keep going until the pile is as tall as you want.
Start with a brown layer on the ground to help air flow. Then add a green layer, then another brown layer, and press each layer down lightly.
A bag of dry leaves or a bale of straw usually costs $0 to $10 for enough brown material to start a pile. Most yards give you free leaves in fall.
Keep each layer thin, about as thick as your hand is wide. Thick layers can pack down and block air, and thin layers break down more evenly.
If the pile smells sour, add more brown layers on top. Dry leaves will soak up the extra wetness and help the smell fade over a few days.
If the pile looks dry and still, add more green layers and a light sprinkle of water. The wet greens will wake the pile up again.
Write the mix on a small note near your pile if it helps you remember. Green, then brown, then green, then brown is all you need to know.
This simple layer habit makes a big change in your pile. Your scraps will turn dark and crumbly in a few weeks instead of sitting in a soggy heap.
6. Compost Vegetable Peels and Fruit Skins
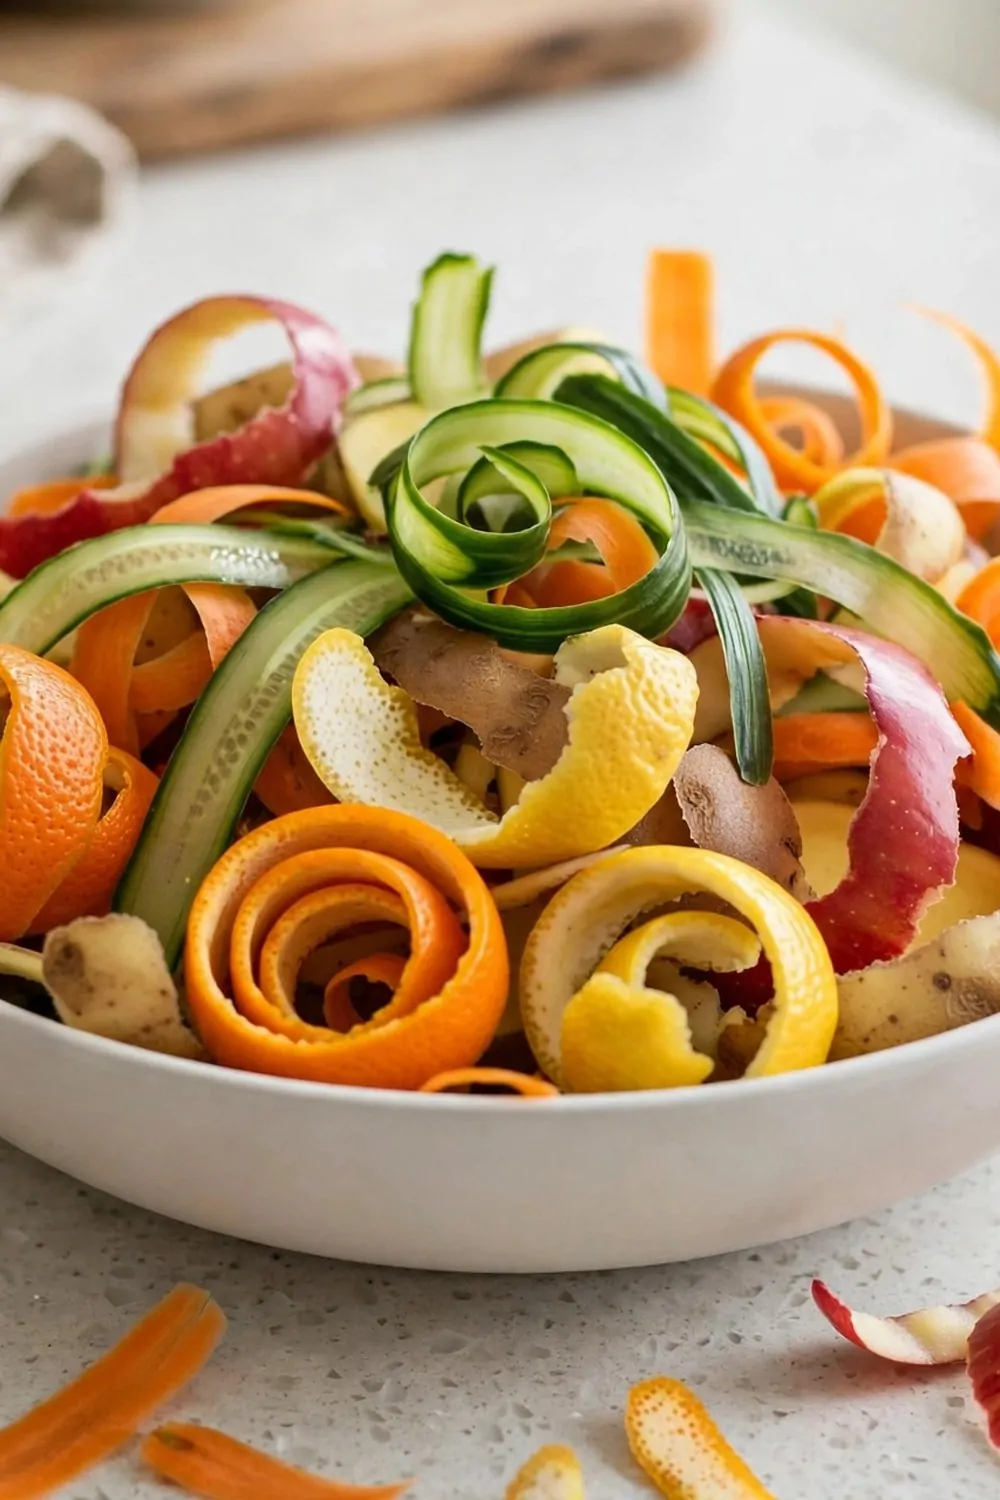
Peels and skins are some of the easiest scraps to compost at home. Potato peels, carrot tops, apple cores, and banana skins all break down well in a pile.
Collect your peels in a small bowl while you cook. Take the bowl outside at the end of the day and add the peels to your pile in one go.
Chop large peels into smaller bits before you add them. Small bits break down faster than big chunks, and they mix into the pile with ease.
A small chopping board and knife usually costs $0 to $8 for a basic set you use for peel prep. You can also tear soft peels by hand.
Bury the peels under a layer of dry leaves each time you add them. Covering them keeps the pile tidy and helps them break down out of sight.
Mix the peels into the top layer with a fork after you add them. A quick stir lets air reach the fresh scraps and starts the breakdown.
Add peels a little at a time instead of dumping a huge load at once. Small adds keep the pile balanced and stop it from getting too wet.
Keep a note of what you add if your pile is new to you. You will soon see which peels vanish fast and which ones take a bit longer.
Your peels will turn into dark soil over a few months. That soil will feed your plants, and your kitchen bin will feel much lighter too.
7. Add Dry Leaves to Balance Wet Scraps
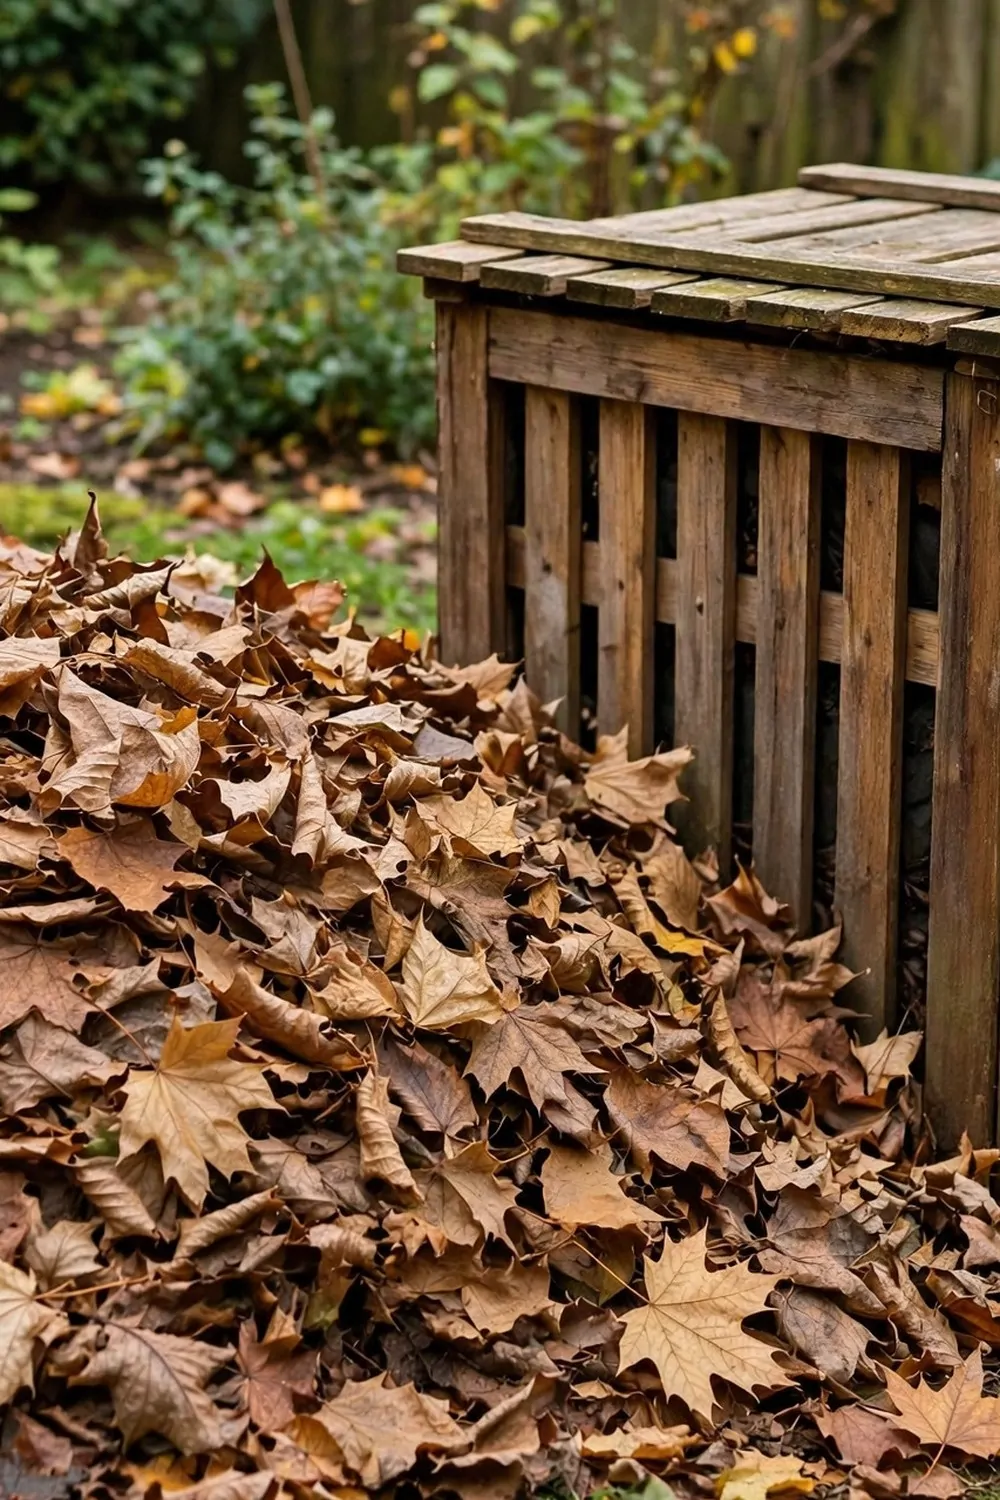
Dry leaves are the best friend of a wet pile. They soak up juice, add air, and give the pile the brown material it needs to stay balanced.
Gather leaves in fall and keep a bag of them near your pile. A dry bag of leaves is easy to grab when you need to cover fresh scraps.
Crush the leaves with your hands before you add them. Crushed leaves pack less tightly, and they break down faster than whole flat leaves.
A rake and a leaf bag usually costs $0 to $10 for basic tools to gather dry leaves. You may already have a rake in your shed.
Add a thick layer of leaves after each load of wet scraps. The leaves cover the scraps, soak up wetness, and help the pile keep its shape.
If your pile is soggy, mix in two big handfuls of dry leaves and fork it well. You will feel the pile get lighter and drier right away.
Store extra leaves in a dry bin or a big bag with holes for air. Dry leaves keep well for months, so you can use them all year long.
Avoid leaves that are thick and waxy, because they break down slowly. Mix those leaves with soft leaves so they do not form a flat mat.
Dry leaves turn your wet scraps into a pile that works. You will see less smell, less mess, and more dark soil at the bottom.
8. Use Grass Clippings in Thin Layers
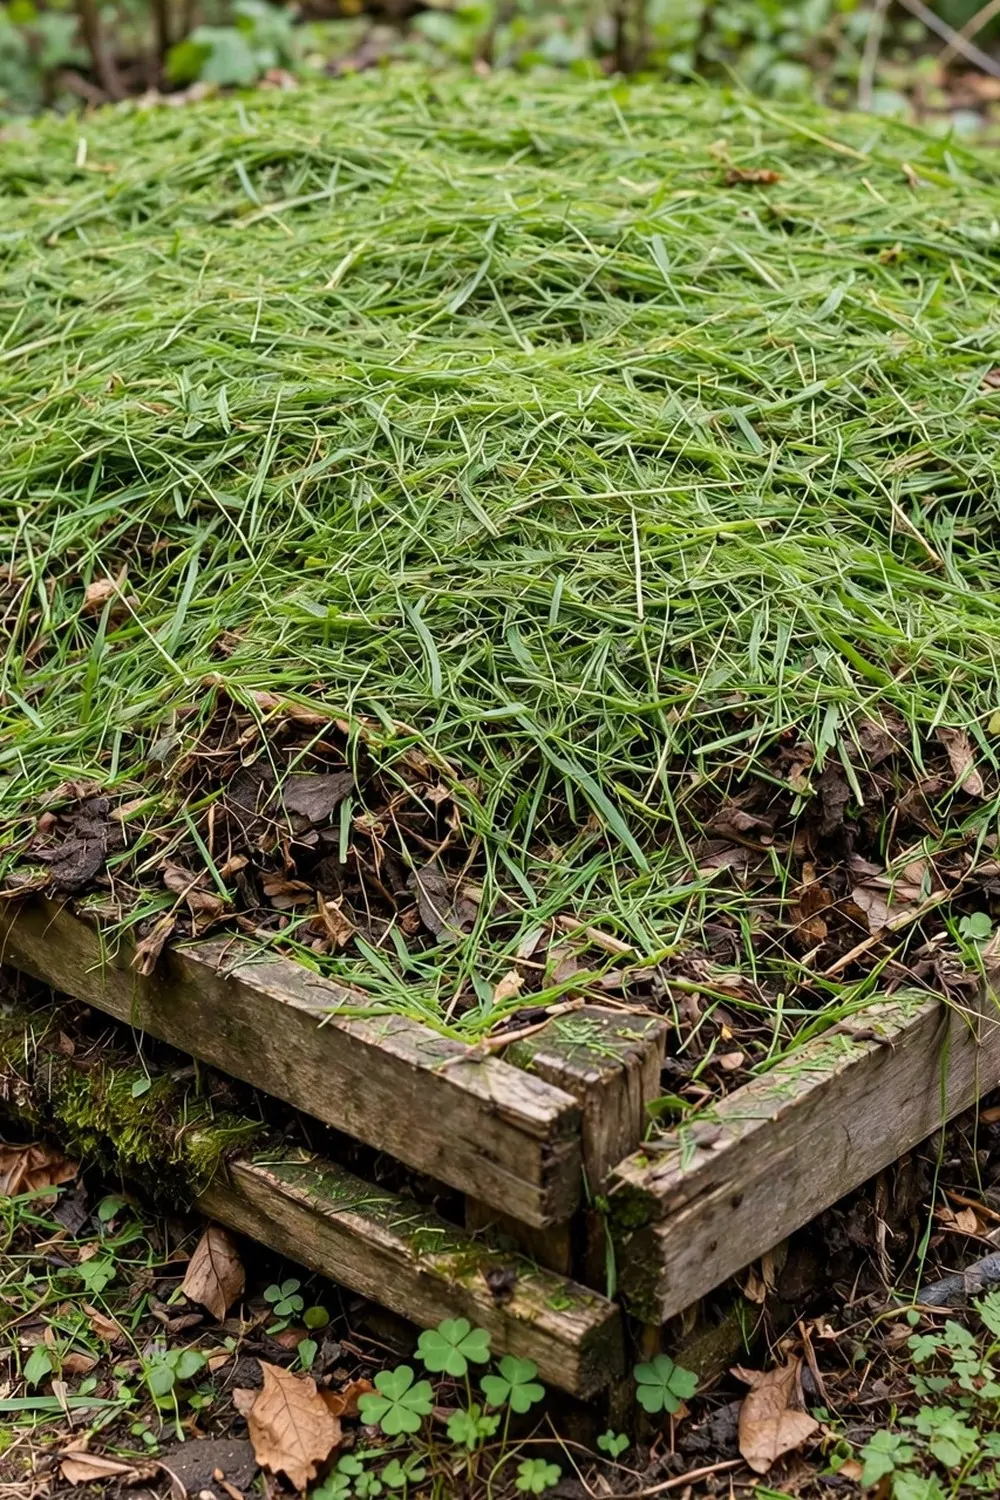
Grass clippings are rich green material, and they break down fast. They are great for your pile, but only when you add them in thin layers.
Mow your lawn and collect the clippings in a basket or a bag. Let them sit in the sun for a short time so they lose a bit of wetness.
Spread the clippings in a layer no thicker than two fingers. Thin layers dry a little, mix well, and do not turn into a slimy mat.
A grass rake and a garden bag usually costs $0 to $10 for basic tools to gather clippings. A mower bag can collect them as you mow.
Cover each thin grass layer with a layer of dry leaves or shredded paper. The brown layer keeps the grass from clumping and helps air move through.
Turn the pile a few days after you add grass to mix it in. You will see the grass fade to brown as it starts to break down.
Do not add a huge heap of fresh grass all at once. A big wet heap can get hot and sour, and it can block air from the rest of the pile.
Add grass on dry days when you can, and skip it on wet days. A little planning keeps your pile balanced and easy to care for.
Your lawn clippings will feed your garden beds in a few months. It feels good to turn a chore into soil for your own plants.
9. Crush Eggshells for Your Pile
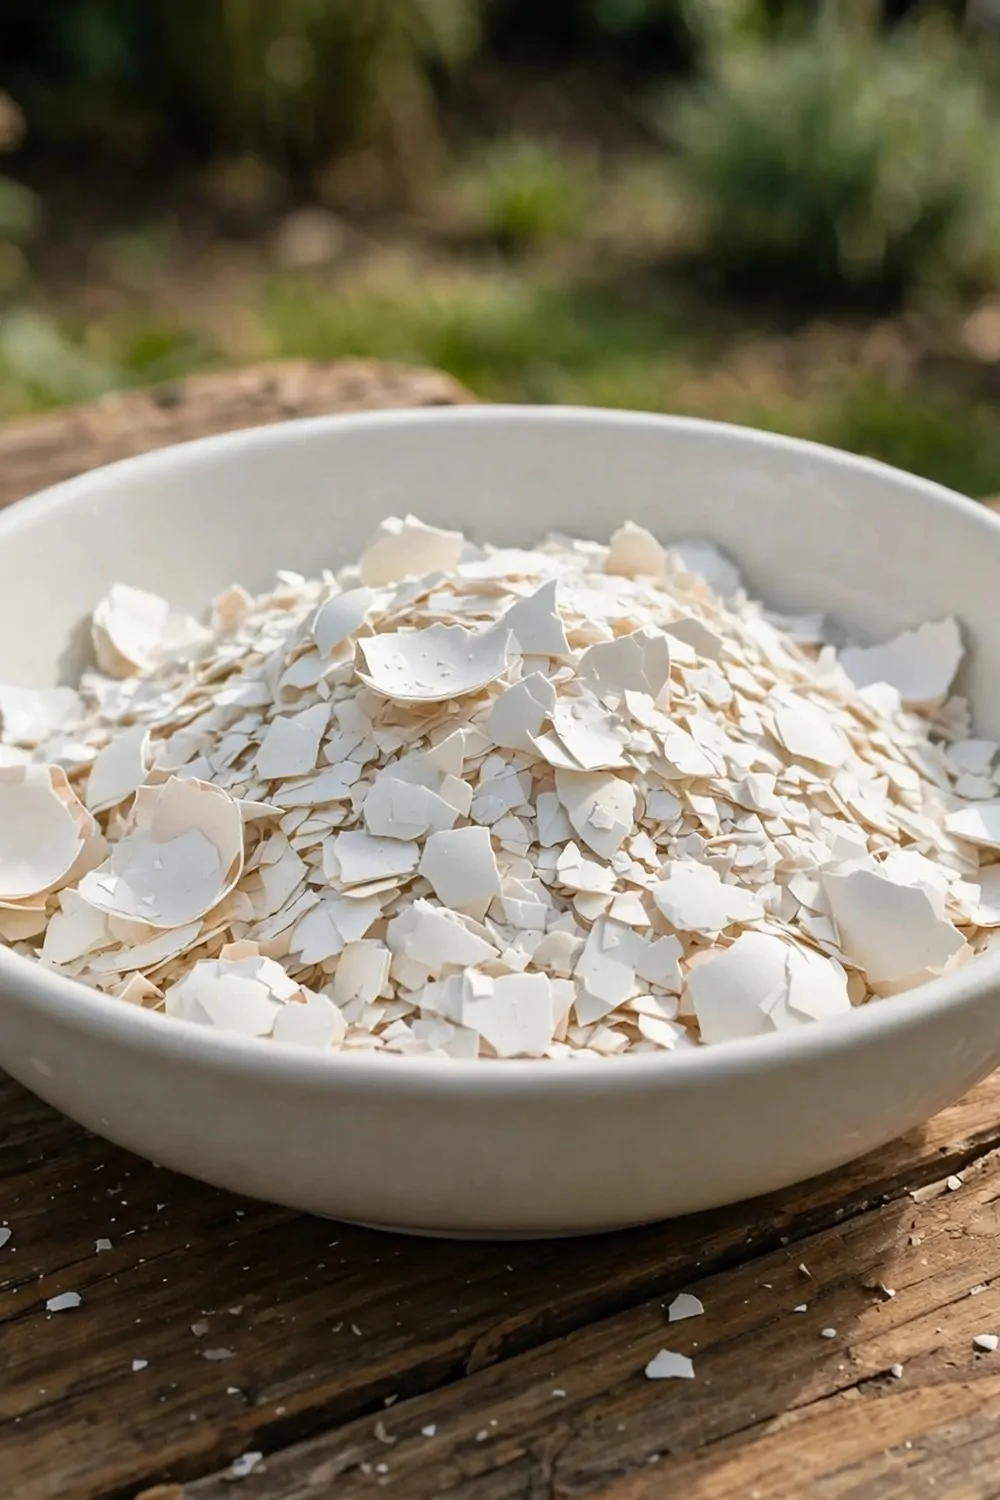
Eggshells add a bit of grit to your pile, and they break down slowly over time. Crushed shells mix in well and help the pile stay light.
Save your shells in a small bowl by the sink. Rinse them lightly if you like, then let them dry on a plate before you crush them.
Crush the shells with your hands or with the back of a spoon. Small bits are best, because big shell pieces take a long time to break down.
A small bowl and spoon usually costs $0 to $5 for basic tools to crush eggshells. You can use a bowl you already have in your kitchen.
Sprinkle the crushed shells over the top of your pile after you add fresh scraps. Then fork them in lightly so they mix with the leaves and peels.
Add shells a little at a time, a small handful each week. A steady trickle works better than a big pile of shells all at once.
Do not worry if you still see tiny shell bits in your finished soil. They are soft, safe, and they will keep breaking down in your beds.
Keep your shell bowl near the sink so you remember to save them. It takes only a few seconds to rinse, dry, and crush a shell.
Your pile will thank you for the small bits of grit. Over a few months, those shells become part of the dark soil you spread.
| Idea | Typical Cost |
|---|---|
| Simple pile | $0 to $15 |
| Three-bin system | $60 to $120 |
| Tumbler bin | $70 to $140 |
| Kitchen caddy | $12 to $22 |
| Layering | $0 to $10 |
| Peels and skins | $0 to $8 |
| Dry leaves | $0 to $10 |
| Grass clippings | $0 to $10 |
| Eggshells | $0 to $5 |
10. Add Coffee Grounds and Paper Filters
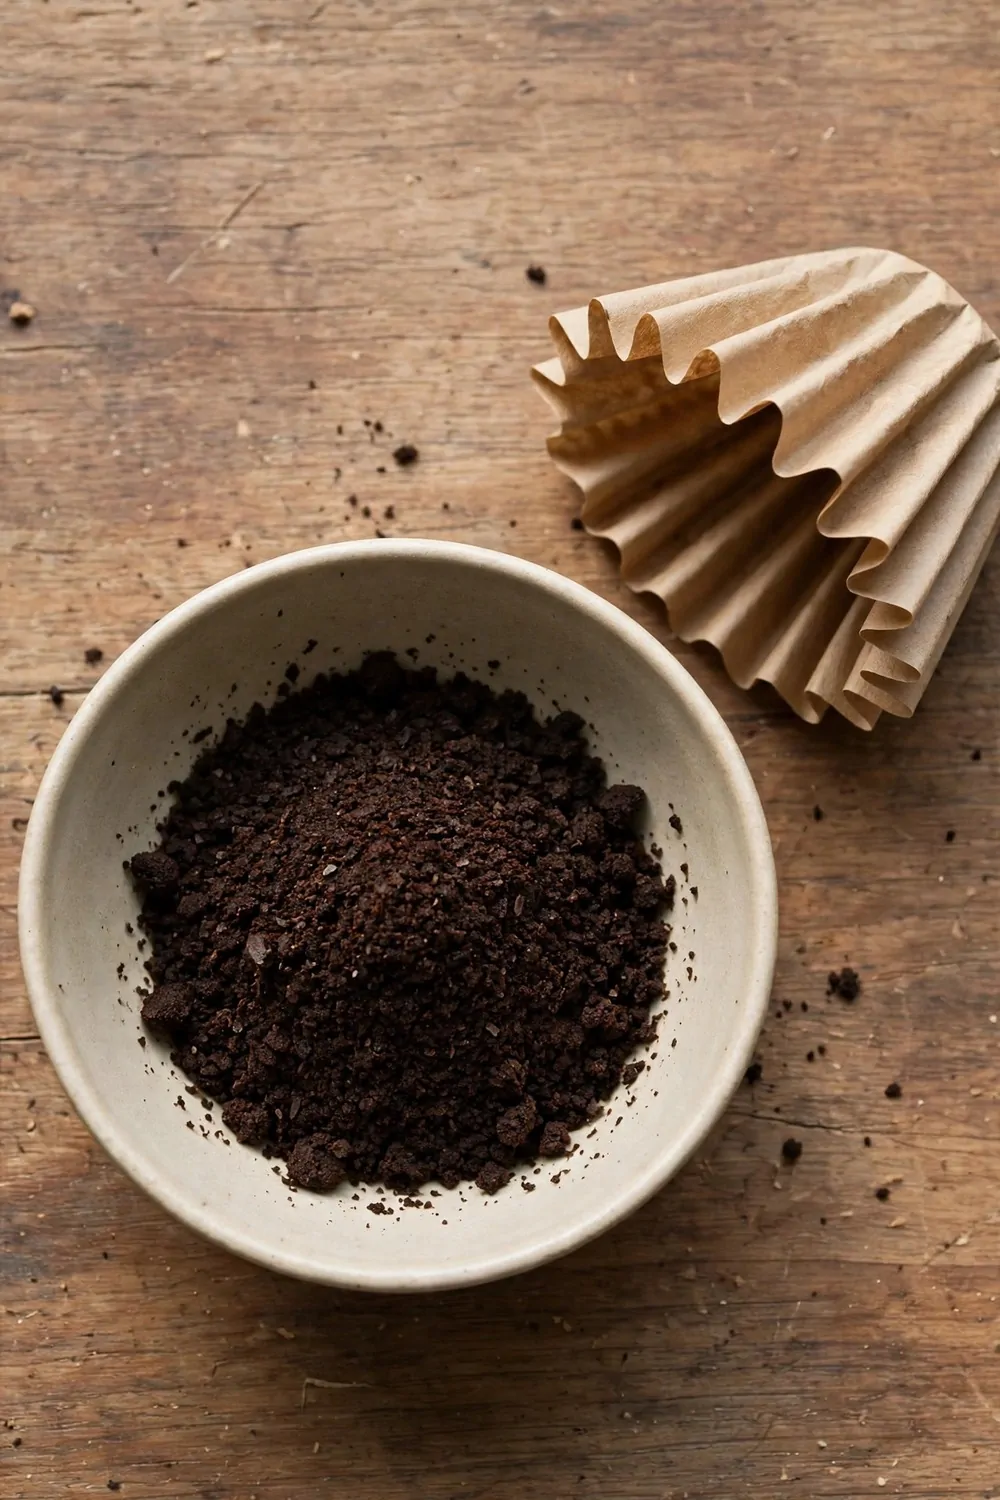
Coffee grounds are soft, dark, and easy to add to a pile. They count as green material, even though they look brown in your cup.
Save your used grounds and the plain paper filter after you brew. Let them cool, then carry them out to the pile in one small bowl.
Tear the paper filter into small strips before you add it. Small strips mix in well, and they add the brown material your pile needs.
A small bowl for grounds usually costs $0 to $8 for a basic bowl you keep by the coffee maker. You can reuse any small bowl you have.
Sprinkle the grounds over the pile and cover them with dry leaves. Covering them keeps the pile neat and stops the grounds from clumping.
Mix the grounds into the top layer with a fork. A quick stir helps air reach them and keeps the pile from getting too wet in one spot.
Add grounds a little at a time, not in a huge wet lump. A small scoop each day is just right for a home pile.
Use plain paper filters only, with no shiny coating. Plain paper breaks down well, and it is safe to add to a garden pile.
Your morning coffee can feed your garden in a few months. It is a small daily habit that turns waste into rich, dark soil.
11. Shred Cardboard for Brown Material
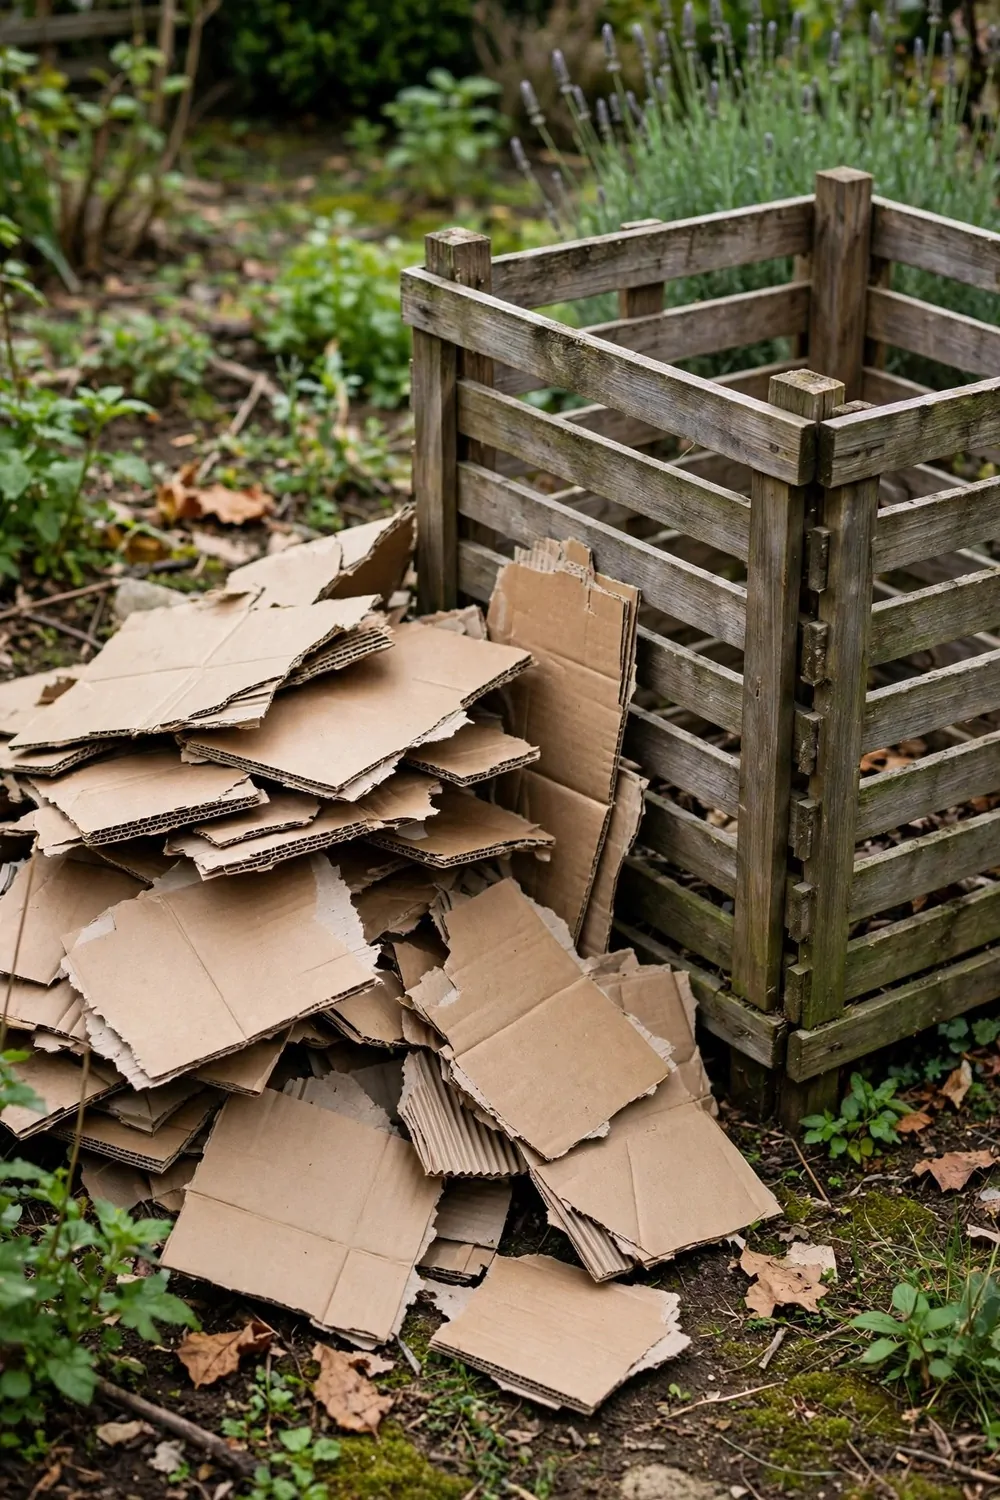
Plain cardboard is great brown material for a compost pile. It soaks up wetness, adds air space, and breaks down into soft fibres over time.
Use plain brown boxes with no shiny print and no tape. Pull off tape and labels first, then tear the box along its folds.
Shred the cardboard into strips about as wide as your thumb. Small strips mix in well, and they do not form a flat layer that blocks air.
A pair of strong scissors usually costs $0 to $5 for a basic pair you use to cut cardboard. You can also tear soft cardboard by hand.
Soak the strips in water for a few minutes if they feel very dry and stiff. Wet strips are soft, easy to mix, and quick to settle into the pile.
Layer the cardboard strips between your green scraps like a sandwich. One brown layer, one green layer, and then more brown on top works well.
Add cardboard when your pile feels too wet or smells sour. A few handfuls of dry strips will soak up the wetness and calm the pile.
Keep a small box of shredded cardboard near your pile for easy use. Dry strips store well, and you will reach for them often.
Cardboard turns from stiff boxes into soft dark soil over a few months. It is a free brown source that many homes already have.
12. Water Your Pile Just Right
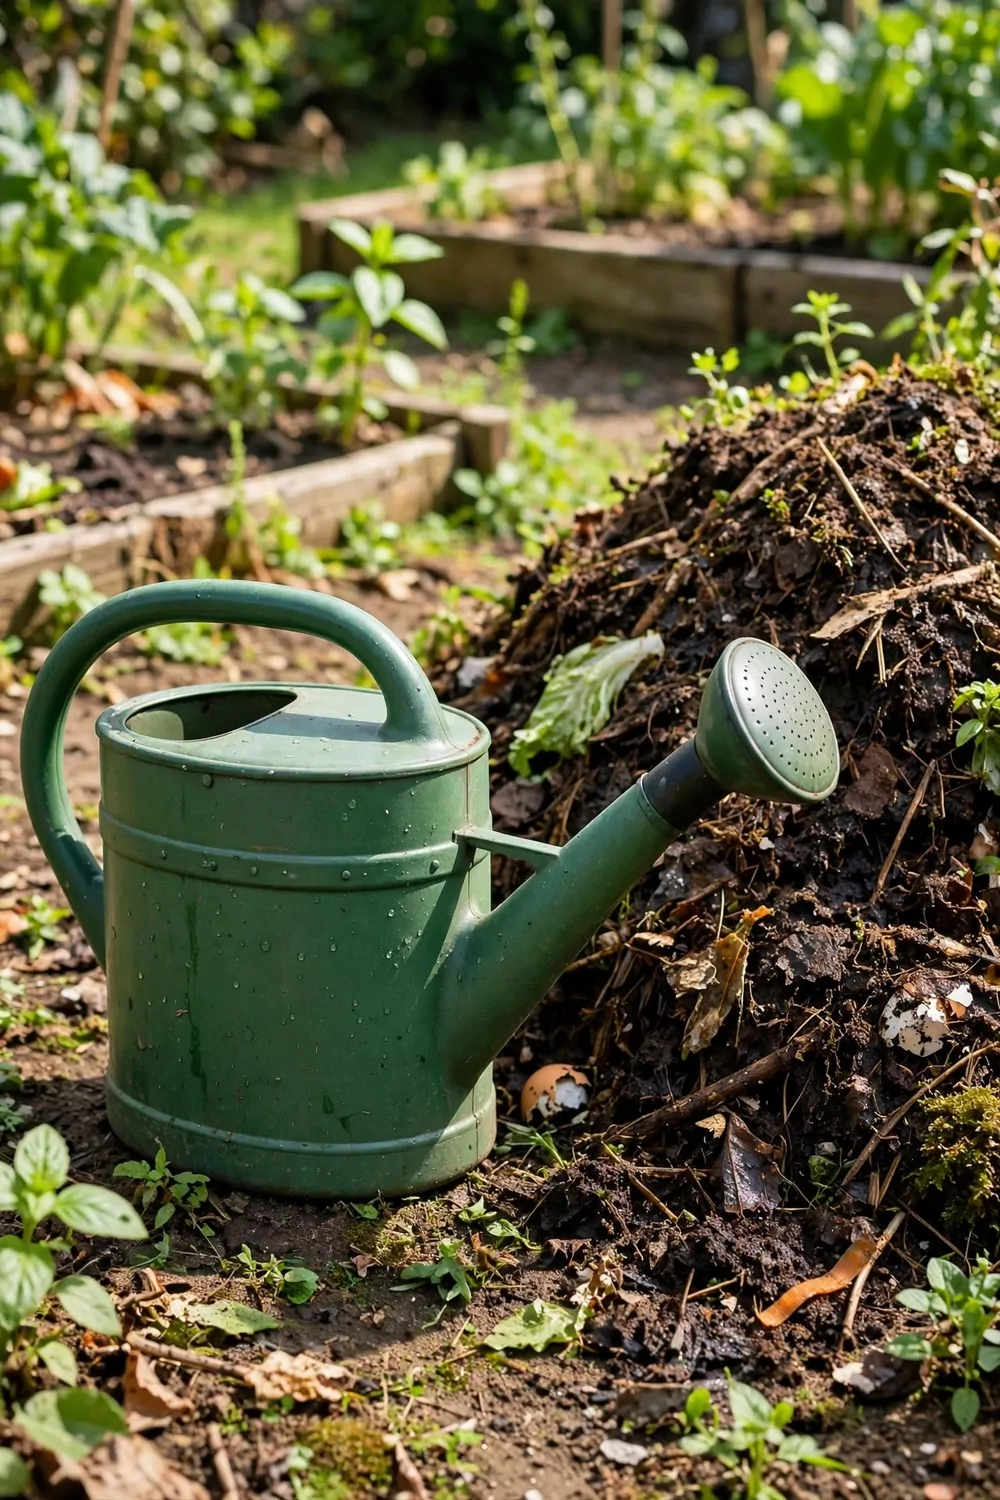
Water helps the tiny life in your pile do its work. Too little water slows the pile down, and too much water makes it soggy and slow.
Feel the pile with your hand once a week. Pick up a small handful and squeeze it gently to see if it holds together.
The pile is just right when it feels damp like a wrung-out cloth. A few drops may fall when you squeeze, but water should not run out.
A small watering can usually costs $11 to $19 for a can you use to water your pile. A hose with a gentle spray can work too.
Add water in light sprinkles, not in a big flood. Walk around the pile and sprinkle a little at a time so the water soaks in evenly.
Water after you turn the pile, so the fresh mix gets damp all through. Turning and watering together help the pile stay active.
Cover the pile with a tarp or a board when heavy rain is coming. A cover keeps the pile from getting soaked and losing its shape.
Check the pile again a few days after you water it. If it still feels dry, add another light sprinkle and fork the top layer.
Your pile will stay busy when the dampness is right. You will see it shrink and darken over a few weeks as it turns into soil.
13. Turn the Pile for Faster Results
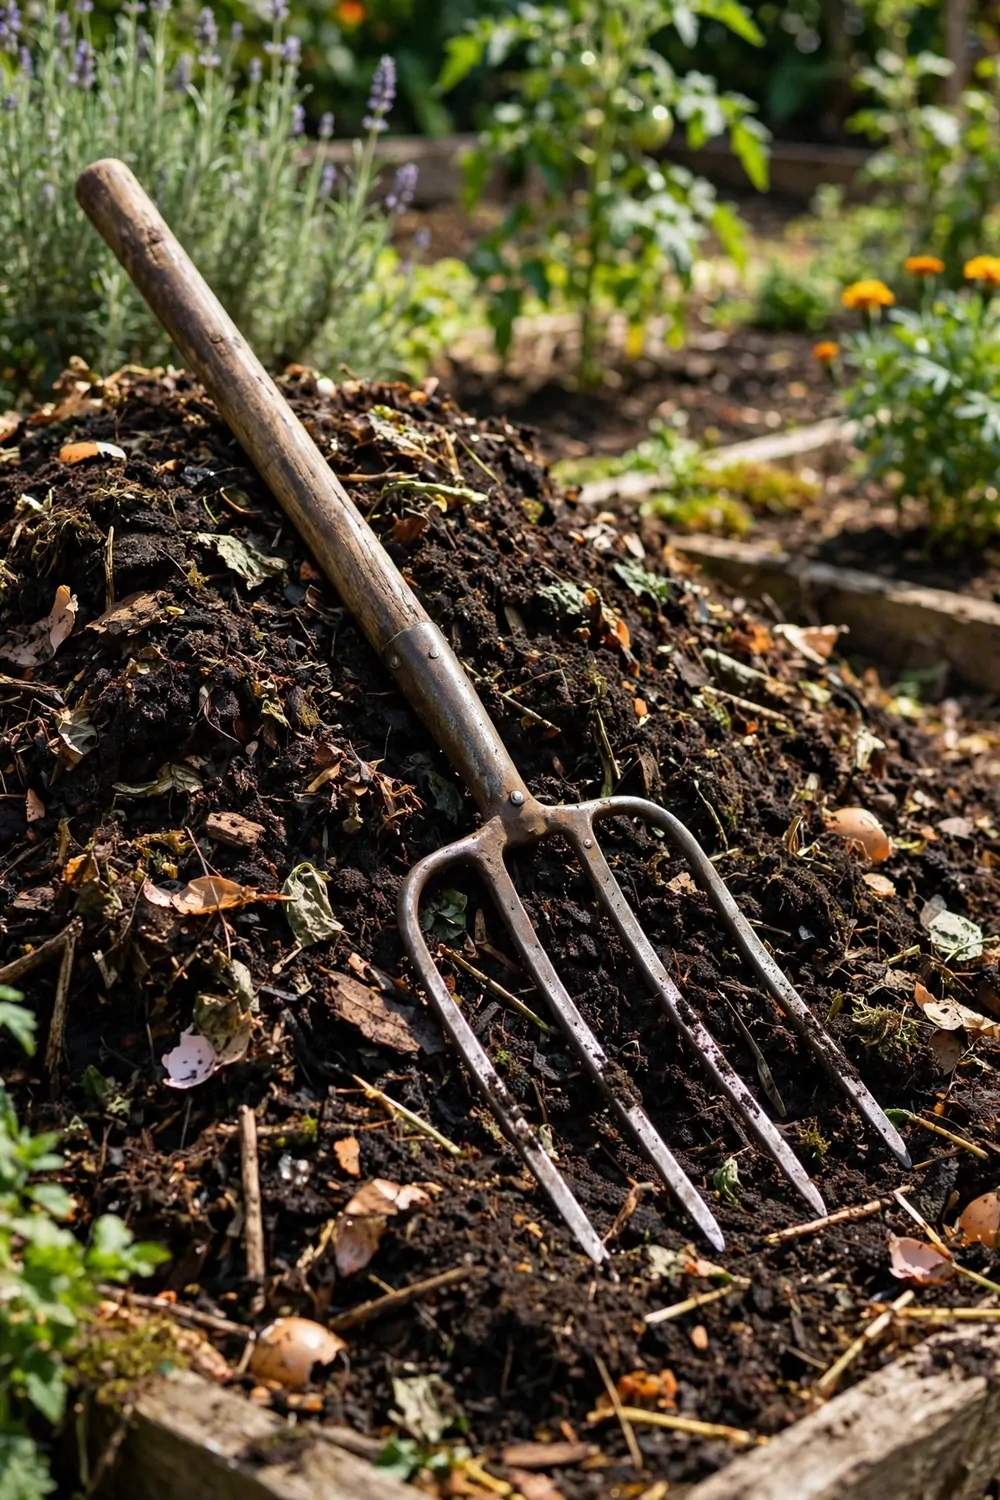
Turning moves air into the middle of your pile. Air wakes up the tiny life inside, and the pile breaks down faster when it can breathe.
Use a fork to lift the pile from the edges to the middle. Move the outside bits in, and move the inside bits out, so all of it gets a turn.
Turn the pile once a week if you can. A weekly turn is enough for most home piles, and it keeps the mix fresh without too much work.
A sturdy garden fork usually costs $15 to $28 for a fork you use to turn your pile. A pitchfork with strong tines works well too.
Start at one side and work your way across the pile in small scoops. Lift, drop, and mix as you go, and take your time with it.
Add a sprinkle of water while you turn if the pile feels dry. Damp material turns more easily, and the water helps the pile stay active.
Put the pile back in a neat heap when you finish turning it. A tidy heap holds heat and dampness better than a flat spread pile.
Watch how the pile changes after each turn. You will see dark bits grow, and the pile will shrink a little each week.
Turning is the one chore that speeds up compost the most. A few minutes each week can cut your wait from months to a few weeks less.
14. Check the Warmth of Your Pile
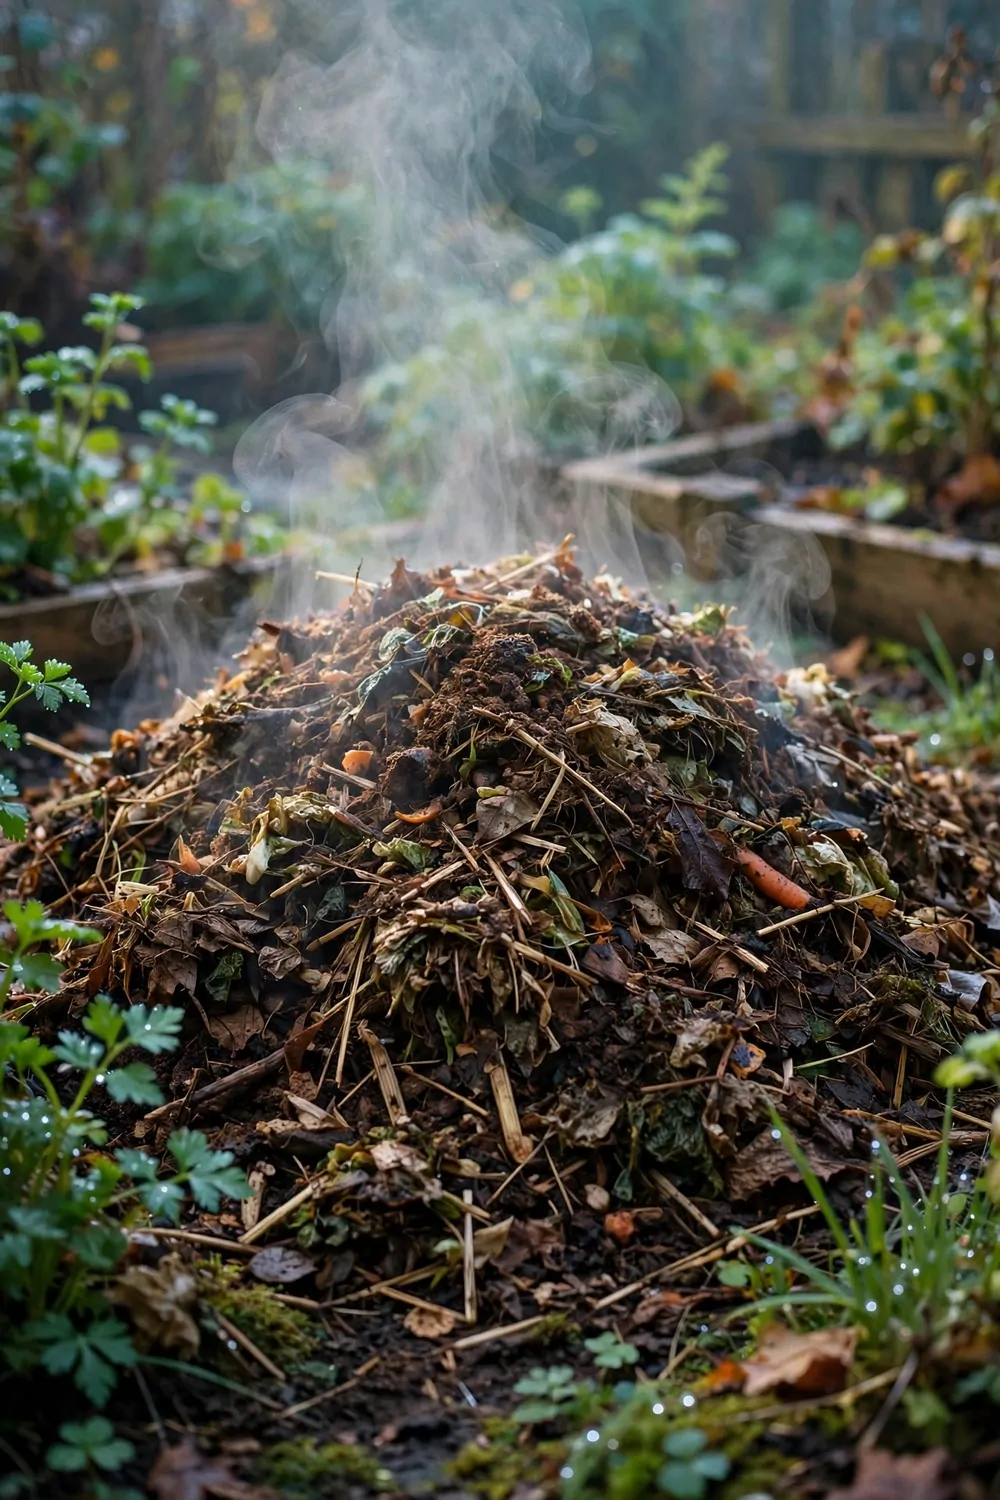
A warm pile is a busy pile. Heat in the middle means the tiny life inside is working hard to break your scraps down into soil.
Push your hand into the middle of the pile to feel for warmth. The centre should feel warm like a sunny wall on a mild day.
Check the warmth once a week, at the same time you turn the pile. A quick check tells you if the pile is active or if it has gone quiet.
A simple soil thermometer usually costs $0 to $12 for a basic probe you push into the pile. Your hand can give you a rough feel for free.
If the pile feels cool, add fresh green scraps and a sprinkle of water. Then fork the pile well to mix air through the new material.
If the pile feels very hot, turn it and add a few dry leaves. Turning lets heat out, and dry leaves help the pile breathe again.
A new pile often warms up in a few days after a good mix. If it stays cool, check the dampness and add more greens or browns as needed.
Do not worry if the pile cools down near the end. A finished pile cools as it turns dark and crumbly, and that is a good sign.
Warmth is a simple clue that your pile is working. Feel it, watch it change, and use what you learn to keep your next pile active too.
15. Make Compost Tea for Your Plants
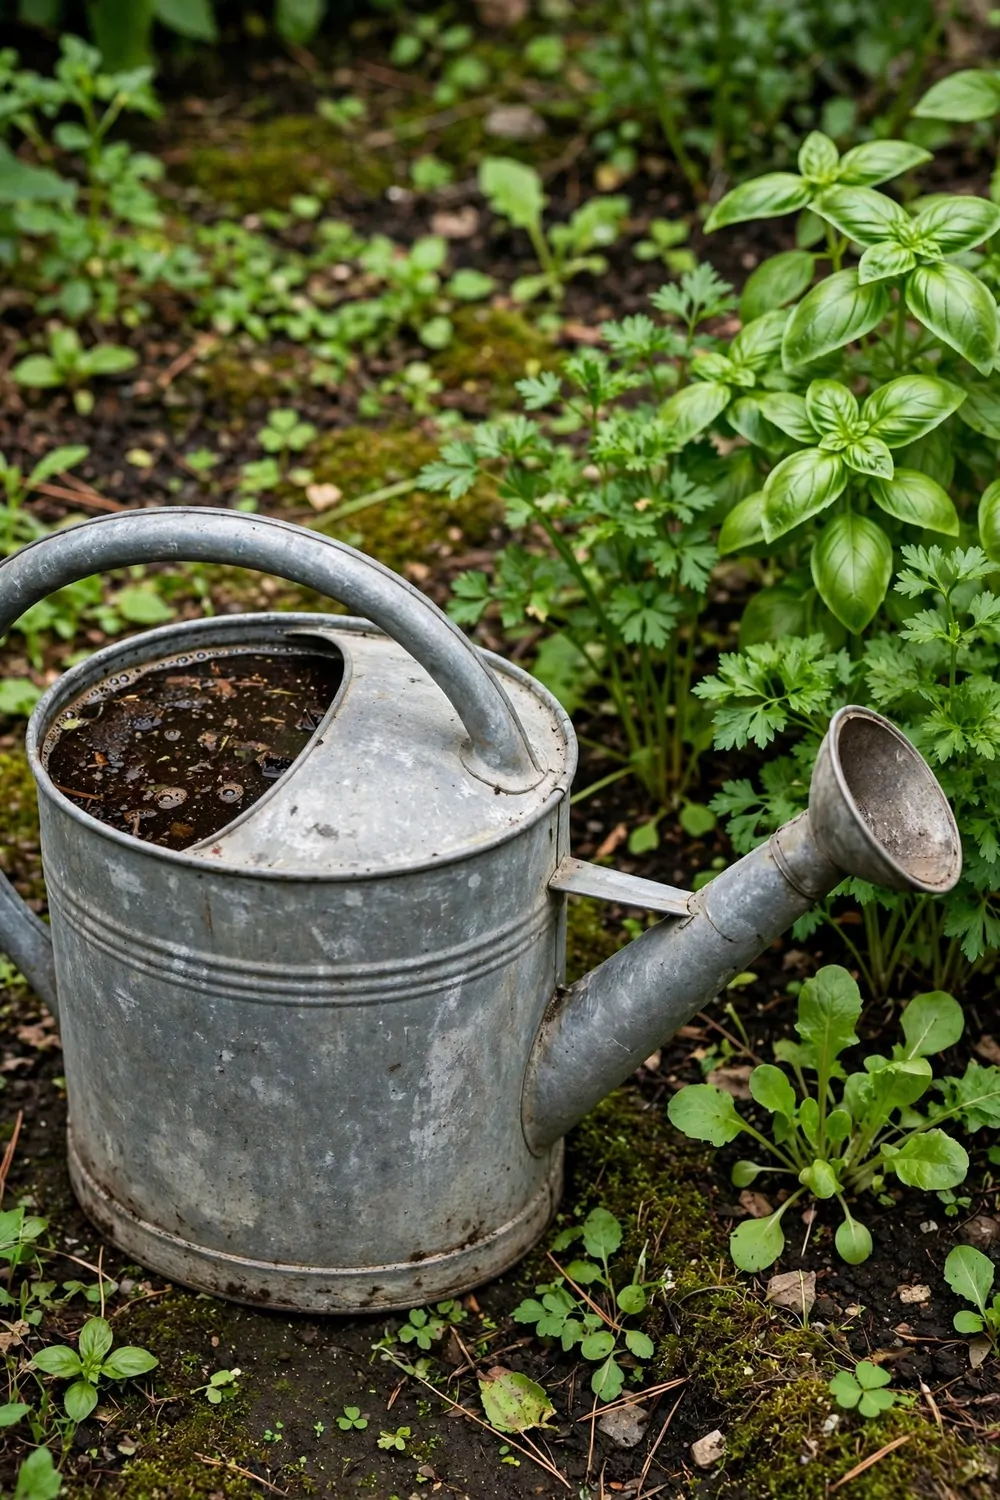
I make compost tea when my plants look a bit tired. It is just finished compost soaked in water, and it feeds the soil in a soft way.
You do not need fancy gear for this.
I fill a bucket with water and add a few scoops of dark compost. Then I let it sit for a day and give it a stir now and then.
The water turns a dark brown colour as it soaks. That colour tells me the good stuff is moving into the water. I strain it through an old cloth before I use it.
A simple tea bucket usually costs $8 to $18 for a bucket and a small strainer.
I pour the tea right at the base of the plant. The leaves stay dry, and the roots get the drink.
Use it on a cool morning so the sun does not dry it out too fast.
Start with a small amount on one plant and watch it for a few days. If it looks happy, use it on the rest of the bed. A little goes a long way here.
The bits left in the cloth can go back on the pile. Nothing is wasted, and your plants get a gentle feed.
16. Use Finished Compost as Mulch
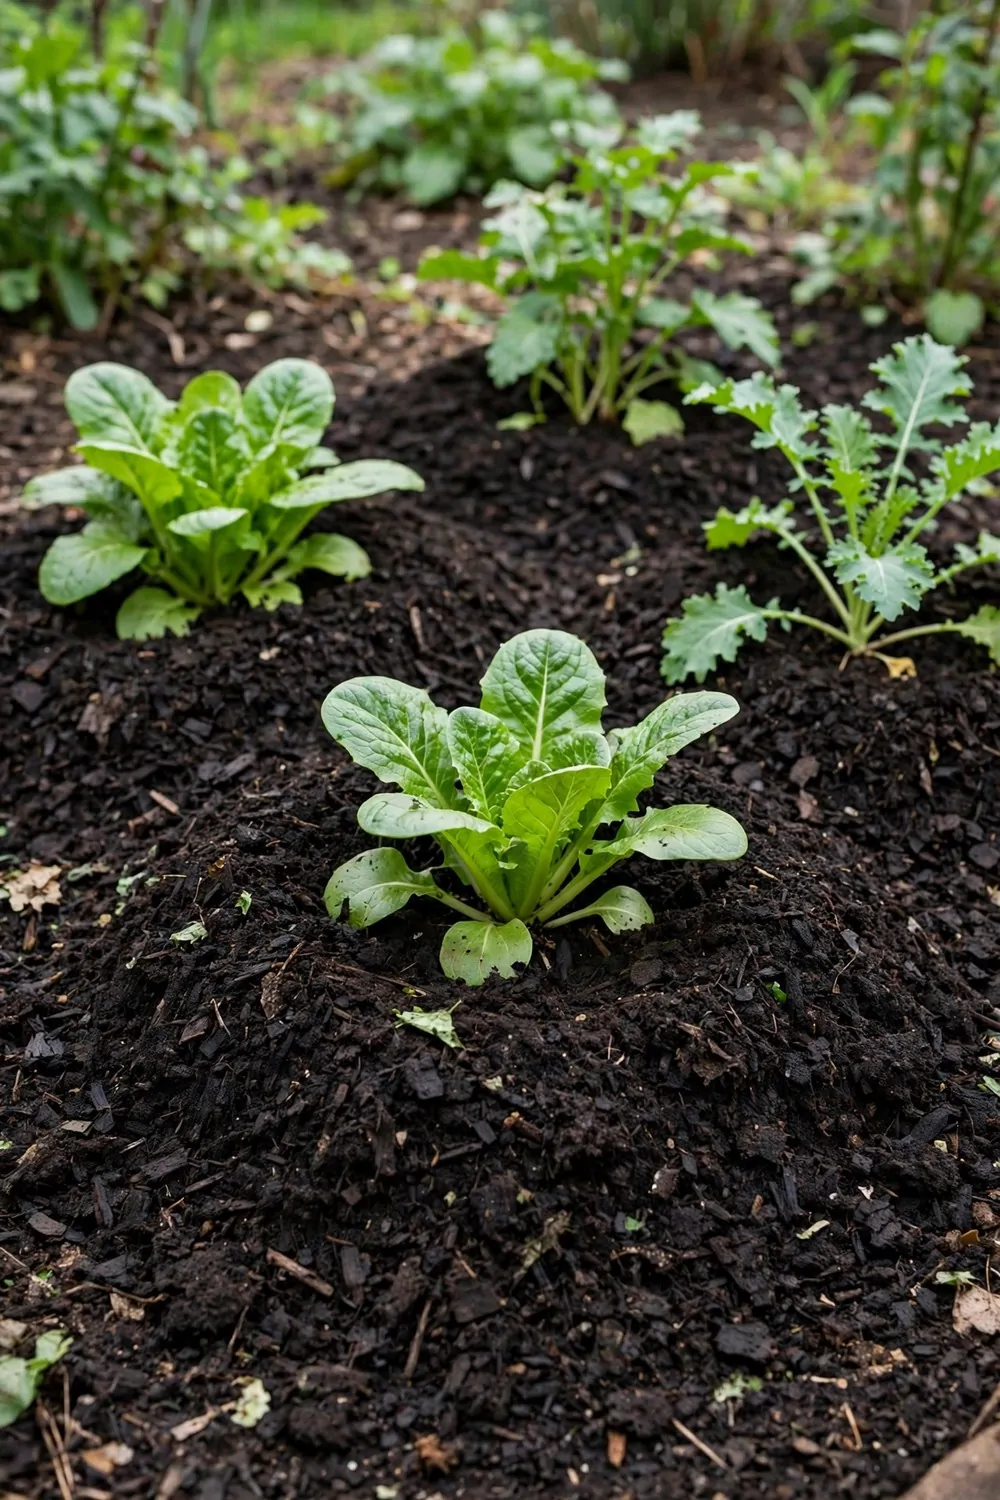
Finished compost makes a soft blanket for the soil. I spread it round my plants and it keeps the ground cool and damp.
It also stops weeds from popping up so fast.
I wait till the compost is dark and crumbly before I use it. If it still smells sharp, I give it more time on the pile.
A thin layer is enough for most beds. I spread about two fingers deep and keep it away from the stems. The stems need air, or they can rot.
A bag of mulch compost usually costs $0 to $15 for a bag or a barrow load from your own pile.
Water the bed after you spread it. The water helps it settle and stay put.
I top it up again when it gets thin.
Veg beds love it most, but flower beds like it too. The soil stays soft under the cover, and worms move in fast. You will see the ground look rich and dark.
Do not pile it in a tall heap round one plant. A flat even layer works best, and it looks neat too.
17. Mix Compost into Potting Soil
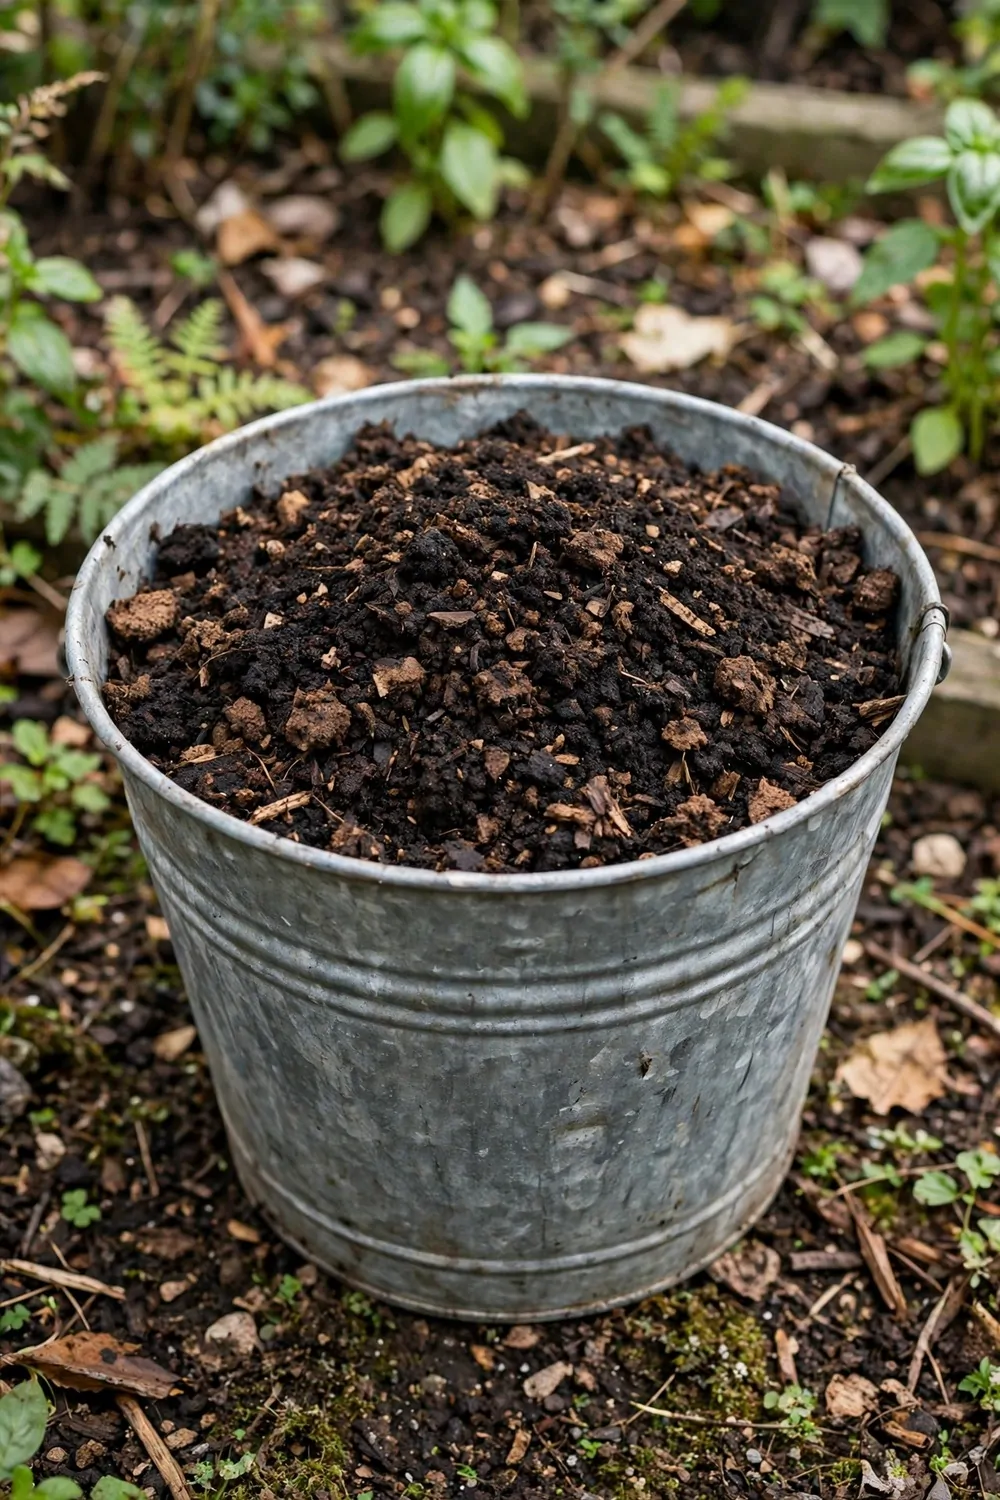
Shop potting soil can feel light and dry on its own. I mix in some of my own compost and it holds water so much better.
The mix feels rich in your hands when it is right.
I use about one part compost to three parts potting soil. That mix is soft enough for roots to spread and firm enough to hold a plant up.
Stir it well in a big tub before you fill the pots. Lumps of compost can sit in one spot and leave dry gaps. A good mix feeds the whole pot evenly.
A bag of potting mix usually costs $12 to $25 for a bag big enough for several pots.
Fill the pot, tap it down gently, and leave a small gap at the top. That gap gives you room to water without it spilling over.
Seeds start well in this mix too.
I use it for herbs on the sill and for big pots by the door. The plants grow steady, and the soil does not dry out in a day. You will water less often than before.
Keep a tub of the mix ready near your pots. It makes potting up a quick job, and you will reach for it all season.
18. Start a Worm Bin by the Sink
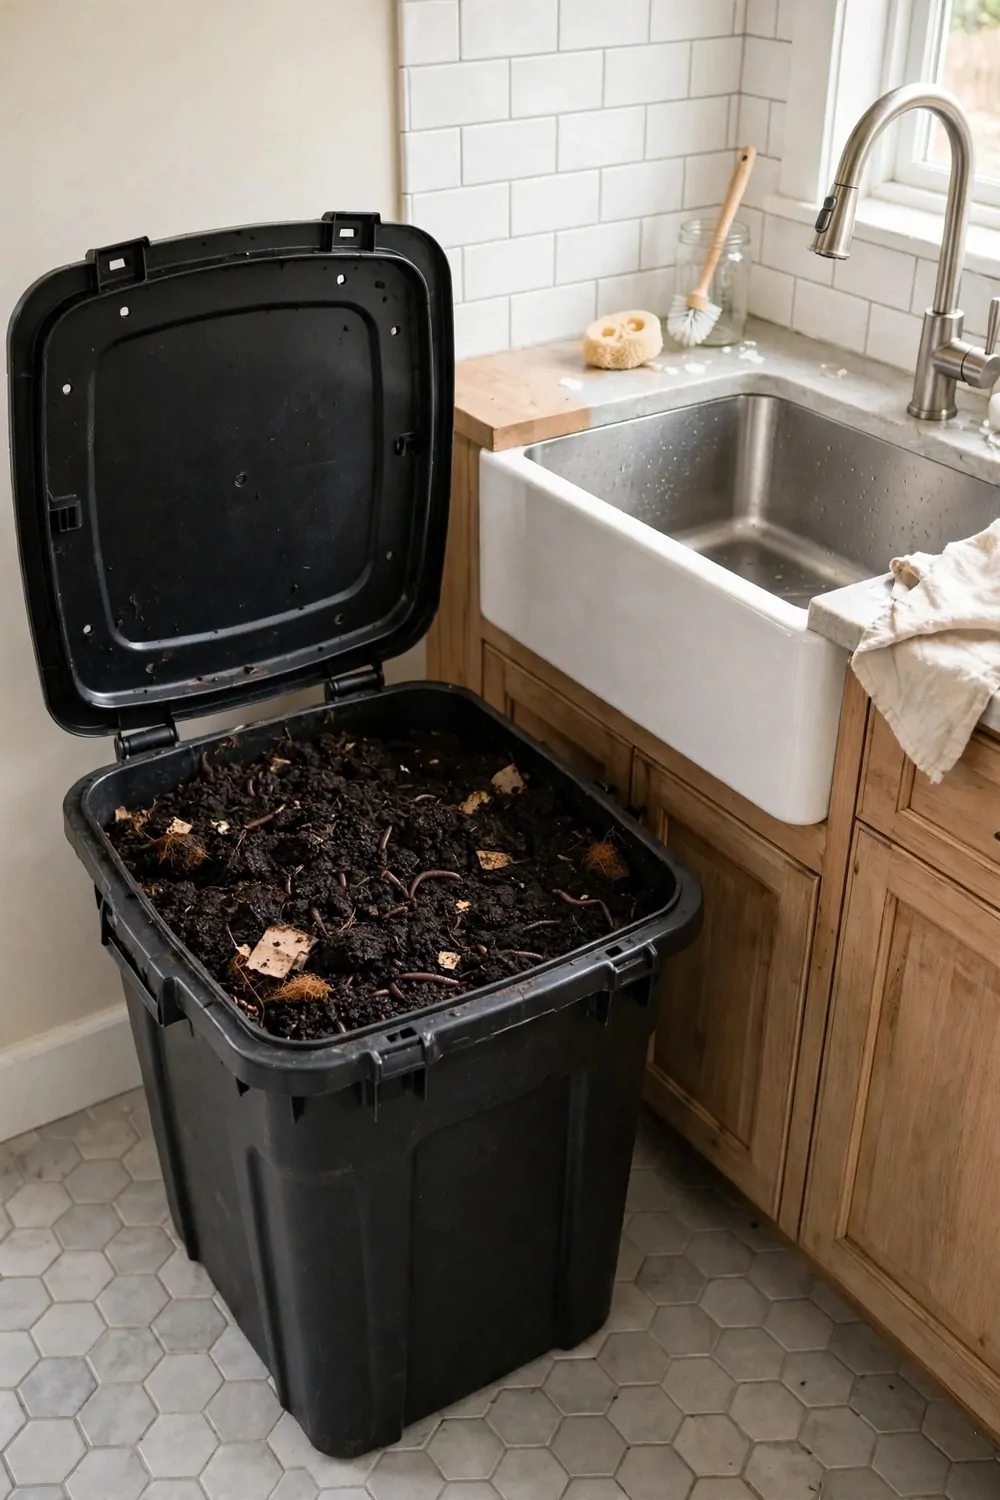
A worm bin is a small box where worms turn scraps into rich soil. I keep mine by the sink, and it takes up very little room.
The worms eat veg peels, fruit skins, and coffee grounds.
I start with damp shredded cardboard as bedding. Then I add a small handful of worms and a little food on top. They settle in fast and get to work.
Feed them a little at a time and do not rush it. Too much food at once can turn sour and smell bad. A small feed every few days is just right.
A worm bin kit usually costs $35 to $70 for a bin, bedding, and a starter set of worms.
Keep the bedding damp like a wrung-out cloth. If it dries out, sprinkle a little water over it.
The bin should smell like fresh earth, not like old food.
After a few months the bedding turns dark and rich. I scoop out the finished castings and mix them into my pots. The worms stay in the bin, ready for the next feed.
Worm bins suit small homes and flats well. You get rich soil from scraps that would go in the bin, and it feels good to waste less.
| Idea | Typical Cost |
|---|---|
| Coffee grounds | $0 to $8 |
| Cardboard | $0 to $5 |
| Watering can | $11 to $19 |
| Pitchfork | $15 to $28 |
| Warmth check | $0 to $12 |
| Compost tea | $8 to $18 |
| Mulch | $0 to $15 |
| Potting soil | $12 to $25 |
| Worm bin | $35 to $70 |
19. Compost in a Small Space with a Bucket
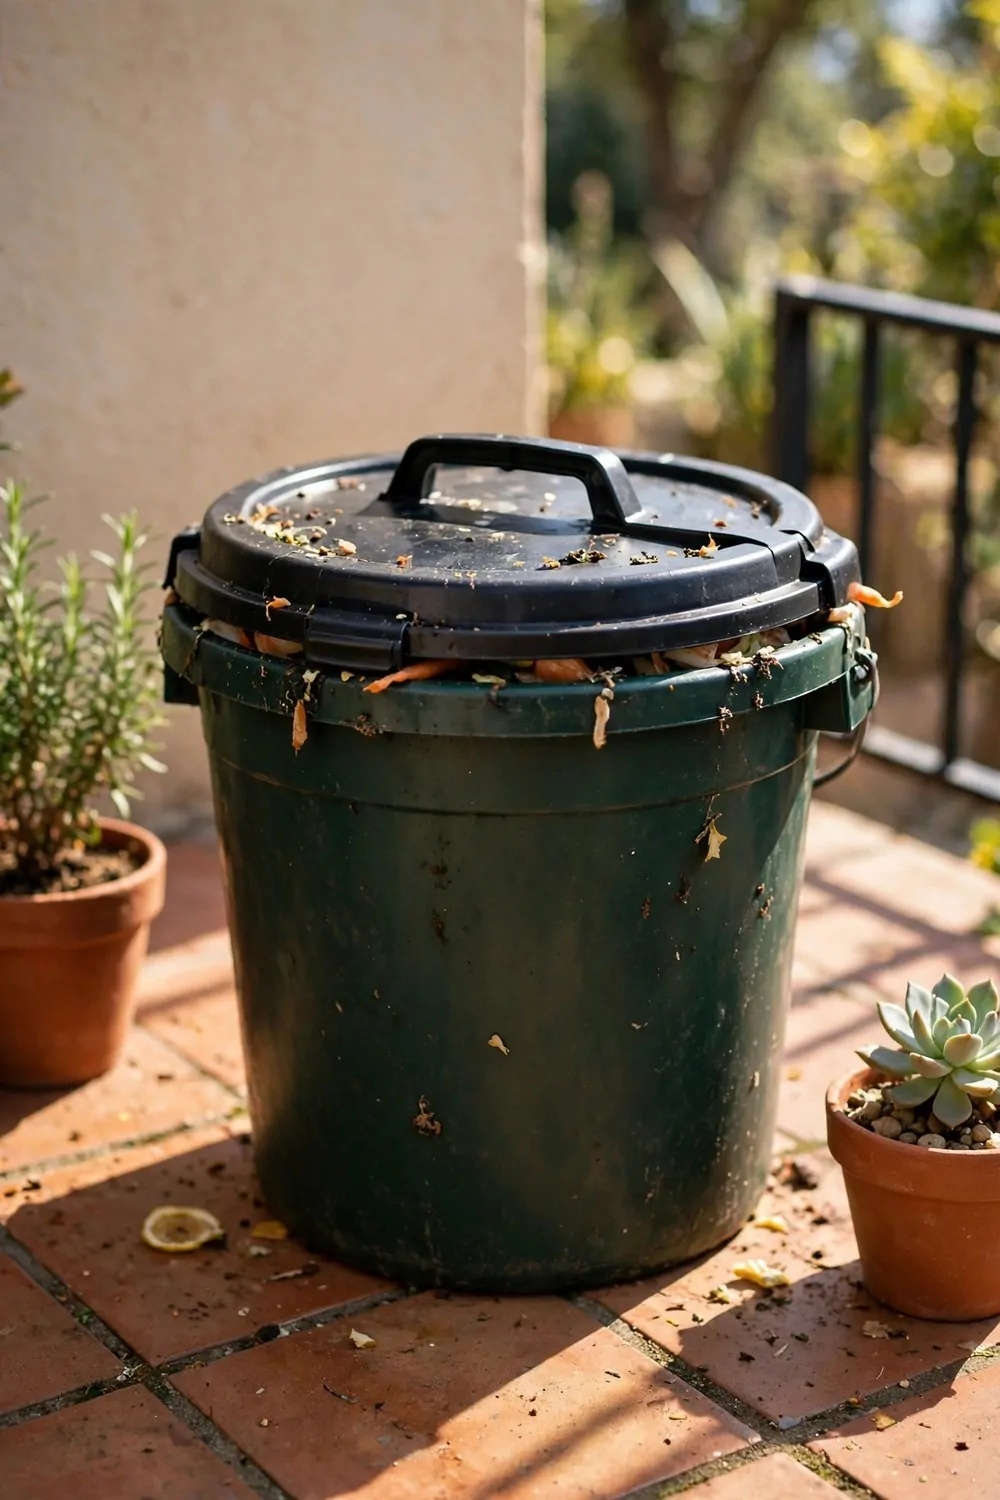
You do not need a big garden to compost. A plain bucket on a balcony can do the job.
I use a bucket with a tight lid and a few small holes for air.
I layer green scraps with dry leaves or torn cardboard. The layers keep the mix balanced, and the lid keeps flies out. A quick stir each week keeps it moving.
Chop the scraps small before they go in. Small pieces break down much faster than big chunks. You will see the mix shrink as it turns to soil.
A lidded compost bucket usually costs $8 to $18 for a sturdy bucket with a lid.
Empty the bucket into a bigger pile when it gets full. Or let it finish right in the bucket if you have the time.
Keep the bucket out of full sun so it does not dry out.
This way works well for flats and tiny yards. You still turn scraps into soil, just in a smaller batch. It is a good first step if a big bin feels like too much.
Start with one bucket and see how it goes. You can add a second one later if your scraps grow.
20. Keep Smells Away with Dry Cover
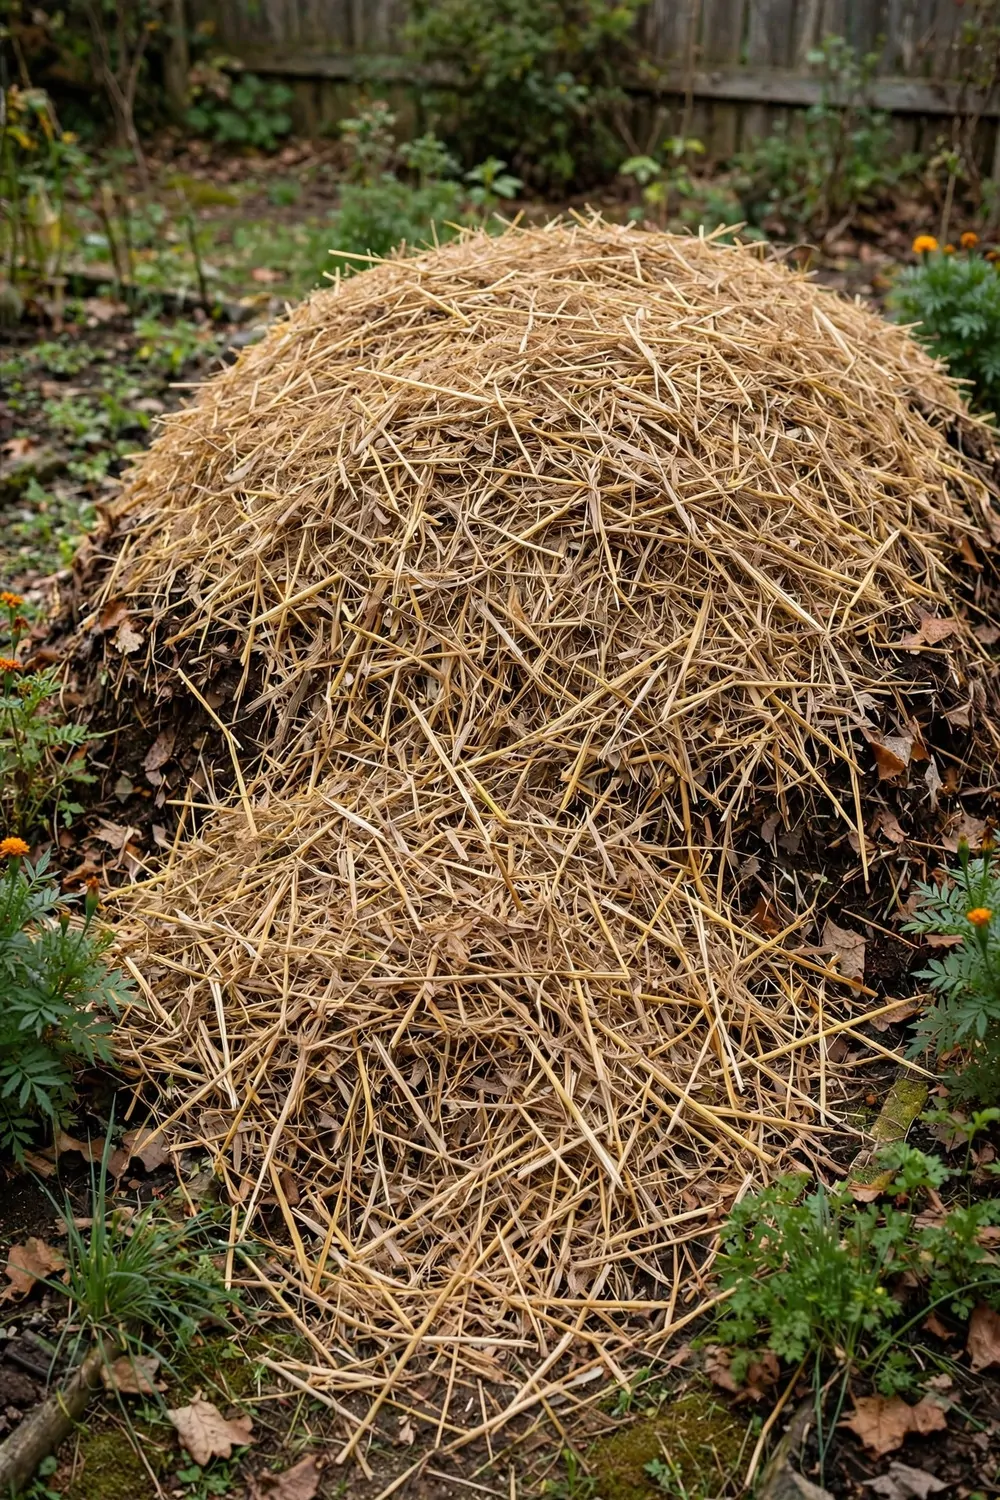
A compost pile should smell like fresh earth. If it starts to smell sharp, it needs dry cover.
Dry cover is just leaves, straw, or torn cardboard on top.
I keep a sack of dry leaves next to my pile all year. Each time I add wet scraps, I cover them with a thick layer of dry stuff. The cover soaks up the wet and keeps the smell in.
A good cover layer is about as thick as your hand is wide. It hides the fresh scraps from flies too. You will notice the smell fade in a day or two.
A sack of dry cover usually costs $6 to $14 for a sack of leaves or straw.
Stir the top layer now and then to let air in. Air keeps the pile fresh and working well.
Never leave wet scraps open on top of the pile.
In wet months I add extra dry cover after rain. The pile stays balanced, and the neighbours never notice a thing. A dry pile is a happy pile.
Keep the cover sack close by so it is easy to reach. If it is a chore to fetch, you will skip it, and the smells will creep back.
21. Fix a Soggy Pile with Dry Browns
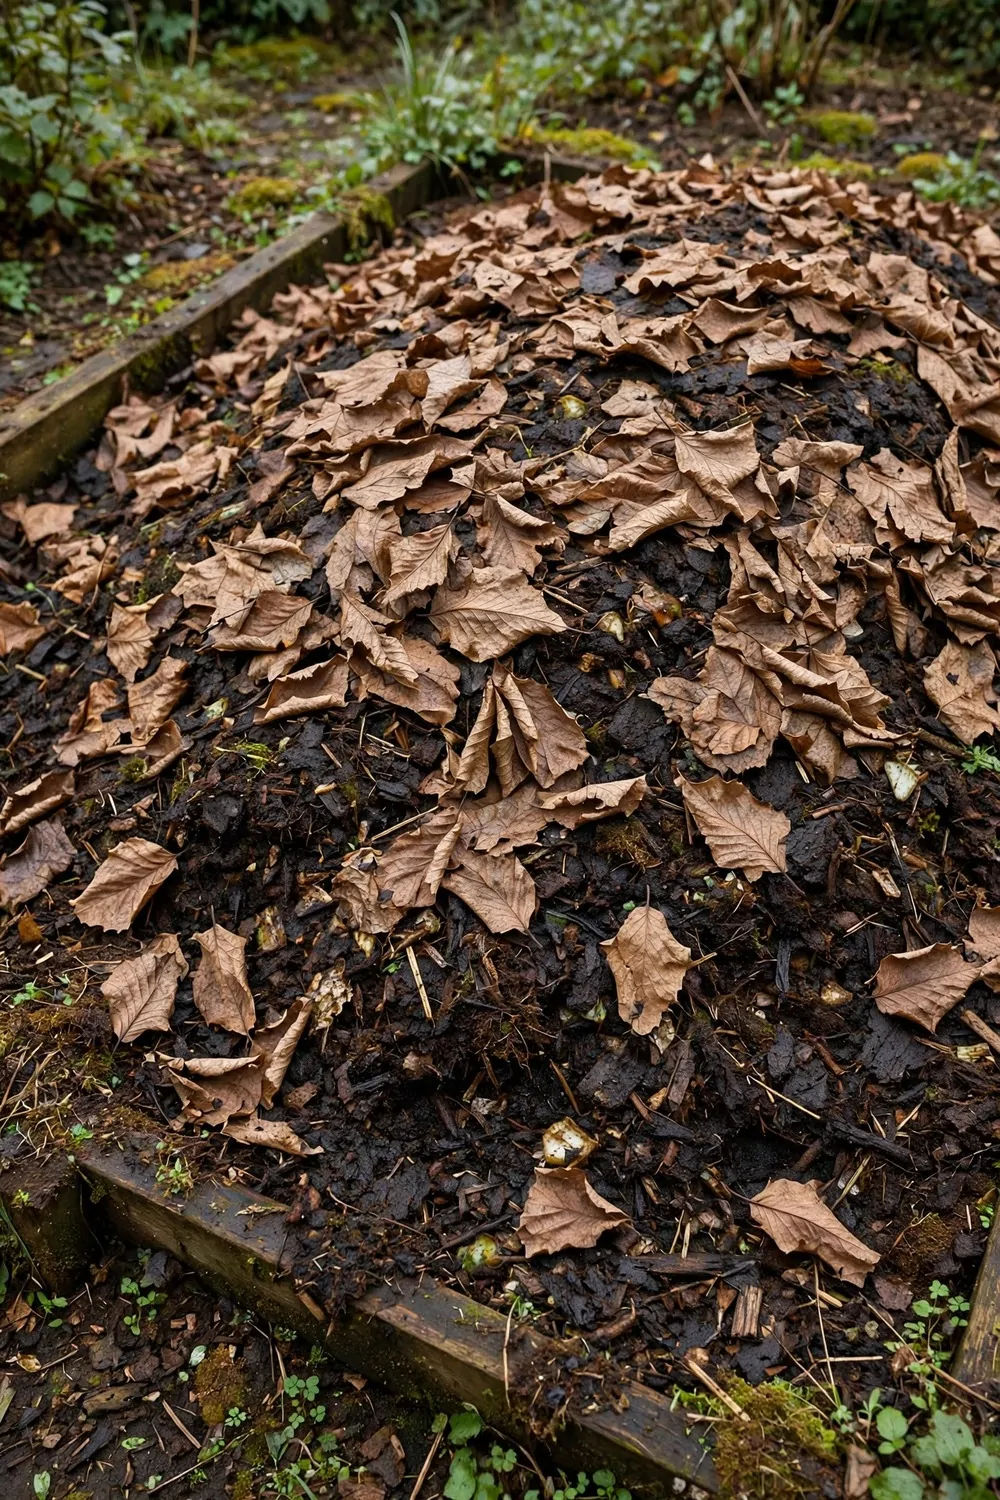
A soggy pile feels heavy and wet, and it can smell sour. I fix it with dry browns, and it perks up fast.
Browns are dry leaves, straw, torn cardboard, and dry grass.
I fork in a big armful of browns and turn the pile over. The dry bits soak up the extra water and let air back in. The pile feels lighter straight away.
Do not add more wet scraps till it dries out a bit. Let the browns do their work first, then feed it again in small amounts. A wet pile needs a rest, not more food.
A bale of dry browns usually costs $0 to $10 for a bale of straw or a sack of leaves.
Cover the pile if rain is on the way. A tarp or an old board keeps the worst of the wet out.
Turn it once more after a few days.
You will know it is fixed when it smells earthy again. The mix should feel damp, not dripping, when you squeeze a handful. That damp feel is just right for compost.
Wet piles happen to us all, so do not worry. A few dry browns and a little patience bring it back to life.
22. Wake Up a Slow Pile with Fresh Greens
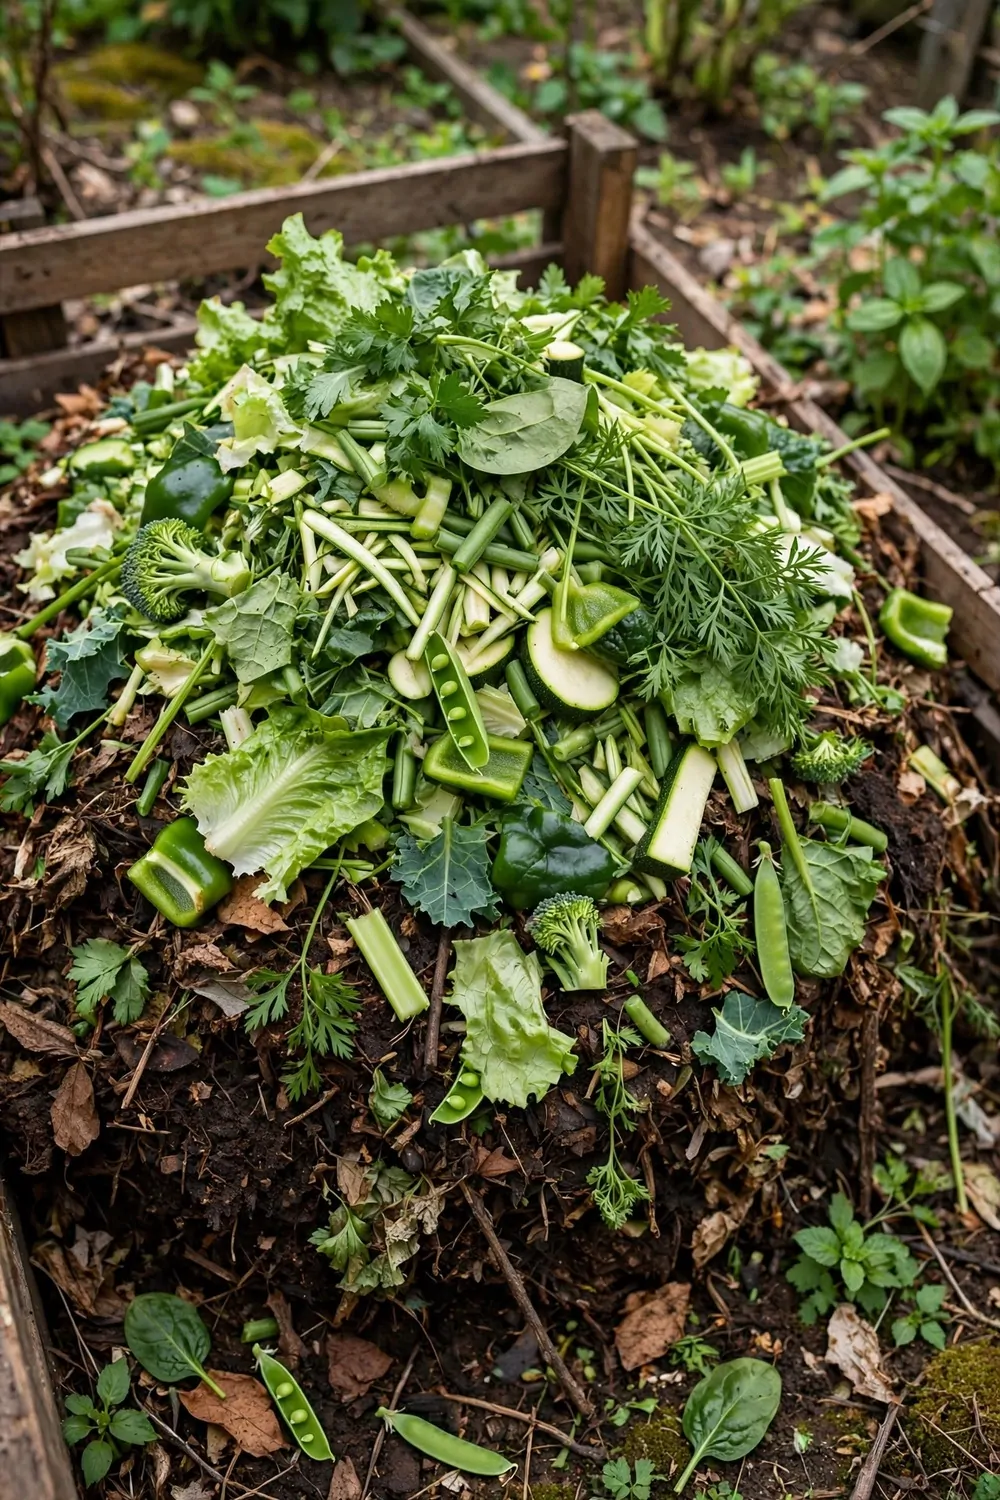
Some piles just sit there and do nothing for weeks. Mine woke up when I added fresh greens.
Greens are veg peels, fruit skins, grass clippings, and coffee grounds.
I mix a bucket of fresh greens into the middle of the pile. The greens bring water and food for the tiny life in the pile. Heat builds up, and the pile starts to shrink.
Turn the pile after you add the greens so they mix in well. Pockets of greens left on their own can go slimy. A good mix keeps everything working together.
A bucket of fresh greens usually costs $0 to $10 for a bucket of clippings or peels from your own kitchen.
Add a splash of water if the pile feels dry. Greens need a bit of damp to get going.
Check the pile in a few days to feel for warmth.
Warmth means the pile is alive and breaking things down. If it is still cold, add a little more green and turn it again. Most slow piles wake up with one good feed.
A slow pile is not a failed pile. It just needs a nudge, and fresh greens are the easiest nudge there is.
23. Use Compost in Raised Beds
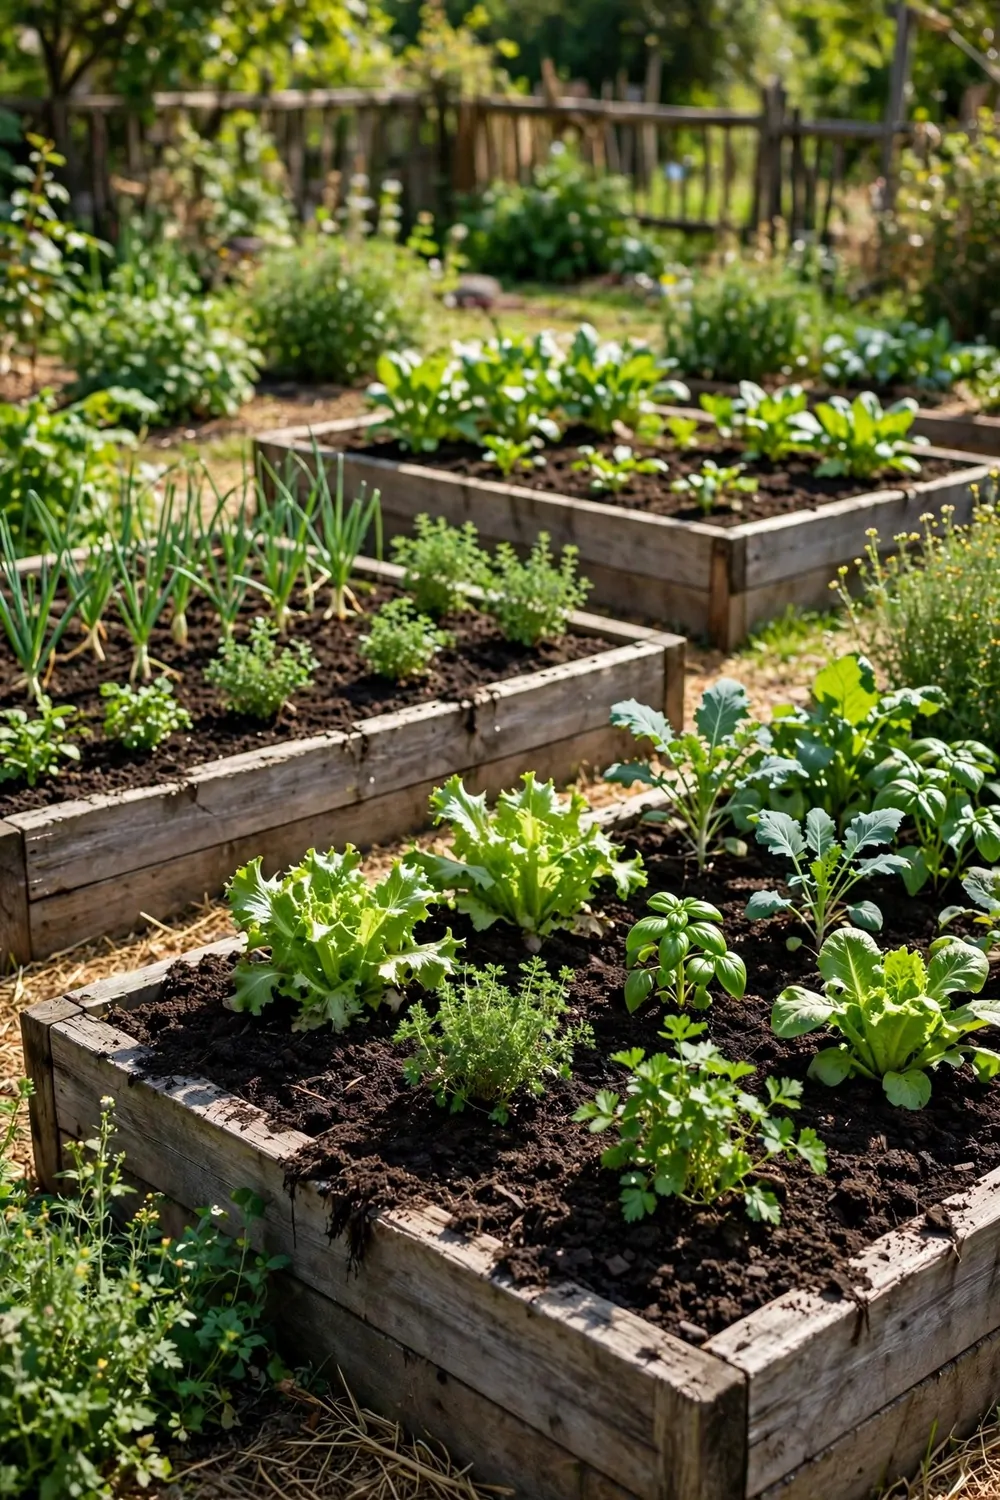
Raised beds drink up compost like nothing else. I top mine up each spring, and the plants show it.
The soil in a raised bed sinks a little each year.
I spread a thick layer of finished compost over the top before I plant. Then I fork it into the top few inches so the roots meet it fast. The bed feels soft and dark when it is ready.
A deep bed needs more compost than a shallow one. I fill to the brim and let it settle for a week. The level drops a bit, and then I plant into it.
A load of compost for raised beds usually costs $40 to $90 for a load big enough for a bed or two.
Water the bed well after you fork the compost in. The water helps it settle round the roots.
Veg beds gain most from a spring top up.
Tomatoes, beans, and leafy greens all grow strong in rich bed soil. The compost feeds them slow and steady all season. You will pick more, and the plants will look full and green.
Top up the beds again in autumn if they look low. A bed fed twice a year stays rich, and your soil just keeps getting better.
24. Top Dress Lawns with Compost
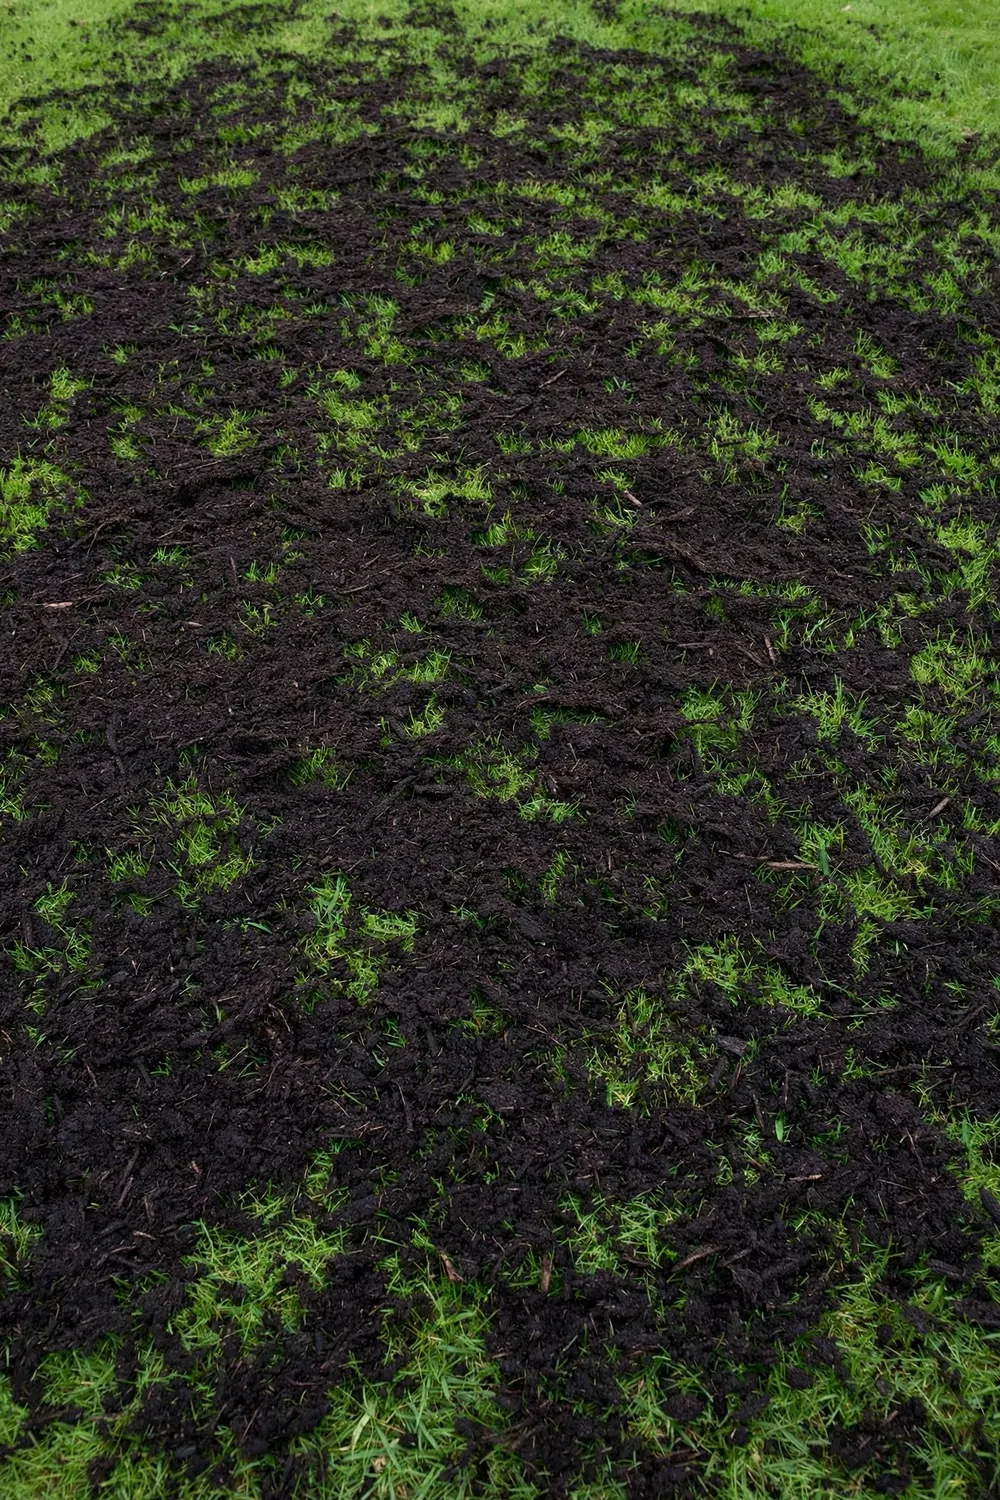
Top dressing means spreading a thin layer of compost over the lawn. I do it in spring, and the grass comes back thick and green.
The compost feeds the soil under the grass, not just the blades.
I use a shovel to scatter small piles across the lawn. Then I rake it out into a thin even coat so the grass tips poke through. The lawn looks dusty for a day, then it greens up.
A thin coat is all you need, about as deep as your little finger. A thick coat can smother the grass and leave bare patches. Less is more with top dressing.
A bag of lawn compost usually costs $15 to $30 for a bag big enough for a small lawn.
Water the lawn after you spread it. The water washes the fine bits down to the soil.
Mow the grass short before you start.
This job suits a cool cloudy day best. Hot sun dries the compost before it can sink in. Your lawn will look fuller in a few weeks, and the soil will feel soft under your feet.
Do it once a year and your lawn will thank you. It is a small job with a big payoff, and it uses compost you made yourself.
25. Store Finished Compost in a Bin
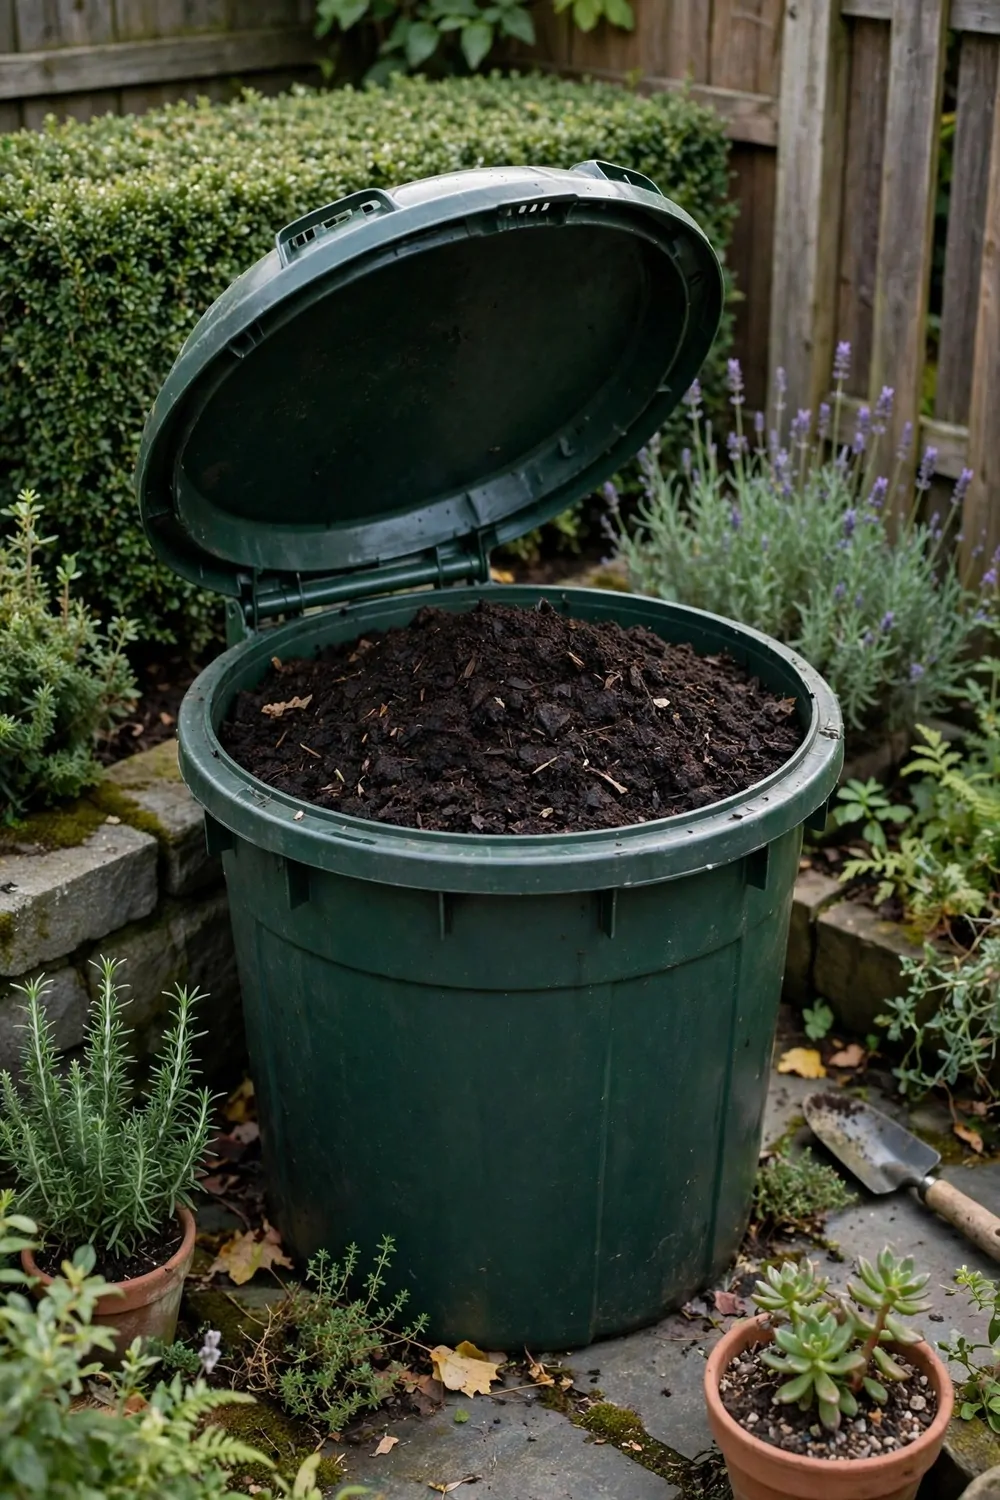
Finished compost needs a dry home till you use it. I store mine in a bin with a lid, and it stays rich for months.
A bin keeps the rain out and the good stuff in.
I let the compost cool down first before I store it. Hot compost in a closed bin can turn sour fast. Cool dark compost is ready to keep.
Fill the bin loosely and do not pack it down hard. Air gaps keep it fresh, and it stays easy to scoop. A lid stops leaves and rain from getting in.
A storage bin usually costs $20 to $40 for a sturdy bin with a lid.
Keep the bin in a shady spot near the garden. Shade keeps it cool, and you can reach it when you need a scoop.
Label the bin so you know what is inside.
I dip into my stored compost all through the season. A scoop for a pot here, a scoop for a bed there, and it never runs out too fast. It feels good to have rich soil ready to go.
Check the bin now and then for damp. If it feels dry, sprinkle a little water over the top and give it a stir.
26. Share Extra Compost with Neighbours
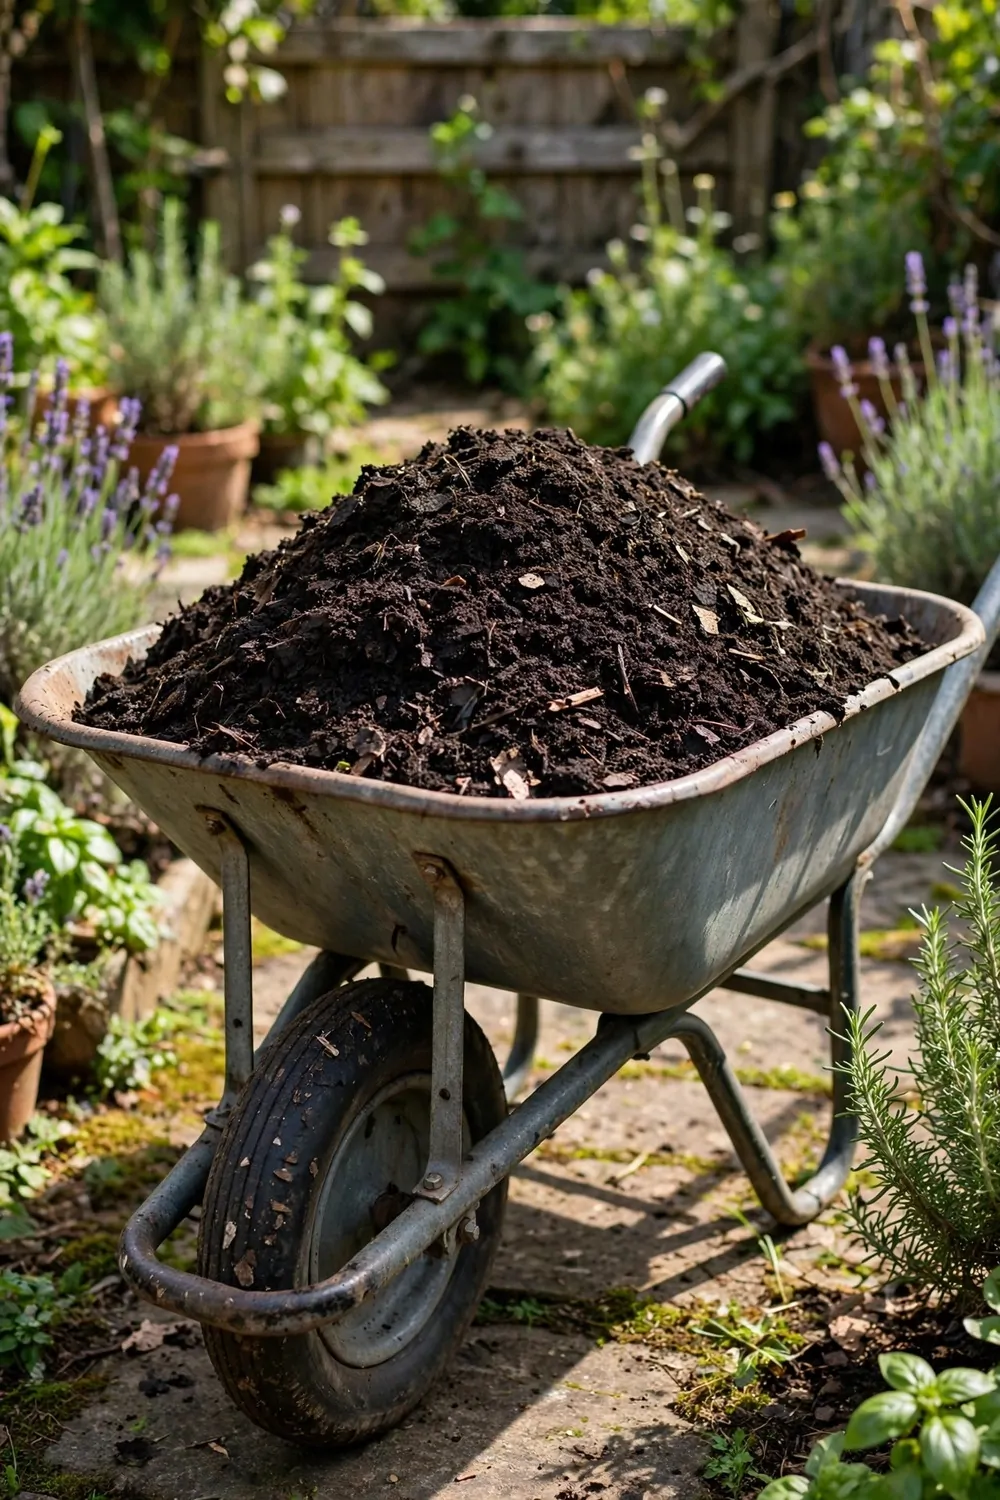
Some years my pile makes more compost than I can use. I share the extra with my neighbours, and it makes us all smile.
Good compost is a gift any gardener will love.
I fill old buckets or sacks with the dark finished mix. Then I leave them by the gate with a small note on top. People take what they need, and the buckets come back empty.
Share only compost that is finished and sweet smelling. Raw scraps are not a gift, and they can smell bad. Finished compost looks dark and feels soft in your hand.
A sack for sharing compost usually costs $0 to $12 for a sack or a spare bucket.
Ask first before you leave a bucket on a doorstep. A quick word makes the gift feel warm, not odd.
Neighbours often swap back with plants or seeds.
Sharing builds a small circle of growers on our street. We swap tips as well as compost, and our gardens all look better for it. One pile can feed a whole row of gardens.
Keep a little back for your own beds too. Share the extra, not the lot, and your garden will still get its feed.
27. Plan Your Compost Year
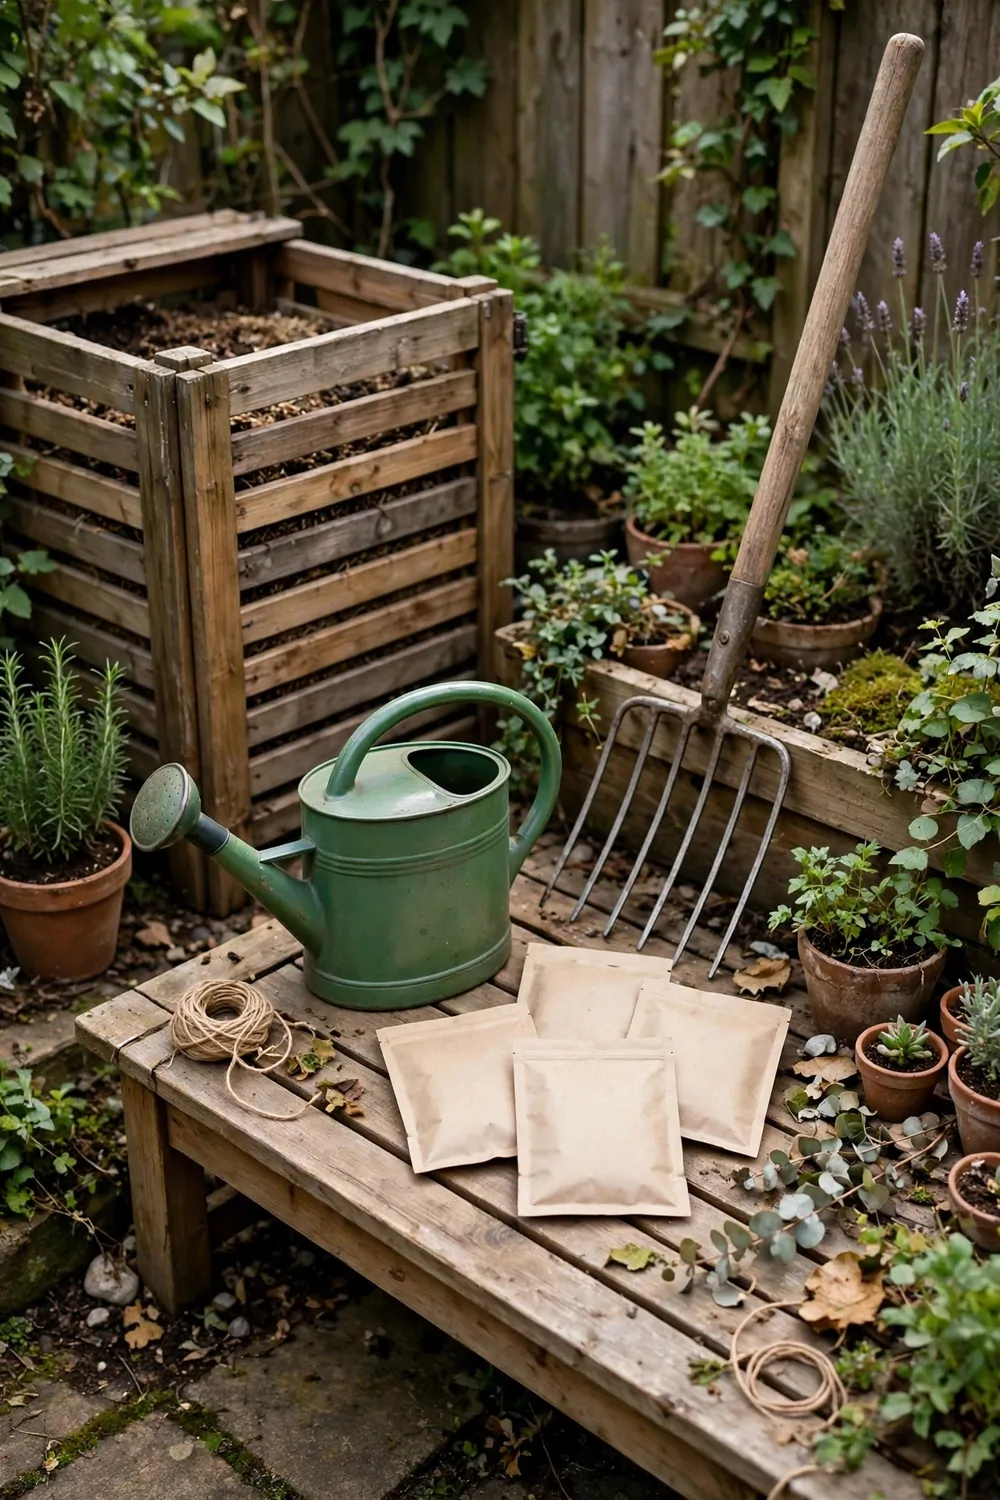
A compost year starts with a simple plan. I look at my garden, pick a spot for the bin, and think about what scraps I make each week.
Compost bin $35 to $70 for a sturdy bin that lasts for years.
Spring is for building the pile with fresh greens and dry leaves. Summer is for turning it and keeping it damp, and autumn is for spreading the finished mix on the beds.
Kitchen caddy $12 to $22 for a small lidded caddy for the counter.
Pitchfork $15 to $28 for turning the pile with ease.
I keep a small note on the fridge with what goes in the pile. Veg peels, fruit skins, leaves, and grass clippings go in, and the rest stays out. The note keeps the whole house on track.
Watering can $11 to $19 for gentle watering that soaks in slowly.
Cover tarp $9 to $16 for keeping rain off the pile.
Total $82 to $155 for the basic kit for a year of composting.
| Area | Main change | Typical Cost |
|---|---|---|
| Compost bin | A sturdy bin that lasts for years | $35 to $70 |
| Kitchen caddy | A small lidded caddy for the counter | $12 to $22 |
| Pitchfork | Turning the pile with ease | $15 to $28 |
| Watering can | Gentle watering that soaks in slowly | $11 to $19 |
| Cover tarp | Keeping rain off the pile | $9 to $16 |
| Total | Basic kit for a year of composting | $82 to $155 |
Keep Reading
If you liked these ideas, you will love these posts too.
- 21 Window Herb Garden Ideas for Sunny Kitchens
- 34 Small Space Vegetable Garden Ideas That Grow a Lot
- 25 No Dig Garden Ideas That Save Your Back
- 33 Vegetable Garden Ideas for First Time Growers
- 22 Vertical Garden Ideas That Grow Up Not Out
- 26 Container Garden Ideas for Patios and Small Spaces
Save your next peel instead of binning it, and let your garden thank you in a few weeks.