25 No Dig Garden Ideas That Save Your Back

My back hurt every time I dug the garden, so one spring I stopped digging altogether. I was tired of sore arms and a stiff lower back after every weekend in the yard.
I loved growing food, but I did not love the digging part. The spade felt heavy, the soil felt hard, and my back always paid for it the next day.
So I tried a new way. I left the spade in the shed and built my beds right on top of the ground.
It felt strange at first. I kept thinking the plants would not grow without turned soil.
They grew just fine. In fact, they grew better, because the soil life under the beds stayed safe and busy.
Now I garden standing up more and bending less. I lift light loads, I work in short spells, and I let worms and rain do the hard work for me.
You will find all 25 ideas in this one post, from flat cardboard and thick compost to soft paths and tall raised beds, so you can pick the ones that suit your yard and start without a spade.
1. Cardboard Over Grass
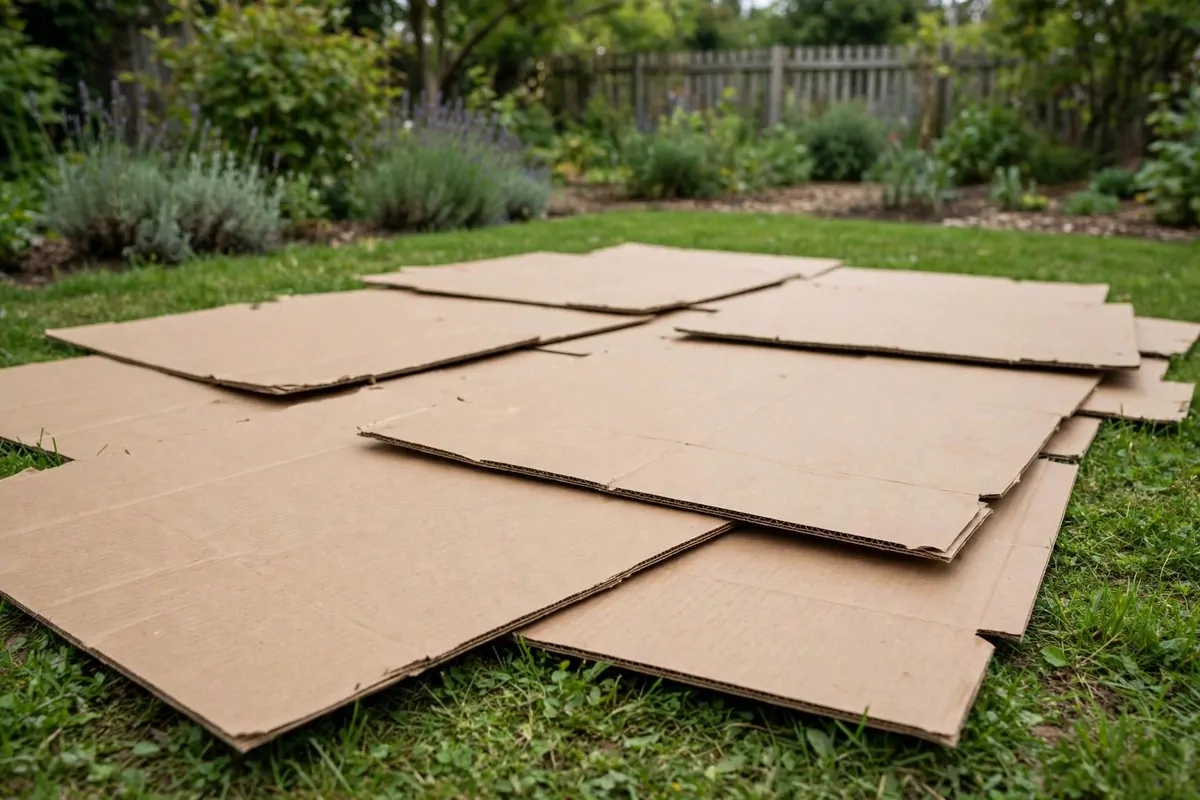
I start most new beds with flat brown cardboard. I lay the sheets right over the grass and I do not dig at all.
First I mow the grass short, if I can. Then I pull out any big stones I can see.
I open the boxes flat and I take off all the tape and labels. I want plain brown cardboard with no shiny print.
I lay the sheets so they overlap by a good hand width. Gaps let grass push through, and I do not want that.
Then I wet the cardboard well with a hose or a watering can. Wet cardboard sits flat and it starts to soften fast.
I weigh it down with a little compost or a few bricks for a day or two. That stops the wind from lifting the corners.
Under the cardboard, the grass slowly fades away. The worms come up and start to work in the dark, damp space below.
After a few weeks the ground under it feels soft. I can push my finger in with ease, and the grass is gone.
Typical cost runs $12 to $28 for tape, a hose nozzle if you need one, and a bag or two of compost to hold the sheets down while they settle.
2. Compost Piled on Top
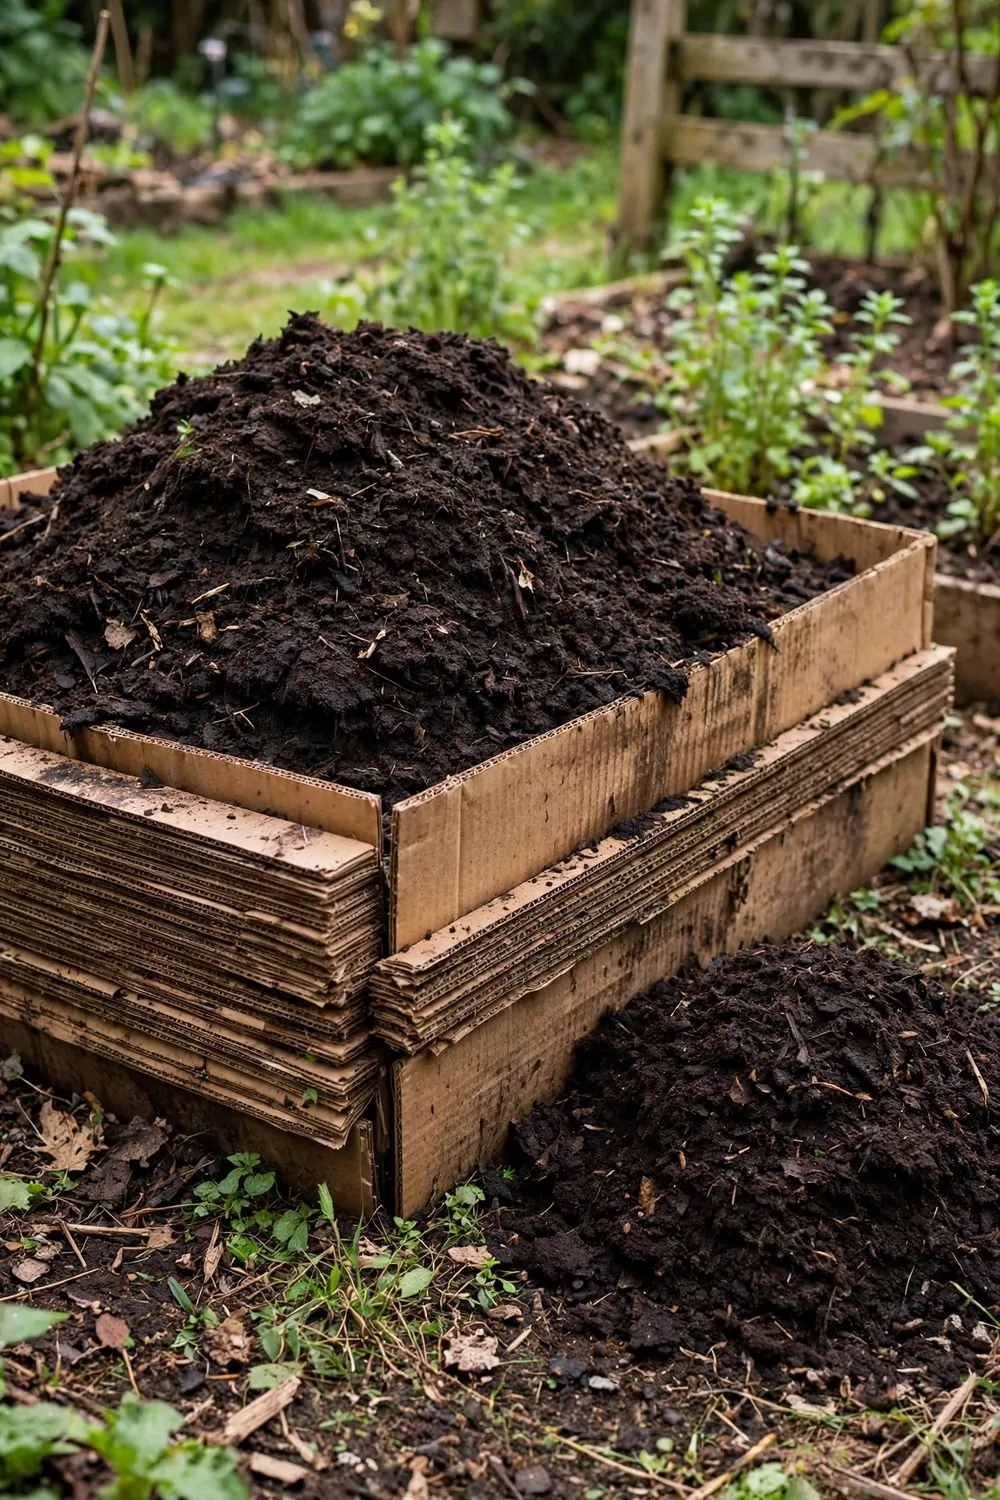
Once the cardboard is down, I pile dark compost right on top of it. This is the part I like best, because it feels like building, not digging.
I use compost that smells like fresh earth. It should feel damp and crumbly in my hand, not wet and sticky.
I spread it about as deep as my hand is long. That gives young roots a soft place to start.
I do not mix it into the soil below. I just leave it on top and let the rain and worms pull the goodness down.
I plant straight into the compost. Small plants settle in fast when the compost is loose and warm.
For seeds, I make a shallow line with my finger and I drop the seeds in. Then I cover them with a thin pinch of compost.
I water the bed gently after planting. A soft shower from a can is better than a hard blast from a hose.
Over the season the compost layer gets thinner as the soil below eats it up. That is normal, and I just add a fresh layer on top next time.
Typical cost for a small bed like this often works out at $18 to $36 for two or three bags of compost, and that is plenty to get started.
3. Mulch Layers That Feed the Soil
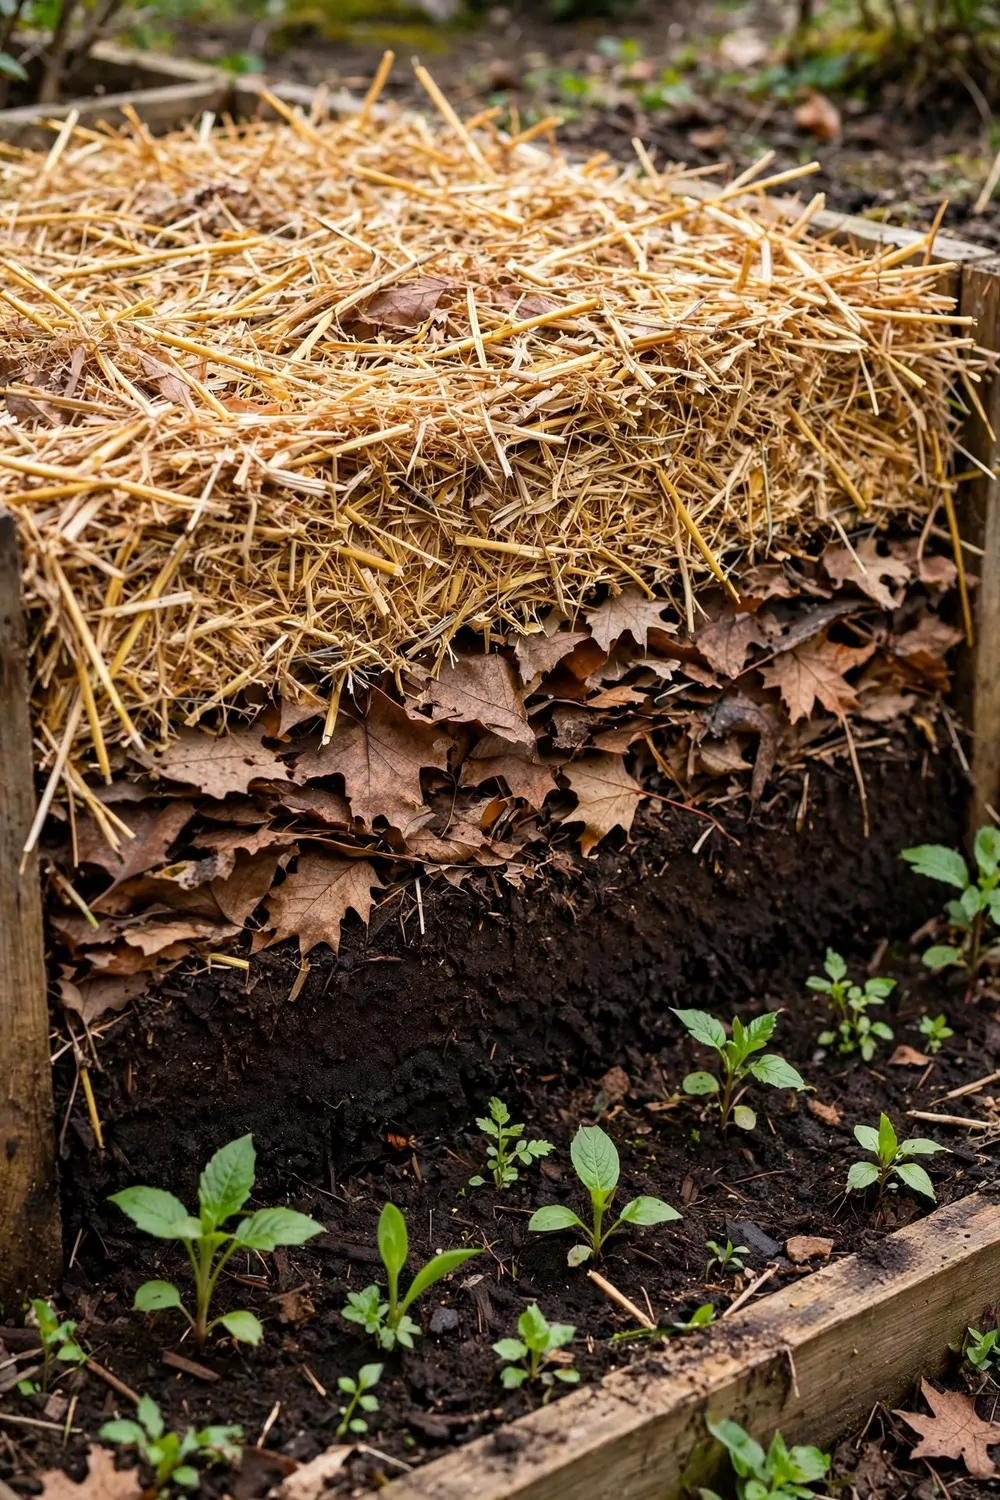
I think of mulch as food for the soil, not just a cover. Each layer I add on top feeds the life below it.
I start with a damp layer of compost, then I add dry leaves, then a loose layer of straw on top.
I keep the layers loose. I do not press them down hard, because air needs to move through them.
I leave a small gap round each plant stem. Mulch piled right against a stem can hold too much damp and rot it.
When it rains, the water sinks through the layers and takes food down to the roots. The soil stays damp for longer after rain too.
I add a new thin layer when the old one gets thin. I do this little and often, instead of one huge pile once a year.
In dry spells I check under the mulch with my finger. If it feels damp, I leave it alone and I do not water.
Over time the soil under the mulch turns dark and soft. It holds together in crumbs, and it smells rich and fresh.
Typical cost for a bed this size usually lands at $15 to $32, mainly for straw and a bag of compost if you do not have leaves of your own.
4. Lasagne Beds
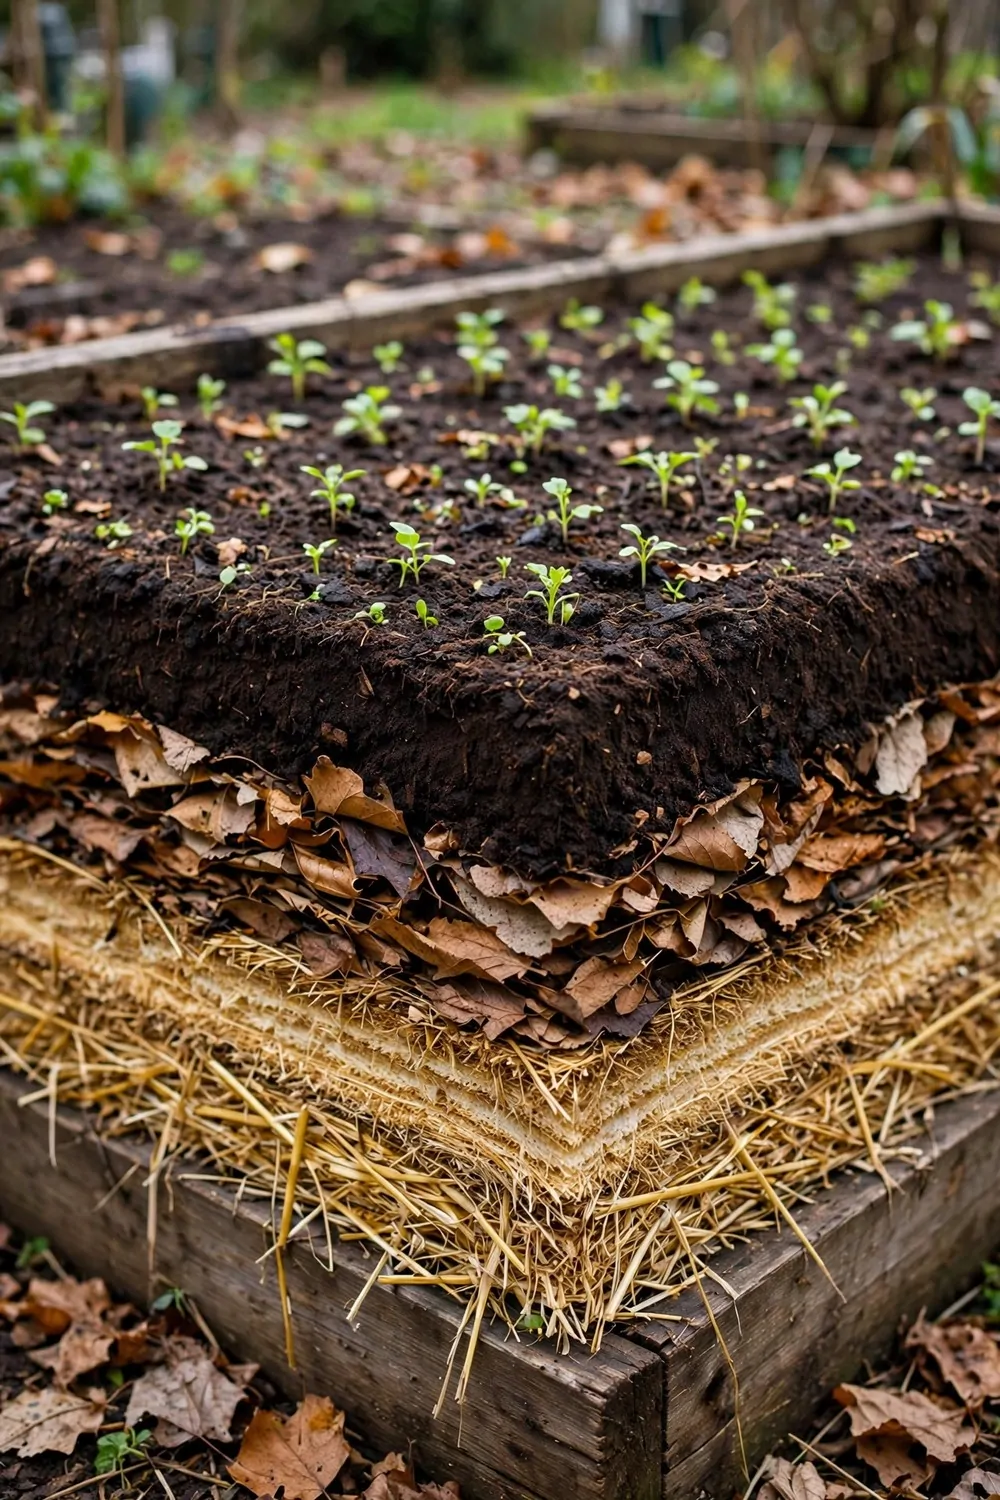
A lasagne bed is just layers, one on top of the other. I build it like I build a meal, brown layer, green layer, brown layer, green layer.
Brown layers are dry things like cardboard, dry leaves, and straw. Green layers are soft fresh things like grass clippings and kitchen scraps of vegetables.
I start with cardboard on the grass. Then I add a green layer, then a brown layer, and I keep going till the bed is knee high.
I wet each layer as I go. Dry layers do not rot well, and wet layers sink down and start to work.
I finish with a thick layer of compost on top. That is where I plant, so the top must be soft and fine.
I let the bed sit for a few weeks if I have time. It sinks down as the layers rot, and that is a good sign.
If I am in a rush, I plant straight into the top compost. Young plants do fine while the layers below keep rotting.
I like this bed because it uses up garden waste. Leaves, clippings, and old straw all go in, and nothing is wasted.
Typical cost to build one is $20 to $42 in most cases, with most of that going on compost for the top layer if the rest comes from your yard.
5. Straw Mulch
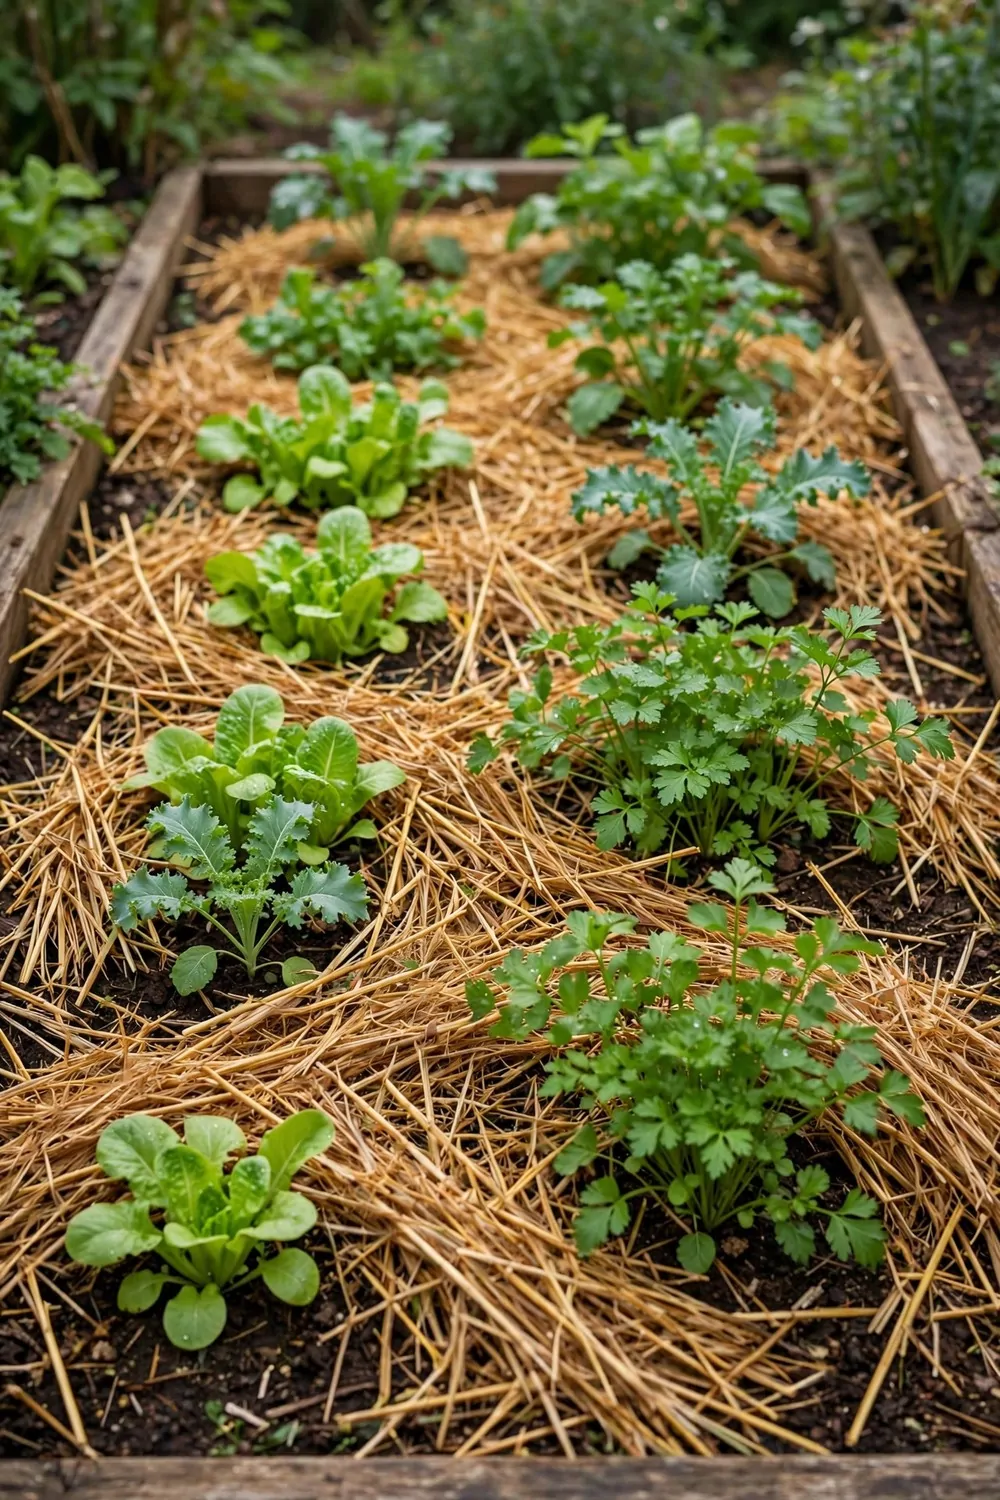
Golden straw is my favourite mulch round vegetables. It looks warm and soft, and it keeps the soil cool under the sun.
I shake the straw loose before I spread it. Tight lumps stay dry inside and they do not let water through well.
I spread it about as deep as my hand. Thin straw blows away and it does not stop weeds well.
I keep it back from the stems by a finger width. That little gap lets air move and keeps the stems dry.
After rain the straw turns a darker gold. It holds the damp in the soil, so I water less often.
Weeds have a hard time pushing through straw. The few that do come up pull out with ease, because the soil stays soft.
At the end of the season I leave the old straw where it is. It rots down and feeds the soil for the next crop.
I grow beans and leafy vegetables in straw beds a lot. They seem to like the cool, damp soil under the straw.
Typical cost here is $14 to $30 for a bale or two of straw, which covers a good few beds if you spread it well.
6. Fallen Leaves as Mulch
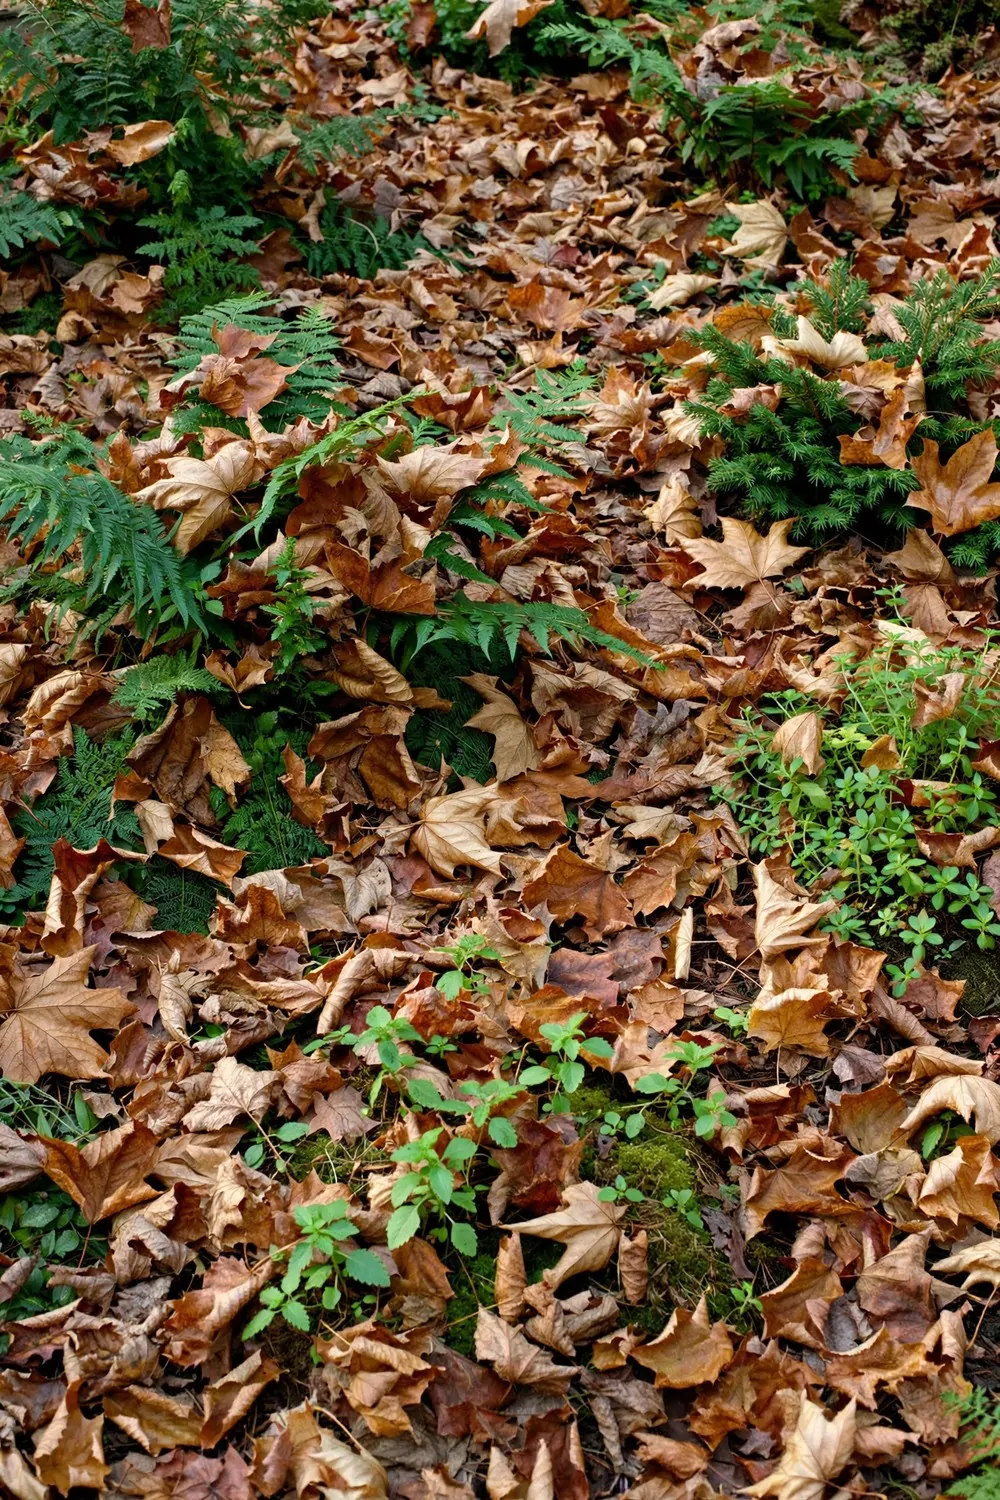
In autumn I gather dry brown leaves and I use them as a free blanket for my beds. They cost nothing and they work so well.
I let the leaves dry for a day or two first. Wet leaves stick in thick mats and water has a hard time getting through.
I crush big leaves with my hands as I spread them. Smaller bits sit flat and they rot faster.
I spread the leaves thick over bare soil. A thin dusting blows away in the first wind.
Under the leaves the soil stays damp and cool. Worms love it there, and I often find them just under the leaf layer.
I plant through the leaves in spring by pushing them aside. I make a small hole, I plant, and I pull the leaves back round the plant.
If leaves blow onto my paths, I just sweep them back onto the beds. Nothing is wasted, and the beds stay covered.
By next spring most of the leaves have rotted away. The soil under them is dark, soft, and full of life.
Typical cost is often $0 to $18 for this one, since the leaves are free and you only pay if you buy a rake or a bag to carry them in.
7. Wood Chips on Paths
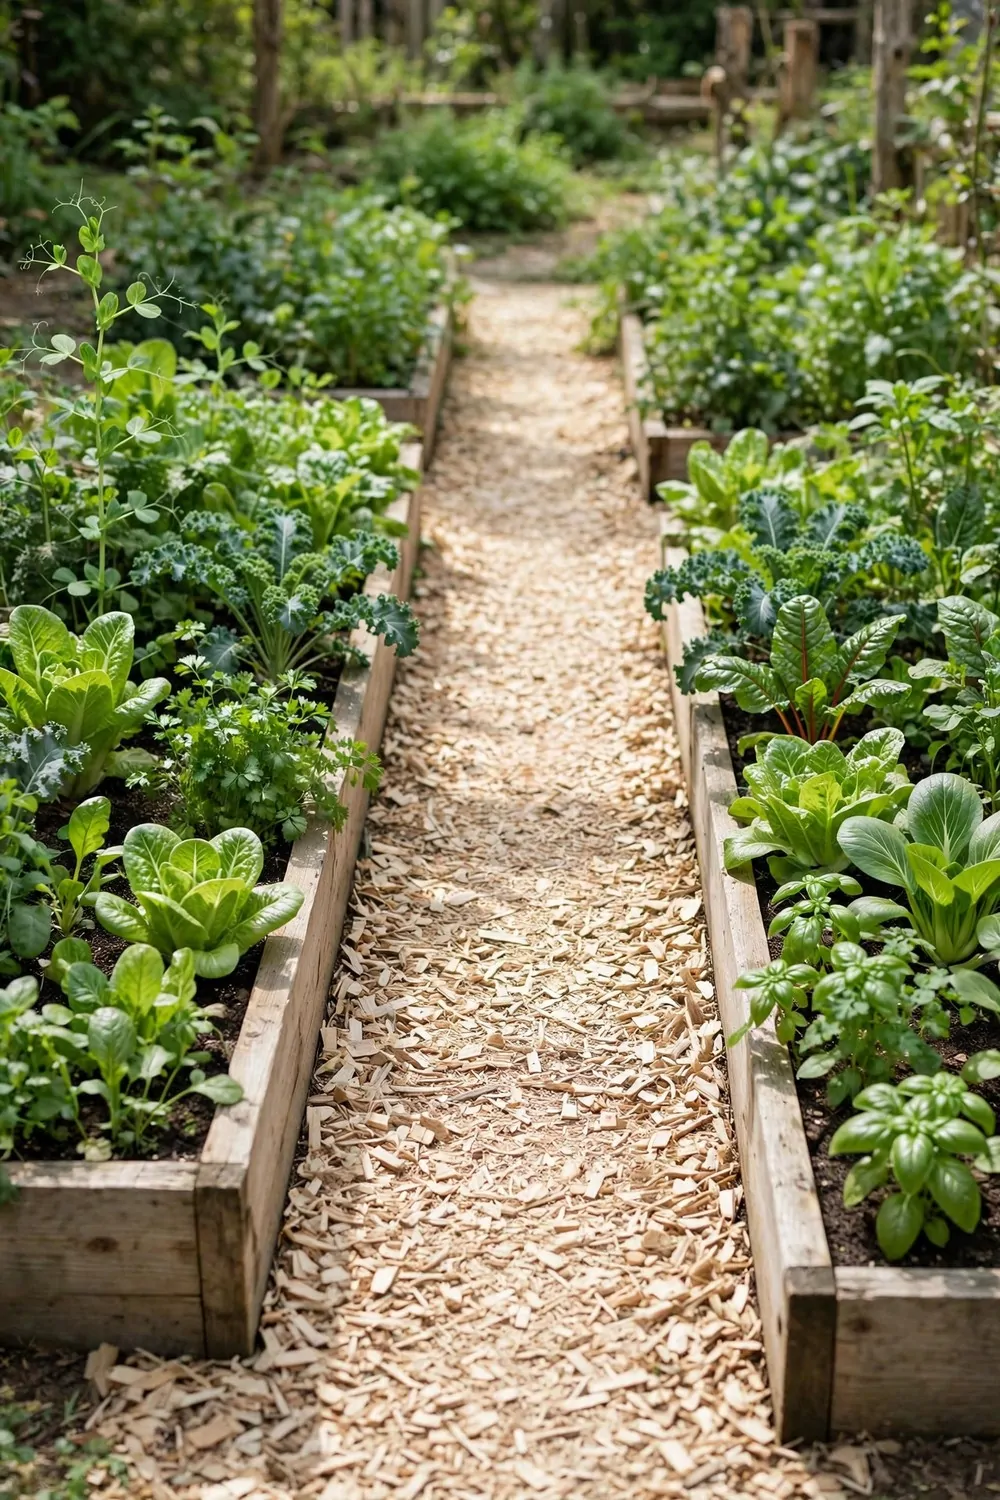
I put wood chips on the paths between my beds. They make a soft floor to walk on, and my knees thank me for it.
I start with cardboard on the path, just like a bed. Then I pile the chips on top, nice and thick.
I make the path wide enough for my feet and a wheelbarrow. A narrow path means I step on the beds, and I do not want that.
The chips stop mud in wet weather. I can walk out after rain and my shoes stay much cleaner.
Weeds find it hard to grow through thick chips. The ones that do try are easy to pull, because the chips are loose.
I top the paths up once a year with a fresh layer. The old chips rot down slowly and feed the soil at the edges.
I like the smell of fresh wood chips on a warm day. It smells clean and woody, and the paths look neat and tidy.
Children and visitors like the soft paths too. They are easy to walk on, and they do not get slippery like bare mud.
Typical cost for one or two paths comes to $22 to $45 for a few bags of chips, or less if you can get a load from a local tree worker.
8. Raised Beds Built Without Digging
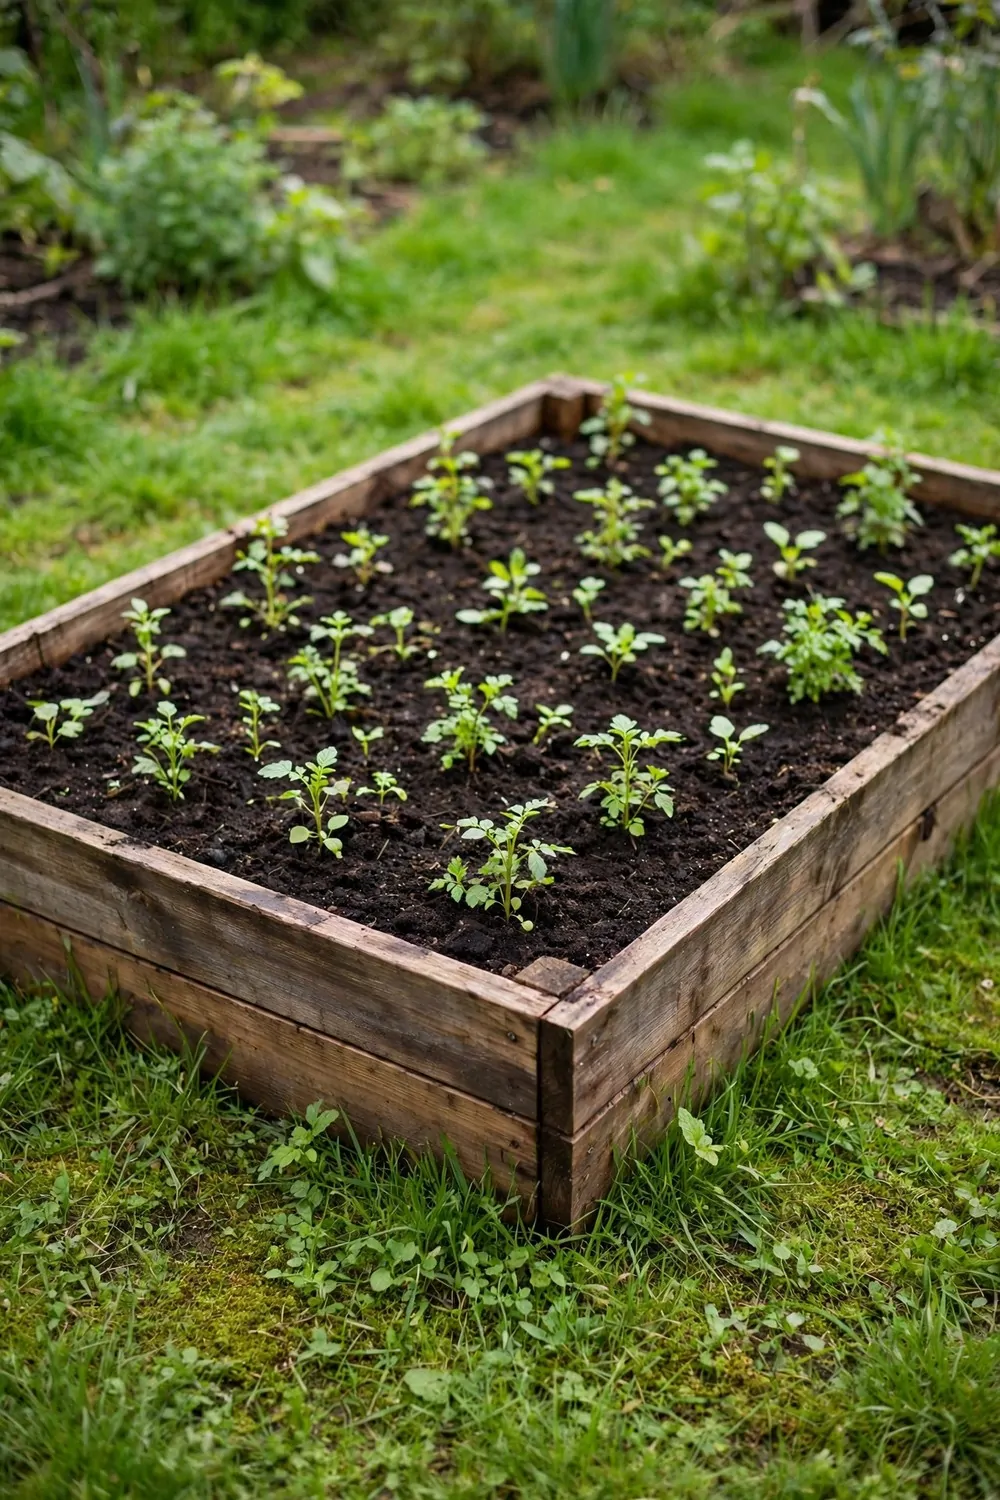
I build raised beds right on top of the grass. I never dig the ground under them, and the plants still grow well.
I use plain wooden boards for the sides. I screw the corners together so the box feels firm and safe.
I set the box down where I want it and I check that it sits level. A wobbly box spills soil when it rains.
Inside the box I lay cardboard on the grass first. Then I fill the box with layers of compost and soil.
I fill it nearly to the top, because the fill sinks a little in the first weeks. I top it up again before I plant.
A raised bed is kind to my back. I can sit on the edge to plant and weed, and I do not have to bend right down to the ground.
I plant vegetables and fruit in raised beds a lot. The soil warms up fast in spring, so seeds start sooner.
I water raised beds a little more often in hot weather. The sides let the soil dry out faster than flat beds do.
Typical cost for a small wooden bed is $38 to $72 for boards, screws, cardboard, and the compost and soil to fill it.
9. Weed Suppression with Thick Mulch
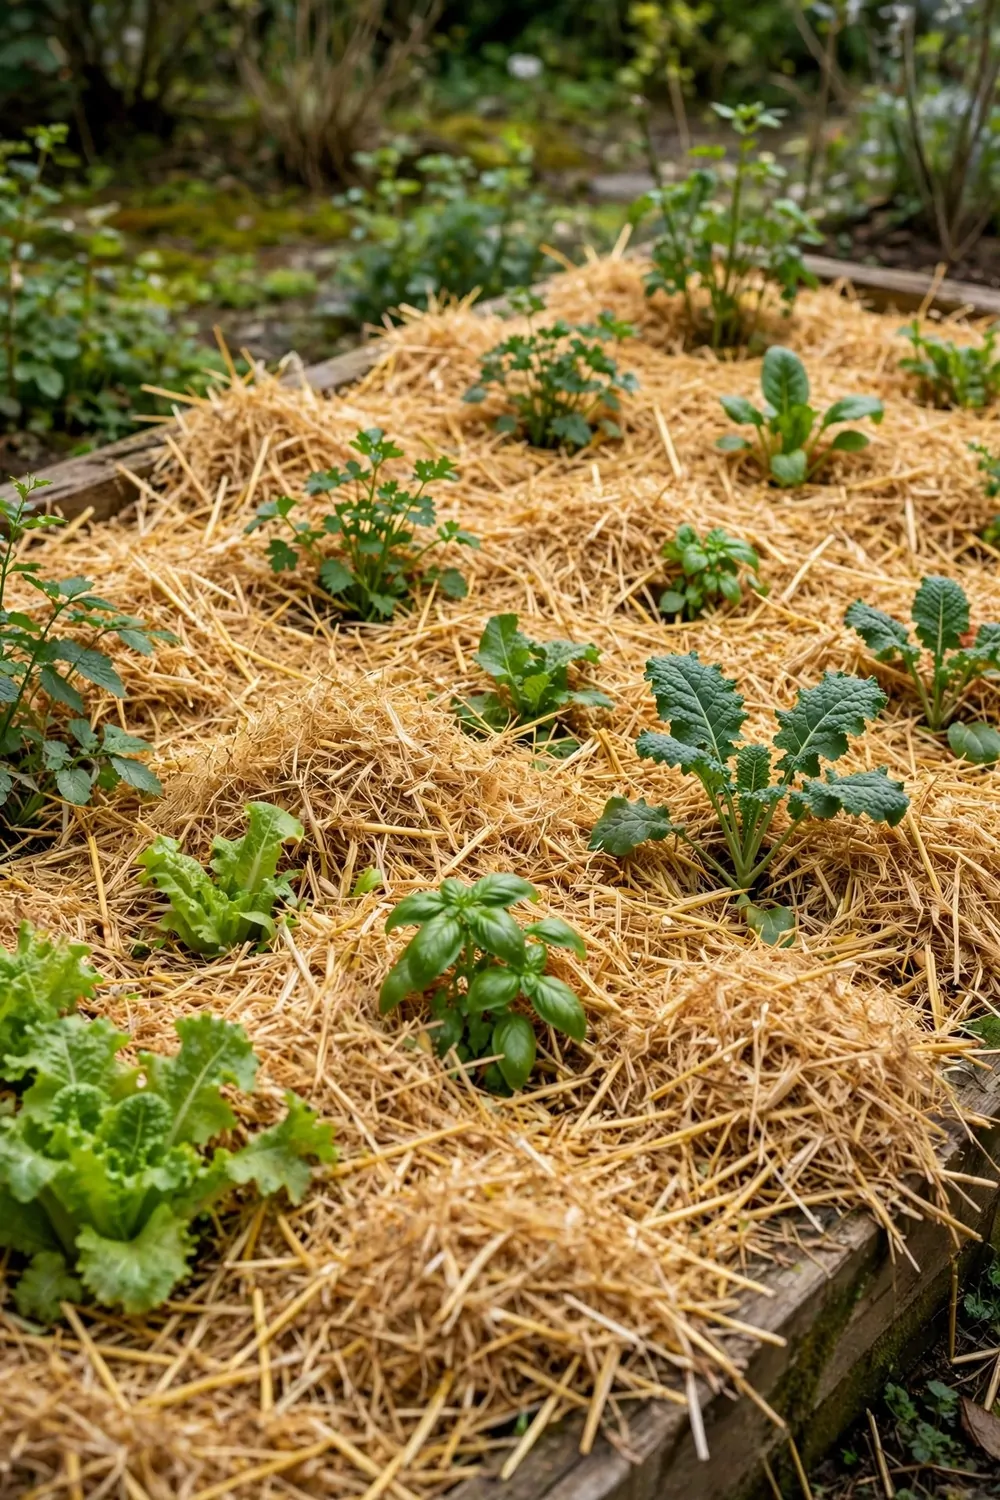
Thick mulch is my best tool against weeds. When the cover is thick, most weed seeds never see the light.
I aim for a layer about as deep as my hand. Thin mulch lets light through, and weeds use that light to grow.
I put the mulch down on damp soil after rain. Dry soil under mulch stays dry, and that does not help my plants.
I check the edges of the bed most often. Weeds sneak in from the sides, where the mulch is thin and the grass is close.
When a weed does pop up, I pull it while it is small. Small weeds come out with one gentle pull, roots and all.
I do not turn the soil to kill weeds. Turning brings new weed seeds up to the light, and they sprout fast.
Over a season, thick mulch cuts my weeding time right down. I spend more time picking food and less time pulling weeds.
I use straw, leaves, and compost together for this. Mixed mulch rots at different speeds, so the cover lasts longer.
Typical cost for a thick layer on a small bed is $16 to $34, with straw or leaves making up most of the bulk.
| Idea | Typical Cost |
|---|---|
| Cardboard Over Grass | $12 to $28 |
| Compost Piled on Top | $18 to $36 |
| Mulch Layers That Feed the Soil | $15 to $32 |
| Lasagne Beds | $20 to $42 |
| Straw Mulch | $14 to $30 |
| Fallen Leaves as Mulch | $0 to $18 |
| Wood Chips on Paths | $22 to $45 |
| Raised Beds Built Without Digging | $38 to $72 |
| Weed Suppression with Thick Mulch | $16 to $34 |
10. Letting Worms Do the Digging
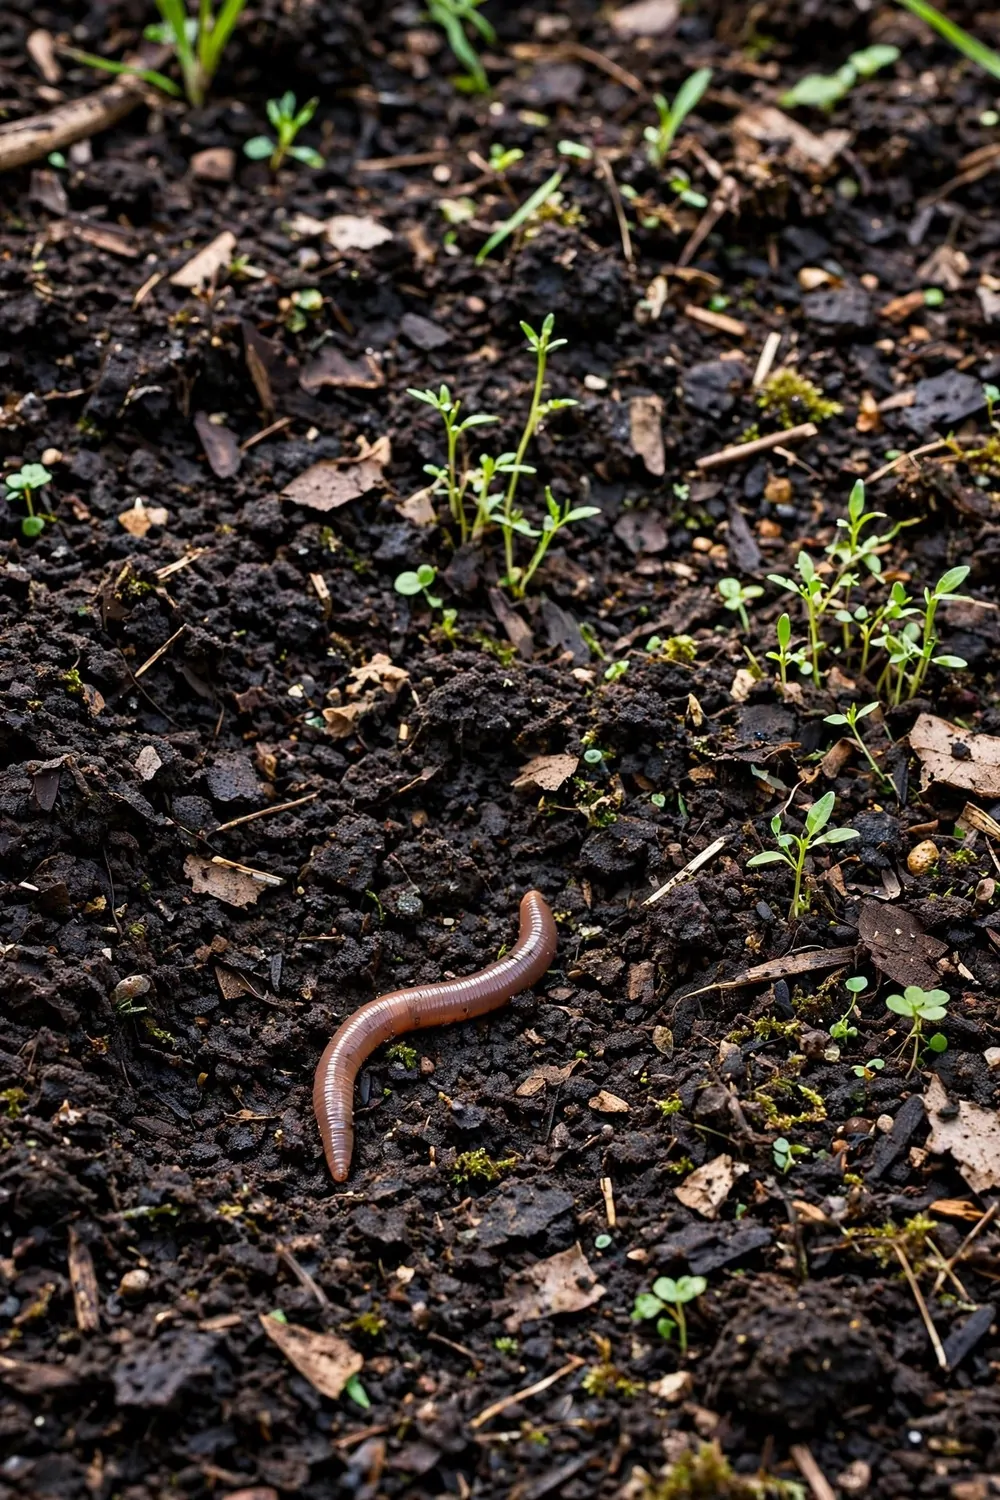
I used to think I had to turn the soil myself every spring.
Then I watched what happened under a thick layer of mulch. The worms did the hard work while I stayed upright.
They pull bits of leaf and compost down into the soil.
As they move, they make tiny tunnels that let air and water in. Your roots follow those tunnels later, and that is why the plants grow so well.
You do not need to buy worms or hunt for them.
If you keep the ground damp and covered, they come on their own. I find them under the cardboard edges whenever I lift a corner to peek.
Do not dig the bed to check on them. That just wrecks their tunnels and sends them away.
Feed them instead. A thin layer of compost on top, a few handfuls of chopped leaves, and they stay busy all season.
A bag of compost and a bale of straw will set you back about $22 to $41 for one bed, and the worms do the rest for free.
11. Waist-High Beds That Save Your Back
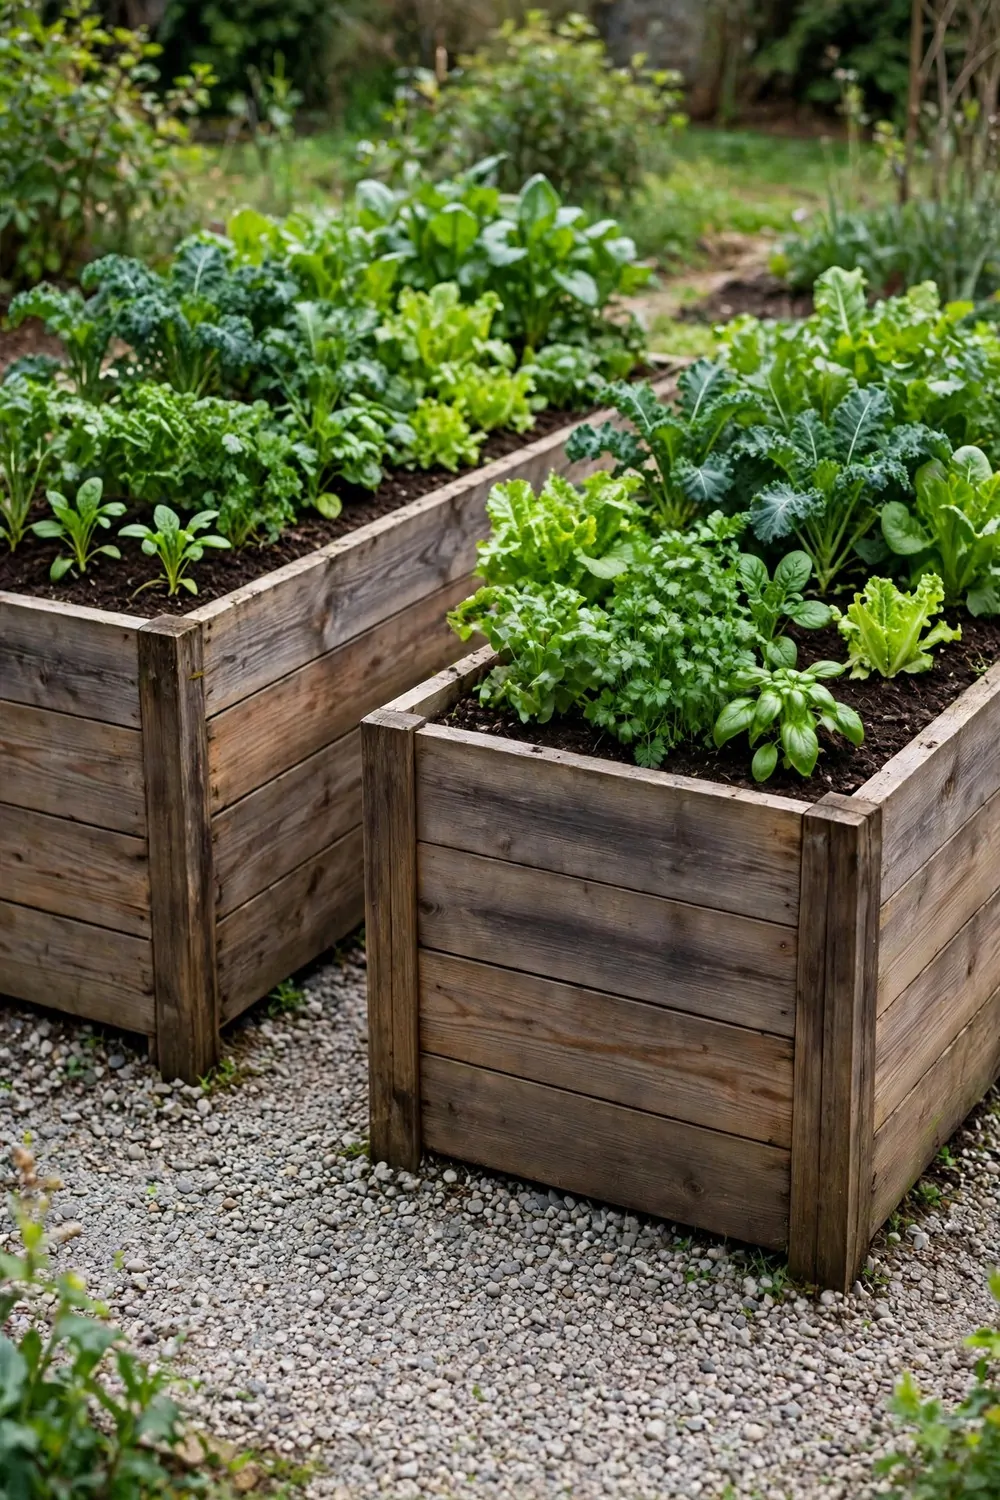
My back thanked me the day I built my first tall bed.
It stands at waist height, so I never bend down to plant or pick. I just walk up to it and work with my hands at a normal height.
You can build one from old planks or buy a kit.
Line the inside with cardboard first, then fill it with layers. Sticks at the bottom, leaves in the middle, compost on top.
The soil settles a bit in the first weeks. That is normal, so top it up with more compost before you plant.
Grow things you pick often in a tall bed. Lettuce, herbs, beans, and small fruit are easy to reach there.
Heavy things like big squash are better in a low bed. You do not want to lift a heavy fruit up and over the edge.
Put the bed where you walk past it every day. If it is close to the kitchen door, you will use it far more.
Timber and screws for one tall bed run around $48 to $96, plus $18 to $34 for the compost to fill it.
12. A Kneeling Pad and Long-Handled Tools
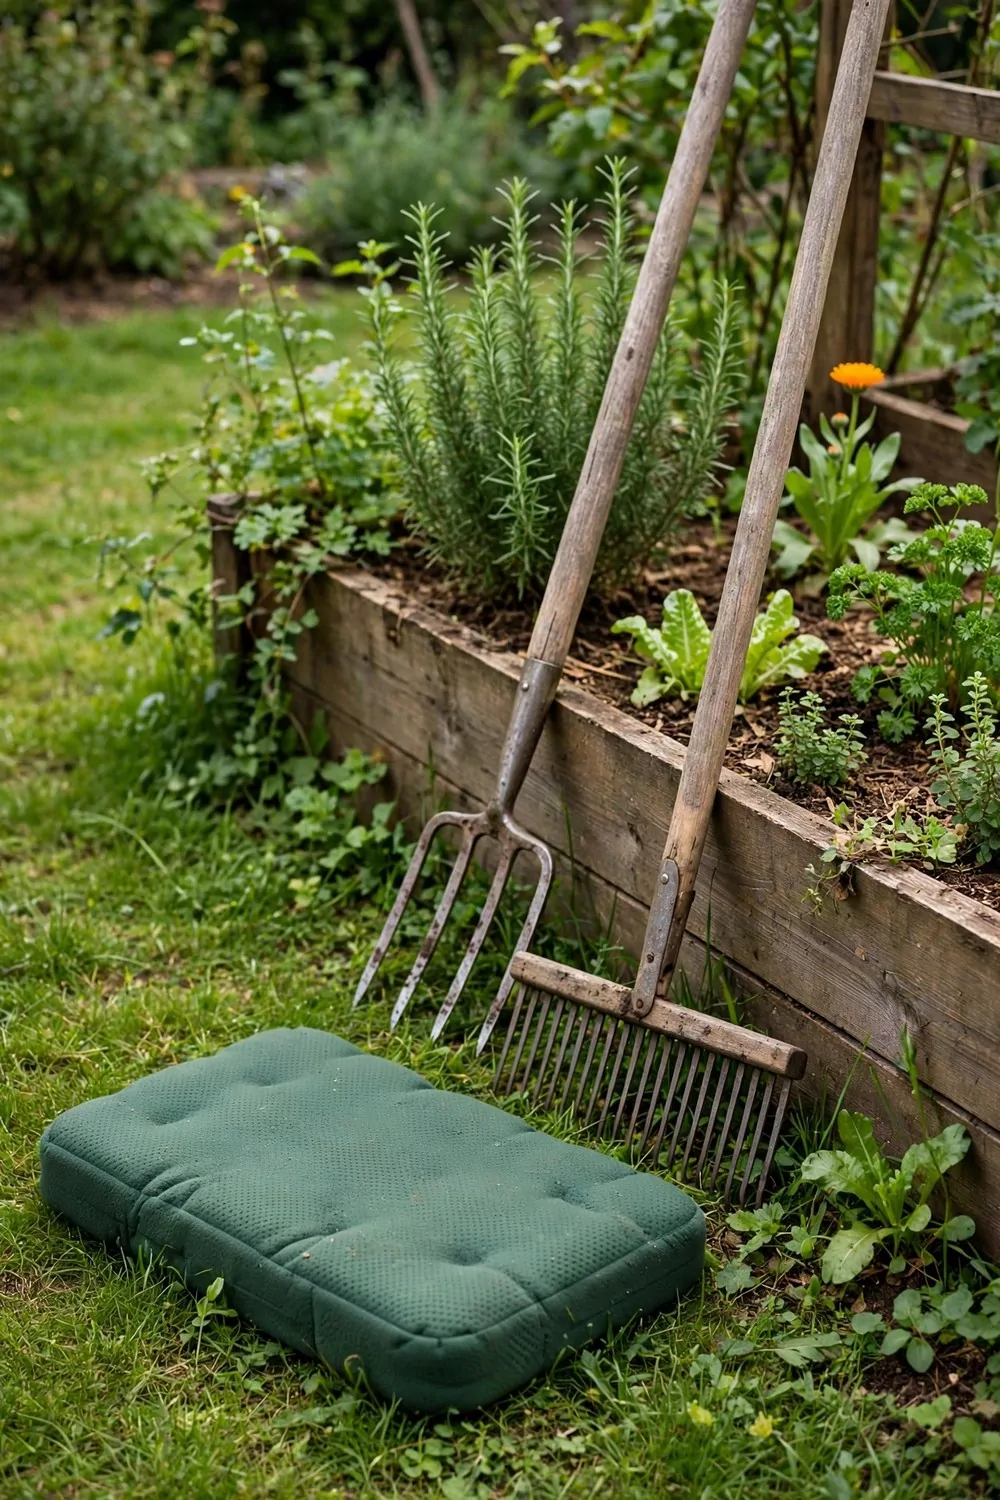
Some jobs still need you close to the ground, and that is fine.
A thick foam kneeling pad makes those jobs much kinder. My knees used to ache after ten minutes, and now I can kneel for ages.
Pick a pad that is wide and soft, not thin.
Long-handled tools are the other half of the trick. A long fork and a long rake let you reach the middle of the bed while you stand.
I keep my tools close by the back door. When they are easy to grab, I use them every time instead of bending down with my hands.
Work in short bursts if your back is sore. Twenty minutes, then a cup of tea, then twenty more.
Sit on a low stool for fiddly jobs like thinning seedlings. It is far easier than crouching.
Keep the pad dry between uses so it does not go mouldy. I hang mine on a hook in the shed.
You can pick up a good foam pad for $12 to $24, and a long-handled fork costs roughly $19 to $38.
13. Planting Seedlings Straight Through Mulch
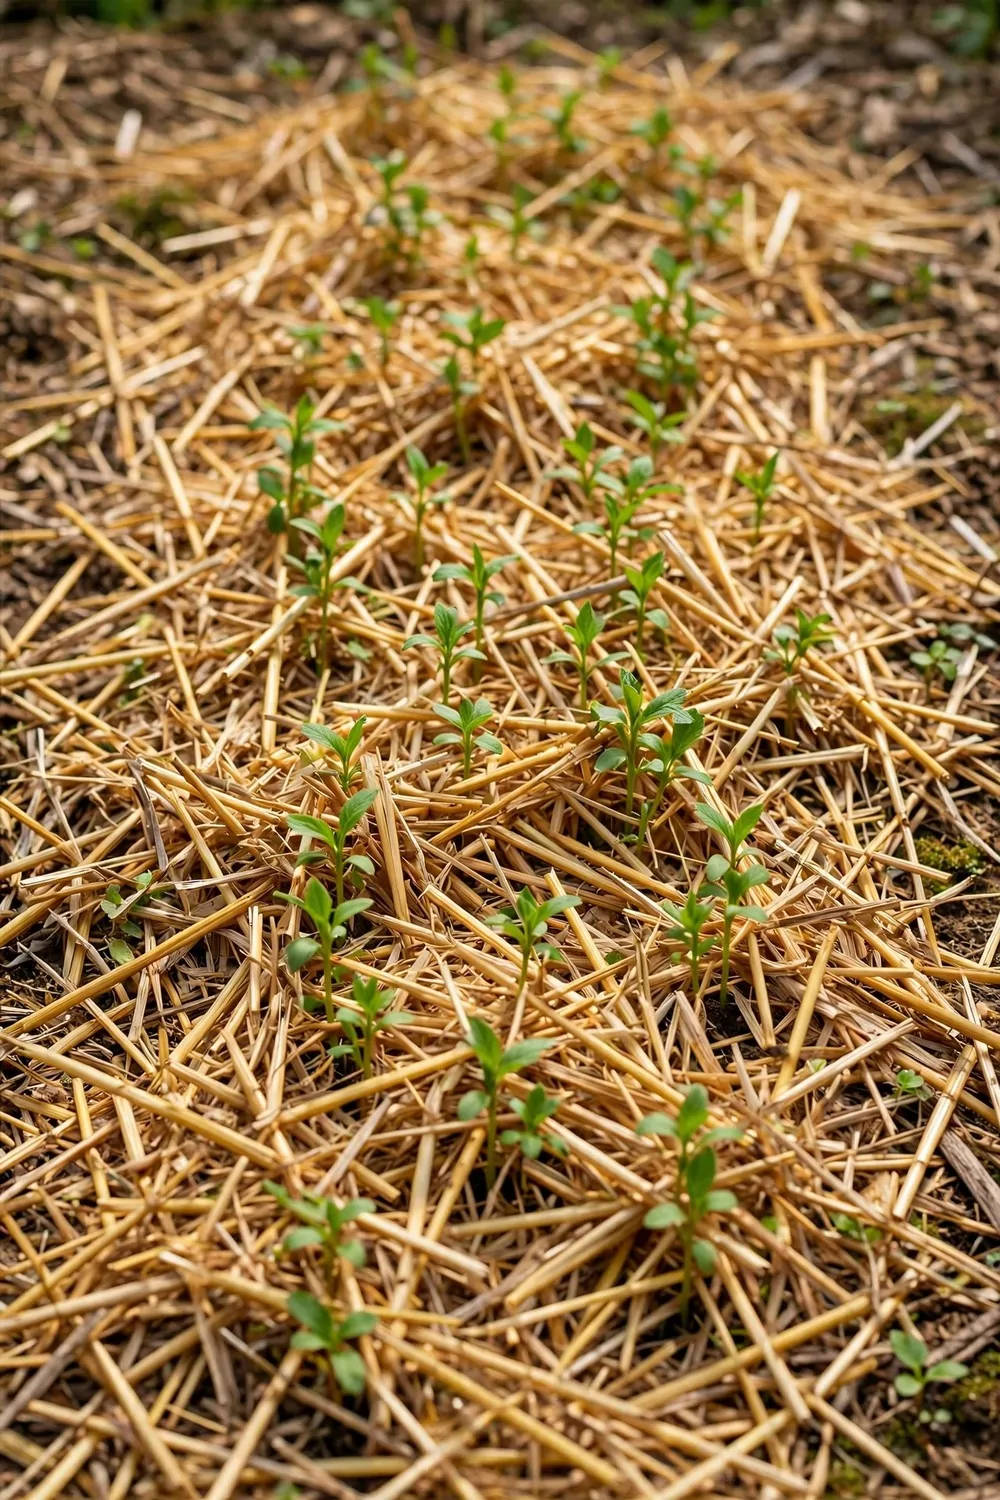
This is the part that feels strange the first time you do it.
You push a young plant right through the mulch and into the soil below. It works, and the plant loves it.
Make a small gap in the mulch with your fingers first.
Then push the seedling down until its roots sit in the damp soil. Firm the soil gently around it so it stands straight.
Pull the mulch back around the stem, but leave a little space. Mulch piled right against the stem can rot it.
Water the plant well after you put it in. The water helps the roots settle and closes the little gaps in the soil.
Plant on a cloudy day if you can. Hot sun makes young plants wilt, and they take longer to settle.
If a seedling looks sad the next morning, give it water and shade it with a small pot for a day. Most of them bounce back fast.
A tray of seedlings costs about $9 to $21, and a bag of compost for topping up the planting holes is $8 to $17.
14. Watering a No-Dig Bed
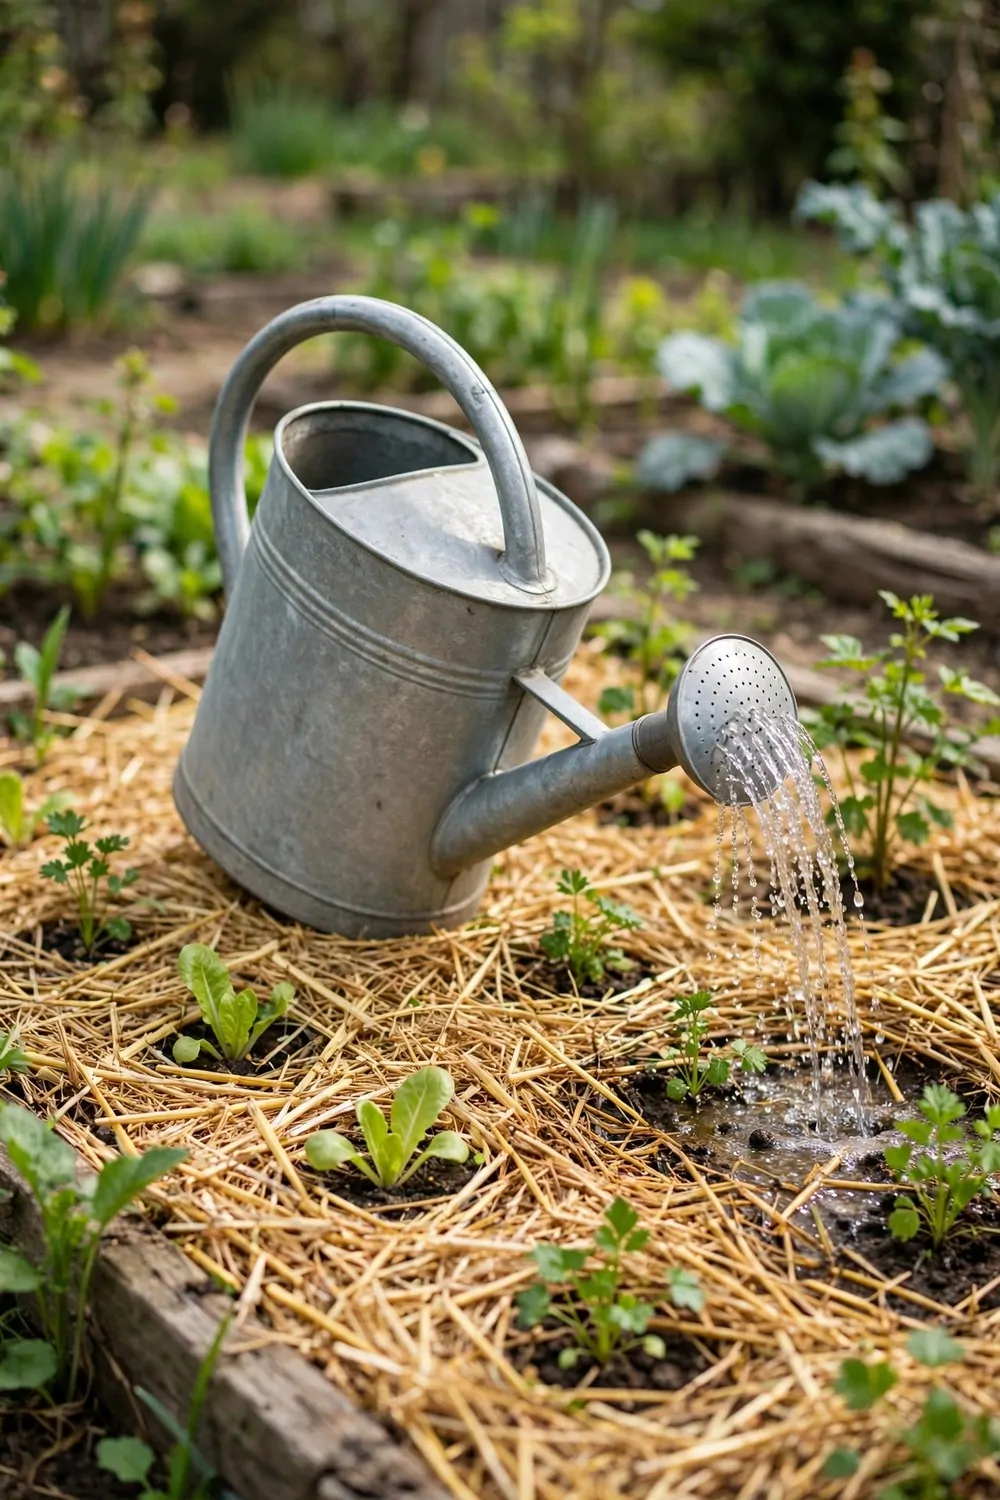
Watering a no-dig bed is different from watering bare soil.
The mulch drinks first, so you have to water slowly. A hard blast from a hose just runs off and washes the mulch away.
I use a watering can with a rose on the end.
The fine holes spread the water out soft and even. It soaks through the mulch instead of pushing it aside.
Water in the morning when you can. The plants drink all day, and the leaves dry out before night.
Stick your finger under the mulch to check. If the soil feels damp an inch down, you have watered enough.
In hot weather you may need to water every day. In cool weather, twice a week is plenty.
A soaker hose laid under the mulch is a nice fix if you hate carrying cans. It drips water right where the roots are.
A watering can with a rose head will cost you $14 to $29, while a soaker hose for one bed is about $16 to $31.
15. A First-Year No-Dig Bed
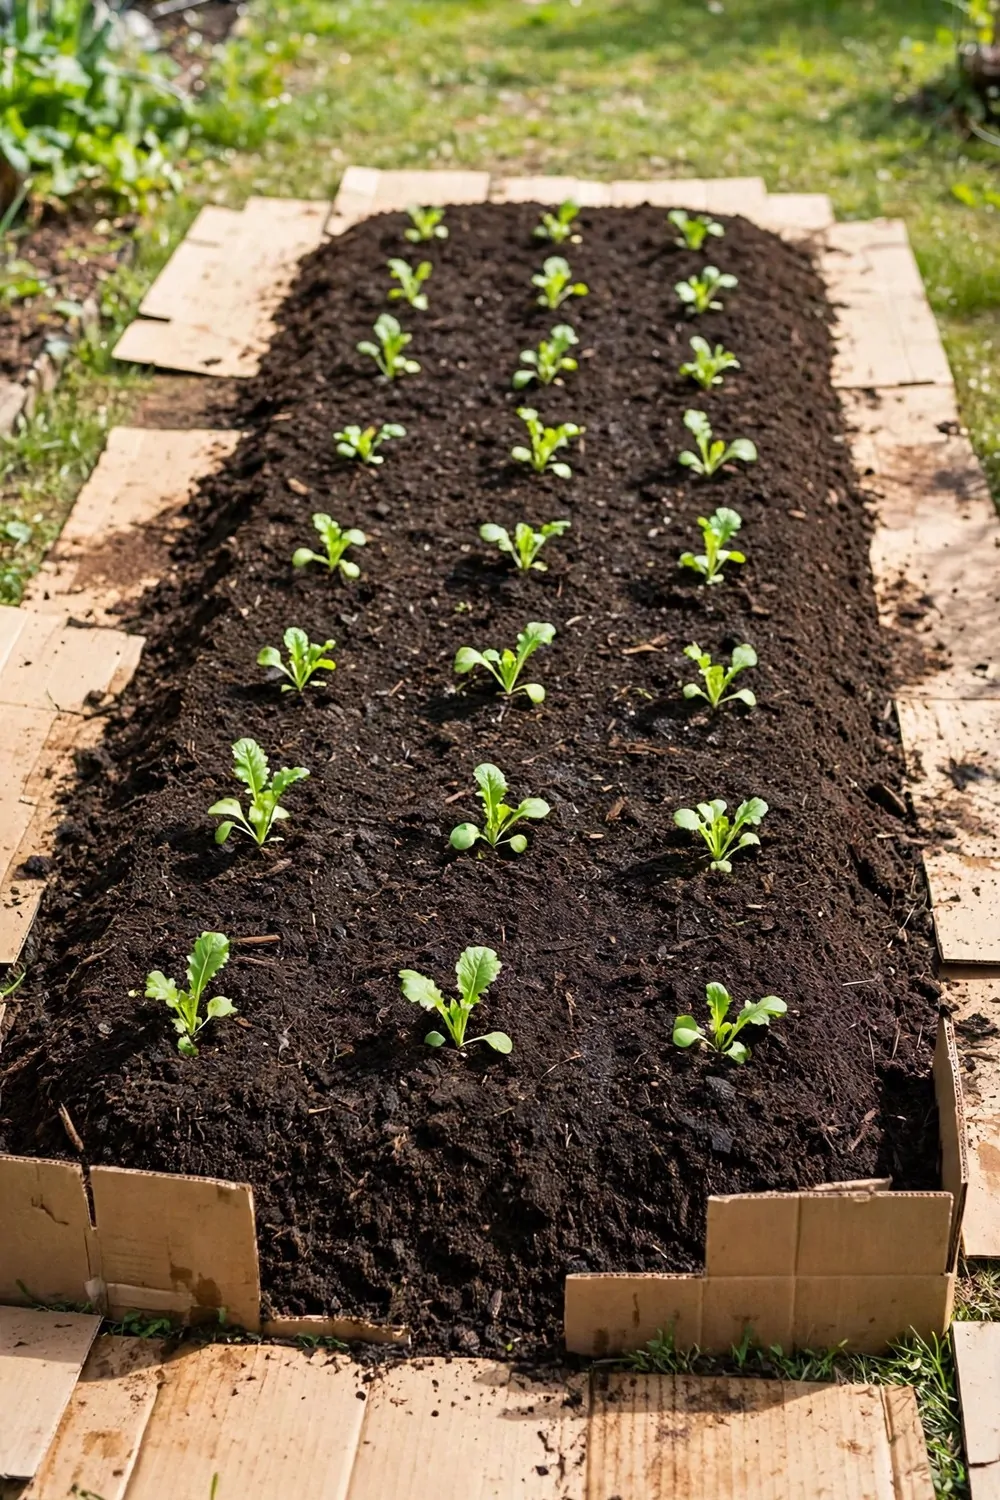
A brand new no-dig bed looks a bit rough at first.
The cardboard edges show, the mulch sits high, and the soil underneath is still hard. That is all normal, and it gets better fast.
Plant into it in the first year anyway.
Beans, squash, lettuce and potatoes do well in a fresh bed. Their roots push down and help break up the ground below.
Do not expect perfect soil in year one. The magic happens over the season as the layers rot down and the worms move in.
Keep topping up the mulch when it thins out. A fresh layer every month or so keeps the weeds down and the soil damp.
By autumn the bed will look very different. The cardboard will be gone, the soil will be dark, and you will see worms everywhere.
That is when you know it worked. Year two is even easier, because you just add compost and plant again.
For a first-year bed, plan on spending $35 to $68 on cardboard, compost and mulch to get it started.
16. No-Dig in Containers
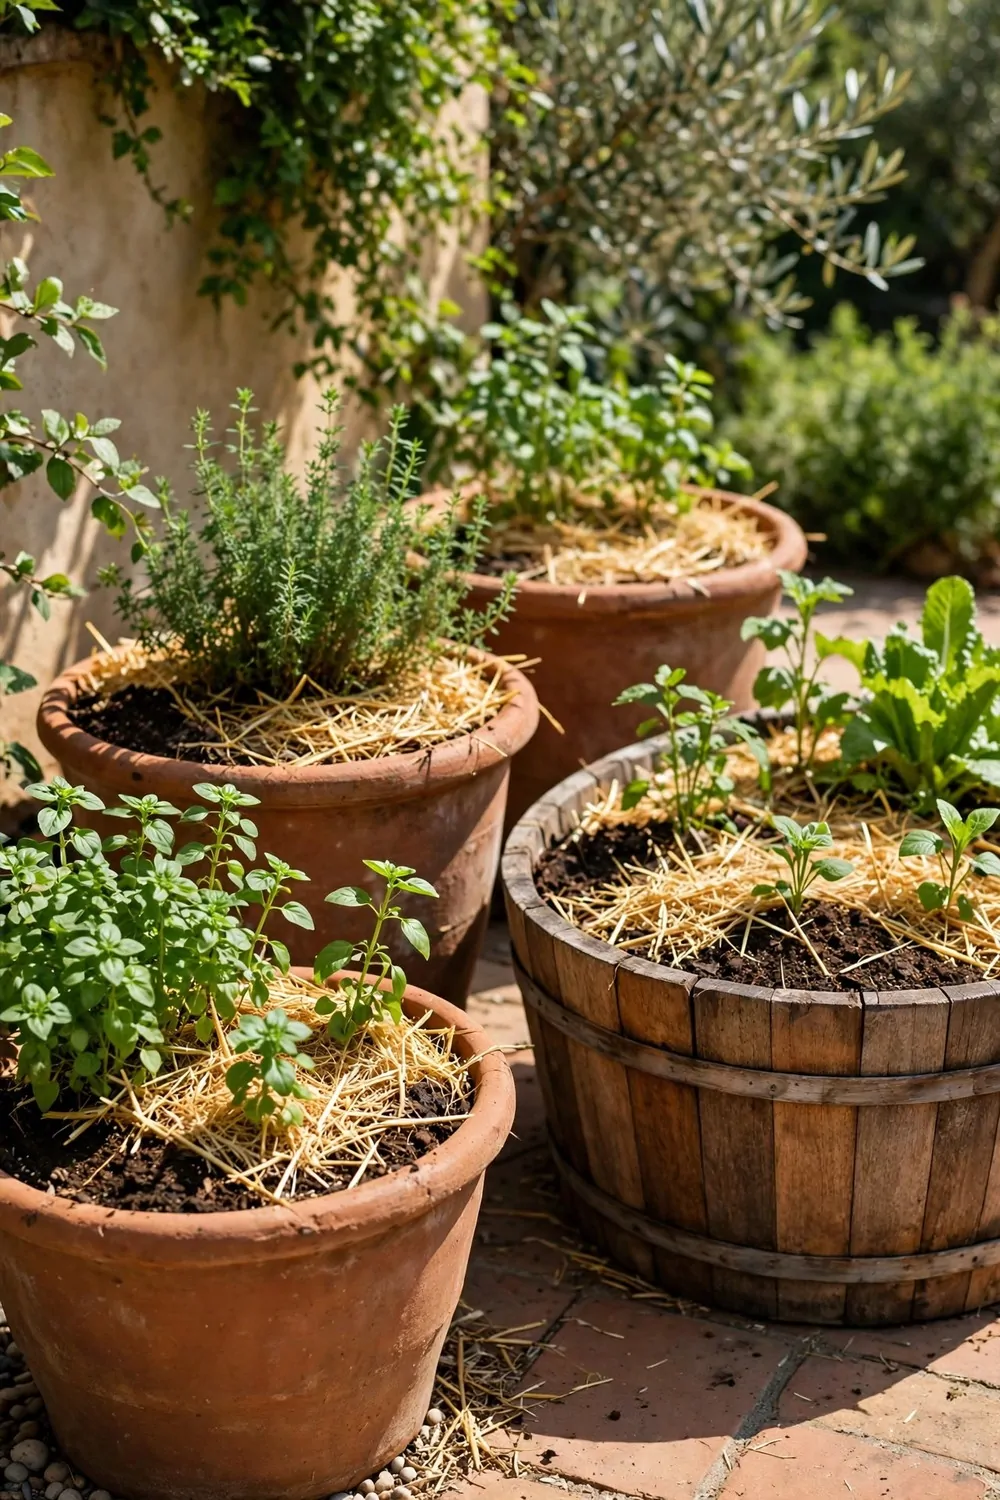
No-dig works in pots and tubs too, and it is perfect for a small space.
I layer a big tub the same way I layer a bed. Cardboard is too much for a pot, so I start with a few twigs at the bottom for drainage.
Then leaves, then compost, then mulch on top.
Big pots hold more soil, so they dry out slower. That means less watering for you, which is a win on hot days.
Grow one big plant per tub, or a few small ones. Tomatoes, beans and herbs all do well in containers.
Feed container plants more often than bed plants. The soil in a pot runs out of food faster, so a scoop of compost every few weeks helps.
Put the tubs where they get sun most of the day. You can even move them if the sun shifts in summer.
At the end of the season, tip the old soil onto a bed or mix it into a new tub. Nothing is wasted.
A large tub costs $21 to $44, and the compost and mulch to fill it come to $15 to $29.
17. No-Dig for a Small Lawn Patch
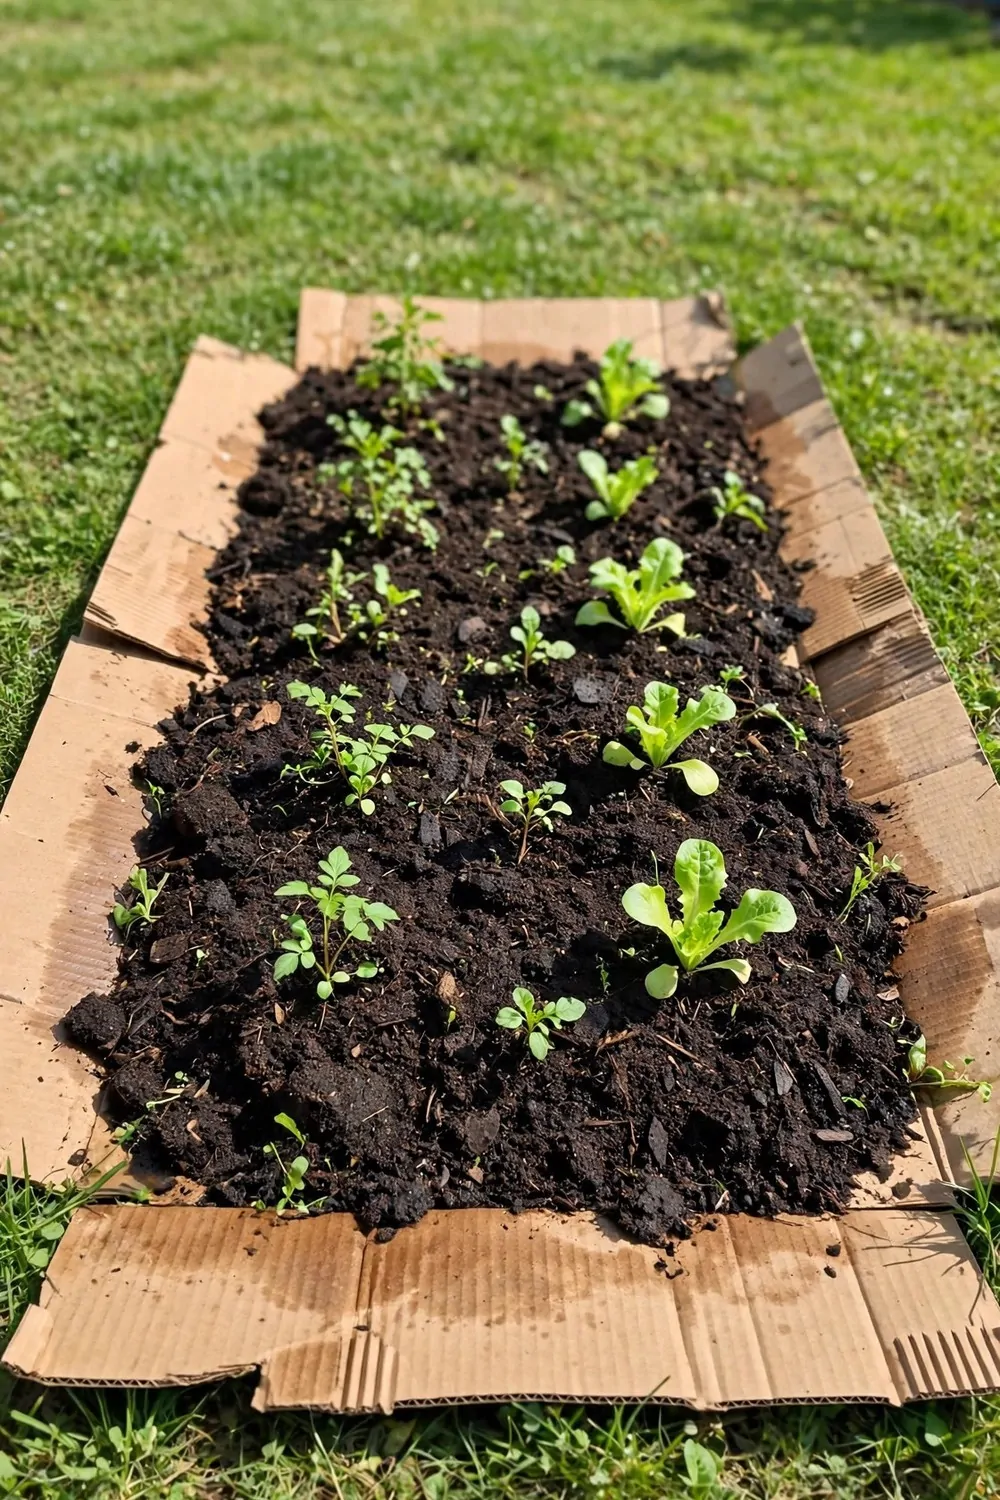
You do not need a big garden to try no-dig.
One small patch of lawn is enough. Pick a spot that gets sun and is easy to reach with a watering can.
Mow the grass short first, then lay cardboard right over it.
Overlap the pieces so no light gets through the gaps. Wet the cardboard well so it stays flat.
Add a thick layer of compost on top, then mulch. The grass underneath dies back and feeds the soil as it rots.
Leave it for a few weeks if you can. The longer it sits, the softer the ground gets underneath.
Then plant straight through the mulch, just like a normal no-dig bed. Lettuce and beans are good first plants for a small patch.
Do not worry if a few grass blades poke through at the edges. Just tuck more mulch over them and they give up.
Cardboard, compost and mulch for one small lawn patch add up to about $26 to $52.
| Idea | Typical Cost |
|---|---|
| Letting Worms Do the Digging | $22 to $41 |
| Waist-High Beds That Save Your Back | $48 to $96 and $18 to $34 for compost |
| A Kneeling Pad and Long-Handled Tools | $12 to $24 for the pad and $19 to $38 for the fork |
| Planting Seedlings Straight Through Mulch | $9 to $21 for seedlings and $8 to $17 for compost |
| Watering a No-Dig Bed | $14 to $29 for the can and $16 to $31 for the hose |
| A First-Year No-Dig Bed | $35 to $68 |
| No-Dig in Containers | $21 to $44 for the tub and $15 to $29 for compost and mulch |
| No-Dig for a Small Lawn Patch | $26 to $52 |
18. A No-Dig Herb Corner
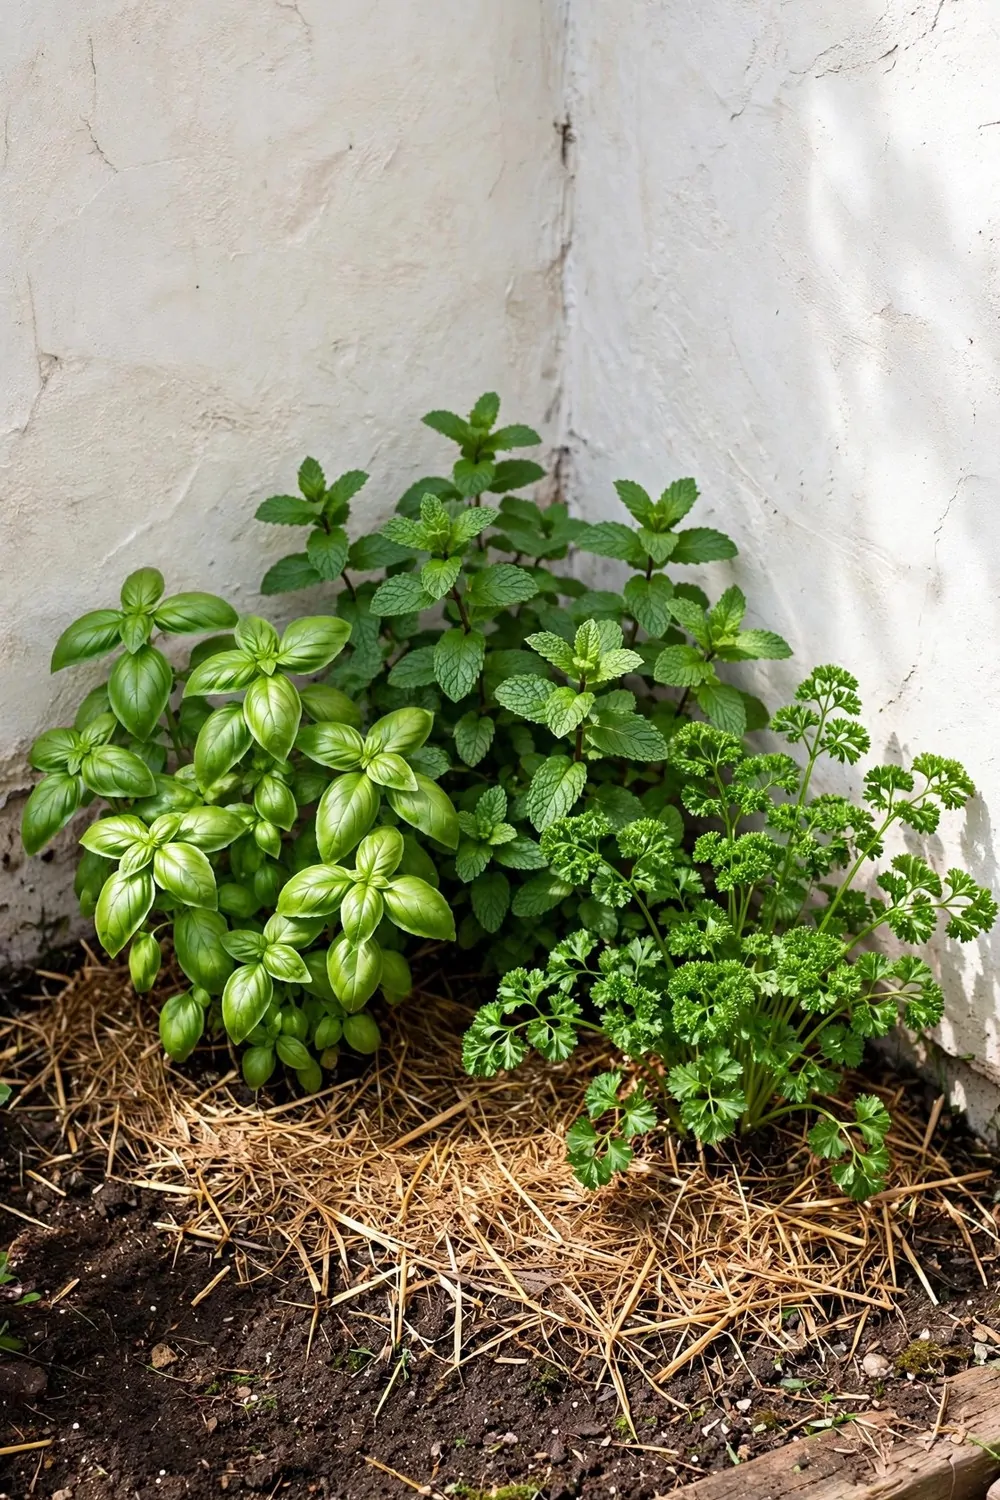
I keep my herbs right by the kitchen door now.
It saves me so many trips across the yard, and I use them far more when they are close by.
You only need a small corner for this one. A patch about as wide as your arms can work well. Even a strip along the wall is enough to start.
I lay cardboard down first and wet it well.
Then I add a thick layer of compost on top. The herbs sit in the soft compost and their roots push down on their own, so I never have to dig the ground under them.
Parsley and basil do well for me here.
Mint grows fast too, so I keep it in its own patch of the bed. That stops it taking over the whole corner.
When I cook, I step out and snip what I need. Fresh herbs make a plain bowl of pasta taste so much better.
My little herb corner cost me $12 to $28 all in, and I used a few handfuls of leaves through the whole summer.
19. Keeping Paths Clear
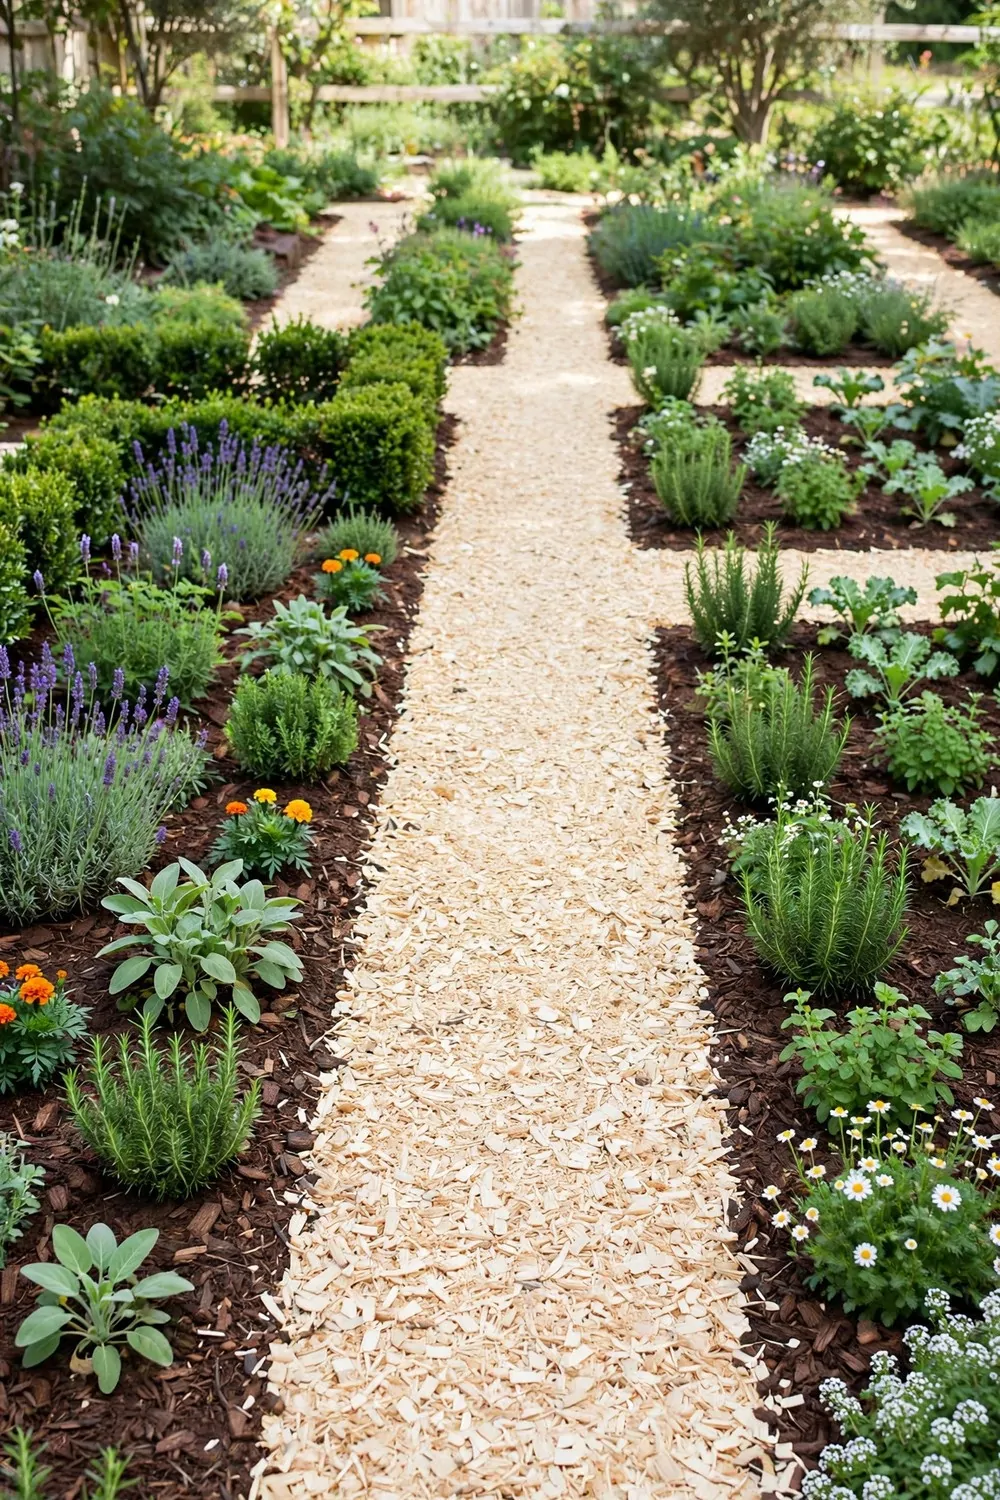
Good paths make a no-dig garden so much easier to use.
I can reach every bed without stepping on the soft soil, and I can carry compost without making a mess.
I lay cardboard on the path first, just like on the beds. Then I pile wood chips on top, nice and thick.
The chips stop weeds from coming up through the path.
They also keep my shoes clean when it rains. You want the layer thick enough that you cannot see the ground under it, so I aim for about a hand deep.
Once a year I top the paths up with fresh chips.
The old ones break down and feed the soil at the edges. I keep the paths wide enough for my wheelbarrow too, so I can move compost without lifting heavy bags far.
It feels good to walk on wood chips. They are soft under my feet and they smell nice after rain.
A bag of wood chips ran me $9 to $22, and one bag topped up two short paths for me.
20. Feeding the Soil from the Top
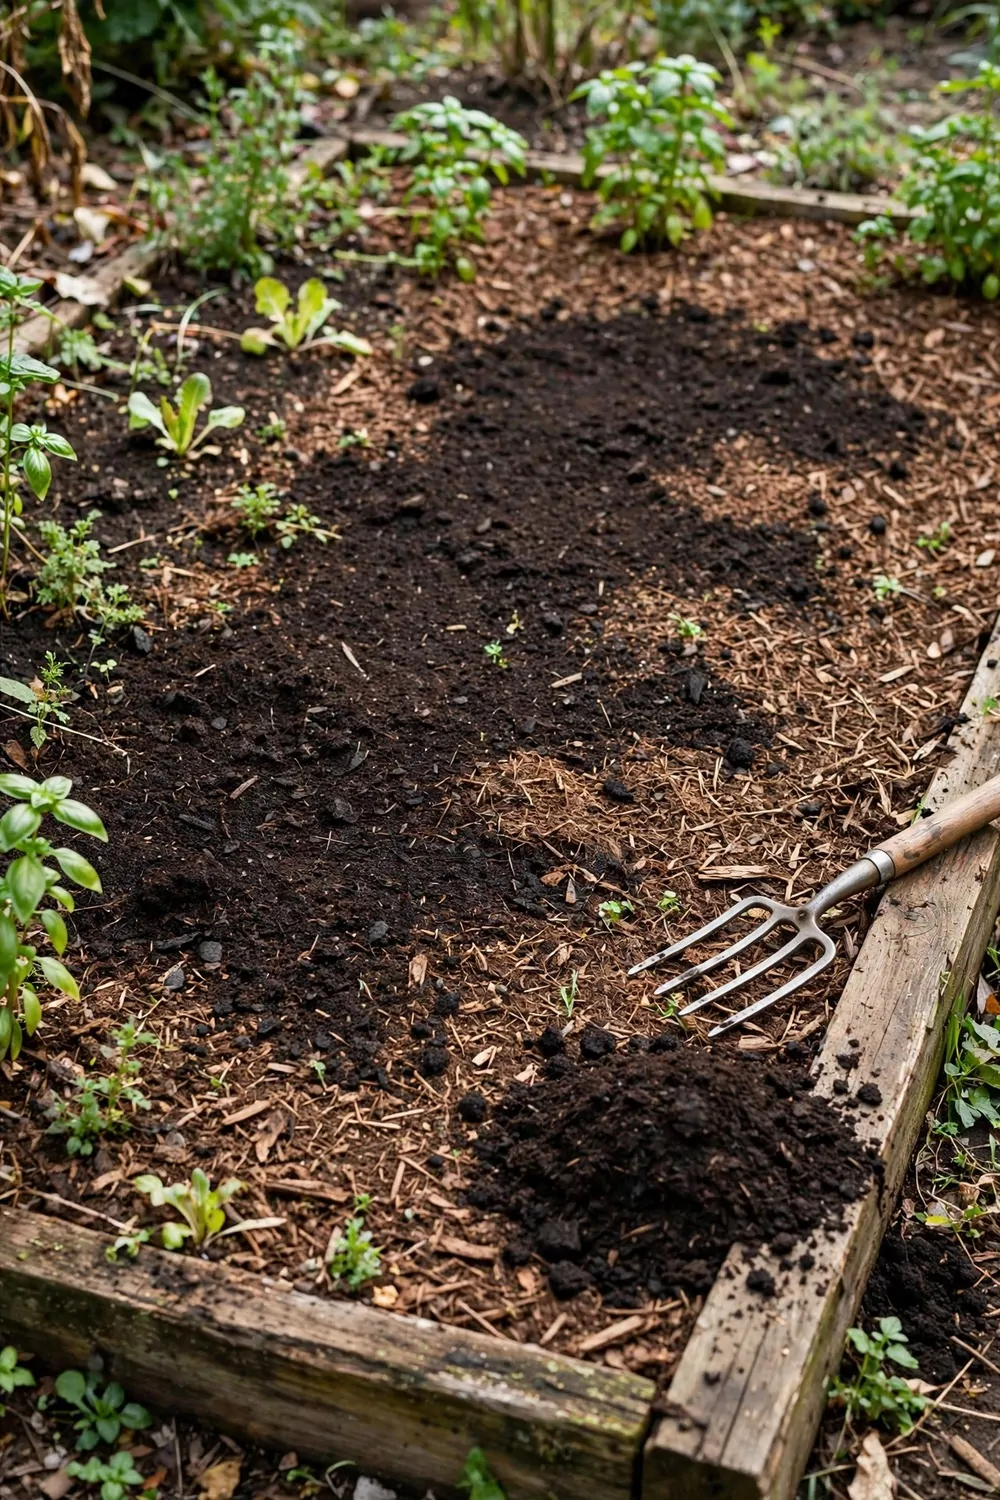
This is the heart of no-dig gardening for me.
I feed the soil from the top and let the worms do the hard work.
Each season I spread a layer of compost over my beds. I do not dig it in at all. The compost sits on top like a blanket, and rain washes the good stuff down into the soil below.
Worms come up and pull bits of it down too.
I see more worms in my beds now than I ever did before. You can use your own compost if you make it, and I also buy bags when my pile runs low in spring.
I spread it about as thick as my thumb is long.
That is plenty for most beds. My plants look stronger since I started feeding from the top, and the leaves stay green while the stems stand up tall.
I do this in spring before planting and again in autumn after I clear the beds.
I paid $16 to $34 for the compost I spread this spring, and it covered three beds with some left over.
21. A No-Dig Bed for Salads
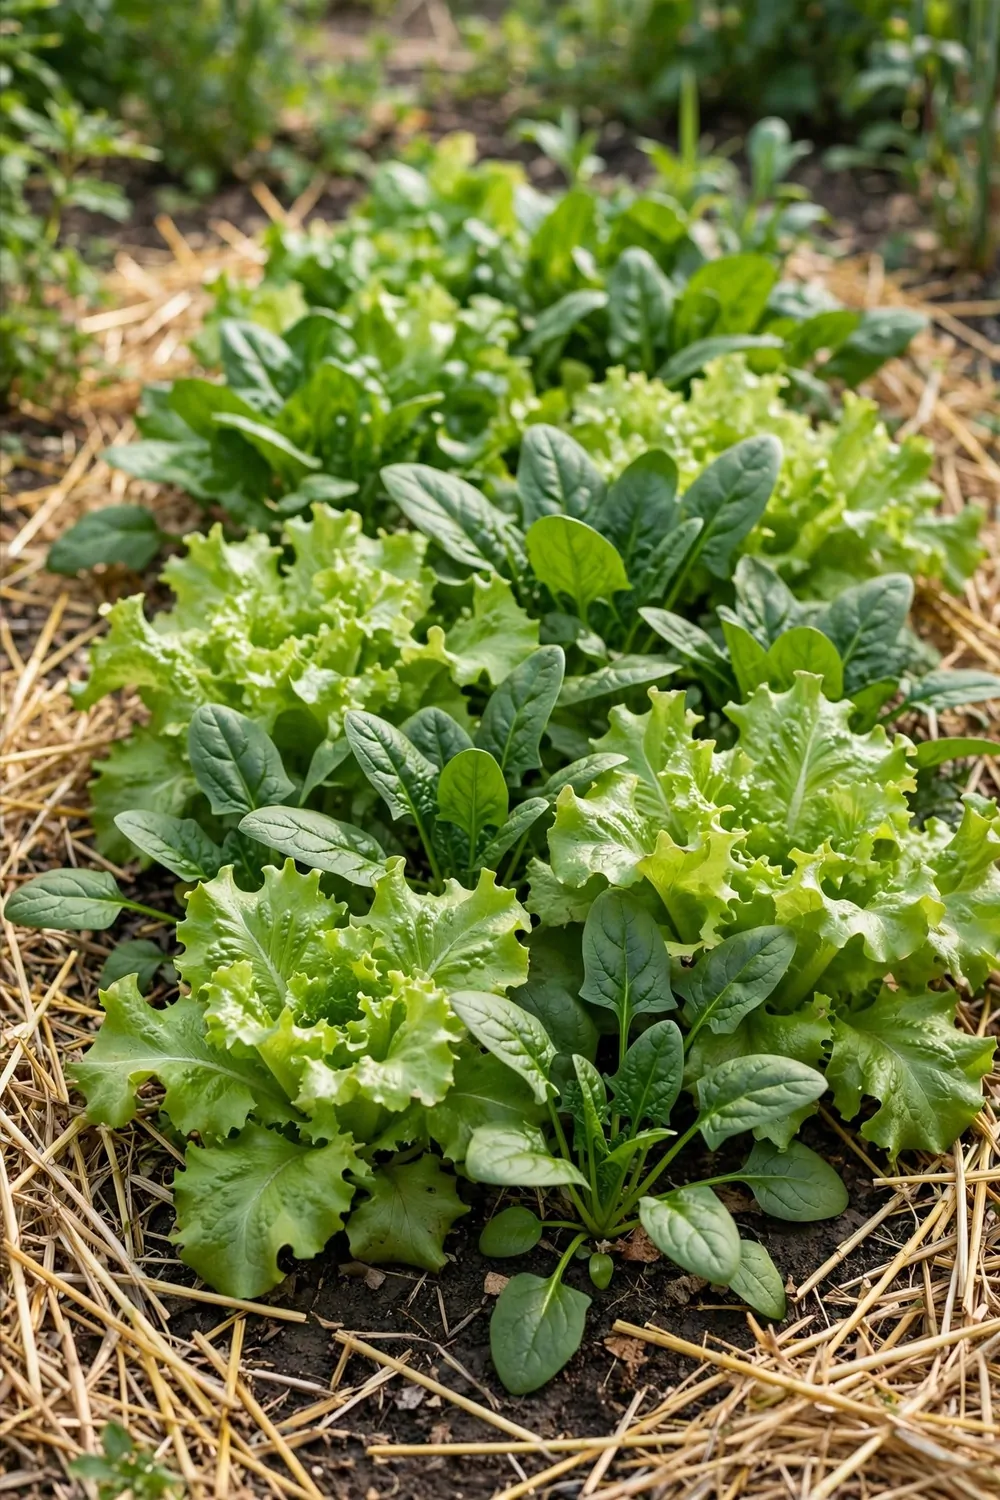
Salad leaves are some of the easiest things I grow in a no-dig bed.
They love soft soil and regular water, so I build the bed the same way as the others, with cardboard down and compost on top, and then I plant straight into it.
Lettuce and spinach grow fast for me.
I can pick a few leaves just weeks after I sow the seeds. I pick the outer leaves and leave the middle ones to keep growing, so one plant gives me leaves for a long time.
A mix of leaves tastes best in my bowl.
I grow a few kinds side by side and pick a little from each. Salad beds need water often in warm weather, and I check the soil with my finger each morning.
If the top feels dry, I water gently at the base of the plants.
Wet leaves in hot sun can go limp fast. I sow a new row every two weeks or so, and that gives me fresh leaves all season instead of too many at once.
Seeds and compost for my salad bed came to $11 to $26, and it gave me enough for a few meals each week.
22. A No-Dig Bed for Root Vegetables
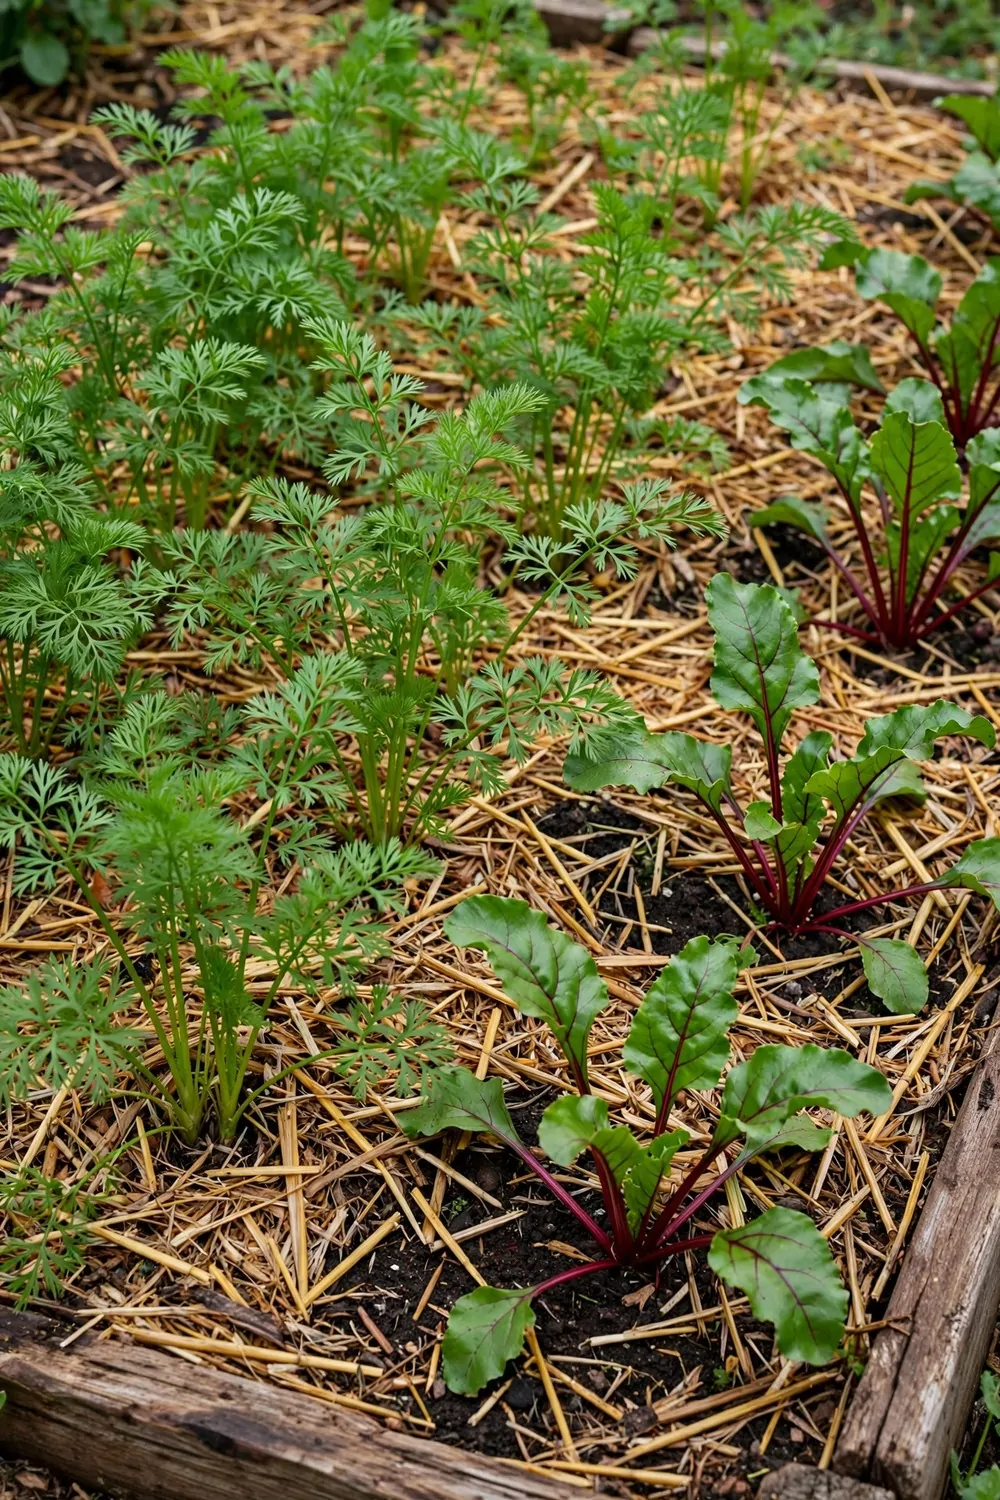
Carrots and beets need deep soft soil to grow straight.
A no-dig bed can give them just that. I make this bed deeper than my other beds and pile the compost on thick, about as deep as my hand and fingers.
The roots push down through the soft compost and into the soil below.
The cardboard under it breaks down by then. I sow carrot seeds in neat rows and thin them out as they grow, and the small ones I pull out are sweet already.
Beets are easy too.
Their leaves taste good cooked, so I grow them for the roots and the tops both. Stones in the soil can make carrots fork and bend, but soft compost helps me avoid that problem most of the time.
I water this bed well when the weather is dry.
Roots need steady water to grow long and sweet. When I pull a carrot up, I feel how loose the soil is now, and it comes out with a gentle tug, no hard digging at all.
Building my root bed worked out at $14 to $30, and I pulled a few handfuls of carrots most weeks in summer.
23. A No-Dig Flower Border
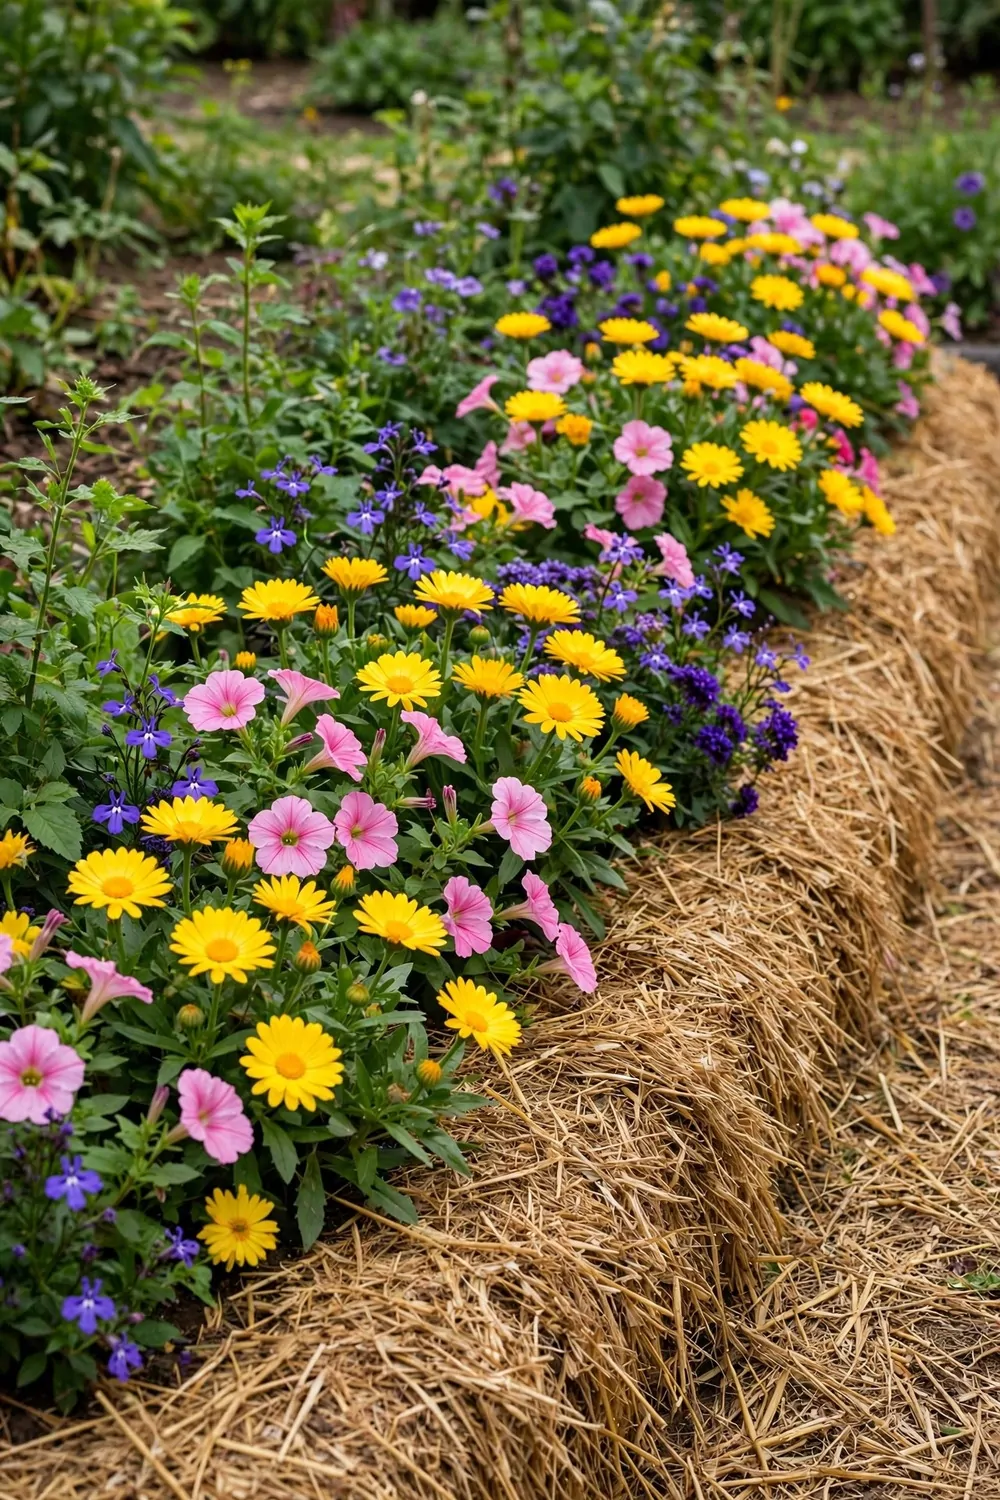
A flower border brings so much colour to my garden.
It also brings bees, and I love watching them work.
I build the border the same way as my veg beds, with cardboard first and then a thick layer of compost on top. Daisies and petunias grow well for me here, and they are bright and bloom for months.
I plant tall flowers at the back and short ones at the front.
That way I can see them all from the path. Flowers next to my veg beds help the whole garden, because the bees visit the flowers and then my beans too.
I deadhead the spent blooms when I walk past.
Snipping off the old flowers helps new ones open. A thick mulch layer keeps the border tidy, stops weeds, and keeps the soil damp in hot weeks.
In autumn I leave the old stems standing for a while.
Plants and compost for my flower border set me back $13 to $29, and it bloomed from early summer right into autumn.
24. When Weeds Poke Through
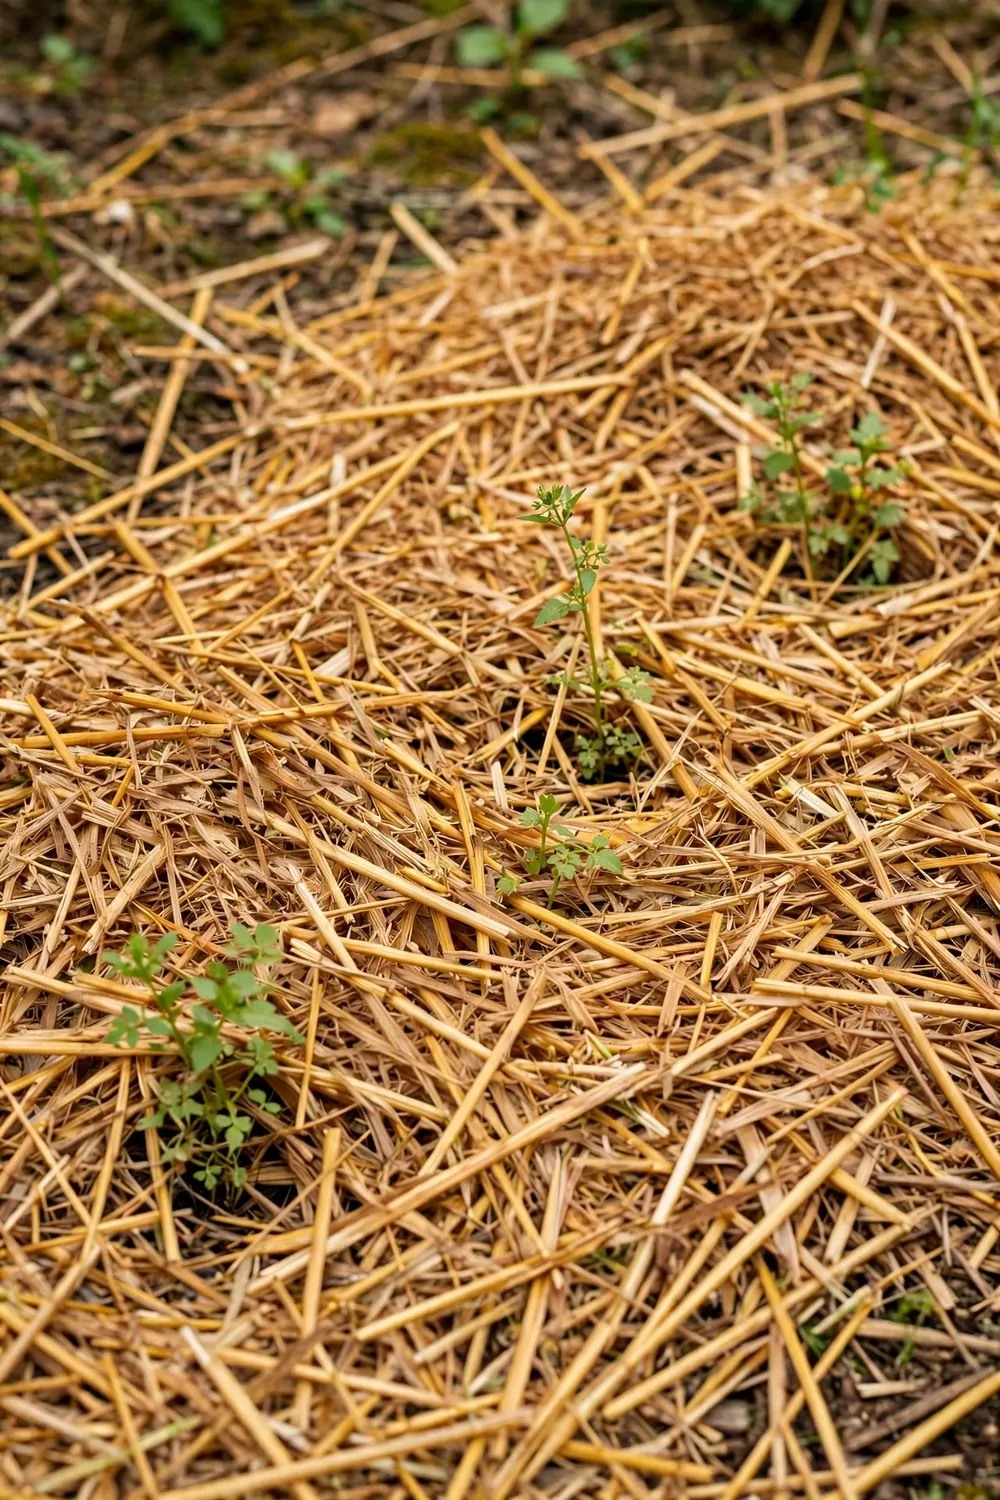
A few weeds will still poke through your mulch sometimes.
That is normal and nothing to worry about. I pull them out while they are small and the soil is damp, because they come out easy then, roots and all.
If a weed is big, I cut it off at the base first.
Then I cover the spot with more mulch so it cannot grow back fast. Never let weeds drop their seeds in your beds, so I pull them before they flower when I can.
Some weeds grow from the edges of the bed.
I keep the mulch thick right to the edge to slow them down. I spend about ten minutes a week on weeds in my whole garden, and a little bit often beats a big hard job later.
After rain is the best time to weed.
The soil is soft and the roots slide out with a gentle pull. I drop the weeds I pull onto my compost pile, and the small soft ones break down fast there.
A spare bag of mulch for patching thin spots cost $8 to $19, and it lasted me the whole growing season.
25. A One-Week No-Dig Starter Plan
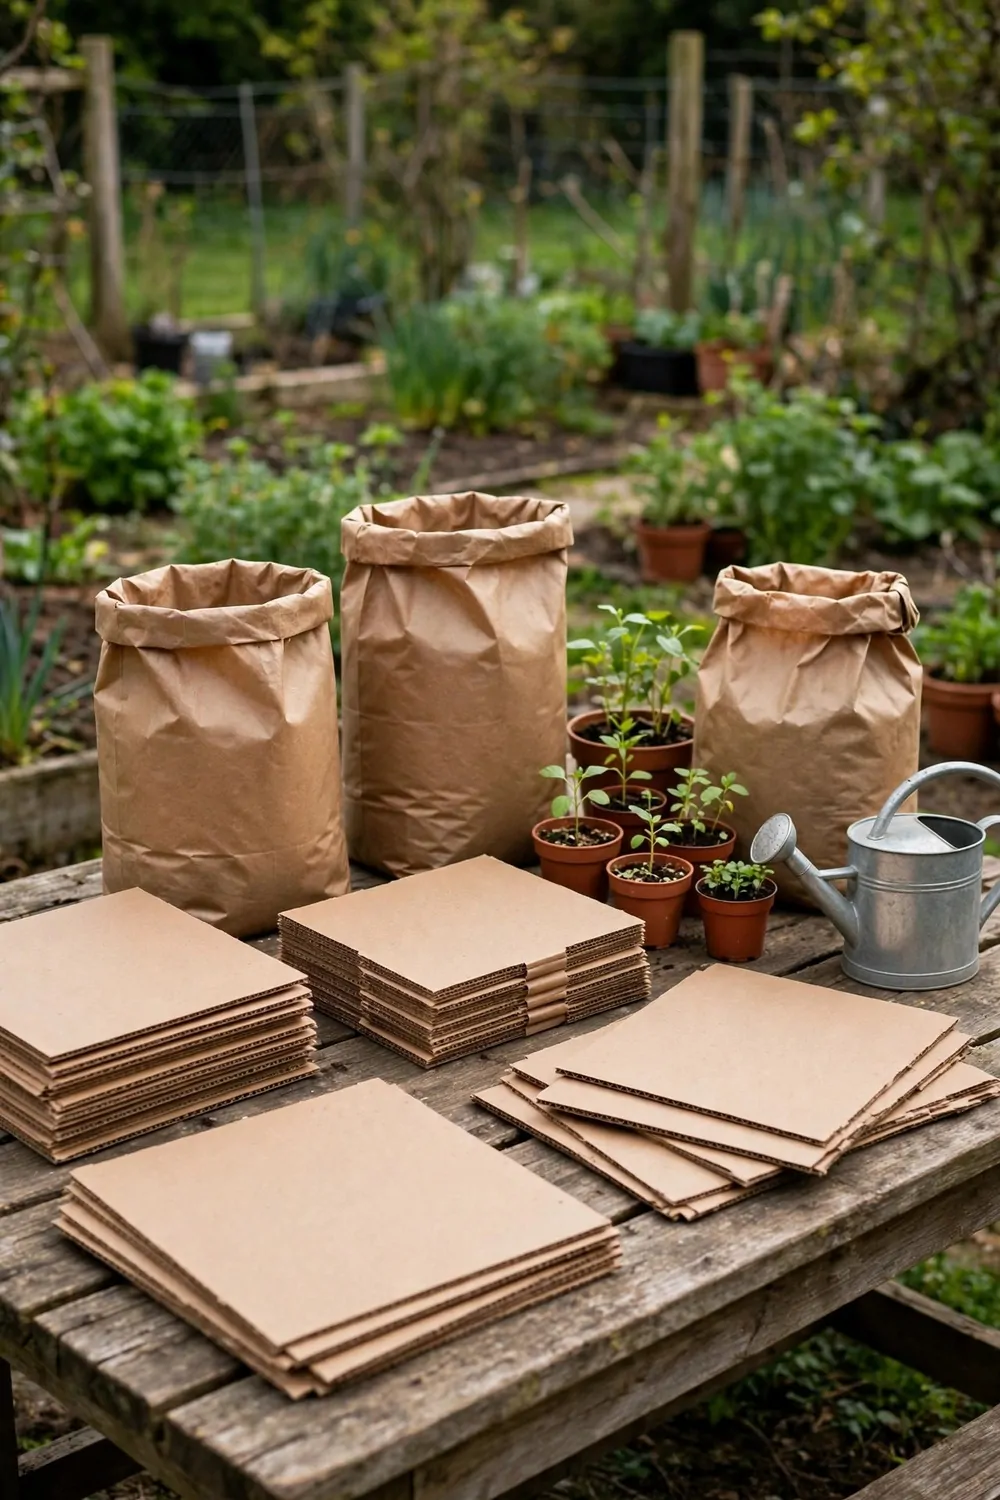
You can build your first no-dig bed in one week.
I did mine in short evening jobs, never more than half an hour a day. On day one I picked a sunny flat spot and mowed the grass short, then I marked out the bed with string.
On day two I laid cardboard over the grass and wet it well.
I overlapped the pieces so no light got through. On day three I spread compost over the cardboard in a thick layer, and I used a wheelbarrow and a rake to level it.
On day four I added straw around the edges and let the bed settle.
A good soak with the watering can helped it sink down. On day five I planted young plants into the soft compost, making a small hole with my hand and tucking each one in.
On day six I watered everything well and added a thin mulch layer around the plants.
The bed looked finished already. On day seven I just stood back and looked at it, my back felt fine, and my first no-dig bed was ready to grow.
My starter costs were cardboard $0 to $8, compost bags $24 to $48, straw bale $12 to $20, young plants $15 to $30, and watering can $10 to $18, for a total of $61 to $124.
| Area | Main change | Typical Cost |
|---|---|---|
| Cardboard | Flat cardboard laid over the grass for the first bed | $0 to $8 |
| Compost bags | Bags of dark compost spread thick over the cardboard | $24 to $48 |
| Straw bale | A bale of straw for mulch round the new plants | $12 to $20 |
| Young plants | Young plants set into the soft compost | $15 to $30 |
| Watering can | A small watering can for gentle watering each day | $10 to $18 |
| Total | One-week no-dig starter set | $61 to $124 |
Keep Reading
If you liked these ideas, you will love these posts too.
- 28 Raised Garden Bed Ideas for Small Backyards
- 31 Herb Garden Ideas for Beginners
- 24 Balcony Vegetable Garden Ideas That Actually Work
- 26 Container Garden Ideas for Patios and Small Spaces
- 33 Vegetable Garden Ideas for First Time Growers
- 22 Vertical Garden Ideas That Grow Up Not Out
Lay the first sheet of cardboard this weekend and let your back thank you while the garden grows.