24 Balcony Vegetable Garden Ideas That Actually Work

My balcony is barely wider than my kitchen table, and for years I thought that meant no fresh vegetables for us.
I looked at that narrow strip of floor and felt sure it was too small for anything useful. I was wrong, and I am glad I tried anyway.
Now I pick fresh food just steps from my kitchen door, and it still makes me smile.
I learnt a lot by trial and error. Some pots dried out too fast. Some plants grew tall and floppy, and I had to learn how to tie them up right.
You do not need a big garden or fancy tools. You need a few pots, some good soil, and a bit of sun each day.
Start small and grow what you love to eat.
You will find all 24 ideas right here in this one post. You can read them all in one go and pick the ones that fit your space best.
1. Cherry Tomatoes in a Big Pot
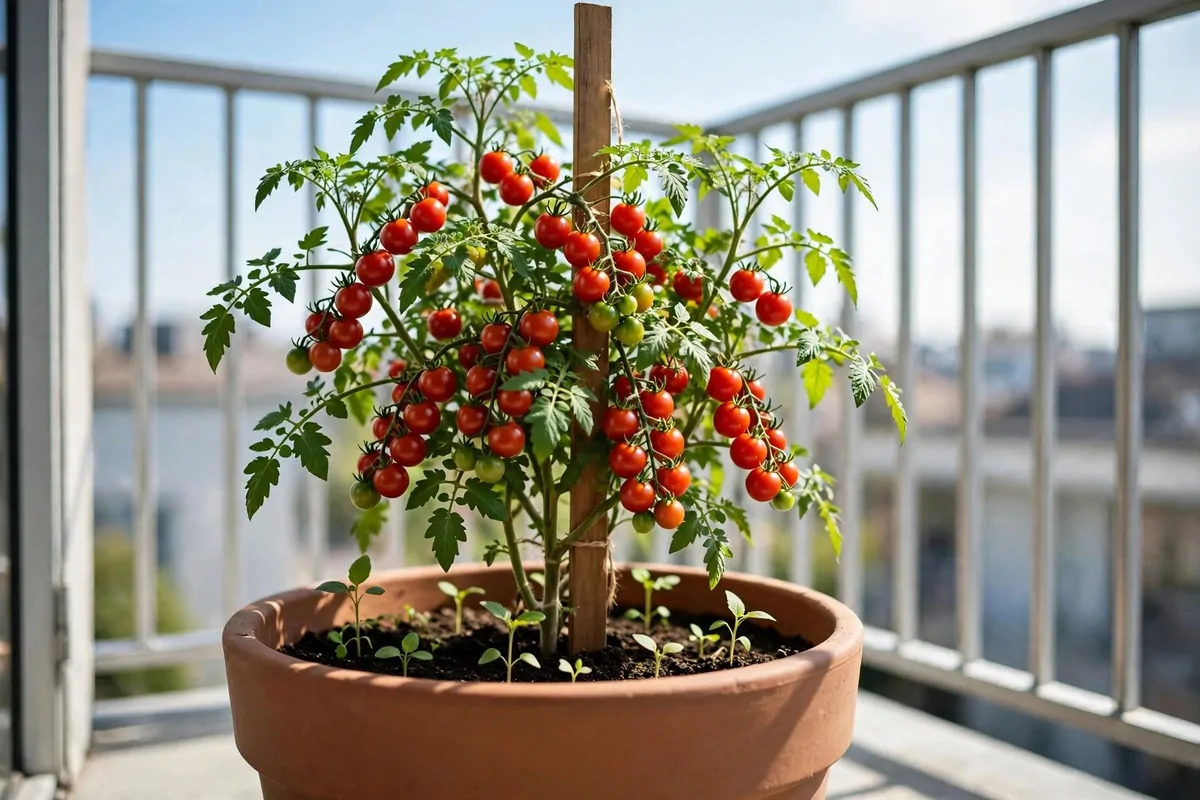
Cherry tomatoes were my first win on the balcony. I picked a big pot, filled it with soil, and put one small plant in the middle.
I gave it the sunniest spot I had, right by the rail where the sun stays longest.
I water it most mornings before the day gets hot. I poke my finger in the soil first, and if the top feels dry I give it a good drink. If it still feels damp I leave it alone till the next day.
A tall stick in the pot keeps the plant upright as it grows. I tie the stem to the stick with soft string as it gets taller.
The little red fruit taste sweet and fresh, and I love to eat them warm from the plant.
I pick a few each time I pass by, and they soon add up to a small bowl. I toss them with pasta or eat them with bread and chicken. They make a plain meal feel fresh and bright.
I spent about $25 to $60 on the pot, soil, and one small plant to get going. The big pot cost the most, so I looked for a plain one with no fancy trim.
One plant gives a few handfuls at a time, which is plenty for us.
If the leaves turn yellow at the bottom, I just pull them off and keep watering as normal. It is a kind plant, and it forgives a few small mistakes.
2. Sweet Peppers in a Sunny Corner
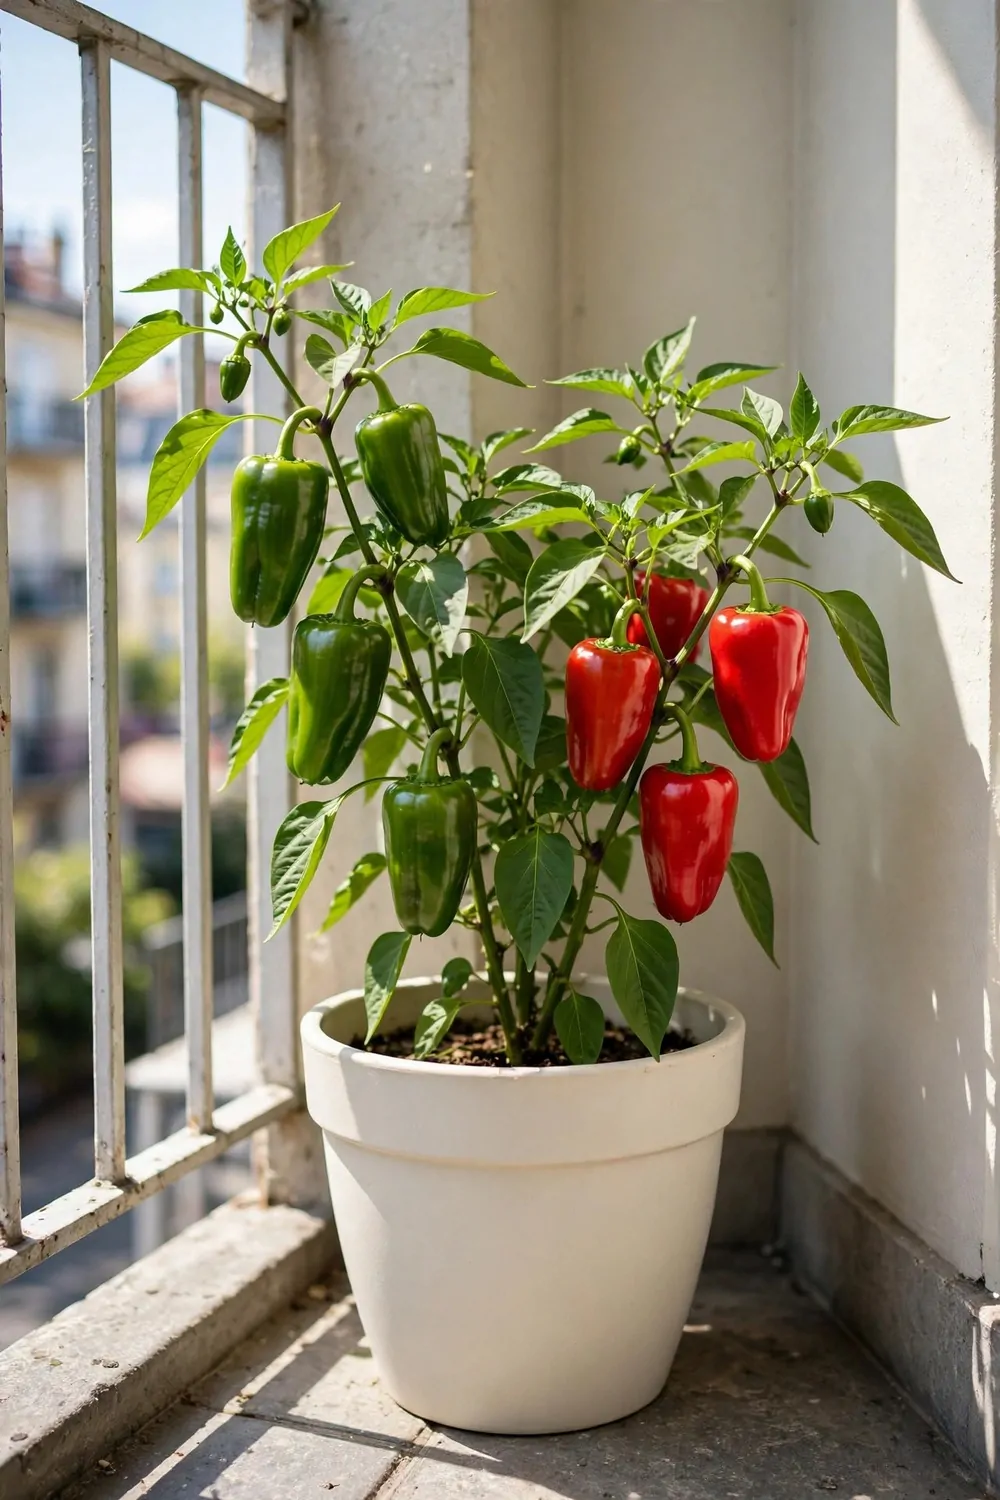
Sweet peppers love sun, so I put mine in the warmest corner of my balcony.
I use a pot that is wide and deep, with holes in the bottom for water to drain away. I fill it with soil and plant one small pepper plant in the centre. I press the soil down gently so the roots sit firm.
Peppers grow slow at first, and I had to be patient. Then one warm week came, and the plant shot up with lots of green leaves.
I water them when the soil feels dry, and I try not to splash the leaves too much.
The flowers are small and white, and they turn into tiny green fruit. The fruit grow bigger week by week, and they turn red or yellow when they are ripe. I like to pick them when they feel firm and look bright.
All in, the pot and plant set me back somewhere between $20 to $45. I saved a bit by using a pot I already had at home.
I chop the peppers into rice and pasta, and they add a sweet crunch.
You only get a few handfuls from one plant, but that is enough for a few meals. I pick one or two at a time and let the rest keep growing.
If your balcony gets wind, move the pot close to the wall for shelter. The stems can snap in a strong gust, so a short stick helps a lot. I learnt that the hard way after one windy night.
3. Chillies in a Small Pot
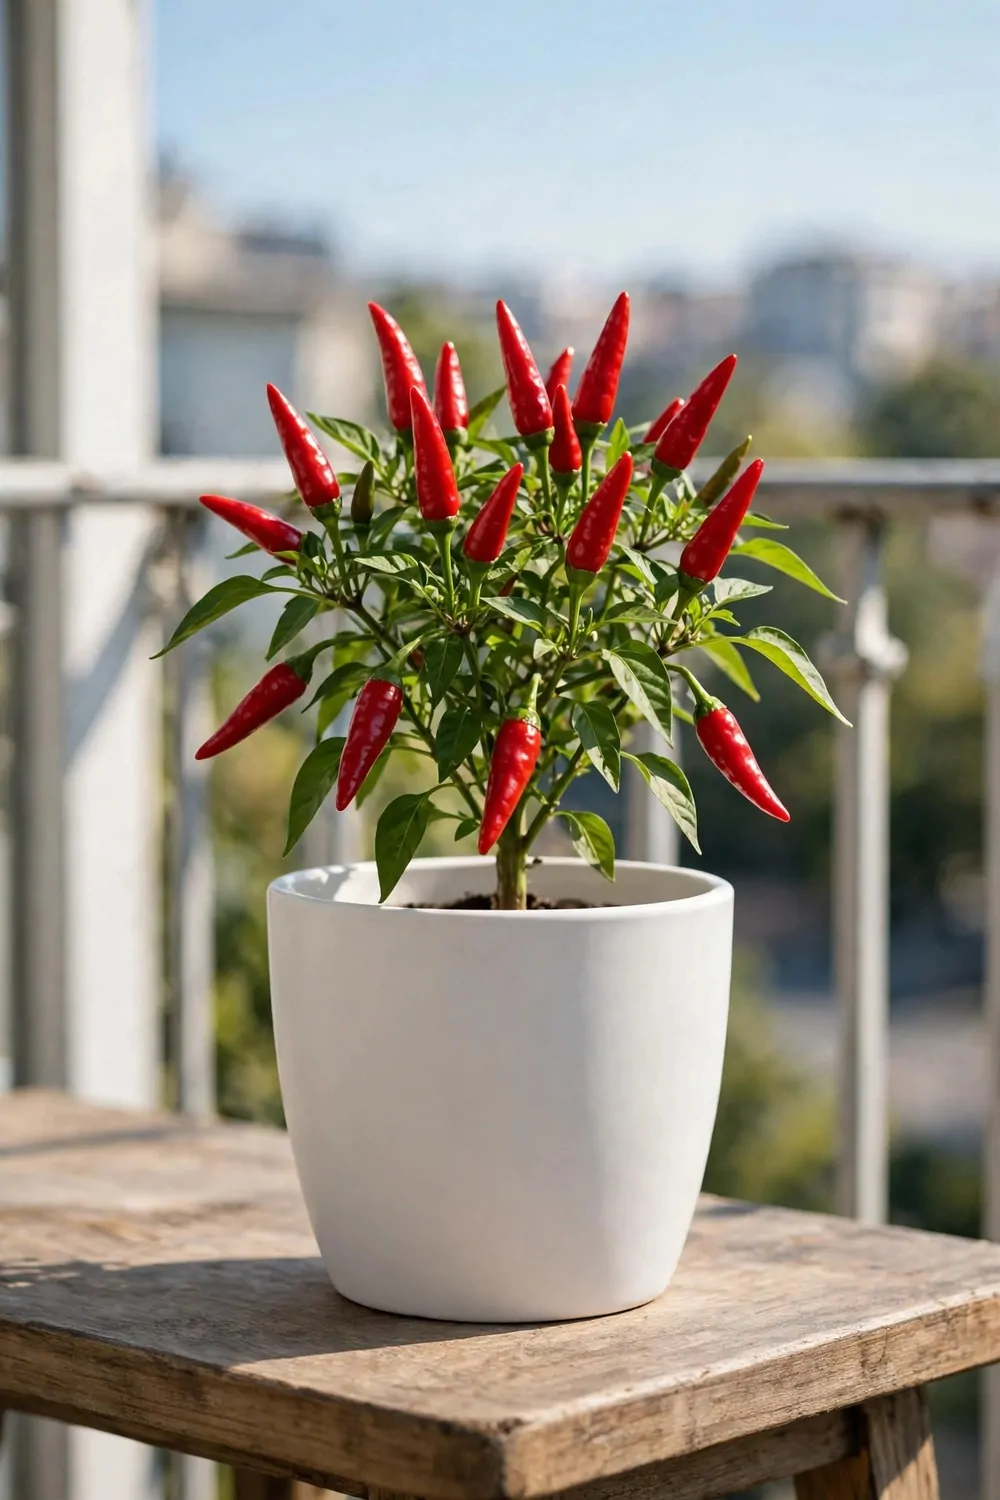
Chillies are small plants with a big kick, and they fit in the tiniest pots. I keep one by my kitchen door so I can grab one while I cook.
A small pot is fine, but it must have holes in the bottom so water can drain out.
I fill the pot with soil and plant one chilli plant in the middle. I water it well on the first day, then water it less as it settles in. It likes sun and warm air, so I give it the brightest spot I can.
The plant stays short and bushy, which is perfect for a small balcony. I do not need a tall stick, just a small one if the stems get heavy.
One plant gives me enough chillies for a few meals each week.
You should be able to set this one up for $12 to $30, pot and plant included. It is one of the cheapest ways to start, and it takes up almost no room.
I chop a chilli into beans or rice when I want a bit of heat. I use just a little at first, then add more if I want it hotter. The fresh taste is so much better than the dried stuff in a jar.
Wash your hands after you chop them, as the juice can sting your eyes.
If you have small kids, put the pot up high where little hands cannot reach it. The plant looks pretty, but the fruit are hot and not for little mouths.
4. Cucumbers Up a Trellis
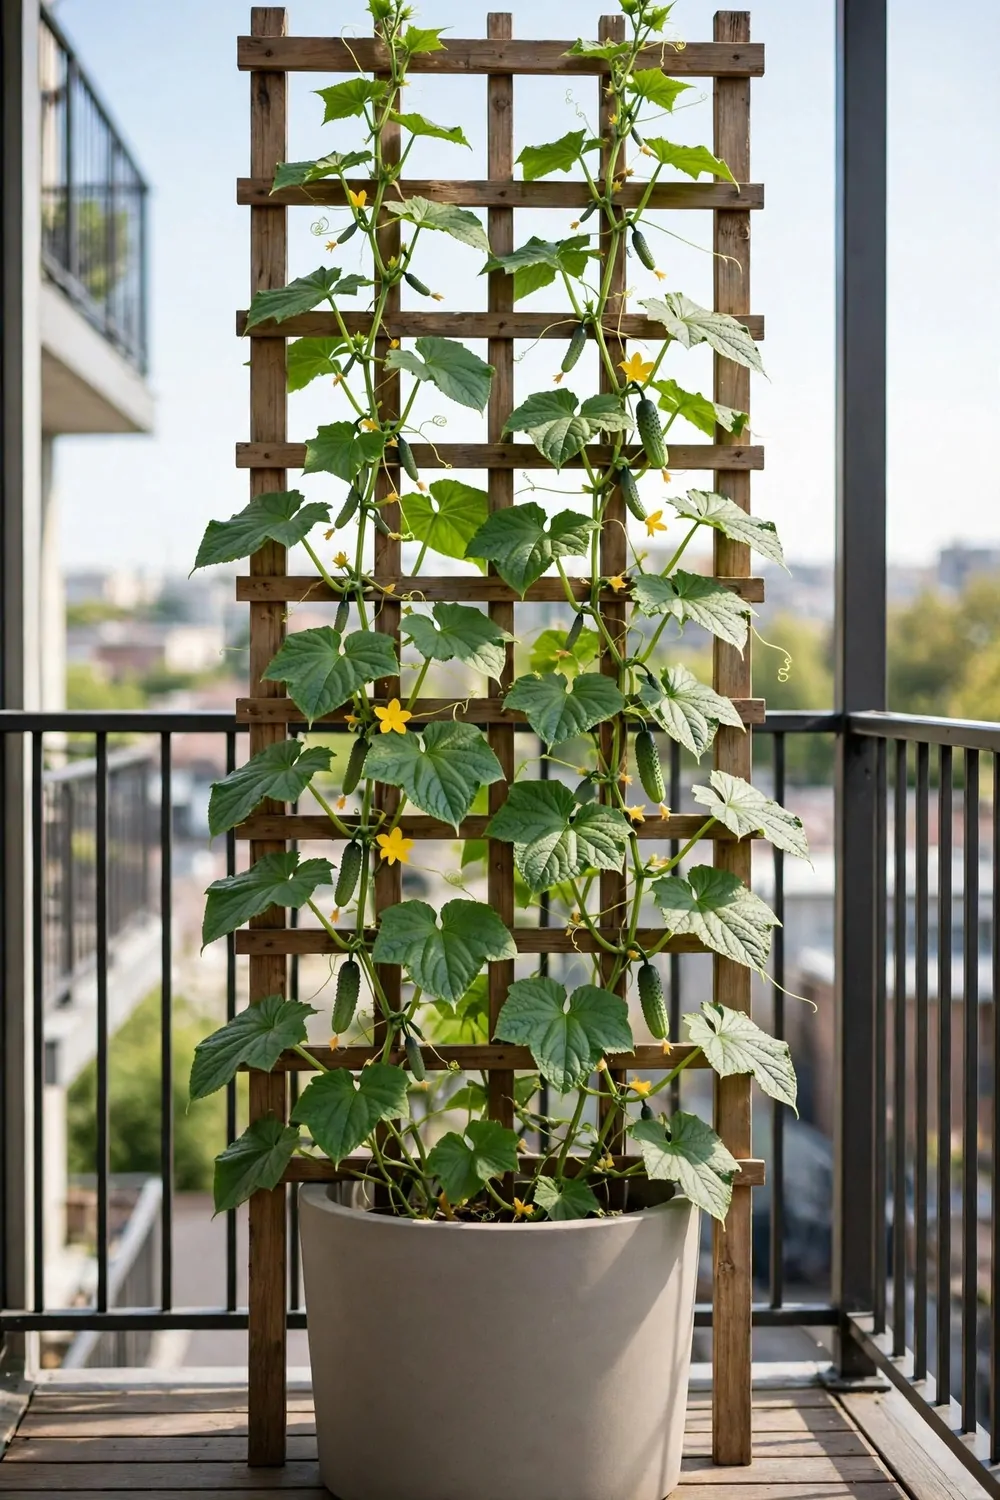
Cucumbers love to climb, so I gave mine a trellis to grow up. I put a tall pot by the wall and fixed the trellis behind it. The plant soon found its way up, and it saved me a lot of floor space.
A trellis is just a frame with bars, and you can buy one or make one from thin wood.
I plant one cucumber plant in a big pot and water it well. The soil dries fast on a hot day, so I check it every morning.
As the stems grow, I guide them gently through the frame. I tie them loosely with soft string so they do not snap. The leaves spread out and give the plant shade, which keeps the soil damp a bit longer.
The flowers turn into small cucumbers that hang down from the frame. I pick them when they are short and firm, as big ones can taste bitter.
My trellis, pot, and plant came to $30 to $70 in total.
I slice cucumber into bread and chicken plates on hot days. It stays crisp and cool, and it makes a plain meal feel fresh.
One plant gives a few handfuls over the season, which is enough for a few meals. I pick a few each week and let new ones keep growing. If a leaf turns yellow, I trim it off and keep going.
Give the plant room to climb, and it will do most of the work itself.
5. Lettuce in a Shallow Box
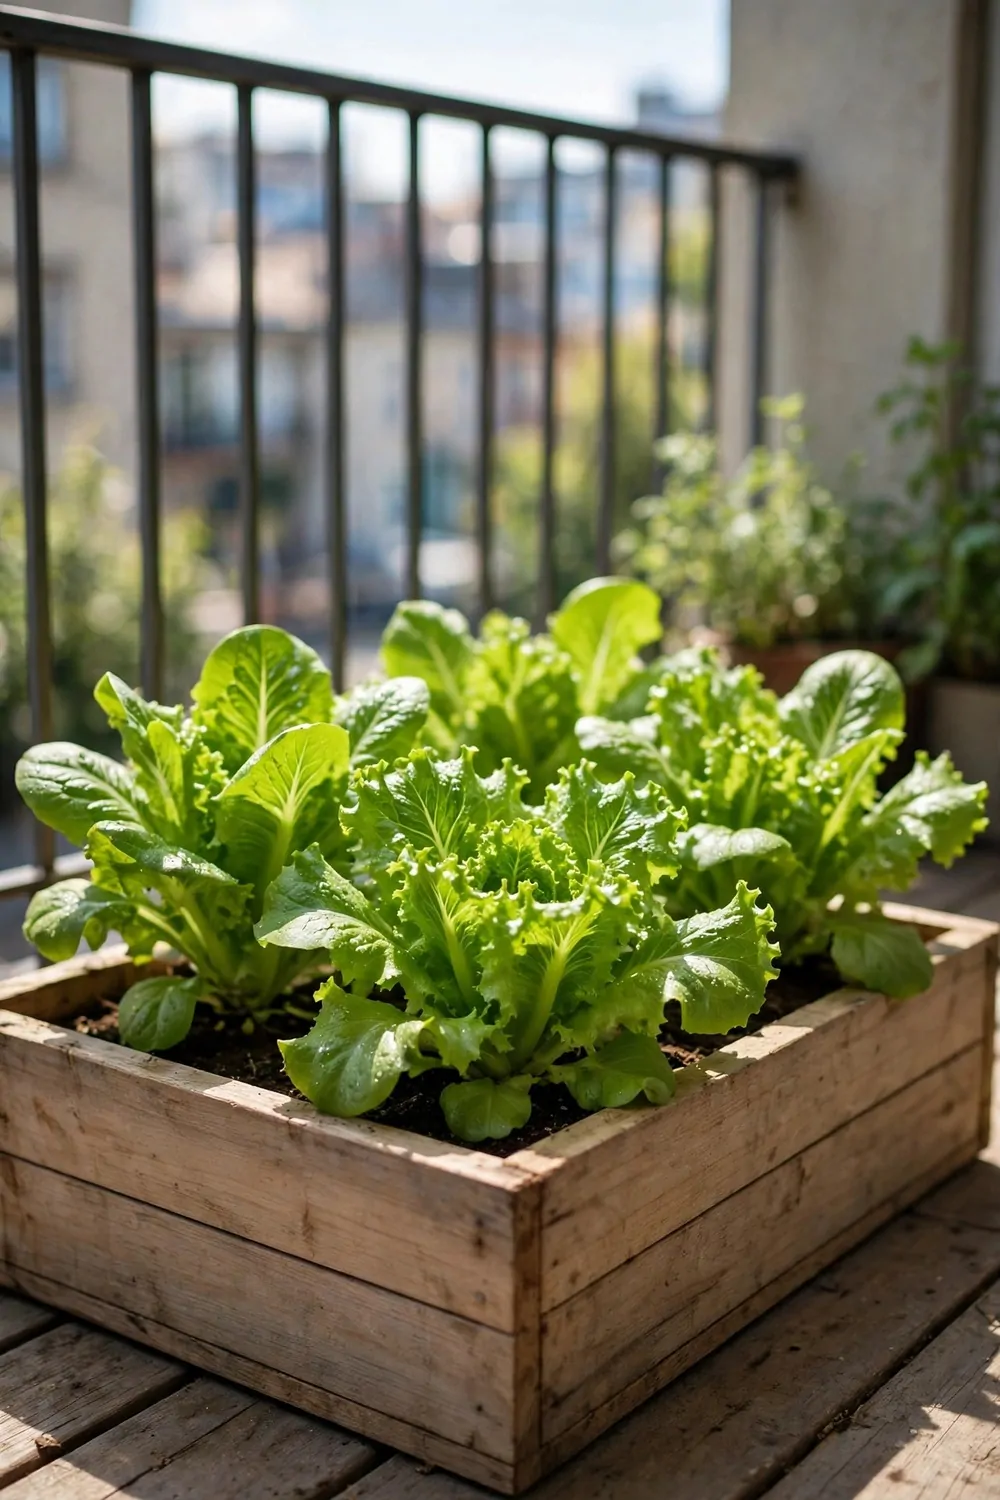
Lettuce is one of the easiest things I grow on my balcony. It grows fast, and it does not need a deep pot at all.
I use a shallow box with holes in the bottom, about as deep as my hand is long.
I fill the box with soil and scatter the tiny seeds on top. I cover them with a thin layer of soil and water them gently. I keep the soil damp till the small green leaves show.
Lettuce likes a bit of shade in the hot part of the day. I move the box back from the rail when the sun is strong.
I pick the outer leaves first and leave the centre to keep growing. That way one box keeps giving me leaves for weeks. I wash them well and eat them the same day for the best taste.
The box, soil, and seeds worked out at $18 to $40 for me. Seeds are cheap, so the box is the main cost.
I use the leaves with bread and chicken, and they add a fresh crunch.
You will get a few handfuls from one box, which is enough for a few meals. Sow a few more seeds every two weeks, and you will always have some ready.
If the leaves taste bitter, the plant may be too hot or too dry. I move it to a cooler spot and water it more. It soon grows fresh leaves that taste mild again.
6. Spinach for Shady Corners
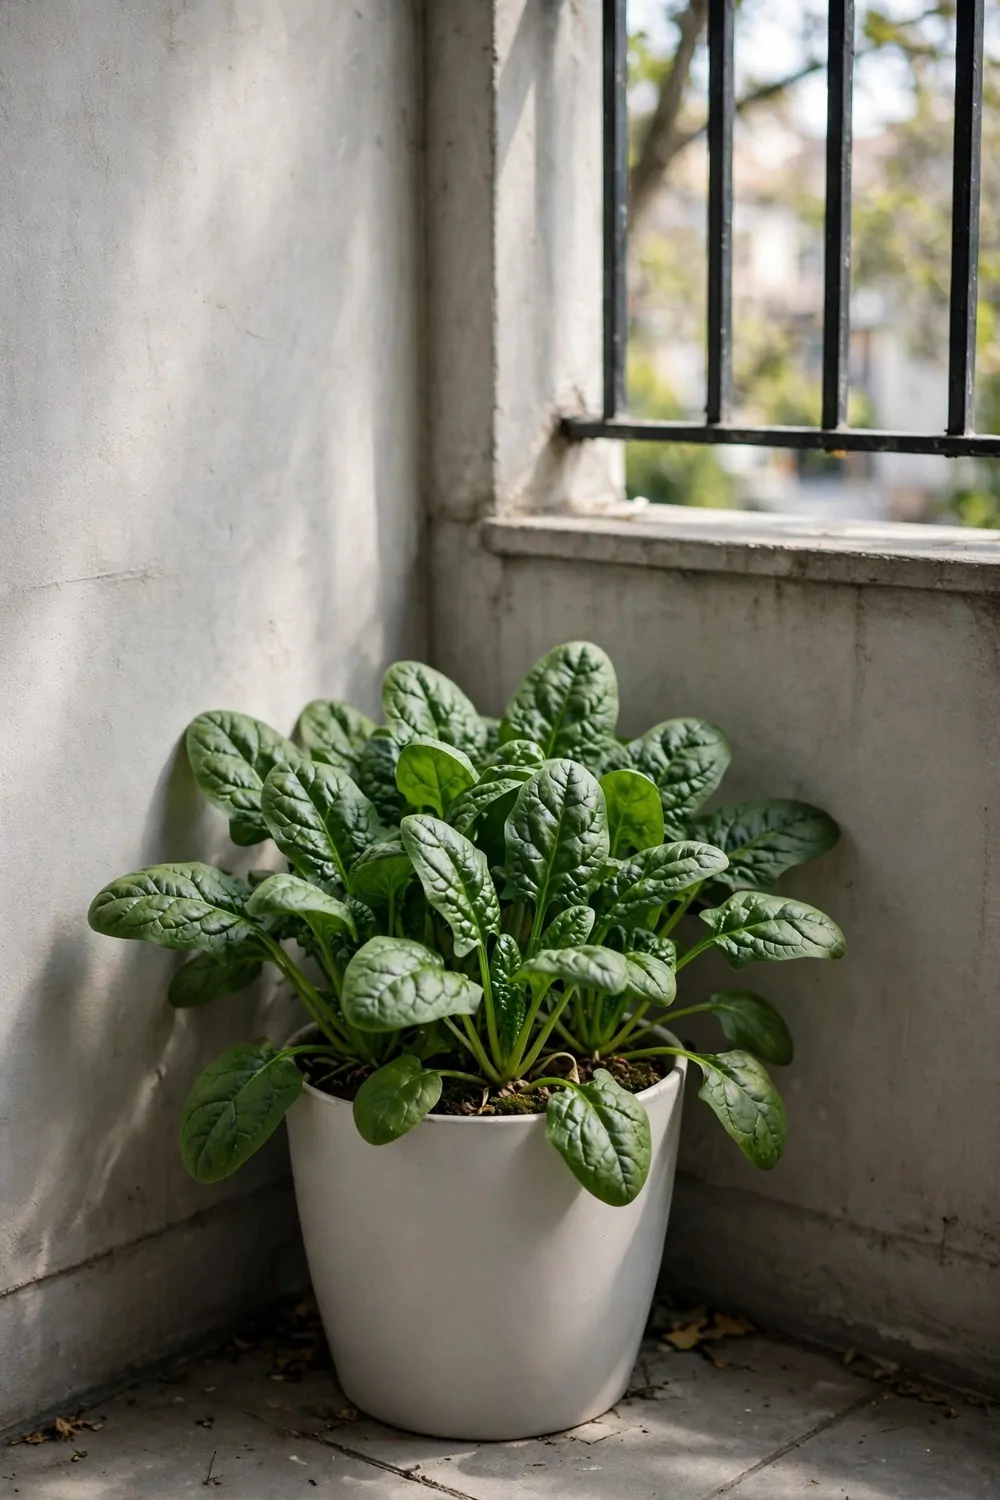
Spinach is my pick for the shady corner where little else will grow.
My balcony has one corner that gets sun for just a short time each day. I put a wide pot there and sowed spinach seeds in it. The leaves came up fast, and they stayed soft and green in the shade.
I keep the soil damp, as spinach hates dry soil. I water it in the morning and check it again on hot days.
You can pick the big leaves first and let the small ones keep growing.
I cook spinach with beans and rice, and it wilts down fast in the pan. A big bowl of leaves turns into a small serving, so I grow plenty.
For the pot, soil, and seeds, I paid $15 to $35 altogether. It is a cheap crop, and the seeds last me a long time. I store the rest in a dry jar for the next round.
Pick it young for the softest leaves and the mildest taste.
One pot gives a few handfuls at a time, which is enough for a few meals. I sow more seeds every few weeks so the pot never sits empty.
If the leaves bolt up tall and thin, the plant is too hot. I move the pot deeper into the shade and sow fresh seeds. The new leaves come back soft and tasty.
7. Climbing Beans on the Rail
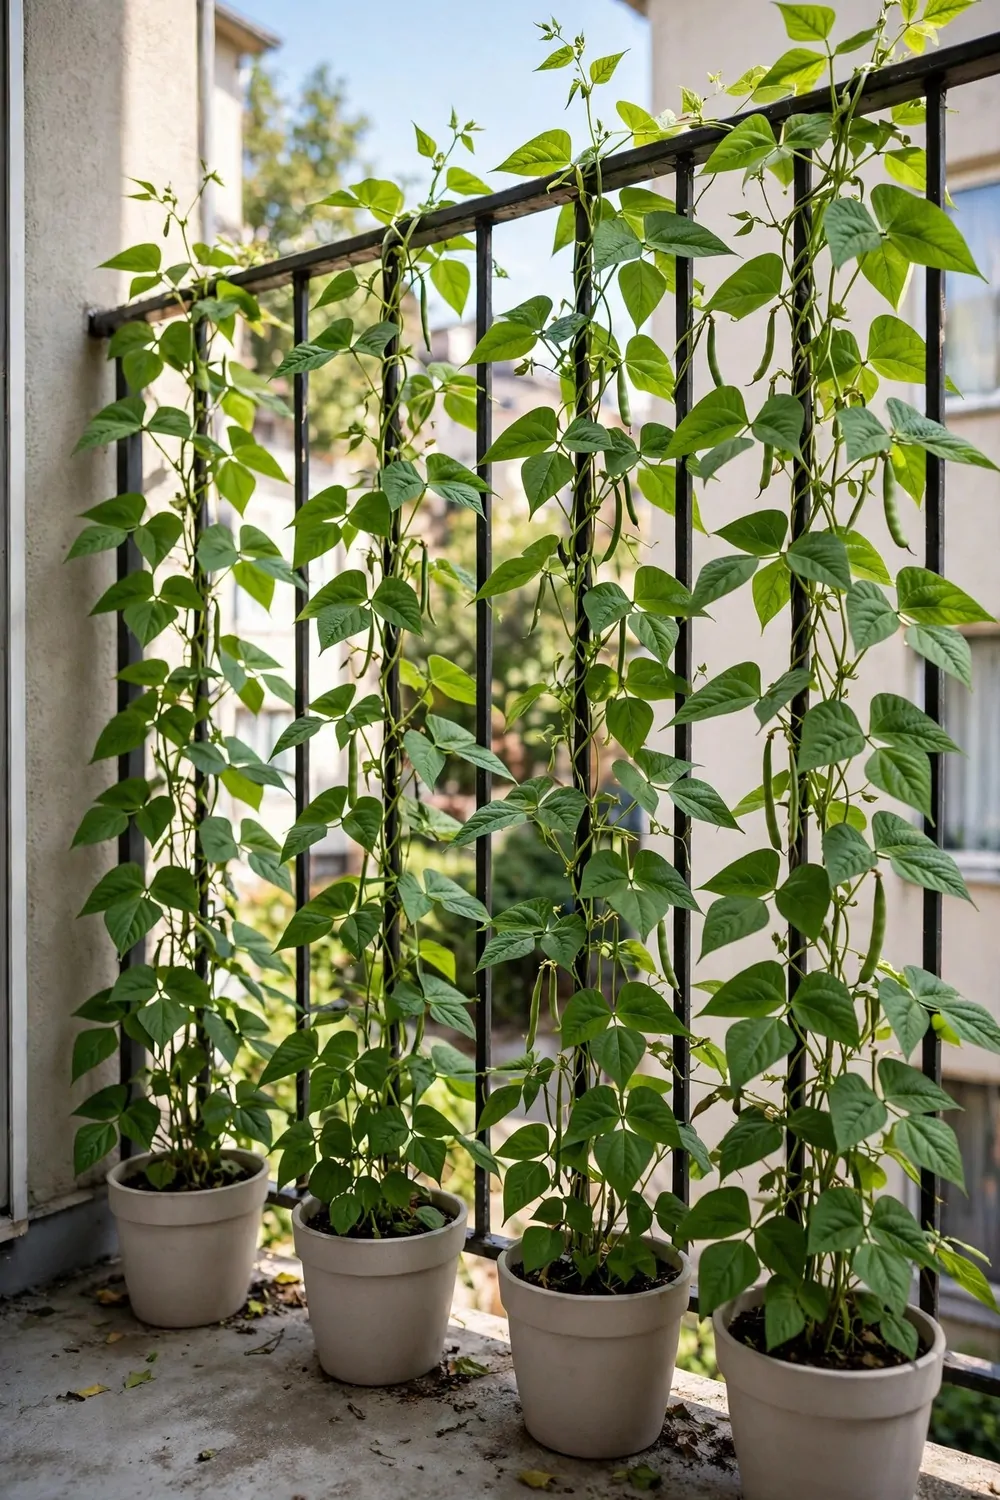
Climbing beans turn my plain rail into a green wall. I plant them in a pot at the base of the rail and let them climb up.
I use a deep pot at the base of the rail and plant a few seeds in it. I water them well, and the seeds sprout in a few days. The stems soon reach for the rail and wind around the bars.
I let the stems wind around the rail bars so the beans can climb higher.
The flowers are pretty, and the long pods soon hang down in bunches. I pick the pods while they are young and tender, as old pods get tough.
Beans love sun and warm days, so I give them the brightest side of the balcony. I water them when the soil feels dry on top. They still grow fast with just water and sun.
Setting this up cost me $20 to $50, with the pots taking most of it. The seeds cost almost nothing.
I cook the beans with rice and pasta, and they taste fresh and green.
One pot gives a few handfuls of pods at a time, which is enough for a few meals. I pick them often, as picking more makes the plant grow more pods.
If the leaves turn pale, I check the water first. Too much water can be just as bad as too little. I let the soil dry a bit, then water again in the morning.
8. Peas in a Deep Pot
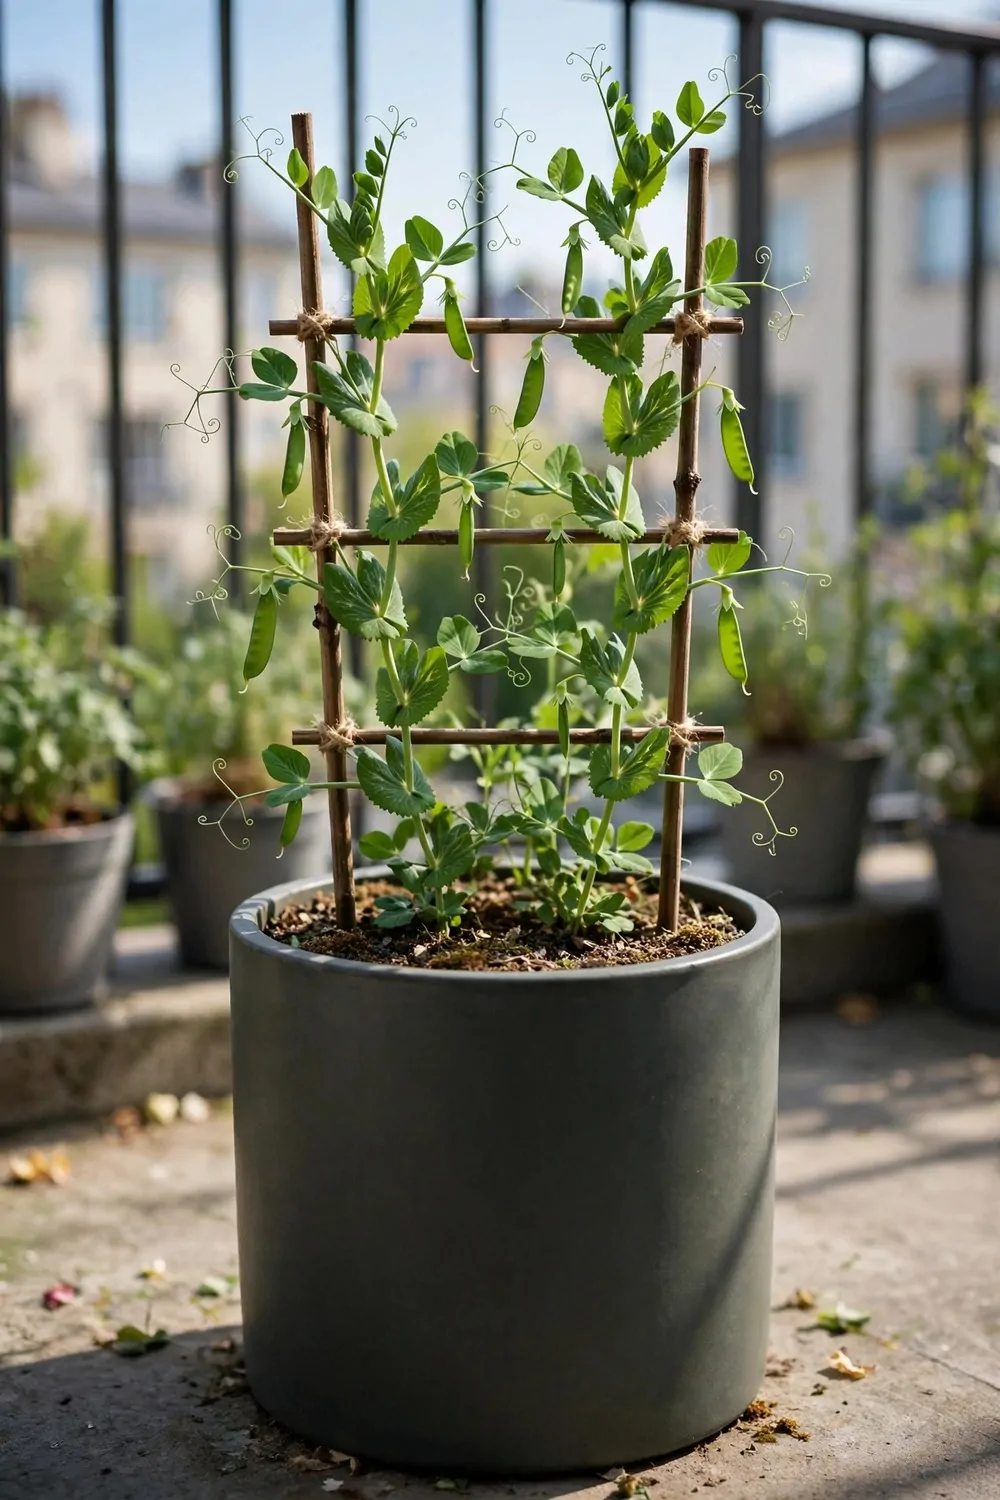
Peas are sweet and fun to grow, and they do well in a deep pot. I sow the seeds in early spring when the air is still cool. They sprout fast, and the curly stems soon reach for something to hold.
I push short sticks into the pot so the stems can climb and stay off the soil.
Peas like cool air and soft sun, so I keep them away from the hottest corner. I water them gently and keep the soil damp but not wet.
The white flowers turn into small pods that swell with peas inside. I wait till the pods feel plump, then I pick them and open them up. The peas inside are sweet, and I eat a few raw as I pick.
I add peas to rice and pasta, and they bring a sweet pop of green.
You can get the deep pot, soil, and seeds for $18 to $42. I found a plain deep pot on sale, which kept the price down.
One pot gives a few handfuls of pods, which is enough for a few meals. I sow a second pot a few weeks later so the peas keep coming.
Peas grow tall fast, so tie them up before they flop over. A loose tie with soft string is all you need. I check the ties each week and add a new one if the plant grows taller.
It is a simple crop, and it makes the balcony feel alive.
| Idea | Typical Cost |
|---|---|
| Cherry Tomatoes in a Big Pot | $25 to $60 |
| Sweet Peppers in a Sunny Corner | $20 to $45 |
| Chillies in a Small Pot | $12 to $30 |
| Cucumbers Up a Trellis | $30 to $70 |
| Lettuce in a Shallow Box | $18 to $40 |
| Spinach for Shady Corners | $15 to $35 |
| Climbing Beans on the Rail | $20 to $50 |
| Peas in a Deep Pot | $18 to $42 |
9. Carrots in a Tall Pot
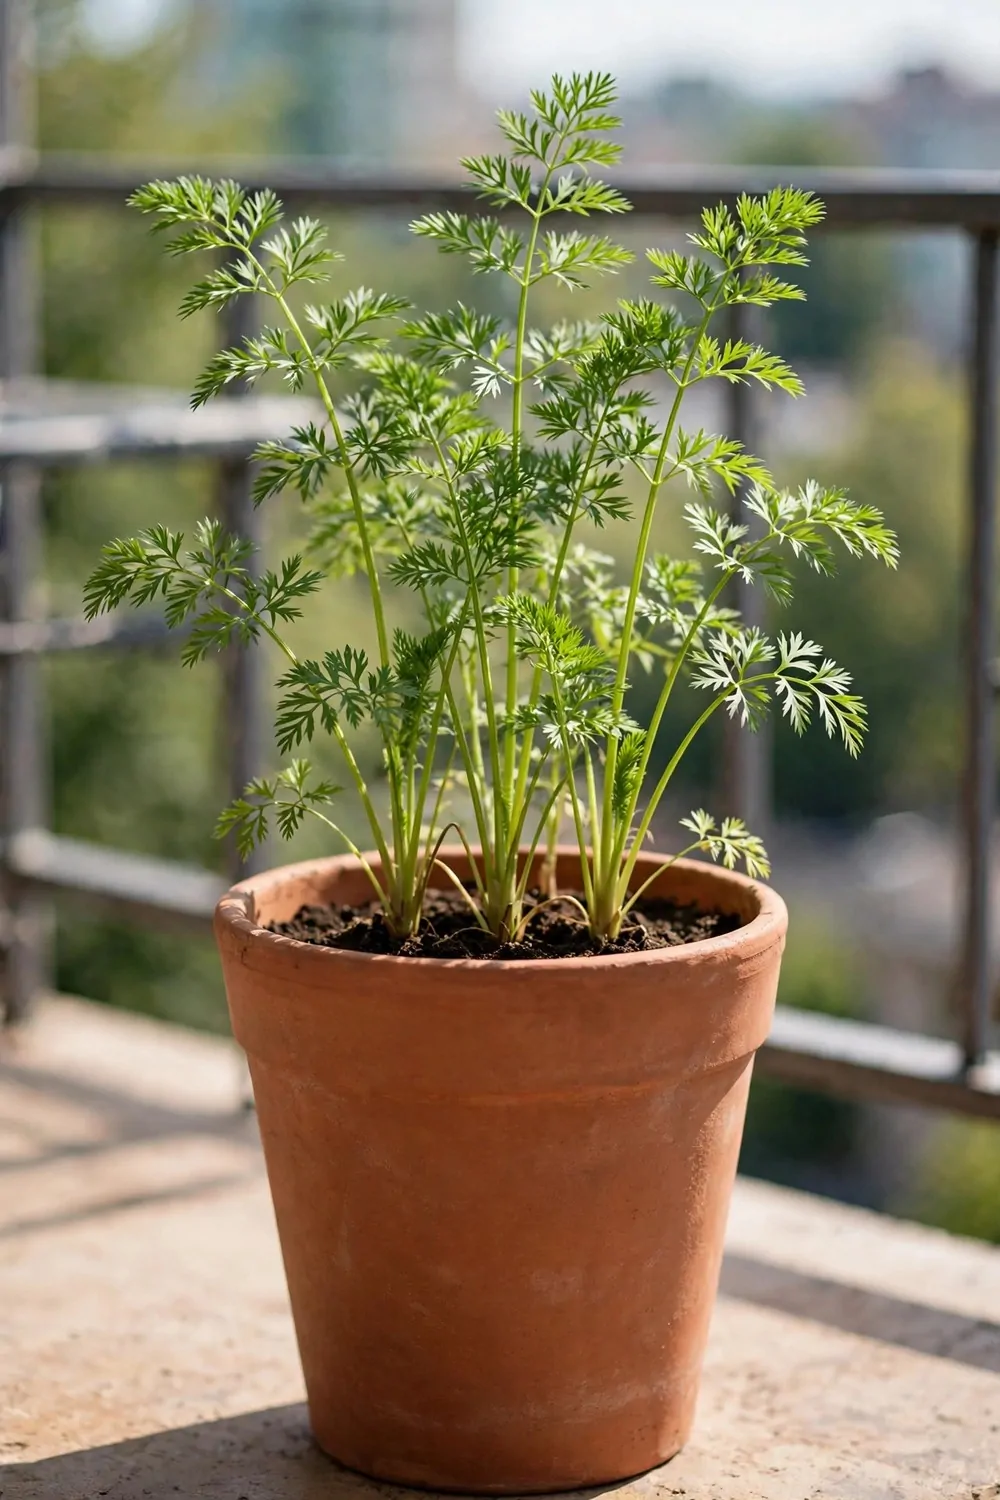
I love pulling a carrot straight from a pot on my balcony.
Carrots need depth more than width, so a tall pot works best for them.
Pick a pot that is at least as tall as your forearm.
Fill it with loose soil that you can push your finger into with ease.
Hard soil makes short, bent carrots, and loose soil lets them grow long and straight.
Sow the seeds thinly across the top, then cover them with just a thin layer of soil.
Keep the top damp for the first two weeks, because dry seeds take ages to wake up.
When the green tops are a few fingers tall, pull out the weak ones so the rest have room.
A tall pot, some seed and soil for this idea will set you back around $20 to $48 in total.
10. Radishes for a Quick Pick
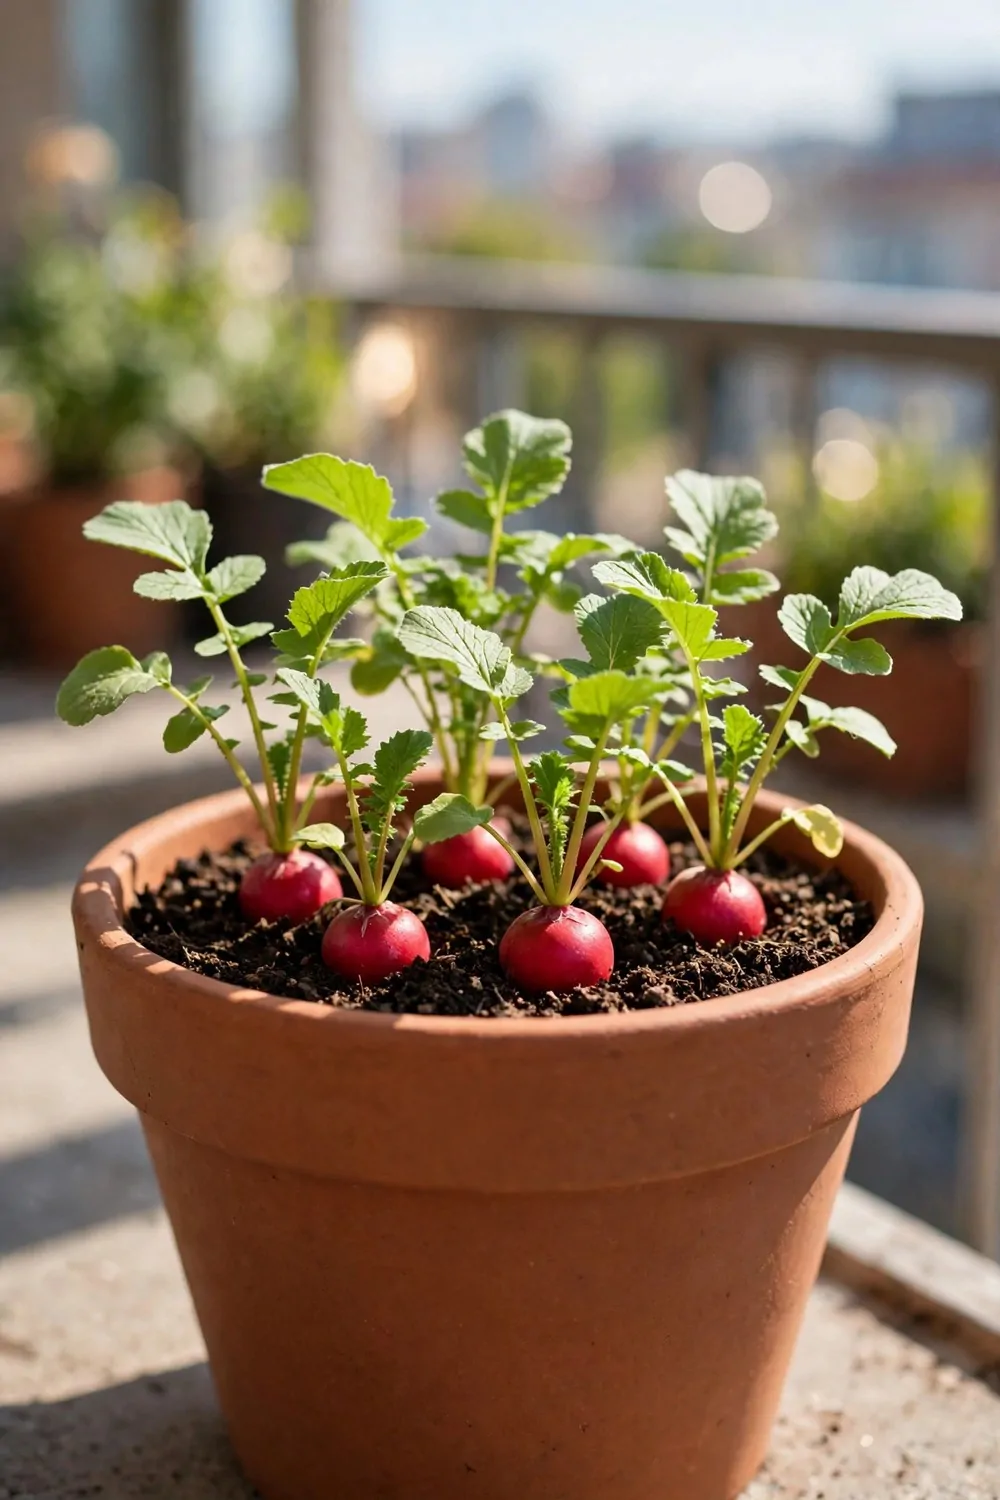
Radishes are the fastest vegetable I grow on my balcony.
You sow them one week, and you can be picking them a few weeks later.
That quick win makes them perfect if you are new to growing food.
Use a shallow box or a wide pot, because radishes do not need much depth.
Space the seeds about two fingers apart so each root has room to swell.
Water them often, and do not let the soil dry out in the sun.
Dry soil makes radishes hot and woody, and nobody enjoys that crunch.
Pick them while they are still small, as big ones turn tough fast.
All in, a box, seed and a bag of soil for radishes comes to about $10 to $25, which is cheap for a first try.
11. Spring Onions in a Narrow Box
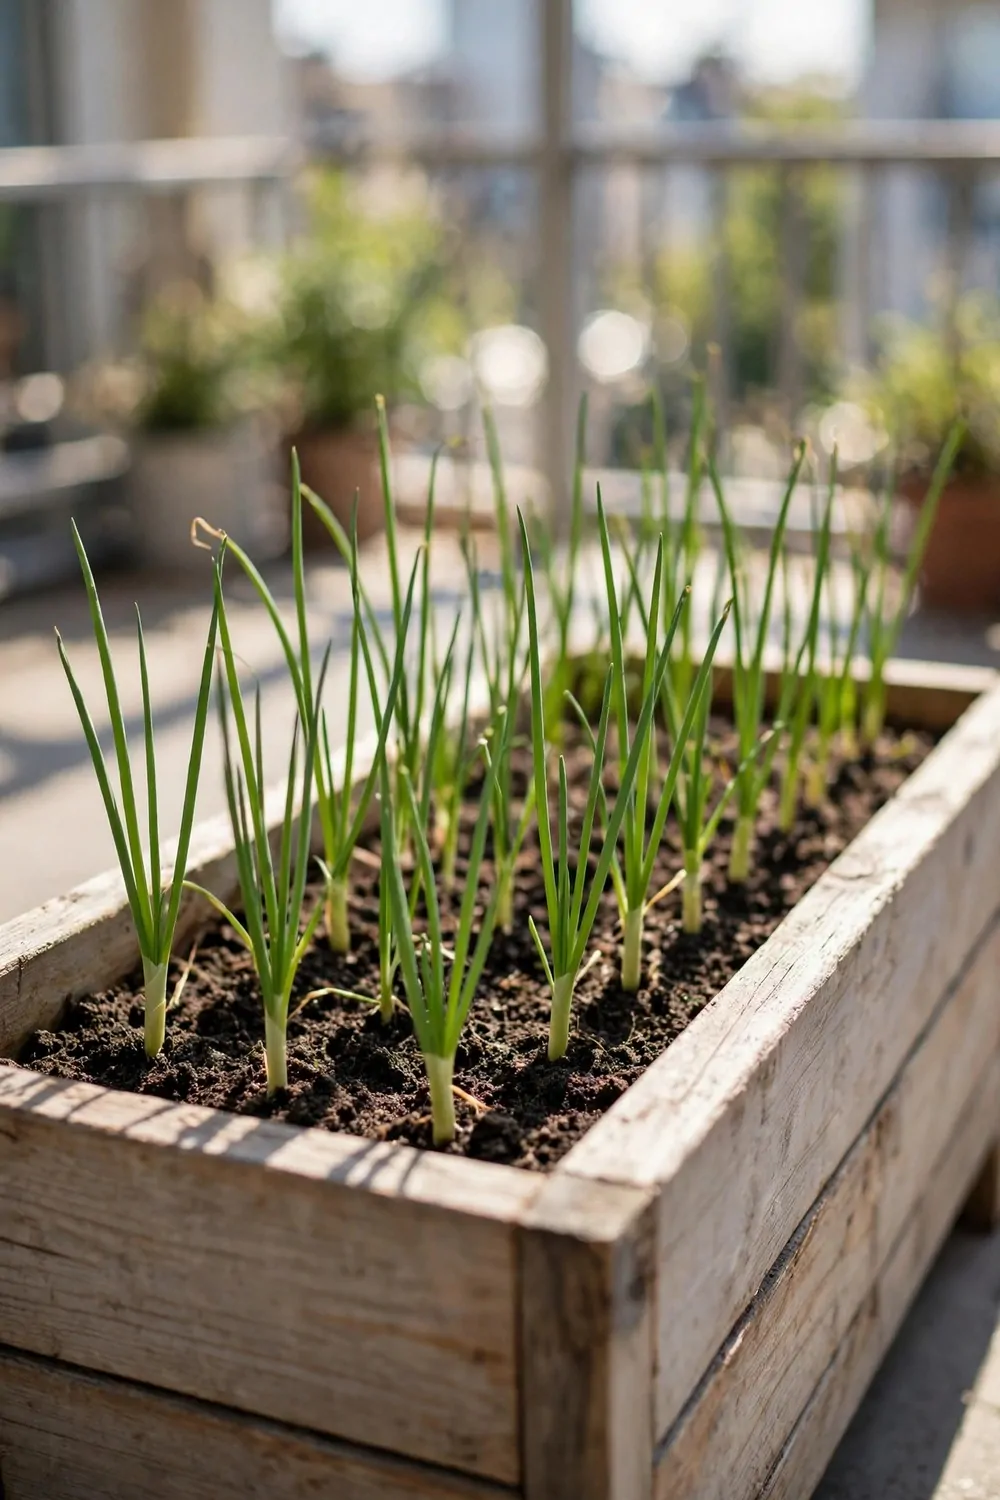
Spring onions fit in the narrowest spot on my balcony, and that is why I love them.
A long, slim box along a wall or a rail is all you need.
They grow straight up, so they never crowd your other pots.
Sow the seeds in rows, or tuck small sets into the soil about a finger apart.
Keep the soil damp but not soggy, and they will push up green shoots in days.
Snip what you need with scissors, and leave the white base in the soil.
Fresh spring onions lift a bowl of rice or a plate of chicken in seconds.
I chop them into pasta too, and the mild flavour works with almost any meal.
You should be able to put this narrow box together for somewhere near $12 to $28, seed and soil included.
12. Herbs Beside Your Vegetables
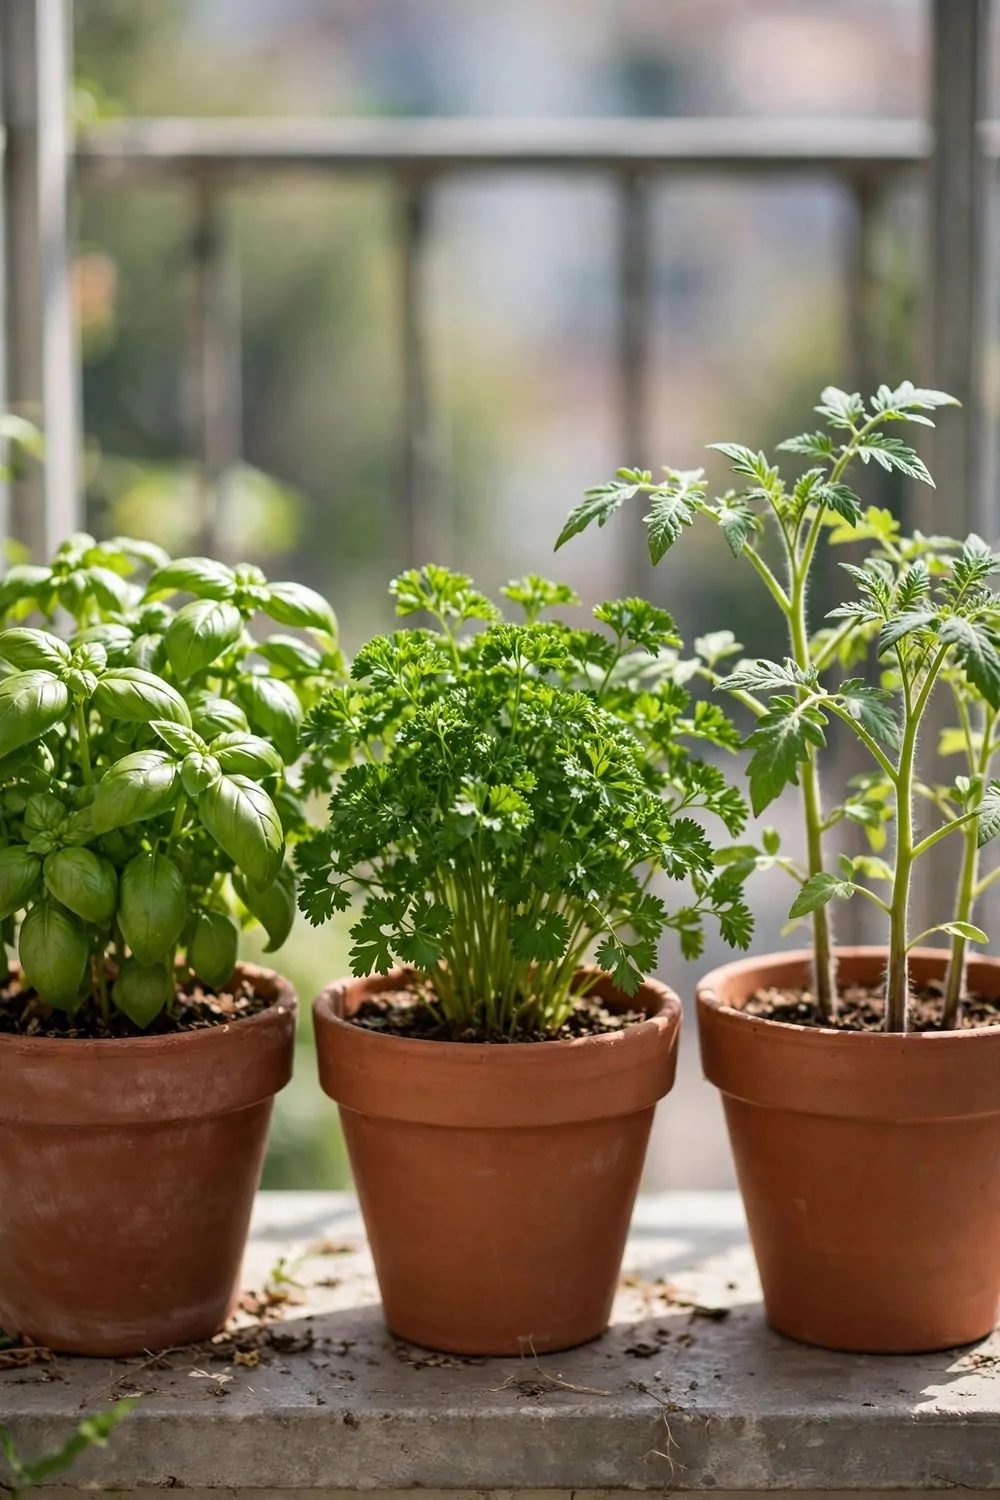
Herbs make a balcony vegetable garden feel complete, and they are so easy to grow.
Put a small herb pot right beside your vegetables, and you will reach for it every day.
Basil loves the same sunny spot as tomatoes, and it likes the same watering too.
Mint grows fast and strong, so give it its own pot or it will take over.
Parsley is slower, but it keeps giving you leaves for months.
Snip herbs in the morning, when their flavour is at its best.
Fresh herbs turn plain bread, beans or vegetables into a meal that tastes like you tried hard.
You do not need much space, and a few small pots on a shelf do the job well.
Plan on spending in the region of $15 to $35 for the pots, plants and soil for this little herb corner.
13. Railing Planters for Extra Room
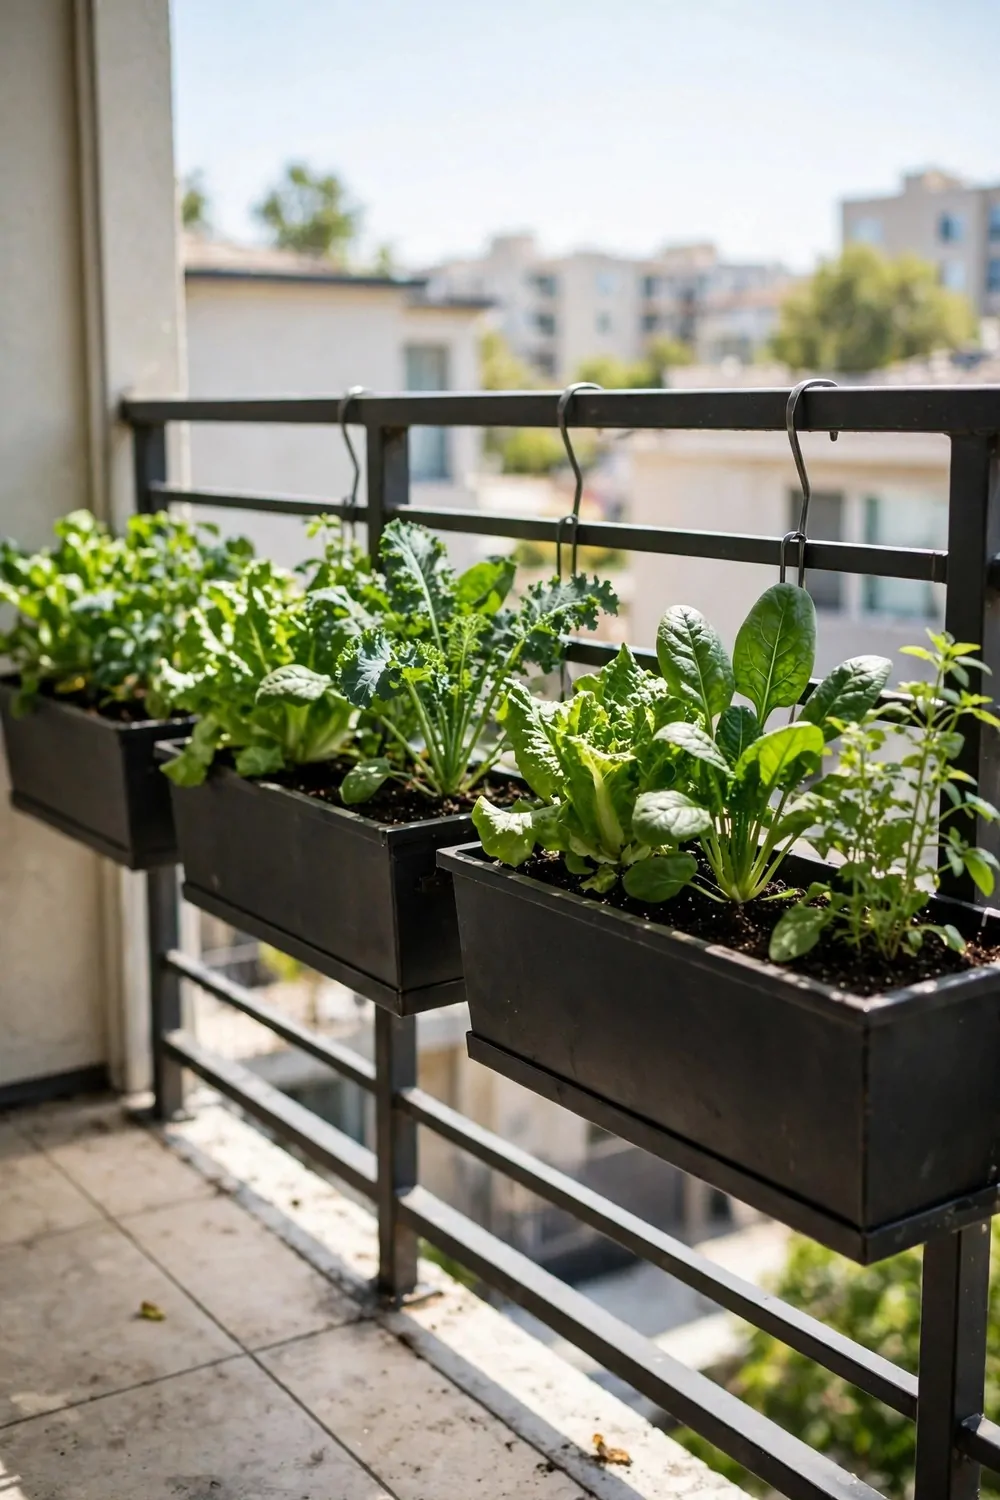
My balcony floor was full, so I moved up to the railing.
Railing planters hang on the rail and use space that would just sit empty.
They are perfect for lettuce, herbs and small vegetables that do not need deep soil.
Check that your planter hooks fit your rail snugly before you fill it.
A wobbly planter is a spill waiting to happen, and soil on the floor below is no fun.
Fill it with light soil, because a heavy box puts too much strain on the rail.
Water it a little more often than floor pots, as the wind dries it out faster.
Pick leaves from the outside first, and the plant keeps growing from the middle.
For a couple of sturdy railing planters plus soil and seed, expect to pay $25 to $60 in total.
14. Hanging Baskets for Trailing Vegetables
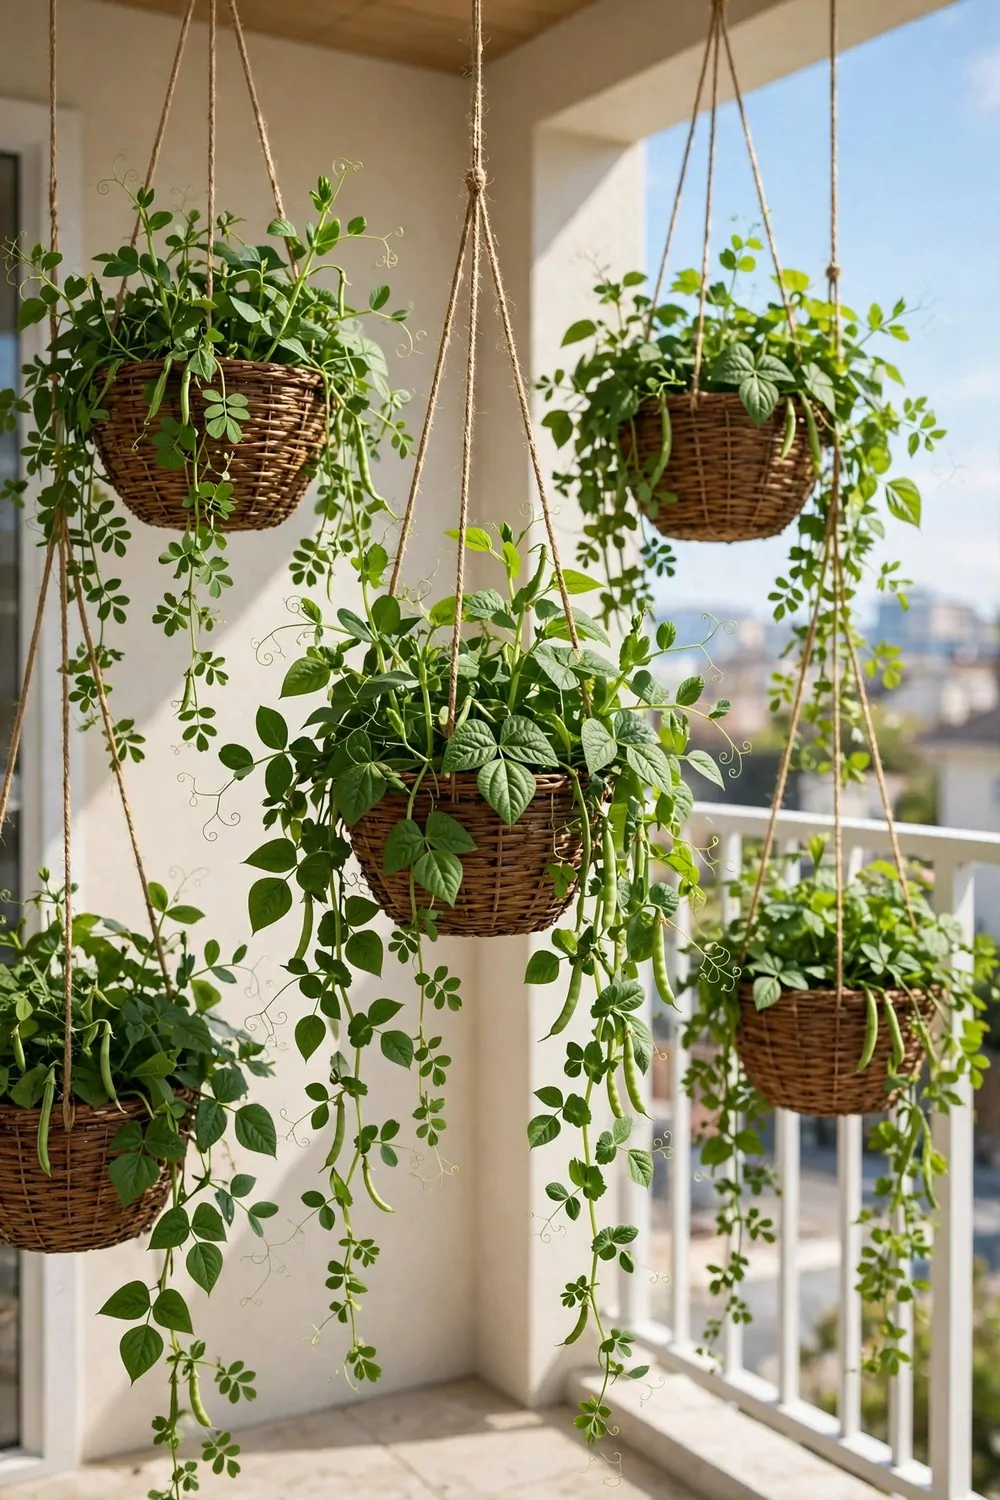
Hanging baskets free up your floor, and they look lovely too.
Trailing vegetables like cherry tomatoes and peas love to spill over the edge.
Hang the basket where it gets sun for most of the day.
Use a strong hook, because a wet basket is heavier than you think.
Line the basket well so the soil stays in and the water drains slowly.
Water hanging baskets often, as the air moves around them and dries them fast.
Feed them once in a while with a little plant food, and they will keep fruiting.
Picking tomatoes at eye level while you stand on your balcony feels like a small treat.
Getting a basket, hook, soil and a young plant sorted works out at roughly $20 to $55.
15. A Vertical Tower for Small Balconies
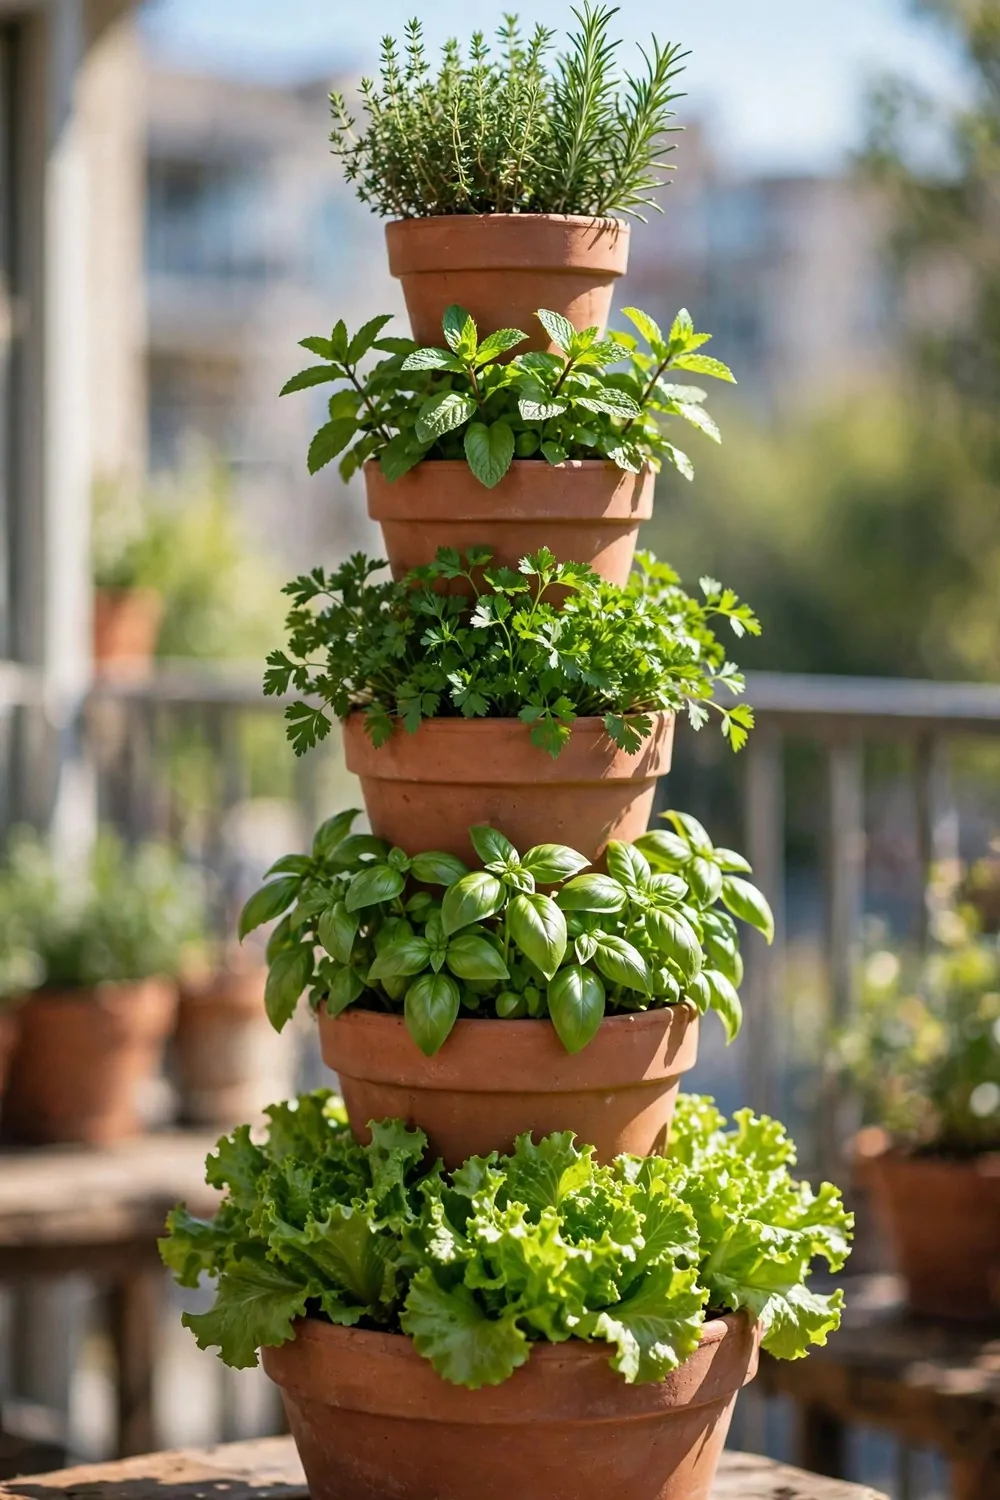
A vertical tower is my answer when the balcony is tiny and I still want lots to grow.
It stacks pots one above the other, so you grow up instead of out.
Put leafy vegetables at the top, where they get the most light.
Put herbs and smaller plants in the middle pockets.
Water from the top, and let it trickle down to the lower pots.
Turn the tower a quarter turn every few days so all sides get sun.
One tower can hold enough leaves and herbs for a few meals each week.
It also keeps your floor clear, which matters when space is tight.
A ready made tower with soil and plants will run you about $35 to $85, and it lasts for years if you look after it.
16. Grow Bags for Light, Cheap Beds
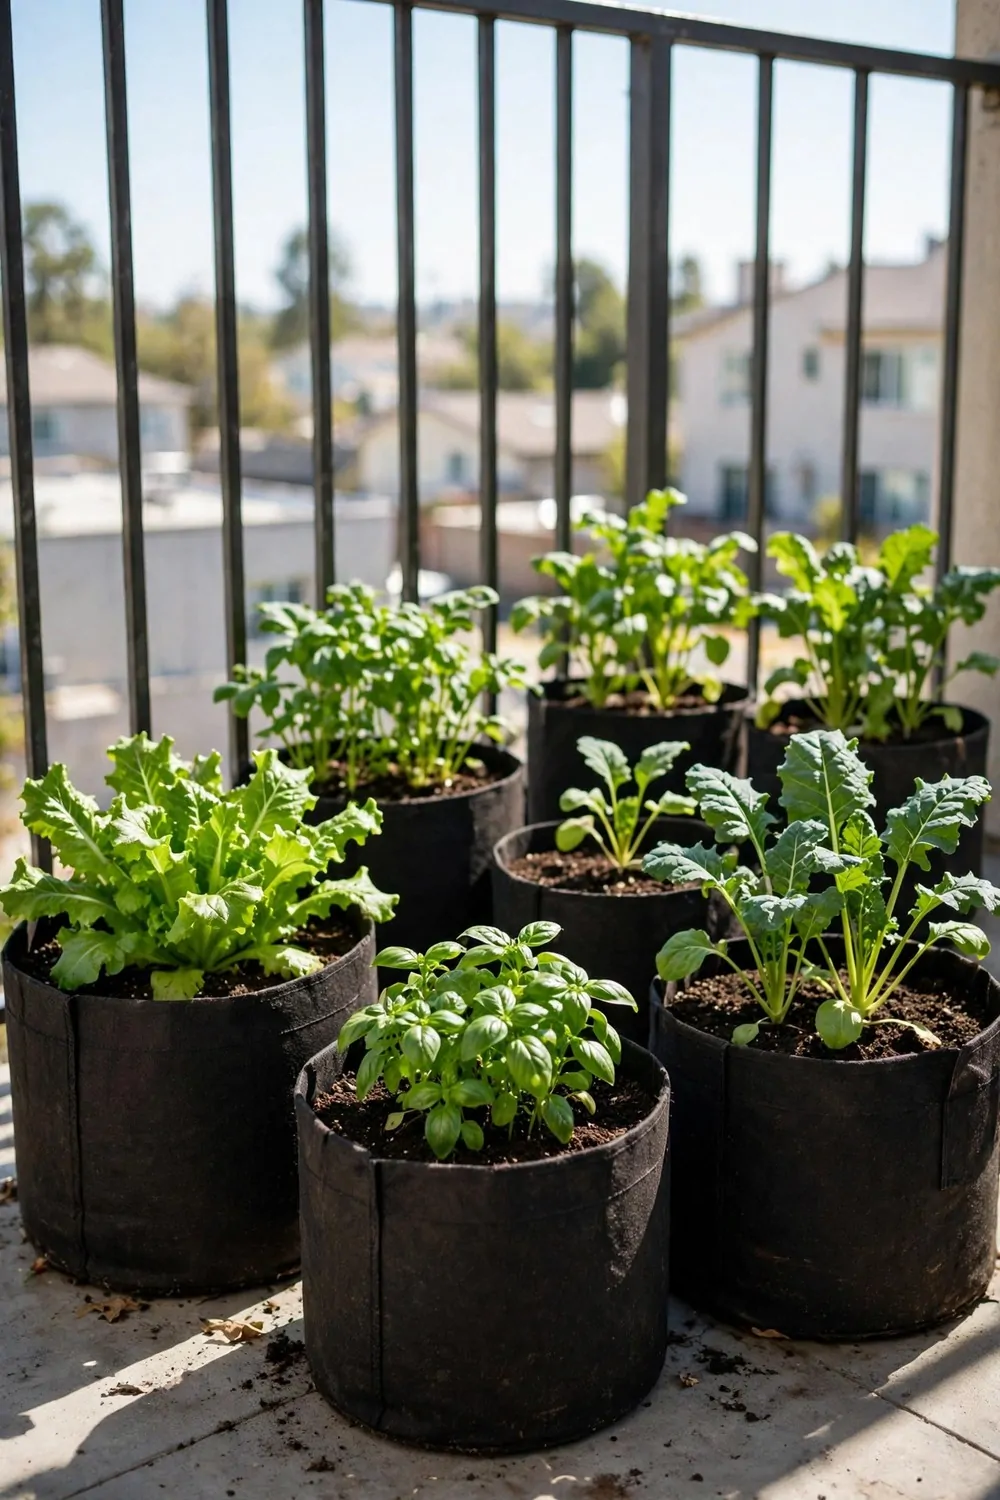
Grow bags are the cheapest way I have found to make a vegetable bed on a balcony.
They are soft fabric bags that you fill with soil and plant straight into.
They are light to carry, easy to move, and simple to store when the season ends.
The fabric lets extra water drain away, so roots do not sit in a puddle.
They also let air reach the roots, which keeps plants healthy.
Use them for potatoes, beans, peppers or leafy vegetables.
Set them on a tray, because water will drip through the fabric.
When a bag wears out, you just fold it away and start fresh with a new one.
You can get a few grow bags, soil and seed going for $18 to $45, which makes this one of the lowest cost ways to start.
| Idea | Typical Cost |
|---|---|
| Carrots in a Tall Pot | $20 to $48 |
| Radishes for a Quick Pick | $10 to $25 |
| Spring Onions in a Narrow Box | $12 to $28 |
| Herbs Beside Your Vegetables | $15 to $35 |
| Railing Planters for Extra Room | $25 to $60 |
| Hanging Baskets for Trailing Vegetables | $20 to $55 |
| A Vertical Tower for Small Balconies | $35 to $85 |
| Grow Bags for Light, Cheap Beds | $18 to $45 |
17. Self-Watering Pots for Busy Weeks
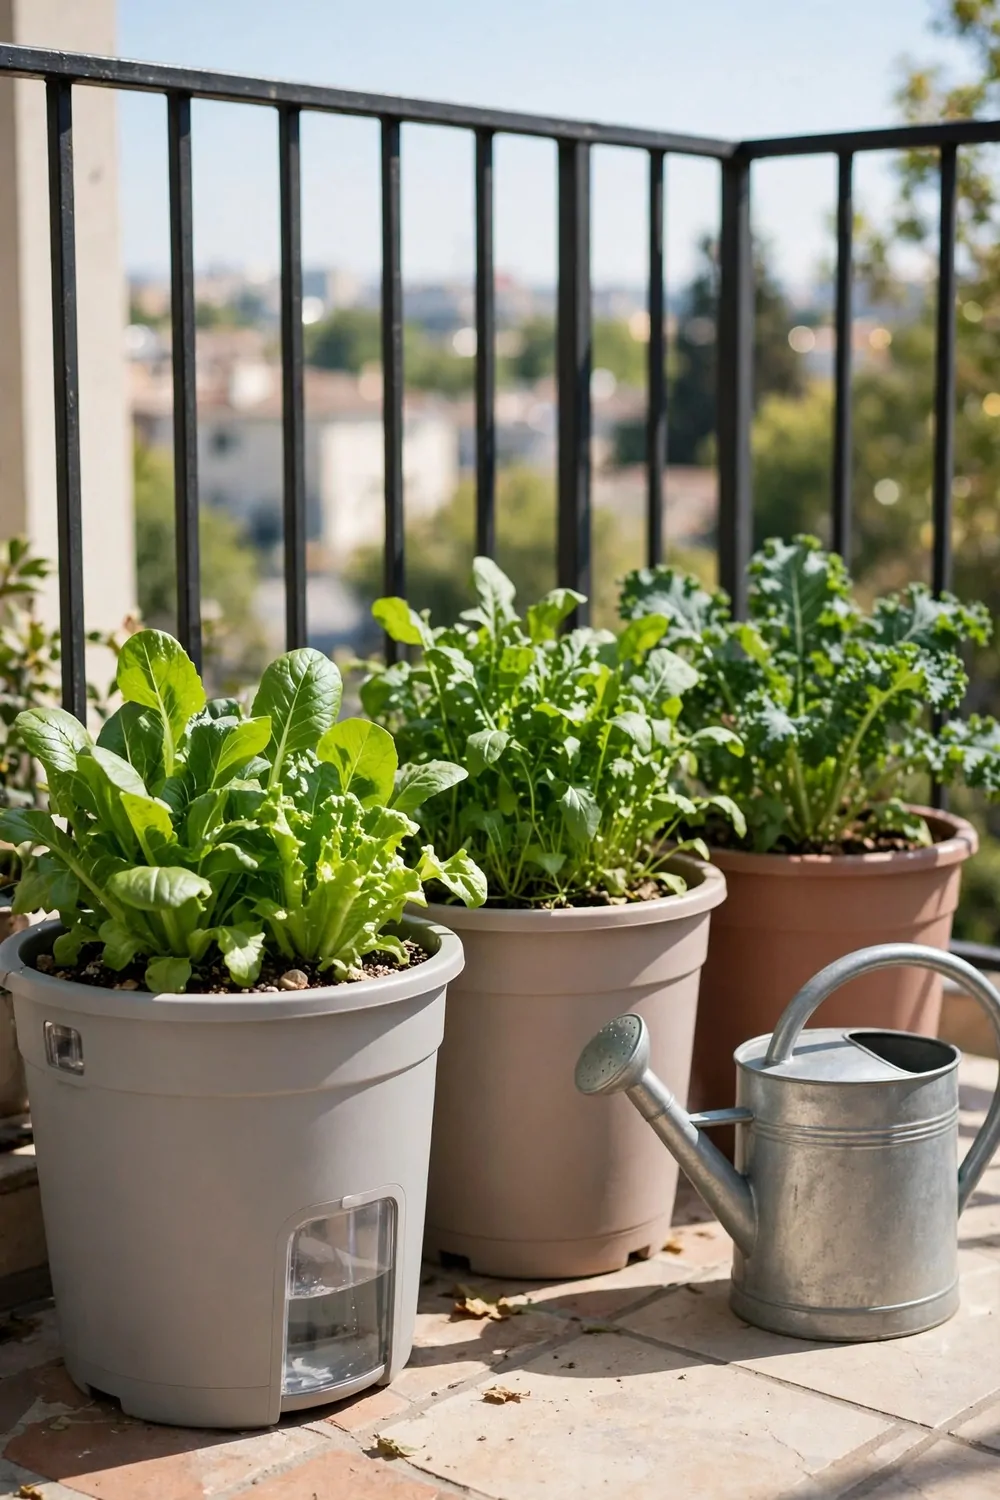
I used to lose plants when my week got busy. A self-watering pot fixed that for me.
These pots hold water in a small tank at the bottom. The soil pulls up what it needs, a bit at a time.
You fill the tank once and the plant drinks on its own. I check mine every few days instead of every day.
Leafy greens love this steady drink. Herbs like basil and mint do well in them too.
Pick a pot with a water gauge if you can. It shows you when the tank is low, so you never guess.
Do not fill the tank right to the top on day one. Leave a little room so the soil does not stay too wet.
Set the pot where you can see the gauge. I keep mine near the door so I notice it each morning.
A self-watering pot can cost you about $25 to $65 for a good size with a tank and a gauge.
Start with one pot and one plant. You will see fast if this easy way fits your busy weeks.
18. Shade-Tolerant Vegetables for North Balconies
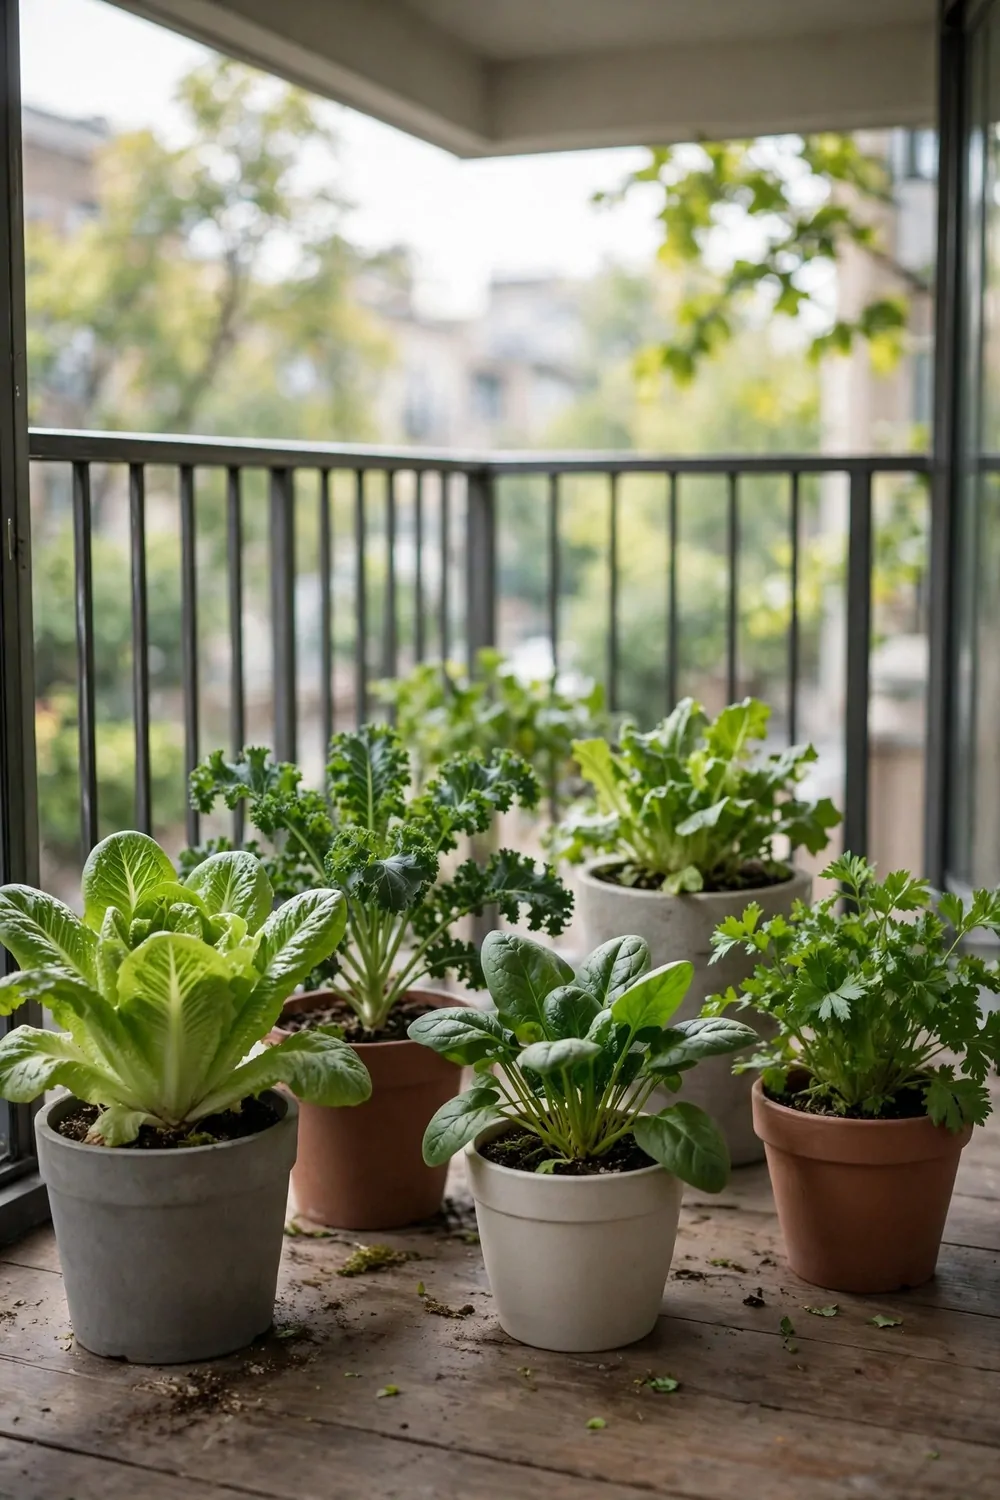
My north balcony gets soft light and not much direct sun. Some vegetables still grow fine there.
Lettuce is my first pick for shade. It grows soft leaves and you can cut a few for lunch.
Spinach likes cool shade too. It grows fast and you can pick the outer leaves first.
Try peas on a small trellis. They climb up and they do not need a full day of sun.
Radishes grow well in shade as well. They are quick, and you can pull one to check the size.
Keep the soil damp but not soggy. Shade pots dry slower, so water a little less often.
Turn the pots once a week. Each side gets its share of the light that way.
Picking up a few pots, seeds, and a small bag of soil for shade greens runs near $18 to $42.
Start with lettuce and spinach this week. You may get a few handfuls for salads and pasta in a short time.
19. Sun-Loving Vegetables for South Balconies
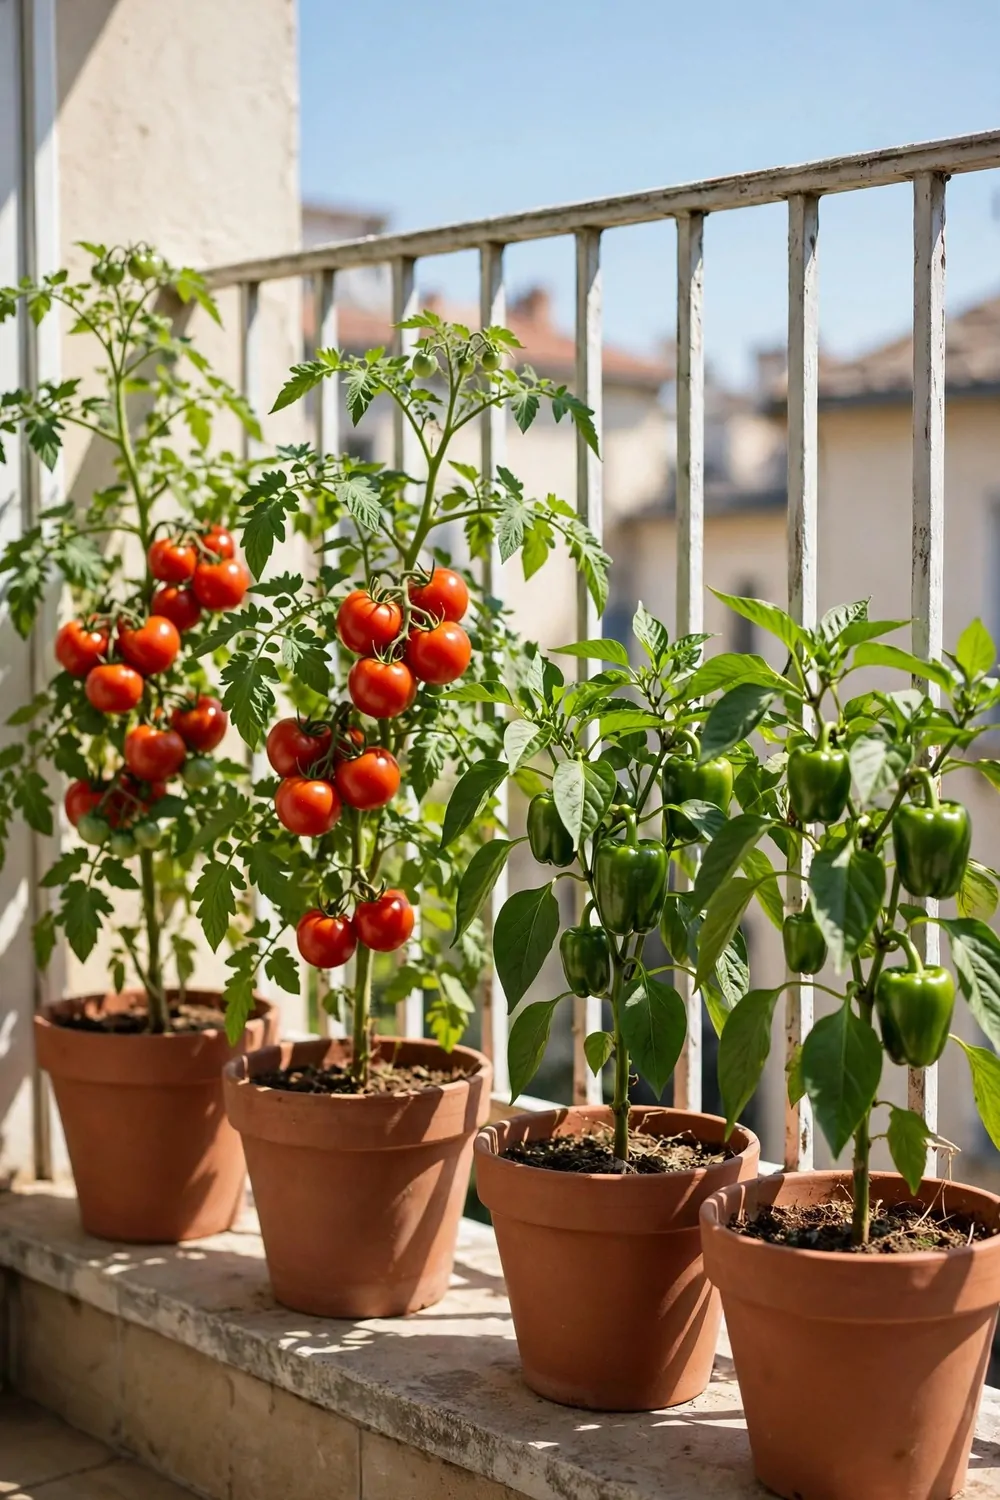
A south balcony gets strong sun for most of the day. That is great news for heat-loving vegetables.
Tomatoes are my top pick for a sunny spot. Give them a big pot and a tall stick to climb.
Peppers love sun too. They grow sweet and bright when they get warm days.
Try beans along the railing. They climb fast and give you fresh pods for rice and pasta dishes.
Sun pots dry out fast, so check the soil each morning. I push my finger in to feel if it is dry.
Water early in the day when you can. The plants drink well before the hot sun hits them.
Give each plant room to breathe. Crowded pots fight for light and water, and none of them win.
For a sunny set of pots, soil, seeds, and a few young plants, plan on spending around $22 to $55.
Start with one tomato and one pepper plant. You could soon have enough for a few meals with fresh vegetables.
20. Watering on a Balcony Without a Mess
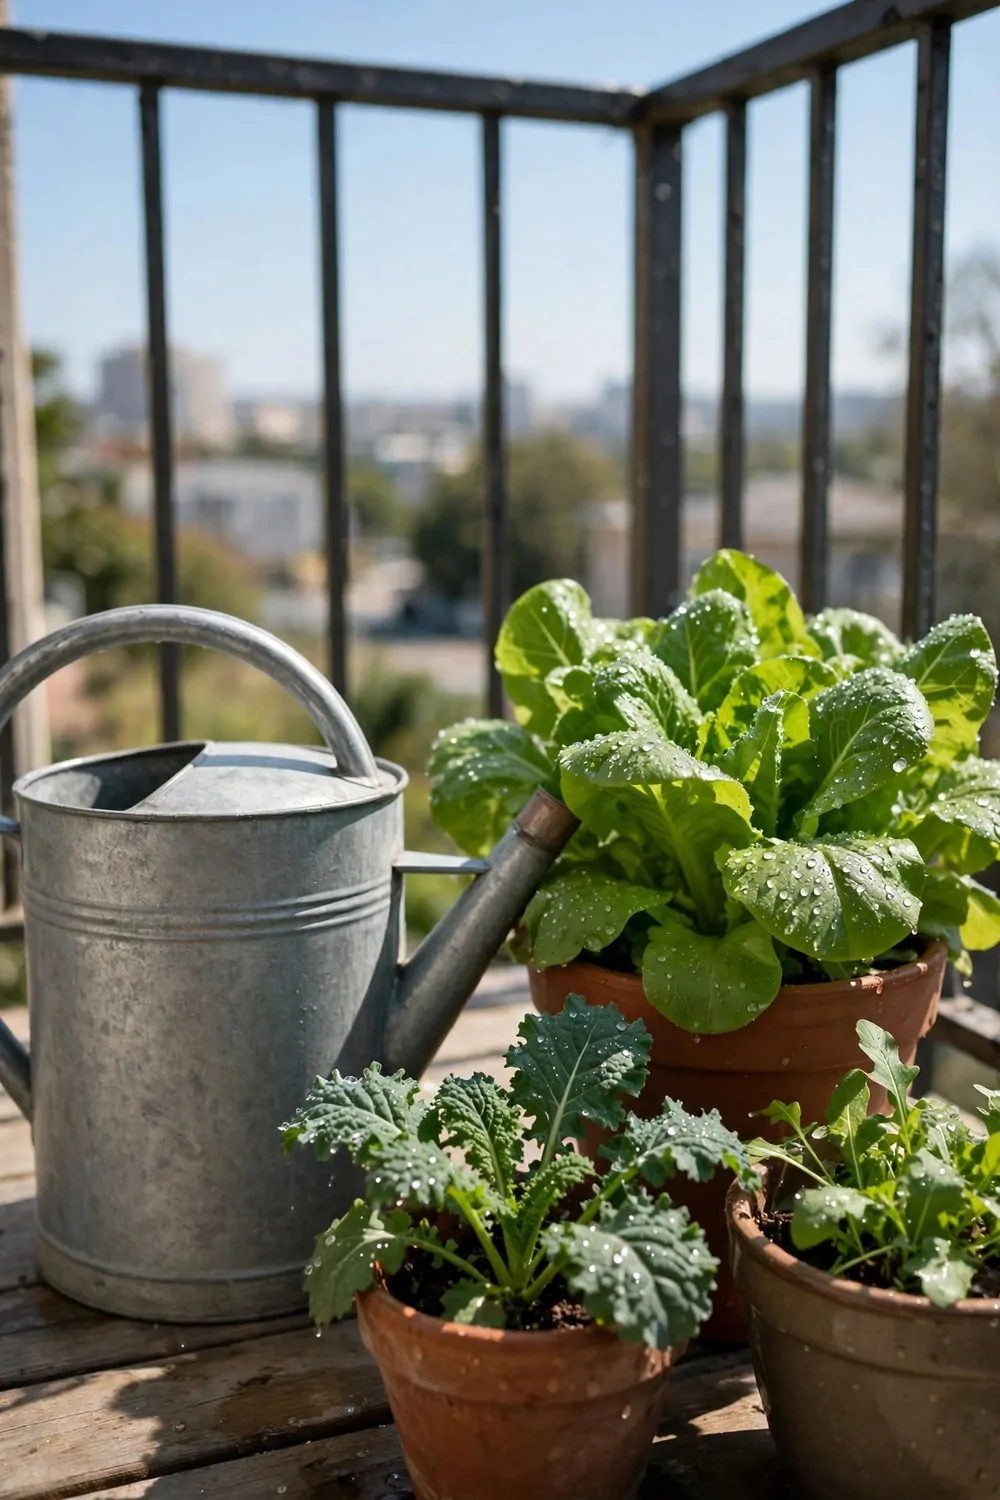
Water on a balcony can drip down to the flat below. I learned to water with care.
Put a tray under every pot. The tray holds the extra water and keeps your floor dry.
Water slowly, a little at a time. Fast pours just run out the bottom and waste water.
I use a small jug with a short spout. It lets me aim the water right at the soil.
Water in the morning if you can. The leaves dry during the day and the soil holds the drink longer.
Do not water the leaves if you can help it. Wet leaves in the evening can invite trouble.
Check the trays after watering. Tip out any water that sits there for a long time.
A jug, a few trays, and a small watering can will set you back roughly $15 to $35 all together.
Try slow watering for one week. Your floor stays dry and your plants still get what they need.
21. Wind Protection for Tender Plants
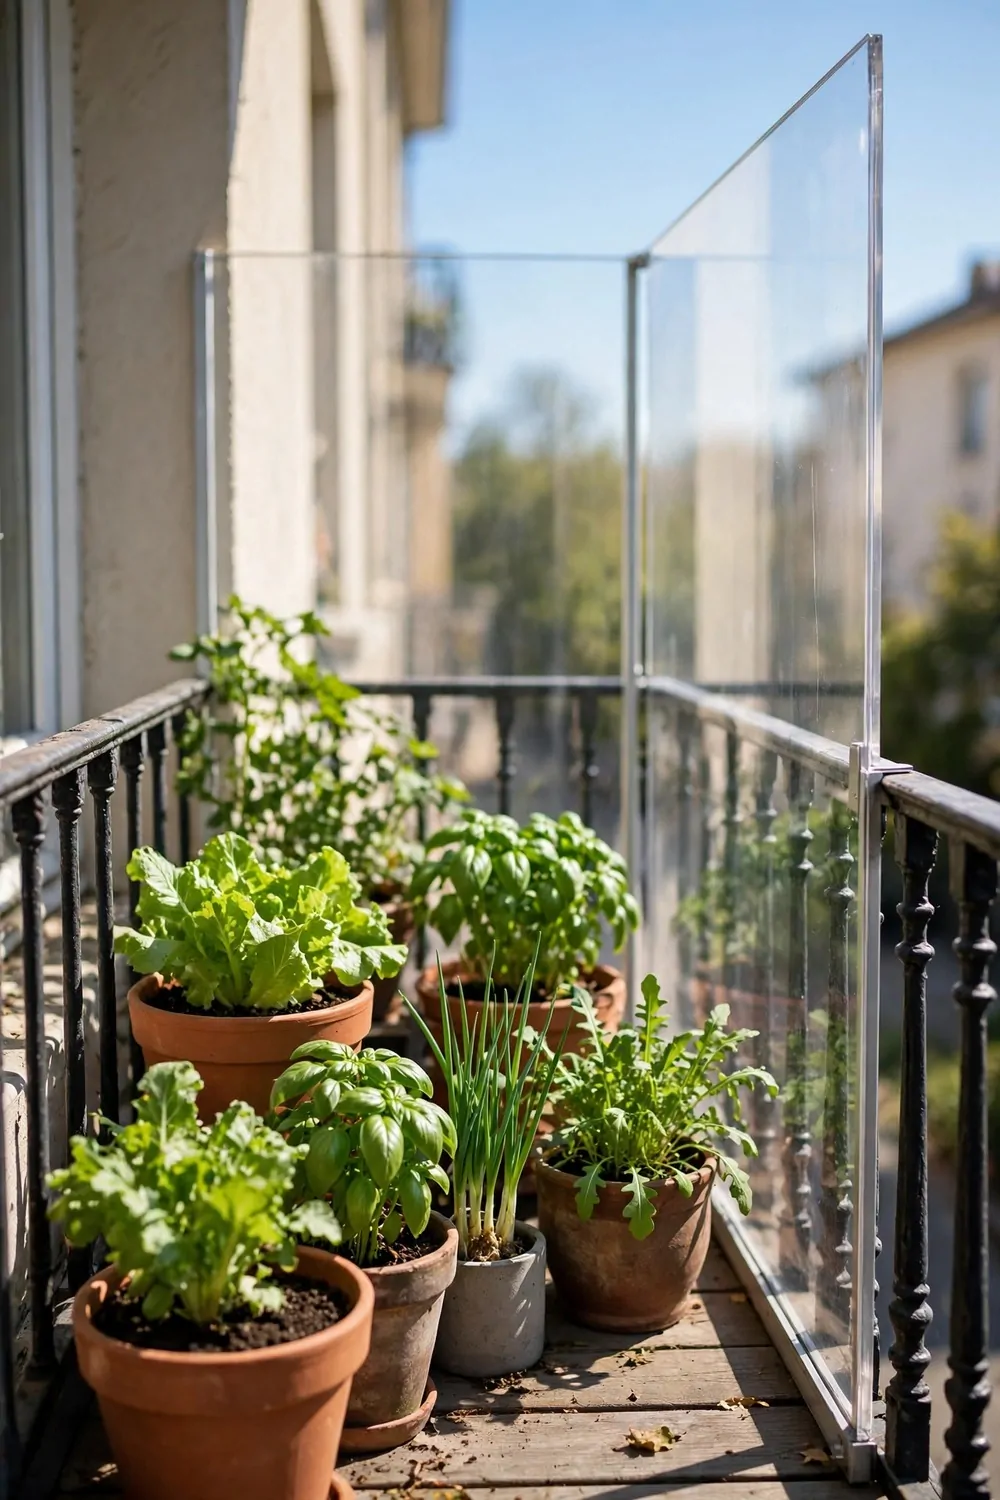
Wind on a high balcony can snap soft stems. My young plants bent over in one strong gust.
A clear screen helps a lot. I use a tall clear panel on the windy side of my railing.
You can also group pots close together. They shield each other and the air moves slower between them.
Put tall plants near the wall. The wall blocks the worst of the wind for them.
Use short sticks to hold young stems upright. Tie them loose so the stem can still move a little.
Avoid thin plastic pots in windy spots. They tip over fast when a gust hits them.
Heavy clay pots stay put much better. I use them for my tallest plants.
Setting up a clear screen, a few sticks, and some string comes to about $20 to $50 in total.
Walk out on a windy day and feel where the wind hits hardest. Then place your screen right there.
22. Weight Limits and Light Containers
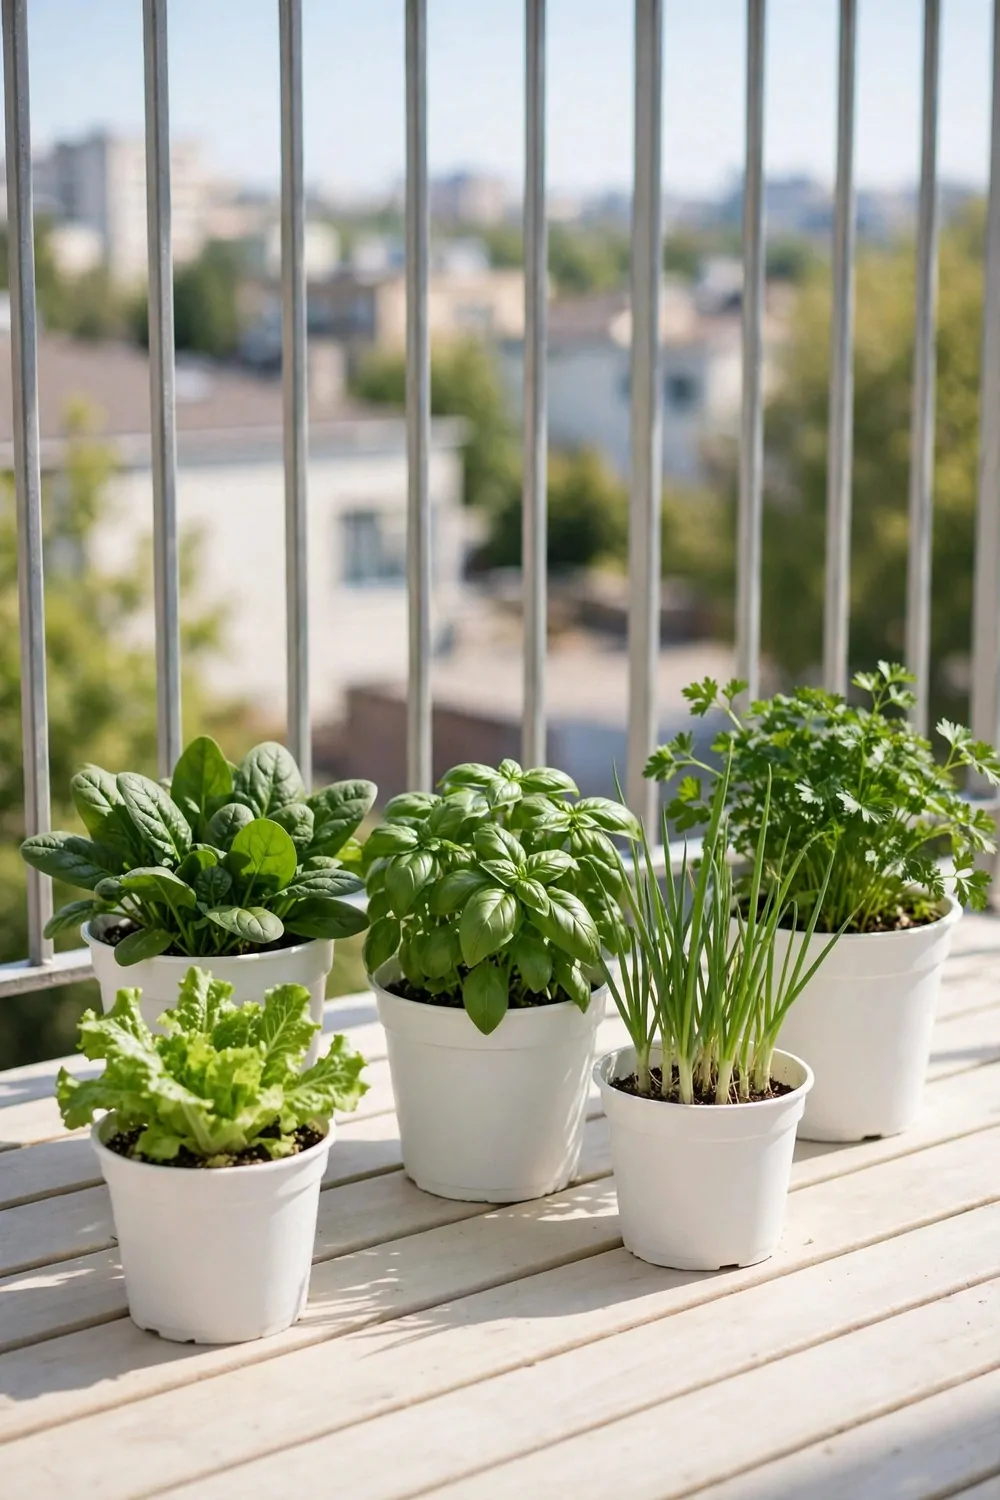
Balconies can only hold so much weight. I check my balcony’s safe load before I add heavy pots.
Ask your building manager if you are not sure of the limit. It is better to ask than to guess.
Use light pots made of plastic or fabric grow bags. They weigh far less than stone or thick clay.
Wet soil is heavy too. A big pot full of wet soil can weigh more than you think.
Spread your pots out along the balcony. Do not stack them all in one small corner.
Keep heavy pots near the wall where the balcony is strongest. Light pots can sit near the railing.
Never try to go past your balcony’s safe load. A few light pots grow just as much food as heavy ones.
Swapping to light grow bags and small plastic pots should run you close to $15 to $40.
Start light and add more pots only if your balcony can take them. Safe and light beats big and risky every time.
23. Soil and Food for Container Vegetables
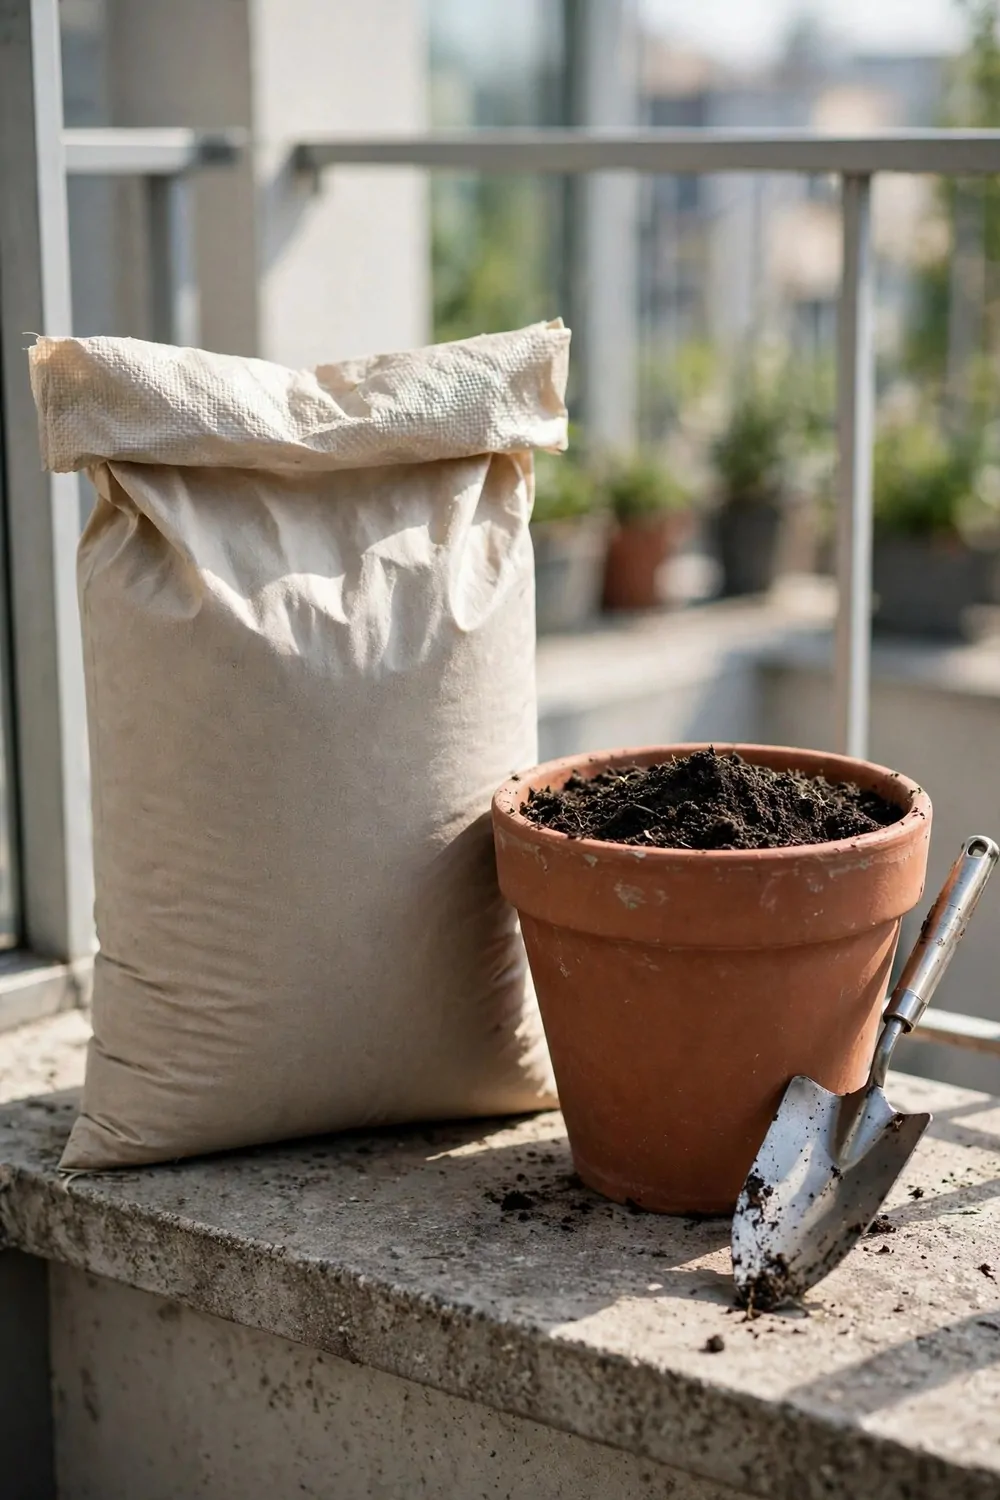
Good soil is the base of every balcony vegetable. Cheap dry soil will not grow much.
I use a light potting mix made for pots. It holds water but still lets air reach the roots.
Mix in a little compost if you have it. It feeds the soil and helps the plants grow strong.
Feed your plants a little every two weeks. A weak liquid feed works well for pots.
Do not feed too much at once. Too much food can burn the roots and hurt the plant.
Top up the soil when it sinks down. Pots lose soil over time as you water them.
Change old soil each season if you can. Fresh soil gives new plants a clean start.
A bag of potting mix, some compost, and a bottle of liquid feed add up to around $20 to $45.
Feed a little, water well, and watch the leaves. Green, full leaves tell you the soil is doing its job.
24. A One-Week Starter Balcony Plan
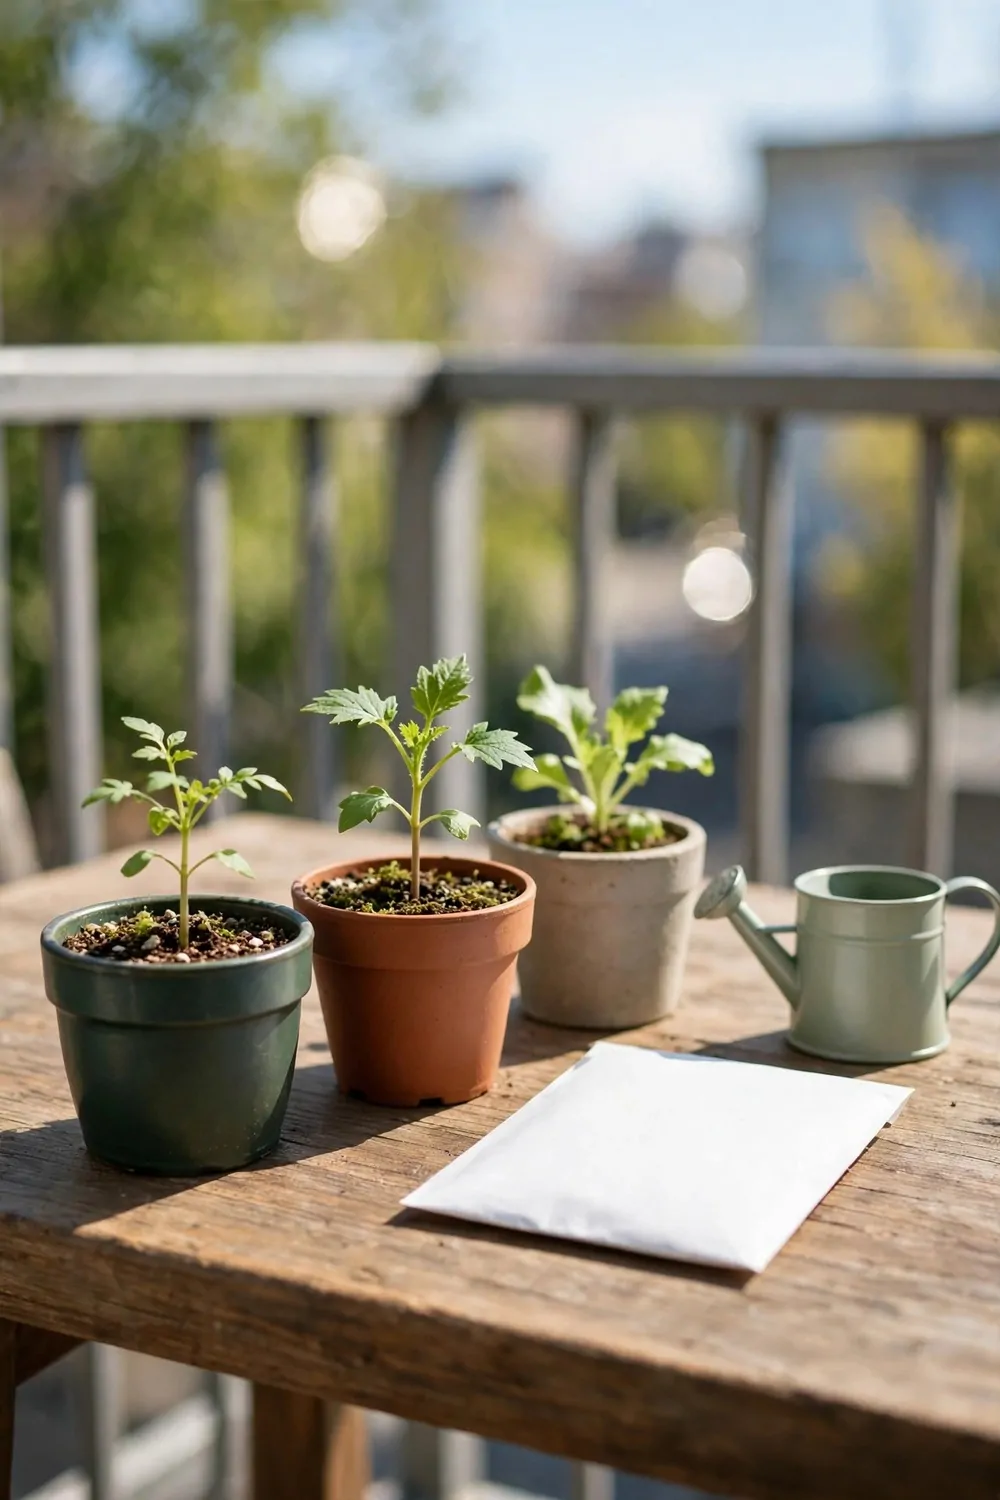
This plan helps you start in one week. You do one small job each day.
On day one, pick your sunny spot and measure it. Write down how many pots will fit there.
On day two, buy your pots and trays. A railing planter and a few grow bags are a good start.
On day three, fill the pots with soil. Water the soil so it is damp before you plant.
On day four, plant your seeds and young plants. Lettuce, herbs, and beans are easy first picks.
On day five, set up your watering jug and trays. Water slowly and check for drips.
On day six, add sticks for tall plants and move pots into their final spots. Give each plant room to grow.
On day seven, look at all your pots and make a short list of what to watch. The five small buys are a railing planter $18 to $35, grow bags $12 to $25, seeds and young plants $15 to $28, a drip tray set $10 to $20, and a small hand fork $6 to $12, which add up to $61 to $120 in total.
By the end of the week you will have a small garden going. In a short time you may pick a few handfuls for rice, pasta, bread, and fruit salads.
| Area | Main change | Typical Cost |
|---|---|---|
| Railing planter | A railing planter fixed firm for the first pots | $18 to $35 |
| Grow bags | Grow bags filled with light soil for the bed | $12 to $25 |
| Seeds and young plants | Seeds and young plants in neat rows | $15 to $28 |
| Drip tray set | A drip tray set under each pot to stop mess | $10 to $20 |
| Small hand fork | A small hand fork for planting and weeding | $6 to $12 |
| Total | One-week starter balcony set | $61 to $120 |
Keep Reading
If you liked these ideas, you will love these posts too.
- 27 Small Bathroom Remodel Ideas That Look Expensive
- 30 Kitchen Remodel Ideas With Before and After Photos
- 28 Basement Remodel Ideas That Turn Dead Space Into Living Space
- 24 Attic Remodel Ideas That Add a Whole New Room
- 31 Open Plan Kitchen Ideas That Make Small Homes Feel Big
- 35 Whole Home Remodel Ideas Room by Room
Pick one balcony idea this week and try it on your own balcony. A few pots with fresh leaves can change how your meals taste. Then pick the next one when you have time and see how it grows for you.