35 Whole Home Remodel Ideas Room by Room

Our house felt tired in every room at once, and I did not know where to start. Every room had a small flaw, and together they made the whole place feel old. I walked from room to room and made a list of what bothered me most.
I did not want a huge build that would turn our home upside down for months. I wanted small steps that I could do one room at a time.
The kitchen felt dark, the bathroom felt tight, and the bedroom never felt calm at night.
I started with the rooms we use most each day. I asked myself what would make mornings easier and evenings softer. Then I picked one change for each room and wrote it down in order.
You do not need to do all of this at once, and you do not need a big team to make it happen. Some of these ideas take a weekend, and some take just an hour or two.
I kept our costs low by keeping what still worked and by changing only what made a real difference. A new door or a new tap can change how a whole room feels. A fresh rug or a soft wall colour can do the same.
You will find all 35 ideas right here in this one post, room by room, so you can pick what fits your home and your budget. Read through them, mark the ones you love, and start with the room that bugs you most.
1. Start With a Fresh Coat of Paint in Every Room
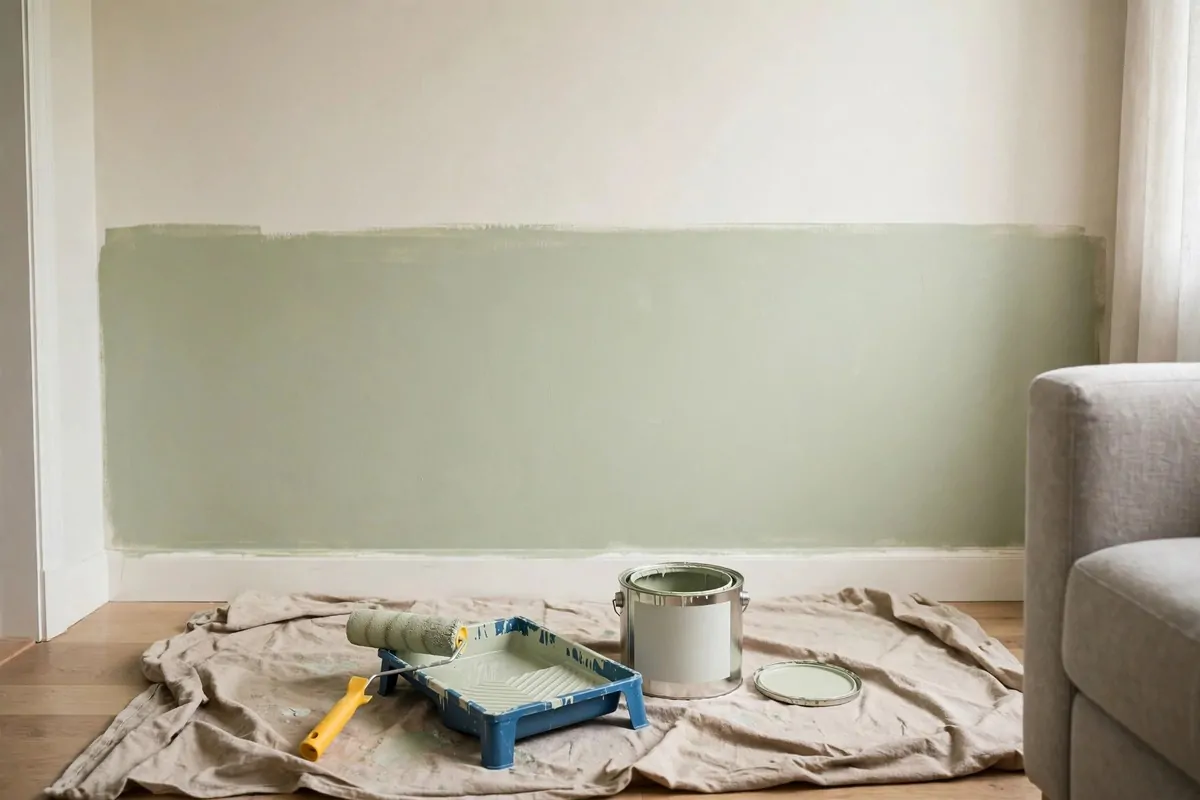
Paint was the first thing I did, and it changed our house more than I thought it would. The old walls had marks and dull spots that I had stopped seeing.
I picked one soft colour for most of the rooms so the house would feel calm from one room to the next.
I paid $120 to $420 for paint and tools for our whole house. I bought good brushes and a roller that did not leave lines.
I cleaned the walls with plain soap and water before I started. Dust and grease can stop paint from sticking well. I let the walls dry fully, then I filled small holes and let the filler dry too.
I painted the edges first with a small brush, then I used the roller for the big flat parts.
I did one room at a time so we still had space to live and rest. I started in the morning and let the first coat dry while I had lunch. By the next day the room was ready to use again.
You can paint a door frame or a shelf the same colour as the wall to make it blend in. Or you can paint one wall a soft green or blue to add a bit of charm.
I kept the paint tins closed and marked with the room name for later touch ups.
Fresh paint made our old rooms feel loved again, and it cost far less than new furniture. If your house feels tired, start here. You will see the change the same day you finish.
2. Swap Old Doors for a Cleaner Look
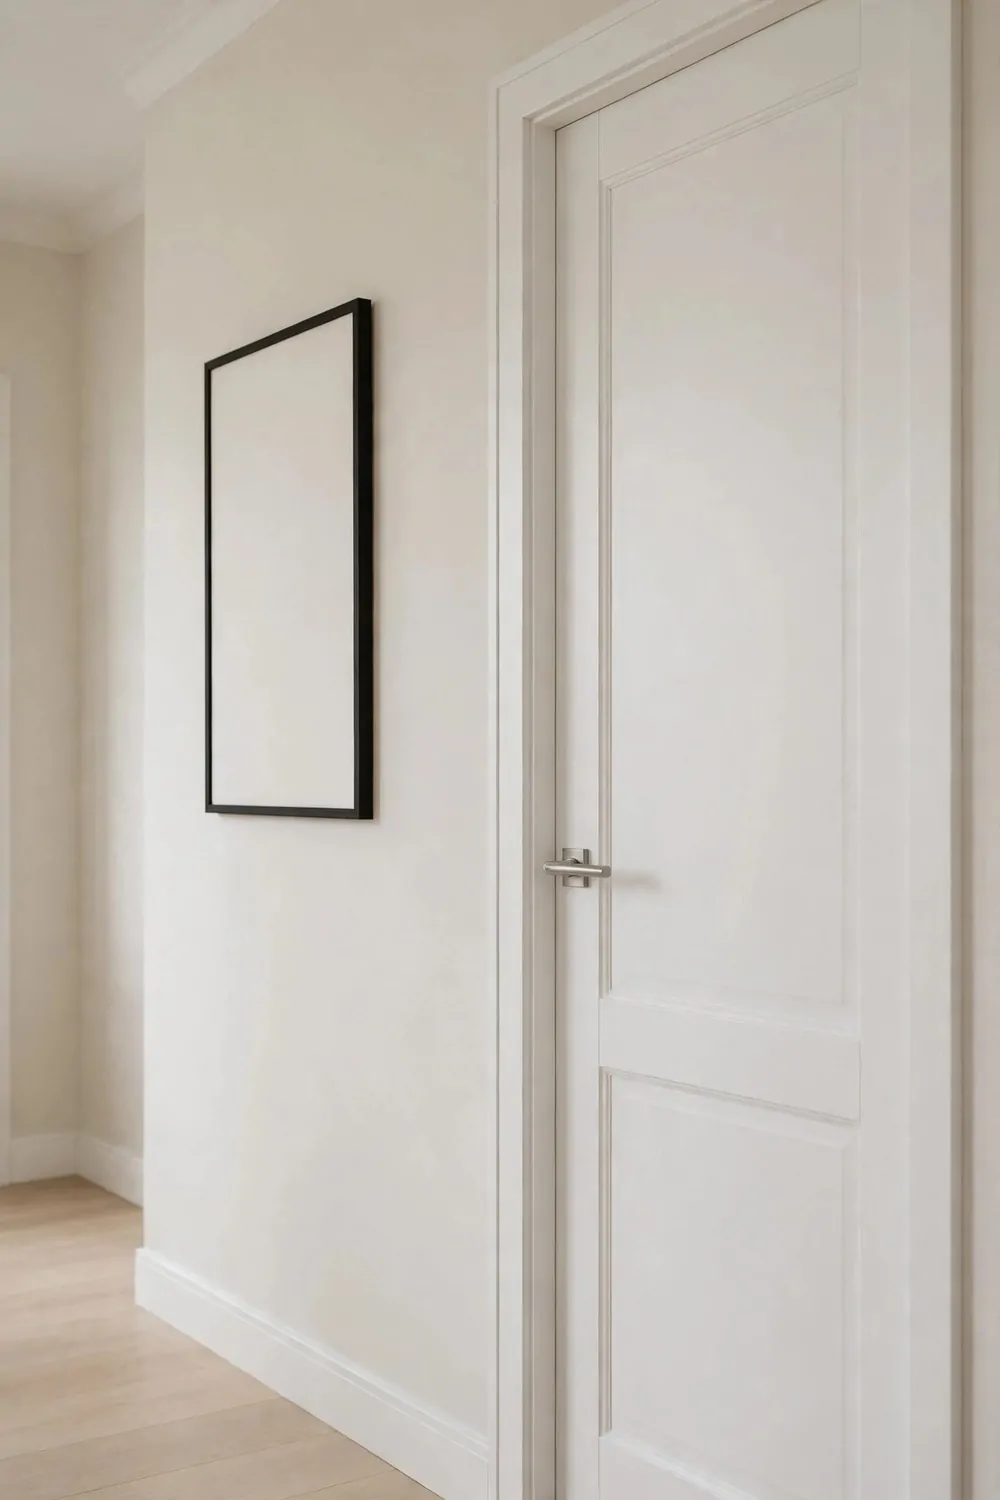
Our old doors had scratches and handles that felt loose in my hand.
I looked at each door and wrote down its size before I went to the shop. A door that is too big or too small will not close right.
Plan on $180 to $650 for new doors and the bits that go with them. I picked plain doors with a smooth face because they suit every room. I saved the old handles that still worked well.
I started with the doors we see most, like the living room door and the bedroom doors.
I took the old door off its hinges and laid it flat to work on it. I kept the screws in a small bowl so I would not lose them. Then I checked that the new door fit the frame before I fixed it in place.
New hinges made the doors close with a soft click instead of a scrape. I oiled the hinges with a tiny drop of oil and wiped off the extra.
You can paint a new door the same colour as the wall for a soft look.
I also changed the door stops so the doors would not hit the wall. A small felt pad on the wall can stop marks too. These small bits make a big difference in how a room feels day to day.
New doors made our hall feel tidy and our rooms feel fresh. It was a simple swap, and I did it one door at a time.
3. Change the Light Fixtures Room by Room
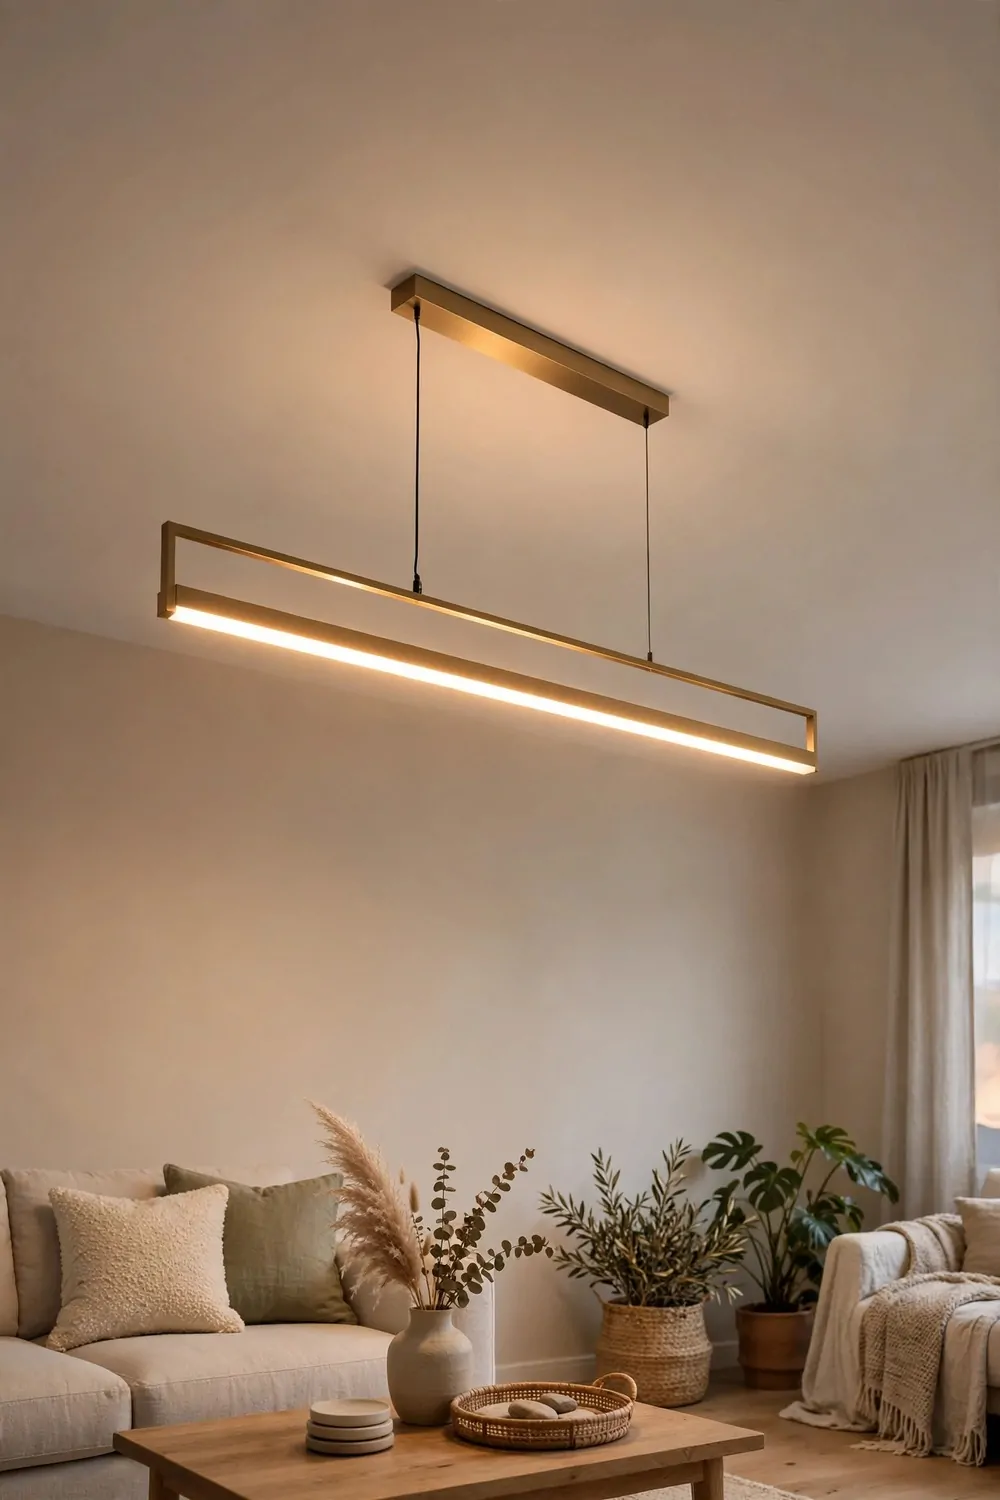
Our old lights were dull and made the rooms feel grey, even on sunny days. I changed them one room at a time, and each room felt new after.
I picked warm white bulbs for the living room and the bedroom because they feel soft at night. I picked a brighter white for the kitchen so I could see what I was doing. You can try one bulb first and see how it feels.
A new set of lights ran $150 to $520 for me, and I did one room at a time.
I turned off the power before I touched any wires, and I checked twice that it was off. Safety comes first with any light work. If you are not sure about wires, ask a skilled person to help you.
In the kitchen I added a light over the work top so I could chop vegetables and read labels with ease. In the living room I added a floor lamp near the sofa for reading.
I added a dimmer in the bedroom so the light could be soft at night and bright in the morning.
I cleaned the glass shades with plain soap and water before I put them up. Dust on a shade can block a lot of light. A clean shade makes the whole fixture look new.
You can use the same style of fixture in each room so the house feels linked together. Or you can pick one bold light for the living room and keep the rest plain.
New lights made our evenings feel warm and our mornings feel clear.
4. Refinish the Floors You Already Have
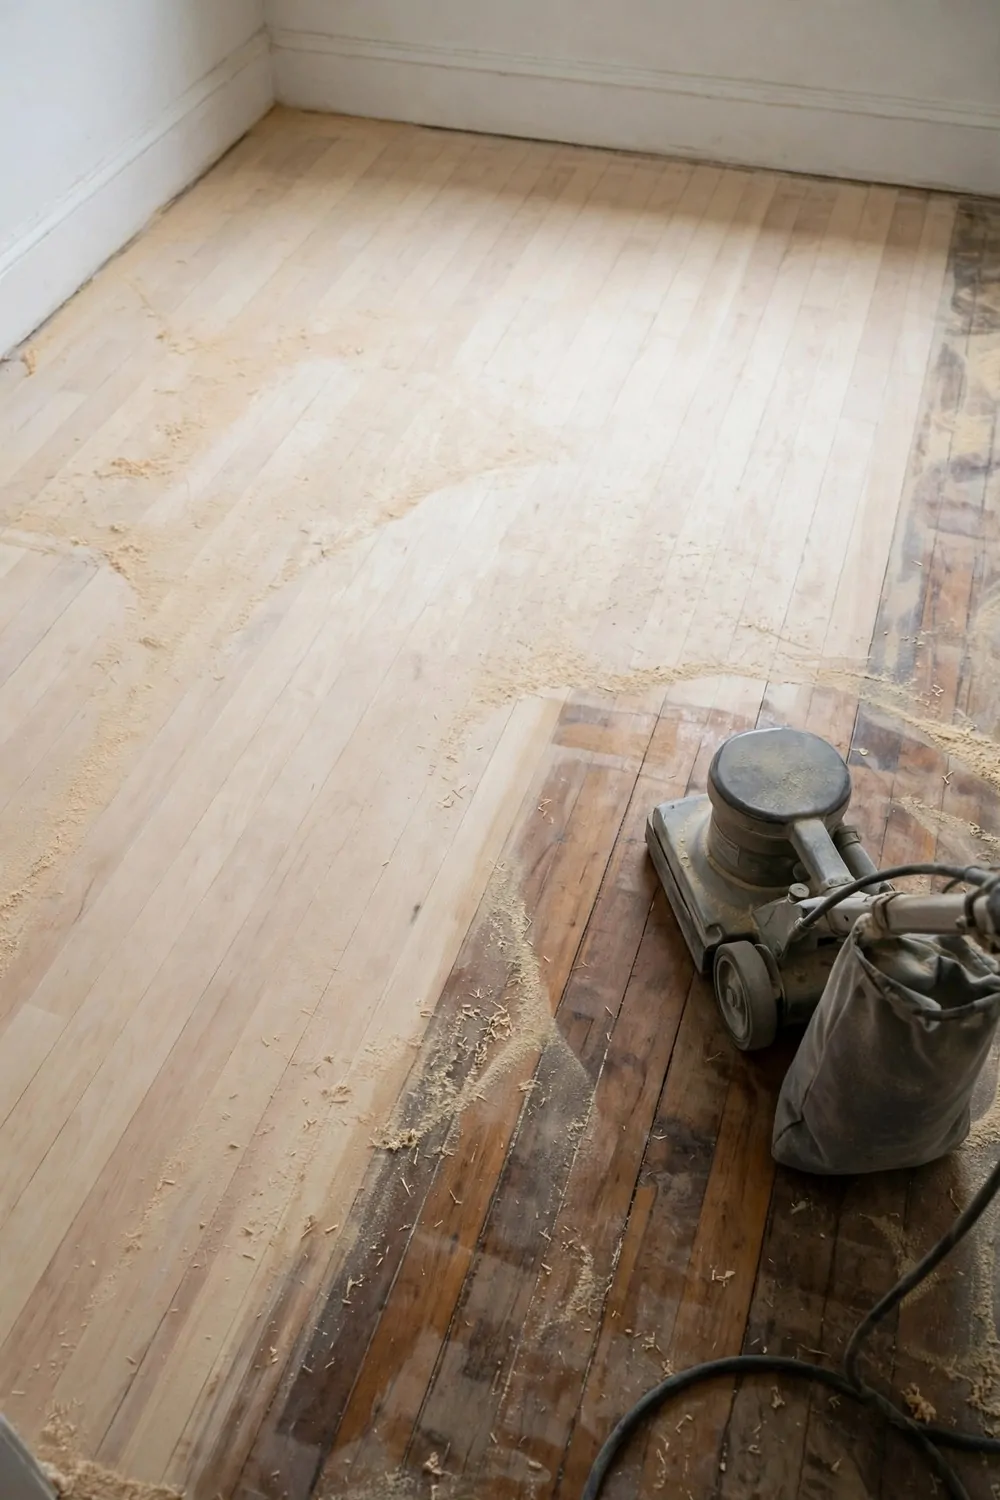
Our wood floors had dull patches and small scratches from years of use. I did not want to pull them up and start over. I knew a good refinish could bring back the warm look they once had.
I moved the furniture out of one room at a time and swept the floor well.
I set aside $400 to $1400 to bring our old floors back to life. I hired a sander for a day and bought the finish and brushes I needed. The price changed with the size of the room and the state of the floor.
I sanded the floor in slow, even lines, and I kept the sander moving so I would not make a dip. I started with a coarse paper and moved to a finer one.
I put on the finish in thin coats and let each coat dry fully before the next.
You can pick a clear finish to keep the natural wood colour. Or you can pick a slightly warm tone to make the room feel cosy. Test a small spot in a corner first so you know how it will look.
I waited a full day before I walked on the floor with shoes. I waited two days before I moved heavy furniture back in.
I put soft pads under the sofa legs and the table legs when I moved them back.
Our old floors look new now, and they feel smooth under bare feet. It cost far less than new floors, and we kept the wood we loved.
5. Open Up the Kitchen to the Living Room
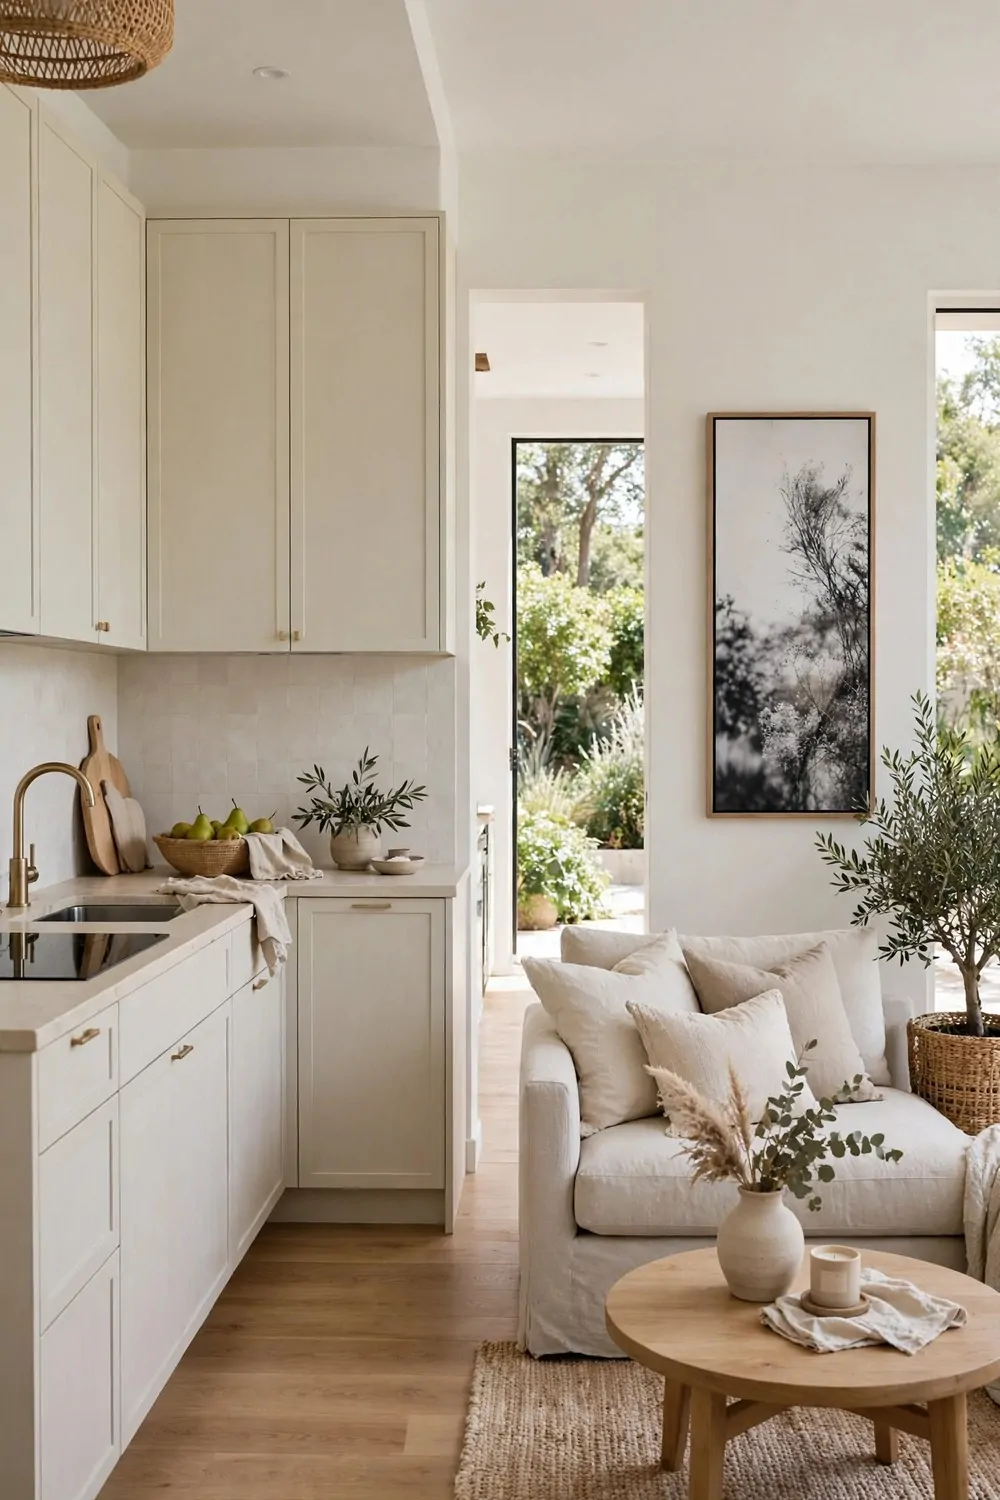
Our kitchen felt shut off from the rest of the house, and I felt alone when I cooked.
I asked a builder to check the wall first to see if it held up the roof. Some walls can come down with ease, and some need a beam to hold the weight. You must never take down a wall without a proper check.
Opening up our kitchen cost $900 to $2800, and the size of the wall changed the price a lot. The beam and the new floor patch were the biggest parts of the cost.
Once the wall was gone, light from the living room windows reached the kitchen.
I patched the floor where the wall had been so the two rooms met in a clean line. I used the same wood tone so the floor looked like one long floor. A small strip can hide the join if the tones do not match just right.
I painted the new beam the same colour as the ceiling so it would blend in. I added a few lights under the top cupboards to brighten the work top.
You can keep a low half wall if you want a bit of a divide but still want to see through.
I moved the table near the new opening so we could eat close to the kitchen. I kept the walk path clear so no one had to step round chairs.
Opening up the kitchen changed how we live in our house every day. We talk more, we share meals with ease, and the rooms feel like one home. If your kitchen feels shut away, this one change is worth a good think.
6. Add a Kitchen Island With Seats
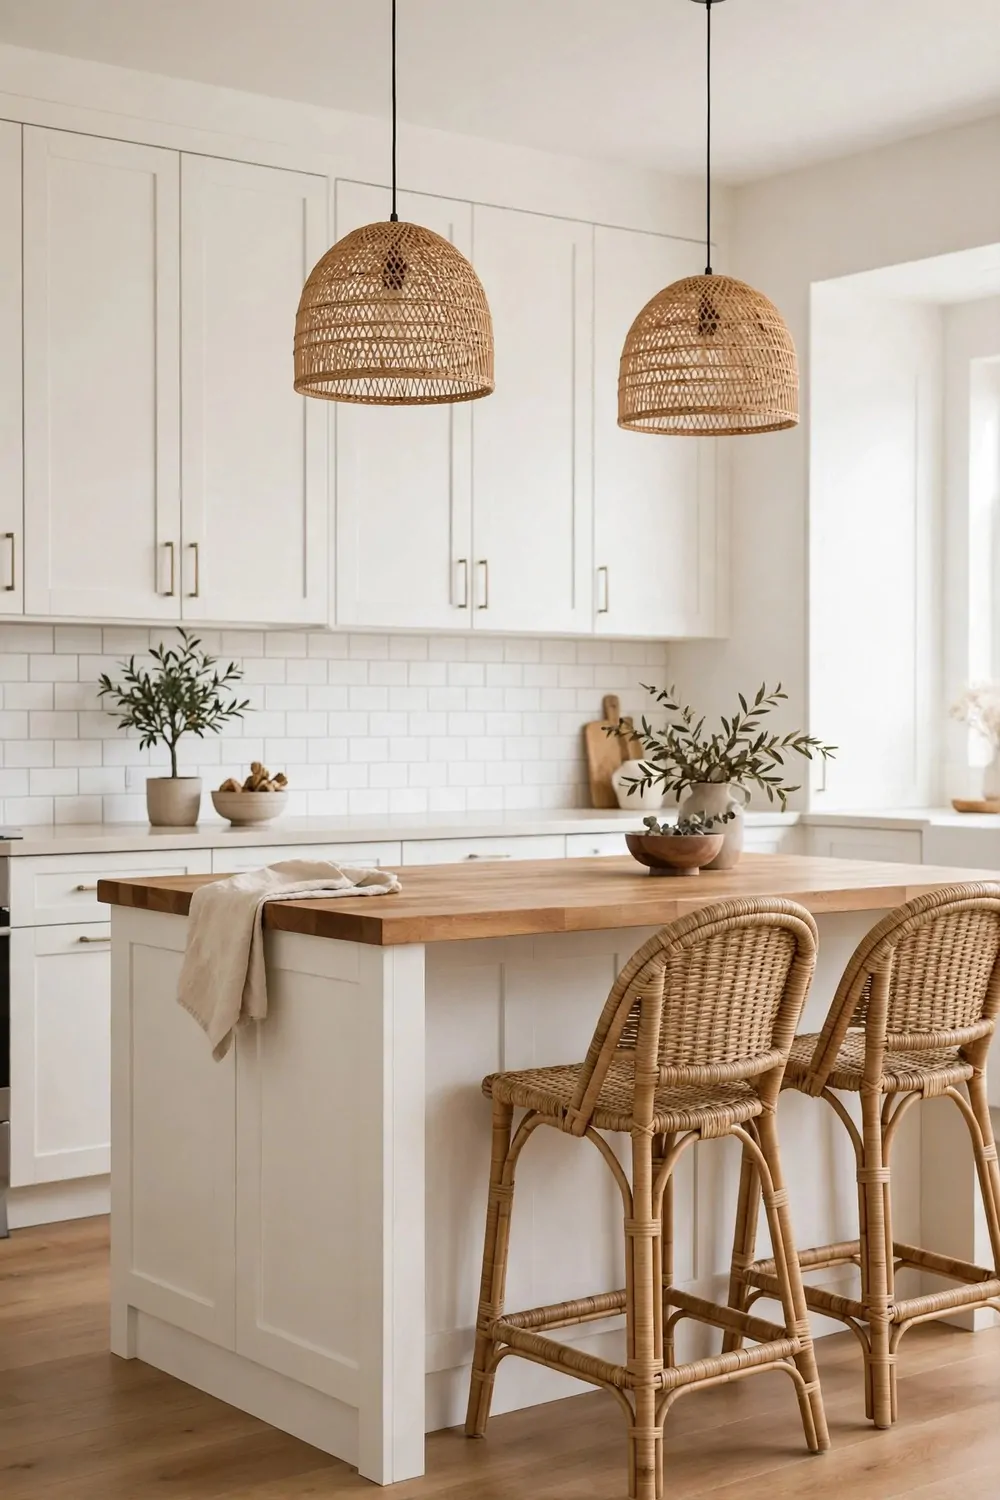
Our kitchen had no spot to sit and chat while food was cooking. I wanted a small island where we could eat a quick meal and where I could set down a bowl of fruit. An island felt like the heart the kitchen was missing.
I measured the floor first to make sure we would still have room to walk round it. A good island leaves space on all sides for chairs and for the oven door.
A new island with seats costs $350 to $1200, and I picked a simple one that fits our room.
I picked stools with a footrest so my feet could rest while I sat. They sit by the island and they do not block the walk path. A soft seat pad makes a long chat much more comfy.
I used the island for prep in the morning and for meals at lunch. I set out bread and fruit for a quick bite, and I kept a jug of water close by.
I added a few hooks on the side for cloths and a small shelf for bowls.
You can add a small drawer for cutlery or a shelf for cookbooks if you like. Or you can keep it plain and use it just for sitting and prep.
I wiped the top each night with plain soap and water, and it stayed clean with little work. A simple top is easy to care for and looks fresh for years. I also checked the stools once a month to keep them firm.
Our island made the kitchen feel warm and full of life.
7. Swap Kitchen Cabinet Doors, Not the Whole Kitchen
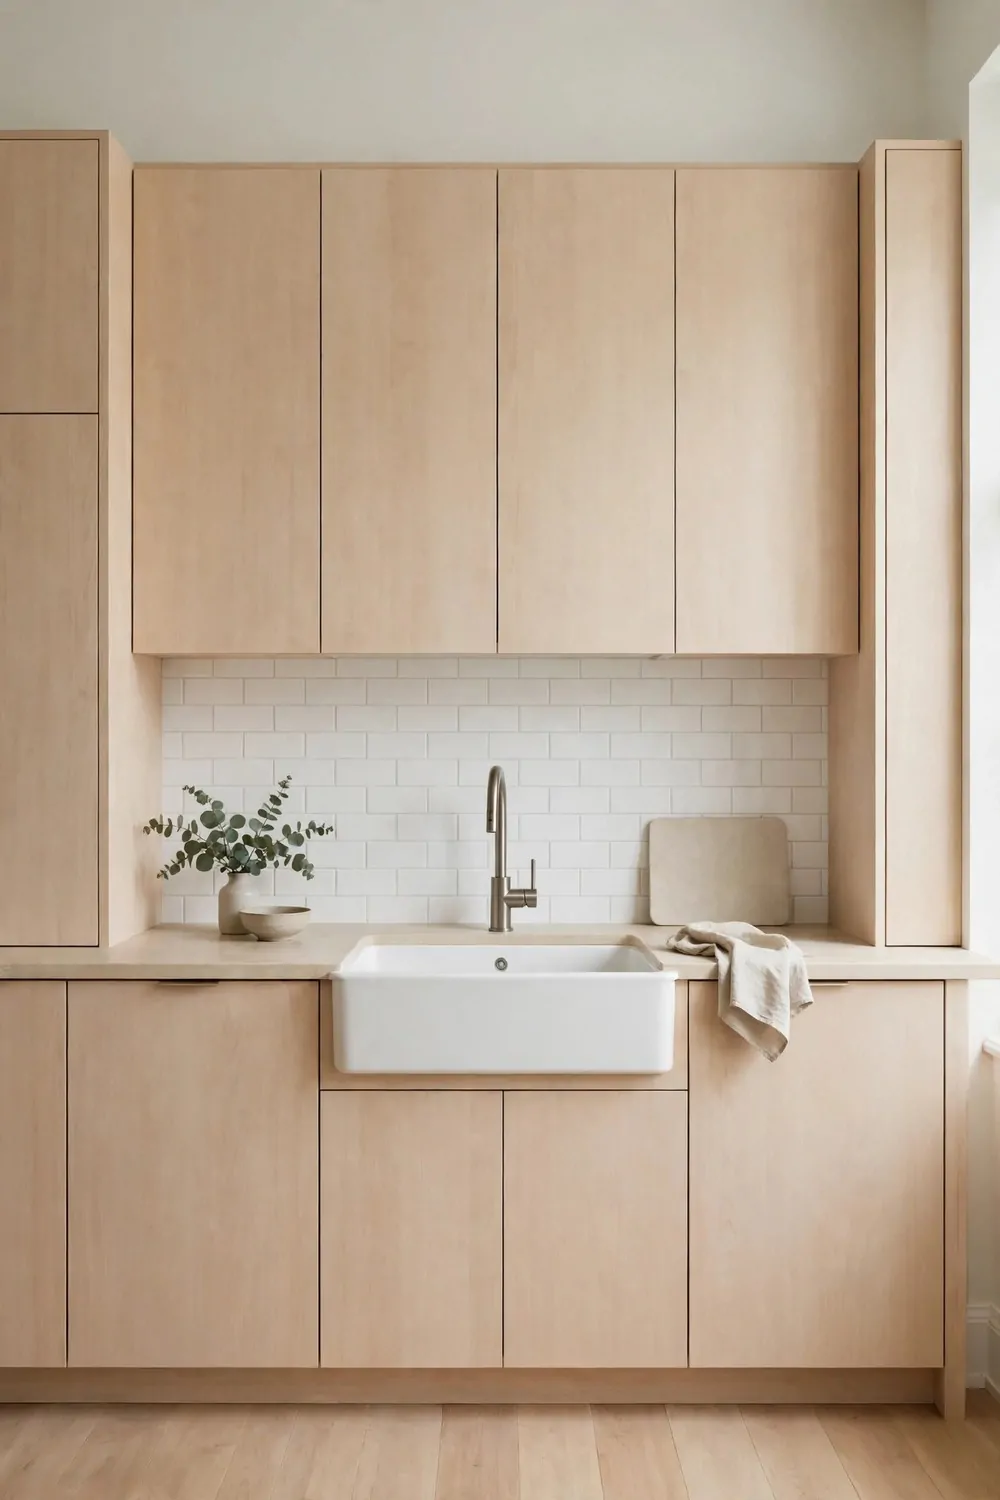
Our kitchen cupboards worked fine, but the doors looked old and worn. The wood was dull, and a few doors did not close flat.
I took one door off and took it to the shop so I could match the size.
I kept $200 to $800 in mind for new cabinet doors and new handles. I picked plain flat doors because they are easy to clean. The price moved with how many doors I needed.
I cleaned the cupboard frames with plain soap and water before I fitted the new doors. I let them dry, then I painted the frames the same soft pale wood tone as the new doors.
I fitted the new doors one at a time and checked that each one closed flat.
I picked new handles that felt good in my hand and matched the tap. I used the same handle on every door so the kitchen looked neat.
You can paint the inside of the cupboards too if they look dull. Or you can add a soft liner to the shelves to keep plates from sliding. Keep the inside tidy so the new doors feel even better.
I kept the old doors in the garage in case I needed a spare.
New doors made our kitchen look fresh without a big build. It took a weekend, and we could still cook while I worked. If your cupboards work but look tired, new doors are a smart fix.
8. Put in a New Kitchen Tap and Sink
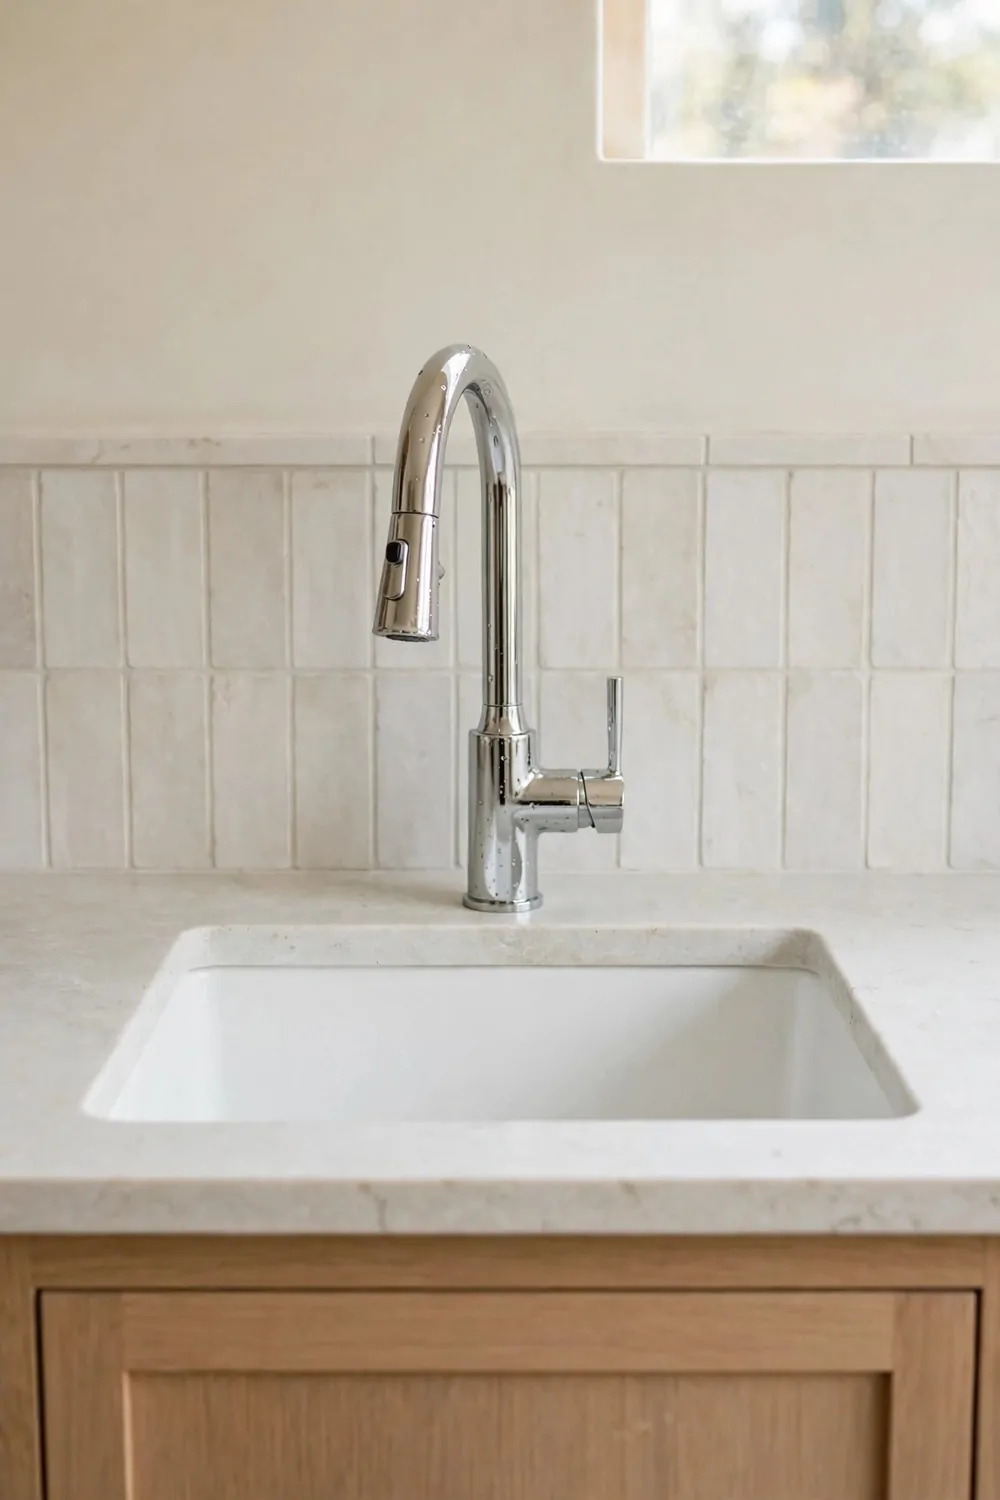
Our old tap dripped all night, and the sink had stains I could not clean away.
I turned off the water first and put a bowl under the pipes to hold any drops. I kept old towels close by in case of a spill. You can take a photo of the pipes before you start so you know how they fit back.
My new tap and sink came to $160 to $540, and I did the work on a slow weekend. I picked a deep sink so big pots would fit with ease.
I picked a sink with one deep bowl instead of two small ones.
I sealed the edge of the sink with a thin line of sealant and wiped off the extra. A neat seal stops water from getting under the sink.
I added a small rack in the sink for clean cups and a soap dish near the tap. I kept the work top clear so I had space to chop and stir. A tidy sink area makes cooking feel calm.
You can pick a tap in a warm gold tone or a plain silver tone to match your handles.
I cleaned the new sink each night with plain soap and water, and it stayed bright. I wiped the tap dry after use so no spots would form. A quick wipe each night keeps it looking new.
A new tap and sink made our kitchen feel fresh every time I turned on the water. It was a small job with a big daily payoff.
9. Give the Bathroom a New Vanity
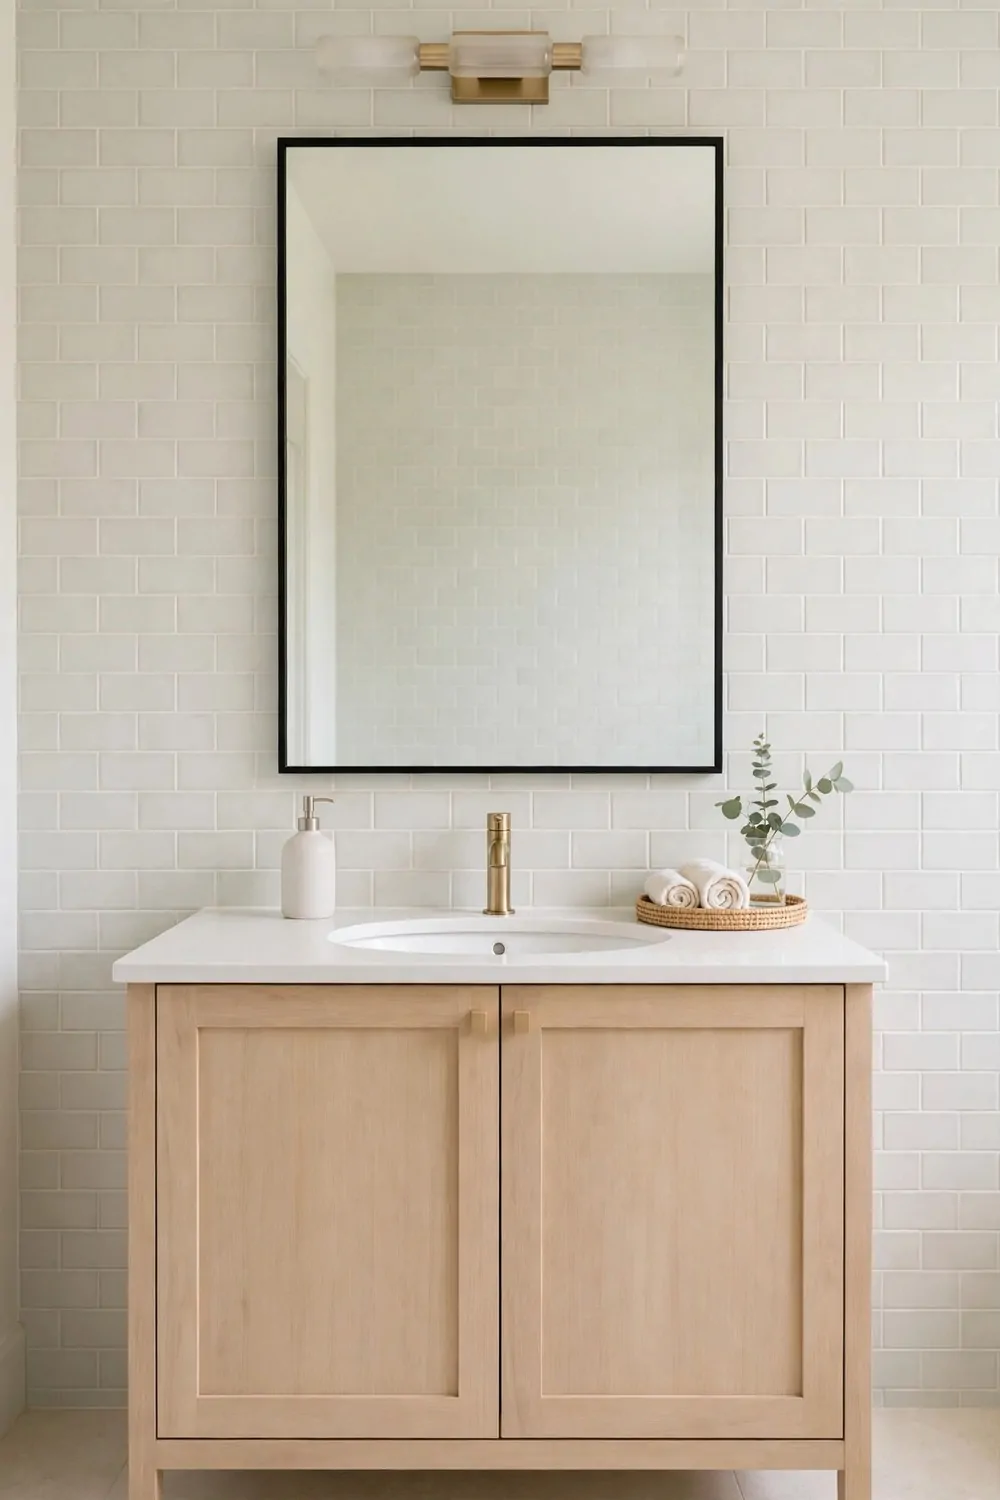
Our old vanity was too small, and the top had marks that would not come off. The doors did not close well, and there was no room for our daily bits. I wanted a vanity that fit the room and held what we use each day.
I measured the wall first and wrote down the width and the depth. A vanity that is too deep can block the door, and one that is too wide can crowd the toilet.
Budget $220 to $780 for a fresh vanity that fits your bathroom well.
I picked a light wood tone so the small bathroom would feel warm, not dark. I added a plain mirror above it to bounce light round the room.
I turned off the water before I took out the old vanity, and I put towels on the floor. I kept the old pipes in place and checked them for leaks before I fitted the new unit. A slow check now saves a wet floor later.
I fitted the new vanity level so the doors would close flat and the top would sit true.
You can add a small basket under the sink for brushes and a small tray for daily bits. Or you can add a hook on the side for a hand towel. Keep only what you use each day on the top.
I cleaned the new top each night with plain soap and water, and it stayed bright. I kept the drawers tidy with a small box for each person.
Our new vanity made the bathroom feel fresh and gave us room for all we need.
10. Swap the Shower Head for a Rain Head

Our old shower head gave a thin, hard spray that felt cold on my skin. I dreaded my morning shower in winter because the water never felt soft.
I picked a rain head that was wide but not too heavy for our shower arm.
A rain head set me back $120 to $300, and it was worth every cent. I picked a simple round head with a clean finish.
I turned off the water and unscrewed the old head with a soft cloth round it to stop marks. I cleaned the pipe end and wrapped it with a thin tape made for pipes. Then I screwed the new head on by hand and gave it a small turn.
I turned the water back on slow and checked for leaks at the join.
The new spray felt soft and warm, and it covered my whole body at once. I could stand still and let the water fall, and my mornings felt slower and calmer. A soft shower can change how your whole day starts.
You can add a small shelf in the shower for soap and a wash cloth. I keep a plain soap bar on a small dish near the tap, and I added a hook for a wash cloth near the door.
I cleaned the head once a month with plain soap and water to stop build up.
Our rain head made the bathroom feel like a soft, calm space each morning. It was a quick swap that I did in less than an hour. If your shower feels harsh, try a rain head and feel the change.
11. Add Storage to a Small Bathroom
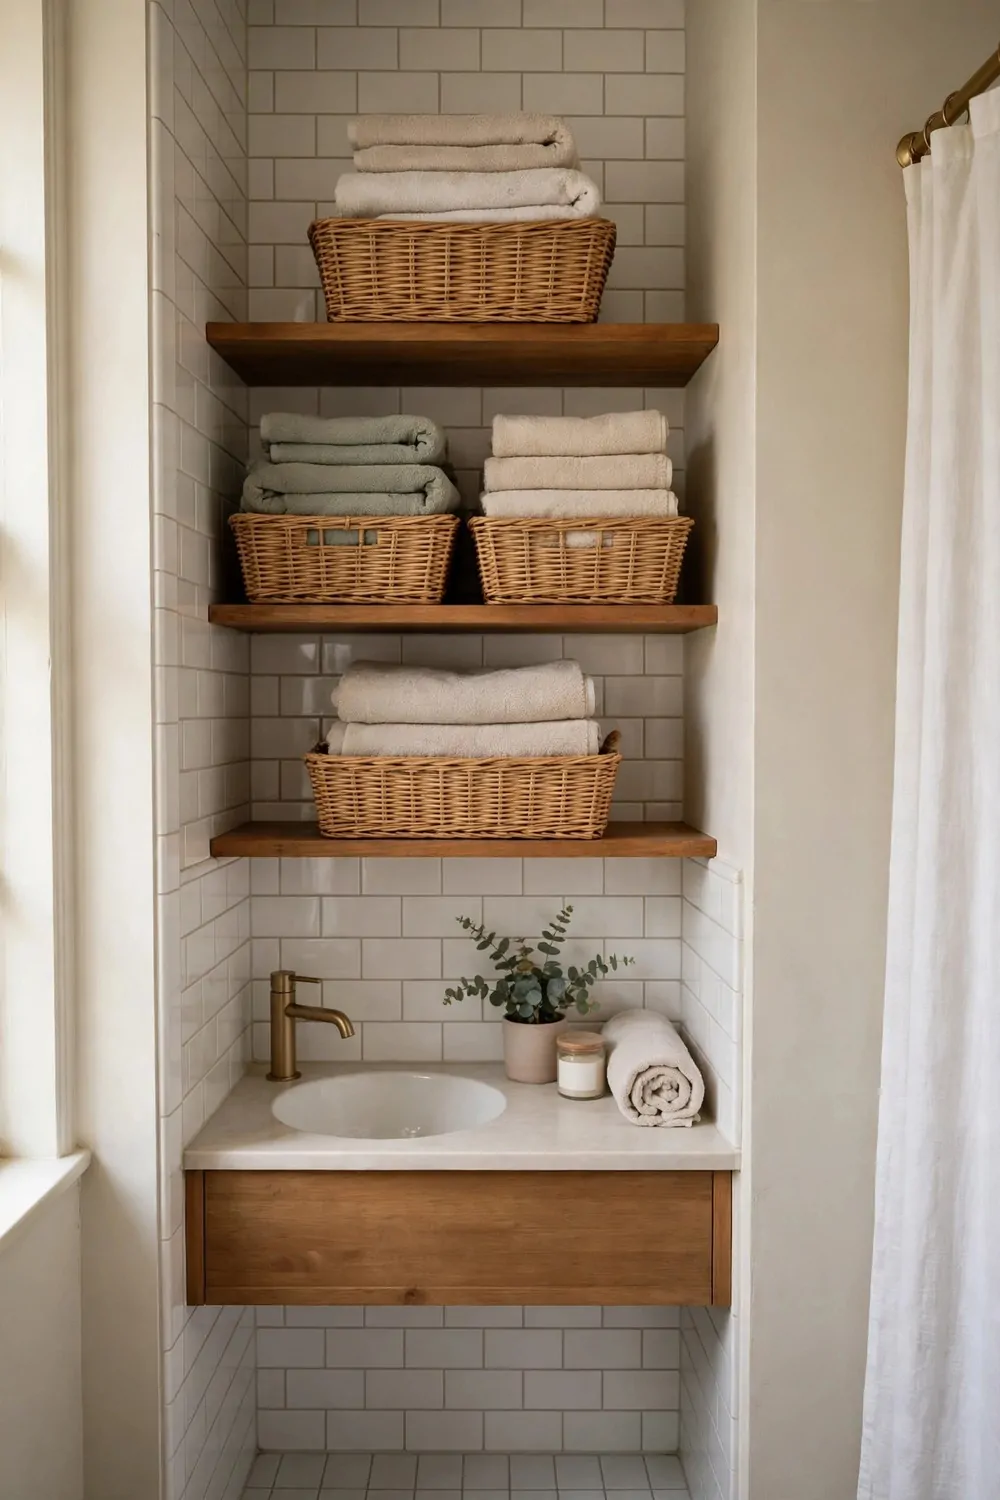
Our small bathroom had no place for towels, soap, and the bits we use each day.
I looked at the wall above the toilet and the wall by the door for free space. A tall, slim shelf can hold a lot without taking floor space.
I spent $90 to $380 on smart storage for our small bathroom. I bought a slim cabinet, a few baskets, and small hooks. The price moved with how many pieces I added.
I fitted a slim cabinet above the toilet for spare towels and soap.
I added small baskets under the vanity for cloths and spare rolls. I put a label on each basket so we all knew where things lived. A basket can hide a mess and still be easy to reach.
I put hooks on the back of the door for towels and a robe. I kept one hook free for guests so they had a place too.
You can add a small shelf near the mirror for a toothbrush cup and a soap dish.
I cleaned the shelves once a week with plain soap and water and put back only what we use. I took out old bottles and bits we no longer needed. A clear shelf makes a small room feel bigger.
Smart storage made our small bathroom feel calm and easy to use. Everything has a home now, and the top stays clear.
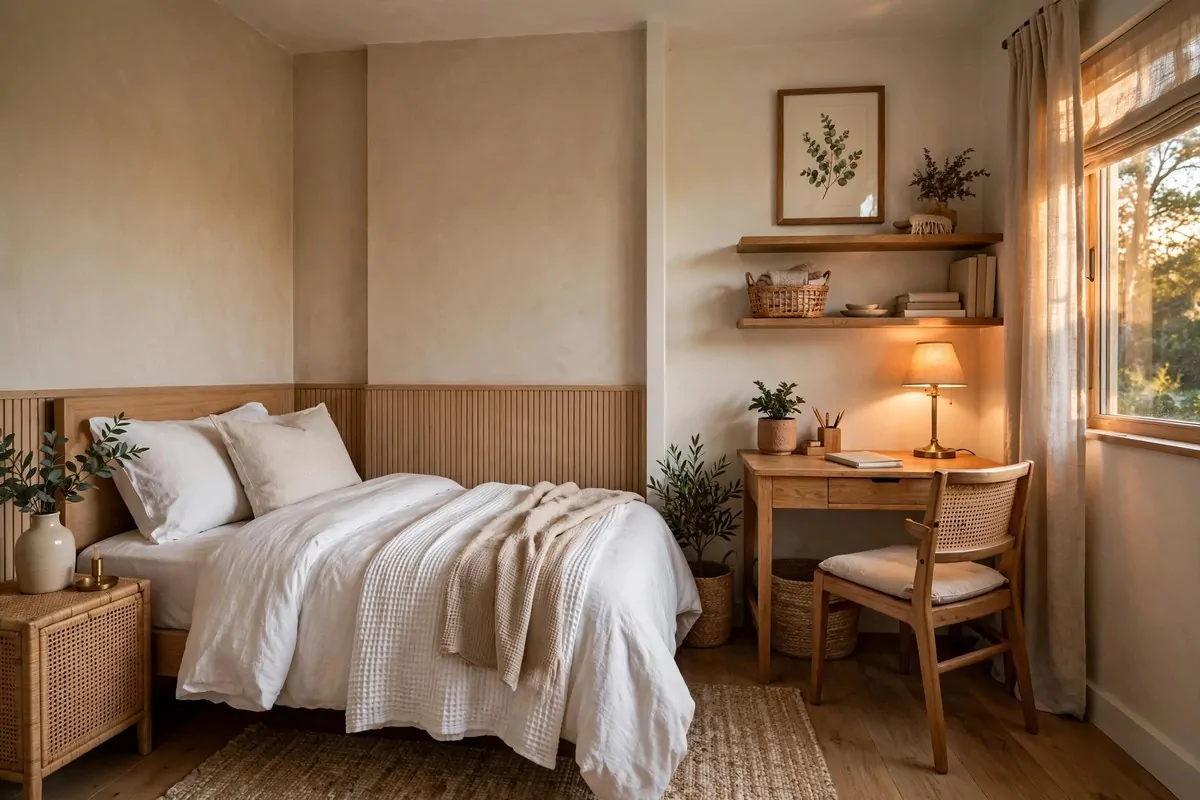
12. Make the Bedroom Calm With Soft Colours
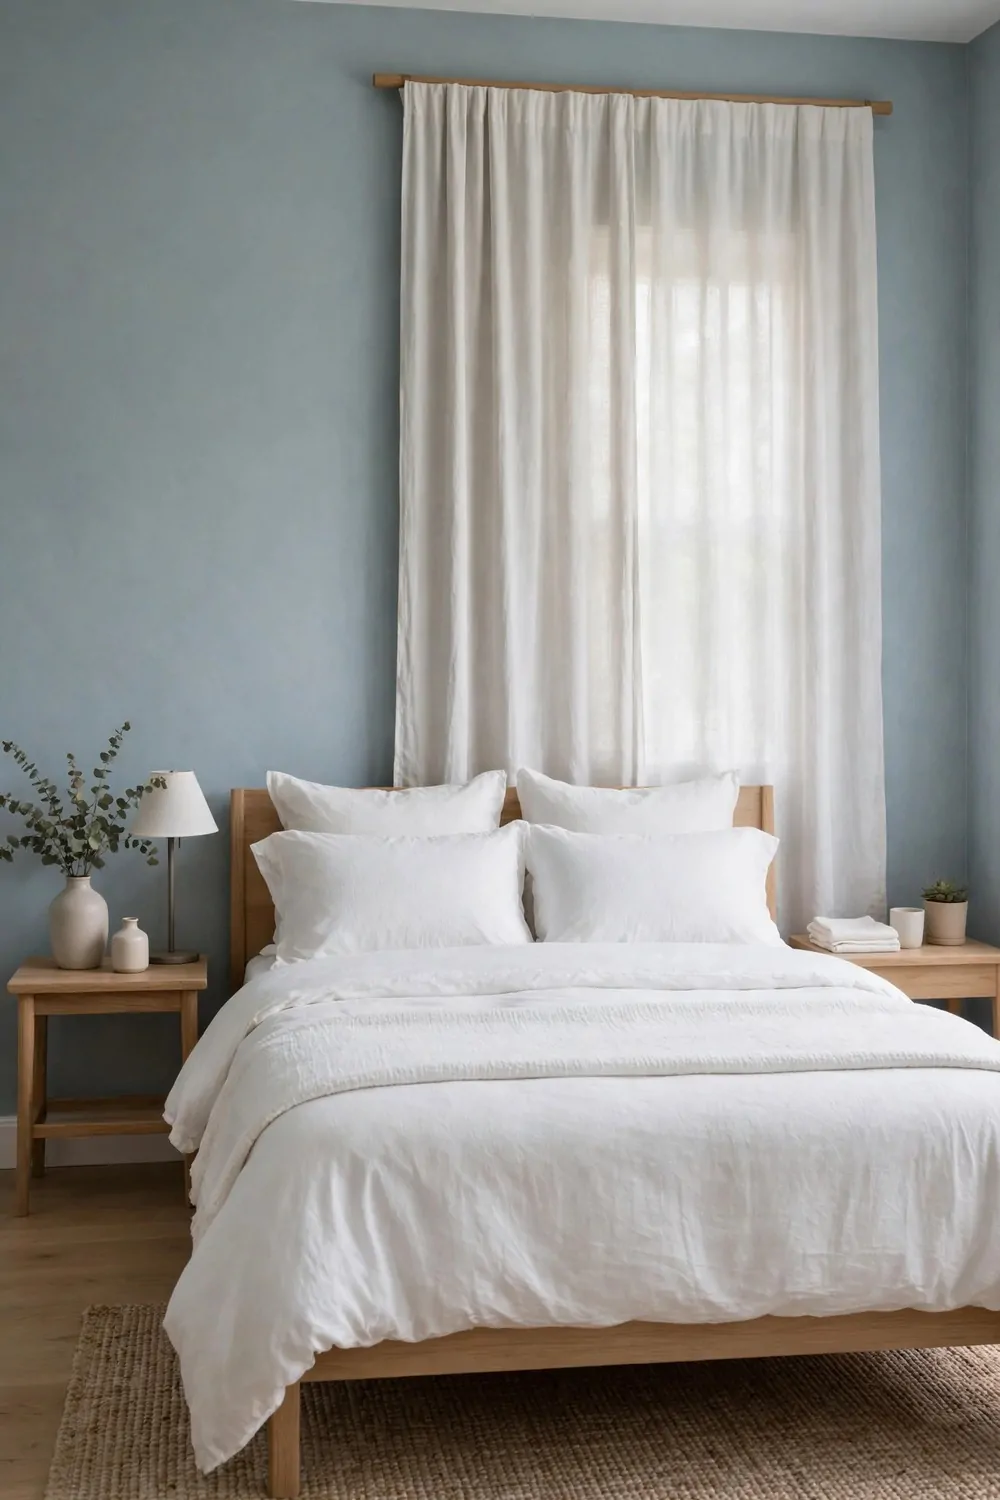
Our bedroom felt loud, even though it was quiet at night. The walls were a strong colour, and the bed covers were bright and busy.
I picked a soft blue grey for the walls and white covers for the bed. I kept the colours light so the room would feel open in the morning. You can hold a fabric swatch next to the wall to see how they sit together.
Soft paint and soft fabric cost me $80 to $320 in our bedroom.
I painted the walls on a weekend and let them dry with the windows open. I washed the new covers before I put them on the bed. Fresh paint and clean fabric made the room smell fresh too.
I swapped the bright lamp shade for a plain cream one that gives a soft glow. I added a soft throw at the foot of the bed for cool nights.
I took out the bright art and put up one calm print with soft tones.
You can add a soft rug by the bed so your feet feel warm in the morning. Or you can add pale curtains that let in soft light but still give you rest. Keep the room simple so it feels like a place to rest.
I kept the room tidy each night by putting clothes away and making the bed each morning. A made bed makes the whole room look calm in one minute.
Soft colours made our bedroom feel like a quiet place to rest.
| Idea | Typical Cost |
|---|---|
| Start With a Fresh Coat of Paint in Every Room | $120 to $420 |
| Swap Old Doors for a Cleaner Look | $180 to $650 |
| Change the Light Fixtures Room by Room | $150 to $520 |
| Refinish the Floors You Already Have | $400 to $1400 |
| Open Up the Kitchen to the Living Room | $900 to $2800 |
| Add a Kitchen Island With Seats | $350 to $1200 |
| Swap Kitchen Cabinet Doors, Not the Whole Kitchen | $200 to $800 |
| Put in a New Kitchen Tap and Sink | $160 to $540 |
| Give the Bathroom a New Vanity | $220 to $780 |
| Swap the Shower Head for a Rain Head | $120 to $300 |
| Add Storage to a Small Bathroom | $90 to $380 |
| Make the Bedroom Calm With Soft Colours | $80 to $320 |
13. Build a Simple Wardrobe Wall in the Bedroom
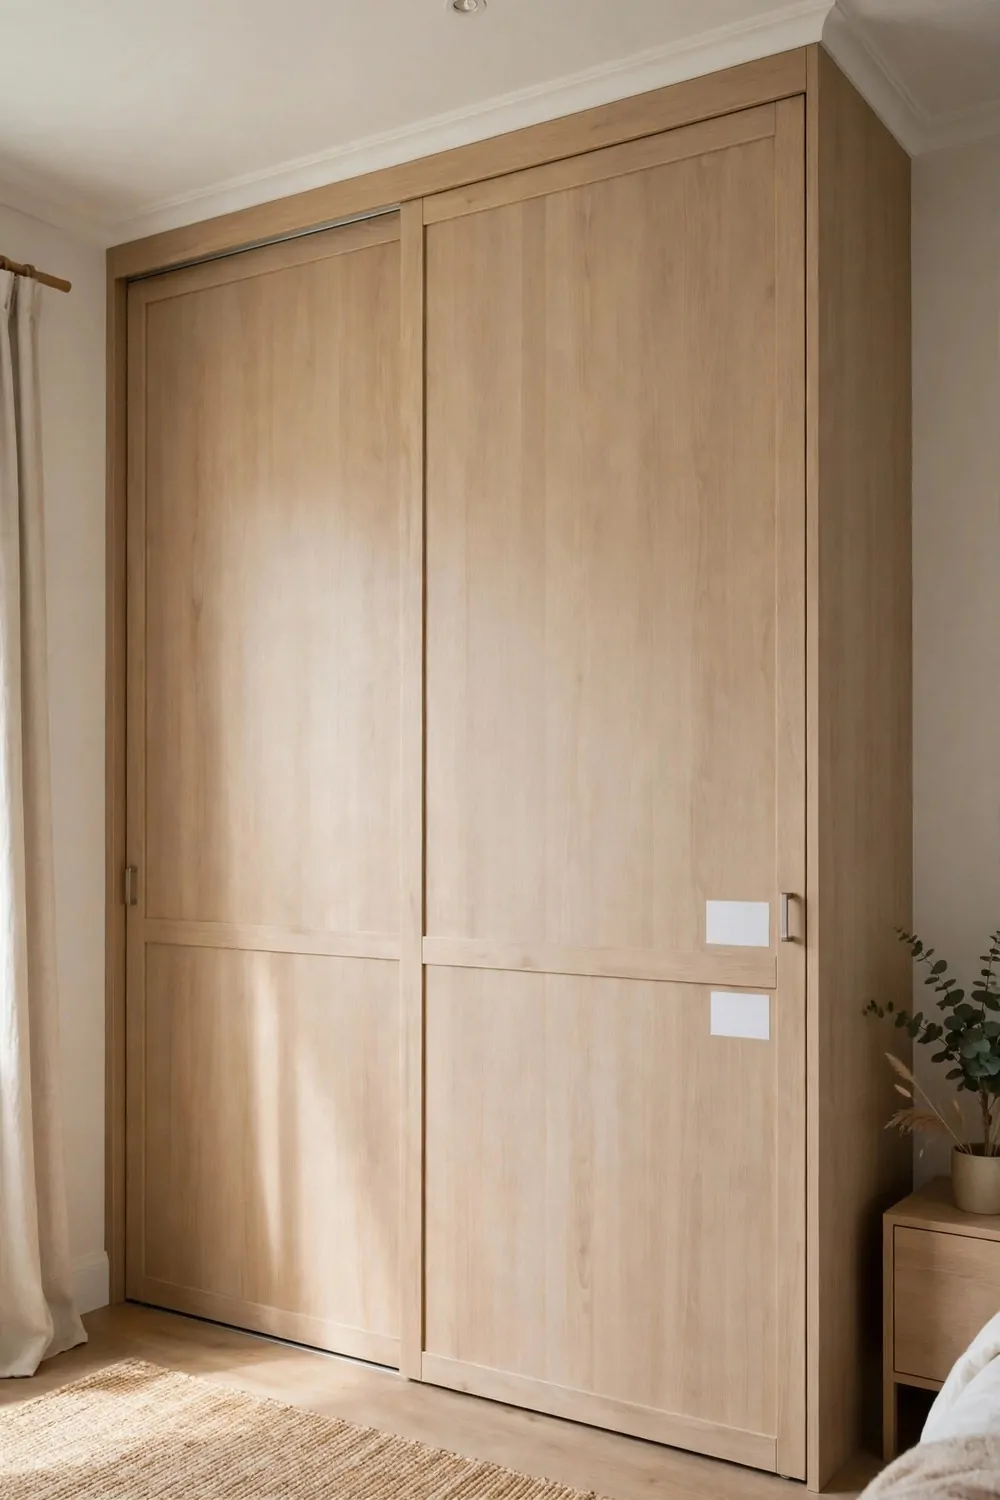
Our clothes lived in three different spots, and I could never find what I needed in the morning. A small wardrobe was full, and the rest hung on hooks by the door. I wanted one wall that could hold all our clothes in one place.
I picked the longest free wall in the bedroom and measured it from end to end.
Plan to spend $300 to $1100 if you build a wardrobe wall like ours. I used plain boards, a rail, and simple doors. The price moved with the length of the wall and the doors I picked.
I built the frame first and checked that it was level before I fixed it to the wall. I added a rail for hanging clothes and shelves for folded jumpers.
I added drawers at the bottom for socks and small bits.
I fitted plain doors that slide so they would not hit the bed when they opened. I added small handles that feel good in my hand. Sliding doors save space in a small bedroom.
You can add a small mirror on one door so you can check your look in the morning. Or you can add a light inside so you can see your clothes at night.
I sorted our clothes before I moved them in and gave away what we no longer wore.
Our wardrobe wall made the bedroom feel calm and gave us room for all we own. I can find my clothes in seconds now, and the room looks tidy.
14. Add a Reading Nook by the Window
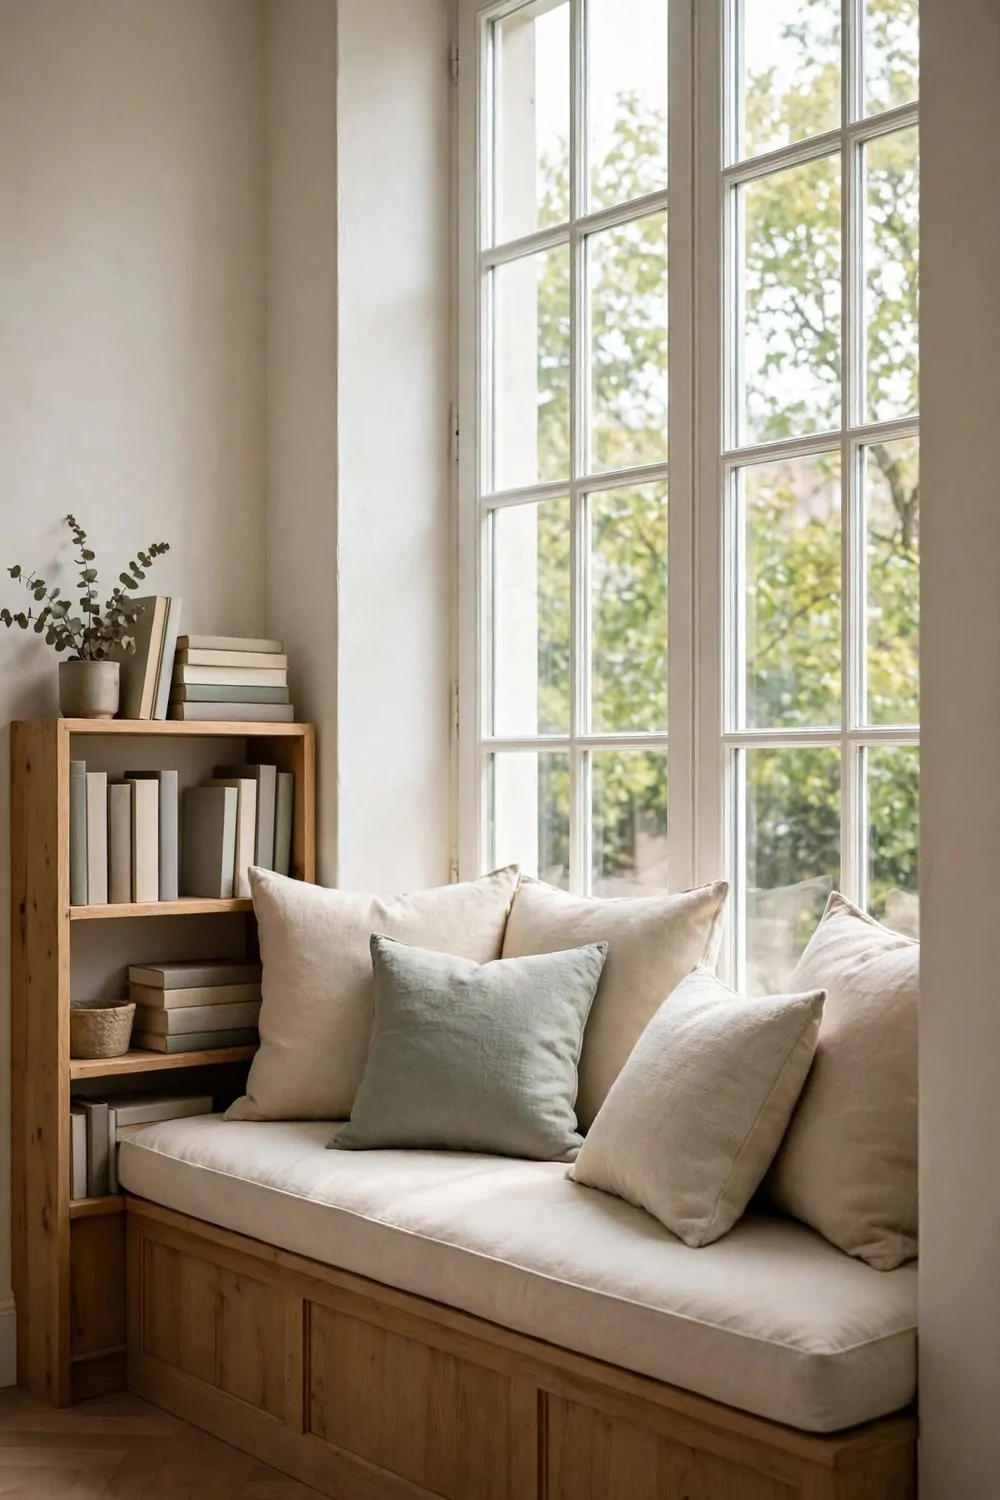
I always wanted a quiet spot to read, but our house had no place just for me.
I put a soft seat by the window and a small pillow behind my back. I could sit with my feet up and read for an hour without a sore back. You can test the seat for a few minutes to see if it feels right.
Our little reading nook took $60 to $260, and most of that was a soft seat and a lamp. I bought a small lamp, a cushion, and a soft throw.
I added a small lamp on the sill so I could read at night too.
I put a small basket by the seat for my books and a bookmark. I kept only two or three books there so the spot stayed tidy. A small stack feels calm, and I can swap books when I finish one.
I added a soft throw over the seat for cool mornings. I kept a small table close by for a cup of water or tea.
You can add a pale curtain to soften the light but still let the sun in.
I read there most afternoons while the house is quiet. It has become my favourite spot in the whole house.
A reading nook by the window gave me a quiet place of my own. It cost very little and took just one afternoon to set up. If you love to read, find a window and make a small nook there.
15. Give the Living Room a Fresh Layout
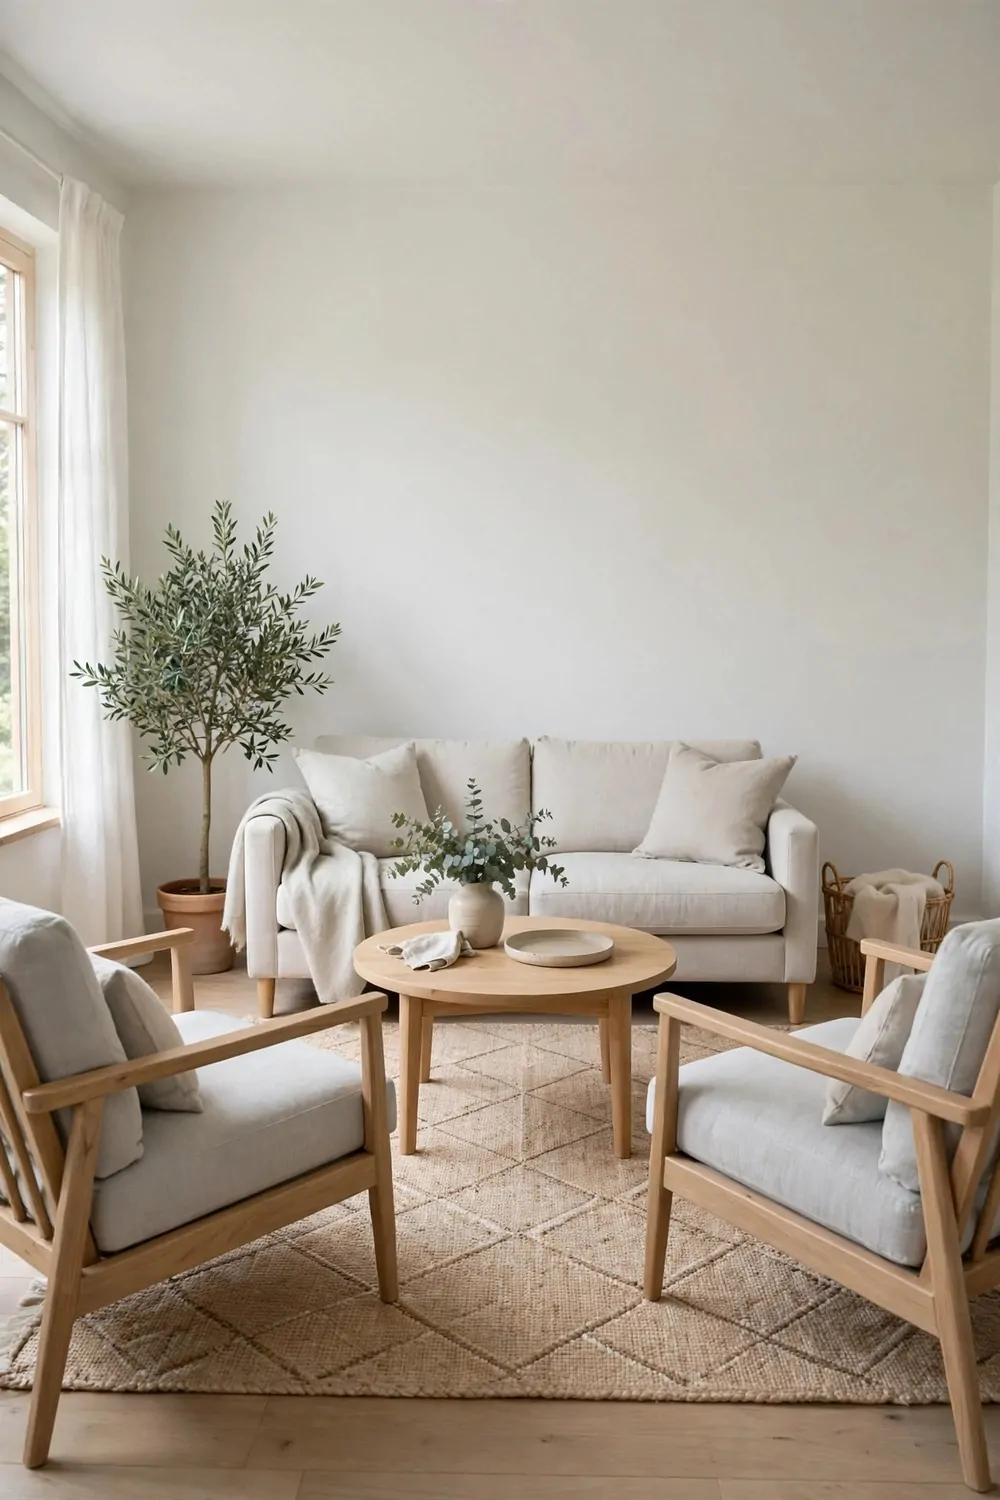
Our living room felt cramped, even though it was not a small room. The sofa blocked the light from the window, and the chairs faced the wrong way. I knew a fresh layout could make the room feel open without buying much.
I drew a quick plan on paper and moved the big pieces in my mind first. I left a clear path from the door to the window so no one had to step round furniture.
A fresh layout ran $120 to $480 for me, and most of it was one new piece and a few small moves.
I moved the sofa to face the window so we could see the garden while we sat. I put the chairs in a soft curve so we could talk with ease. A sofa that faces the light makes the whole room feel bright.
I pulled the furniture a little away from the walls to give the room air. A small gap behind the sofa makes the room feel bigger, not smaller.
I moved the TV to a low unit on the side wall so it would not rule the room.
You can turn a chair to face the sofa for a chat spot. Or you can move a small table between two chairs for drinks and books.
I lived with the new layout for a week before I fixed the rug in place. I moved one chair twice before it felt right. A little trial time helps you find the best spot for each piece.
A fresh layout made our living room feel like a new room, and it cost very little.
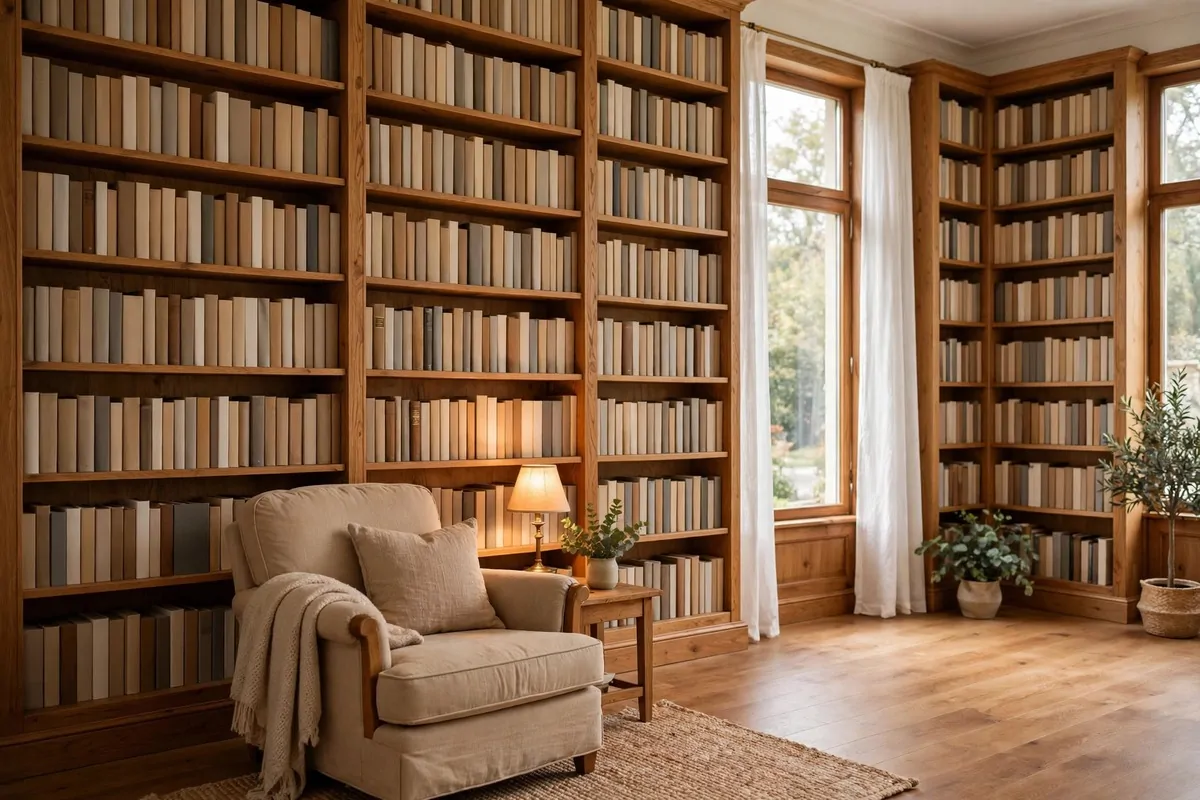
16. Add Built-In Shelves in the Living Room
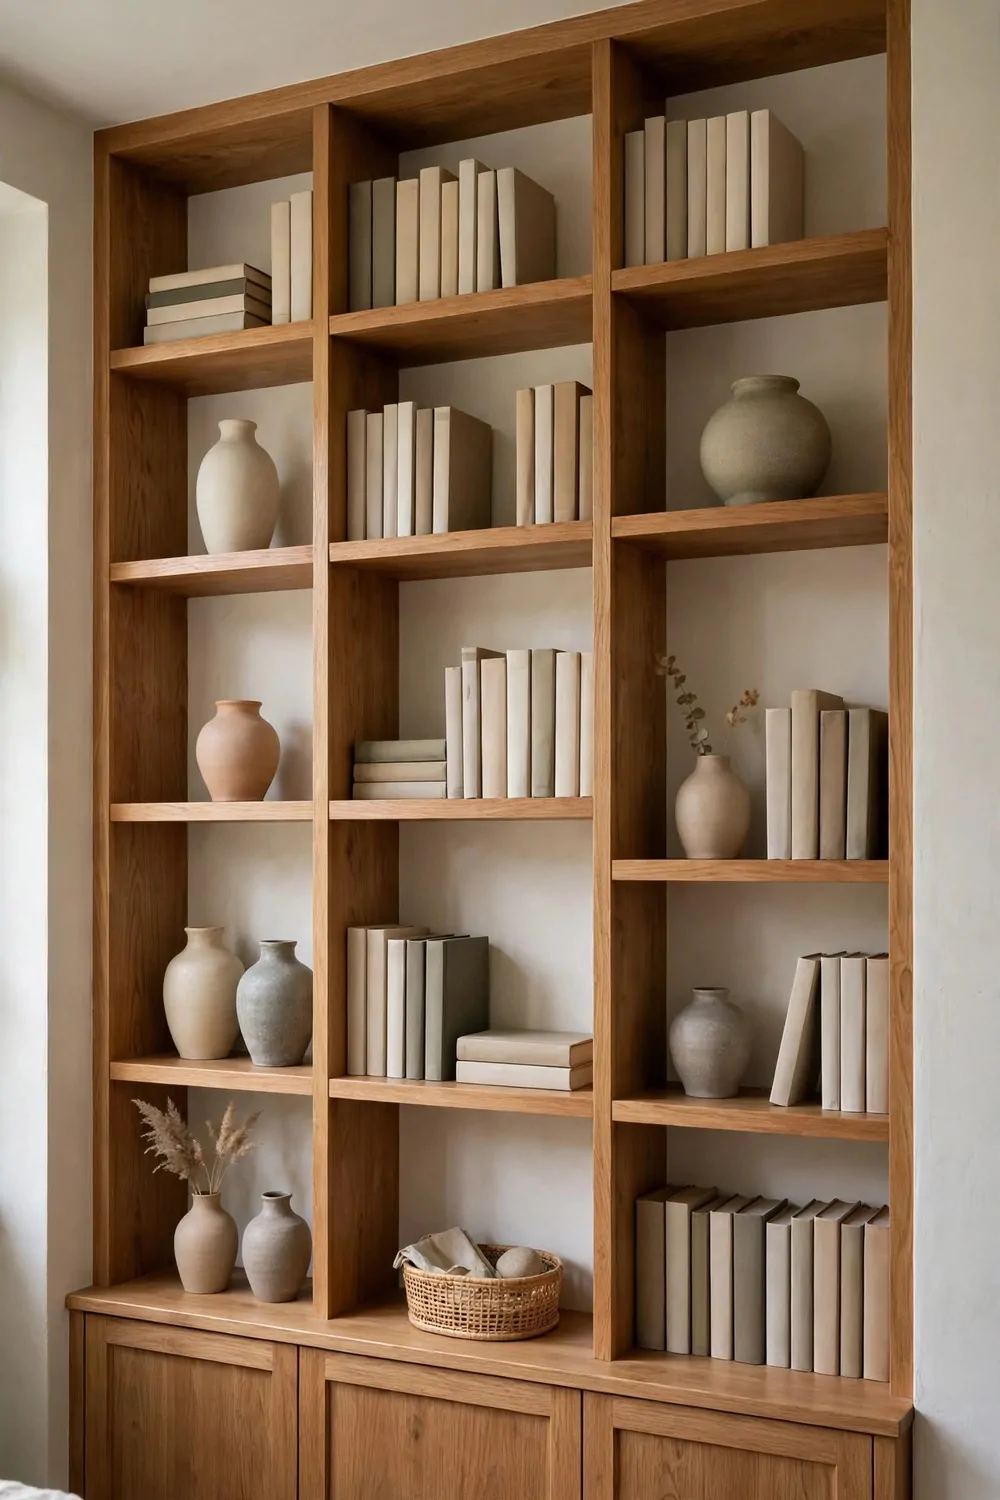
Our living room had books and bits with no real home, and they piled up on every flat top. I wanted shelves that fit the wall and held what we love.
I picked the wall by the sofa because it was wide and free.
I set aside $250 to $900 for built-in shelves that fit our wall just right. I used plain boards in a warm wood tone to match the room. The price moved with the size of the wall and the number of shelves.
I fixed the frame to the wall first and checked that it was level. I added the shelves one at a time and tested each one with a stack of books.
I kept the shelves in a warm wood tone so they would blend in with the room.
I put our favourite books on the middle shelves where we can reach them with ease. I kept the top shelves for a few pretty vases.
You can add a small light under one shelf to make the books glow at night. Or you can add baskets on the low shelves for games and small bits. Keep a little free space on each shelf so it does not look full.
I dusted the shelves once a week with a soft cloth and put back only what we use.
Built-in shelves gave our living room a tidy home for books and bits we love. The room looks neat, and I can find what I need in seconds. If your living room feels full of piles, shelves on one wall can fix it.
17. Warm Up the Living Room With a Rug and Curtains
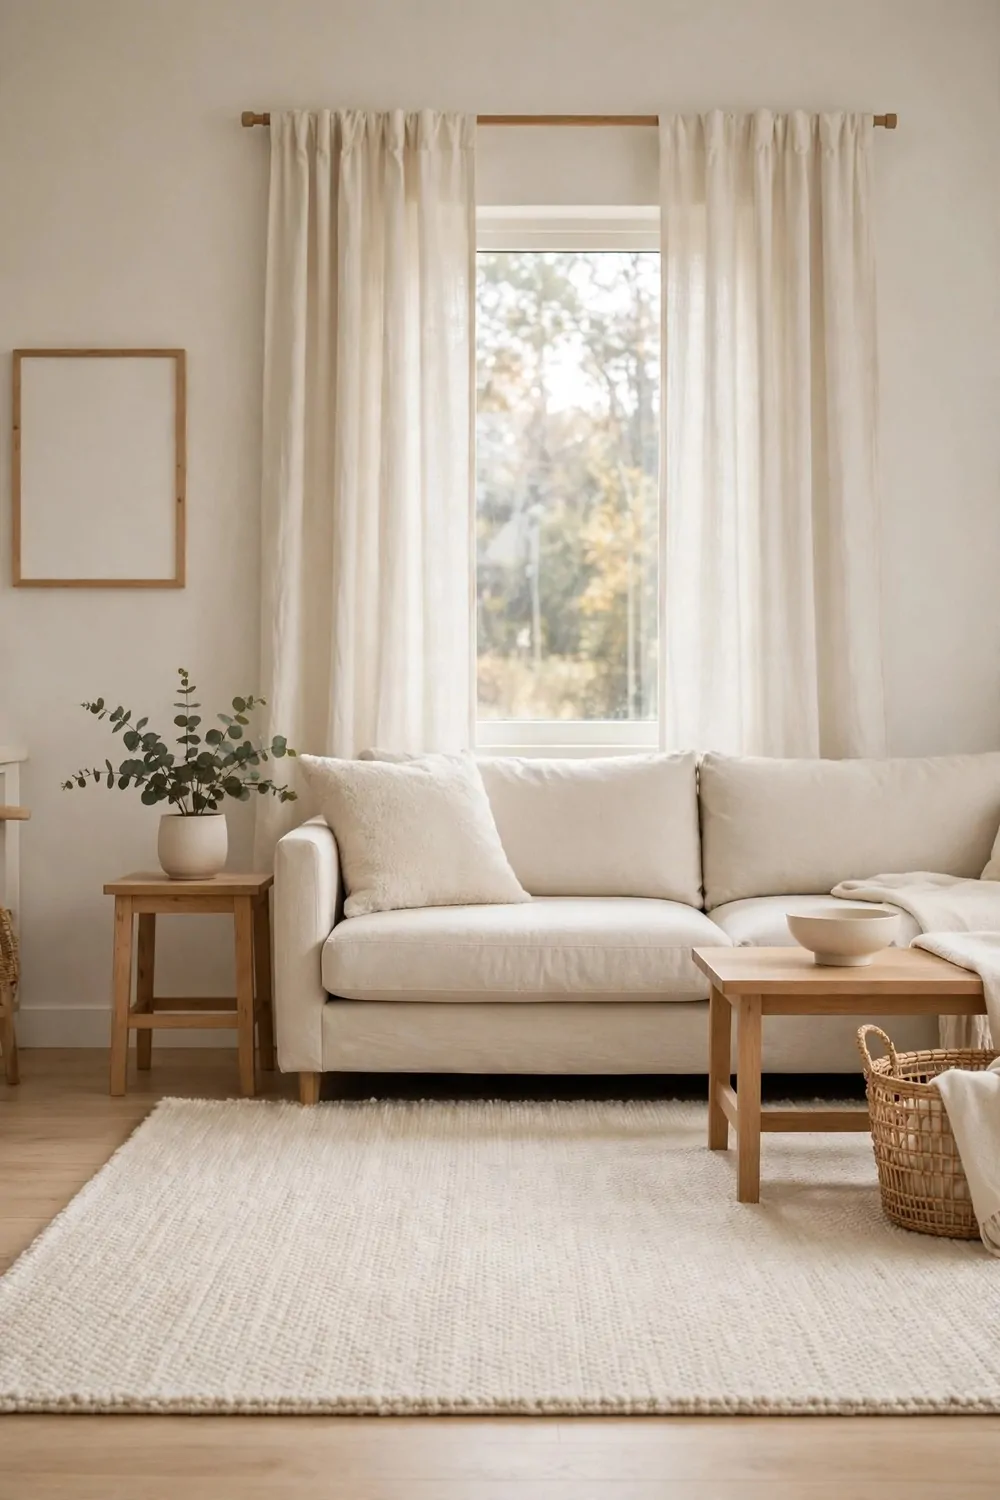
Our living room felt cold and bare, even with the sofa and chairs in place.
I measured the floor first and picked a rug that sat under the front legs of the sofa and chairs. A rug that is too small can make the room look cut up. You can lay tape on the floor to test the size before you buy.
A new rug and new curtains cost $140 to $560 in our living room. I picked a soft rug with a plain pattern and pale curtains that let in light.
I picked a rug in a warm cream with a soft feel under bare feet.
I hung the curtains high and wide so the windows would look tall. I picked a rod that felt firm and simple.
I picked pale curtains that let in soft light in the day but still give us rest at night. I added a sheer layer behind them for days when I want light but not a full view. Two layers give you more choice each day.
You can pick a rug with a soft blue or green tone to add a bit of charm.
I cleaned the rug once a week with a quick vacuum and shook the curtains out once a month. I washed the curtains with care when they looked dusty. A clean rug and fresh curtains keep the room feeling warm.
A rug and curtains made our living room feel soft and warm, like a place to rest. The room sounds softer now, and it feels like home.
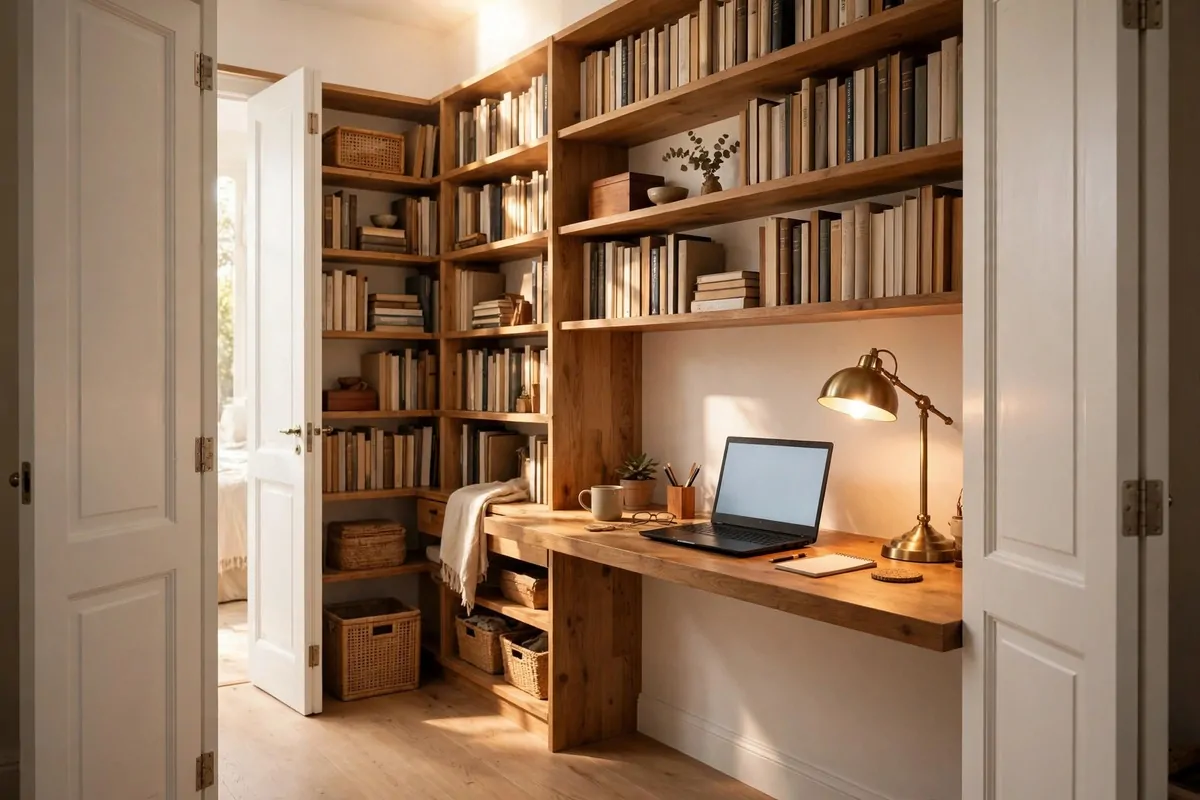
18. Turn a Spare Corner Into a Home Office
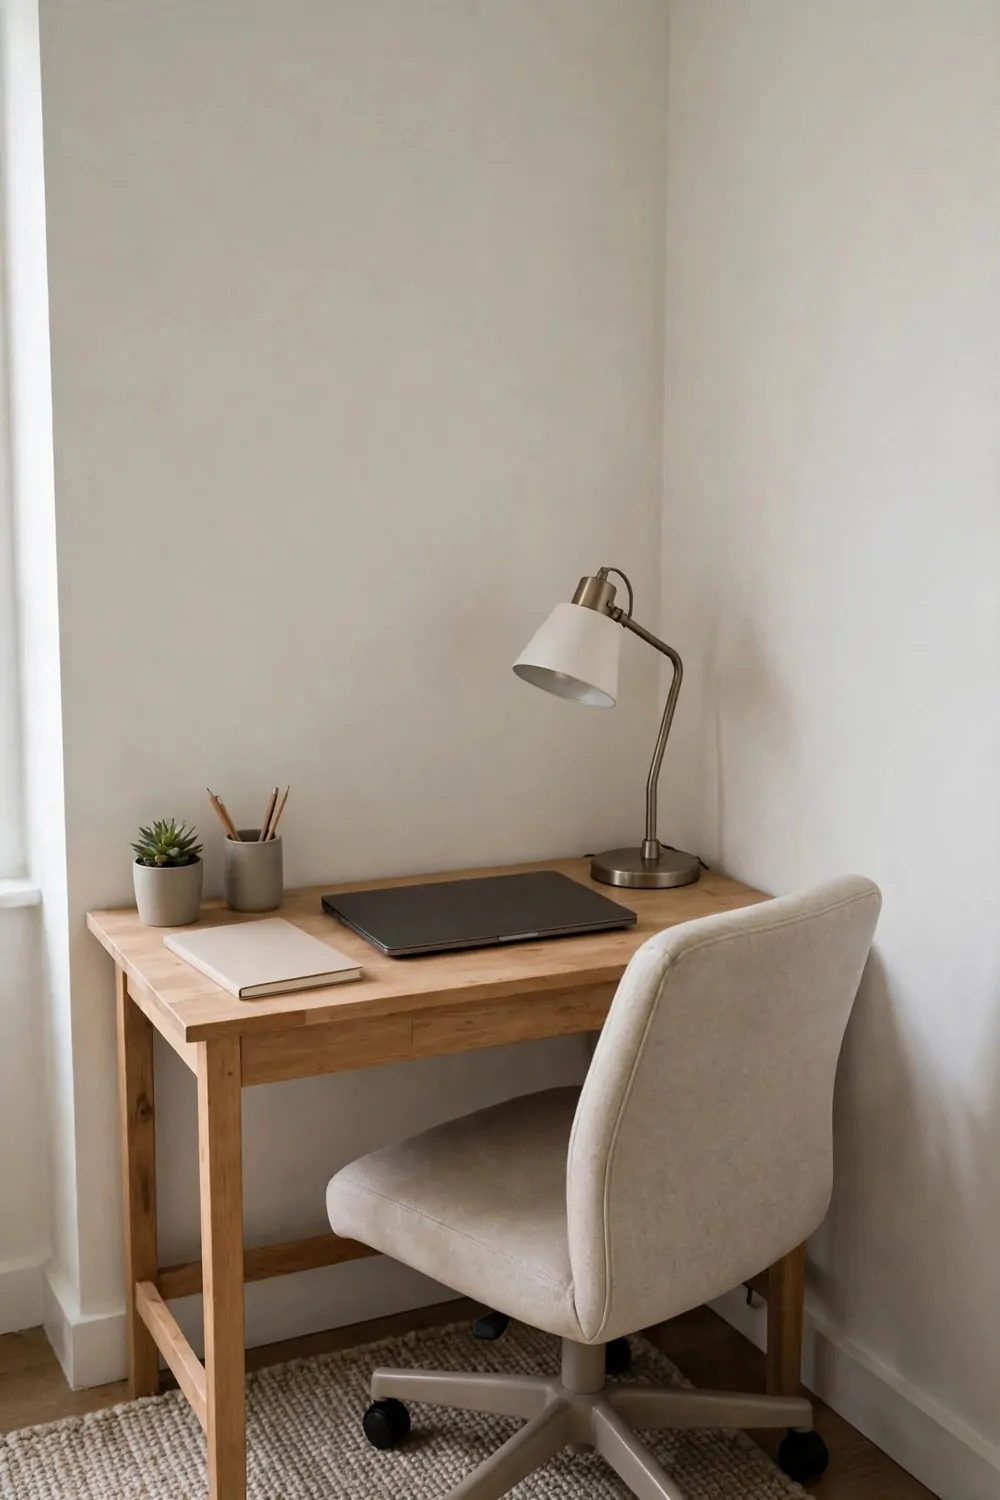
We had a spare corner in the living room that held a pile of boxes and old bits. I worked from the sofa, and my papers were always in the way. I wanted a small office corner where I could work and then close it away.
I cleared the corner first and measured the wall for a small desk. I left room for a chair to slide in and out with ease.
My spare corner office came to $180 to $620, and I used what we already had where I could.
I picked a small desk that fits the corner and has one drawer for pens and paper. I put a lamp on the desk so I could work in the evening.
I added a small shelf above the desk for books and a few files. I kept the shelf tidy with a basket for papers I need to keep. A shelf uses wall space and keeps the desk clear.
I picked a chair that feels good for a long sit and has a soft seat pad.
You can add a small board on the wall for notes and a list for the day. Or you can add a hook for a bag and a coat near the desk. Keep the corner for work only so it stays tidy.
I worked there each morning and put my papers away each night. I closed the drawer and switched off the lamp when I finished.
Our spare corner office gave me a place to work without taking over the house.
19. Make the Dining Room Ready for Family Meals
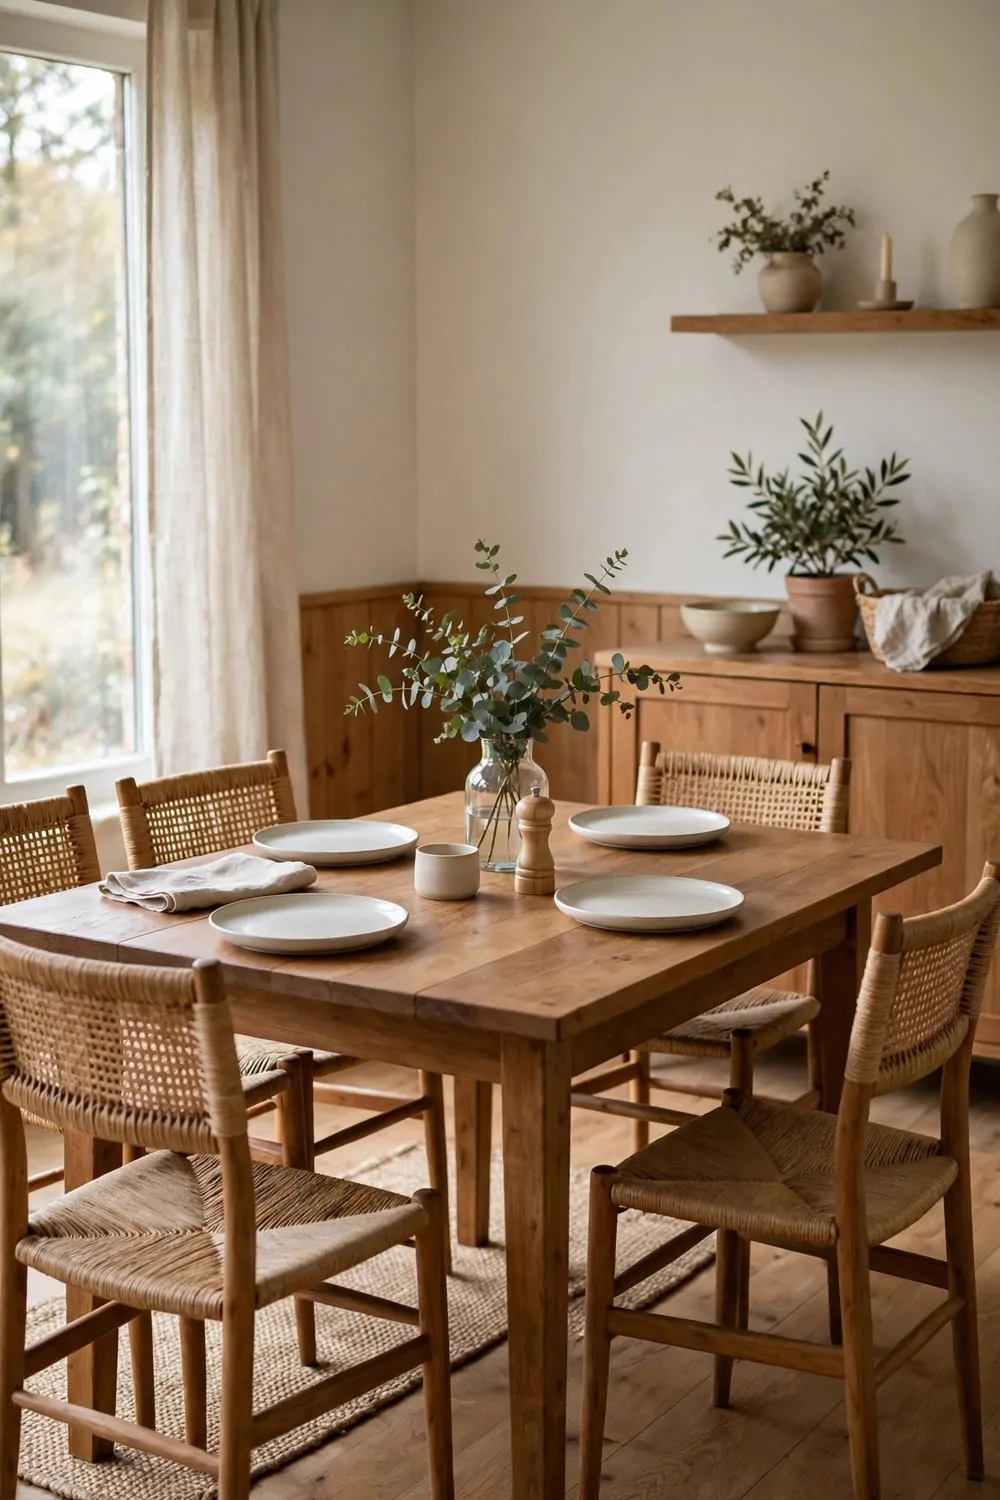
I love a dining room that feels easy to sit in. I want you to walk in and feel like pulling out a chair right away.
My old table was too small for our family. We kept bumping elbows and the plates felt crowded. A bigger table changed the whole room for us.
I picked a plain wood table with straight legs. It wipes clean fast and it does not show every mark. I can set it for a normal night or for a big family meal.
Chairs matter just as much as the table. I chose chairs with a firm seat and a back that feels good to lean on. My kids sit longer now and no one rushes away from the table.
I set aside $200 to $750 for this dining room refresh and I stayed inside that range by picking simple pieces first.
Light from the big window makes meals feel warm. I keep the curtains open at lunch so we can see our food and each other.
I keep the table clear most days. I put a plain cloth down the middle and a small vase in the centre. It looks tidy and it takes me one minute to clear it before we eat.
Storage near the table helps a lot. I use a low sideboard for plates, cups and cloths. I can reach what I need without walking back to the kitchen each time.
Try eating one meal a day together at this table. You will talk more and the room will start to feel like the heart of your home.
20. Brighten the Hallway With a Mirror and Hooks
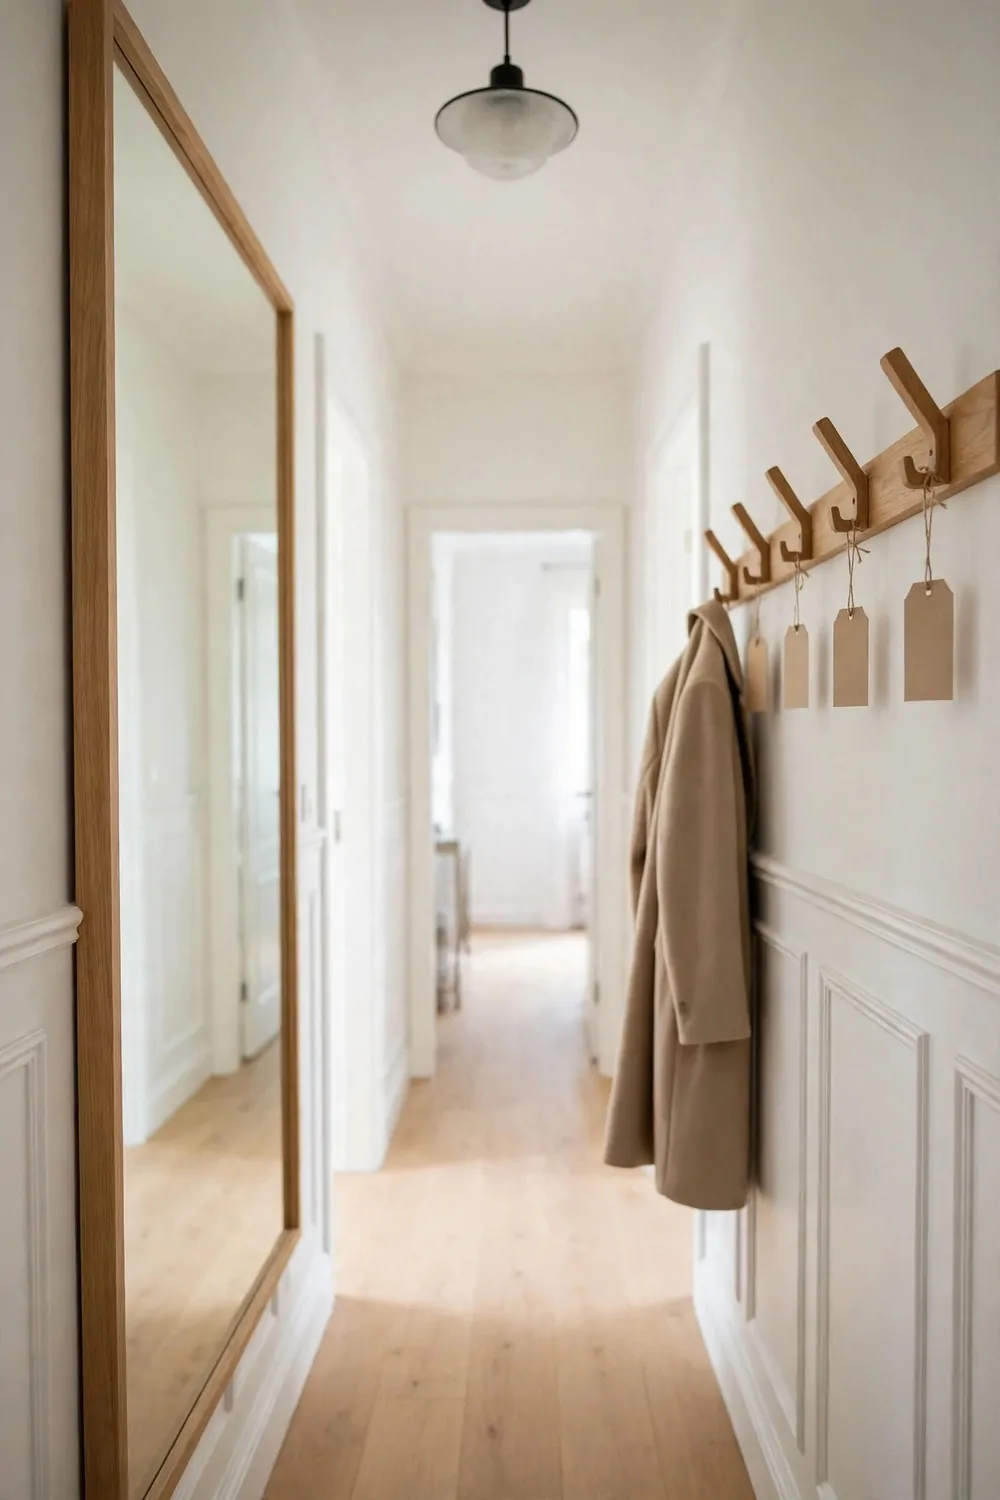
My hallway used to feel dark and narrow. I walked through it fast and I never really looked at it.
A big mirror fixed that in one day. I hung it on the long wall where the light comes in. Now the hall feels wider and much brighter.
I picked a mirror with a plain wood frame. It matches the rest of the house and it does not try too hard. I wipe it once a week and it stays clear.
Hooks beside the mirror keep coats off the floor. I put five hooks on one rail so the kids can reach them too. Each person has a spot and it stays tidy.
For this small hallway job I planned on $70 to $280, and most of that went on the mirror itself.
I keep a small tray by the door for keys and post. I check it each night and it takes ten seconds.
Paint helps here too. I used a light warm white on the walls. It bounces the light around and the hall no longer feels like a tunnel.
I keep the floor by the door clear so the hall feels open. I wipe it once a week and it stays bright. A clear floor makes the whole hall feel calm.
Walk your hallway slowly after this change. You will notice the light first, then how calm the space feels.
21. Turn the Entryway Into a Drop Zone
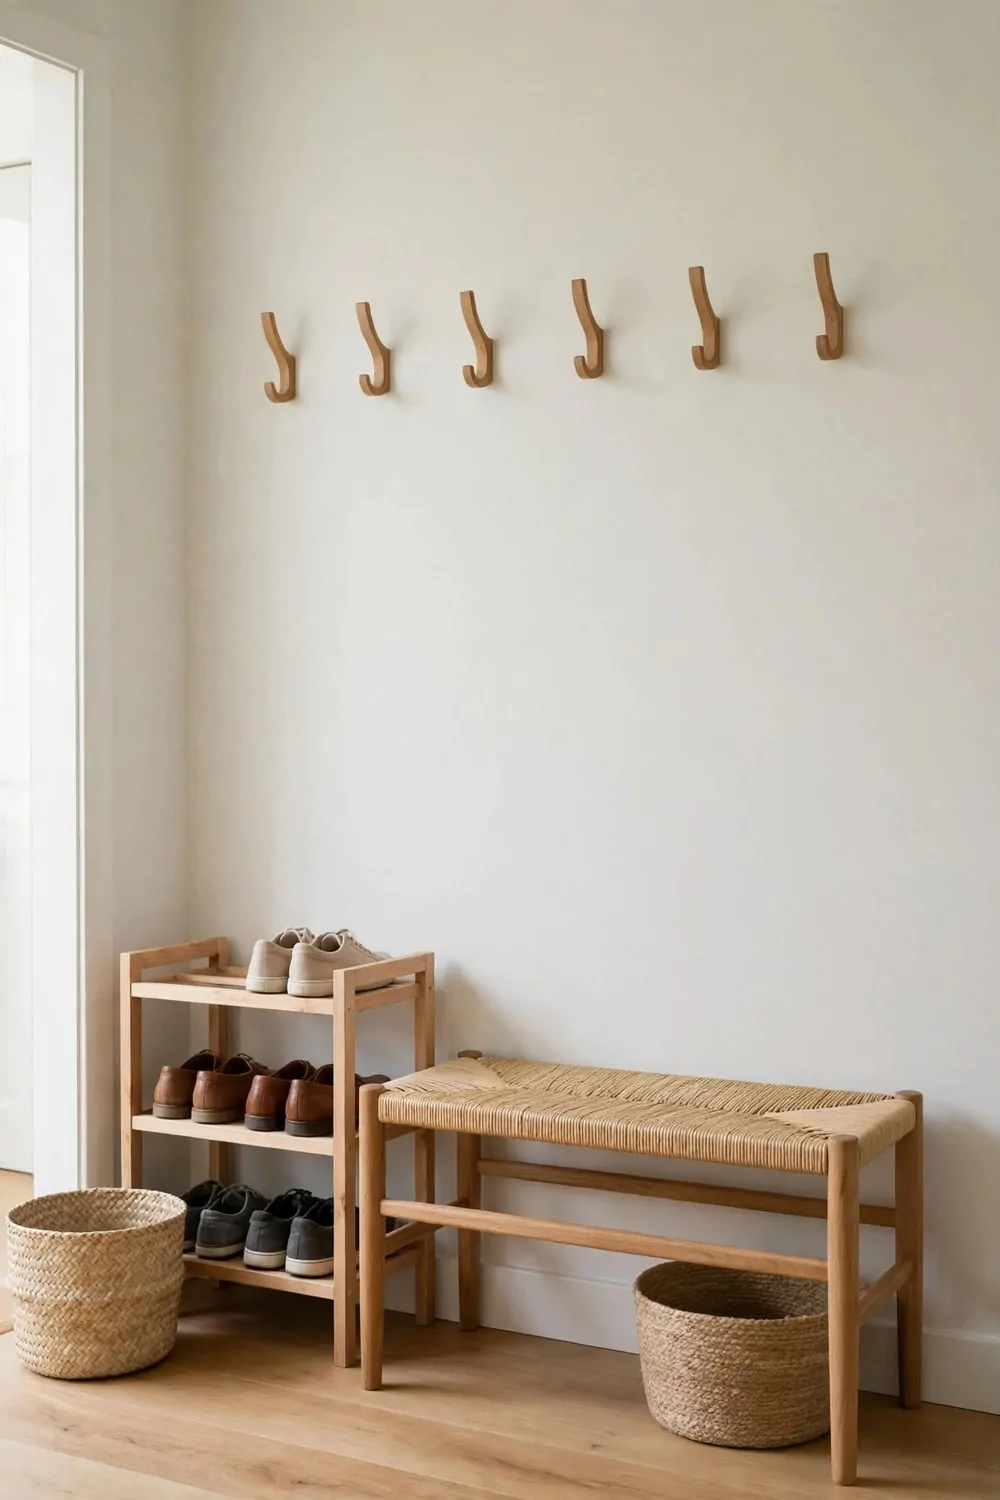
Our entryway used to be a pile of shoes and bags. I tripped over it every morning and it made me cross before I even left the house.
I started with a low bench by the door. I can sit down to put my shoes on and the kids can too. It also hides shoes underneath in a neat row.
A tray for shoes keeps mud off the floor. I picked a plain rubber tray that I can rinse in the sink. It holds four pairs and it looks tidy.
Hooks on the wall take the coats and bags. I spaced them wide so coats do not bunch up. Each hook holds one thing and that rule really helps.
A new drop zone like this costs $90 to $340 when you keep the pieces plain and sturdy.
I put a small basket by the bench for hats and gloves. In winter it fills up fast. I empty it once a week and put away what we do not use.
A mirror or a small picture above the bench adds a bit of charm. I hung one family photo in a plain frame. It makes me smile when I come home.
Good light by the door matters at night. I added a small lamp on a shelf near the bench. I can see my bag and keys clearly when I get in late.
Give every person one hook and one shoe spot. The entryway will stay clear and your mornings will feel much calmer.
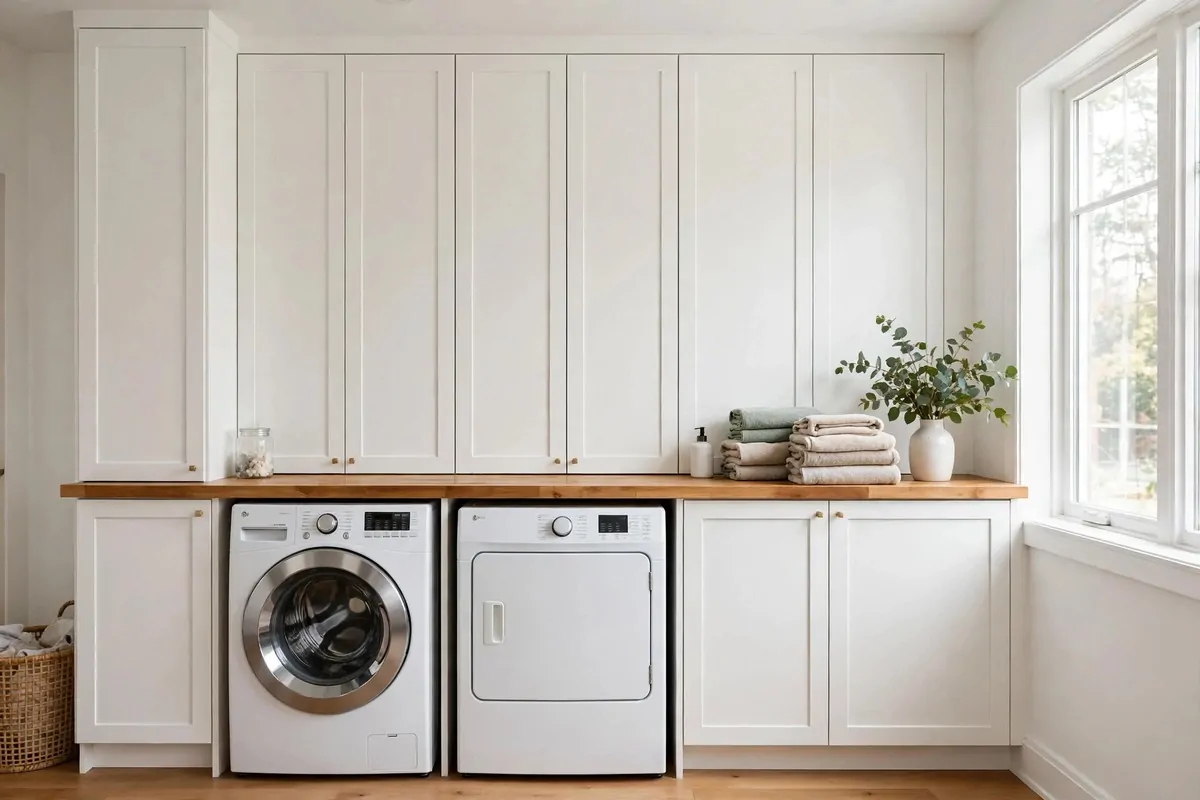
22. Refresh the Laundry Room With Folding Space
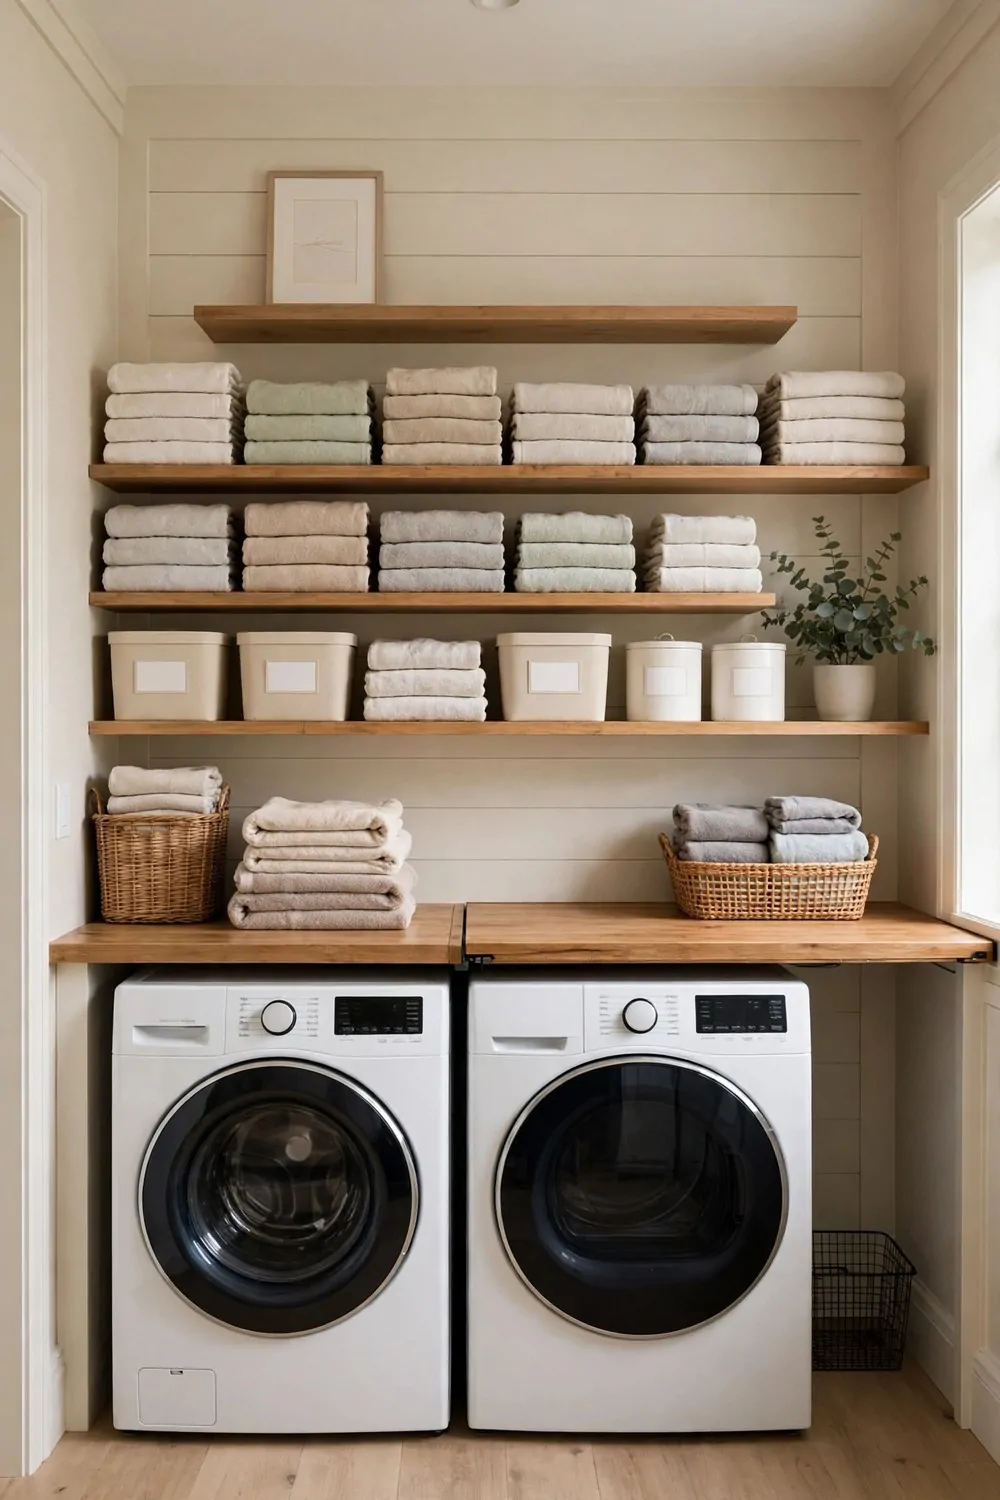
My laundry room used to be a place I avoided. I washed clothes and then I piled them on the floor because I had nowhere to fold them.
A folding shelf over the machines changed that. I can take warm clothes out and fold them right there. The pile never grows as big now.
I picked a plain wood shelf that fits across both machines. It is strong and it does not wobble. I wipe it down after each wash and it stays clean.
Baskets under the shelf sort the loads for me. I use one for darks, one for lights and one for towels. I can see at a glance what needs washing next.
When I priced this out, the folding shelf and baskets ran $130 to $480 for me, depending on the wood I chose.
I hung a small rail on the wall for damp shirts. I clip them up straight away and they dry with fewer creases. It saves me time with the iron too.
Soap and softener sit in plain jars on a high shelf. I can reach them easily and the room looks tidy. I keep a small cloth nearby for spills.
Light paint on the walls makes the small room feel fresh. I used a warm cream that feels clean. I also added a bright bulb so I can see stains before I wash.
Fold one load straight from the machine this week. You will feel the difference and the laundry room will stop feeling like a chore.
23. Make the Basement a Usable Family Room
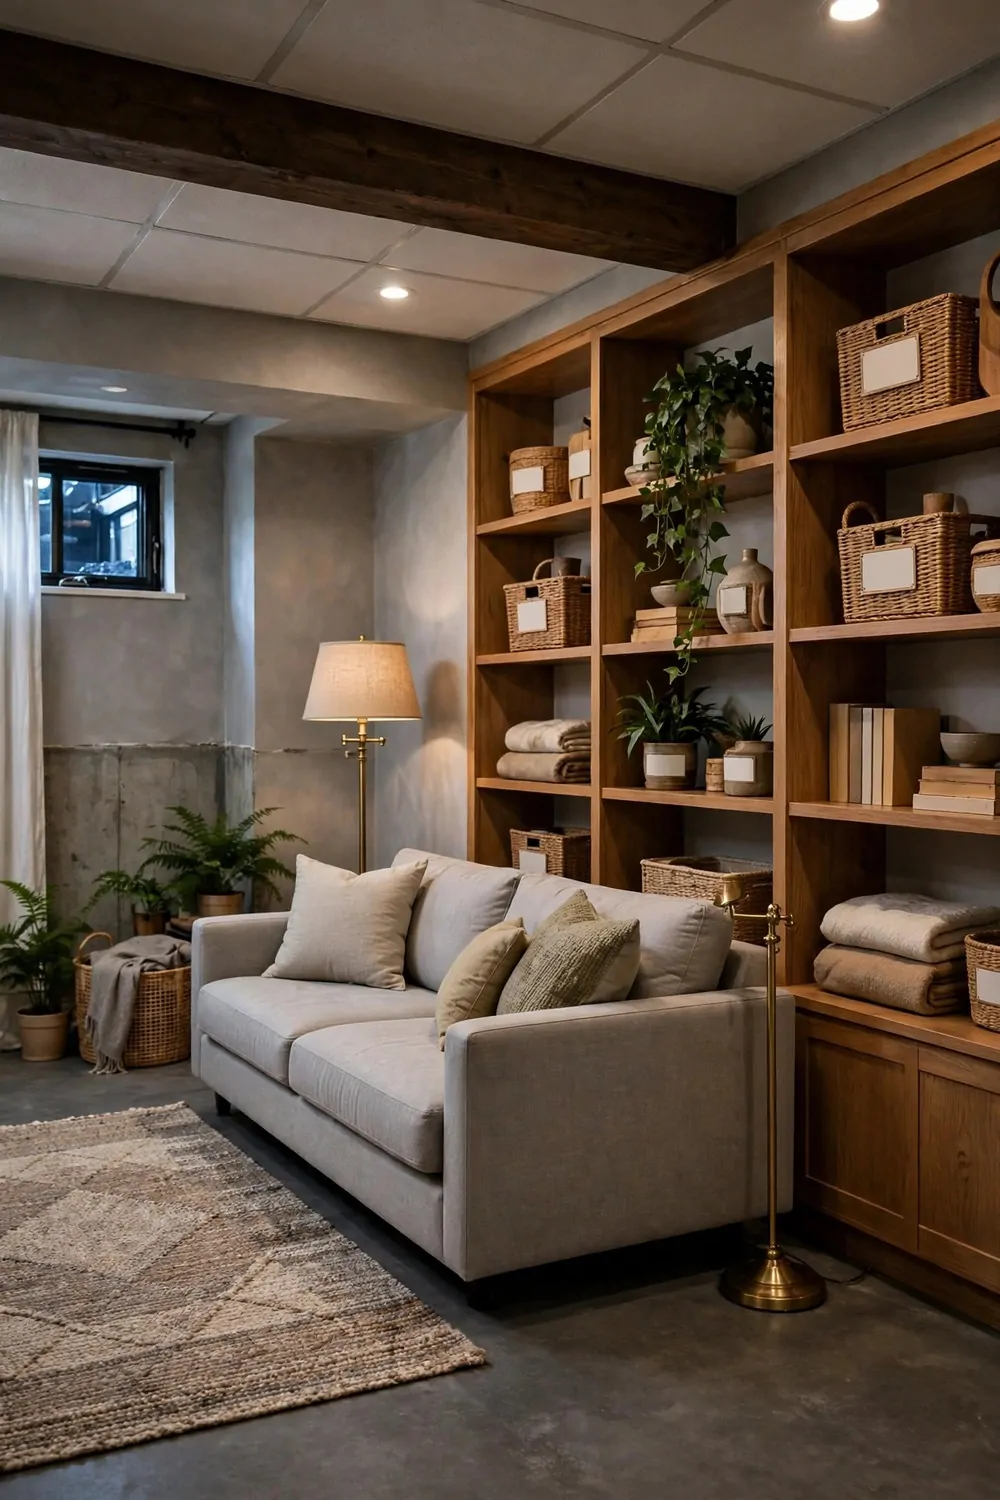
Our basement sat empty for years. It felt cold and dark and we only went down there to find old boxes.
I started by drying it out and cleaning the floor well. I checked the corners for damp and I aired it out for a few days. A dry room is the first step to a room you will actually use.
Warm light made the biggest change. I added two bright ceiling lights and a floor lamp in the corner. The room stopped feeling like a cave.
A soft rug covers the cold floor. I picked a big plain rug that the kids can sit on. It warms the room and it makes the space feel like a real living room.
I put $800 to $2600 aside for turning our basement into a family room, and I spent the most on light and floor coverings.
Simple seats work best down there. I used a plain sofa and soft chairs that I could move around. We can watch films together or spread out with books and games.
Storage along one wall keeps toys and blankets tidy. I use the lower shelves for plain boxes. The kids can reach their own things and put them back without help.
I hung a few framed prints on the wall. They add colour without taking up floor space. I kept the frames plain so the room still feels calm.
Try one family night down there each week. You will start to see the basement as extra living space, not just storage.
24. Turn the Attic Into a Quiet Bedroom
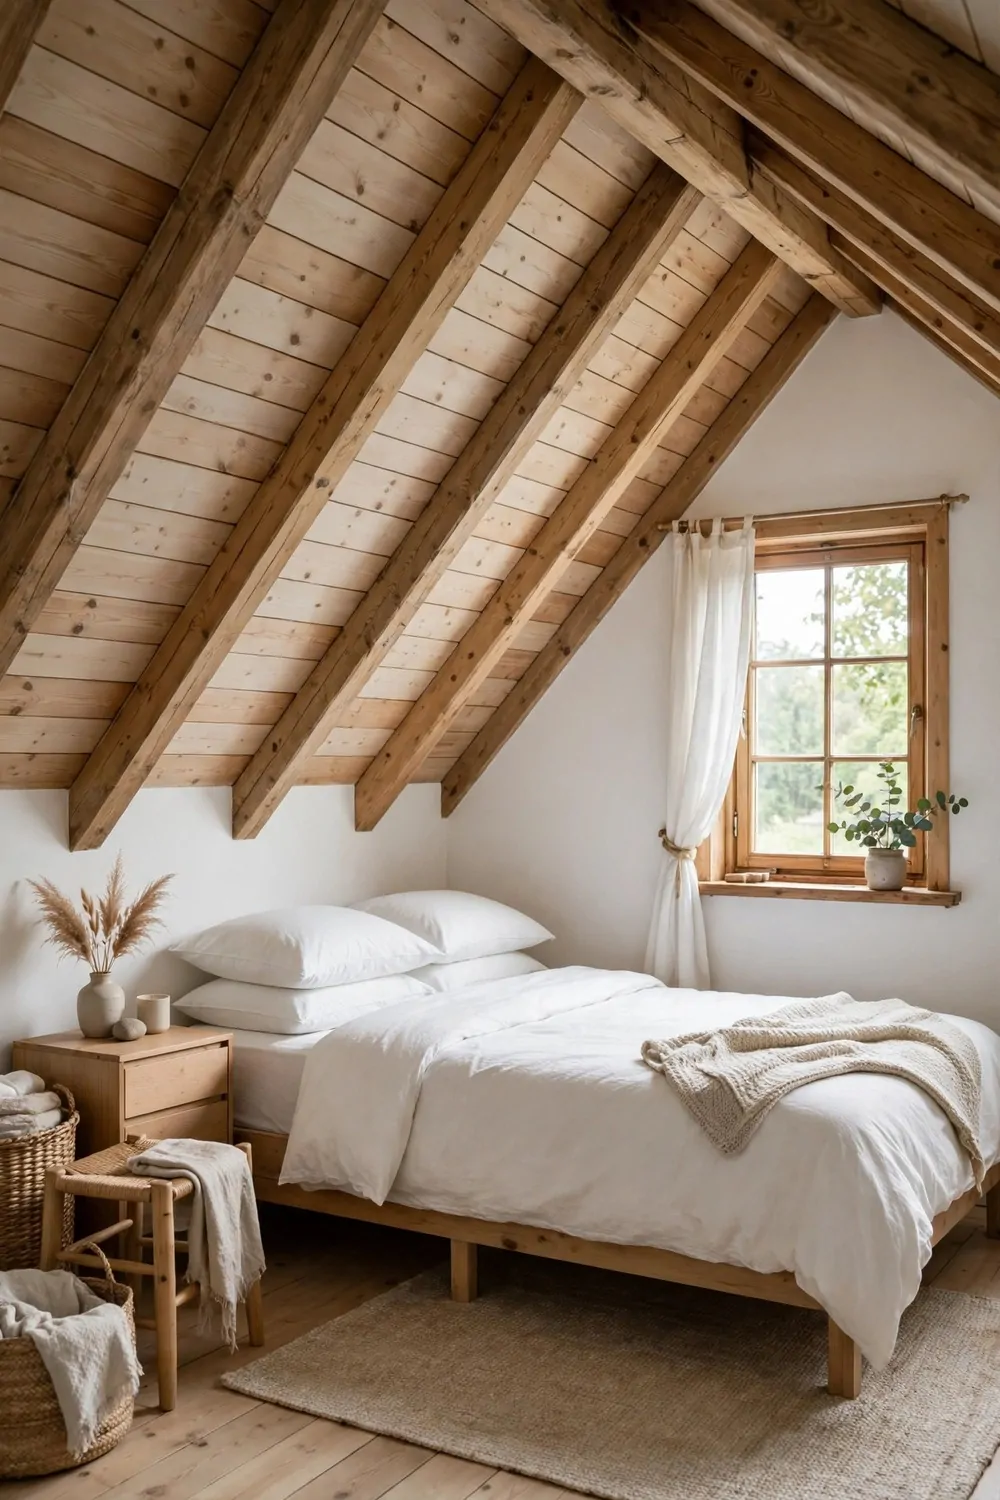
My attic was full of old boxes and dust. I went up there once a year and I came down sneezing each time.
I cleared it out slowly over one weekend. I kept what we loved and I gave away the rest. The empty floor felt much bigger than I remembered.
Good insulation and a clean floor came next. I wanted the room to stay warm in winter and cool in summer. A plain wood floor made it feel like a real bedroom.
A low bed fits well under the sloped roof. I picked a simple frame with drawers underneath. It saves space and it gives me room for clothes and spare bedding.
Turning this attic into a quiet bedroom cost $1200 to $3800 in my house, with the bed and floor taking the largest share.
Light from a small window wakes me gently in the morning. I added a light curtain that lets in sun but still gives me privacy. I can read in bed without a lamp in the day.
I keep the room simple on purpose. A small table by the bed holds a book and a glass of water. A plain rug by the bed feels soft on cold mornings.
Storage fits into the low corners where I cannot stand up straight. I use shallow boxes that slide in and out easily. They hold out of season clothes and spare blankets.
Sleep up there one night and listen to how quiet it feels. You will love having a calm room of your own at the top of the house.
| Idea | Typical Cost |
|---|---|
| Build a Simple Wardrobe Wall in the Bedroom | $300 to $1100 |
| Add a Reading Nook by the Window | $60 to $260 |
| Give the Living Room a Fresh Layout | $120 to $480 |
| Add Built-In Shelves in the Living Room | $250 to $900 |
| Warm Up the Living Room With a Rug and Curtains | $140 to $560 |
| Turn a Spare Corner Into a Home Office | $180 to $620 |
| Make the Dining Room Ready for Family Meals | $200 to $750 |
| Brighten the Hallway With a Mirror and Hooks | $70 to $280 |
| Turn the Entryway Into a Drop Zone | $90 to $340 |
| Refresh the Laundry Room With Folding Space | $130 to $480 |
| Make the Basement a Usable Family Room | $800 to $2600 |
| Turn the Attic Into a Quiet Bedroom | $1200 to $3800 |
25. Add a Mudroom Bench by the Back Door
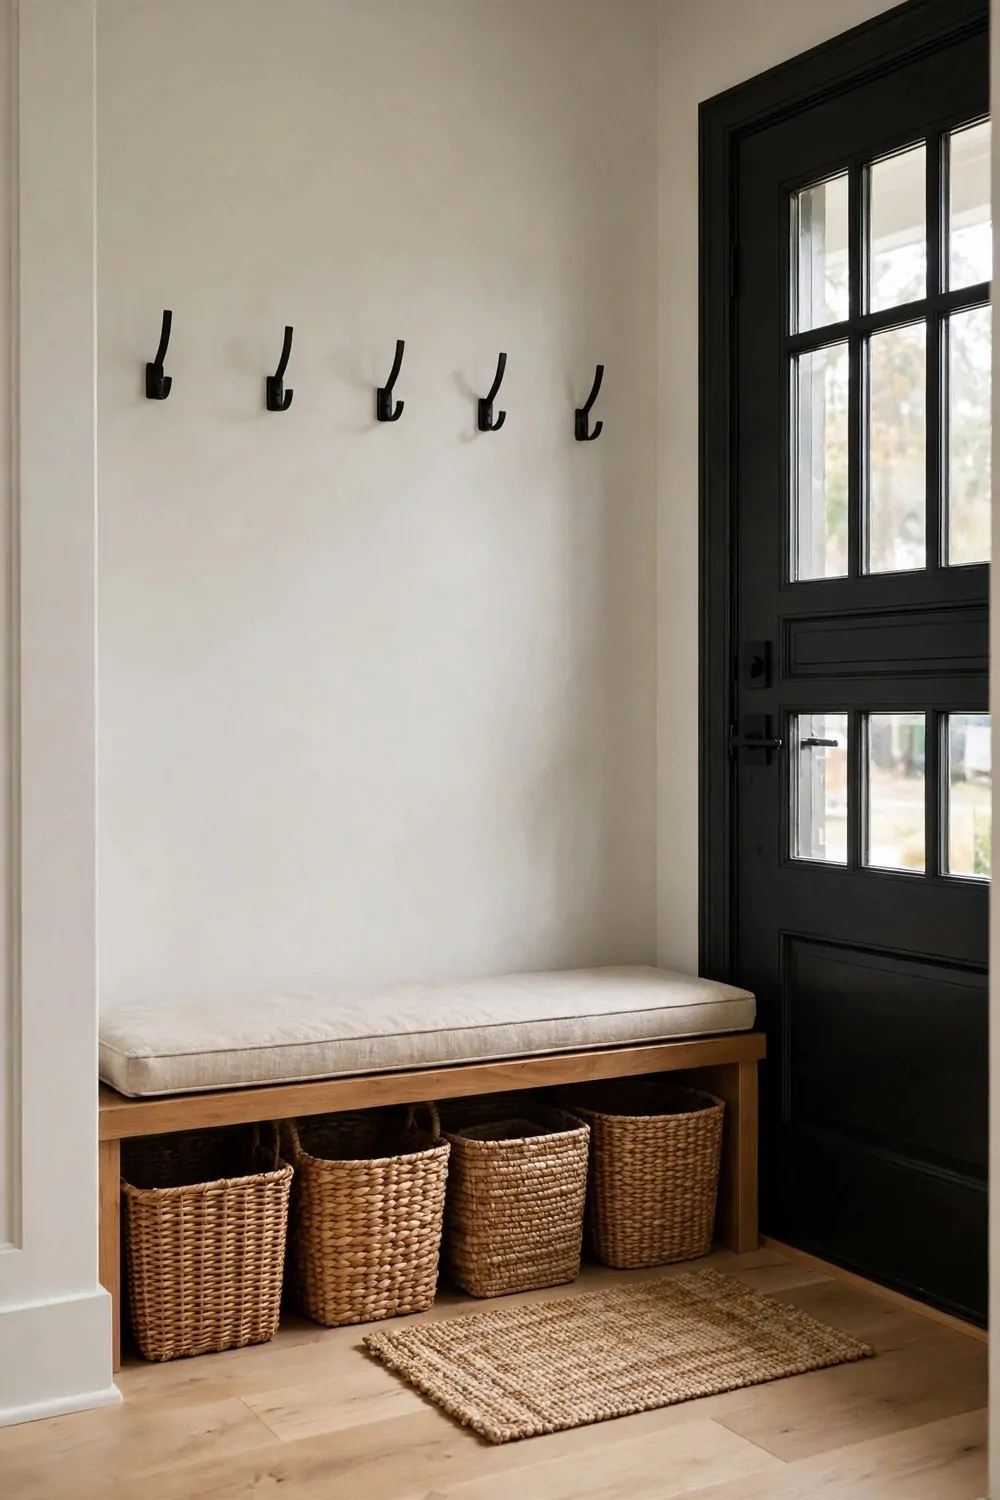
Our back door was always messy. Shoes piled up, coats fell down, and mud walked straight into the kitchen.
A bench by the back door gave us a place to stop. I sit down, take my shoes off, and put them away in one move. It sounds small but it changed our whole routine.
I picked a bench with baskets underneath. Shoes and boots hide inside the baskets and the top stays clear. I can wipe the seat in seconds after a muddy day.
Hooks above the bench hold coats and bags. I put them at a height the kids can reach. They hang their own coats now and I do not have to do it for them.
I budgeted $150 to $520 for the bench and hooks together, and I chose plain wood so it would last.
A washable mat in front of the bench holds the mud. I shake it outside twice a week. It keeps the kitchen floor much cleaner.
I added a small shelf above the hooks for hats and gloves. A plain basket on the shelf holds them all. I can find what I need fast on cold mornings.
Light paint on the wall behind the bench makes the corner feel fresh. I used a warm cream that feels calm. It also hides small marks better than white.
Try the bench for one week and watch the back door. You will see fewer shoes on the floor and a much tidier kitchen.
26. Give the Kids Room Storage That Grows With Them
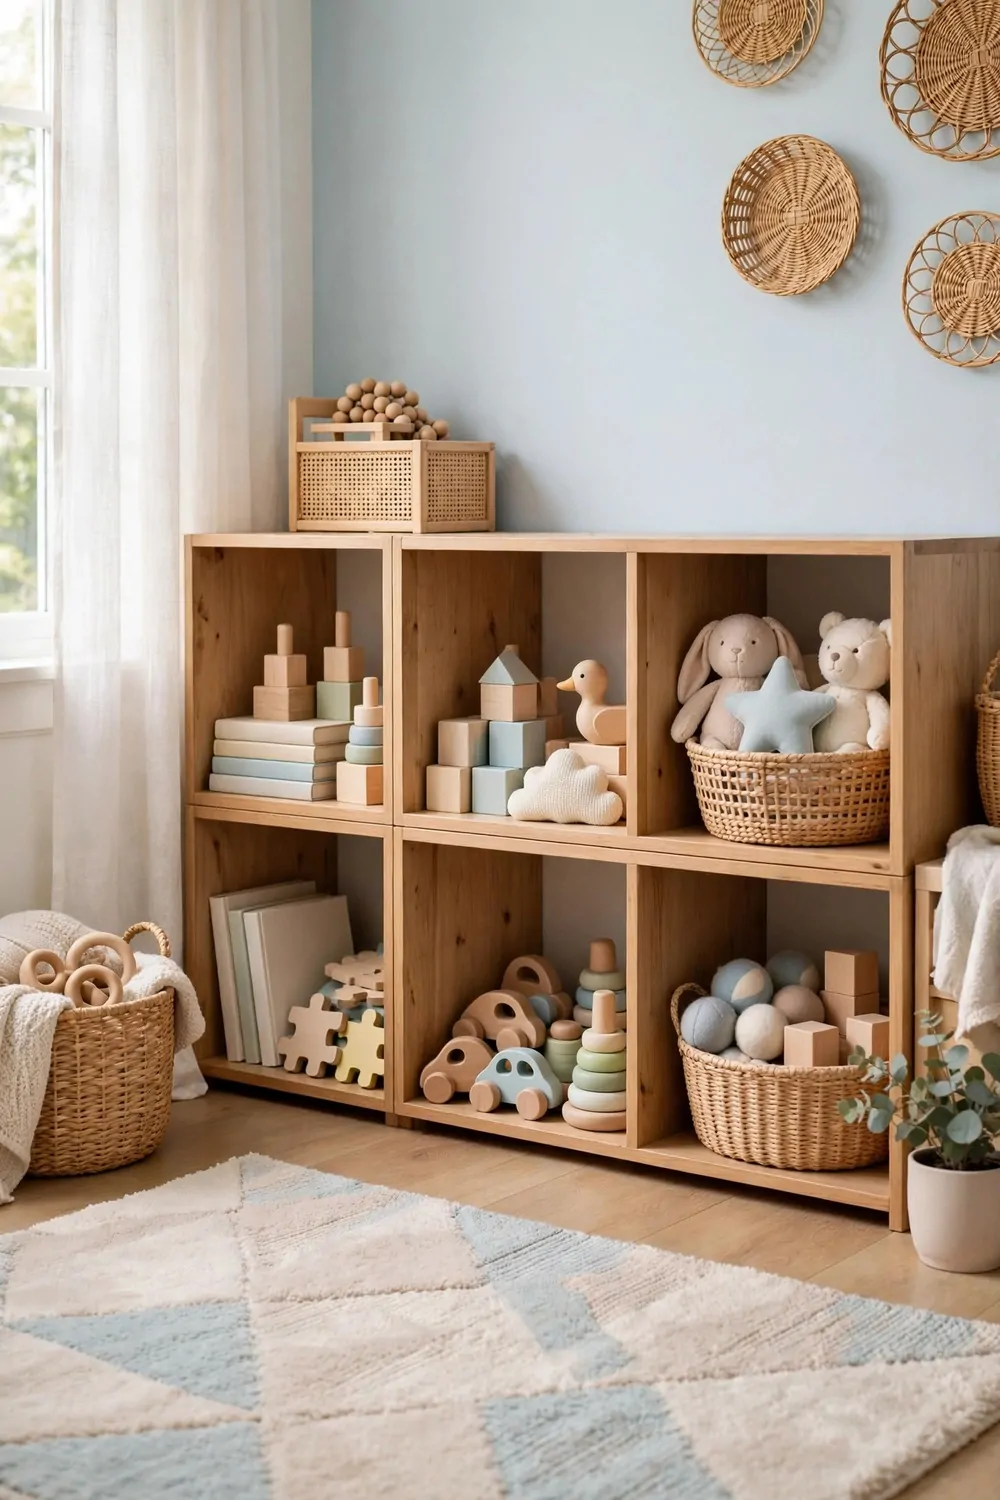
My kids outgrow their storage fast. A box that worked last year is too small this year and the room ends up messy again.
I started with low open shelves they can reach. They can see their books and toys and they can put them back on their own. That small change cut our tidy up time in half.
Plain boxes on the shelves sort everything. I use one box for blocks, one for books and one for art things. The kids know where each thing lives.
A wardrobe rail at their height helps too. I lowered one rail so they can hang their own clothes. They feel proud and I do less chasing after them.
For storage that grows with my kids I set aside $110 to $420, and I bought shelves I can move higher as they grow taller.
I picked a small desk that can grow with them too. The chair height changes and the desk top stays clear for drawing and homework. It sits by the window for good light.
Labels help a lot, even for young kids. I use simple pictures on each box. They match the picture to the toy and they tidy up without me asking twice.
I leave one shelf empty on purpose. It gives them room for new things and it stops the shelves feeling stuffed. An empty spot also makes the room feel calmer.
Check the room with your child once a month. Move a shelf up, swap a box, and let them choose what stays. The room will grow with them.
27. Make a Small Play Corner That Tidies Fast
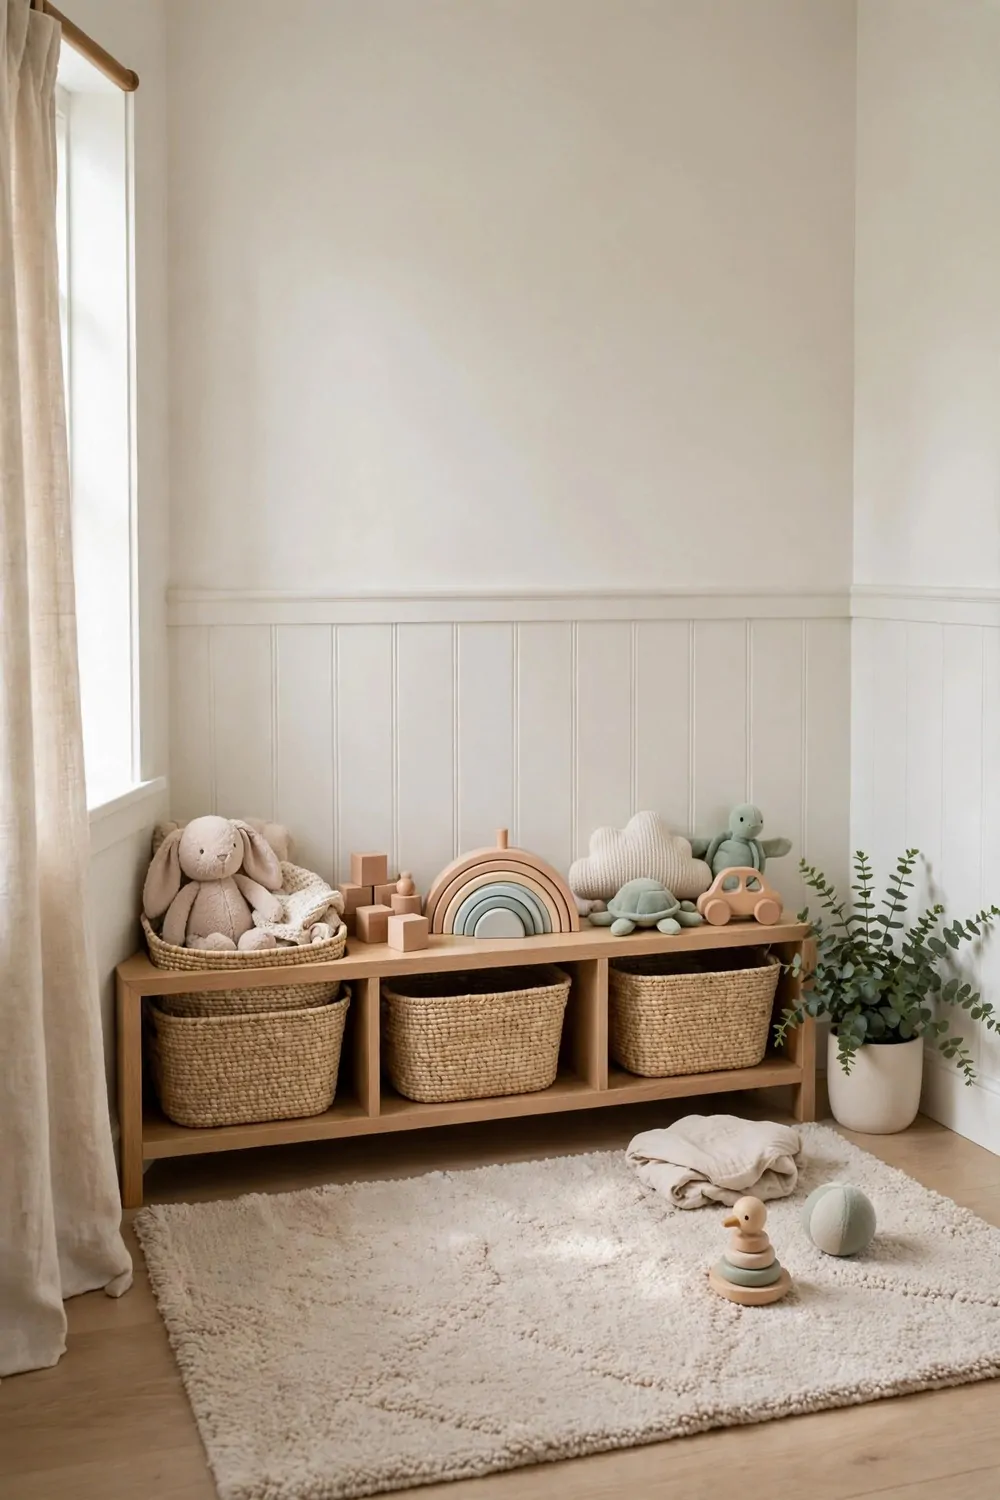
A play corner does not need a whole room. Mine is just one corner of the living room and it works really well for us.
I started with a small rug to mark the spot. The kids know that toys stay on the rug. When play ends, we can see at a glance what needs putting away.
Three low baskets hold most of the toys. One is for soft toys, one is for blocks, and one is for books. The kids can carry a basket to the rug and carry it back when they finish.
A low unit and a soft rug fit in the corner. My kids draw and build there for hours. I can sit nearby and still see what they are doing.
Plan on $80 to $300 for a play corner like this if you keep the rug, baskets and table simple.
I keep only a few toys out at a time. The rest stay in a cupboard and I swap them each week. The kids feel like they have new toys and the corner stays tidy.
A basket on the unit holds books and crayons. I put them where little hands can reach but where they will not fall down. It keeps the corner clear for play.
Good light helps the corner feel cheerful. I moved a floor lamp close by and I use a bright bulb. The kids can see their drawings clearly in the evening.
Set a five minute tidy race each night. We race the clock and the corner is clear before bed. It feels like a game, not a chore.
28. Add a Pantry Wall in the Kitchen
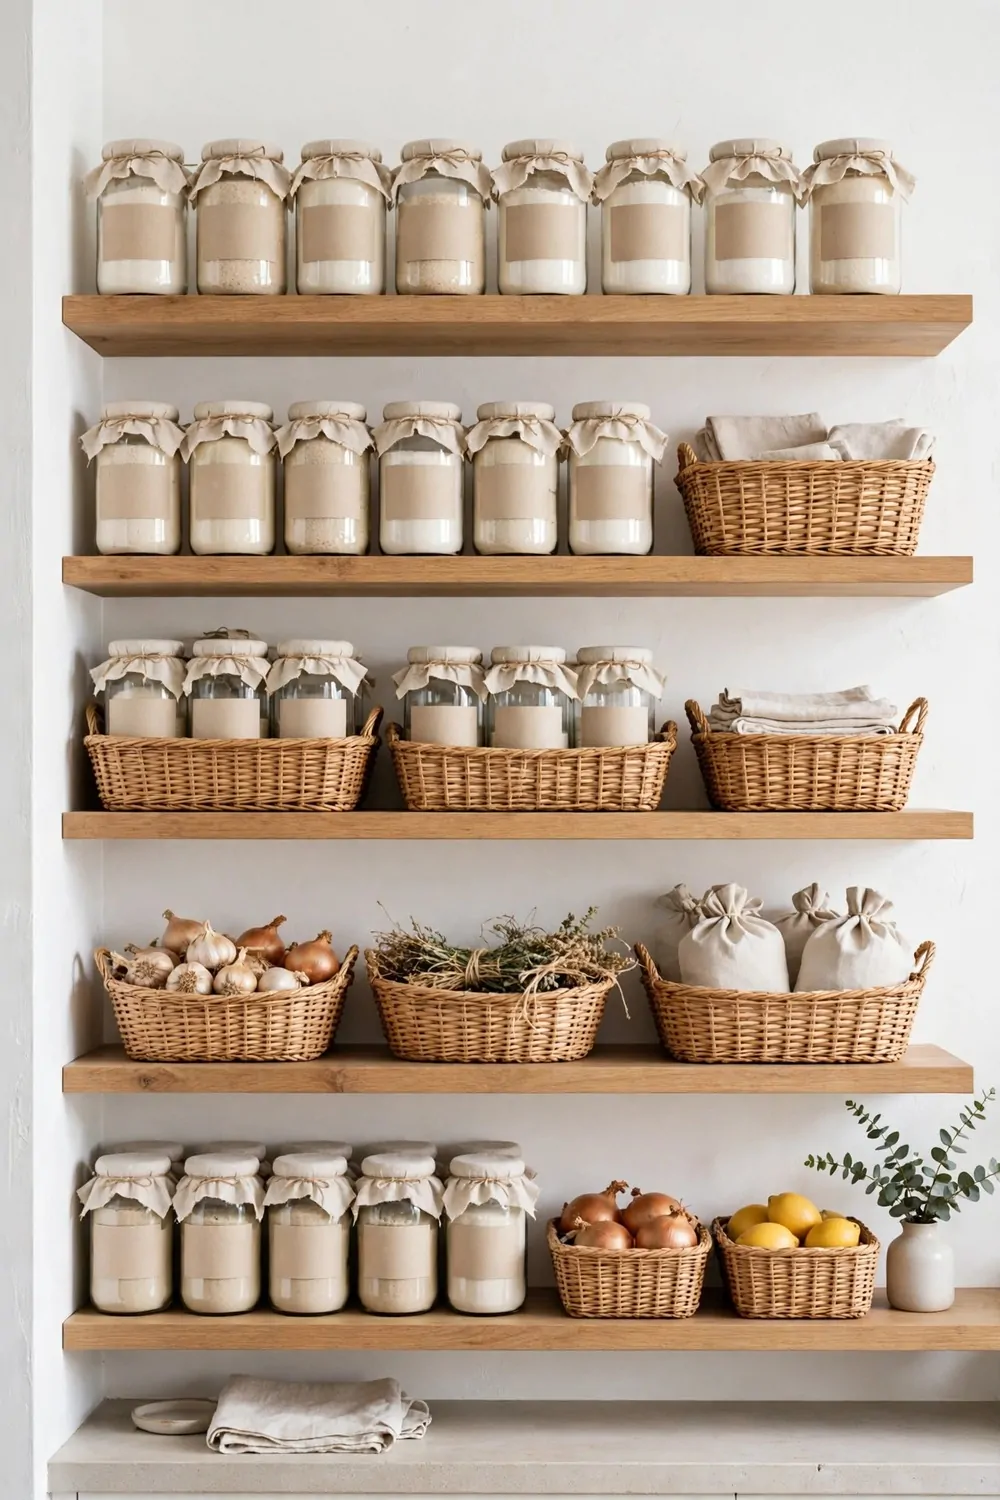
My kitchen had no real pantry. Food ended up in three cupboards and I kept buying rice and pasta I already had.
A pantry wall on one free wall fixed that. I can see all my food in one place now. I open the cupboard and I know what we have for the week.
I used tall narrow shelves from floor to ceiling. Jars of beans, rice and pasta sit at eye level. Tins and boxes sit lower where I can reach them fast.
Clear jars help me a lot. I can see how much rice or pasta is left without opening each jar. I write the name on a plain label so the kids can help too.
Adding a pantry wall like mine costs $180 to $640, and the shelves were the biggest part of that price.
I keep bread and fruit in baskets on the middle shelf. They stay fresh and the kids can grab a piece of fruit on their own. I check the baskets each morning.
Hooks on the side of the pantry hold aprons and cloths. I hang them where I can grab them while I cook. It saves me opening drawers with wet hands.
A small step stool lives beside the pantry. I can reach the top shelf safely when I need a jar from the back. The kids use it to reach their own snacks too.
Shop from your pantry first this week. You will waste less food and cooking will feel much easier.
29. Update the Staircase With Paint and a Runner
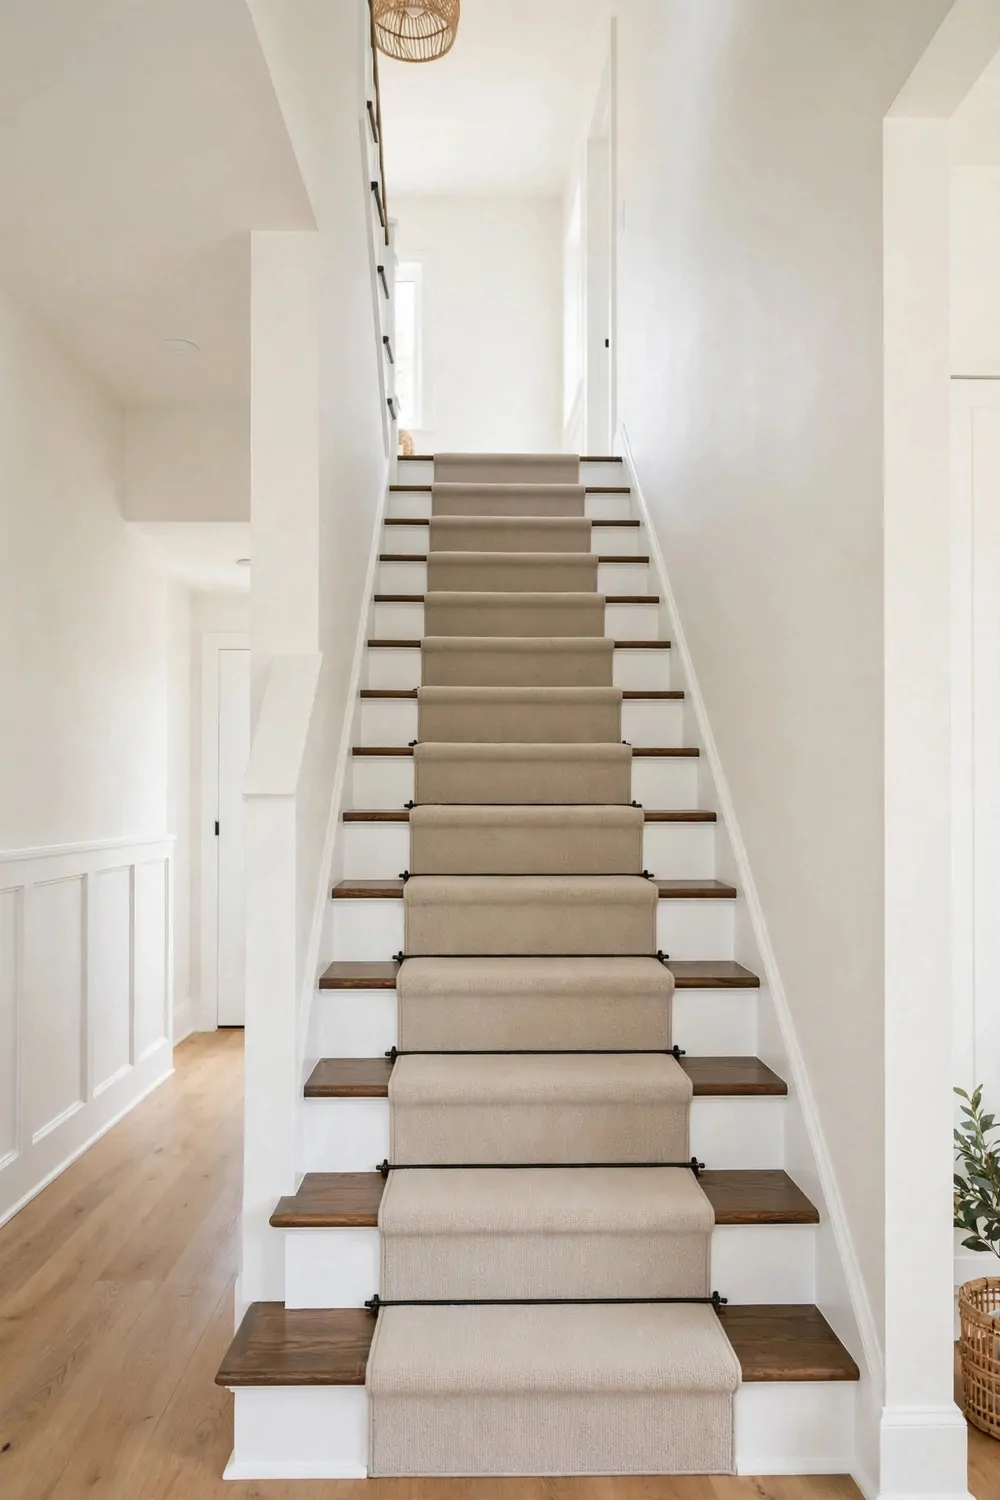
Our staircase looked tired and worn. The paint was chipped and the wood felt dull every time I walked up.
I started by cleaning the stairs well. I washed each step with plain soap and water and I let them dry fully. Clean wood takes paint much better.
White paint on the risers made the stairs look fresh. I painted each riser slowly and I let it dry overnight. The next morning the hall felt brighter already.
A runner down the middle adds softness and grip. I picked a plain pattern in a warm tone. It feels good under bare feet and it stops slips on the wood.
My staircase refresh came to $220 to $850 all in, with the runner costing more than the paint and brushes.
I painted the handrail a deep warm wood tone. It stands out against the white risers and it feels smooth to hold. I wipe it once a week to keep it clean.
A light at the top of the stairs helps at night. I can see each step clearly when I go down for water. It makes the stairs feel safe for the kids too.
I hung two small framed prints on the stair wall. They draw your eye up and they make the climb feel less plain. I kept the frames simple and light.
Walk up your stairs slowly after the paint dries. You will notice how fresh they feel and how much better the whole hall looks.
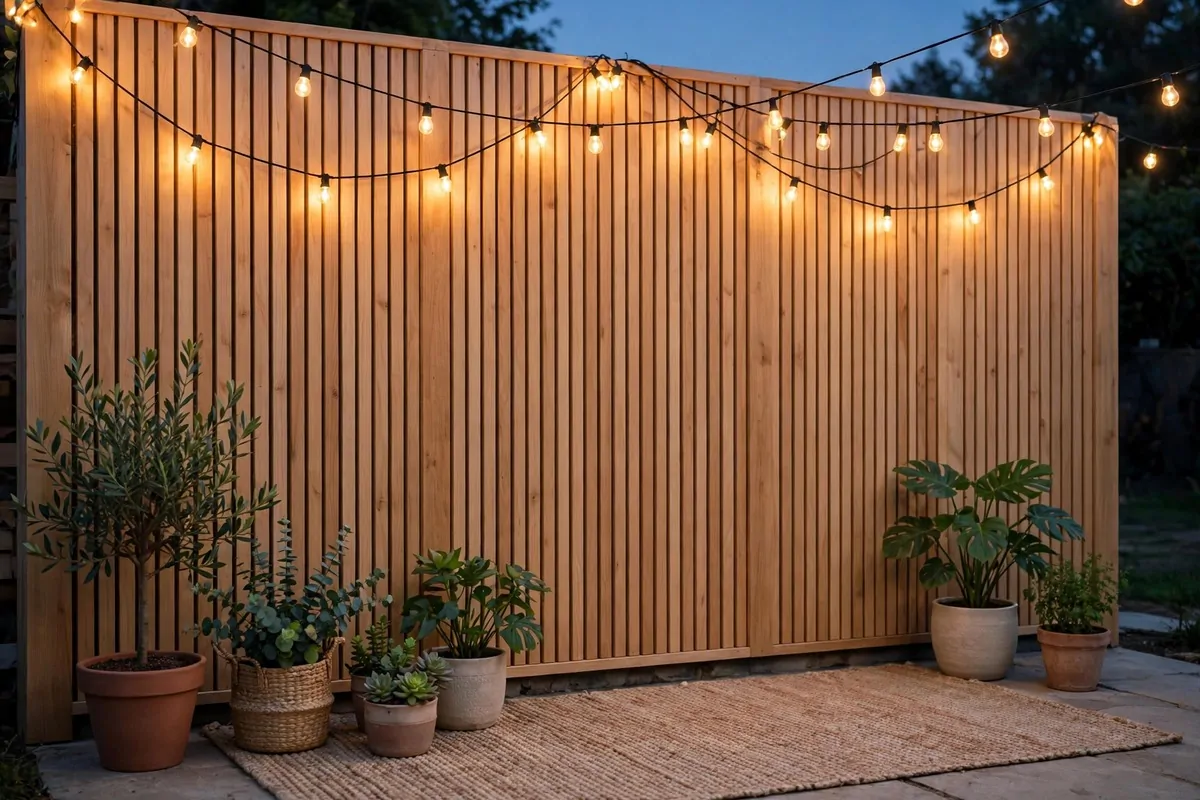
30. Add Outdoor Lights to the Front Porch
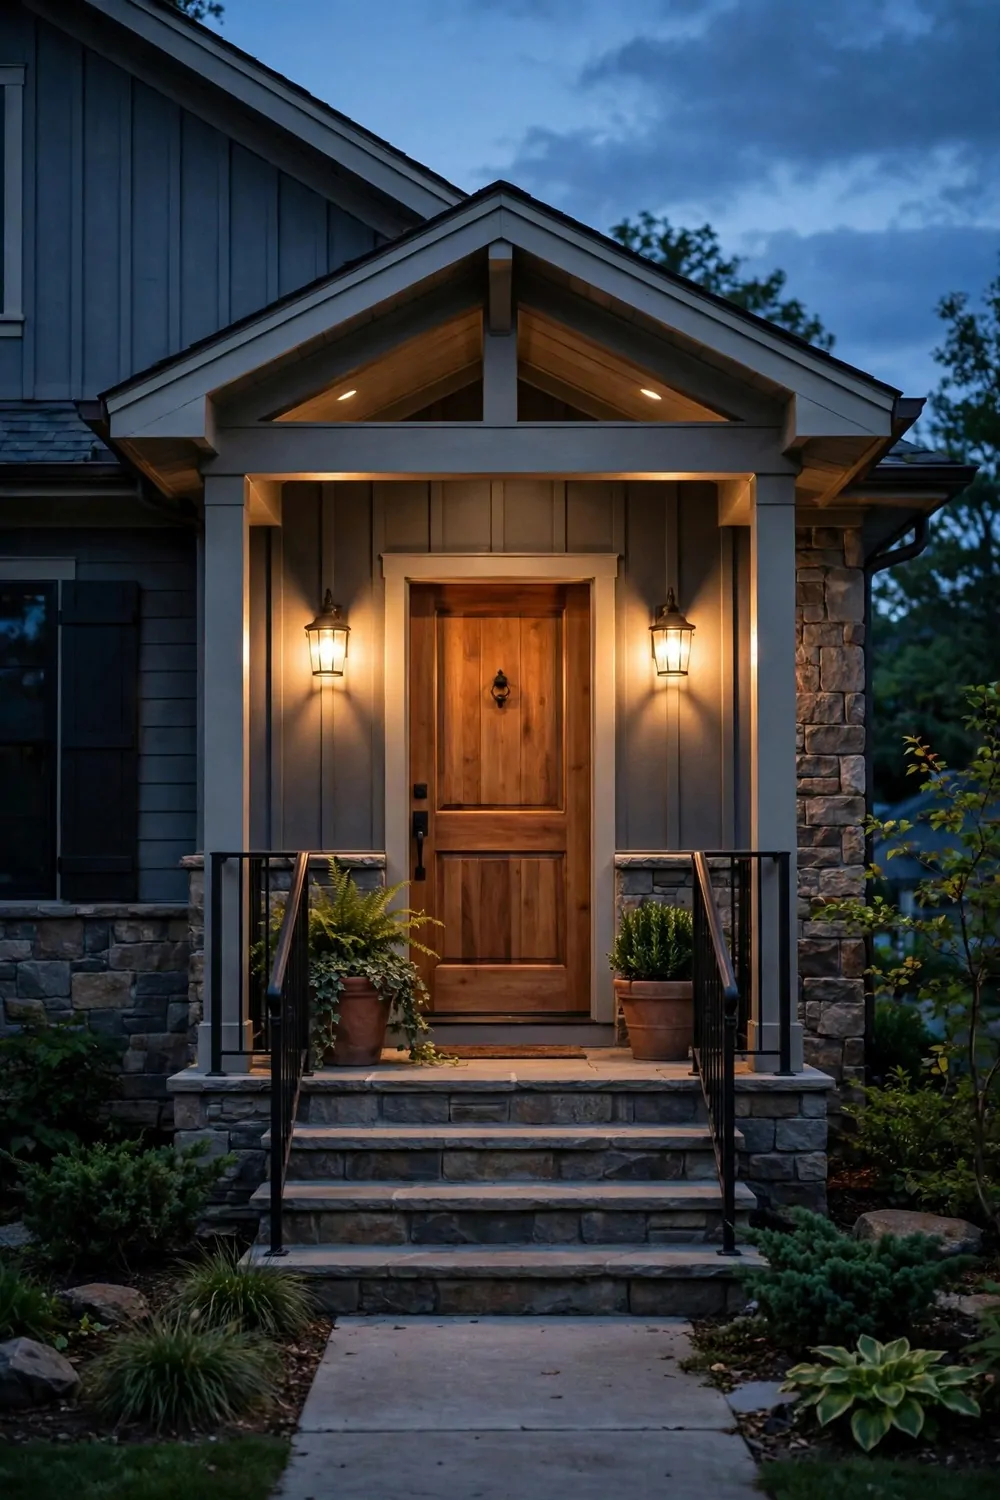
Our front porch was dark at night. I came home late and I could not see the lock or the step clearly.
Two wall lights by the door fixed that right away. They give a warm glow over the whole porch. I can see who is at the door and I can find my keys fast.
I picked lights with a plain glass cover. They look tidy in the day and they shine well at night. I clean the glass once a month so the light stays bright.
A small light over the house number helps visitors too. Friends can find our house without calling me. It also makes the porch feel more welcoming.
Outdoor lights for the porch ran $90 to $320 for me, including the two wall lights and the small number light.
Solar path lights along the walk add a soft glow. I push them into the ground and the sun charges them in the day. They turn on by themselves at dusk.
I set the porch lights on a timer. They come on at sunset and go off when we go to bed. I never have to remember to switch them on or off.
A light inside the porch roof helps on rainy nights. It keeps the step dry and bright when I carry shopping in. I chose a warm bulb so the light feels soft, not harsh.
Stand on your porch at night after this change. You will feel safer and your house will look warm and welcoming from the street.
31. Give the Front Door a New Colour and Handle
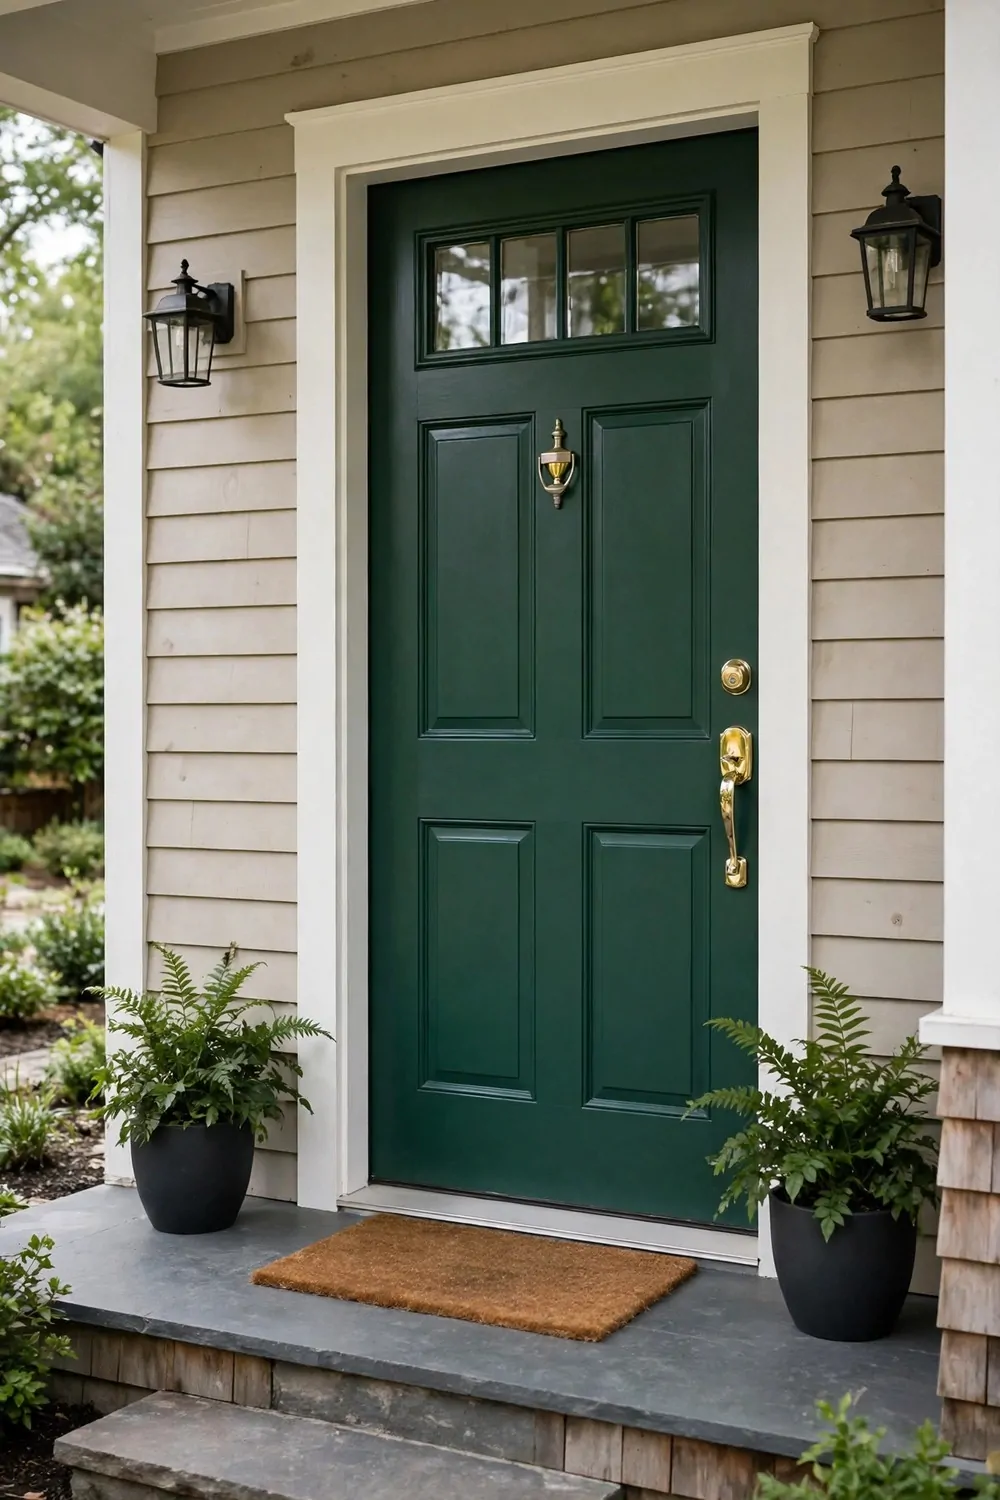
Our front door was the same dull colour for years. I walked past it each day and I barely noticed it any more.
A fresh colour made the whole house look new. I picked a deep green that stands out but still feels calm. It makes me smile every time I come home.
I cleaned the door well before I painted it. I washed it with plain soap and water and I let it dry in the sun. Clean wood holds paint far better.
I took the old handle off and fitted a new one. I chose a plain metal handle that feels solid in my hand. It turns smoothly and it locks with a firm click.
I spent $140 to $480 on the new paint, brush and handle for my front door, and the handle was the dearest part.
A small knocker adds a bit of charm too. I picked plain metal to match the handle. It looks tidy and it works well each day.
I painted the door in thin coats and I let each coat dry fully. Two thin coats look much better than one thick coat. I took my time and it paid off.
Two pots of green ferns by the door add a soft touch. I set them out in spring and they stay there till the cold comes. They look fresh and they frame the door well.
Step back and look at your door from the street. You will see how one colour and one handle can lift the whole front of your home.
32. Make the Garden Room a Place to Sit
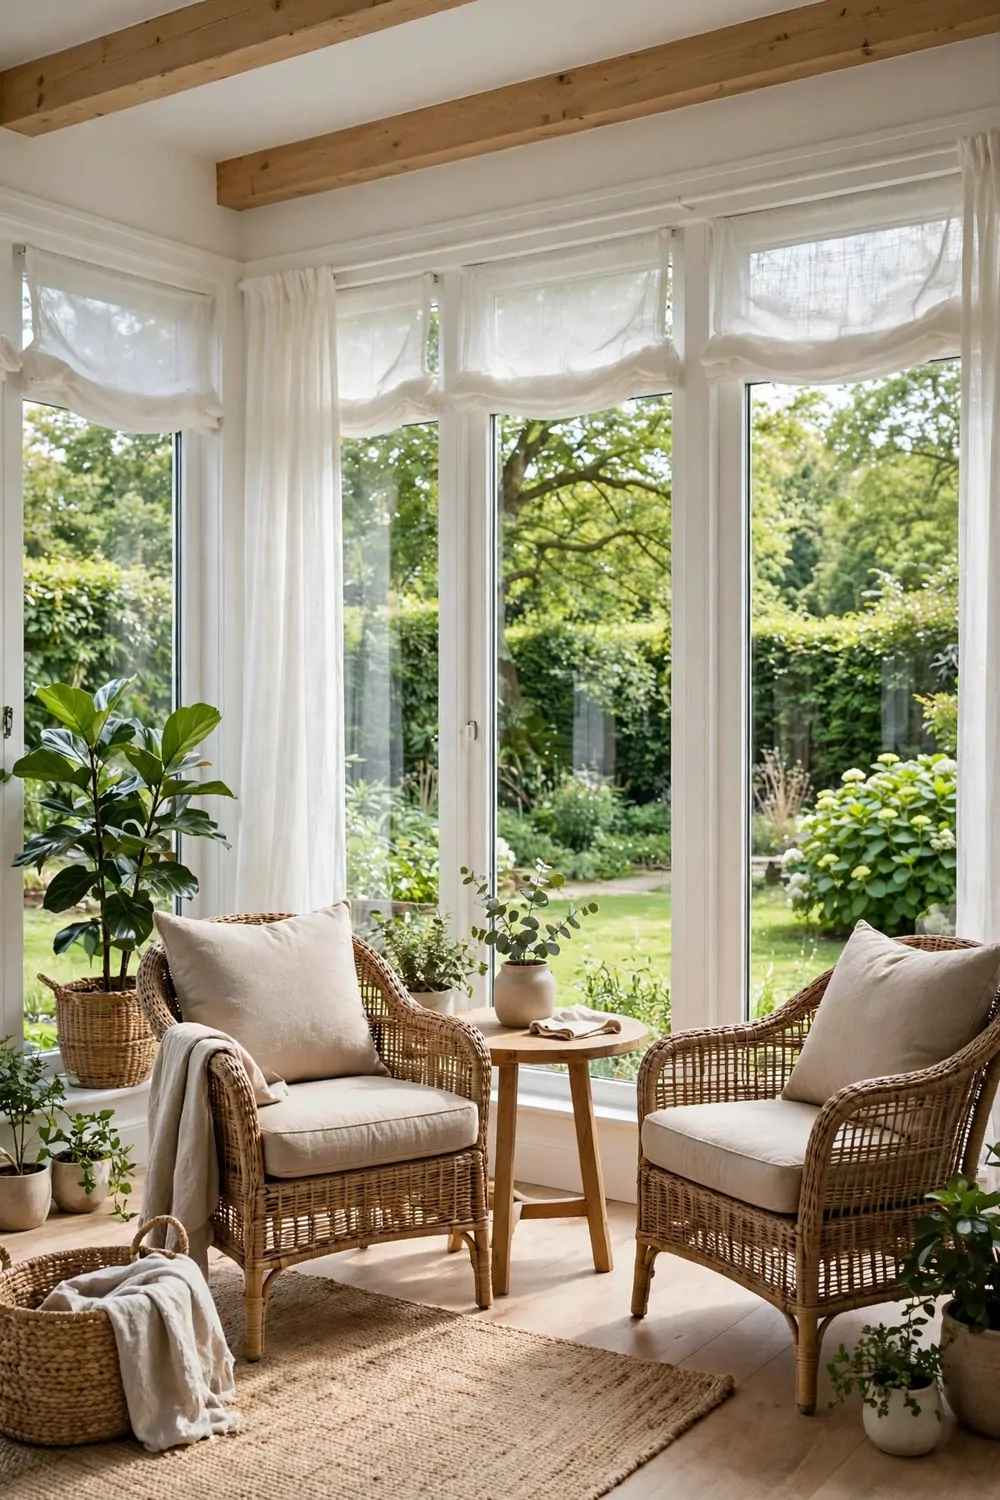
Our garden room was full of tools and old pots. I never sat in there because there was nowhere to sit.
I cleared one corner first and I kept the tools in a box by the wall. A clear corner feels bigger right away and it invites you to stay.
Two plain chairs and a small table fit the space well. I can sit with a cup of tea and look out at the garden. It feels like a quiet escape from the house.
A soft outdoor rug under the chairs warms the floor. I picked a flat rug that I can shake out easily. It stops the floor feeling cold under my feet.
Setting up this garden sitting corner came to $200 to $700 for me, with the chairs and table taking most of that amount.
I added a few pots of green plants by the window. They bring the garden inside and they make the air feel fresh. I water them twice a week and they grow well.
A small shelf holds books and a cup. I can read for a while without going back inside. I keep a light blanket on the chair for cool evenings.
Light curtains on the window soften the sun in the afternoon. I can still see the garden through them. They make the room feel calm and private.
Sit in your garden room for ten minutes each morning. You will start your day slowly and the room will become a favourite spot.
33. Add Smart Storage Under the Stairs
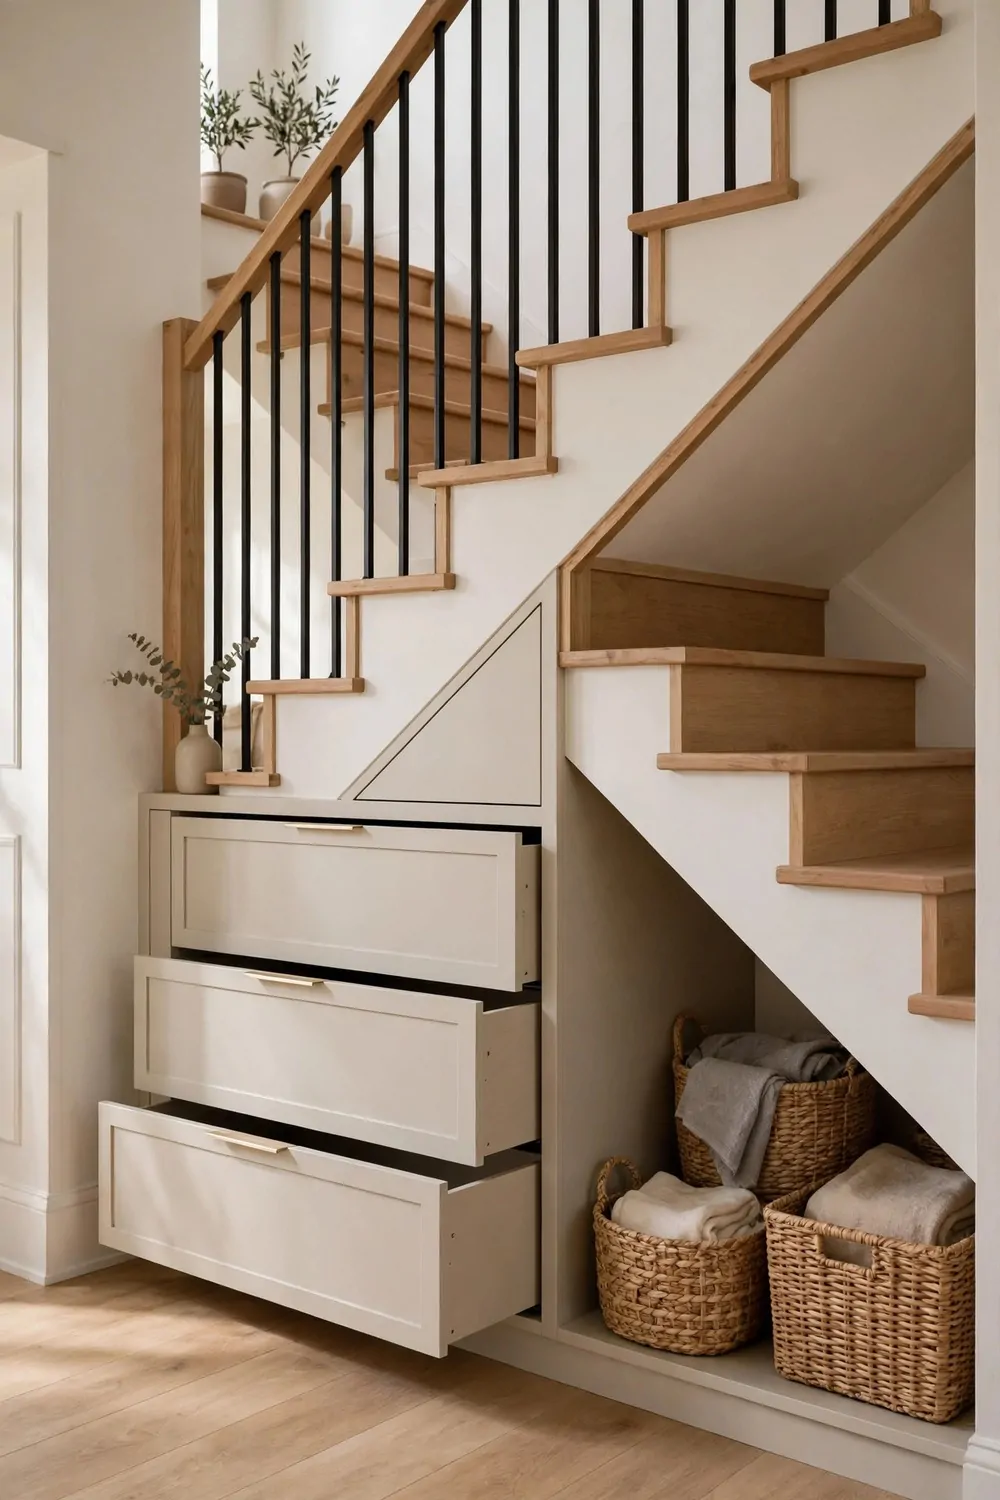
The space under our stairs was wasted for years. It held a few old boxes and a pile of dust.
I measured the space first and I drew a simple plan on paper. I wanted drawers that slide out, not a dark cupboard I had to crawl into.
Pull out drawers fit the low space well. I can reach the back drawer without bending too far. Each drawer holds a clear group of things.
I use one drawer for shoes, one for bags and one for cleaning things. I can find what I need in seconds now. The hall stays clear because everything has a home.
Smart storage under my stairs cost $160 to $580, and the sliding drawers were the largest part of the price.
A small shelf at the top holds keys and post. I put a shallow tray there so small things do not get lost. I check it each night before bed.
I painted the drawer fronts the same colour as the wall. They blend in and the hall looks tidy. A plain handle on each drawer makes them easy to pull.
Good light inside the drawers helps a lot. I added a small stick on light that turns on when I open a drawer. I can see every pair of shoes clearly.
Open each drawer once a month and clear out what you do not use. The space will stay useful and it will never turn back into a dusty cupboard.
34. Quiet the Bedroom With Thick Curtains and a Rug
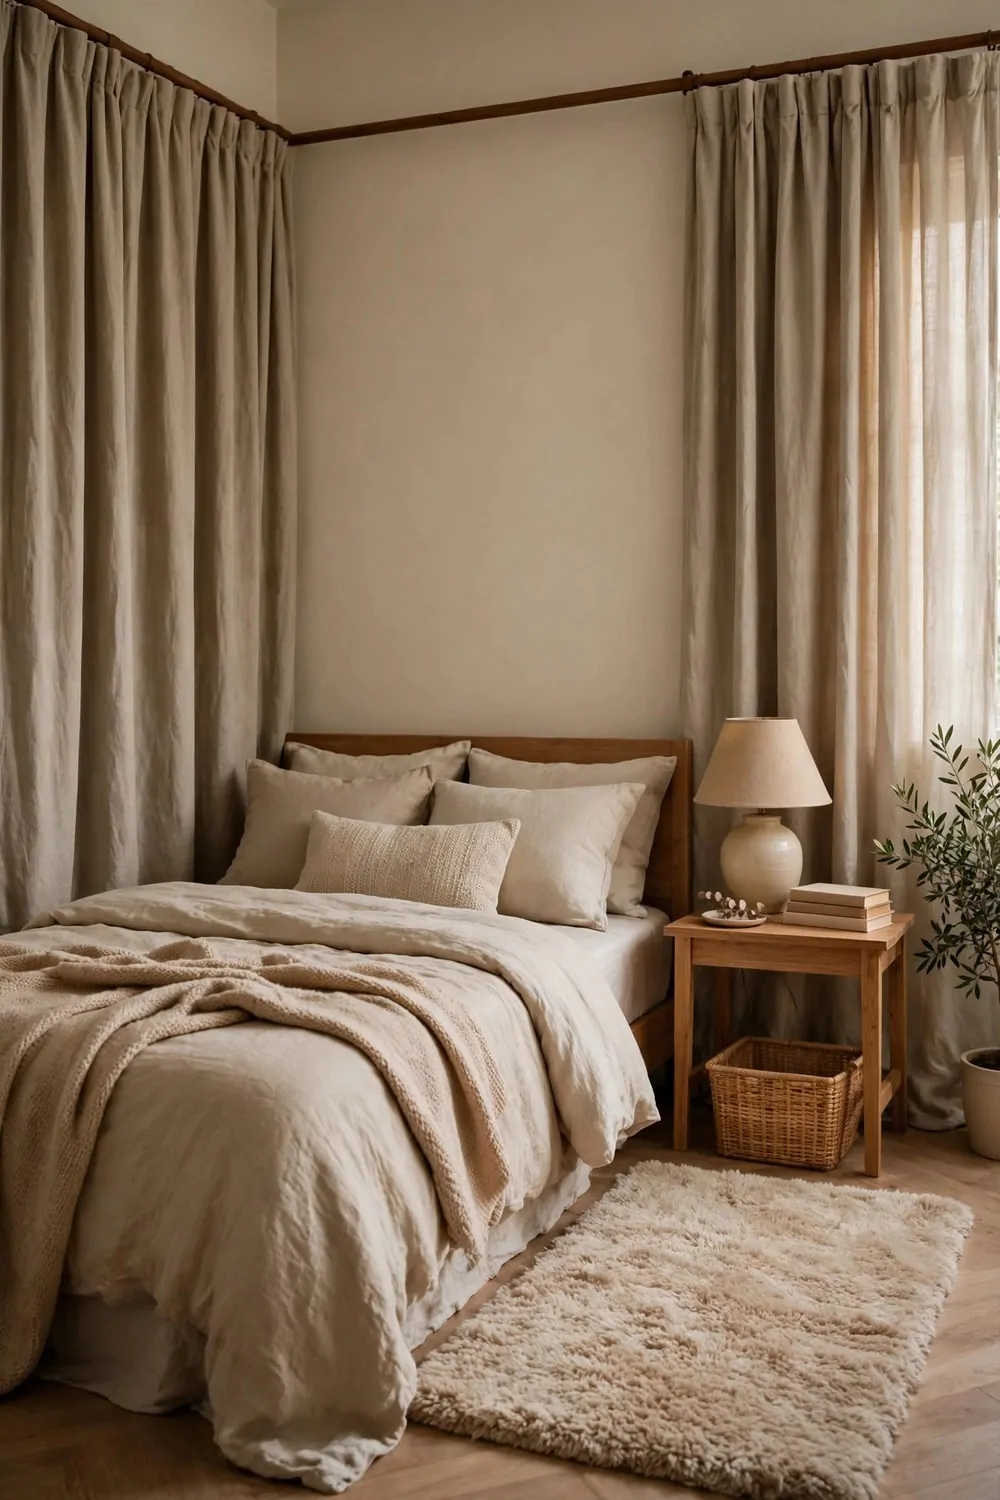
My bedroom never felt restful. Light came in early and street noise woke me up at night.
Thick curtains fixed the light first. I hung them high and wide so they cover the whole window. The room stays dark in the morning and I sleep longer.
I picked curtains in a soft warm tone. They feel heavy in my hand and they fall in neat folds. They also soften the echo in the room.
A big rug beside the bed warms the floor. I step onto soft wool each morning instead of cold wood. It makes getting up feel much kinder.
Thick curtains and a rug for my bedroom set me back $100 to $380, and I bought the rug first because it changed the room the most.
I added a second plain rug at the foot of the bed. It ties the room together and it gives the kids a soft spot to sit when they come in to read.
A small lamp on the bedside table gives soft light at night. I read for ten minutes before I sleep. The warm light helps me feel calm.
I keep the curtains closed at night and open in the day. Fresh air and light in the morning wake me gently. The room feels like a quiet retreat.
Try one night with the curtains fully closed and the rug in place. You will notice how still the room feels and how well you sleep.
35. A One-Month Whole Home Remodel Plan
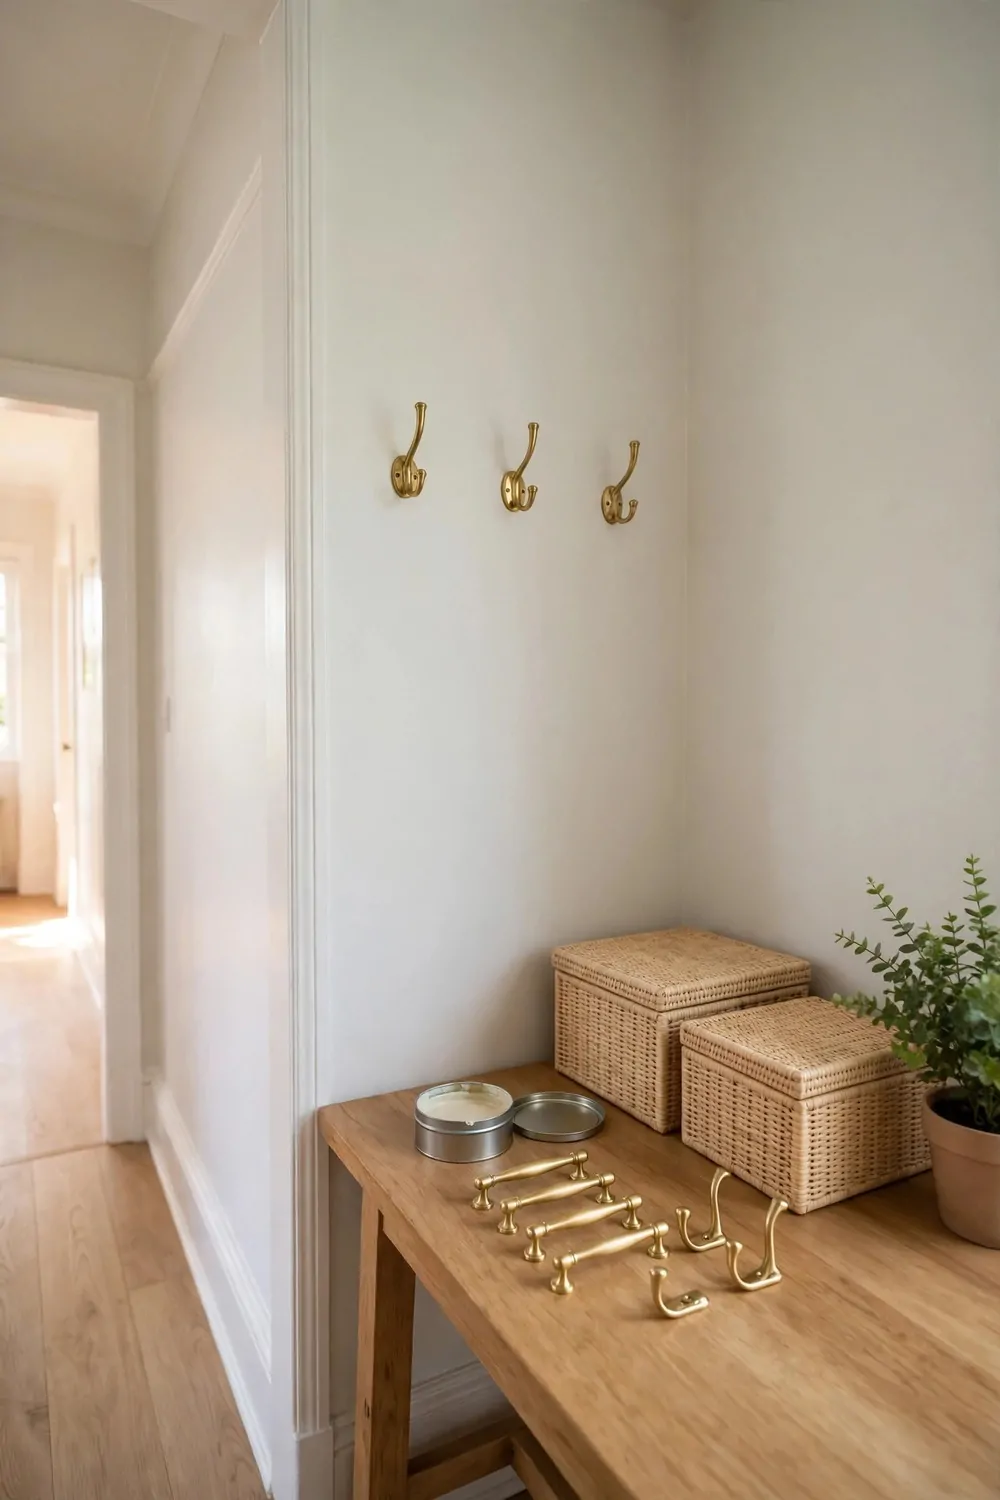
This one month plan breaks a whole home remodel into small steps you can finish without stress. I spread the work over four weeks and I did one small job at a time.
Week one starts with a fresh tin of paint for one wall, which costs $15 to $30. I picked one wall in the living room and I painted it slowly on a Saturday morning.
Week two moves to the kitchen, where a set of new handles for the kitchen drawers costs $20 to $65. I swapped the old handles one by one and the drawers felt new again.
Week three is for the hallway, where a pack of plain wall hooks for the hallway costs $10 to $18. I hung the hooks by the door and coats finally had a home.
Week four starts in the living room with a set of storage boxes for the living room, which costs $25 to $60. I sorted books, cables and toys into the boxes and the shelves looked tidy at once.
The last buy is a small plant for the living room, which costs $12 to $38. I put it on the shelf by the window and it made the whole room feel fresh.
Add those five buys together and the whole refresh comes to $82 to $211 in all. That small total covers paint, handles, hooks, boxes and a plant.
Do one buy each week and do not rush the work. Paint on a calm morning, fit handles after lunch, and hang hooks when you have a free hour.
At the end of the month, walk through your home slowly. You will see five small changes that add up to a home that feels new.
| Area | Main change | Typical cost |
|---|---|---|
| Paint | A fresh tin of paint for one wall | $15 to $30 |
| Handles | A set of new handles for the kitchen drawers | $20 to $65 |
| Hooks | A pack of plain wall hooks for the hallway | $10 to $18 |
| Storage boxes | A set of storage boxes for the living room | $25 to $60 |
| Plant | A small plant for the living room | $12 to $38 |
| Total | Whole home refresh in one month | $82 to $211 |
Keep Reading
If you liked these ideas, you will love these posts too.
- 27 Small Bathroom Remodel Ideas That Look Expensive
- 30 Kitchen Remodel Ideas With Before and After Photos
- 33 Bathroom Renovation Ideas on a Small Budget
- 28 Basement Remodel Ideas That Turn Dead Space Into Living Space
- 31 Open Plan Kitchen Ideas That Make Small Homes Feel Big
- 23 Walk-In Shower Ideas That Make Bathrooms Feel Like a Spa
Pick one room this week and make one small change in it. A fresh coat of paint or a new light can shift how the whole house feels. Then move on to the next room when you are ready.