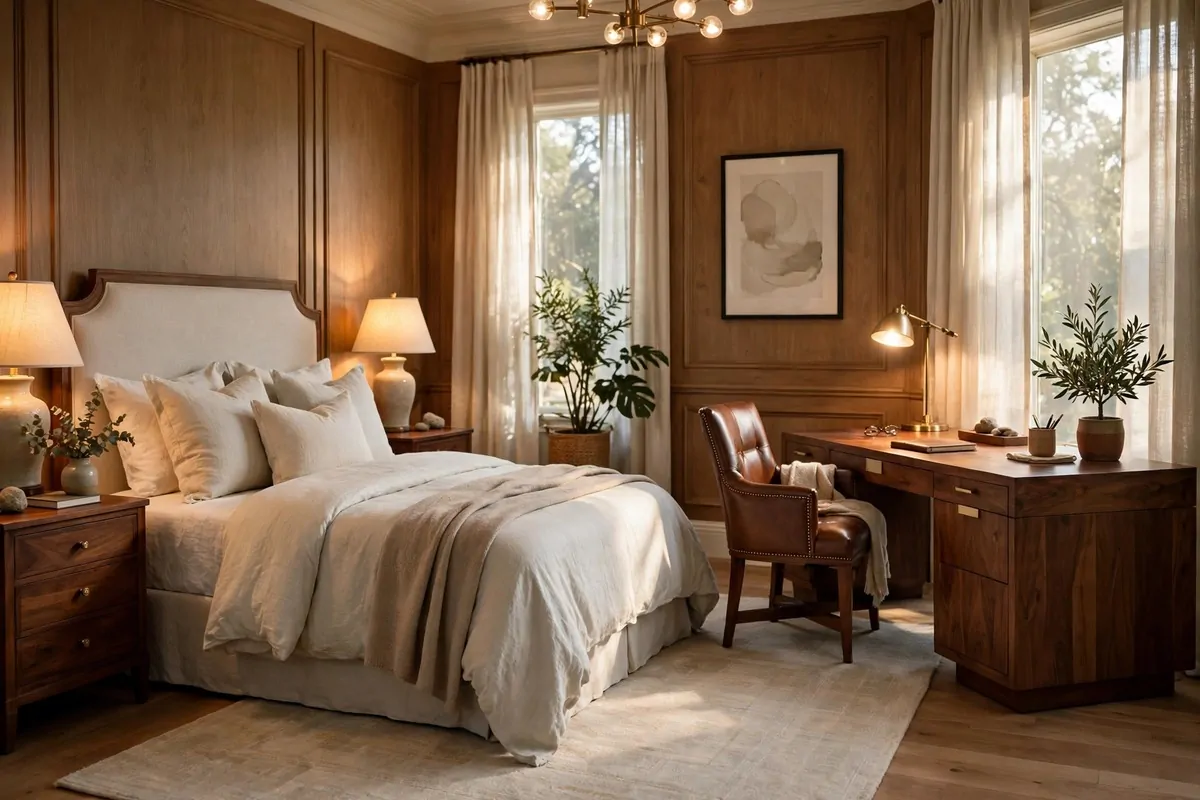
28 Basement Remodel Ideas That Turn Dead Space Into Living Space

I counted the steps down to my basement once. Fourteen steps, and at the bottom there was a room nobody used.
It was cold in winter and stuffy in summer. Boxes sat in the corners and the light was weak.
I kept thinking about that room every time I walked past the door. It felt like a waste of space in a house we already loved.
So I started small. I cleaned one corner and sat down there with a cup of tea to see how the room felt.
That small start changed how I saw the whole basement. It did not need a big rebuild to feel like part of our home.
It needed light, soft floors, and a clear job for each corner. When each corner had a purpose, the room started to feel calm and useful.
In this one post I share all 28 basement remodel ideas I gathered while I worked on mine, from paint and lights to cosy corners for rest, work, play, and family time, so you can pick the ones that fit your home and your budget.
1. Paint the Walls a Warm White
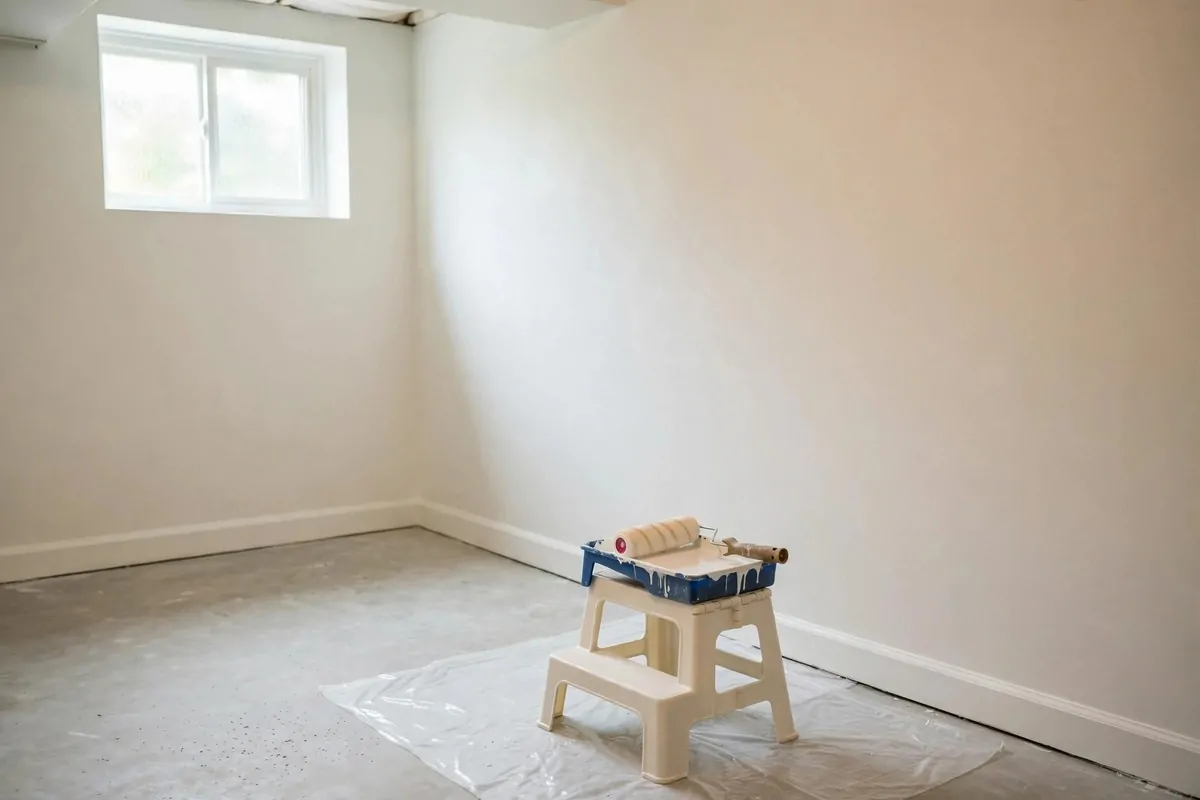
I painted my basement walls warm white first. The room looked bigger the same day.
Cold grey walls made the room feel like a storage box.
I picked a warm white with a soft yellow tone. I tested it on a small patch near the stairs. It looked calm in the day light and soft at night.
You do not need fancy tools for this job. A roller, a brush for the edges, and a tray will do.
I started at the top and worked my way down in small parts.
Thin coats dried fast and looked smooth. I let the first coat dry fully before I added the next one.
Most people spend around $180 to $420 on paint, rollers, and brushes for a room this size.
I kept the ceiling white too. It helped the light bounce around the room. The whole basement felt less dark after that.
If your walls feel damp, let them dry well first and ask a skilled worker if you are not sure what to do. Paint sticks best to a clean, dry wall.
2. Add Bright Overhead Lights
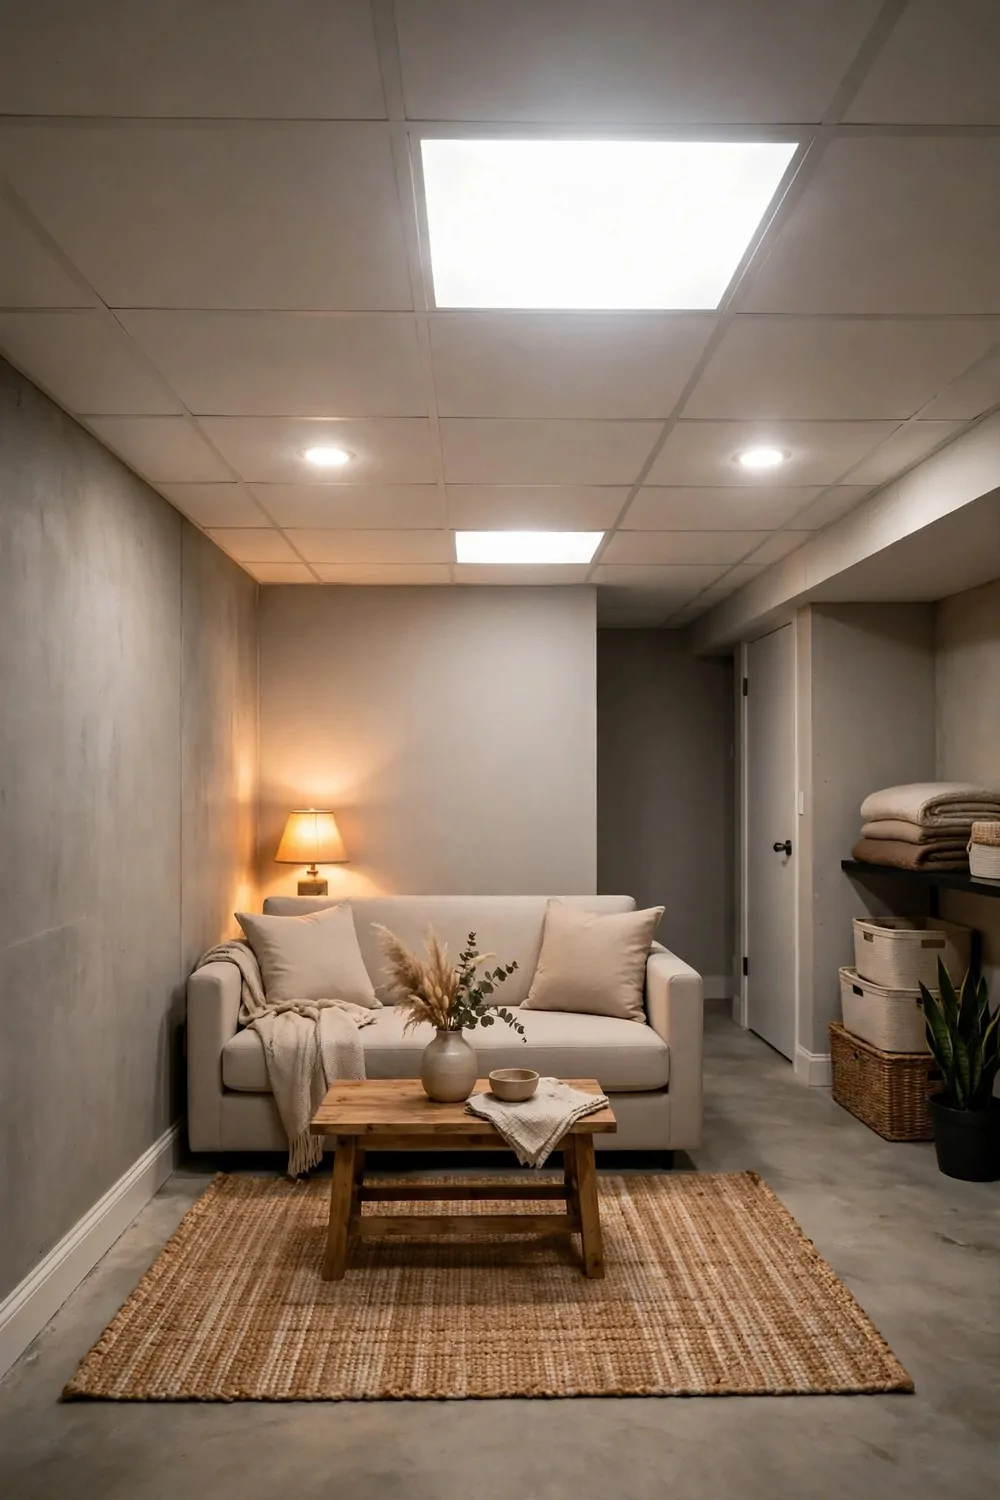
My basement had one dim bulb in the middle of the ceiling.
It left dark corners everywhere. I could not read a book down there without a lamp in my hand.
I added more overhead lights in a simple row. I spaced them out so each part of the room got light. The room felt open and safe to walk in after that.
Warm light works well down here. It feels soft and it does not hurt your eyes.
I put one light over the stairs too, so the steps were clear at night.
You can use a dimmer if you like soft light in the evening. It lets you change the mood without changing the bulbs.
A fresh set of bright lights for this kind of room often runs $120 to $380, based on how many you fit.
I asked an electrician to fit the new lights for me. Wiring is not a job I do on my own. It was worth it to feel safe and to get the lights in the right spots.
Try the lights at night before you call the job done. Walk around the room and check for dark spots you missed.
3. Lay Cosy Carpet Tiles
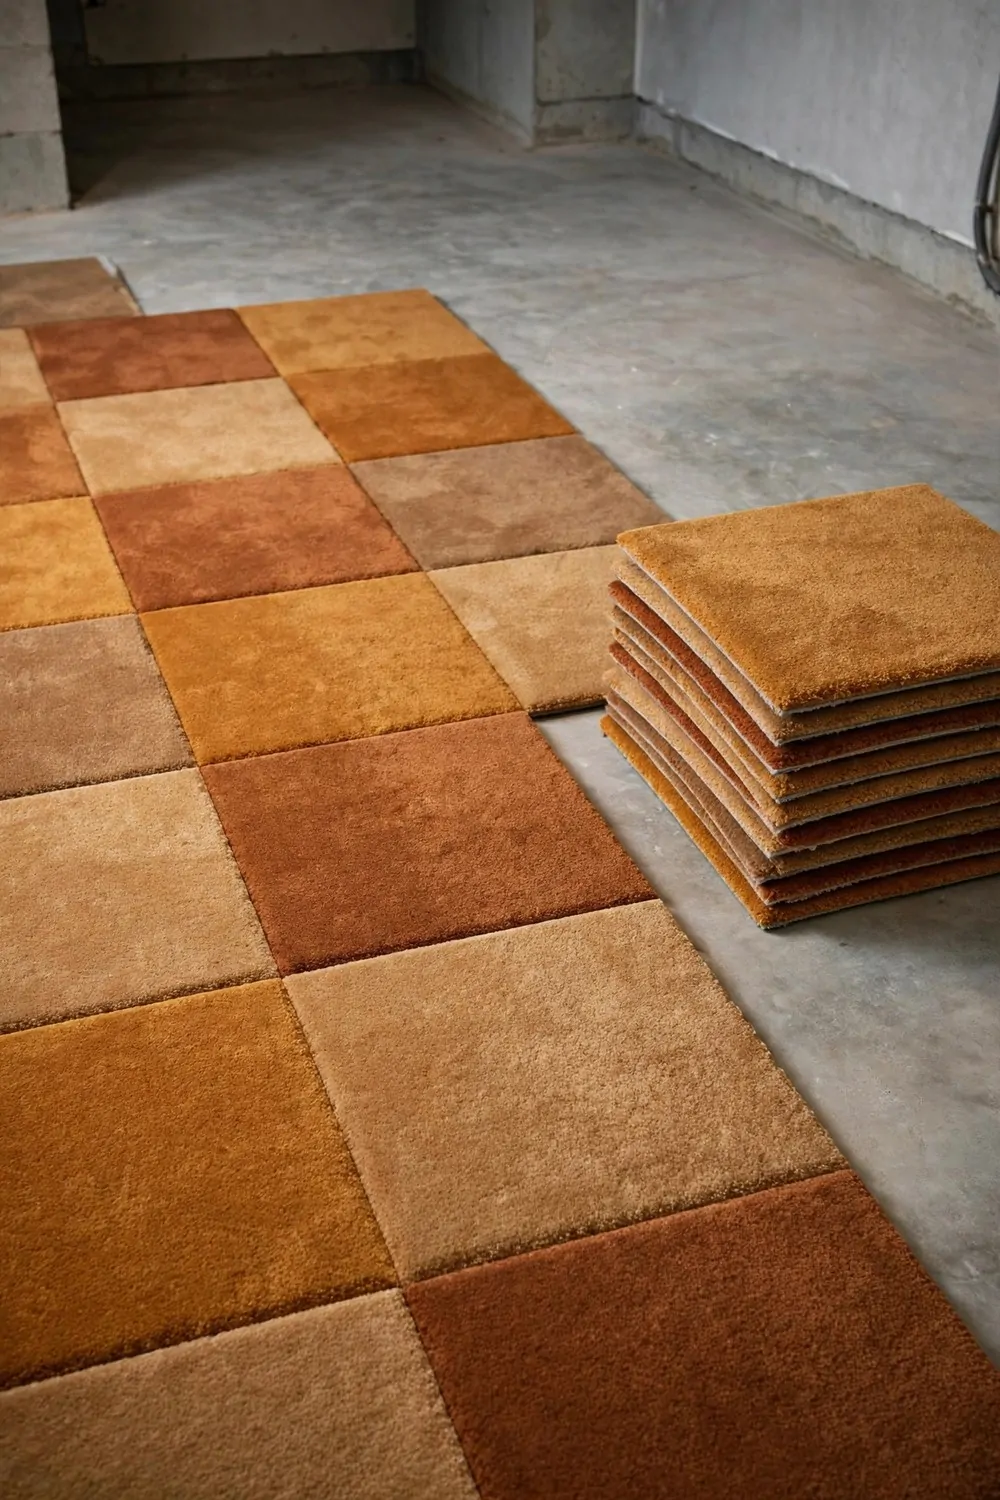
The basement floor was cold and hard. My feet did not like it in the morning.
Carpet tiles fixed that in one weekend.
I picked soft tiles in a warm brown. They were easy to lift and place one by one. If one tile got dirty, I could swap it for a spare.
I started in the middle of the room and worked out to the edges. That kept the lines straight and neat.
You need a clean floor first. Sweep it well and let it dry. A flat floor helps the tiles sit flat too.
I left a small gap near the walls for the last cuts.
For carpet tiles in a small basement room, plan on $250 to $650 for the tiles and the simple tools you need.
The room felt warmer right away. My kids sat on the floor to play and did not complain about the cold.
Keep a few spare tiles in a box. You will be glad you have them if a tile gets a stain. Plain soap and water works well for small marks on most tiles.
4. Build a Simple Home Office Nook
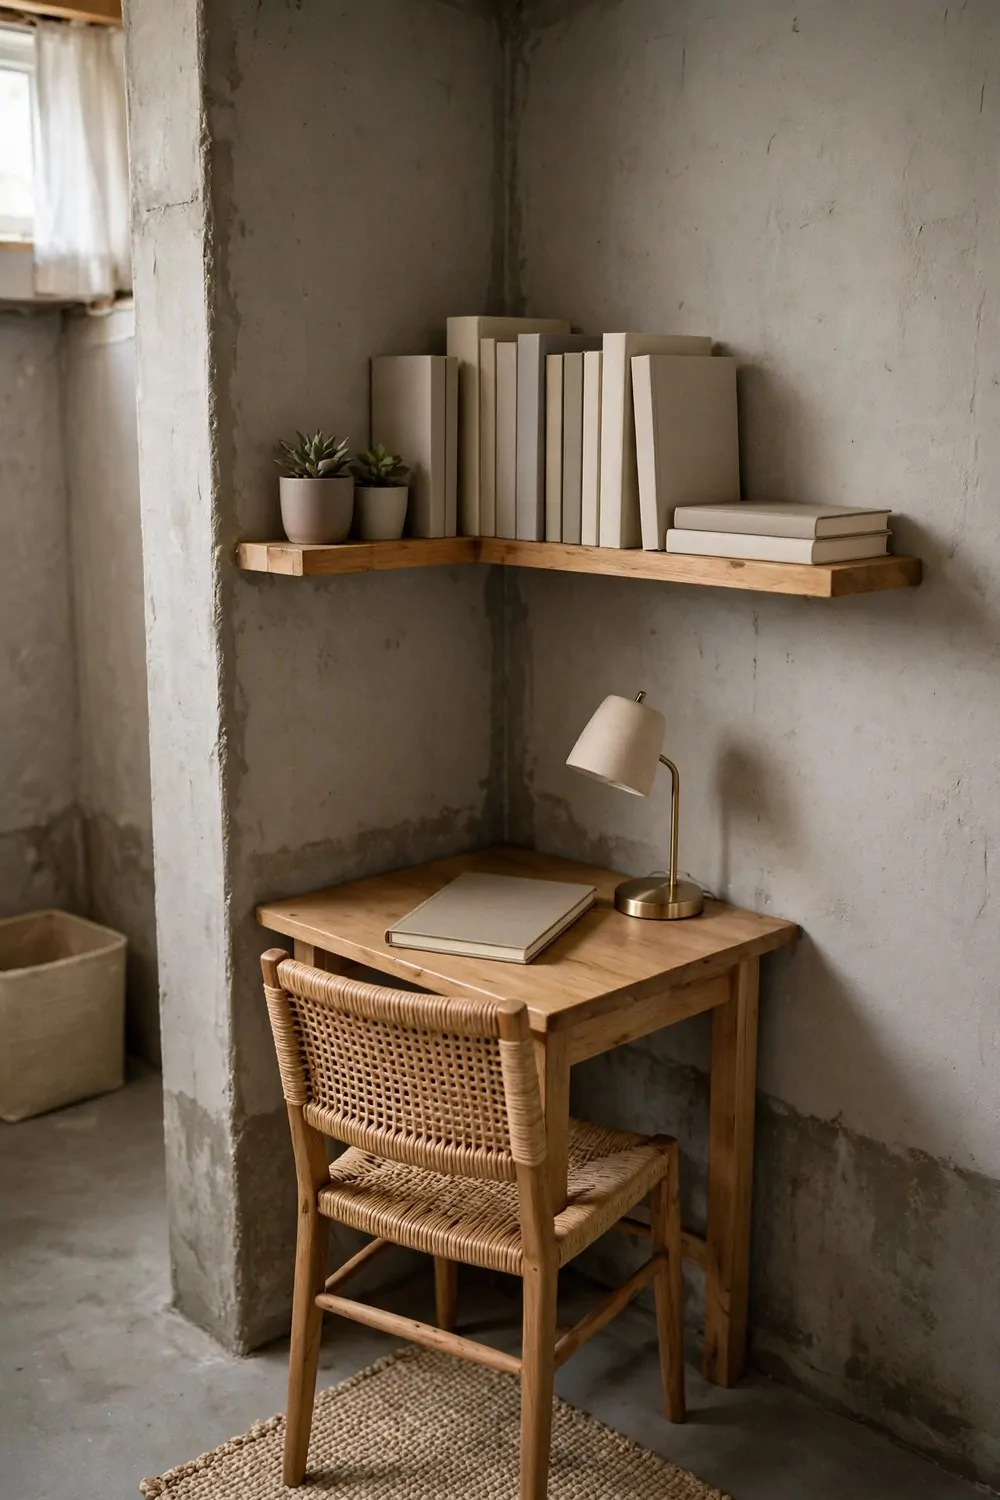
I needed a quiet spot to work at home.
The basement gave me that spot. A small corner near the window was just right.
I put a small desk against the wall. I added a plain chair and a lamp. My laptop and a notebook were all I needed to start.
A shelf above the desk holds my pens and papers. It keeps the desk clear for real work.
I keep the nook tidy at the end of each day.
Good light matters a lot here. I face the desk toward the light when I can. It helps my eyes and it helps me focus.
You might pay $90 to $340 to set up a plain nook with a small desk, a chair, and a lamp.
I added a small plant on the desk. It makes the corner feel alive and calm.
You do not need a big desk to work well. A small desk in a quiet corner can do the job. Try it for a week and see how it feels for you.
5. Make a Reading Corner with a Soft Chair
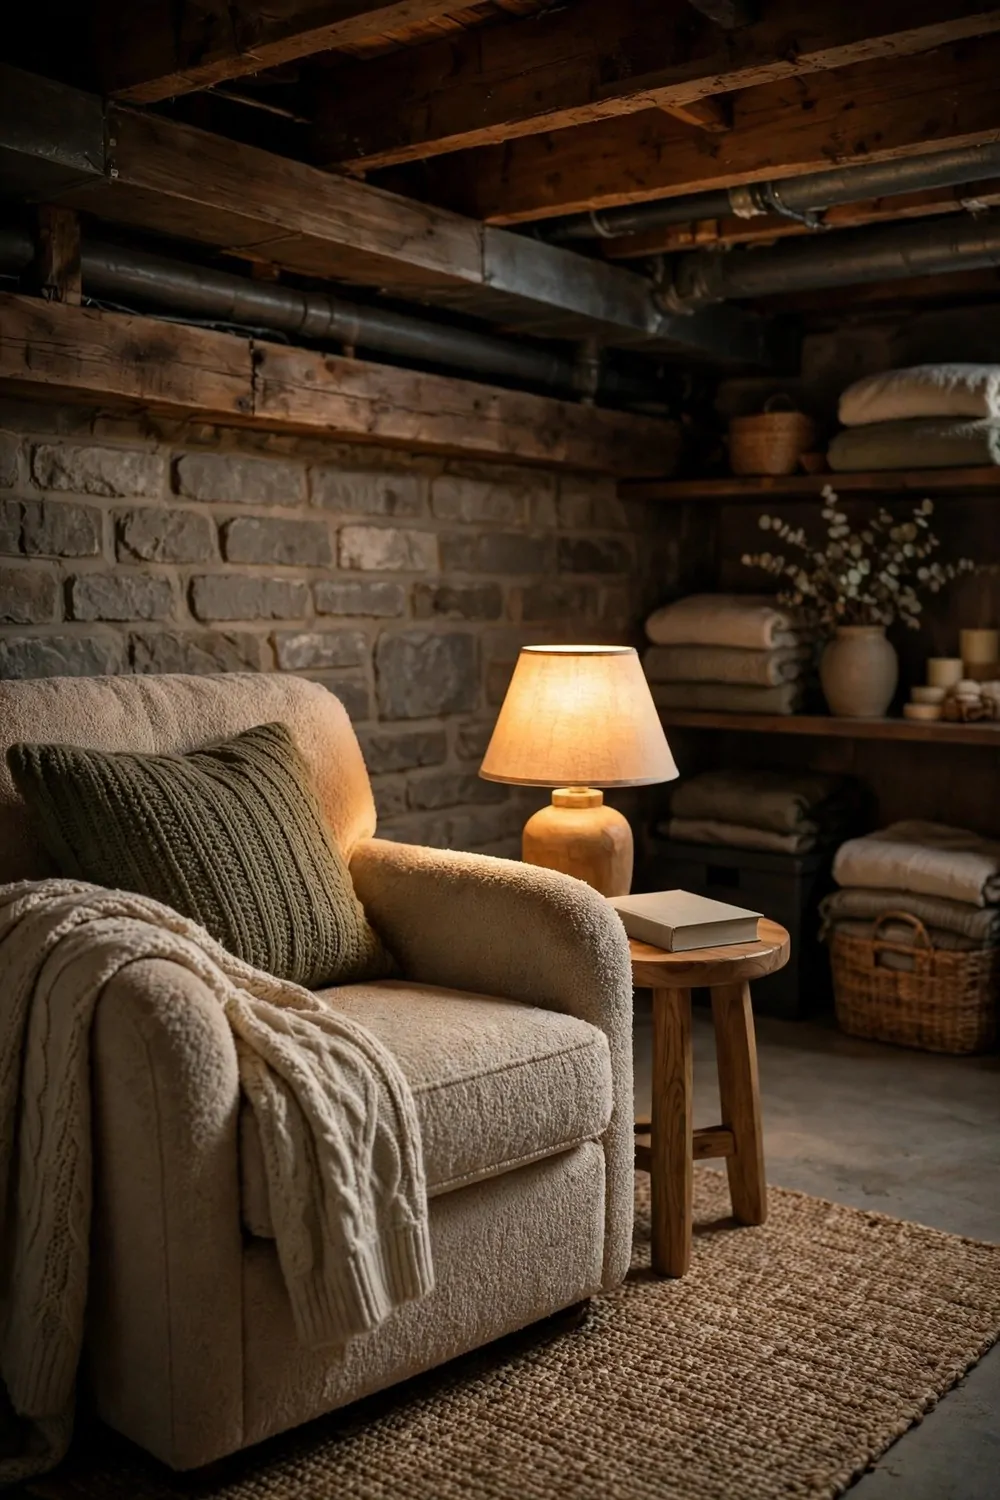
I love to read in a quiet spot. The basement gave me a corner away from the noise of the house.
I picked a soft chair with wide arms. I put it near a lamp and a small side table. A warm blanket sits on the arm for cold days.
That chair is now my favourite spot in the house.
I keep three or four books on the side table. I change them when I finish one.
Soft light is best for reading. A lamp with a warm bulb works well. It lights the page without hurting your eyes.
I added a small rug under the chair. It makes the corner feel warm and separate from the rest of the room.
A soft chair, a small side table, and a lamp for this corner tend to add up to $140 to $480.
I read there most nights after dinner.
You can build this corner in an afternoon. Pick a chair you love and give it good light.
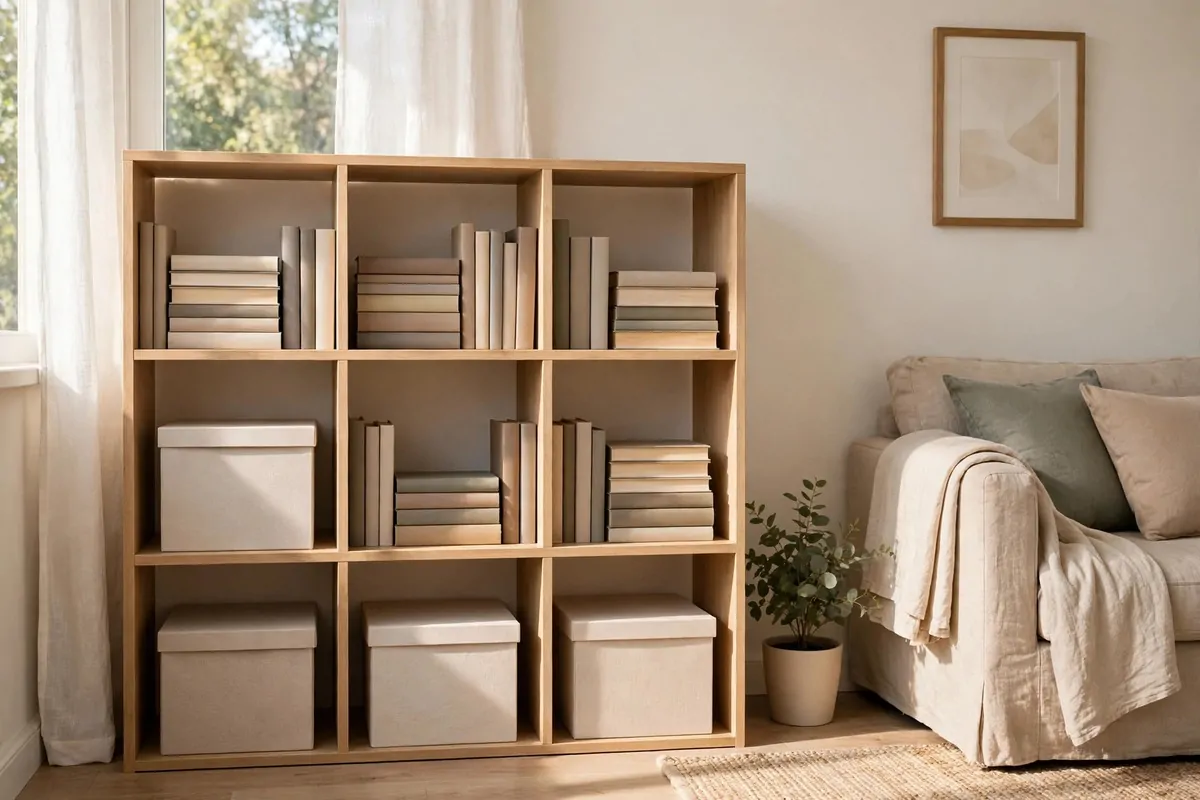
6. Add Open Shelves for Books and Games
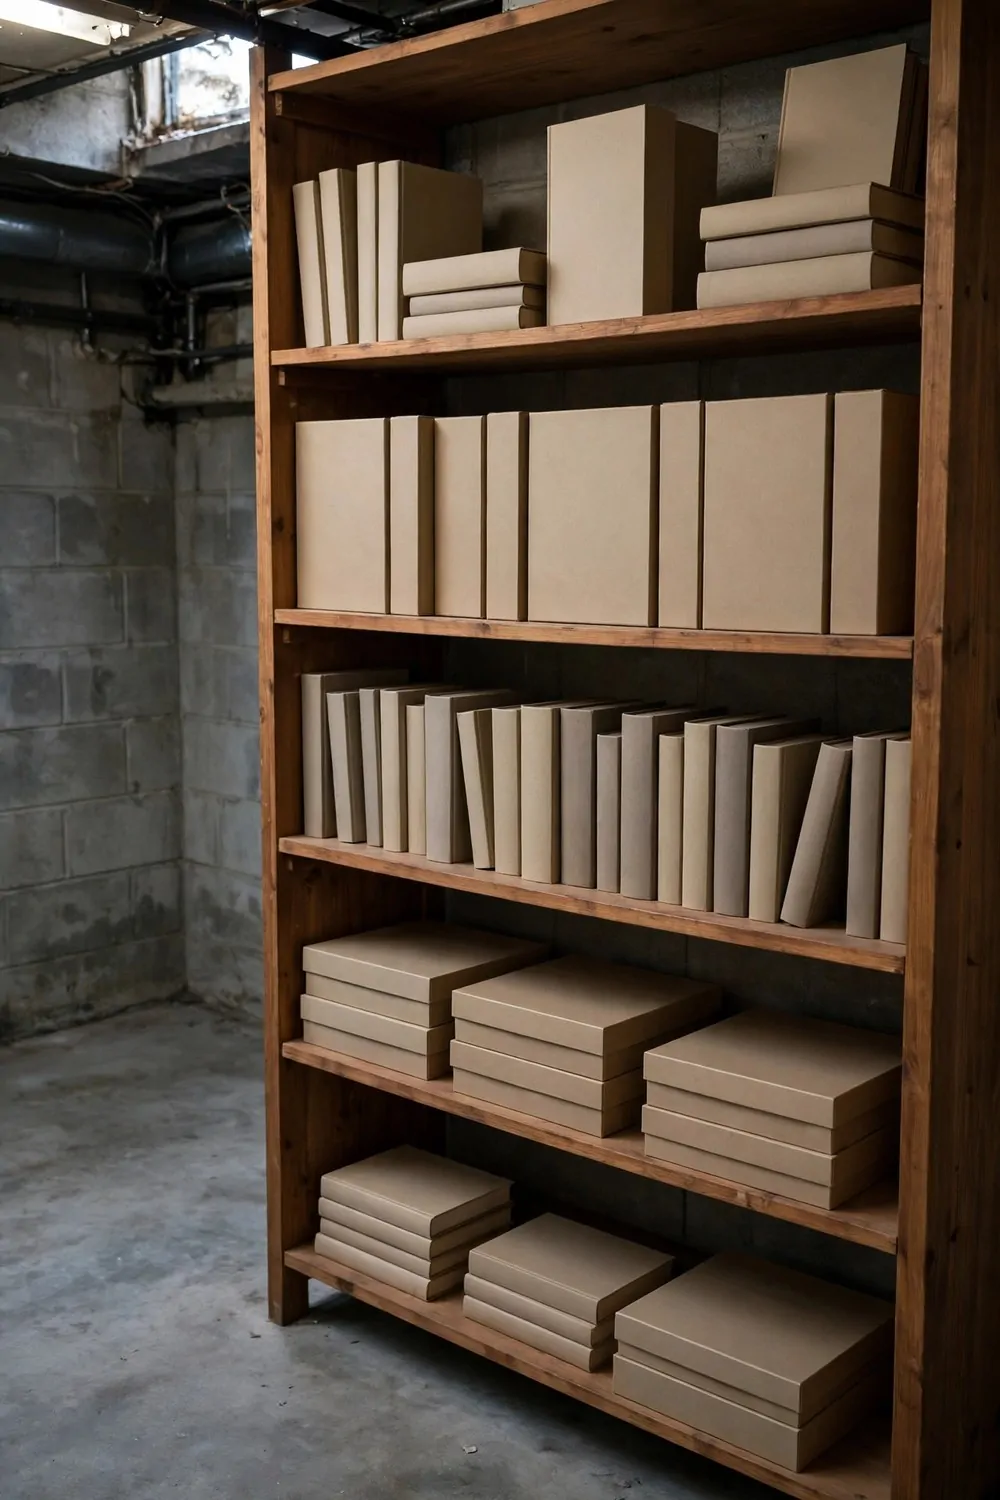
My basement had piles of books and games on the floor.
Open shelves fixed the mess. I could see what we had and find things fast.
I fitted two long shelves on a plain wall. I used strong brackets and a level to keep them straight. The shelves hold books, games, and a few small boxes.
I put the books we read most on the middle shelf. The games sit on the lower shelf where little hands can reach them.
A clear shelf makes the whole room feel tidy.
I left a bit of empty space on each shelf. A shelf that is too full looks messy. Empty space helps your eyes rest.
Open shelves, brackets, and a few storage boxes for this idea usually come to $110 to $390.
I dust the shelves once a week with a dry cloth. It takes five minutes and keeps the room fresh.
You can paint the shelves the same warm white as the walls. They blend in and the books stand out. It is a simple change that makes a big difference.
7. Create a Kids Play Zone
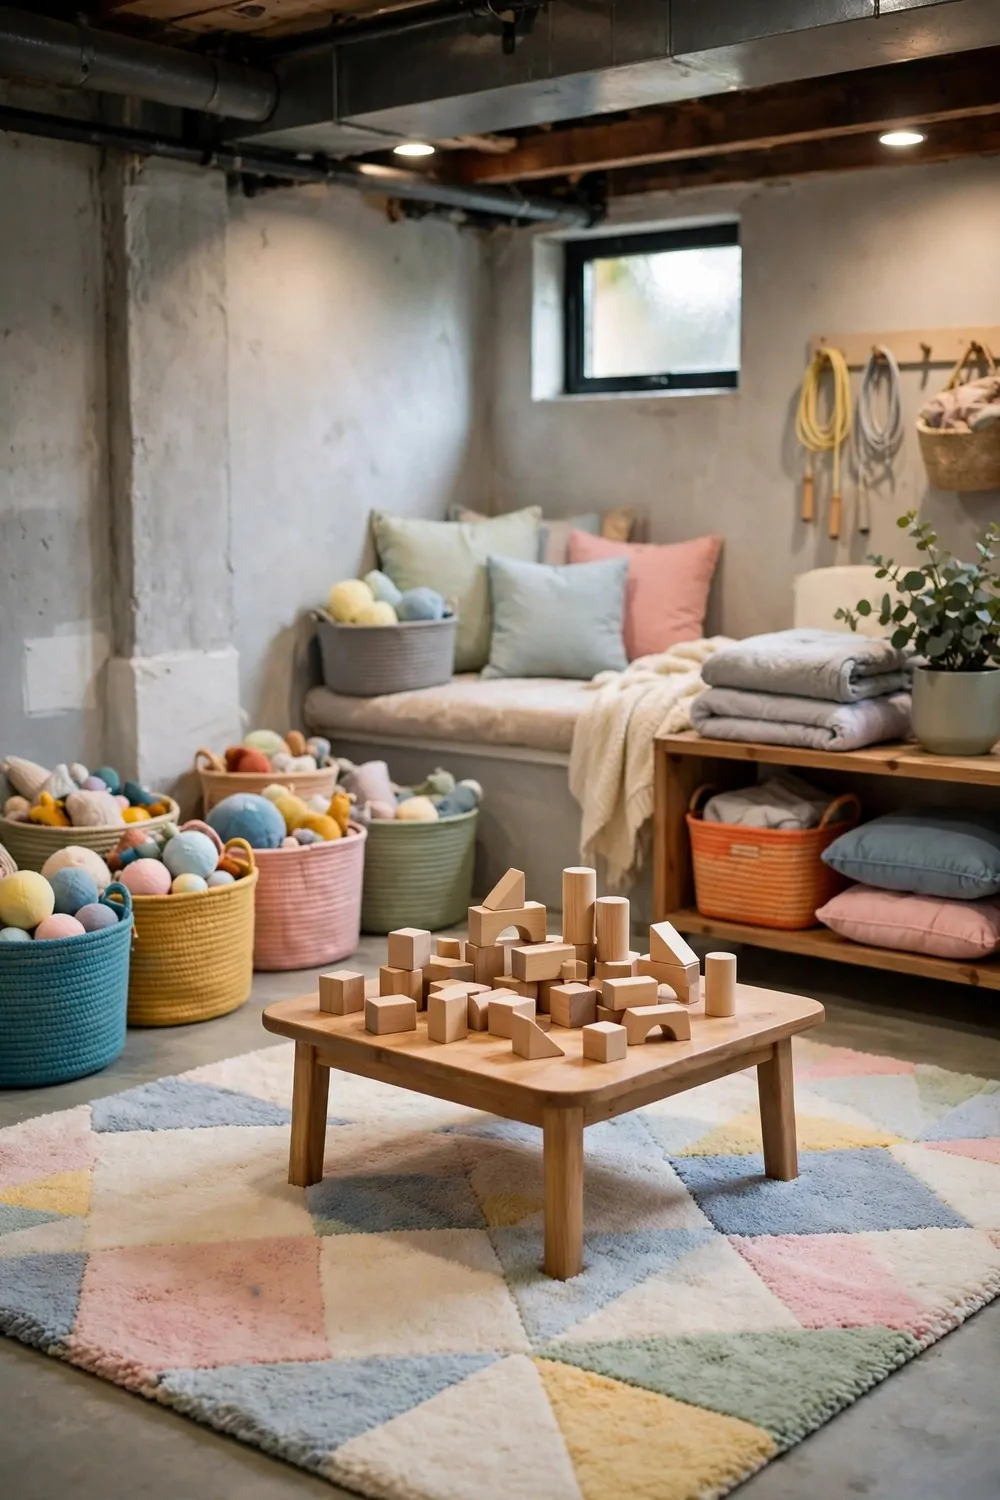
My kids needed a place to play indoors on rainy days. The basement was the perfect spot for it.
I cleared one corner and gave it to them.
I laid a soft mat on the floor. I added low bins for toys and blocks. A small table sits in the middle for drawing and puzzles.
Low shelves help kids tidy up on their own. They can see their toys and put them back without help.
I keep the play zone bright and open. I do not fill it with too much stuff. A clear floor is safer for running and jumping games.
The kids helped me pick the colours for the bins.
Setting up a play zone with a soft mat, low bins, and a small table often costs $160 to $520.
I check the toys once a month and take out the broken ones. It keeps the zone safe and fun.
A play zone does not need to be big. A small corner with a soft floor and low storage can keep kids busy for hours. You can change the toys with the seasons to keep it fresh.
8. Fit a Small Gym Corner
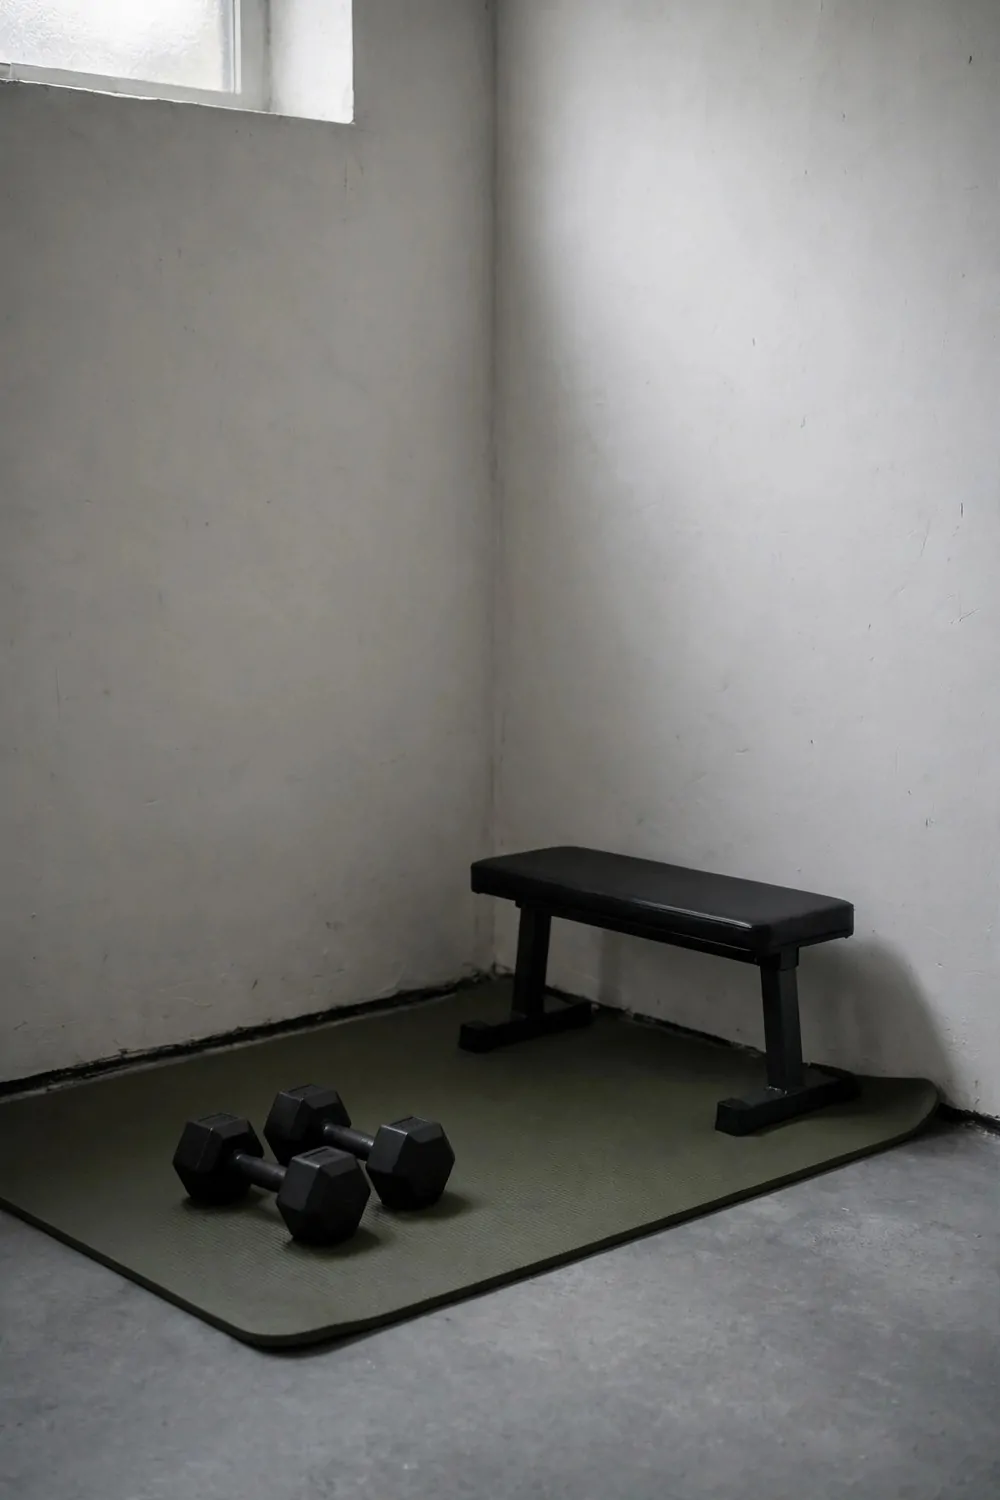
I wanted a spot to move my body at home.
A corner of the basement was free. I turned it into a small gym corner.
I put a thick mat on the floor first. I added a few light weights and a stretch band. A mirror on the wall helps me check my form.
I keep a towel and a water bottle nearby. Small habits like that help me stick with it.
I work out there three times a week.
You do not need big machines to start. A mat and a few simple tools are enough. You can add more gear later if you want it.
A mat, a few weights, and a mirror for a small gym corner can run $130 to $560.
I leave the floor clear around the mat. It gives me room to stretch and move without bumping into things.
Good light and fresh air help a lot down here. I open the small window when I can. A fan helps too on warm days.
9. Add a Guest Sleep Area
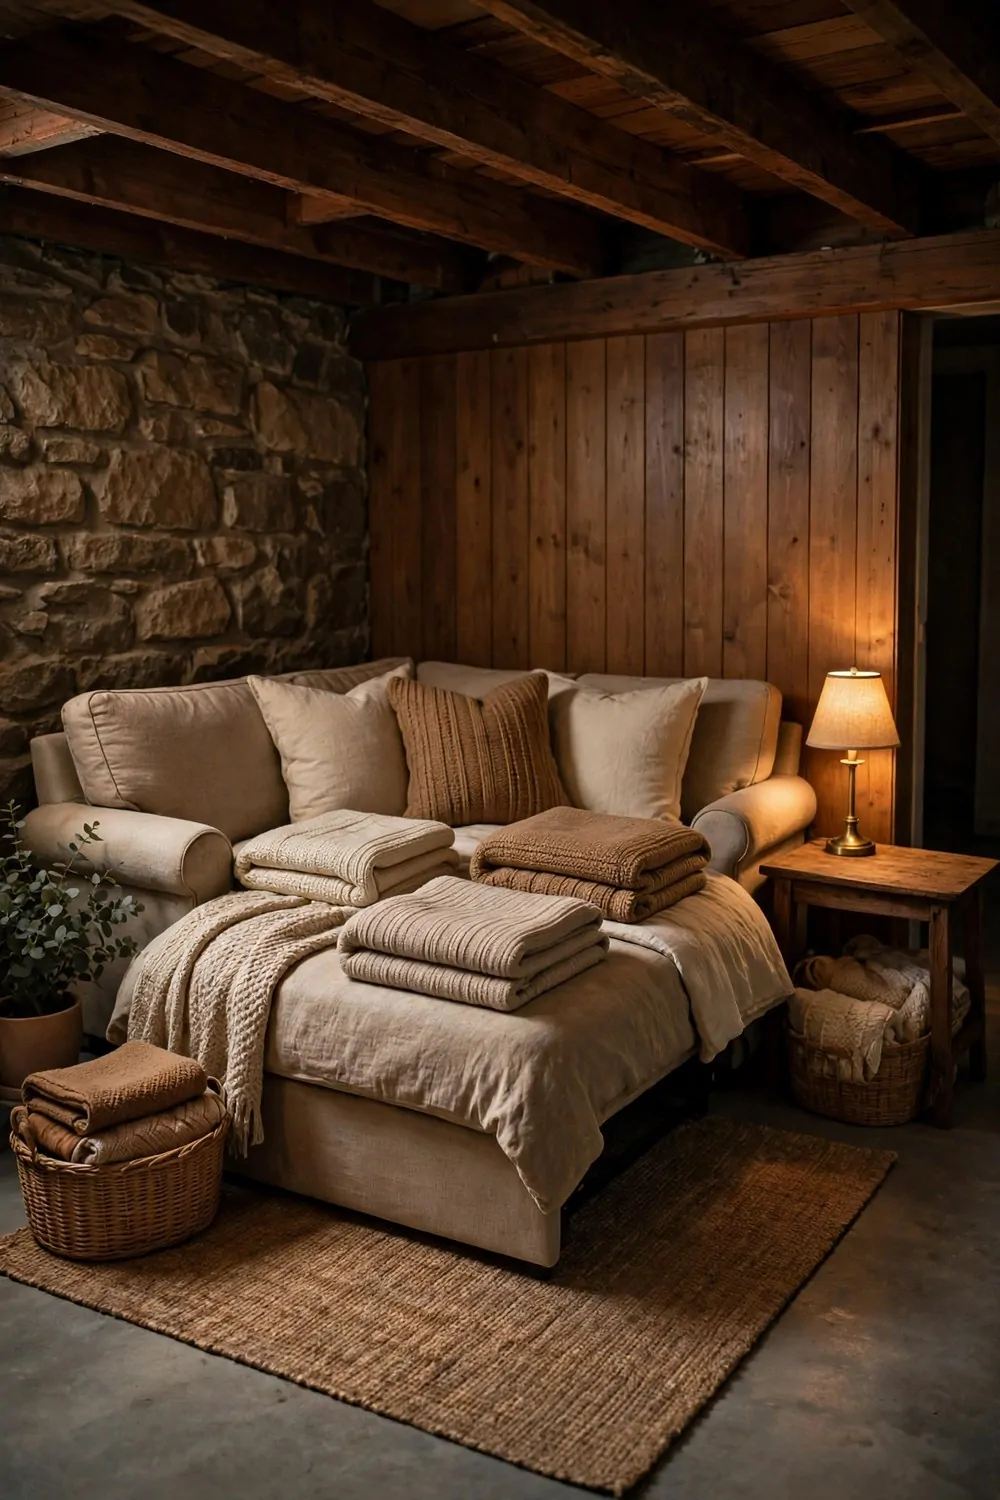
We did not have a spare bedroom for guests. The basement gave us a way to host family without a big rebuild.
I picked a quiet corner away from the stairs. I put a fold-out bed there with fresh sheets and a soft blanket. A small lamp sits on a crate beside the bed.
Guests say it feels cosy and private.
I added a small shelf for a phone and a glass of water. Little touches like that make guests feel welcome.
A curtain can give the sleep area more privacy. I hung a plain curtain from a simple rod. It pulls closed at night and opens in the morning.
I keep spare bedding in a box under the bed. It is easy to grab when someone stays over.
A fold-out bed, fresh bedding, and a small lamp for guests often total $220 to $680.
I air the bedding out before guests arrive.
You do not need a full bedroom to host someone well. A clean bed, soft light, and a quiet corner are enough.
| Idea | Typical Cost |
|---|---|
| Paint the Walls a Warm White | $180 to $420 |
| Add Bright Overhead Lights | $120 to $380 |
| Lay Cosy Carpet Tiles | $250 to $650 |
| Build a Simple Home Office Nook | $90 to $340 |
| Make a Reading Corner with a Soft Chair | $140 to $480 |
| Add Open Shelves for Books and Games | $110 to $390 |
| Create a Kids Play Zone | $160 to $520 |
| Fit a Small Gym Corner | $130 to $560 |
| Add a Guest Sleep Area | $220 to $680 |
10. Build a Craft Table for Family Projects
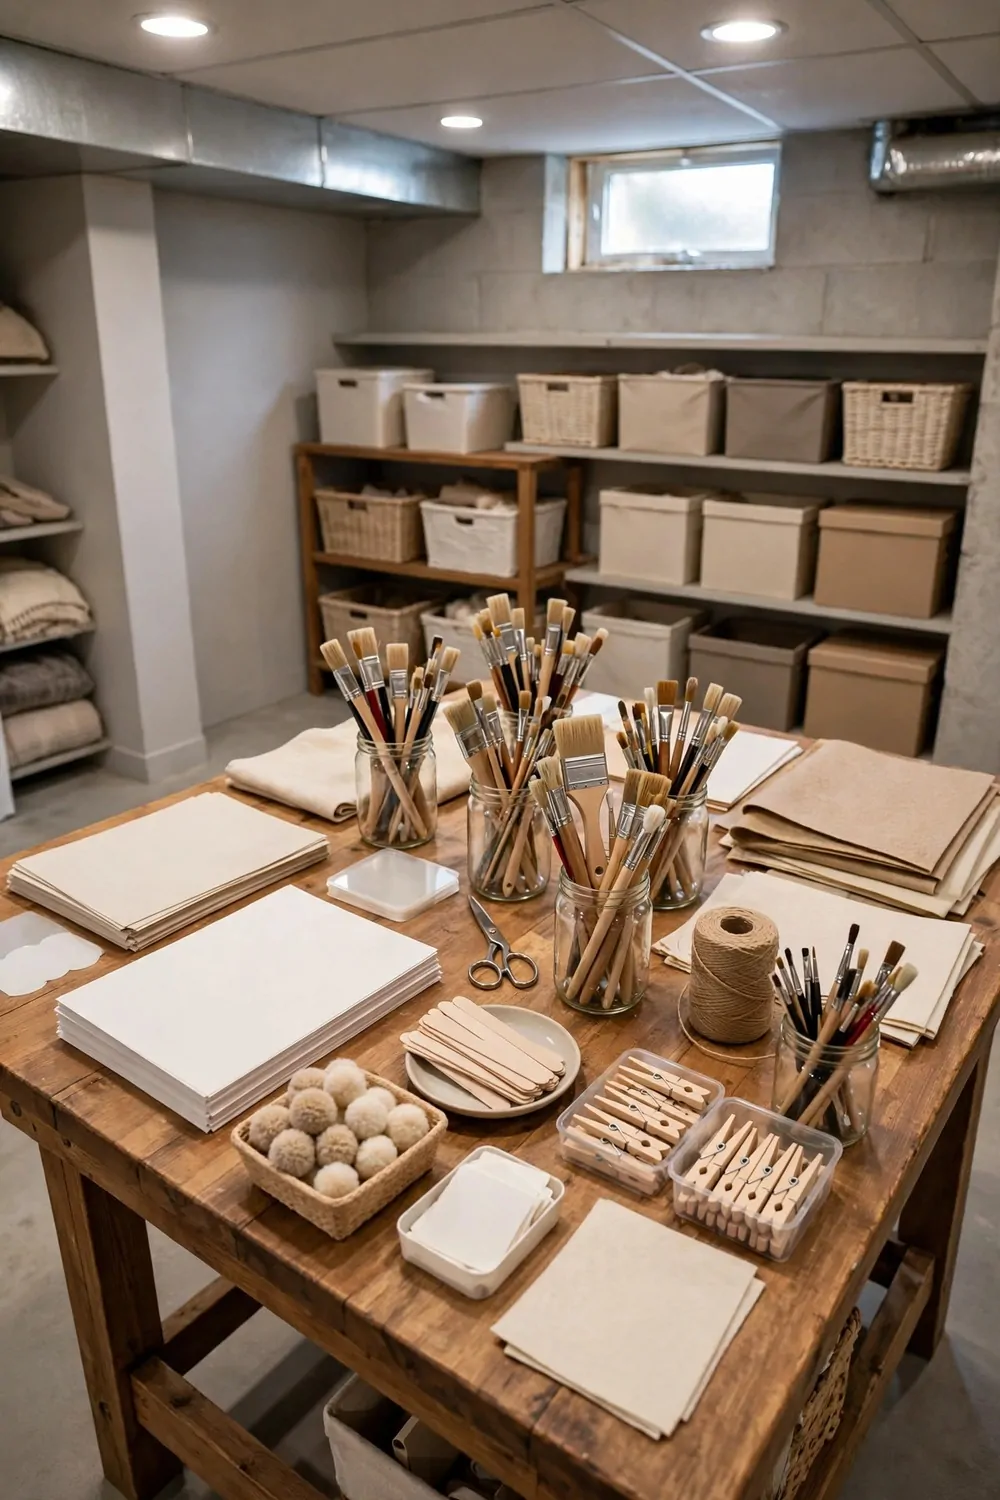
Our family loves to make things together.
The basement gave us room to spread out. A craft table was the answer.
I used a plain, sturdy table with a smooth top. I put it near the light so we could see our work. Chairs fit on both sides so we can work face to face.
Storage tubs under the table hold paper, glue, and paints. Each tub has a simple label so we can find things fast.
I cover the table with an old sheet when we paint.
We made cards, paper stars, and small gifts at that table. It is messy sometimes and that is fine. A shared table makes family time feel easy.
For a plain table, chairs, and storage tubs for family projects, most families spend $150 to $490.
I wipe the table with plain soap and water after a messy project. It keeps the top clean for the next time.
You do not need fancy craft supplies to start. Paper, scissors, and glue are enough for a fun afternoon. Start small and add supplies as your family finds new projects to try.
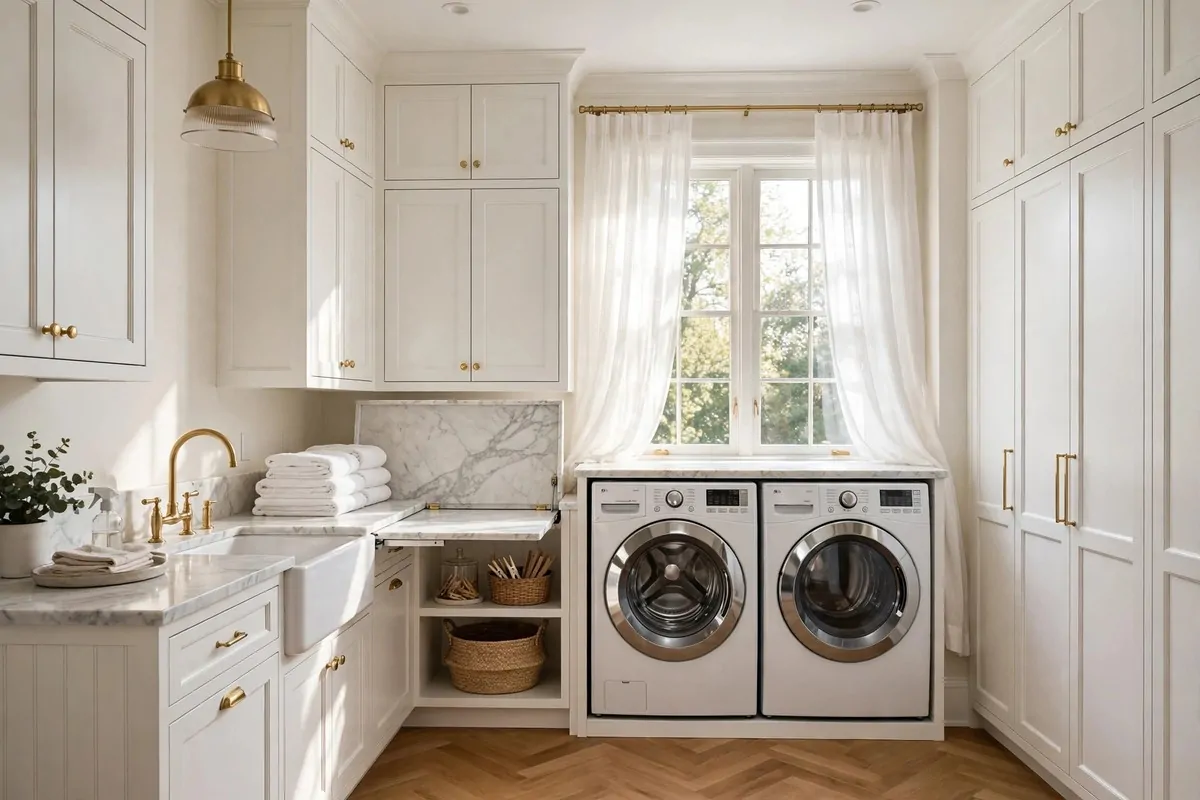
11. Add a Laundry Folding Spot
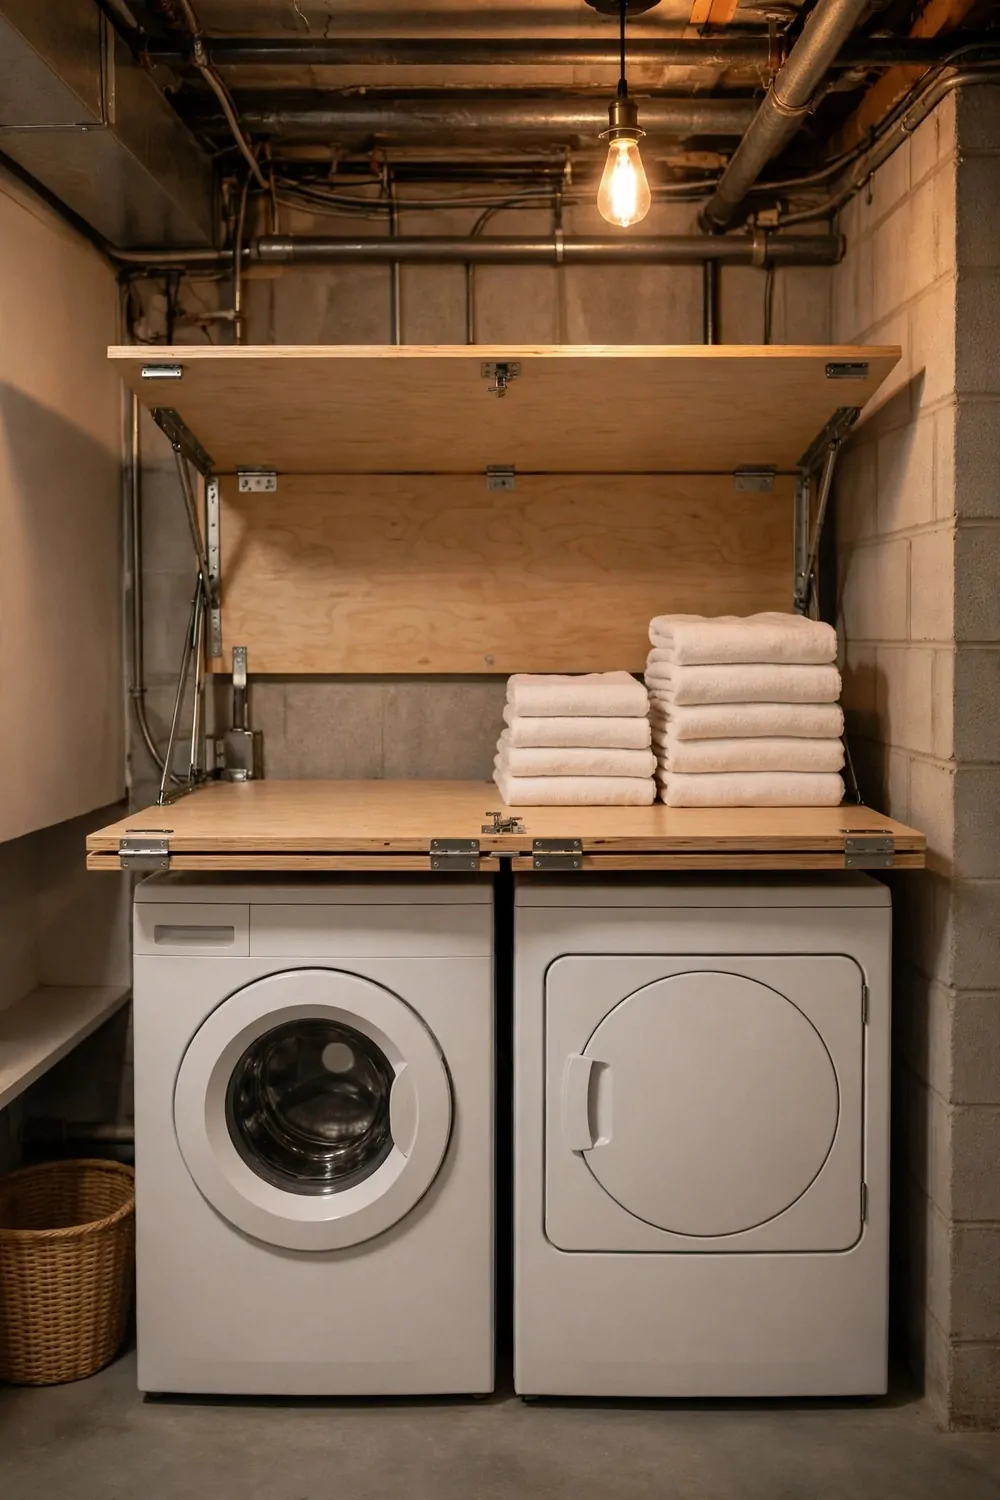
Folding laundry on the bed was a pain. Clothes piled up and never got put away.
A folding spot in the basement fixed that for me.
I put a wide table next to the washer and dryer. I added baskets underneath for clean clothes. A small shelf above holds soap and pegs.
I fold clothes straight from the dryer now. It takes less time and the pile does not grow.
A good light over the table helps a lot.
I keep a drying rack nearby for clothes that need air. It folds flat when I do not need it. That keeps the floor clear for walking.
A folding table, a few baskets, and a drying rack for this spot often come in at $80 to $310.
I wipe the table once a week with plain soap and water. It keeps the folding spot clean and fresh.
You can use baskets to sort clothes by person. Each person gets one basket. It makes put-away time fast and simple.
12. Create a Movie Night Corner
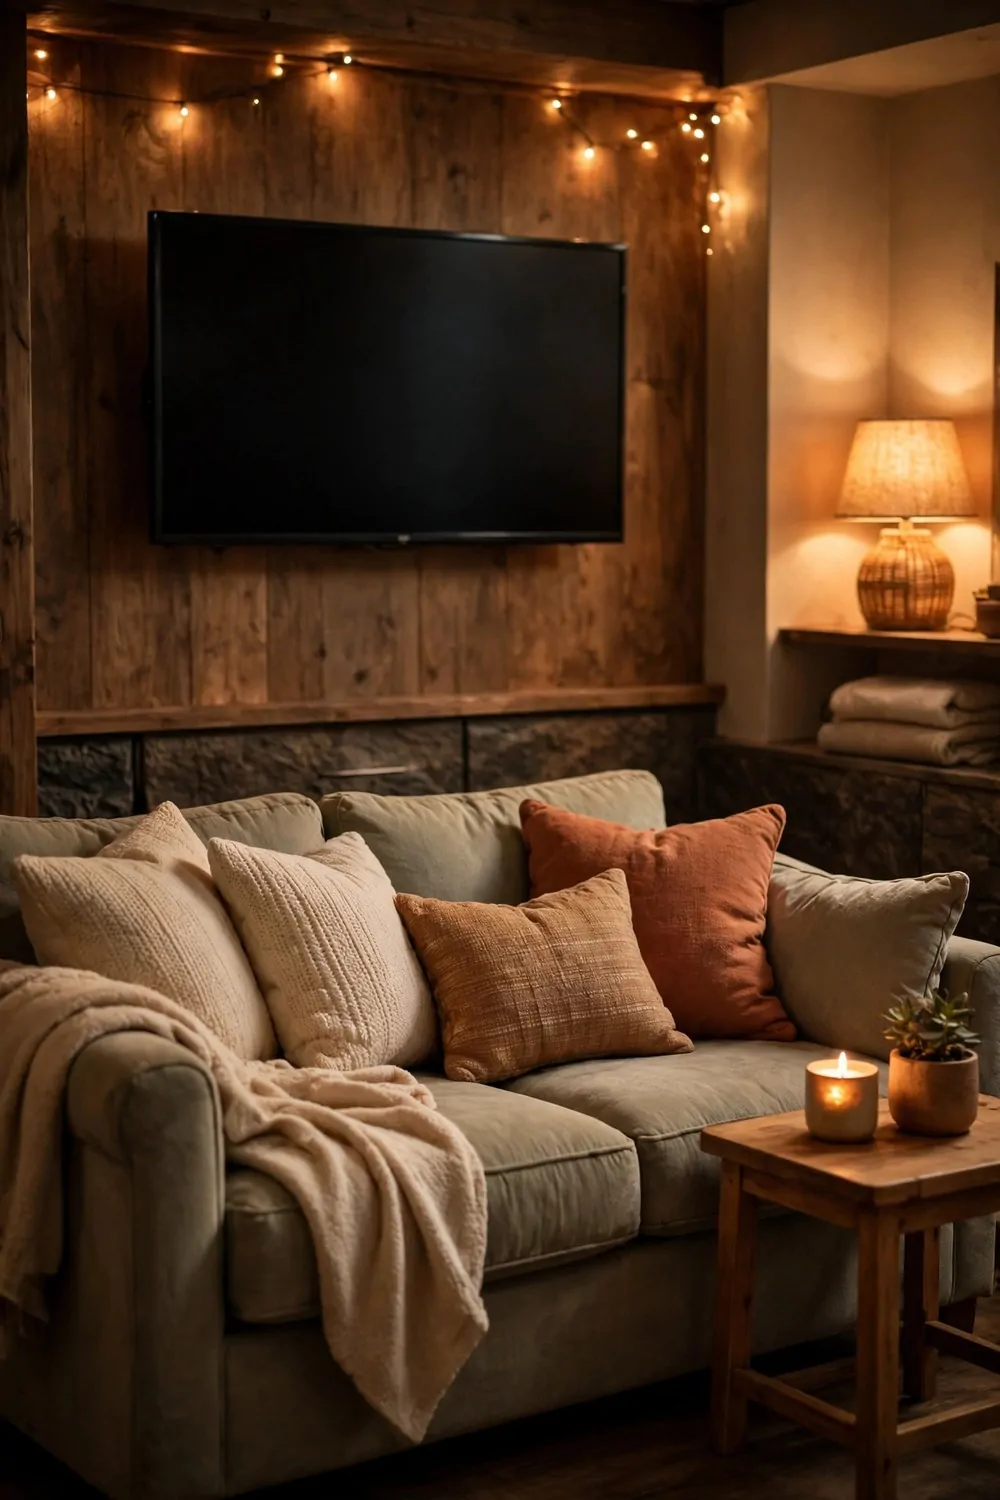
Friday nights are movie nights in our house.
The basement is dark and quiet, so it works well for films. We made a corner just for that.
I laid a thick rug on the floor. I added floor cushions and a few soft blankets. A low table holds water and snacks for the night.
I dim the overhead lights when the film starts. Soft light from a small lamp is enough to see the snacks.
The kids bring their blankets down and pick their spots.
I keep the cushions in a basket when we are not watching. It keeps the corner tidy during the week. On Friday I pull them out again and the corner feels special.
A soft rug, floor cushions, and dim lights for movie nights tend to cost $120 to $430.
I wash the blankets once a month. Clean blankets make the night feel cosy and fresh.
You do not need a big screen to enjoy a film together. A clear view, soft seats, and time together matter most. Pick a film everyone likes and enjoy the night.
13. Add a Small Tea and Coffee Corner
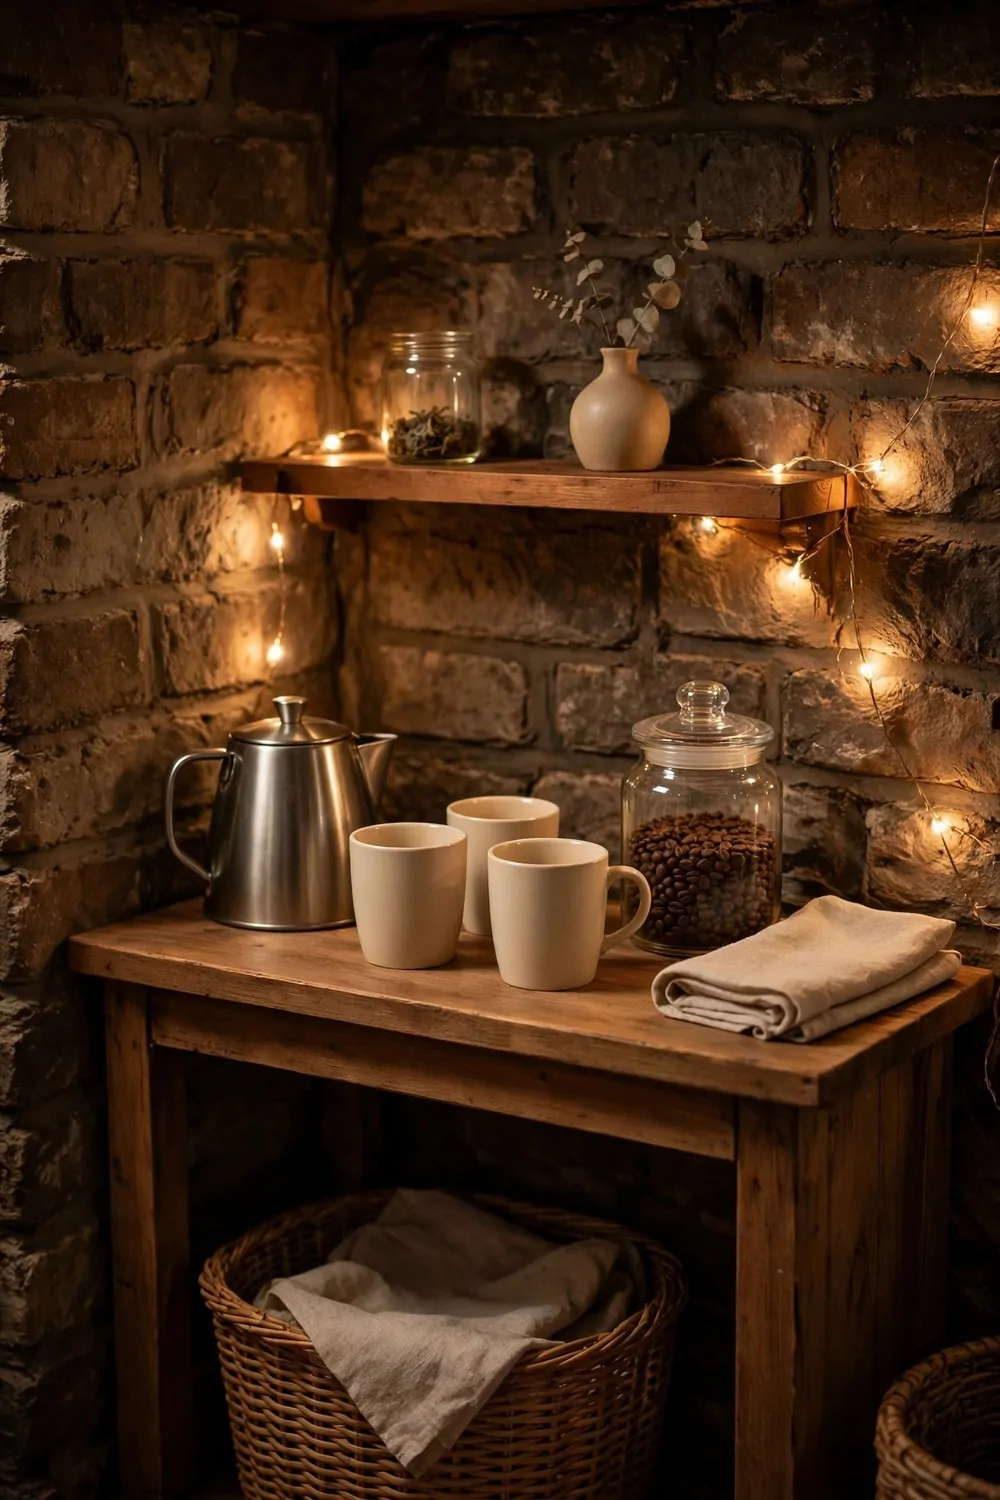
I love a hot drink in the morning. A small tea and coffee corner in the basement makes slow mornings easy.
I set it up on a small shelf near the stairs.
I keep a kettle, mugs, and a tray on the shelf. Tea bags and coffee sit in two small jars. A tiny plant makes the corner feel warm.
I fill the kettle before I go down in the morning. It takes two minutes and the corner is ready.
Mugs hang from small hooks under the shelf. They are easy to grab and easy to put back. I keep only four mugs so the shelf stays tidy.
That corner is now part of my morning routine.
A small kettle, mugs, and a tray for a tea and coffee corner often add up to $60 to $210.
I wipe the tray with plain soap and water once a week. It keeps the corner clean and ready to use.
You can start with what you already have at home. A tray, two mugs, and a kettle are enough. Add jars and hooks later if you want the corner to feel more finished.
14. Fit a Wall-Mounted Screen Spot
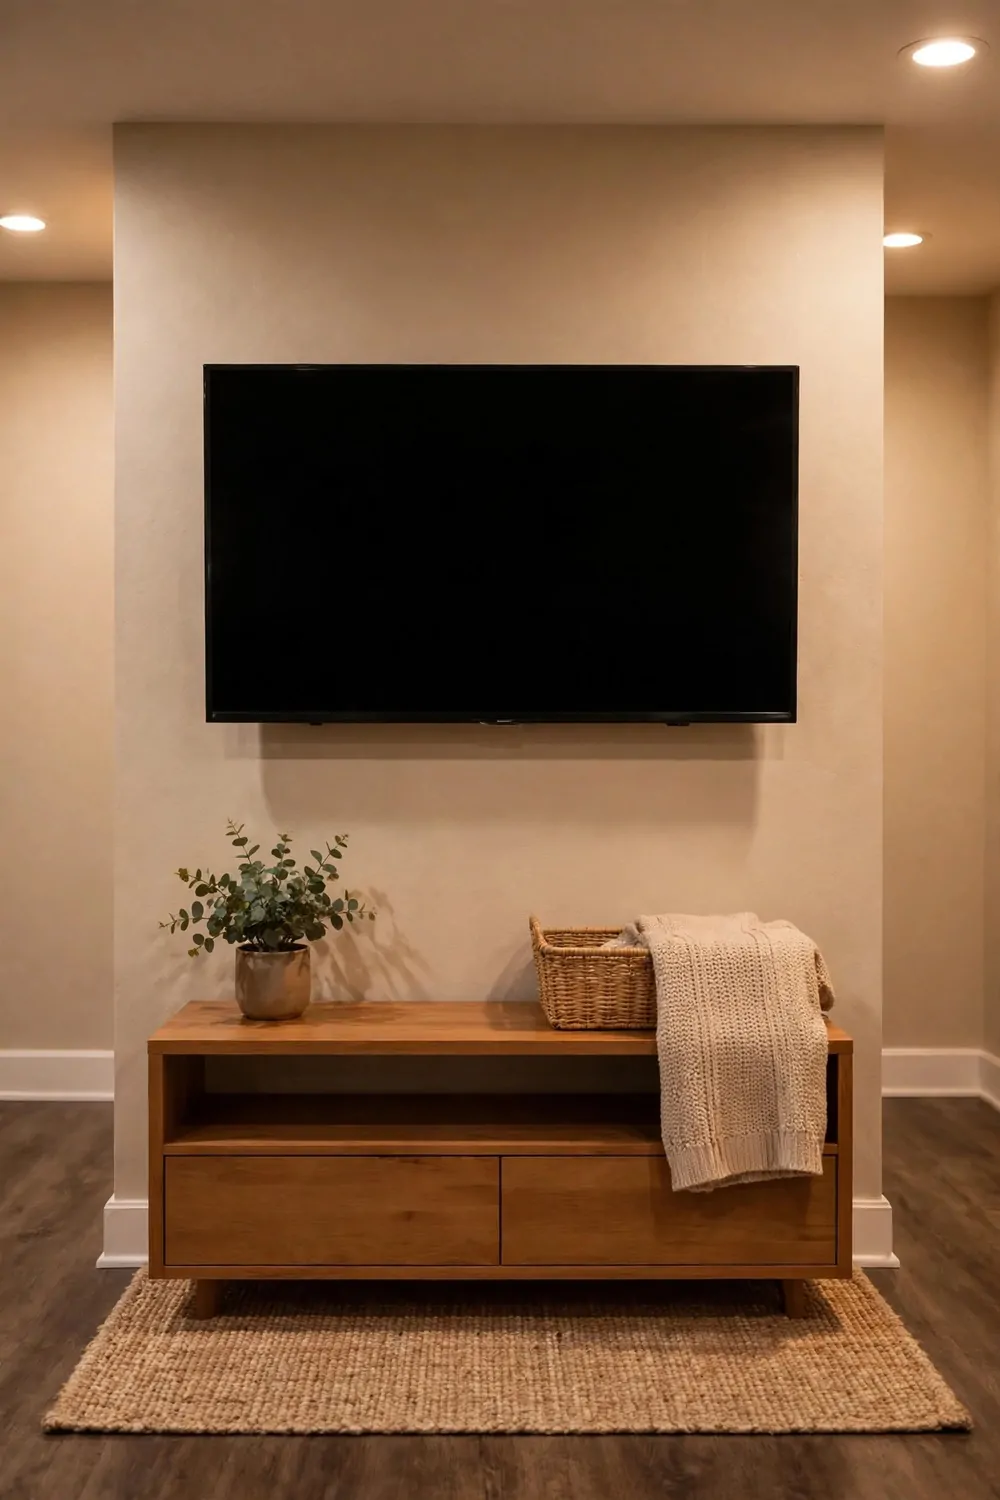
A screen on the wall saves floor space.
I mounted ours on a plain wall in the basement. It sits at eye level when I sit down.
I fixed a strong mount to the wall studs. I checked it twice before I hung the screen. A small shelf below holds the remote and a few cables in a tidy box.
I hid the cables behind a simple cover. It looks neat and no one trips over wires.
The picture looks clear from the sofa and from the floor cushions.
I keep the screen clean with a soft, dry cloth. I do not press hard on the screen. A gentle wipe is enough to remove dust.
A wall mount, cables, and a small shelf for this screen spot usually run $90 to $360.
I sit back and check the view from each seat. If the screen feels too high, I lower the mount a little.
You do not need a huge screen to enjoy this spot. A clear picture at the right height works well. Measure the wall first and pick a mount that fits your screen.
15. Add a Storage Wall with Bins
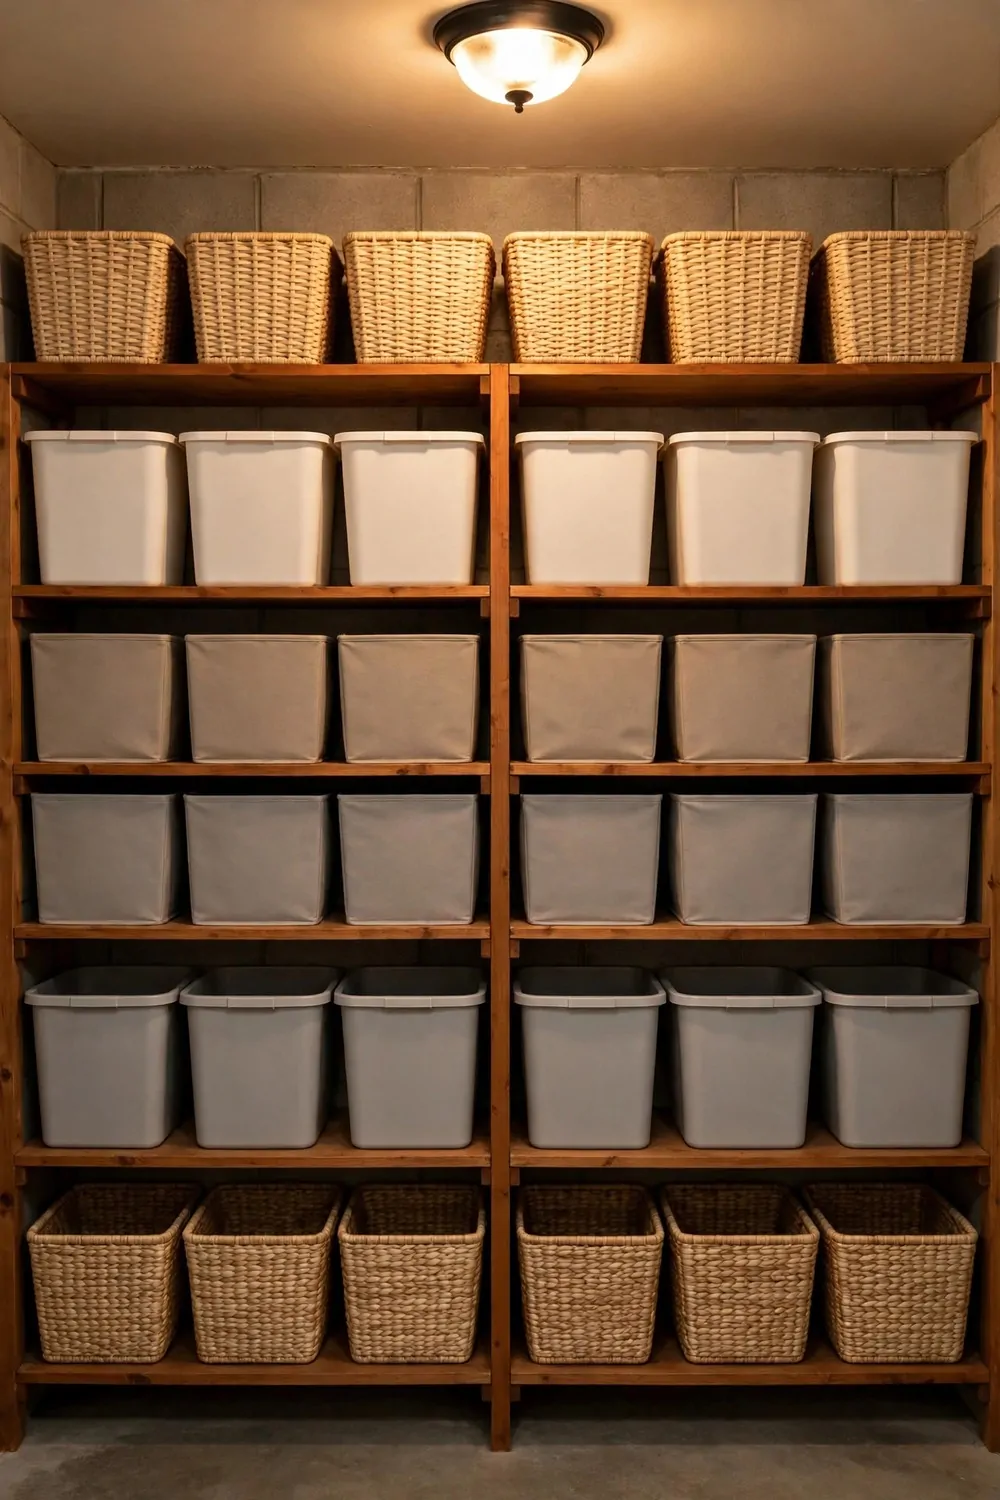
I used to trip over boxes in our basement every single week. A wall of bins changed that for me in one weekend.
You pick one wall, clear it right back, and let that wall do the hard work for the whole room.
I like open bins you can see into at a glance. You pull one down, grab what you need, and slide it back in place. It beats digging through a tall pile on the floor.
Put the things you use most at waist height. The heavy stuff stays low where you can lift it with ease.
Label each bin in big plain words so anyone in the house can find things fast.
I keep one bin for tools, one for spare bulbs, and one for old towels and rags. You might keep one for school stuff and one for spare bedding. When each thing has a home, the floor stays clear.
A simple wall of bins and shelves often runs $120 to $280 when you buy the parts and fit them yourself. You can start with just half the wall and add more bins later.
Leave a little gap at the top so warm air can move and dust does not settle in a thick layer.
I check my bins twice a year and take out what we no longer use. You will be surprised how much space that frees up each time.
16. Paint the Floor with a Tough Finish
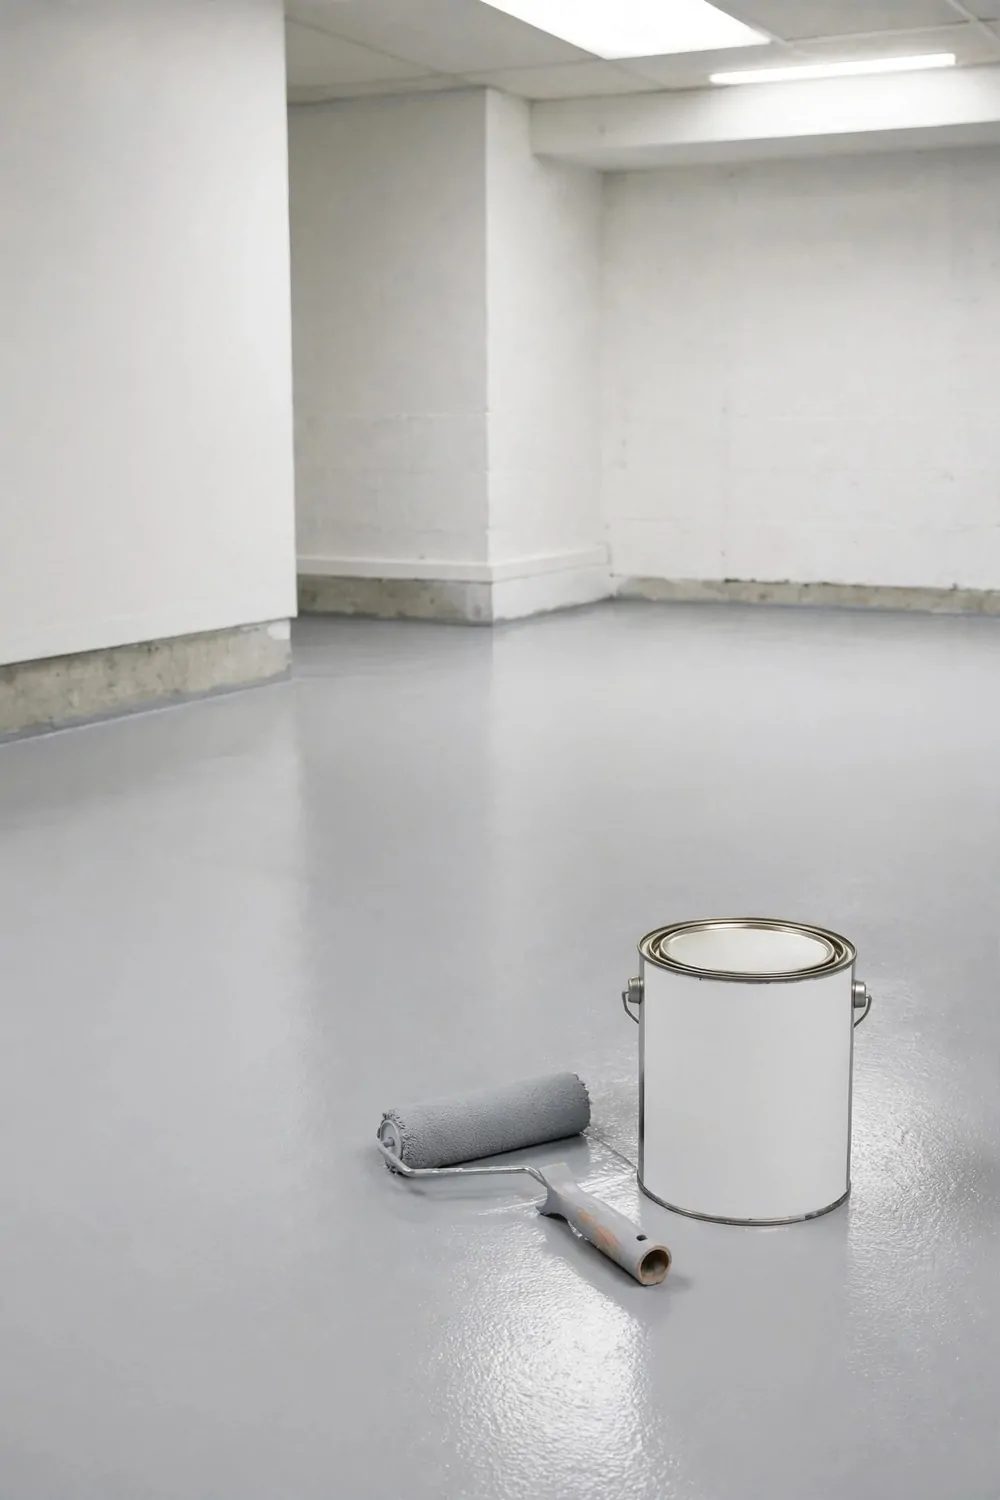
Our basement floor looked grey and tired for years. I did not want a big job, so I tried paint first.
A tough floor paint gives a plain slab a clean look you can sweep in minutes.
Start by sweeping the floor well and mopping it with plain soap and water. Let it dry all the way through before you open the tin. I left ours for a full day and it made the job much smoother.
Roll the paint on in light passes and let each pass dry before the next one. You get a much neater finish that way.
Pick a light warm shade so the room feels less like a cave.
I painted ours in two evenings after the kids went to bed. You can do one half at a time if you still need to walk through the room. Just keep the wet side blocked off with a chair so no one steps in it.
Painting a basement floor with a tough finish often adds up to $80 to $180 for paint and rollers. A second tin is handy if your floor drinks up the first coat.
Wait a few days before you drag heavy boxes back across the new paint.
I put small felt pads under the legs of our shelves after painting. You save the paint from scratches and the room stays tidy for longer.
17. Add a Soft Rug in the Main Room
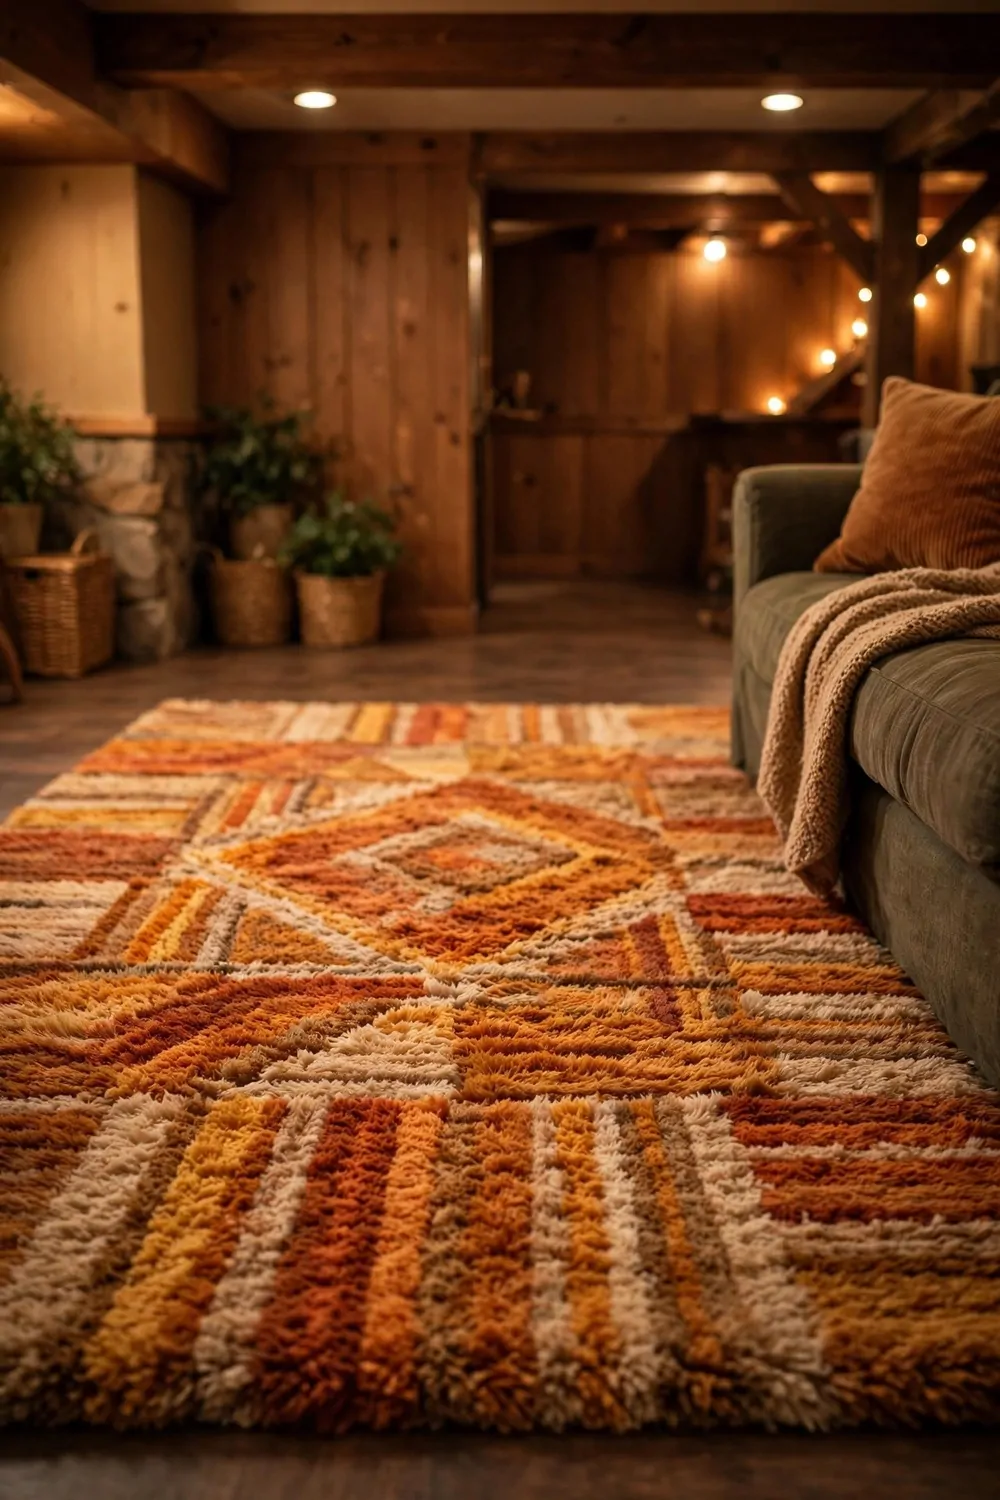
A bare floor can feel cold under your feet, even in summer. I added a soft rug and the whole room felt warmer at once.
You want a rug big enough for the chairs to sit on, not just a small mat in the middle.
I went for a low pile rug because it is easy to clean with a quick vacuum. You can shake a small one out in the yard too. A rug with a busy pattern hides small marks far better than a plain pale one.
Put a thin pad under the rug so it does not slide when you walk on it. The pad also makes the rug feel softer underfoot.
Pick warm tones that match your sofa and your wall shade.
I chose a rug I could lift on my own for a deep clean. You might want two smaller rugs if one big one feels too heavy to move. That way you can wash one side of the room at a time.
A soft rug big enough for the main room often costs $90 to $220, and a thin pad under it adds a little more. You can look for a good one on sale and still get a soft feel.
Keep the rug away from any damp corner until that corner is dry and sorted.
I vacuum ours once a week and turn it round every few months. You will see it wears far more evenly that way.
18. Build a Homework Desk for Kids
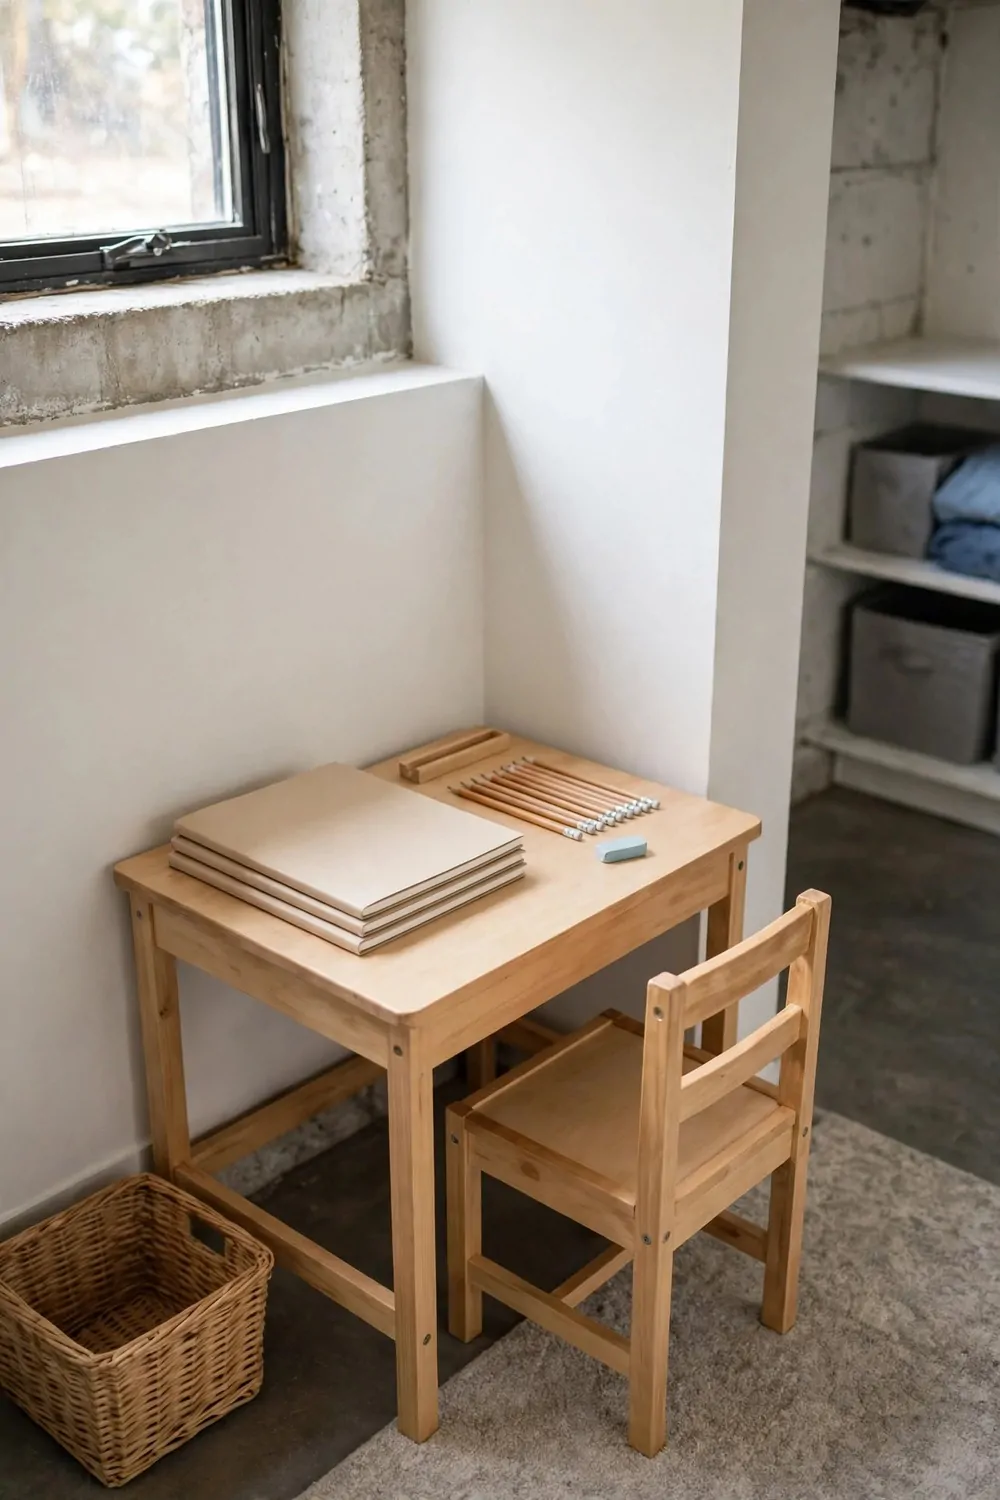
My kids used to do homework on the sofa with books sliding everywhere. A small desk in the basement gave them a place that was just theirs.
You do not need a big desk, just a flat top, a good chair, and light that does not hurt your eyes.
I put our desk near the brightest wall so they get the best light in the day. You can add a small lamp for dark afternoons. Keep the desk top clear of clutter so there is room to spread out a book.
A few small pots hold pens, pencils, and rulers in one spot. When tools have a home, homework starts faster and ends with less fuss.
Add a small shelf above the desk for books they reach for each day.
I let my kids pick the colour of their desk chair. You can add a soft cushion so long sits feel less stiff. A small clock on the wall helps them keep track of time without a phone.
A small desk with a chair and a lamp often comes to $110 to $260 in total. You can save a lot by finding a solid desk that only needs a fresh coat of paint.
Keep the desk away from the main walkway so no one bumps it while passing.
I wipe the desk top each evening so the next day starts clean. You will find that one small habit keeps the whole corner tidy.
19. Create a Board Game Table Area
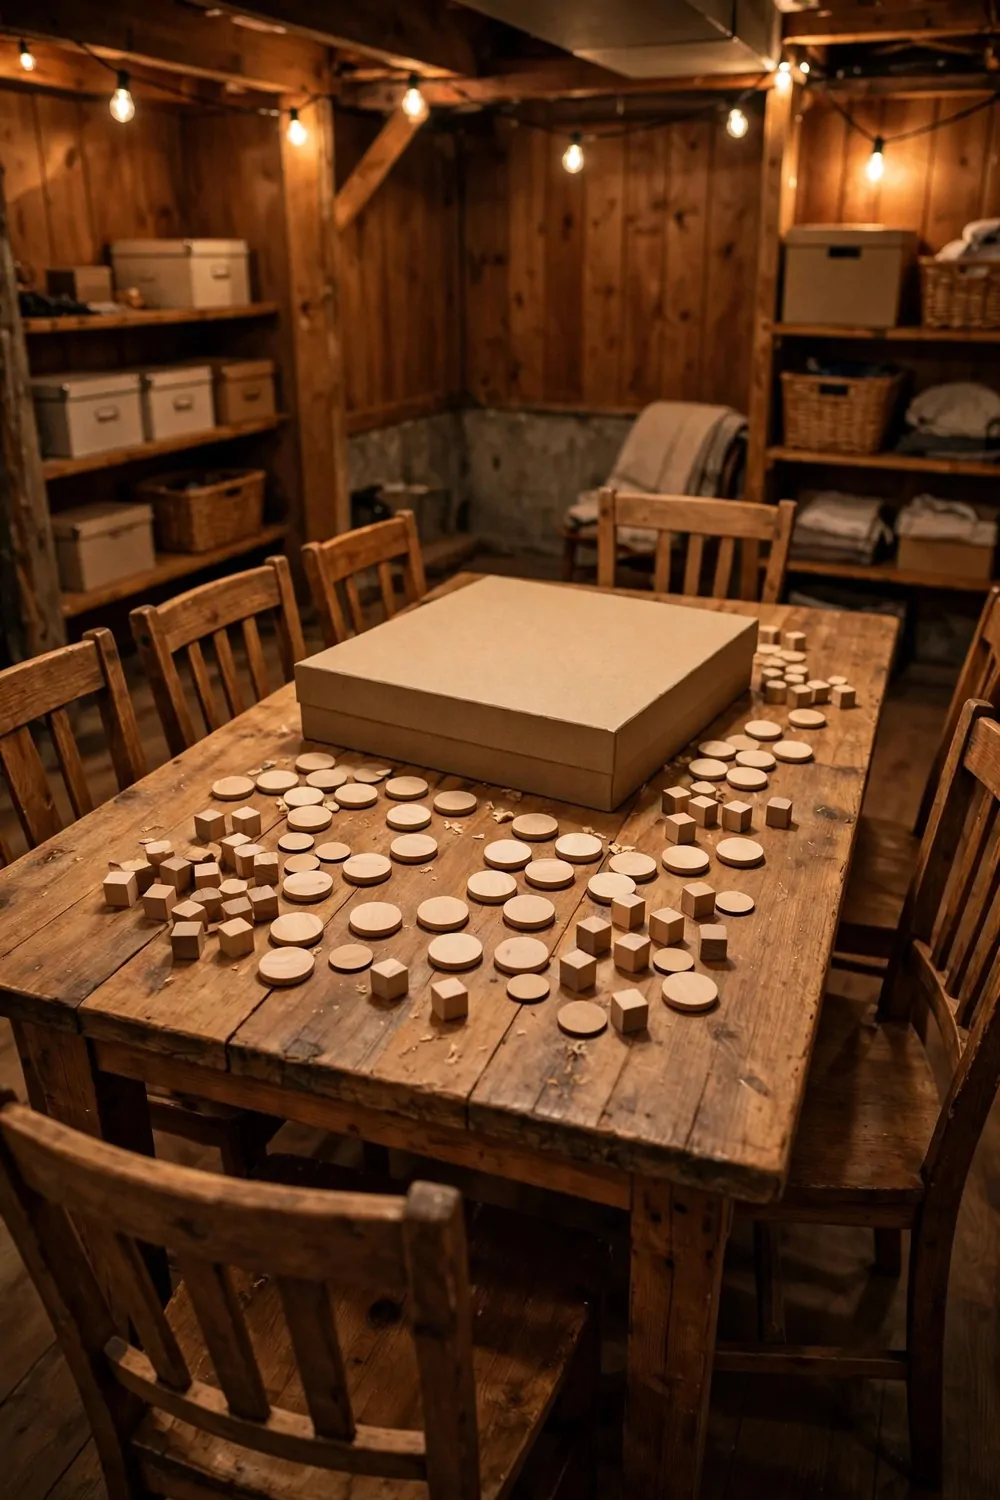
I love a night when we all sit round one table and play. A board game table area makes that easy in the basement.
You need a table that is wide enough for a board, cards, and four cups without a squeeze.
I picked a table with a smooth top so cards slide well and pieces stay put. You can add a few chairs that tuck right under when the game ends. A low shelf near the table holds all the boxes in one place.
Keep the light bright over the table so no one has to squint at small print. A warm lamp overhead works well and feels cosy in the evening.
Put a small bin close by for snack wrappers and scrap paper.
I keep our most played games on the middle shelf where hands reach them first. You can stack the tall boxes at the ends so they do not topple. When the table is always ready, game night just happens on its own.
A sturdy table with chairs for game night often works out at $150 to $320 all in. You might find a solid table at a low price if you are happy to clean it up first.
Leave space round the table so chairs can pull out without hitting the wall.
I put a small rule in our house that games go back in their boxes the same night. You save time next time and no pieces go missing under the sofa.
| Idea | Typical Cost |
|---|---|
| Build a Craft Table for Family Projects | $150 to $490 |
| Add a Laundry Folding Spot | $80 to $310 |
| Create a Movie Night Corner | $120 to $430 |
| Add a Small Tea and Coffee Corner | $60 to $210 |
| Fit a Wall-Mounted Screen Spot | $90 to $360 |
| Add a Storage Wall with Bins | $120 to $280 |
| Paint the Floor with a Tough Finish | $80 to $180 |
| Add a Soft Rug in the Main Room | $90 to $220 |
| Build a Homework Desk for Kids | $110 to $260 |
| Create a Board Game Table Area | $150 to $320 |
20. Add a Small Library Wall
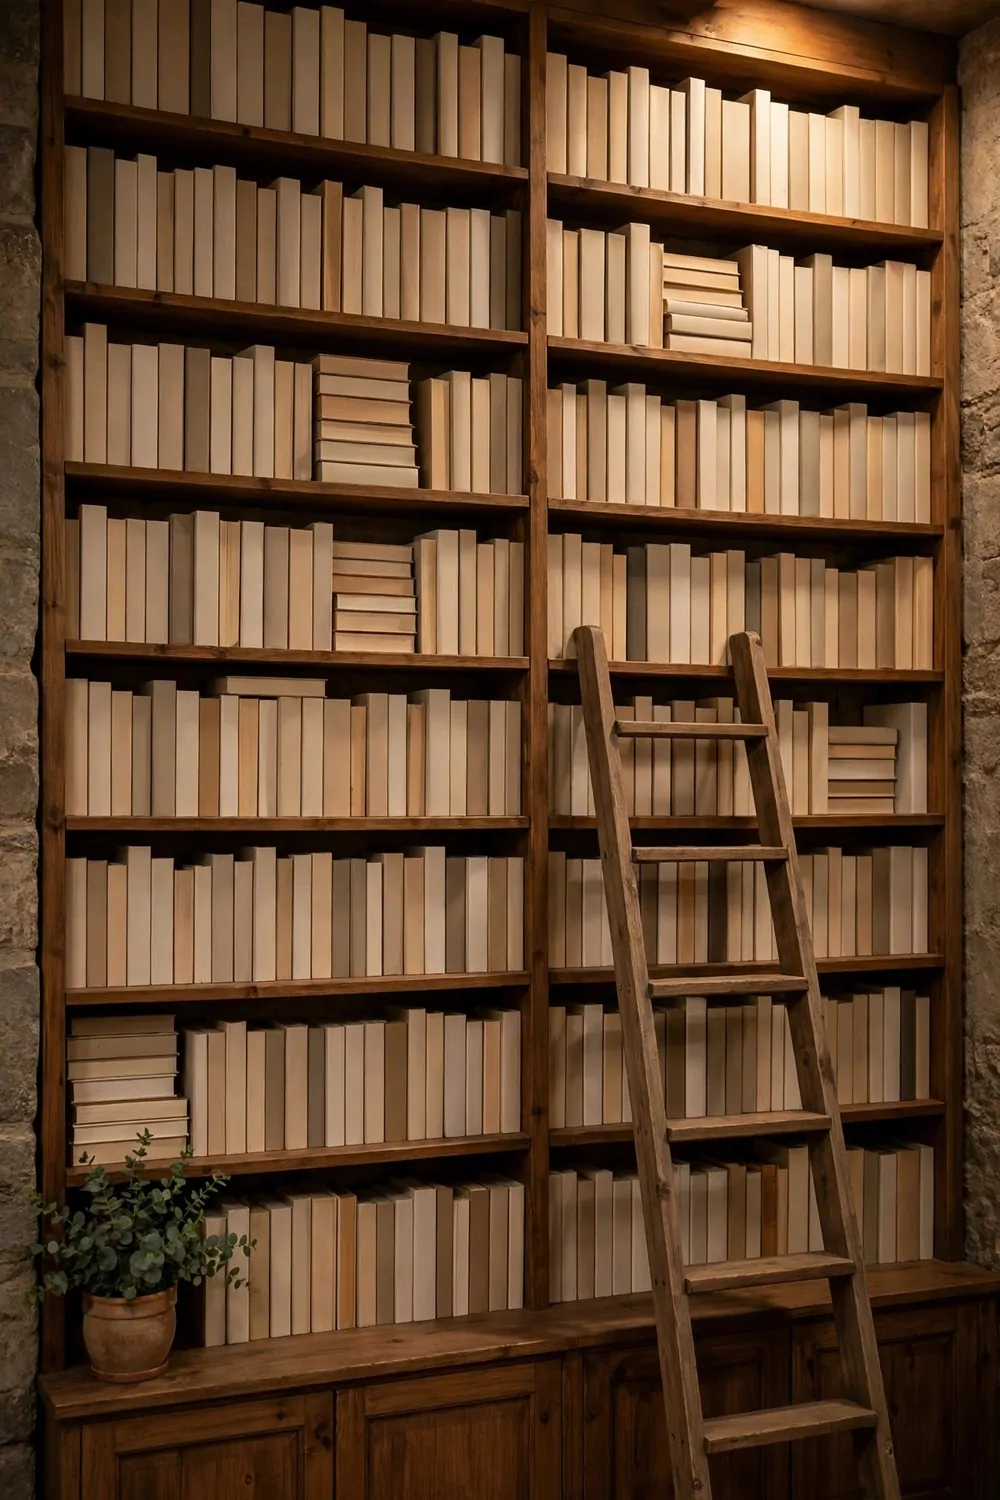
I always wanted a wall of books I could reach without a ladder. A small library wall in the basement gave me just that.
You start with low shelves, fill them with books you love, and let the wall grow over time.
I sort our books by type, so stories sit together and fact books sit together. You can sort by colour if that makes you smile more. The best system is the one you will actually keep up.
Leave one shelf half empty for new books and gifts. A full wall looks good, but a little space keeps it calm.
Add a small reading chair and a lamp at one end of the wall.
I put kids books on the lowest shelf so small hands can reach them alone. You can keep your own books at eye level where they are easy to grab. A few bookends stop the rows from leaning over.
A wall of low shelves filled with books often totals $140 to $300 if you start with plain shelves and add books you already own. You can build it up shelf by shelf as your book pile grows.
Keep books a little way off a cold wall so damp air does not touch the pages.
I dust the top shelf each week and turn a few books face out for a fresh look. You will find that tiny change makes the wall feel new again.
21. Fit a Dehumidifier to Keep the Air Dry
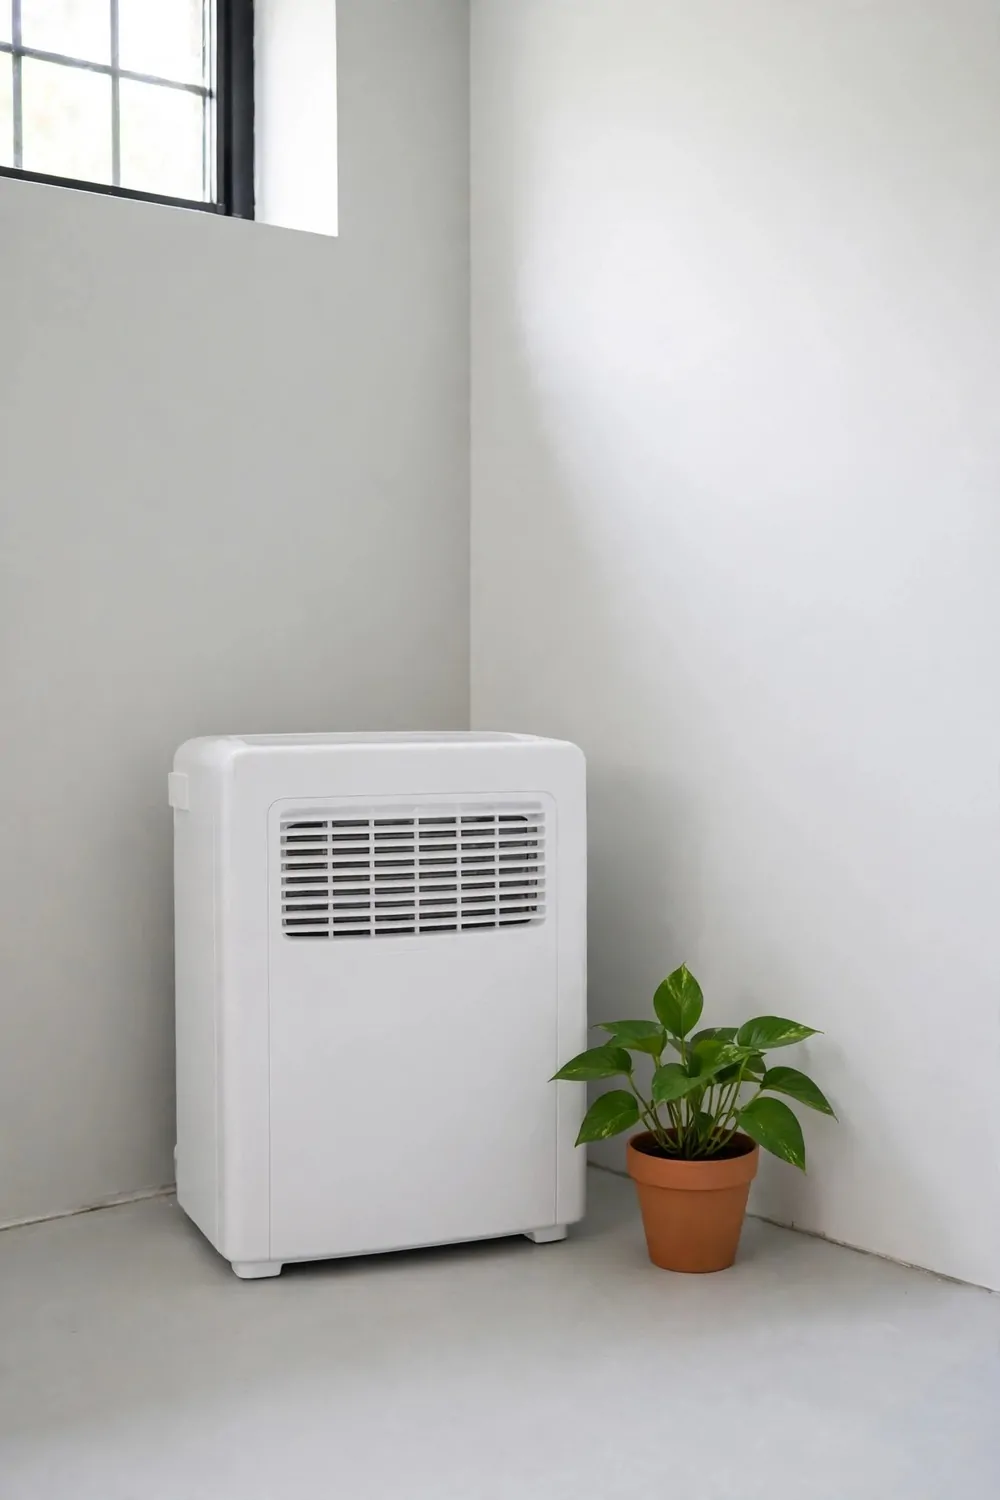
Our basement air used to feel heavy and stale in summer. I learned that damp air can make a room feel cold and smell musty.
A dehumidifier pulls extra water from the air and helps the room feel drier and fresher.
I run ours on damp days and empty the tank each morning. You can set it near the dampest corner, with space round it for air to flow. It hums softly while it works, and the air feels lighter after a few hours.
Pick a size that fits your room, not the biggest one you can find. A small room needs a small unit, and a big room needs a stronger one.
Put it where you can reach the tank with ease and where the cord does not cross a walkway.
I keep the windows shut while it runs so it does not pull in more damp air from outside. You can open a window on a dry bright day instead. That balance keeps the room feeling fresh without wasting power.
A good dehumidifier for a basement often sells for $180 to $350, and it uses power each day it runs. You can check the running cost on the box before you pick one.
A dehumidifier helps with damp air, but it does not fix a leak or a wet wall on its own.
I clean the filter with plain soap and water when it looks dusty. You keep the unit working well and the air stays fresh for longer.
22. Add Warm Wall Lights
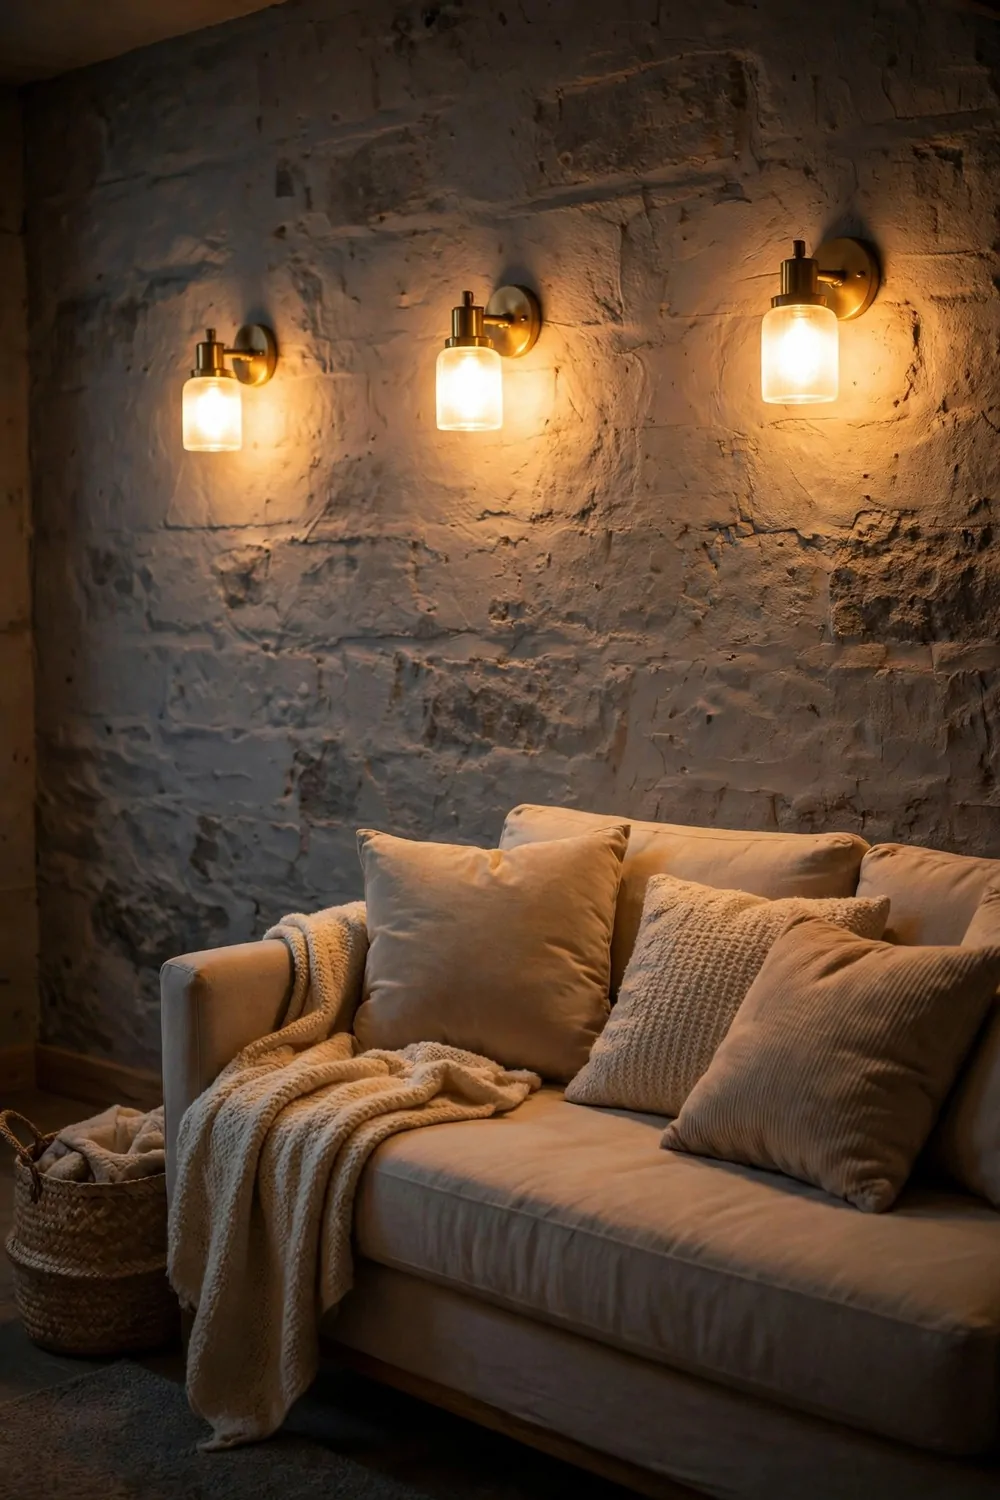
One bright light in the middle of the ceiling made our basement feel harsh. I swapped it for warm wall lights and the room felt soft at once.
You want a warm glow that fills the corners, not a hard white glare.
I put one light on each side of the main seating area. You can add a third near the desk or the reading corner. When the lights sit at eye level, the whole room feels calm and even.
Pick bulbs with a warm tone, the kind that looks like late sun through a window. Cool white bulbs can make a basement feel like an office, so I avoid them here.
Use a dimmer if you can, so you can turn the light low for a quiet evening.
I like lights with a simple shade that spreads the glow up and down the wall. You can pick plain shapes that suit any room style. A soft glow also makes the paint colour look richer in the evening.
A pair of warm wall lights with fitting often lands at $90 to $200 for the pair. You may pay a little more if you ask a skilled worker to fit them for you.
Keep the lights clear of shelves and tall plants so the glow is not blocked.
I turn the wall lights on first when I go down in the evening. You will notice the room feels warm and welcoming before you even sit down.
23. Create a Teen Hangout Spot
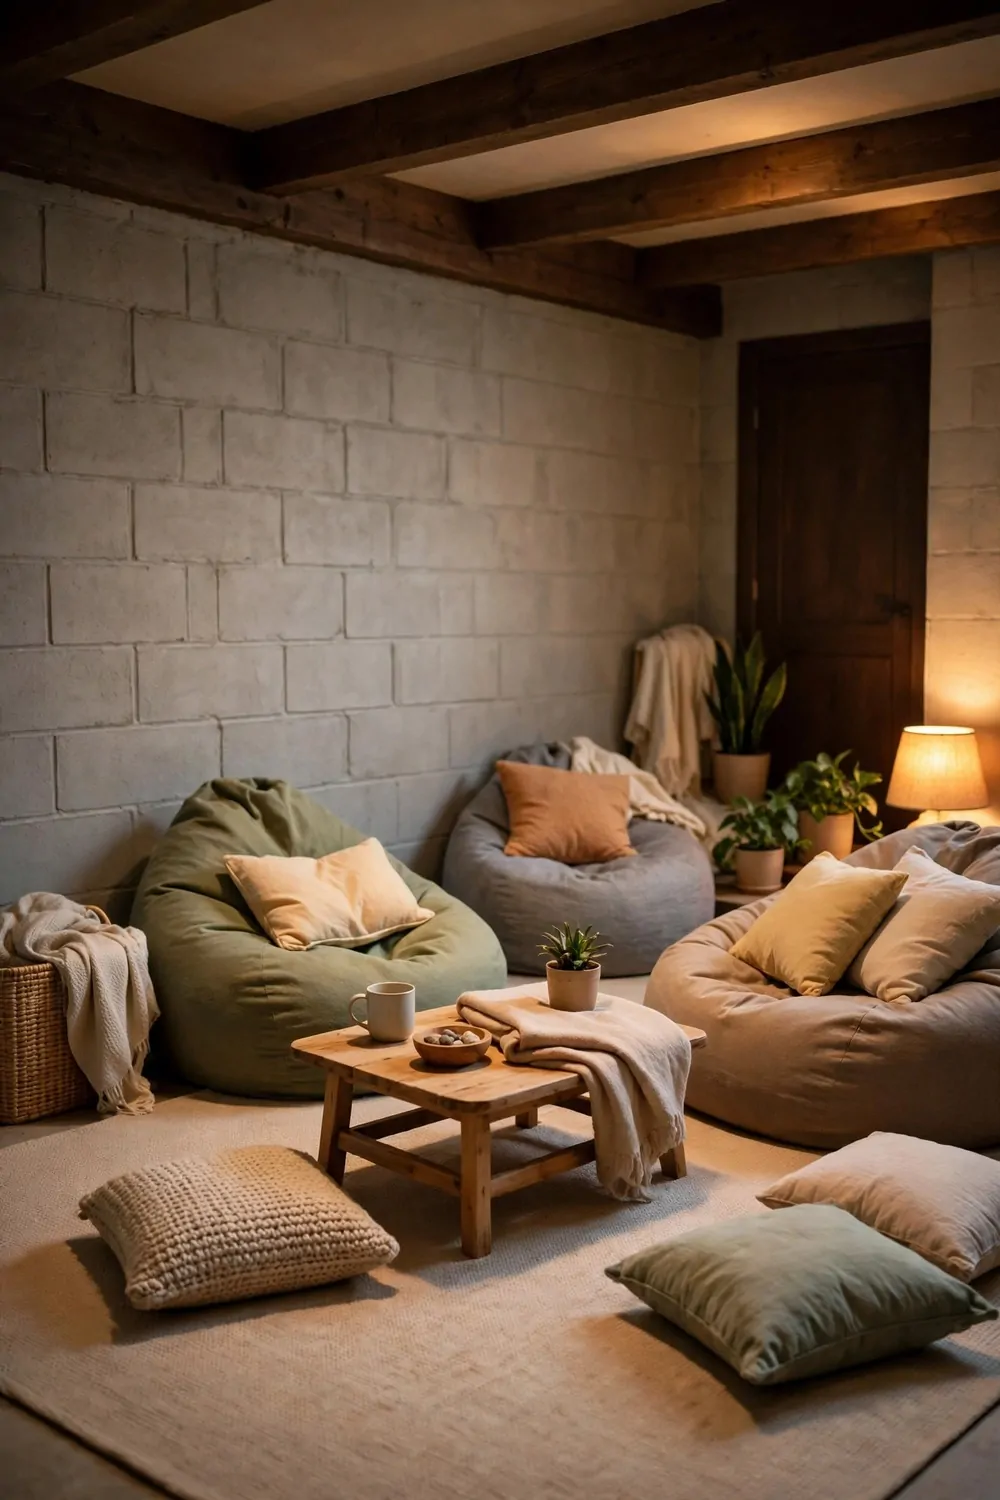
My teen wanted a place to sit with friends without taking over the living room. I gave them a corner of the basement and it worked a treat.
You need soft seats, a small table, and a spot to charge a phone.
I used a low sofa and a few big floor cushions so everyone can flop down. You can add a small rug to mark the corner as theirs. A low shelf holds books, games, and a few bits they like to keep close.
Let your teen pick the cushion colours and the wall art. When they choose it, they look after it far better.
Keep the lights warm and low so the corner feels relaxed after dark.
I set one clear rule that food stays on the table and cups go back upstairs. You can add a small bin so wrappers do not pile up. That one habit keeps the hangout spot fresh for the next visit.
A teen corner with a low seat, a small table and a few soft cushions often adds up to $200 to $450. You can start with cushions and a rug, then add the sofa later.
Leave a clear path to the stairs so no one trips over bags and shoes.
I check the corner once a week and put stray bits back where they live. You will find that a quick tidy keeps it a place they want to use.
24. Add a Sewing and Mending Corner
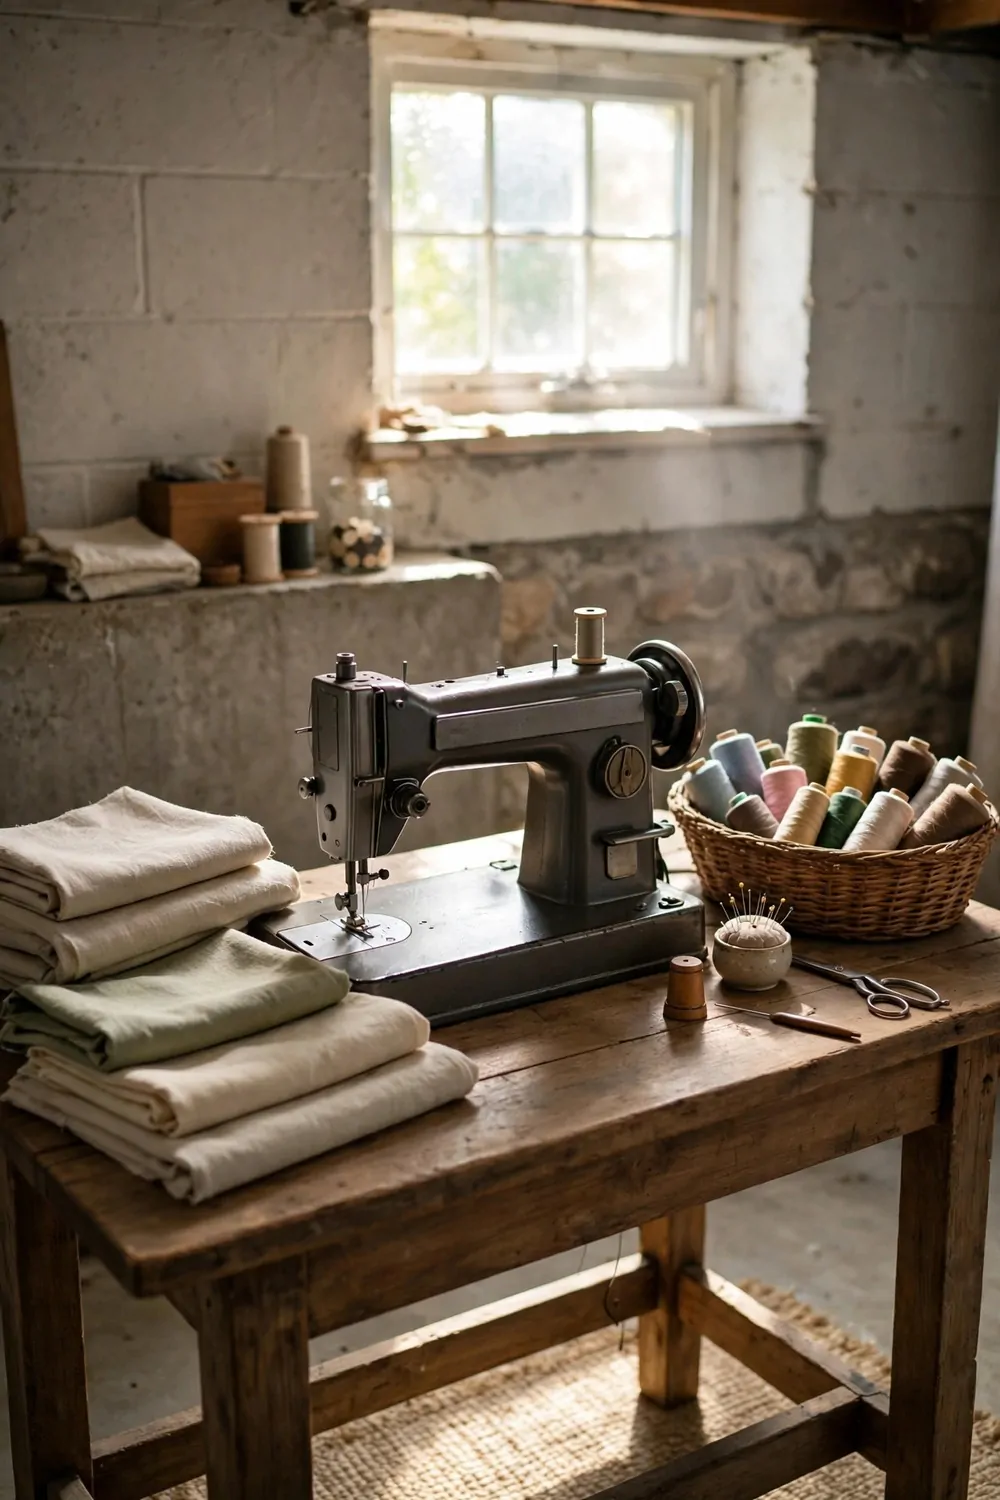
I used to mend clothes on the kitchen table and lose pins in the cracks. A small sewing corner in the basement gave me a place to leave a job half done.
You need a flat table, a good lamp, and a chair that lets you sit straight for a while.
I put my table near a wall so I can pin a small board up for notes and patterns. You can keep thread, needles, and buttons in small jars on the shelf. When each item has a spot, you spend less time hunting and more time sewing.
A bright lamp matters more than a fancy table. Good light lets you see small stitches and match thread colours with ease.
Add a small bin for fabric scraps so they do not end up all over the floor.
I keep a jar for buttons I save from old shirts. You can keep a box for zips and tapes too. Those small bits save a trip to the shop when a fix is urgent.
A sewing corner with a table, a good lamp and a few storage boxes often comes in at $130 to $290. You can use a table you already own and spend the money on light and storage instead.
Keep needles and pins in a closed box with a lid, high up if small kids use the room.
I fold each mended item at once and put it back in its drawer. You will be glad you did when the pile stays small and tidy.
25. Build a Pantry Overflow Shelf
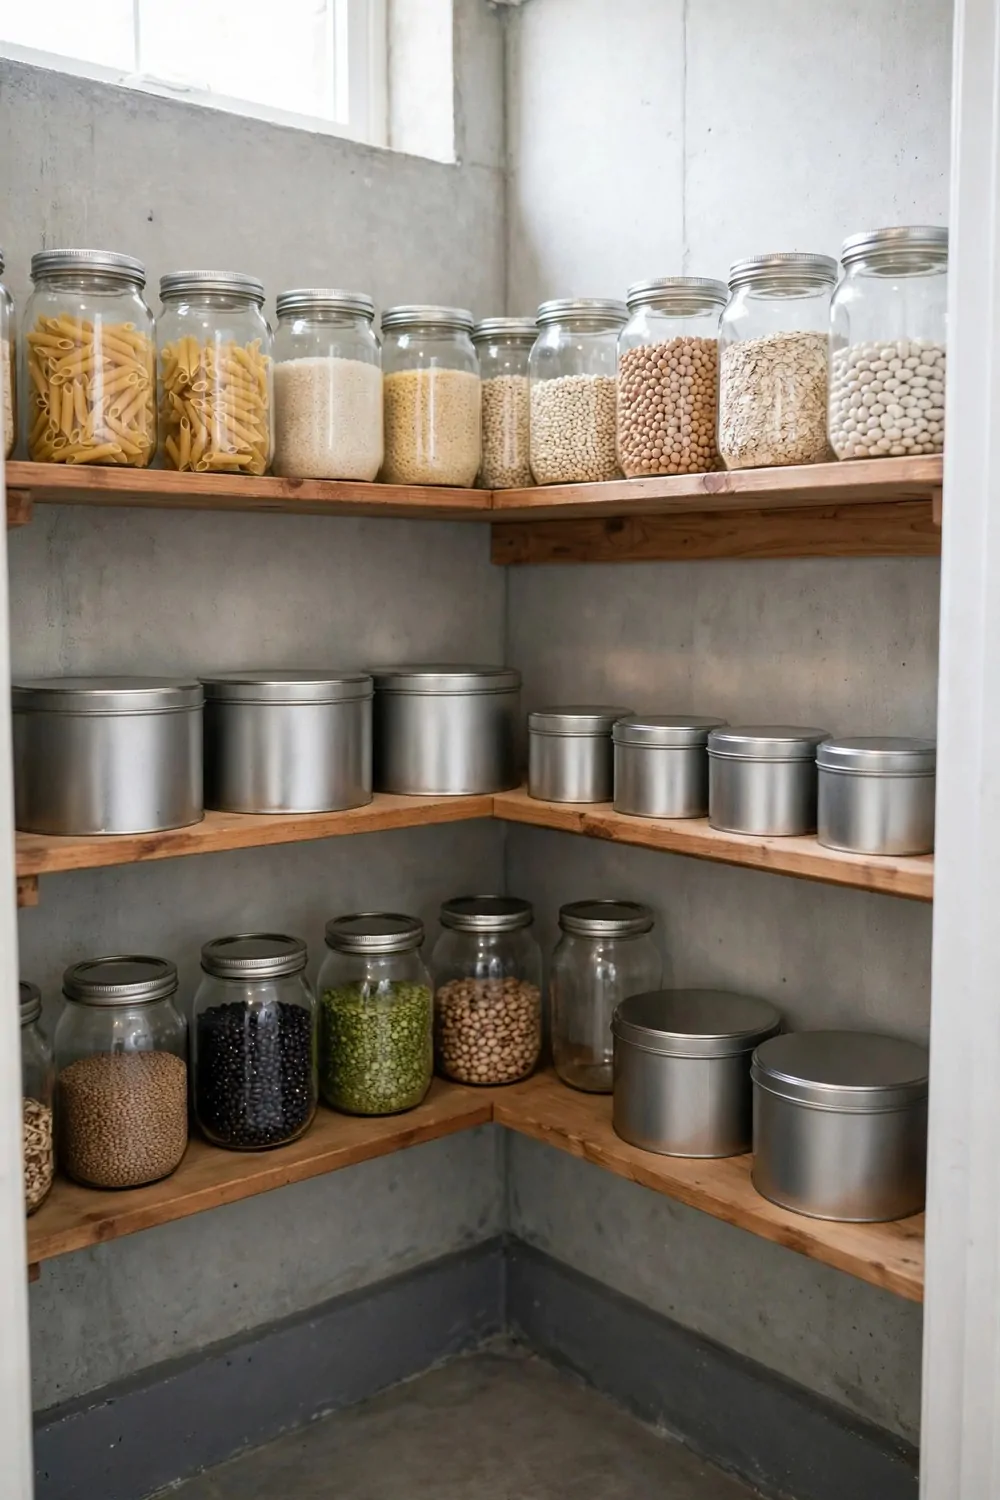
Our kitchen cupboards were full, yet the shops sell big packs that save money. I built a pantry overflow shelf in the basement for the extra food.
You need strong shelves that hold heavy jars and tins without bending.
I put the heavy tins on the lowest shelf where they are easy to lift. You can put light boxes and dry goods up high. Keep the things you reach for each week at eye level so you do not have to climb.
Clear jars let you see at a glance what is running low. I label each jar with plain words and a date so nothing sits there too long.
Leave a gap round the shelves so air can move and you can sweep behind them.
I keep spare rice, pasta, and tinned beans on one shelf together. You can keep cleaning goods on a separate shelf, far from food. That split keeps the shelf safe and easy to use.
A set of strong shelves for extra food and jars often costs $70 to $160 in parts. You can add more shelves later as your store of food grows.
Check the shelves once a month and bring up what is close to its date first.
I wipe the shelves with a damp cloth when they look dusty. You keep the jars clean and the food stays fresh for longer.
26. Add a Plant Corner with Low-Light Plants
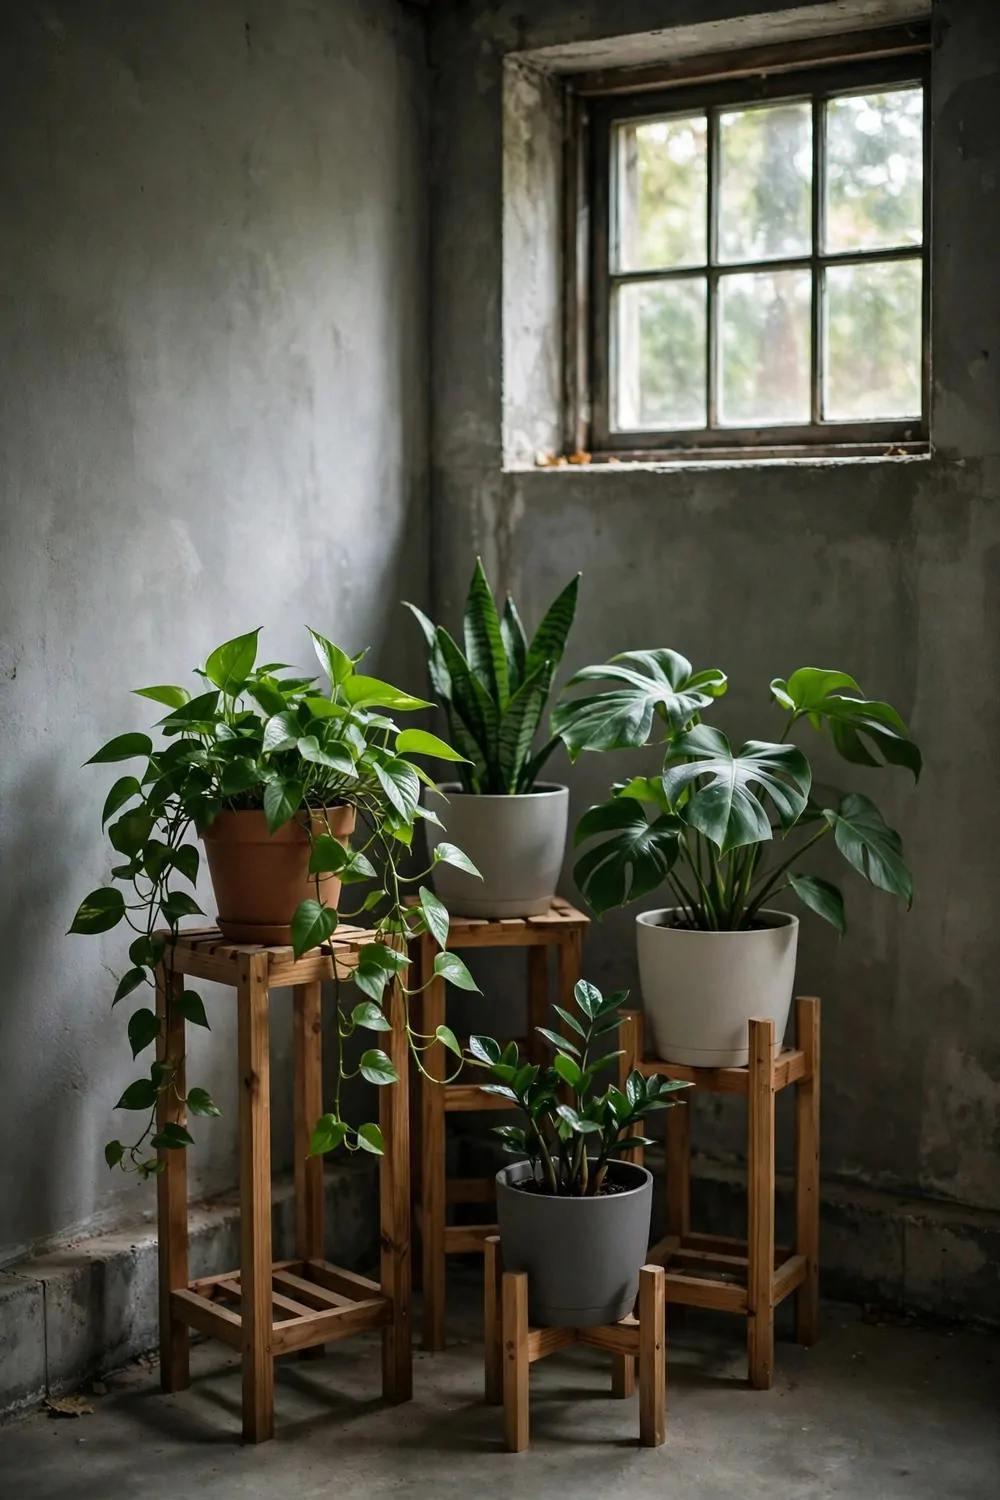
I thought plants would not last in a basement, but low light plants proved me wrong. A small plant corner now makes the room feel alive and fresh.
You want plants that like shade, not plants that need strong sun all day.
I started with three plants in plain pots on a low stand. You can add one more each month until the corner feels full. A mix of tall leaves and trailing leaves looks best to my eye.
Put the stand near the brightest wall, even if that light is soft. Plants still need some light, and a pale wall helps bounce it round the corner.
Water them a little at a time and let the soil dry a touch before the next drink.
I check the soil with my finger before I water, so I do not drown the roots. You can keep a small jug close by so watering is quick. If a leaf turns yellow, I move the pot a little closer to the light.
A plant corner with three low light plants and plain pots often totals $60 to $140 to start. You can swap cuttings with friends later and grow the corner for free.
Keep plants away from cold draughts and from the dehumidifier outlet so their leaves do not dry out.
I wipe big leaves with a damp cloth once a month so they can breathe. You will see the green look deeper and the corner feel fresher.
27. Create a Winter Coats and Boots Store
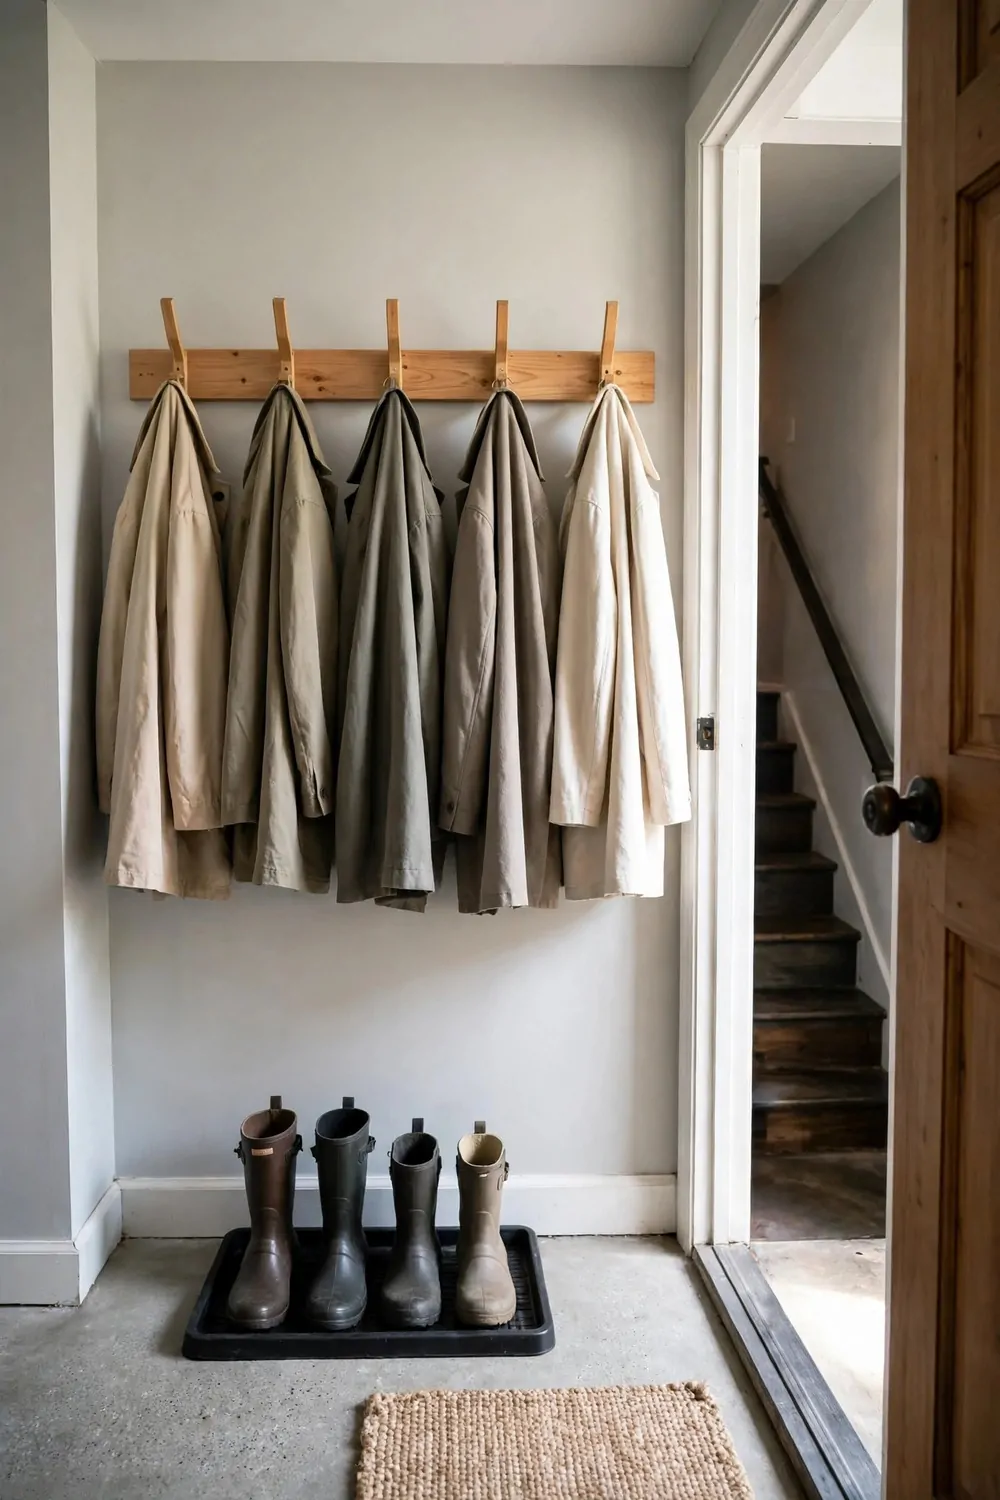
Coats and boots used to pile up by the back door every cold month. I made a store for them in the basement and the hall finally stayed clear.
You need strong hooks, a bench to sit on, and trays to hold wet boots.
I fixed a row of hooks at two heights so kids and grown ups both reach one with ease. You can hang one coat per hook so they dry faster. A bench under the hooks gives you a place to sit while you pull boots on.
Put a tray under each pair of boots to hold water and mud. When the trays are full, you tip them out and wipe them clean in minutes.
Add a basket for hats, scarves, and gloves so small bits do not get lost.
I keep one basket per person so each of us knows where our things live. You can add a small shelf above the hooks for spare hats. That one wall now holds all the cold weather gear in our house.
A coat and boot store with hooks, a bench and trays often runs $100 to $240 when you build it from plain parts. You can start with hooks and trays, then add the bench later.
Leave a gap under the bench so air can move and wet boots dry faster.
I check the store each week in cold months and hang up any coats left on the floor. You will find the hall stays tidy and mornings feel calmer.
28. A One-Weekend Basement Reset Plan
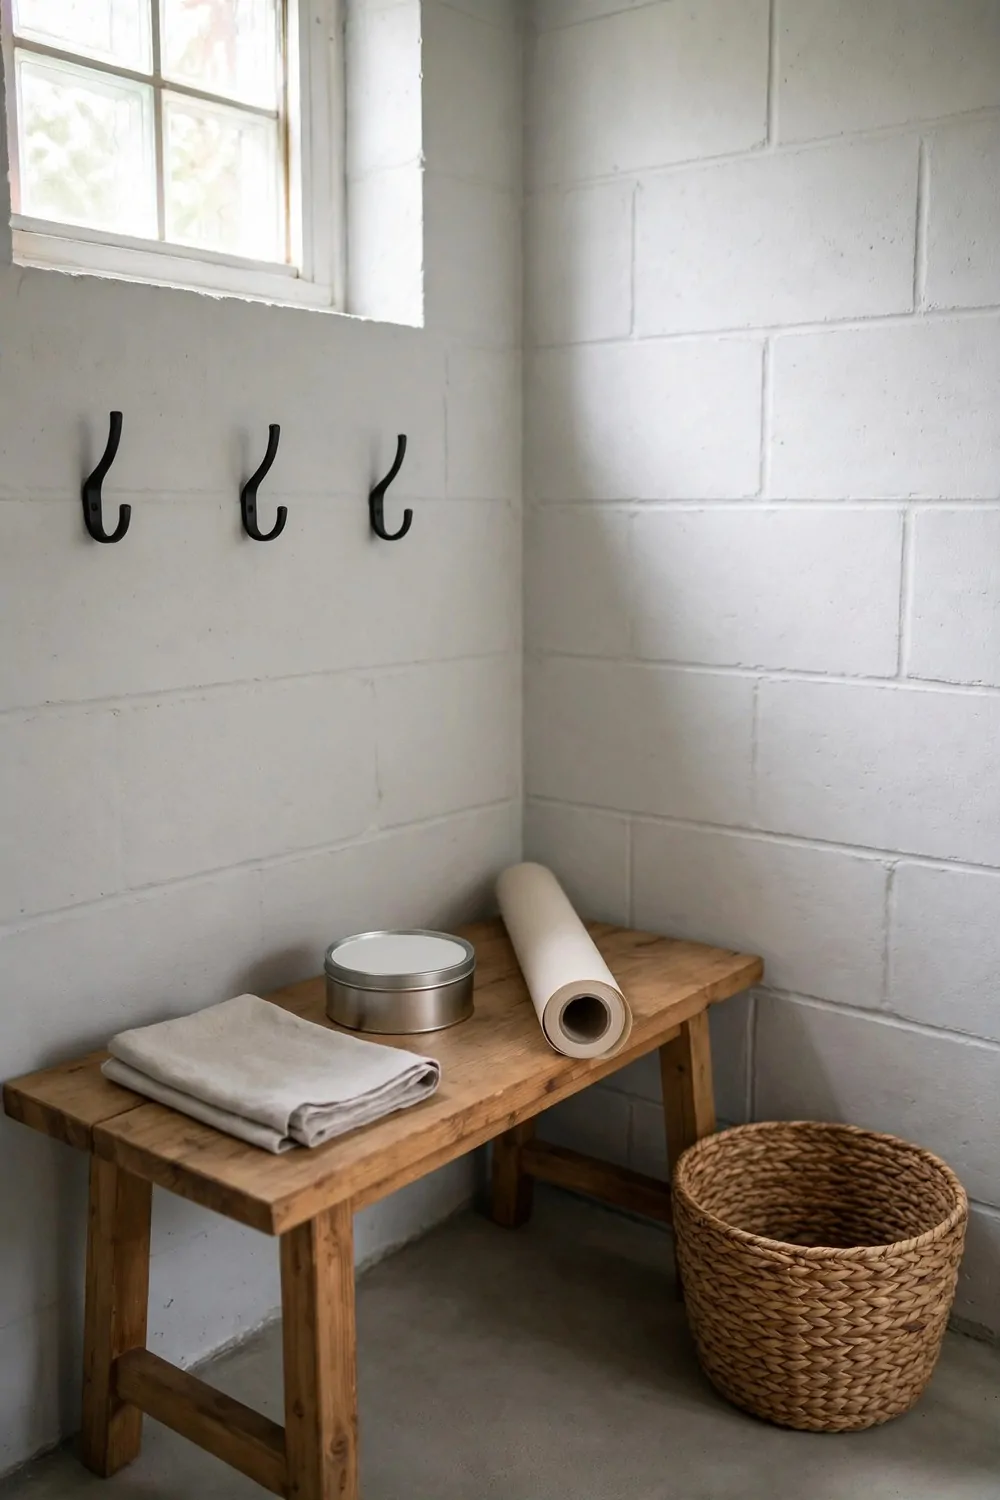
I like a plan I can finish in one weekend without stress. You start on Saturday morning, work in small jobs, and end on Sunday with a room that feels new.
A fresh tin of paint for one small wall is $15 to $30. You roll it on in the morning and let it dry while you do the next job.
A set of plain wall hooks is $10 to $18. You fix them by the stairs so coats and bags have a home at last.
A set of woven baskets is $15 to $30. You slide them on a low shelf to hold gloves, scarves, and small bits that used to pile up.
A small drying rack is $18 to $30. You set it in a dry corner so wet clothes and boots can air without dripping on the floor.
A roll of shelf liner runs $10 to $15. You cut it to fit the shelves and lay it flat so jars and boxes sit neat.
All five jobs together come to $68 to $123 in total. That is a small spend for a room that feels fresh and tidy.
I do the paint and the hooks on Saturday, then the baskets, the rack, and the liner on Sunday morning. You can take a long break in the middle and still finish by lunch on Sunday. A slow pace keeps the work fun and stops the weekend feeling like a chore.
I end the weekend by sweeping the floor and putting each thing back in its new home. You will walk down on Monday and smile at how calm the room feels now.
| Area | Main change | Typical cost |
|---|---|---|
| Paint | A fresh tin of paint for one small wall | $15 to $30 |
| Wall hooks | A set of plain wall hooks | $10 to $18 |
| Baskets | Woven baskets for the shelves | $15 to $30 |
| Drying rack | A small drying rack | $18 to $30 |
| Shelf liner | A roll of shelf liner | $10 to $15 |
| Total | Whole basement reset in one weekend | $68 to $123 |
Keep Reading
If you liked these ideas, you will love these posts too.
- 27 Small Bathroom Remodel Ideas That Look Expensive
- 30 Kitchen Remodel Ideas With Before and After Photos
- 25 Kitchen Renovation Ideas That Add Value to Your Home
- 33 Bathroom Renovation Ideas on a Small Budget
- 22 Laundry Room Remodel Ideas That Make Laundry Easier
- 28 Utility Room Organization Ideas for a Clutter-Free Home
Pick one small job this weekend, even if it is just a coat of paint on one wall or a new hook by the stairs. Try it and see how the room starts to feel. You will walk down those fourteen steps and smile at a basement that finally works for your family.