22 Macrame Ideas for Beginners That Look Beautiful

My first macrame piece was a small wall hanging I knotted on a wooden dowel, and I still keep it above my desk.
Here are 22 macrame ideas for beginners that turn plain cord, knots, and a little time into things you can hang or use at home.
I started with just one ball of cream cord and a dowel from my craft box. It felt slow at first, but the knots came easy once my hands learned the moves.
You do not need fancy tools to begin. A pair of scissors, a dowel, and some cord are enough for your first piece. I keep mine in a small basket by my chair.
Pick a spot with good light and take your time. I knot a little each evening while I rest.
If a knot looks wrong, I just undo it and try again.
These ideas start small and grow a bit bigger as you go. You can make one for your room, or one to give to a friend. Let us start with the easy ones first.
1. Tie a Small Wall Hanging for Your First Try
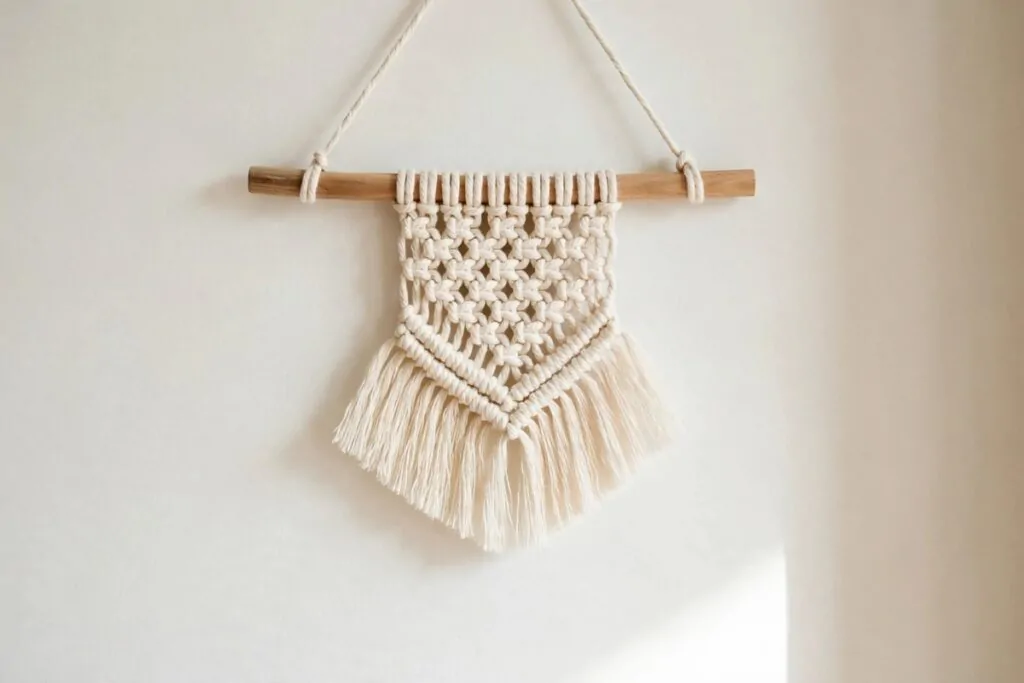
I tie my first small wall hanging on a short wooden dowel. The cord hangs down in a soft fringe, and the top knot holds it tight.
I use plain cream cord because it shows the knots so clear.
I start with a row of square knots across the top. Then I add a few loose knots below to make a soft shape. It feels good to see it grow a little each time.
You can hang it over a small shelf or by your bed.
I trim the ends with my scissors so they hang even. A little comb through the fringe makes it look soft and neat.
Cord and a dowel for one small wall hanging cost $3 to $5.
I like how it fills a bare spot without much work. It adds a warm touch to a plain wall in my room.
Try it on a weekend when you have a quiet hour.
I keep my first one above my desk as a small win. It reminds me that a few knots can make something pretty. Yours can be the start of a new hobby too.
2. Knot a Mini Wall Hanging with Wooden Beads
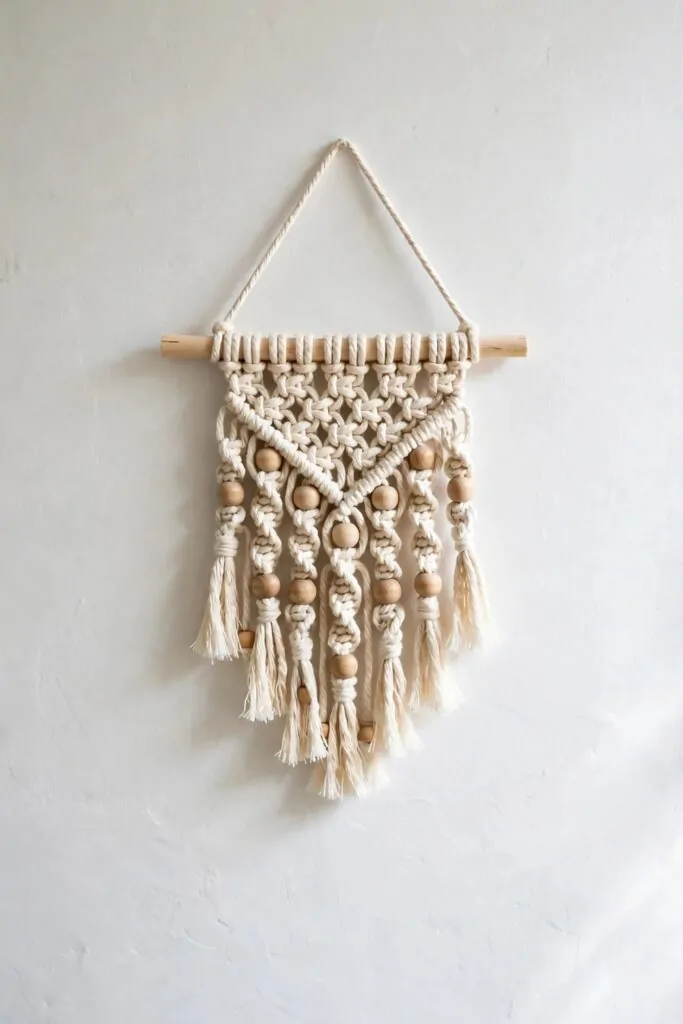
A mini wall hanging is a sweet way to try beads for the first time.
I thread a small row of wooden beads onto the cord before I tie the last knots. The beads sit in the middle and look warm against the cord. I pick beads in a plain wood tone so they match the cord.
A short dowel keeps the whole piece small and light. It hangs well on a narrow wall or a door.
One quiet evening is all you need to finish it.
I knot a set of square knots above the beads first. Then I add the beads, one at a time, and knot below them. It is slow work, but it feels calm and steady.
The fringe below the beads hangs soft and loose. I brush it out with my fingers so it falls straight.
Cord, a dowel, and a set of wooden beads for one mini wall hanging cost $4 to $6.
I hang mine near my mirror where I can see it each day. It makes a small corner feel more loved.
If a bead slips, I just push it back and tie a knot under it. That small knot keeps it in place for good. Your mini piece will look sweet even if it is not perfect.
3. Make a Large Wall Hanging for a Plain Wall
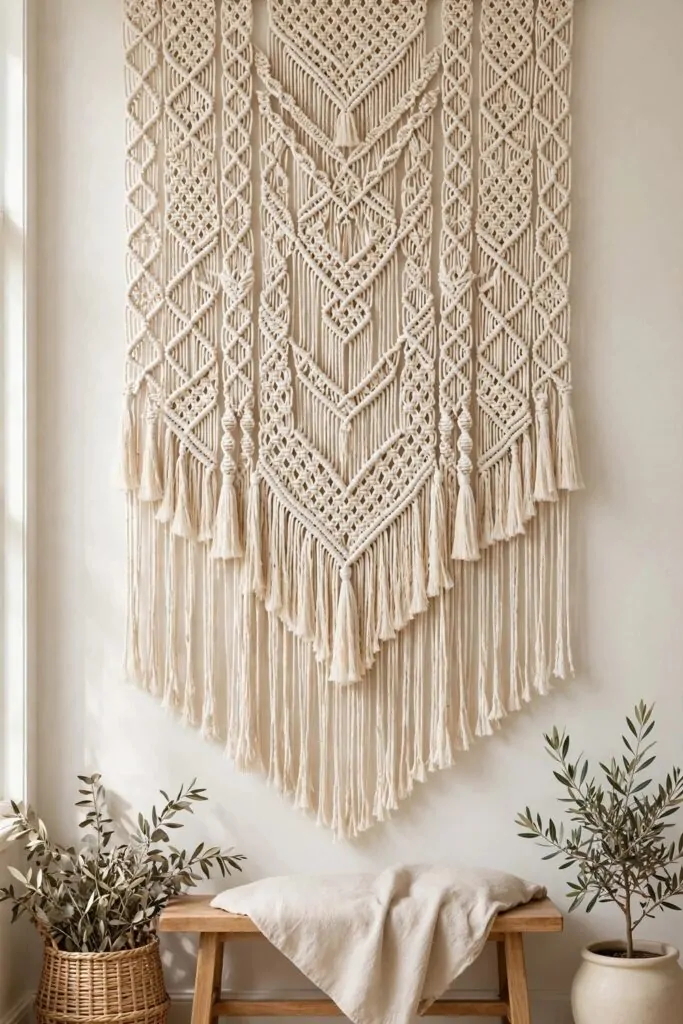
A large wall hanging can turn a plain wall into the best part of a room. I made mine with long strands of cream cord on a wide dowel. It took a few evenings, but I liked every bit of it.
I start at the top and work down in rows. Each row adds more shape to the piece.
You can stop when it feels full enough to you.
I leave the fringe long at the bottom so it hangs soft. A quick trim keeps the ends neat.
A large piece needs more cord than a small one, so I buy a big ball. I measure the strands against my arm to keep them even. That little trick saves me from cutting too short.
Cord and a wide dowel for one large wall hanging cost $8 to $12.
Mine sits over my bench where the wall was bare before. It makes the whole room feel warmer.
Ask a friend to hold the dowel while you tie the first knots. Two hands make the start much easier. Then you can work on it alone at your own pace.
A plain wall is the best place for a big soft piece like this.
4. Hang a Wall Hanging from a Wooden Dowel
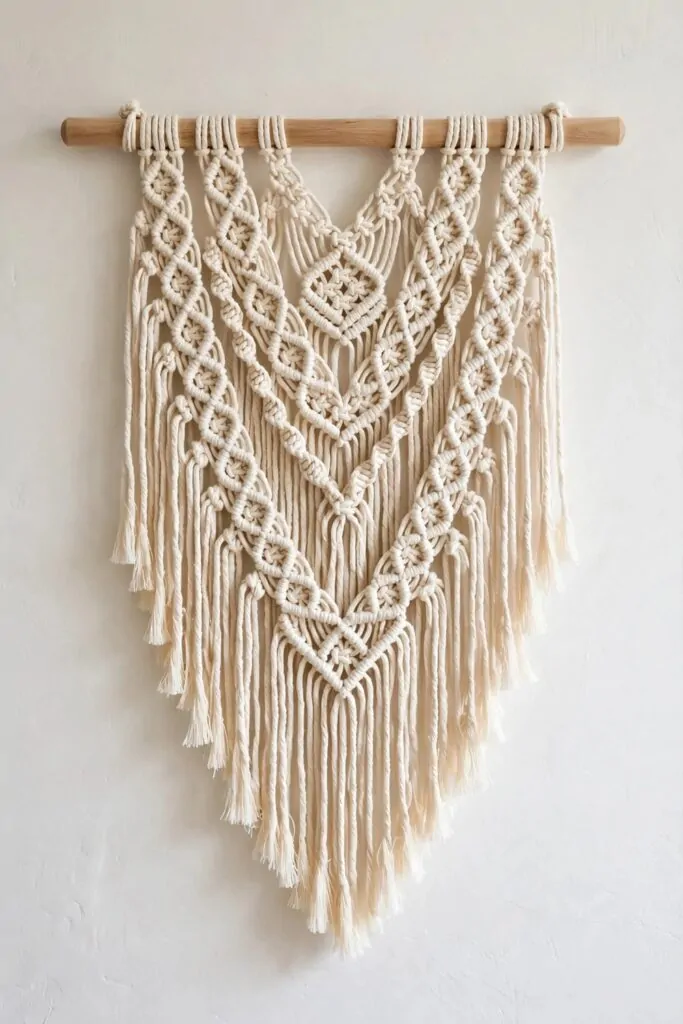
A wooden dowel is the easiest way to hang a macrame piece. It holds the cord straight and looks plain and warm.
I pick a dowel that is a bit wider than my knot work. That way the ends stick out a little on each side. I sand the ends smooth so no rough bits show.
You can hang it from a small hook or a nail.
I tie a cord loop at each end of the dowel. The loops let me hang it in seconds. If I want to move it, I just lift it off the hook.
A light wood dowel suits cream cord so well.
I keep the knots close to the dowel at the top. That keeps the piece neat and firm.
Cord and a wooden dowel for one wall hanging cost $3 to $5. I buy my dowels at a craft shop near my home. One dowel lasts for a whole piece, so the cost stays low.
My dowel piece hangs in my hall where guests see it first. It gives the hall a soft, warm feel.
A dowel makes a first project feel simple and doable.
5. Knot a Wall Hanging on a Natural Branch
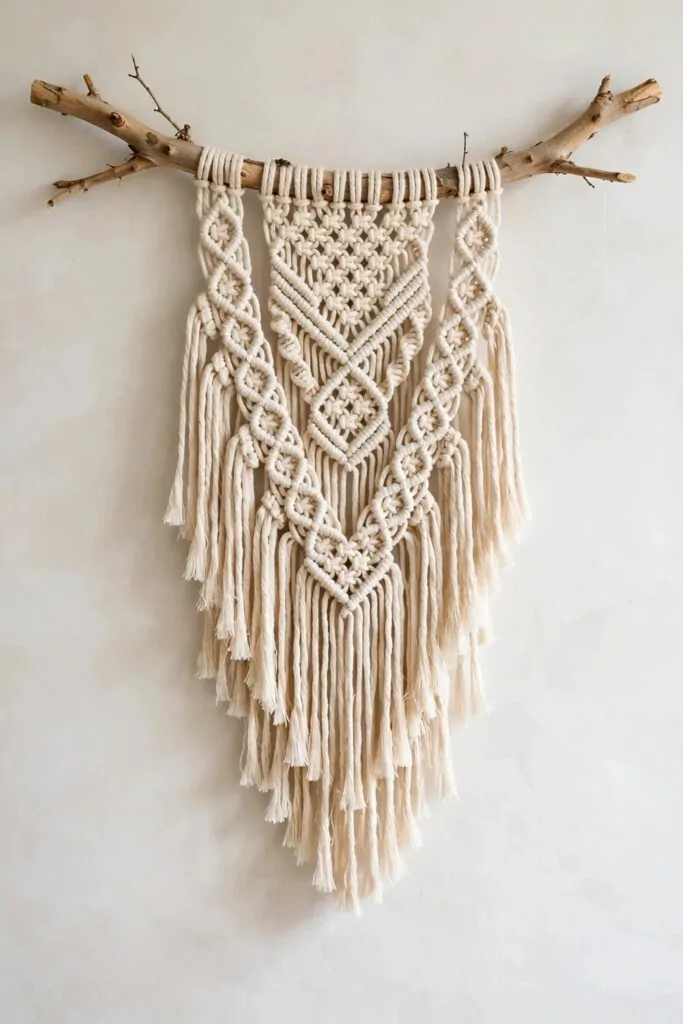
A natural branch gives a wall hanging a soft, outdoor feel.
I found my branch on a walk and let it dry by my door. It had a nice bend that made the piece look special.
I brush off the loose bark before I start. Then I tie the cord strands along the branch with simple knots. Each strand hangs down in a soft line.
The branch is a bit uneven, and I like that. It makes every piece look a little different.
You can hang it with a cord loop tied at each end.
Cord and a plain branch for one wall hanging cost $2 to $4. I found my branch for free on a walk. The cord is the only thing I had to buy.
I add a small row of knots near the top for shape. The fringe below stays long and loose.
Mine hangs in my bedroom over a small chair.
A branch piece feels calm and close to nature. It suits a quiet corner of your home.
6. Make a Macrame Wall Pocket for Letters
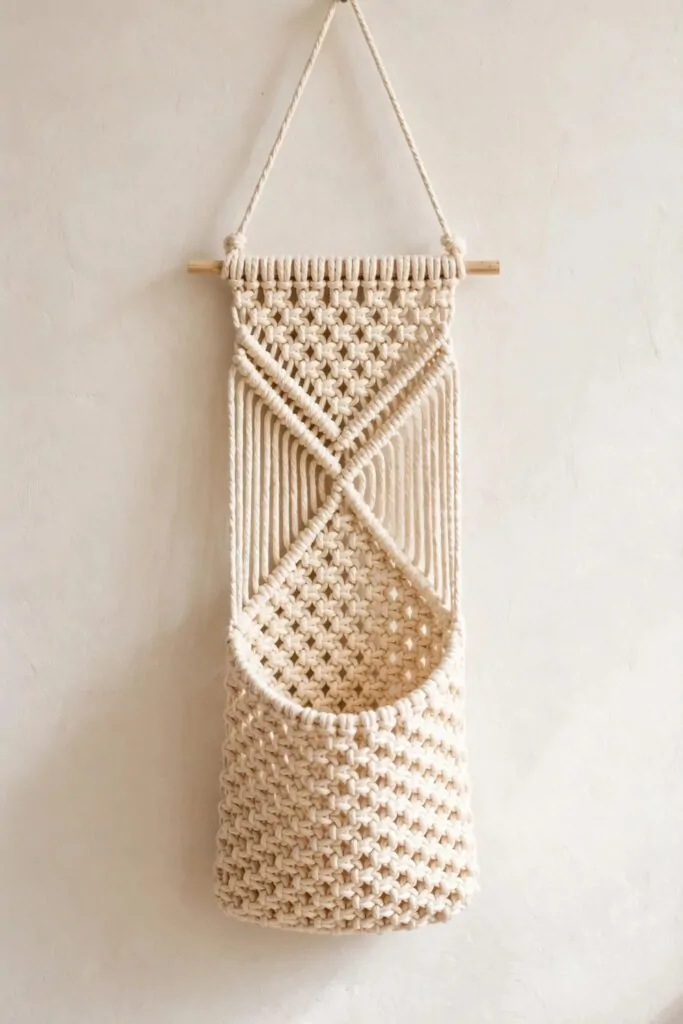
A macrame wall pocket holds letters and small notes in a pretty way. I made mine with cream cord and a short dowel. It hangs by my door so I see my mail each day.
The pocket is just a flat pouch of knots.
I knot the front a bit looser so letters slide in easy. The back stays flat against the wall.
I knot the bottom round and firm so the pouch keeps its shape. A plain finish suits the cream cord well. You can add a small bead at each side if you like a soft touch.
Cord and a dowel for one macrame wall pocket cost $4 to $7. Mine cost even less because I had cord left from an old project.
Hang it near your door or your desk.
I put my bills and notes in it so they do not get lost. It keeps my table clear, which I love. One pocket holds a good stack of letters.
A wall pocket is a useful first project.
Try one for your own door and see how it works for you. It is a small piece that earns its place fast.
7. Tie a Simple Plant Hanger for a Small Pot
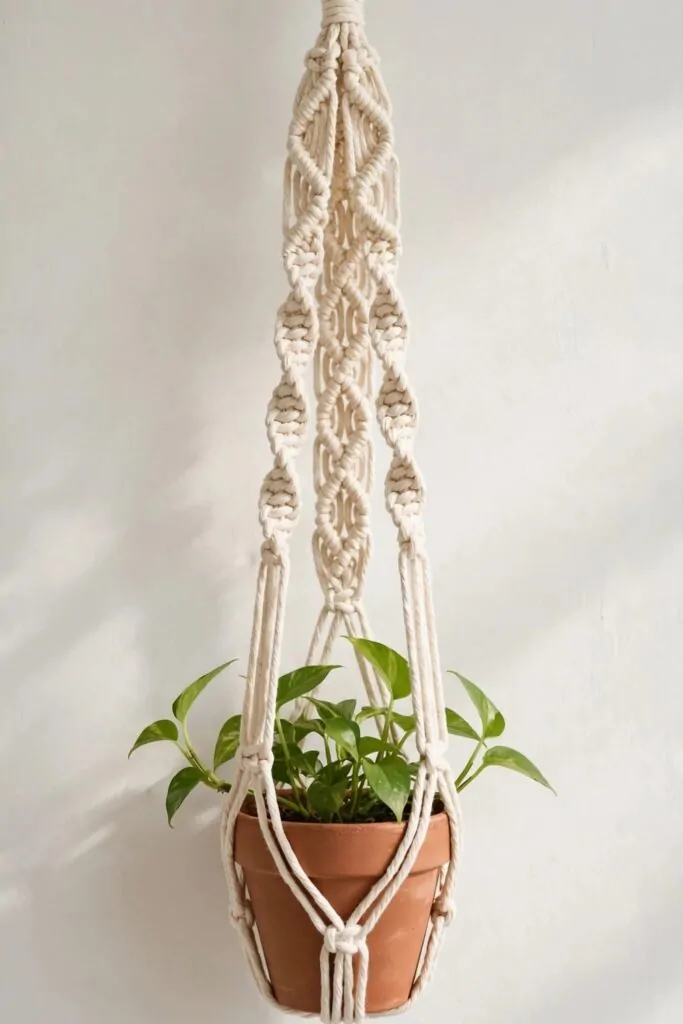
My first plant hanger held a small green plant by my window. I picked cream cord because it looked soft in the light.
You only need a ring, some cord, and a small pot to start.
I cut the cord into long pieces and tied them through the ring. Then I made a small row of plain knots down each side. The pot sat snug in the net I made at the bottom.
I hung mine from a small hook near the glass. It sways a little when I open the window, and I like that soft move.
Cord and a ring for one plant hanger cost $3 to $5.
If a knot looks loose, I pull it firm and check the pot again. A firm knot keeps the pot safe and level.
You can wash the cord in a bowl of cool water when it gets dusty. I let mine dry in the sun for an hour. Then I hang it back up and put the plant in again.
A small pot fits best when you are just learning.
I moved mine to a brighter spot last week, and the plant looks glad there. Try yours in a bright spot too and see how it grows.
8. Knot a Double Plant Hanger for Two Pots
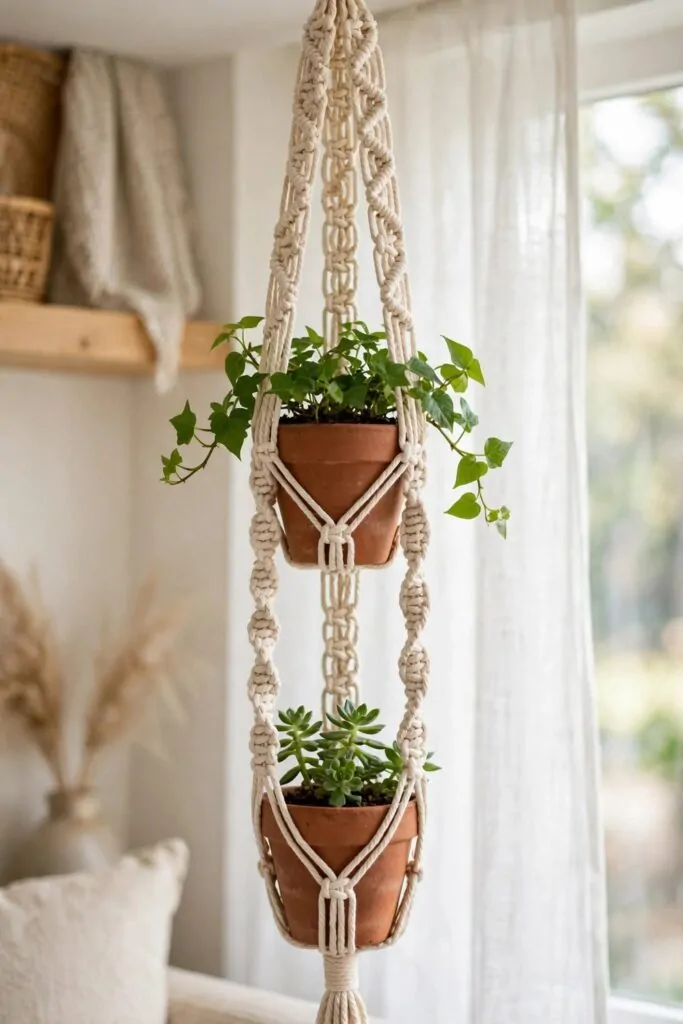
A double hanger holds two small pots in one long piece.
I tied the top pot first and left a long tail of cord below it. Then I made a second net for the lower pot.
Cream cord shows the knots well, so I could see each one as I worked. My hands got faster by the second pot.
You need a strong hook for this one because two pots weigh more than one. I checked my hook twice before I hung it up. A firm hook keeps both pots safe through the day.
Cord and two rings for a double hanger cost $4 to $6.
I put a small trailing plant in the top pot. The lower pot holds a small succulent with thick green leaves. Together they fill the corner by my door in a nice way.
Water the top pot slow so it does not drip on the lower one. I hold a small cup under it while it drains.
Leave a bit of space between the pots so each plant gets light.
My friend asked me to tie one for her kitchen, and I said yes with a smile. We picked her cord together at the shop. Now her two pots hang by her sink and look fresh each morning.
9. Make a Hanging Shelf with Macrame Cords
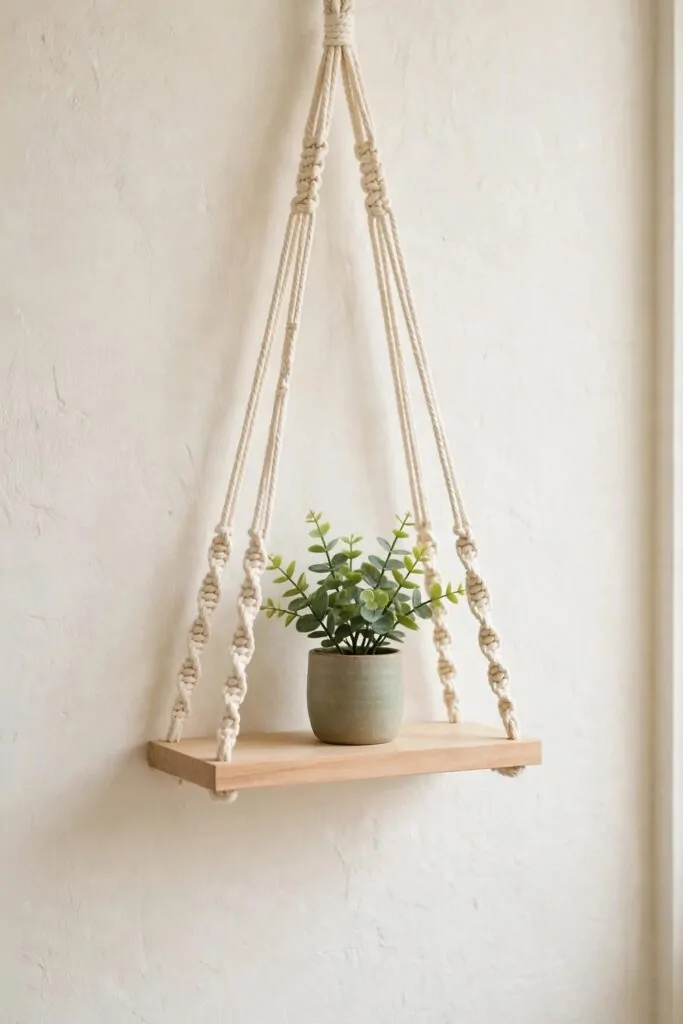
A hanging shelf gives you a small place for a jar and a book. I tied mine with thick cord and a flat piece of light wood. It hangs by my desk and holds the bits I reach for most.
You tie a set of cords to a dowel and knot them round the shelf.
I measured the cord twice so both sides would hang level. A level shelf keeps things from sliding off.
Cord, a dowel, and a wood shelf cost $6 to $9.
First I knotted the front cords and pulled them firm. Then I tied the back cords the same way. When all the sides felt firm, I set the shelf on the knots and checked it with my hand.
I keep a small green plant on my shelf. It saves space on my desk and looks neat from the door.
Hang it where you can reach it without a chair.
If the shelf tips a little, I shift the cords till it sits flat. A flat shelf feels safe and looks tidy.
You can change what sits on it with the seasons and keep it fresh. I swap my jar for a small vase in spring and enjoy the change.
10. Tie a Curtain Tieback with a Simple Knot
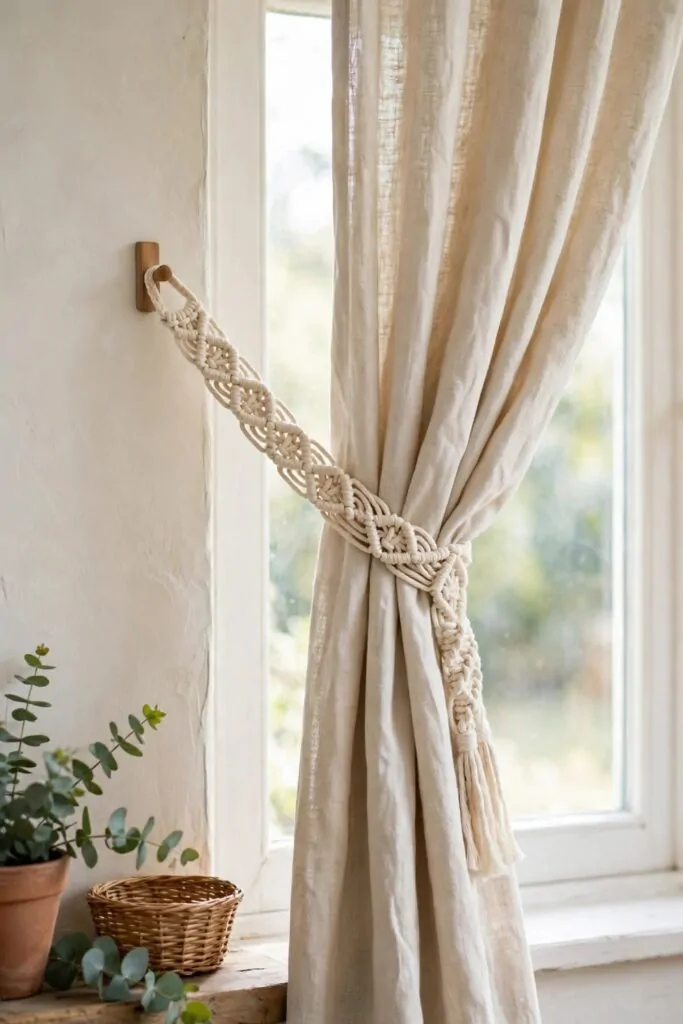
A tieback pulls your curtain to one side and lets more light in. I tied mine with cream cord and a plain knot.
I looped the cord round the curtain and tied a plain knot at the front. The knot holds all day and comes undone with one pull. You can tie it again each morning in a few seconds.
It takes less cord than a big wall piece, so it is a good first knot to try.
Cord for one tieback costs $2 to $4. That low price makes it easy to tie one for each side of a window.
I hung the tieback on a small hook beside the frame. The curtain bunches soft at the side and stays out of my way. In the evening I undo the knot and let the curtain fall shut.
Pick a cord that matches your curtain or stands out a little.
My curtain used to drag on the floor when I opened it wide. Now the tieback keeps it neat and off the floor.
You can add a fringe end if you like a soft finish. I trimmed mine short so it would not brush the sill. A short fringe looks tidy and stays clean longer.
Try it on a light curtain first and see how the room feels.
| Idea | Main change | Typical cost |
|---|---|---|
| Tie a Small Wall Hanging for Your First Try | Tie a small wall hanging with plain cord | $3 to $5 |
| Knot a Mini Wall Hanging with Wooden Beads | Knot a mini wall hanging with wooden beads | $4 to $6 |
| Make a Large Wall Hanging for a Plain Wall | Make a large wall hanging for a plain wall | $8 to $12 |
| Hang a Wall Hanging from a Wooden Dowel | Hang a wall hanging from a wooden dowel | $3 to $5 |
| Knot a Wall Hanging on a Natural Branch | Knot a wall hanging on a natural branch | $2 to $4 |
| Make a Macrame Wall Pocket for Letters | Make a macrame wall pocket for letters | $4 to $7 |
| Tie a Simple Plant Hanger for a Small Pot | Tie a plant hanger with plain cord | $3 to $5 |
| Knot a Double Plant Hanger for Two Pots | Knot a double hanger for two pots | $4 to $6 |
| Make a Hanging Shelf with Macrame Cords | Tie a hanging shelf with cord and wood | $6 to $9 |
| Tie a Curtain Tieback with a Simple Knot | Tie a curtain tieback with a plain knot | $2 to $4 |
| Total | $39 to $63 |
11. Knot a Table Runner for Your Dining Table
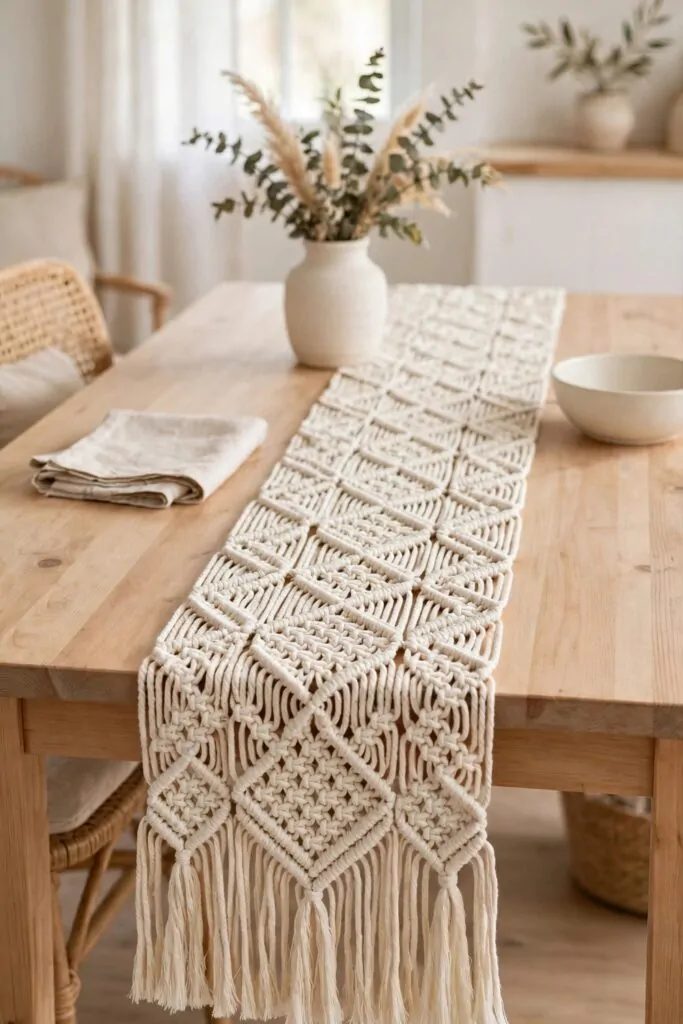
A table runner runs down the middle of your table and makes meals feel special.
I knotted mine with cream cord in a flat row of plain knots. It took me a few evenings to finish, and I worked a little each night. The slow pace helped me keep each knot neat and even.
You start with a long dowel or a straight stick and tie the cords on in a row. Then you knot down the length till it fits your table.
I measured my table first so the runner would not hang too far over the ends. A runner that fits well looks neat from every chair. If yours runs long, you can trim the fringe and even it out.
Cord for one table runner cost $5 to $8.
I lay mine out for family meals and fold it away after. It shakes out easy and lies flat again in a minute.
A plain vase sits in the middle when we eat, and the runner frames it well. I keep the ends clear so plates have room. Guests often ask where I got it, and I smile when I say I tied it myself.
Wash it gentle in cool water and dry it flat on a towel. It keeps its shape best when it dries flat.
Start with a short runner if a long one feels too big for your first try.
12. Make a Set of Macrame Coasters
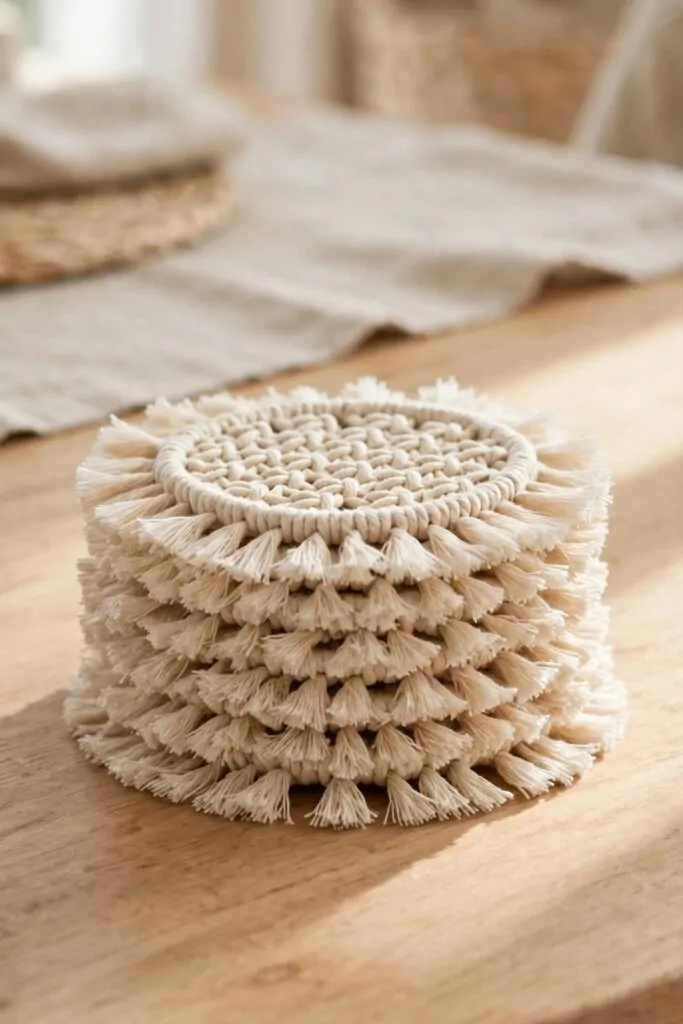
A set of coasters keeps rings off your wood table and looks sweet under a cup. I tied mine with cream cord in small round shapes. They sit by my cups and I reach for one each time I sit down with tea.
You tie a small ring of knots and work out in a flat round shape. Each coaster takes only a short length of cord.
They are quick to finish, so you can tie a full set in one afternoon.
Cord for a set of coasters cost $3 to $5. I tied mine while I sat by the window in the afternoon. A short rest between each one kept my hands from getting tired.
I trim the fringe round the edge so each coaster lies flat. A flat coaster holds a cup steady and will not wobble.
Give a set to a friend and keep a set for your own table.
My cups leave no marks now, and the table stays clean through the day. I wash a coaster in cool water when it gets a spot on it. Then I lay it flat to dry and use it again the next day.
A round shape fits most cups and mugs with ease.
You can tie yours in any plain colour you love and match your room. I like how the cream cord warms up my plain wood table.
13. Tie a Macrame Key Ring for Your Keys
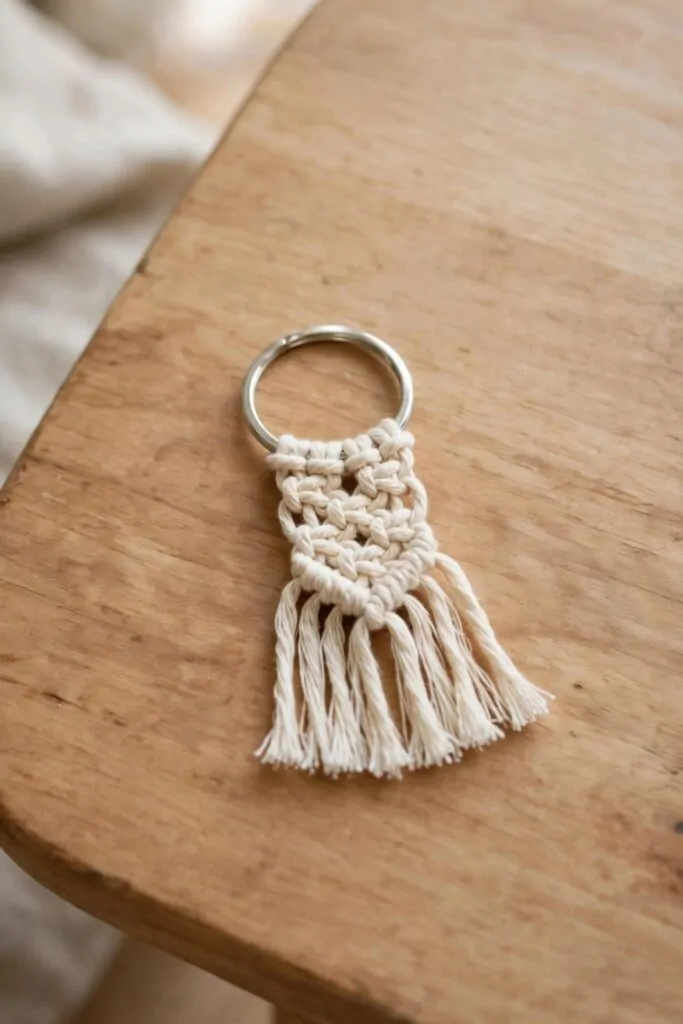
A key ring is a small job that feels good to finish.
You can tie it in one short sit-down and use it the same day. I picked a plain metal ring and a soft cream cord for mine.
Cut a few lengths of cord and fold each one over the ring. Pull the loose ends through the loop and tug them snug. The cord hangs down in a neat little fringe when the loops sit tight.
Tie a small row of square knots under the ring. Keep the knots even so the front looks tidy from every side.
Cord and a ring for one key ring cost $2 to $3.
Trim the ends straight with sharp scissors. A short fringe looks clean and does not get in the way.
Slide your keys onto the ring and give it a little shake. The knots should hold firm and the ring should feel light in your hand. If one knot looks loose, pull it tight before you head out.
I keep mine by the front door so I can grab it fast.
You can make one for a friend in the same plain colour. It is a small gift that gets used every single day.
14. Knot a Simple Macrame Bracelet
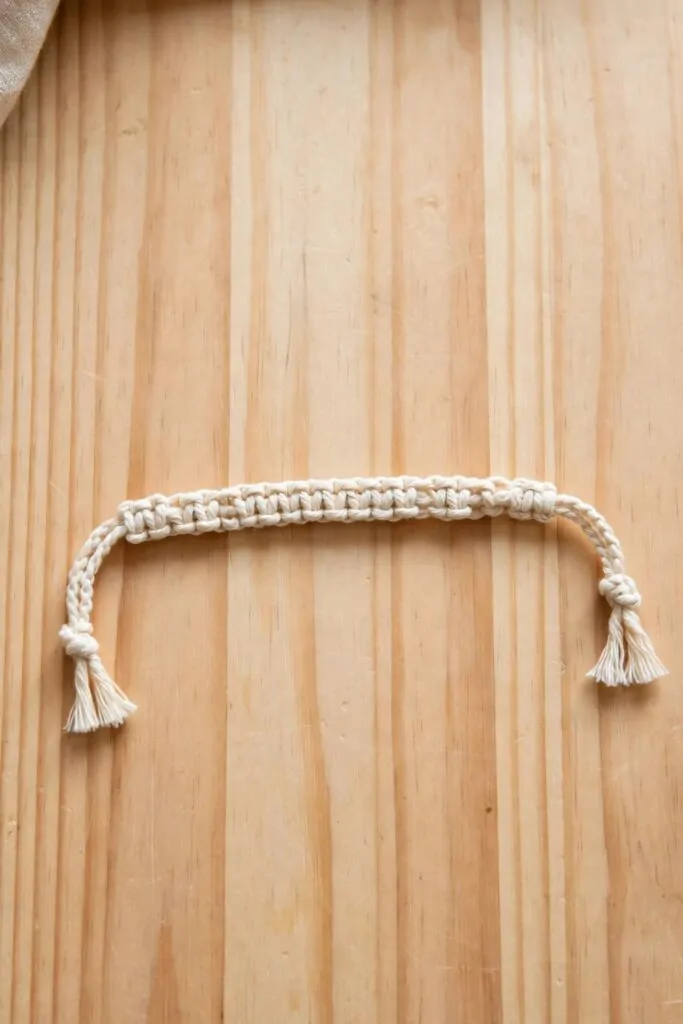
A macrame bracelet is soft on your wrist and fun to tie.
Cut a long length of cream cord and a short one too. Fold the long cord in half and use it as the base for your knots. The short cord wraps round it and makes the pattern grow.
Tie a small row of square knots down the middle. Stop when the band fits round your wrist with a little room.
Cord and a small bead for one bracelet cost $2 to $4.
Leave a loop at one end and a small knot at the other. The loop slips over the knot and holds the bracelet shut.
I tied a small knot at each end on mine. It gives the band a plain finish and feels smooth to touch. You can leave yours plain if you like it simple.
Trim the loose ends close and tidy the fringe with your fingers.
Try it on and check that it does not pinch your skin. The knots should sit flat and the band should bend with your wrist. Wear it with plain clothes and it still looks sweet.
You can tie a second one in a new colour when you feel brave. Each one takes less time than the first.
15. Make a Macrame Bag Charm for Your Tote
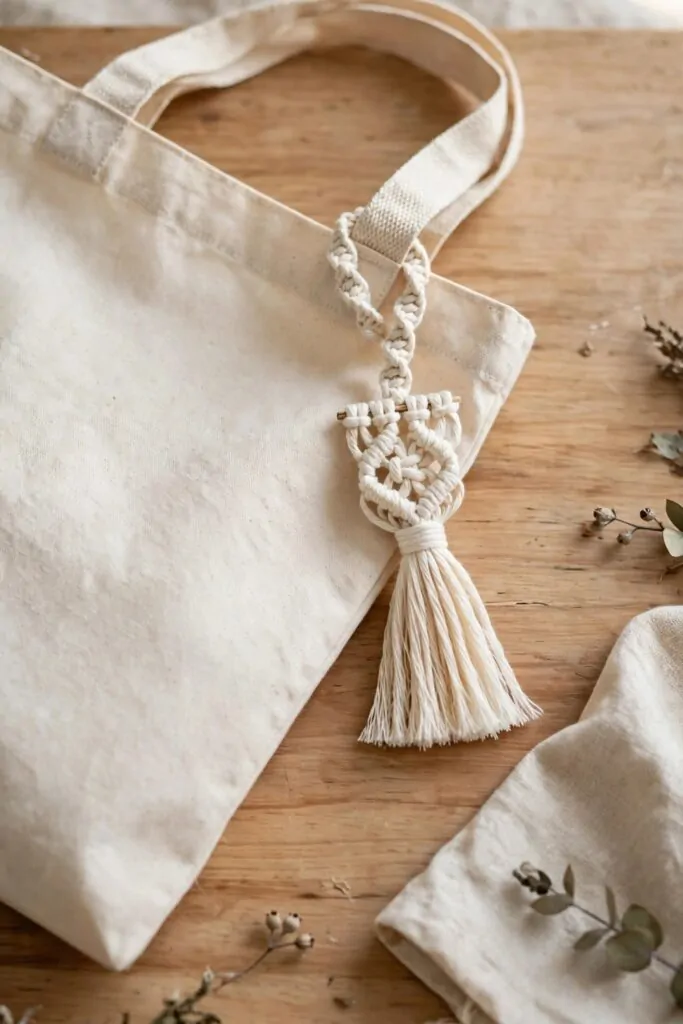
A bag charm is a tiny knot piece that hangs from your tote. It adds a soft touch without much work at all. I tied mine in cream cord so it suits my bag.
Fold a few cords over a small wooden ring. Pull the ends through and tug the loops tight.
Tie a small row of knots down the front and keep them even.
Add a short fringe at the bottom and trim it straight. The fringe moves a little when you walk and looks soft. Leave it plain so the knots stay the star of the piece.
Tie a loop at the top so you can hang it from a strap. A strong knot keeps it safe when the bag swings.
Cord and a ring for one bag charm cost $2 to $3.
Clip it on and step back to see how it hangs. It should sit flat and not twist round the strap.
I swap mine between my tote and my market bag. It takes a second to move and it makes both bags feel new. You can keep yours on one bag all week if you like.
A small charm is a sweet way to use up short cords.
16. Tie a Macrame Bookmark for Your Book
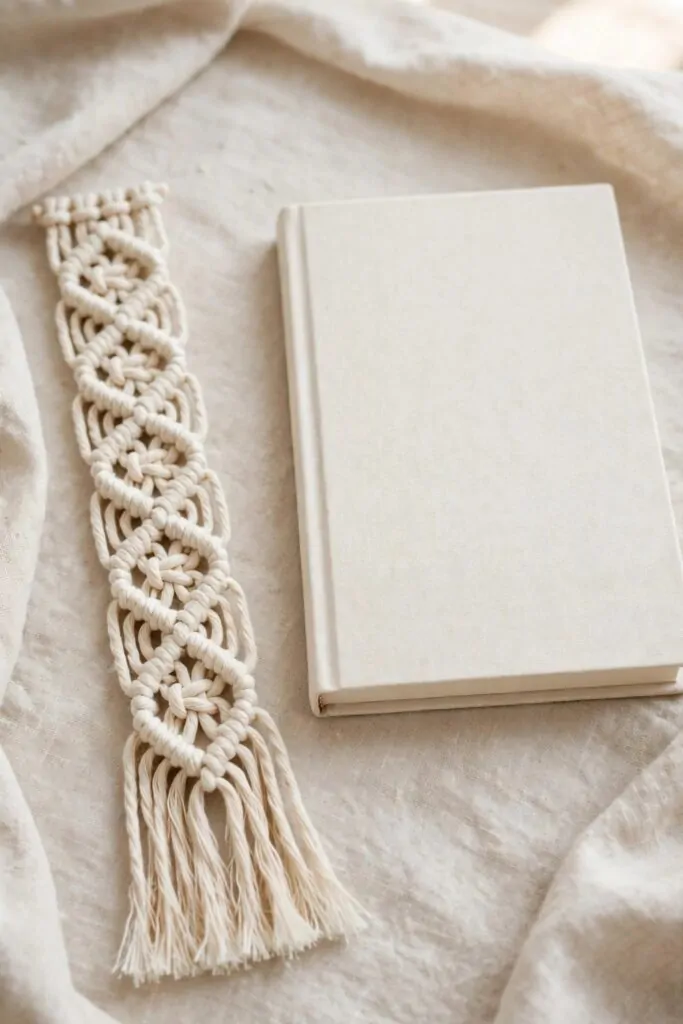
A macrame bookmark is a slim strip of knots that marks your page. You can tie it in an evening and use it in any book.
Cut a set of cream cords to the same length. Fold them over at the top and pull the ends through. The top fold holds the cords tight at the top of the strip.
Tie a small row of square knots down the strip.
Keep the knots snug so the strip stays slim and flat. A flat strip will not bend the pages of your book.
Leave a short fringe at the bottom and trim the ends neat. The fringe hangs soft at the end of the strip and helps you find your place. I like mine short so it does not tangle in my bag.
Lay the strip between the pages and it stays put. Or you can keep it beside the book till you need it.
Cord for one bookmark costs $1 to $2.
Mine lives beside the book I read at night. It saves my place and it looks sweet peeking out the top when I use it.
You can tie one in a soft colour to match your book cover. It makes a kind gift for a friend who loves to read. Plain cord and neat knots are all it needs.
17. Knot a Macrame Necklace with a Wooden Ring
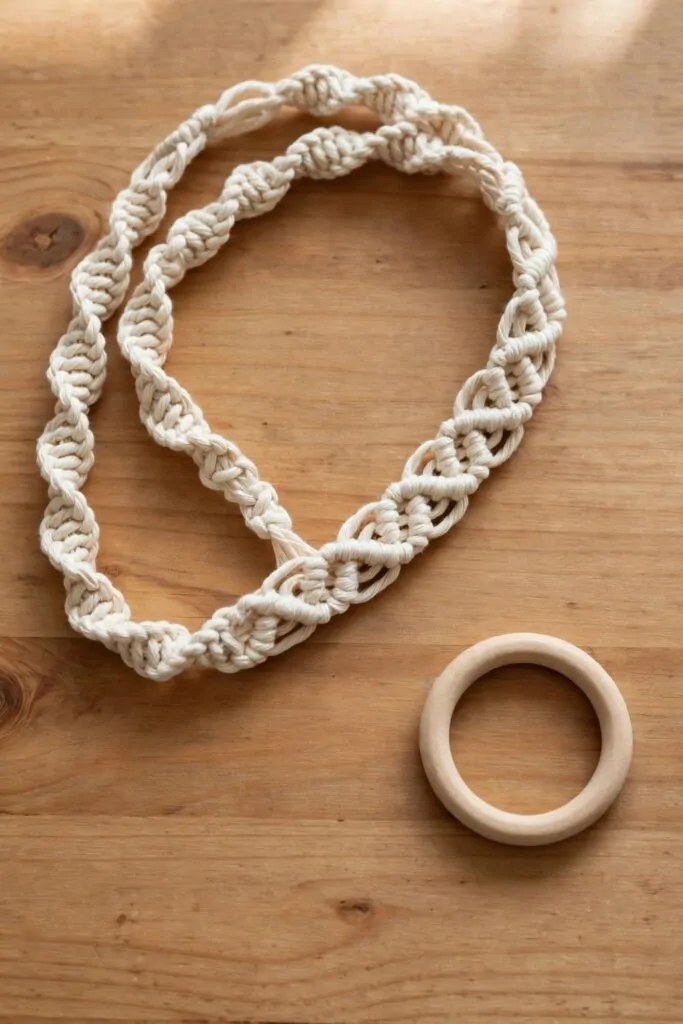
A macrame necklace with a wooden ring feels light round your neck.
Fold a set of cream cords over the wooden ring. Pull the ends through the loop and tug them snug.
Tie a small row of knots down the front to frame the loop. Keep the knots even so the necklace sits straight and neat. The plain wood ring and cream cord look calm side by side.
Leave long ends at the back to tie the necklace shut.
I tied a small knot at the end of each back cord. The knots stop the ends from slipping out of the tie. You can trim them short once you know the fit.
Try it on in front of a mirror and shift the ring till it sits flat. It should rest soft on your skin and not pull at your neck.
Cord and a wooden ring for one necklace cost $3 to $5.
Wear it with a plain top and it stands out in a quiet way. The knots add a soft feel and the plain wood looks calm. I reach for mine on slow days at home.
You can tie one for a friend in her best-loved colour. It is a light gift that she can wear all day.
18. Make a Macrame Market Bag for Shopping
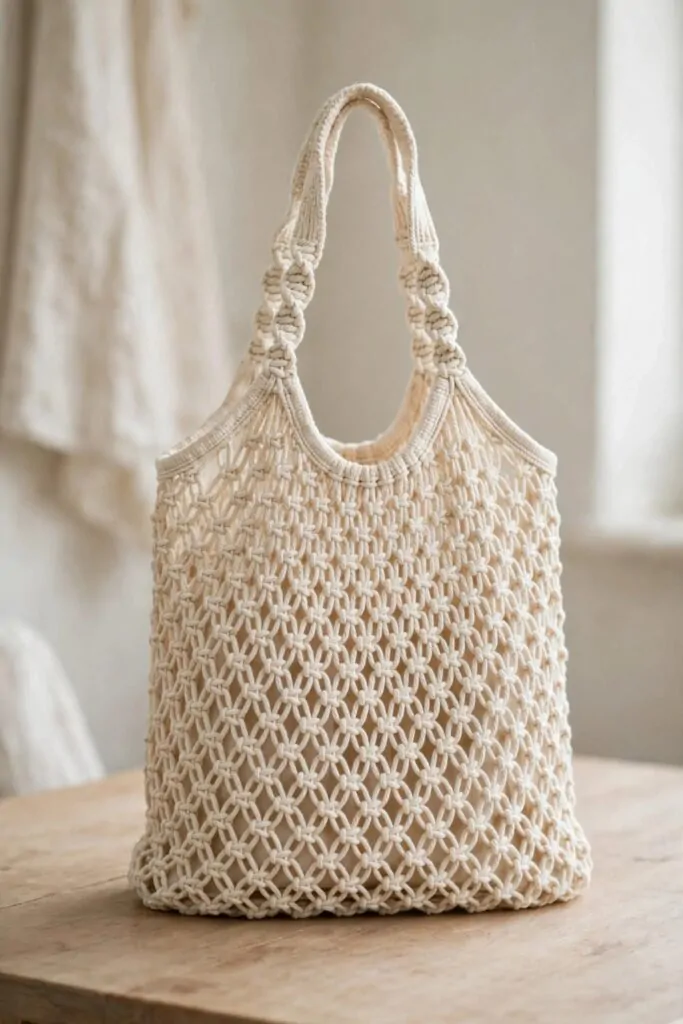
I wanted a bag I could take to the shops with me. A macrame market bag felt light and easy to carry.
I picked a soft cream cord because it goes with all my clothes.
I started with a row of square knots for the base. Then I worked up the sides with open knots so air could pass through. The gaps make the bag look light and pretty.
I made two strong handles from thick cord. I tied them on tight so they would not slip when the bag was full.
Cord and handles for one market bag cost $4 to $6.
I kept the bottom flat so jars and boxes could sit straight inside it. A flat base stops things from rolling around. I tested it with tins from my cupboard before I used it for real shopping.
You can wash the bag by hand if it gets dusty. Let it dry flat on a towel so it keeps its shape.
Now I grab it every time I walk to the shops.
It folds up small in my coat pocket when it is empty. I love that I made it with my own hands.
19. Tie a Macrame Storage Basket for Small Bits
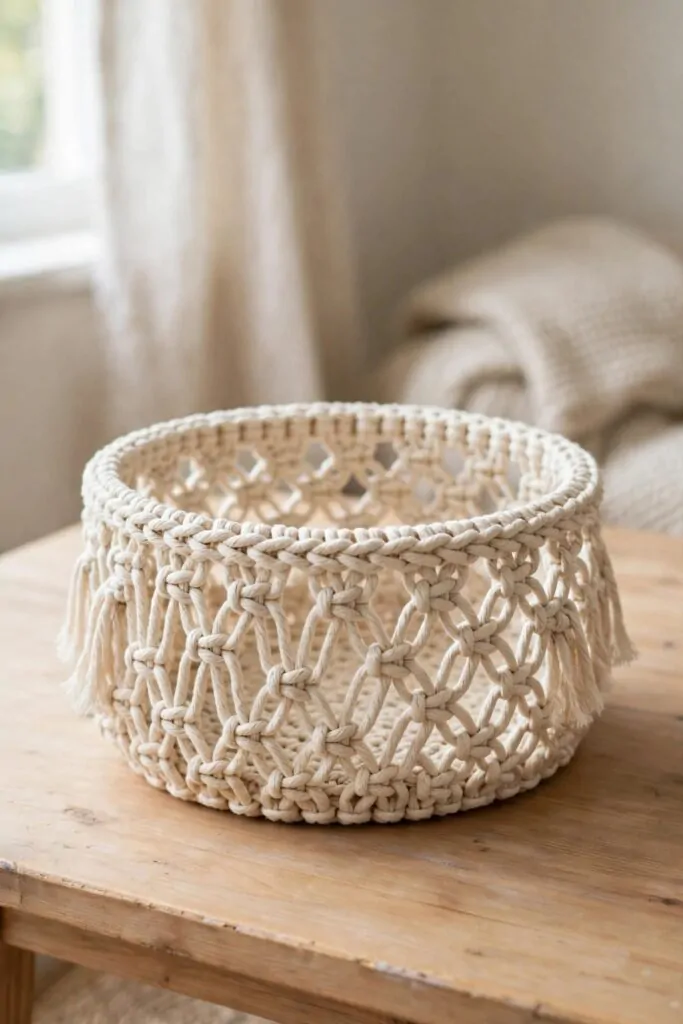
My small bits were always lost in a drawer. I tied a little macrame basket to hold them in one place. Now I know just where to look.
I used a plain cream cord for this one. Cream keeps the basket bright on a light wood table.
I started with a round base of tight knots.
Then I built the sides up slowly, row by row. I kept the knots snug so the basket holds its shape well. The sides grew tall enough for all my little bits.
I left the top edge plain and neat. A plain edge looks tidy next to my books.
Cord for one small storage basket costs $5 to $7.
I set the basket on my table when it was done. It holds my odds and ends in one neat spot. My table looks much calmer now.
You can make yours wider or taller if you like. Just add more rows of knots to the sides.
It is a small job, and it makes a big change to a messy shelf.
20. Knot a Macrame Jar Cover for a Plain Jar
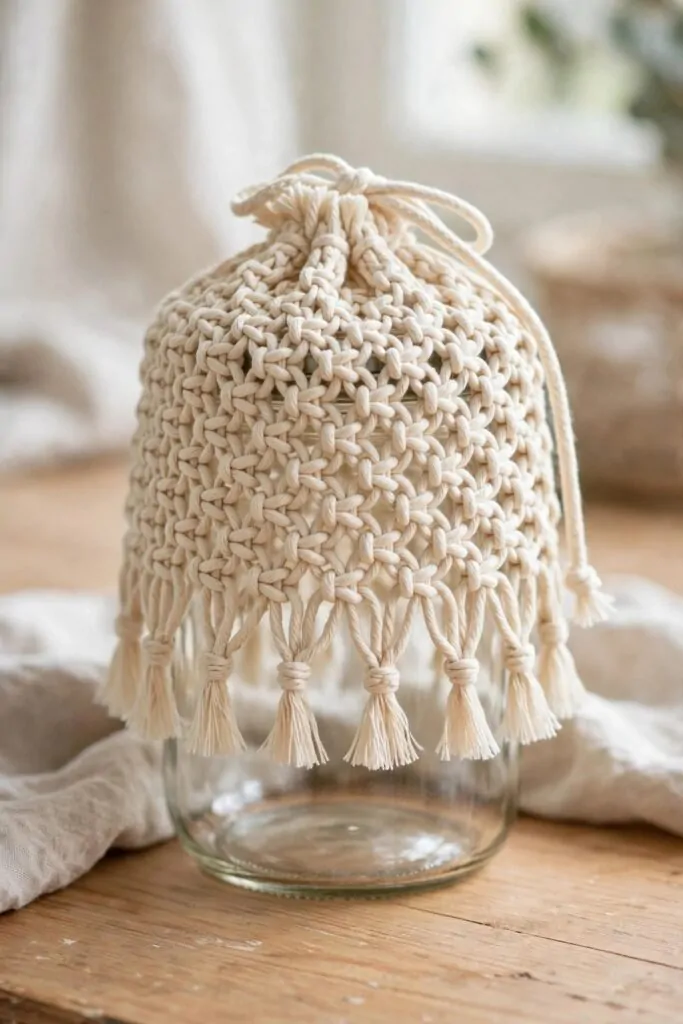
I had a plain jar that looked dull on my shelf.
I tied a soft cover for it from cream cord. The knots wrap round the glass in a loose net. The jar looks fresh and new now.
I started at the neck of the jar and worked down. I kept the knots loose enough to see the glass through them.
A loose net lets light pass through the glass.
I tied a small drawstring at the top to hold it snug. Then I trimmed the ends short and even. The cover fits the jar like a soft sleeve.
You can use any plain jar you have at home. Just count the knots round the neck so the cover fits well.
Cord for one jar cover costs $3 to $5.
I set the jar on my wooden table when it was done. The cream knots look soft in the light. It makes that corner of my room feel calm.
It is a quick first job if you are new to knots. You will finish it in one quiet evening.
| Idea | Main change | Typical cost |
|---|---|---|
| Knot a Table Runner for Your Dining Table | Knot a table runner for the dining table | $5 to $8 |
| Make a Set of Macrame Coasters | Tie a set of coasters with plain cord | $3 to $5 |
| Tie a Macrame Key Ring for Your Keys | Tie a key ring with plain cord | $2 to $3 |
| Knot a Simple Macrame Bracelet | Knot a bracelet with plain cord | $2 to $4 |
| Make a Macrame Bag Charm for Your Tote | Tie a bag charm with plain cord | $2 to $3 |
| Tie a Macrame Bookmark for Your Book | Tie a bookmark with plain cord | $1 to $2 |
| Knot a Macrame Necklace with a Wooden Ring | Knot a necklace with a wooden ring | $3 to $5 |
| Make a Macrame Market Bag for Shopping | Make a macrame market bag for shopping | $4 to $6 |
| Tie a Macrame Storage Basket for Small Bits | Tie a macrame storage basket for small bits | $5 to $7 |
| Knot a Macrame Jar Cover for a Plain Jar | Knot a macrame jar cover for a plain jar | $3 to $5 |
| Total | $30 to $48 |
21. Make a Macrame Pillow Cover for Your Sofa
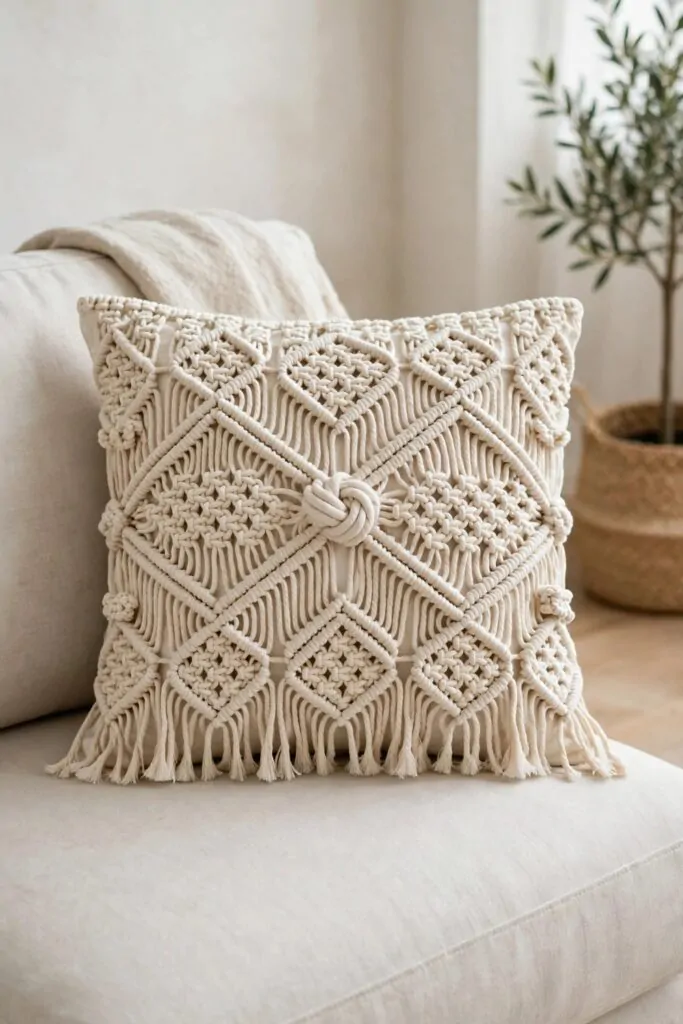
My sofa looked plain with its bare cushions. I tied a macrame cover to dress one pillow up.
Cord and a plain pillow insert for one pillow cover cost $6 to $8.
I used a cream coloured cord for this one. The soft shade suits my sofa well. It adds a calm touch to the whole room.
I worked a flat panel of square knots for the front. Then I made a plain back so the pillow could slip in and out.
I tied the two sides shut with short fringe knots.
The loose ends hang soft round the edges of the pillow. They give the cover a gentle finish. I trimmed them even with plain scissors.
You can wash the cover by hand and dry it flat.
I rest the pillow at one end of my sofa. It makes the whole seat feel warm and lived in.
Try a new knot pattern on your next cover if you like. Each one will look a little different. That is the fun of making things with your own hands.
22. Put Together a Macrame Starter Kit for a Friend
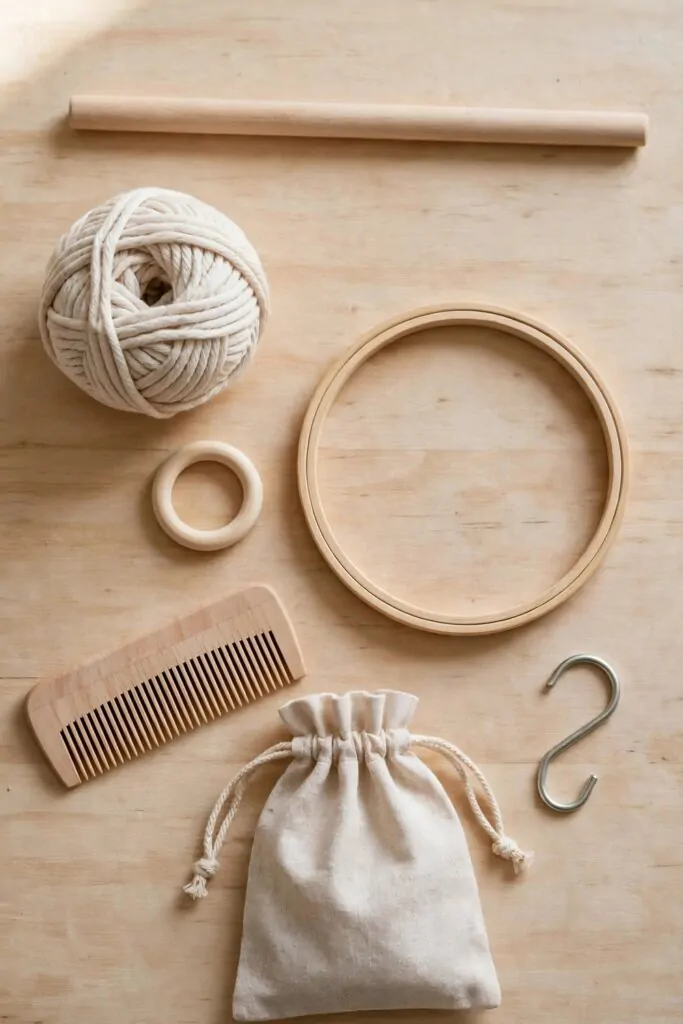
A starter kit is a kind gift for a friend who wants to learn macrame.
Start with a plain wooden dowel rod, so your friend can hang a first wall hanging from it. It feels smooth in the hand and holds the cords well.
Add a ball of plain cotton macrame cord for the first knots. Soft cord is kind to new hands and ties neat knots.
A plain wooden ring is handy for small hangings. A plain wooden embroidery hoop suits a round wall piece. A plain metal s-hook helps your friend hang a first piece up.
A plain wooden comb is good for brushing out loose fringe ends. It keeps the fringe soft and neat after the knots are tied.
A plain wooden dowel rod costs $3 to $5, a ball of plain cotton macrame cord costs $4 to $6, a plain wooden ring costs $2 to $3, a plain wooden embroidery hoop costs $3 to $4, a plain metal s-hook costs $2 to $3, and a plain wooden comb costs $2 to $3, for a total of $16 to $24.
Wrap each bit in plain paper and tie the bundle with a short length of cord.
Give the kit to your friend with a warm smile. Tell them to start with one small piece and take their time.
Your macrame cord will wait in its basket, all set for the next wall you want to dress. Pick one idea, tie your first square knot, and enjoy making something calm with your own hands.
| Idea | Main change | Typical cost |
|---|---|---|
| Make a Macrame Pillow Cover for Your Sofa | Make a macrame pillow cover for your sofa | $6 to $8 |
| Put Together a Macrame Starter Kit for a Friend | Put together a macrame starter kit for a friend | $16 to $24 |
| Total | $22 to $32 |
| Idea | Main change | Typical cost |
|---|---|---|
| a plain wooden dowel rod | hang a wall hanging from a plain wooden dowel rod | $3 to $5 |
| a ball of plain cotton macrame cord | knot soft shapes with a ball of plain cotton macrame cord | $4 to $6 |
| a plain wooden ring | tie a plant hanger round a plain wooden ring | $2 to $3 |
| a plain wooden embroidery hoop | knot a round wall piece in a plain wooden embroidery hoop | $3 to $4 |
| a plain metal s-hook | hang your piece from a plain metal s-hook | $2 to $3 |
| a plain wooden comb | brush the fringe soft with a plain wooden comb | $2 to $3 |
| Total | $16 to $24 |
Keep Reading
If you liked these ideas, you will love these posts too
Each post has more simple ideas you can try at home this weekend.