28 Art Studio Ideas That Make You Want to Create All Day

The only studio supply that really matters is a spot you can leave messy. Not the paints. Not the brushes. The spot.
Every artist I know has the same story. They stopped creating because setup took too long. Get the box out. Cover the table. Find the brushes. By the time everything was ready, the urge was gone.
A real studio fixes that. Your things stay out. Your work stays up. You walk in and start. That is the whole difference between artists who create and artists who wish they did.
These 28 art studio ideas are all about making creating easy. Small spaces, smart storage, good light. Pick the ones that fit your home. Then leave the mess out.
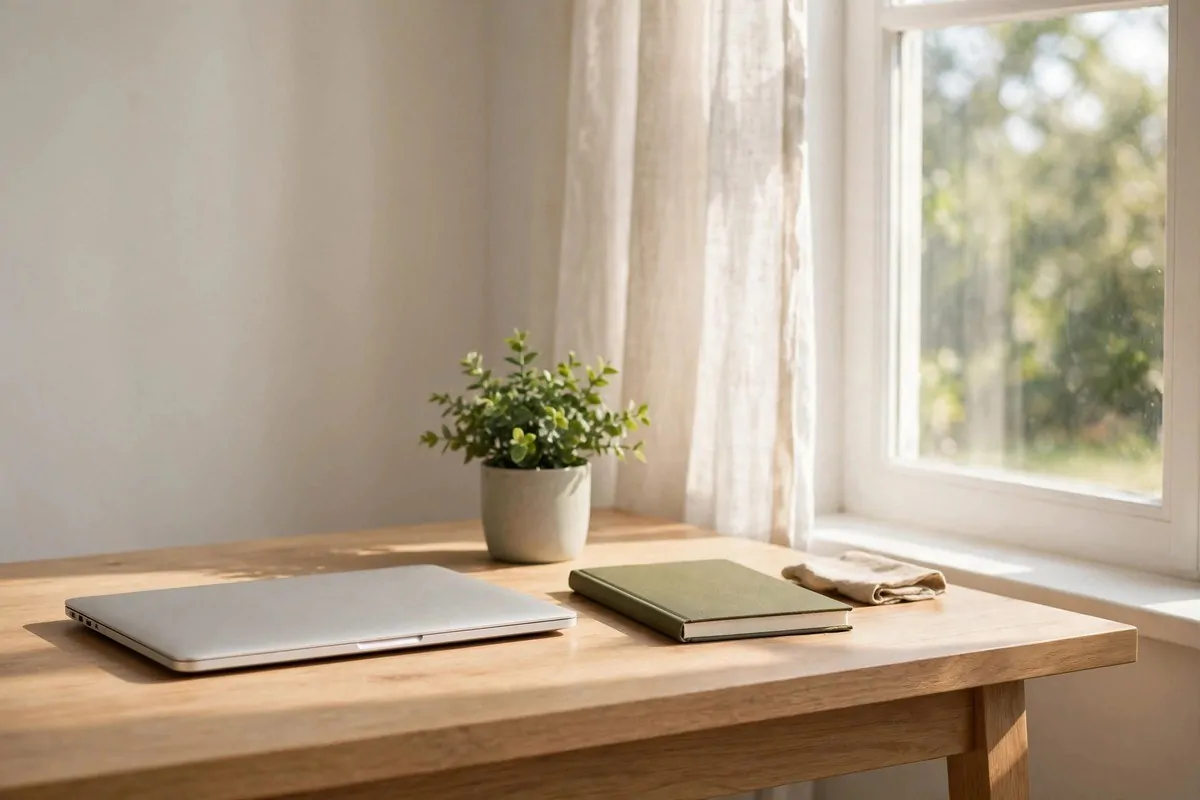
The Window-Lit Painting Spot
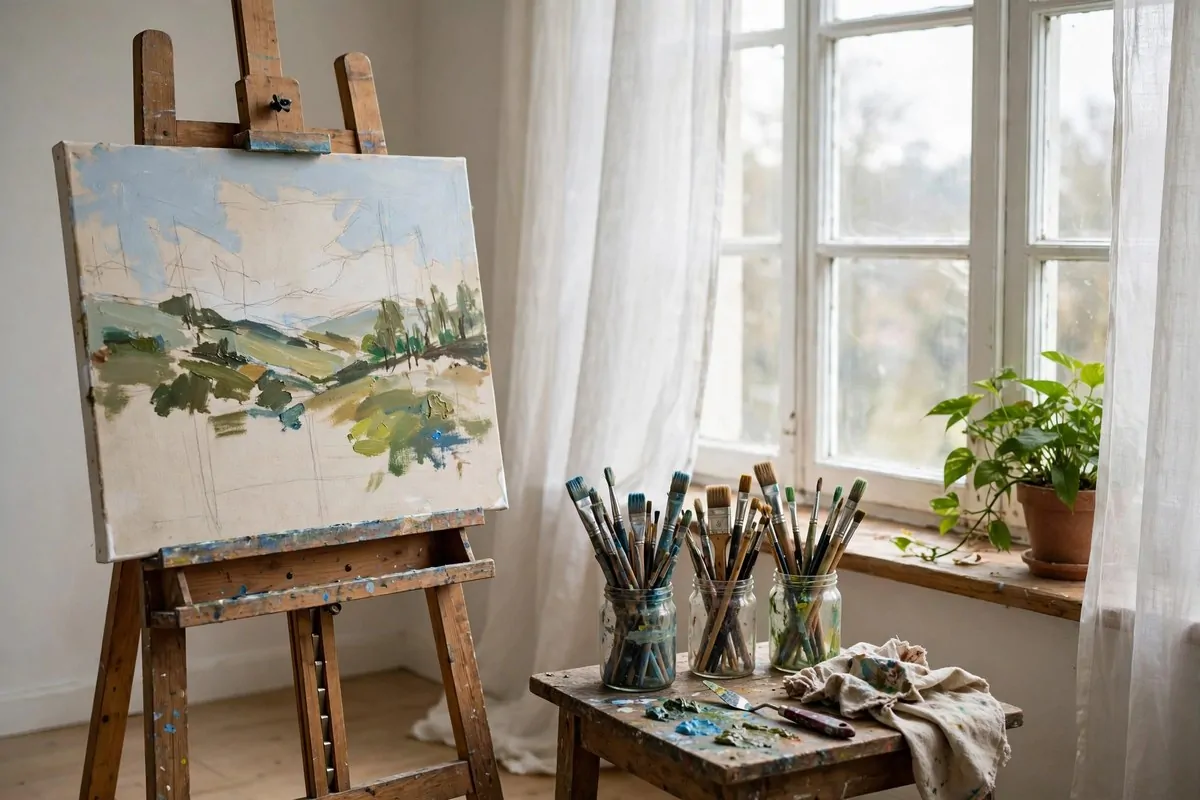
Put your easel by the window. Natural light shows true colors. Your paintings will look right because you mixed the colors in real light.
North facing windows are best. The light stays even all day. No harsh sun moving across your canvas. Just steady, soft light.
Sheer curtains soften direct sun. They turn harsh beams into a glow. Your eyes will thank you. So will your colors.
I keep my paints in jars on a small table beside the easel. Everything within reach. I never have to get up mid brush stroke.
A plant on the windowsill keeps me company. It also gives me something alive to look at when I need a break.
This is the simplest studio on the list. One window, one easel, one table. But the light makes it feel like a real artist’s space.
- Choose a north facing window for even all day light
- Hang sheer curtains to soften direct sun
- Keep paints in jars on a table beside the easel
- Add a plant for company and eye breaks
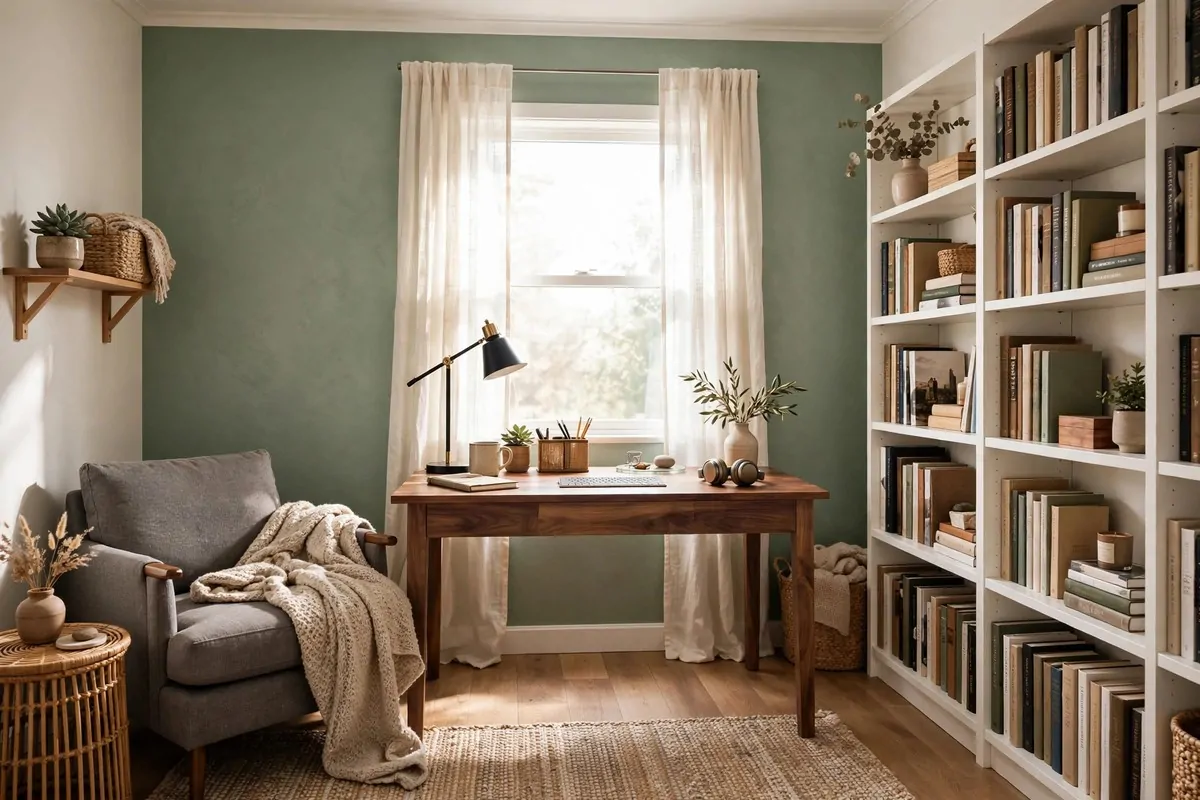
The Cozy Corner Studio
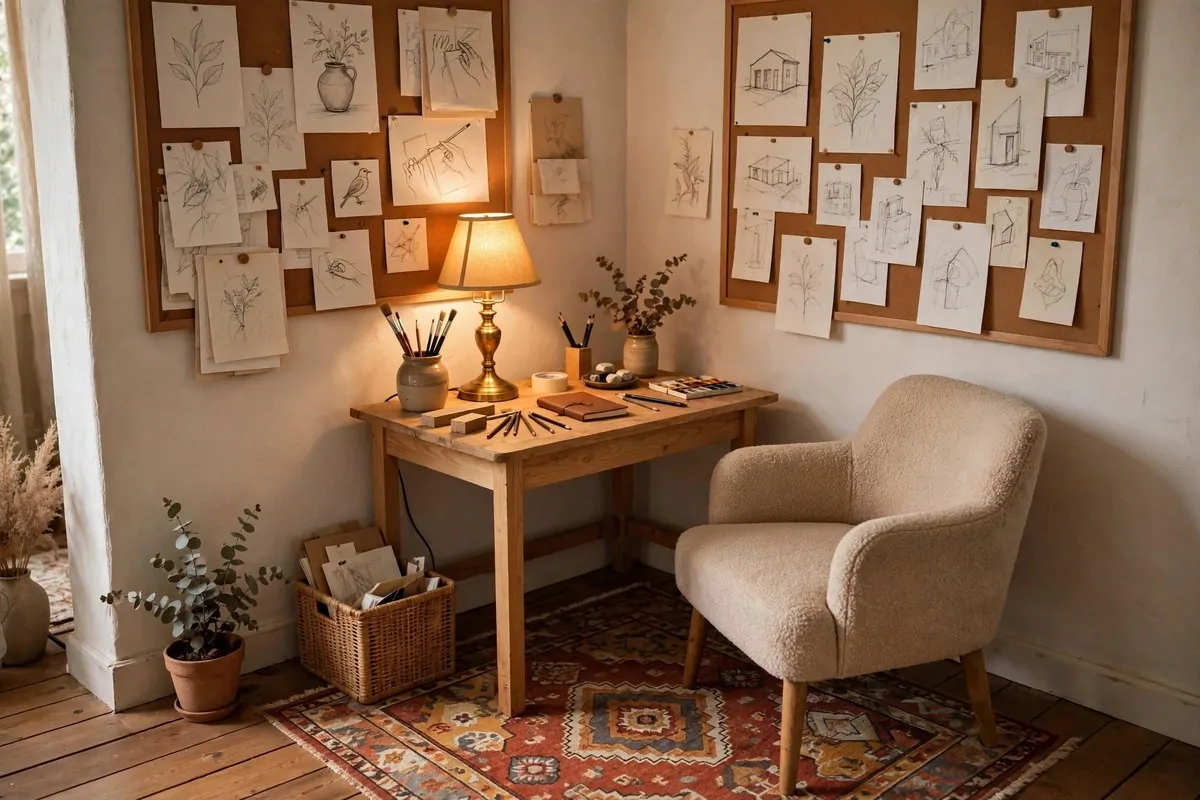
Claim one corner. A small desk, a good chair, and the wall above for inspiration. That is a studio. It does not need a room.
Corners feel private. Two walls hug you. It is easier to focus. The rest of the house disappears.
I put a warm rug under my corner. It marks the spot. When I step onto the rug, my brain knows it is creating time.
The wall above the desk is for inspiration. Sketches, photos, color swatches. Pin up what excites you. Change it when you get bored.
A desk lamp with warm light extends your hours. Winter evenings are for creating too. Good light makes it possible.
This fits in a living room, a bedroom, anywhere. One corner is all you need. The coziness is a feature, not a compromise.
- Claim one corner with a small desk and good chair
- Lay a rug to mark your creating zone
- Cover the wall above with inspiration boards
- Add a warm desk lamp for evening sessions
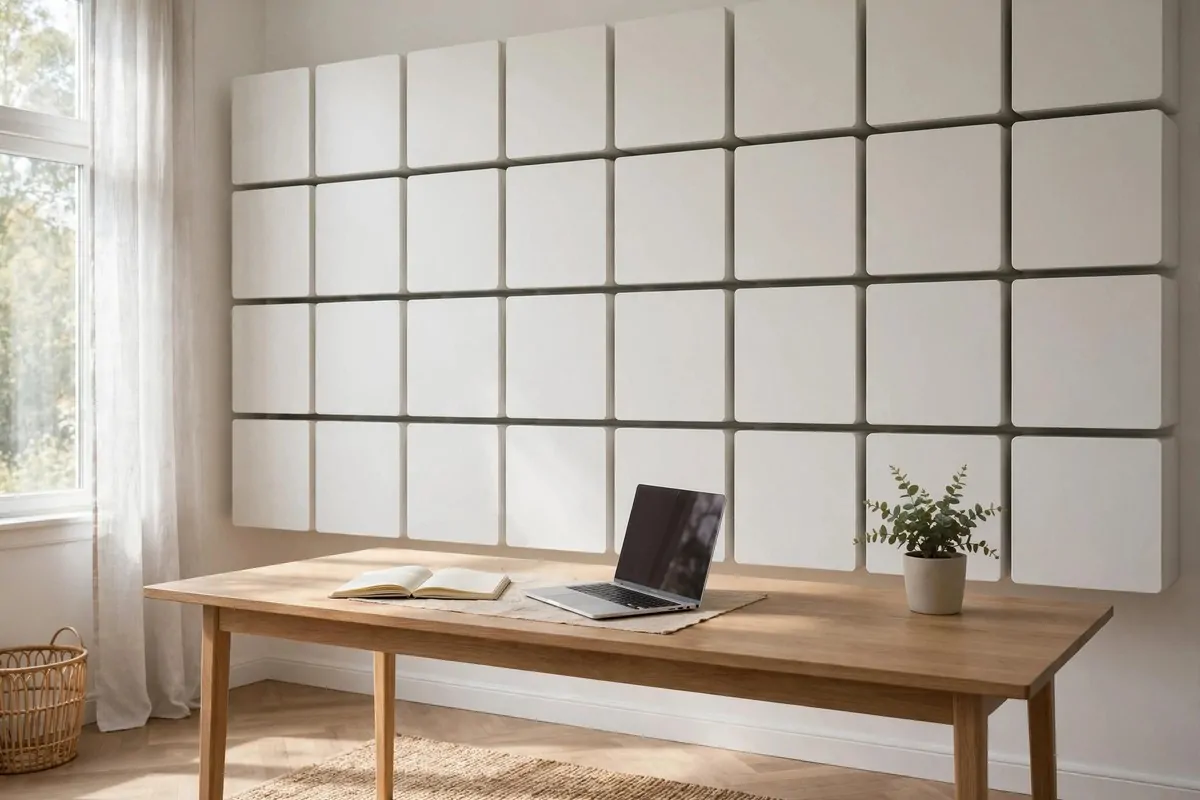
The Minimalist White Desk
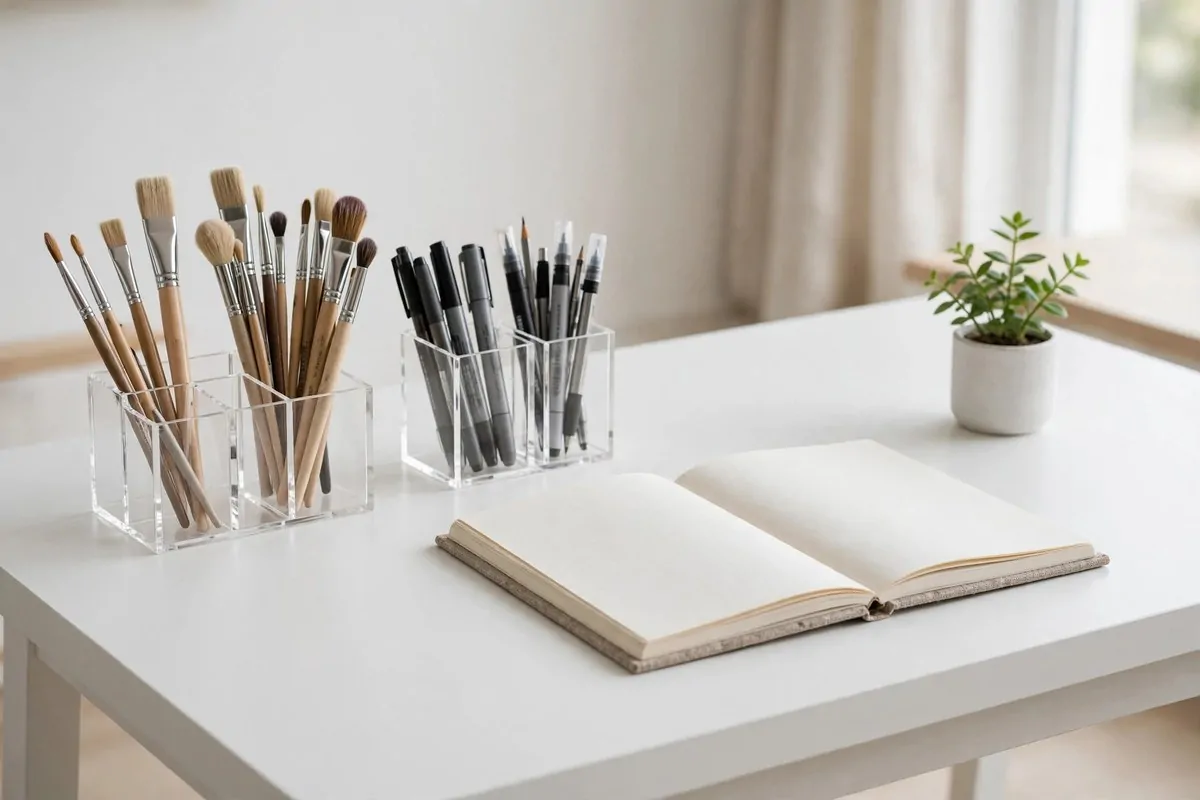
A clean white desk clears your mind. No clutter, no noise. Just you and the work. Minimalist studios suit focused artists.
White reflects light. The desk area stays bright. Your colors look true. Your eyes stay fresh longer.
I store everything in clear acrylic containers. I can see what I have. Nothing hides. Nothing gets lost. It stays tidy because mess has nowhere to hide.
One statement piece keeps it from feeling cold. A plant, a sculpture, one framed print. Just one. The restraint is the style.
The rule is simple. Only the current project lives on the desk. Everything else goes in drawers. When the project changes, the desk changes.
This studio is easy to clean. Wipe the desk. Done. Low maintenance means more creating time.
- Use a white desk to reflect light and clear the mind
- Store supplies in clear acrylic containers
- Allow one statement piece like a plant
- Keep only the current project on the surface
The Attic Skylight Nook
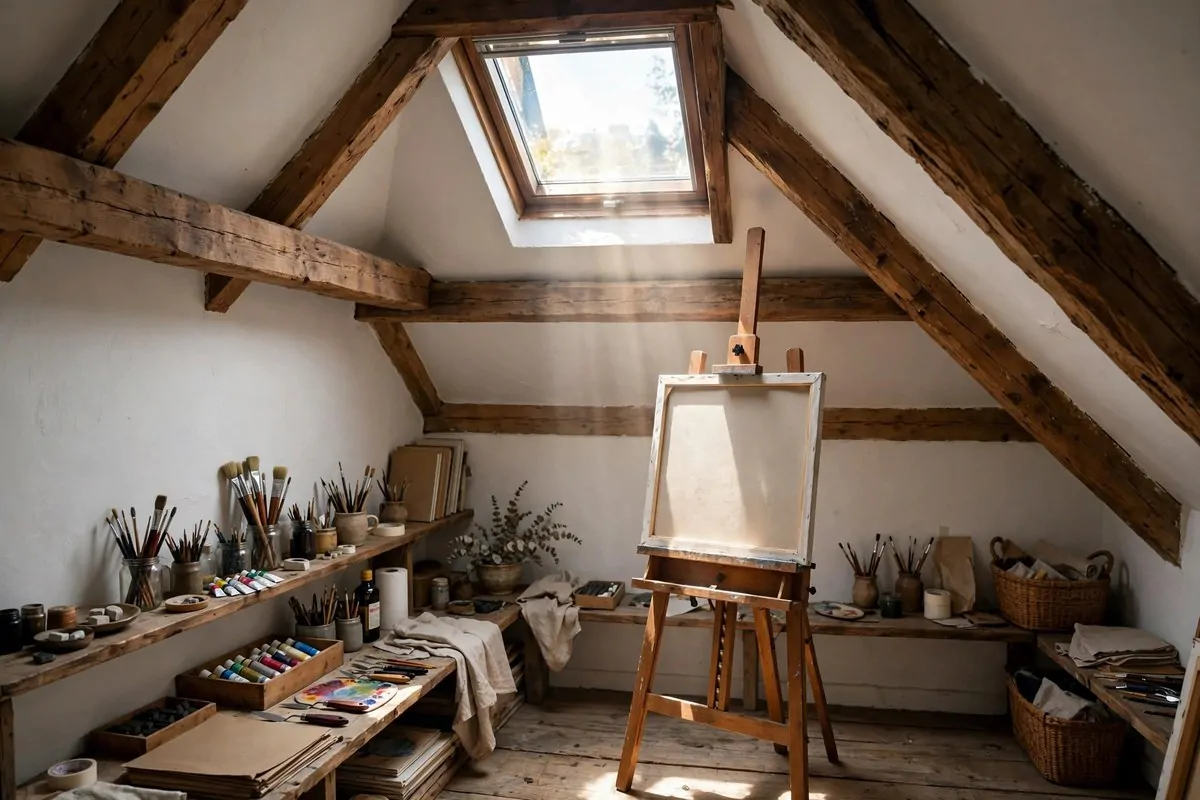
A skylight pours light straight down. It is the best light for art. An attic nook with a skylight is a dream studio.
Attics are quiet. Nobody walks through. The sloped ceiling feels like a cocoon. You create in peace.
I place my easel under the skylight, angled slightly. The light hits the canvas evenly. No shadows from my hand. It is perfect.
Keep the walls light. White or pale wood. They bounce the skylight around. The whole nook glows.
Storage fits under the slopes. Low shelves, flat boxes, stacked canvases. The awkward angles become useful.
Watch the temperature. Attics get hot in summer. A small fan helps. Do not store paints in extreme heat.
- Place the easel directly under the skylight, angled slightly
- Keep walls light to bounce the daylight around
- Use the low slopes for flat storage
- Add a fan for hot summer days
The Closet Studio Conversion
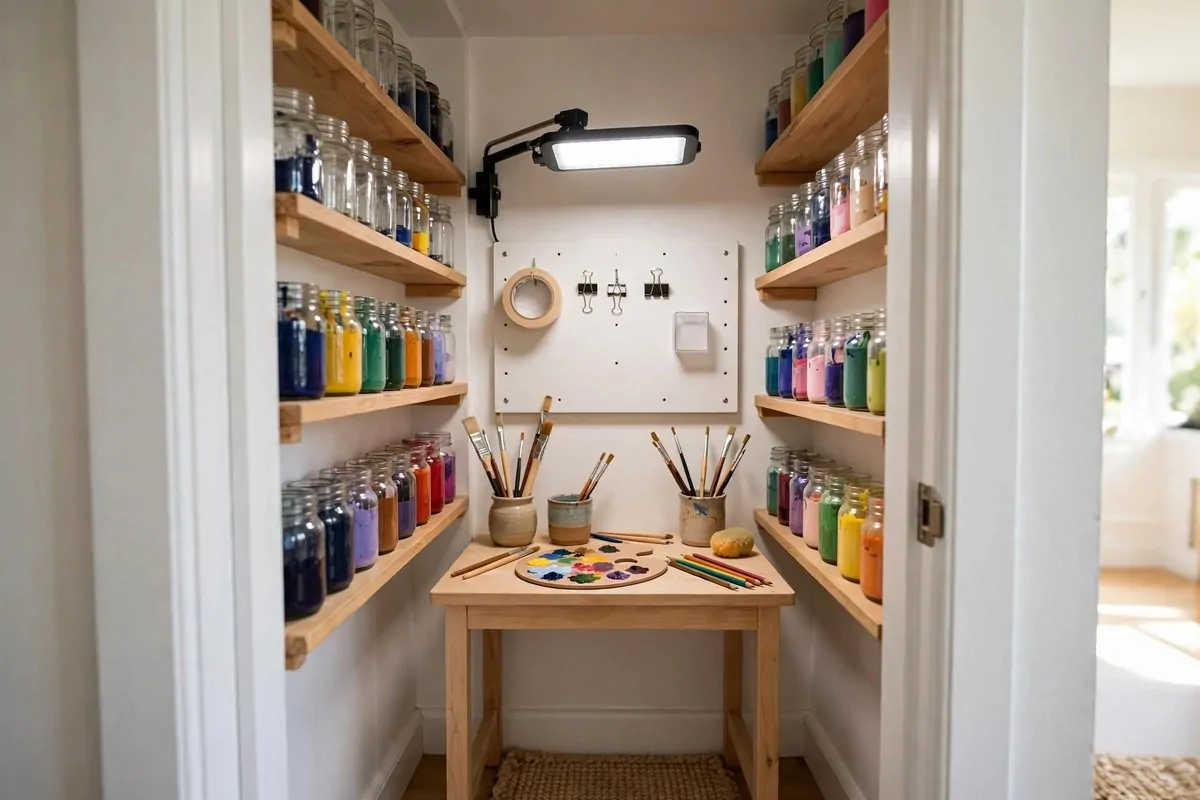
Take the doors off a closet. Put a desk inside. You have a studio that closes away. It is perfect for small homes.
The closet is already a defined space. It feels separate. When you sit in it, you are in your studio. Step out and you are home.
I mount shelves on the closet walls for supplies. Every inch works. The small space forces smart organization.
A bright task lamp is essential. Closets are dark. A daylight LED lamp fixes that. It mimics window light.
The best part is hiding it. Guests come over, you slide the doors shut. The mess disappears. Your secret studio stays secret.
This works for kids too. A closet art station keeps supplies contained. The mess has walls.
- Remove the doors and fit a desk inside the closet
- Mount shelves on the walls for supply storage
- Add a bright daylight LED task lamp
- Slide doors shut to hide the mess from guests
The Fold-Down Wall Table
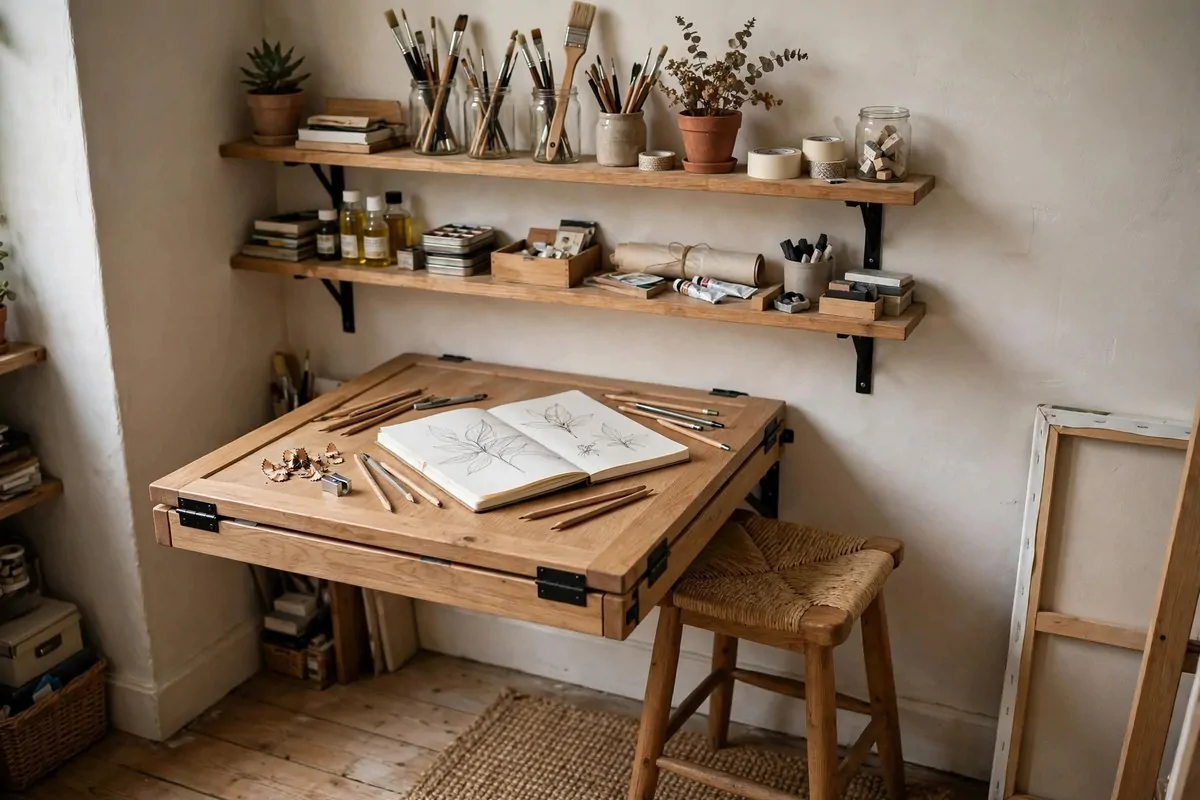
A table that folds down from the wall gives you a studio in zero floor space. Up for creating, down for living.
I mount mine at desk height in a hallway nook. Fold it down and I have a work surface. Fold it up and the hallway is clear.
Shelves above hold the supplies. Everything lives on the wall. Nothing touches the floor. The footprint is tiny.
The table should be sturdy. A wobbly table ruins art. Use strong brackets rated for the weight. Test it before you trust it.
This suits small apartments. Your studio appears when you need it. It vanishes when you do not. Magic.
Pair it with a comfortable stool that tucks under. The whole setup disappears into the wall.
- Mount a sturdy fold down table at desk height
- Use strong brackets rated for real weight
- Store all supplies on wall shelves above
- Pair with a stool that tucks away
The Rolling Art Cart
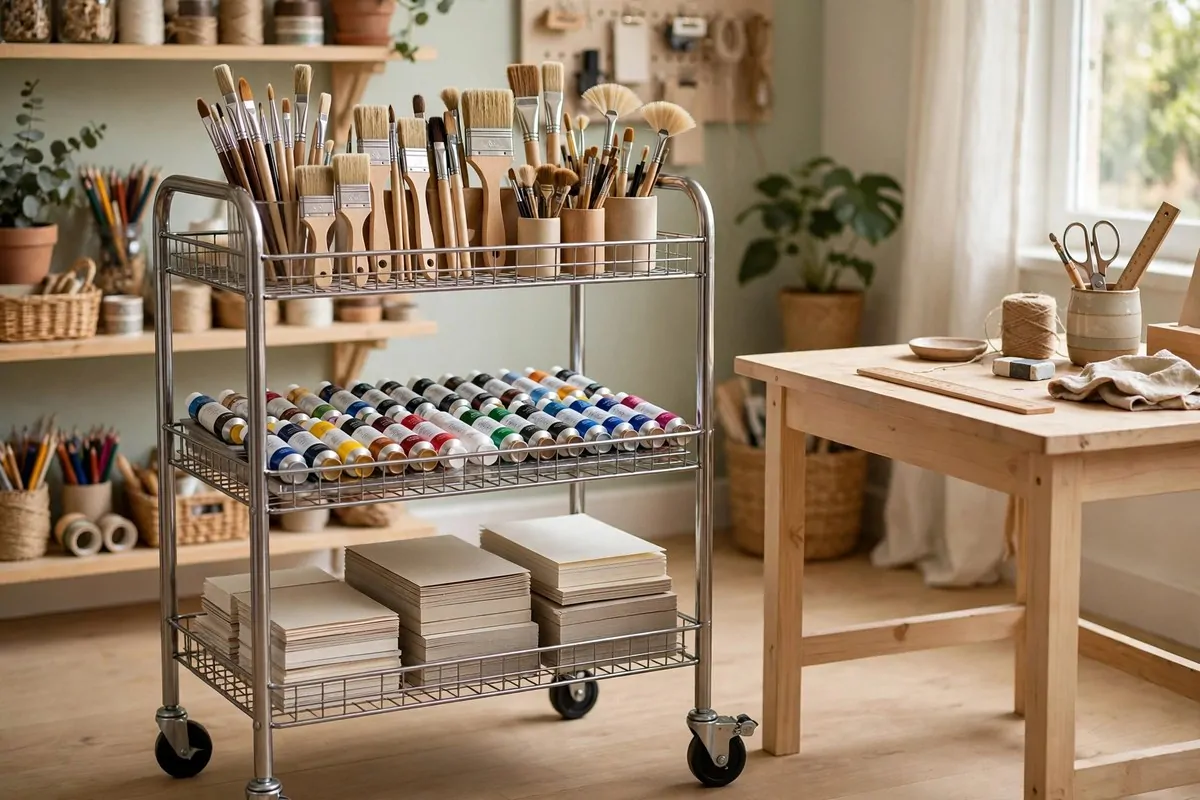
A rolling cart holds your whole studio. Wheel it to the table when you create. Wheel it to the closet when you are done.
Three tiers are perfect. Top for current tools. Middle for paints. Bottom for paper and extras. Everything has a level.
I love the cart because it moves. Create at the kitchen table. Create on the balcony. Your studio goes where the light is good.
Clear bins on the cart let you see supplies. Label them if you like. The cart stays organized because everything is visible.
This is the best studio for renters. No mounting, no building. Just a cart. It is a studio you can take with you when you move.
The cart also works as a side table. Park it next to your desk. It is storage and surface in one.
- Choose a three tier cart for tool, paint, and paper levels
- Use clear bins so supplies stay visible
- Wheel it to wherever the light is best
- Park it as a side table when not creating
The Repurposed Dresser Studio
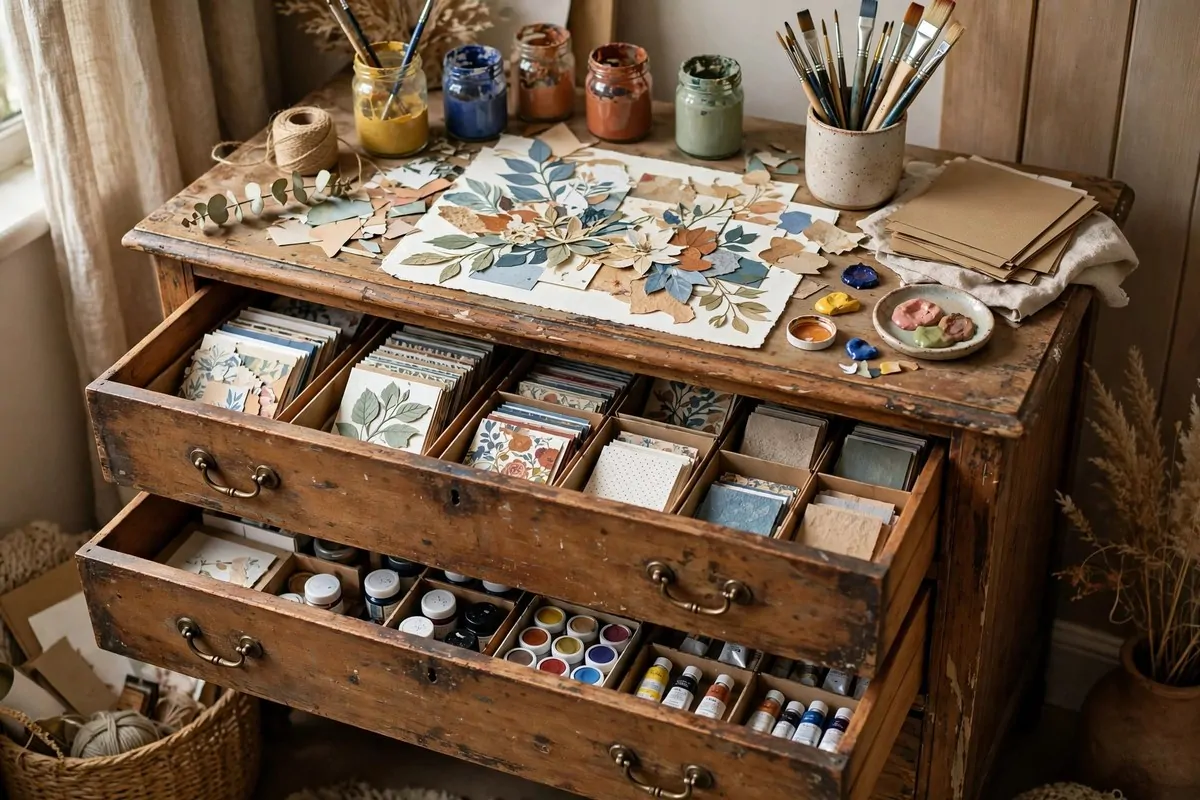
An old dresser makes a great art station. The drawers swallow supplies. The top becomes your work surface. One piece does it all.
I found mine on the side of the road. A little paint and it looked new. The drawers hold collage papers, sorted by color. It is beautiful inside.
Deep drawers fit paint tubes standing up. Shallow drawers fit brushes and pens. Every drawer gets a job.
The top is your percolation station. Works in progress live there. Ideas mix and grow. It is always a little messy and that is fine.
Add small boxes inside the drawers. They divide the space. Sorting becomes automatic. You always know where things are.
This is recycling at its best. Old furniture, new life. Your studio has character and it cost almost nothing.
- Rescue an old dresser and refresh it with paint
- Assign each drawer a supply category
- Use small boxes inside drawers as dividers
- Let the top be your work in progress zone
The Portable Studio Box
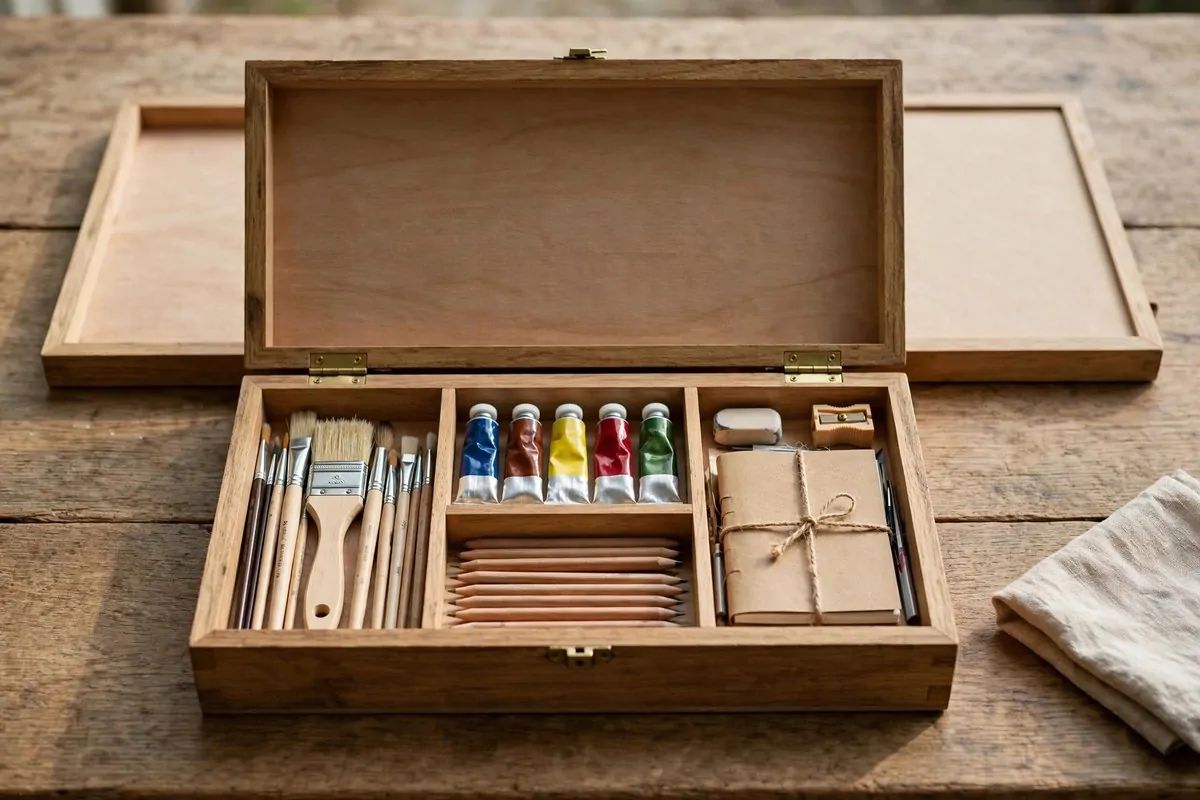
One box holds your essential tools. Open it and you are creating in five minutes. Close it and you are done. This is studio minimalism.
I pack only what I use most. Favorite brushes, go to paints, one sketchbook. The box forces choices. Choices keep it simple.
The box lives by my chair. I open it on my lap or on any table. No dedicated space needed. The studio is the box.
This is perfect for shared tables. Create at the dining table, pack up for dinner. Nobody is bothered. Your art fits real life.
Choose a box with a lid that opens flat. The lid becomes extra surface. Every inch counts in a portable studio.
Refill it when things run low. The box is a system. It only works if it stays stocked.
- Pack only your most used tools in one lidded box
- Choose a box whose lid opens flat for extra surface
- Keep it by your chair for five minute setup
- Restock supplies so the system always works
The Two-Jar Wash Station
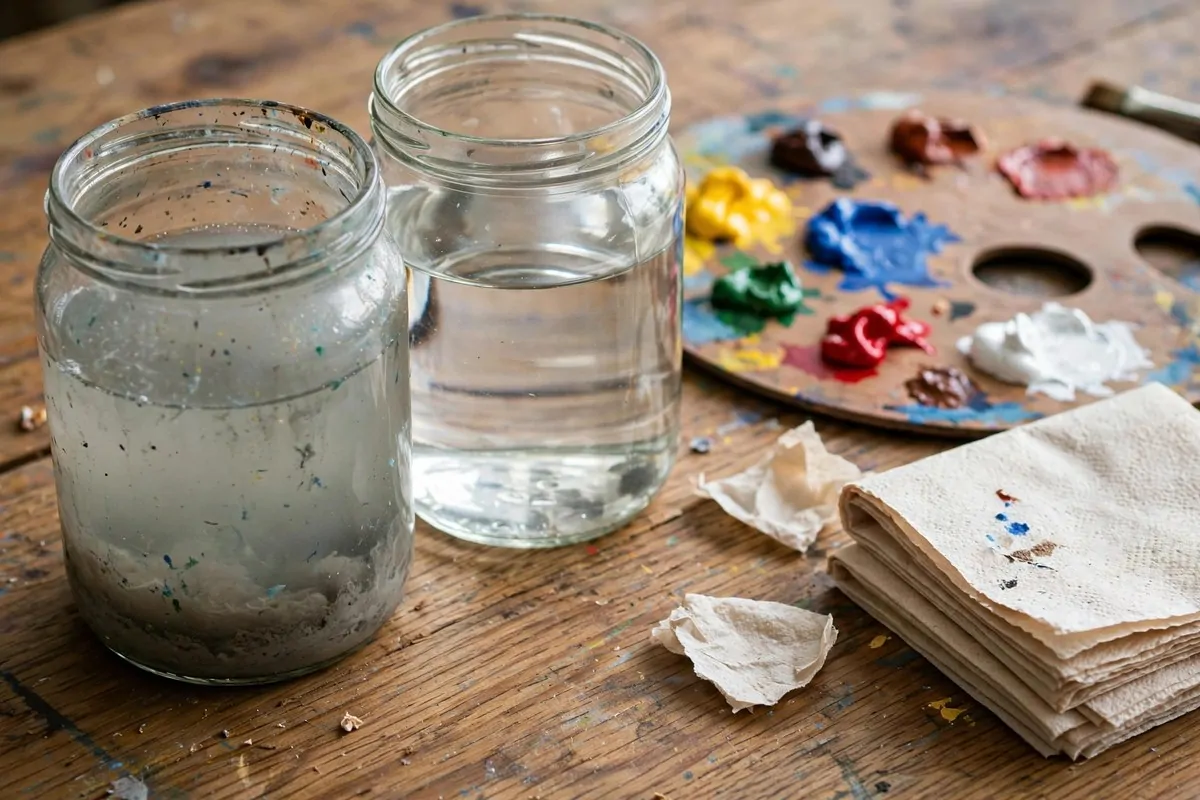
Two jars of water keep your colors clean. One for the first rinse, one for the final rinse. It is a tiny system with a big payoff.
The first jar gets dirty fast. That is its job. It takes the worst off the brush. The second jar stays cleaner. It finishes the job.
I learned this from a painting teacher. My colors stopped turning muddy overnight. Two jars, such a small change.
Keep paper towels beside the jars. Rinse, wipe, rinse, wipe. The brush comes clean. Your next color stays true.
Change the water when it gets murky. Fresh water, fresh colors. It takes thirty seconds. Worth it every time.
This works for any wet medium. Watercolor, acrylic, gouache. Clean water is a universal studio upgrade.
- Keep two jars, one for first rinse and one for final
- Place paper towels beside the jars for wiping
- Change water as soon as it turns murky
- Works for watercolor, acrylic, and gouache
The Pegboard Tool Wall
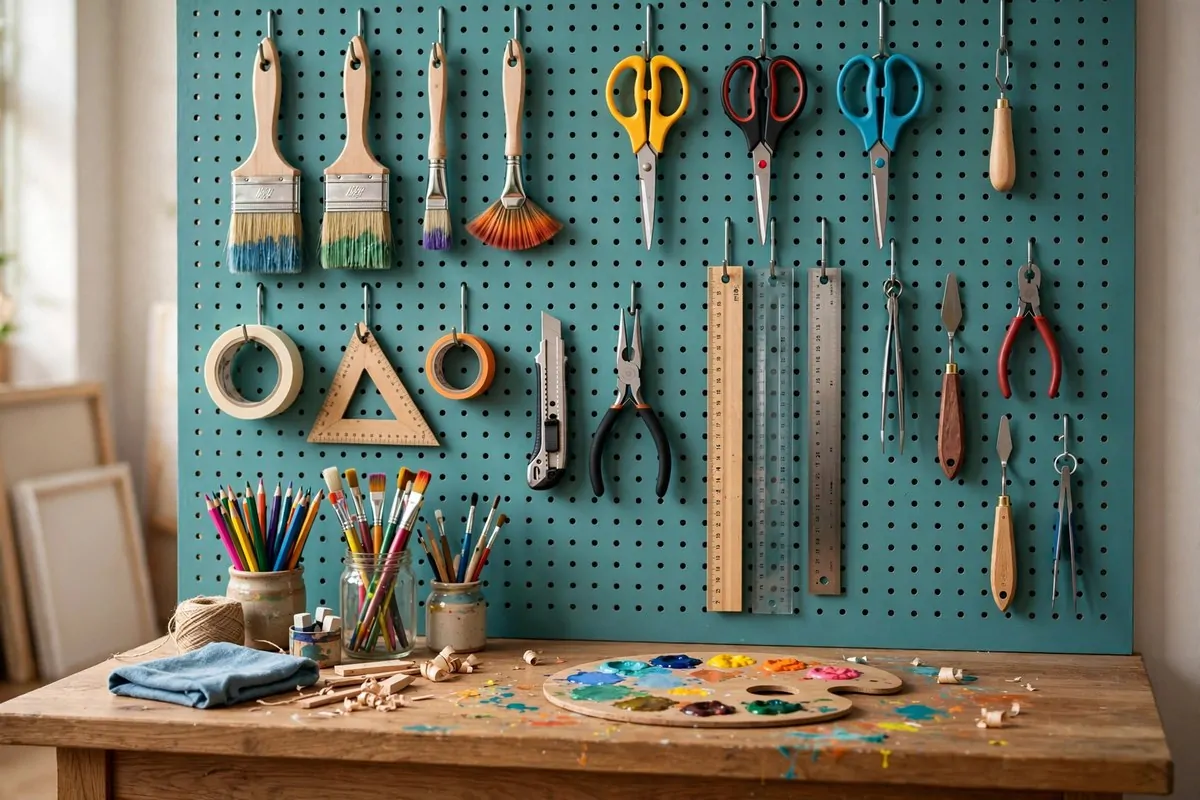
A pegboard on the wall holds all your tools where you can see them. Brushes, scissors, rulers. Everything hangs in reach.
I love pegboards because they are visual. You see the tool you need. You grab it. No digging through drawers.
Hooks are cheap and moveable. Rearrange anytime. Your wall evolves with your work. It never gets stale.
Paint the pegboard a fun color. It becomes decor. A teal or mustard pegboard looks great. Function meets style.
Keep the most used tools at arm height. Rare tools go high or low. Your wall should match your habits.
This frees your desk completely. Tools live on the wall. The desk is for creating. That separation matters.
- Mount a pegboard at arm height near your work surface
- Use moveable hooks and rearrange as habits change
- Paint the board a fun color for style
- Keep daily tools centered, rare tools at edges
The Inspiration Mood Board Wall
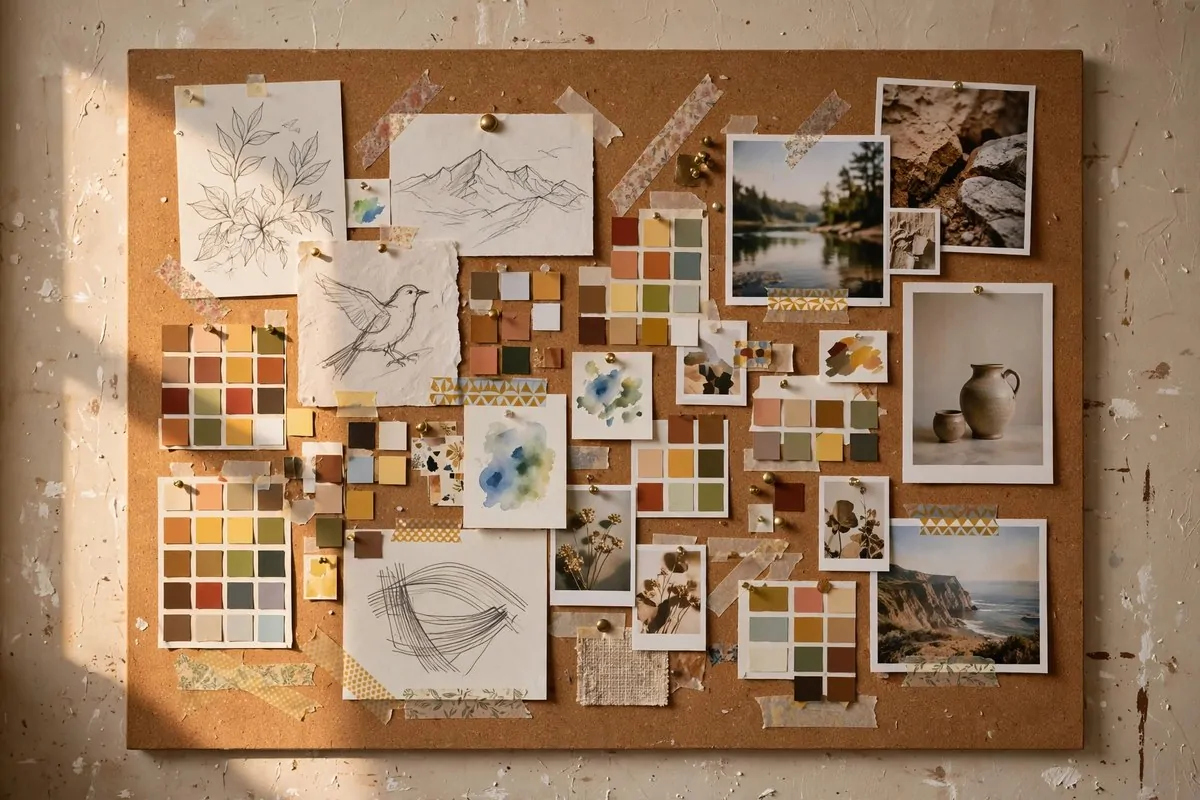
One wall for inspiration. Pin up sketches, photos, quotes, color swatches. It feeds your eyes while you work.
I use a big cork board. Washi tape works on painted walls too. The method does not matter. The collection matters.
Change it often. Stale boards become wallpaper. Swap pieces monthly. New images spark new ideas.
Include your own work. A sketch you love. A color mix that worked. Your past self inspires your future self.
Keep it curated, not cluttered. Too many images become noise. Pick the ones that make your heart beat faster.
This wall is your studio’s soul. It reminds you why you create. On hard days, it pulls you back.
- Dedicate one wall or big board to inspiration only
- Pin sketches, photos, quotes, and color swatches
- Refresh the collection monthly to avoid staleness
- Include your own best work for motivation
The Vertical Drying Rack
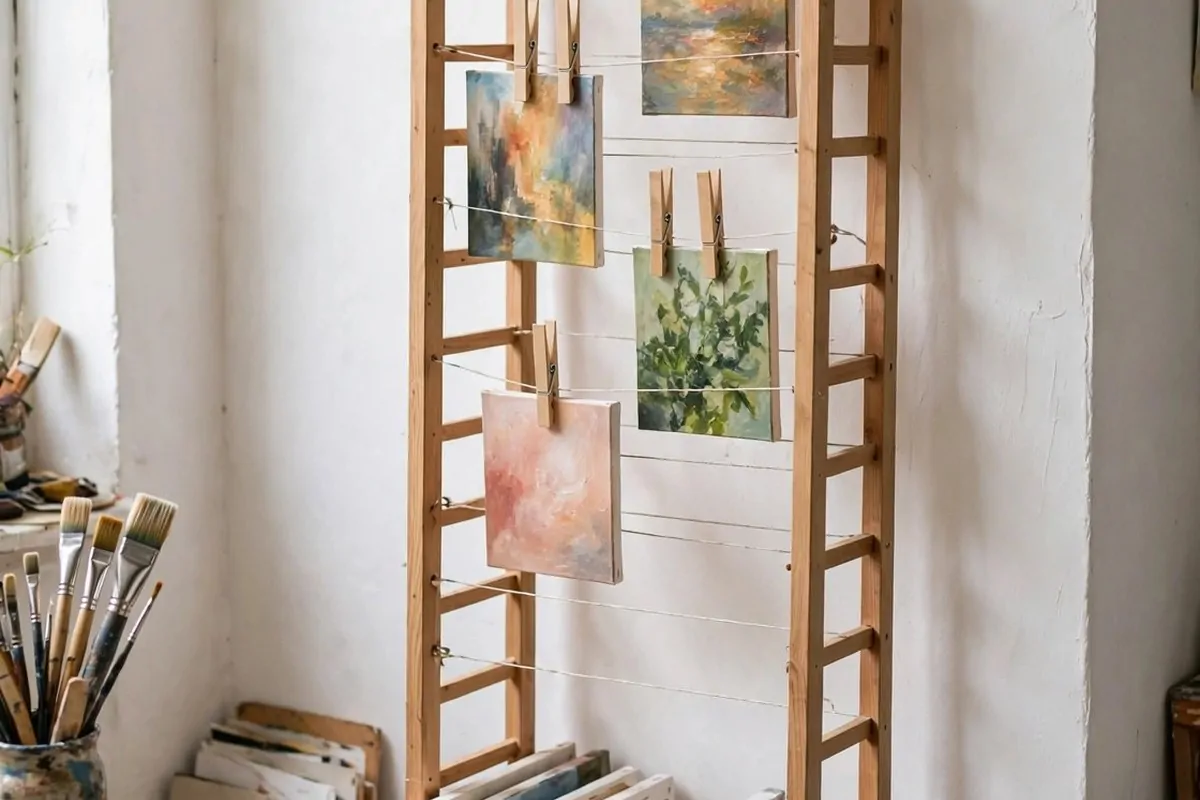
Wet paintings need a safe place to dry. A vertical rack holds them upright in tiny space. No more paintings on every flat surface.
I made mine from a narrow shelf and some clothespins on a wire. Paintings clip up and dry safely. It cost almost nothing.
Store canvases upright like files. They take less room. They stay safe. You can flip through them like records.
The rack keeps wet paint away from everything. No more accidental smudges. No more ruined tablecloths.
If you work large, use a folding rack. It opens when needed. It folds flat against the wall when dry.
This is essential for small studios. Drying space is the hidden problem. Solve it and everything flows.
- Build a narrow rack with wire and clothespins
- Store drying canvases upright like files
- Use a folding rack for large work
- Keep wet paint away from all flat surfaces
The Tabletop Box Easel
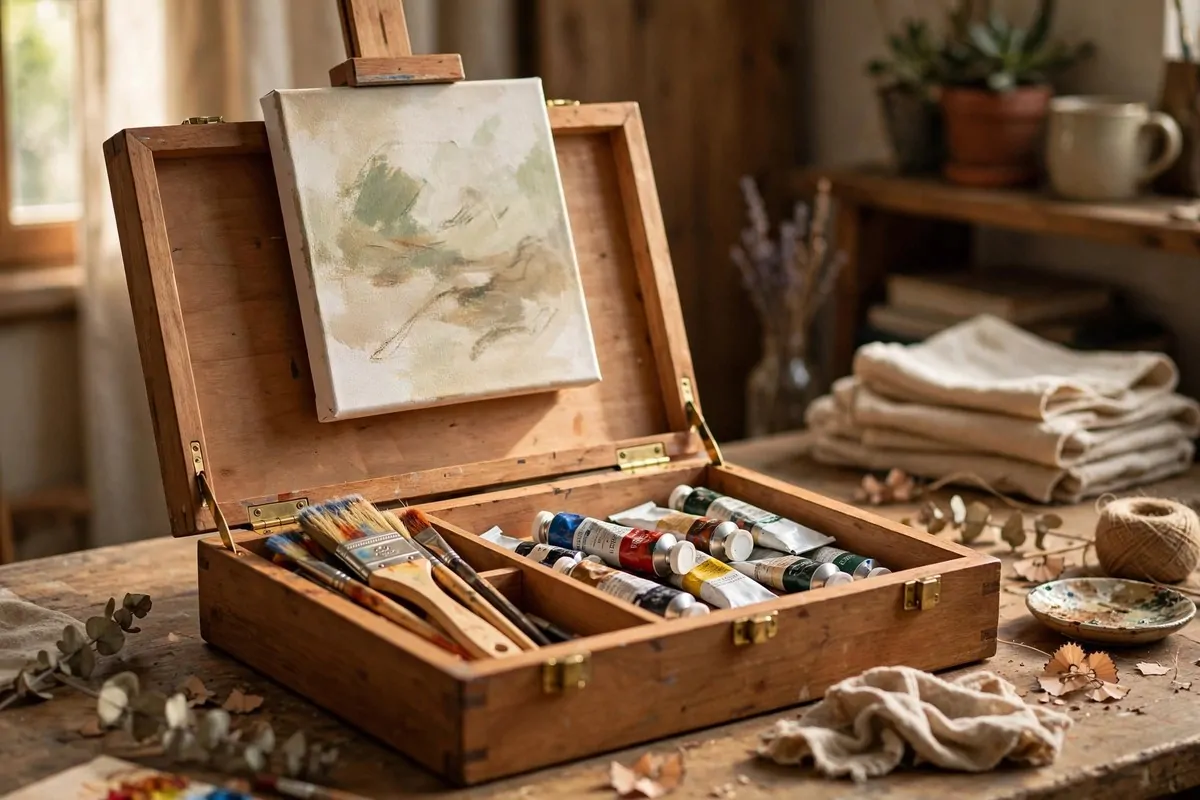
A box easel sits on your table and holds your canvas at the right angle. Inside it stores your paints. It is a studio in a box.
The angle matters. A tilted canvas catches light better. Your neck stays comfortable. You paint longer without aching.
I love that it folds flat. Slide it under the bed when done. Your dining table becomes a dining table again.
The built in storage is genius. Paints, brushes, mediums. Everything for the current painting lives in the box.
This suits small spaces perfectly. No floor easel needed. Any table becomes a studio. Pack up in two minutes.
Choose one with adjustable angles. Different work needs different tilts. Flexibility keeps you comfortable.
- Use a box easel on any table for proper canvas angle
- Store current painting supplies inside the box
- Fold flat and slide under the bed when done
- Pick one with adjustable tilt angles
The Magnetic Strip Tool Bar
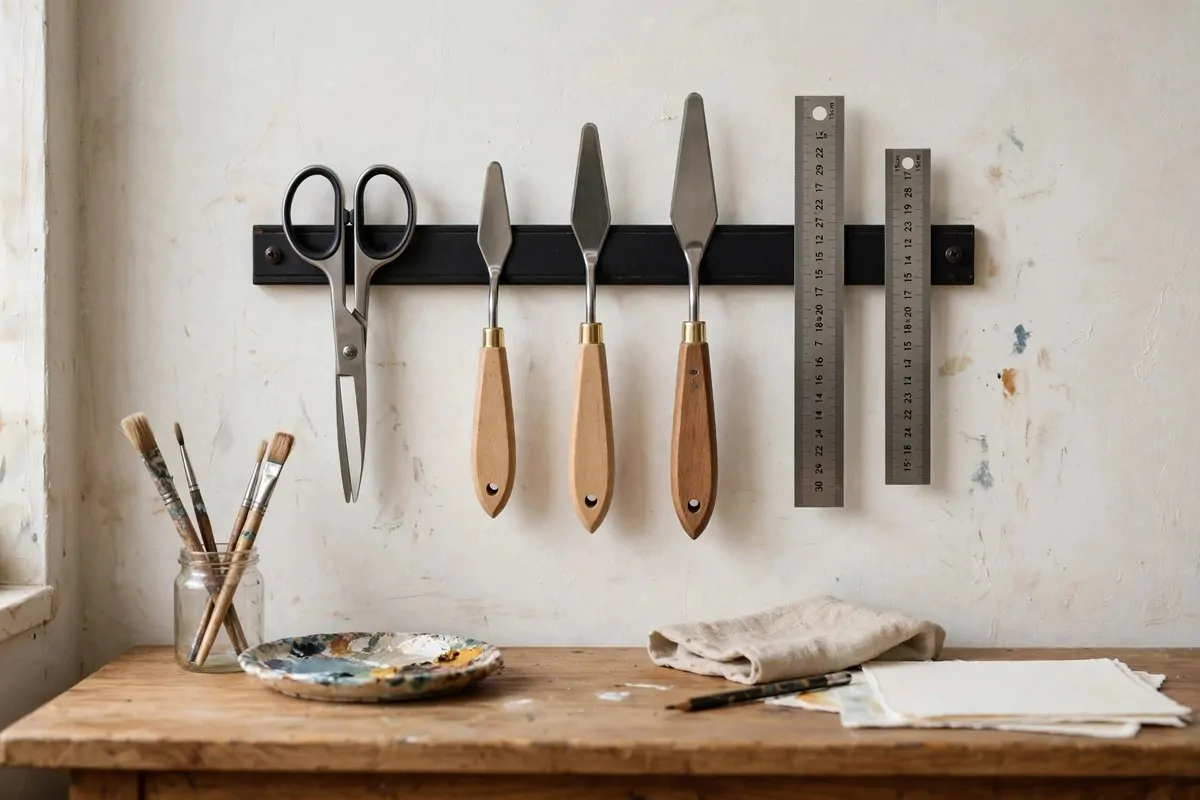
A magnetic strip on the wall holds metal tools. Scissors, palette knives, rulers. They click on and off. It is deeply satisfying.
I mounted a kitchen knife strip above my desk. My metal tools live there now. I see them all. I grab them fast.
This frees drawer space. Small tools are the hardest to organize. On the wall they are visible and tidy.
It also looks cool. A row of tools on a strip looks pro. Your studio gains style points for free.
Keep it away from phones and credit cards. Magnets and electronics do not mix. A little distance solves it.
This is a five minute upgrade. One strip, four screws. Your tools will never be lost again.
- Mount a magnetic strip above your work surface
- Hang scissors, palette knives, and metal rulers
- Keep it away from phones and cards
- Enjoy tools that are always visible and tidy
The Under-Bed Flat File
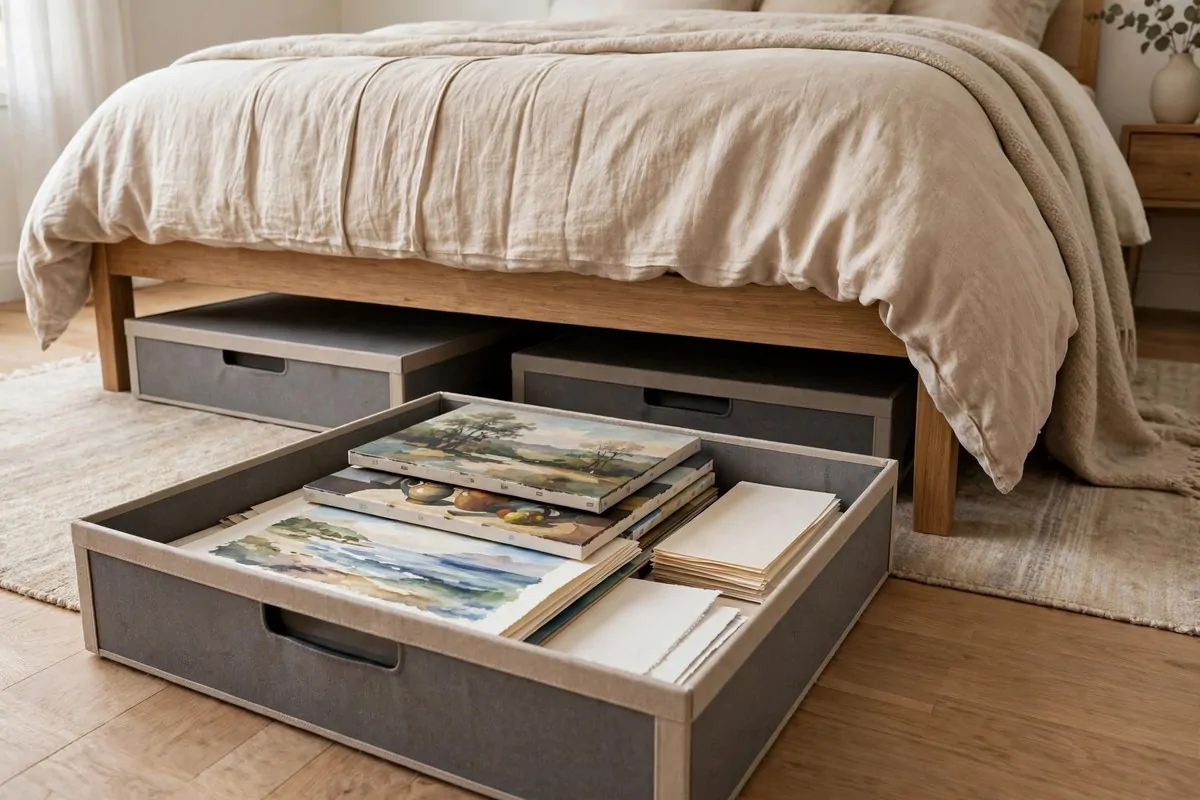
Flat work needs flat storage. Shallow boxes under the bed hold finished paintings and paper. They stay safe and out of the way.
I use flat portfolio boxes. They slide under easily. Each one holds a stack of work. Acid free ones protect the art.
Label the ends. Watercolors here, sketches there. You can find things without pulling every box out.
This keeps finished work safe from sun and dust. Under the bed is dark and calm. Art lasts longer there.
It also keeps your studio clear. Finished work leaves the workspace. Only current work stays out. The room breathes.
Measure your bed clearance first. Boxes come in different heights. Get the tallest that fits. Use every inch.
- Use shallow flat portfolio boxes for finished work
- Label the box ends by medium or project
- Choose acid free boxes to protect the art
- Measure bed clearance and use the tallest fitting box
The Daylight Lamp Setup
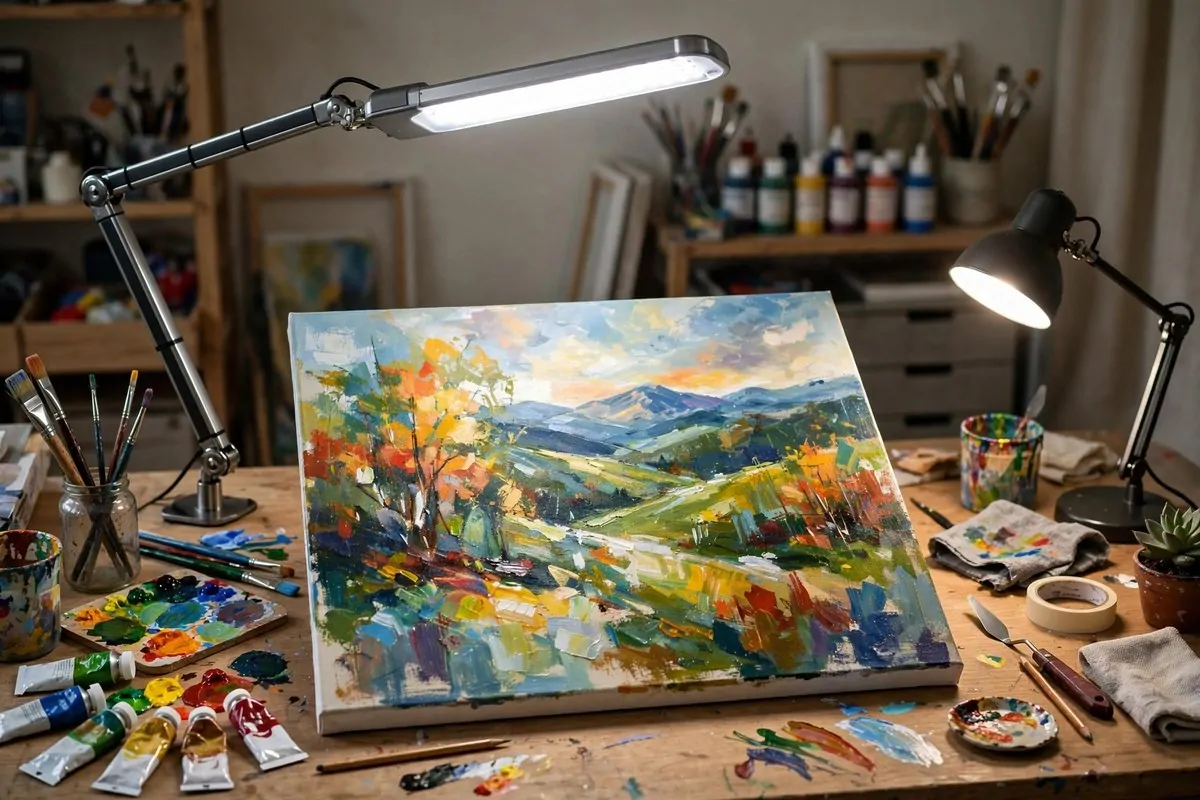
Good light is everything. A daylight balanced LED lamp shows true colors. Your art looks right at every hour.
Daylight bulbs are 5000K to 6500K. They mimic noon sun. Colors do not shift. What you mix is what you get.
I use an adjustable arm lamp. I aim it at my work, not my eyes. The light hits the canvas evenly. No glare.
Two lamps beat one. One from each side kills shadows. Your hand stops casting shade on your work.
This extends your creating hours. Dark winter evenings become studio time. The lamp is your personal sun.
It also saves your eyes. Bad light causes strain. Good light lets you work longer comfortably. Your body will thank you.
- Choose daylight balanced LEDs at 5000K to 6500K
- Use an adjustable arm to aim light at the work
- Add a second lamp to kill hand shadows
- Create comfortably on dark winter evenings
The Clear Jar Organization Wall
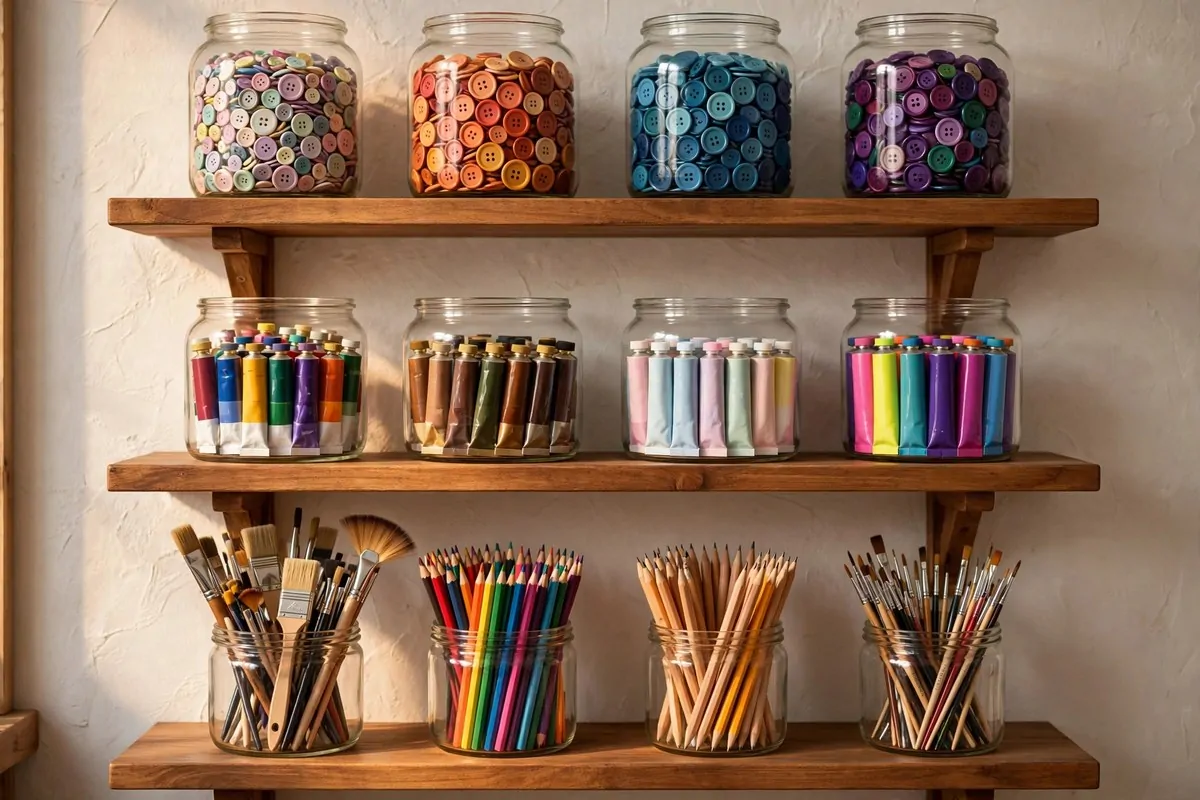
Clear jars on shelves turn supplies into decor. Brushes, pencils, buttons. You see everything. It looks beautiful.
I buy jars in different sizes. Tall for brushes. Short for clips. Wide for paint tubes. Each supply gets its perfect jar.
Wooden shelves hold the jars. The wood warms up the glass. It looks like a sweet shop for artists.
Labels help. A little tag on each jar. Even clear jars benefit. You grab faster when you read instead of guess.
This system stays tidy because it is visible. Mess shows. You fix it fast. Invisible storage lets mess grow.
It is also inspiring. Seeing your colors lined up makes you want to use them. The supplies call to you.
- Sort supplies into clear jars by type and size
- Mount wooden shelves to display the jars
- Add small labels to each jar for speed
- Let visible supplies inspire daily creating
The Drop Cloth Paint Zone
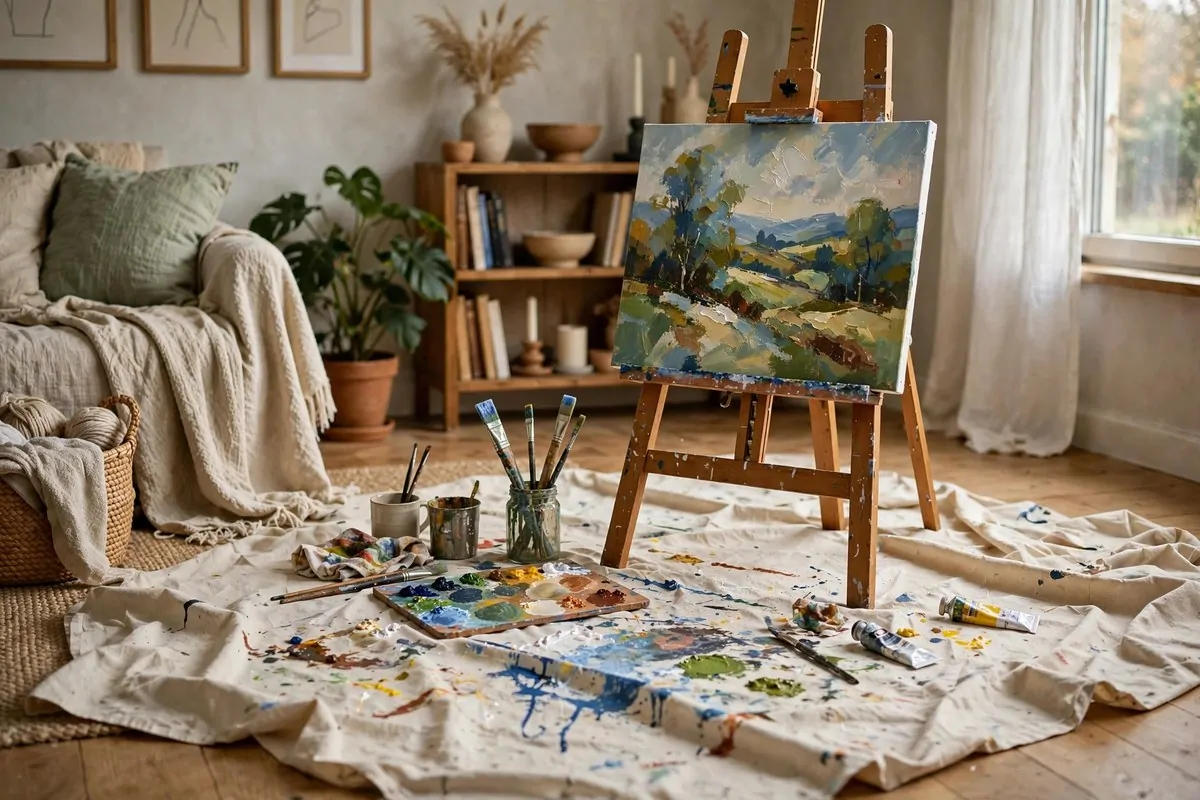
A drop cloth on the floor defines your paint zone. Inside the cloth, mess is allowed. Outside, the house stays clean.
I use a canvas drop cloth. It stays put. Plastic ones slide around. Canvas absorbs drips. It looks better too.
The cloth marks permission. When it is down, you can be messy. That freedom makes creating more fun. No fear of the floor.
It also protects everything. Paint, charcoal, ink. The cloth takes it all. Your floors stay perfect.
Fold it up when done. The mess folds away with it. Shake it outside occasionally. It lasts for years.
This lets you create anywhere. Living room, bedroom, balcony. The zone moves with the cloth. Your studio is portable.
- Lay a canvas drop cloth to define your work zone
- Choose canvas over plastic for grip and absorption
- Give yourself full permission to be messy inside it
- Fold it up to make the mess disappear
The Gallery Wall of Your Own Work
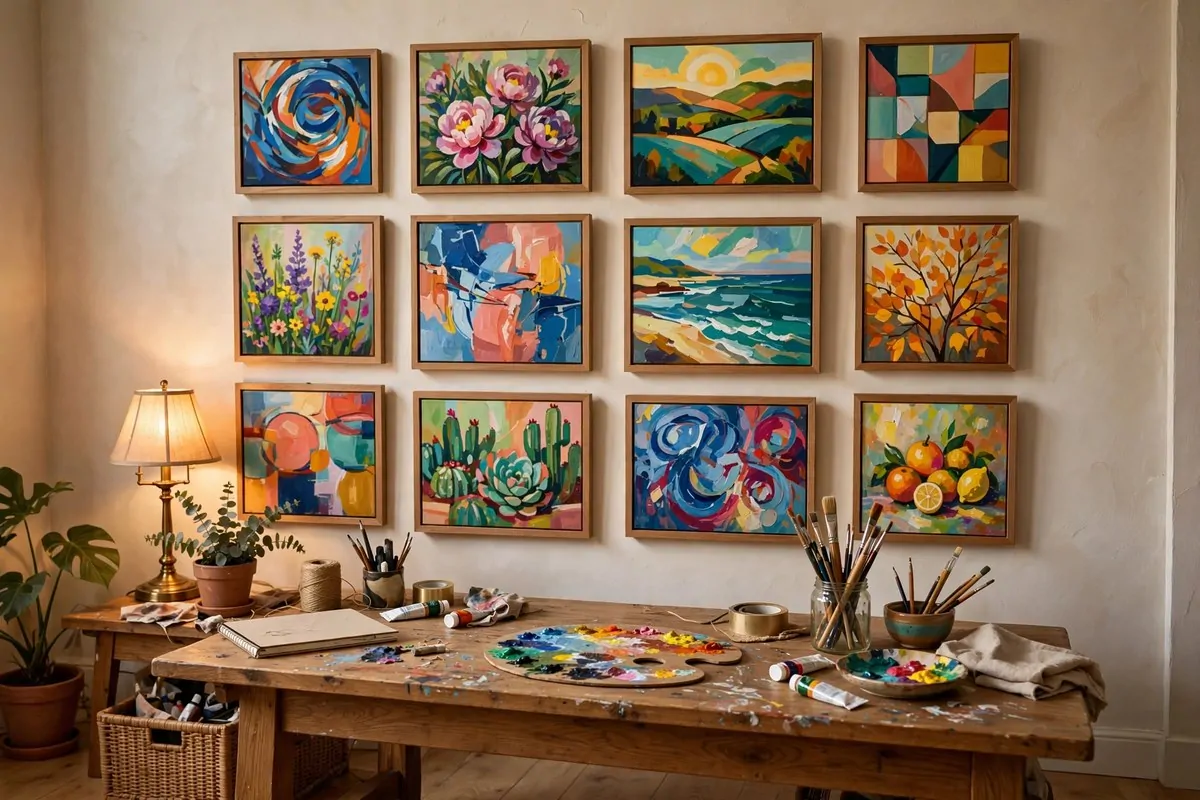
Hang your finished work on the studio wall. It reminds you what you can do. On hard days, it pulls you forward.
I frame my favorites simply. Cheap frames, same color. The uniformity makes different pieces look like a collection.
Rotate the wall. New work goes up. Old work comes down. The wall stays fresh. You see your progress over time.
This also finishes the studio look. Bare walls feel temporary. Your art on the wall says this is a real studio.
Guests see it and ask questions. Talking about your work builds confidence. Confidence builds more work.
Do not wait until it is perfect. Hang the good ones now. Your wall grows as you grow.
- Frame favorites in matching cheap frames
- Rotate new work in and old work out
- Let the wall prove this is a real studio
- Hang good work now, do not wait for perfect
The Warm-Up Sketch Corner
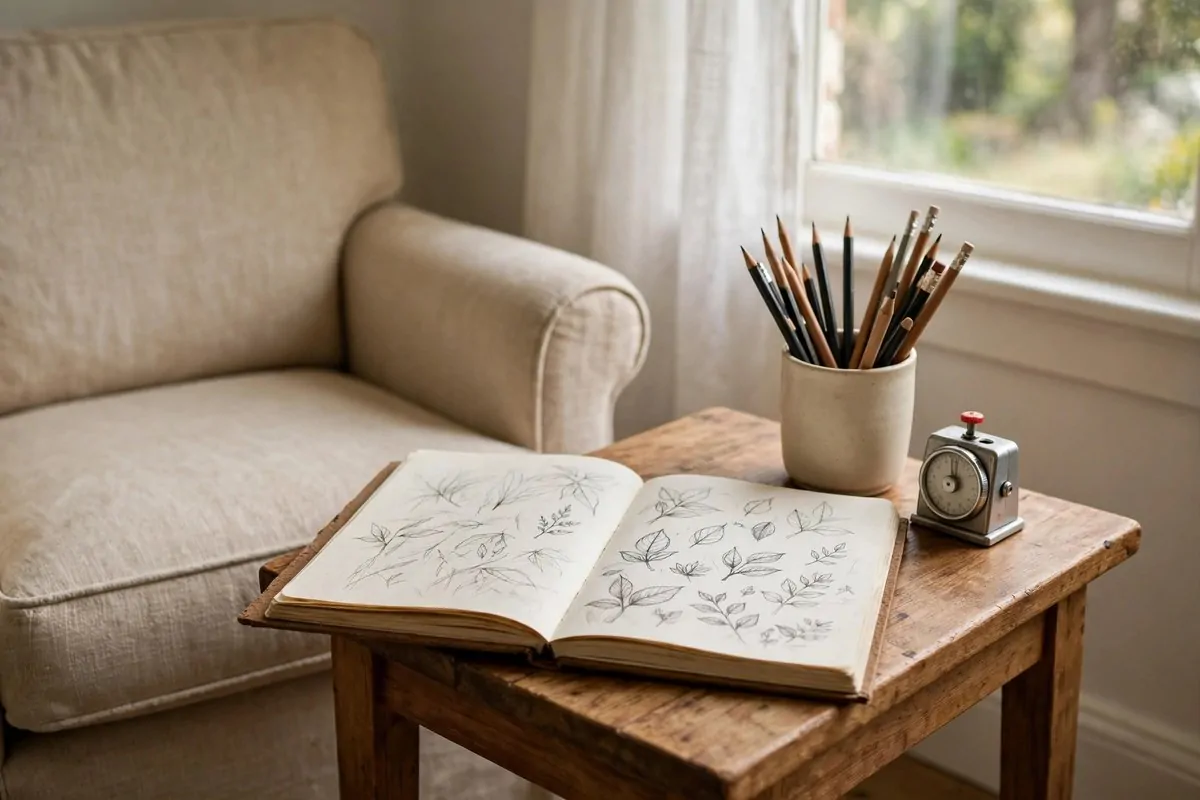
Start every session with a ten minute sketch. A small corner with just a sketchbook and pencils makes it easy.
I keep a dedicated sketchbook open on a side table. Pencils beside it. No setup needed. I sit and draw.
The warm up loosens your hand. It quiets your brain. By minute ten you are ready for real work. It is like stretching before a run.
Use a timer. Ten minutes, no more. The limit frees you. Bad sketches are fine. It is a warm up, not a performance.
This corner needs nothing fancy. A chair, a table, good light. The simplicity is the point. Fewer barriers, more drawing.
Some days the warm up becomes the work. That is fine too. The corner does not judge.
- Keep a dedicated sketchbook open on a side table
- Set a ten minute timer for each warm up
- Accept bad sketches, it is practice not performance
- Let the warm up become the work when it wants to
The Dining Table Dual Setup
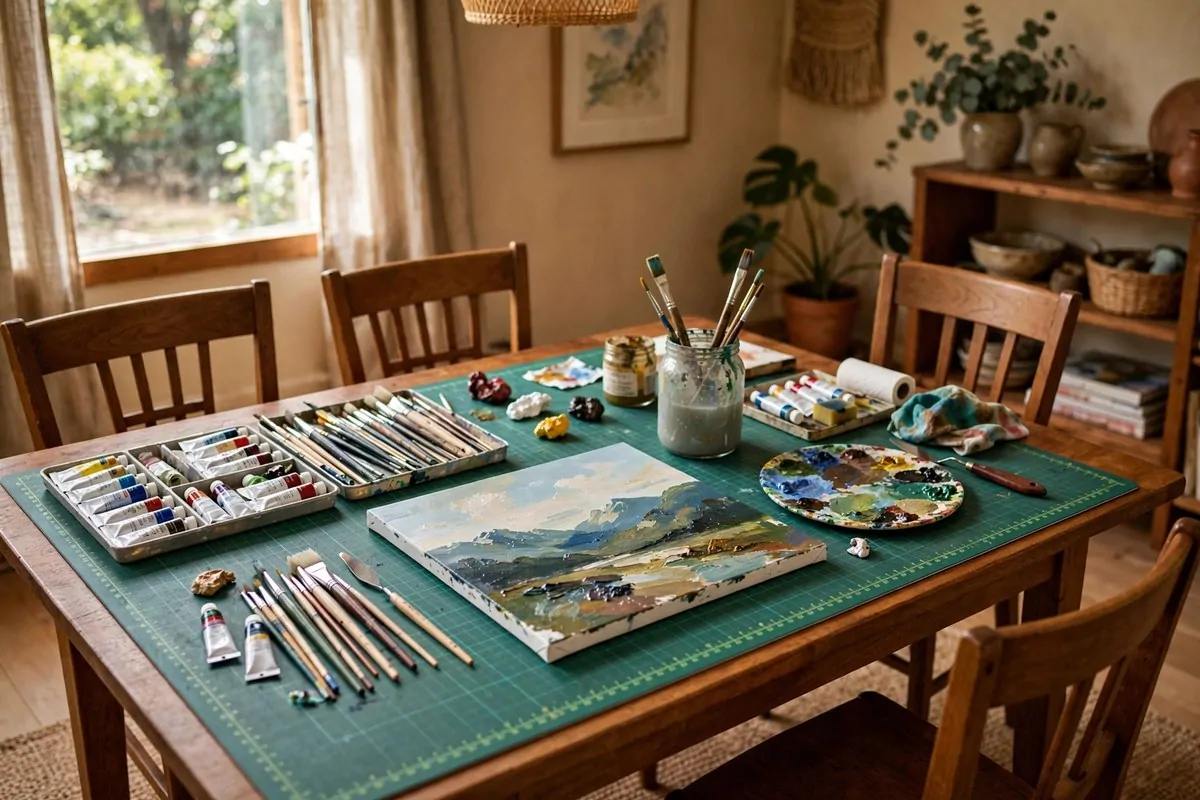
Your dining table is a studio waiting to happen. A protective mat, organized trays, and you are creating. Dinner moves it aside.
I use a big cutting mat as my work surface. It protects the table. It gives me measurements. It rolls up when done.
Trays hold the supplies. One for paints, one for brushes, one for water. Lift the trays and the table is clear. The system is the studio.
This works because it is honest. Most of us do not have spare rooms. The dining table is real life. Make it work.
Set a pack up routine. Trays stack, mat rolls, table wipes. Five minutes and dinner is served. No stress.
The family gets used to it. Art becomes part of the home rhythm. That is a beautiful thing.
- Protect the table with a large cutting mat
- Organize supplies on liftable trays
- Build a five minute pack up routine
- Let art become part of the home rhythm
The Storage Ottoman Seat
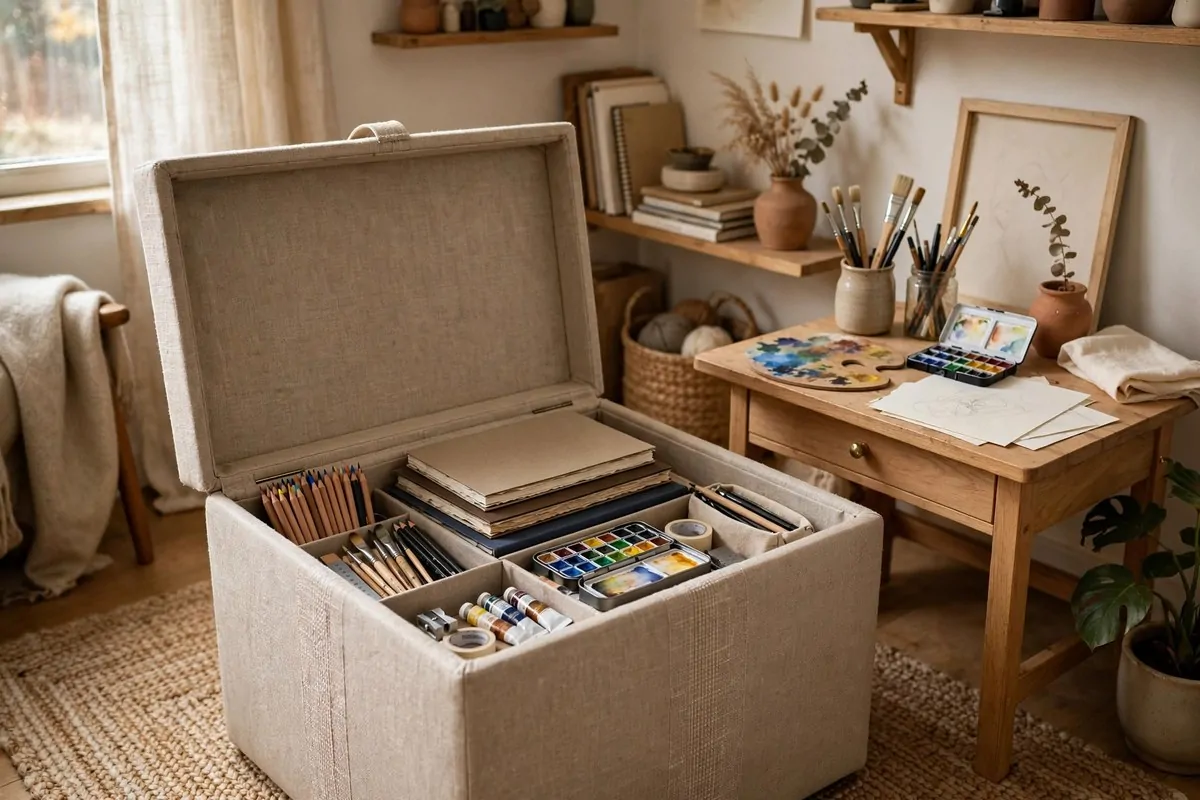
A storage ottoman is a seat and a supply closet. Sit on it to create. Open it to find your tools. Small studios love double duty.
I keep mine by my desk. It holds sketchbooks, extra paper, and the supplies I use weekly. Daily tools stay on the desk.
The top should be firm and comfortable. Test it in the store. You will sit on it for hours. Comfort matters.
Pick a fabric that hides a little mess. Canvas or textured weave. Light solid colors show every mark.
When guests come, the studio vanishes into the ottoman. Close the lid. It is just furniture. Your secret is safe.
This is perfect for tiny apartments. One piece, two jobs, zero clutter. The math works.
- Choose a firm comfortable ottoman you can sit on for hours
- Store weekly supplies inside, daily tools on the desk
- Pick mess hiding fabrics like canvas
- Close the lid to hide the studio from guests
The Floating Shelf Supply Wall
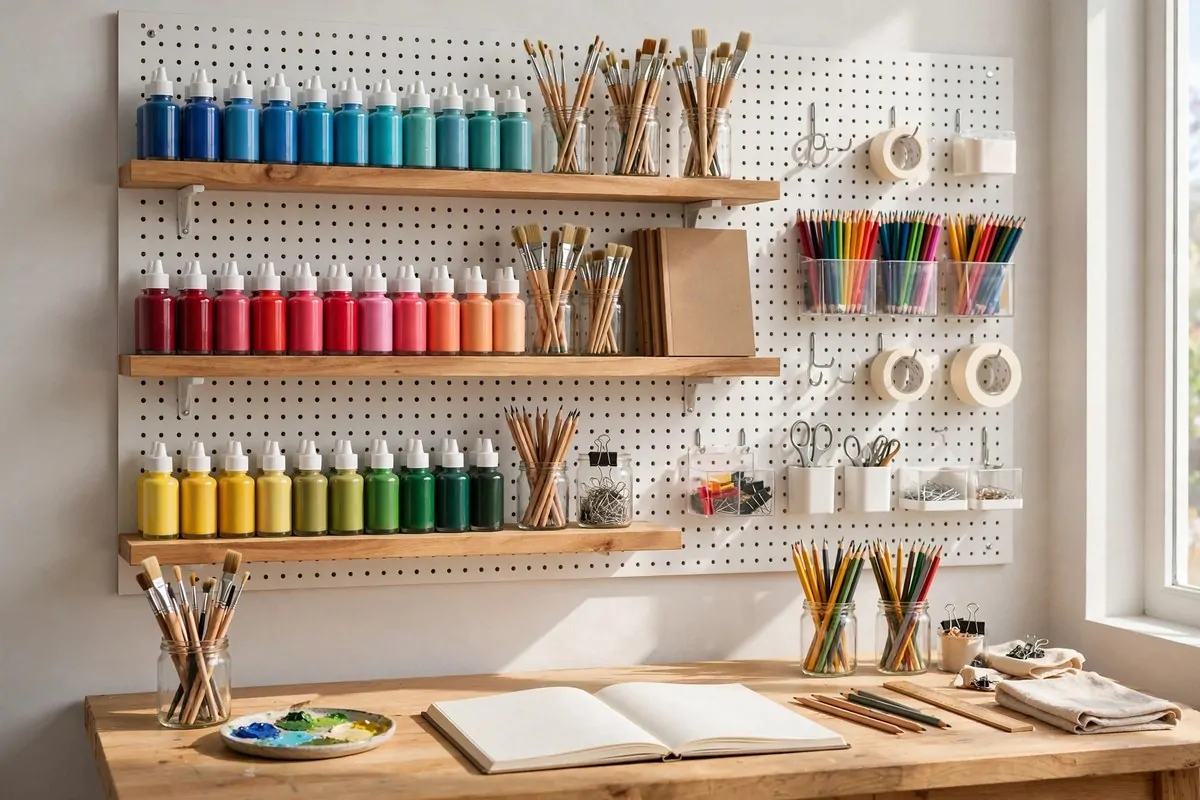
Floating shelves turn a blank wall into supply storage. Paint bottles, sketchbooks, jars. Everything visible and reachable.
I mount three shelves above my desk. The lowest holds daily supplies. The highest holds the rarely used stuff. Logic you can reach.
The shelves keep the desk clear. Supplies live on the wall. The work surface stays open. That separation boosts creating.
Style them a little. Group by color. Line up the bottles. Pretty storage makes you happy. Happy artists create more.
They are easy to install. A level, some screws, an afternoon. The payoff lasts for years.
This works in any room. The wall was empty anyway. Now it works for you.
- Mount three floating shelves above your work area
- Keep daily supplies low, rare supplies high
- Group items by color for pretty storage
- Enjoy a permanently clear work surface
The Labeled Bin System
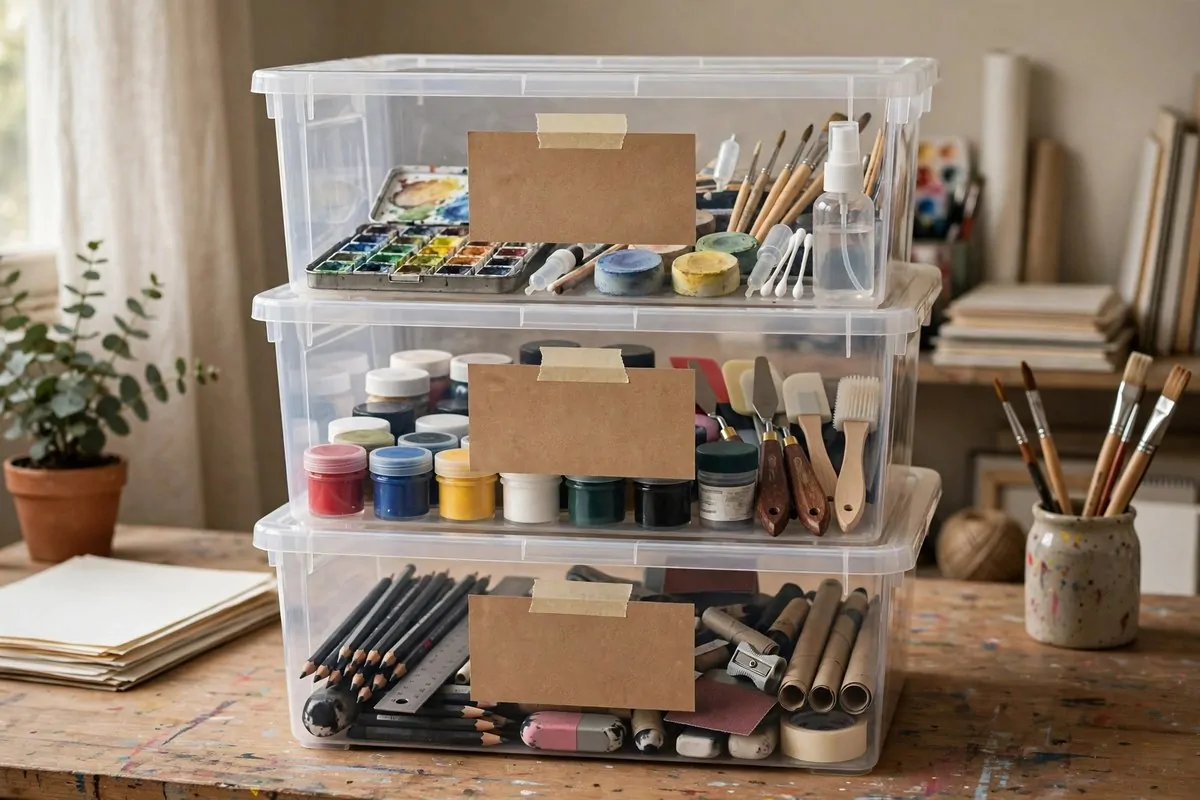
Bins with labels end the lost supply problem. Every medium gets a bin. Every project gets a bin. You always know where things are.
I use stackable clear bins. I see inside. The label tells me what it is. Double clarity. No guessing.
Sort by medium first. Watercolor bin, acrylic bin, drawing bin. Then by project if you need to. The system grows with you.
Labels should be big and clear. A label maker is nice. Masking tape and a marker work fine. Do not overthink it.
This system shines in shared spaces. Anyone can find things. Anyone can put things back. The studio stays organized.
Once a year, audit the bins. Toss dried paints. Donate unused supplies. The system stays lean and useful.
- Sort supplies into stackable clear bins by medium
- Label every bin big and clearly
- Let anyone in the house use the system
- Audit yearly and toss dried out supplies
The Quick-Clean Corner
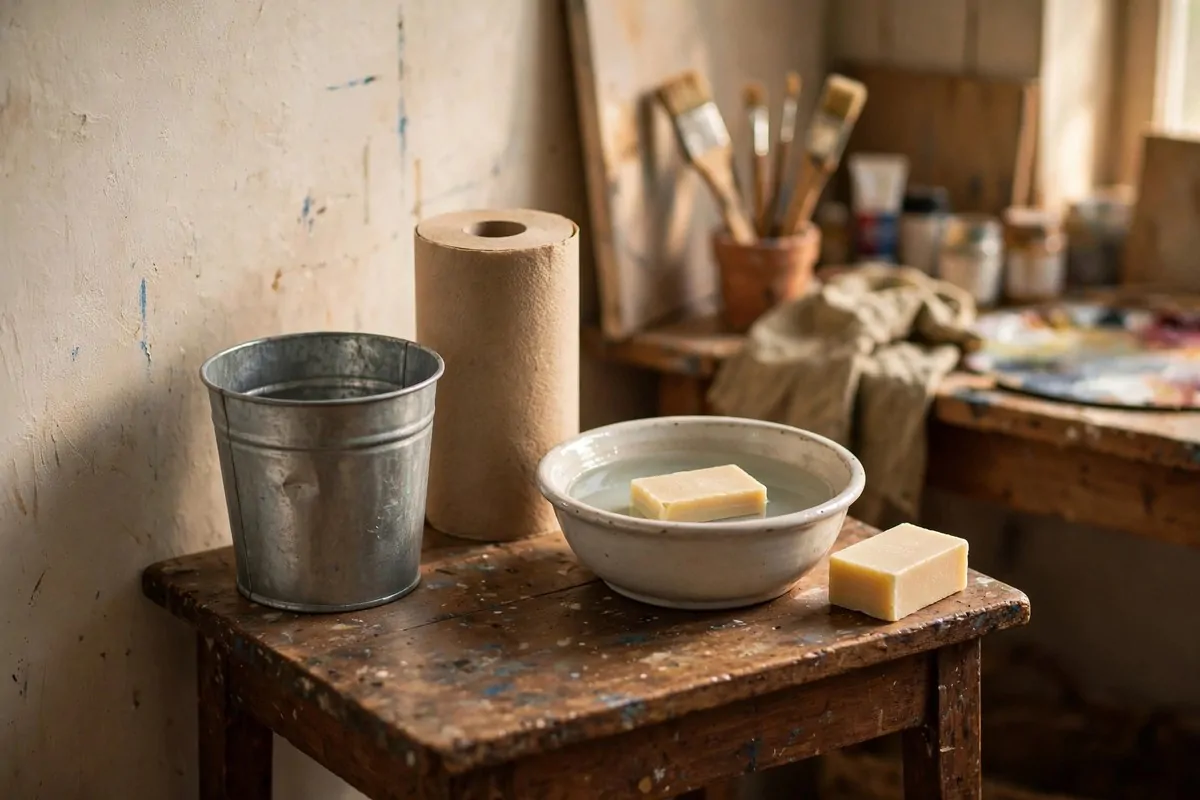
Cleanup kills creating when it is hard. A quick clean corner makes it easy. Trash bin, paper towels, soap. All within reach.
I set mine up before I start. Bin open, towels out, water fresh. When I finish, cleanup takes three minutes. No dread.
The secret is proximity. If the trash is across the room, you will not use it. Keep it at your elbow. Laziness becomes tidiness.
For painters, add brush soap here. Wash brushes right away. They last years longer. It saves money and frustration.
Wipe the table when done. Future you will thank present you. A clean start makes the next session inviting.
This corner is boring. It is also the reason I create daily. Easy cleanup removes the last excuse.
- Set up bin, towels, and soap before you start
- Keep the trash within arm’s reach
- Wash brushes immediately with brush soap
- Wipe the table so the next session starts clean
The Garden Shed Studio
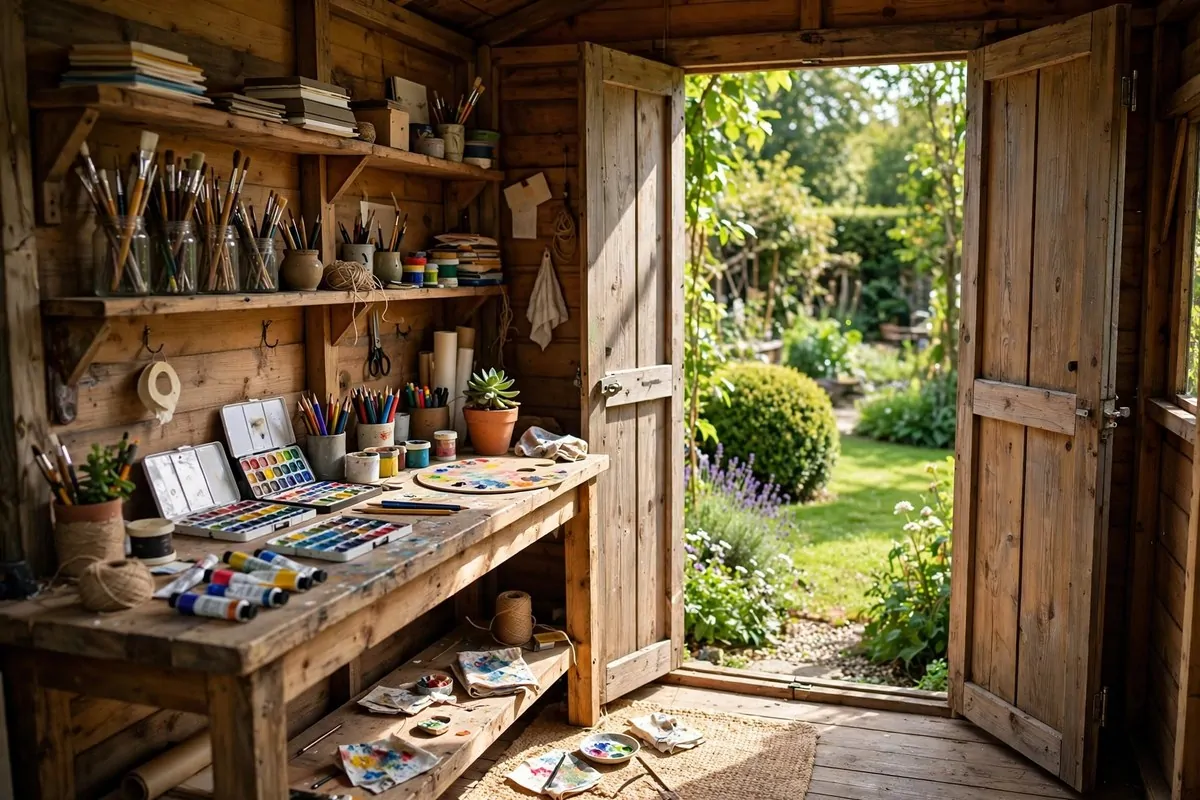
A garden shed makes a wonderful studio. Separate from the house. Full of light. Mess does not matter. It is freedom.
I insulated mine simply. A small heater for winter. The doors open wide in summer. It is comfortable most of the year.
The best part is the separation. Walk to the shed and you are an artist. Walk back and you are home. The commute clears your mind.
Mess is welcome here. Paint on the floor. Clay on the bench. Nobody cares. That freedom changes what you dare to try.
Add a workbench along one wall. Shelves above it. A stool that spins. The basics fit in even a small shed.
Check for leaks before you move in. Dry matters more than pretty. Seal the roof. Then make it yours.
- Insulate simply and add a small heater for winter
- Use the walk to the shed as a mental commute
- Embrace the mess, it is what sheds are for
- Seal the roof and check for leaks first
The North-Light Corner
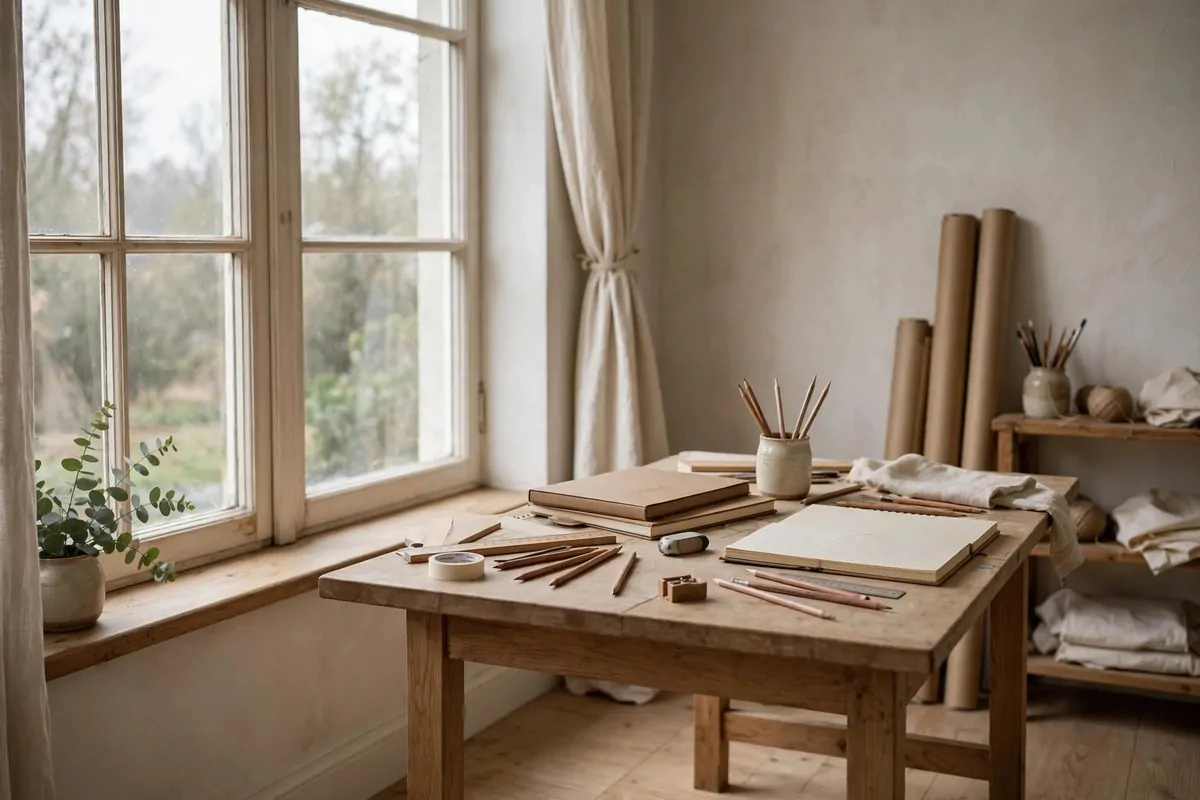
Artists have loved north light for centuries. It is soft, even, and never changes. A north facing corner is a classic studio.
The light stays the same all day. No moving shadows. No harsh afternoon sun. Your colors stay true from morning to night.
I set my drawing table perpendicular to the window. The light falls across my work evenly. My hand never blocks it.
You do not need a big window. Even a small north window gives beautiful light. Quality beats size here.
This corner suits drawing and watercolor best. Delicate work loves gentle light. Oils work too. Everything looks right.
If you have a north window, claim it for art. It is the best free studio upgrade in the world.
- Claim any north facing window for your studio
- Set the table perpendicular so light falls evenly
- Trust the steady light for true colors all day
- Know that even a small north window works beautifully