16 Attic Art Studio Ideas That Soak Up the Light

Last winter I painted a sky under my kitchen light and it came out purple. Not sunset purple. Electric, almost neon purple.
The next morning I carried the canvas to a window and just stared at it. In real daylight the colors looked totally different from what I had mixed the night before. My warm grey had turned blue. My soft green looked almost yellow. Bad light had lied to me for three hours straight.
That afternoon I dragged my easel up the attic stairs. It was dusty up there and cold, but the light coming through the skylights was so clean and so even that I laughed out loud. I have painted in that attic ever since.
Here is what I learned up there. The attic is the one room most houses already have that was built for art, and almost nobody uses it that way. Sloped ceilings keep clutter out of your eyeline. Skylights pull in high, steady light. The door closes and the rest of the house disappears.
These 16 attic art studio ideas are all about soaking up that light and making the awkward angles work for you. Some cost almost nothing. Some take a weekend. All of them are ideas I would use myself, and most I already do.
1. Claim the Skylight Zone for Your Easel
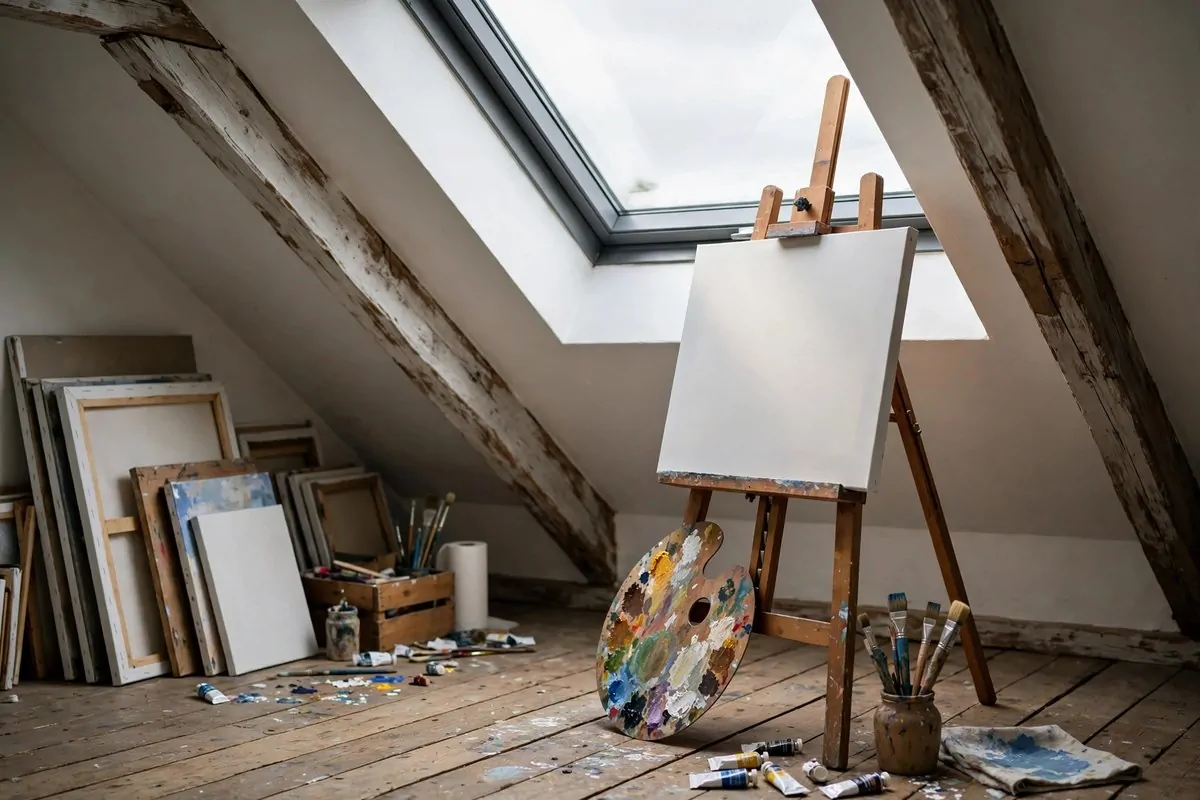
The single best thing about an attic studio is the light, so give your easel the best seat in the room. The brightest zone is right where the skylights are.
Do not put the easel directly under the skylight though. That sounds logical but it gives you glare on wet paint and a dark shadow of your own head falling on the canvas. I made this mistake in my first week.
Instead, set the easel a step or two to the side of the skylight. You want the light to rake across the canvas from the side. That side light is what painters call north light when it comes from a north facing window, and skylights do a great job of copying it.
North light is prized because it stays soft and even all day. Direct sun changes color every hour. Soft skylight barely changes at all, so the green you mix at nine looks the same at three.
If your attic has two skylights, pick the one that faces north or the one that never gets harsh direct sun. That is your painting skylight. The other one can light the rest of the room.
Leave a clear patch of floor around the easel. You need to step back two or three meters to look at your work. Mark that spot with tape for the first week until you stop bumping into things.
I keep my palette on the shadow side of the easel so the light falls the same way on my paints and my canvas. It is a small trick but it keeps your colors honest.
One more thing. Painters talk about light coming over your left shoulder if you are right handed. The idea is that your own hand never shades your brushwork. Try it. It feels odd for a day and then you cannot go back.
Test the spot at three different times of day before you commit. Morning, noon and late afternoon. Skylight angles surprise you in attics, and ten minutes of checking beats moving the easel every day for a month.
2. Paint Everything White Before You Unpack
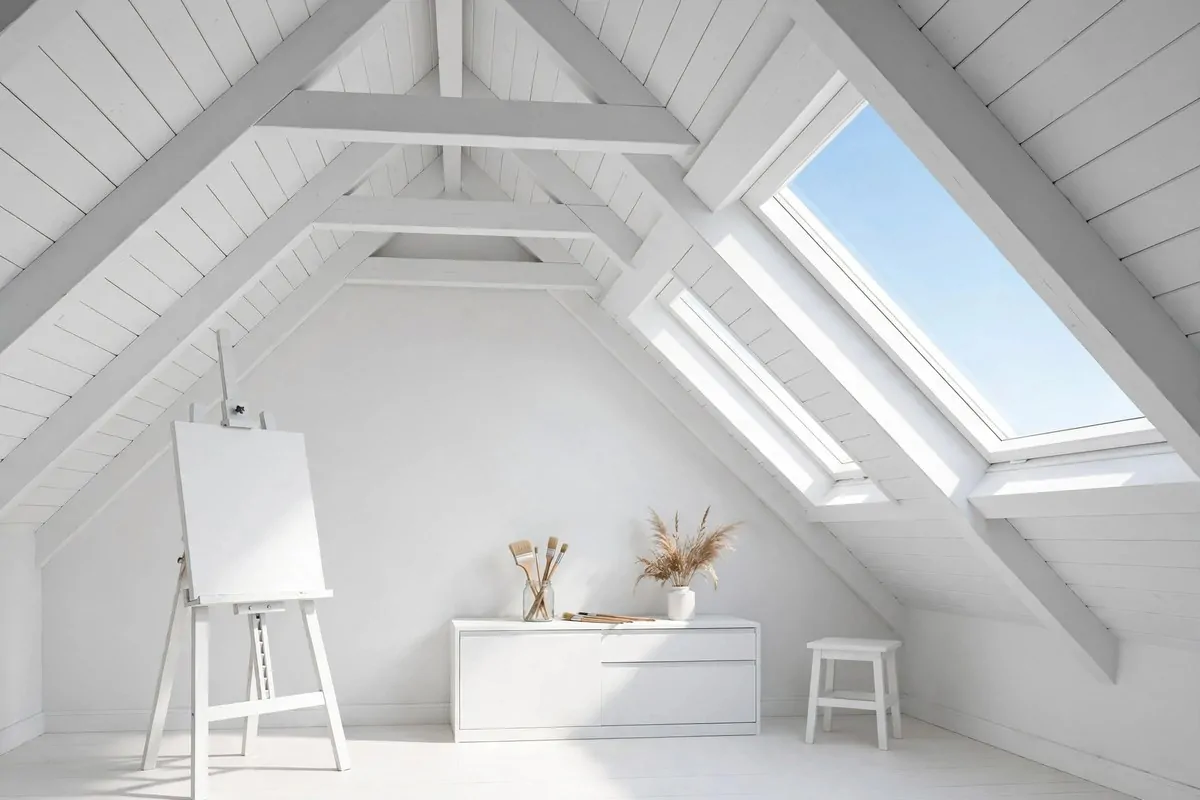
Before a single tube of paint comes up those stairs, buy white paint. Walls, beams, the sloped ceiling. All of it.
White does two jobs in an attic studio. It bounces the skylight deep into the corners, and it gives you a neutral background to judge your colors against. Colored walls lie to you almost as much as bad light does.
Pick a matte or eggshell finish. Glossy walls throw little hotspots of reflected light around the room and they glare in your eyes when you are trying to look at a canvas. Flat and matte finishes just soak the light up and spread it softly.
Paint the beams too, not just the flat walls. Exposed beams painted the same white as everything else make the ceiling look higher and calmer. The room stops feeling choppy and starts feeling like one space.
Two coats is usually enough over old wood. I used a primer first because my attic had dark stained beams, and I am glad I did. Skipping primer on dark wood means three or four coats, which is no fun under a sloped ceiling.
Do the ceiling work in the morning when the attic is cool. Attics heat up fast once the sun hits the roof, and paint dries weird and streaky when you are sweating onto the roller.
Leave one small wall or a section of a gable wall unpainted for later if you like. A pin-up board or a cork strip looks better against white anyway, and I will get to that in idea eleven.
White walls also make the space feel bigger, which matters when the ceiling slopes down to your knees at the edges. Light walls push the walls out visually. Dark walls pull them in.
And here is the honest truth. A white attic studio photographs beautifully for your own records. If you sell work online, a clean white studio background makes your phone photos look twice as good with zero effort.
3. Turn a Dormer Into a Detail-Work Nook
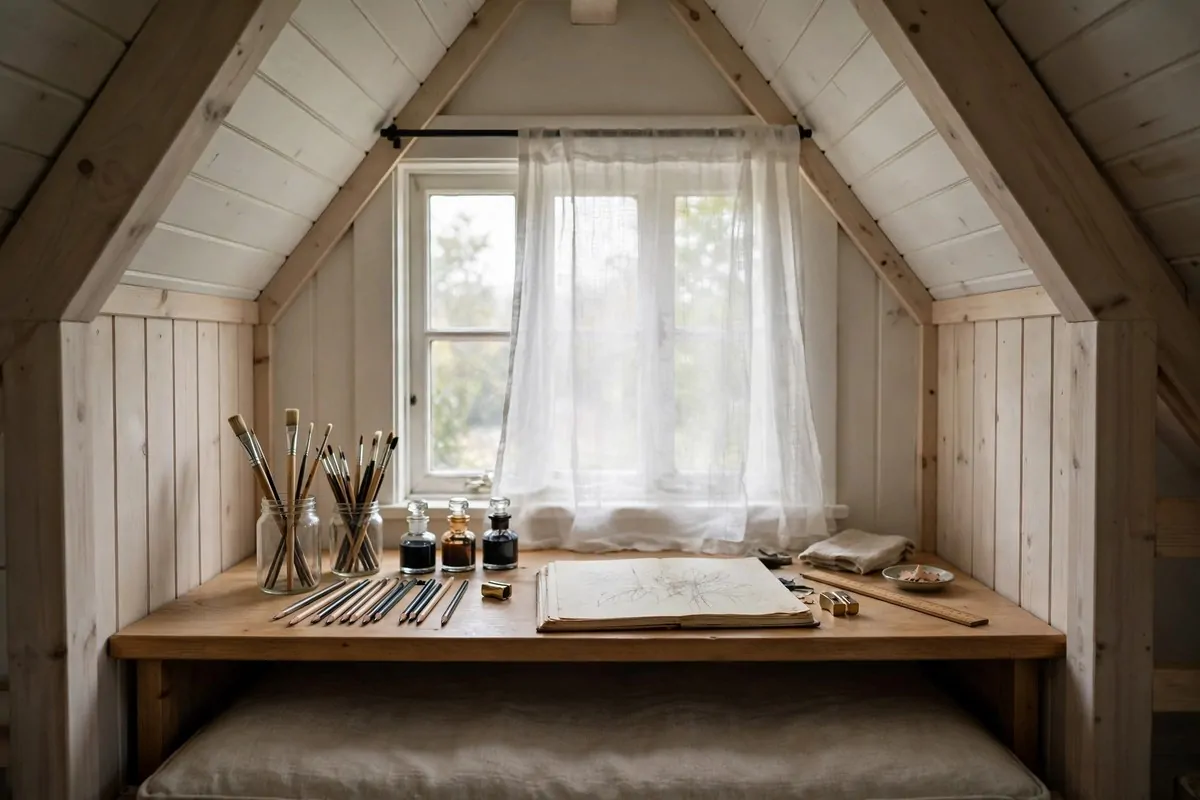
If your attic has a dormer, that little bump-out is the most useful few feet in the whole house. It has a real vertical wall, a real window, and full headroom. That is gold in an attic.
Turn it into your detail-work nook. Sketching, ink work, watercolor washes, anything where you lean in close. A dormer gives you side light at sitting height, which is perfect for fine work.
A simple desk works. It does not need to be fancy. A solid door on two filing cabinets is a classic artist desk and it costs next to nothing if you already have the parts.
Face the window when you sit. Your paper gets lit, your hands do not throw shadows on it, and you get to look up and rest your eyes on the sky every few minutes. That rest matters more than people think.
Keep this nook separate from the easel zone. Big messy oil painting happens out in the skylight zone. Careful small work happens here. Mixing the two is how fine brushes end up in turpentine.
Put a small shelf or a window sill tray inside the dormer for the pens, inks and knives you use here. Reaching across the room for a pencil breaks your focus every single time.
A dormer also ventilates the whole attic when you crack the window. Solvents and mediums smell less scary with moving air. Even ten minutes of open window changes the room.
If the dormer gets direct afternoon sun, hang the sheer curtain from idea twelve here first. This is the one spot where harsh glare actually hurts your eyes, because you are looking down at white paper.
I keep a little stool in my dormer nook, not a full chair. A stool tucks under the desk and disappears. In an attic, anything that disappears when you do not need it is worth its weight.
4. Set a Tilt-Top Drafting Table Under the Slopes
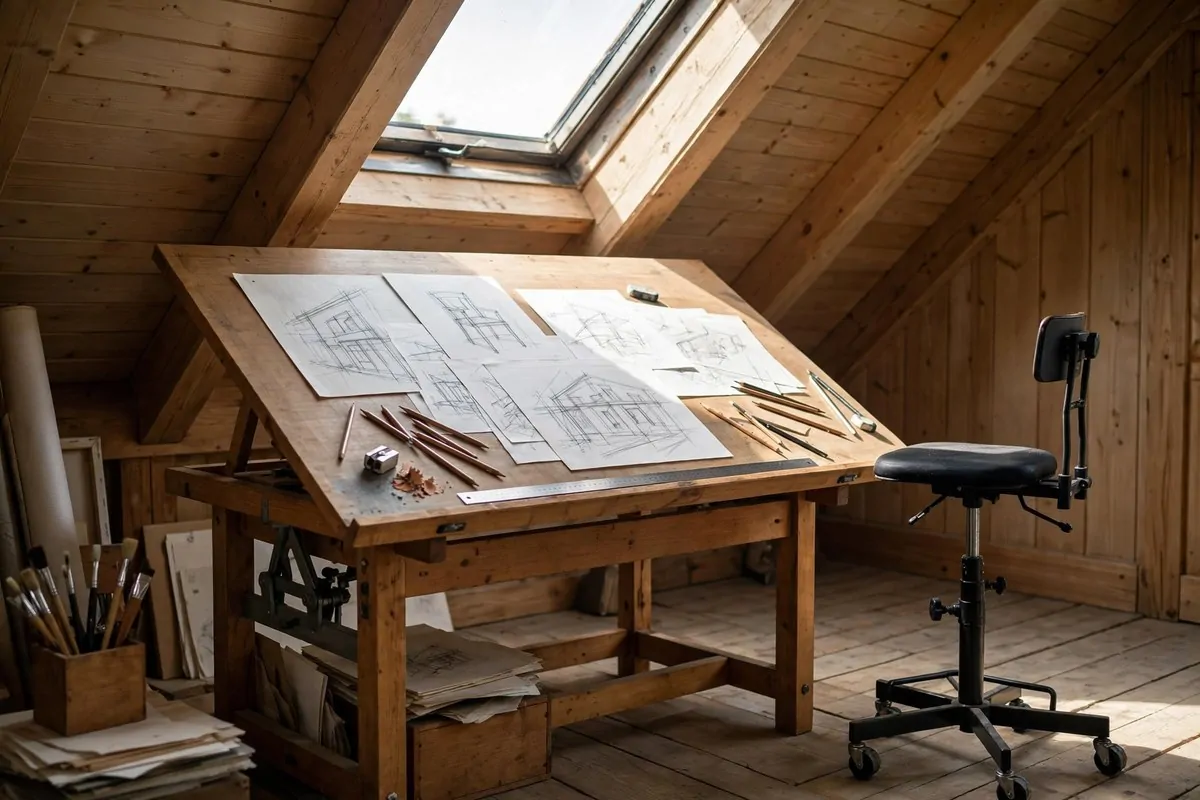
An easel is great for canvas. But for drawing, pastel work and big watercolor sheets, a tilt-top drafting table wins. And attics are made for them.
The sloped ceiling that makes attics annoying for standing becomes an advantage here. You sit low, the slope is way above you, and the tilt-top angles your paper toward the skylight like a sunflower.
Get a wooden one with adjustable height if you can. You will raise it for standing work and lower it for sitting. One table does two jobs, which is the whole game in a small attic.
Pair it with a tall artist stool on casters. The wheels let you roll back to check your drawing from a distance, which is something people forget. Half of drawing is looking at it from far away.
Keep the table surface clear. This is a work surface, not a storage surface. Tubes and jars go on the trolley from idea five. The table holds your paper, your tools for today, and nothing else.
A sheet of glass or a cutting mat on top protects the wood and gives you a smooth drawing surface. Tape your paper corners down. Attic breezes from the dormer window love to flip loose paper.
Position the table so the skylight is in front of you or to your left, the same rule as the easel. Light over your shoulder, never behind the paper where it makes you squint.
If you work on big sheets, check the table footprint against your floor plan first. Drafting tables look small in the shop and huge in an attic. Measure the widest point of your attic floor and buy to fit it.
I do my morning drawing pages here before the house wakes up. Tilted paper, skylight above, total quiet. It is the best part of my day and it costs me nothing extra.
5. Keep Supplies on a Rolling Trolley
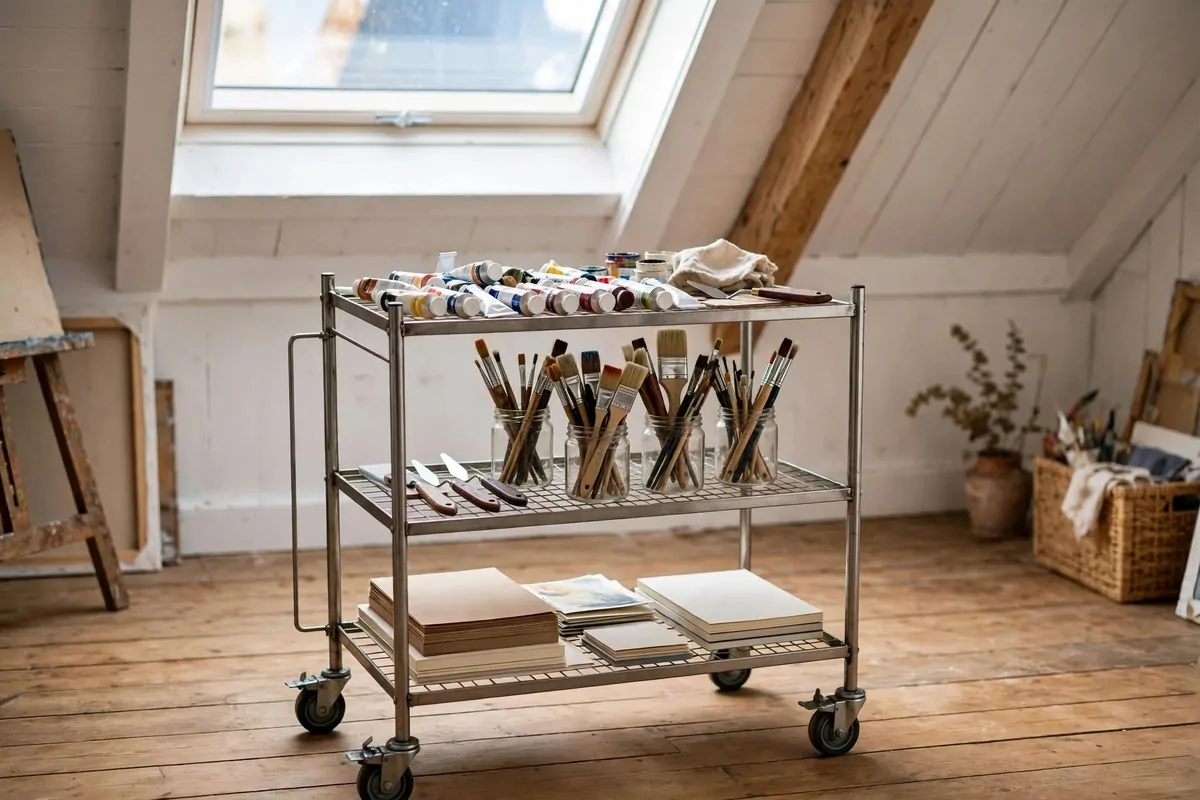
Attics do not have closets. So your storage has to roll, stack and tuck. A three-tier rolling trolley is the hardest working piece of furniture in my studio.
Load the top tier with what you touch every session. Brushes in jars, your palette knife, the mediums you actually use. If it is not on the top tier, you will not use it. That is just how brains work.
The middle tier holds paints. Stand the tubes upright in jars or small boxes so you can see every cap. Hunting through a flat pile of tubes for burnt umber is a special kind of misery.
The bottom tier is for the heavy stuff. Water jars, big bottles of medium, the roll of paper towels. Heavy at the bottom keeps the trolley from tipping when you roll it across the room.
The magic is that it follows you. Painting at the easel, the trolley parks beside it. Doing detail work in the dormer nook, you roll it over. One set of supplies serves the whole attic.
Park it in the dead space under the lowest part of the slope when you are done. That space is useless for anything else, and the trolley fits there like it was designed for it.
Keep a small bin on top for trash. Palette scrapings, used tape, dried wipes. If the bin is right there, you will use it. If it is across the room, the floor becomes the bin.
Restock it once a week. Sunday evening works for me. Five minutes checking what ran low, and you never start a session missing the one color you need.
What goes on my trolley, tier by tier:
– Top: brush jars, palette knife, mediums in use, rag, tape
– Middle: paint tubes upright, ink bottles, charcoal sticks
– Bottom: water jars, paper towels, big medium bottles, trash bin
One trolley, everything in arm’s reach. Your attic studio suddenly feels twice as big.
6. Run Shelves Along the Sloped Roofline
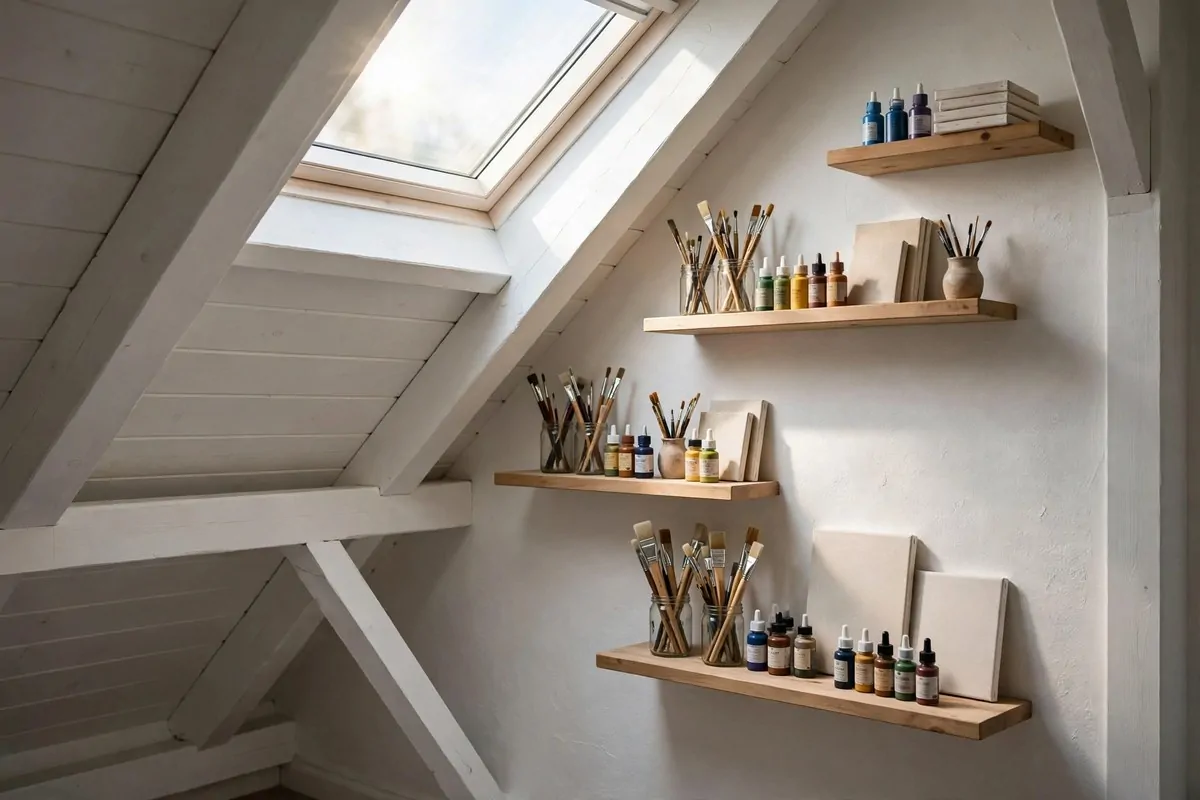
Look at your sloped walls. All that angled surface is wasted space in most attics. For an art studio, it is a gift.
Floating shelves that follow the roofline turn dead wall into storage. Mount them at two or three heights, stepping down as the slope drops. Each shelf gets shorter as the ceiling gets lower, and it looks intentional and lovely.
Put the tall jars and bottles on the higher shelves where there is headroom. Brushes, mediums, the big water jar. Lower shelves hold flat things. Sketchbooks, paper pads, the portfolio folders.
Do not overload them. Attic shelf brackets need to bite into studs or rafters, and art supplies get heavy fast. A shelf of paint tubes weighs more than it looks. Anchor every bracket properly.
Keep the shelves near your main work zone, not over the easel. You want to reach a fresh tube without walking across wet canvas territory. Supplies travel to the work, not the other way around.
Leave gaps between shelves. A crammed shelf is a shelf you cannot see into. Space between shelves is what makes you actually find the ultramarine at a glance.
I painted my shelves the same white as the walls. They disappear visually and the supplies become the decoration. Colored jars and brush handles against white shelves look genuinely beautiful.
The very lowest shelf, the one under the deepest slope, is perfect for works in progress on boards. Slide them in flat, face up, safe from dust and feet. That shelf alone solved my biggest storage headache.
Measure twice before you drill. Rafter spacing in old houses is not always standard, and a shelf that misses the rafter is a shelf waiting to fall. A stud finder is your friend up here.
7. Choose a Floor You Can Spill On
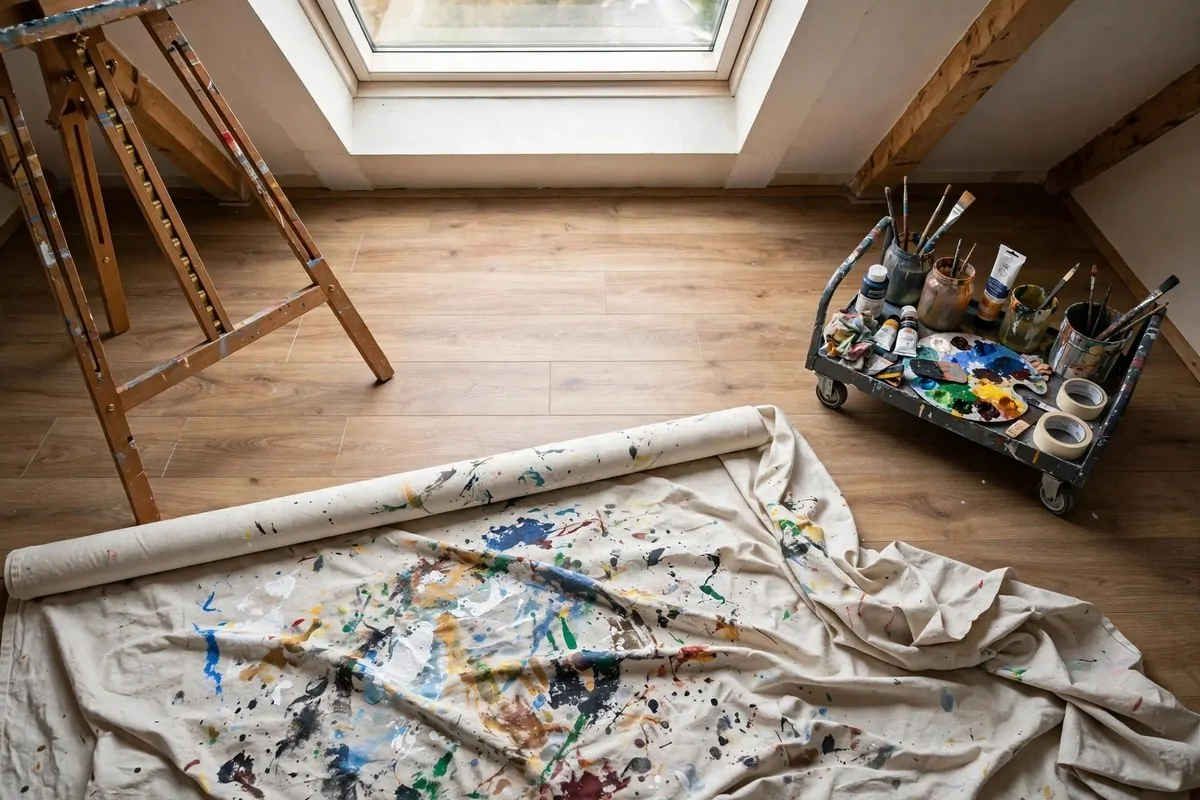
You will spill paint on the floor. Not if. When. So pick a floor that forgives you, and do it before you get attached to pretty wood.
Wood-look vinyl planks are my top pick for an attic studio. They click together, they survive paint drips, and dried acrylic pops off with a plastic scraper. They also handle the temperature swings attics get.
Sealed concrete is the other great option if your attic floor allows it. It wipes clean, it does not care about water, and it feels properly studio-like under your feet. A coat of sealer is all it takes.
What not to do: wall to wall carpet. Paint in carpet is forever. I do not care how cheap the carpet is. Once ultramarine is in the fibers, it is part of the house now.
Whatever floor you choose, keep a canvas drop cloth under the easel zone anyway. It catches the daily drips and you can shake it out outside. Canvas cloths last years and they get softer and better with age.
Wipe spills while they are wet. This sounds obvious but in the middle of painting you will tell yourself you will get it later. Later means scraping. Now means one wipe.
Keep a small bucket with water and a rag in the corner of the floor zone. Watercolor and gouache lift right off vinyl with a damp rag. Acrylic lifts if you catch it before it skins over.
Oils are the one exception. They stain almost everything. A drop cloth plus a piece of waxed paper under your palette area handles it. The floor underneath stays safe.
Good flooring changes how you paint. When you stop worrying about the floor, you get bolder with the brush. A spill-proof floor is secretly a creativity tool.
8. Build a Wall Drying Rack for Wet Canvases
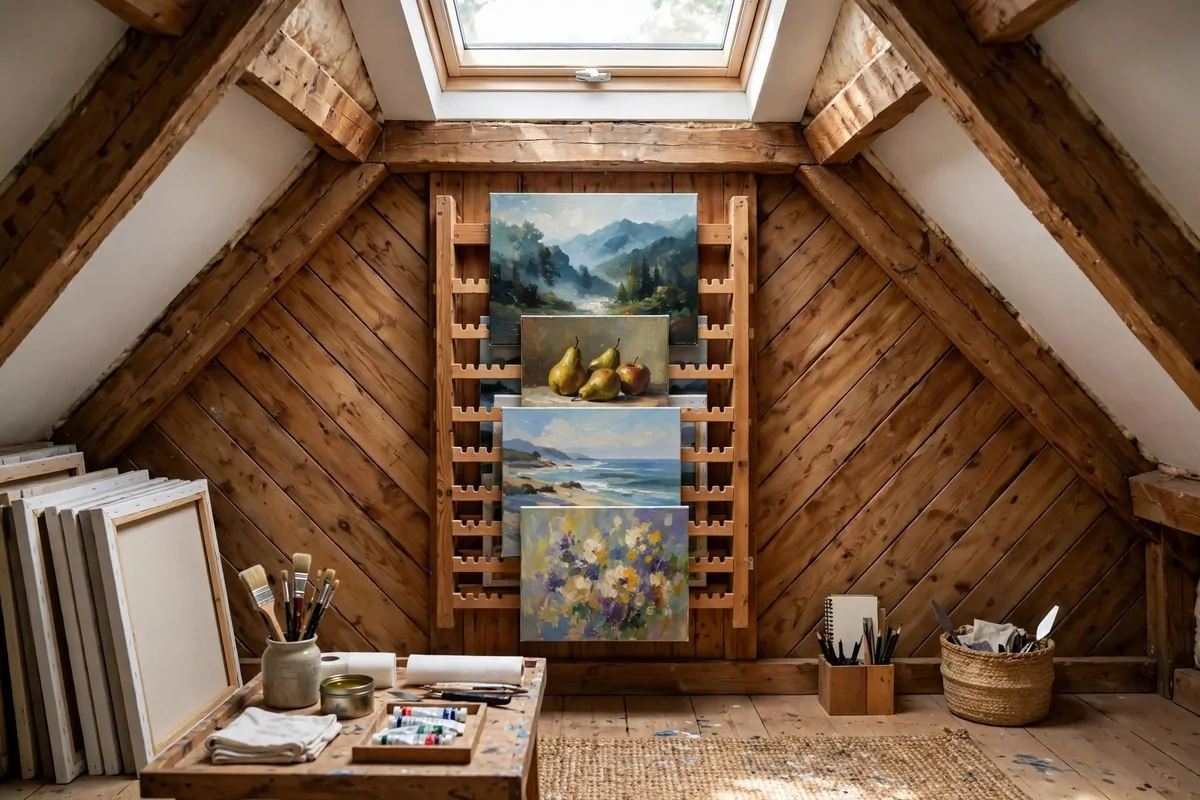
Wet paintings need a place to live that is not the floor. The floor is where paintings get stepped on, sat on and kicked. A wall drying rack fixes this in one afternoon.
The simplest version is a set of wooden dowels or shelf brackets mounted on the gable wall, spaced like a dish rack. Canvases slide in face to face, paint sides never touching. I built mine in two hours with scrap wood.
Space the slots generously. Thick impasto needs more air gap than a thin wash. Two inches between slots is a good starting point, and you can adjust once you see how your work fits.
Put the rack on the tallest wall, the gable end if you have one. That wall has the headroom for big canvases, and it is usually the wall you do not paint on, so it is free.
Keep it away from the skylight drip zone. Skylights do not leak often, but when they do, you do not want water landing on fresh oil paint. The shaded side of the room is safer for storage.
Label nothing. You will know which painting is which by looking at it. But do put the newest work at the front so you stop grabbing a wet one by accident. Ask me how I know.
A drying rack also becomes a visual diary of your week. You see five paintings side by side and suddenly your own habits show up. Too much blue. Same composition again. It teaches you things.
If you work on paper instead of canvas, the same rack works with a tweak. Clip the paper to thin boards with binder clips and slide the boards in. They dry flat and stay out of the way.
Here is a quick comparison of the two simplest rack builds:
| Build type | Materials | Best for |
| Dowel slots | Wooden dowels, two side rails | Best for |
| Shelf grooves | Grooved boards, wall brackets | Panels and boards |
Either one beats the floor. Your paintings deserve better than tiptoeing around them.
9. Turn the Knee Wall Into Flat-File Storage
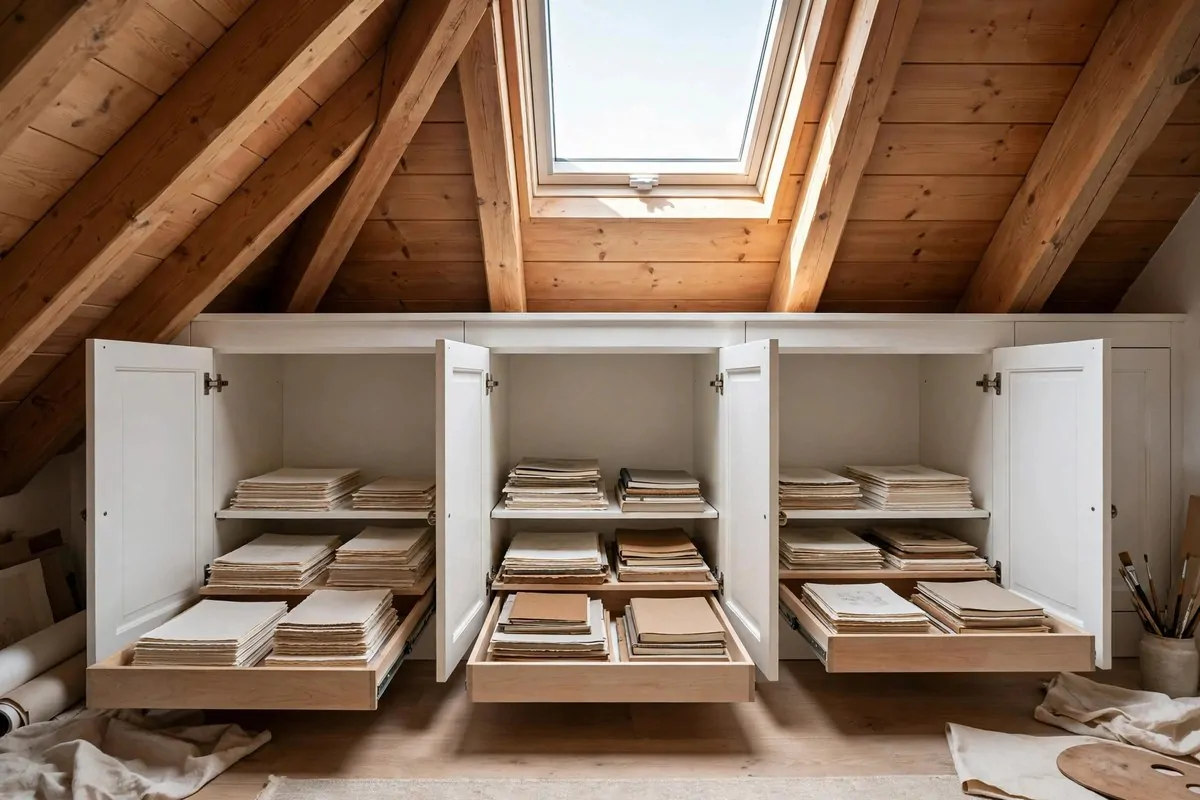
The knee wall is the short wall where the sloped ceiling meets the floor. It is usually about a meter high, and in most attics it hides nothing but dust. In an art studio, it becomes your flat-file storage.
Big paper does not roll well and it does not stack well on shelves. It needs wide, shallow drawers. The space behind the knee wall is wide and shallow by nature. It is a perfect match.
The simple version: cut access doors into the knee wall and slide in flat storage boxes. Watercolor blocks, big sketchbooks, unstretched canvas. Everything stays flat, dark and dust-free behind closed doors.
The fancier version: build pull-out shallow drawers on runners. Each drawer holds one paper size. One for the big watercolor sheets, one for the drawing pads, one for the odd sizes. It feels like a real print shop.
Label each door or drawer front with the paper size. You will thank yourself at midnight when you need the big sheet and do not want to open four doors to find it.
Keep finished work here too. Flat storage is the correct way to store paper-based art, and the knee wall gives you square meters of it for free. Slip sheets of plain paper between finished pieces.
Do not store anything you use daily behind the knee wall. Daily tools live on the trolley. The knee wall is for stock, not for workflow. Opening four doors to get a pencil is how good storage goes unused.
Check for insulation before you cut. Some knee walls are stuffed with insulation batts. You can still work around them, just know what is back there before the saw comes out.
I keep my least used supplies in the far ends where the slope is lowest. Reaching in there is a crawl, so it holds the stuff I touch twice a year. The everyday stock lives in the middle doors.
10. Add Daylight-Balanced Lamps for Night Sessions
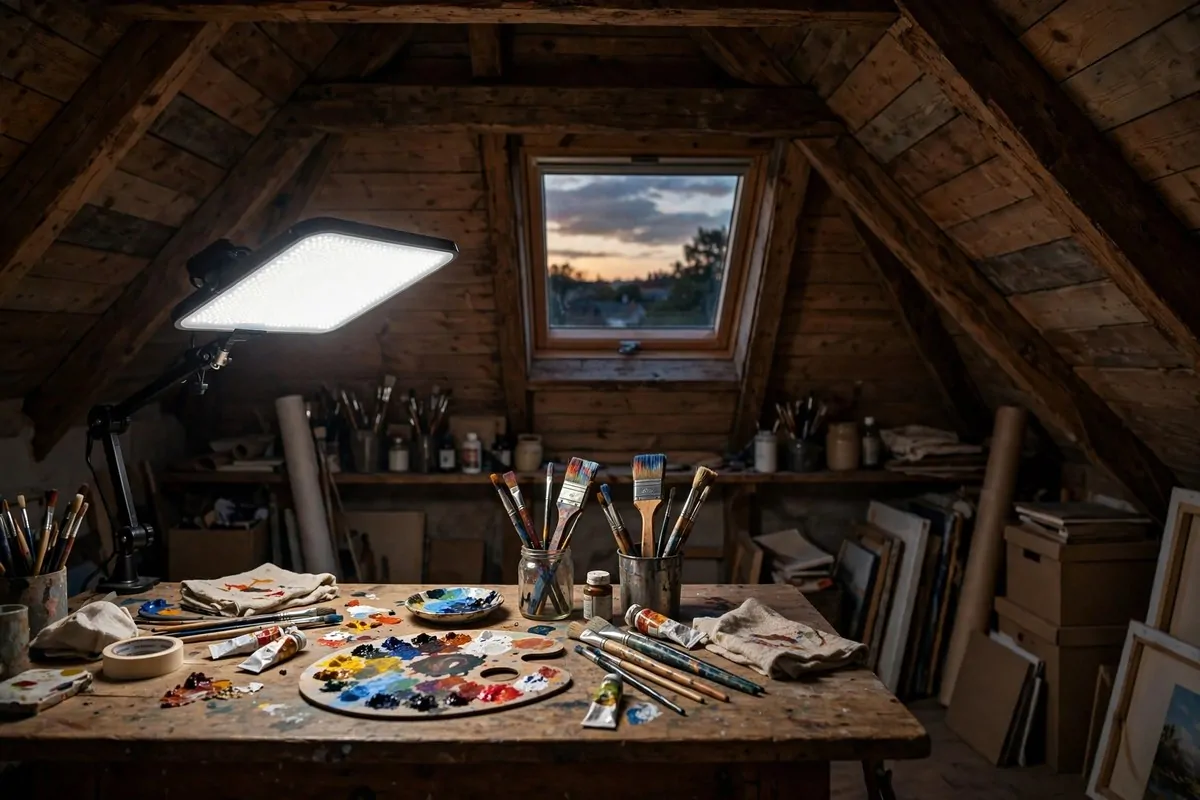
Skylights are wonderful until seven in the evening. Then they are just dark glass. If you paint at night, you need lamps that tell the truth about color.
Daylight-balanced bulbs are the answer. They are made to copy natural daylight, around 5000 to 5500 kelvin on the box. Your reds look red. Your blues look blue. Cheap warm bulbs turn everything orange and your morning self will be furious.
Look for a high CRI number too. CRI means color rendering index, and it tells you how honestly the bulb shows colors. Anything above 90 is good for art. It is usually printed right on the packaging.
An LED panel on an adjustable arm is the best setup for an attic. Clamp it or mount it over your work table and aim it where the skylight used to aim. You are copying the daytime setup with electricity.
Use two lights if you can. One aimed at the canvas, one washing the palette area. One light makes shadows. Two lights cancel them out. It is the same reason the drying rack section mentioned even light.
Keep the room’s other lights dim or off while you work. Mixed lighting is the enemy. A daylight lamp plus a warm ceiling bulb gives you a color soup that lies about everything.
Turn the lamp on ten minutes before you start painting. LEDs are instant, but your eyes need a few minutes to adjust. Mixing paint under fresh bright light before your eyes settle leads to overcompensation.
I run my evening lamp on a simple timer plug. It clicks on at six and off at ten. It sounds lazy, but removing one decision from the evening is worth it.
Night sessions under good light feel different from day sessions. Quieter. More focused. With the right lamp, your attic studio works two shifts and your colors stay honest in both.
11. Pin a Gallery Wall on the Gable End
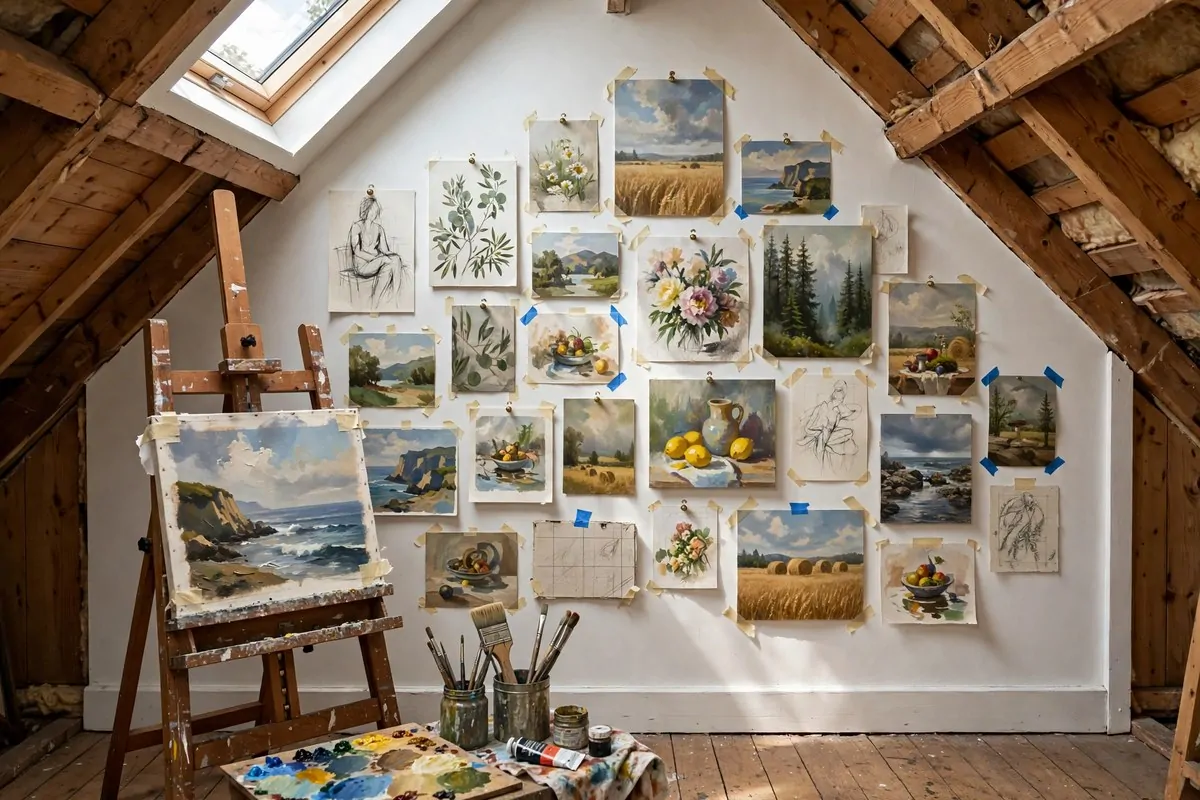
Every studio needs one wall where finished work hangs and gets looked at properly. In an attic, that wall is the tall gable end. Use it.
A pin-up gallery wall is not decoration. It is a tool. You hang the week’s work, step back to the other side of the room, and you see your paintings the way a stranger sees them. That distance shows you everything.
Keep it casual. Painter’s tape, push pins, a couple of clip rails. The point is that work goes up and comes down easily. A gallery wall you are afraid to touch is just wallpaper.
Hang work at eye level from your normal standing spot. In an attic that spot is the middle of the room where the ceiling is highest. Walk there, look up, adjust.
Leave white space between pieces. Two paintings crammed together compete. Two paintings with a hand’s width of white wall between them get judged on their own merits.
Rotate it weekly. Old work comes down, new work goes up. The wall becomes a record of your month. I photograph mine every Sunday before I rotate, and those photos are my real portfolio archive.
Hang one piece you love and one piece you hate next to each other sometimes. Sounds strange, but comparing them teaches you more about your own taste than any book.
Do not hang work you are still painting in the gallery zone. Wet work lives on the drying rack. The gallery wall is for work you are done touching, even if only for now.
Guests love this wall. When someone climbs up to see your studio, the gallery wall is what they remember. It turns a workroom into a place that feels like a real artist lives there.
12. Soften Harsh Sun With Sheer Curtains
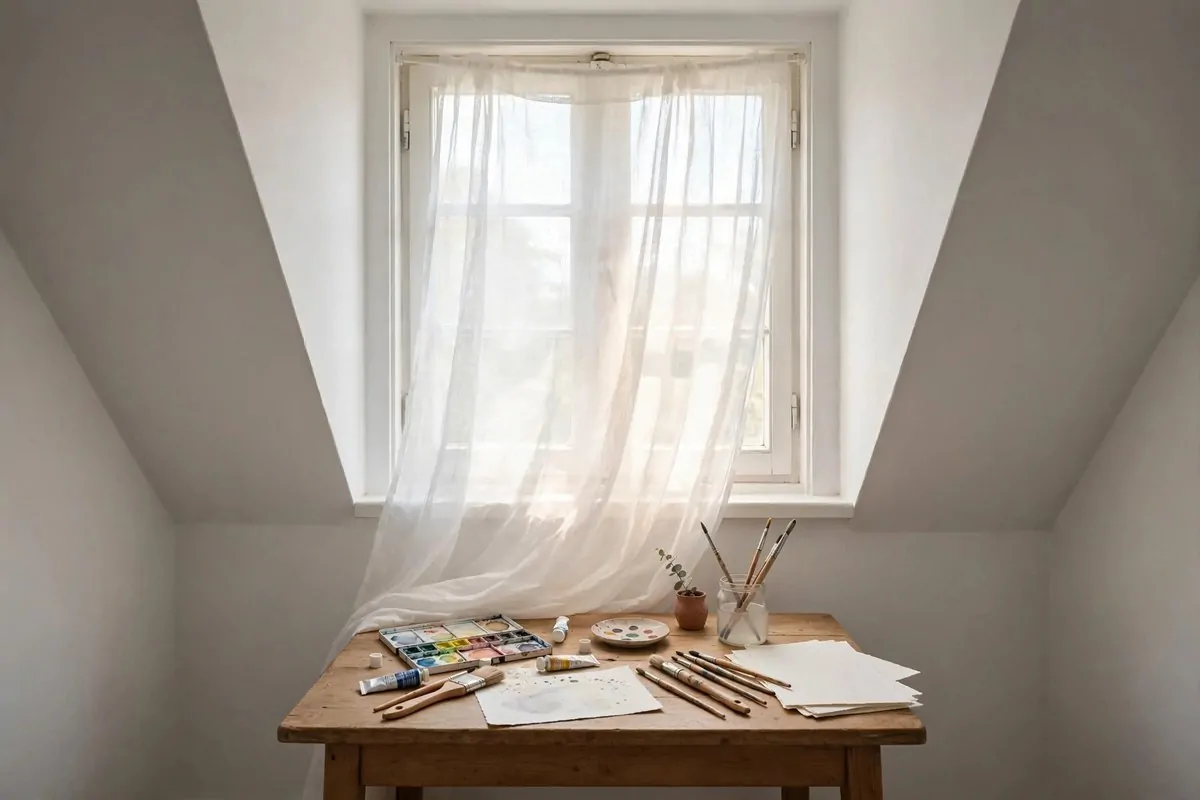
Skylights are usually kind. Dormer windows and gable windows are not always kind. When direct sun blasts through, you get glare, hot spots and colors that lie.
Sheer white curtains are the cheapest fix in this whole list. They turn harsh direct sun into soft diffused light, which is exactly the light painters pay good money for.
Hang them on the dormer and gable windows first. Those are the ones at eye level where glare hits your paper and your eyes. Skylights rarely need it because they face up, not sideways.
Use plain white or off-white fabric. Colored curtains tint the light. A cream curtain makes everything slightly warm, and you will spend the day compensating without knowing why. White stays honest.
A tension rod works in most dormers with no drilling. In a rental or a house you do not want to scar up, tension rods are the whole answer. They hold a light sheer curtain easily.
Layer a blackout blind behind the sheer if the sun is truly brutal. Sheer for most days, blackout pulled down for the two hours when the sun sits right in the window. Both on one rod or two rods, your call.
Wash the sheers twice a year. Attics are dusty and dust on a sheer curtain dims your light slowly enough that you never notice. Clean curtains are like a free skylight upgrade.
Test the light with the curtain open and closed. Hold a white piece of paper up and look at it both ways. The diffused version should look even and soft with no bright patch.
This one small fabric change can rescue a window that faces the wrong way. Do not write off a sunny dormer. Diffuse it and it becomes your best light source.
13. Set Up a Wash-Up Corner That Can Get Wet
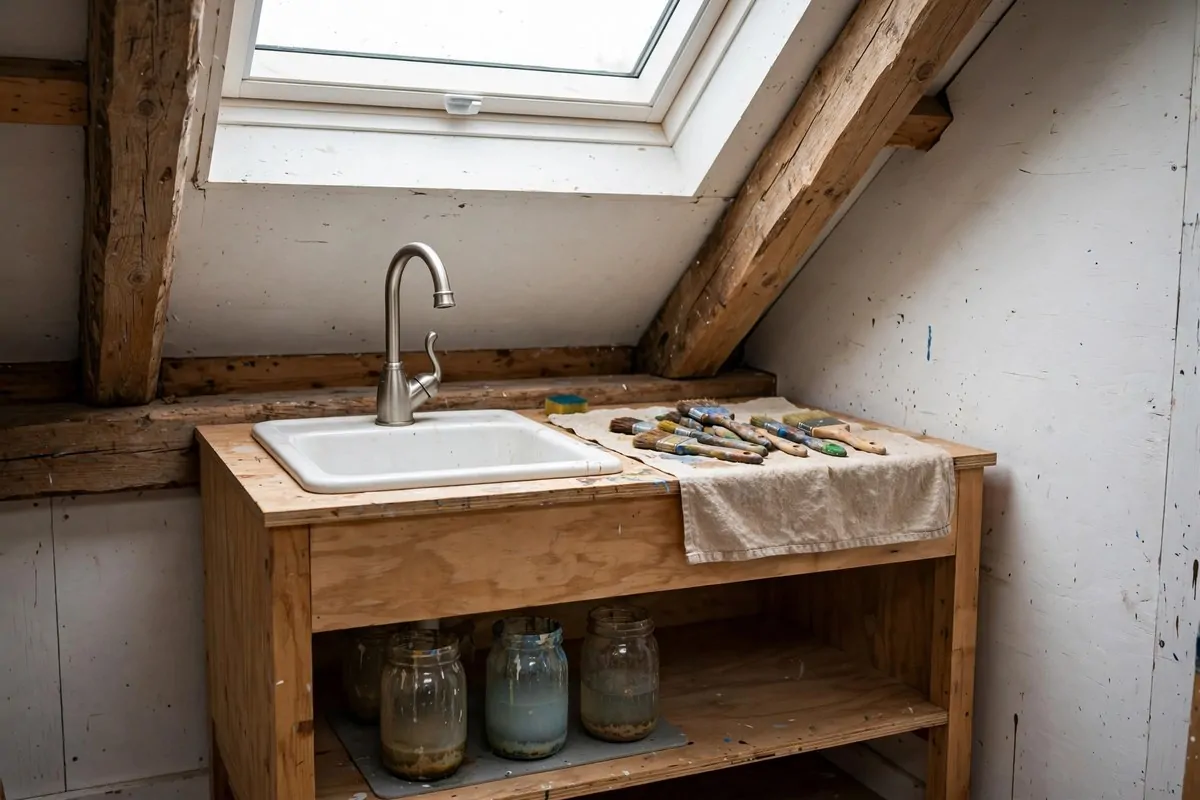
Brushes need washing, and running down two flights of stairs to the kitchen sink gets old by day three. Give your studio a wash-up corner.
A small utility sink is the dream version. It does not need to be big. A compact laundry sink in a simple cabinet fits under most attic slopes and it handles brush washing, water jars and the occasional spill.
No plumbing nearby? Use the dry version. Two big jars, one for dirty rinse water and one for clean, plus a bucket for dumping. Carry the dirty jar downstairs once a day. It is not glamorous but it works.
Put the wash-up corner on the waterproof floor from idea seven. Splashes happen. A corner that can get wet without drama is a corner you will actually use.
Keep brush soap and a rag right there. Not across the room. The distance between the sink and the soap is the distance your brush-cleaning habit has to travel, so make it zero.
Rinse watercolor and gouache brushes immediately. Those paints wash out easily when wet and stain stubbornly when dry. Thirty seconds now saves the brush.
For oils, wipe first with a rag, then wash with soap. Never pour solvent or oily water down a household sink if you can avoid it. Let the rinse jar settle, pour off the clear top, and wipe the sludge into the trash.
Ventilate when you wash. Open the dormer window or run a small fan. Even soap and water smell stronger in a small hot attic, and fresh air keeps the corner pleasant.
A wash-up corner also signals something to your brain. This room is a real studio. Real studios have sinks. Yours does too, even if it started as a jar and a bucket.
14. Make a Rug Corner for Looking and Thinking
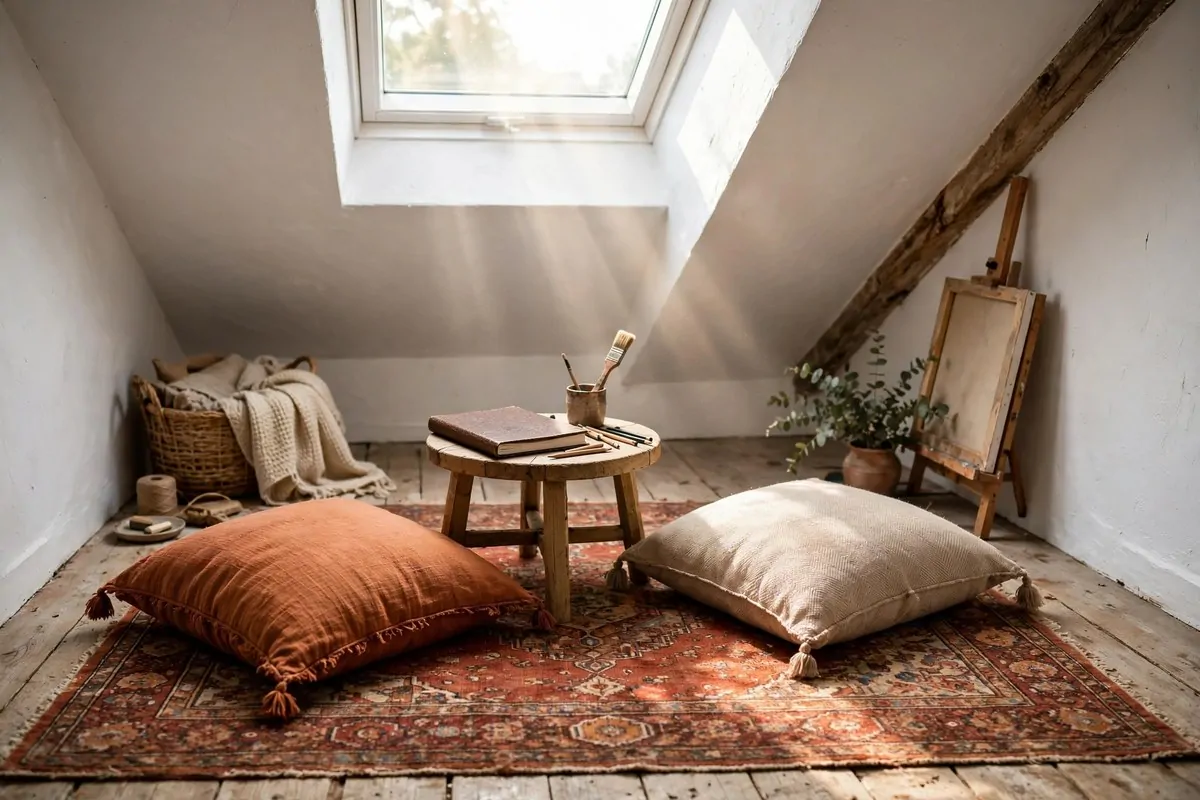
Painting is not all painting. Half of it is sitting and looking. Your studio needs a spot for that, and an attic corner under a skylight is perfect.
A vintage-style rug in warm rust tones does three things. It softens the floor, it warms up all the white walls, and it marks the thinking zone. When you sit on the rug, you are not working. You are looking.
Add two floor cushions and a small side table. The table holds your sketchbook and a pencil, because looking always turns into sketching. That is fine. That is the point.
Put this corner under a skylight but away from the easel. You want to see your gallery wall or your drying rack from the cushions. Looking at your work from a relaxed seat shows you things the standing view hides.
Low furniture is the rule under slopes. Floor cushions fit where chairs bang the ceiling. The lowest, most awkward corner of your attic becomes the most loved spot in the room.
Keep a throw blanket there. Attics get chilly when the sun goes down, and a cold thinking corner is an unused thinking corner. Comfort is not a luxury in a studio. It is maintenance.
This is also where you look at reference books and scroll reference photos. A little side light from the dormer is enough for reading. Save the prime skylight zone for the actual painting.
Invite nobody up here unless you want to. The rug corner is allowed to be just yours. Studios work best when they feel like a private room, and the attic already gives you that for free.
I do my best color decisions sitting on my rug, not standing at the easel. Distance plus comfort plus good light. Try it for a week and watch your work change.
15. Protect Paints From Direct Skylight Sun
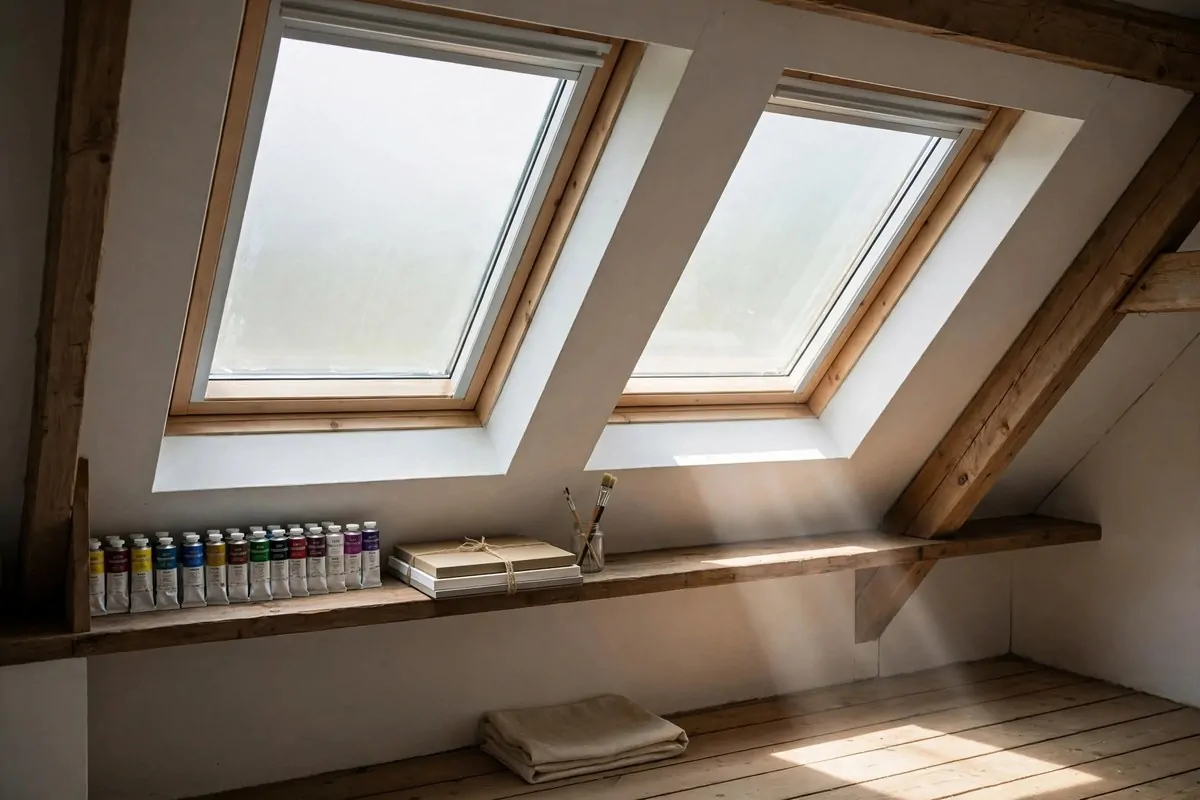
Skylights give great light and they also give UV. That ultraviolet light fades finished paintings and cooks your paint tubes if they sit in the sunbeam all day.
The rule is simple. Light on the work, shade on the supplies. Your easel wants the skylight. Your paint tubes, paper stacks and finished canvases do not.
Store supplies on the shaded side of the room or on shelves that the direct sunbeam never reaches. Watch where the sun patch lands at noon in summer. That patch is the danger zone. Keep supplies out of it.
UV-filter film on the skylights is a cheap upgrade that helps everything. It sticks on like a big sticker, cuts the harsh UV, and barely dims the visible light. Your paints, your paper and your skin all benefit.
Finished work should never hang in direct sun. The gallery wall from idea eleven goes on the gable end, not under the skylight. Fading is slow and then it is permanent.
Paper is the most vulnerable. Watercolor paper yellows in strong sun faster than you would believe. The knee-wall storage from idea nine keeps it dark and safe. Use it.
Tubes can split and leak in attic heat. If your attic bakes in summer, store oils and acrylics in the coolest shaded corner, not on the sunny shelf. Heat thins paint and pops caps.
Here is the quick shade check I do every season:
| What | Loves the light | Needs the shade |
| Easel and canvas | Yes, side light please | No |
| Paint tubes and jars | No | Yes, cool shaded shelf |
| Paper stacks | No | Yes, knee-wall storage |
| Finished paintings | Soft indirect only | Yes, never direct sun |
You chased the light up to the attic. Now just aim it where it helps and shield where it harms.
16. Keep a Still-Life Shelf Ready to Paint
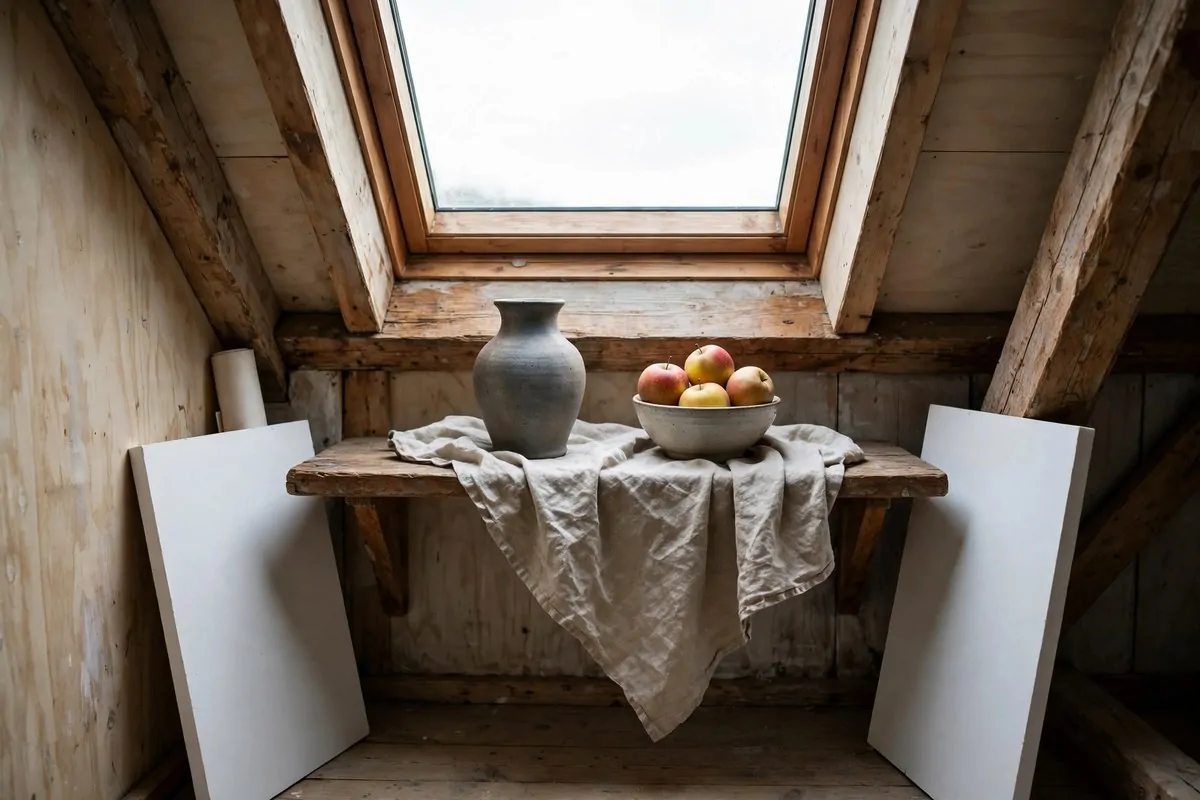
Some days you climb up to the studio and your brain is empty. No ideas. A still-life shelf fixes that in thirty seconds.
Keep one shelf or small table permanently set as a painting subject. A ceramic vase, a bowl of fruit, a draped cloth. It sits there waiting, lit by the skylight, ready whenever you are.
Put it where the north-style light falls nicely, near a skylight but not in harsh direct sun. Soft side light on simple objects is the classic setup for a reason. It just works.
Change the objects monthly. Apples in autumn, a jug and lemons in spring, whatever is around. New objects wake your eyes up. The same vase for a year becomes invisible.
Keep white foam boards nearby. Prop one on the shadow side of your setup and it bounces light back into the dark side. That one trick makes your still lifes look twice as professional.
This shelf doubles as color practice. Paint the same apple ten times with ten different palettes. Nobody needs to see these. They are push-ups for your eyes.
Photograph the setup from your painting spot. If you like the arrangement, you can paint from the photo on dark evenings under your daylight lamp. The shelf keeps giving.
Dust the objects now and then. Dust on a white cloth reads as grey in a painting and you will chase a color that is not really there. A quick wipe before a session takes ten seconds.
An always-ready subject removes the biggest barrier in art. Not talent. Not time. The blank page. Your shelf answers the question “what do I paint today” before you even ask it.