27 Small Walk-In Pantry Ideas With Clever Built-In Storage

I stood in my pantry one morning and my shoulders almost touched both walls. It was tiny, dark, and full of stuff I could not find. I had cereal behind the rice and rice behind the soup, and I felt a bit silly about it.
That day I learned a small pantry is not a lost cause. It just needs a plan that fits its size. You do not need more room. You need smarter spots for the things you already own.
I started small, one shelf at a time, and it made a big change. Now I can see my food, reach my food, and put it back in the right place. Cooking feels calmer too, and that surprised me.
These small walk in pantry ideas are the ones that worked for me in my own narrow space. They are simple, cheap to try, and they use built in storage that makes every inch count. Pick one idea, try it this week, and see how it feels.
1. Measure Every Inch Before You Build
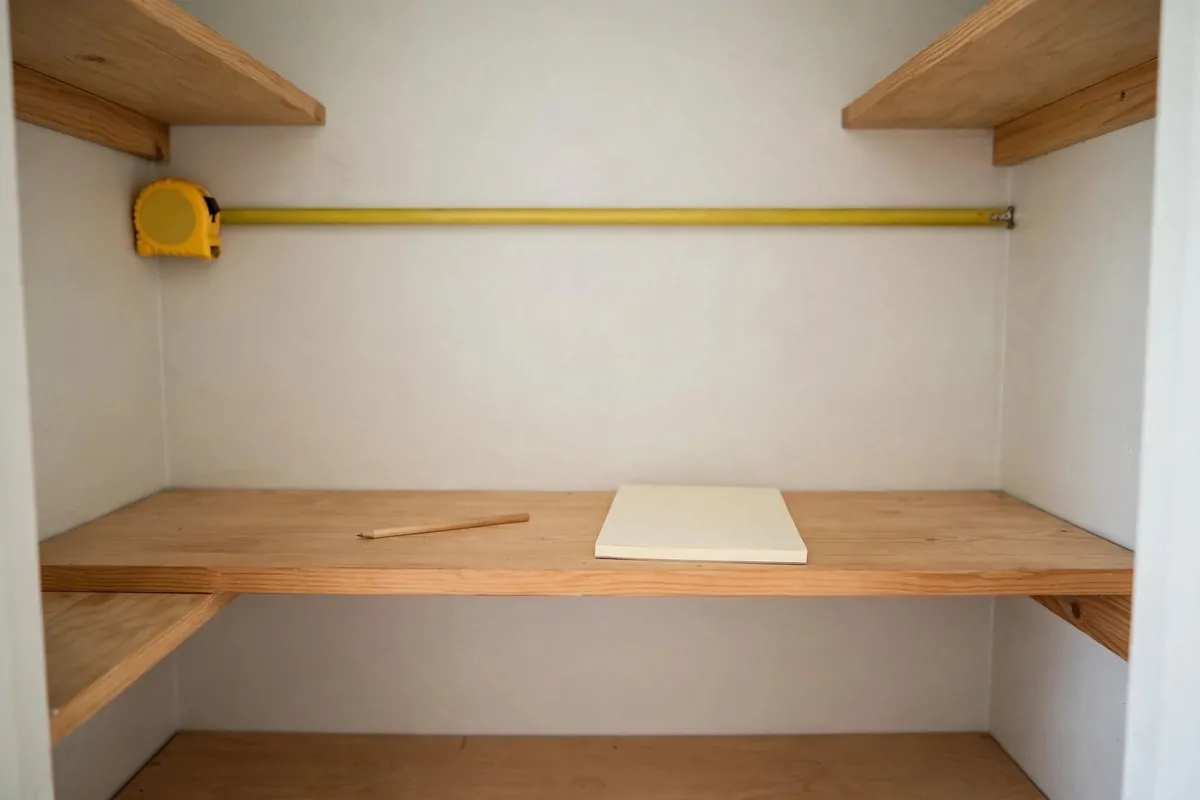
I used to guess the size of my shelves, and I guessed wrong every time. A shelf that looked right would not fit, or a basket would stick out too far. Measuring first saves you that trouble.
Grab a tape measure and a small notepad before you buy anything. Write down the width, the depth, and the height of each wall. I wrote mine on a scrap of paper and stuck it to the fridge.
Measure the door too, because the door swings and takes up space. I forgot that once, and a shelf blocked the door from opening all the way. It was a small mistake, but it bugged me for weeks.
Check the height between shelves as well, not just the wall size. A tall jar of pasta needs more room than a flat box of crackers. I keep a few tall spots and a few short spots so both fit.
Write the numbers down in inches and keep them with you when you shop. I take a photo of my notes on my phone now. It stops me from buying the wrong size basket twice.
Measure twice if you can, just to be sure. I measured my back wall once and got it wrong by two inches. That was enough to make a shelf wobble, and I had to fix it later.
Think about what you use most before you plan the shelves. I put my everyday things at eye level and my rare things up high. That one choice made my mornings much faster.
A small pantry can hold a lot if you know its true size. Once I had my numbers, I stopped wasting money on bins that did not fit. You will feel the same relief when your shelves fit just right.
2. Use Shallow Shelves on Three Walls
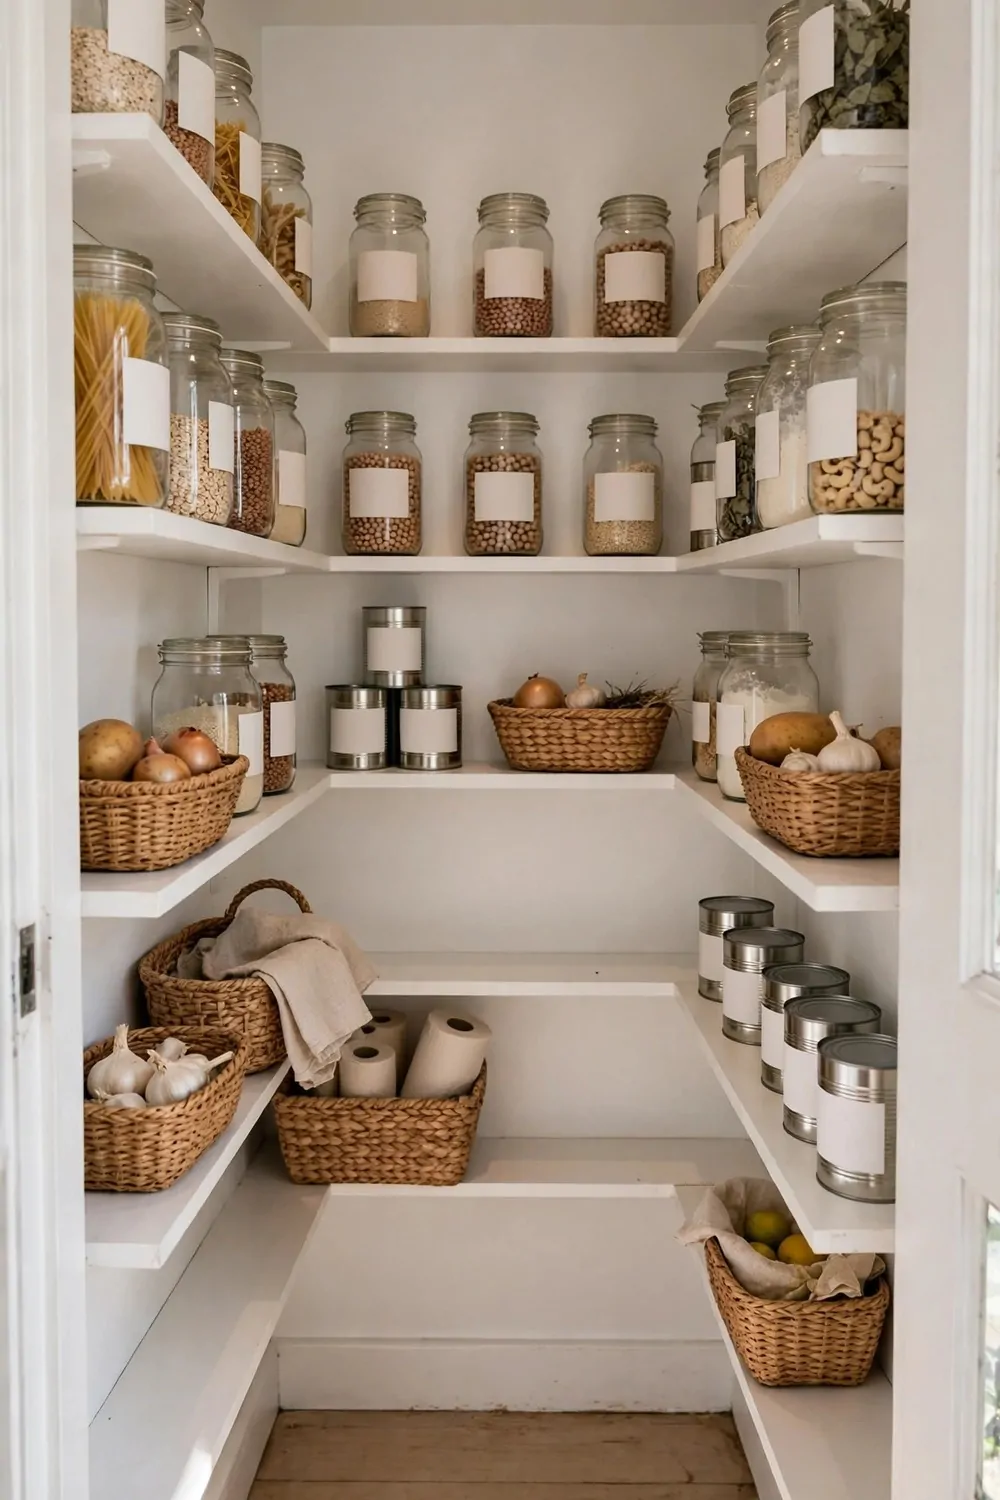
Deep shelves look good, but they hide things in a small pantry. I would push a can to the back and forget it was there. Shallow shelves fix that problem in a simple way.
A shelf about ten or twelve inches deep is enough for most jars and cans. You can see everything in one row, and nothing hides behind something else. I love that I can spot my beans in one glance now.
Use all three walls if you can, not just the back one. The side walls hold a lot more than you think. I put my spices on one side and my snacks on the other, and the back wall holds the big stuff.
Leave a gap in the middle so you can stand and turn. My pantry is narrow, so I kept the shelves slim on purpose. I can still reach in, grab a jar, and step back out with no fuss.
Put the heavy things low and the light things high. I keep my flour and sugar on a lower shelf because they are heavy to lift. The light boxes of tea go up top, and that feels safer to me.
Try one shelf at a time if you are not sure. I added one side shelf first and lived with it for a week. It worked so well that I added the other side the next weekend.
Shallow shelves also cost less wood and less paint. I used simple white boards and small brackets from the hardware store. They look clean, and they hold a surprising amount of food.
You do not need deep storage to store a lot. Three walls of shallow shelves gave me more room than one wall of deep ones ever did. It is one of the best changes I made in my small pantry.
3. Put a Narrow Shelf on the Door
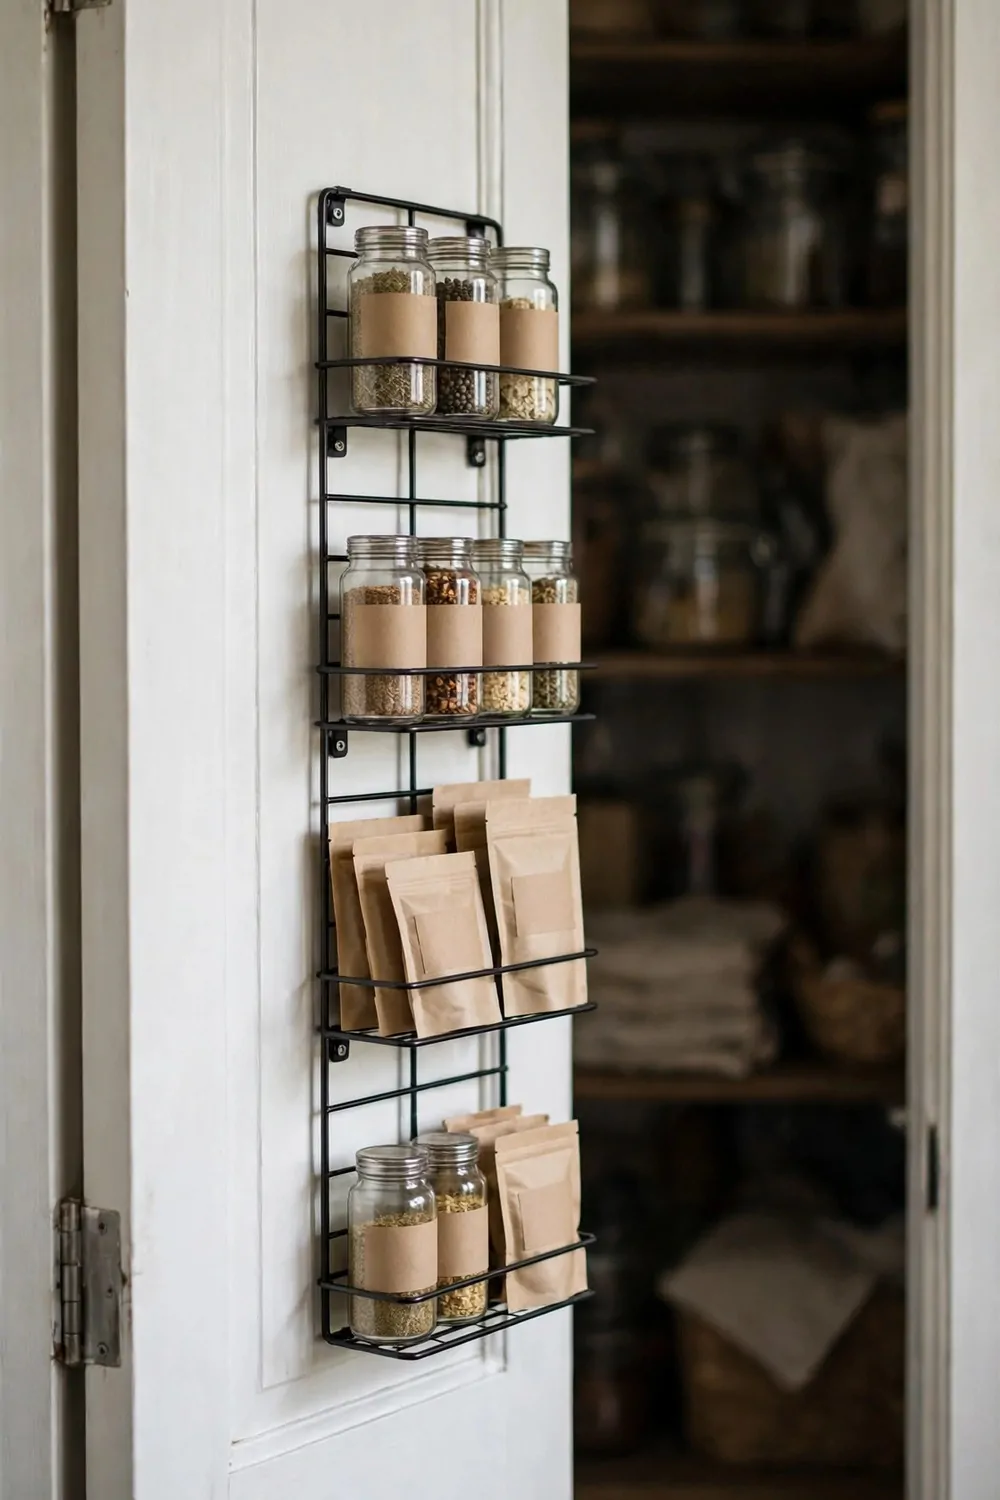
The back of my pantry door sat empty for years, and that was wasted space. It is the perfect spot for small things you reach for a lot. A narrow rack turns it into real storage.
Pick a rack that is slim, so the door still closes with ease. Mine is only a few inches deep, and it holds spice jars, small packets, and my tea bags. Nothing falls off when I open the door, which I love.
Screw it in tight or use strong hooks made for doors. I used small screws because my spice jars are glass and a bit heavy. It has held up for months now, and I check it now and then just to be safe.
Put your most used spices at eye level on the door. I keep my salt, pepper, and garlic powder right there. I grab them while I cook, and I do not have to dig through a shelf to find them.
Keep the bottom of the door rack for packets and flat things. I store my soup mixes and sauce packets down low. They are light, and they fit in the slim space without a problem.
Do not overload the door, or it will feel heavy to open. I learned that the hard way when I put too many jars on it at first. Now I keep it light, and the door swings just fine.
This one small change freed up a whole shelf inside my pantry. I moved my baking stuff to that shelf, and everything has a home now. You might be surprised how much a door can hold.
Wipe the rack once a month so dust does not build up on your spice jars. A quick wipe takes one minute, and your door will look tidy again.
4. Add a Pull-Out Pantry Tower
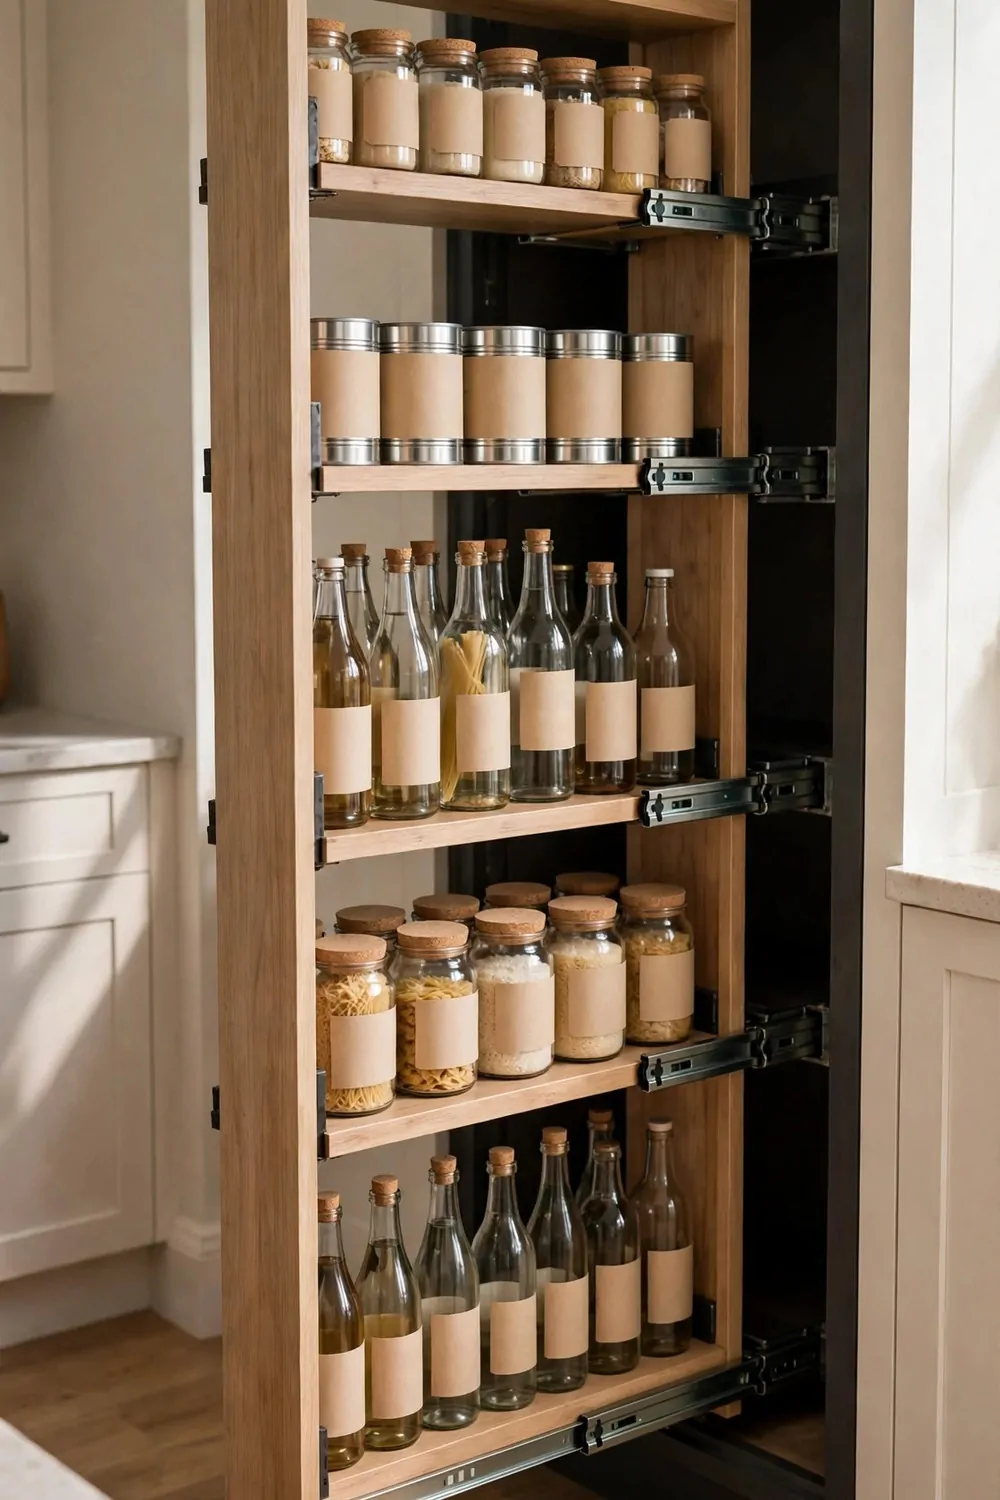
A pull out tower is a tall, skinny shelf that slides out like a drawer. It fits in a gap you might think is too small to use. I have one next to my fridge, and it holds so much.
You pull it out, see everything in a row, and push it back in. No more reaching to the back of a dark cupboard. I can find my oil and vinegar in seconds now, and that saves me time when I cook.
Put the tall bottles on the bottom and the small jars on top. I keep my cooking oil and sauces low because they are tall and heavy. The spice jars go higher up, where I can see their labels at a glance.
Measure the gap before you buy one, because they come in many widths. Mine is only six inches wide, and it still holds a lot. Write your width down and take it to the store with you, like I did.
If a new tower costs too much, look for a slim rolling cart instead. I have seen friends use a narrow cart in the same gap, and it works almost as well. The idea is the same, you slide it out and see it all.
Keep the tower near where you cook, if you can. Mine sits right by the stove, so I grab what I need while I stir a pot. It feels like the food comes to me, instead of me hunting for it.
A pull out tower is one of my favorite built in tricks for a small space. It uses a gap that would sit empty, and it keeps my jars in neat rows. You will wonder why you did not add one sooner.
Wipe the tower shelves once a month, because crumbs fall down between the jars. A damp cloth takes one minute and keeps it fresh.
5. Stack Bins by Meal, Not by Type
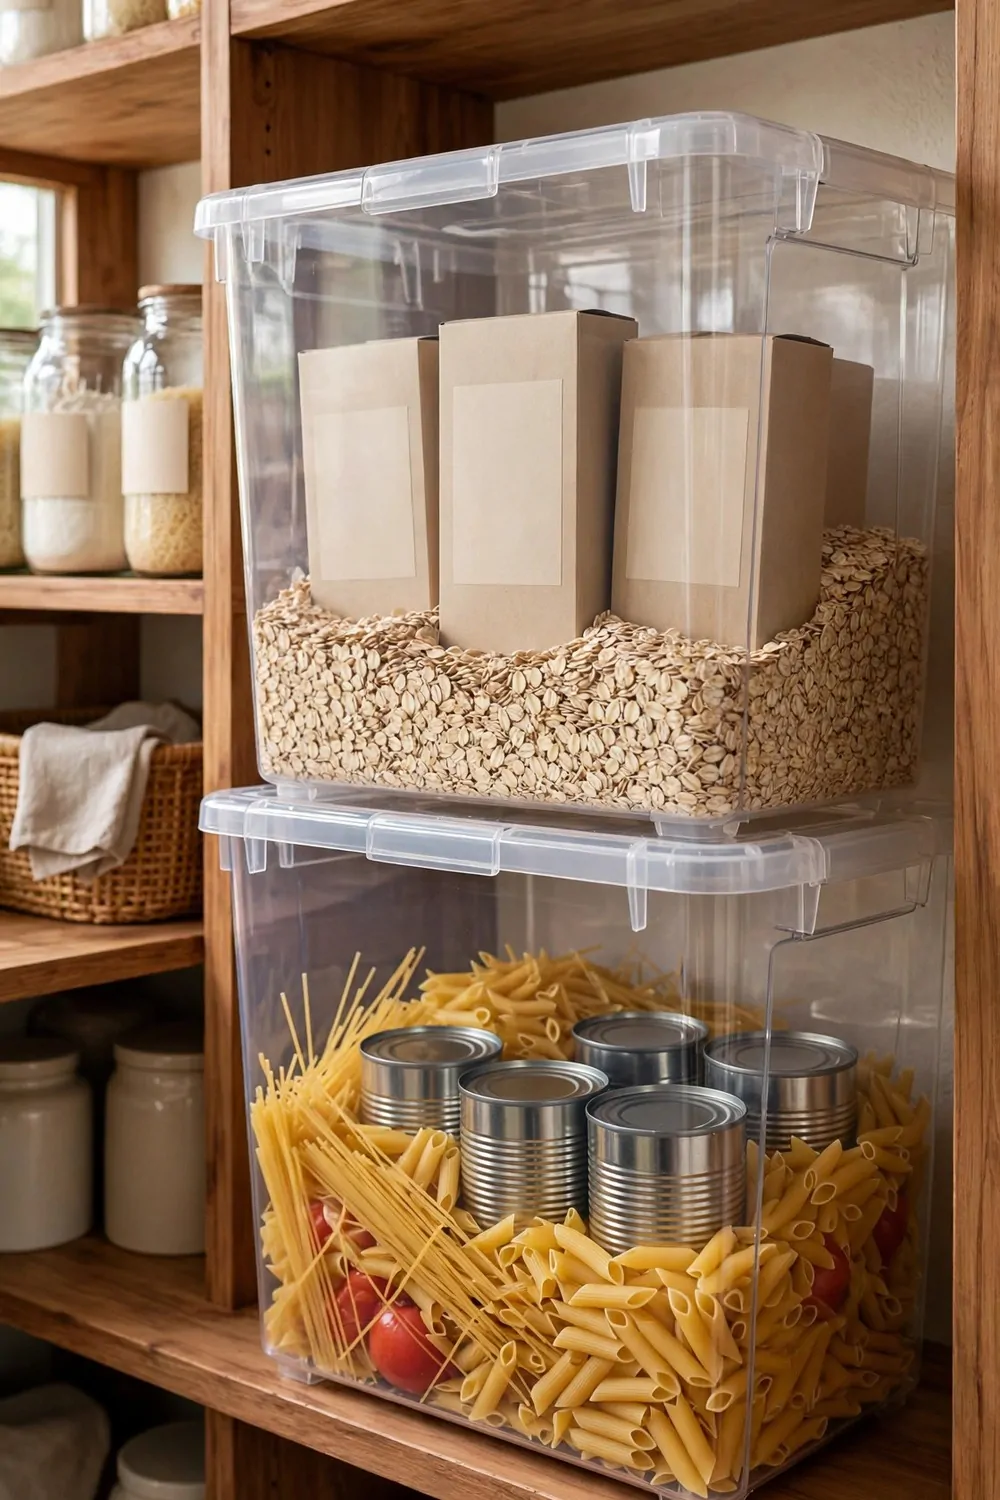
I used to sort my food by type, all cans together, all boxes together. It sounded neat, but it did not help me cook. I would pull out five different things for one meal, from five different spots.
Sorting by meal changed that for me. I put all my breakfast things in one bin, all my lunch things in another, and all my dinner things in a third. Now I grab one bin and I have what I need.
It also helps me see what I am low on before I shop. If my breakfast bin looks empty, I know to buy oats and honey. I do not have to check three shelves to work that out, and my shopping list writes itself.
Use clear bins so you can see inside without lifting the lid. I like the clear ones because I can spot the pasta or the rice right away. It saves me from opening every bin to find one thing.
Keep the bins at a size you can lift with one hand. Mine are small enough to carry to the kitchen counter. I take the dinner bin out, cook, and put it back when I am done, and it feels easy.
Try this table to plan your own meal bins. It shows what I put in each one and where it sits on my shelf. You can change it to fit your own meals and your own family.
| Meal | What goes in the bin | Shelf |
|---|---|---|
| Breakfast | Oats, cereal, honey, jam | Eye level |
| Lunch | Crackers, soup mix, canned tuna | Middle |
| Dinner | Pasta, pasta sauce, rice, dried beans | Eye level |
| Snacks | Crackers, nuts, dried fruit | Low, for kids |
Put the snack bin low if you have kids in the house. My kids can reach their own snacks without climbing or asking me. It gives them a bit of freedom, and it keeps me from stopping what I am doing.
Do not make the bins too big, or they get heavy fast. I tried one large bin once, and it was hard to lift when it was full. Small bins are kinder on your arms, and they stack better too.
Stack the bins with the most used meal on top. I use my breakfast bin every morning, so it sits on top where I can grab it. The lunch bin sits below it, and that order just makes sense to me.
Meal bins made my small pantry feel like it works for me, not against me. I cook faster, I shop smarter, and I waste less food. You can start with just two bins and see how it feels.
6. Use Clear Jars So You See What You Have
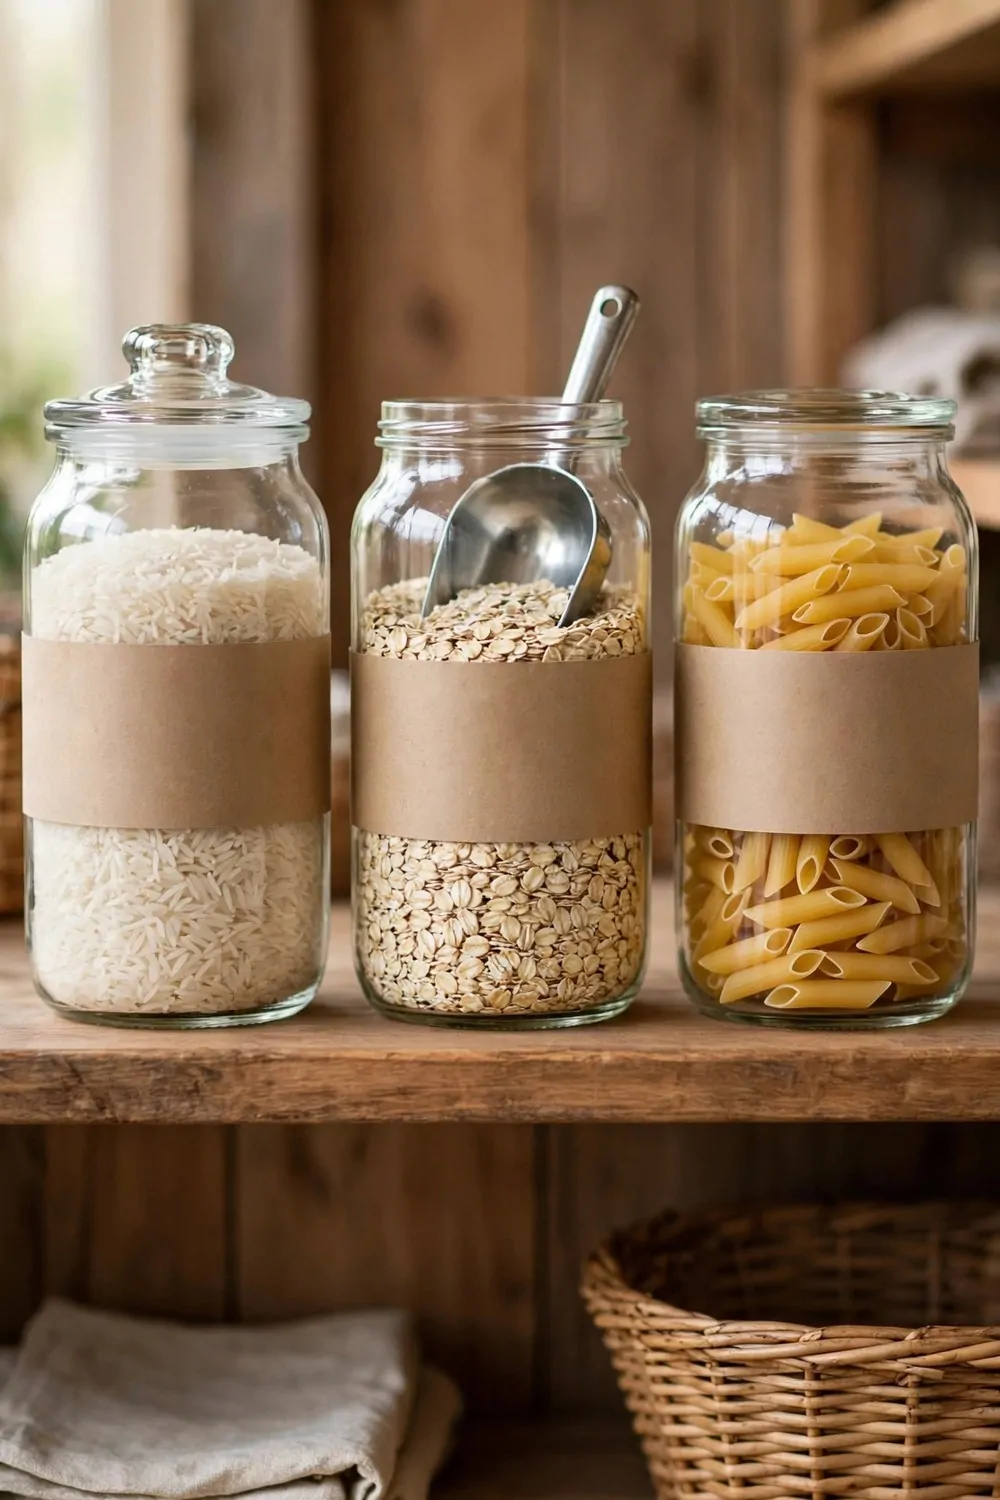
I used to keep rice and pasta in their bags, and the bags would tear or spill. I never knew how much was left until I ran out mid recipe. Clear jars fixed that in one simple move.
Pour your dry food into glass jars with tight lids. I can see my rice, my oats, and my pasta at a glance now. It feels good to know what I have before I start to cook.
Pick jars that are all the same shape if you can. Mine are square, so they sit close together with no wasted gaps. Round jars look pretty too, but they leave small spaces between them that add up.
Add a small scoop to the jars you use a lot. I keep a scoop in my oats jar and one in my rice jar. It makes serving fast, and I do not have to hunt for a cup each morning.
Label the jars if they look alike, because flour and sugar look the same in a jar. I learned that after I put salt in my tea once by mistake. A small label saves you from that kind of mix up.
Keep the jars at eye level so you see them first. I put my daily jars right in front of me, and the ones I use less often go a bit higher. It is a small habit, but it helps a lot.
Wash and dry the jars well before you fill them. I let mine dry upside down on a towel overnight. Wet jars make dry food go soft, and nobody wants soft cereal in the morning.
Clear jars make my pantry look calm and tidy, even when it is full. I can see what I need, I waste less, and I shop with more care. You will love how neat it looks too.
7. Hang a Peg Rail for Tools and Bags
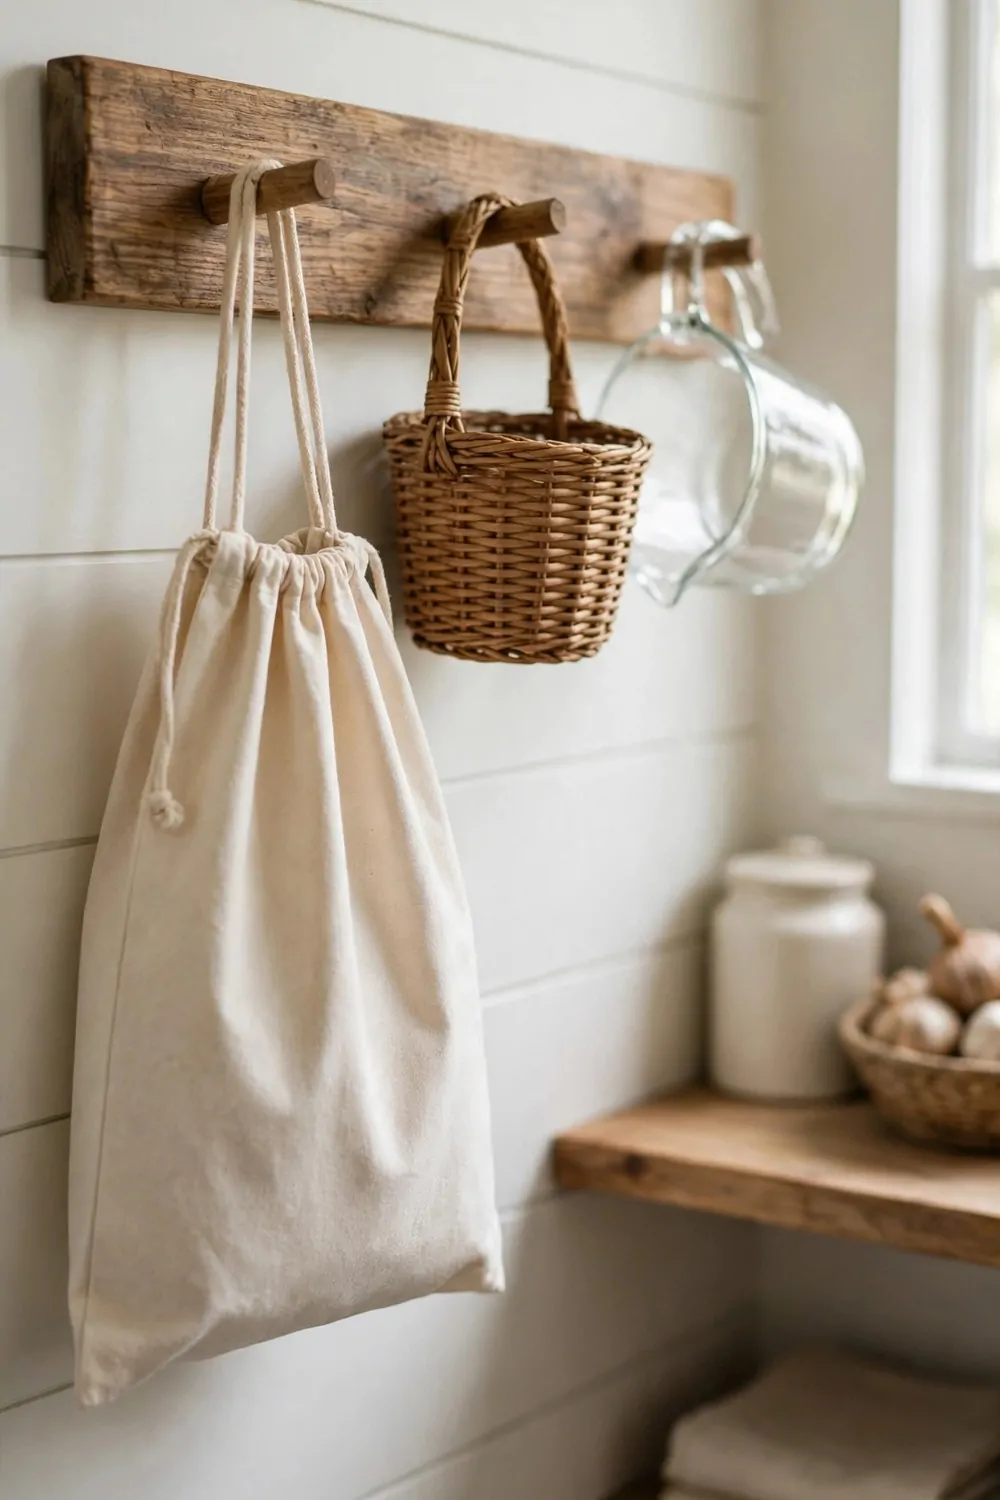
A peg rail is a long strip of wood with small pegs sticking out. You hang things from it, and it takes up almost no space at all. I put one on a free patch of wall in my pantry, and it holds more than I thought it would.
Hang your shopping bags, your apron, and your measuring jug on the pegs. I keep my canvas bags there so I grab one on my way out. It stops them from piling up in a messy heap on the floor.
Use strong pegs and screw the rail into a stud if you can. Mine holds a small basket and a jug with no trouble. I gave it a tug when I first put it up, just to make sure it was safe.
Keep the things you use most at the front of the rail. I hang my apron on the first peg because I wear it every day. The bags I use less often go further down the rail, and that works well for me.
A peg rail is cheap and easy to put up. I bought a plain wooden one and painted it white to match my shelves. It took me less than an hour, and I did it with a drill and a level.
You can move things around on a peg rail with no fuss. I change mine with the seasons, or when I buy a new bag. It is nice to have storage that bends to fit your life, not the other way round.
This little rail freed up shelf space I did not know I had. My bags used to sit on a shelf and take up room my food needed. Now the shelf holds food, and the wall holds the bags.
Check the pegs once in a while to make sure they still feel tight. A loose peg can drop a bag, so a quick tug now and then is worth it.
8. Add a Fold-Down Counter for Prep
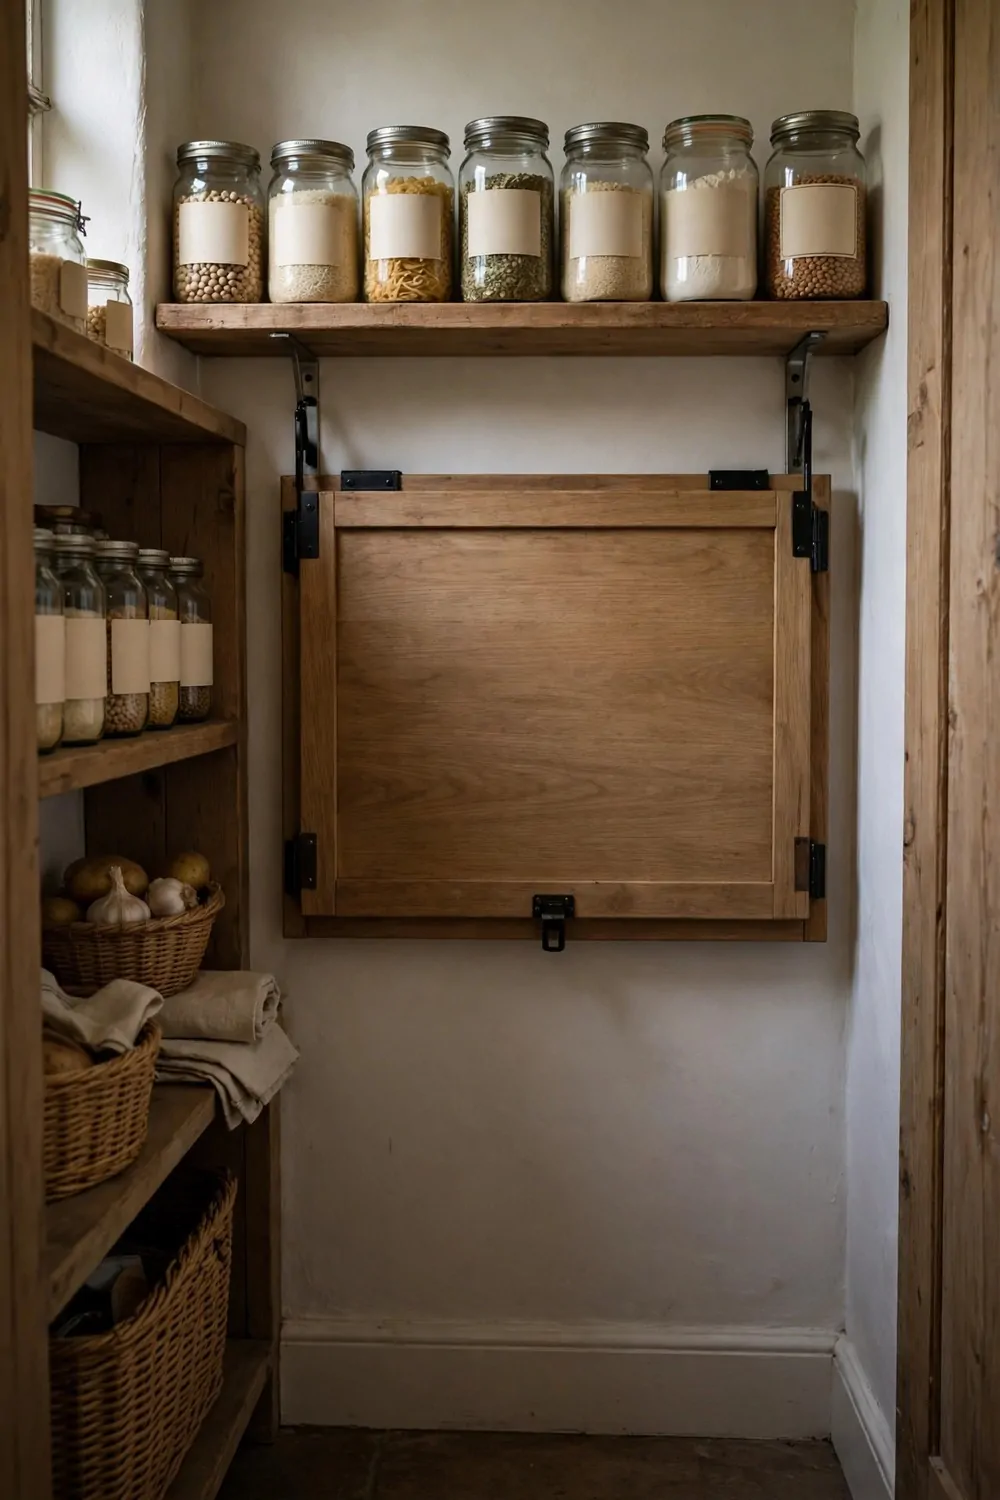
My pantry had no counter space at all, and I felt it every time I cooked. I would carry jars to the kitchen, set them down, and carry them back. A fold down counter gave me a work spot right where I need it.
It is a small wooden shelf that folds flat against the wall when you do not need it. You pull it down, use it to sort food or pack lunches, and fold it back up when you are done. It takes up no floor space at all.
Pick a spot at a height that feels good for you to work at. Mine sits at waist height, so I can stand and sort my groceries without bending. I measured it against my kitchen counter first, just to be sure.
Use strong hinges and a good bracket to hold it up. I asked for help to fit mine, because I wanted it to hold a heavy bag of flour with no wobble. It feels solid now, and I trust it with my jars.
Keep the counter clear when it is folded up. I do not hang things on the wall right above it, so it folds flat with ease. That sounds small, but it makes the whole thing work better day to day.
Use it for packing lunches, sorting shopping, or checking what you have. I spread my shopping out on it when I come home, and I put each thing in its place. It turns a chore into a quick, calm job.
A fold down counter is one of the best small pantry tricks I know. It gives you a work top without taking up room, and it folds away when you are done. You will use it more than you think.
Keep a small cloth on the shelf above the counter so you can wipe it fast. A clean work spot makes sorting food feel nicer.
9. Put a Lazy Susan in the Corner
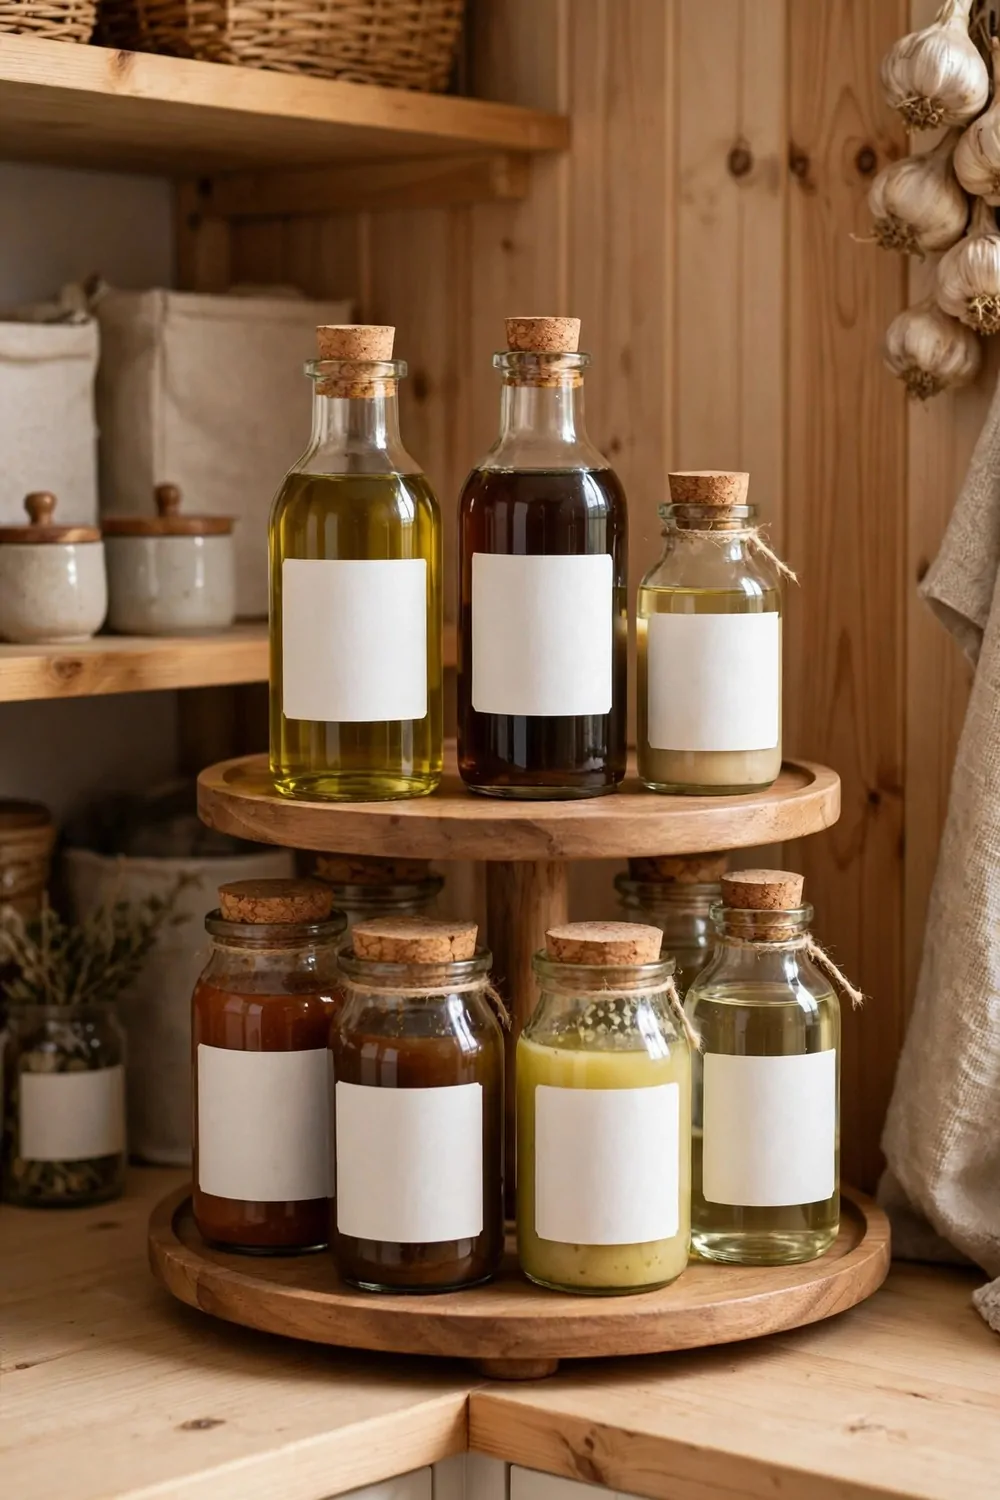
Corners are the hardest spot in a small pantry. Things get pushed to the back, and you forget they are there. A lazy susan, which is a round tray that spins, fixes that in a snap.
You put your jars on the tray, give it a spin, and the jar you want comes to the front. I keep my oils, vinegar, and sauces on mine. I spin it, grab what I need, and spin it back, and it feels a bit fun too.
Pick a turntable that fits your corner with room to spin. I measured my shelf first, because a tray that is too wide will stick and not turn well. Mine has a small gap all round, and it spins with ease.
Use a two tier one if your shelf is tall enough. The top tier holds my small spice jars, and the bottom holds my taller bottles. It doubles the space in that corner, and I can still see it all.
Put a non slip mat under the tray so it does not slide. I cut a small piece of shelf liner and put it under mine. It stays put when I spin it, and the jars do not slide about either.
Do not overload the tray, or it will be hard to turn. I keep mine to one row of jars per tier, with a little space between them. It spins best when it is not packed too tight, and I can read every label.
A lazy susan turned my worst corner into one of my best spots. I use my sauces more now, because I can actually see them. You might find a jar you forgot you owned, just like I did.
Wipe the tray once a month so sticky spots do not build up. A clean tray spins better, and your jars stay clean too.
10. Use the Top Shelf for Rare Things
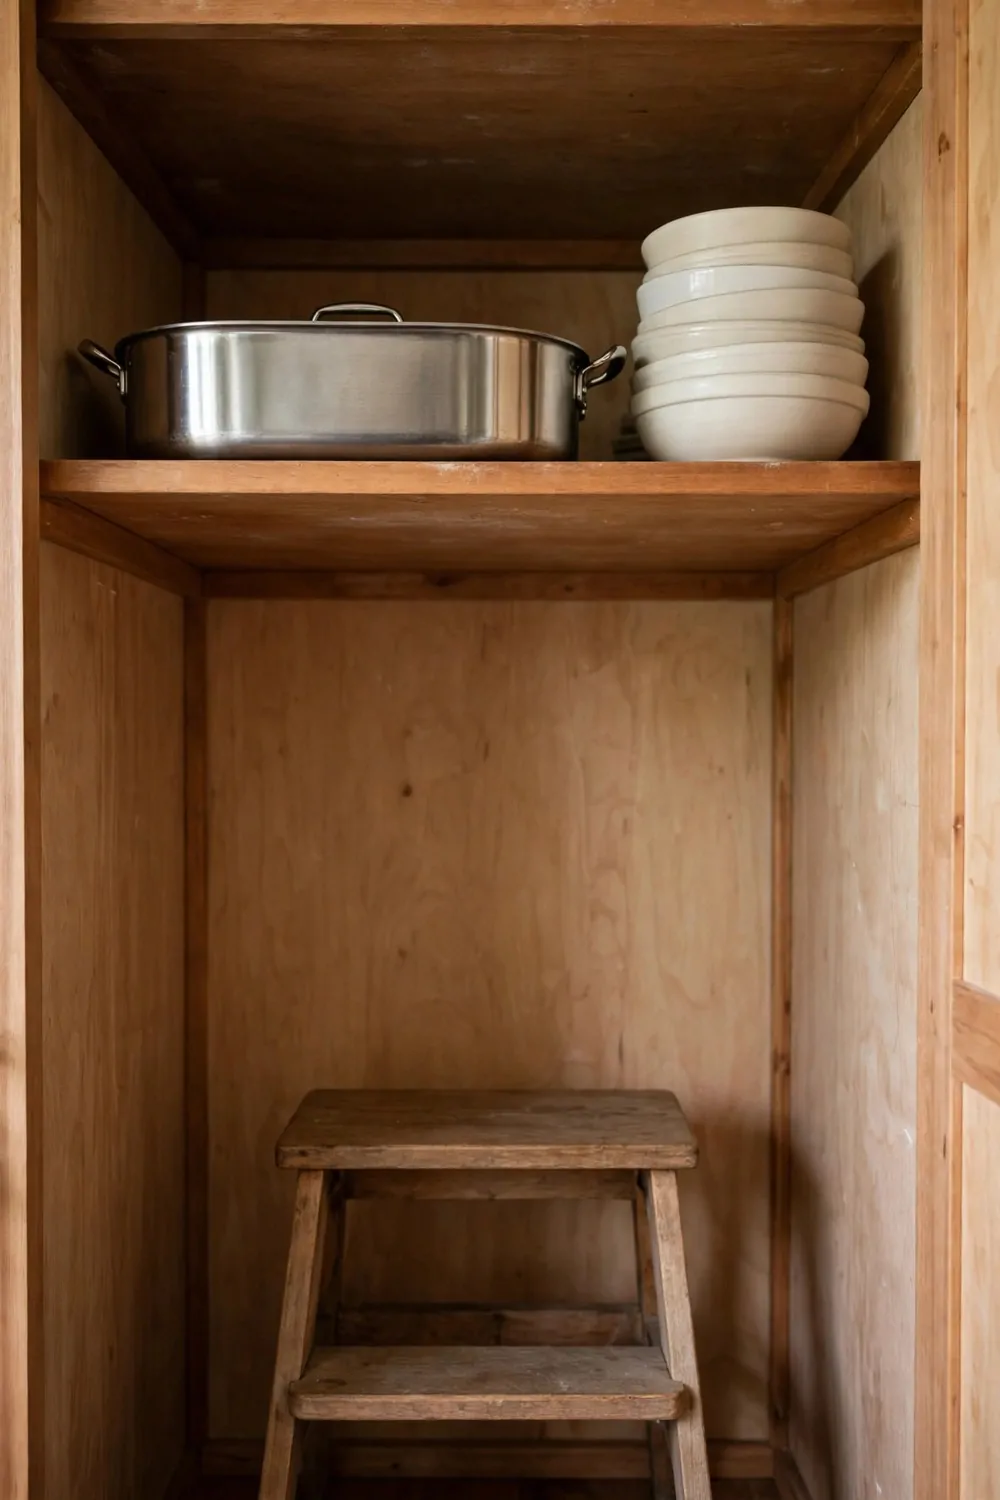
The top shelf in my pantry used to hold things I use every day, and that made no sense. I would climb up for my cereal each morning, and it slowed me down. Now the top shelf holds only rare things.
Put your big roasting pan, your serving bowls, and your holiday dishes up there. I keep my large tray and my soup pot on the top shelf. I only need them a few times a year, so they can live up high.
Keep the things you use daily at eye level or below. My cereal, rice, and snacks sit where I can reach them with no stretch. It sounds simple, but it changed how fast I move in the morning.
Use baskets or bins on the top shelf to keep things tidy. I put my rare baking tools in one basket, so they do not slide about. I can lift the whole basket down when I need it, and put it back in one go.
Dust the top shelf now and then, because things up high get dusty fast. I wipe mine once a month with a damp cloth. It takes five minutes, and it keeps my serving bowls clean and ready to use.
Do not store heavy things too high if you cannot lift them safely. I keep my heaviest pot on a lower shelf for that reason. Safety comes first, and a small pantry should work with you, not make you climb for heavy stuff.
The top shelf is not wasted space, it is just space for rare things. Once I moved my daily food down, my pantry felt easier to use. You will feel the same calm when your everyday things are within reach.
Take a photo of the top shelf on your phone so you remember what is up there. I check my photo before I shop, and it stops me from buying a second tray.
11. Add Battery Lights Inside the Dark Corners
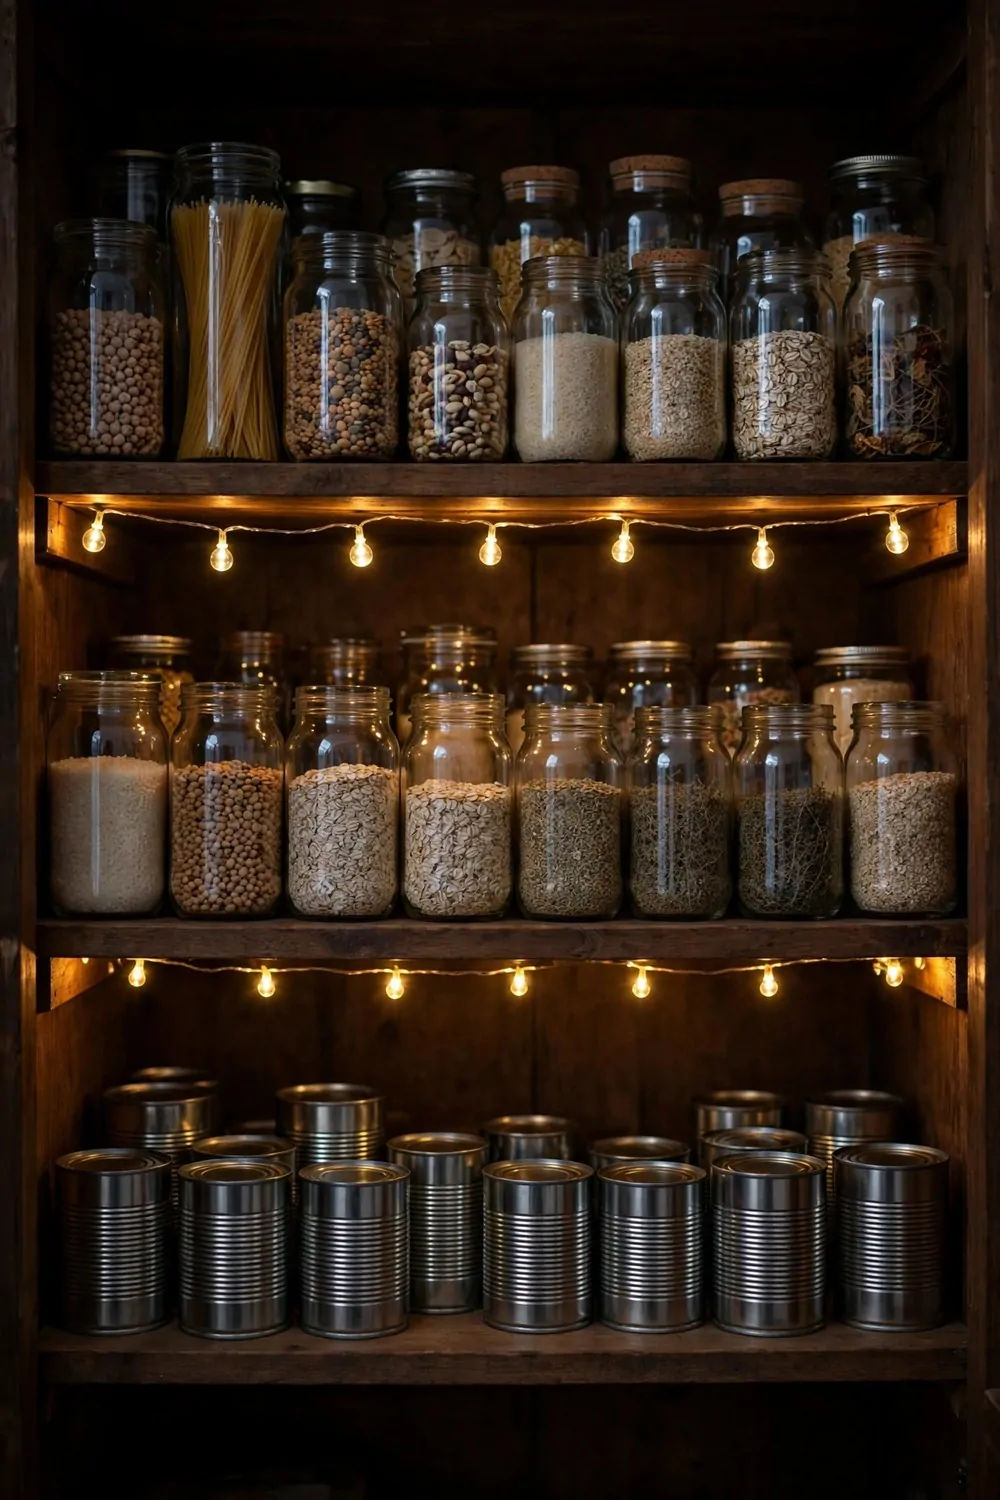
My pantry had no light inside it, and the corners stayed dark all day. I would squint at labels and still pick the wrong jar. Small battery lights fixed it, and they cost very little.
Stick a light strip or a small puck light under each shelf. I put one under my top shelf and one in the darkest corner. Now I can read every label, even in the evening when the kitchen light is low.
Pick lights you can turn on with a tap or a small switch. Mine are tap lights, so I tap one when I open the door. It feels easy, and I do not have to fumble for a switch with full hands.
Use warm light if you can, because it feels soft and homely. I tried a bright white light first, and it felt too harsh in such a small space. The warm ones make my jars look nice, and my eyes feel better too.
Change the batteries on a set day each month so they do not run out. I check mine on the first of the month, when I do my other small jobs. It takes a minute, and I never get caught in the dark now.
Put a light near the floor too if your bottom shelf is dark. I added one low down, and it helps me see the bins at the bottom. It is a small touch, but it makes the whole pantry feel brighter.
Lights make a small pantry feel bigger and kinder to use. I no longer dread opening the door in the evening. You will be glad you added them the first time you find what you need in one glance.
I keep a few spare batteries in a tiny basket by the door, so a dim light never catches me by surprise.
12. Keep a Step Stool Inside the Door
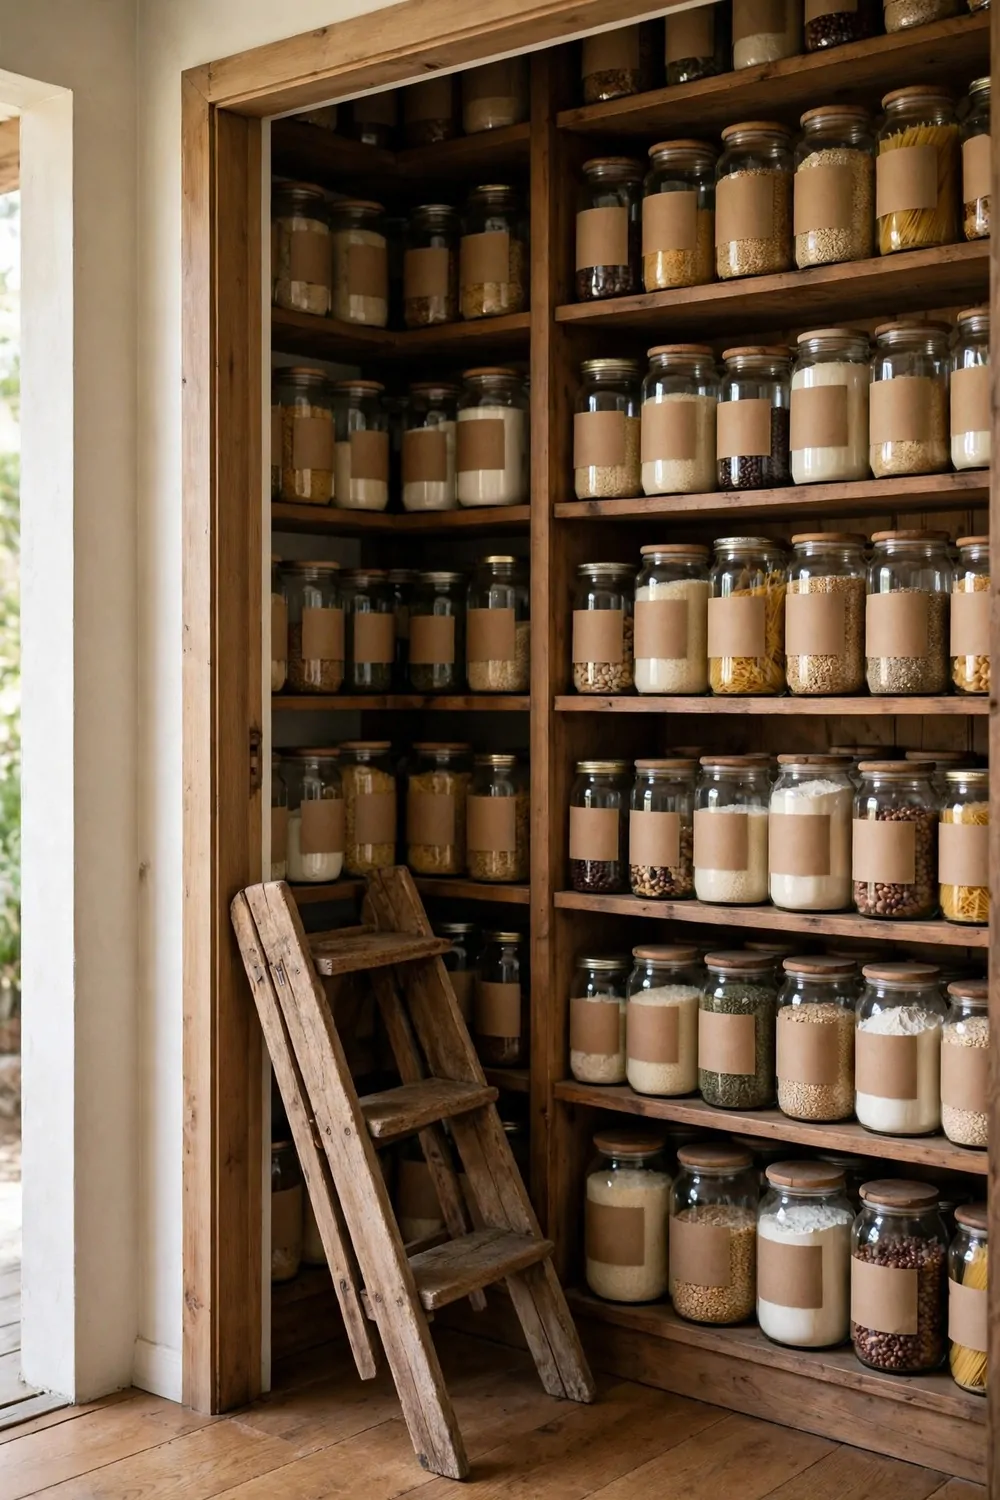
I used to fetch a chair from the kitchen every time I needed something up high. It was slow, and the chair would scrape the floor. A small step stool that lives in the pantry fixed that for good.
Pick a slim stool that fits just inside the door. Mine leans against the wall by the door, and it takes up almost no room. I can grab it, step up, and put it back in seconds.
Choose a stool with a wide, flat top so you feel safe on it. I like mine because it does not wobble, even when I reach for the top shelf. I tested it with both feet before I trusted it, and I still hold the shelf when I step up.
Keep the stool low and light so kids can use it too, if they are old enough. My kids use it to reach their snack bin, and they feel proud to do it on their own. It gives them a bit of freedom in the kitchen.
Do not store things on the stool when you are not using it. I used to pile bags on mine, and then I had to clear it before I could step up. Now it stays clear, and it is always ready when I need it.
A folding stool works well if your pantry is very narrow. I have seen a flat one that folds and hangs on a hook by the door. That would work great too, if you have no floor space to spare.
This tiny stool made my tall shelves useful again. I reach the top shelf with ease now, and I use the things I store up there more often. You will wonder how you managed without one.
Wipe the stool top now and then, because pantry dust settles on it. A clean stool feels safer under your feet.
13. Use Tiered Risers for Small Jars
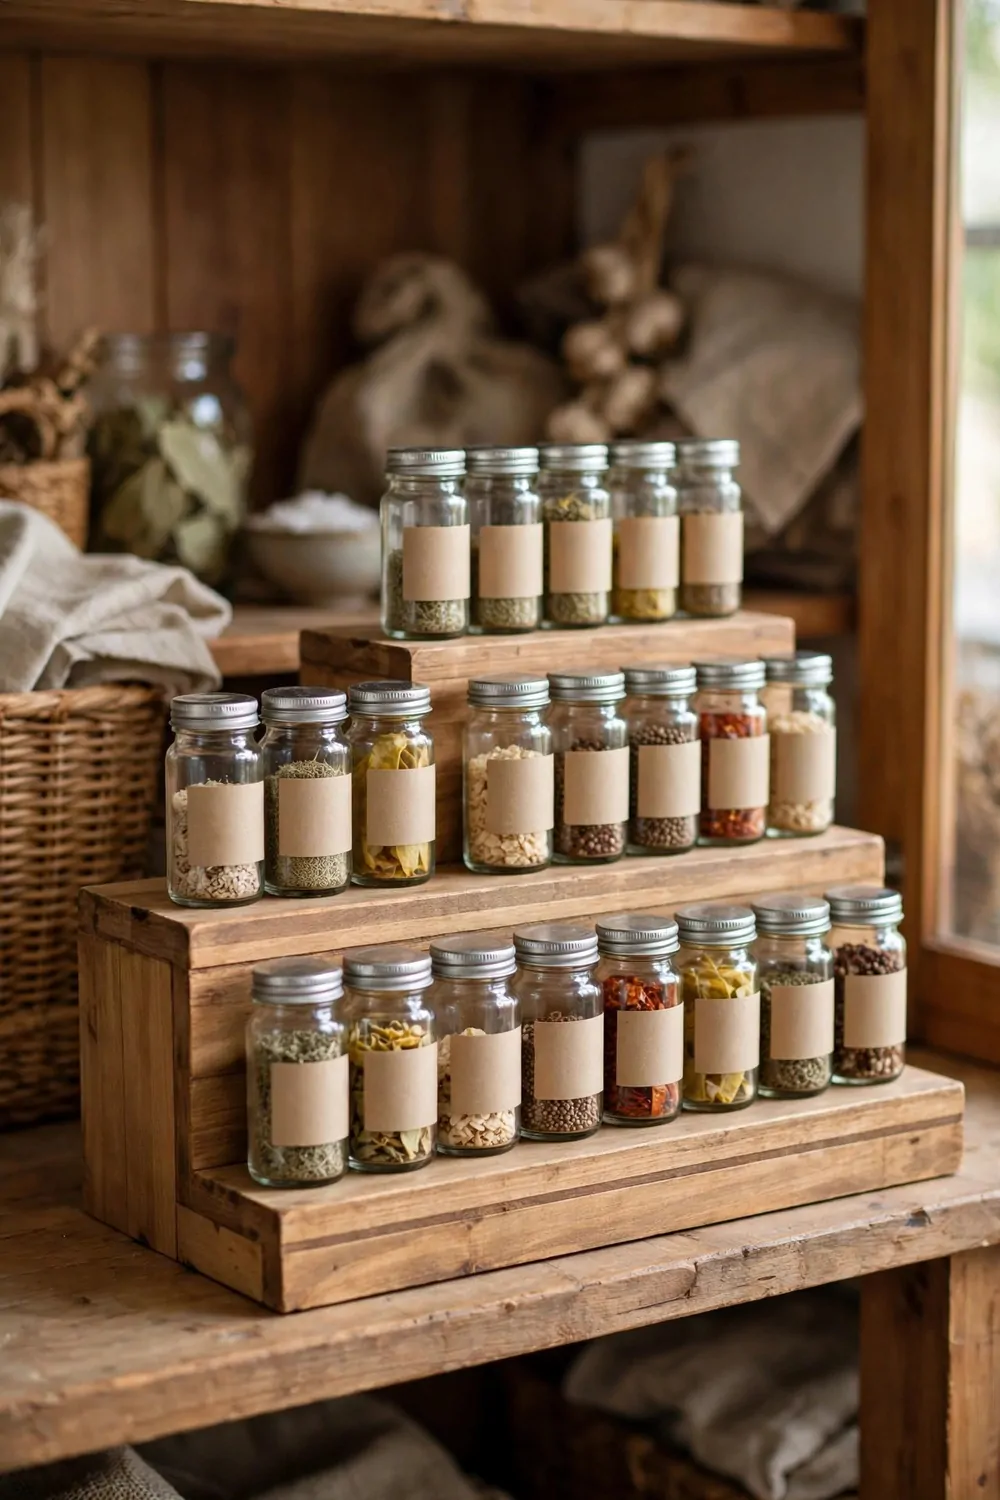
Small jars are the worst for hiding in a pantry. I would line them up in a row, and the ones at the back would vanish behind the front ones. A tiered riser lifts each row a little higher, so you can see them all.
A riser is like a small set of steps for your shelf. The back row sits highest, the middle row sits in the middle, and the front row sits lowest. I can read every spice label now without moving a single jar.
Put your spice jars on the riser first, because they are small and easy to lose. I keep my paprika, cumin, and dried herbs on mine. It feels good to see them all at once when I am picking a flavor for dinner.
Use a riser made of wood or sturdy plastic, and make sure it fits your shelf. Mine is wide enough for three jars across, and it leaves room on the side for my taller bottles. I measured before I bought it, and it fits just right.
Keep the riser near the front of the shelf so you can reach it. I pull mine forward a touch when I cook, and push it back when I am done. It is light, so it moves with ease, and it never tips over.
Do not stack jars on top of each other on a riser. I tried that once, and a jar fell when I reached for the one behind it. One jar per step is the rule in my pantry now, and it keeps things safe.
A riser is a small, cheap fix that makes a big change. My spice shelf went from a jumble to a neat set of rising rows. You will find your small jars faster, and cooking will feel a little bit easier.
Dust the riser once a week with a dry cloth, because spice dust settles on the steps. It takes seconds and keeps the labels easy to read.
14. Label Every Bin in Plain Words
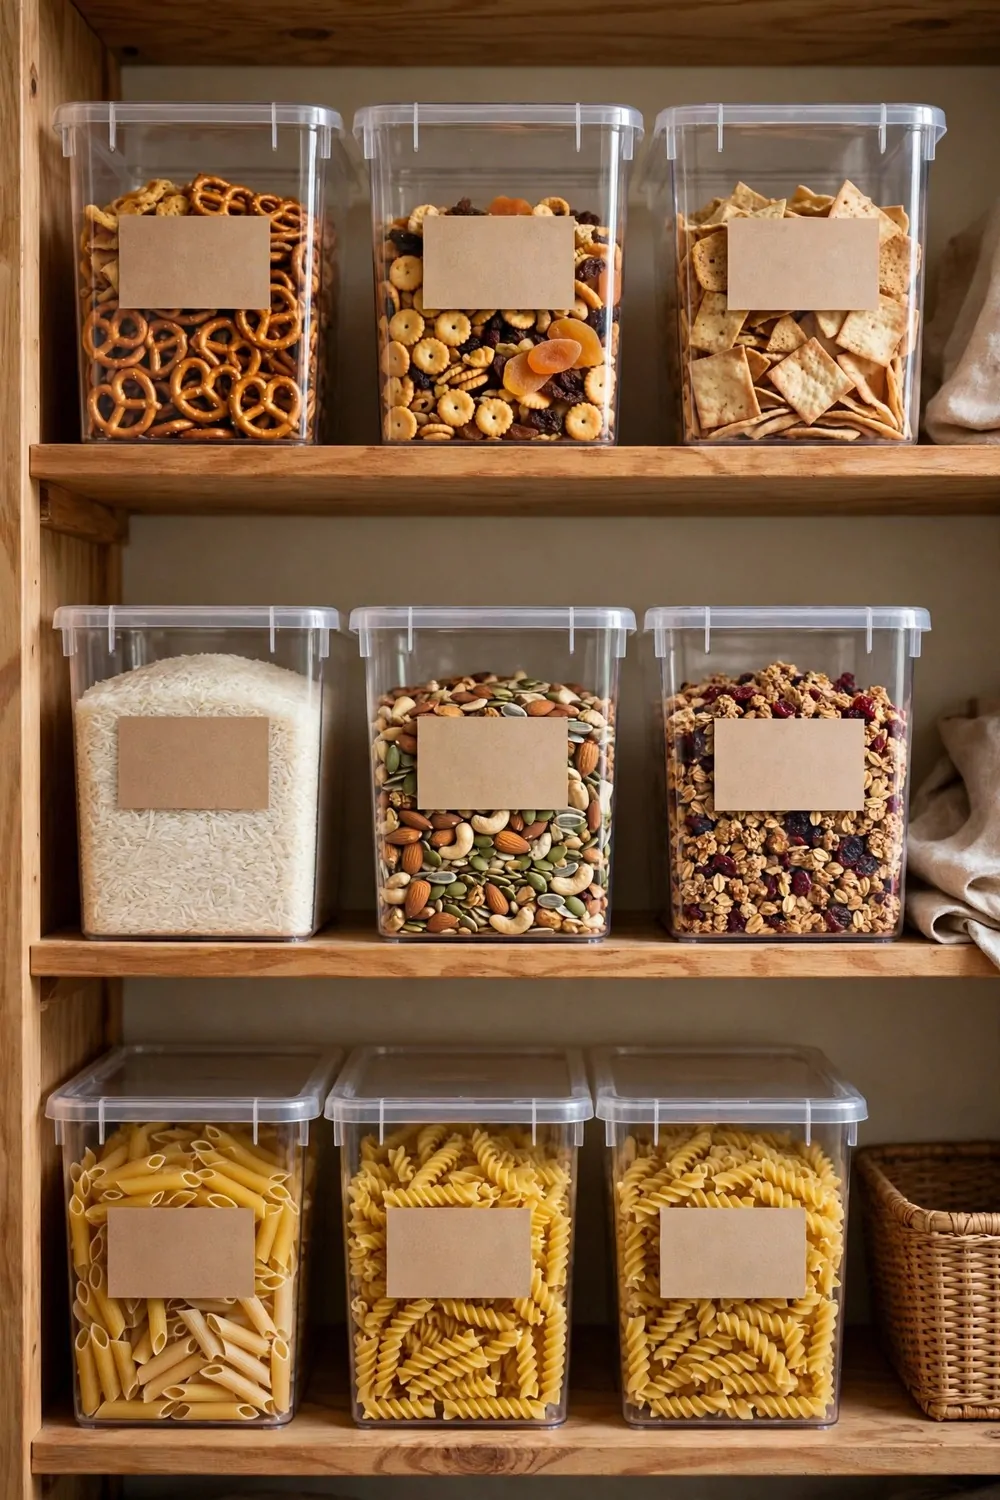
I used to think I would remember what was in each bin, but I did not. I would open three bins to find the pasta, and it wasted my time. Plain labels fixed that, and they cost almost nothing.
Write the name of the food in big, plain words. I write PASTA, RICE, and SNACKS in clear letters on my labels. Anyone in my house can read them, even the kids, and that makes life easier for us all.
Use a label you can change when the bin changes. I use small chalk labels, so I can wipe one off and write a new word. It stops me from having old labels that lie about what is inside.
Put the label on the front of the bin, where you see it first. I stick mine low on the front, at eye level, so I read it as soon as I open the door. It sounds small, but it saves me from opening the wrong bin.
Keep the words short and simple, one or two words at most. I do not write long notes on my labels, just the food name. Short words are fast to read when you are in a rush to cook dinner.
Check your labels once a month and fix any that have faded. I rewrite mine when the chalk gets faint, and I check that each bin still holds what its label says. It takes five minutes, and it keeps the system honest.
Labels make my pantry work for the whole family, not just for me. My kids put things back in the right bin now, because they can read where it goes. You will love how tidy and calm your pantry feels with plain labels on every bin.
Use the same label style on every bin so the pantry looks calm. Matching labels are easier to read at a glance than a mix of styles.
15. Store Canned Food in Rows, Not Piles
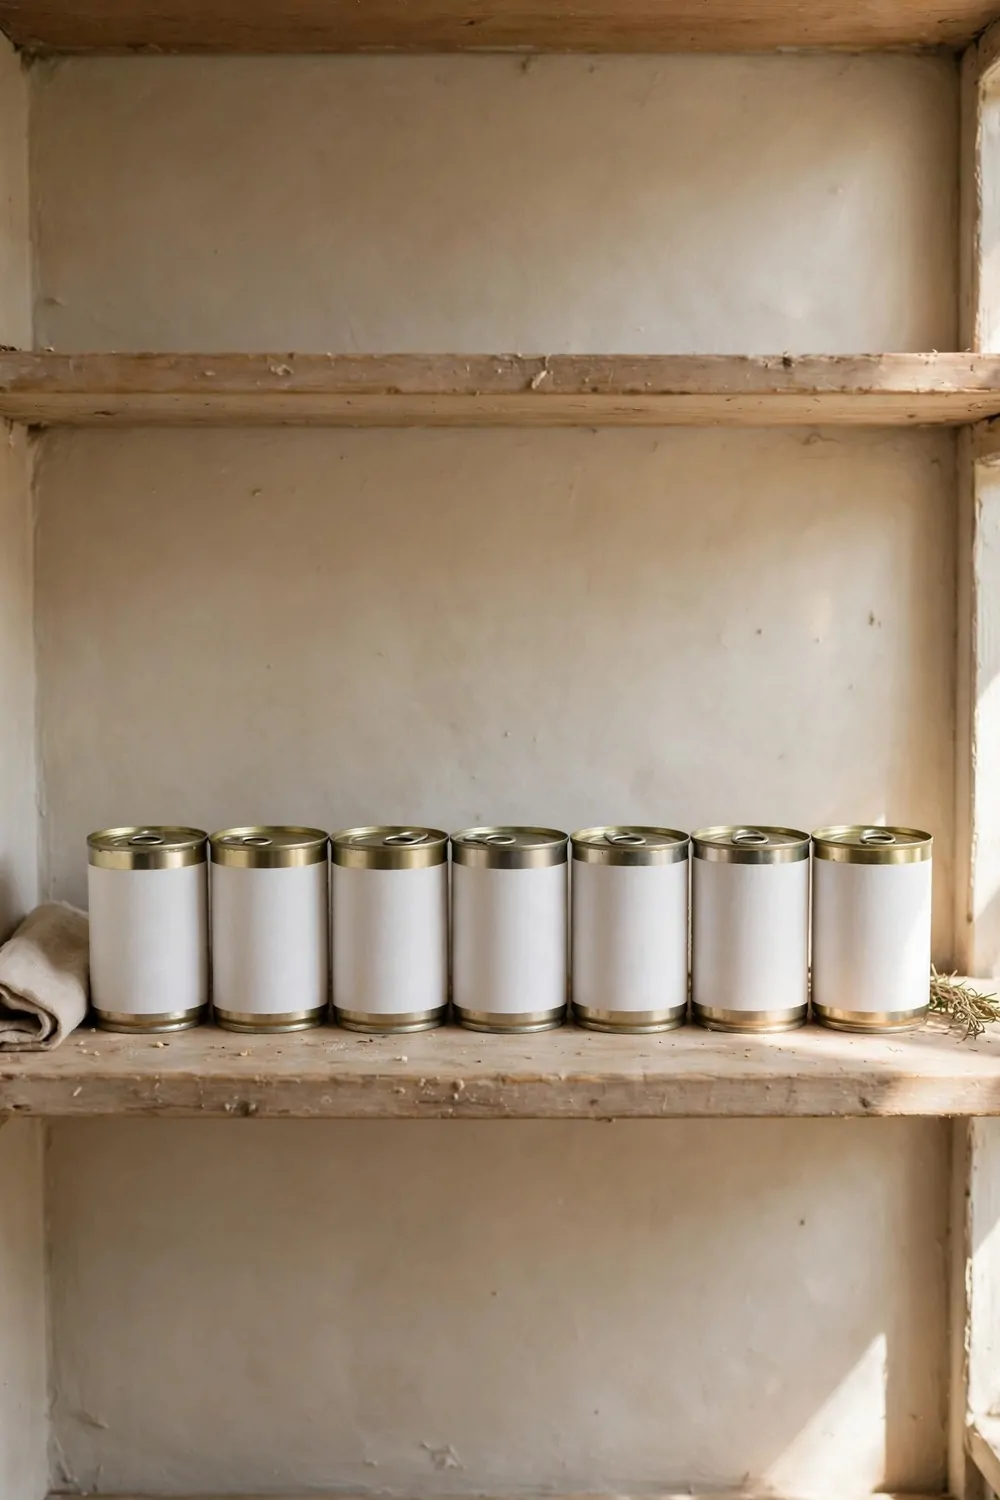
I used to pile my cans up high. Then one can would fall and the whole pile would go with it.
Rows are much calmer. You can see every label at a glance. You do not have to move five cans to reach the one you want.
A shallow shelf helps a lot here. Deep shelves let cans hide at the back. Shallow ones keep each row in plain sight.
Try one row deep if you can. Put the cans you use this week right at the front. Put the spare cans behind them in the same row.
| Spot | What goes there | Why it works |
|---|---|---|
| Front row | Cans you use this week | You grab them first |
| Back row | Spare cans and new stock | Nothing gets forgotten |
| Top shelf | Big cans and bulk tins | Heavy things stay low-risk |
| Low shelf | Kids soup and small cans | Kids can reach them |
I group mine by meal too. Soups sit together. Beans sit together. Tomatoes sit together.
That way I can spot what is running low in seconds. I do not buy the same can twice by mistake now.
Turn every label to the front. It sounds small. It saves you a lot of time when you are in a rush.
If a row starts to look messy, I fix it right then. A quick straighten takes ten seconds. A full pile rebuild takes much longer.
16. Add a Narrow Cart That Rolls Out
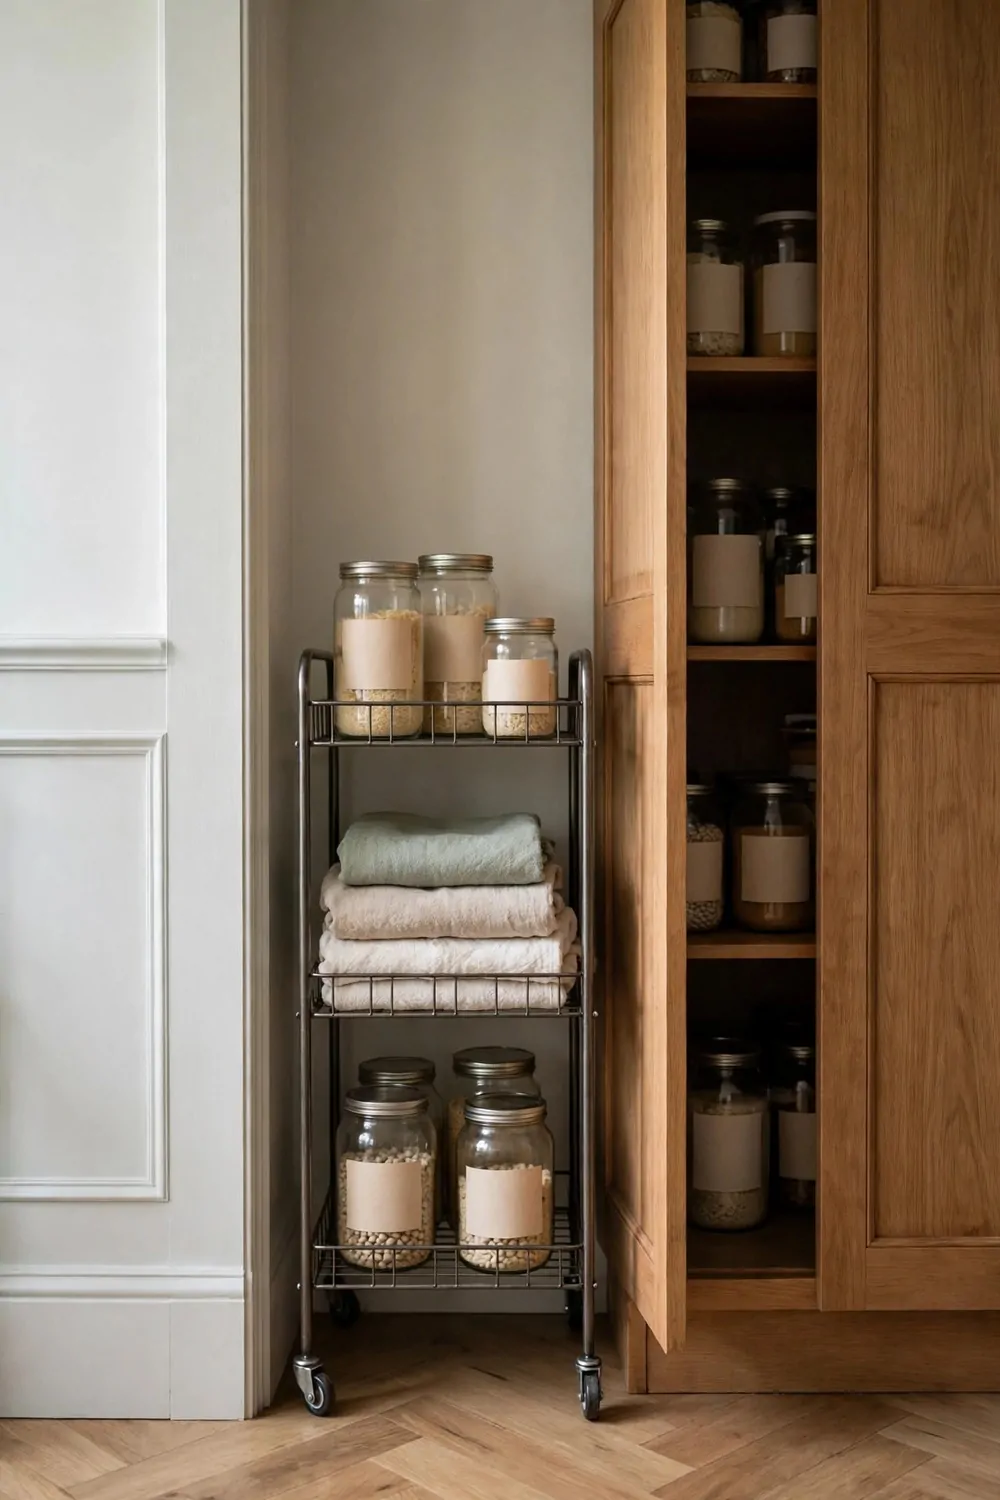
That thin gap beside your pantry is not wasted space. It can hold a slim rolling cart.
I love these carts because they roll out when you need them. Then they slide back in and vanish. You get storage without giving up floor space.
Pick a cart that is only a few inches wide. Measure the gap first. A cart that is too wide will stick and annoy you every day.
Use the top shelf for jars you grab a lot. Use the middle shelf for snacks or sauces. Use the bottom shelf for towels or spare bags.
Wheels matter here. Cheap wheels wobble and get stuck. Smooth wheels make the cart feel easy, not fiddly.
I keep mine beside the pantry door. When I cook, I pull it out like a little helper shelf. When I am done, I push it back in.
You can also use it for cleaning stuff if you have no room elsewhere. Sprays and cloths fit fine on a narrow cart. Just keep food and cleaners on different shelves.
If the cart starts to lean, check the load. Heavy jars belong low down. Light things go up top.
It is a small buy. But it turns a dead gap into real storage. That is the kind of win a small pantry needs.
17. Use the Floor for Big Bins Only
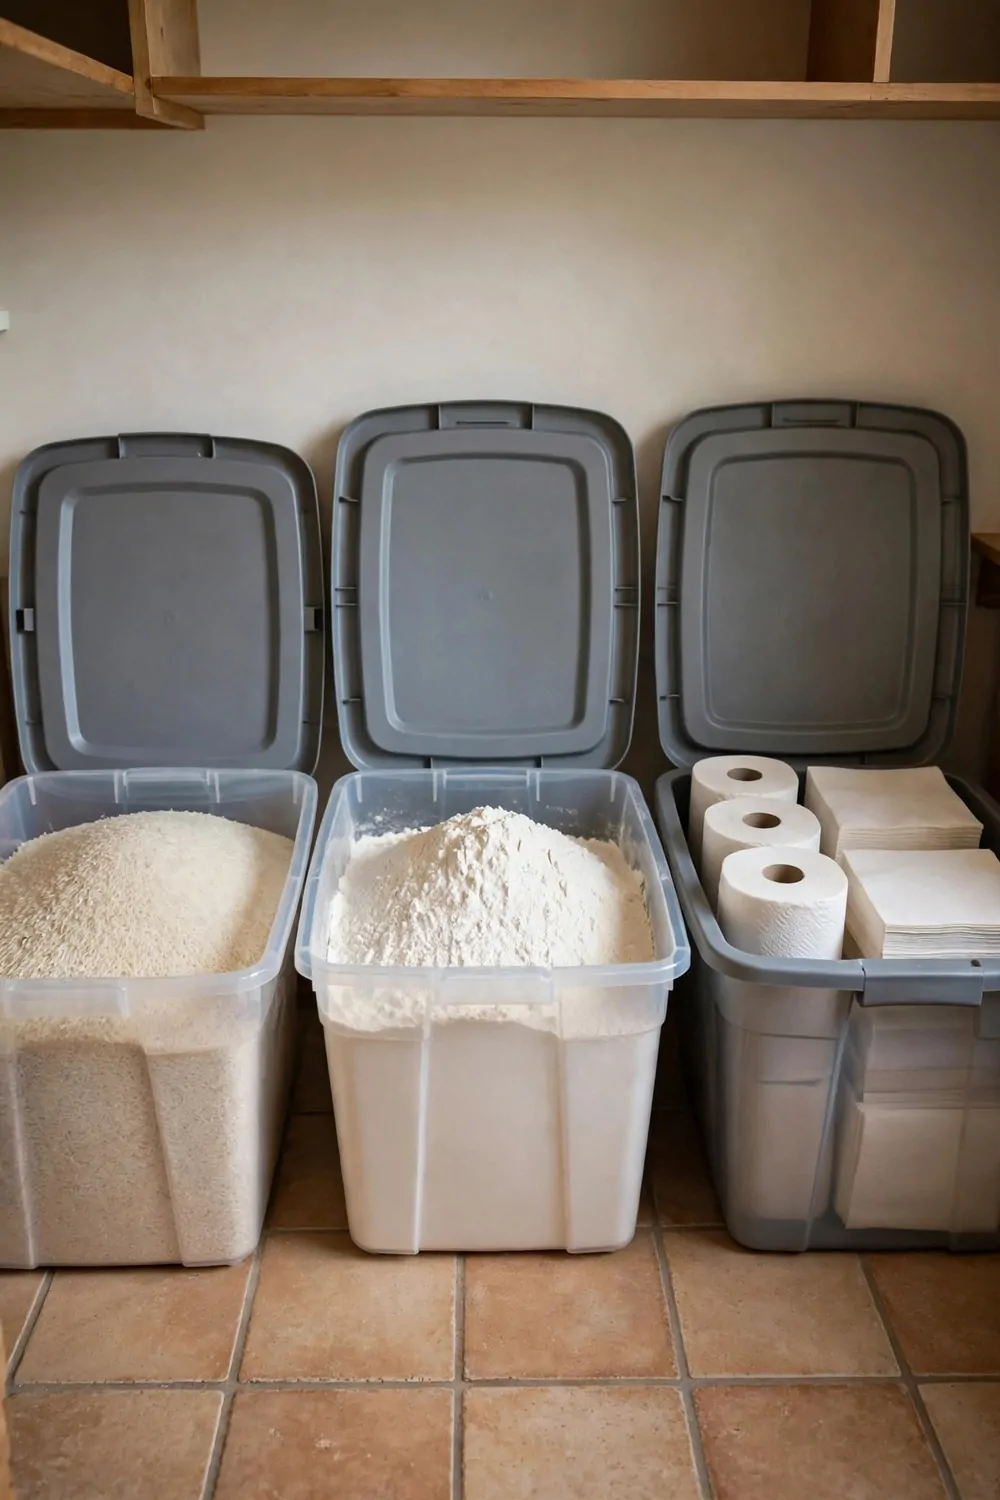
The pantry floor fills up fast. So I have one rule for mine. Big bins only.
Small stuff on the floor gets lost. It gets kicked around. It makes the whole pantry look messy even when the shelves are neat.
Big bins with lids work well down there. They hold bulk rice and flour. They hold paper towels and spare rolls. They keep dust out too.
Pick bins you can lift when they are full. A bin that is too big will hurt your back. Two medium bins beat one giant bin most days.
I label each bin on the front. Rice, flour, paper goods. That way I do not have to lift the lid to check what is inside.
Keep a little gap between the bins and the wall. Air can move around them. And you can pull one out without dragging the other.
Do not stack loose bags on the floor. Bags tear. They spill. They attract crumbs and mess.
If you have a pet, lids matter even more. A closed bin keeps paws and noses out. It keeps your food safe and clean.
Your floor is not a junk drawer. Treat it like one shelf for big things only. The pantry will feel bigger right away.
18. Keep Drinks in One Low Spot
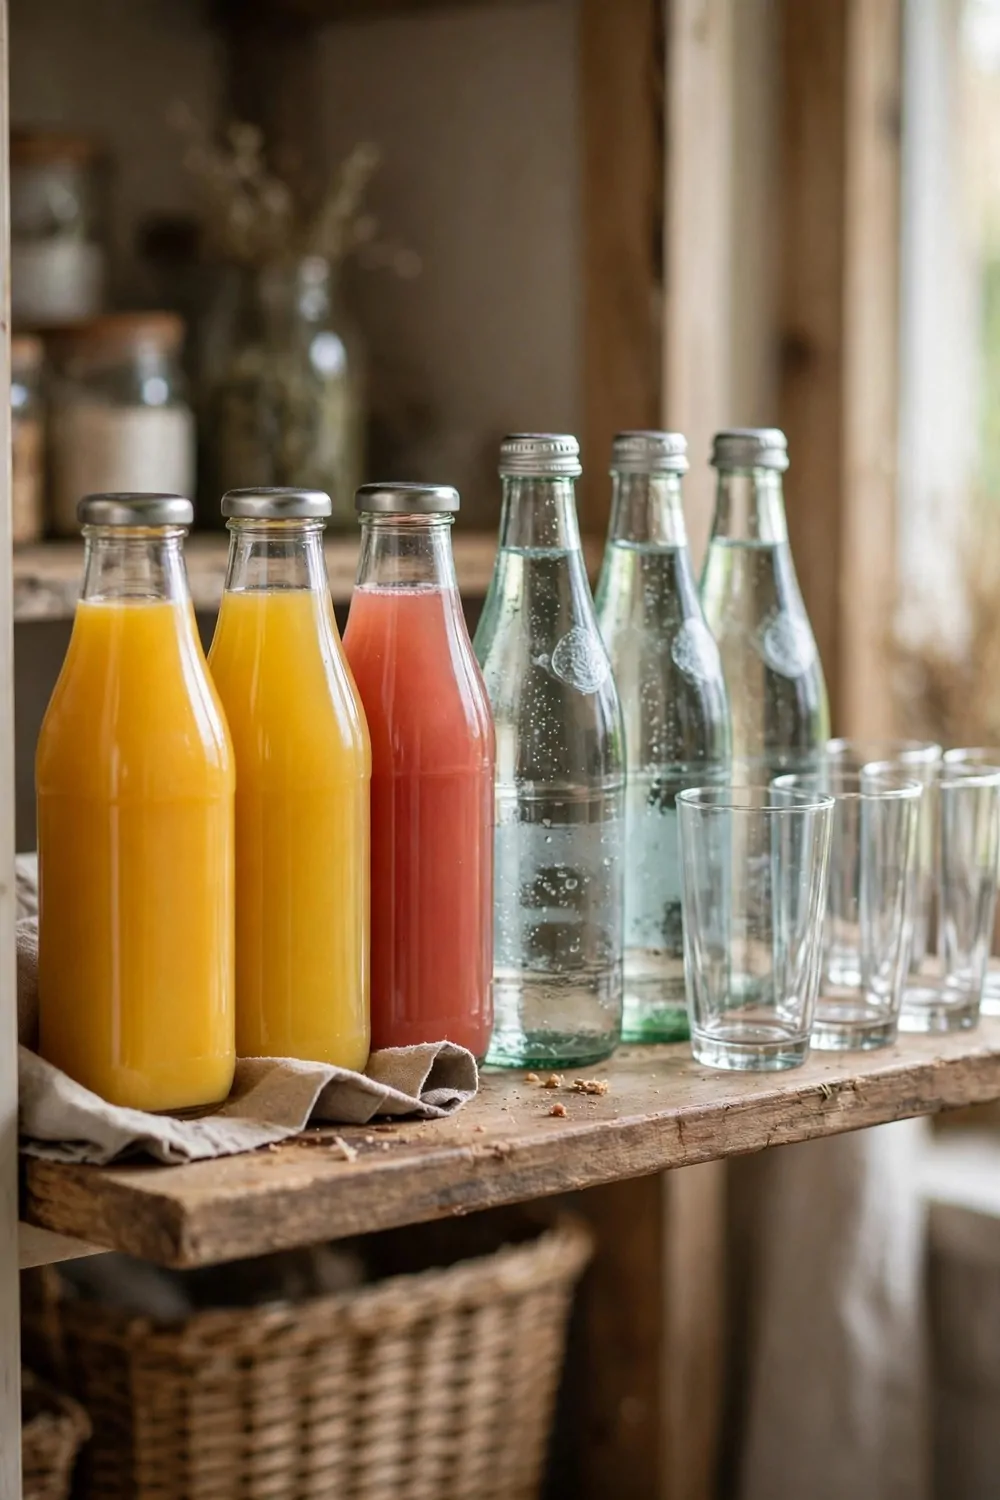
Drinks are heavy. So I keep them low. A low shelf is safer and easier for everyone.
If bottles sit up high, you have to lift them down with both hands. One slip and you have a sticky mess. Low is better.
I put all our drinks in one spot. Juice, sparkling water, and the kids drinks all live together. No hunting across three shelves.
Put the glasses right beside them if you have room. Then you can pour a drink in one move. It feels like a tiny drink station.
Use a tray under the bottles if you can. It catches drips. It also lets you slide the whole group out to clean behind it.
Keep the bottles you use most at the front. Keep the spare bottles at the back. When the front ones run out, you just move the spares forward.
Kids can reach a low shelf on their own. That means fewer calls for help. And fewer spills from them climbing up for a drink.
Do not mix drinks with dry food. A leak can ruin a whole box of pasta. Drinks stay in their own low home.
It is a small change. But it stops bottles from taking over your shelves. And it makes drink time much calmer.
19. Hang a List on the Door
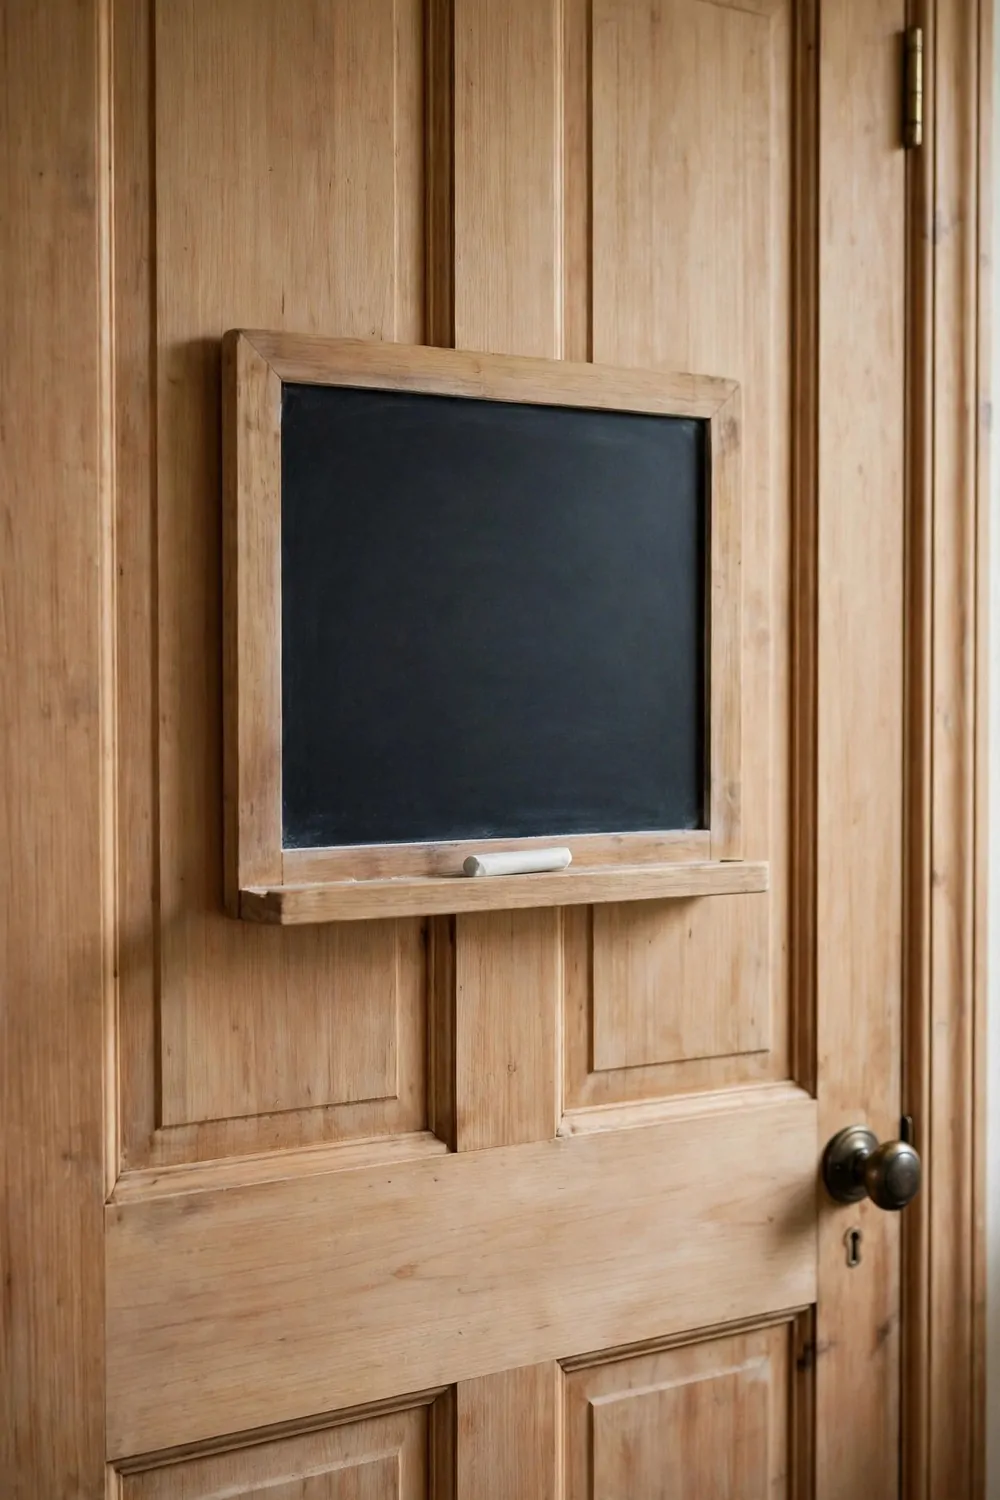
I forget things fast. So I hang a list right on the pantry door.
A small chalkboard works great. A paper list works too. The point is the same. You see it every time you open the door.
When something runs out, I write it down at once. If I wait, I will forget. Then I will be at the store with no clue what I needed.
Keep the chalk or a pen right there on the ledge. If you have to hunt for a pen, you will not write anything down.
I split my list into two parts. Need now, and need soon. That way I do not buy everything at once.
Kids can use it too. They write down the snack they finished. It teaches them to help. And it saves me from guessing.
Wipe it clean after each shop trip. A fresh board feels good. A crowded old list just gets ignored.
You can also stick a small magnet list there if chalk is not your thing. Use what you have. The habit matters more than the board.
Try it for one week. You will shop faster. You will forget less. And your pantry will stay stocked without much thought.
20. Use Matching Containers for Dry Food
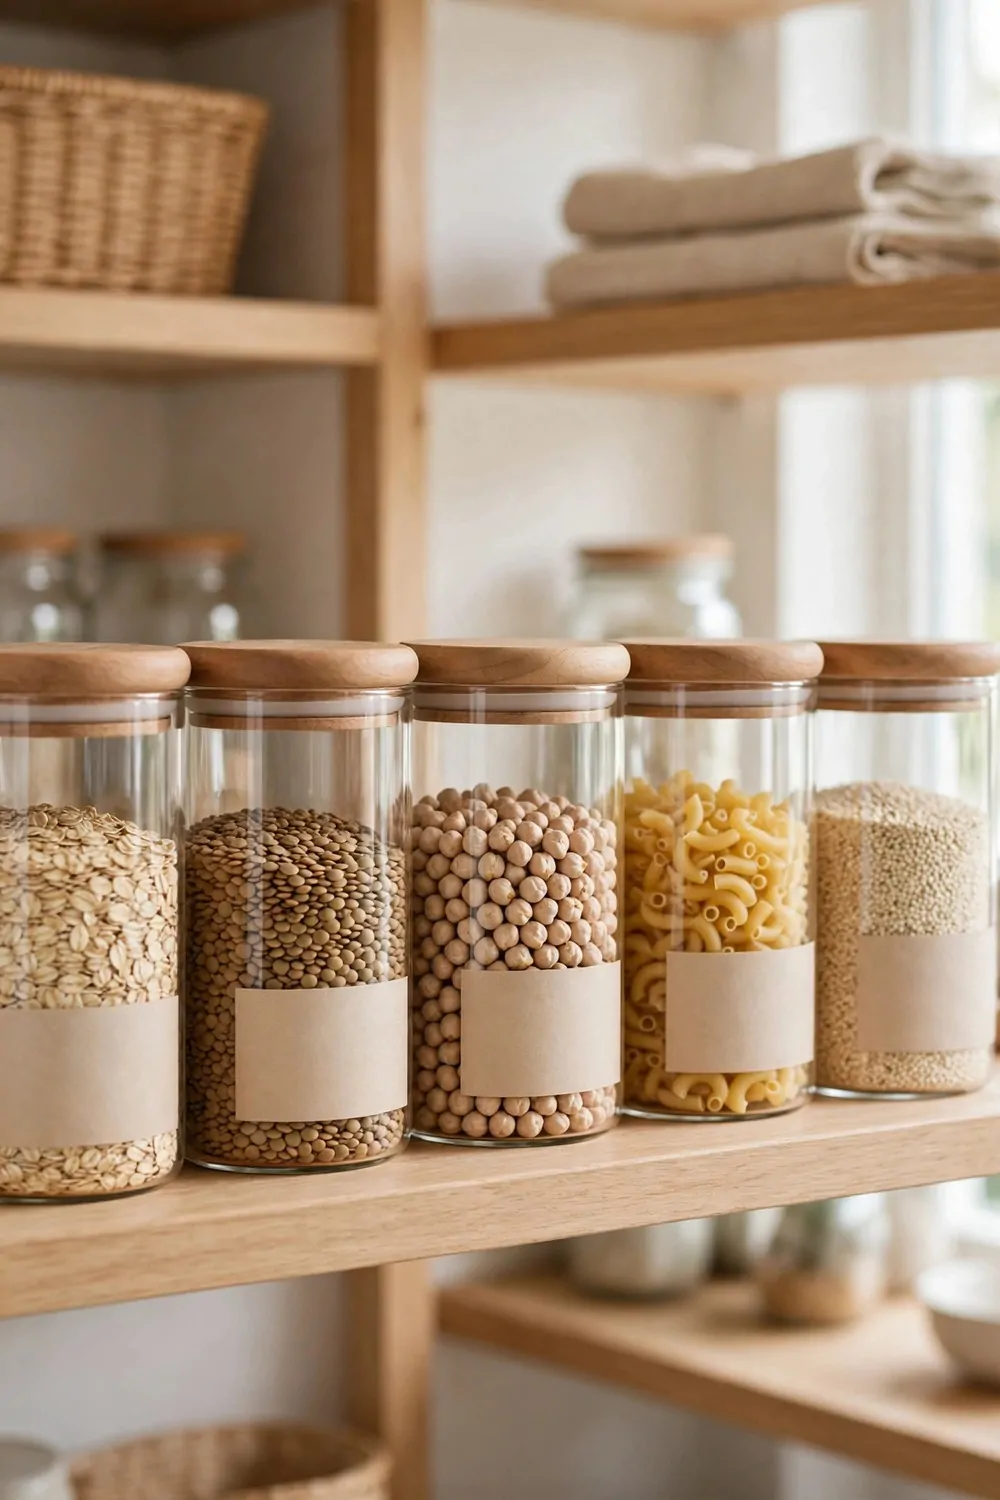
Matching containers make a small pantry look calm. Mixed boxes and bags make it look busy.
I moved my dry food into clear containers one shelf at a time. Pasta, rice, oats, and cereal all got the same shape. The shelf looks neat now.
Clear sides help a lot. You can see how much is left without opening the lid. You know when it is time to buy more.
Wooden lids or plain lids both work. Pick lids that seal well. A loose lid lets air in and food goes stale fast.
Do not buy all the containers at once. Start with the foods you use most. Add more later as you find what size you need.
Label each one if the food looks alike. Flour and sugar look the same in a clear jar. A small label saves you from a baking mix up.
Keep the containers the same height where you can. Same height means no wasted air above a short jar. The shelf looks tidy too.
Pour the food in slowly and keep the bag till you are done. If it does not all fit, keep the rest in a small spare jar. Do not force it.
This is not about being fancy. It is about seeing what you have. When you can see it, you use it. And you waste less food.
21. Keep Baking Supplies in One Bin
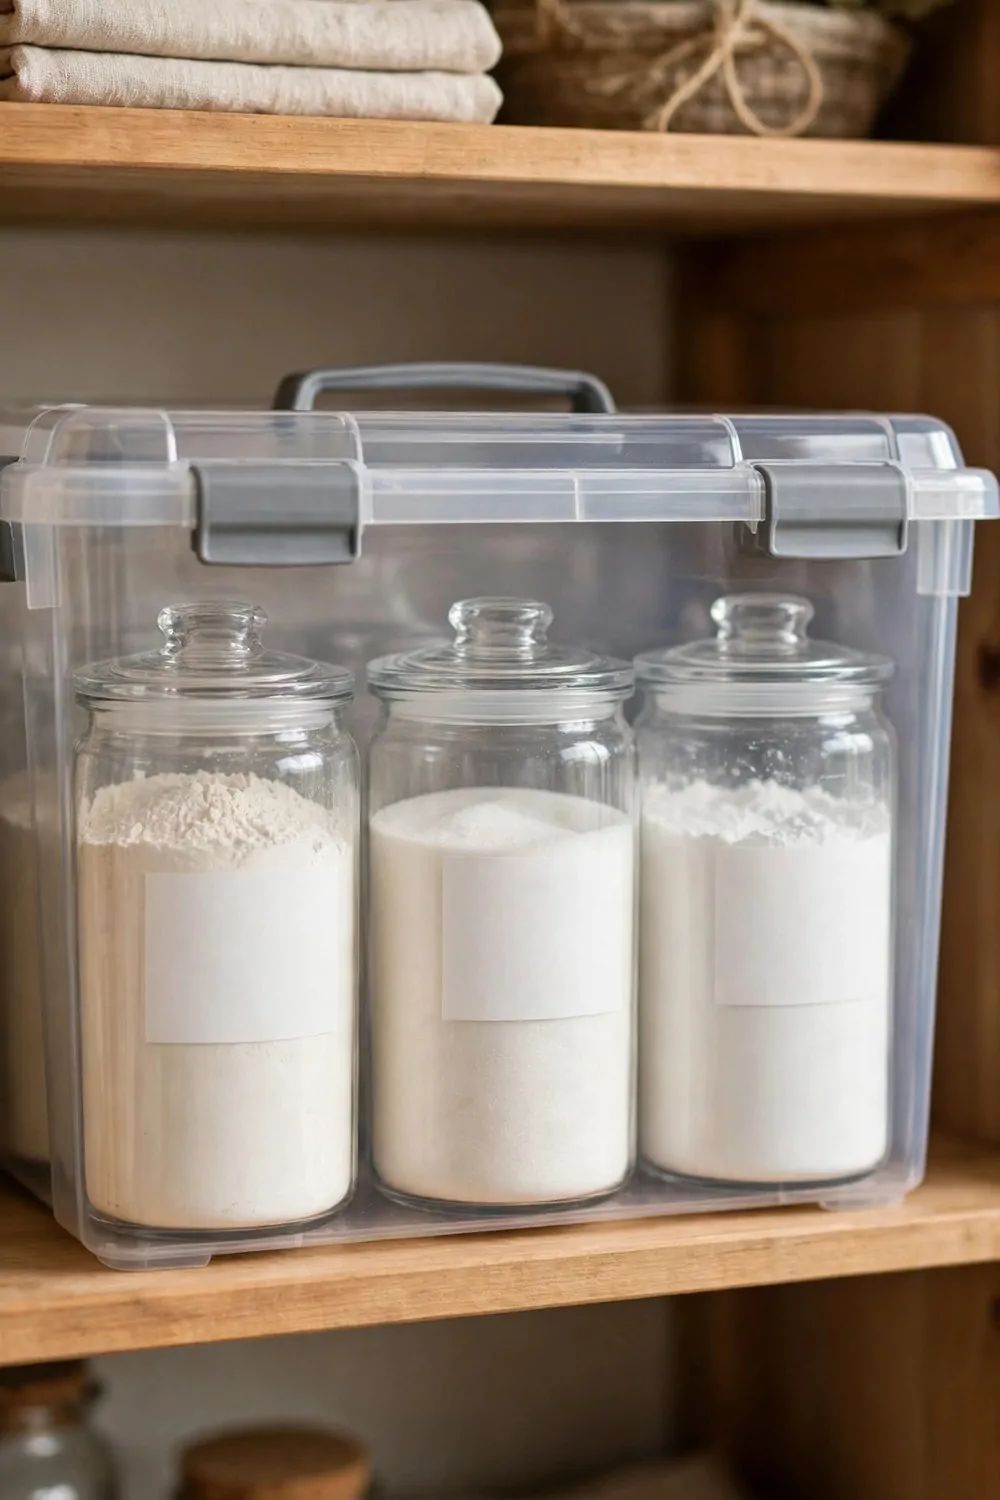
Baking stuff spreads everywhere if you let it. So I keep mine in one big bin.
Flour, sugar, baking powder, and vanilla all live together. When I want to bake, I pull out one bin. I do not hunt across five shelves.
Pick a bin with handles. Handles make it easy to lift down and put back. A bin without handles feels heavy and awkward.
Keep the small packets inside too. Baking soda and yeast hide in corners. Inside the bin, they stay together and easy to find.
Put the bin on a middle shelf if you can. Too high and it is hard to lift. Too low and you bend too far each time.
I check the bin before I shop. If the flour is low, I add it to the door list. No more mid recipe runs to the store.
Wipe the bin out now and then. Flour dust gets everywhere. A quick wipe keeps the bin clean and the food fresh.
You can use a clear bin or a plain one. Clear is nice because you can see the jars inside. Plain works fine too if you label it.
One bin, one job. That is the rule. It makes baking feel easy instead of messy.
22. Hang Measuring Cups Under a Shelf
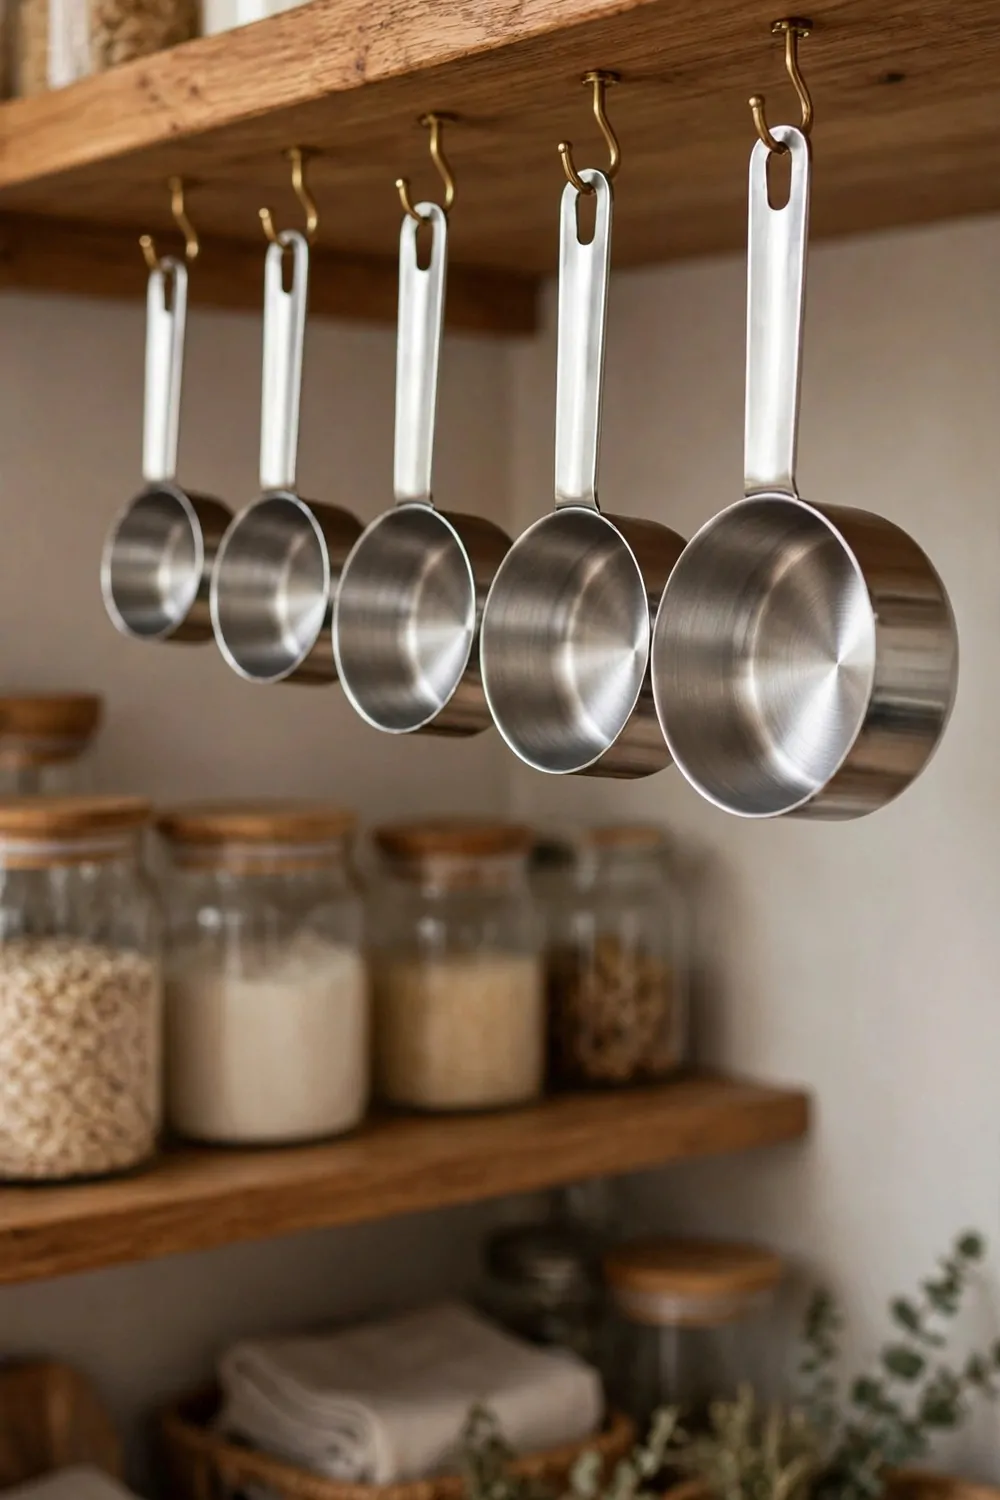
Measuring cups take up shelf space for no good reason. So I hang mine under a shelf.
Small hooks screw right into the shelf above. The cups hang by their handles. They are out of the way but still easy to grab.
I keep the set in size order. Big cup first, then small. That way I grab the right one without checking each label.
Use strong little hooks. Cheap sticky hooks fall off. Screw in hooks stay put and hold the weight.
Keep them near your baking bin if you can. Then your baking tools are all in one area. You bake faster and clean up faster too.
Metal cups work best for hanging. They are light and tough. Plastic cups can bend on a hook over time.
If you have measuring spoons, hang those too. Put them on one ring on a hook beside the cups. Now the whole set is in one spot.
Check the shelf above first. Make sure the hooks will not poke through anything. A quick check saves a surprise later.
It is a tiny fix. But it frees up a whole shelf corner. In a small pantry, that corner matters a lot.
23. Use a Tension Rod for Wrap and Foil
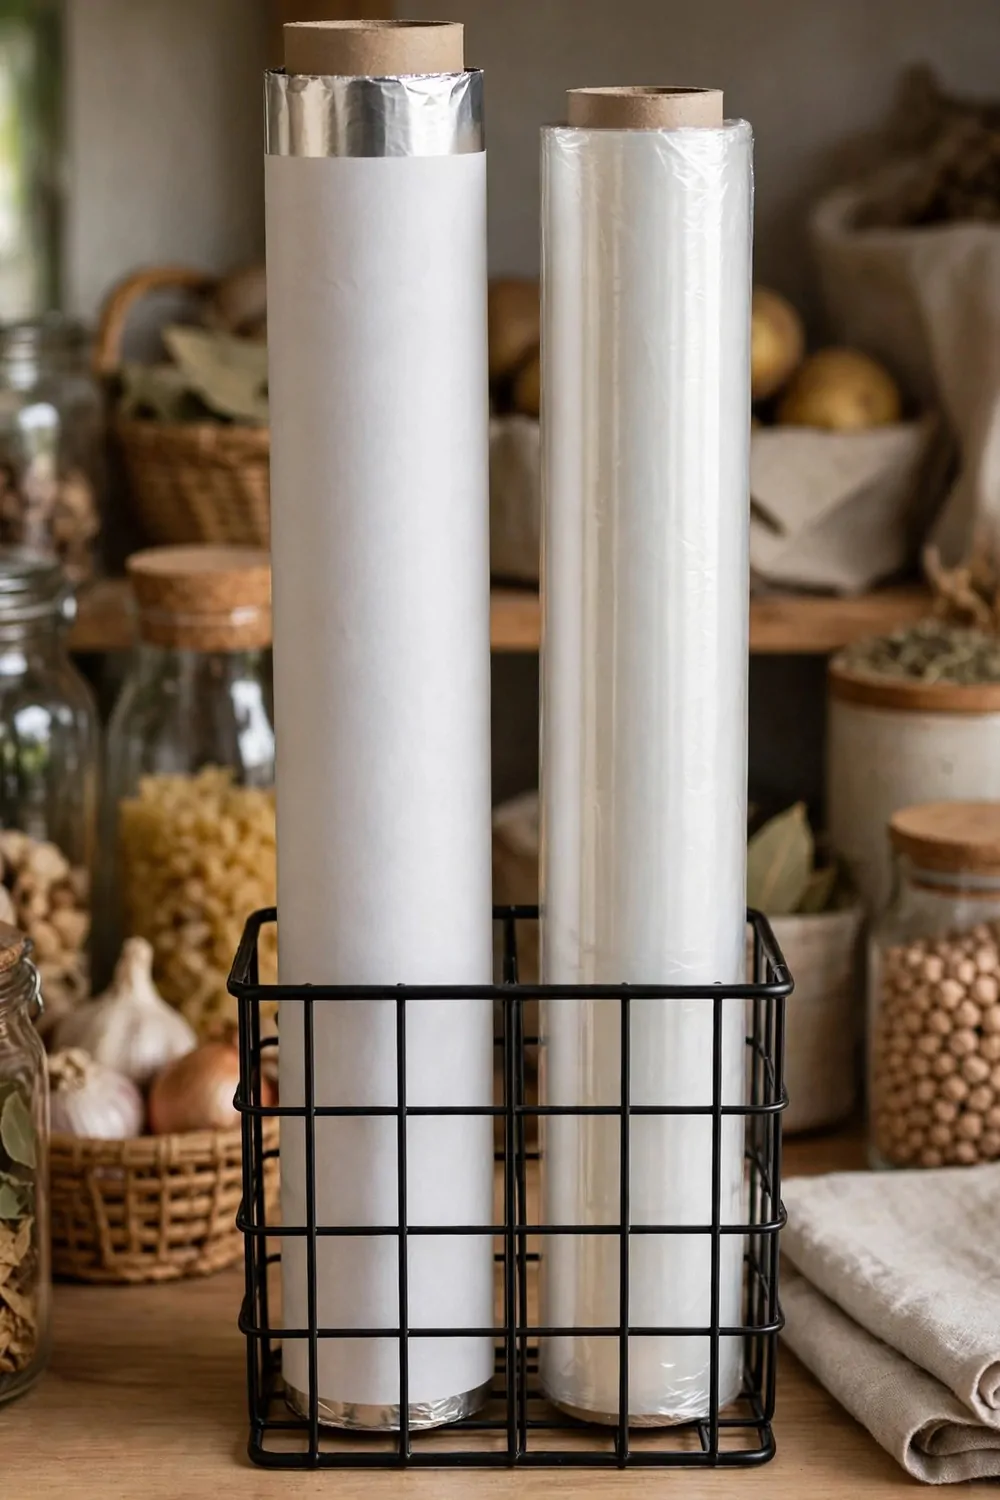
Wrap and foil boxes fall over all the time. A tension rod fixes that in a minute.
A tension rod is a simple spring rod. You twist it to fit between two shelf sides. It holds the rolls in place like a little fence.
I stand my rolls upright in a wire holder on the shelf. The rod keeps them from tipping when I pull one out. No more rolls rolling away.
Put the rod low enough to hold the boxes but high enough to grab them. You want a snug fit, not a tight squeeze.
You can use the same trick for baking trays. Stand them up and hold them with a rod. They take up less room that way.
Do not overfill the spot. Three or four rolls is plenty. More than that and it gets hard to pull one out.
If the rod slips, twist it a bit tighter. The spring needs a firm grip on both sides. A loose rod will drop at the worst time.
This is a cheap fix. No tools needed. And it stops that daily annoyance of foil boxes falling on your feet.
24. Store Party Dishes Up High
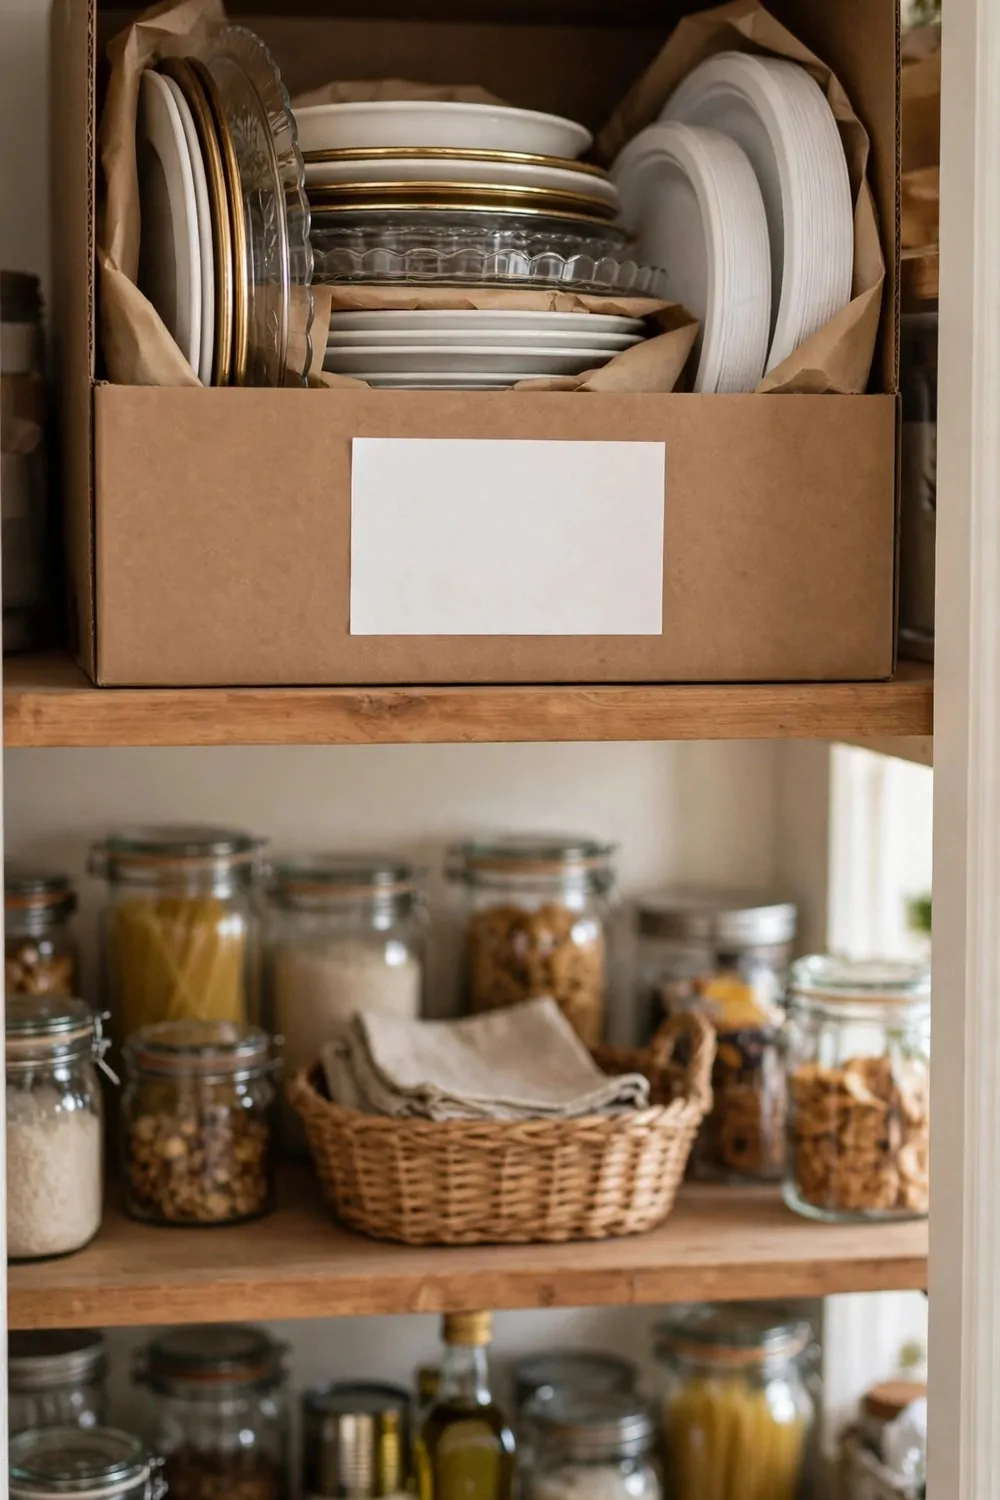
Party dishes are big and you use them rarely. So they belong up high, out of the daily way.
I keep mine on the top shelf in a labeled box. The box keeps dust off. The label tells me what is inside without climbing up to check.
Use a light box if you can. A heavy box up high is hard to lift down. A light box with handles is much safer.
Put the platters upright inside the box if they fit. Upright plates take up less room. They are also less likely to chip.
Keep a small step stool near the pantry. You will need it to reach the top shelf. Do not climb on a chair. A stool is steadier.
Do not store daily dishes up there. Daily dishes need to be easy to reach. Top shelf is for the rare stuff only.
Check the box once a season. If you have not used something in a year, think about letting it go. Space up high is still space.
Label the front in big letters. Party dishes, serving bowls, or platters. Then anyone in the house can find them when you need them.
Up high, out of sight, but still there when you need them. That is the right home for party dishes.
25. Do a Five Minute Tidy Every Sunday
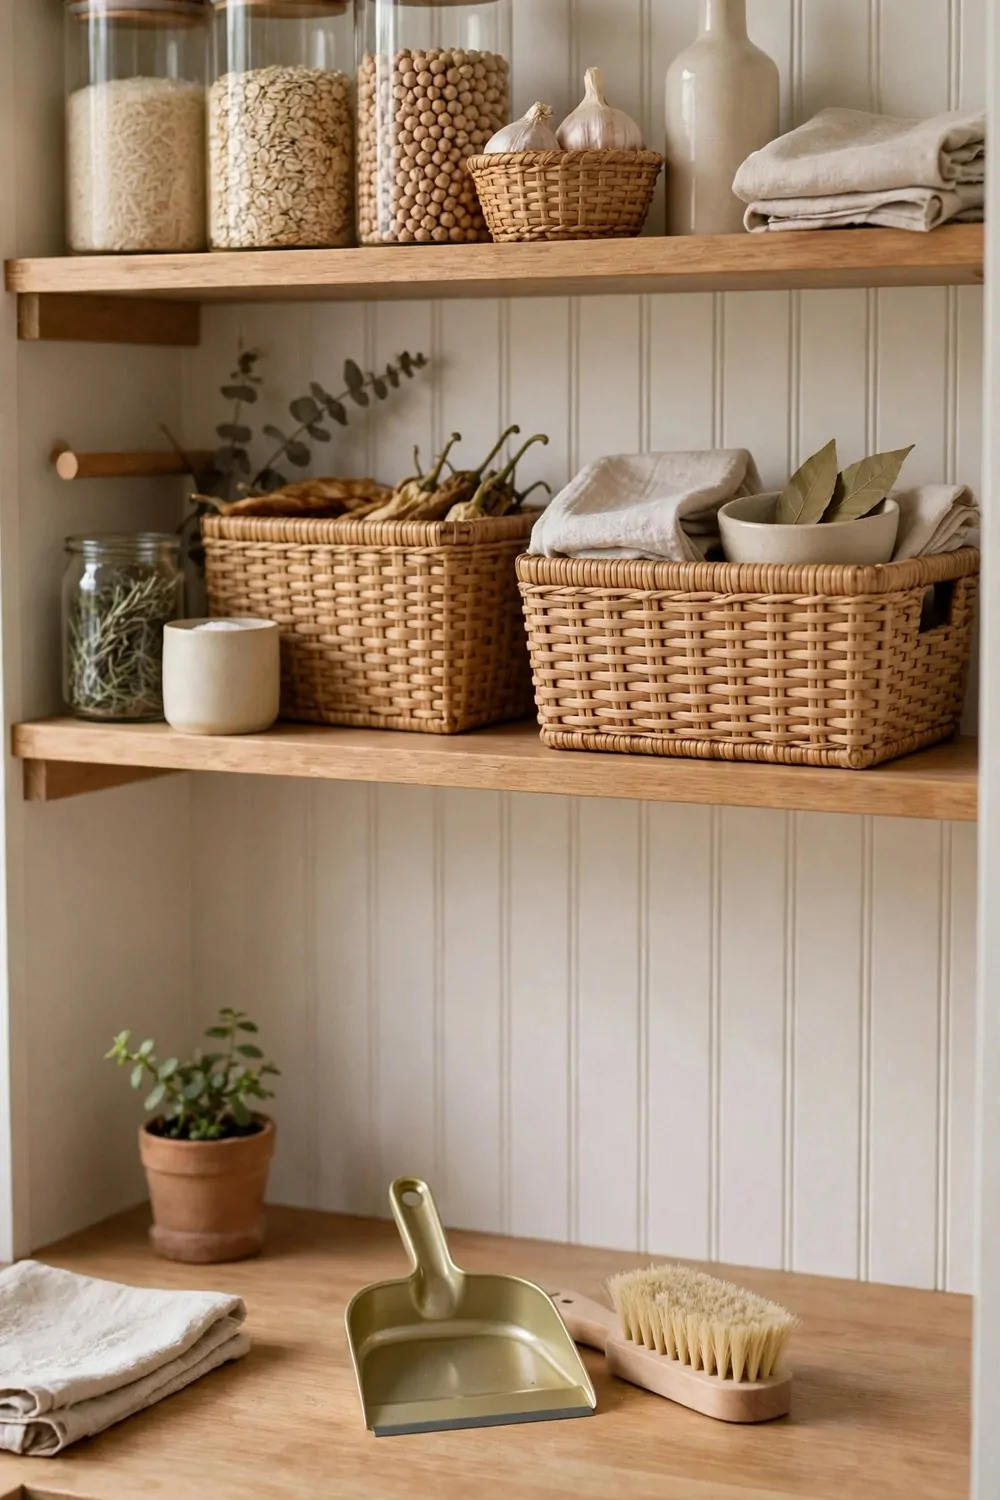
A small pantry stays neat only if you tidy it a little and often. I do five minutes every Sunday.
Five minutes is short. You can do it while the kettle boils. It is not a big clean. It is just a quick reset.
I start with old food. I check dates fast. I toss anything stale or past its date. That alone makes the shelves look better.
Then I wipe any sticky spots. Spills hide under jars. A quick wipe stops them from getting worse.
| Check | What to look for | Fix in minutes |
|---|---|---|
| Old food | Past dates, stale smells, open bags | 2 |
| Spills | Sticky spots under jars | 1 |
| Wrong spots | Things that drifted to another shelf | 2 |
Next I put things back where they belong. Stuff drifts during the week. A jar ends up on the wrong shelf. I move it home.
I also check the door list while I tidy. If I see something running low, I write it down. Then the shop list is ready.
Do not try to redo the whole pantry in five minutes. That is not the point. Small weekly resets stop the big messy cleanups.
Set a timer if it helps. When it rings, stop. Done is done. You can pick it up again next Sunday.
After a few weeks, this becomes a habit. The pantry stays neat on its own. And you will wonder why you ever let it get messy.
26. Keep One Shelf Empty on Purpose
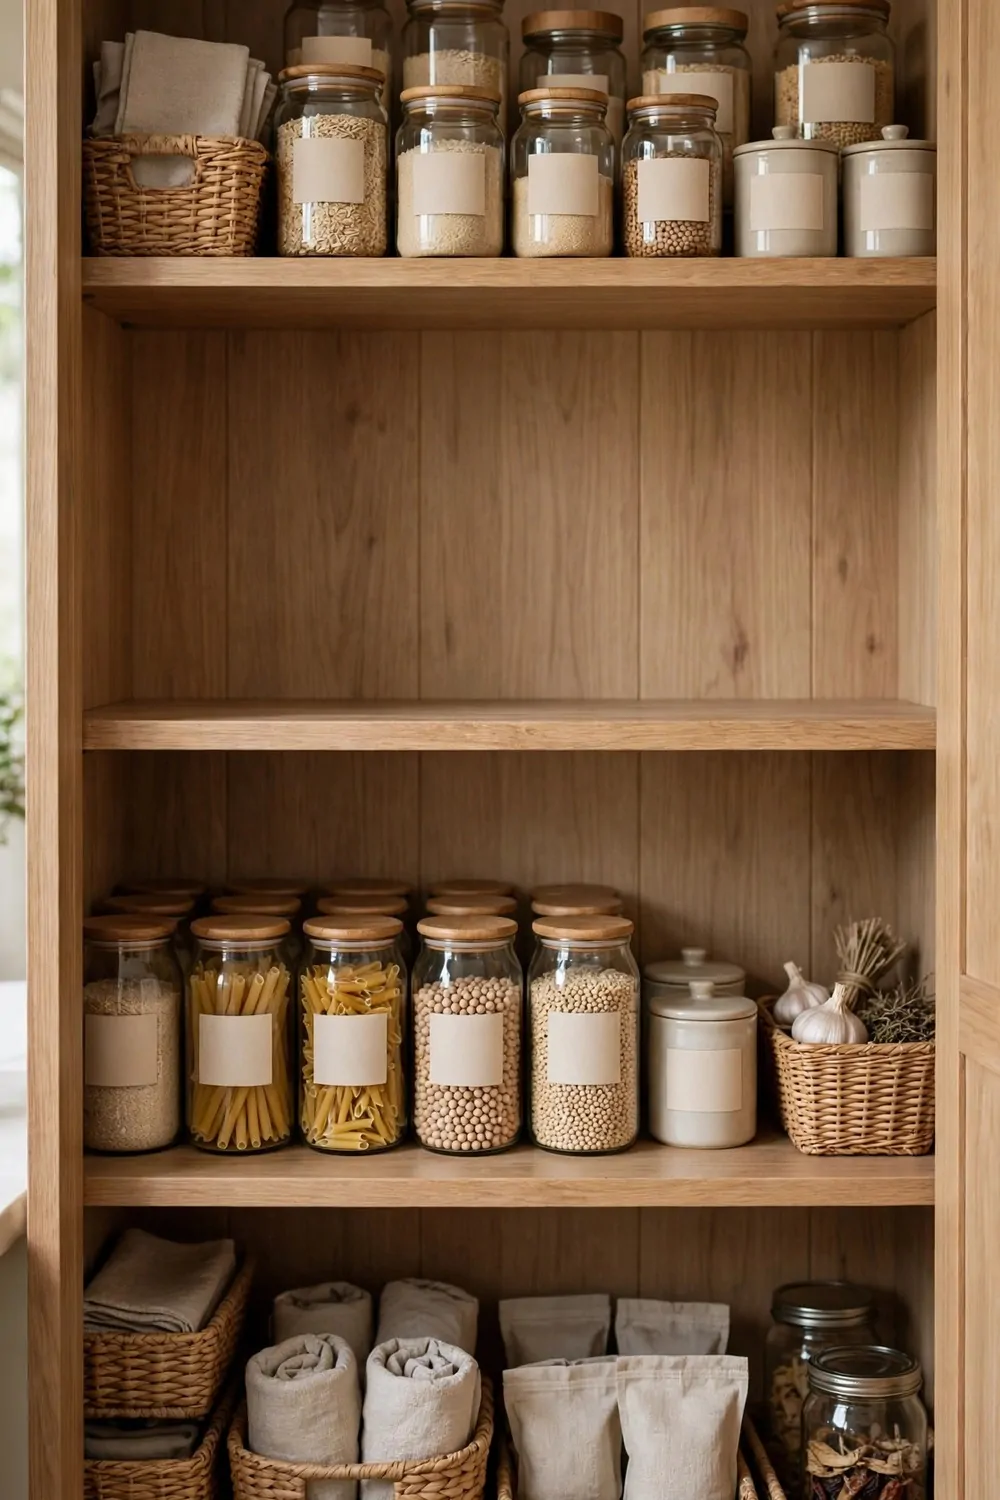
This sounds odd. But keep one shelf empty on purpose. It helps more than it hurts.
A small pantry feels tight when every shelf is full. An empty shelf gives you room to breathe. It gives you room to grow too.
I use my empty shelf for new shopping. When I come home with bags, I have somewhere to put them. I sort them later without a pile on the floor.
It also helps when you cook a big meal. You need a spot to set things down. An empty shelf is that spot.
Do not fill it just because it is empty. That is the hard part. An empty shelf can feel like wasted space. It is not wasted. It is flex space.
If guests bring food over, you have room for it. If you buy in bulk one week, you have room for that too. Life needs spare room.
Pick a middle shelf for this if you can. A middle shelf is easy to reach. A top shelf is too hard to use as flex space.
Tell your family the rule. This shelf stays empty. When everyone knows, no one fills it with random stuff.
Try it for a month. You will see how much calmer the pantry feels. Empty space is not a problem. It is a plan.
27. Start With One Wall This Weekend
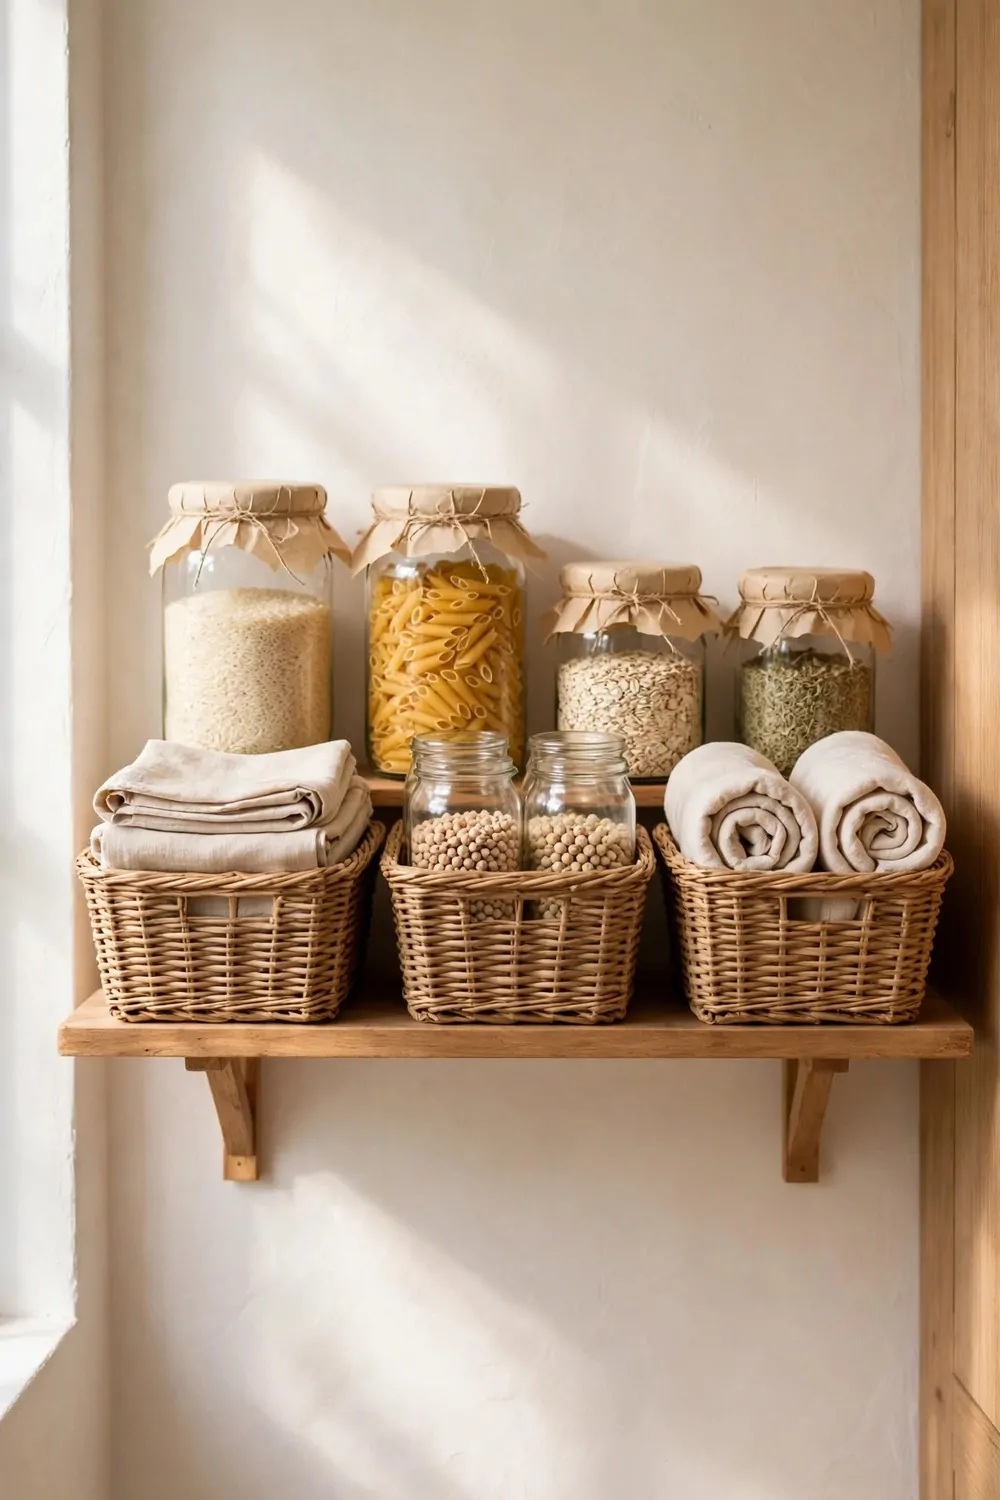
You do not need to fix the whole pantry at once. Start with one wall this weekend.
Pick the wall you see first when you open the door. That wall sets the tone. If it looks neat, the whole pantry feels neat.
Clear that one wall first. Take everything off. Wipe the shelves. Then put back only what belongs there.
Add one or two bins if you need them. Add labels if it helps. Keep it simple. You are not building a show pantry. You are making your life easier.
Work in short bursts. One hour is plenty for one wall. Stop for a snack. Come back fresh if you need to.
When that wall is done, stand back and look at it. Enjoy it for a minute. You did that. It looks good.
Then decide if you want to do the next wall next weekend. No rush. One wall at a time still gets you a full pantry in a few weeks.
Ask for help if you need it. A second pair of hands makes shelf work faster. And it is more fun than doing it alone.
Your small pantry can work hard for you. It just needs one good wall to start. This weekend is a great time to begin.
Keep Reading
If you liked these small pantry ideas, you will like the kitchen ideas below too. They share the same simple style and small space tricks.
Start with the one that fits your home best. Save the rest for later when you have time to try them.
- 25 Small Kitchen Ideas You’ll Wish You Knew Sooner
- 28 Luxury Walk-In Pantry Ideas That Make Every Kitchen Look Expensive
- 35 Appliance Garage Ideas to Hide Kitchen Clutter in Style
- 41 Custom Kitchen Cabinet Organization Ideas Worth Stealing
Pick one small change from this list and try it this week. Your pantry will thank you for it.