36 Home Beverage Station Ideas for Coffee and Entertaining

One morning I had ten guests in my house and every single one wanted a different drink. One wanted coffee. One wanted tea. Two kids wanted juice. My sister wanted something cold and sweet. I stood in my kitchen and felt lost for a minute.
That morning taught me a simple truth. A home beverage station is not about fancy tools. It is about one small spot where every drink lives together and every guest can find what they love.
You do not need a big kitchen or a big budget to make one. A corner, a cart, or even one shelf can work. What matters is that the drinks, the cups, and the little extras sit in one place.
In this guide I share 36 home beverage station ideas for coffee and entertaining. Pick the ones that fit your home and your people. Start small and add more as you go.
Start With One Corner That Serves Every Drink
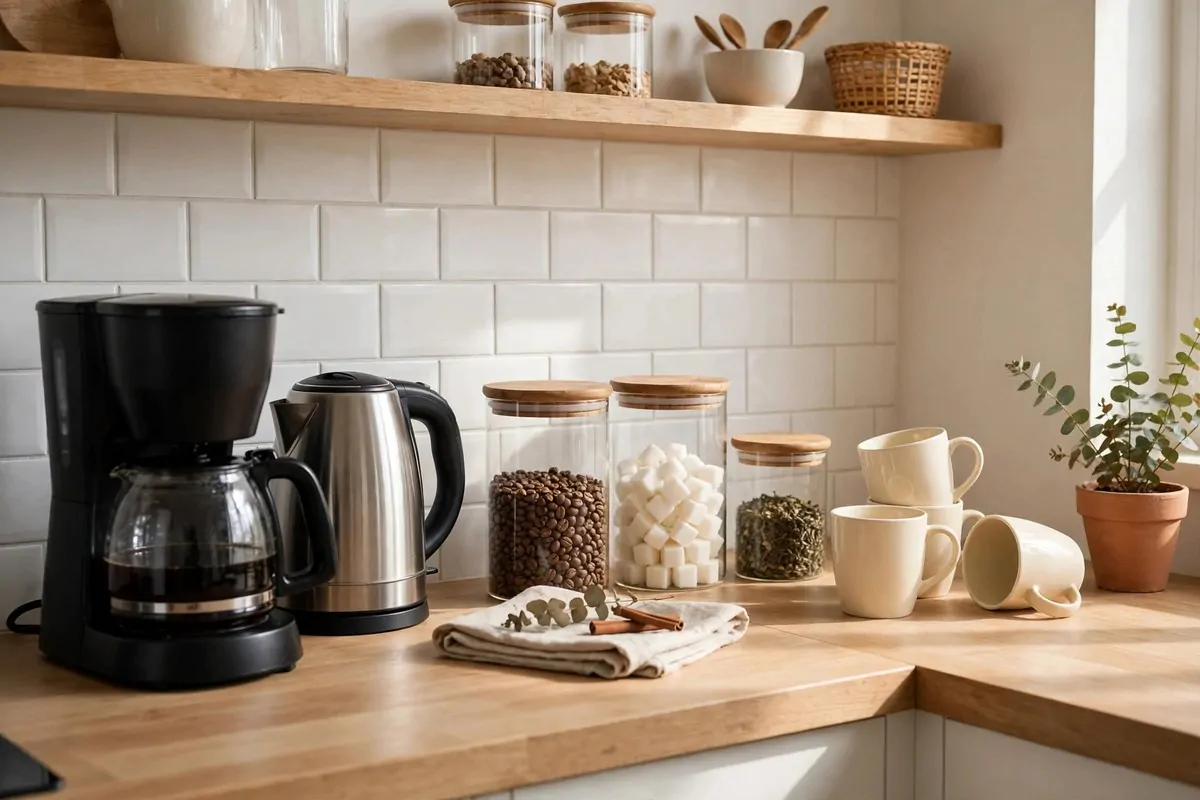
Pick one corner in your kitchen and call it the drink corner. It can be small. It just needs to hold your coffee maker, your kettle, and a few jars.
I like to keep the hot drinks on one side and the cold drinks on the other side. That way no one bumps into anyone else. Morning coffee people go left. Juice people go right.
Put your mugs on hooks or in a small stack right above the corner. When the mugs sit close, no one has to walk across the kitchen. It sounds small but it saves a lot of steps.
Add a tray under the coffee maker. Spills happen. A tray catches the drips and keeps the counter clean. I wipe mine once a day and it still looks nice.
Keep sugar, honey, and spoons in one small jar or cup. Guests love it when they can sweeten their own drink. You do not have to ask them ten times what they want.
A little plant or a small vase makes the corner feel warm. I use green leaves from my garden. They cost nothing and they make the whole spot look alive.
Label your jars if you have more than one kind of tea or coffee. A small paper tag works fine. Guests will thank you when they can pick fast.
Try the corner for one week before you change anything. You will learn what you use most. Then you can move things around to fit your real mornings.
Set Up a Coffee and Tea Corner for Slow Mornings
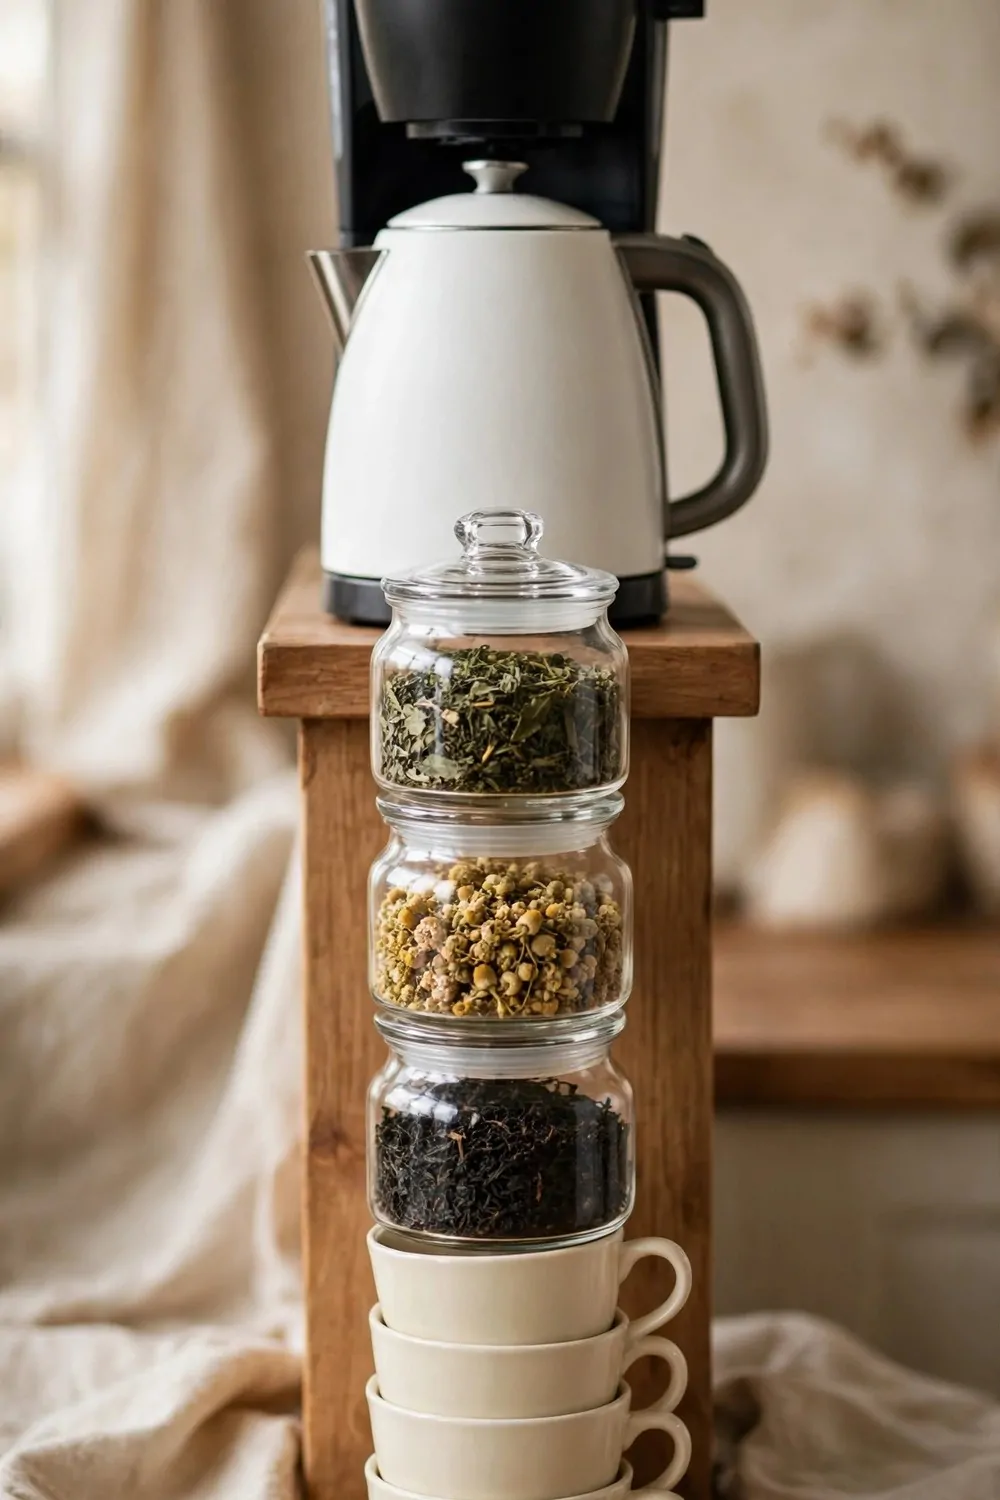
Slow mornings are my favorite kind of mornings. A coffee and tea corner makes them even better. You wake up, you walk to one spot, and your drink is ready in minutes.
Keep your coffee maker and your kettle side by side. One is for coffee lovers and one is for tea lovers. No one has to wait for the other one to finish.
I keep three kinds of tea in glass jars. Black tea, green tea, and a fruit tea. Three is enough. More than that just makes the choice hard.
Put a small bowl of lemon slices next to the tea jars. Some people love lemon in their tea. Others skip it. Both are fine when the lemon sits right there.
Use big mugs for slow mornings. Small cups feel rushed. A big mug says sit down and stay a while. I have cream mugs that I use every single day.
Add a small plate for tea bags and used spoons. It keeps the counter tidy. I wash mine with the breakfast dishes and it never piles up.
If you like milk in your coffee, keep a small jug in the fridge nearby. Pour it fresh each morning. Cold milk in hot coffee tastes so much better than warm milk.
Keep a notebook or a book near the corner if you like quiet time. I read two pages with my coffee most mornings. It is a small habit that makes the day feel calm.
Build a Hot Cocoa Station for Cold Evenings
Cold evenings call for hot cocoa. A small cocoa station turns a plain night into a cozy one. You can set it up in ten minutes.
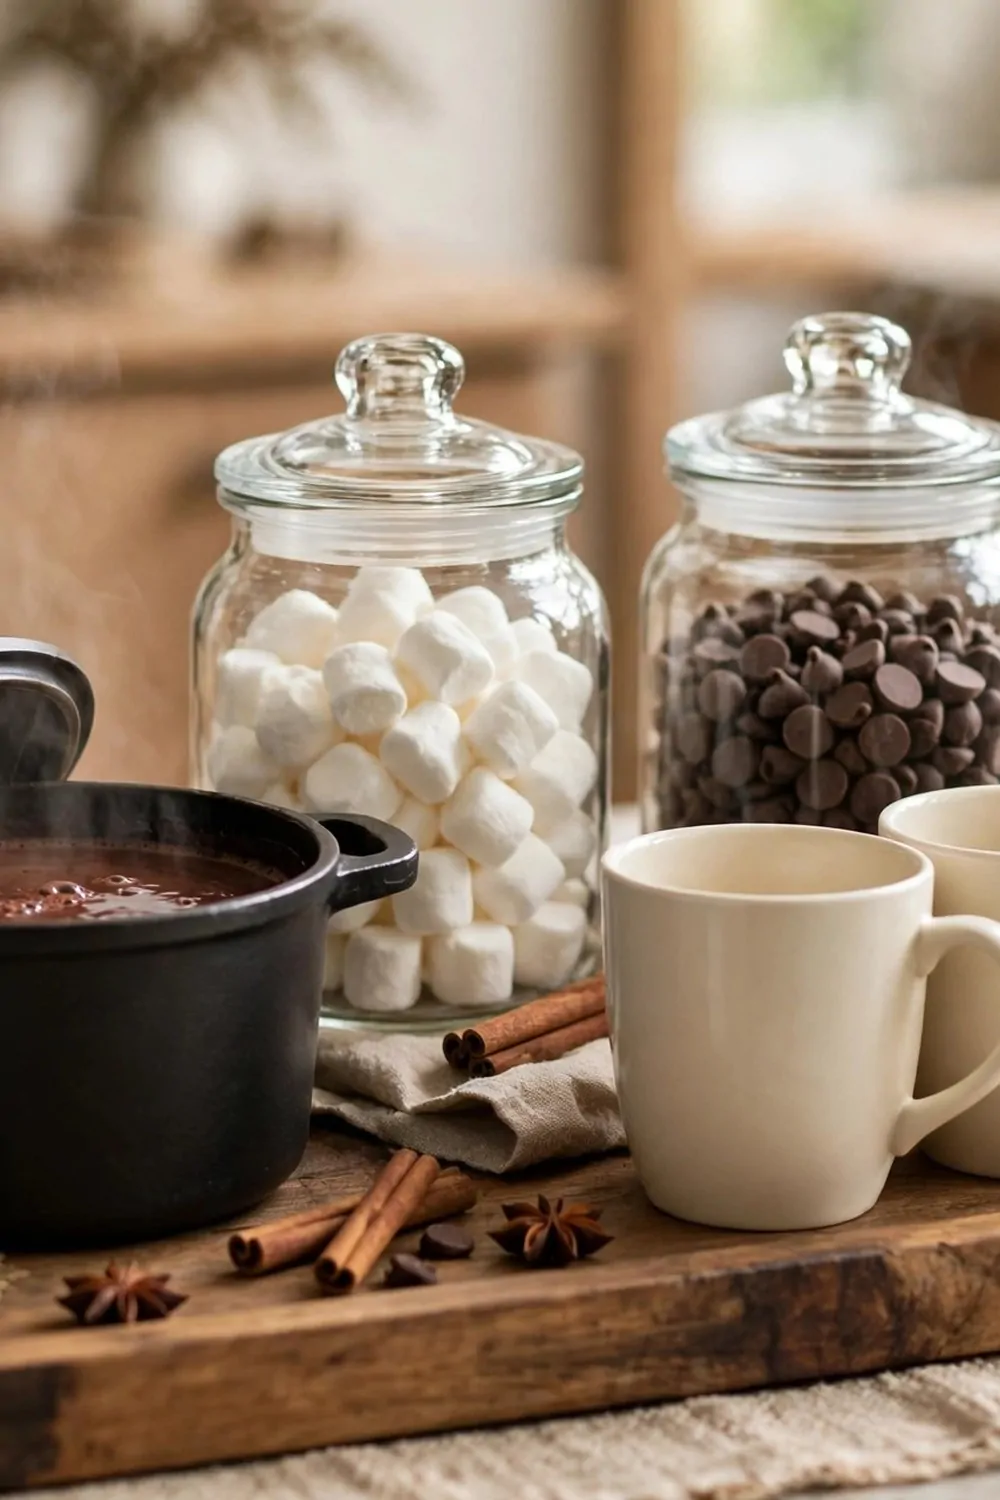
Start with a pot of warm cocoa on the stove or in a slow cooker. Keep it warm and low. Guests can pour a cup whenever they want one.
Put marshmallows in a clear glass jar. Kids love to see them. Adults love them too, even if they pretend they do not.
Add a jar of chocolate chips and a jar of crushed cookies. A spoonful on top makes a plain cup feel special. Let each person pick their own toppings.
I keep cinnamon in a tiny shaker next to the cocoa pot. A little shake on top smells like winter and tastes warm. It is my favorite part.
Use mugs with handles that feel good in your hands. Cold nights are for holding warm mugs with both hands. It is a small comfort that matters.
Set out a few napkins because cocoa can drip. No one minds a drip when the cocoa tastes good. A napkin nearby just keeps the couch safe.
Make a big batch if friends come over. One pot can serve a whole room. I stir it every now and then so it stays smooth and warm.
Make a Juice and Smoothie Bar for Bright Mornings
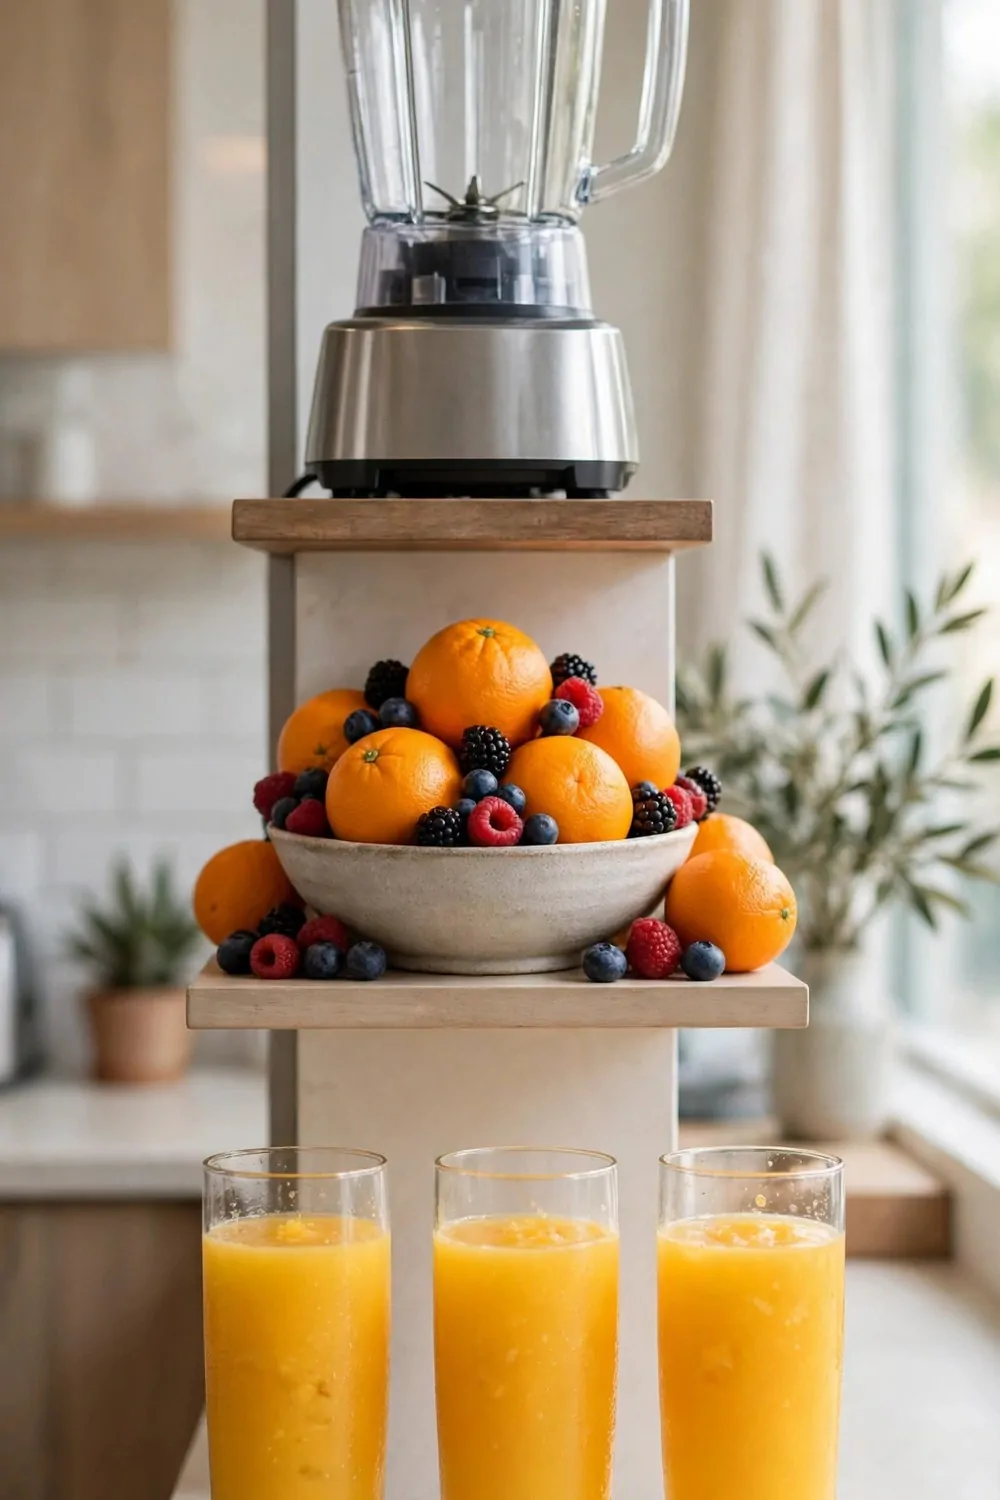
Bright mornings need bright drinks. A juice and smoothie bar is fresh, fast, and fun. It also helps kids eat more fruit without a fuss.
Put your blender in the middle of the counter. It is the star of this station. Everything else sits around it in small bowls.
I keep oranges, bananas, and berries in a basket next to the blender. When the fruit sits out in the open, people grab it. When it hides in the fridge, they forget it.
Add a small jug of milk and a jug of yogurt. Both make smoothies creamy. Let guests pick which one they want in their cup.
Tall glasses work best for juice and smoothies. Short cups spill too fast. I keep six tall glasses on a tray so they are ready to grab.
Cut the fruit the night before if your mornings feel rushed. Put it in a box in the fridge. In the morning you just blend and pour.
Let kids pick their own fruit mix. They drink more when they chose it themselves. My rule is simple. Pick two fruits and one creamy thing.
Clean the blender right after you use it. Warm water and one drop of soap works. A clean blender means you will use the station again tomorrow.
Pour Iced Tea and Cold Brew for Warm Days
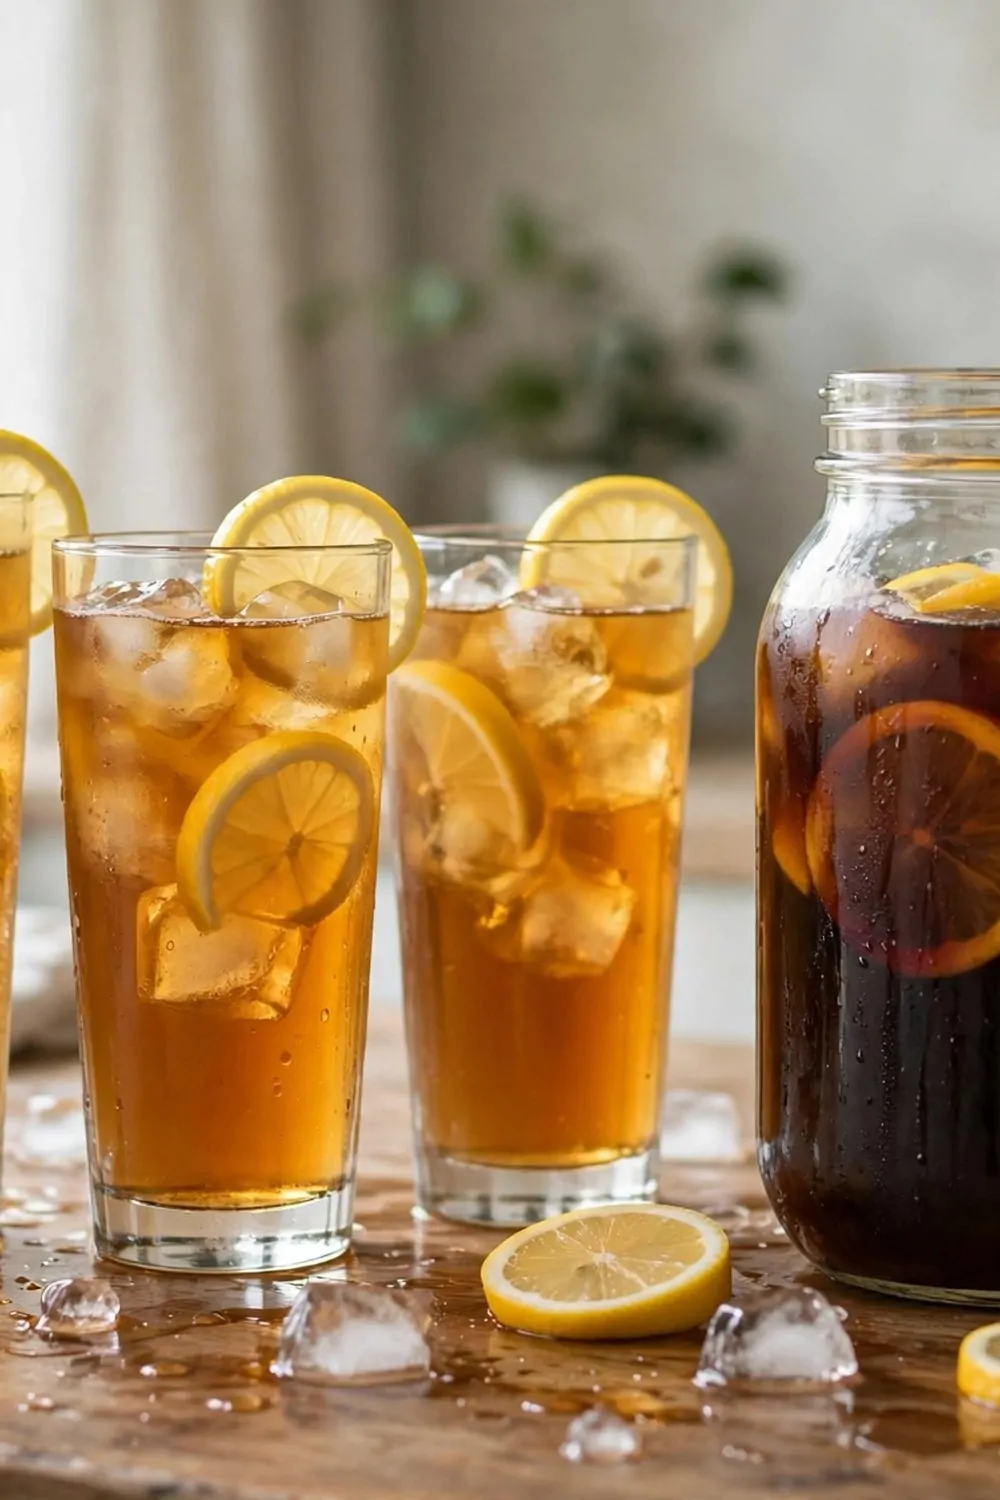
Warm days need cold drinks. Iced tea and cold brew are my two favorites. Both are easy to make ahead of time.
Brew a big jug of tea in the morning and let it cool. Put it in the fridge. By lunch it is cold and ready to pour.
Cold brew takes more time but it tastes smooth. I mix coffee and cold water in a jar at night. In the morning I strain it and pour it over ice.
Keep lemon slices in a small bowl next to the jugs. Lemon makes iced tea taste fresh. It also makes cold brew taste less heavy.
Use tall glasses with lots of ice. Ice melts fast on warm days. Fill the glass half full with ice before you pour.
Add a small jug of honey or sugar water for sweet tea lovers. Some people like it sweet. Some like it plain. Both can fix their own glass.
I set this station near a window in summer. The light makes the drinks look pretty. Guests always walk over to see what is cold.
Make two jugs if you have a party. One jug runs out fast. Two jugs mean no one waits for a refill.
Mix Fruity Mocktails for Party Nights
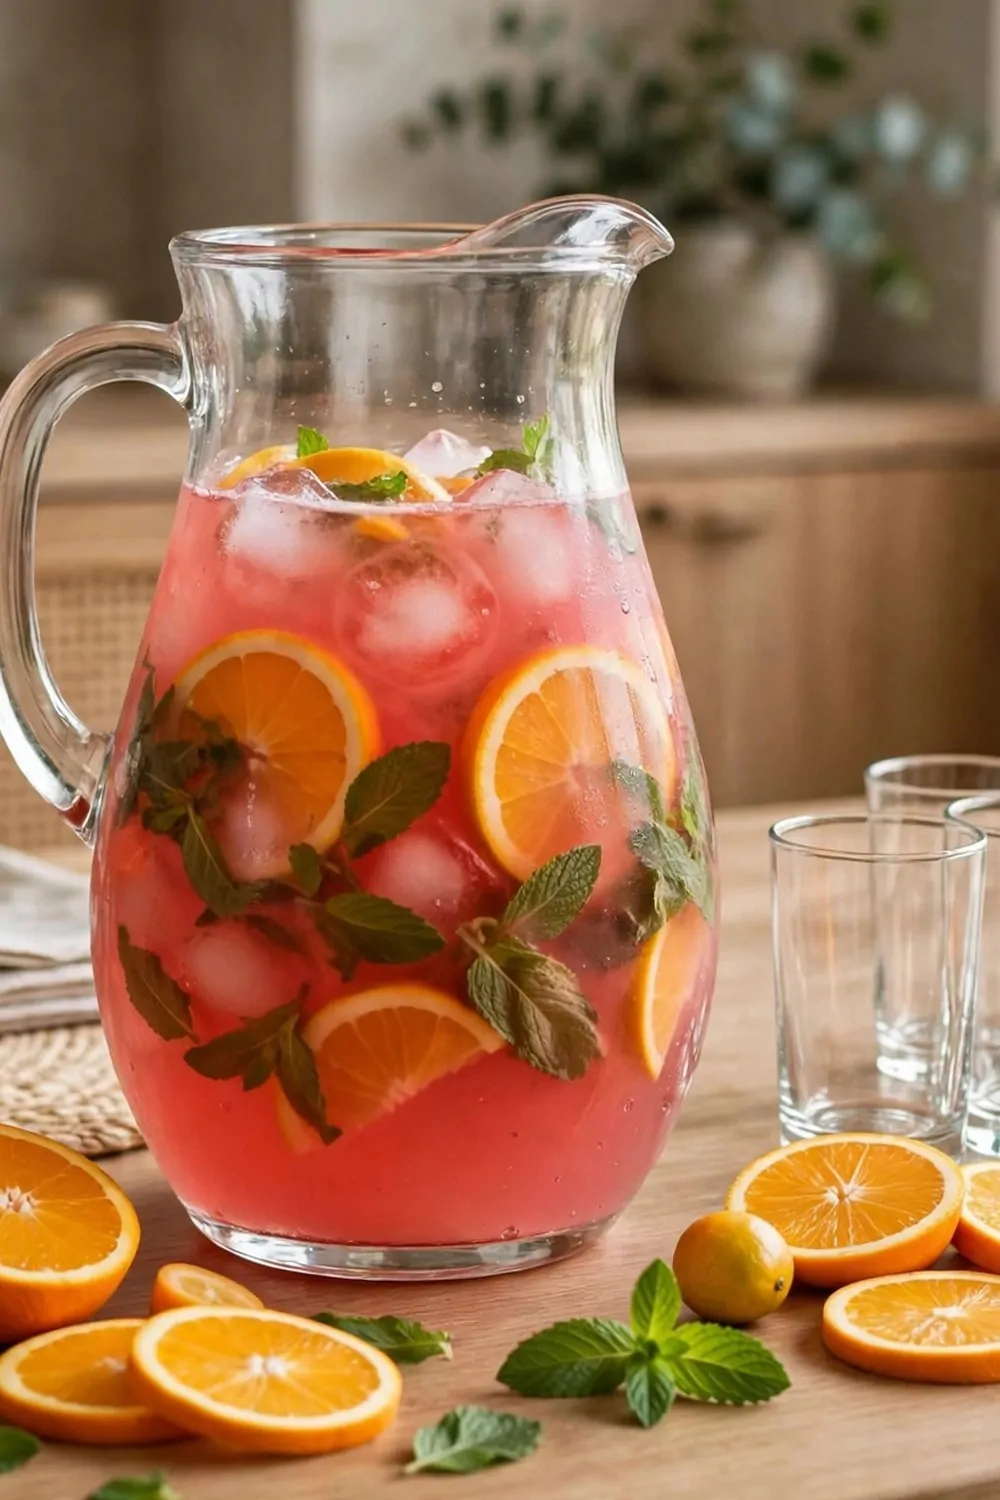
Party nights are more fun with a special drink. Mocktails look fancy and taste sweet. Everyone can drink them, kids and grown ups too.
Start with one big pitcher of pink fruit drink. It looks pretty on the table. Guests see it first and they smile.
Put sliced oranges and mint leaves in a small bowl next to the pitcher. People love to drop a slice in their own glass. It feels like a real party drink.
Line up small glasses in a neat row. Small glasses are best for parties. Guests can try more than one flavor without filling up too fast.
Keep the pitcher full and cold. I add ice right before the party starts. If I add it too early, the drink gets watery.
| Mocktail base | Mix it with | Finish with |
|---|---|---|
| Sparkling water | Orange juice | Orange slices and mint |
| Lemonade | Berry juice | Fresh berries on top |
| Iced tea | Peach juice | Peach slices and ice |
| Apple juice | Ginger ale | Apple slices and cinnamon |
Write the recipe on a small card next to the pitcher. Guests love to read it. It also helps them make a second glass on their own.
Use paper straws in bright colors. They make the drinks look fun. They also help kids drink without spills.
Keep a second pitcher in the fridge as a backup. When the first one runs low, you can swap it in fast. No one even notices the change.
Ask one guest to be the drink helper for the night. They pour, they chat, and they keep the station tidy. It makes the party feel easy for you.
Create One Signature Drink Your Guests Remember
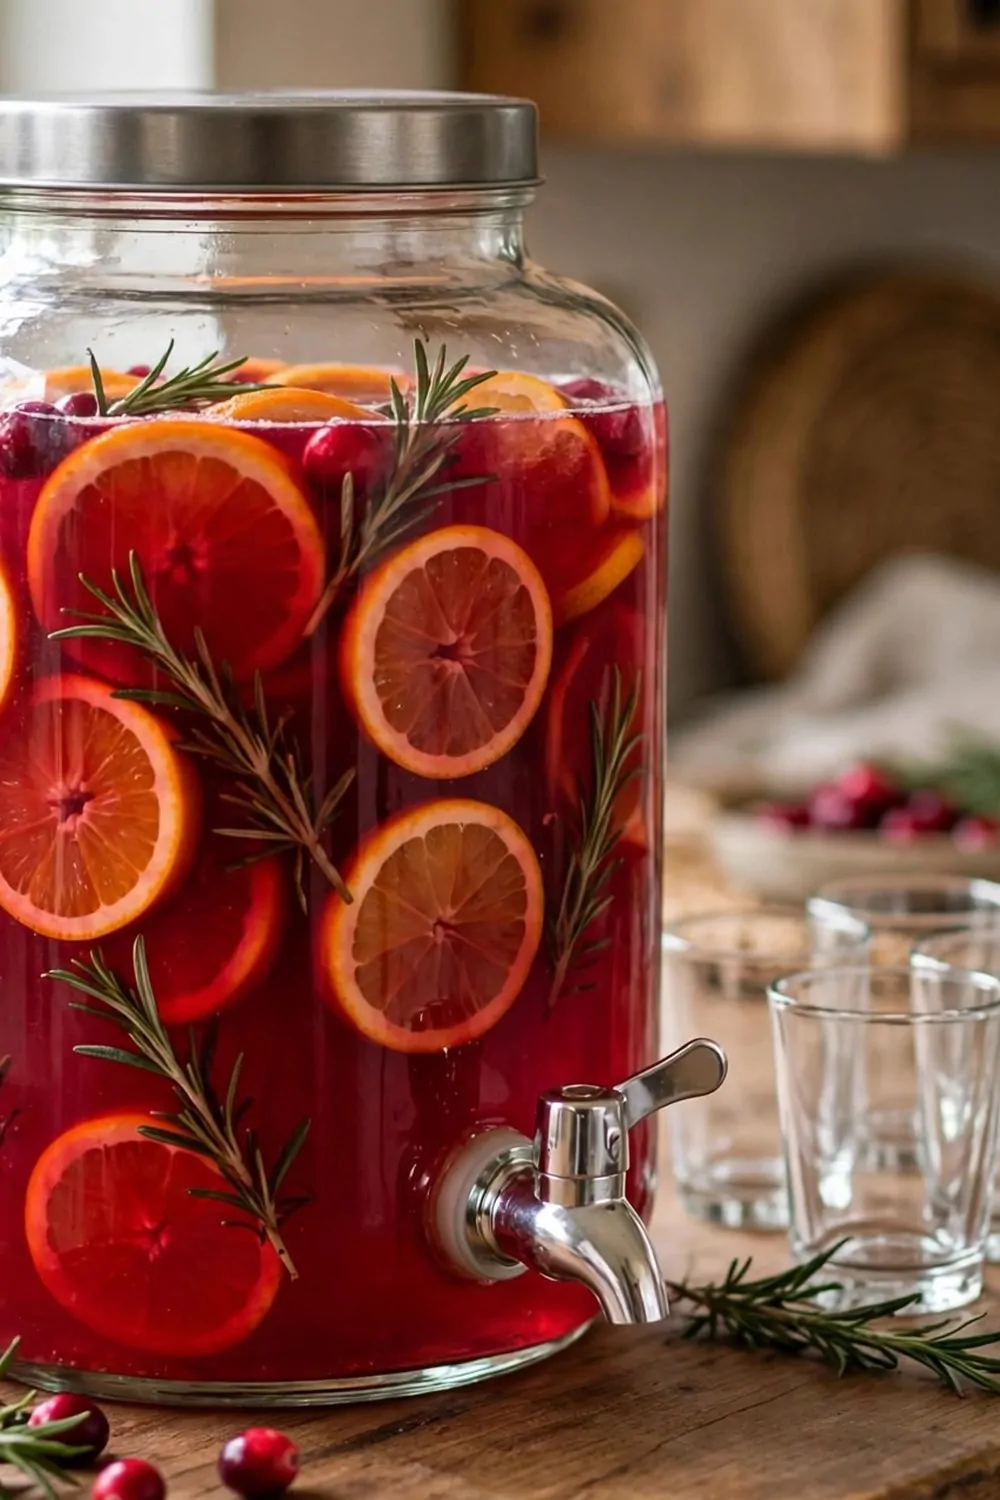
Every good host has one drink guests ask for again. Pick one drink and make it yours. It can be simple. Simple is often the best.
I chose lemon and mint water as my signature drink. It is fresh, light, and easy to make. Guests always ask how I made it.
Use a tall glass pitcher so people can see the lemons and mint inside. A clear pitcher makes the drink look pretty before anyone tastes it.
Slice the lemons thin and add lots of fresh mint leaves. Let it sit in the fridge for one hour. The flavors mix while you do other things.
Give your drink a fun name. I call mine Sunny Lemon Mint. A name makes it feel special. Guests remember a named drink.
Serve it in tall glasses with ice and one mint leaf on top. The leaf is a small touch. It makes each glass look like it came from a cafe.
Make a big batch for parties. One pitcher is never enough when guests love it. I make two and keep one cold in the fridge.
Write the recipe on a card and keep it near the pitcher. Some guests will want to make it at home. Sharing the recipe is part of the fun.
Serve Infused Water in Big Pretty Jars
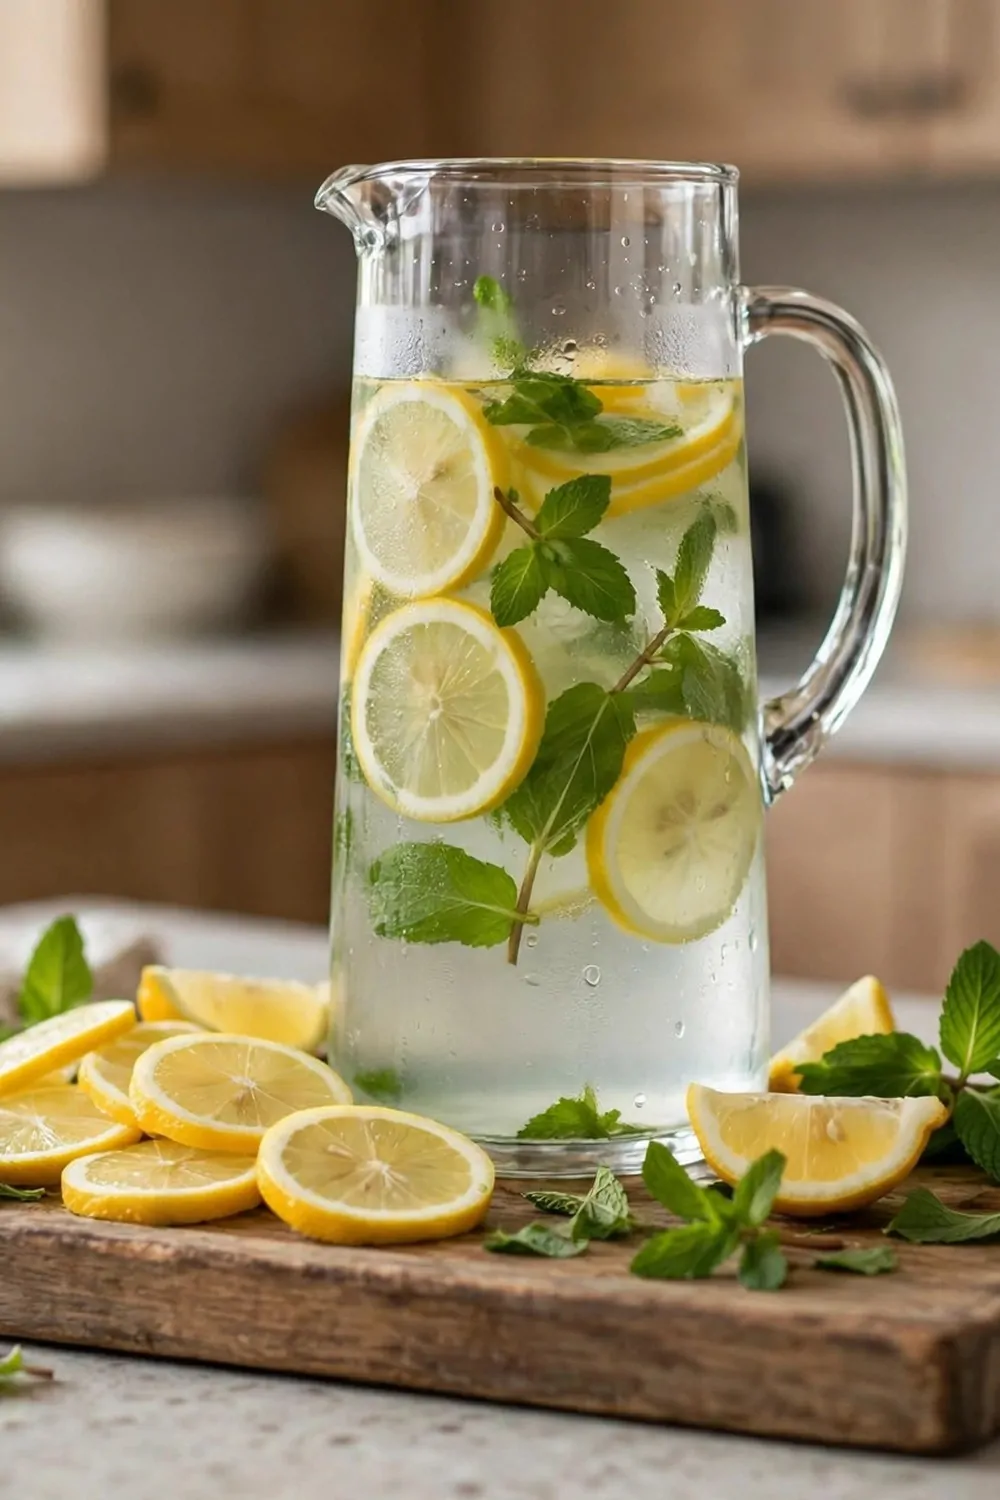
Infused water looks fancy but it is so easy. You just add fruit to water and wait. The water picks up the flavor on its own.
Use big glass jars with lids. Big jars hold enough water for a whole party. They also look lovely on a table.
I fill one jar with lemon and mint. I fill another jar with orange and blueberries. Two jars give guests a choice without extra work.
Let the jars sit in the fridge for two hours before the party. Cold infused water tastes much better than warm water. The fruit needs time to share its flavor.
| Fruit | Add this too | Taste |
|---|---|---|
| Lemon | Mint leaves | Fresh and clean |
| Orange | Blueberries | Sweet and bright |
| Cucumber | Basil leaves | Cool and soft |
| Strawberry | Lime slices | Sweet and sharp |
Put a small ladle or a spout on each jar. Guests can pour without lifting a heavy jar. It also keeps the table dry.
Add fresh fruit each morning if the jars sit out all day. Old fruit gets soft. Fresh fruit keeps the water tasting bright.
Keep a stack of glasses right next to the jars. When the glasses sit close, guests help themselves. You do not have to pour for everyone.
I use infused water at every family lunch now. It costs very little. It looks beautiful. And everyone drinks more water without thinking about it.
Set Out a Dessert Drink Bar After Dinner
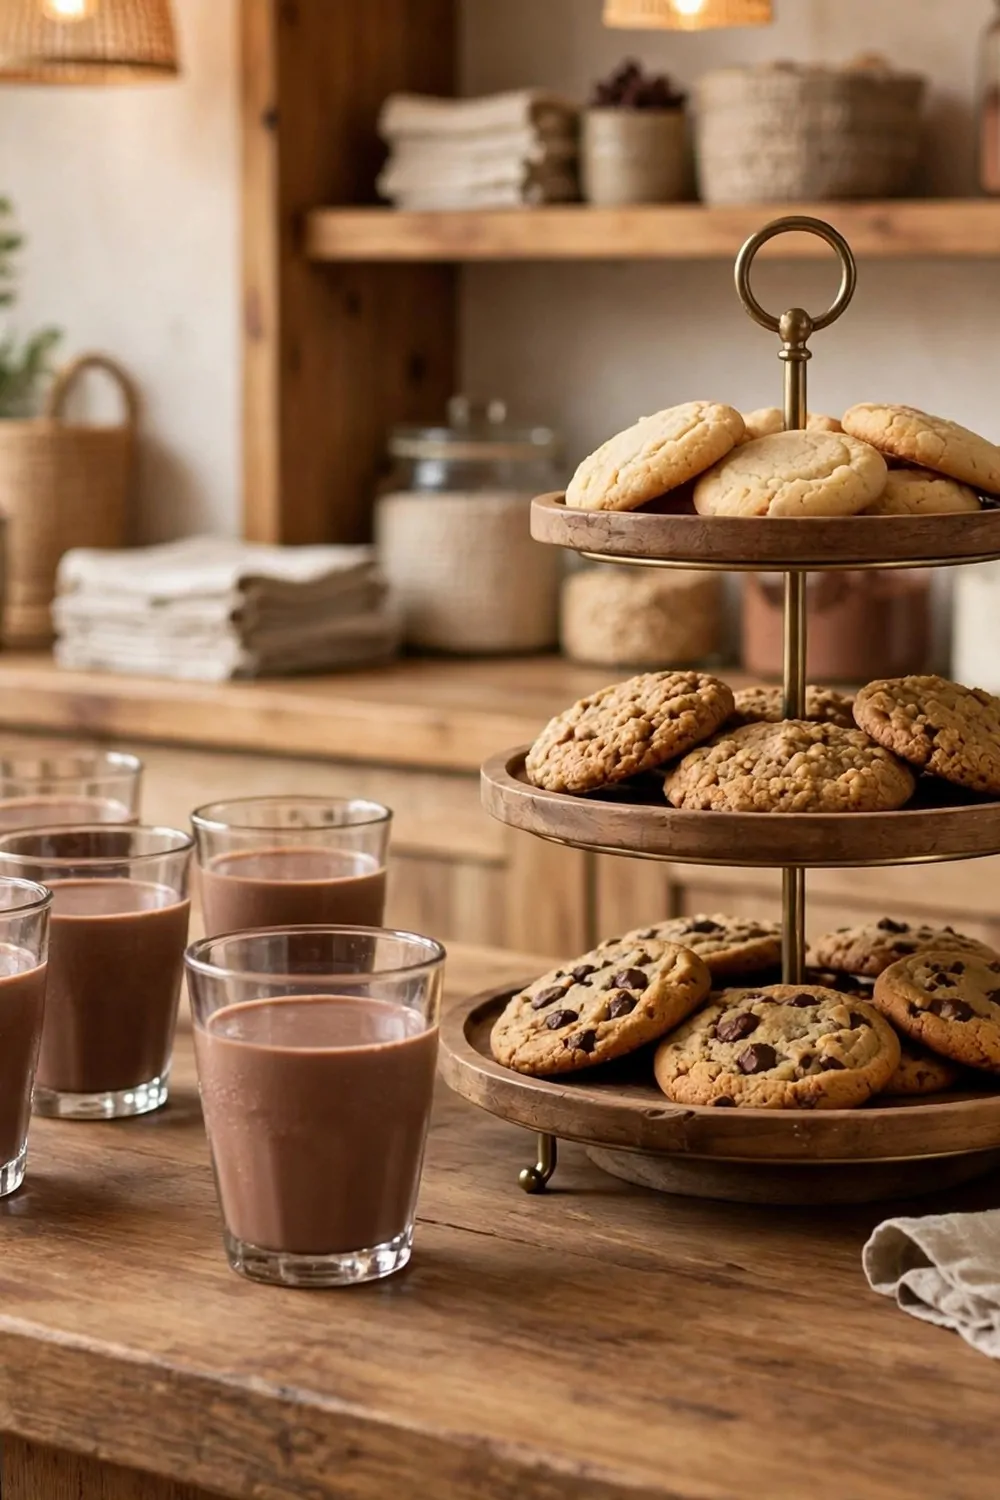
Dinner ends but the night does not have to end. A dessert drink bar keeps guests at the table a little longer. It feels sweet and slow.
Set out small glasses of chocolate milk. They are rich and fun. Adults love them just as much as kids do.
Add a tiered tray of cookies next to the drinks. Cookies and chocolate milk belong together. Guests will take one of each without thinking.
Keep a jug of cream on the counter for coffee lovers. A splash of cream turns plain coffee into a dessert drink. It is a tiny change with a big taste.
I also set out hot cocoa for guests who want something warm. One pot is enough. The smell alone makes the room feel cozy.
Use small cups for dessert drinks. Small cups feel like a treat. Big cups feel like a full meal after dinner.
Put a few spoons and napkins on a small tray. Dessert drinks can be a little messy. A napkin nearby keeps clothes safe.
Let guests mix their own dessert drink. Some add cream. Some add a cookie on the side. Choice makes the end of dinner feel like a party.
Roll a Cart to the Party
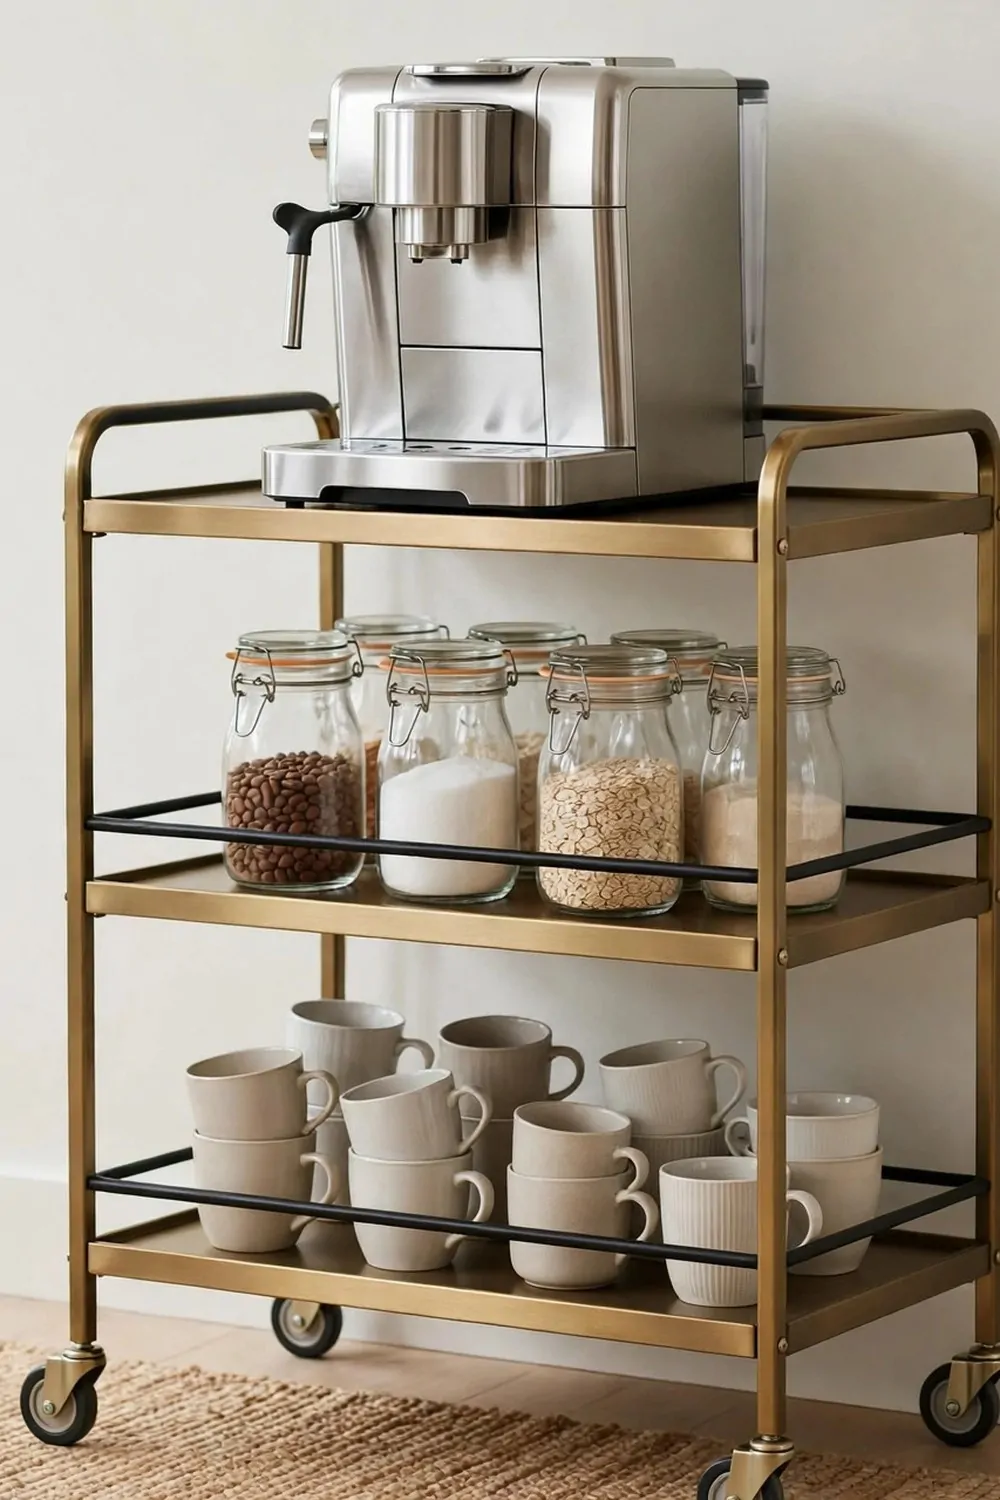
A rolling cart is the easiest beverage station you can own. You fill it in the kitchen. Then you roll it to where the people are.
Put your coffee machine on the top shelf. It is heavy so it should sit low and steady. The top shelf is the best spot for it.
Use the lower shelves for glass jars and mugs. Jars hold tea, sugar, and spoons. Mugs stack in a neat row so they do not fall when you roll.
Lock the wheels once the cart stops. A cart that rolls away mid pour is no fun. I check the lock every time before I pour.
Keep a small tray on the cart for spills. Coffee drips happen. A tray catches them and keeps the floor clean.
Roll the cart to the living room for movie nights. Roll it to the garden for warm days. One cart can serve every room in your house.
Add a small vase of green leaves on the top corner. It makes the cart look like part of the party, not just a tool. I use leaves from my garden.
When the party ends, roll the cart back to the kitchen. Wash the mugs and refill the jars. It is ready for the next party in minutes.
Turn a Dining Room Sideboard Into a Drink Station
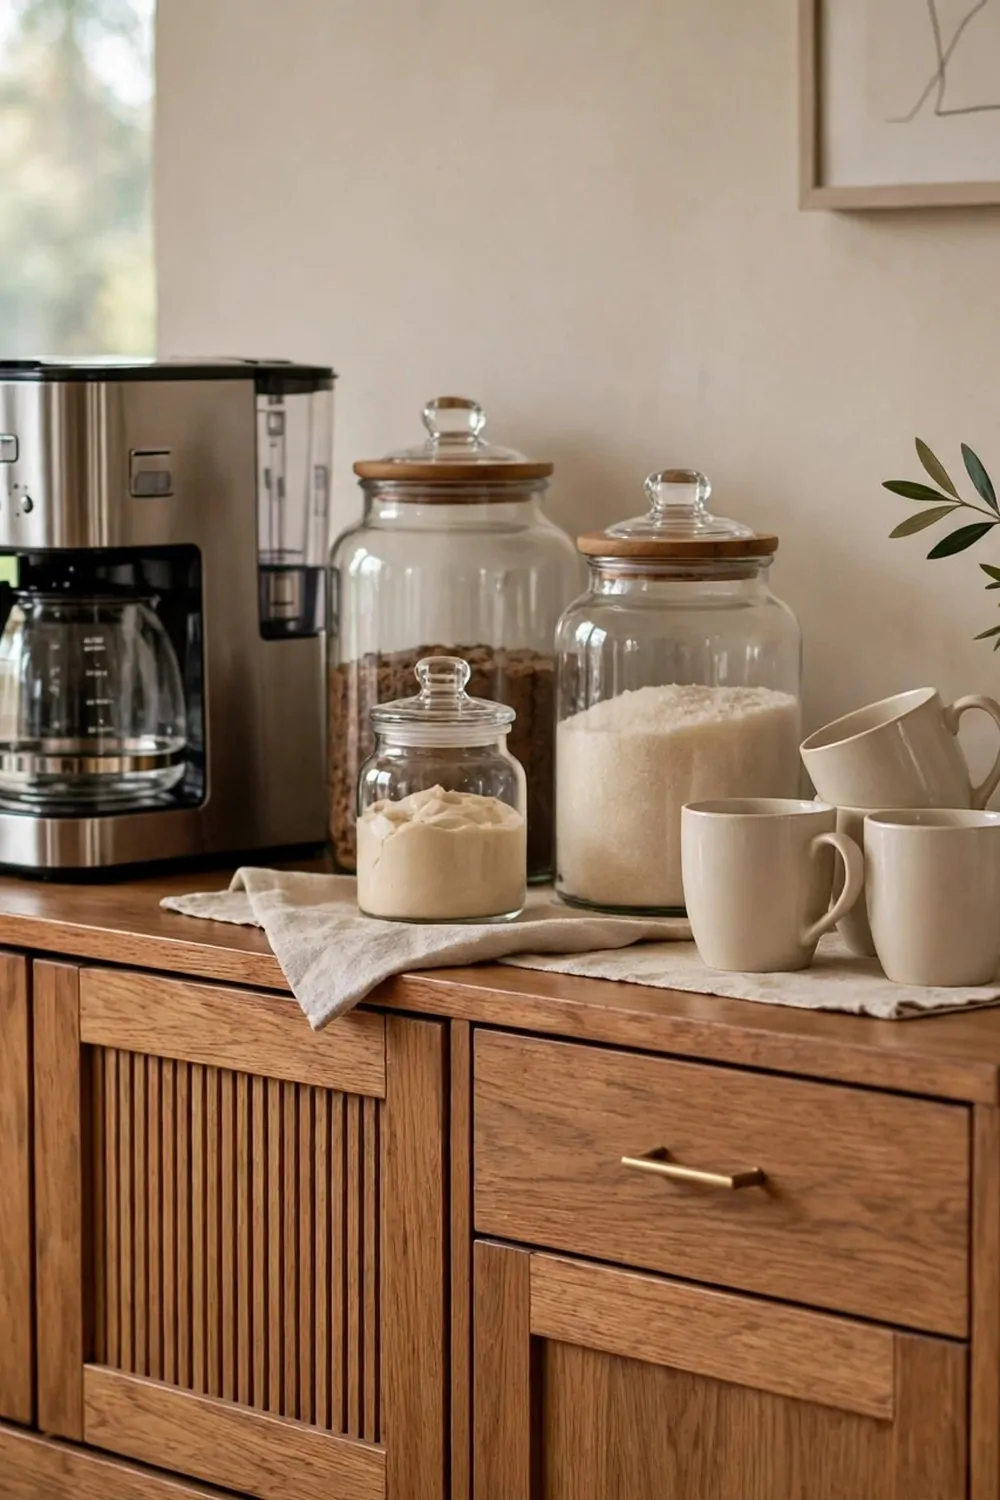
A dining room sideboard is perfect for drinks. It already sits where people eat. Turn the top into a station and dinner gets easier.
Put a coffee maker on one end of the sideboard. Put glass jars in the middle. Put cream mugs on the other end. Each thing has its own spot.
Keep the sideboard top clear of extra stuff. A clear top looks calm. A crowded top makes guests feel shy about touching anything.
I keep a small vase of green leaves on the sideboard. It adds color without taking much space. Guests always notice it and smile.
Use the drawers below for spoons, napkins, and tea bags. Everything hides out of sight but stays close. You can open a drawer and find it in seconds.
Set out drinks before guests sit down. When they arrive, the station is ready. No one has to wait while you run to the kitchen.
After dinner, the sideboard turns into a dessert drink spot. Swap the coffee pot for a cocoa pot. Add cookies and the night goes on.
Clean the sideboard top after each meal. A quick wipe keeps it looking nice. It takes one minute and it is worth it.
Use a Kitchen Island as Your Beverage Hub
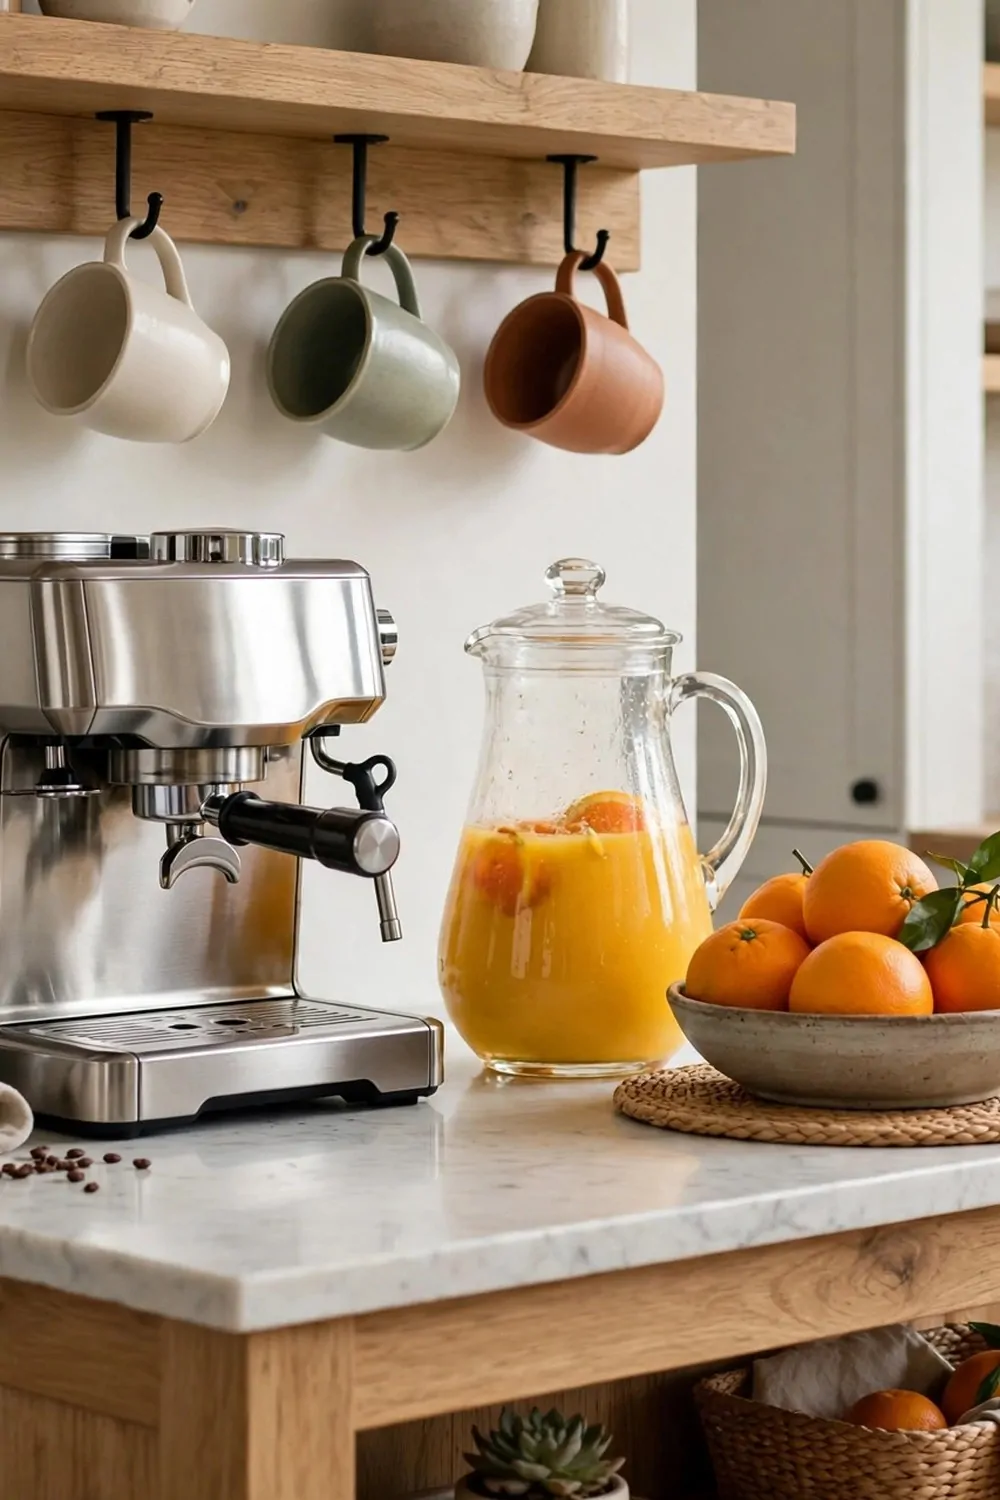
A kitchen island is the heart of many homes. It is also a great beverage hub. People gather around it without being asked.
Put a coffee machine on one end of the island. Put a glass pitcher of juice on the other end. Hot drinks and cold drinks stay apart.
Hang mugs on hooks under a shelf above the island. Hooks save counter space. They also make the mugs easy to see and grab.
Keep a bowl of oranges in the middle of the island. It looks bright and fresh. Guests can grab one for juice or just for a snack.
I keep a small tray with sugar, spoons, and napkins on the island. One tray holds all the little things. No one has to search the drawers.
Use the island for parties too. Guests stand around it with a drink in hand. It feels natural and easy. The island does the hosting for you.
Wipe the island top before guests arrive. A clean top invites people to set their cups down. A sticky top makes them hold their cups tight.
At the end of the day, clear the island and start fresh. A clean island in the morning makes the first coffee taste even better.
Hide the Station in a Butler’s Pantry
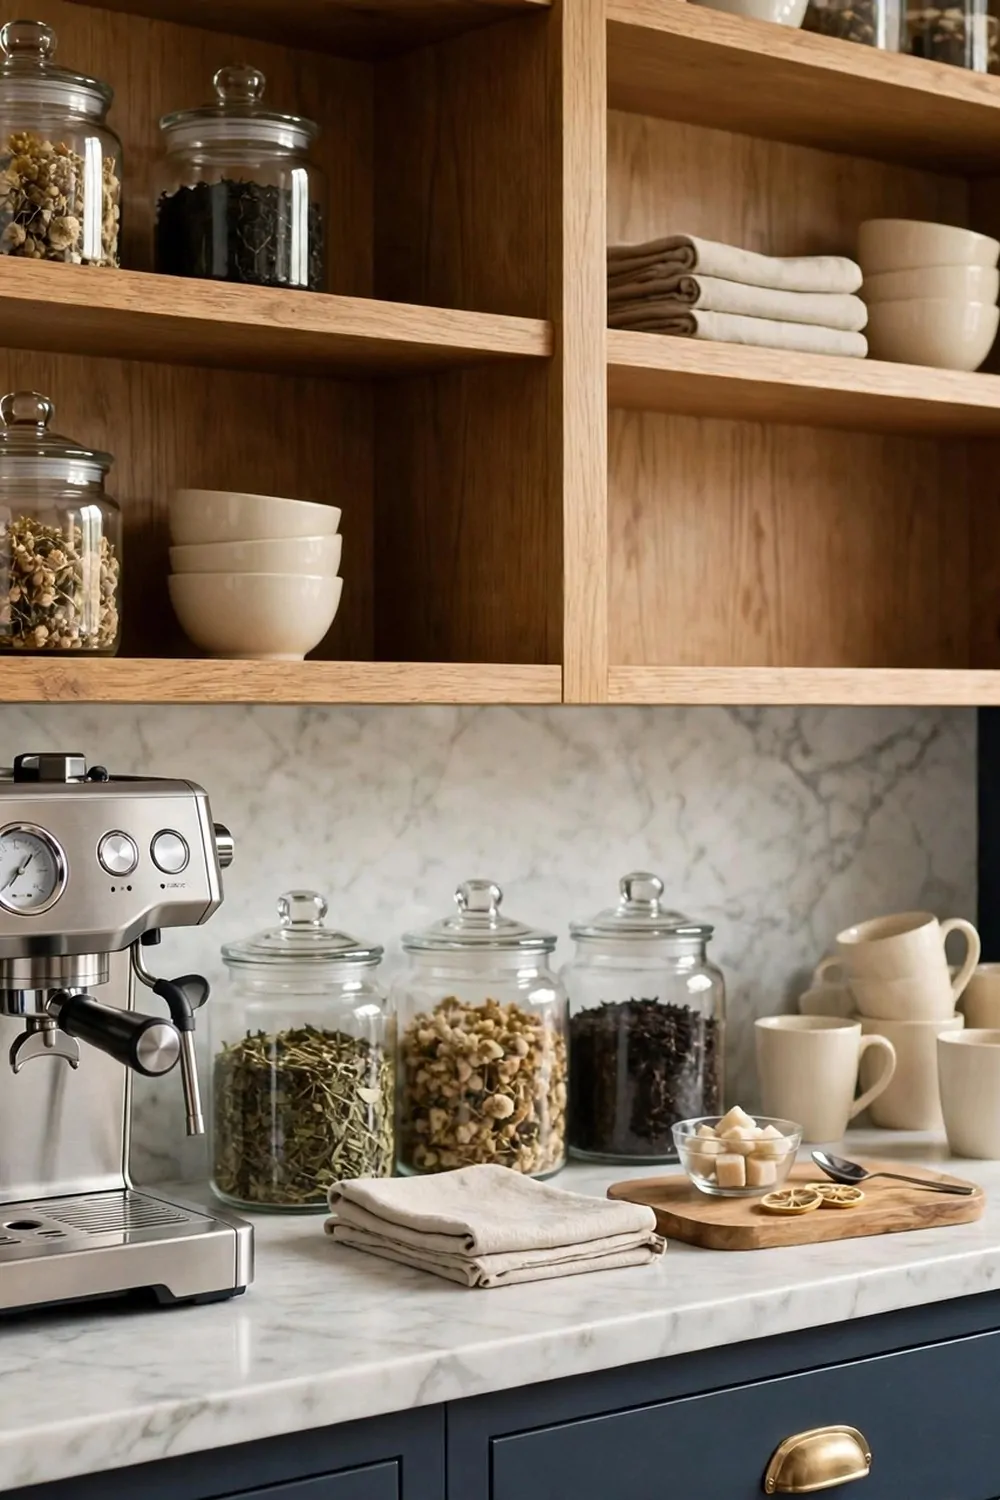
A butler’s pantry is a small room near the kitchen. It is a great place to hide a beverage station. The mess stays out of sight.
Put a coffee machine on the marble counter. Add glass jars of tea next to it. Cream mugs sit on open shelves above. Everything is close but hidden.
Use the pantry for party prep too. You can mix drinks in there without guests watching. Then you carry the finished drinks out to the table.
I keep extra cups and pitchers on the pantry shelves. When a party runs low, I grab more in seconds. No one waits for a refill.
Keep the pantry counter clear between parties. A clear counter is ready for the next event. A messy counter slows you down.
Add a small sink in the pantry if you have one. Washing cups right there saves trips to the kitchen. It also keeps the main kitchen clean.
Label the jars so helpers can find things fast. A friend who helps at a party should not have to ask where the tea is. A label answers the question.
Close the pantry door when guests arrive if you want a tidy look. Open it when you need a refill. The station works either way.
Take the Drinks Outside to the Patio
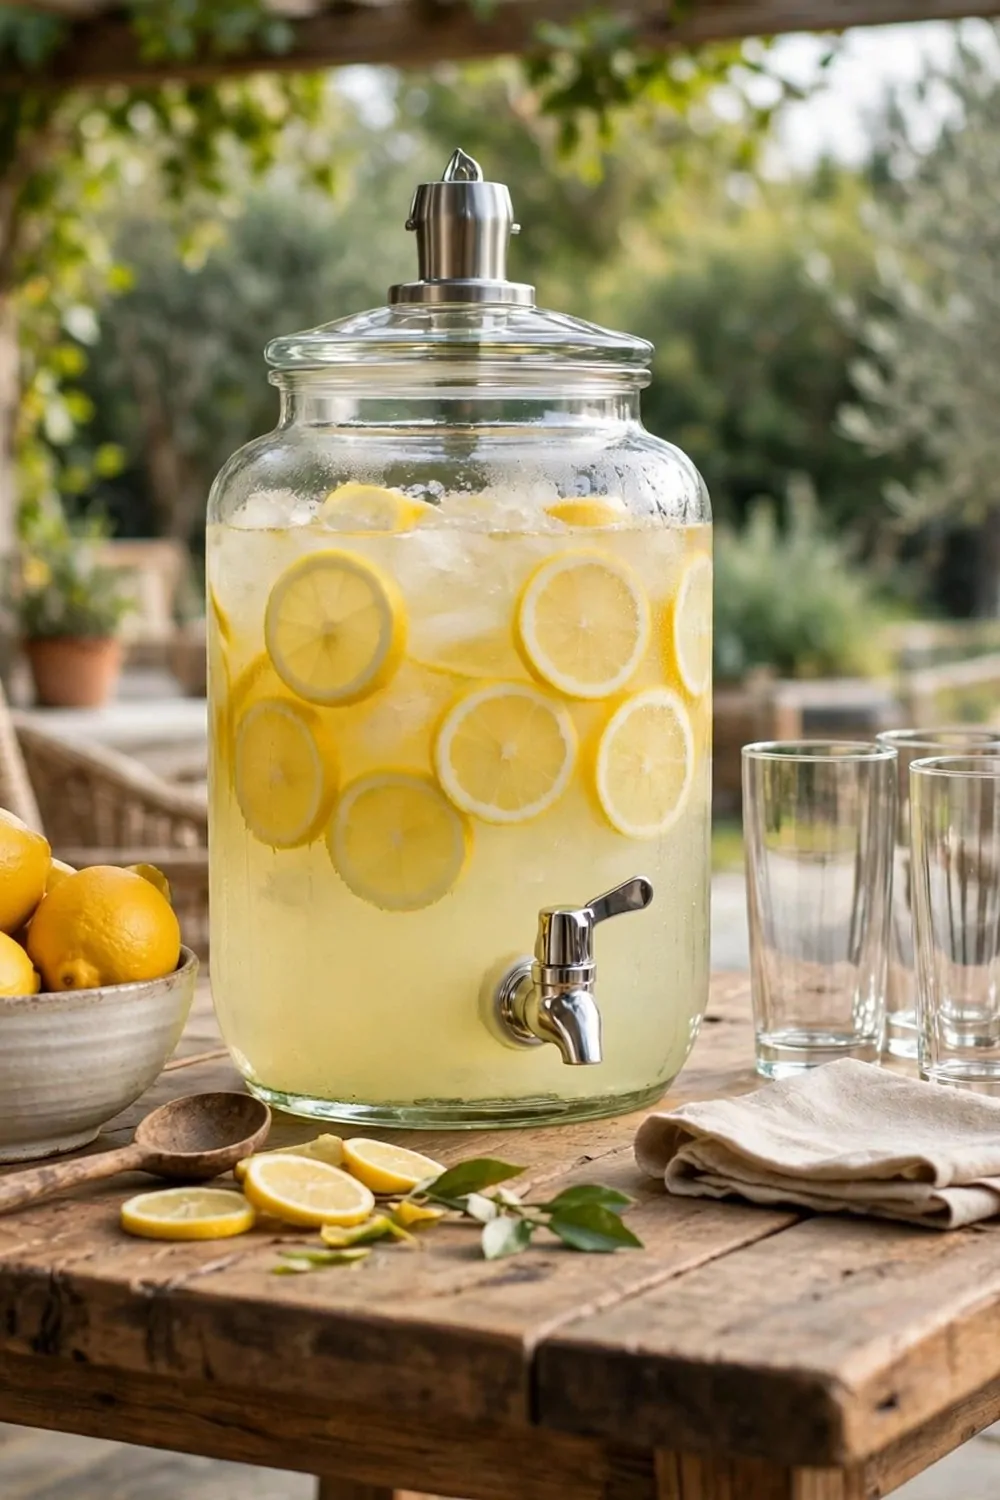
Warm days are better outside. Take the drinks to the patio and let the party move outdoors. Fresh air makes every drink taste better.
Set a wooden table near the chairs. Put a large glass drink dispenser of lemonade on it. A dispenser lets guests pour without lifting a heavy jug.
Add tall glasses in a neat row next to the dispenser. Tall glasses hold lots of ice. They also look pretty in the sun.
Keep a bowl of lemons on the table. Lemons tell guests what is inside the dispenser. They also look bright and fresh on wood.
I add a small bucket of ice under the table. Ice melts fast outside. A bucket nearby means you can refill glasses all afternoon.
Use cups that will not break if they fall. Outdoor cups get dropped. Plastic or thick glass works best for patio parties.
Keep a cloth nearby to wipe spills. Outdoor tables get sticky fast. A quick wipe keeps the table nice for the next round.
When the sun goes down, bring the dispenser inside. Wash it and fill it again for tomorrow. Outdoor drinks are easy when you keep it simple.
Stock a Kids Juice Station They Can Reach
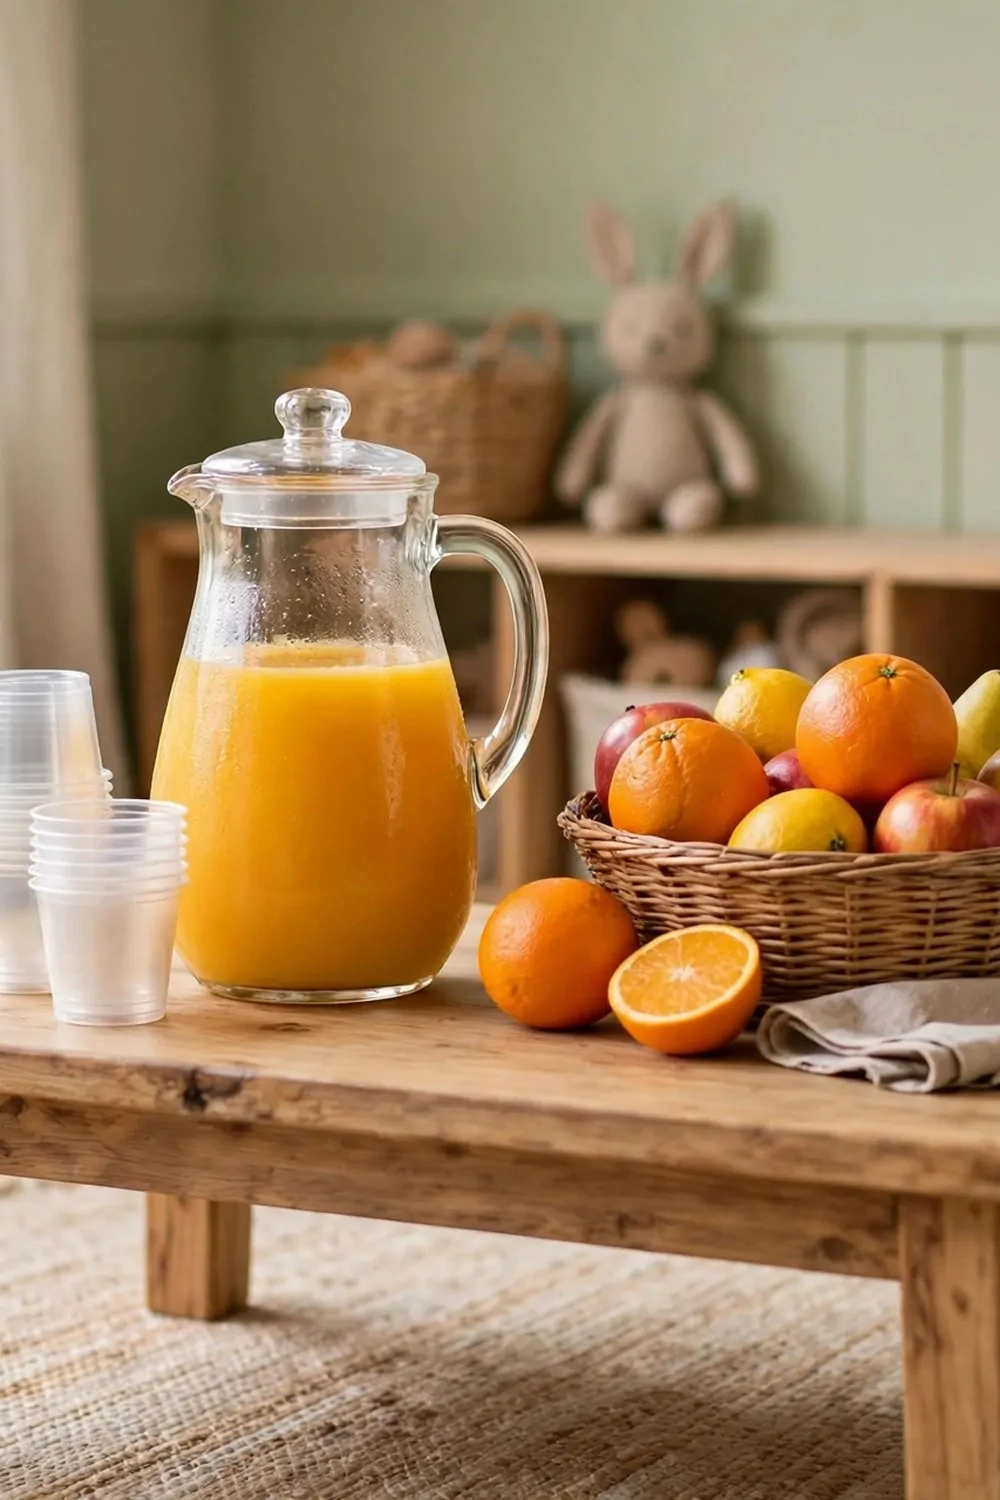
Kids love a drink station made just for them. Put it low so they can reach it on their own. They feel proud when they pour their own juice.
Use a low wooden table in the kitchen or playroom. Put a pitcher of orange juice on it. Add small plastic cups next to the pitcher.
Keep a basket of fruit on the table too. Kids can pick a banana or an orange with their juice. It makes snack time feel like a choice.
Use plastic cups, not glass. Plastic cups can fall without breaking. That matters when little hands do the pouring.
Put a small towel on the table for spills. Kids spill. It is normal. A towel nearby means no one gets upset about a small mess.
I keep only two juice choices out at a time. Too many choices make kids slow to pick. Two choices feel easy and fun.
Teach kids to pour with two hands. It takes one minute to show them. After that they pour on their own and they love it.
Refill the pitcher each morning. Fresh juice tastes better than juice that sat out all day. A fresh pitcher starts the day right.
Keep a Mini Fridge Just for Cold Drinks
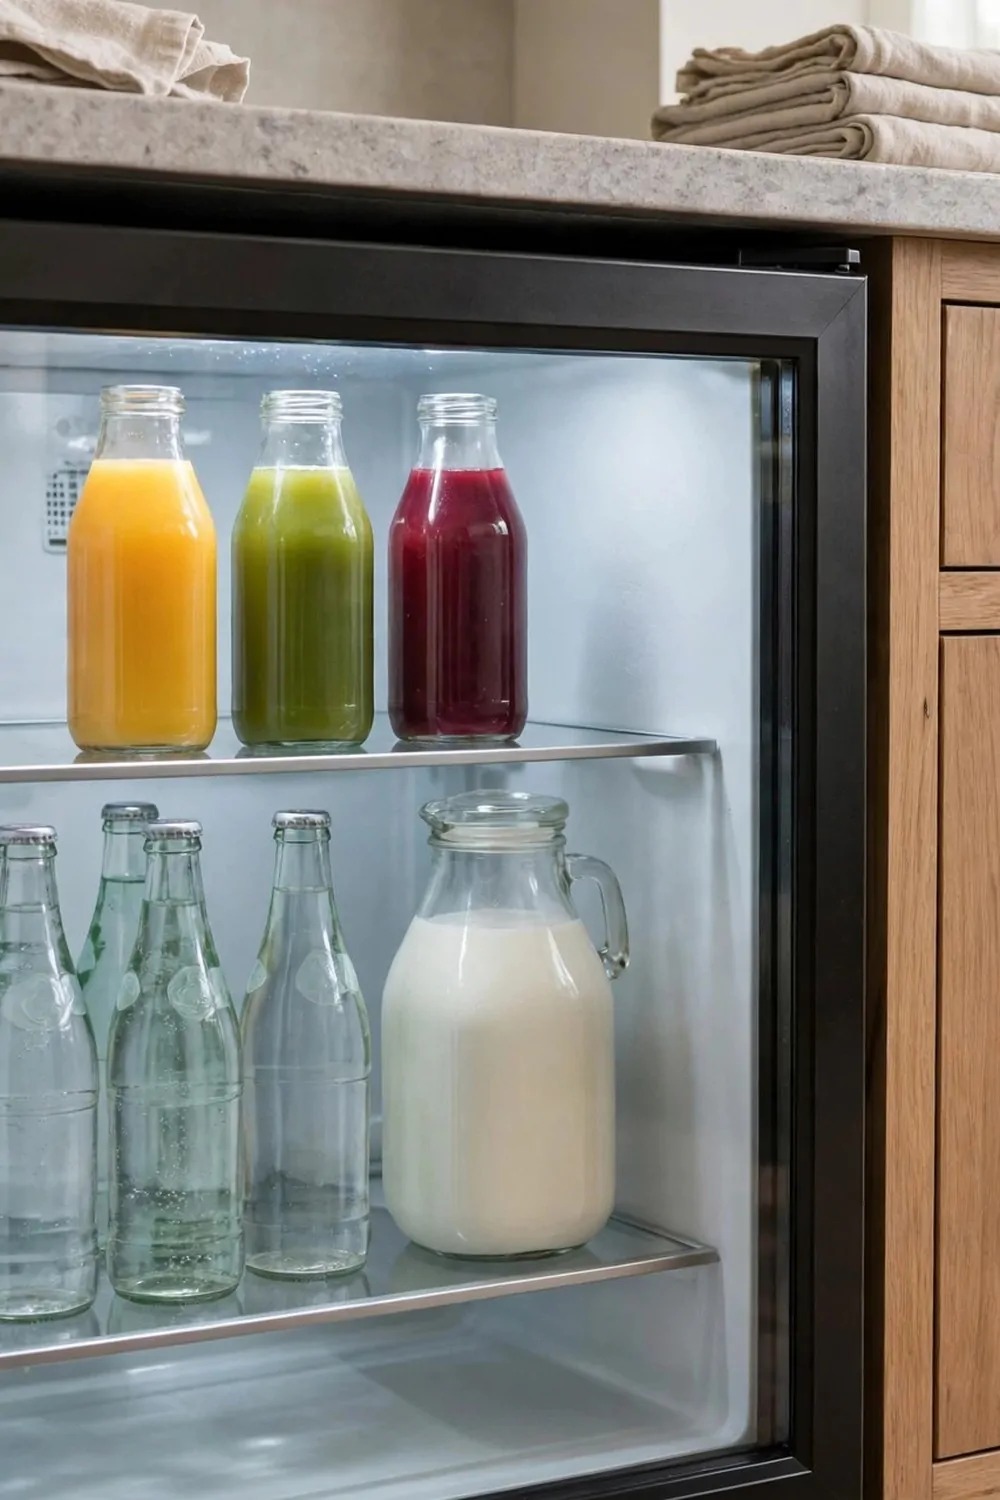
A mini fridge just for drinks changes everything. No more digging behind food to find a cold bottle. The drinks have their own home.
Put the mini fridge under the counter near your station. It should sit close to the glasses. Short walks mean faster refills.
Stock it with bottles of juice and sparkling water. Add a jug of milk for coffee and cocoa. Three kinds are enough for most days.
Use a glass front fridge if you can. You can see what is inside without opening the door. Kids love to look and pick their drink.
Keep the fridge tidy with small boxes or bins. One bin for juice. One bin for water. Tidy bins mean you can find a bottle in seconds.
Check the stock each Sunday. Make a short list of what ran low. Buy it with your weekly shop and the fridge stays full.
I keep a few extra bottles in the main fridge as backup. When the mini fridge runs low at a party, I swap them in fast.
Clean the mini fridge once a month. Wipe the shelves and toss old bottles. A clean fridge keeps drinks tasting fresh.
Add an Ice Maker or a Simple Ice Bucket
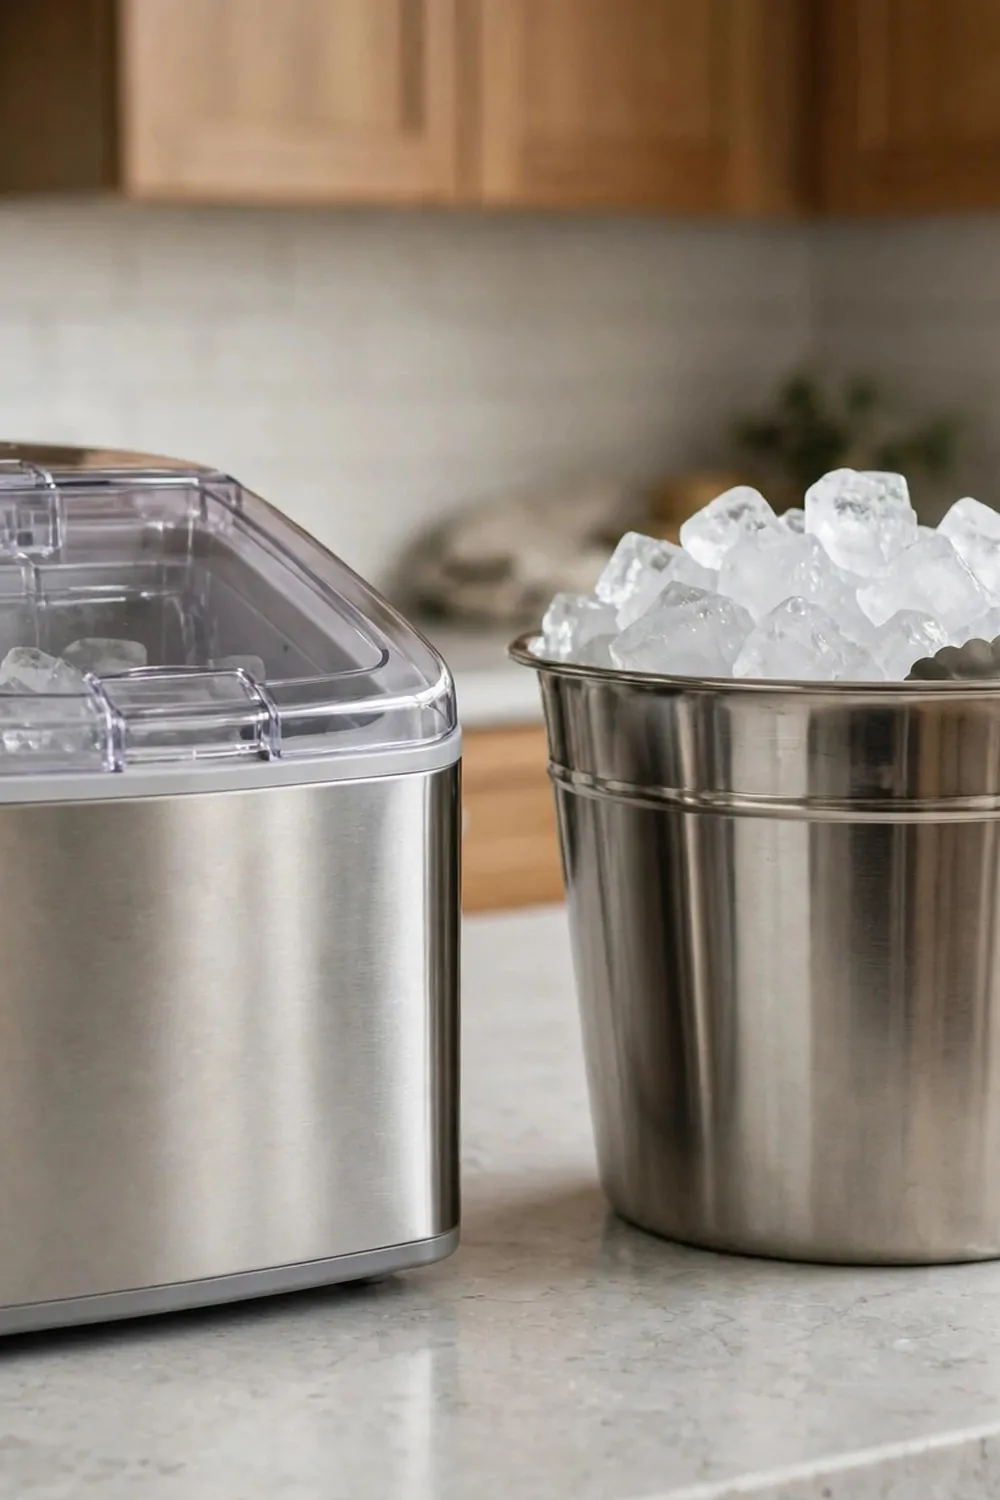
Cold drinks need ice. Without ice, a cold drink turns warm fast. An ice maker or a simple bucket solves that problem.
A countertop ice maker sits next to your station. It makes fresh ice all day. You just fill it with water and turn it on.
If you do not have an ice maker, use a metal ice bucket. Fill it with ice cubes before the party. Put a pair of tongs on top.
Keep the bucket on the counter near the glasses. Guests can add ice to their own drink. You do not have to serve every glass.
I freeze extra ice in bags the night before a party. One bag is never enough. Two bags mean the bucket stays full all night.
Use tongs, not hands, to serve ice. Tongs keep the ice clean. They also look tidy on top of the bucket.
Empty the bucket at the end of the night. Melted ice makes a puddle. A quick empty and wipe keeps the counter dry.
A small scoop works well too if you have one. Some guests like a scoop better than tongs. Both work fine, so use what you have.
Line Up Glassware So Guests Help Themselves
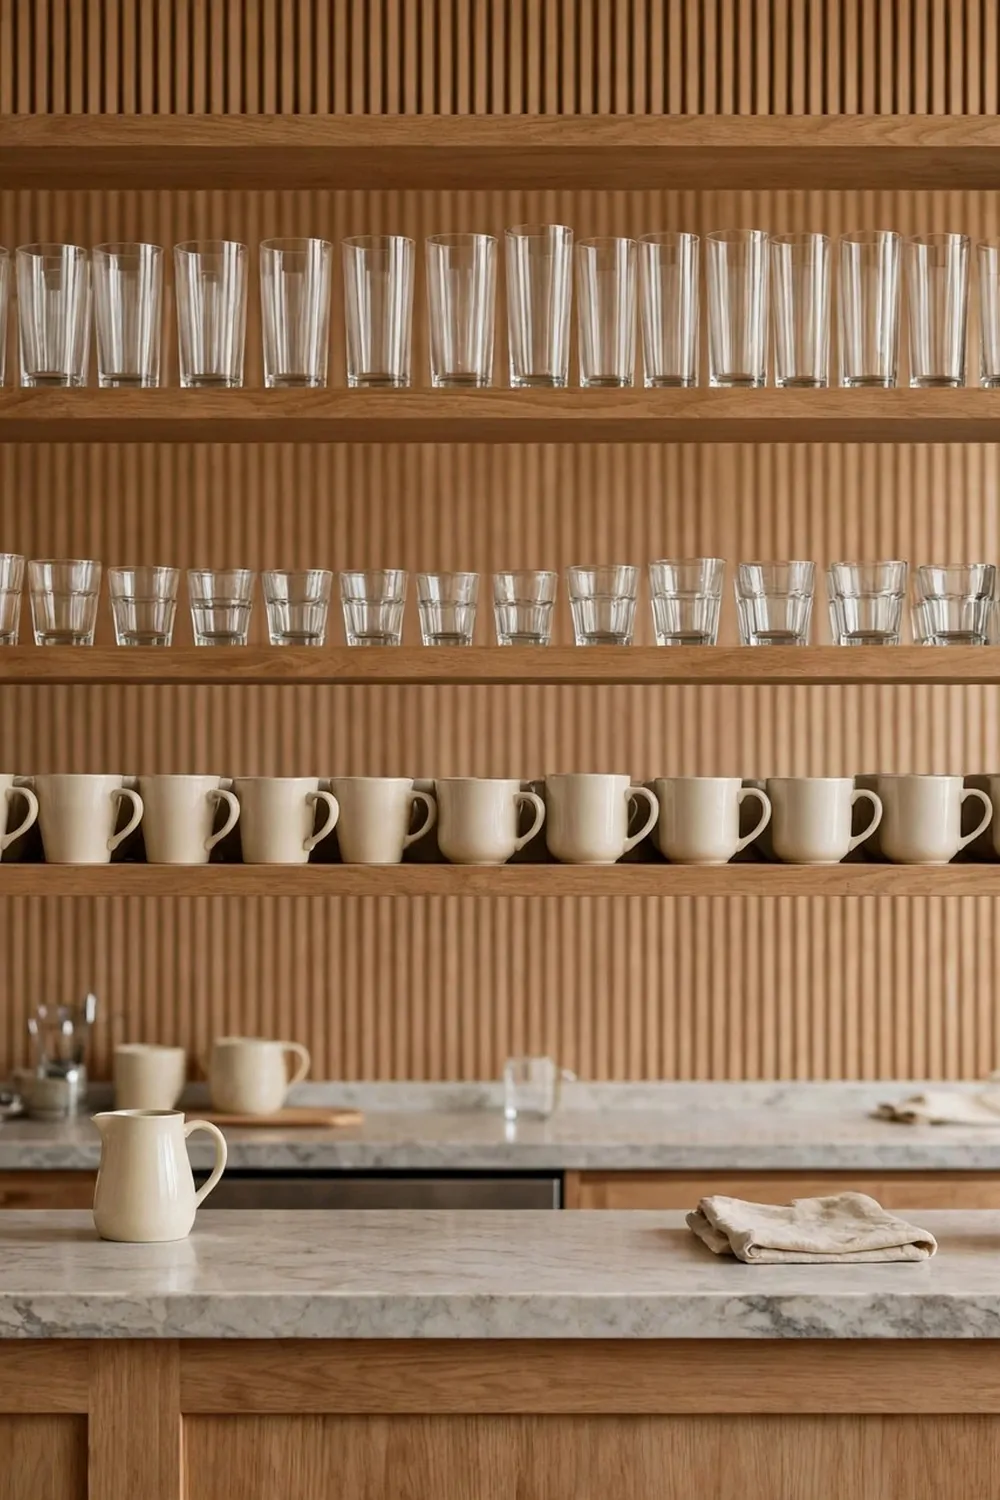
The best beverage station lets guests help themselves. When the glassware lines up neat, no one has to ask you for a cup.
Use open shelves above the counter for glasses. Tall glasses go in one row. Small juice glasses go in the next row. Cream mugs go last.
Keep the glasses clean and dry before a party. A spotty glass looks dull. A clean glass makes the drink look better.
Put the glasses at eye level if you can. Guests see them right away. They grab one without thinking twice.
I keep a small step stool nearby for short guests and kids. It helps them reach the shelf safely. It also keeps them from climbing on chairs.
Use an open drawer below the station for the small stuff. Mugs, paper straws, stirrers, and small cups fit in divided boxes. Everything has a spot.
Refill the shelves after each party. Count the glasses while you wash them. A full shelf means you are ready for the next guest.
The goal is simple. Guests walk up, pick a glass, and pour their own drink. You get to enjoy the party too.
Store Mugs, Cups and Straws in One Drawer
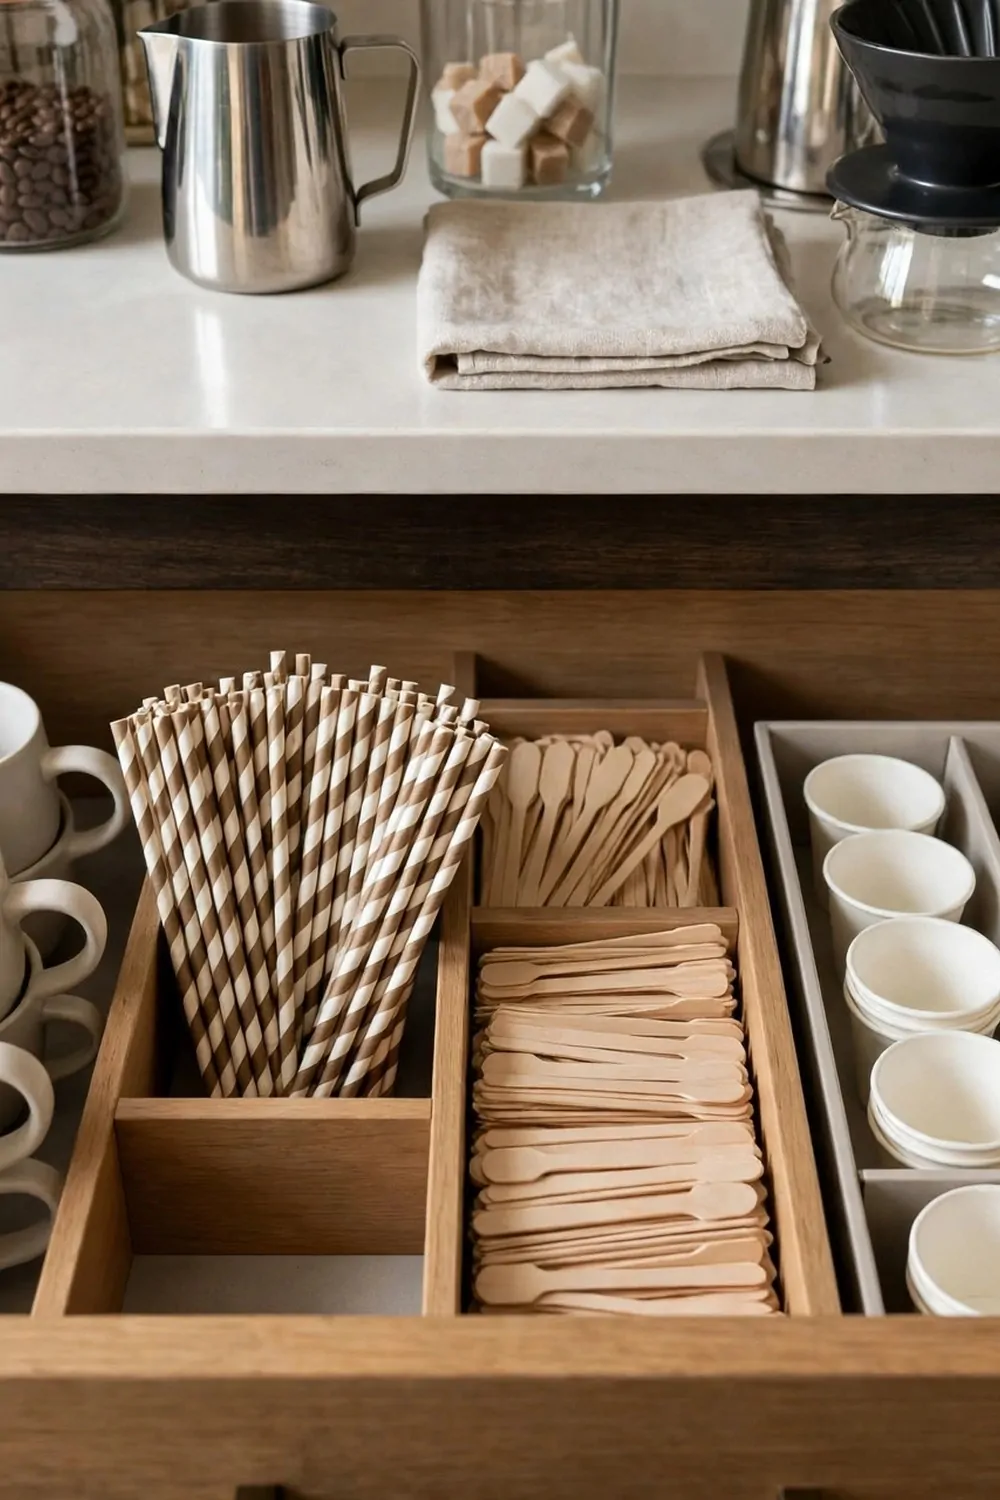
I keep all my mugs in one drawer now. It sounds small, but it changed my mornings a lot.
Before that, my cups lived in three spots. I would open one cabinet for a mug, then hunt for a straw in a junk drawer. It wasted time every single day.
Now I open one drawer and see it all. Mugs sit in a neat row, cups stack beside them, and straws rest in a small box at the front. I grab what I need in seconds.
I use a simple drawer divider to keep things from sliding around. You can buy one cheap, or you can use small boxes you already have at home. It does not need to look fancy to work well.
| Glass or cup | Best drink | When to use it |
|---|---|---|
| Tall glass | Iced tea and lemonade | Warm days and parties |
| Cream mug | Coffee and hot cocoa | Mornings and cold nights |
| Small juice glass | Orange and berry juice | Breakfast and brunch |
| Small tea cup | Herbal and black tea | Quiet afternoons |
Straws are the part most people forget. I keep paper straws and reusable straws in a slim box so they stay clean and dry. Kids love picking their own straw, and it makes a plain glass of juice feel fun.
I put the mugs I use most at the front of the drawer. The tall glasses go at the back because I reach for them less often. It sounds picky, but it saves me from digging around.
If your drawer is small, stack the cups and hang the mugs on hooks above the station. I did that in my old kitchen and it worked great. The key is one home for all of it, not three.
Guests love this setup too. They open the drawer, see everything, and help themselves. I do not have to stop what I am doing to hand them a cup.
Start with what you have. Empty one drawer, wipe it clean, and put your mugs in it today. You will feel the difference tomorrow morning.
Keep Sweeteners and Stirrers in Small Jars
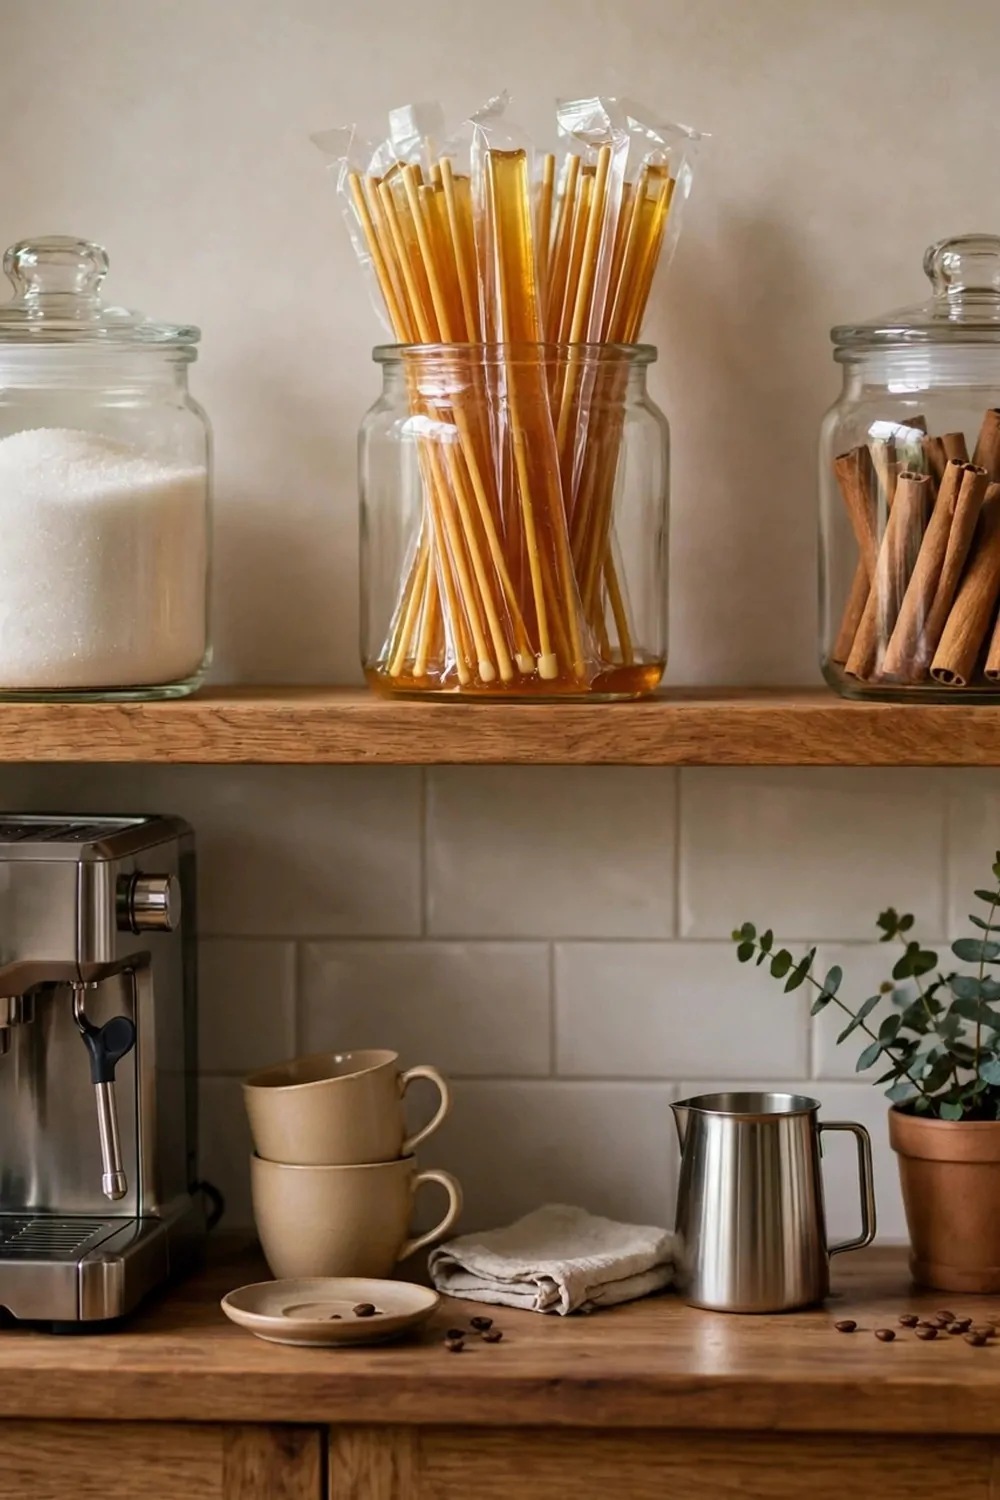
Sugar packets used to spill all over my counter. I would find torn paper bits everywhere, and it drove me a little mad.
Small jars fixed it. I pour sugar into one jar, honey sticks into another, and cinnamon sticks into a third. Everything stays neat, and I can see when a jar is running low.
I like glass jars because I can see what is inside. You do not need matching jars, and you do not need fancy labels yet. Just pick jars with lids that close tight so nothing spills.
Stirrers go in a tall jar beside the sweeteners. I keep wooden stir sticks and small spoons together. They stand up straight, so I grab one fast and stir my coffee in seconds.
Honey sticks are my favorite little touch. They look sweet on the shelf, and guests smile when they see them. I buy them in a pack, and they last for weeks.
Cinnamon sticks do double duty. I stir my hot cocoa with one, and the smell is so warm and cozy. I also drop one into a pot of hot tea when friends come over.
Keep the jars close to your coffee maker. I learned this the hard way after putting mine across the kitchen. Now everything sits within arm’s reach, and making coffee feels easy.
Wipe the jars once a week so they stay clean and clear. Sugar dust builds up fast, and sticky honey drips happen. A quick wipe keeps the whole station looking fresh.
You do not need a lot of sweeteners to start. Sugar, honey, and cinnamon are plenty. Add more later if you want, one jar at a time.
Use Trays to Keep Every Station Tidy
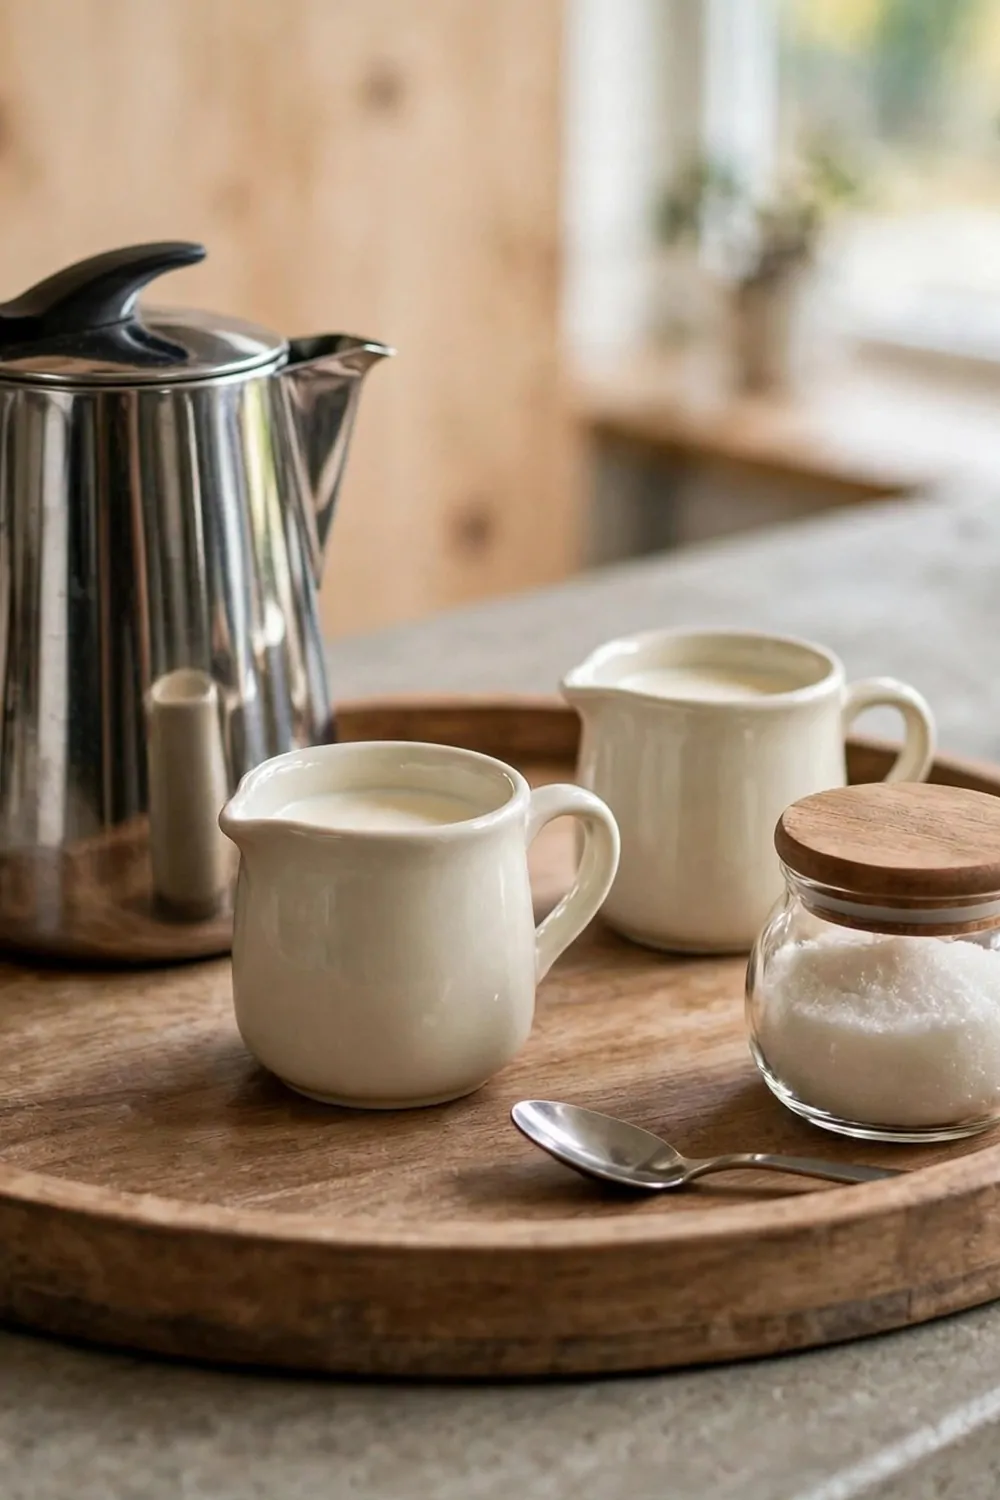
A tray is the easiest trick I know for a tidy station. It holds everything in one spot, and it catches the drips.
I use a round wooden tray for my coffee pot and mugs. When I pour, the little splashes land on the tray, not on my counter. I wipe the tray in ten seconds, and the counter stays clean.
Trays also make the station look put together. A group of jars and cups can look messy on a bare counter, but the same items on a tray look planned. It is a small change with a big payoff.
I keep one tray for coffee and one for tea. The tea tray holds my teapot, two cups, and a small jar of tea bags. When friends come, I lift the whole tray and carry it to the table.
Pick a tray that fits your space. A big tray on a small counter feels crowded, and a tiny tray holds nothing. Measure your spot first, then shop for a tray that fits.
Wood trays feel warm and homey to me. Metal trays wipe clean fast, and they look bright. You can use either one, so pick the one you like best.
If you have kids, a tray with a small lip is a lifesaver. Cups slide less, and spills stay on the tray. I wish I had learned that trick sooner.
At the end of the day, I lift each tray and wipe under it. Crumbs and sugar hide under trays, so a quick lift keeps things fresh. It takes me less than a minute.
Start with one tray. Put your coffee pot, two mugs, and a sugar jar on it. You will see right away how much neater your station looks.
Label Every Jar in Plain Words
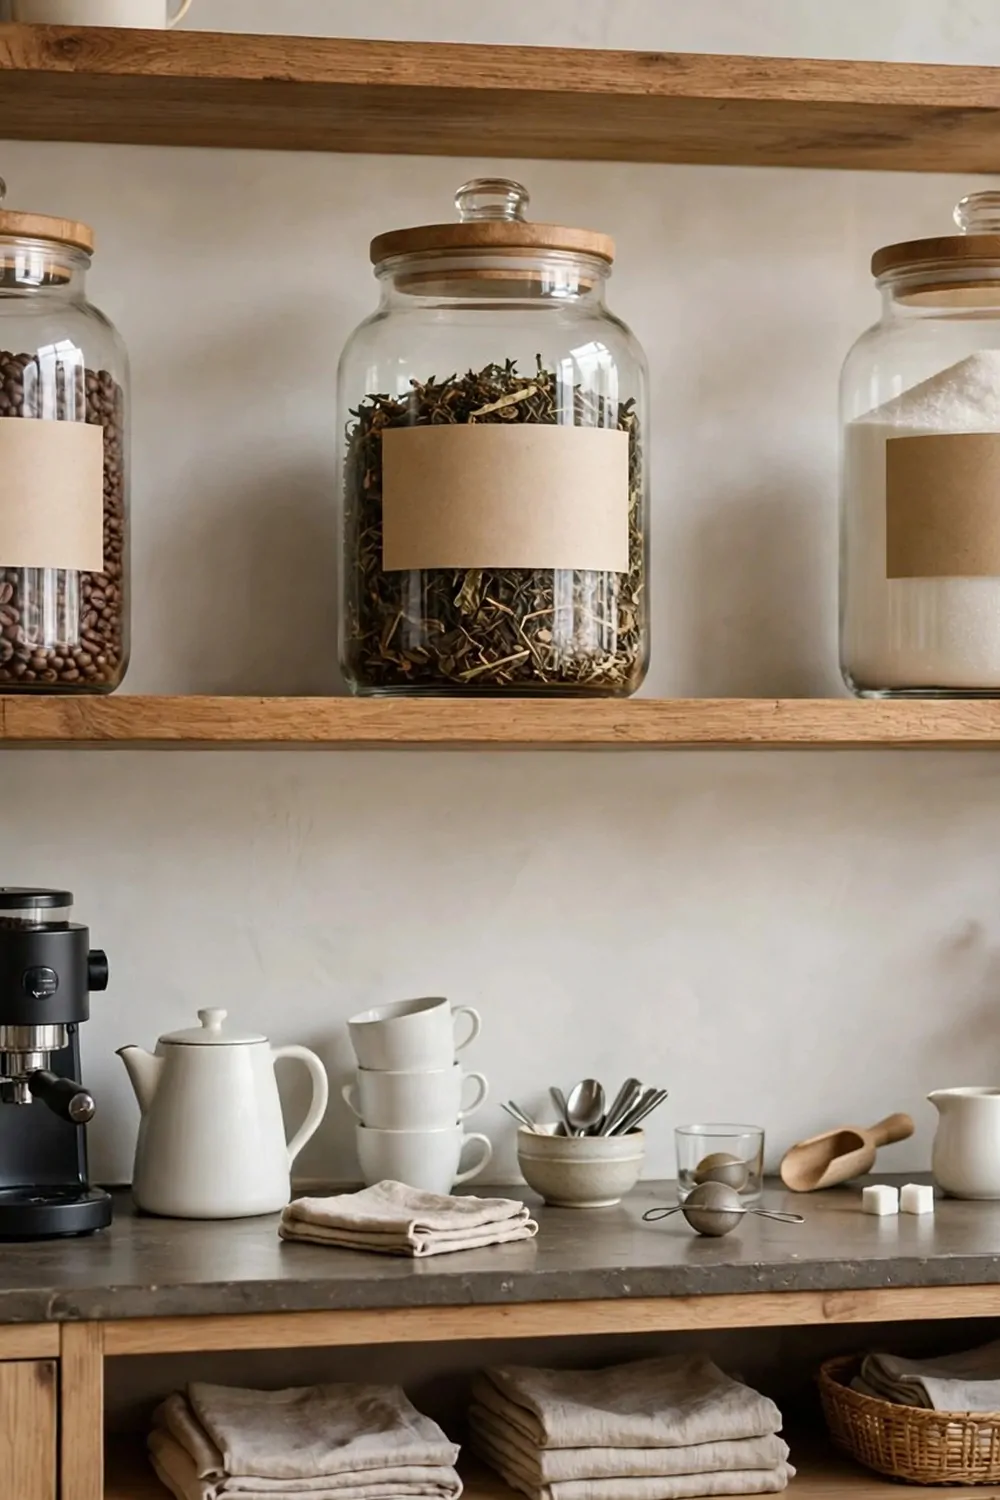
I used to guess which jar held what. I once put salt in my coffee by mistake, and I will never forget that first sip.
Labels fixed that for good. I write plain words on each jar, like coffee, tea, and sugar. No fancy words, no tiny print, just clear words I can read at a glance.
Plain labels help guests too. They do not have to ask me what is in each jar, and they do not have to guess. They just read the label and help themselves, which makes hosting so much easier.
I use simple paper labels and a thick black pen. You can buy chalk labels if you like that look, but plain paper works just as well. The point is that the words are easy to read.
Put the label on the front of the jar, right at eye level. I learned not to put labels on the lid, because lids get swapped and then nothing matches. Front of the jar, every time.
Kids can help with this job. My little one loves writing the words, even if the letters wobble a bit. It makes the station feel like ours, not just mine.
If you change what is in a jar, change the label right away. An old label on a new jar is worse than no label at all. I keep a pen near the station just for this.
Label the tea jars with the tea type too. I write green tea, black tea, and herbal tea on mine. It saves me from opening three jars to find the one I want.
It takes ten minutes to label every jar, and it saves you time every single day. Do it once, and your station will feel so much calmer.
Add Warm Lights Over the Station
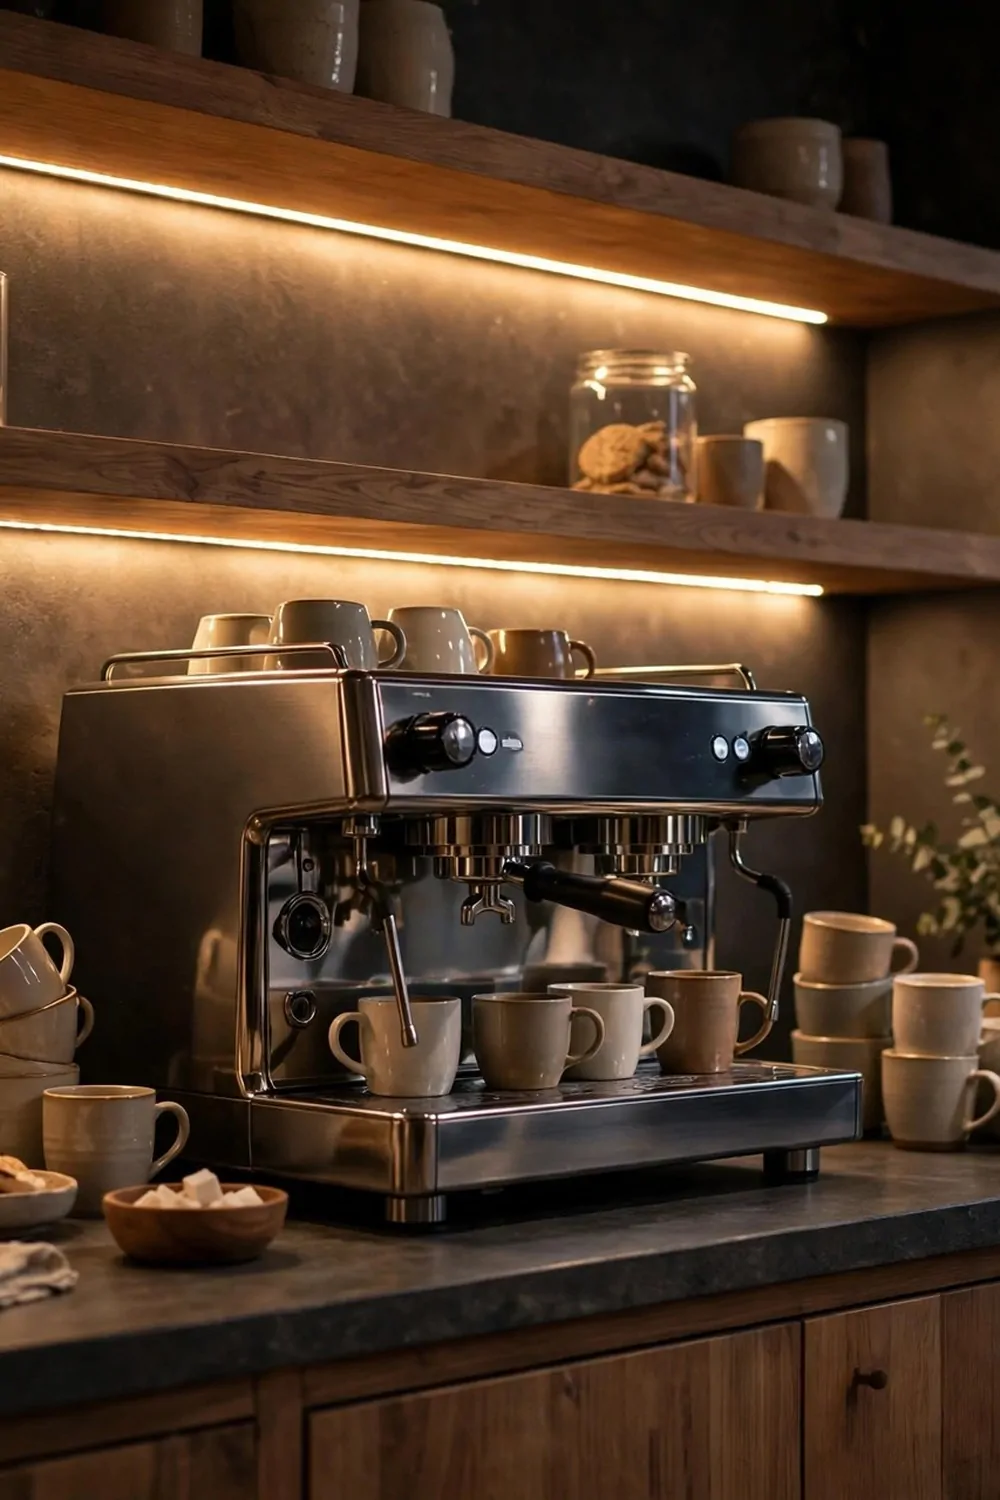
Warm lights turned my station from plain to cozy. I did not think lights would matter much, but they changed everything.
I stuck a warm LED strip under my shelf. It glows soft and golden in the evening, and the whole corner feels like a little cafe. I make my tea there now just to enjoy the light.
Warm light is the key word here. Bright white light feels cold and harsh to me, more like an office than a home. Warm light feels soft, and it makes the mugs and jars glow in a gentle way.
You can use battery lights if you have no plug nearby. I started with a small battery light, and it worked fine for months. Later I switched to a plug-in strip, but the battery one did the job.
Put the light where it shines down on your cups and jars. Under a shelf is the best spot, because the light falls right where you pour. It also helps you see the labels and the coffee level in the pot.
I turn the lights on at dusk, and they stay on till bedtime. It makes the kitchen feel finished, even when the rest of the house is dark. Guests always comment on it.
A small lamp works too if you have no shelf. I have seen a tiny lamp on a beverage cart, and it looked so sweet. Use what fits your space and your budget.
Keep the cord tidy so it does not dangle into your cups. I tape mine along the back of the shelf, out of sight. It is a small detail, but it keeps the station safe and neat.
Try one warm light this week. You will be surprised how much cozier your coffee corner feels at night.
Dress the Station With a Seasonal Touch
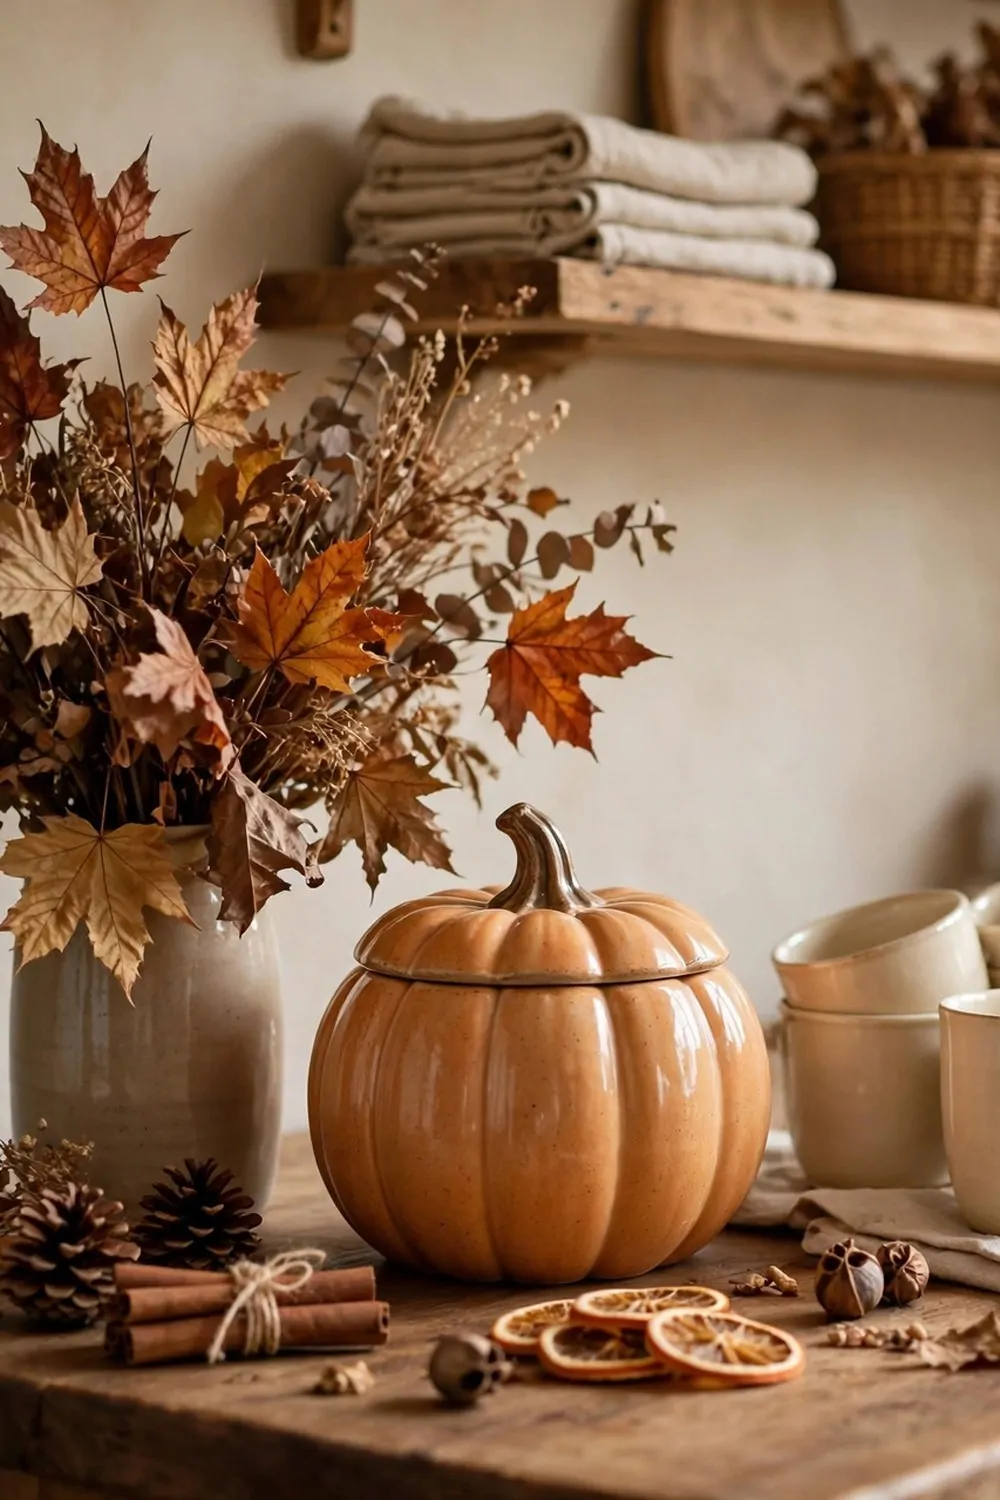
I change one small thing on my station each season. It keeps the corner feeling fresh, and it costs me almost nothing.
In autumn I set out a vase of dried leaves. I add a pumpkin-shaped ceramic jar for sugar, and the cream mugs look so warm beside it. It feels like fall without any big effort.
In winter I use pinecones and a folded plaid cloth. I put cinnamon sticks in a jar where guests can see them, and the whole station smells like a cozy cabin. It makes hot cocoa nights feel special.
Spring is my favorite season to dress the station. I pick a few fresh flowers from the yard and put them in a small jar. The colors wake up the whole kitchen, and my morning coffee tastes better somehow.
Summer is simple. I set out a bowl of fresh lemons and a pitcher for iced tea. The bright yellow lemons look so happy on the counter, and they remind me to make lemonade.
You do not need to buy new decor every season. I reuse the same jars and trays and just swap one or two small items. A vase, a cloth, or a bowl of fruit is enough.
Keep the decor away from the pouring spot. I learned to put pretty things at the back or side, so they do not get splashed. The station still needs to work, not just look nice.
Let your kids pick one seasonal item too. Mine always find a pinecone or a pretty leaf, and it goes right on the station. It makes the corner feel like home.
One small seasonal touch is all it takes. Try it this weekend and see how your station feels brand new again.
Set Up a Self-Serve Brunch Drink Table
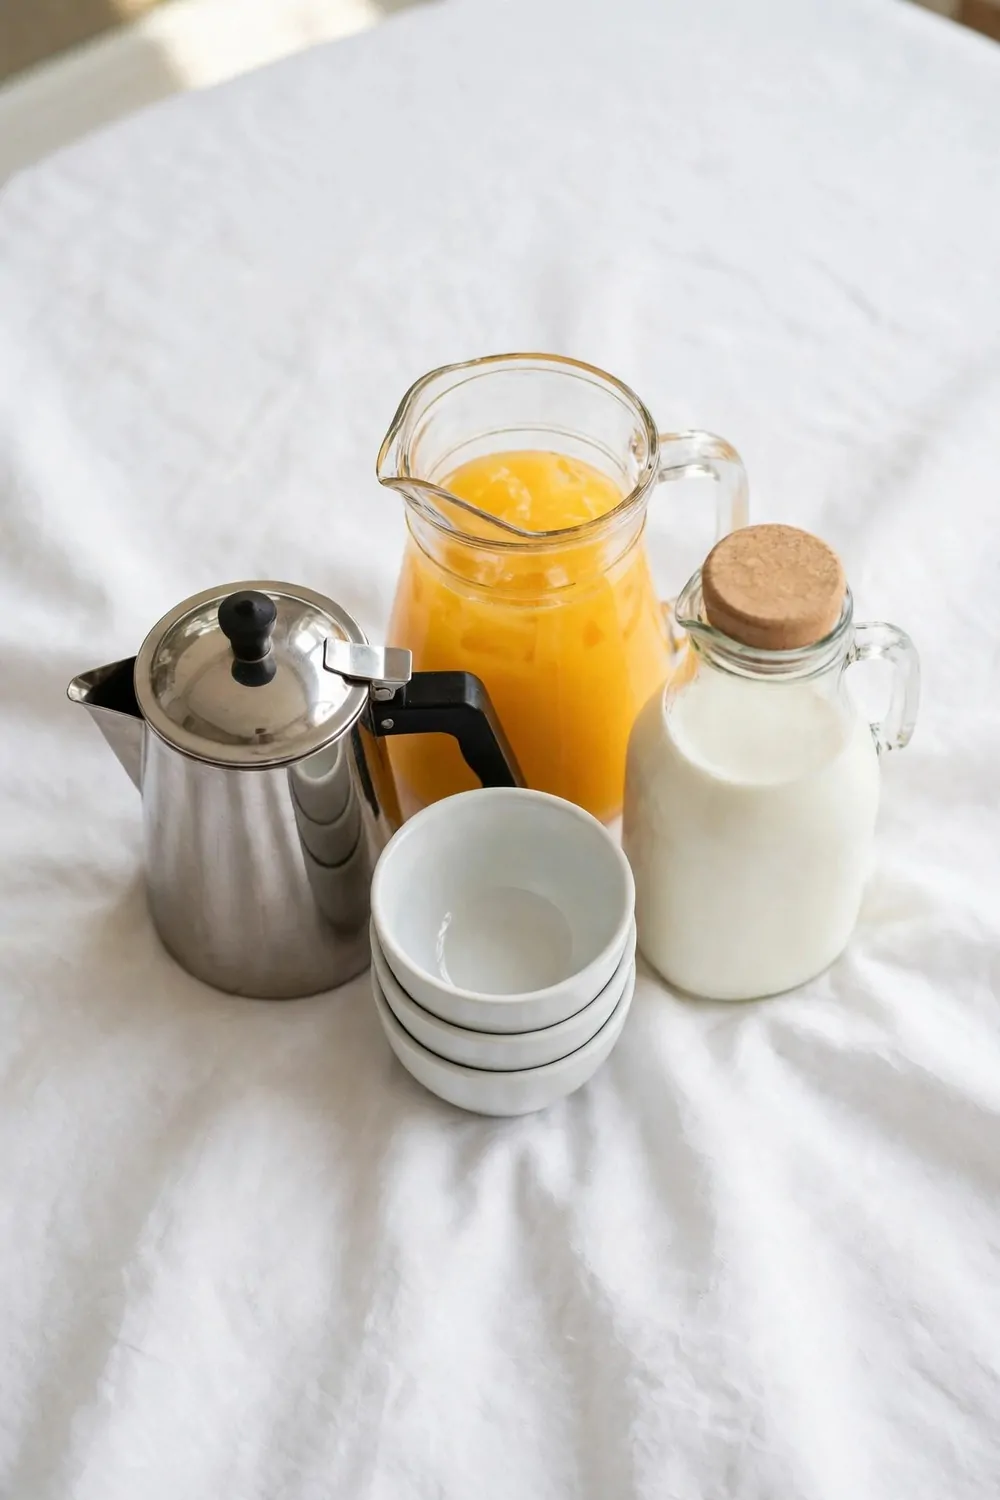
Brunch is my favorite meal to host, and a self-serve drink table makes it easy. I set it up once, and then I get to enjoy my own brunch too.
I cover a small table with a white tablecloth. Then I set out a coffee pot, a pitcher of orange juice, and a jug of milk. Stacked cups sit at one end, and a small sugar jar sits in the middle.
I put the cups at the start of the table and the drinks in the middle. That way guests pick up a cup first, then pour what they want. It keeps the line moving and avoids a crowd at one end.
I add a few extras that make people smile. A small bowl of berries, a jar of honey, and a plate of lemon slices sit beside the pitchers. Guests mix their own drinks, and everyone gets exactly what they like.
Label the pitchers with small cards. I write coffee, orange juice, and milk on folded cards, so no one has to ask or guess. It takes two minutes, and it makes the table feel thoughtful.
Keep a stack of napkins nearby. Juice spills happen, and coffee drips happen, and napkins save the tablecloth. I tuck them at the end of the table where they are easy to grab.
I refill the pitchers halfway through brunch. A full pitcher looks generous, and no one wants the last sad splash of juice. I keep a spare pitcher in the kitchen, ready to swap in.
When brunch ends, I carry the whole tray of cups to the sink in one trip. The tablecloth goes in the wash, and the table is clear in minutes. Easy setup means easy cleanup too.
Try a drink table at your next brunch. Your guests will love serving themselves, and you will love sitting down with them.
Make a Game Night Drink Spot
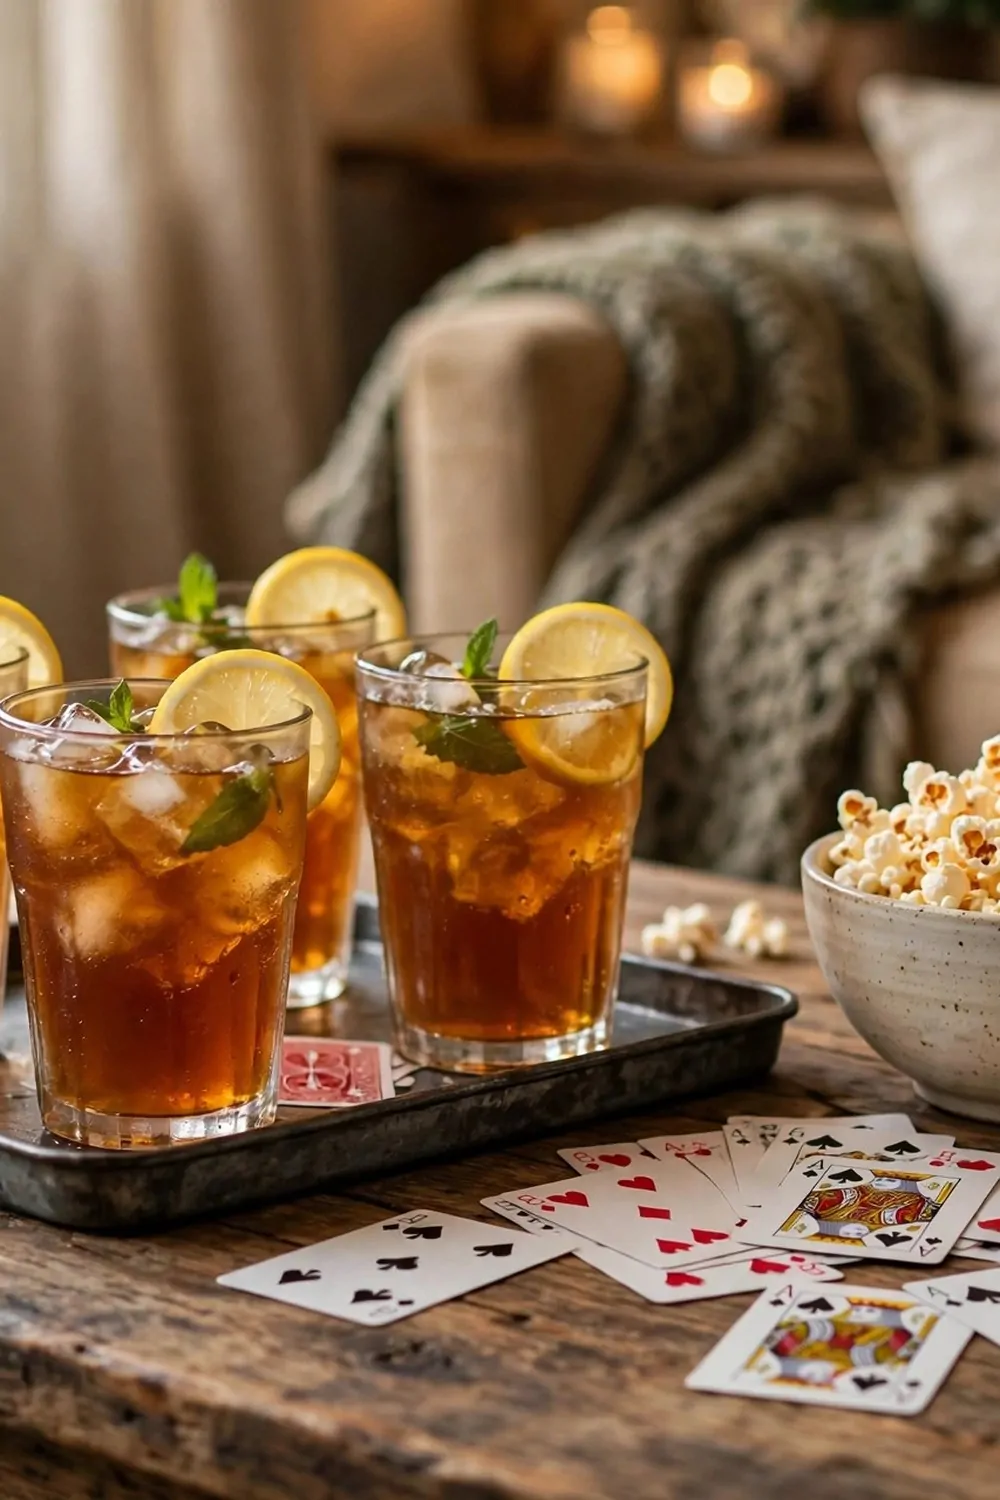
Game night at my house needs drinks close by. Nobody wants to pause the game and walk to the kitchen every ten minutes.
I set up a small drink spot right on the coffee table. A tray holds glasses of iced tea, a bowl of popcorn, and the playing cards. Everything sits within reach, and the game never stops.
Iced tea is my go-to game night drink. I brew a big pitcher before friends arrive, and I add lemon slices and ice. It stays cold for hours, and everyone drinks it.
I use glasses with a wide base so they do not tip over. Game nights get lively, and elbows bump the table a lot. A sturdy glass saves me from mopping up spills mid-game.
I keep a small towel under the tray. It catches the drips from cold glasses, and it keeps the tray from sliding on the wood. It is a tiny detail that saves a lot of wiping.
Popcorn and drinks go on the same tray, but I keep them apart. A small bowl for popcorn sits at one end, and the glasses sit at the other. That way no one drops popcorn into a glass.
I refill the pitcher between games, not during one. It keeps the flow going, and nobody misses a turn. I also put out a jug of water for anyone who wants a break from tea.
When the night ends, I stack the glasses on the tray and carry it all to the kitchen in one trip. Cleanup takes five minutes, and the table is ready for the next game night.
A little drink spot makes game night feel special. Try it this week, and your friends will ask when the next game night is.
Build a Book Club Tea Station
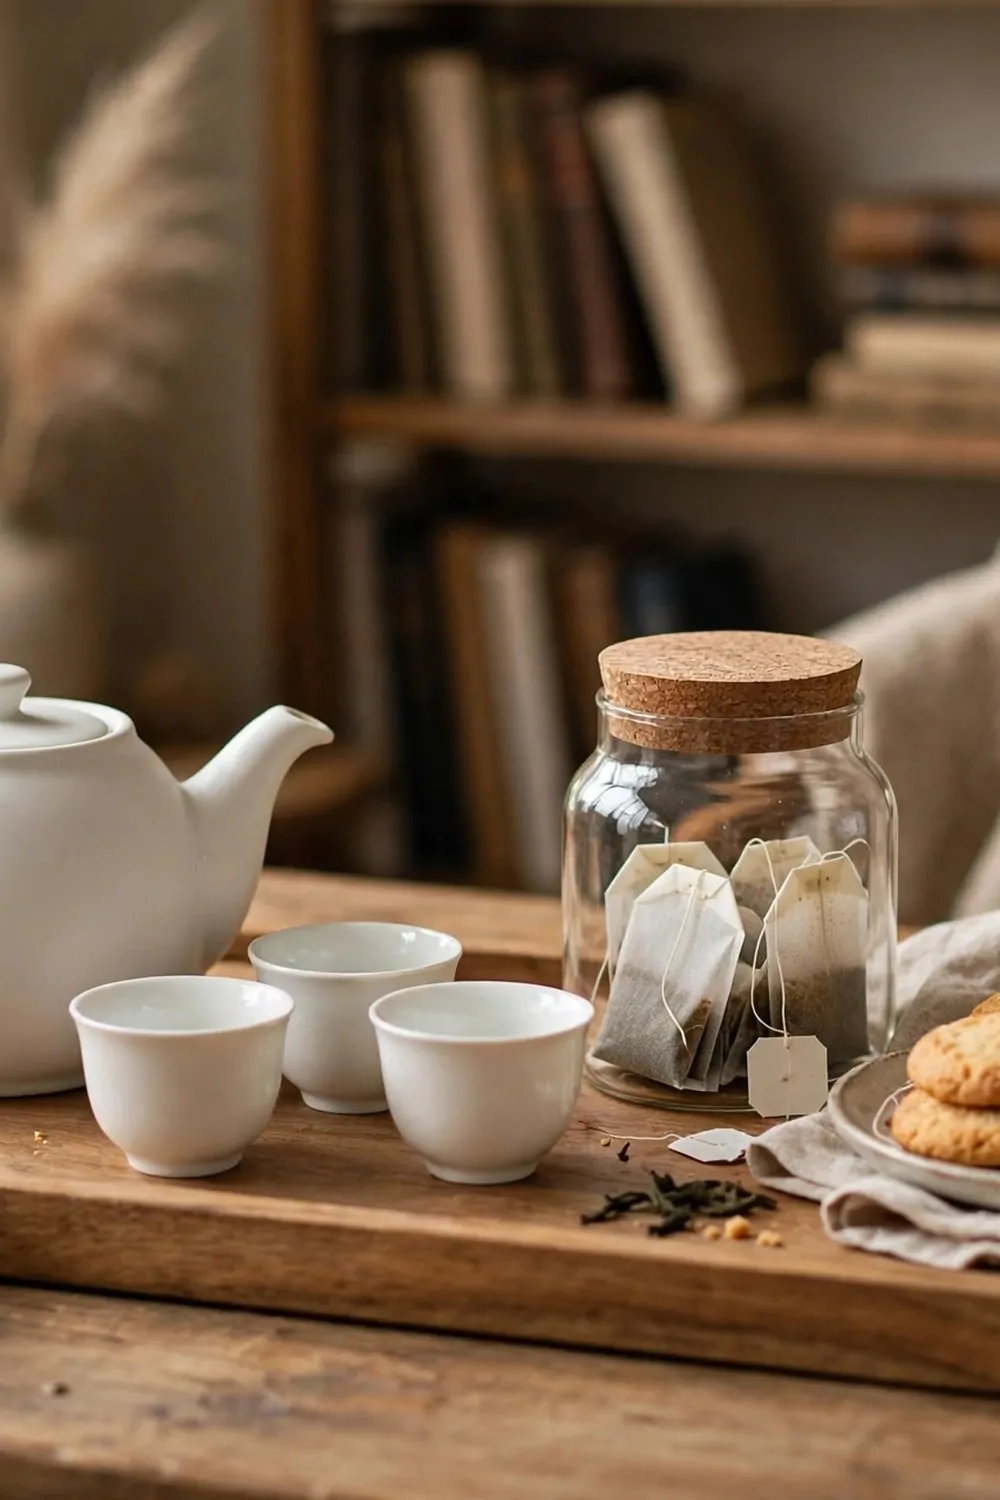
Book club night is quiet and cozy, and tea fits it just right. I set up a small tea station so we can pour and chat without leaving the room.
I use a wooden tray for the whole setup. A white teapot sits in the middle, small cups ring around it, and a jar of tea bags sits at the side. A plate of biscuits finishes the tray, and it looks so inviting.
I offer three kinds of tea. Black tea, herbal tea, and green tea cover most tastes, and the jar of tea bags lets each person pick her own. Nobody has to drink a tea she does not like.
I boil the water just before everyone arrives. Hot water in the teapot stays warm for a good while, and the first pour is always steamy and fresh. I keep a kettle nearby for a second round.
Small cups work best for book club. They feel dainty and calm, and they match the slow pace of a good chat. Big mugs are fine too, but small cups make the night feel a little more special.
I set out honey and lemon beside the teapot. Some of us like honey in our tea, and some like a squeeze of lemon. A tiny dish of each lets everyone fix her cup her own way.
Biscuits are a must at my book club. I put out a simple plate of them, nothing fancy, just something sweet to nibble while we talk about the book. Tea and biscuits go together like pages and a good story.
We pour, we talk, we refill, and the night flies by. The tea station sits in the middle of it all, quiet and warm. It is one of my favorite nights of the month.
Try a tea tray at your next book club. Your friends will love it, and the book talk will feel even cozier.
Serve Hot Drinks at a Winter Gathering
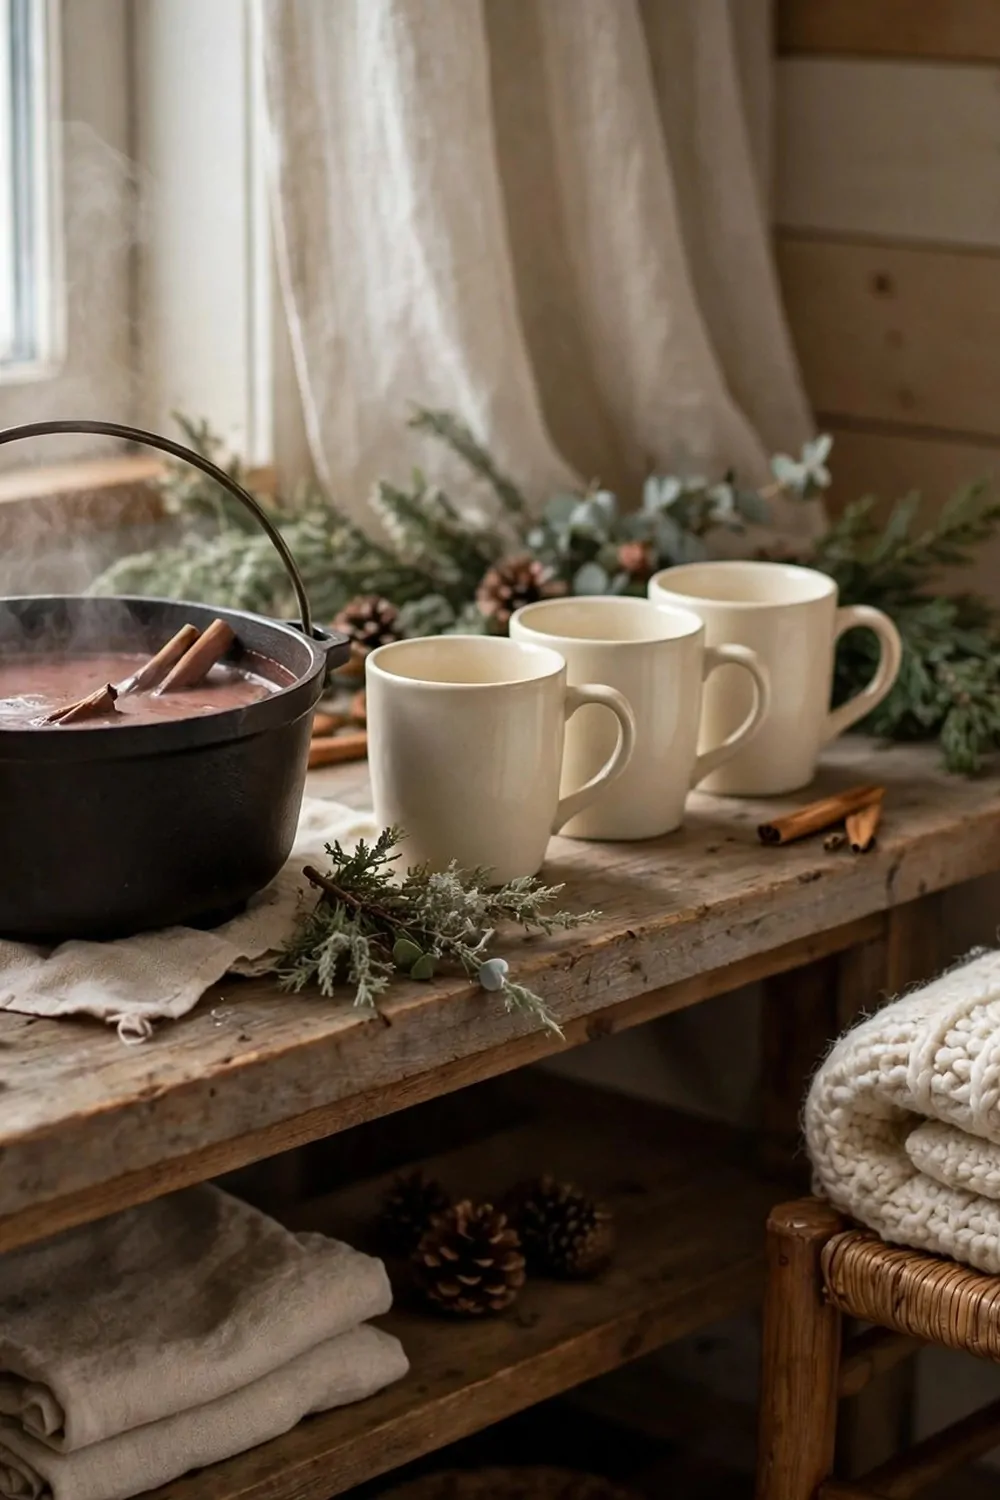
Winter gatherings call for hot drinks. I set up a hot drink station, and it becomes the warm heart of the whole party.
A big pot of hot cocoa sits at the center. I keep cinnamon sticks in a jar beside it, and cream mugs stack nearby. Guests pour their own cocoa, stir in cinnamon, and wrap their hands around a warm mug.
I also put out a pot of hot tea. Some guests do not want cocoa, and tea gives them a warm choice. I set out a few tea bags in a small jar, so each person picks her favorite.
A folded blanket on a nearby chair is my favorite touch. Guests grab it when they feel chilly, and it makes the whole corner feel like a cozy winter nook. It costs nothing, and people love it.
I keep marshmallows in a small bowl for the cocoa. Kids go wild for them, and grown-ups sneak a few too. A little bowl of them makes the station feel fun and generous.
The station sits near the main room, not tucked in a far kitchen. People gather around warm drinks, and the chatter flows. I think hot drinks bring people together better than anything else.
I check the cocoa pot often and stir it so it stays smooth. A skin can form on top if it sits too long, and a quick stir fixes it. I keep the heat low so it stays warm without burning.
At the end of the night, I ladle the last cocoa into mugs for the stragglers. It is a sweet way to end a winter evening. Then I wash the pot, fold the blanket, and the house feels quiet and warm.
Hot drinks make a winter gathering feel like home. Set up one pot of cocoa this winter, and watch everyone gather round.
Cool Down With a Summer Lemonade Stand
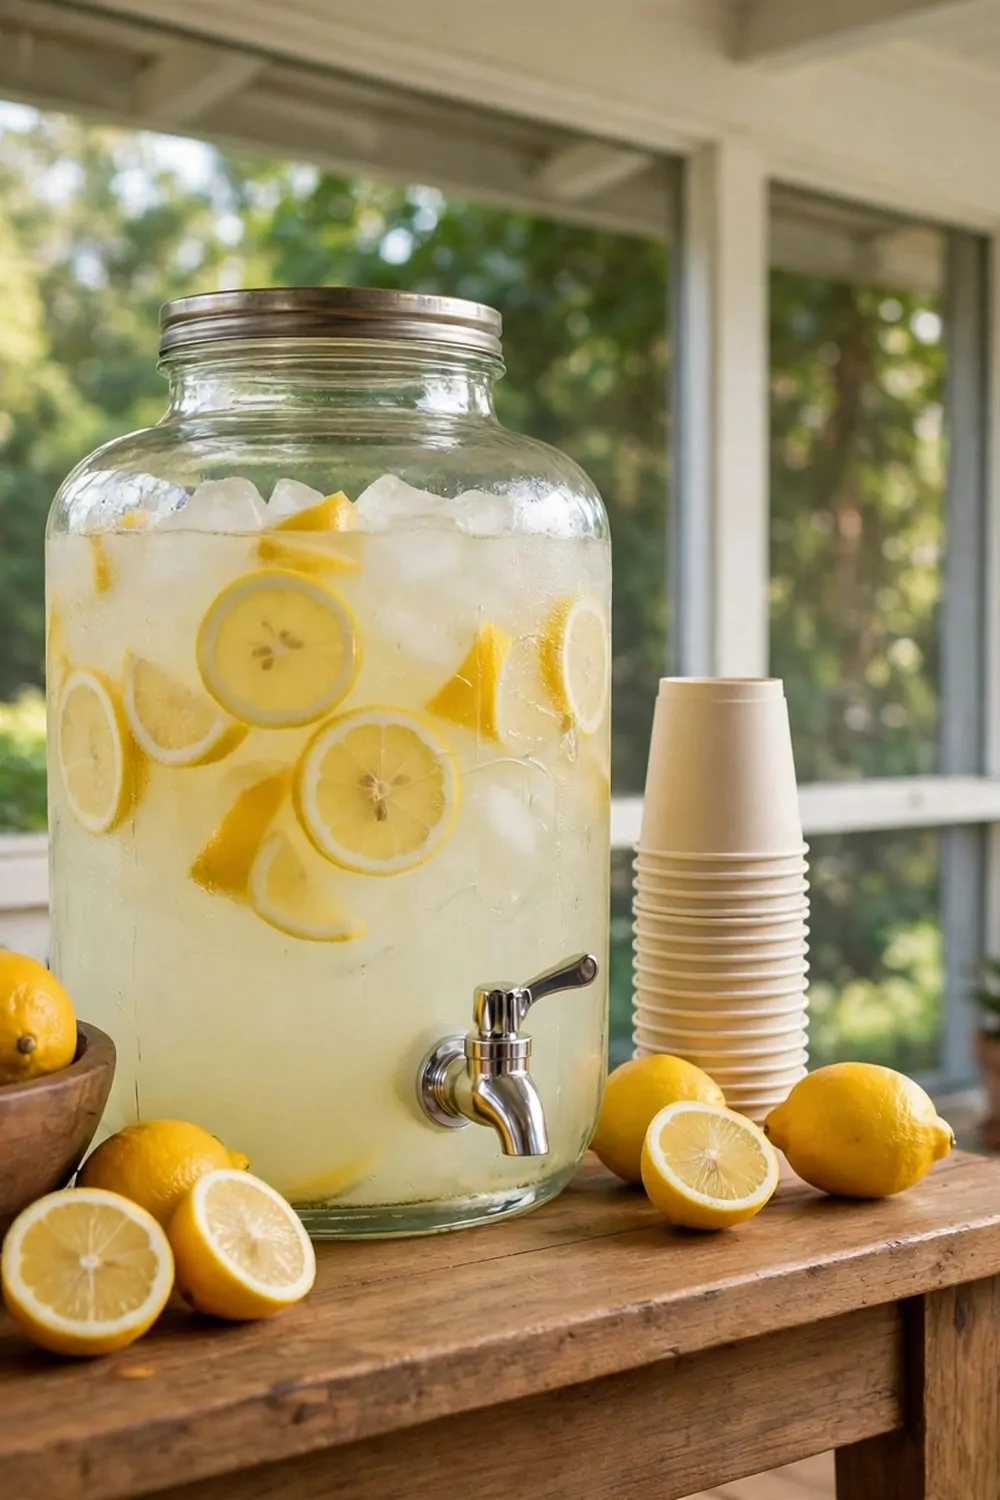
Summer heat calls for lemonade, and a little stand on the porch makes it feel like a party. I set mine up on warm weekends, and it is always a hit.
A large glass dispenser holds the lemonade. I fill it with ice, lemon slices, and fresh lemonade, and it looks so bright and sunny. Paper cups stack beside it, ready for thirsty hands.
A bowl of fresh lemons sits next to the dispenser. It looks pretty, and it tells guests the lemonade is fresh and real. I slice a few lemons for the cups too, so each glass gets a fresh wedge.
I keep the stand in the shade on the porch. Lemonade warms up fast in the sun, and shade keeps it cold for hours. A shady spot also keeps guests cool while they pour.
Kids love running a lemonade stand. I let mine pour for friends, and they feel so proud. It teaches them to serve others, and it keeps them busy on a hot day.
I add a small jar of sugar on the side for anyone who likes it sweeter. Some people love tart lemonade, and some want it sweet. A little sugar lets each person fix it her own way.
I refill the dispenser before it runs dry. Nothing is sadder than an empty dispenser at a summer party. I keep a spare pitcher of lemonade in the fridge, ready to pour in.
When the day ends, I wash the dispenser and stack the cups for next time. The lemons go back in the fridge, and the porch feels quiet again. It is a simple setup with a big summer payoff.
Try a lemonade stand this summer. It is easy, it is cheap, and it makes a hot day feel like a holiday.
Offer a Morning Coffee Tasting for Guests
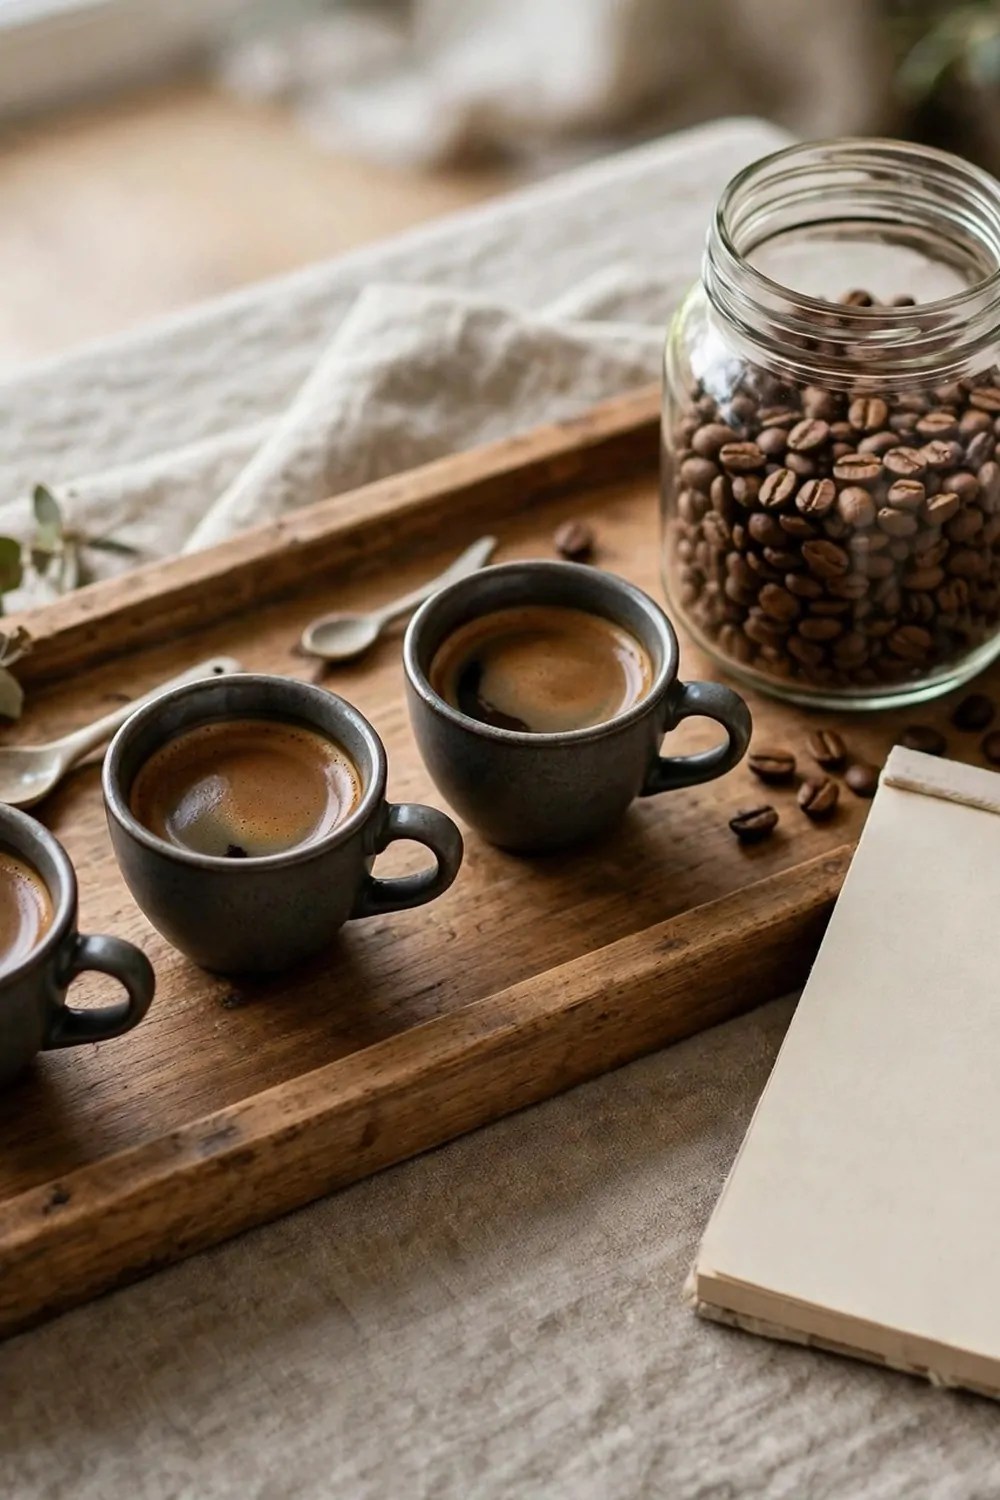
A coffee tasting sounds fancy, but it is really just a fun way to try new coffee with friends. I hosted one last month, and we all loved it.
I set out three small cups of coffee on a wooden tray. Each cup held a different roast, and a jar of beans sat beside them. A notepad waited for our notes, and we felt like real coffee tasters.
Small cups are the trick. You do not need a full mug of each coffee, just a few sips to taste it. Three small cups let you compare without drinking too much caffeine.
I write the name of each coffee on a small card. Guests read the card, sip, and write down what they think. Some write smooth, some write strong, and some just draw a smiley face.
I put out milk and sugar, but I ask guests to taste the coffee plain first. Plain coffee shows its real flavor, and then they can add milk if they want. It is fun to see how the taste changes.
A jar of whole beans on the tray makes the setup look real. Guests pick up the jar, smell the beans, and guess which cup matches. It turns a simple tasting into a little game.
I brew each coffee fresh, one pot at a time. Fresh coffee tastes so much better, and the smell fills the whole kitchen. I keep the pots warm on the tray while we taste.
We vote for our favorite at the end. The winner gets a little cheer, and I write the name down for my next shopping trip. It is a small ritual, and it makes the morning feel special.
Try a coffee tasting with your friends. Three small cups, one tray, and a notepad are all you need.
Keep a Spare Set of Cups for Big Crowds
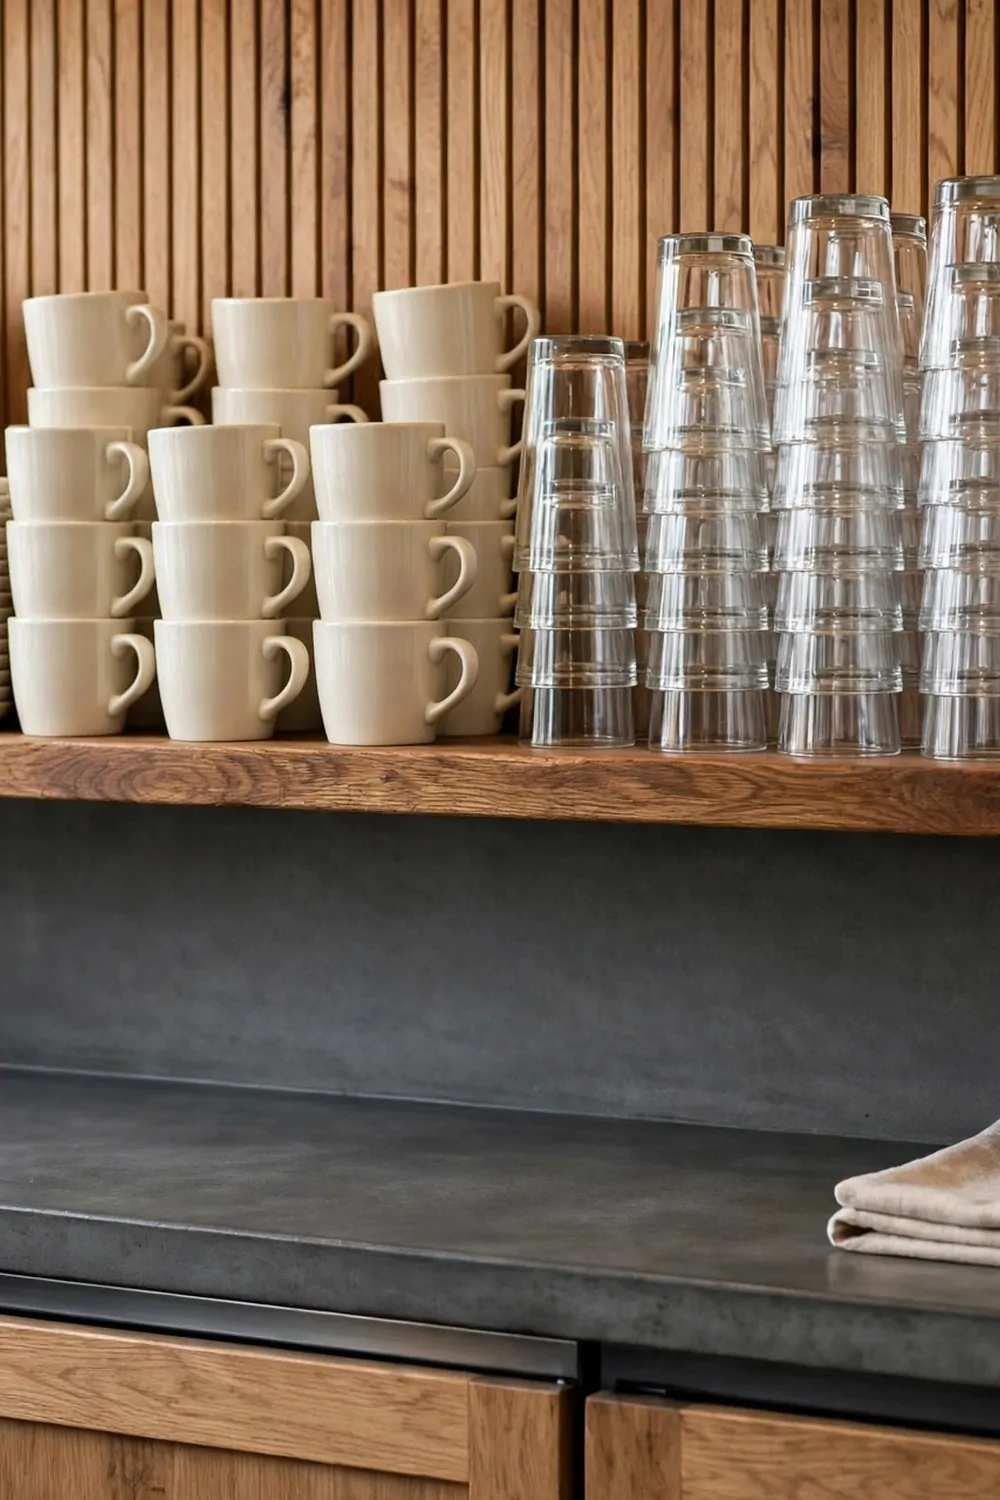
Big crowds need a lot of cups. I learned this at a party when I ran out of mugs halfway through, and guests had to share.
Now I keep a spare set of cups on a high shelf. Stacks of cream mugs and tall glasses sit ready above my beverage counter. I grab them when a crowd comes, and I never run out.
I store the spare cups upside down so dust stays out. A quick rinse before the party is all they need, and they are ready to use. It takes two minutes, and it saves a lot of stress.
I keep the spares separate from my daily cups. Daily cups live in the drawer, and spare cups live on the shelf. That way I always know I have extras, and I never use them up on a normal day.
Count your cups before a big party. I count mine the night before, and I make sure I have one cup per guest plus a few extra. Extra cups mean no one waits for a clean one.
Tall glasses matter as much as mugs. Summer crowds want iced tea and lemonade, and tall glasses are perfect for that. I keep a stack of them beside the mugs, ready for warm days.
If you run low on space, store the spares in a box on a closet shelf. Label the box cups, so you find it fast. I did that in my old home, and it worked just fine.
After the party, I wash the spare cups and put them back on the shelf. They dry there, and they wait for the next crowd. It is a simple habit that keeps me ready.
A spare set of cups is cheap peace of mind. Stock your shelf once, and you will never panic at a party again.
Use a Chalkboard Menu for the Day’s Drinks
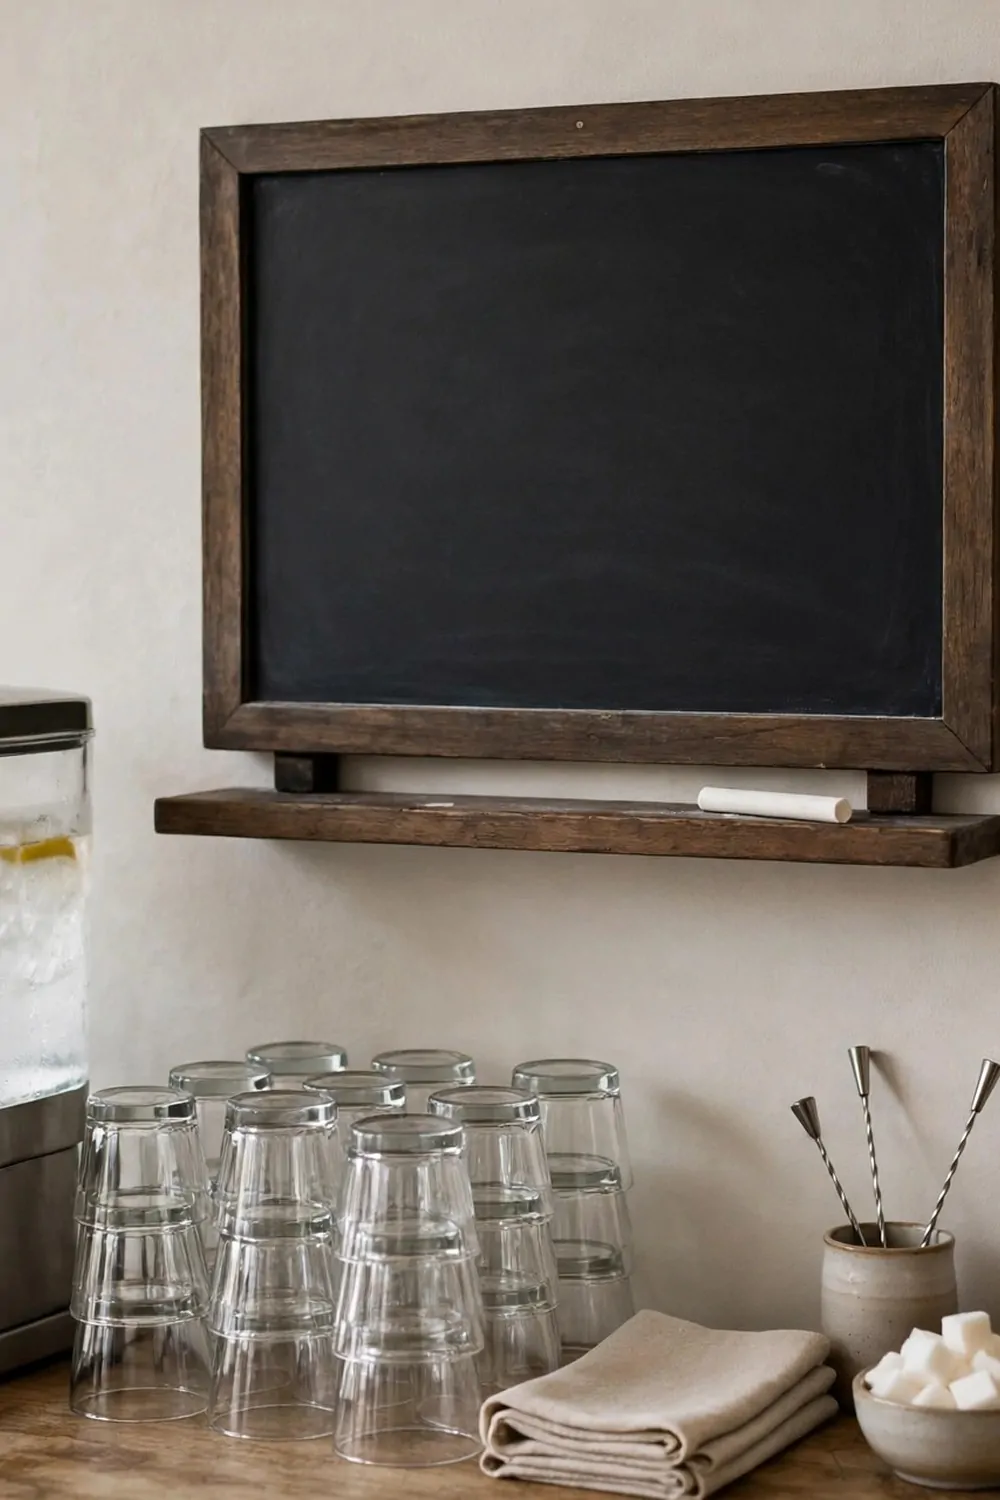
A chalkboard menu makes my station feel like a tiny cafe. I write the day’s drinks on it each morning, and it makes me smile every time I see it.
I hang a small chalkboard on the wall beside the station. It has a blank chalk surface and a piece of chalk on the ledge. I write coffee, tea, and juice on it, plus any special drink of the day.
The menu helps guests a lot. They read the board and know what I have, so they do not have to ask. It feels welcoming, like a real cafe menu, but in my own kitchen.
I change the menu when I change the drinks. If I brew cold brew, I write it on the board. If I make fresh lemonade, that goes up too. It takes one minute, and it keeps the board honest.
Kids love the chalkboard most. They draw little cups and suns on the corner, and they write their own drink orders. It turns the station into a fun spot for the whole family.
Use big, clear letters so everyone can read it. I write in thick chalk strokes, and I keep the words short. Coffee, tea, cocoa, lemonade. Simple words work best.
Wipe the board clean at night with a damp cloth. Old chalk dust builds up, and the board looks gray and tired. A quick wipe keeps it dark and fresh for tomorrow’s menu.
A chalkboard is cheap and easy to hang. One small nail holds mine, and it has stayed up for years. Try one on your station wall, and see how cafe-like your kitchen feels.
Pack a Portable Station for a Picnic
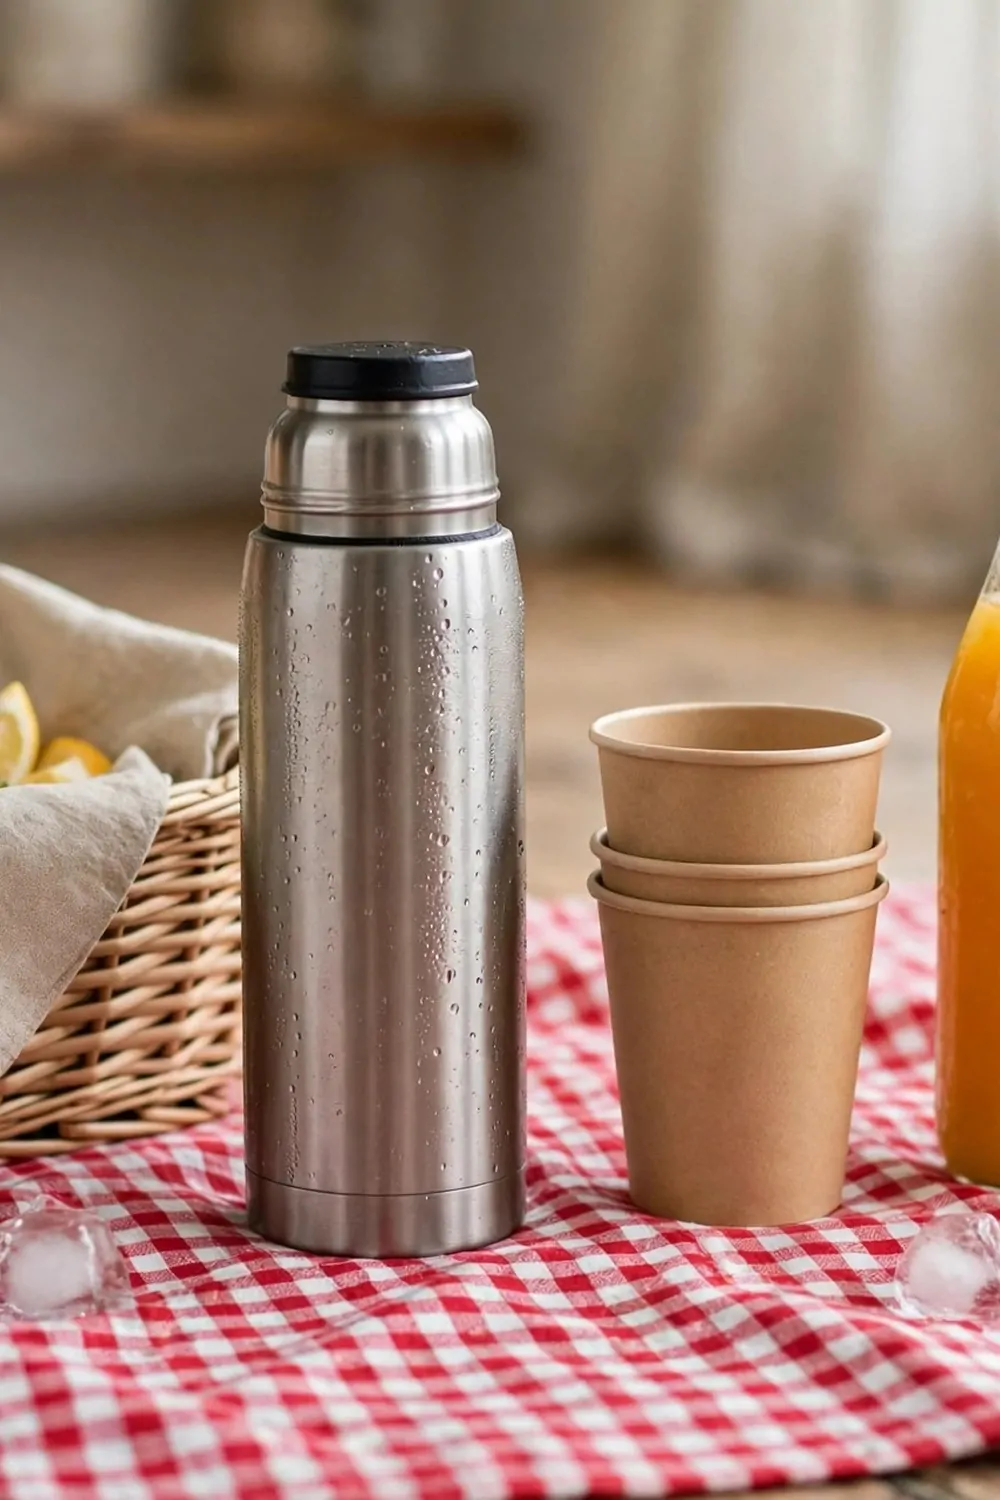
Picnics need drinks too, and a portable station makes it easy. I pack mine in a wicker basket, and we are ready to go in minutes.
A flask of iced tea goes in first. It stays cold for hours, and it does not spill in the car. I wrap it in a towel so it stays snug and safe in the basket.
Paper cups stack beside the flask. I pack one cup per person plus two extra, because someone always drops one. Light cups are best for a picnic, since nobody wants to carry heavy glass.
A bottle of orange juice goes in next. I chill it overnight, and it stays cool in the basket till lunch. Juice is a hit with kids, and it gives everyone a sweet choice beside the tea.
I spread a checkered blanket on the grass when we arrive. The basket sits in the middle, and the cups and flask come out. It looks like a picture from a storybook, and the kids love it.
I pack a small bag for trash too. Used cups and napkins go straight in the bag, so the park stays clean. It is a small habit, and it keeps our picnic spot lovely.
Keep the basket light enough to carry. I learned not to overpack it, because a heavy basket ruins the walk. Drinks, cups, and a few napkins are all you need.
When we get home, I wash the flask and fold the blanket. The basket goes back on its shelf, ready for the next sunny day. A portable station means drinks go wherever we go.
Pack a picnic station this weekend. A flask, some cups, and a bottle of juice are all it takes.
Add a Small Sink or a Water Jug Nearby
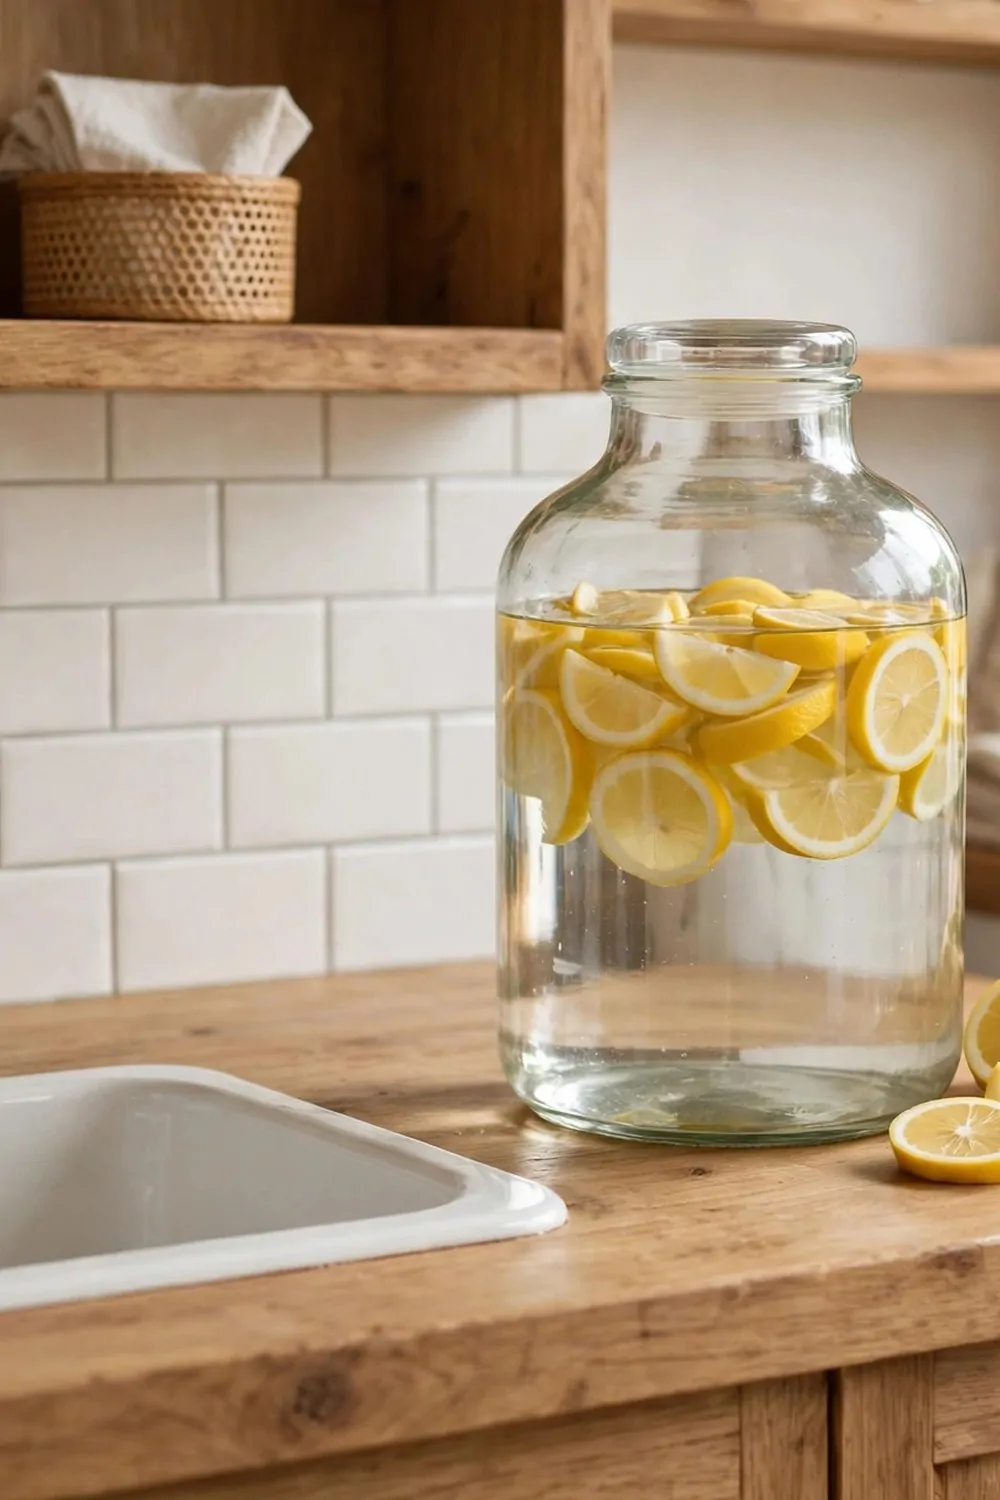
Water needs to be close to a drink station. I learned this after carrying a full kettle across the kitchen one too many times.
A small white sink beside the station is the dream setup. I rinse cups, fill the kettle, and wash the pot without walking away. It makes the whole station feel like a real little kitchen.
If you have no room for a sink, a large glass water jug works great. I keep one filled with fresh water and lemon slices on my wooden counter. It looks pretty, and it is always ready to pour.
Lemon slices in the jug make plain water taste fresh. I add a few slices each morning, and guests help themselves to a glass of water while their coffee brews. It is a small touch that feels fancy.
Keep the jug where you can reach it fast. I put mine at the end of the counter, away from the hot coffee pot. That way no one bumps it while pouring a hot drink.
Refill the jug every morning. Fresh water tastes better, and old lemon slices get soft and sad. A quick refill takes one minute, and it keeps the station fresh.
A sink or a jug also helps with cleanup. I rinse a cup right away instead of letting it sit, and the station stays tidy all day. Water close by means less mess, plain and simple.
You do not need to build anything to try this. Set a big water jug on your counter today. You will wonder how you ever managed without it.
Clean Up Fast With a Rinse Bin and Towels
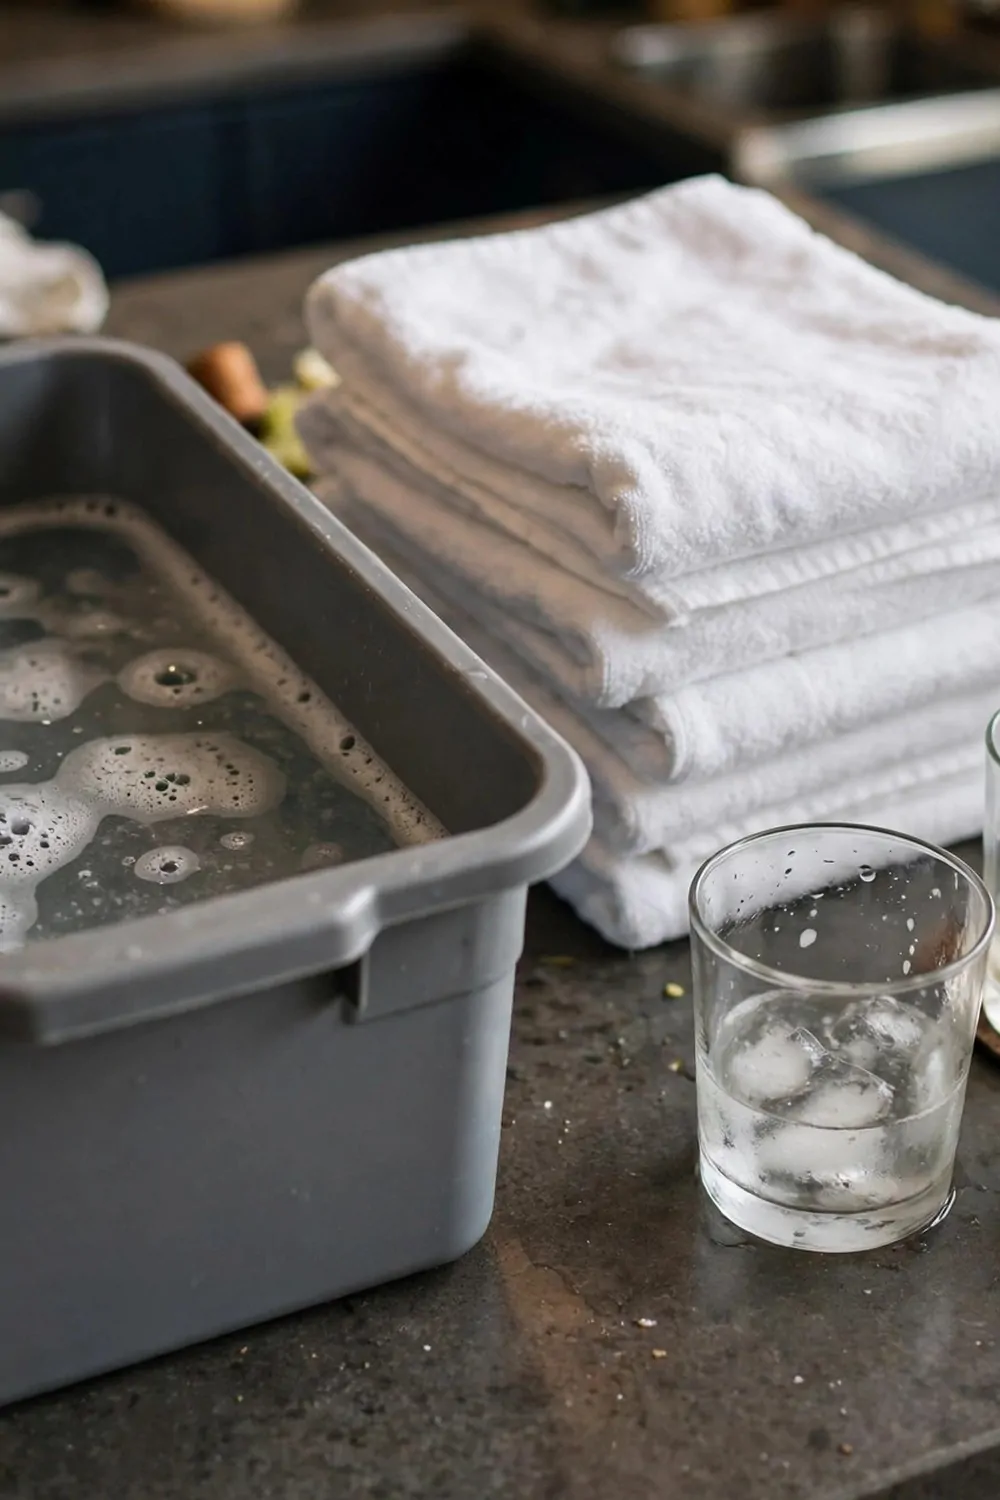
Parties are fun, but the cleanup is not. I used to dread the pile of dirty glasses after guests left, until I set up a rinse bin.
A rinse bin is just a tub with soapy water. I set it on the counter after a party, and guests drop their used glasses right in. The glasses soak while we chat, and washing them later is so much easier.
I keep a stack of clean towels beside the bin. One towel dries the glasses, and one wipes the counter. I fold them neatly, and they look tidy even in the middle of cleanup.
I ask guests to drop their cups in the bin when they finish. Nobody minds, and it keeps used glasses off the table and out of the sink. It is a small ask that saves me a big job.
I wash the glasses in small batches, not all at once. A few at a time feels calm, and I do not splash water everywhere. I dry them on a towel and stack them back on the shelf.
The towels do double duty during the party too. I keep one out for spills, because spills always happen. A quick wipe and the party goes on like nothing happened.
When the bin water gets murky, I dump it and refill it with fresh soapy water. Clean water rinses better, and the glasses come out sparkling. It takes one minute to swap.
Cleanup used to take me an hour. Now it takes twenty minutes, and most of that is just drying and stacking. A rinse bin and a stack of towels made all the difference.
Set up a rinse bin at your next party. Your future self will thank you when the guests go home.
Start Small and Add One Drink at a Time
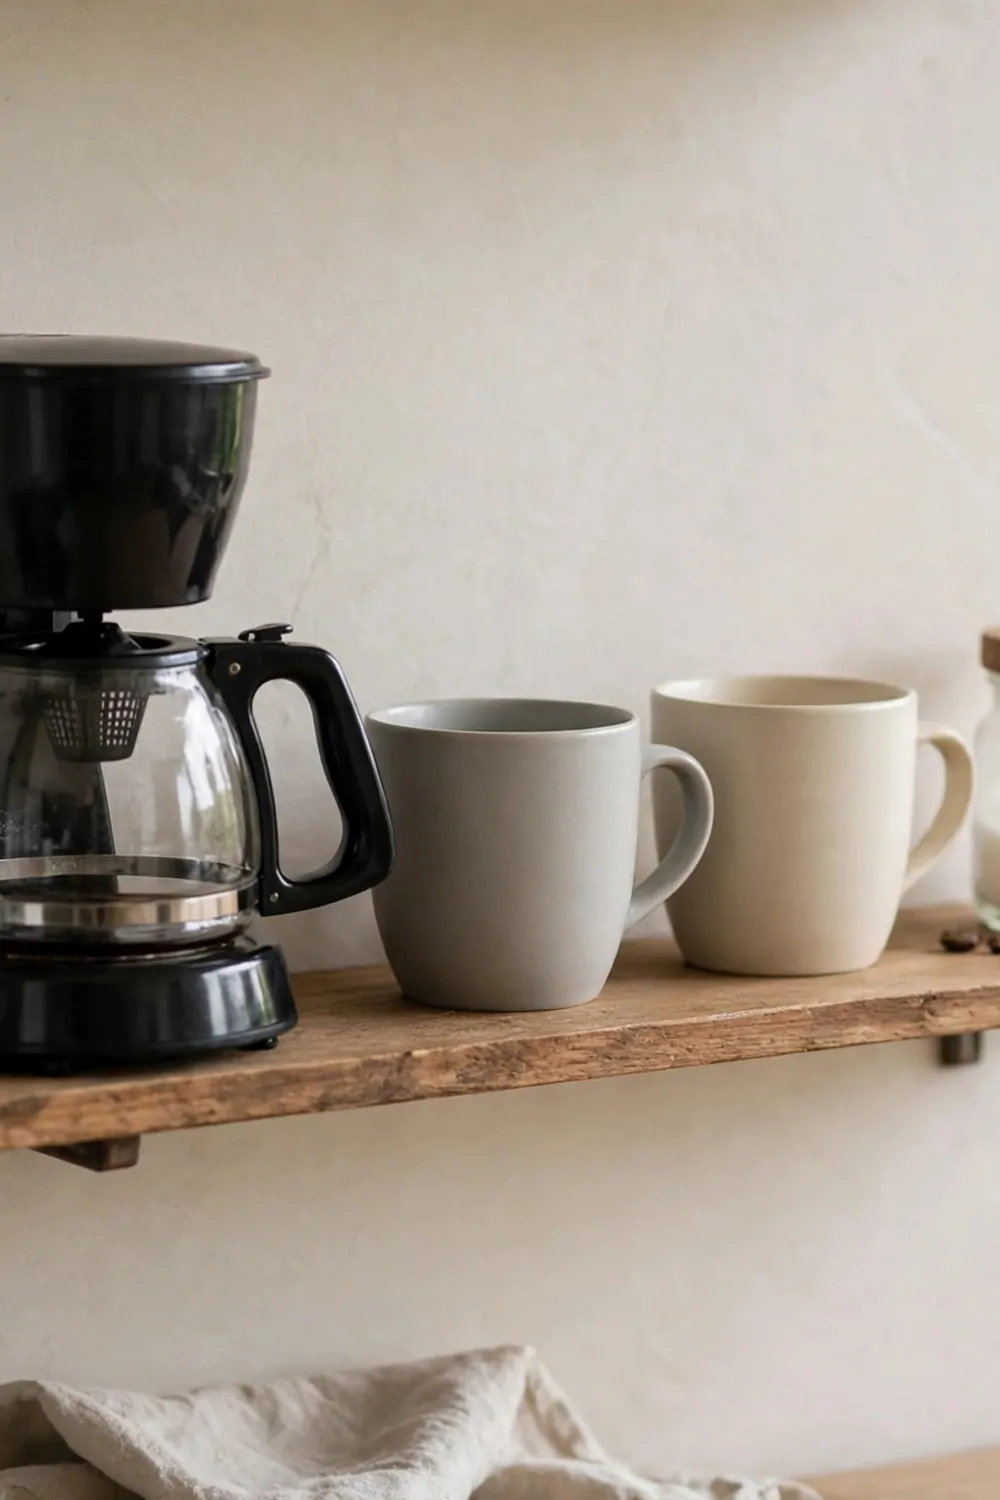
A big beverage station can feel scary to start. I see photos of huge setups online, and I used to think I needed all of it at once.
You do not. I started with one coffee maker, two mugs, and a small jar of sugar on a narrow wooden shelf. That was my whole station, and it worked just fine.
Start with the drink you love most. If you love coffee, start with coffee. If you love tea, start with tea. One drink done well beats five drinks done badly.
Once your first drink feels easy, add one more. I added tea next, then juice, then hot cocoa for cold nights. Each new drink joined the station one at a time, and nothing felt rushed.
Adding one drink at a time also saves money. You buy one jar, one pitcher, or one set of cups at a time, not a whole store at once. Your wallet will thank you, and your station will still grow.
I also learned what I really use by going slow. I thought I needed a big fancy setup, but I use my coffee maker and my tea pot most. The slow start showed me what mattered and what did not.
Your station does not need to look like the photos. It needs to work for you, in your kitchen, with your family. A small station that you use every day is better than a big one that just sits there.
Take a photo of your station today, then take one again in three months. You will be amazed at how much it grows, one drink at a time. Slow growth is still growth.
Start small today. Pick one drink, set up one little spot, and enjoy it. The rest will come when you are ready.
Keep Reading
If you liked these beverage station ideas, you will love the kitchen posts on this site too. I wrote them in the same simple style, with ideas you can try in your own home this week.
Each post is full of easy tips, real photos, and small changes that make a big difference. Take a look when you have a quiet minute with a cup of coffee or tea.
- 25 Small Kitchen Ideas You’ll Wish You Knew Sooner
- 26 Kitchen Design Layouts That Look Stunning and Work Hard
- 27 Home Decor Ideas Living Room and Kitchen Looks That Match
- 26 Modern Home Decor Updates That Look Instantly Fresh
Start small with one drink station idea today, and build from there one cup at a time. Your kitchen will feel warmer, your guests will feel welcome, and your mornings will taste better.