32 Budget Kitchen Makeover Ideas That Look Like a Remodel

I printed a photo of my kitchen last spring and stuck it on the fridge with a magnet. I looked at that photo every morning while I waited for the kettle to boil, and I kept thinking the same thing.
The room was not broken. Nothing leaked. Nothing was falling apart. But the cabinets looked tired, the walls looked dull, and the whole kitchen felt like it had given up trying.
I wanted a fresh kitchen so much. I also knew a full remodel was not going to happen any time soon, not with the prices I had seen.
So I started small. One tin of paint. One new handle. One little change at a time, on weekends, with a small budget and a lot of patience.
And you know what happened? Each small change made the next one feel easier. My kitchen started to look like a place I actually liked to be in, not just a room I cooked in and left.
You do not need a big budget to get that feeling. You do not need a builder, a designer, or a month of dust and noise either. You just need a few smart ideas and a free weekend here and there.
This one post holds all 32 budget kitchen makeover ideas in one place, from painting your cabinets and swapping the handles to fresh lights, a bold island, new storage, and small touches that make the whole room feel like a remodel, so you can read them all here and pick the ones that fit your kitchen and your budget best.
1. Paint the Cabinets a Fresh Colour
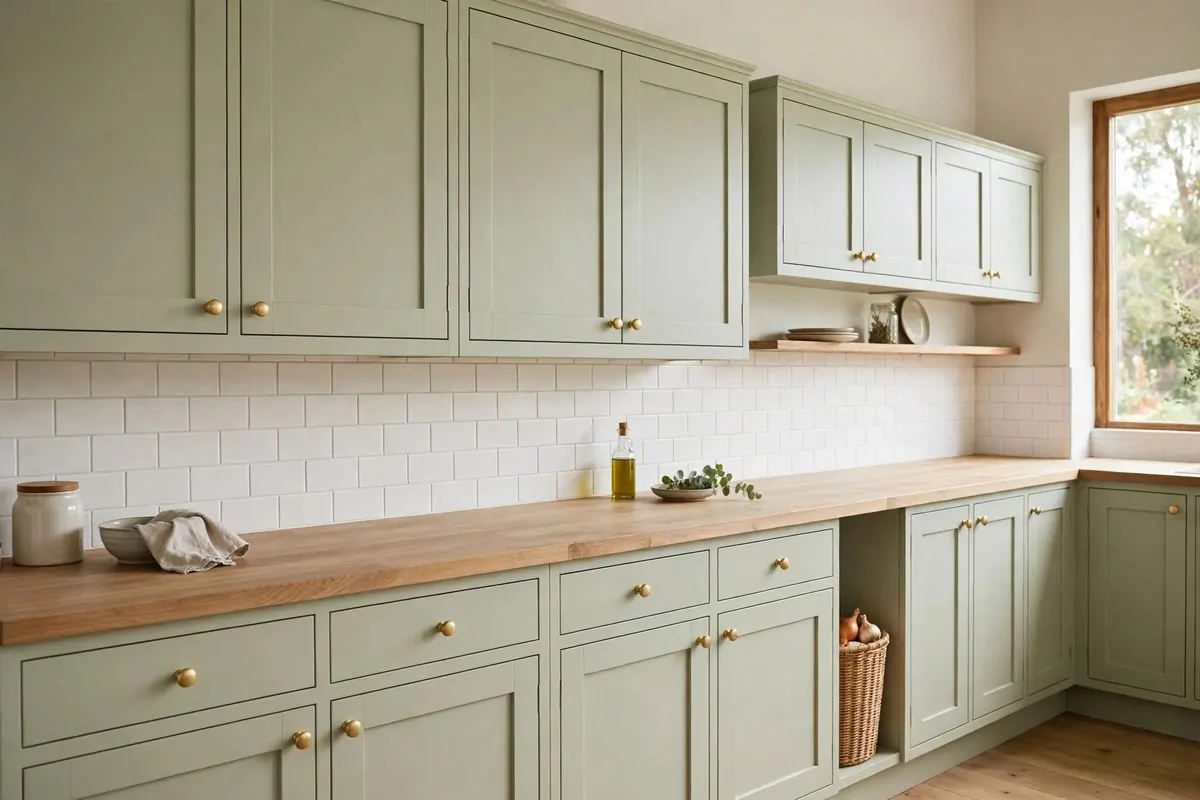
Paint is the cheapest way to change a whole kitchen. One tin can make old cabinets look brand new, and you do not need any special skill to do it.
Start by taking the doors off the cabinets. It sounds like a big job, but it is really just a few screws, and it makes the painting ten times easier.
Clean every door first. Kitchens collect a thin layer of grease over the years, and paint will not stick to it. Warm water and a little washing up liquid does the job fine.
Give the doors a light sand. You are not trying to strip the wood bare. You just want to rough the surface up a little so the paint has something to hold on to.
Pick a colour you will still love next year. Soft white is safe and bright. Sage green feels calm. A soft blue looks fresh and clean in most kitchens.
Use a small foam roller for the flat parts and a brush for the edges. Two thin coats always look better than one thick coat, and they dry faster too.
Let the doors dry fully before you put them back on. I know it is tempting to rush this part. But wet paint picks up fingerprints and dust, and then you have to start again.
Put the doors back on one at a time and step back to look. That first look is the best part, because the room already feels different.
Your kitchen will look like it had a full remodel, and all you really did was paint. That is the magic of this one idea, and it costs less than a new kettle.
2. Swap the Cabinet Handles and Knobs
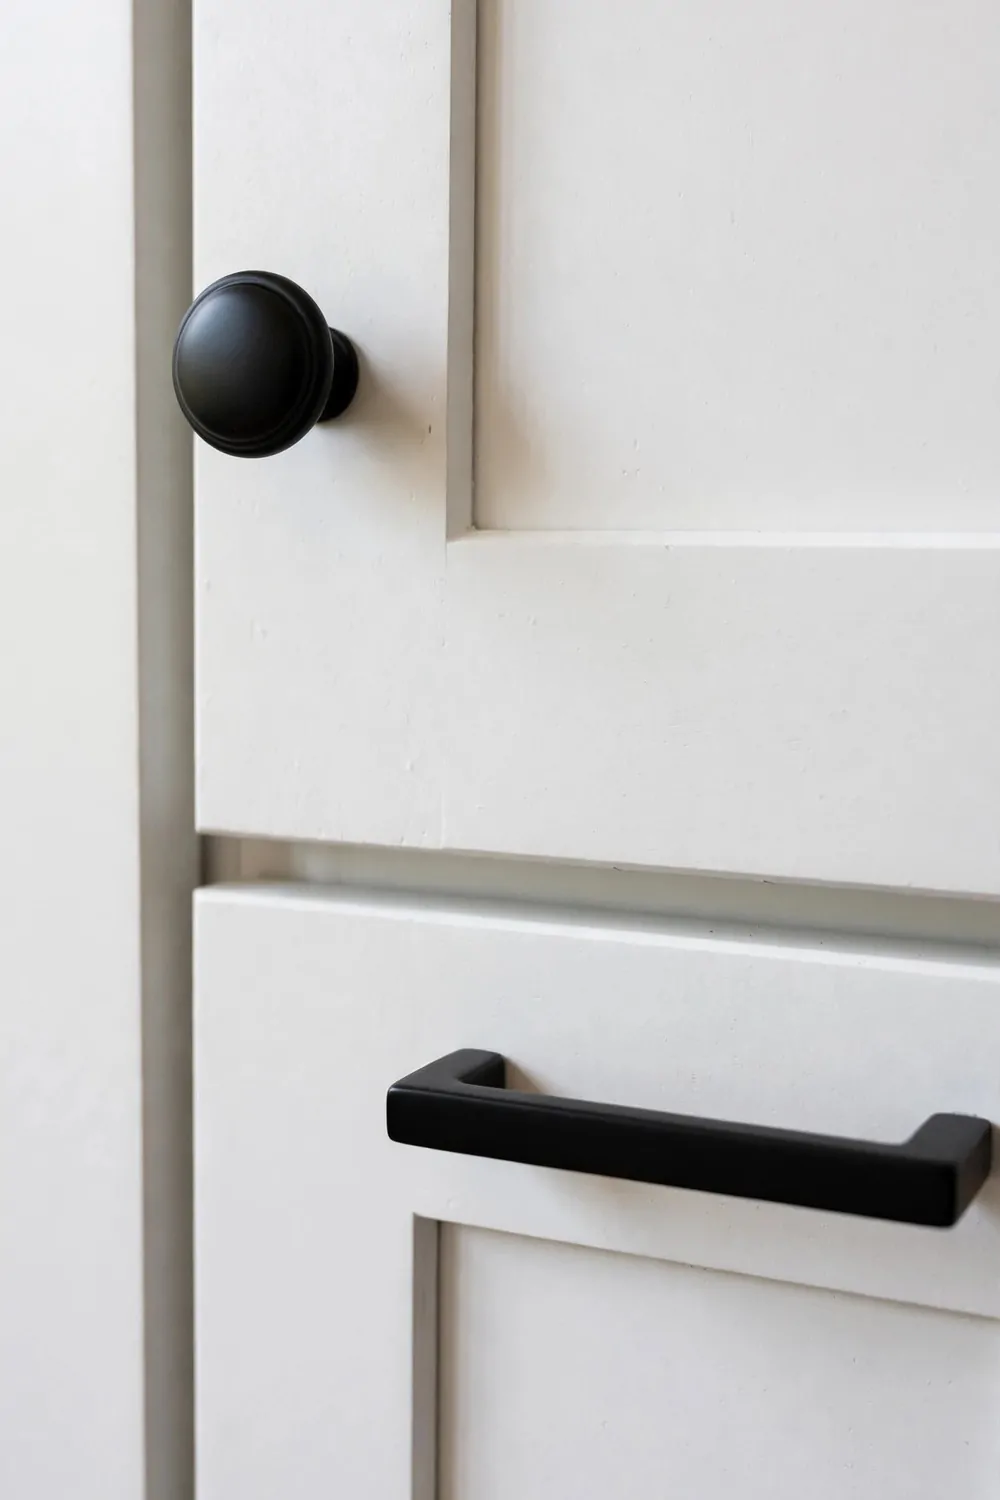
Handles are the jewellery of a kitchen. They are small, but your eyes notice them every single time you open a door or a drawer.
Old handles make a kitchen look old. They get dull, they wobble, and sometimes the finish wears off in the middle where your hand grabs them every day.
New handles change all of that in one afternoon. You just unscrew the old ones and screw the new ones in. No paint, no dust, no mess at all.
Measure the holes before you buy. This is the one step people forget, and then they get home and the new handles do not fit the old holes.
Brass handles look warm and a little bit fancy. Black handles look modern and clean. Wooden knobs feel soft and homely, and they suit a country style kitchen.
Try one handle first before you buy the whole set. Hold it in your hand. Open and close the door a few times. It should feel good, not just look good.
If you have a lot of doors, buy a few extra handles. One always goes missing or gets a scratch, and it is nice to have a spare in a drawer.
Mixing is fine too. Some people use knobs on the doors and long handles on the drawers, and it looks really smart when you do it on purpose.
This is one of the fastest makeovers on this whole list. You can do it before lunch and cook dinner in a kitchen that feels brand new.
3. Add Peel-and-Stick Backsplash Tiles
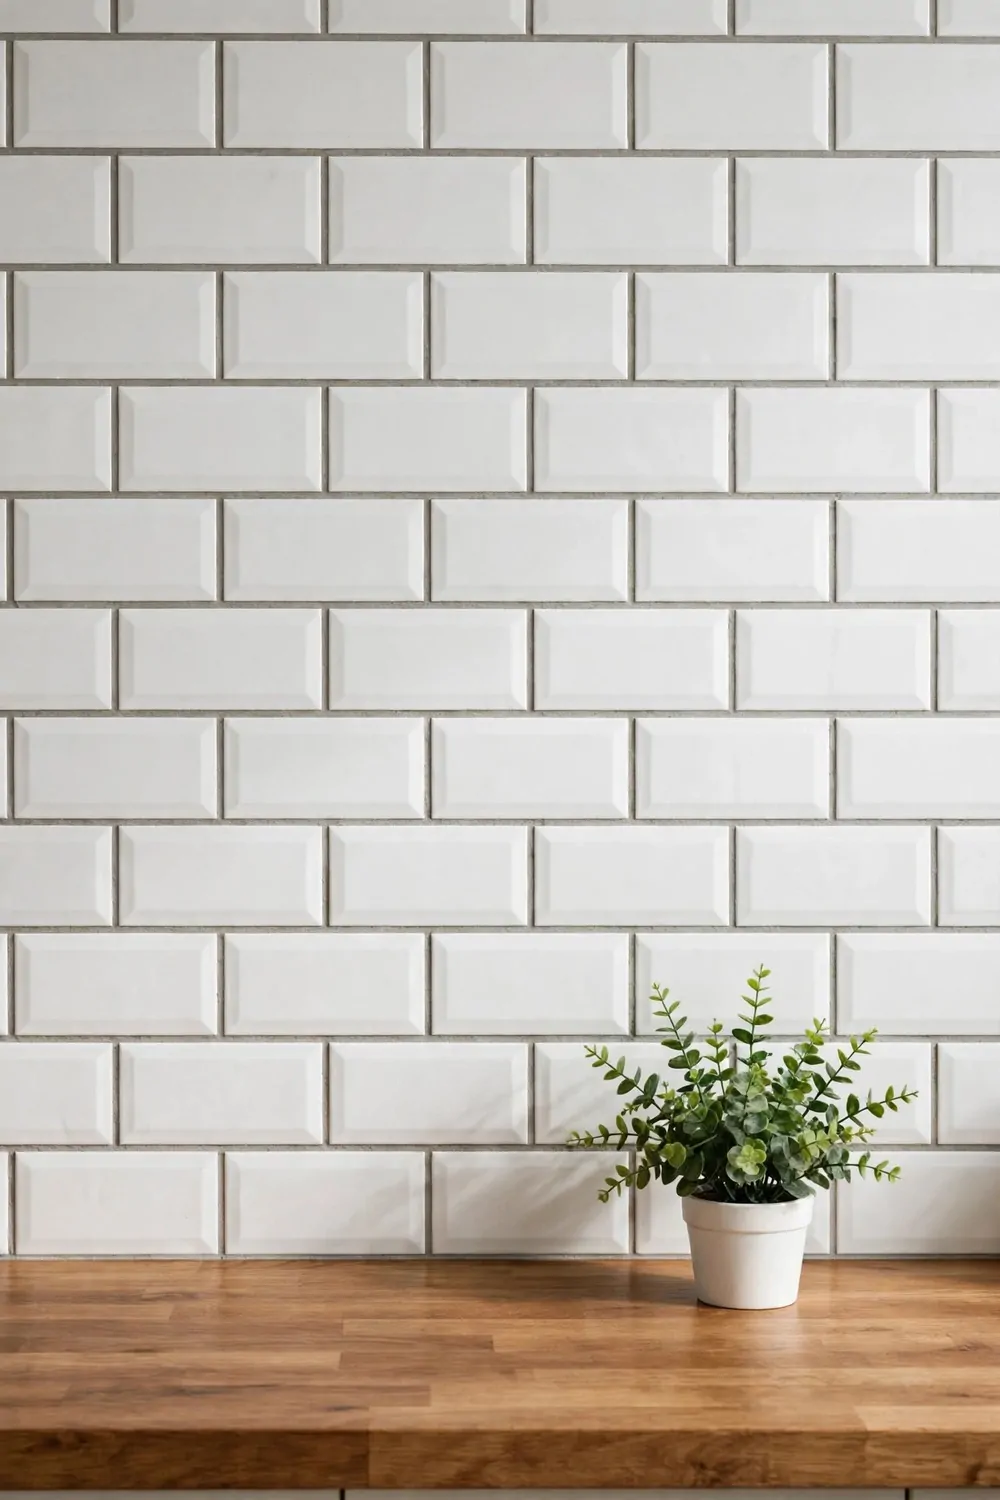
The wall behind your stove and sink does a lot of work. It catches splashes, steam, and little bits of food, and most kitchens leave it plain and boring.
Peel-and-stick tiles fix that in a weekend. They look like real tiles, but you do not need glue, grout, or any messy tools to put them up.
Clean the wall first and let it dry. The sticky back needs a clean, dry wall to hold on to, or the tiles will start to peel at the corners.
Start in the middle and work your way out to the sides. That way the pattern stays even, and any little cuts end up at the edges where nobody looks.
Use a sharp knife and a straight edge to cut the tiles. Measure twice, cut once, and take your time. A neat cut is what makes them look real.
White subway tiles are the classic choice, and they go with almost every kitchen. A soft pattern tile can add a bit of fun if your kitchen is very plain.
Press each tile down firmly and smooth it with your hand. Go over the edges twice, because the edges are the parts that lift first.
If a tile goes on crooked, peel it off and try again. The sticky back lets you fix a mistake, and that is the best part of this idea.
When you step back, the whole kitchen looks brighter and more finished. It is a small patch of wall, but it changes the feel of the entire room.
4. Paint the Walls a Warm White
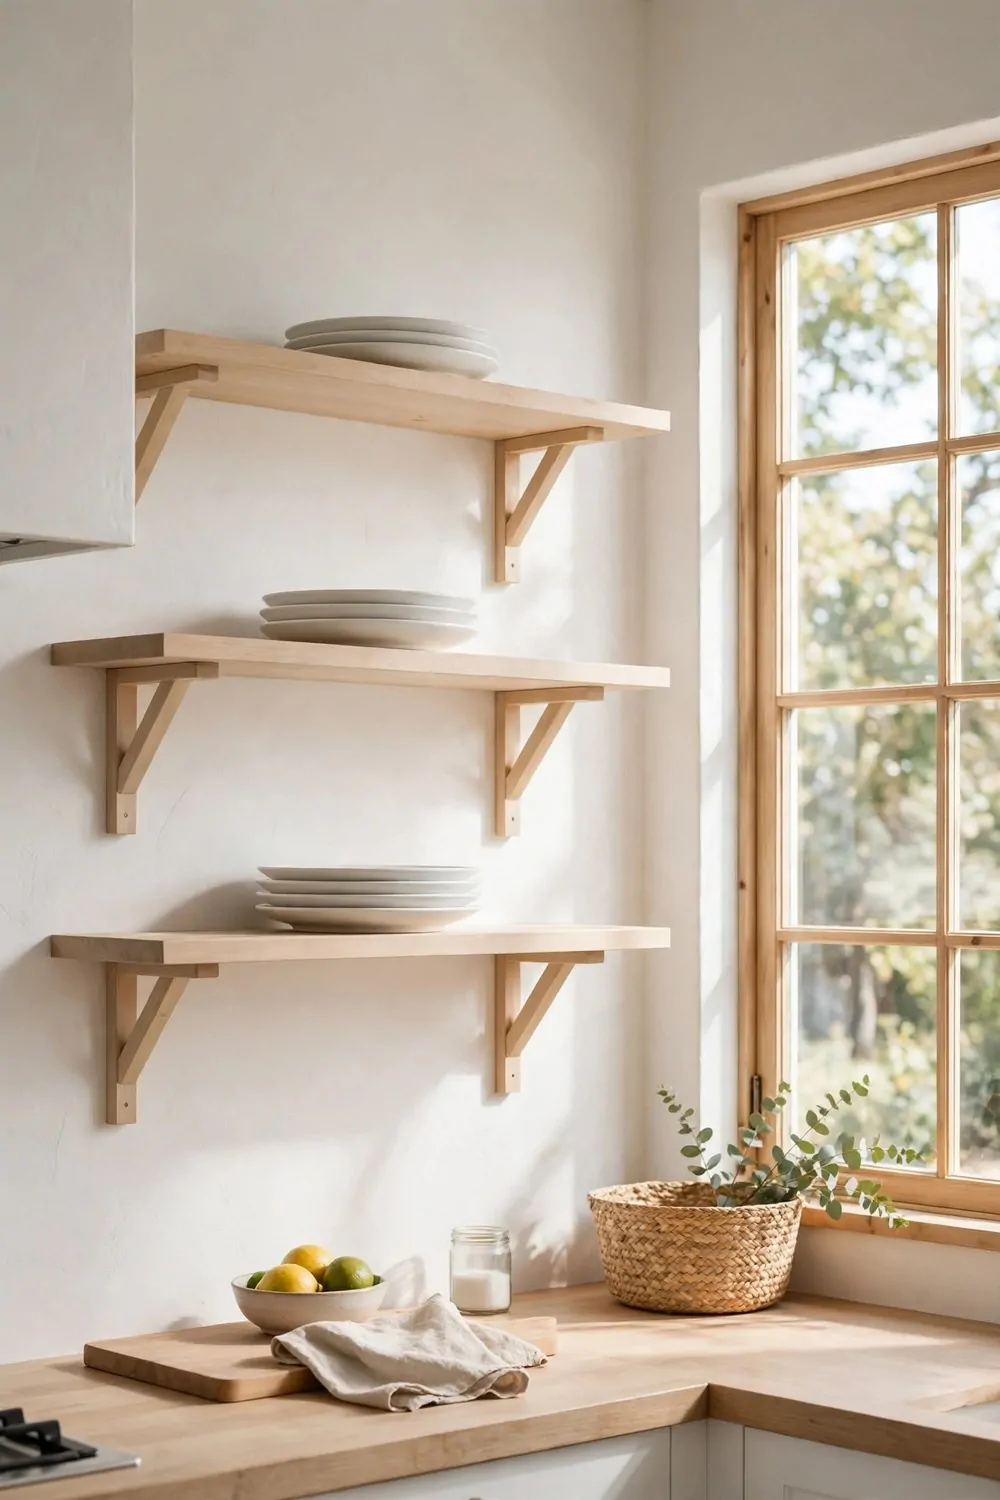
Wall colour does more than you think. A cold white can make a kitchen feel like a hospital, while a warm white makes it feel like home.
Warm white has a tiny bit of yellow or cream in it. You can hardly see it in the tin, but on the wall it makes the whole room feel softer.
Test the colour on the wall before you buy a big tin. Paint a small patch near the window and another patch near the stove, then look at both in the morning and in the evening.
Light changes everything. A colour that looks perfect at noon can look grey at night, so give the test patch a full day before you decide.
Move the small stuff off the counters before you start. Put it on the dining table or in a box, and cover the counters with old sheets so you do not get paint on them.
Cut in the edges first with a brush. Go around the ceiling, the windows, and the door frames, and take your time. The edges are the slow part, but they make the finish look neat.
Roll the big flat walls next. Use long, even strokes and keep a wet edge so you do not get lines where one section dried before the next one started.
Two coats is the rule for most kitchens. The first coat covers the old colour, and the second coat gives you that smooth, even finish.
When the paint dries, the room will feel bigger and brighter. Warm white bounces the light around, and it makes your cabinets and worktops look better too.
5. Change the Light Fixtures
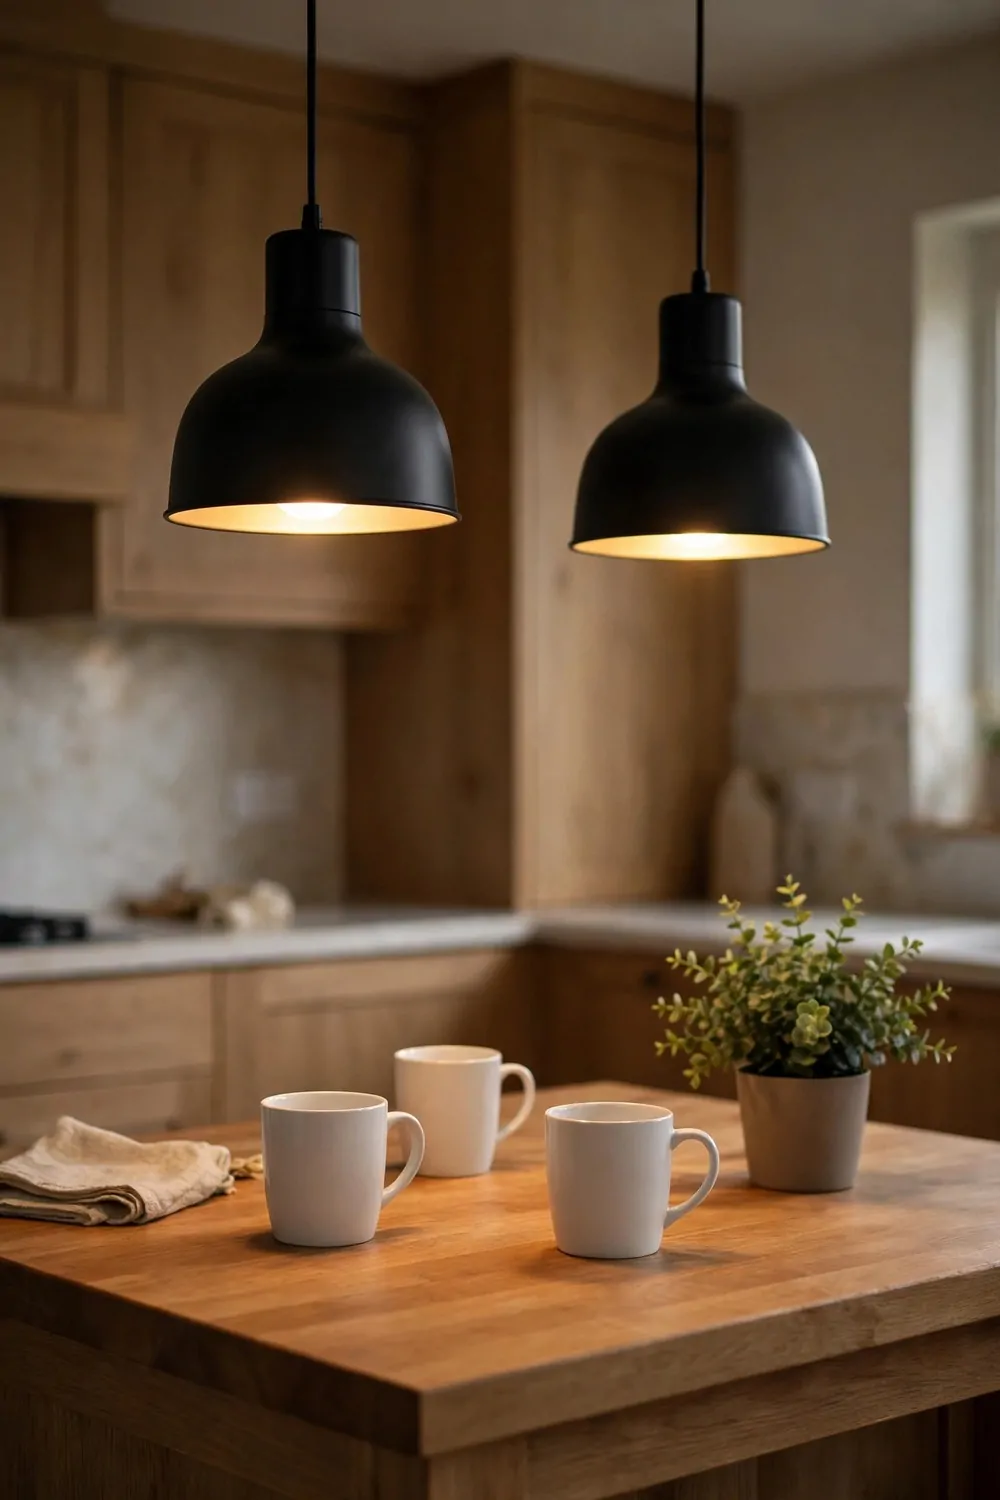
Light fixtures are the first thing your eyes see when you walk into a kitchen. A dated fitting can make a fresh room look old, even if everything else is new.
Start with the main light over the middle of the room. If it is an old flat fitting or a bare bulb, swapping it will change the whole mood in one go.
Pendant lights look lovely over a table or an island. They hang down low, they give a warm pool of light, and they make the room feel styled.
Flush mount lights sit close to the ceiling, so they suit a low ceiling. They spread light all over the room and they never get in the way.
Track lights let you point the light where you need it. You can aim one at the stove, one at the sink, and one at the worktop, and move them later if you change your mind.
Before you buy, check the size of the fitting against your room. A tiny light over a big island looks lost, and a huge light in a small kitchen feels heavy.
Here is a quick look at the most common types and what they usually cost, so you can pick the one that fits your budget best.
| Light fixture type | Best for | Typical cost |
|---|---|---|
| Pendant light | Over an island or table | $20 to $120 each |
| Flush mount light | Low ceilings and small kitchens | $25 to $100 each |
| Track light | Aiming light at work areas | $30 to $150 per set |
Pick warm bulbs if you want a cozy feel. Cool white bulbs can make a kitchen feel cold, and warm light makes food look better too.
Turn the power off before you change any fitting, and if the wiring looks old or confusing, call an electrician. A safe job is always worth more than a cheap one.
6. Add Under-Cabinet Lights
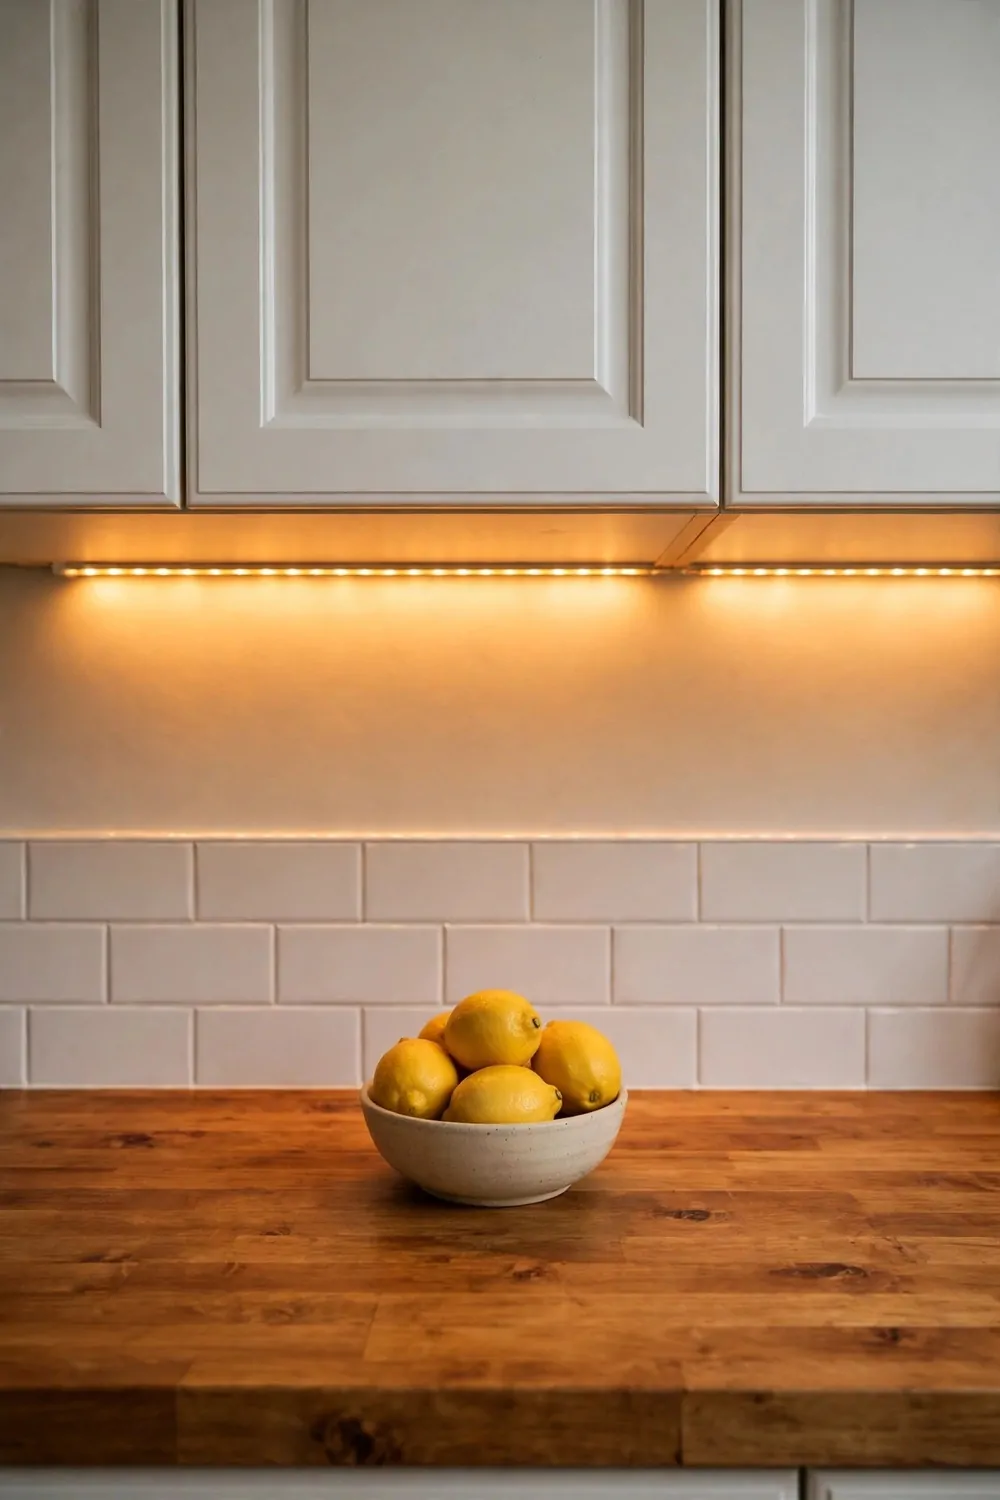
Under-cabinet lights are one of those small things that feel like a luxury. They make your worktop glow, and they make cooking at night feel so much easier.
The best part is how simple they are now. You can buy small LED strips or little puck lights that stick on with tape or a few small screws.
Start with the spot where you chop and cook the most. That is the place where good light matters, and one strip there can change your whole evening routine.
Measure the length of your cabinets before you buy. A strip that is too short leaves a dark gap, and a strip that is too long is hard to hide.
Warm white LEDs look best in most kitchens. They match the warm light from your main fitting and they make the worktop look soft and inviting.
Stick the strip right at the front edge under the cabinet, not at the back. That way the light falls forward onto your worktop instead of washing the wall behind it.
Hide the little wire along the back of the cabinet so you cannot see it. A small clip or a bit of tape keeps it neat and out of the way.
Battery lights are fine if you do not want wires at all. Plug-in ones are brighter and you never have to change a battery, so pick the kind that suits your kitchen.
Switch them on at night and stand back. The cabinets will look like they float, the worktop will look clean and bright, and your kitchen will feel like a much more expensive room.
7. Swap the Faucet
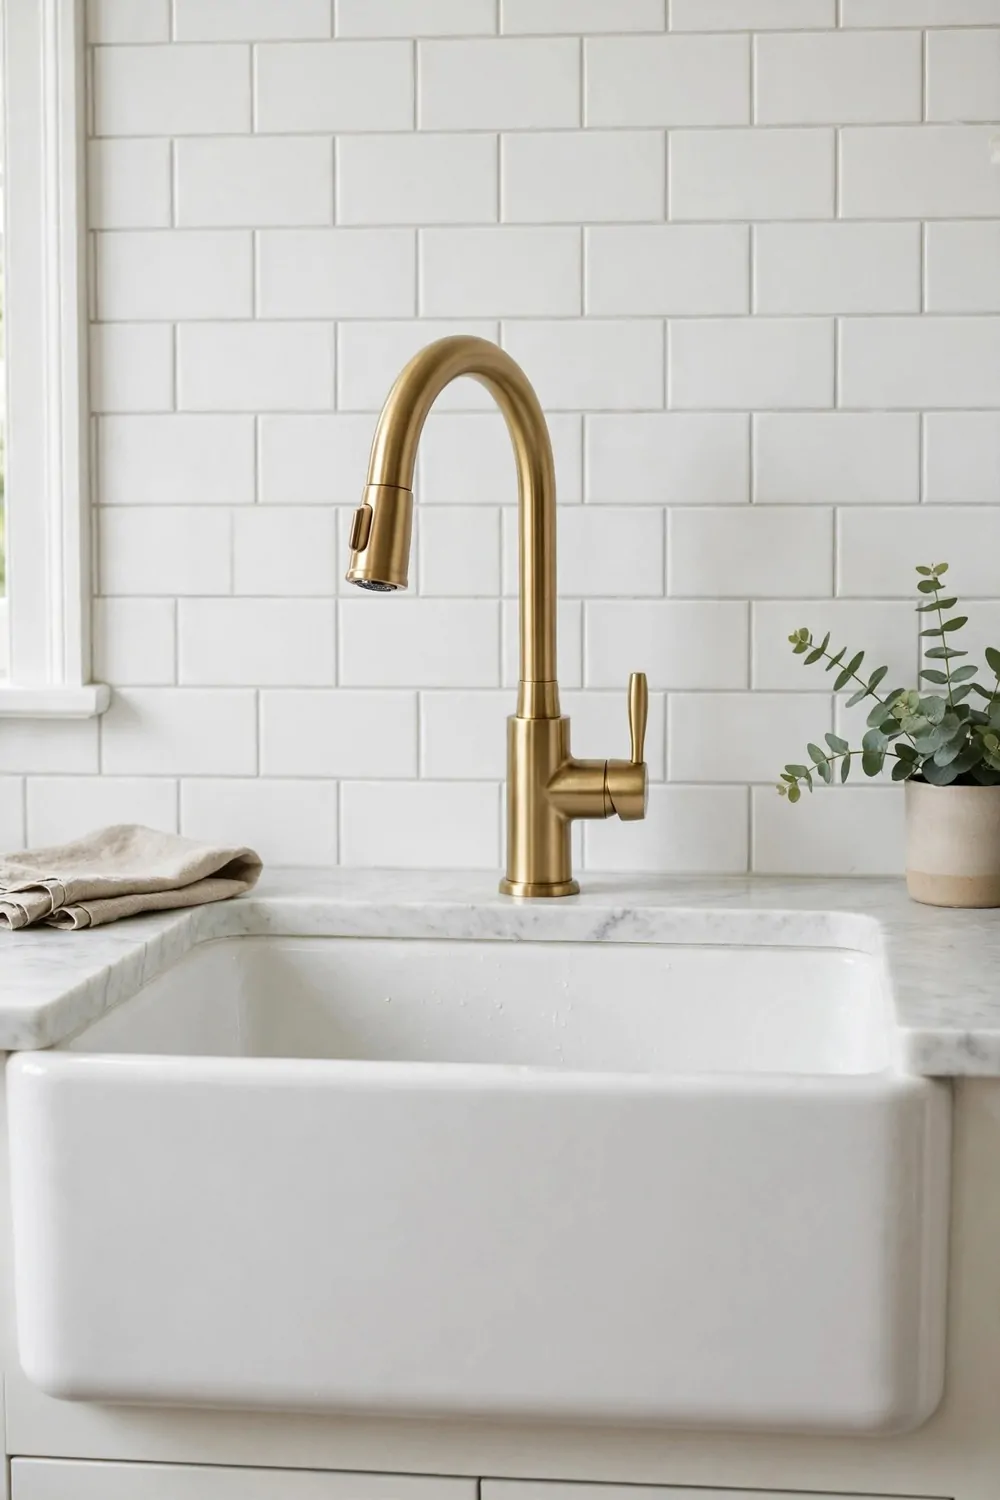
Your faucet is the hardest working thing in the kitchen. You touch it ten times a day, and a tired old one makes the whole sink area look dated.
A new faucet is a small job with a big payoff. It takes about an hour, and most of that time is just getting the old one off.
Turn the water off first. There are two little valves under the sink, one for hot and one for cold. Turn them both off and open the tap to let the last bit of water out.
Take a photo of the old pipes before you undo anything. If you get stuck halfway through, that photo will save you, because you can see exactly how it all fit together.
Pick a style that matches your kitchen. A tall arched faucet looks modern and gives you room for big pots. A classic bridge style suits a country kitchen.
Matte black looks bold and modern. Brushed nickel hides water spots well. Chrome is shiny and bright, but it shows every little mark.
Check the number of holes in your sink before you buy. Some sinks have one hole, some have three, and the new faucet has to match or it will not fit.
Put a little plumber’s tape on the threads and tighten everything by hand first, then give it a gentle turn with a wrench. Do not over-tighten, or you can crack a fitting.
Turn the water back on slowly and check under the sink for drips. If it is dry, run the tap and enjoy it. Your sink area will look and feel brand new.
8. Add Soft-Close Hinges to the Doors
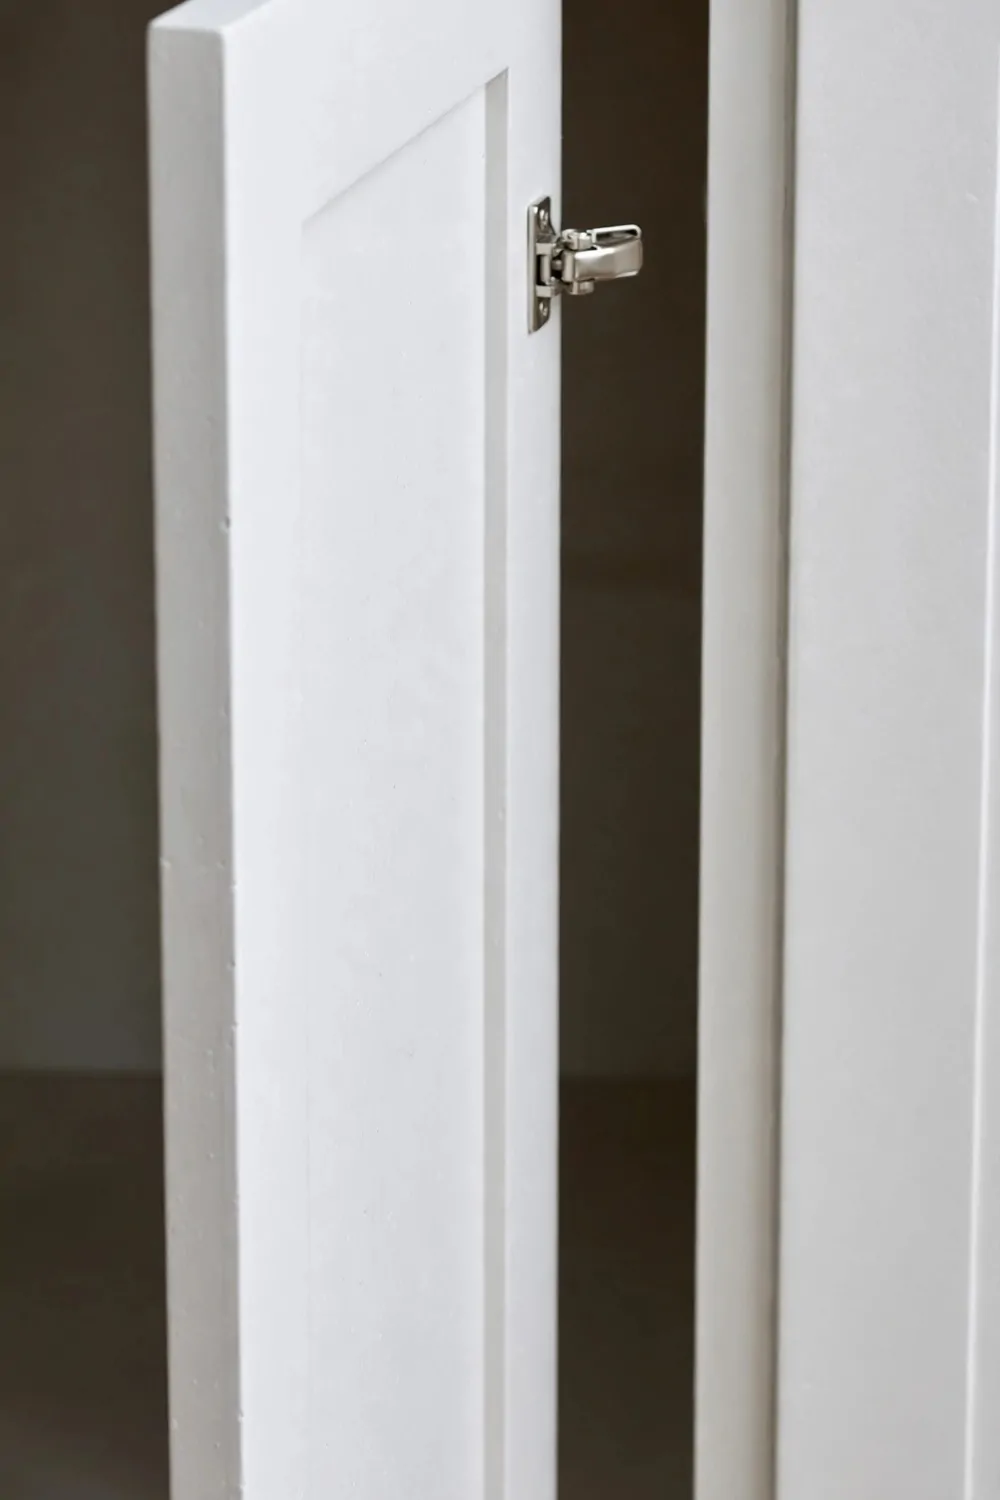
Do your cabinet doors slam shut? That loud bang is the sound of a tired kitchen, and it drives you a little bit crazy every single day.
Soft-close hinges fix it in a simple way. The door swings shut on its own, slows down at the end, and closes with a soft little click instead of a bang.
You do not need new doors for this. You just swap the hinges on the doors you already have, and the whole kitchen suddenly feels calm and expensive.
Take one old hinge off first and take it to the shop with you. Hinges come in different sizes and shapes, and matching the old one saves you a lot of guessing.
Buy one extra hinge in case one is faulty or gets lost. It is a small thing, but it saves a second trip to the shop.
Work on one door at a time. Take it off, swap both hinges, and put it back on before you move to the next door, so you never mix up which door goes where.
You may need to adjust the little screws on the hinge to get the door sitting straight. Turn them a tiny bit at a time, and check the gap around the door as you go.
Test every door when you finish. Open it wide, let it go, and watch it glide shut. That soft close is so satisfying that you will do it twice just for fun.
Guests will notice it too, even if they cannot say why. A kitchen that closes softly just feels well made, and it costs far less than new cabinets.
9. Add One Open Shelf by the Stove
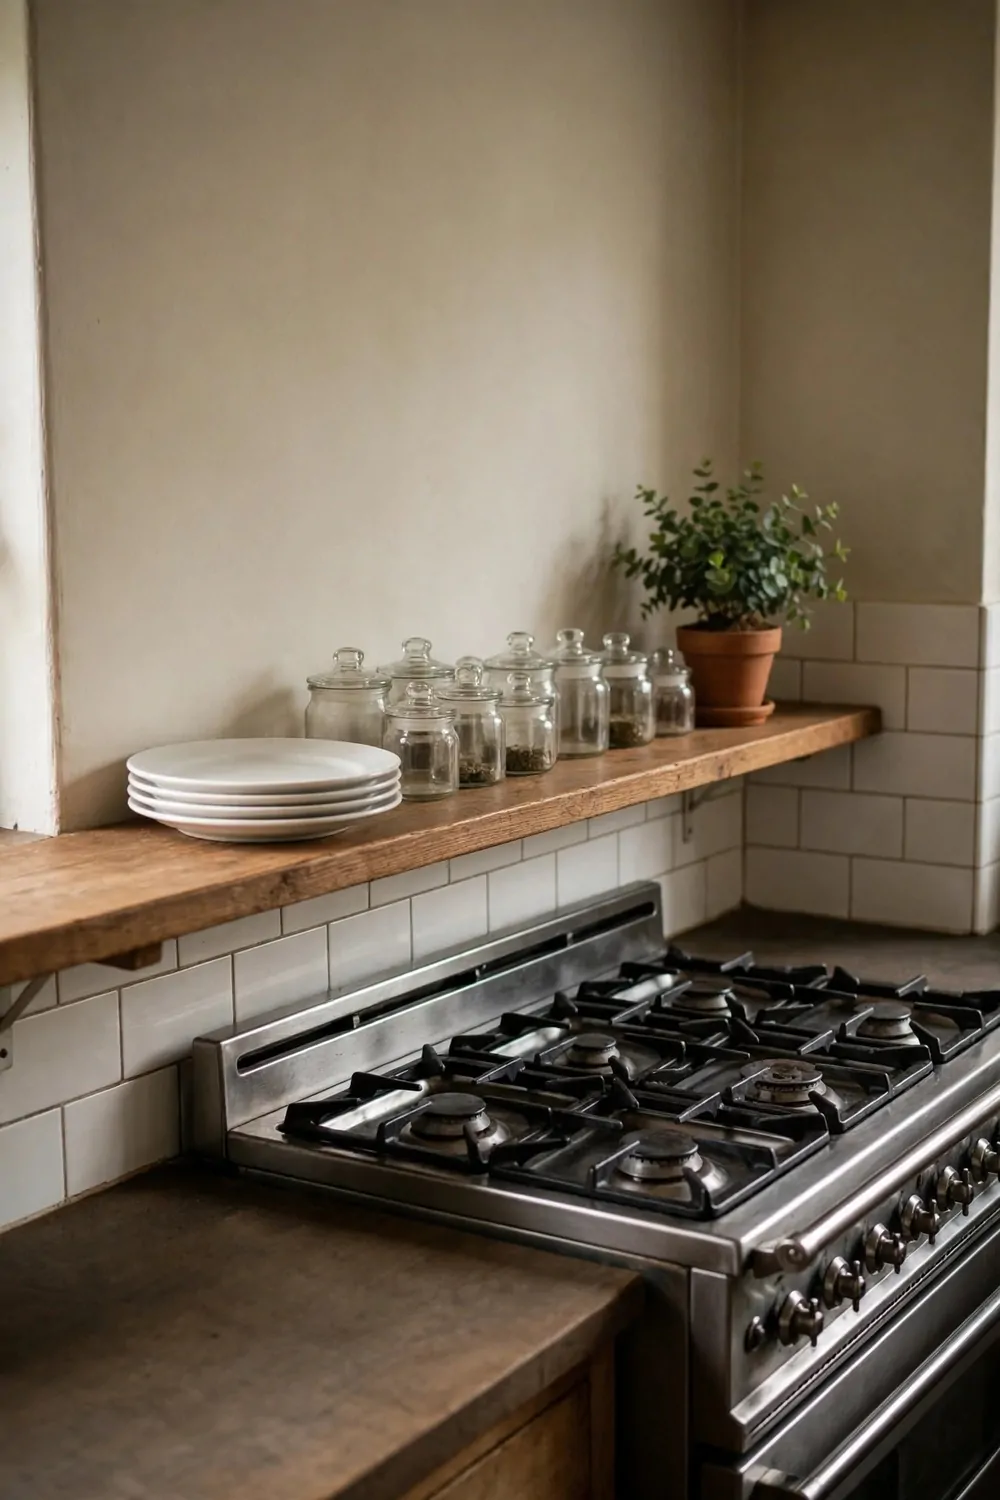
One open shelf by the stove is a small change with a big effect. It gives you a spot for the things you reach for every day, right where you need them.
Pick a wall that is empty and close to the stove. A short stretch of wall is all you need, and one shelf is enough to start with.
Use a solid wood board for the shelf. Wood looks warm in a kitchen, and it is strong enough to hold plates, bowls, and a few jars without bending.
Find the studs in the wall before you drill. A shelf full of dishes is heavy, and screws in a stud hold it safe and steady for years.
Keep the shelf simple at first. A stack of plates, two or three bowls, and a small jar of spoons is plenty, and it looks calm instead of cluttered.
Put the things you use most on the shelf. If you reach for it every day, it belongs there. If you use it once a month, it belongs in a cupboard.
Leave a little empty space on the shelf. A full shelf looks messy, but a shelf with breathing room looks like a shop display.
Wipe the shelf once a week when you clean the stove. Open shelves catch a little grease and dust, and a quick wipe keeps them looking fresh.
This one shelf will change how you cook. You will stop opening cupboards with wet hands, and your kitchen will look lighter and more open too.
10. Paint the Kitchen Island a Bold Colour
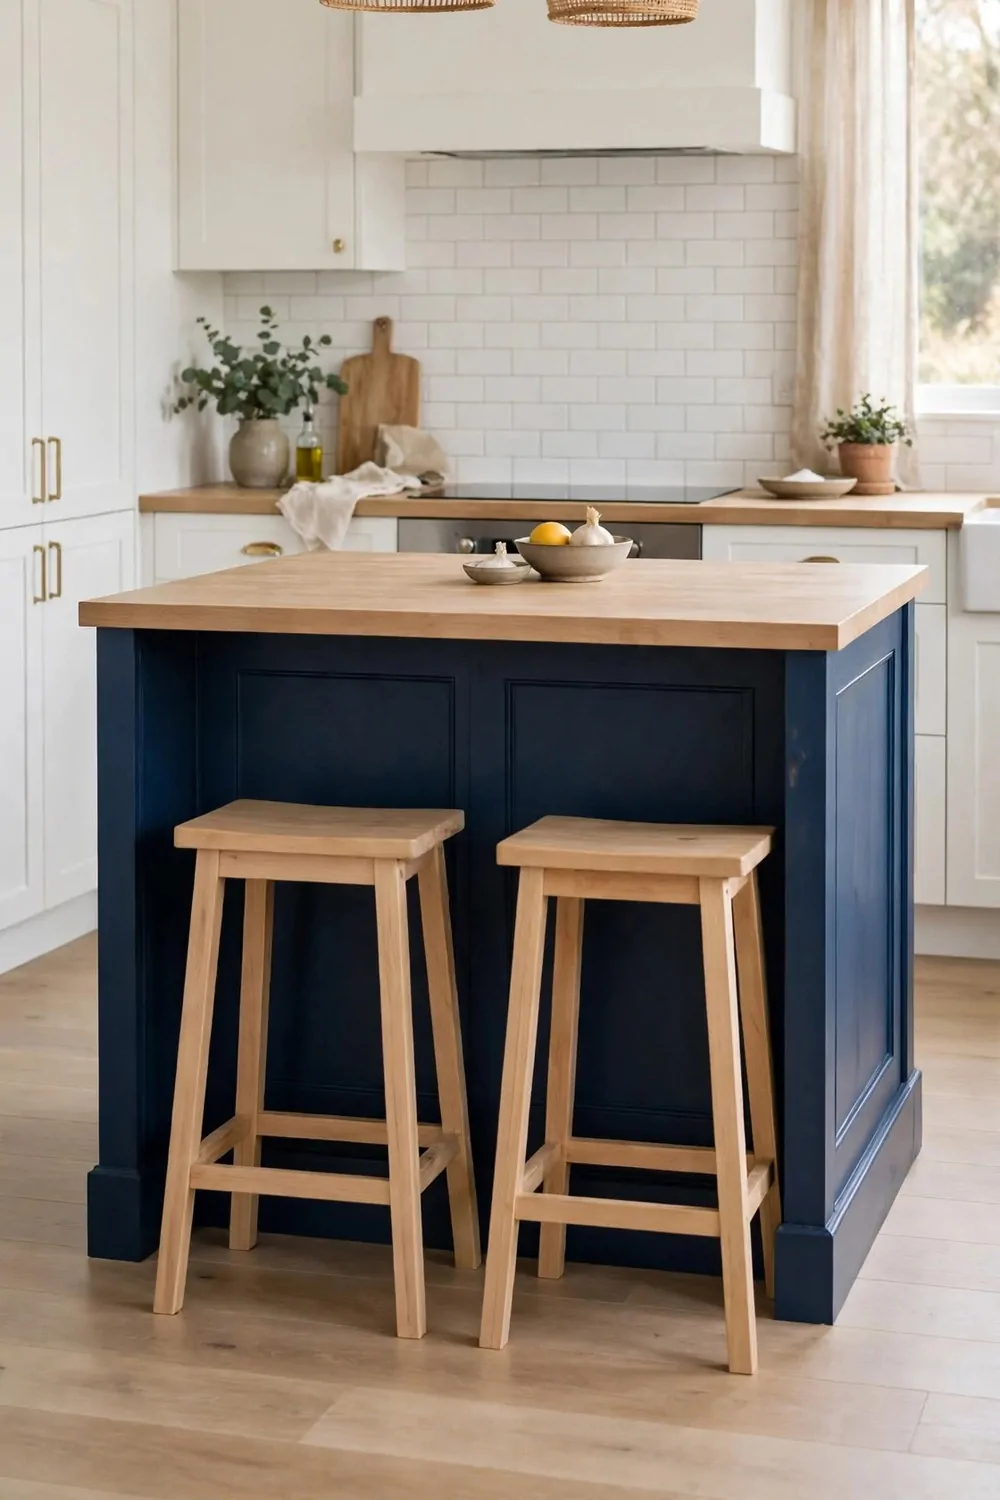
Your island is the star of the kitchen. It is the big block in the middle of the room, and painting it a bold colour makes the whole space feel designed.
Keep the rest of the kitchen calm and let the island do the talking. White cabinets, warm walls, and one bold island is a look that always works.
Navy blue is a favourite for islands. It looks rich and deep, and it goes well with wood, brass, and white worktops.
Forest green is another good choice. It feels calm and natural, and it makes a kitchen feel fresh without being loud.
If you want something softer, try a dusty blue or a warm charcoal. Both look smart, and they hide little marks better than a pale colour.
Clean and sand the island the same way you did the cabinets. The paint needs a clean surface, and a light sand helps it grip the wood.
Use a brush for the panels and a small roller for the flat parts. Two thin coats will give you a smooth finish that lasts, and it will not show brush marks.
Let it dry fully before you lean on it or put things back. Paint on an island gets a lot of bumps from chairs and knees, so give it time to harden.
Step back and look at your kitchen now. That one bold island makes the whole room feel like a designer planned it, and all it cost was a tin of paint.
11. Cover the Counter with Fresh Contact Paper
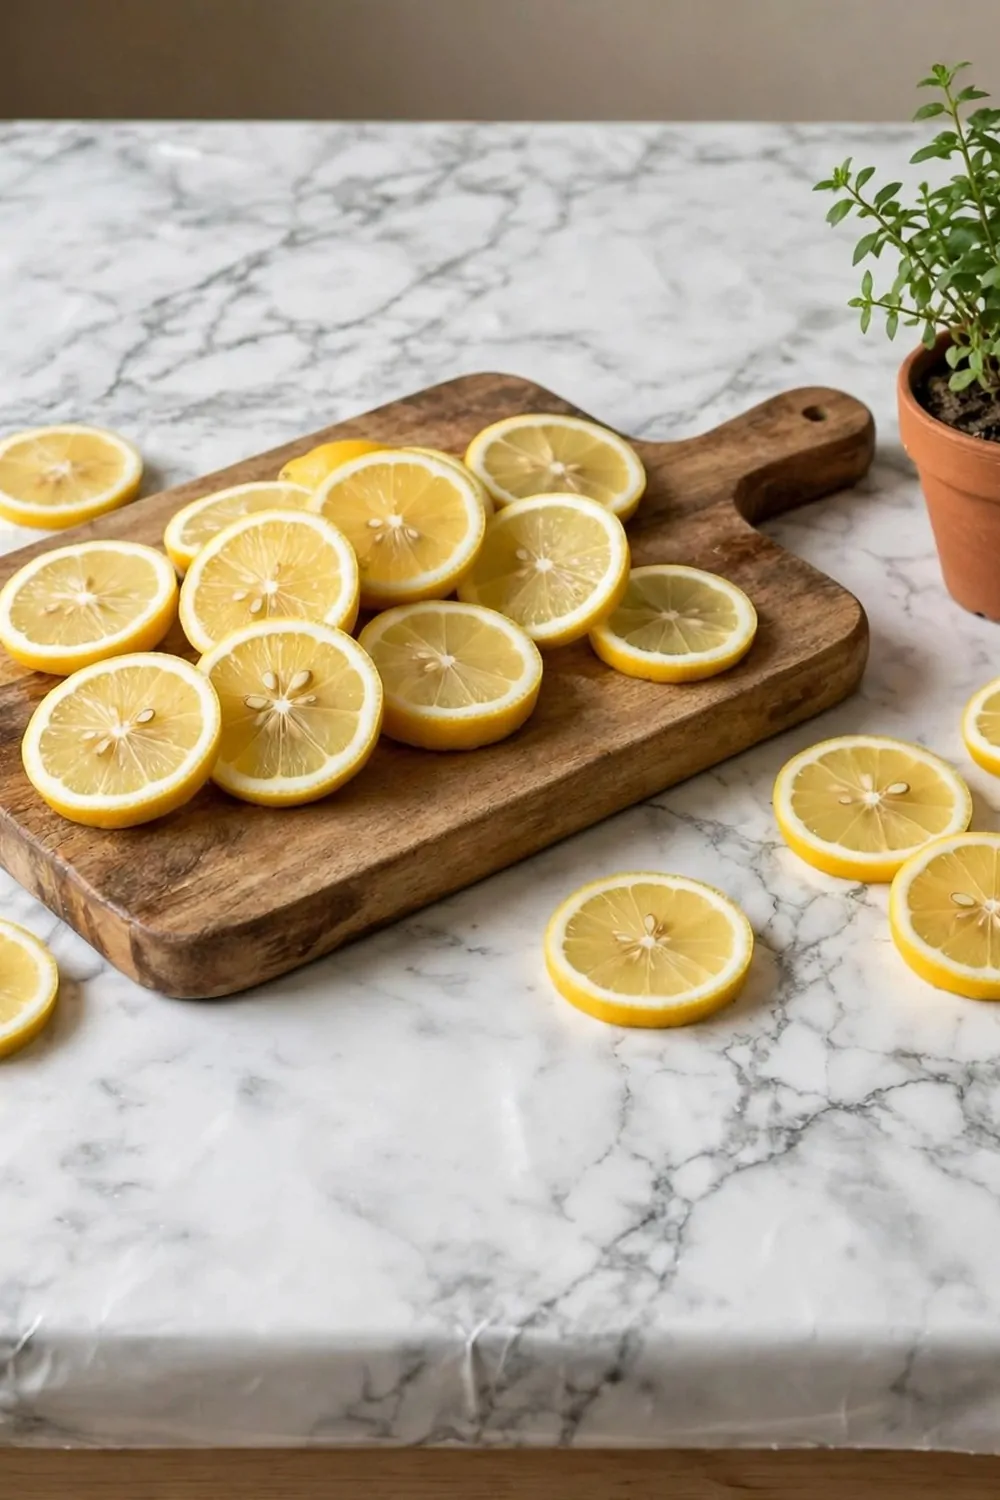
Old counters can make a whole kitchen look tired, even when everything else is fresh. New counters cost a fortune, but contact paper costs almost nothing.
Contact paper is a thick sticky vinyl that looks like stone, wood, or marble. You cut it to size, peel the back off, and smooth it over your old counter.
Clear everything off the counter first. Take off the kettle, the boards, and the jars, and give the surface a good clean so the paper sticks properly.
Measure the counter and cut the paper a little bit bigger than you need. You can trim the extra off at the edges later, and it is much easier than trying to stretch a piece that is too short.
Peel the backing off slowly, a little at a time. Smooth the paper down as you go, and push any bubbles out to the edge with a flat card or a cloth.
Work in small sections and take your time. If a bubble appears, lift the paper back gently and smooth it down again. Rushing is what makes wrinkles.
Trim the edges with a sharp knife and press them down firmly. A neat edge is what makes the counter look real instead of covered up.
Marble patterns look bright and clean. Light wood looks warm and homely. Pick the one that suits your cabinets and your floor.
Your counter will look brand new, and nobody will guess it is contact paper until you tell them. It is a fast, cheap fix that buys you time until a real remodel is possible.
12. Replace the Old Sink
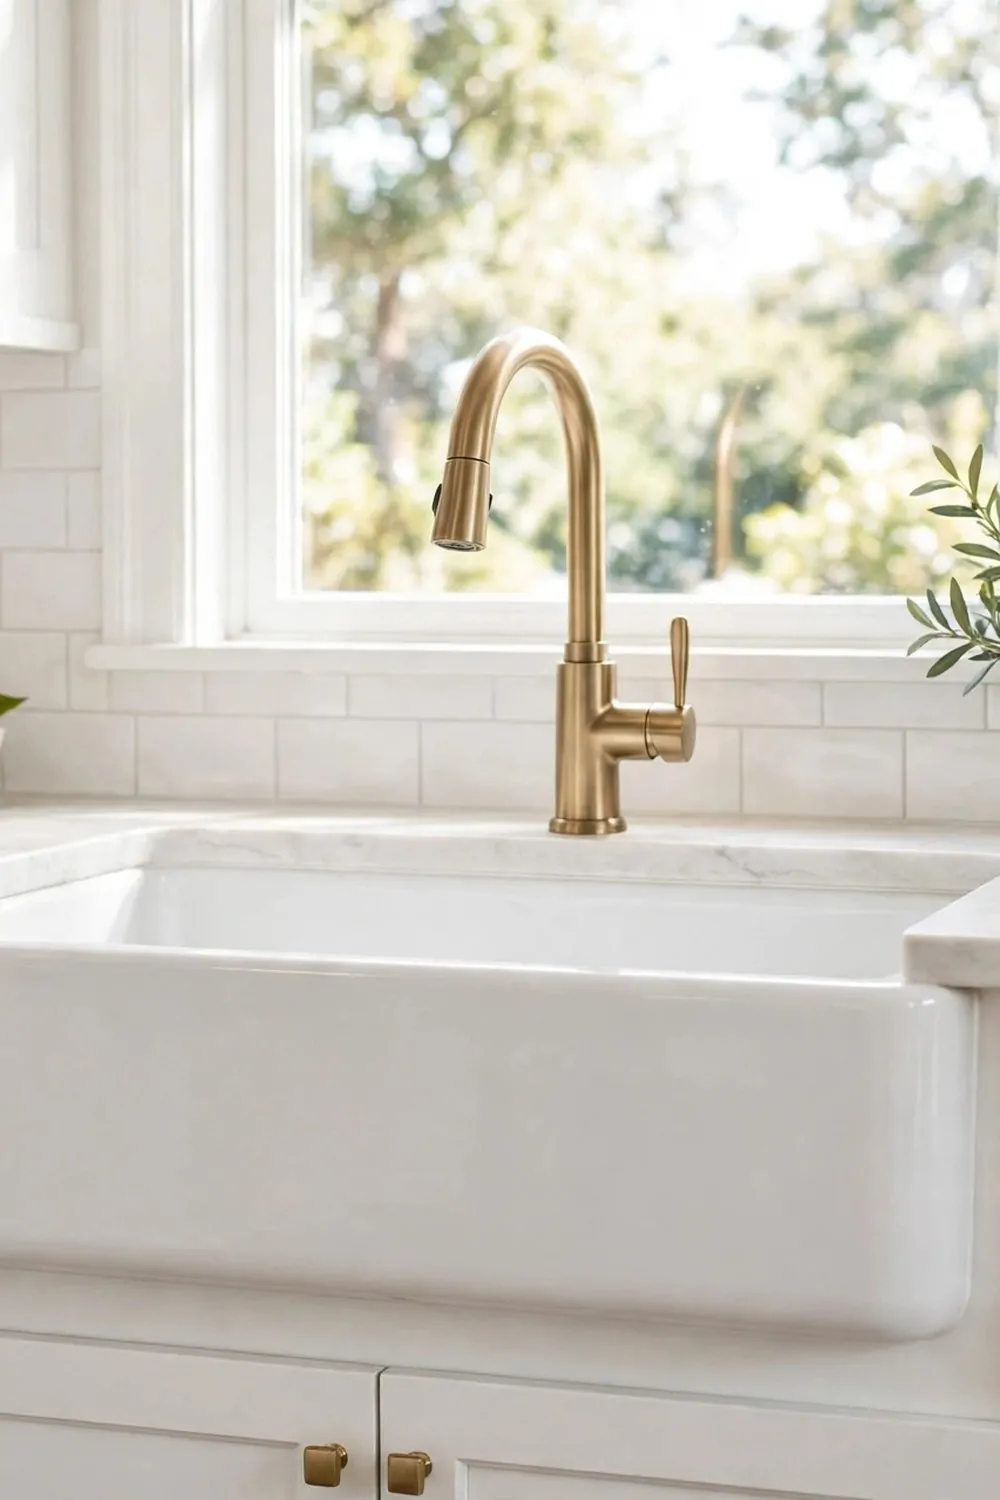
I looked at my old sink every day and I just did not like it. It had stains that never went away no matter how much I scrubbed.
A new sink can change the whole feel of your kitchen. You do not need a fancy one. A plain steel sink looks clean and fresh.
I picked a simple single bowl sink for my kitchen. It gave me more room to wash big pots. And it looked so much better than the old double one.
You should measure your old sink first. Write the numbers down before you go to the shop. That way you will not buy the wrong size.
I asked a friend to help me fit mine. It took us less than an hour. We turned the water off first, and that part is very important.
If you are not sure about the pipes, ask a plumber for help. It is better to pay a little for help than to have a leak later. A small leak can make a big mess.
Pick a tap that matches your new sink. I went for a simple tall tap. It makes it easy to fill tall pots and wash big pans.
Clean your new sink with a soft cloth. Do not use rough pads on it. I learned that the hard way and I got a few small marks on mine.
This one change made my kitchen feel new. I smile every time I wash up now. And guests always notice it first.
13. Lay Down a Washable Rug Runner
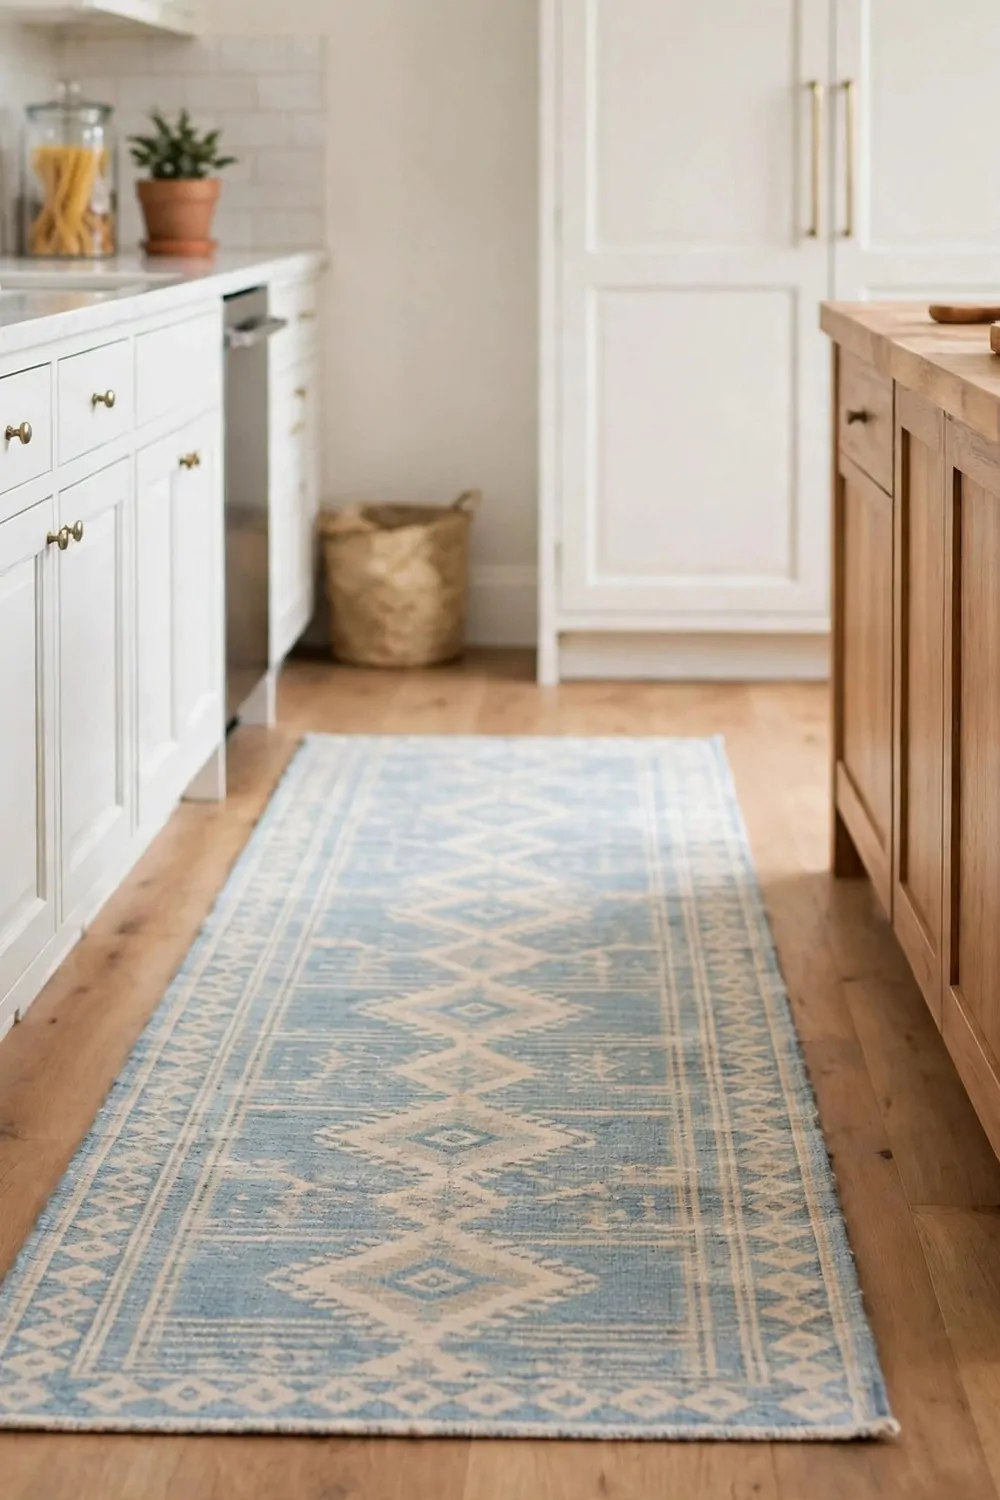
My kitchen floor felt cold and plain. I wanted something soft under my feet when I cook.
A washable rug runner was the answer for me. I can put it in the wash when it gets dirty. That makes life so much easier.
I chose a runner with a simple pattern. It hides small marks well. And it adds a bit of colour to my plain floor.
Measure the space in front of your sink or cooker first. You want the runner to fit nicely. Too long looks messy and too short looks lost.
I put a thin grip mat under mine. It stops the rug from moving around. I feel safer when I walk on it now.
You can wash it on a gentle cycle. I hang mine outside to dry. It dries fast and it smells fresh again.
Pick a colour that goes with your cabinets. I went for a warm cream with a soft blue pattern. It matches my walls too.
This is one of the cheapest changes I made. It took me five minutes to lay it down. But it made the kitchen feel warm and lived in.
If you cook a lot, you will love this one. Your feet will thank you. And your kitchen will look cared for.
14. Hang a Simple Roman Blind
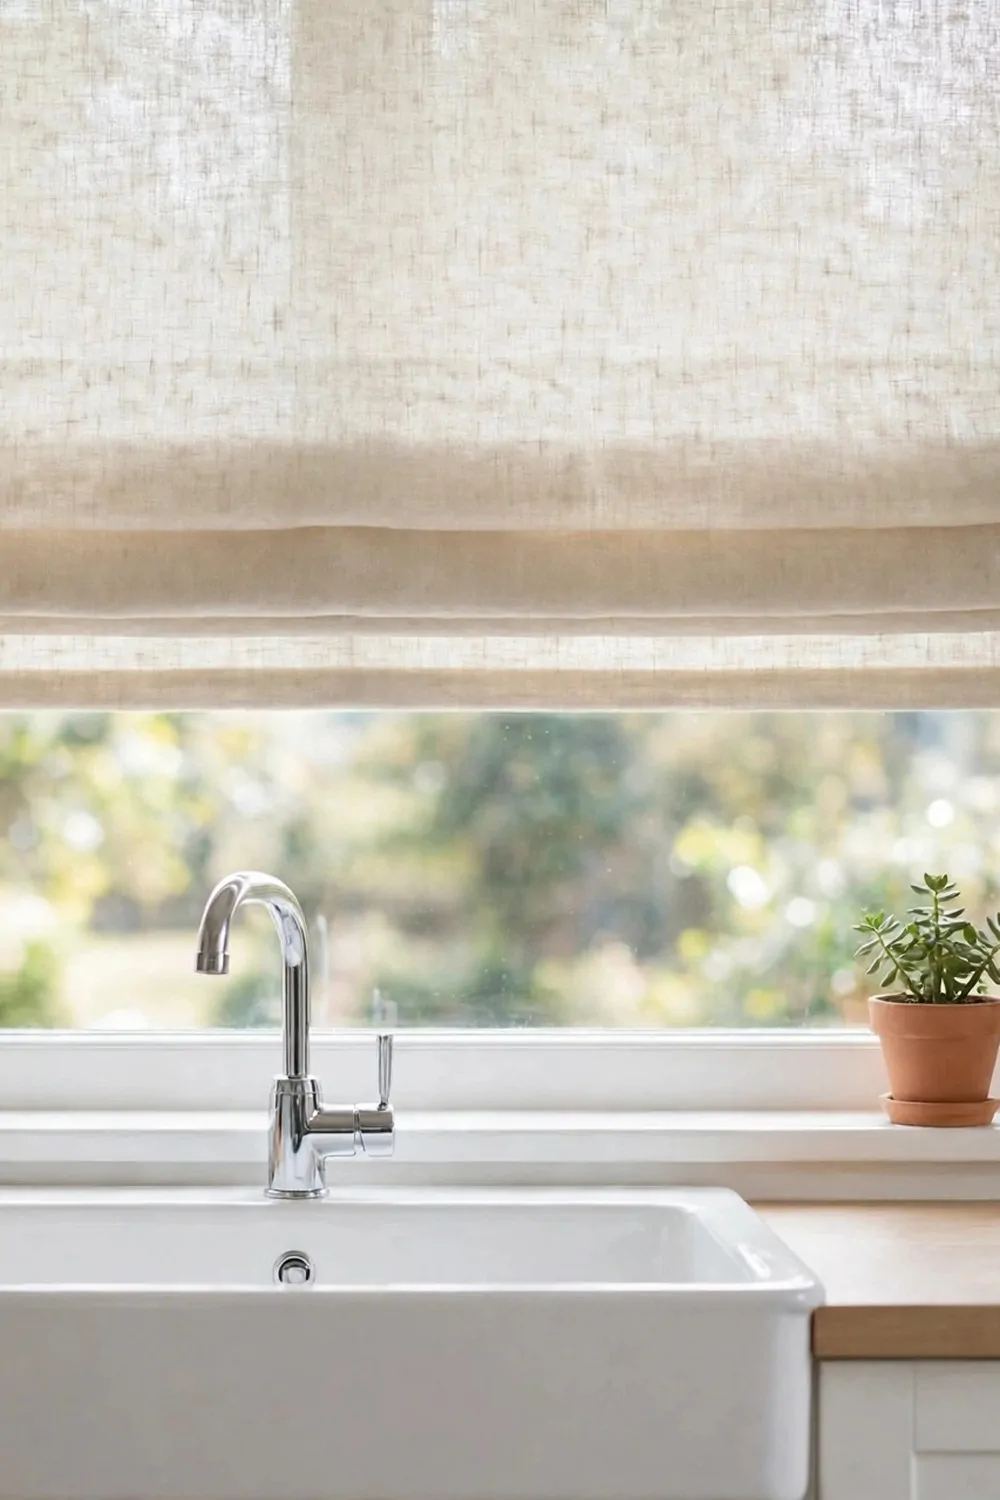
My kitchen window had an old curtain that looked tired. It hung down and it made the room feel dark.
I took it down and I hung a simple roman blind instead. It folds up neat when I want light. And it drops down soft when I want a bit of privacy.
You can find roman blinds in lots of colours. I picked a plain light one. It lets the sun shine through in a soft way.
Measure your window before you buy one. Measure the width and the drop. I wrote both numbers on my phone so I would not forget them.
Fitting it was easy. I used two small brackets and a drill. My blind came with clear steps and I just followed them one by one.
| Window covering | Typical cost |
|---|---|
| Roman blind | $30-$80 |
| Café curtain | $15-$40 |
| Roller blind | $20-$60 |
If you want a cheaper option, a café curtain can work well too. It covers just the lower half of the window. A roller blind is also simple and it rolls up out of the way.
I like that my blind is easy to clean. I just wipe it with a damp cloth. It still looks new after many months.
Pick a fabric that can handle a bit of steam from cooking. I made sure mine was made for kitchens. That was a smart choice for me.
This small change made my window look finished. The kitchen feels brighter now. And I did not spend a lot at all.
15. Swap Just the Cabinet Doors
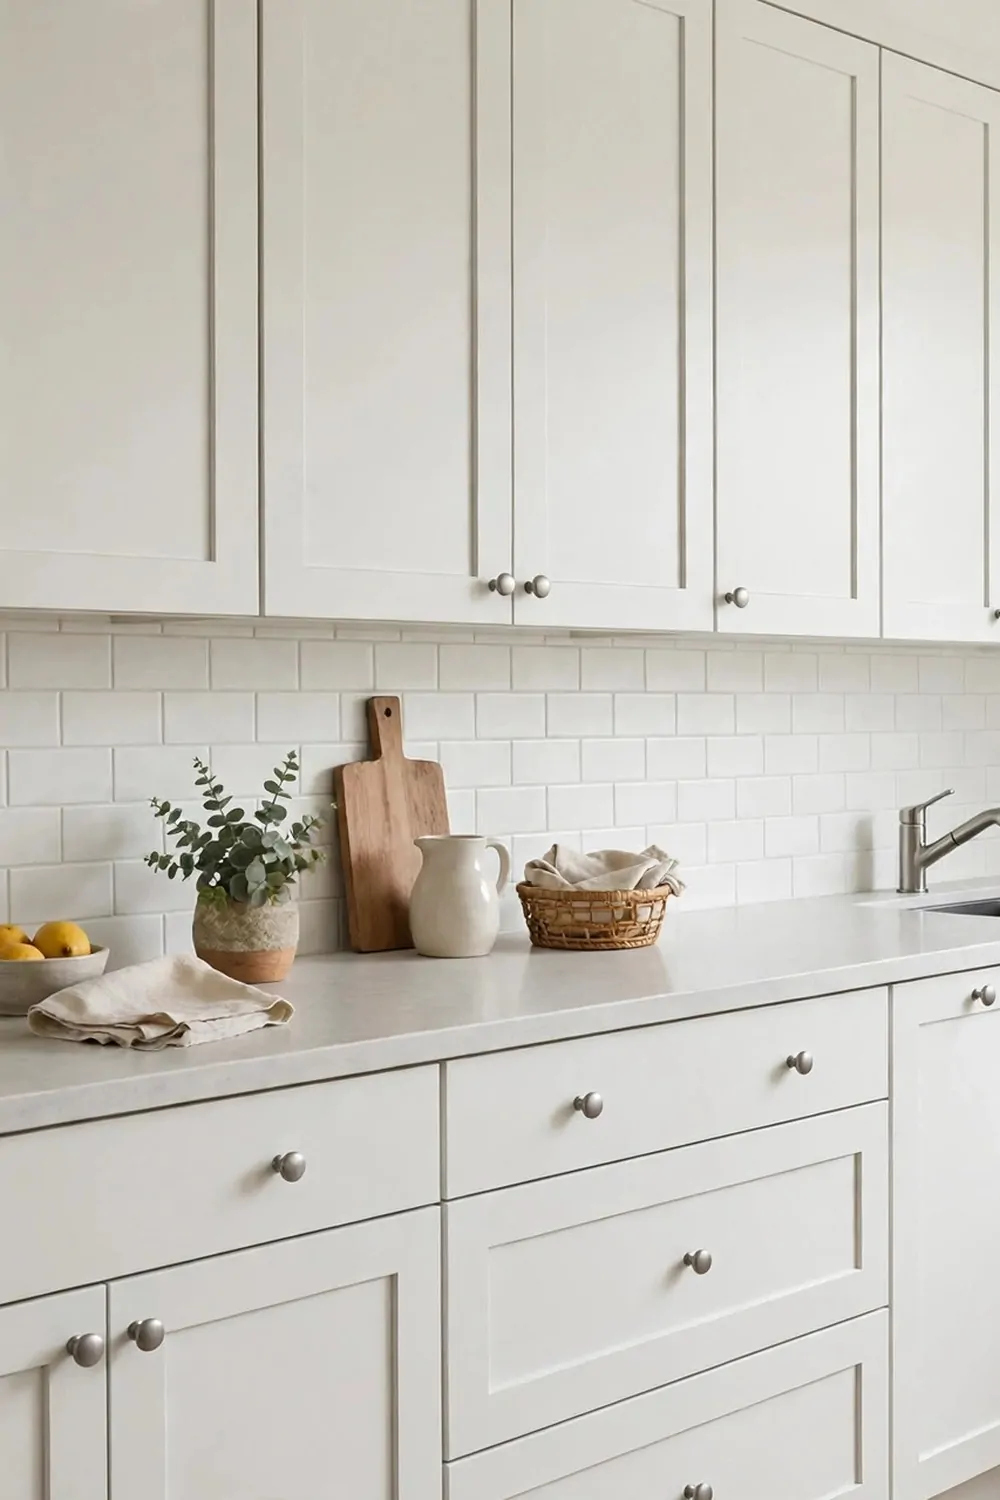
My cabinet boxes were still strong. But the doors looked old and worn out.
I did not want to buy all new cabinets. That would cost too much money. So I swapped just the doors instead.
New doors made my kitchen look brand new. I picked a simple flat style. It looks clean and it is easy to wipe down.
Take one door off first and take it to the shop. That helps you match the size and the hinge holes. I did that and it saved me a lot of guess work.
You can keep your old hinges if they still work well. I kept most of mine. I just gave them a good clean before I put the new doors on.
Paint the new doors before you fit them if you want a colour change. I painted mine a soft sage green. It dried fast and it looked so fresh.
Fit the doors one at a time. Check that each one opens and closes well. I had to adjust one hinge a tiny bit and then it was perfect.
Add new knobs if you want one more small change. I picked simple black knobs. They stand out nice against the green doors.
This job cost me much less than new cabinets. And no one can tell I kept the old boxes. My kitchen looks like it had a full remodel.
16. Add Crown Moulding on Top of the Cabinets
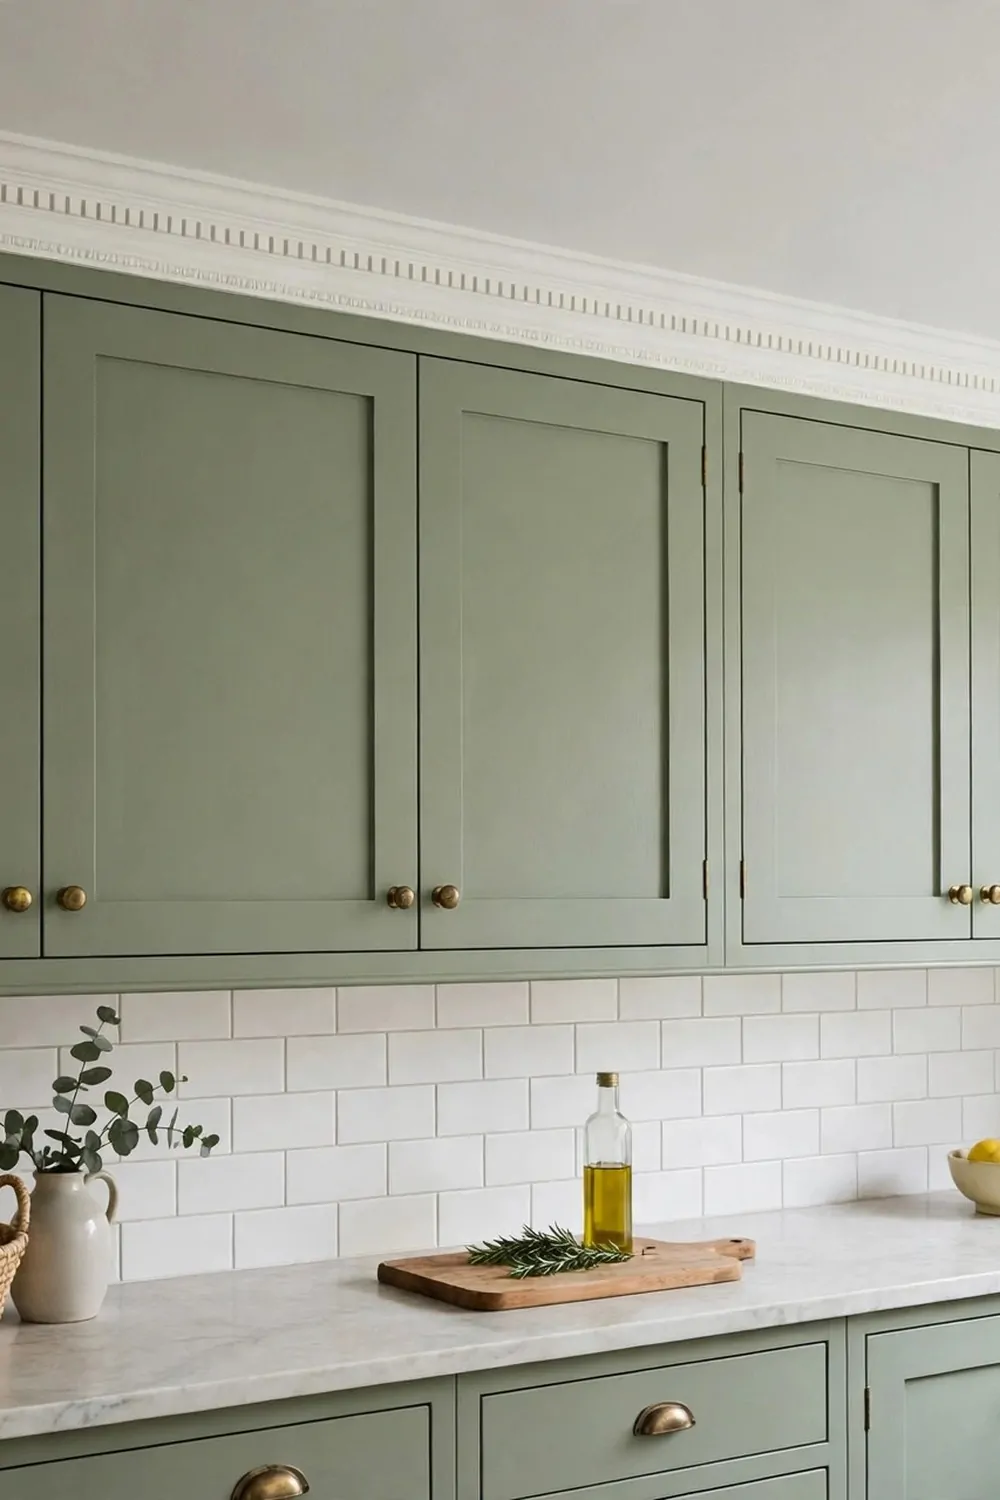
There was a gap at the top of my cabinets. It looked unfinished and it collected dust.
I added crown moulding on top of the cabinets. It is just a strip of trim that sits at the top edge. It makes the cabinets look tall and finished.
I bought plain moulding from the home store. It was light and easy to cut. I painted it the same colour as my cabinets so it blends in.
Measure the front of each cabinet first. Cut each piece a little long, then trim it down. I learned to measure twice and cut once.
I used small nails and a bit of glue to fix it in place. It held well. I filled the tiny nail holes with filler and painted over them.
If you have tall ceilings, this trick works even better. It draws your eye up. Your kitchen will feel taller and more grand.
Keep the style simple if your kitchen is simple. A fancy trim can look out of place. I picked a plain curve and it suits my room well.
Take your time with the corners. That is the hard part. I cut a few test pieces first until I got the angle right.
Now my cabinets look built in and smart. The gap is gone. And the whole kitchen feels more finished for very little money.
17. Paint the Floor Tiles with a Stencil
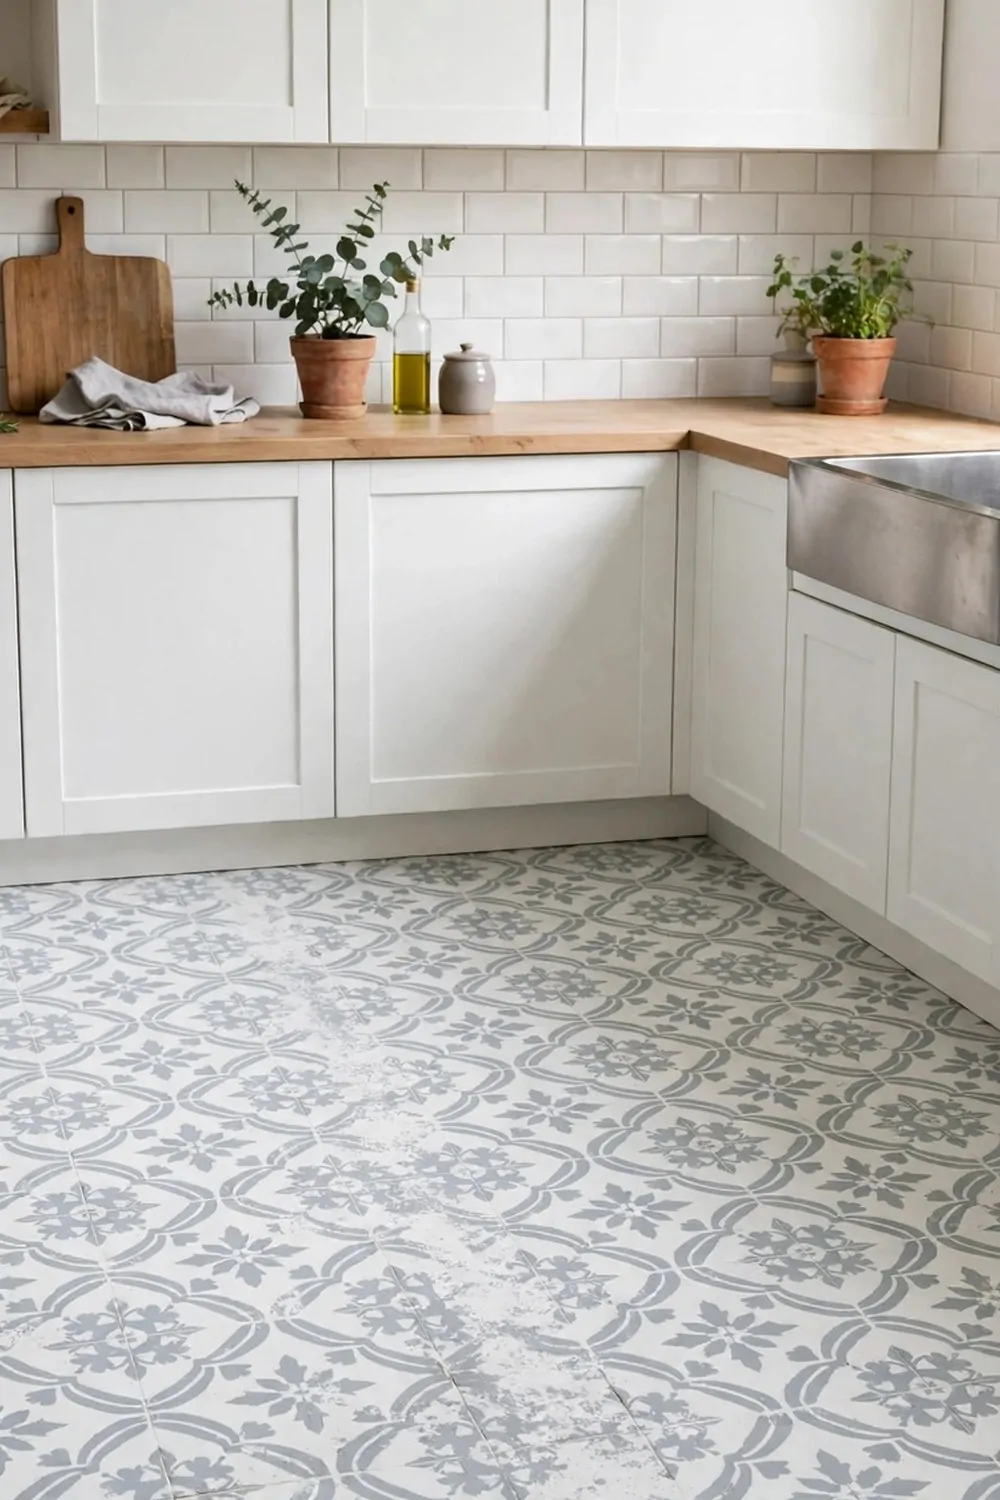
My floor tiles were plain and a bit dull. I did not want to rip them up. That would be messy and costly.
I painted them with a stencil instead. It sounds odd, but it works so well. Now my floor looks like fancy patterned tiles.
Clean the tiles first with a good wash. Let them dry fully. Paint will not stick well to a dirty or damp floor.
I used floor paint made for tiles. I did one thin coat all over first. Then I let it dry overnight before I started the stencil.
Pick a simple stencil pattern. I chose a small star shape. It was easy to line up and it looked neat when it was done.
Use a small roller or a sponge for the stencil. Dab the paint on light. Too much paint will bleed under the stencil and make a mess.
Work in small rows across the floor. Move the stencil along as you go. I put on some music and it felt quite relaxing.
Seal the floor when the paint is dry. I used a clear seal made for floors. It keeps the paint safe from feet and mops.
My floor looks new and fun now. People ask me where I bought the tiles. I love telling them I painted them myself.
18. Swap the Bar Stools
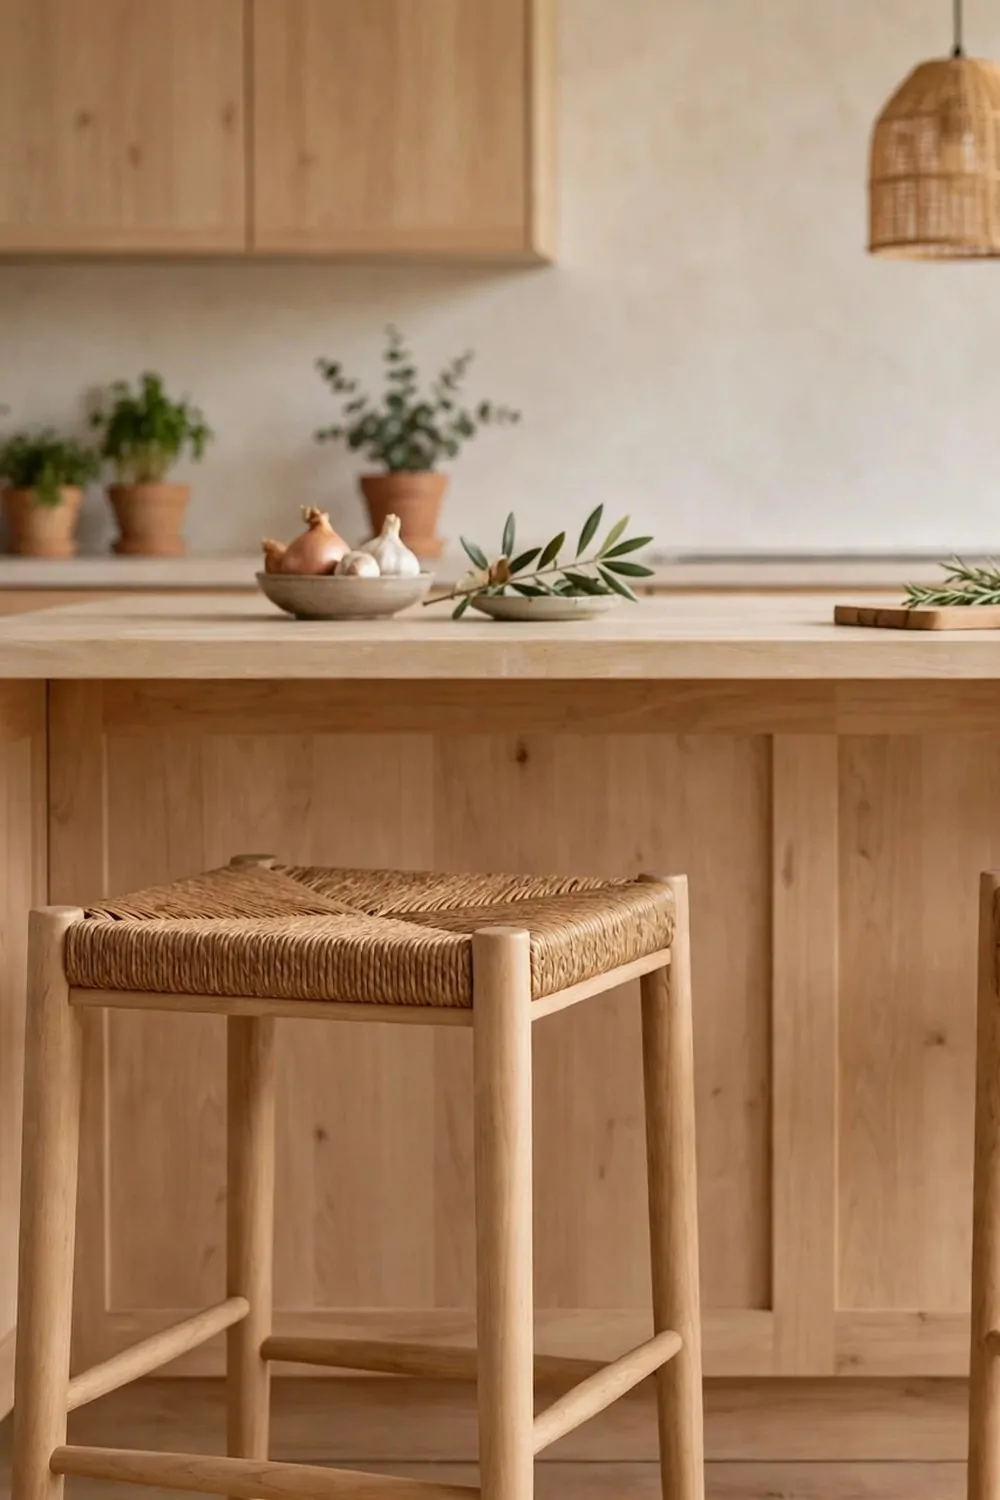
My old bar stools were wobbly and worn. The seats were torn and the legs squeaked.
I swapped them for new ones. It was one of the quickest changes in my whole kitchen. And it made a big difference.
Pick stools that fit your counter height. Sit on them in the shop if you can. Your feet should rest easy and your knees should feel comfy.
I went for simple wooden stools with no backs. They tuck under the counter neat. My kitchen feels less crowded now.
Think about how easy they are to clean. I cook a lot and things spill. Wipe clean seats are a must for me.
You do not need to buy four at once if money is tight. I bought two first. Then I added two more the next month.
Try a new colour if you want a pop of fun. I picked warm wood with black legs. It matches my tap and my door knobs.
Check that the stools are steady before you buy them. Give them a little shake in the shop. A wobbly stool is no fun at all.
Now my breakfast bar is my favourite spot. I sit there with my tea in the morning. It feels like a whole new kitchen corner.
19. Hang a Pot Rail on the Wall
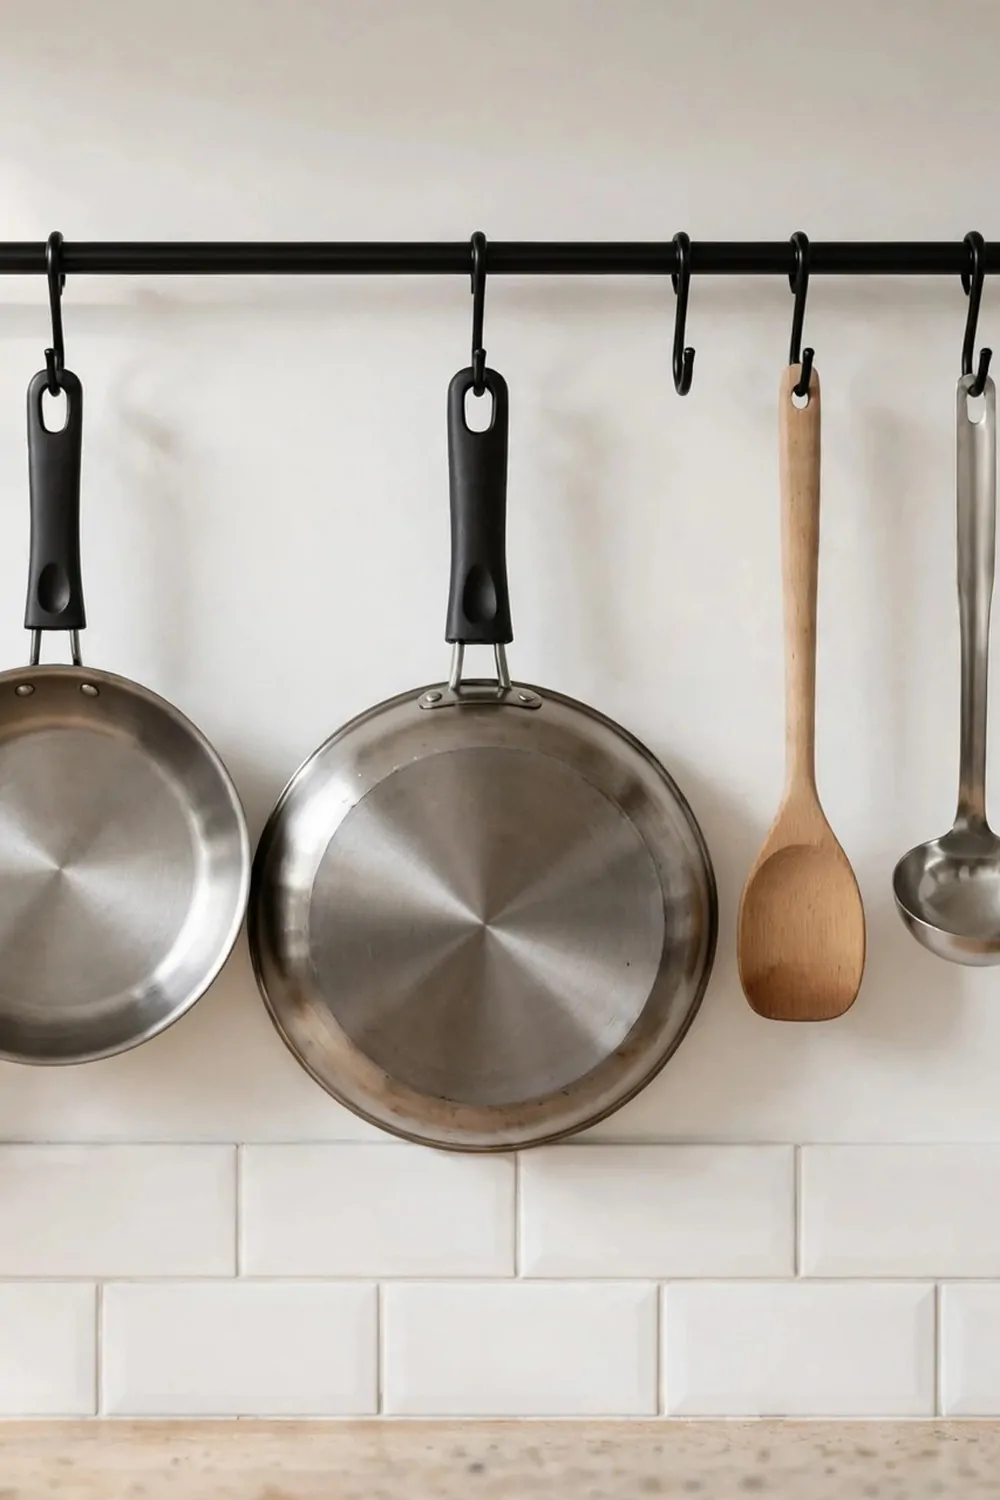
My pots and pans were piled in a low cupboard. I had to dig to find the one I wanted. It drove me a bit mad.
I hung a pot rail on the wall instead. It is just a metal bar with hooks. Now my pans hang where I can see them all.
Pick a strong rail that can hold weight. I fixed mine into the wall studs. That keeps it safe and steady.
Hang your most used pans first. I put my big frying pan and my soup pot at the front. The ones I use less go at the ends.
Leave a little space between each pan. They should not bang together. I spaced mine out and it looks tidy.
You can hang other things on it too. I hang my ladles and my tongs there. It frees up a whole drawer for me.
Keep the rail at a height you can reach easy. I am not very tall, so I put mine a bit lower. I can grab what I need without a step stool.
Wipe the rail now and then. It can get a bit greasy from cooking steam. A quick wipe keeps it shiny.
My kitchen feels like a real cook’s kitchen now. The pans look nice on the wall. And cooking is so much quicker when I can find things fast.
20. Swap the Light Switch Plates
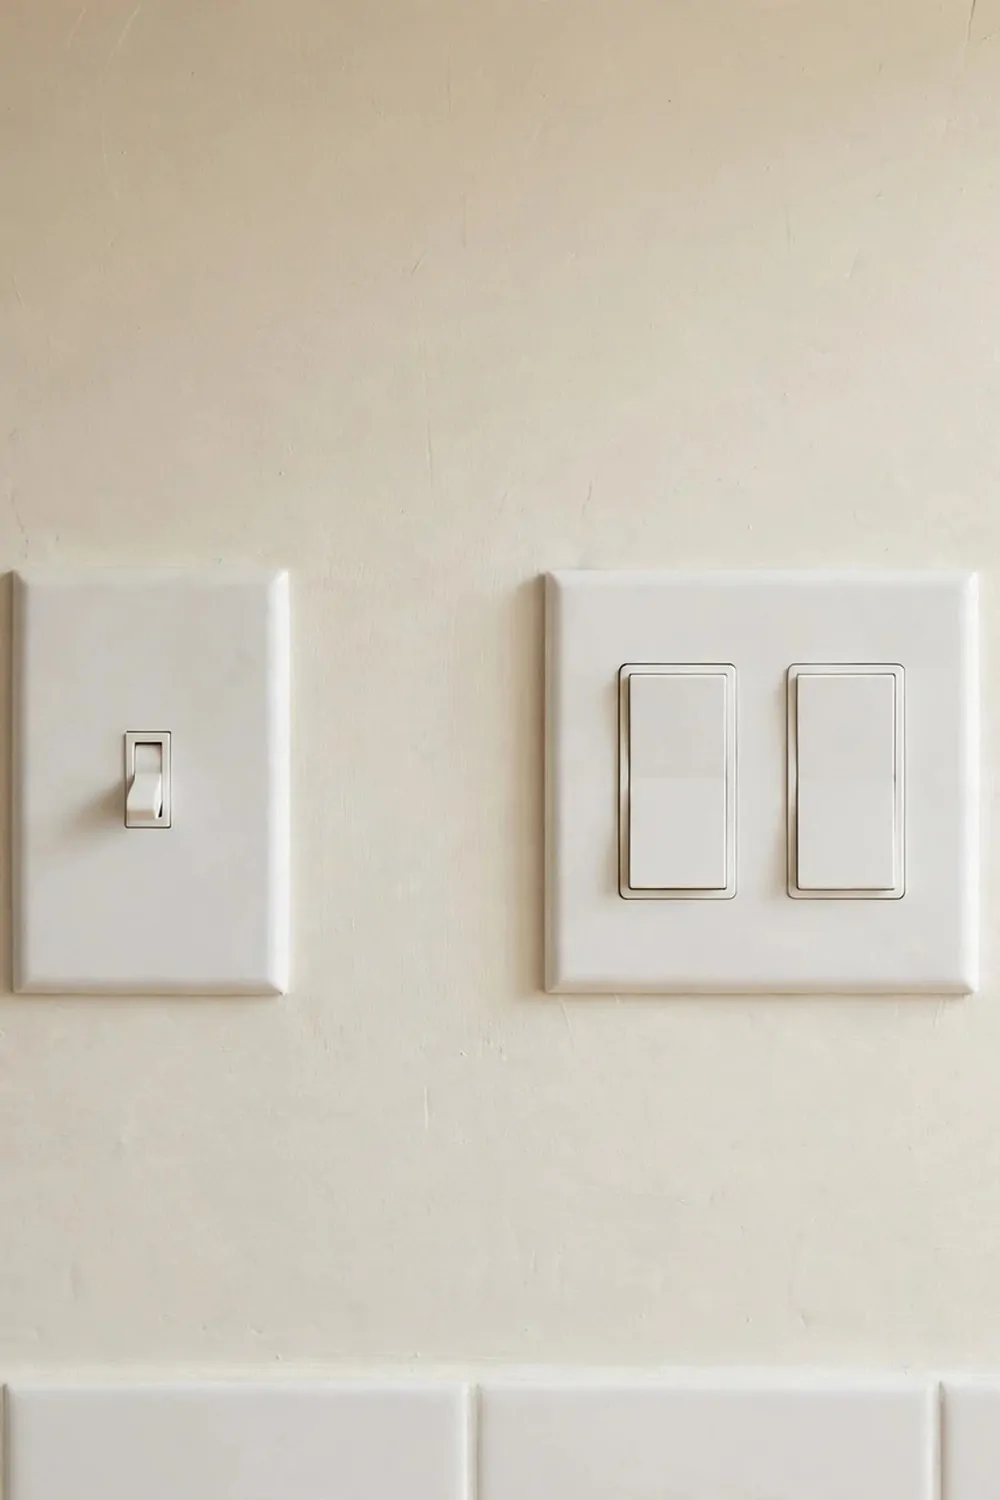
My light switch plates were old and yellow. They were such a small thing, but I noticed them every day.
I swapped them for new ones. It took me ten minutes. And it cost me very little money.
Turn the power off first before you touch any switch. This is very important. I always flip the breaker off to be safe.
Unscrew the old plate and take it off. Keep the screws safe in a small bowl. I lost one once and I had to hunt for it.
Pick plates that match your kitchen style. I chose simple white ones with a clean edge. They look fresh against my painted walls.
You can also try metal plates for a smart look. I put a brushed metal one by the door. It matches my tap and my knobs.
Line the new plate up and screw it back on. Do not over tighten the screws. Just make it snug so it sits flat.
Turn the power back on and test the switch. I did a little happy dance when mine worked first time. It is the small wins that feel good.
Now my switches look new and clean. It is a tiny change with a big feel. Guests never guess how cheap it was.
21. Add a Small Menu Board on the Wall
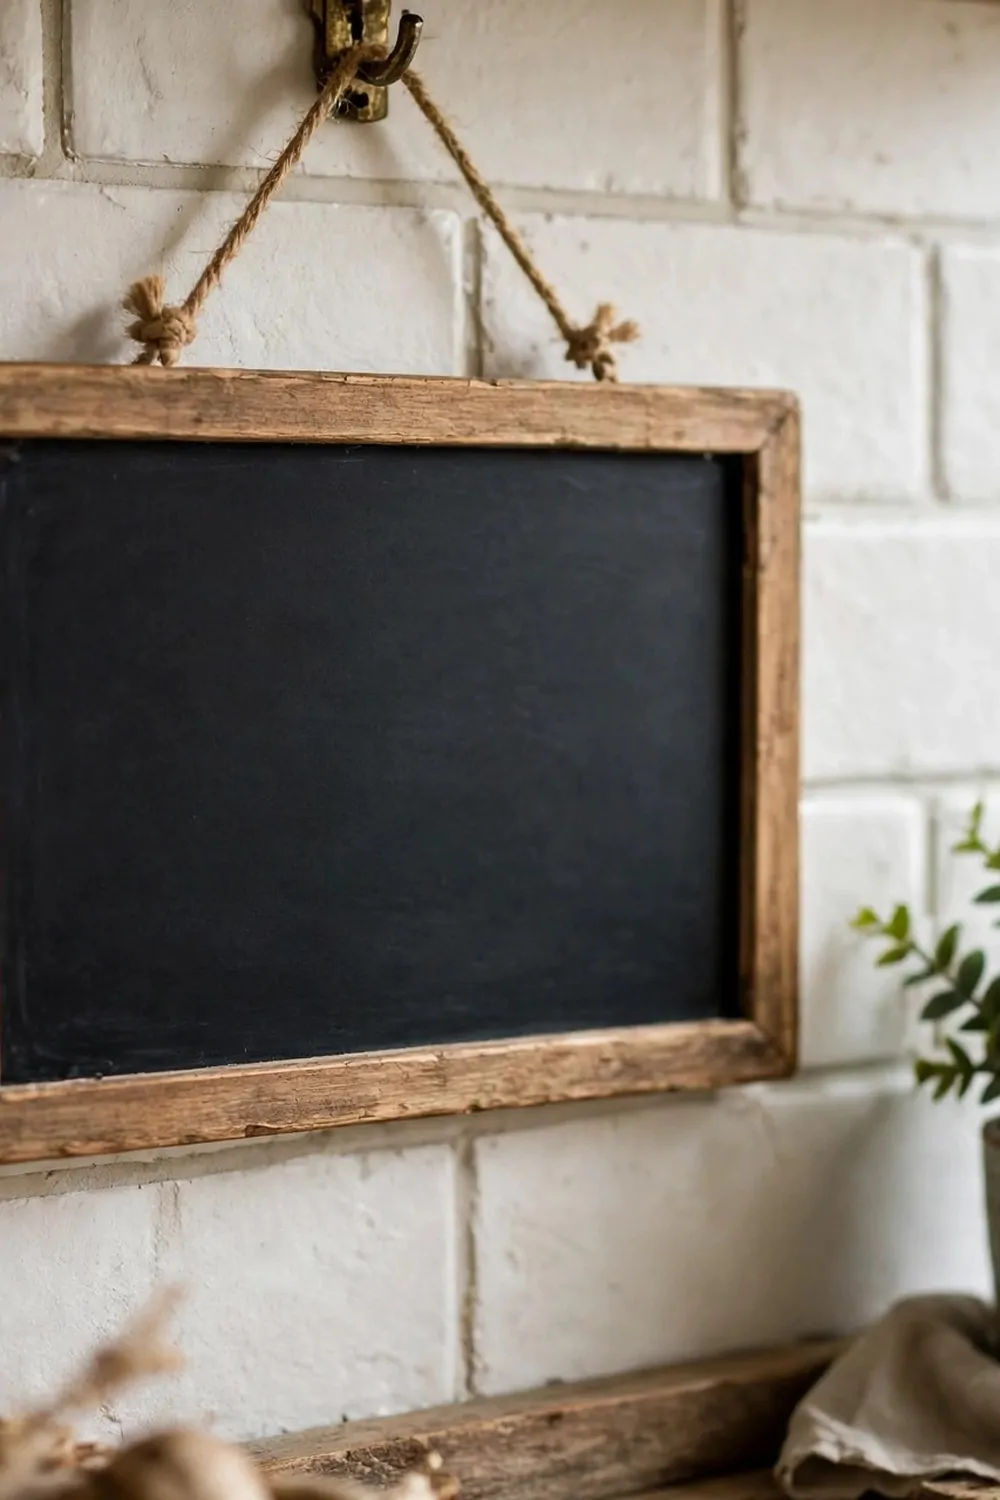
I always forgot what I planned to cook for dinner. I would stand in the kitchen and just stare at the fridge.
A small menu board on the wall fixed that for me. I write the week’s meals on it on Sunday. Then I know what to expect each day.
I hung mine near the fridge where I can see it. It is at eye level. I can read it while I make my morning tea.
Pick a board that suits your space. A chalkboard looks warm and homely. A whiteboard is easy to wipe clean. A cork board lets you pin notes and recipes up too.
| Menu board type | Typical cost |
|---|---|
| Chalkboard | $15-$35 |
| Whiteboard | $20-$45 |
| Framed cork board | $15-$40 |
I went for a chalkboard in the end. I like the soft look of chalk. And I can draw little stars next to my favourite meals.
Use it for more than just dinner plans. I write my shopping list on the side. I also note birthdays and simple reminders there.
Keep the writing big and clear. I use short words so I can read it fast. My family checks it each morning before school and work.
Change the menu when plans change. That is fine. I just wipe one line off and write the new meal in.
This little board keeps my week calm and organised. I waste less food now. And dinner time feels less rushed.
22. Fit Drawer Organizers Inside
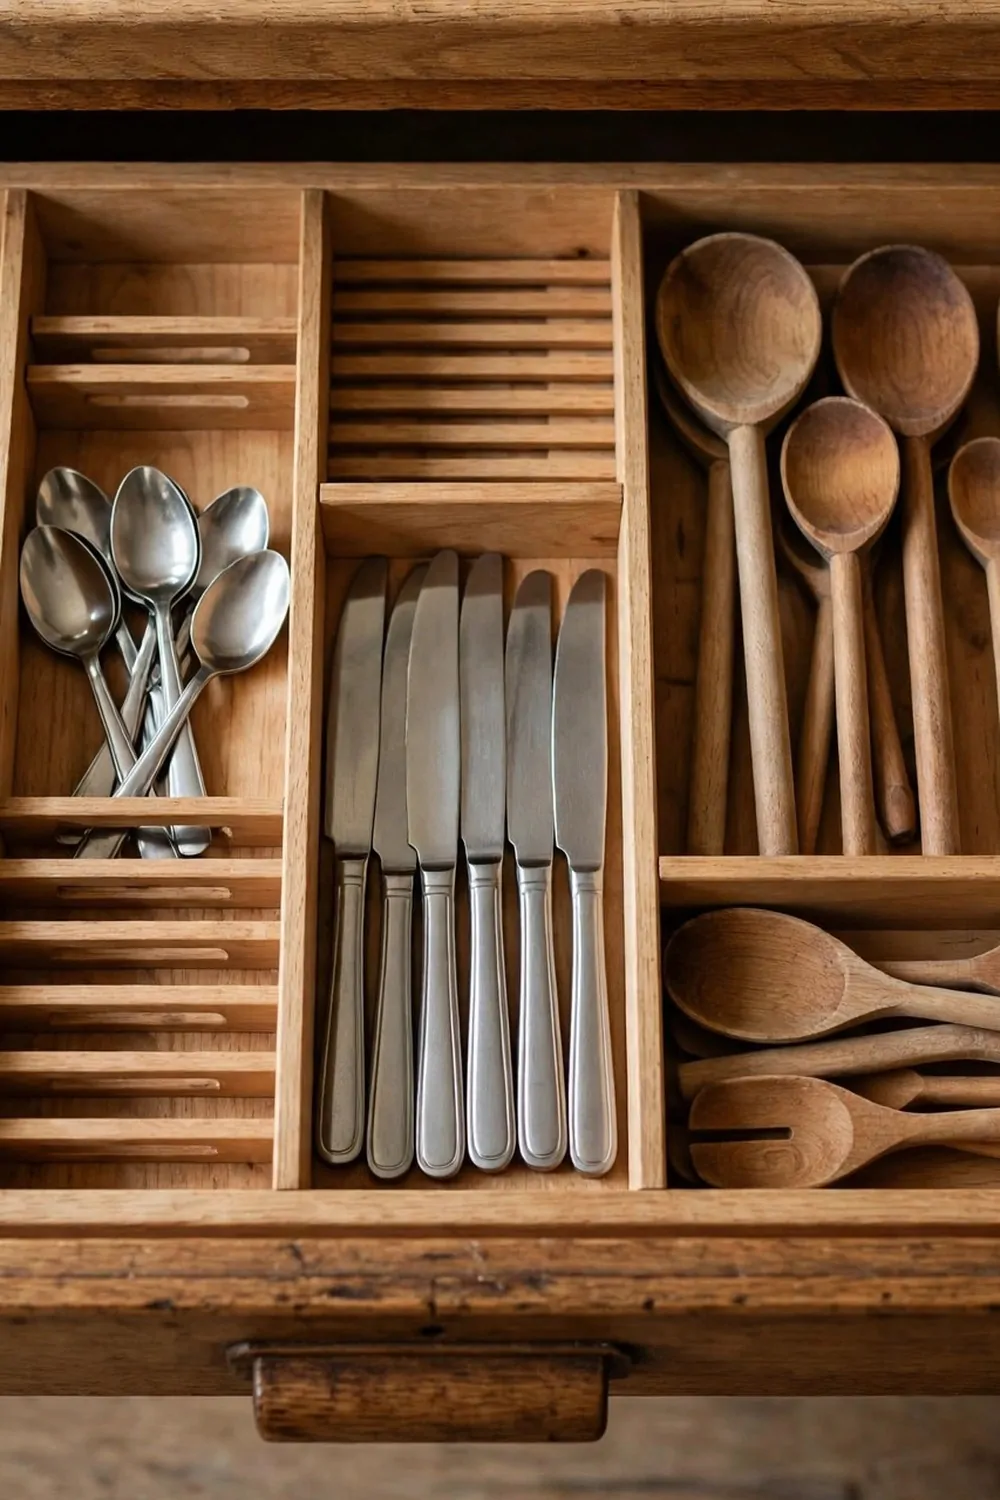
My kitchen drawers were a mess. Spoons mixed with knives and lids hid at the back. I could never find what I needed.
I fitted drawer organizers inside them. They are just small trays and dividers. They keep everything in its own spot.
Measure your drawers first. I measured the width and the depth of each one. Then I bought trays that fit snug inside.
Start with your most used drawer. Mine was the cutlery drawer. I put forks in one slot and spoons in another. It felt so good.
You can buy wood, bamboo or plastic trays. I picked bamboo for mine. It looks warm and it is easy to wipe clean.
Use small boxes for odds and ends too. I have one for spare batteries and one for tape. They used to roll around loose before.
Do not overfill the trays. Leave a little room in each slot. I learned that a full tray is just as messy as no tray at all.
Clean the trays once a month. I take them out and give them a wash. It takes five minutes and the drawers stay fresh.
Now I open my drawers and I smile. Everything has a home. And cooking is so much faster when I can find things in seconds.
23. Add Glass Inserts to Two Cabinet Doors
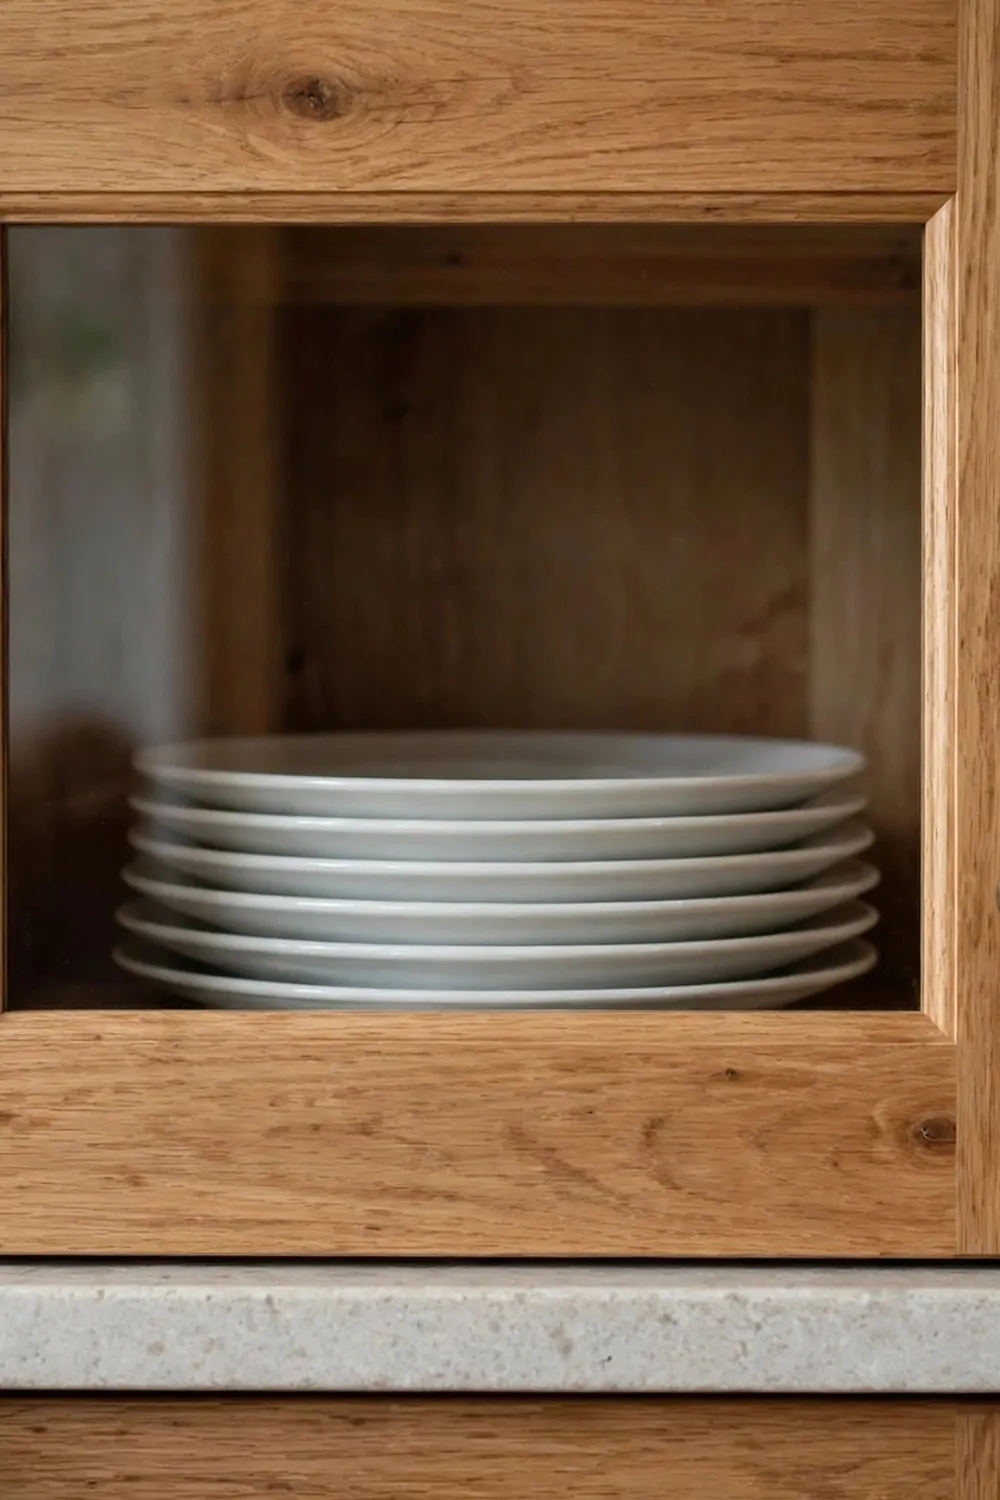
You do not need to change all your cabinets to get a new look. I picked just two doors and it changed the whole kitchen.
Glass lets you see what is inside. It makes the room feel light and open. And it costs a lot less than new cabinets.
Pick two doors that sit next to each other. That way they look like a pair. I chose the ones above my coffee cups.
You can buy a glass panel kit from a hardware store. It comes with the glass and the trim you need. Ask the shop if you are not sure which size fits your door.
Take the door off its hinges first. Lay it flat on a table. Then cut out the middle panel if your door has one, or ask someone to help you with this step.
Fit the glass in and fix it with the trim. Put the door back on. Stand back and look at it. It will look like a shop kitchen.
Now you need to keep what is inside neat. I put my pretty bowls and my glass jars in there. Plain boxes go in the closed cabinets.
If your dishes are not pretty, do not worry. You can put in a few nice cups and some small plants. Just a few things look better than a full shelf.
Two glass doors is enough. It gives you the look of a remodel without the big bill. I smile every time I walk past mine.
24. Spray Paint the Old Handles a New Finish
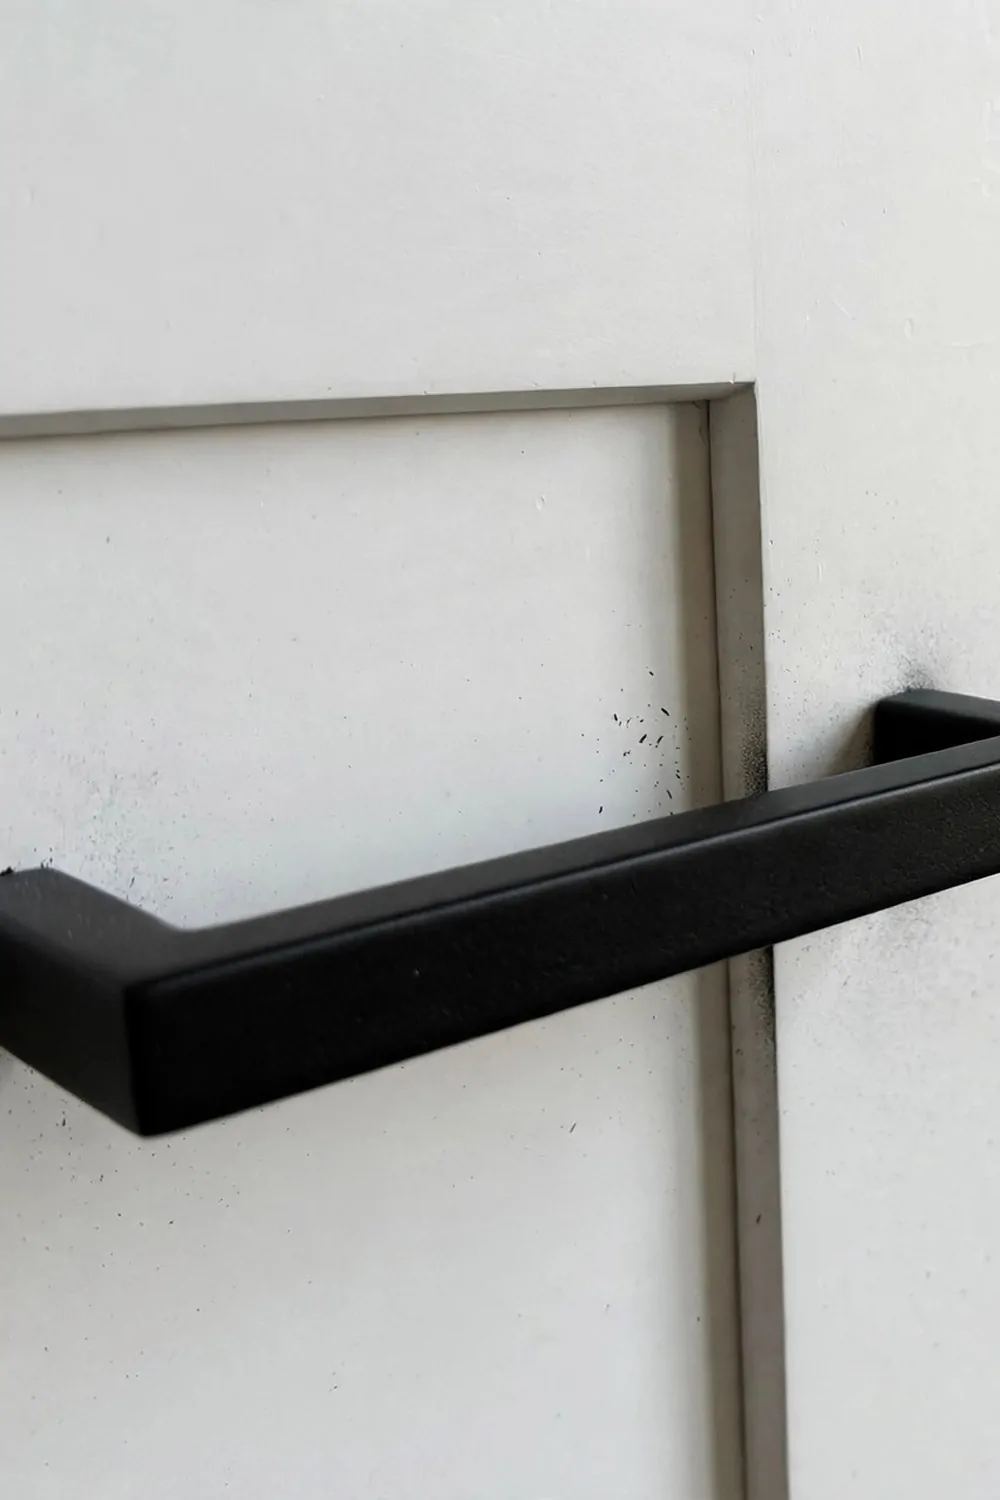
New handles cost a lot if you buy them for every door. I found a much cheaper way. I spray painted my old ones.
Take all the handles off first. Put them on an old sheet outside. You need fresh air for spray paint, so do this in the garden or on a porch.
Clean each handle well with warm soapy water. Dry them fully. Paint will not stick to grease, so take your time here.
Pick a colour you love. I went for a soft gold. Black also looks great. It makes plain cabinets look smart and new.
Spray a light coat first. Let it dry. Then spray a second light coat. Two thin coats look much better than one thick coat.
Wait until they are fully dry before you touch them. I left mine overnight. It is hard to wait, but it is worth it.
Put them back on the doors. You will not believe the change. The whole kitchen looks like it had new hardware.
If a handle gets a scratch later, you can touch it up in a minute. Keep the spray can in the garage. One quick spray and it looks new again.
This is one of the cheapest jobs in this whole list. And it takes less than one afternoon. I tell everyone to try it first.
25. Grow a Small Herb Garden on the Sill
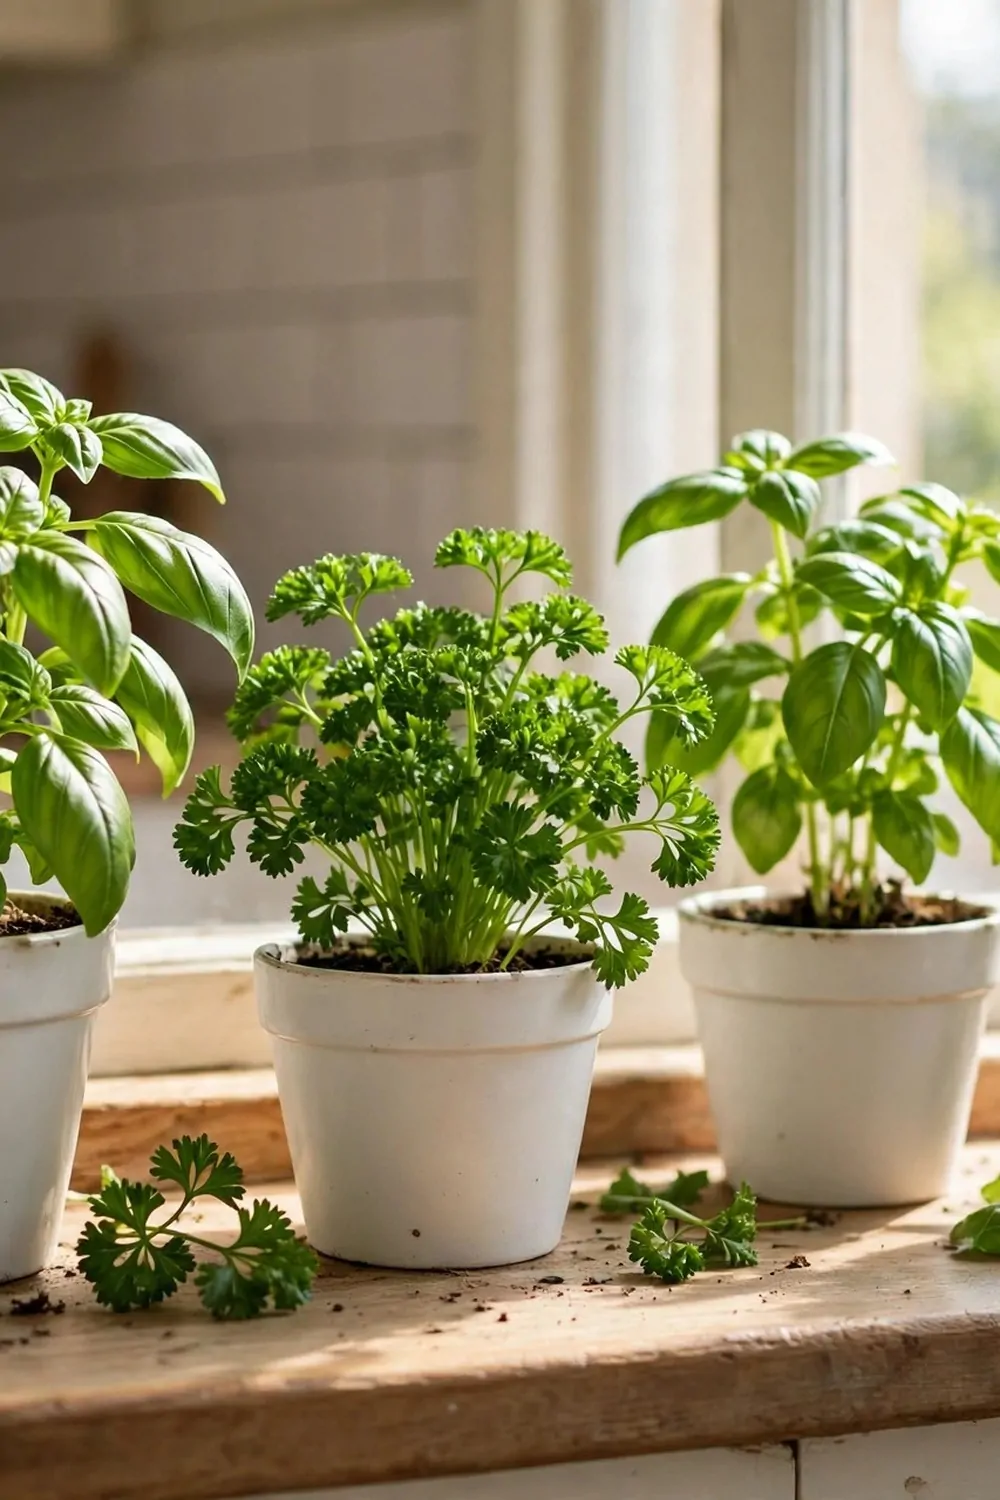
A few small pots on the window sill can change how your kitchen feels. I started with three pots and I never looked back.
Fresh herbs make cooking so much better. You snip a few leaves and your food tastes fresh. It is a small joy every day.
Pick herbs you use a lot. I grow basil, mint and parsley. They grow well in a sunny spot. If you cook with something else, grow that one instead.
Use small pots with holes in the bottom. Put a tray under them so water does not drip on the sill. I found cute pots at a cheap shop.
Water them a little bit every day or two. Do not drown them. Stick your finger in the soil and if it feels dry, add water.
Give each pot a small label. You can write the name on a wooden stick. It looks sweet and it helps you remember which is which.
Put the pots where they get sun but not too much heat. My sill gets morning sun and my herbs love it. If your window is too hot, move them back a little.
Snip from the top so the plant grows bushy. Do not take too much at once. A little snip here and there keeps it growing strong.
This little garden costs almost nothing. But it makes your kitchen feel alive and fresh. And your food will taste better too.
26. New Tea Towels and a Fresh Oven Mitt
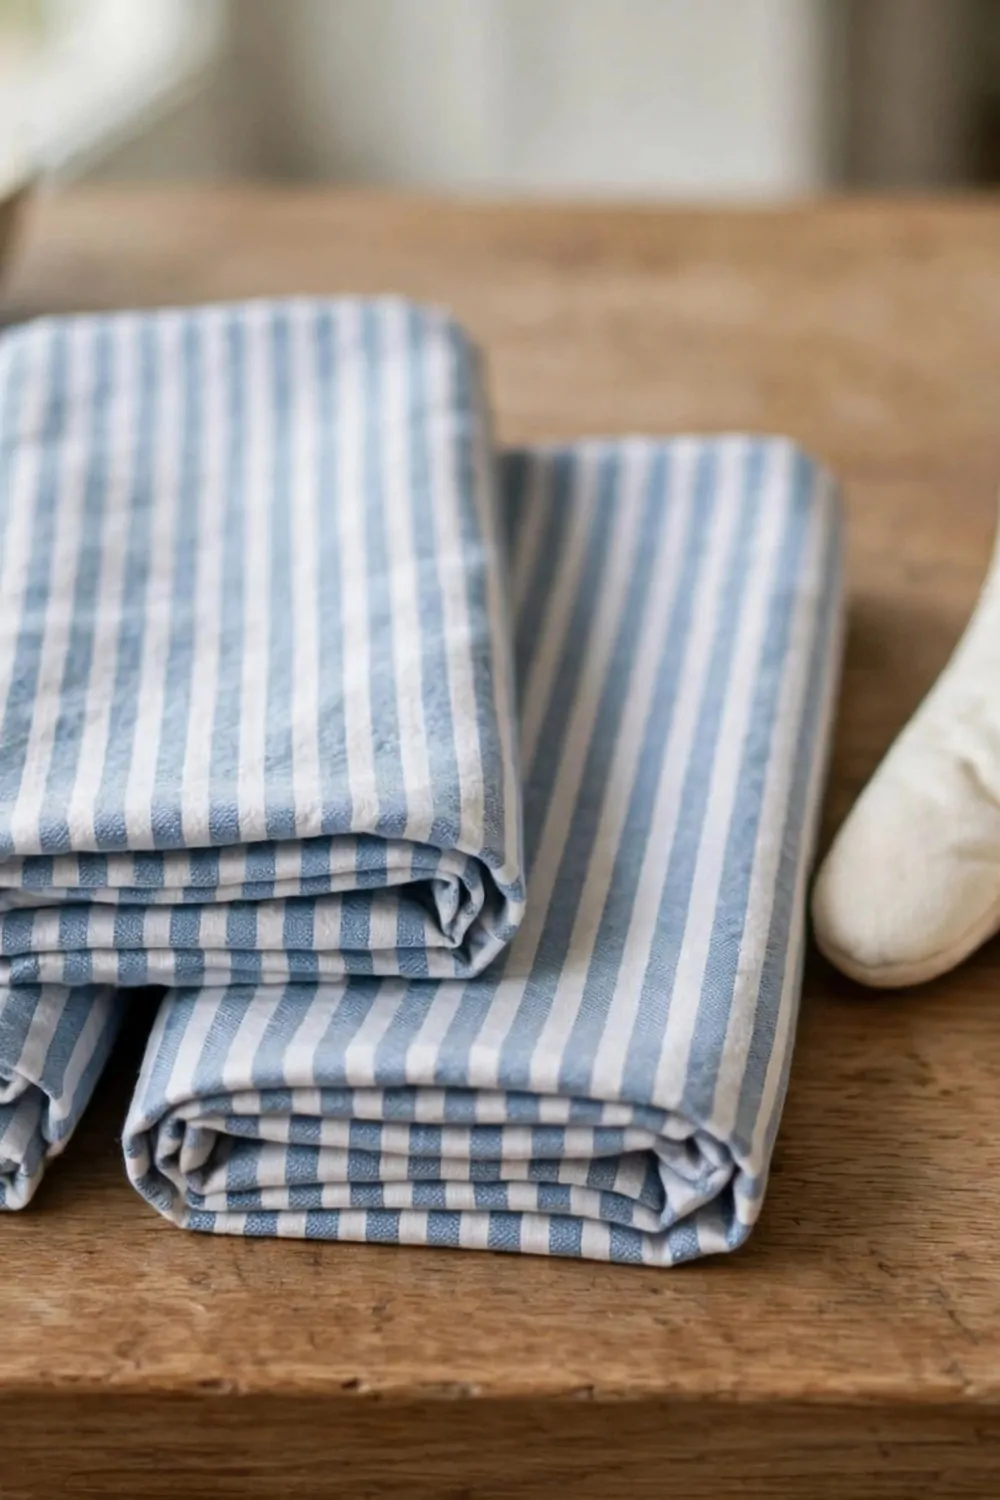
Sometimes the smallest things make the biggest change. I bought new tea towels and my kitchen felt new in five minutes.
Old towels get thin and stained. They make the whole room look tired. New ones in a bright colour lift the whole space.
Pick a colour that matches your kitchen. I chose a soft green. It goes with my walls and my plants. You pick what makes you happy.
Hang one towel on the oven door. Fold one over a hook near the sink. Keep one more in a drawer for when guests come.
A new oven mitt is part of the same trick. My old one was burnt and flat. The new one is thick and safe, and it looks nice too.
You can find good towels at a cheap shop. You do not need fancy ones. Just pick soft cotton that dries your hands well.
Change them often. A clean towel makes the kitchen feel clean. I wash mine every few days so they stay fresh.
If you like patterns, pick one with a small stripe or a simple print. Just keep it calm. Too many patterns can make the room look busy.
This is the easiest job on this list. No tools, no mess, no waiting. Just new towels and a new mitt, and your kitchen smiles back at you.
27. Paint the Pantry Door
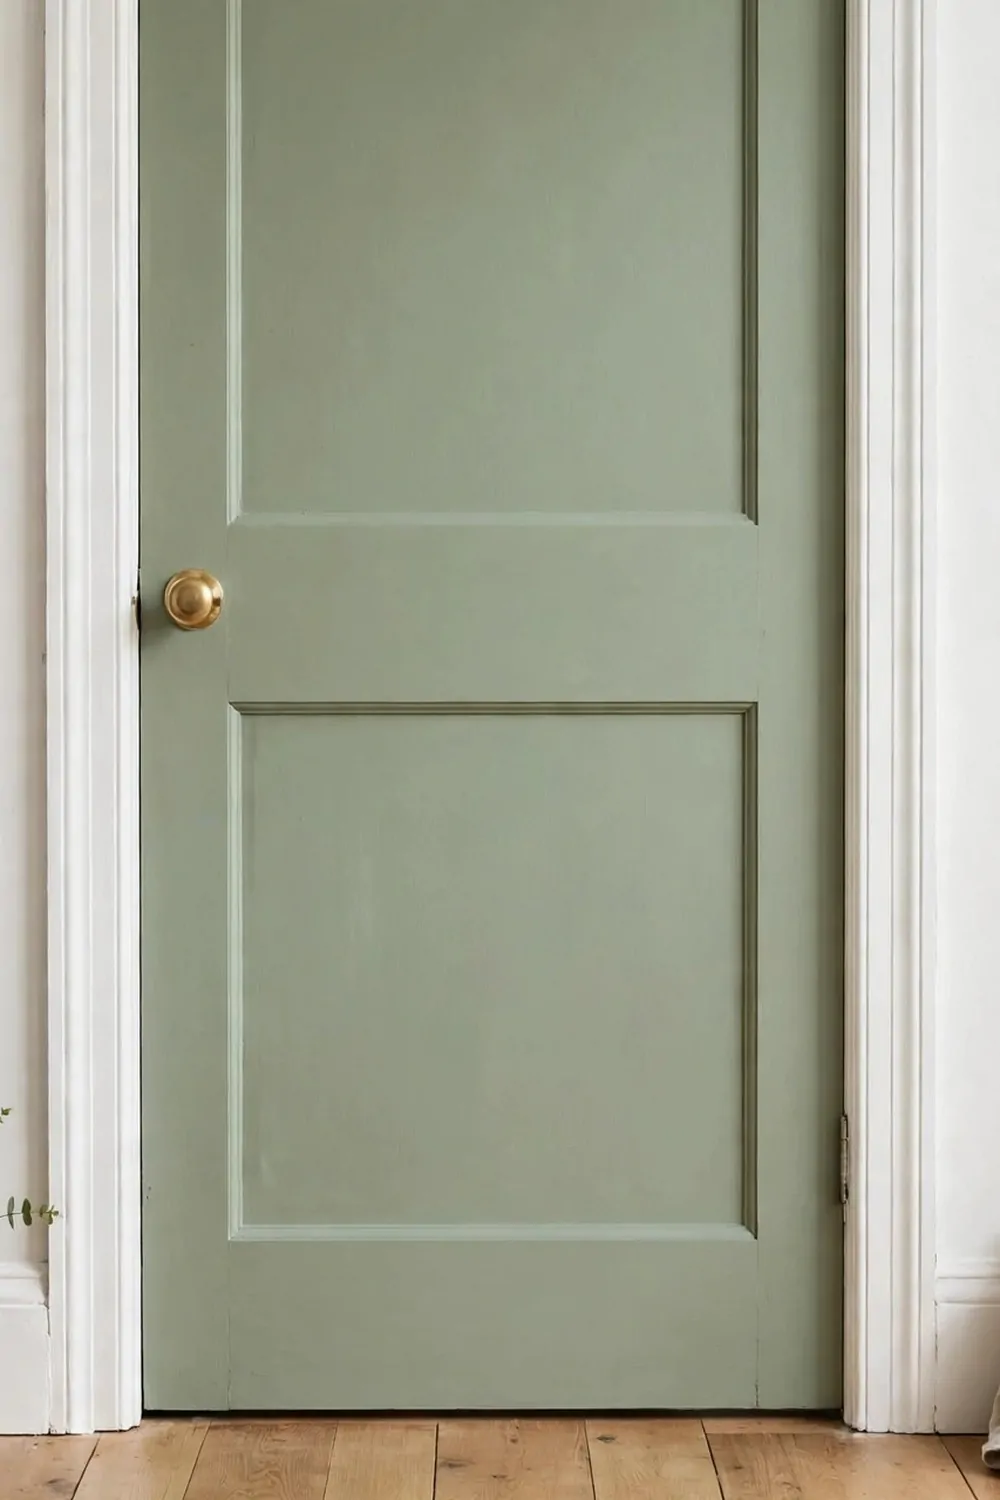
Your pantry door is big and easy to see. If you paint it a fun colour, it becomes a feature. I did mine and I love it.
Pick a colour that stands out but still fits your kitchen. I went for a soft blue. It looks calm and pretty next to my white cabinets.
Take the door off its hinges if you can. It is much easier to paint it flat on the ground. Put it on old sheets so you do not paint the floor.
Clean the door first with warm soapy water. Let it dry. Then give it a light sand so the paint sticks well.
Use a small roller for the flat parts. It gives a smooth finish. Use a brush for the edges and any small details.
Two thin coats are better than one thick coat. Let the first coat dry fully before you add the next one. I waited a few hours between coats.
Add a new handle while you are at it. A simple black handle looks great on a painted door. It is a small extra that makes a big difference.
Put the door back on and step back. It will look like a brand new door. Your pantry will feel like a special little room now.
This job costs just one small tin of paint. It takes one afternoon. And it gives your kitchen a pop of colour that makes you smile every day.
28. Add Toe-Kick Drawers Under the Cabinets
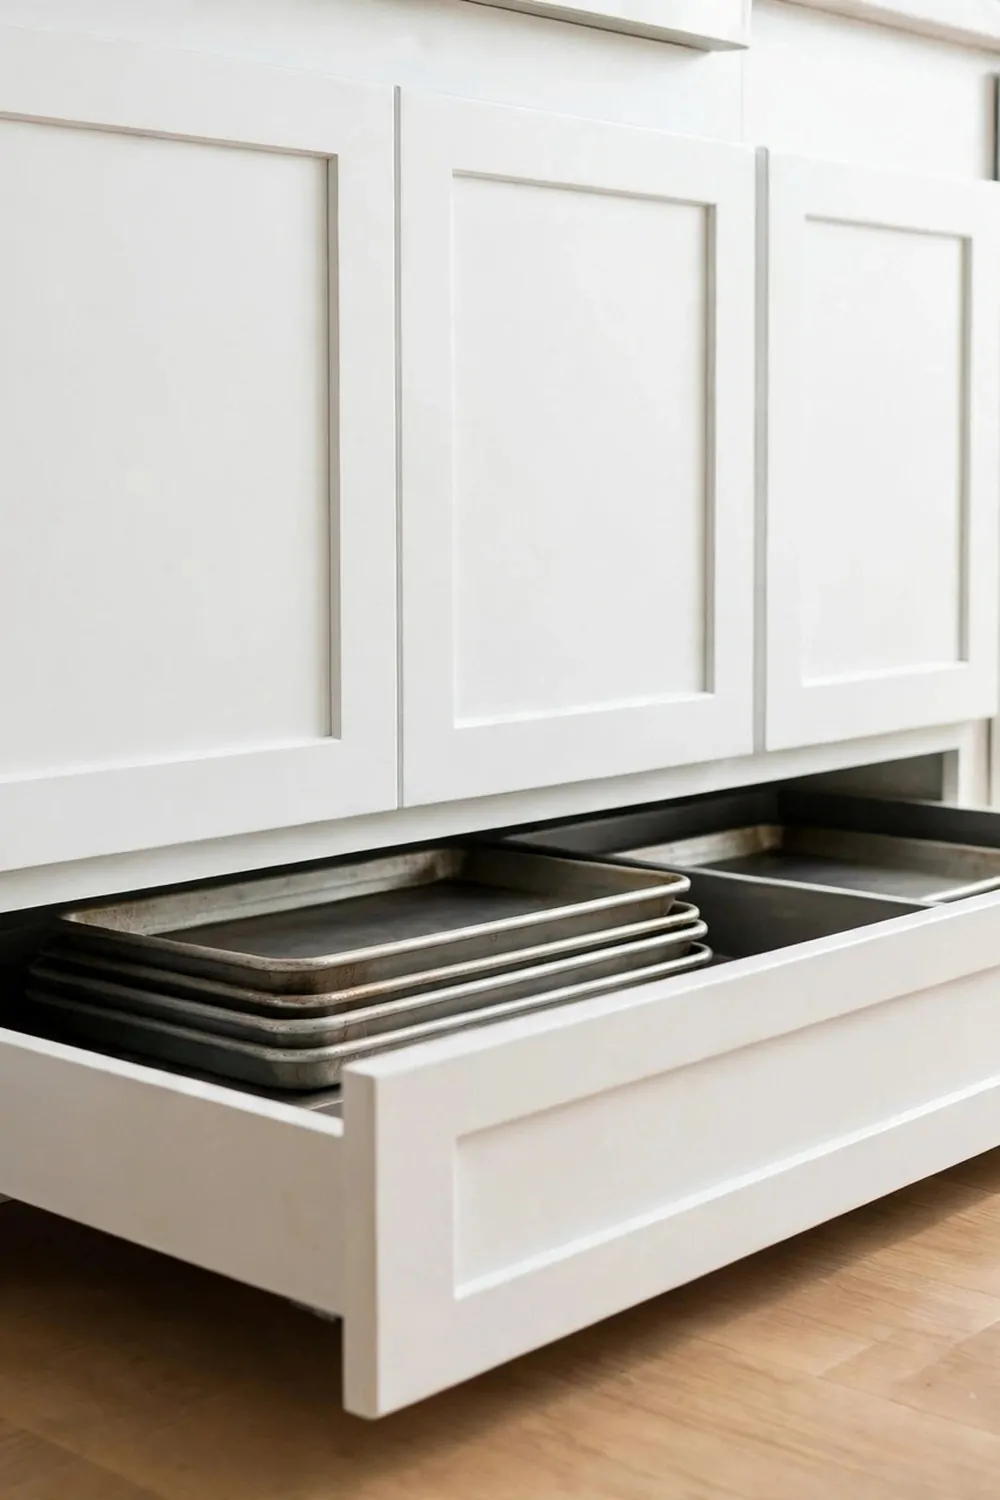
Look down at the bottom of your cabinets. See that empty space near the floor? That is wasted space. I turned mine into drawers.
Toe-kick drawers are shallow drawers that sit right at the floor. They are perfect for flat things. I keep my baking trays and my big cutting boards in mine.
You can buy a kit that fits into that space. It comes with the drawer box and the front panel. Measure the space first so you buy the right size.
You will need to cut an opening in the toe-kick board. If you are not sure about cutting, ask a handy friend to help. It is a quick job for someone with the right tools.
Slide the drawer box in and fix it in place. Add the front panel so it matches your cabinets. Paint it the same colour as the rest.
Now you have a hidden spot for things that never had a home. My trays used to fall over in a cupboard. Now they slide out neatly.
These drawers are great for things you use a lot but want out of sight. I keep my flat lids and my cooling racks in there too.
Kids love them too, in a good way. You can keep their placemats or their lunch boxes in a low drawer they can reach. It keeps the counters clear.
It feels like you added new storage without adding new cabinets. That is the best kind of makeover. More space, same kitchen, tiny cost.
29. Paint the Ceiling a Soft Colour
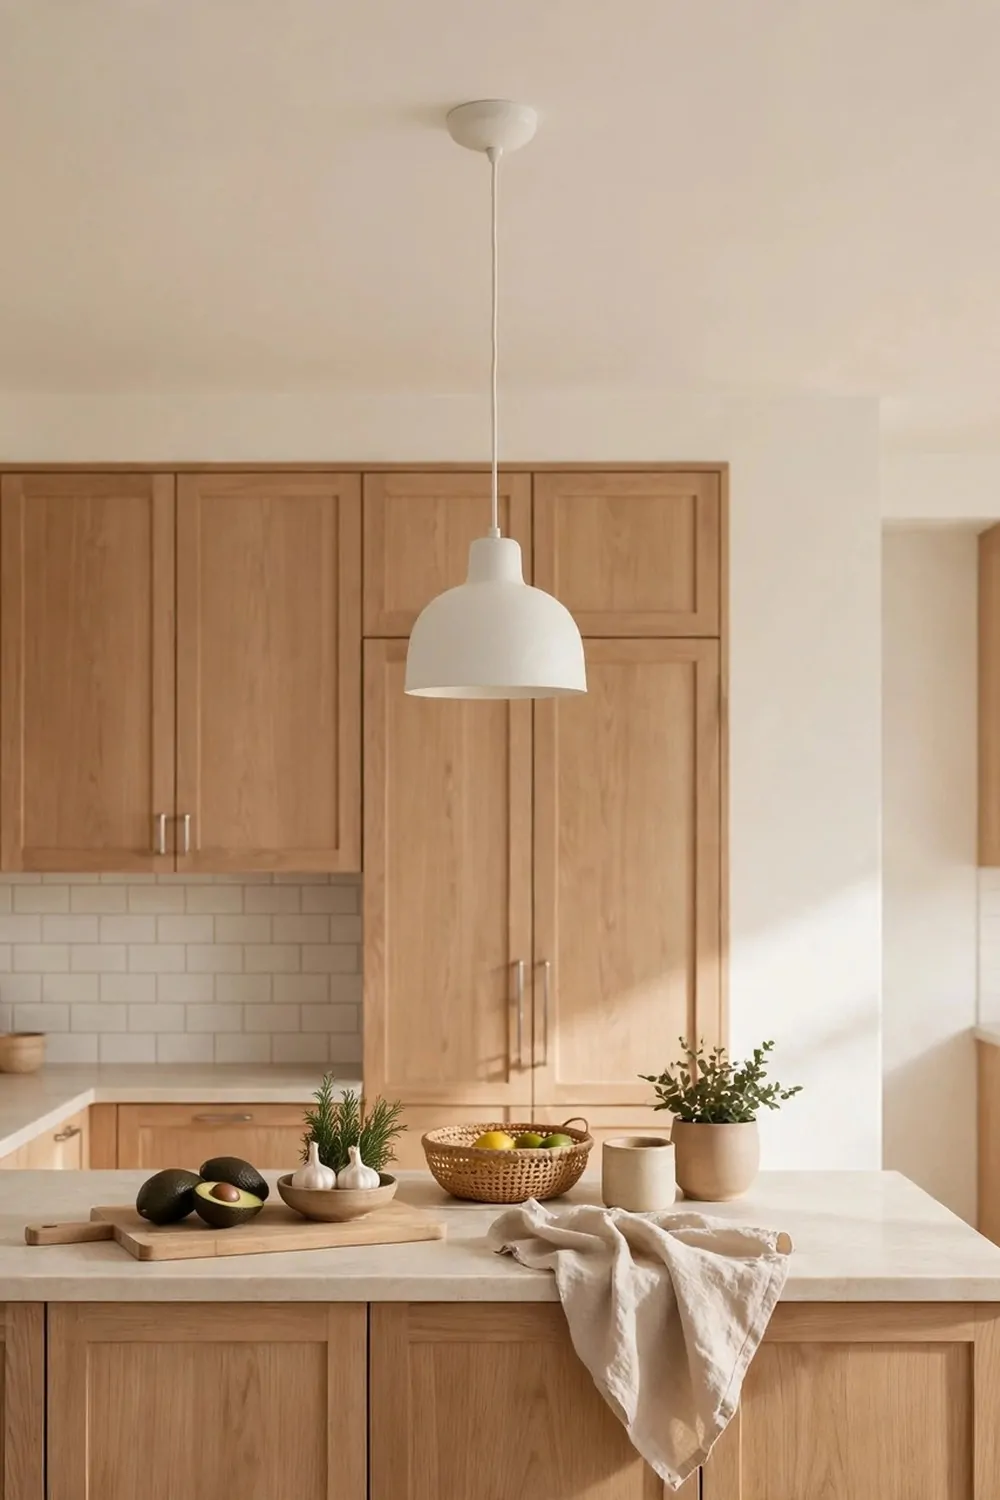
Everyone paints walls and forgets the ceiling. I painted mine a soft colour and the whole room felt warmer. It was such a surprise.
White ceilings are fine, but they can feel cold. A soft cream or a very pale blue makes the room feel cosy. It is like a warm blanket over the kitchen.
Pick a colour that is light. Dark colours can make the ceiling feel low. I chose a pale warm white with a hint of yellow. It glows in the morning light.
Move things out of the way first. Cover your counters and your table with old sheets. Paint drips are hard to clean off a worktop.
Use a roller on a long stick. It saves your arms and your neck. Start at one corner and work across in straight lines.
Two thin coats will look best. Let the first coat dry before you start the second. I did mine in one morning and it was dry by lunch.
Keep the room aired while you paint. Open a window and let the air move. It helps the paint dry and it keeps the smell low.
When you take the sheets off, look up. The ceiling will feel like part of the room now, not just a blank top. It ties the whole kitchen together.
This is a cheap job with a big payoff. One tin of paint, one morning of work, and your kitchen feels like a new room.
30. Make a Small Breakfast Nook in the Corner
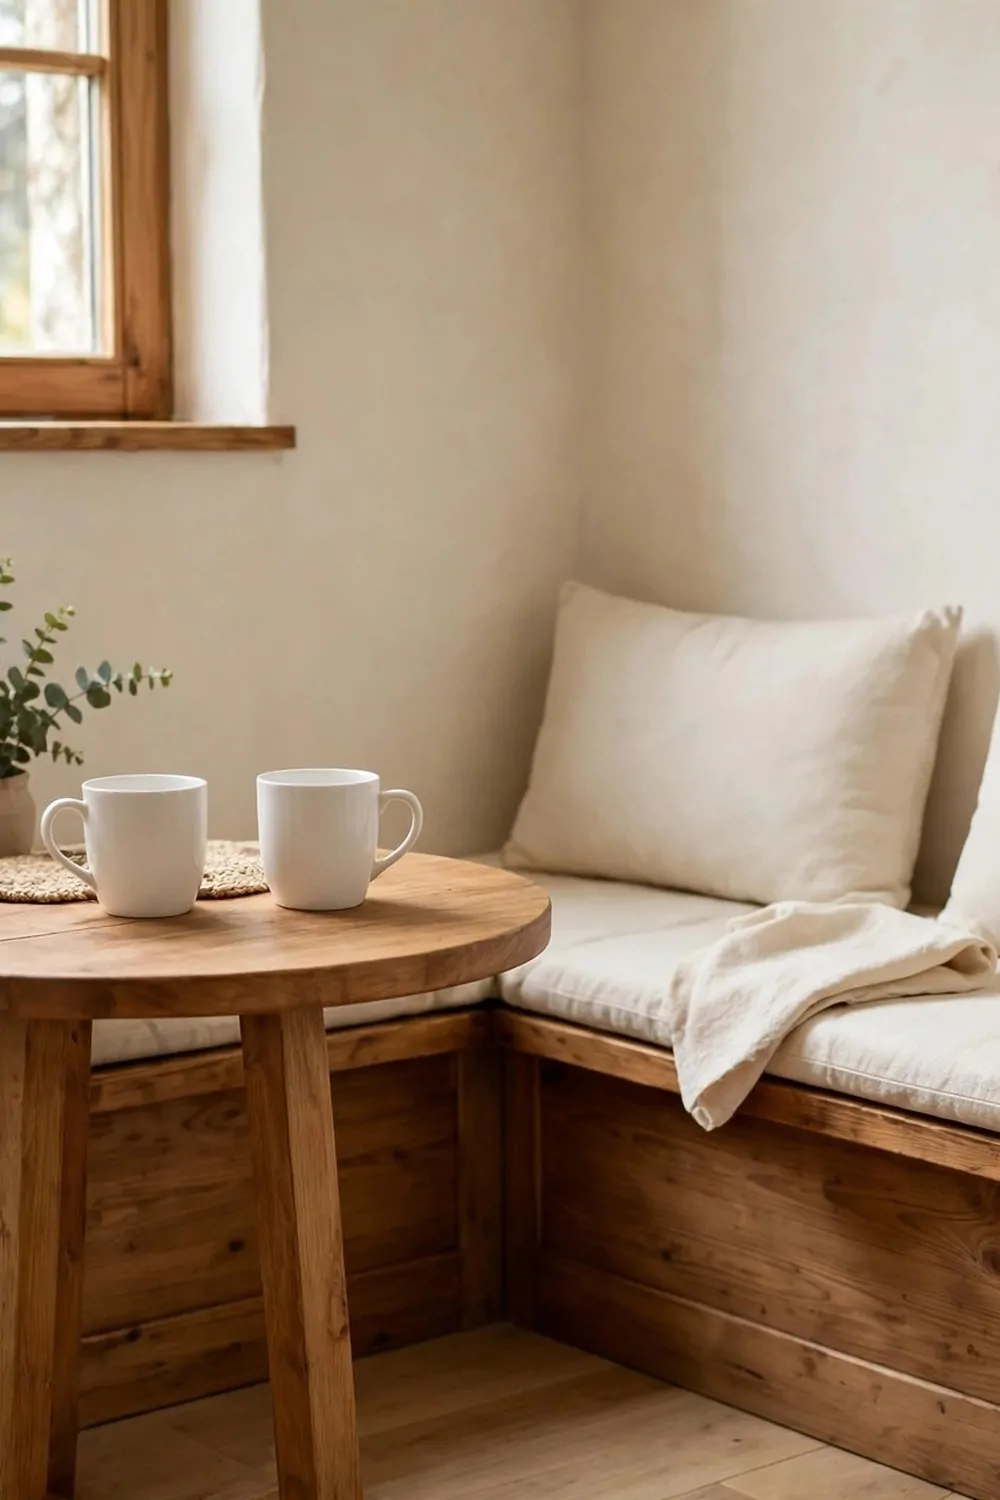
That empty corner in your kitchen is not wasted space. It is a chance to make a cosy little nook. I made one and now it is my favourite spot.
You do not need a big table. A small round table fits in a corner so well. Two chairs are enough for morning tea and toast.
Push the table into the corner and add a soft cushion to each chair. I put a small plant on the table. It makes the corner feel alive.
A bench along the wall is another good choice. It saves space and you can sit two people on it. Add a cushion and it feels like a cafe.
Here is a quick look at the main seating choices and what they often cost. Pick the one that fits your corner and your budget.
| Seating option | Why it works | Typical cost |
|---|---|---|
| Wooden bench | Simple, sturdy, and easy to tuck under a small table | $40 to $150 |
| Built-in banquette | Fits the corner snugly and adds hidden storage under the seat | $300 to $900 |
| Two small chairs | Light and easy to move, great for a tiny corner | $50 to $200 |
Keep the nook simple. A small rug under the table makes it feel like its own little room. I found a cheap rug that fits just right.
Add a small light above the table if you can. A little pendant light makes evening meals feel special. It does not need to be fancy.
Use the nook every day. Eat your breakfast there. Read your book there. A corner you use is worth more than a corner you just look at.
I love my nook most in the morning. The sun comes in and I sit with my tea. It feels like a tiny holiday in my own home.
31. Swap the Pulls for Leather Pulls
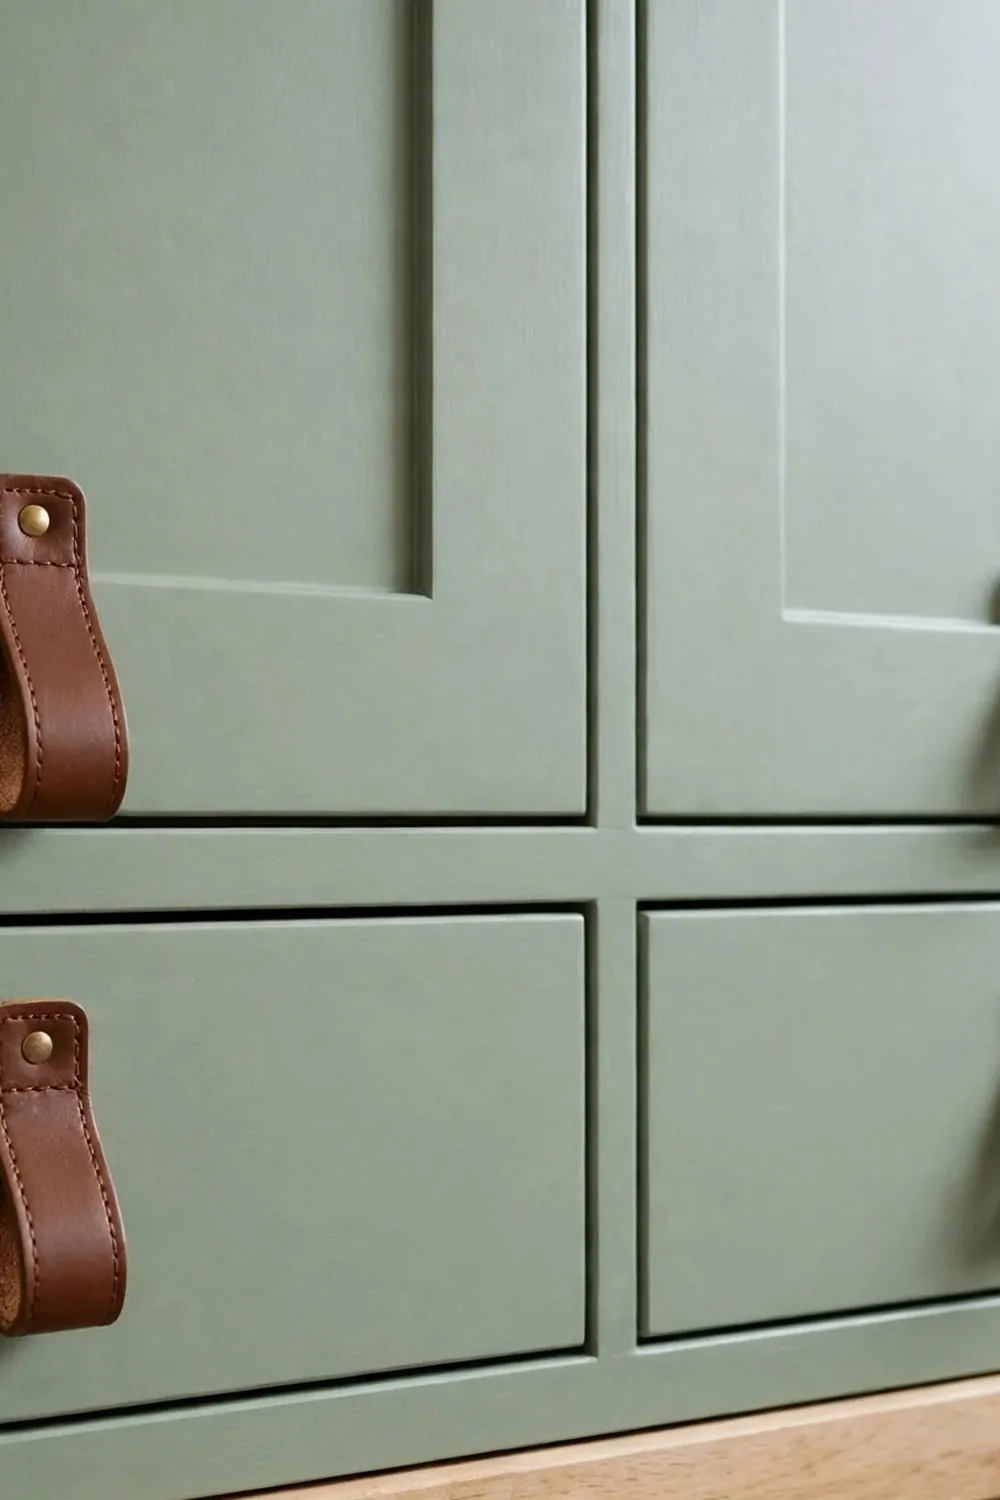
Leather pulls are soft to touch and they look so warm. I swapped a few of my cabinet pulls for leather ones and I love how they feel.
You can buy leather pulls in a shop or make them yourself. A strip of leather and two small screws is all you need. It is a simple little job.
Pick a colour that fits your kitchen. I chose a warm tan. It goes so well with my wood cabinets. Dark brown also looks lovely.
Take off the old pulls first. Keep the screws safe in a small bowl. You will need them if you ever want to swap back.
Fold the leather strip in half to make a loop. Fix each end to the door with a screw. Make sure it is tight so it does not wobble.
Try them out. Pull the drawer open and feel how soft it is. It is much nicer than cold metal on a winter morning.
You do not need to change every pull in the kitchen. I changed the ones on my lower cabinets and my drawers. The top ones can stay as they are.
Leather gets better with age. It softens and the colour deepens a little. That is part of its charm. It looks lived in and loved.
This is a small change with a big feeling. Your kitchen will feel warm and handmade. And it costs far less than new handles.
32. A One-Weekend Deep Clean and Reset
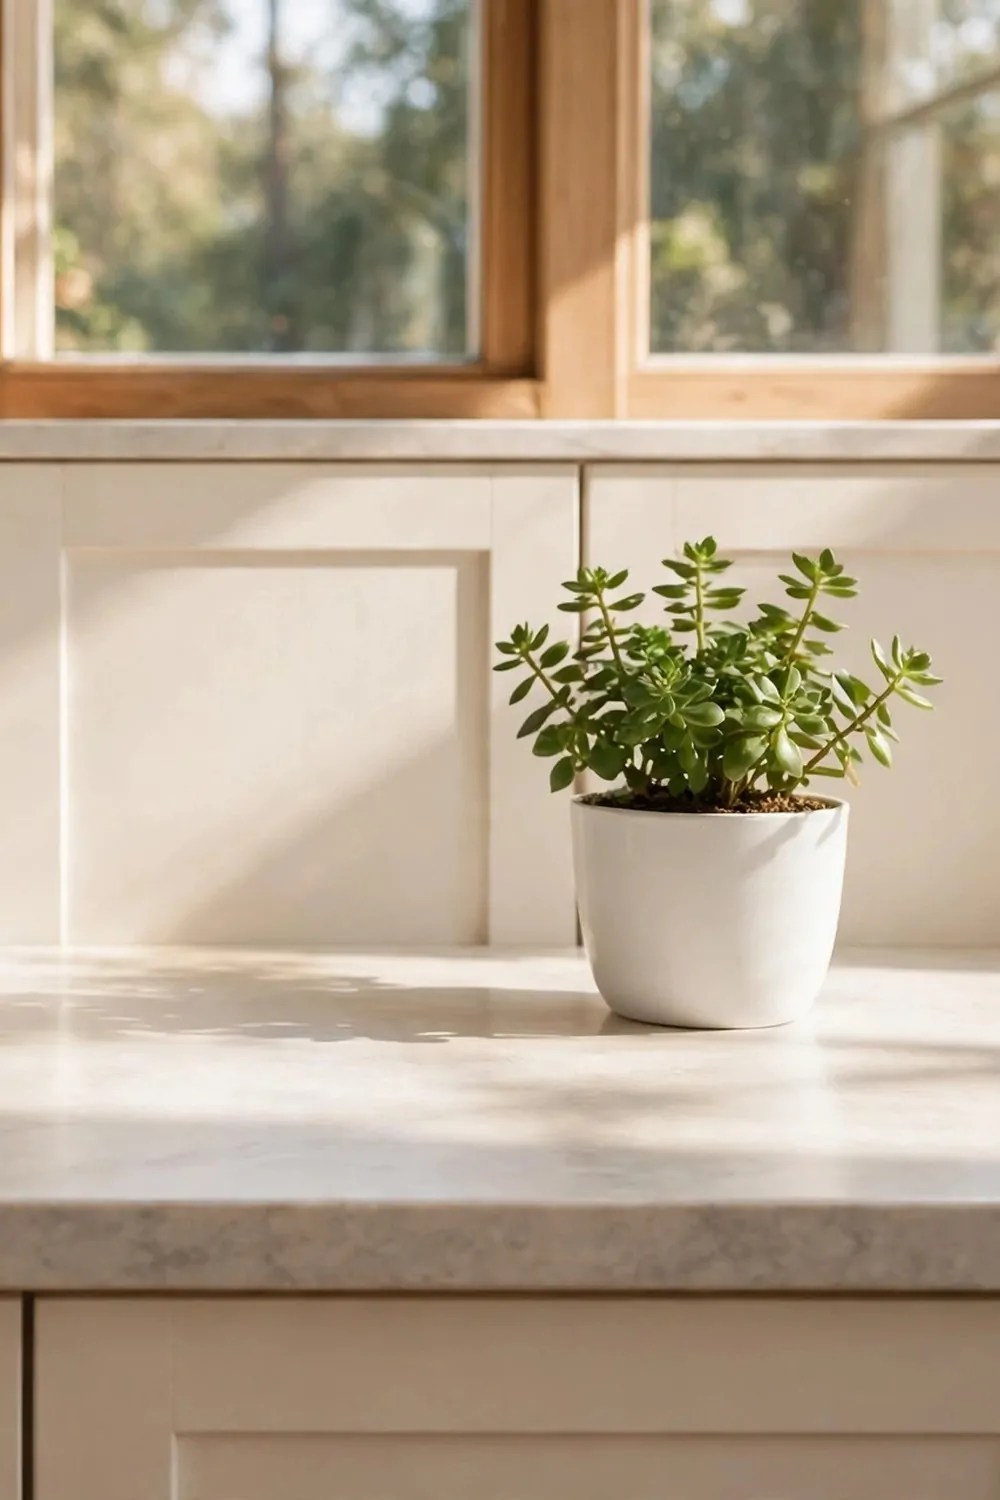
Sometimes your kitchen does not need new things. It just needs a deep clean and a fresh start. I did this one weekend and it felt like a remodel.
Start on Saturday morning. Take everything out of one cupboard at a time. Wipe the shelves clean. Throw away anything old or broken.
Clean the top of the cabinets too. Dust builds up there and you forget it is there. A damp cloth and a little soap will do the job.
Scrub the sink until it shines. Clean the taps and the drain. A shiny sink makes the whole kitchen look clean.
Wipe down the fridge, inside and out. Check the dates on your jars and sauces. Throw out anything that is past its best.
On Sunday, put everything back in a smart way. Things you use every day go where you can reach them. Things you rarely use go up high.
Leave some empty space on the counters. A clear counter looks calm and big. I keep just my kettle and one plant out now.
Finish with a fresh tea towel and a small bunch of flowers. It sounds simple, but it makes the room feel done. Like you just moved in.
You spent no money and your kitchen looks brand new. That is the best makeover of all. Clean, clear, and ready for a fresh week.
Keep Reading
- 24 Open Kitchen Shelving Ideas That Look Beautiful and Work
- 37 Kitchen Countertop Decor Ideas That Stay Practical
- 25 Kitchen Lighting Ideas That Make Cooking Feel Better
- 30 Kitchen Backsplash Ideas That Change the Whole Room
- 20 Sofa Styling Ideas That Make Any Couch Look Expensive
- 25 Tiny Home Ideas to Maximize Space and Style
You do not need a big budget to love your kitchen again. Pick one small idea from this list and try it this weekend. Your kitchen will thank you, and you will smile every time you walk in.