24 Open Kitchen Shelving Ideas That Look Beautiful and Work

I opened my top cupboard last month and a stack of plates slid right toward me. I caught two of them and the third one landed in the sink with a loud clank.
I stood there and looked at all the stuff packed in that dark cupboard. I could not see half of what I owned.
That night I took the cupboard door off in my head and I pictured one open shelf instead.
I liked the idea right away. I could see my plates and grab what I needed fast. My kitchen felt lighter just thinking about it.
I tried it first with one small shelf by my stove. It worked so well that I added more shelves little by little.
I learned a lot by trial and error. Some shelves held too much and looked messy. Some shelves held just a few things and looked calm and pretty.
This one post holds all 24 ideas for you in one place. You can pick one small idea today and try it this week.
1. One Long Wooden Shelf Over the Counter
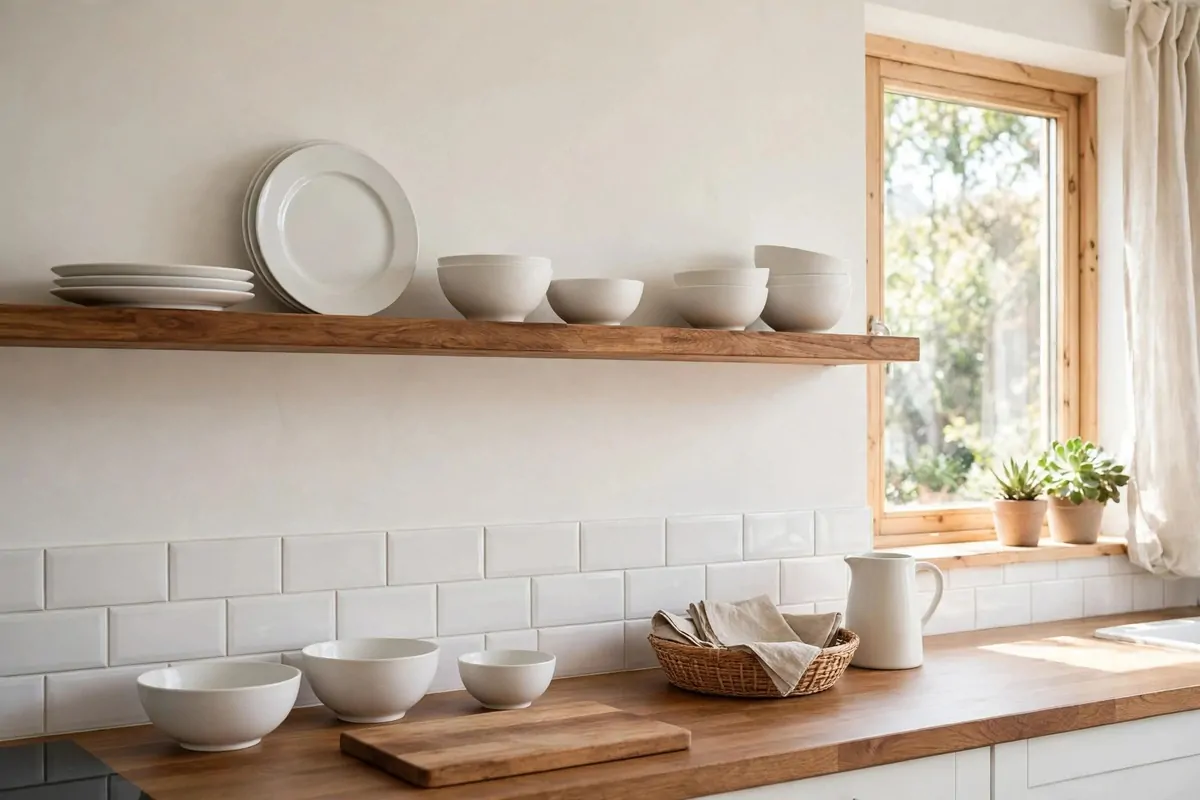
One long wooden shelf over your counter changes the whole wall in one move.
You get a clear line to set plates, bowls, and cups where you can see them. It also leaves your counter free for cooking and chopping.
I picked a warm light wood because it felt soft next to my white wall.
Measure your counter first and leave a little space at each end. A shelf that runs edge to edge can feel heavy. A shelf with a small gap on each side looks lighter and fits better.
Hang it at a height where you can reach the top edge without a stool. For me that is just above my head when I stand flat on the floor.
Keep the middle clear for the things you grab every day.
Put your daily plates on the left and your bowls on the right. Stack them in small piles of four or five. Tall stacks tip over and they scare me a bit.
Leave one small empty spot on purpose. That empty spot makes the shelf look calm and it gives you room to add one new thing later.
Wipe the shelf once a week and it stays pretty with almost no work.
2. Two Short Floating Shelves by the Stove
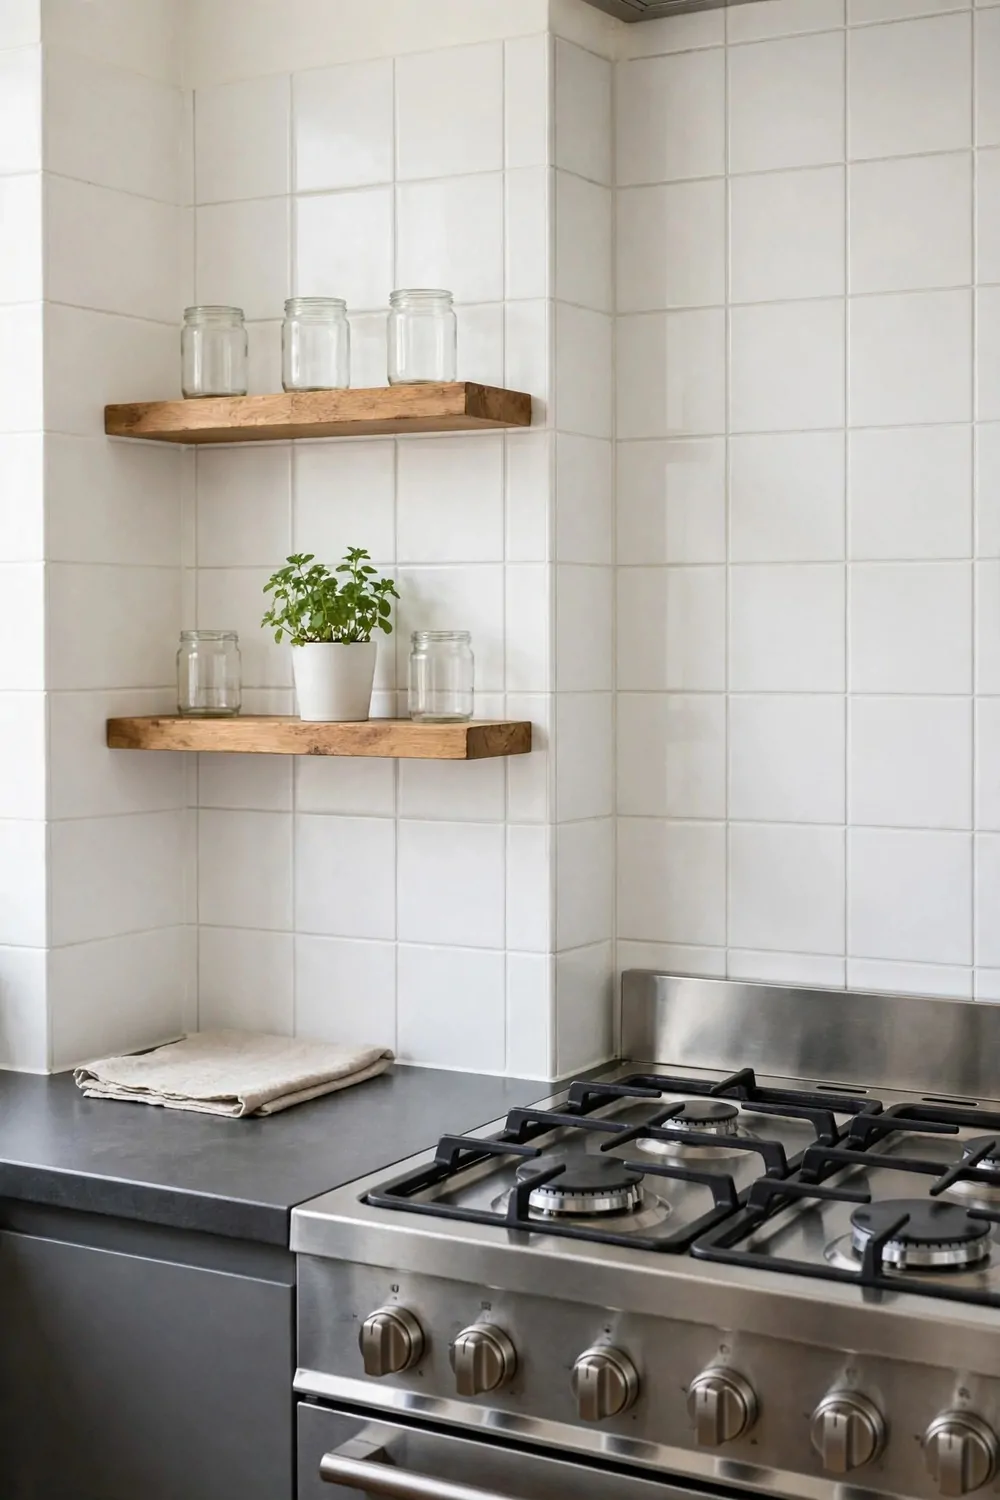
Two short shelves by the stove keep your cooking tools close and easy to grab.
I use the lower shelf for oil, salt, and the spoon I stir with. I use the top shelf for small bowls and a tiny plant.
Short shelves fit in a tight spot where a long shelf would not work. They also let you use the wall space between the stove and the window. That little gap is often wasted in most kitchens.
Pick floating shelves with hidden brackets if you want a clean look.
Make sure the brackets can hold real weight and not just look nice. A shelf full of jars is heavier than it looks.
Keep hot things away from the shelf edge. I learned that when my spoon handle got warm near the stove. Now I keep a small gap between the shelf and the heat.
I keep only five or six things on each short shelf.
Too many things by the stove makes cooking feel crowded. A few neat things make cooking feel easy and fast.
Wipe these shelves more often than the rest of the kitchen. Steam and tiny oil drops land here first. A quick wipe after dinner keeps them clean.
3. Wooden Shelves with Black Metal Brackets
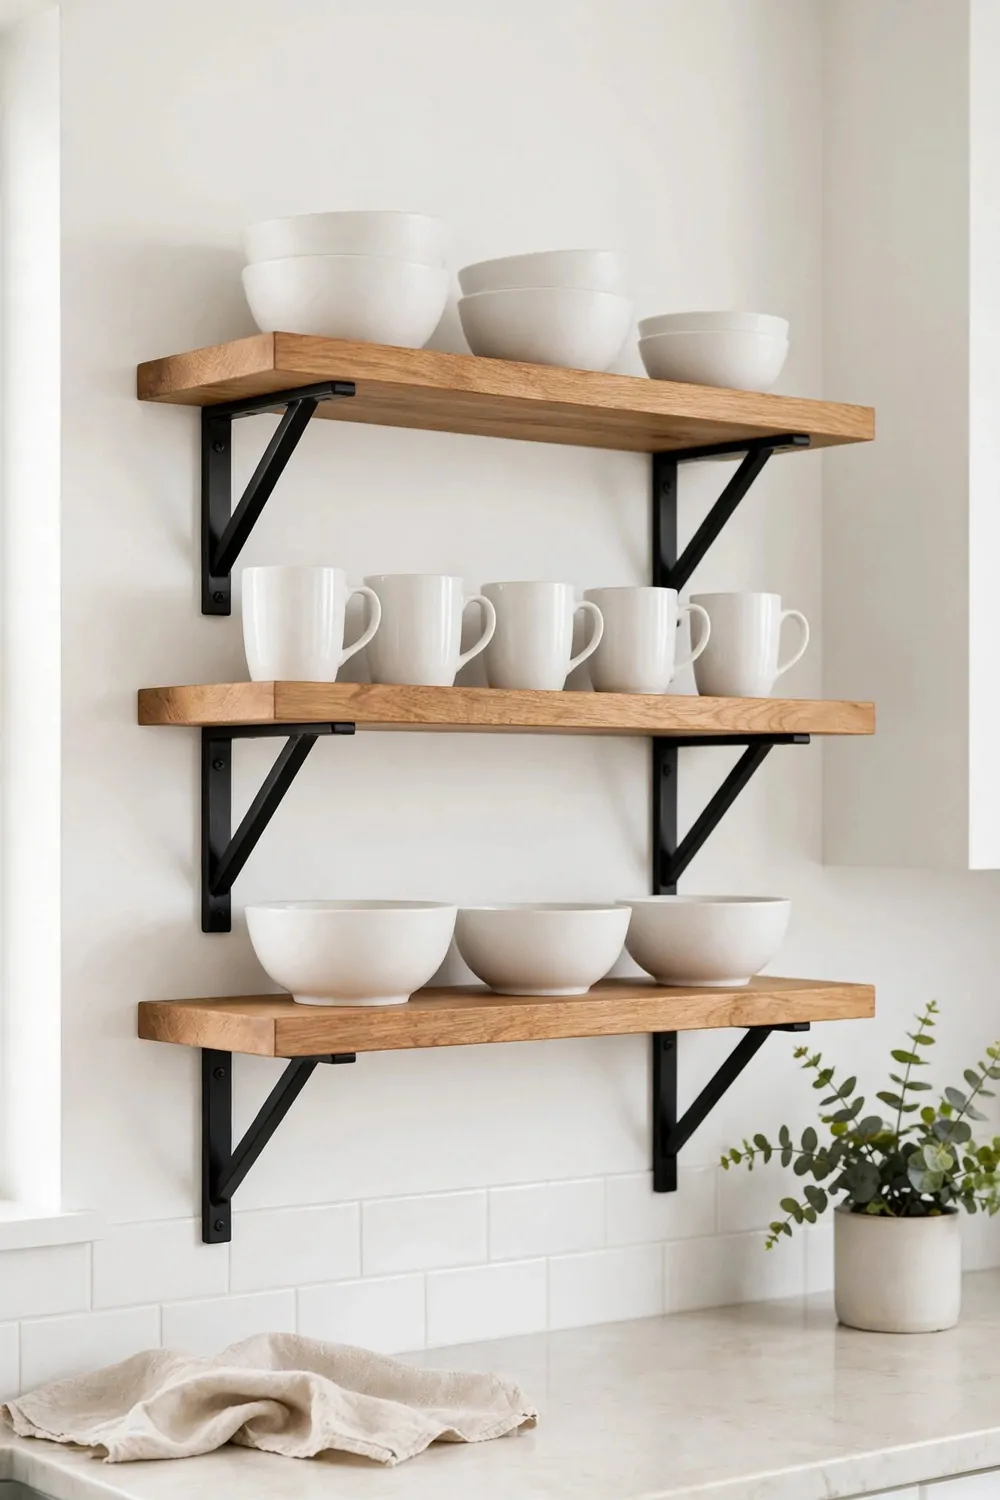
Black metal brackets make a plain wooden shelf look strong and a little bit fancy. I love how the dark metal stands out against light wood.
These brackets hold a lot of weight, so they are good for plates and jars.
Pick brackets that are a little shorter than your shelf depth. That way they do not stick out past the wood. It looks neater and you will not bump your head on them.
I screw mine into a wall stud when I can. A stud holds the shelf firm and I do not worry about it falling.
If you have no stud in that spot, use strong wall anchors made for heavy shelves.
Space the brackets evenly and do not put them too close to the ends. I leave about six inches from each end. That spread keeps the shelf level and steady.
You can paint the brackets black if they come in a plain metal color. A quick coat of paint makes old brackets look new again.
Mix wood tones if you want, but keep the brackets the same black on every shelf.
This look works in a small kitchen and a big one. It feels warm, simple, and it lasts for years.
4. White Shelves on a White Wall
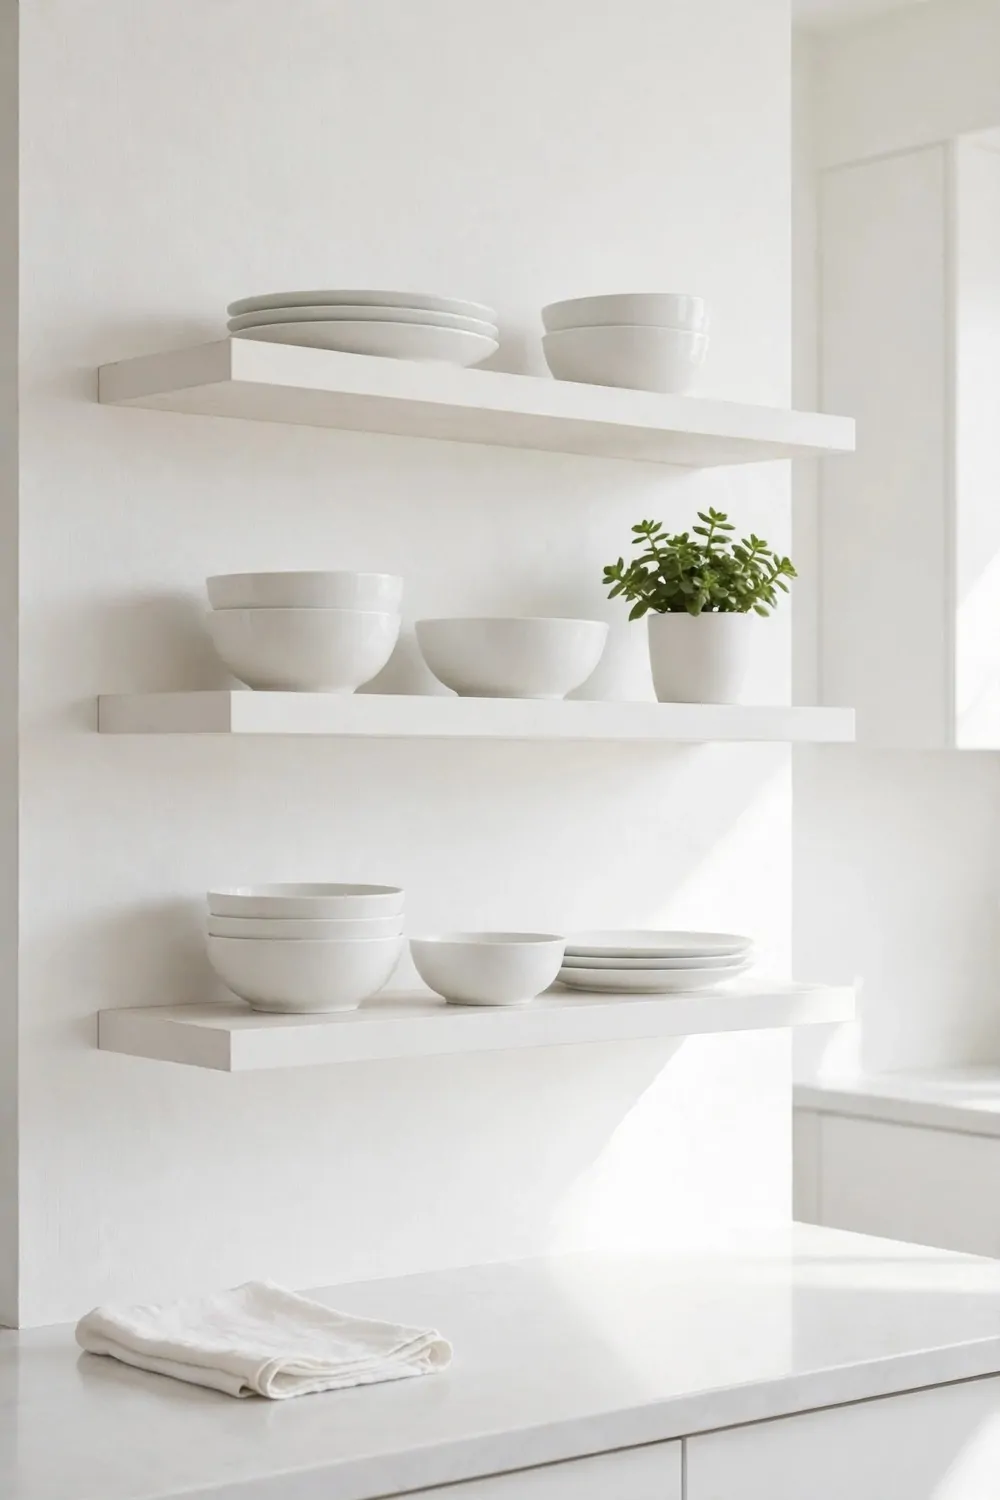
White shelves on a white wall look clean and quiet.
They blend into the wall, so your dishes and jars become the pretty part. I like that because my white bowls finally get to show off.
This is a good pick if your kitchen feels small or dark. White bounces the light around the room. It makes the wall feel taller and the room feel bigger.
Keep the shelf edges clean and free of chips.
A small chip shows fast on white paint. I keep a tiny pot of white paint for quick touch ups.
Use white shelves for light things like cups, small plates, and glass jars. Heavy dark pots can make the shelf look crowded. Light things keep the airy feel you want here.
I put my prettiest cups on these shelves and hide the chipped ones in a closed cupboard.
Wipe white shelves with a damp cloth once a week. Dust shows more on white, so a quick wipe keeps them bright.
If your wall is not pure white, match the shelf paint to the wall as close as you can. A close match looks smooth. A wrong white can look a bit off, so test a small spot first.
5. A Shelf for Everyday Plates and Bowls
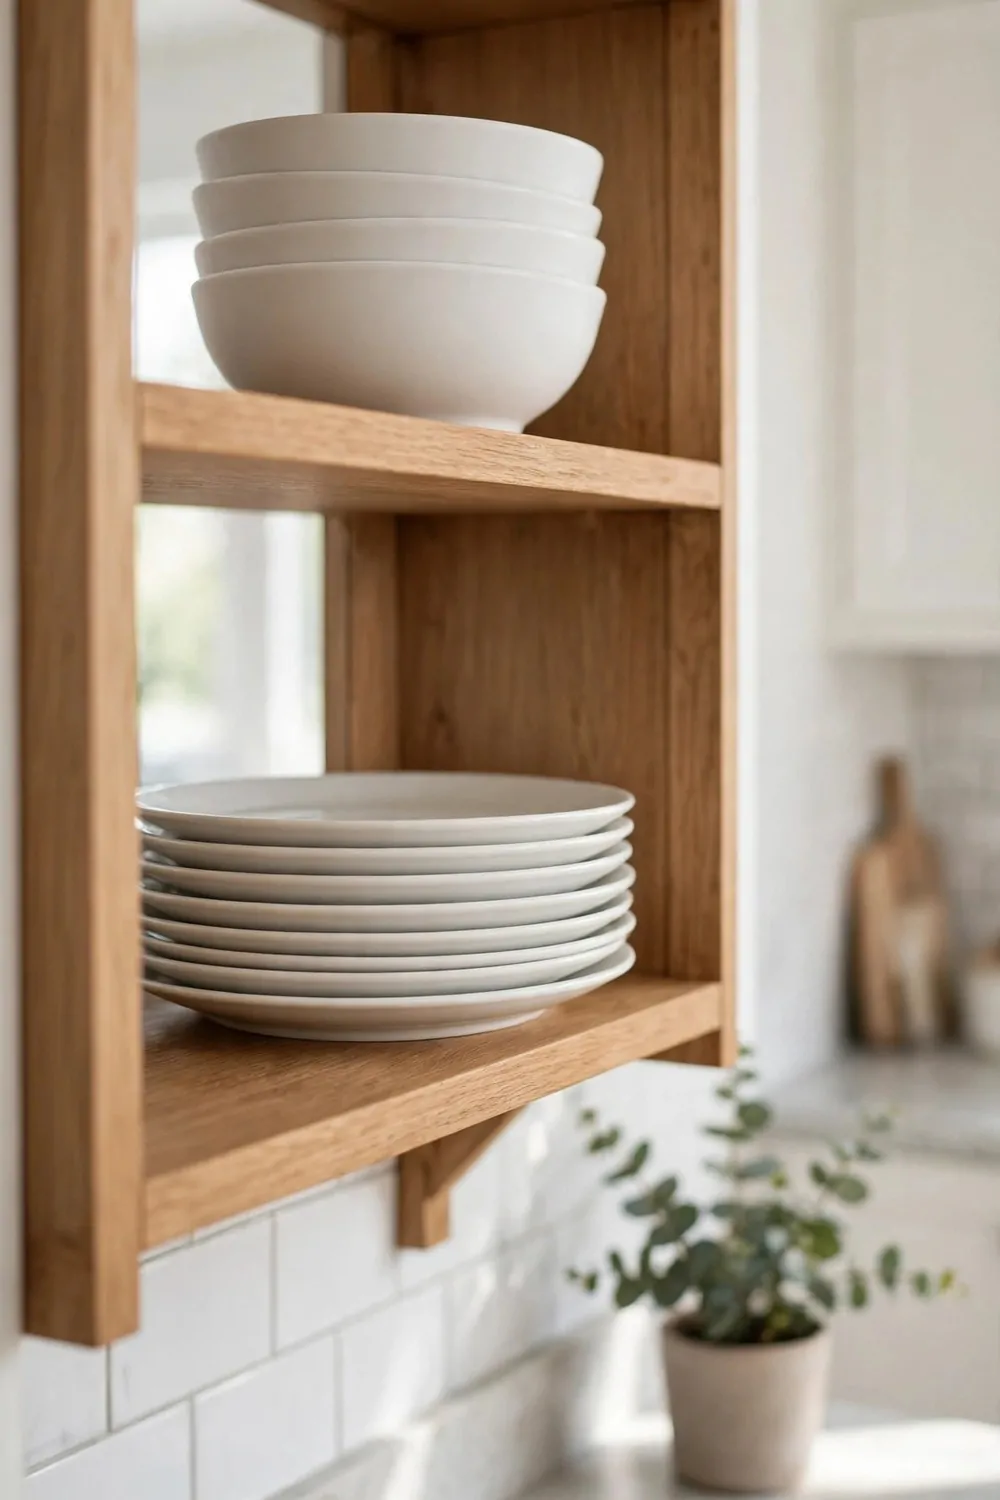
A shelf for everyday plates and bowls saves you time every single meal. You grab what you need and you put it back in the same spot.
I keep only the plates and bowls we use each day on this shelf.
The fancy plates stay in a closed cupboard for guests. The daily plates stay out where I can reach them. That split keeps the shelf useful and not too full.
Stack plates by size, with the big ones at the bottom.
Bowls stack well too, but keep the stacks short. I use to stack them too high and they fell once, so now I stop at four bowls.
Put this shelf near your sink or your dishwasher if you can. You will put clean dishes away faster. I timed myself once and it saved me a few minutes each day.
Leave a little space between stacks so you can lift a plate without hitting the next stack. Tight stacks look tidy but they are hard to use.
If a plate gets a chip, move it off the open shelf right away.
Chipped plates look messy on an open shelf and they can cut your hand. I keep a small box for chipped dishes until I replace them. That keeps the shelf safe and pretty.
6. A Shelf for Mugs and Cups
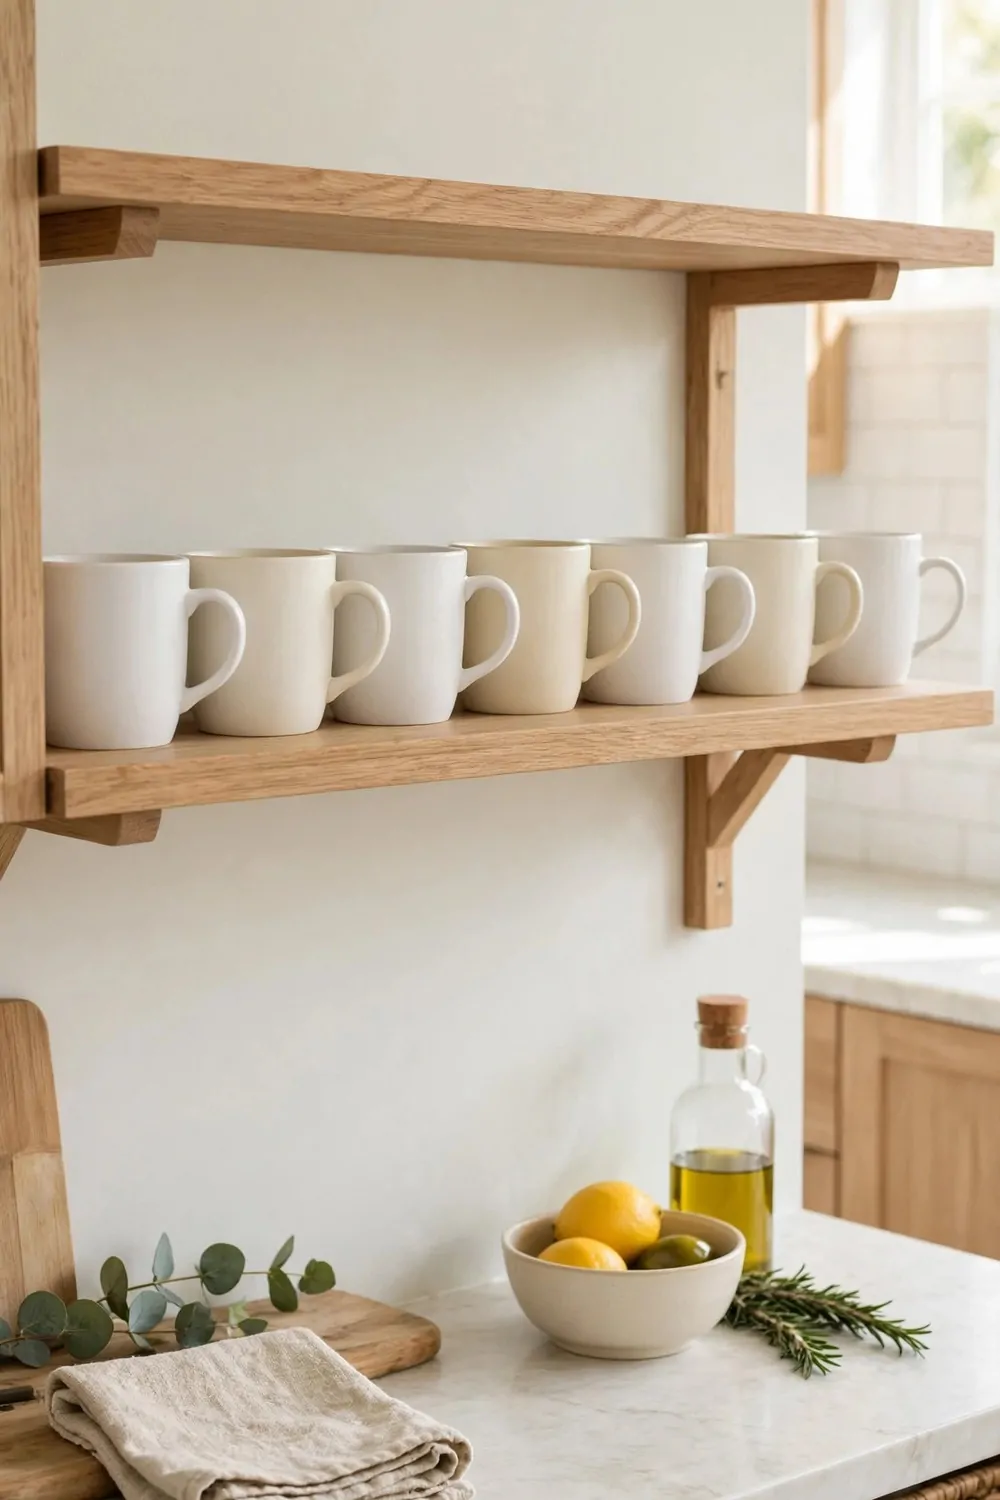
A shelf for mugs and cups makes your morning drink feel a little bit special.
I see my favorite mug first thing and I smile before my coffee is even made. You can hang a few hooks under the shelf for extra cups too.
Line the mugs up in a row with the handles all facing the same way. It looks neat and it makes it easy to grab one. I turn the prettiest mug to face out so I see its color first.
Do not stack mugs if you can help it.
Stacked mugs chip fast and they are hard to pull out. One row of mugs is better than two rows stacked up.
Keep tea cups and coffee mugs on the same shelf if you have room. I put the big mugs on the left and the small cups on the right. That way everyone in my house finds their own cup fast.
Leave one hook free for the mug you use most. It stays in reach and you do not have to move other mugs to get it.
Wash your mugs and let them dry fully before you put them back on the shelf.
Wet mugs leave marks on a wood shelf and they can smell a bit damp. I dry mine upside down on a towel first. Then they go back on the shelf clean and dry.
7. Glass Jars on an Open Shelf
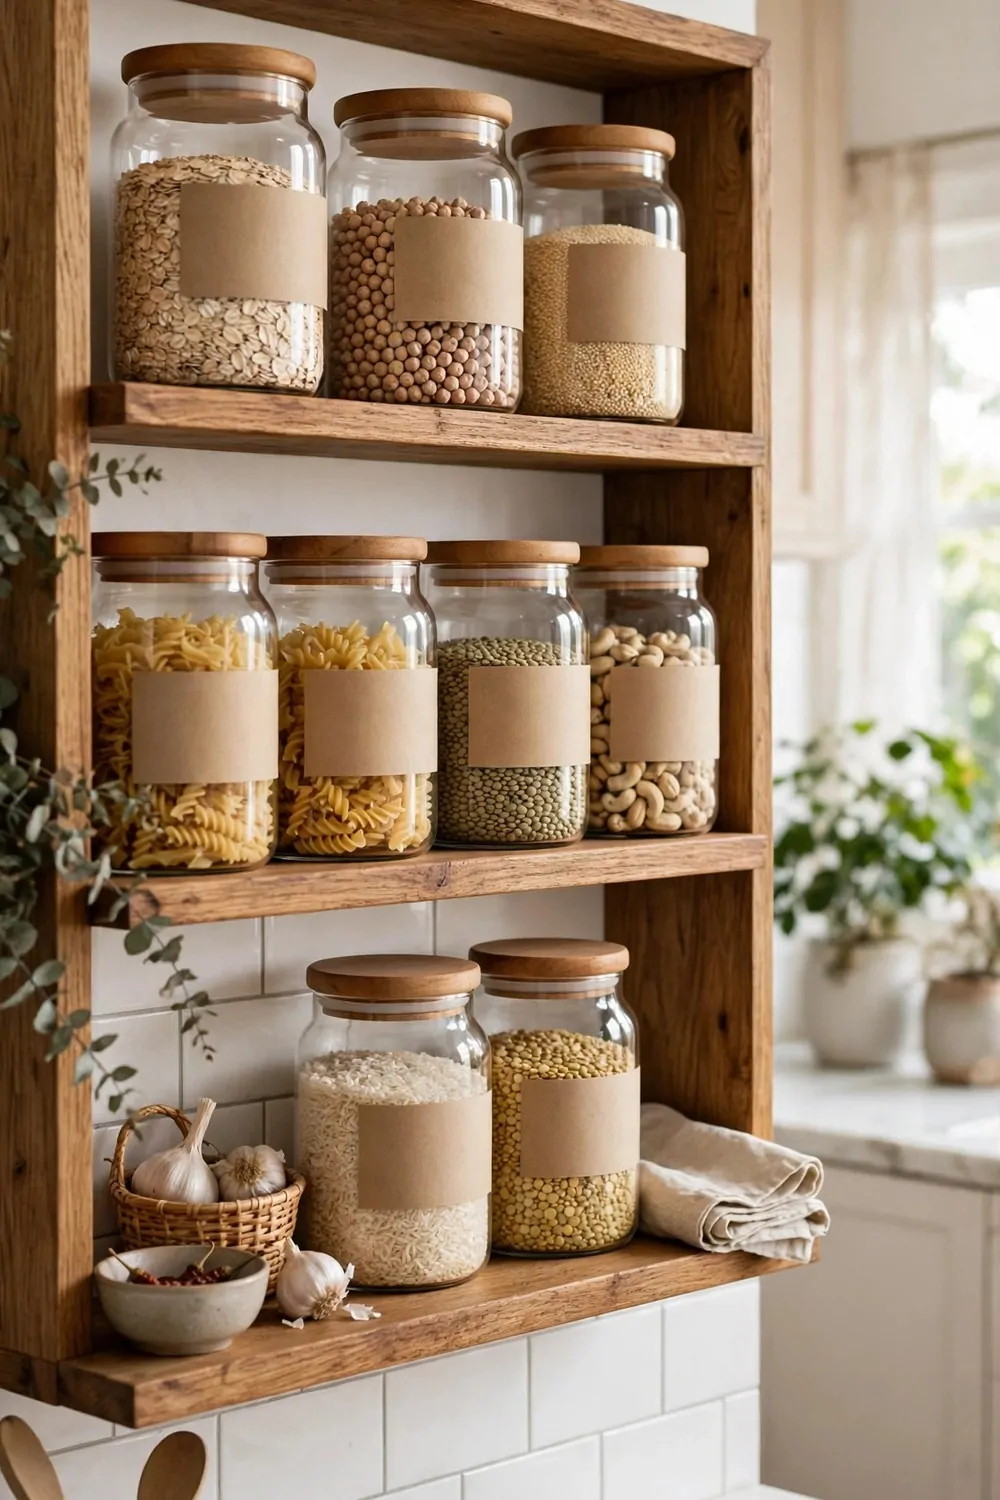
Glass jars on an open shelf make dry food look neat and easy to find.
I can see how much rice or pasta I have left without opening a bag. That saves me from buying a second bag when I already have one at home.
Pick jars with tight lids that close with a soft click. A loose lid lets air in and your food goes stale fast. I test each lid before I fill the jar.
Small jars cost about $3 to $5 each and they are best for spices and tea. I use them for the small things I reach for a lot.
Medium jars cost about $5 to $8 each and they hold rice and pasta well.
Large jars cost about $8 to $12 each and they are best for flour and sugar. They are heavy when full, so I put them on the lowest shelf. That way I do not have to lift a heavy jar over my head.
Label each jar with a simple white sticker and a dark pen. I write the name big so I can read it from across the room.
Keep the jars in a straight row with a small gap between each one.
A gap lets you pull one jar out without knocking the next one over. I wipe the outside of the jars once a week so they stay clear and bright.
| Jar size | Best for | Typical cost |
|---|---|---|
| Small, 16 oz | Spices and tea | $3 to $5 |
| Medium, 32 oz | Rice and pasta | $5 to $8 |
| Large, 64 oz | Flour and sugar | $8 to $12 |
8. A Shelf for Cookbooks
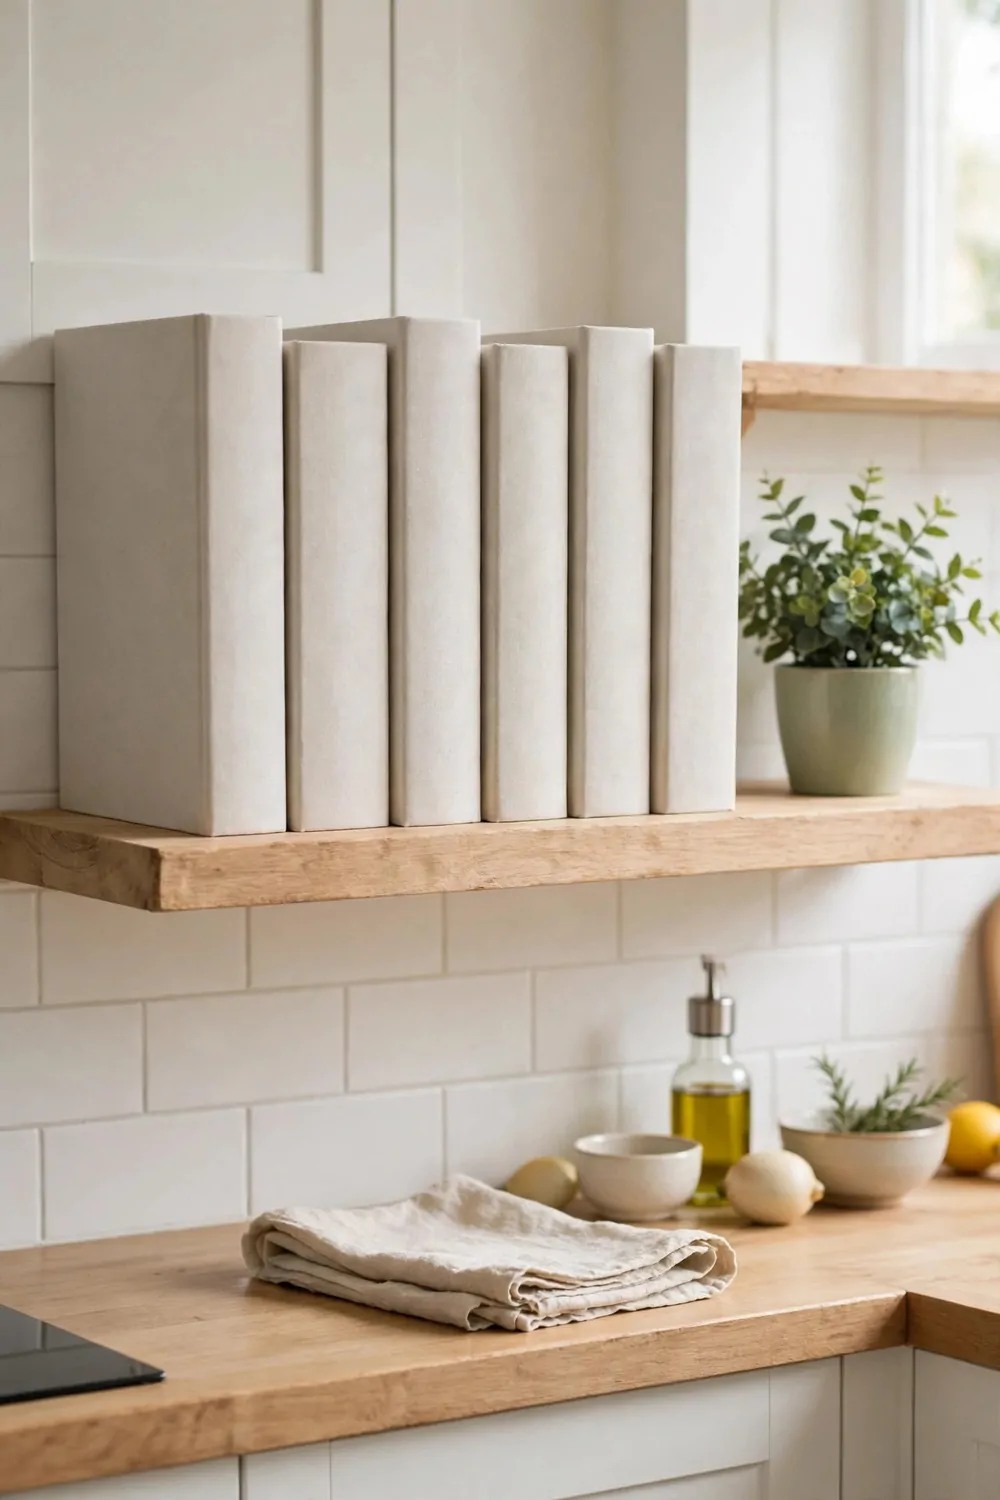
A shelf for cookbooks keeps your favorite recipes close while you cook. I pull a book down, open it flat, and I do not have to search for it.
I keep only the books I really use on this shelf.
The books I never open stay in a box in another room. That frees space for the five or six books I reach for each week. A shelf with a few loved books looks better than a shelf packed with books I ignore.
Stand the books up like little soldiers in a row.
Put a small bookend at each end so they do not fall over. I use a heavy jar as a bookend when I have no proper one.
Sort the books by how often you use them, not by color. The daily book goes on the left where your hand lands first. The weekend baking book can sit a little further right.
Keep a small notebook on this shelf too. I jot down a recipe change right away so I do not forget it next time.
Wipe the top of the books once a month so dust does not settle there.
Cookbook pages can get splashed if the shelf is too close to the stove. I keep my shelf a safe distance from steam and heat. That keeps my books clean and easy to read for years.
9. A Small Plant on the Top Shelf
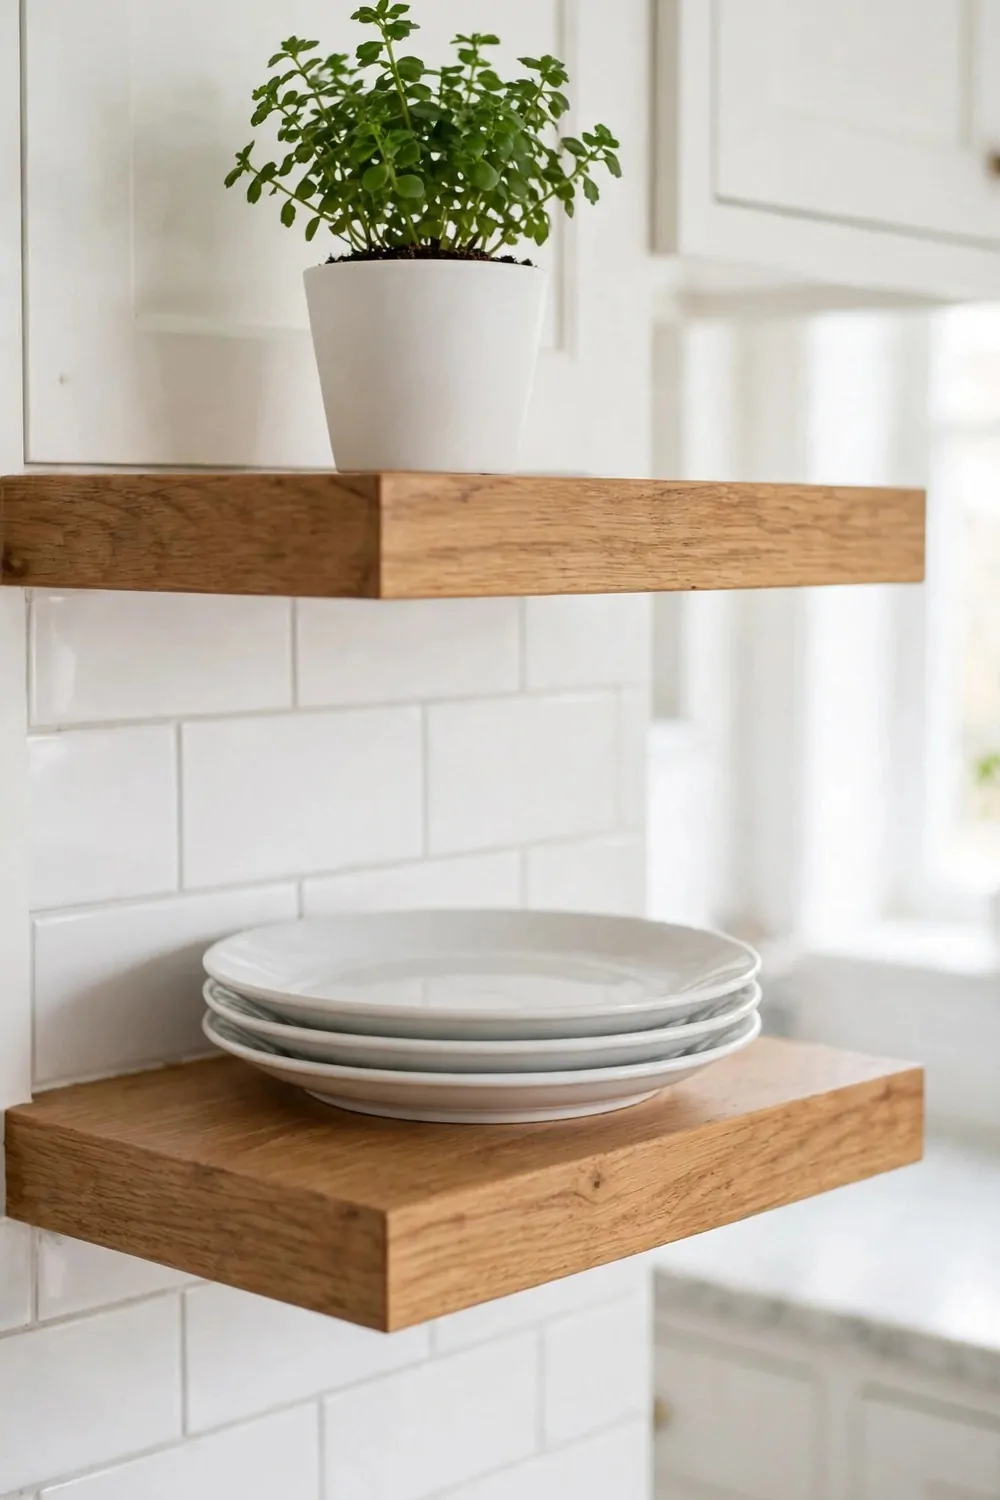
A small plant on the top shelf adds life to your kitchen without taking counter space.
I picked a tiny green plant that likes bright light and a little water. It sits in a plain white pot and it makes the whole shelf feel fresh.
Pick a plant that stays small and does not drop leaves all over your dishes. A trailing plant looks pretty, but it can drip water onto plates below. I keep my trailing plant on a shelf with nothing under it.
Water the plant over the sink, not on the shelf.
That one habit keeps the wood dry and clean. I let the pot drain for a few minutes before I put it back.
Check the light on your top shelf before you pick a plant. Some shelves get strong sun in the afternoon. Some shelves stay shady all day, so pick a plant that likes that light.
Use a pot with a tray under it to catch extra water. A tray saves your shelf from water rings and stains.
I trim my plant once a month so it stays neat and small.
A neat plant looks cared for and it does not block your view of the shelf. If a plant grows too big, move it to a window spot and put a smaller one on the shelf. Your kitchen stays green without feeling crowded.
10. A Shelf for Spices Near the Stove
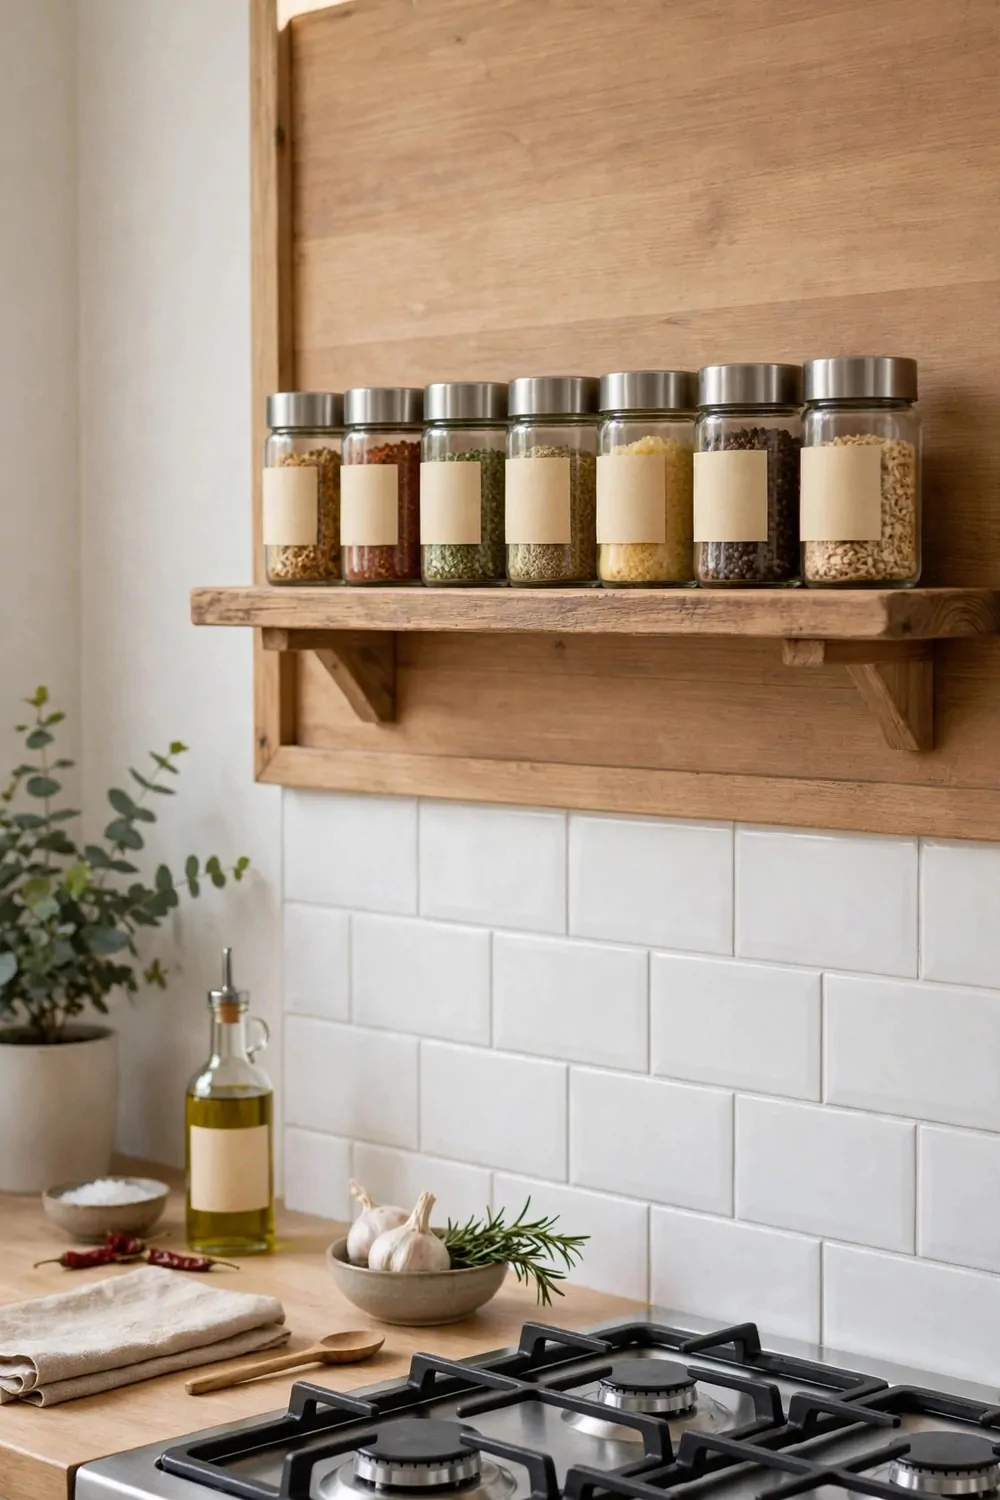
A shelf for spices near the stove makes cooking faster and a lot more fun. You reach, you shake, and you keep stirring without stopping.
I keep my most used spices on this shelf and the rest in a closed cupboard.
Salt, black pepper, and my favorite dried herbs live here. I use them almost every day. The rare spices stay tucked away so this shelf stays simple.
Use small matching jars so the shelf looks tidy.
Different shapes and sizes can look messy fast. Matching jars make even a full shelf look calm.
Put the labels where you can read them without lifting each jar. I face every label forward in a straight line. That tiny habit saves me time when my hands are busy cooking.
Keep the shelf a little to the side of the stove, not right over it. Steam rises straight up and it can make spice jars damp inside.
I wipe my spice jars once a week to keep them free of dust and oil.
Check your spices every few months and sniff them before you use them. Old spices lose their smell and they do not flavor your food well. I replace a spice when it smells faint or dusty.
11. Open Shelves Instead of Upper Cabinets
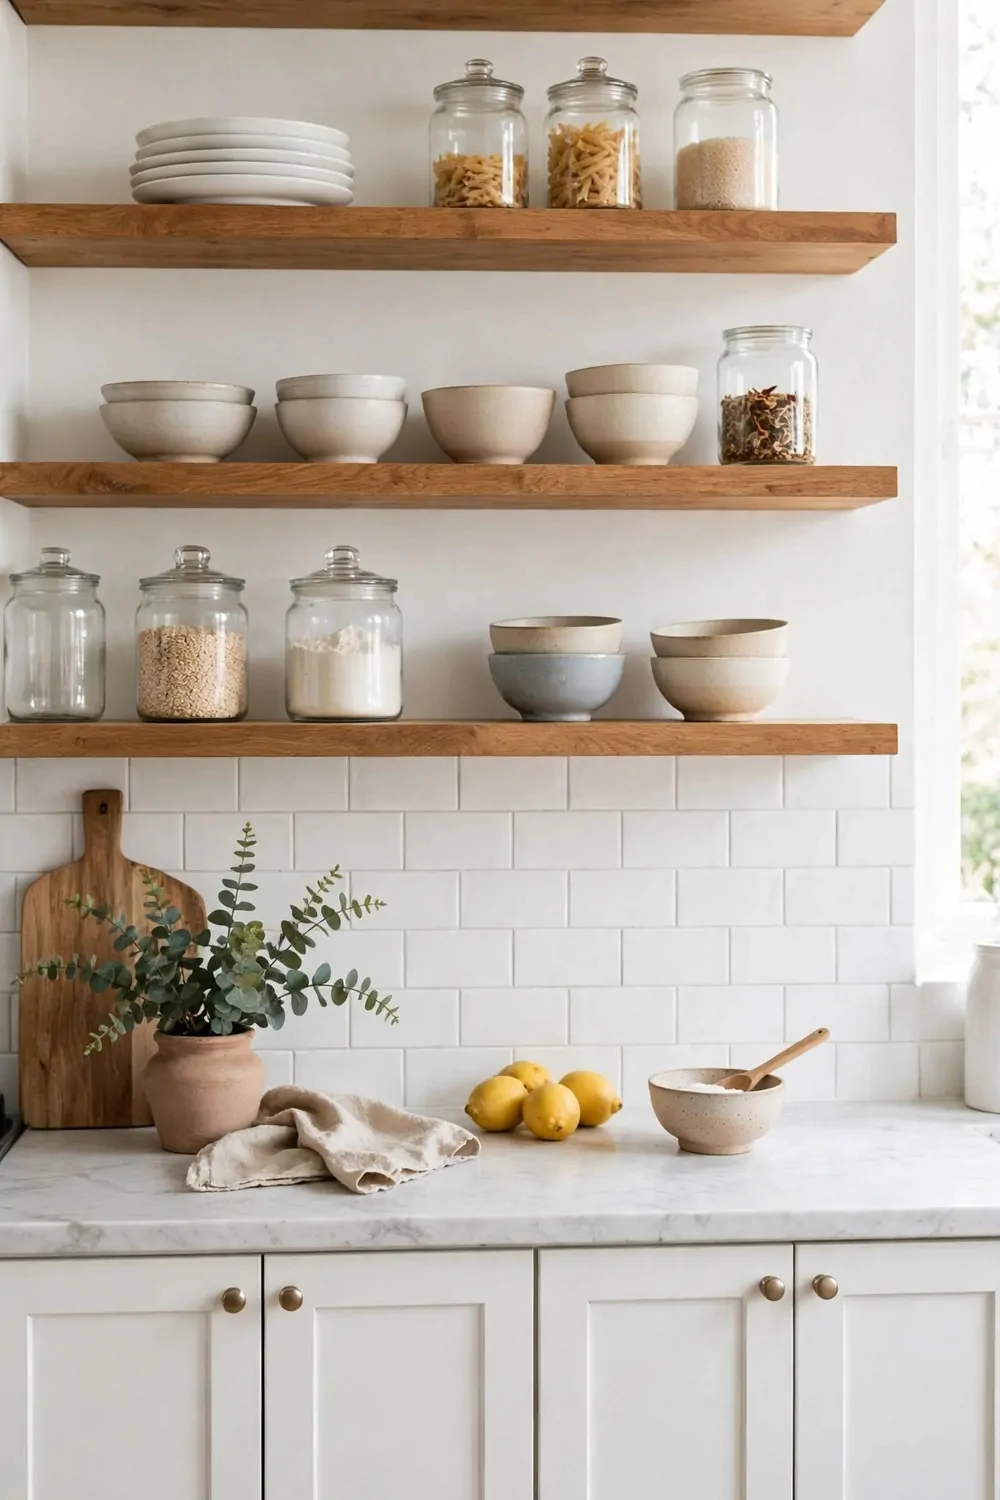
Open shelves instead of upper cabinets can make a small kitchen feel twice as big.
You take away big dark boxes and you get light and air in their place. I felt the change the day I took my old cabinet doors off to test it.
This works best if you like to keep things neat and you own fewer dishes. A full shelf looks pretty when it is tidy. A packed shelf looks messy fast, so less is more here.
Start with one wall only if you are not sure.
Replace the cabinets on one wall and keep the other wall closed. You get the open feel without losing all your hidden storage.
Keep your daily dishes on the open shelves and hide the rest below. Pots, small tools, and food bags can live in lower cabinets. That split gives you beauty up top and room down below.
You will dust more often with open shelves, and that is the honest truth. I wipe mine once a week and it takes about five minutes.
Use the same color dishes if you can, so the shelves look calm.
Mixed colors can work too, but they need more space between groups. I group white plates together and put colorful bowls on a lower shelf. That way the color feels planned, not random.
12. A Shelf Above the Sink for Soap and Plants
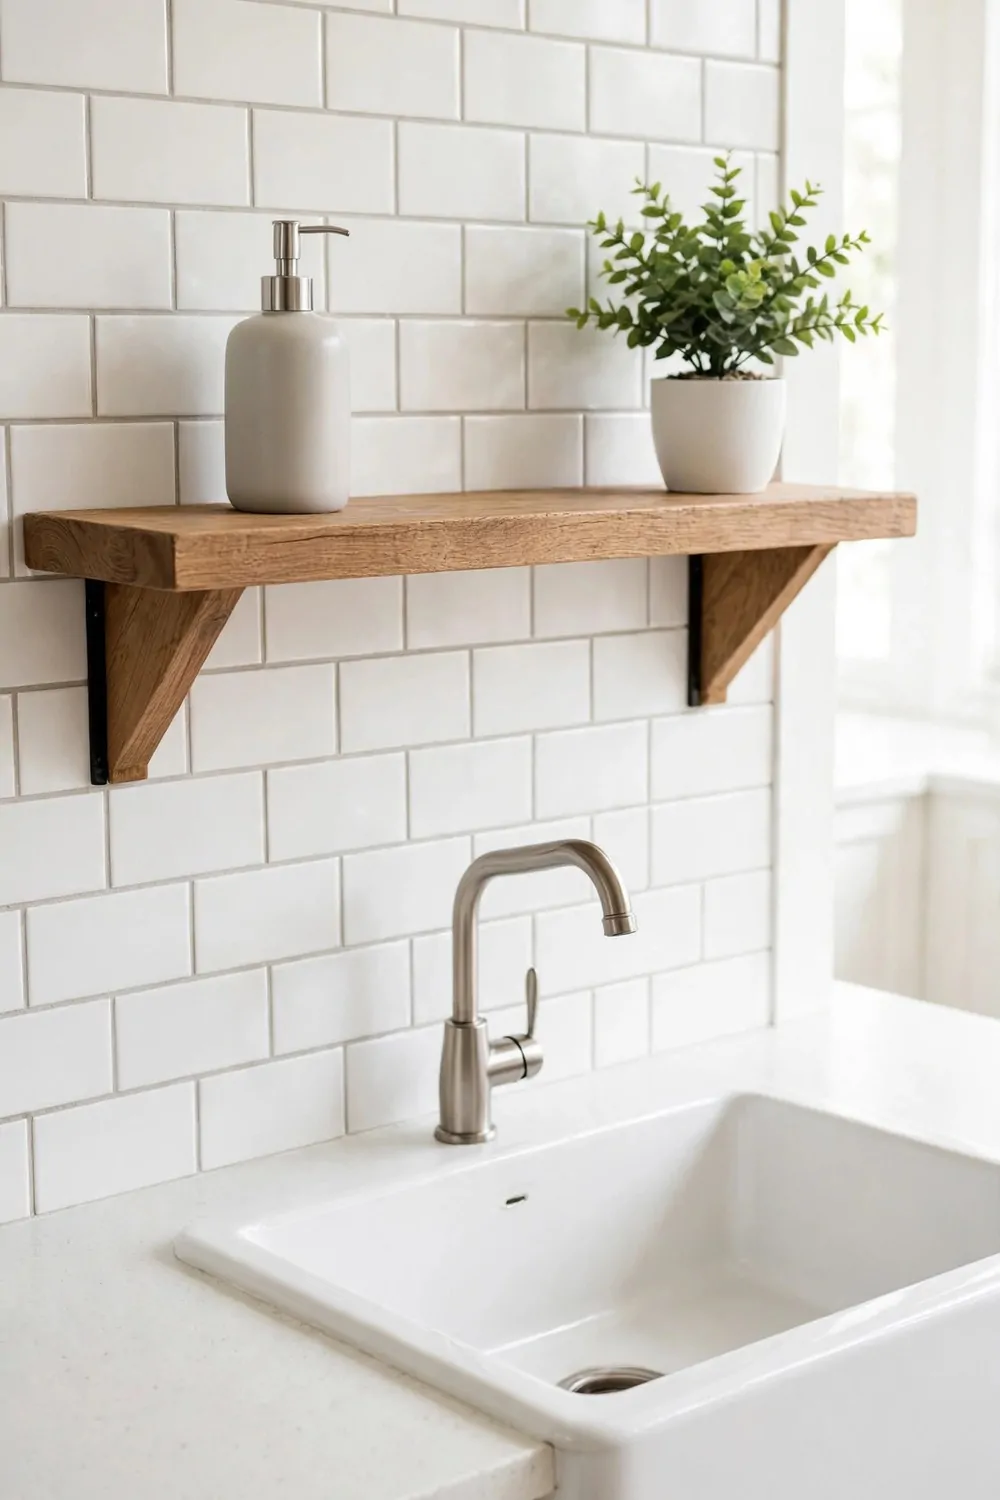
A shelf above the sink keeps soap and a small plant right where you wash up. I reach for the soap without opening a cupboard with wet hands.
This is a small shelf, and small is good here.
A long shelf over the sink can bump your head when you lean in to wash dishes. A short shelf fits the sink width and stays out of your way. I measured mine to sit just wider than my sink.
Put your hand soap and dish soap in pretty bottles if you can.
Plain bottles work fine too, but a nice bottle makes washing up feel less like a chore. I refill my bottles from a big jug I keep under the sink.
Add one small plant that likes a bit of water in the air. The steam from the sink keeps it happy. I picked a small green plant in a white pot and it has stayed healthy for months.
Keep a small sponge holder on this shelf too. It drains into the sink and it keeps your counter dry.
Wipe this shelf often because water splashes land here every day.
A quick wipe after you wash dishes keeps soap marks from building up. I keep a small cloth folded on the shelf for that job. It takes ten seconds and the shelf stays clean and bright.
13. A Corner Shelf That Uses Dead Space
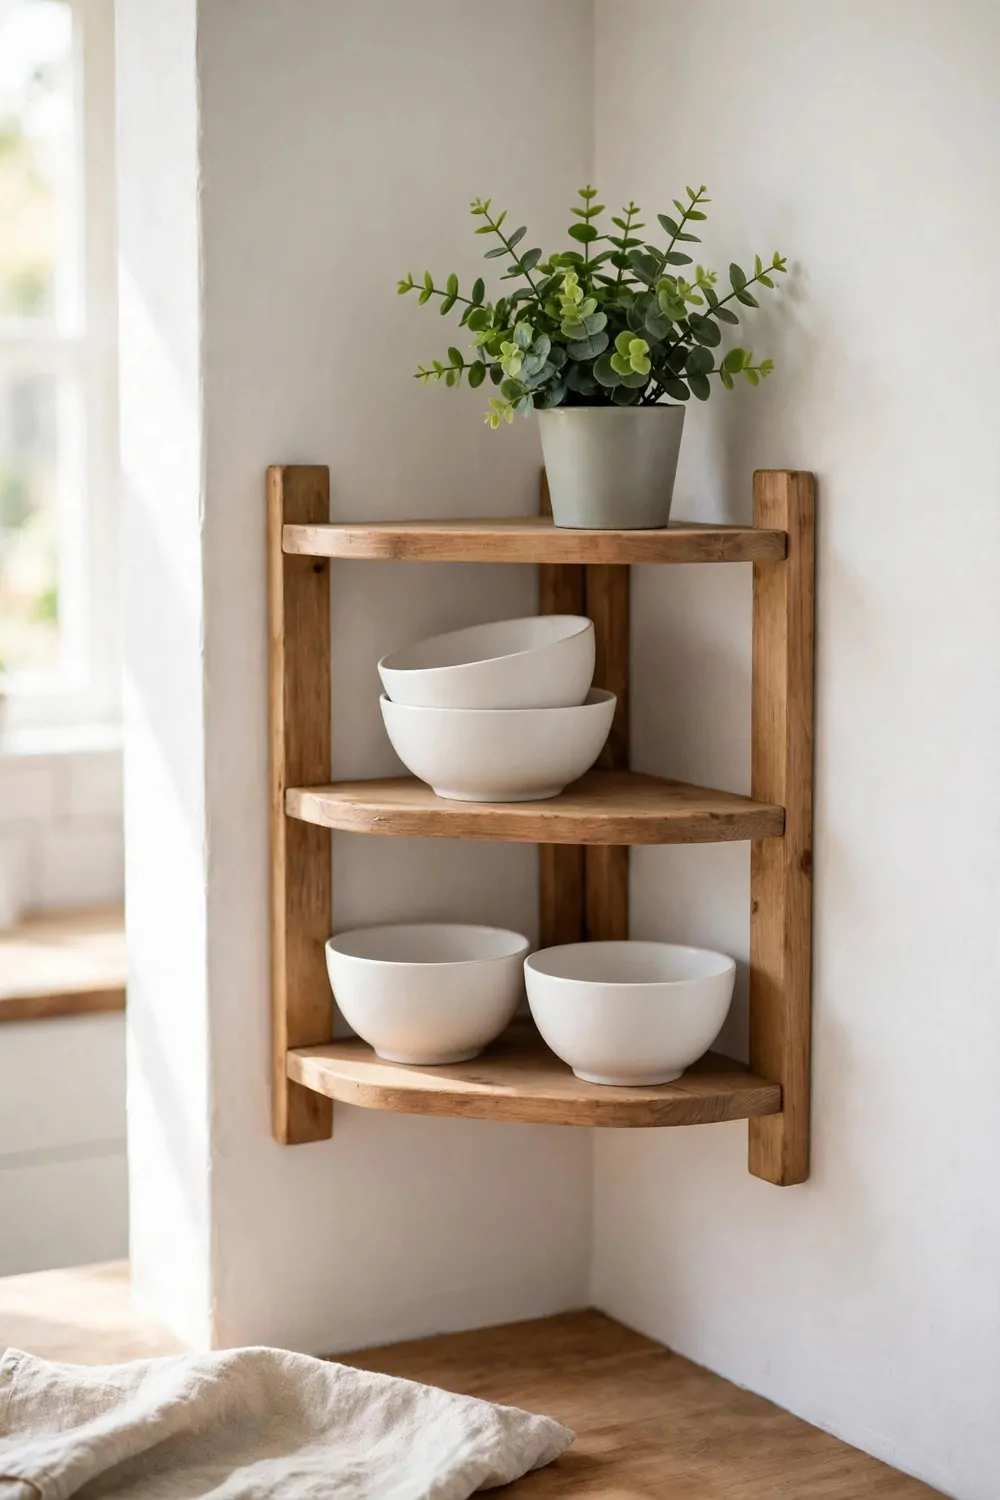
Every kitchen has a corner that does nothing. You know the one I mean. It just sits there and collects dust.
I put a small corner shelf in mine last year. It changed that dead spot into my favorite spot in the whole kitchen.
You can fit two small shelves in a corner without much work at all.
I keep my small bowls there. I also keep a tiny plant in a plain pot. It looks soft and it makes the corner feel alive.
Measure the corner first, because corners are never as square as they look. I learned that the hard way when my first shelf stuck out a bit too far.
A corner shelf works best when you keep it light. Do not pile it high with heavy pots.
Try a few small jars on the lower shelf. Put one nice bowl on the top shelf. That is enough.
You will reach for things in that corner more than you think. I grab my small bowls from there every single morning.
If the corner is near your stove, keep heat safe things there. A couple of small plates and a jar of wooden spoons work well.
14. A Shelf for Baking Trays and Boards
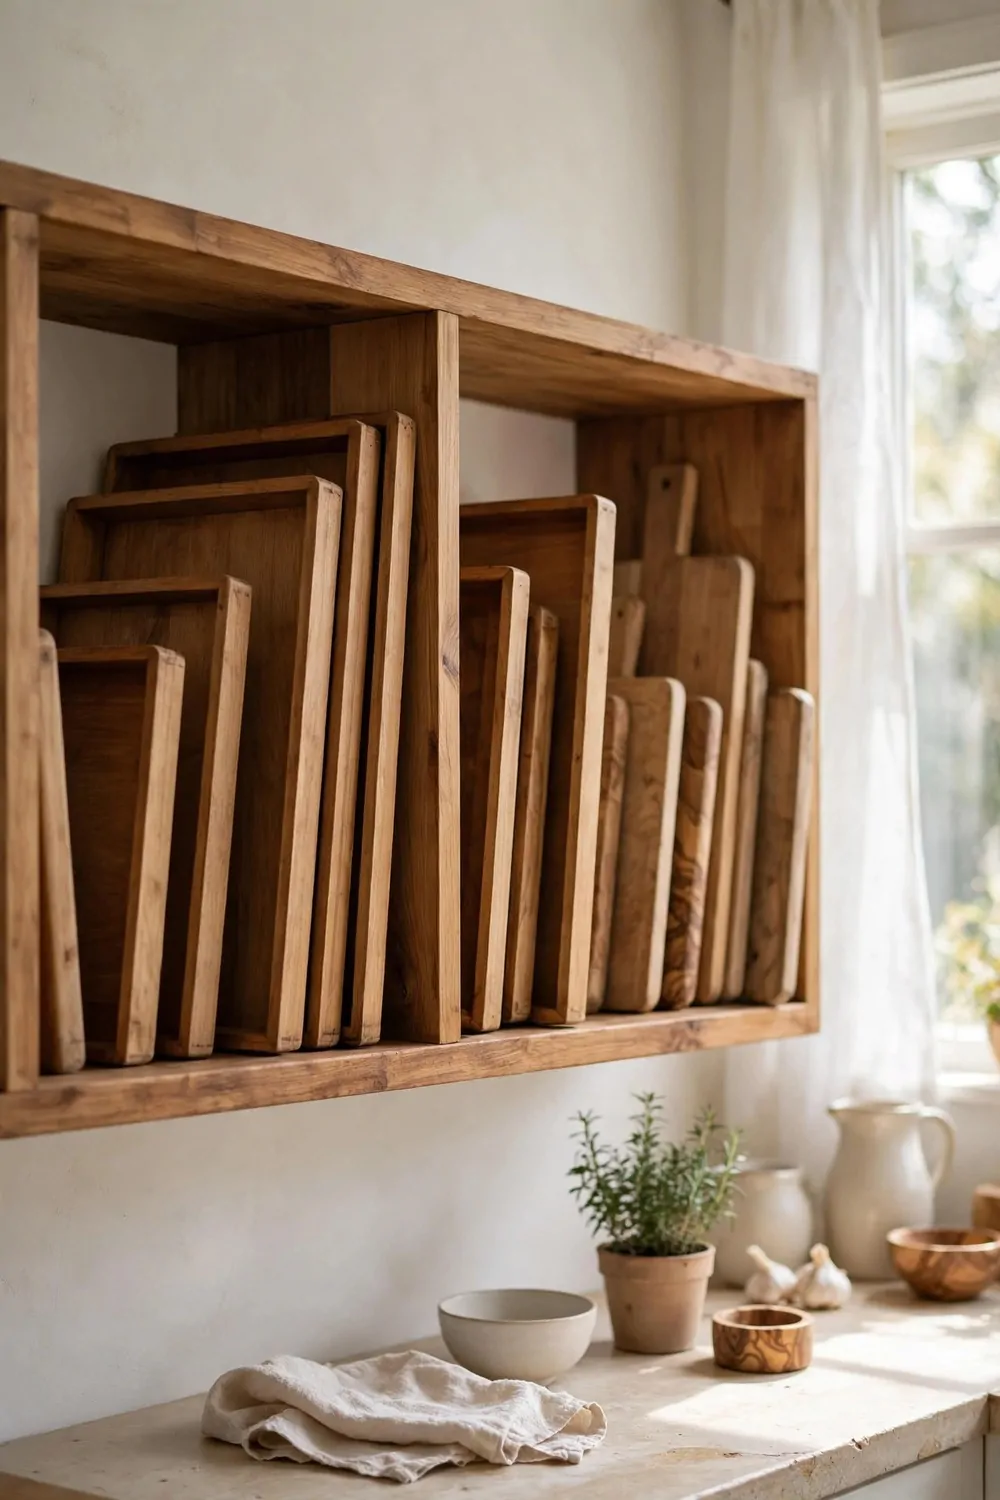
Baking trays are hard to store. They slide around and they make a loud crash when they fall.
I gave mine their own shelf. Now they stand up straight like books on a shelf, and I can pull one out without moving five others.
Put the shelf low if you can. Trays are wide and a bit awkward to lift down from up high.
I use small dividers on my shelf to keep the trays apart. You can buy simple ones, or you can use a couple of bookends.
Wooden boards look so pretty standing on a shelf. I keep my favorite one at the front where I can see it.
The material you pick matters a lot here. Wood shelves cost about $30 to $80 each, and they feel warm and strong. Metal shelves cost about $25 to $60 each, and they hold heavy trays without bending. Glass shelves cost about $40 to $90 each, and they look light, but they need a strong bracket.
I picked wood for mine because my trays are heavy. The wood holds them fine and it matches my other shelves.
Leave a little space between each tray. If they are packed too tight, you will scratch them when you pull one out.
Wipe the shelf once a week. Flour dust gets everywhere, and a quick wipe keeps the trays clean.
| Shelf material | Best for | Typical cost |
|---|---|---|
| Wood | Heavy trays and boards, warm look | $30 to $80 per shelf |
| Metal | Heavy trays, strong and easy to clean | $25 to $60 per shelf |
| Glass | Light look, lighter trays and boards | $40 to $90 per shelf |
15. Wooden Crates as Open Shelves
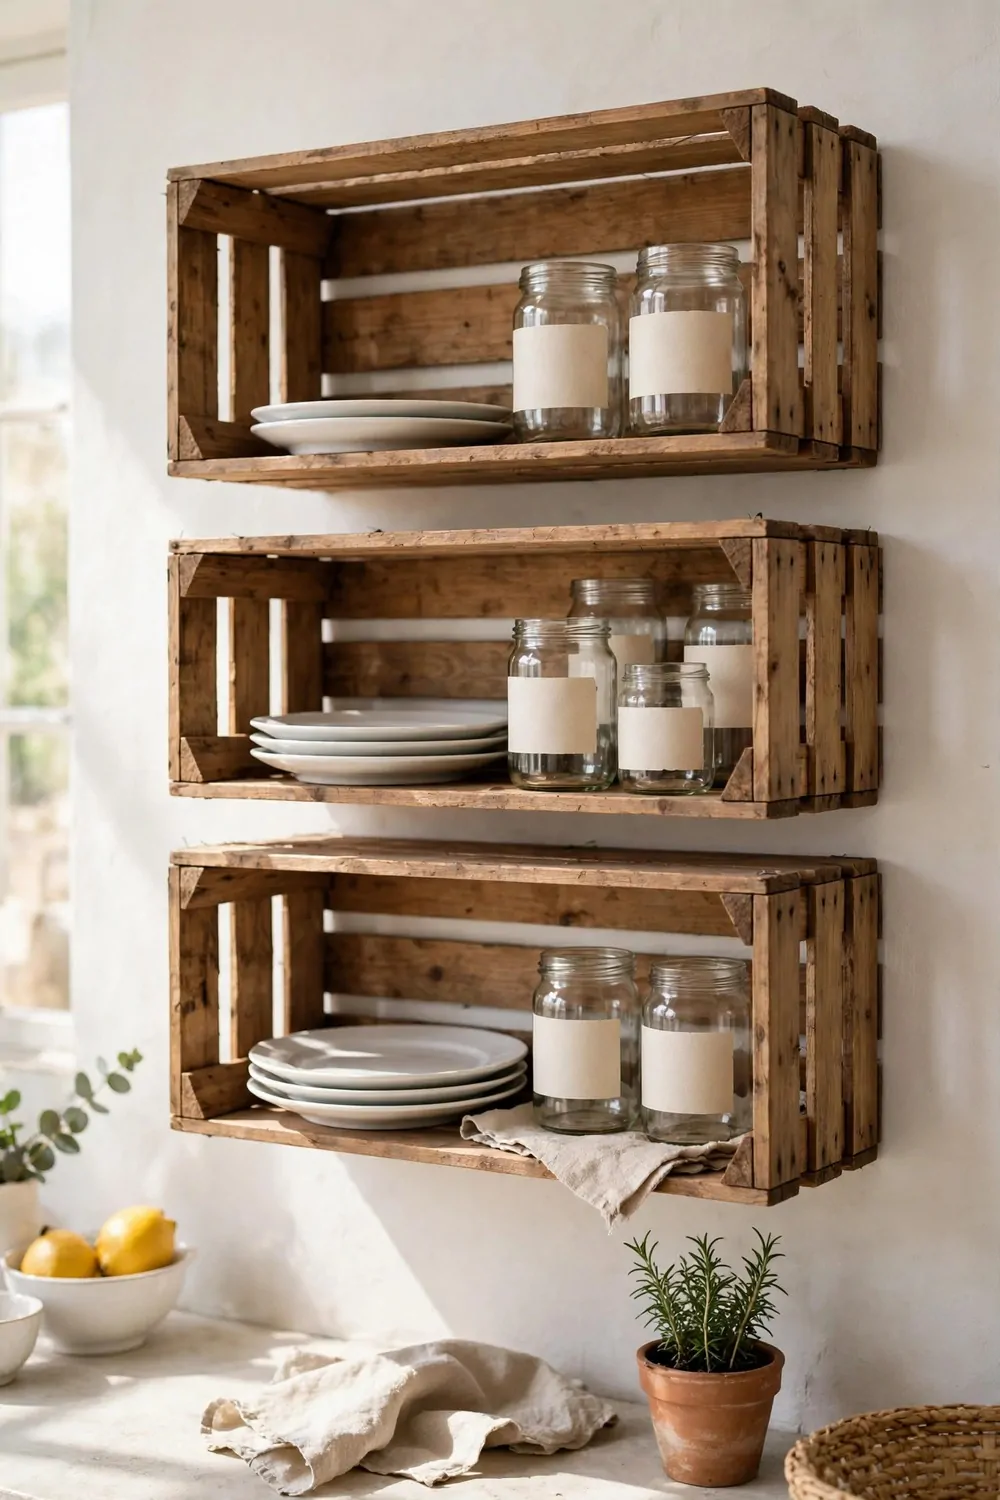
Wooden crates are cheap and they look so good on a wall. I found mine at a small market for just a few dollars each.
You can hang one crate on its own. Or you can stack two or three in a row for a bigger shelf.
I sanded my crates a little first. The rough edges can catch your hand, and a quick sand makes them smooth.
Do not skip the brackets. A crate full of plates is heavy, and you want it fixed to the wall in a solid way.
I keep my everyday mugs in one crate. The cups are easy to grab, and the wood makes them look warm and homey.
You can paint a crate if you want. I left mine plain because I like the pale wood color next to my white wall.
Crates are great for small kitchens. They add storage without making the wall feel closed in.
Put a small basket inside a big crate if you want to hide little things. I keep my tea bags in a basket inside mine.
Check the crate once in a while for loose nails. A quick tap with a hammer fixes it in a minute.
16. A Shelf for Pretty Serving Dishes
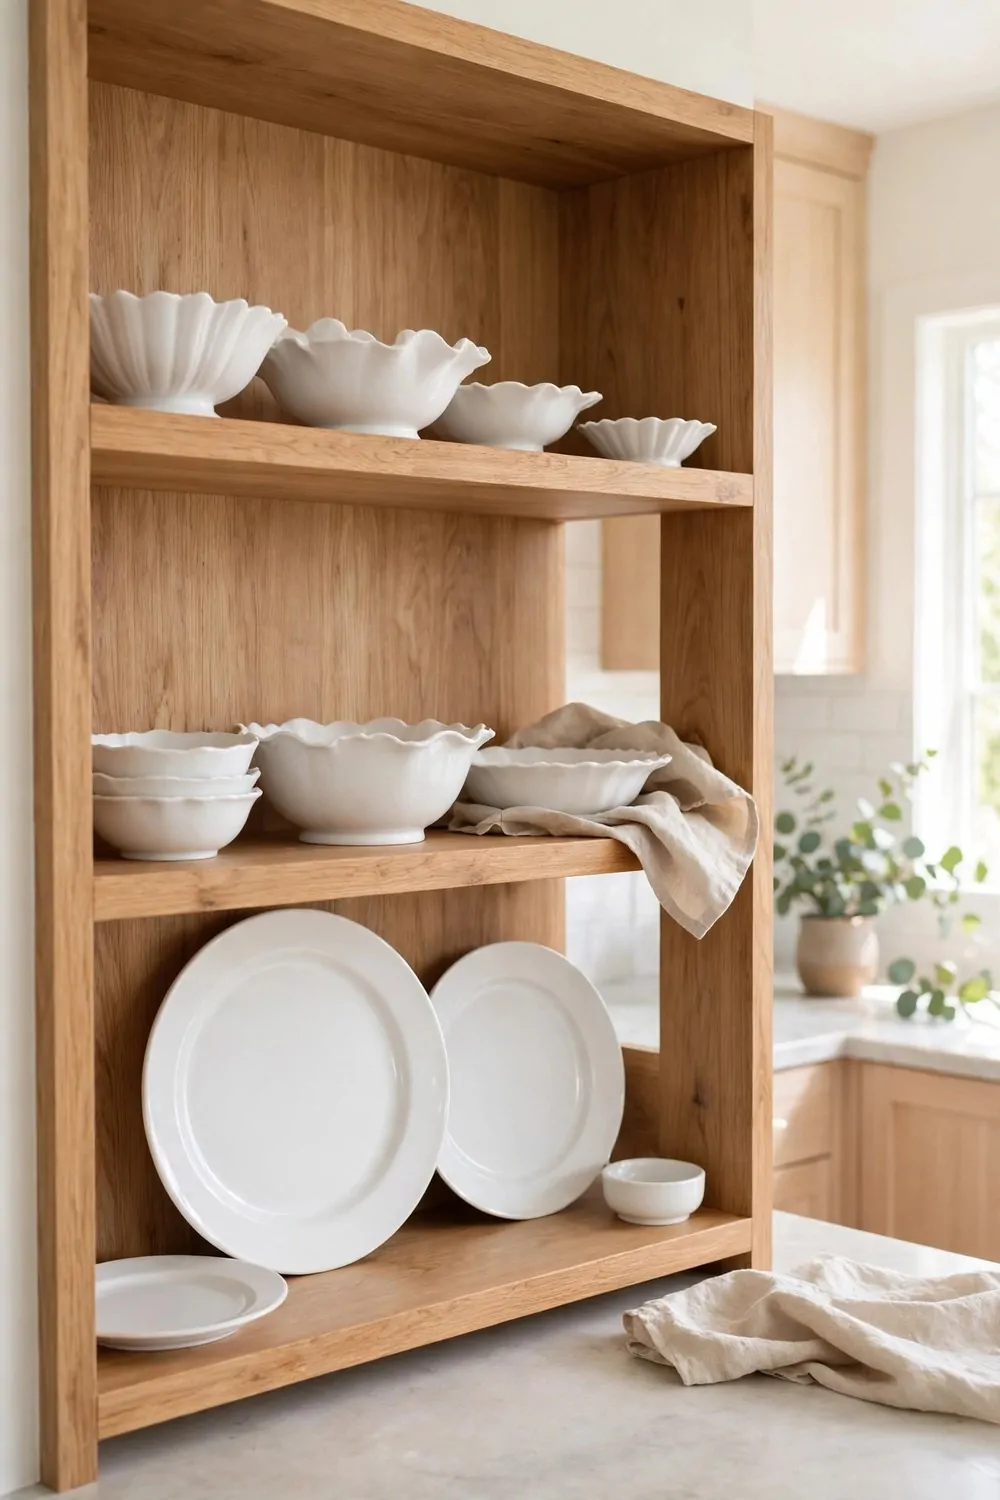
Pretty serving dishes should not hide in a cupboard. You bought them because you love them, so let them show.
I put my best serving bowl on an open shelf at eye level. I see it every day and it makes me smile.
Keep the shelf simple. One big bowl, one platter, and a small stack of plates is plenty.
If you crowd the shelf, nothing stands out. Give each dish a bit of room to breathe.
I wash my serving dishes by hand and put them back the same day. That way the shelf always looks ready for guests.
Put the dishes you use most at the front. The ones you use once a month can sit a little further back.
A white shelf makes colorful dishes pop. My blue platter looks twice as pretty against a plain white board.
You can mix shapes on one shelf. A round bowl next to a square platter looks fun and not too perfect.
When friends come over, I just lift the dish off the shelf and set the table. It feels easy, and the shelf looks lovely even with one dish missing.
17. A Shelf with Hooks Underneath for Mugs
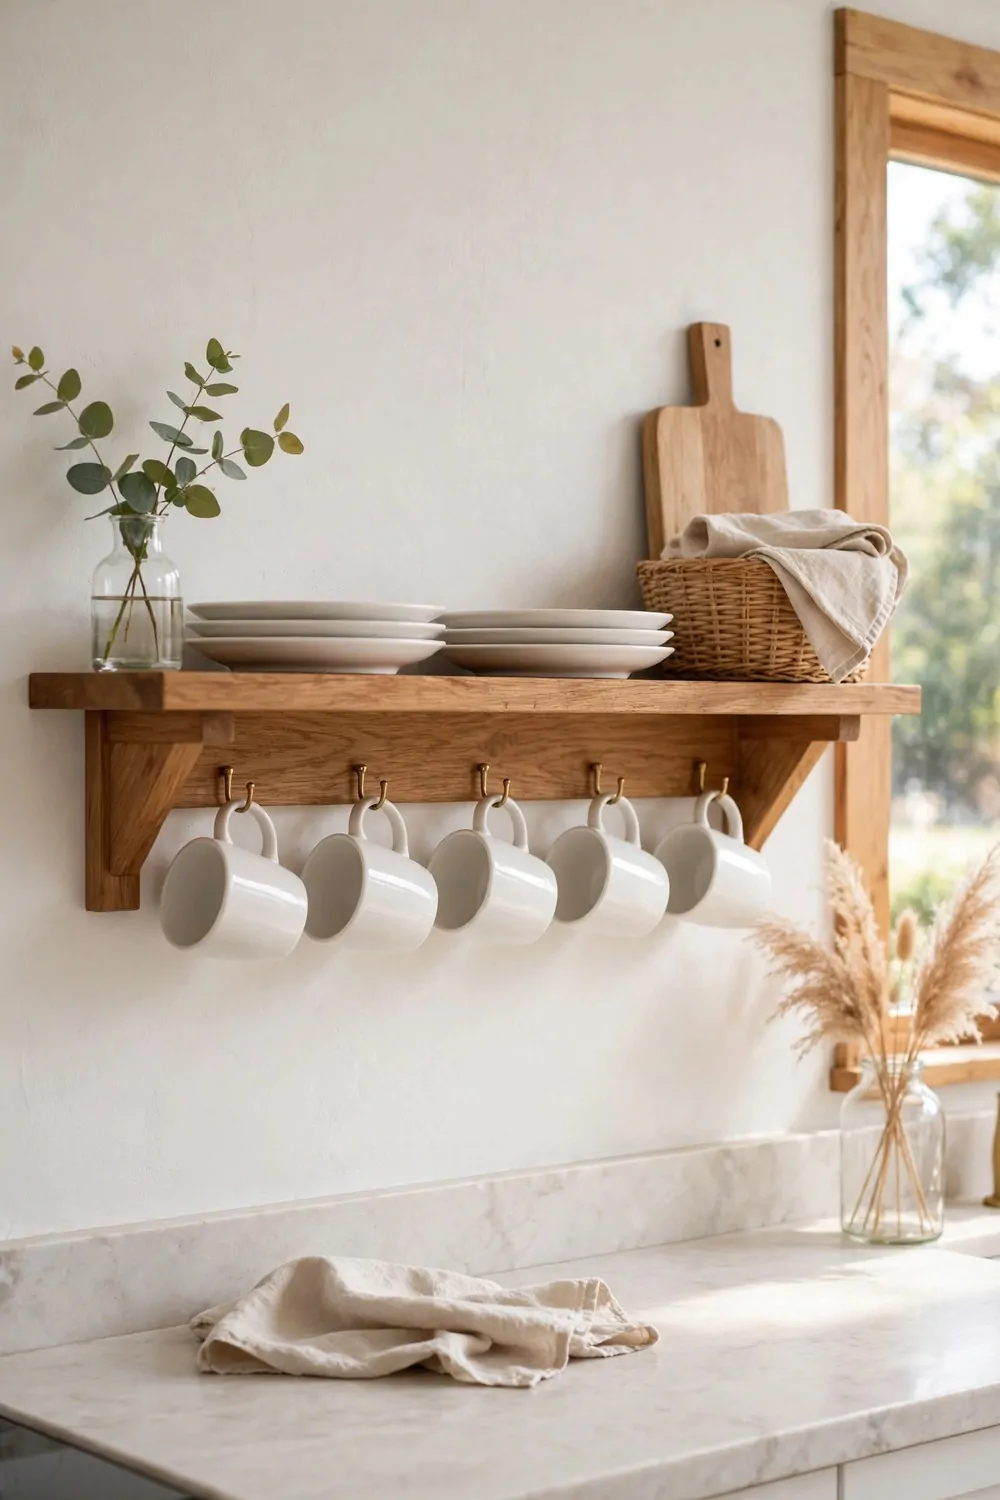
Hooks under a shelf are a small trick with a big payoff. You get a whole extra row of storage without a new shelf.
I screwed five small hooks under my shelf. My mugs hang there in a neat row, and I can see each one.
Pick hooks that are strong enough for a full mug. A weak hook will bend, and a mug will fall.
Space the hooks a little wider than the mugs. If they hang too close, they knock together when you take one down.
I hang my favorite mugs at the front. The plain ones go at the back, and I still use them plenty.
This setup saves cupboard space too. My mugs used to fill a whole shelf in the cupboard, and now that shelf holds bowls.
Kids can reach a low hook shelf on their own. My little one grabs her own cup in the morning, and she feels so proud.
Wipe the hooks now and then. Steam from the kettle can leave a light film on them.
If a hook feels loose, tighten it right away. It takes ten seconds, and it saves a broken mug later.
18. Mixing Shelf Heights for Tall and Short Items
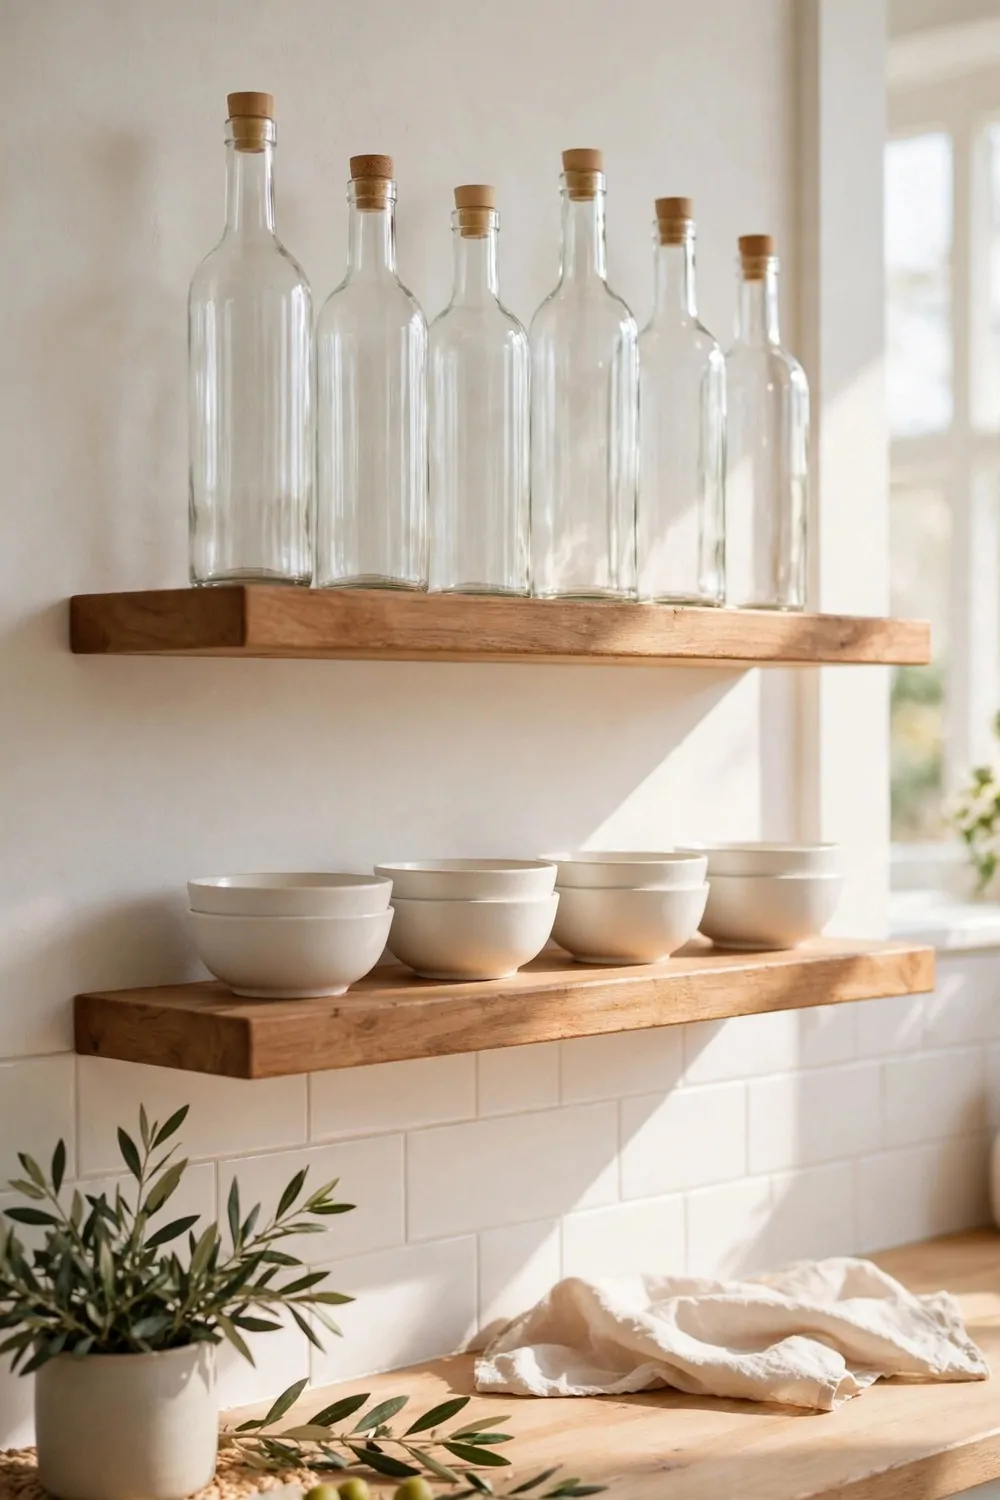
Not every shelf needs the same gap. Tall bottles need more room, and short jars need less.
I set one shelf high for my tall bottles. I set the next one low for my small spice jars.
Look at what you own before you fix the shelves in place. Lay the tall things out on the counter first and measure the tallest one.
Leave about two fingers of space above the tallest item. That is enough room to lift it out without a struggle.
Short shelves are great for stacked bowls. You can fit two neat stacks on one low shelf.
I made a mistake once and put a tall shelf where I only had short jars. It wasted a lot of space, and it looked a bit empty.
Mixing heights also looks more interesting. A wall of same size shelves can feel flat, but mixed heights feel warm and lived in.
Write down your shelf heights on a bit of paper before you drill. I keep my notes on the fridge until the job is done.
You can change a shelf height later if you need to. It is just a few screws, and your kitchen will thank you for it.
19. A Shelf for Tea and Coffee Things
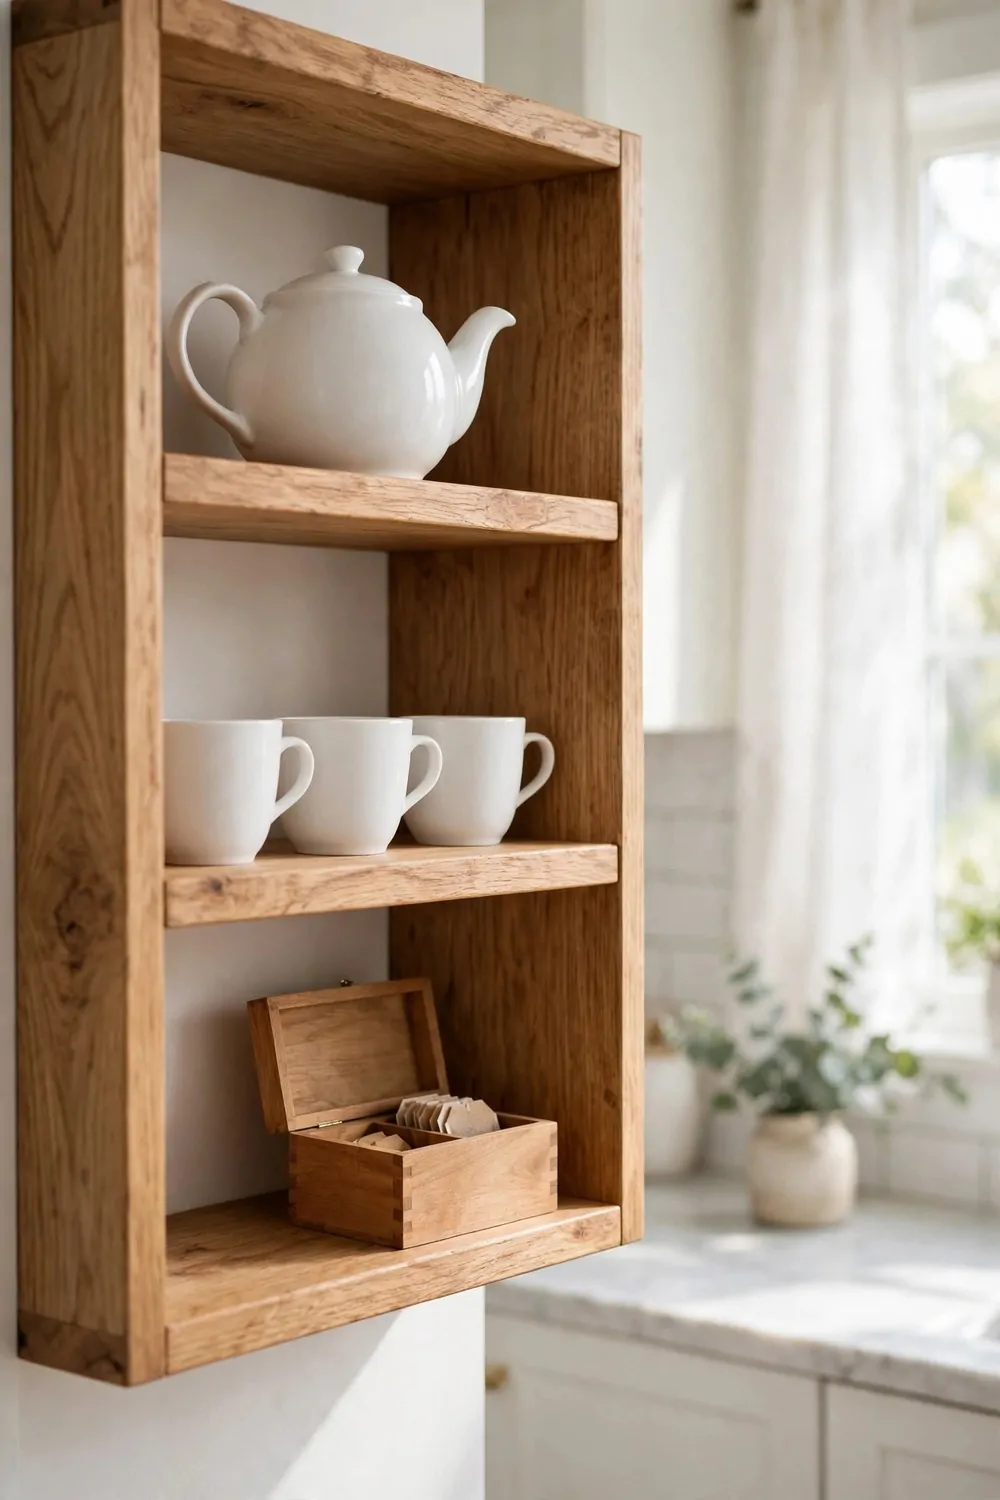
A tea and coffee shelf makes mornings feel calm. Everything you need is in one place.
I keep my tea box, my coffee jar, and my sugar jar on one shelf. My mugs hang on hooks just below it.
Put this shelf near the kettle. You do not want to walk across the kitchen with a hot kettle in your hand.
I use small jars with lids for tea and coffee. They keep things fresh, and they look tidy on the shelf.
A tiny tray on the shelf holds the spoons. It stops them from getting lost at the back of the shelf.
You can add a small jar of honey next to the tea. It is handy, and the golden color looks lovely in the morning light.
Keep the shelf small and focused. If you add too many things, it stops being a coffee spot and starts being a mess.
I wipe this shelf every morning while the kettle boils. It takes half a minute, and the shelf stays clean.
When a friend pops in, I just point at the shelf and say pick your favorite. It feels like a little cafe in my own kitchen.
20. A Narrow Shelf for Small Jars and Bottles
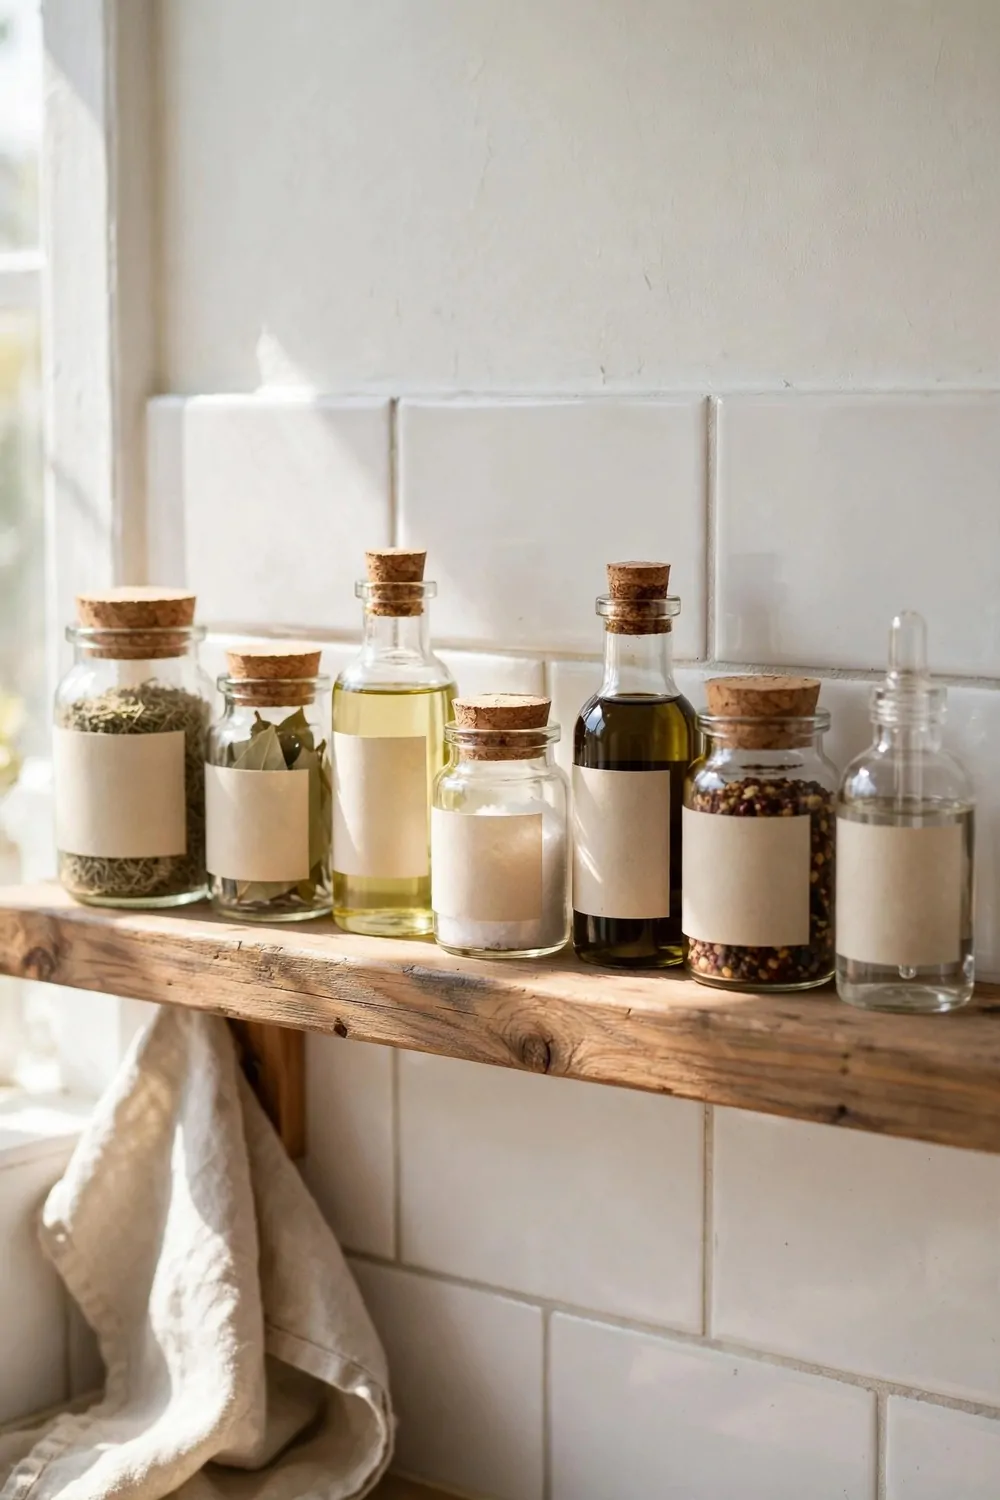
A narrow shelf is perfect for small jars. You do not need a deep shelf for things that are only a few inches wide.
I put a narrow shelf on a small strip of wall next to my stove. It was too small for a big shelf, but it was just right for jars.
Small jars tip over on deep shelves because they get pushed to the back. On a narrow shelf, they stay right at the front where you can see them.
The depth you pick matters. A 4 inch shelf costs about $15 to $30, and it fits small spice jars. A 6 inch shelf costs about $20 to $40, and it fits small bottles and medium jars. An 8 inch shelf costs about $25 to $50, and it fits bigger jars and small bottles side by side.
I picked a 6 inch shelf for mine. It holds my spice jars and my small bottles without any wasted space behind them.
Put labels on the front of the jars if you can. I write the name on a small sticker, and I never grab the wrong spice now.
Keep the jars you use daily at the front. The ones you use once a week can sit at the ends.
A narrow shelf also works well in a hallway nook near the kitchen. I have seen a friend use one for her jam jars, and it looked so sweet.
Dust the shelf once a week. Small jars collect dust fast, and a quick wipe keeps them looking bright.
| Shelf depth | Best for | Typical cost |
|---|---|---|
| 4 inch | Small spice jars | $15 to $30 |
| 6 inch | Small bottles and medium jars | $20 to $40 |
| 8 inch | Bigger jars and small bottles | $25 to $50 |
21. A Shelf for Fresh Fruit in Baskets
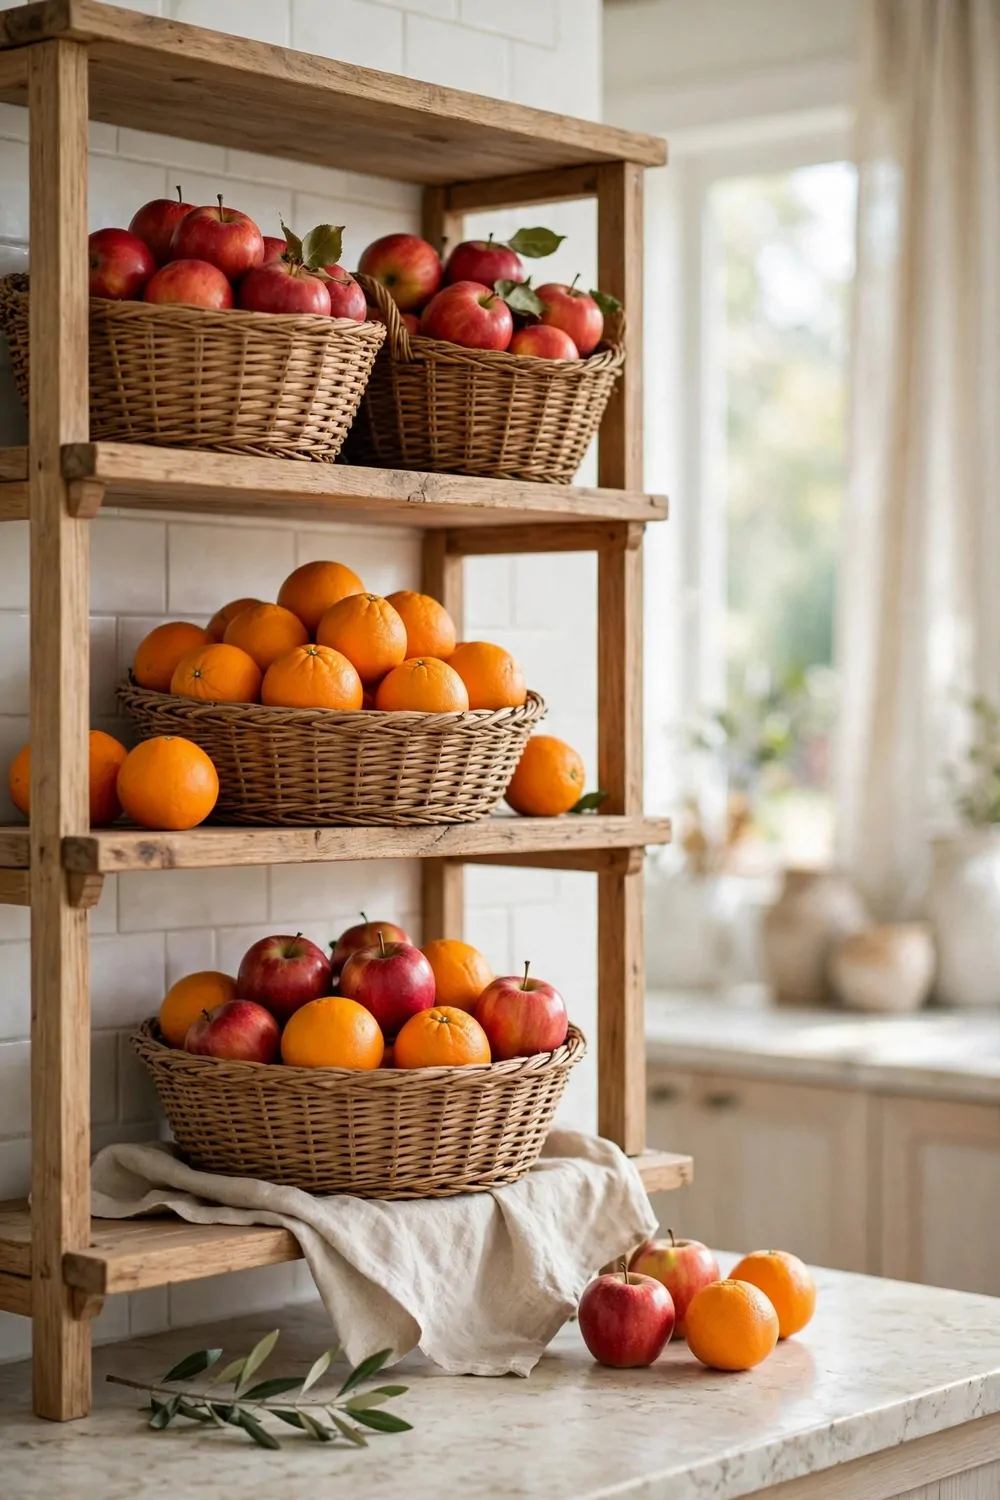
Fruit looks so good out in the open. I keep mine in a basket on a shelf, and it makes the kitchen feel fresh.
Use a basket with small gaps so air can move through it. Fruit stays fresh longer when air can reach it.
I keep apples and oranges in one basket. Bananas get their own spot because they ripen fast and can speed up the other fruit.
Put the shelf where you can see it from the table. When fruit is easy to see, you eat more of it.
My kids grab an apple from the basket on their way out the door. It is the easiest healthy snack in the house.
Line the basket with a clean cloth. It stops the fruit from rolling around, and you can wash the cloth each week.
Check the fruit every couple of days. One soft apple can spoil the ones next to it if you leave it too long.
A woven basket looks warm next to a wooden shelf. I picked a plain one with no bright colors, and it fits my kitchen well.
Do not pile the basket too high. Two layers of fruit is enough, and the ones at the bottom will not get squashed.
22. A Low Shelf for Kids Cups and Plates
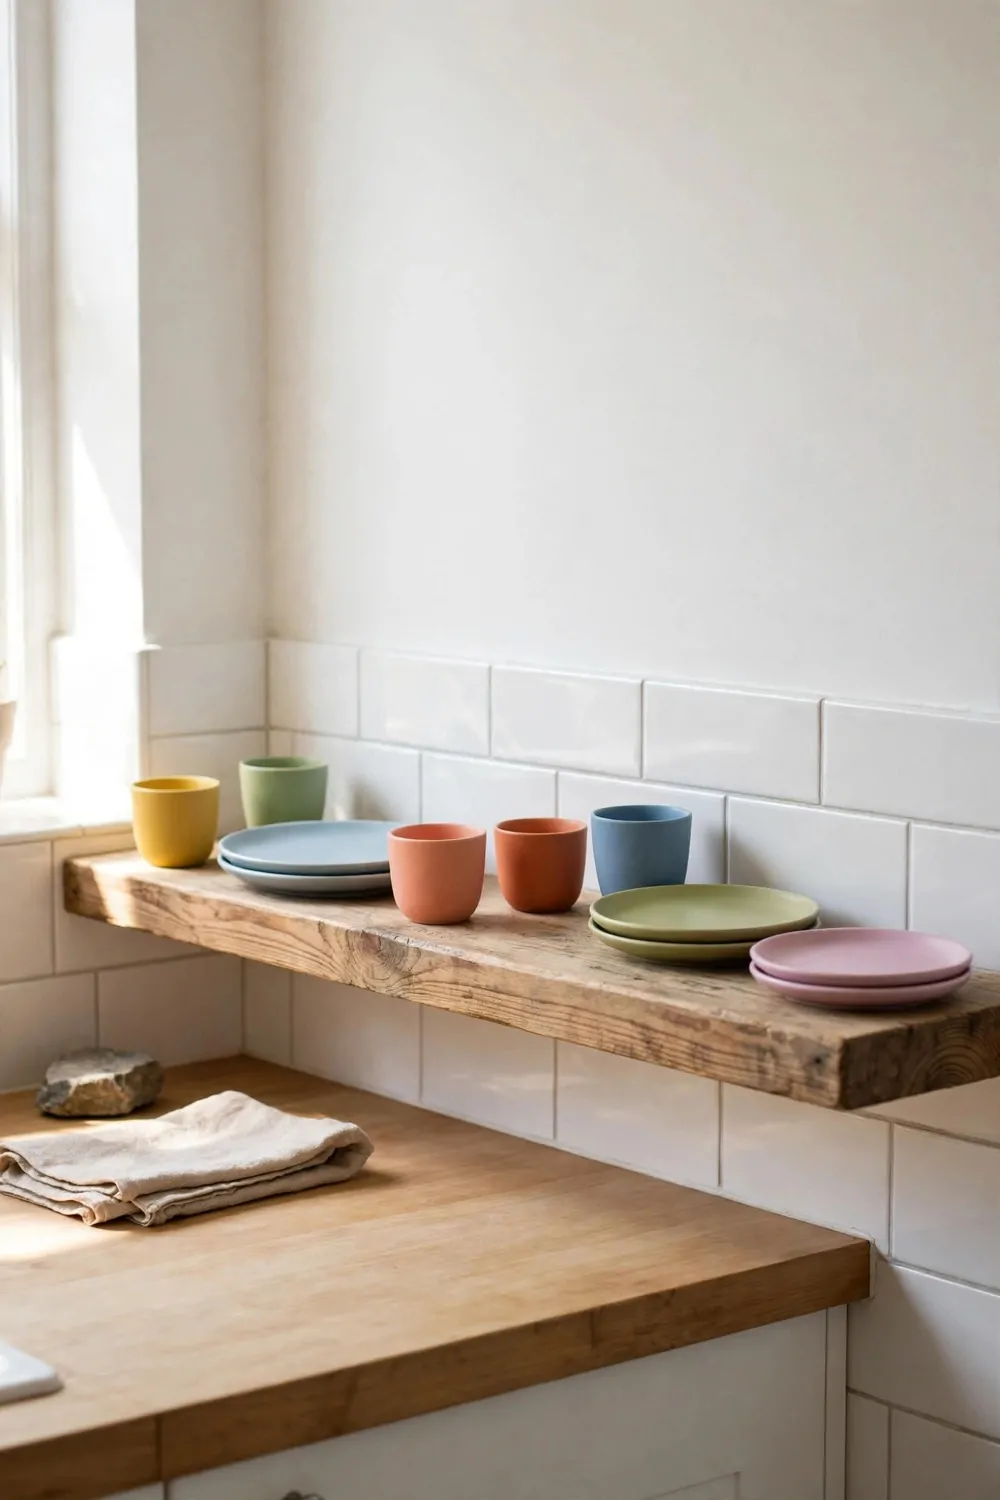
A low shelf gives kids their own spot in the kitchen. They can reach their cups without climbing or asking for help.
I put a shelf at my daughter’s height. Her cups and her small plates live there, and she knows they are hers.
Use plastic or melamine cups for this shelf. They are light, and they do not break if they slip out of small hands.
Keep only a few things on the shelf. Four cups and four plates are plenty for one child.
Show your child how to put things back. It takes a few days, but then it becomes a little habit they do on their own.
I put a small basket on the same shelf for bibs and small cloths. Everything my daughter needs is in one low spot.
The shelf also helps at meal times. She sets her own plate on the table, and she feels like a big helper.
Wipe the shelf often. Little hands leave sticky marks, and a damp cloth fixes it in seconds.
Move the shelf up a little as your child grows. It is a small change, and it keeps the shelf just right for them.
23. A Shelf for a Candle and a Small Clock
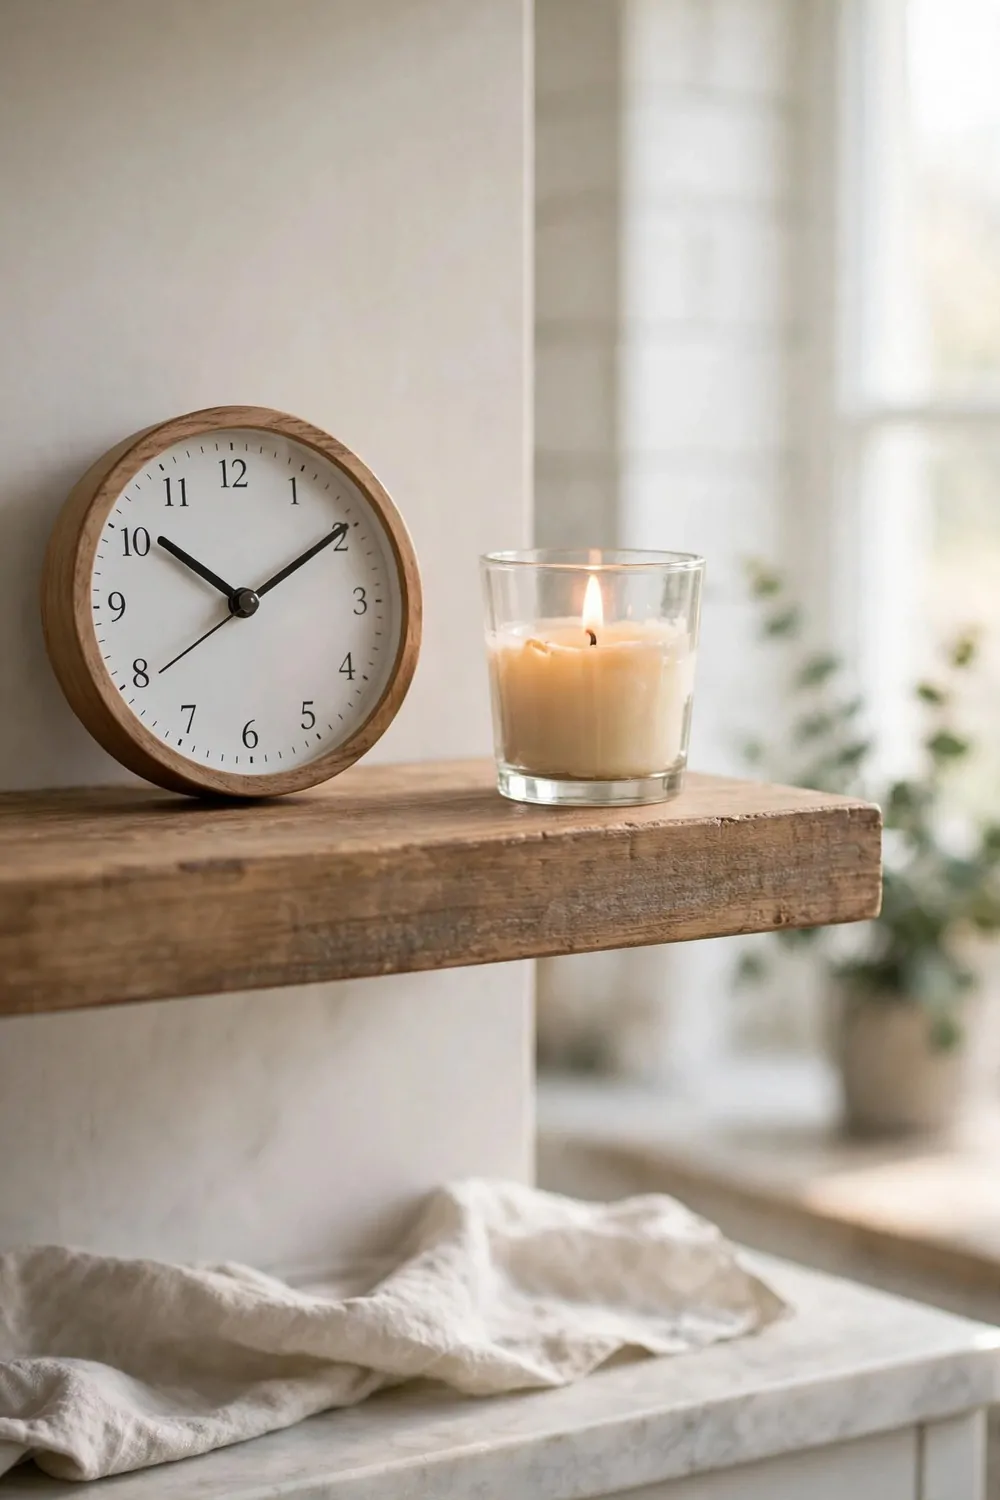
Not every shelf has to hold dishes. One small shelf can hold a candle and a clock, and it makes the kitchen feel calm.
I lit a candle on my shelf one evening while I cooked. The soft light made the whole room feel warm and slow.
Keep the candle in a glass jar with a lid. It stays safe, and the flame cannot catch anything nearby.
Never leave a candle burning when you leave the room. I blow mine out before I sit down to eat.
A small clock on the shelf helps more than you think. I glance at it while I cook, and I know how long my food has been in the oven.
Pick a clock with a plain face and big numbers. You want to read it from across the room without walking over.
Keep the shelf away from the stove. Heat and steam can fog up the clock and melt the candle too fast.
You can add a tiny vase with a few green leaves next to the clock. It adds a bit of color without taking up much room.
This little shelf is my favorite spot in the evening. It does not store much, but it makes the kitchen feel like home.
24. A Weekly Tidy Routine for Open Shelves
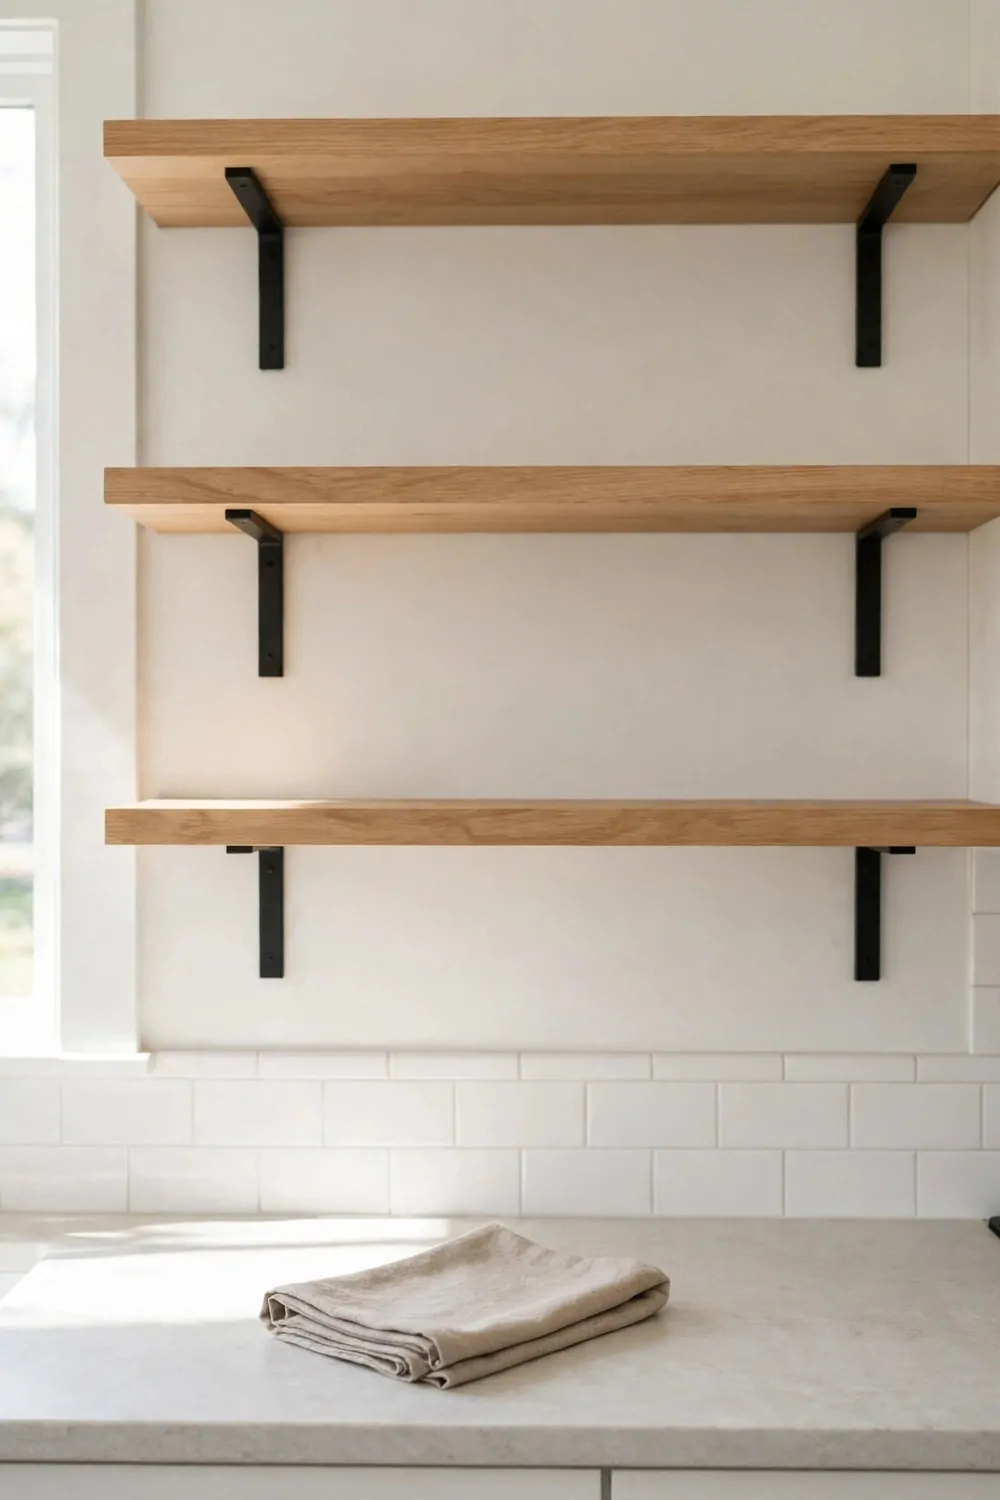
Open shelves stay pretty only if you tidy them a little each week. A big clean once a month is not enough.
I pick Sunday morning for my shelf tidy. It takes ten minutes, and the kitchen feels fresh for the whole week.
Start by taking everything off one shelf. Wipe the shelf with a damp cloth and let it dry for a minute.
Put back only the things you use. If you find a jar you have not touched in a month, move it to a cupboard.
Check for chips and cracks while you hold each dish. A chipped bowl can go in the bin, and your shelf will look better for it.
I keep a small box for things that belong somewhere else. At the end of the tidy, I carry the box around the house and put each thing away.
Straighten the jars so the labels face out. It is a tiny thing, but it makes the shelf look neat right away.
Ask the family to help for five minutes. My daughter wipes the low shelf, and I do the high ones.
When the tidy is done, step back and look at the wall. A clean row of open shelves is a lovely sight, and you will feel proud of it all week.
Keep Reading
- 37 Kitchen Countertop Decor Ideas That Stay Practical
- 25 Kitchen Lighting Ideas That Make Cooking Feel Better
- 30 Kitchen Backsplash Ideas That Change the Whole Room
- 20 Sofa Styling Ideas That Make Any Couch Look Expensive
- 38 Coffee Table Decor Ideas That Make the Room Feel Finished
- 25 Tiny Home Ideas to Maximize Space and Style
Start with one small change today. Pick a single shelf, clear it off, and put back only the things you love and use.