22 Cozy Art Studio Ideas for Long, Happy Creative Days

The tea went cold an hour before I noticed it. That is how I knew the corner was finally working. Rain was hitting the window in that steady way that makes the whole house feel quiet, and I had been painting for almost four hours without getting up once. Not because I was being disciplined. Just because I did not want to leave.
That is the whole secret of these Cozy Art Studio Ideas. They are not about having a big room or fancy gear. They are about building a corner that holds you, the way a good chair holds you, so the hours slide by and the work just happens.
I have tried all of these ideas in real rooms, not dream rooms. A closet. A bedroom corner. A bit of wall next to a washing machine. Every one of them made that spot warmer, calmer, and easier to stay in. Some are free. Most cost less than a pizza.
So pull up a chair, grab your drink of choice, and steal what you love. Your long, happy creative days are waiting.
1. The Window-Facing Desk
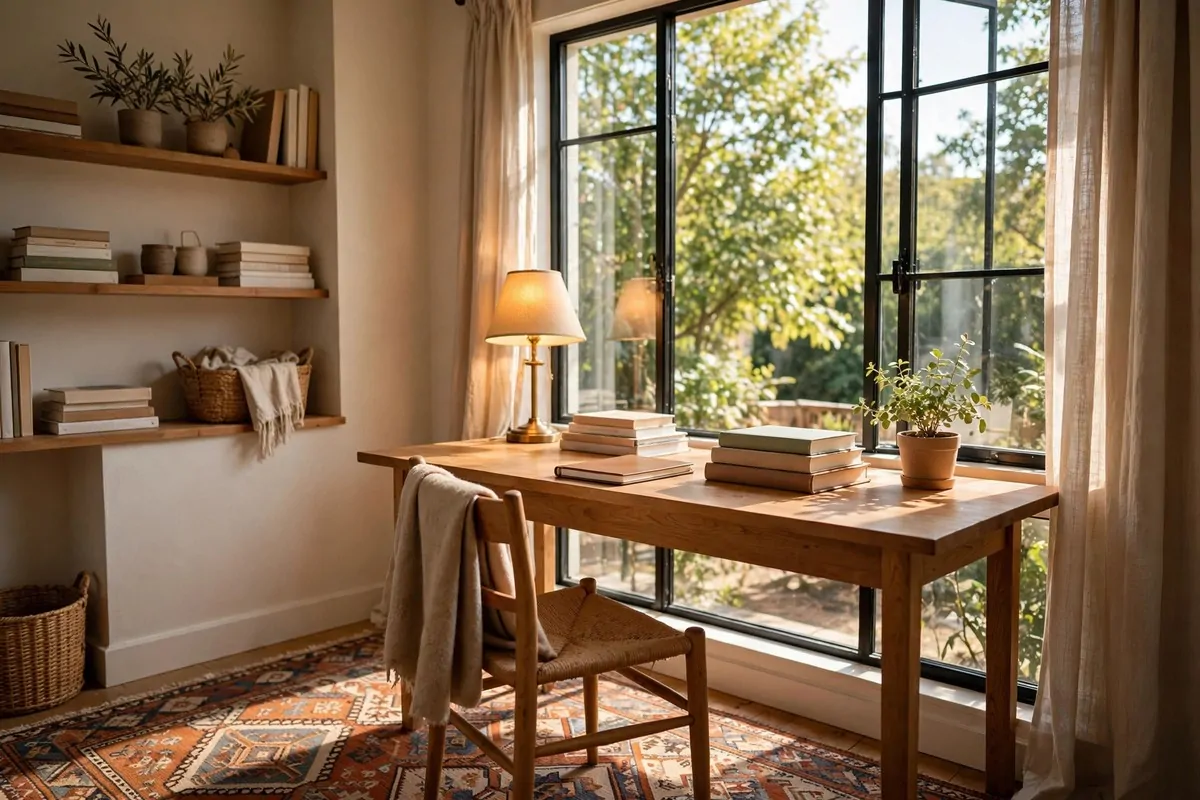
Light comes first, before everything else. A north-facing window is the dream, because it gives you soft, even light all day with no harsh sun spots. I learned that from a painter friend and she was right.
If you do not have a north window, do not worry. Any window works fine. You just want to sit facing it, so the light falls across your work instead of throwing your own shadow over it.
Sheer curtains are your best friend here. They turn bossy direct sun into something soft and kind. I hung mine in ten minutes with a tension rod, and it changed the whole corner.
Put your desk right under the window, not beside it. The difference is bigger than you think. When light hits from the front or the side, your colors look true and your eyes relax.
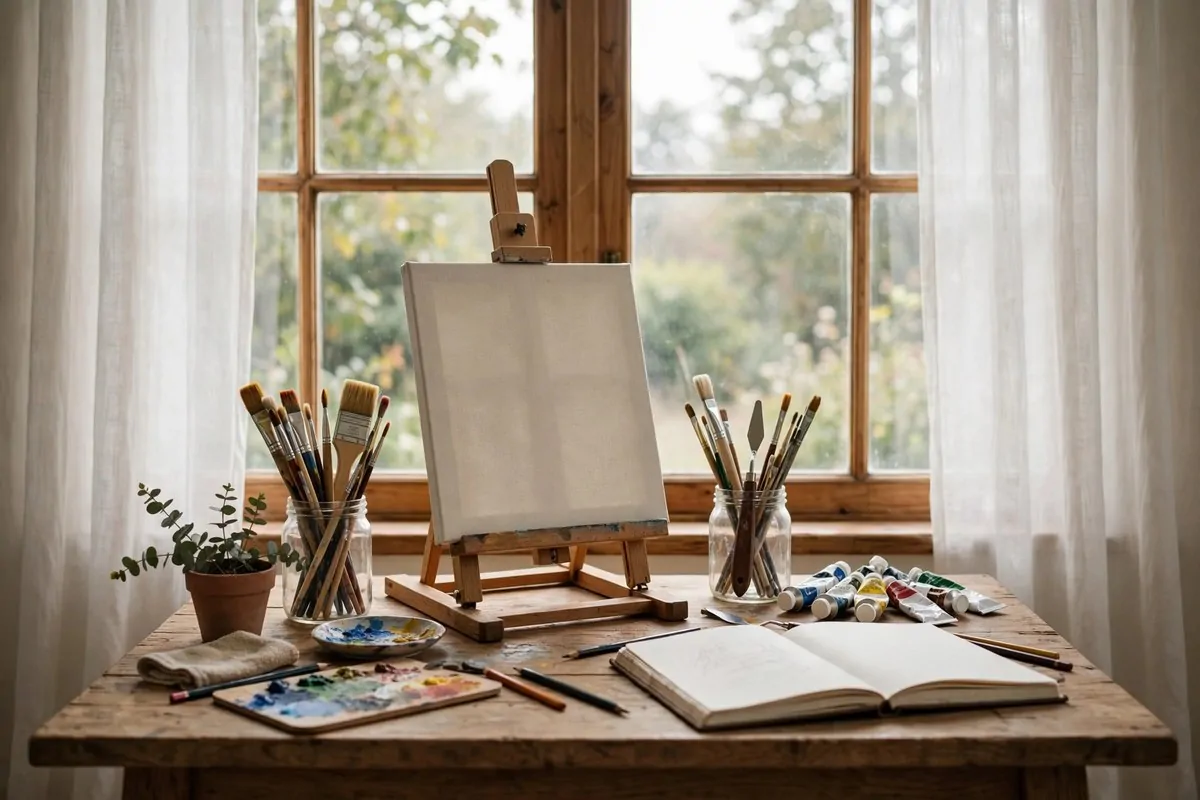
I keep my current piece on a small table easel on the desk, angled slightly toward the glass. The daylight does the heavy lifting that a lamp never quite manages.
On cloudy days the light gets flat and moody, and honestly I love painting in that too. Everything looks a little softer. The colors mix themselves in a gentle way.
Keep the windowsill clear. A couple of small jars with brushes is plenty. You want the glass to do its job, which is pouring light into your work.
At the end of the day, wipe the desk and pull the curtain. The next morning your corner will be waiting, already glowing.
2. A 5000K Daylight Lamp Corner
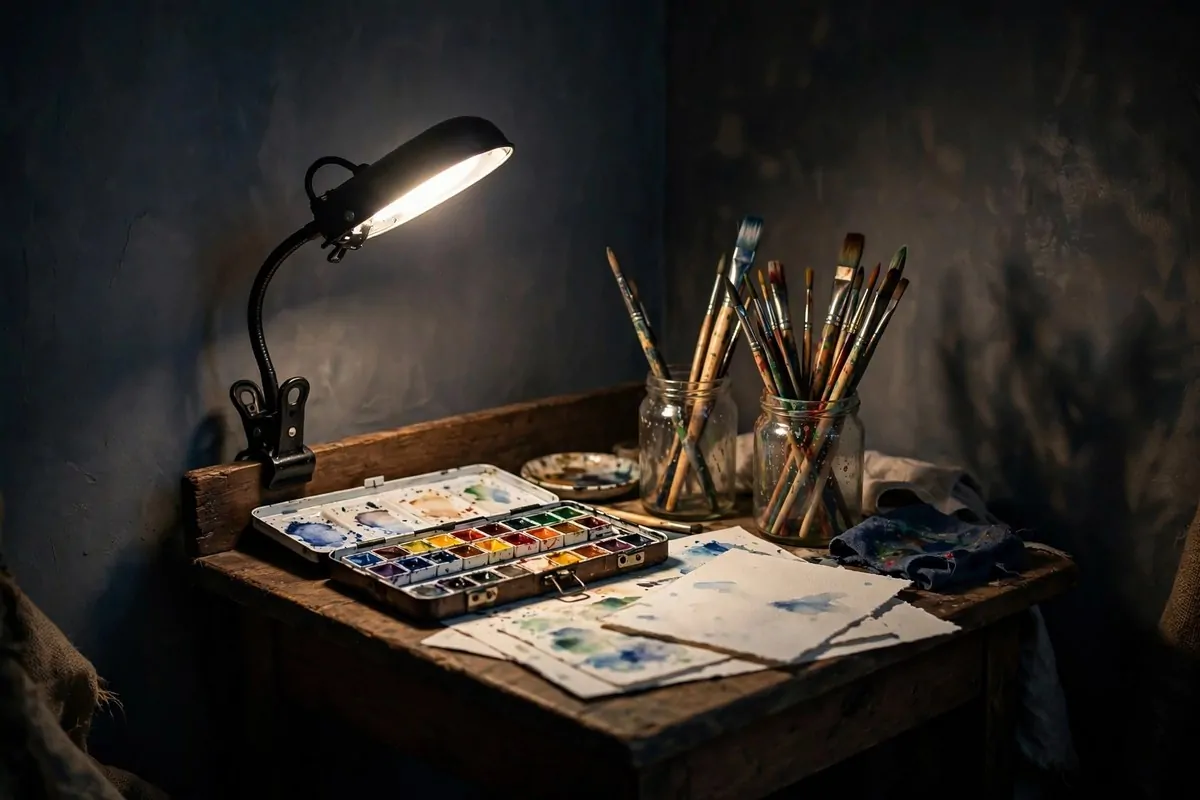
No window? No problem. I painted in a basement corner for a whole winter and nobody would ever know. The trick is a daylight lamp rated around 5000K. That number matters. It is the light that shows colors almost like real sun.
A clip-on lamp is the cheapest way in. It clamps to the desk edge, takes up zero desk space, and swings wherever you need it. Mine has lived on three different desks now.
Place the lamp slightly to one side of your work, not straight above. Light from the side gives soft shadows and keeps glare off wet paint. Your eyes will thank you after the first hour.
Many desk lamps have warm and cool settings. For color work, pick the coolest daylight setting. For late sketching, the warm setting feels cozier. Switch as your mood changes.
I drape a small warm cloth over the back of my chair to balance the cool lamp light. It sounds silly. But the mix of cool task light and warm surroundings feels like a cabin at dusk.
If your corner has no overhead light at all, add a cheap floor lamp behind you too. One light behind, one in front, and the corner stops feeling like a cave.
Plug everything into one power strip with a switch. One click and the whole corner wakes up. That little ritual tells your brain it is time to make things.
| Lamp type | Best for | Lamp I like |
|---|---|---|
| Clip-on daylight lamp | Tiny desks | Takes zero desk space, moves with you |
| Swing-arm task lamp | Detail work | Aims exactly where you need it |
| Floor lamp with daylight bulb | Whole corner | Lifts the whole room out of cave mode |
Test your colors under the lamp before a big piece. Hold a color chart under it and compare with what you see by day. Once you trust your lamp, you can paint at midnight if you want to.
3. The Three-Tier Rolling Cart
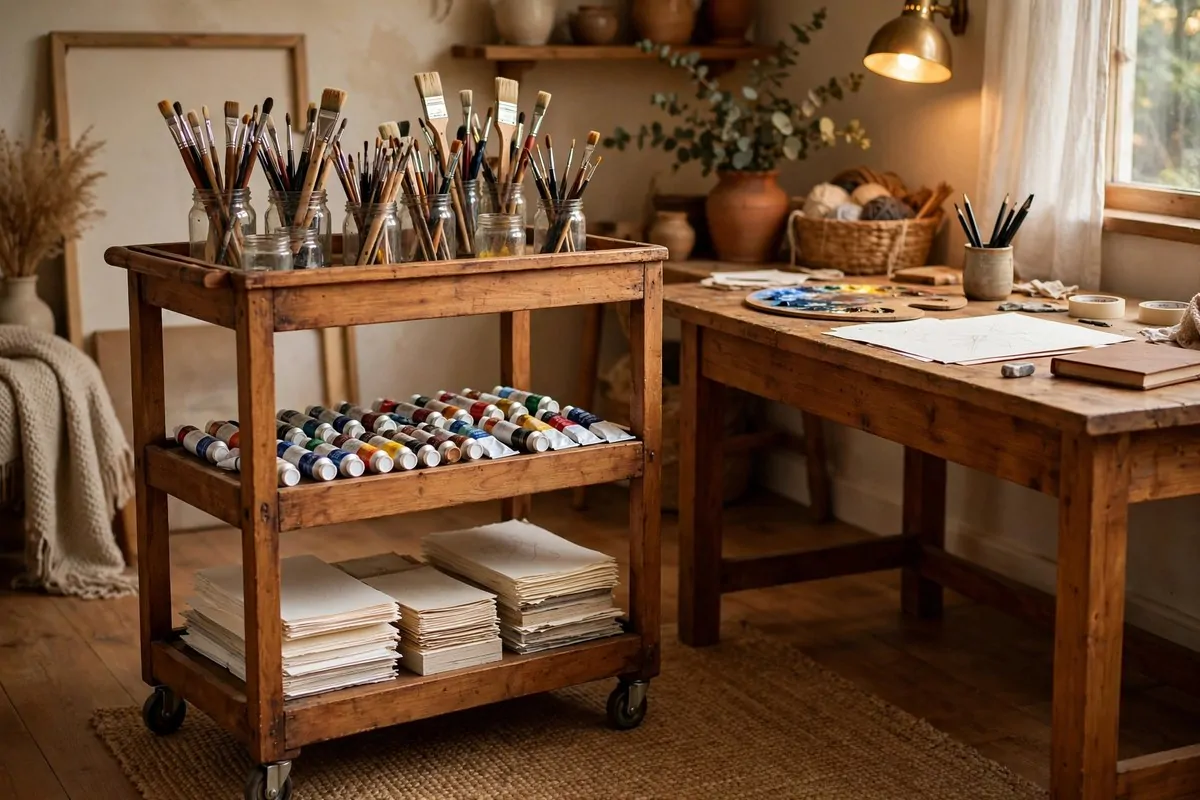
If I could only keep one piece of studio furniture, it would be this cart. A three-tier rolling cart is the small studio’s best friend, and I mean that with my whole heart. Top tier for daily tools. Middle for paints and paper. Bottom for the bulky stuff you reach for less.
Mine is a wood one because it looks like furniture, not a dorm room. When the studio lives in my bedroom corner, that matters. It sits next to my desk like it was made for the job.
Sort by how often you reach for things, not by color or brand. The stuff you touch every session lives at the top. The special-occasion pigments go lower down. Your arms will learn the layout fast.
Small jars and cups on each tier stop things rolling around. I use old jam jars for brushes and one wide jar for pencils. They cost nothing and look charming.
The wheels are the magic. I roll the cart right up to my chair, work from it all day, then tuck it away at night. A studio that moves is a studio you can use anywhere.
Label the tiers with little tags if you share the house. It stops family members borrowing your good brushes for cleaning grout. Ask me how I know.
Once a month I pull the cart out and wipe every tier. Five minutes. Paint dries on the shelves if you let it, and dried paint is forever paint.
At night I push it into the corner and throw a small cloth over the top. It looks tidy and the dust stays off. Simple habits keep a cozy studio cozy.
4. A Pegboard Tool Wall
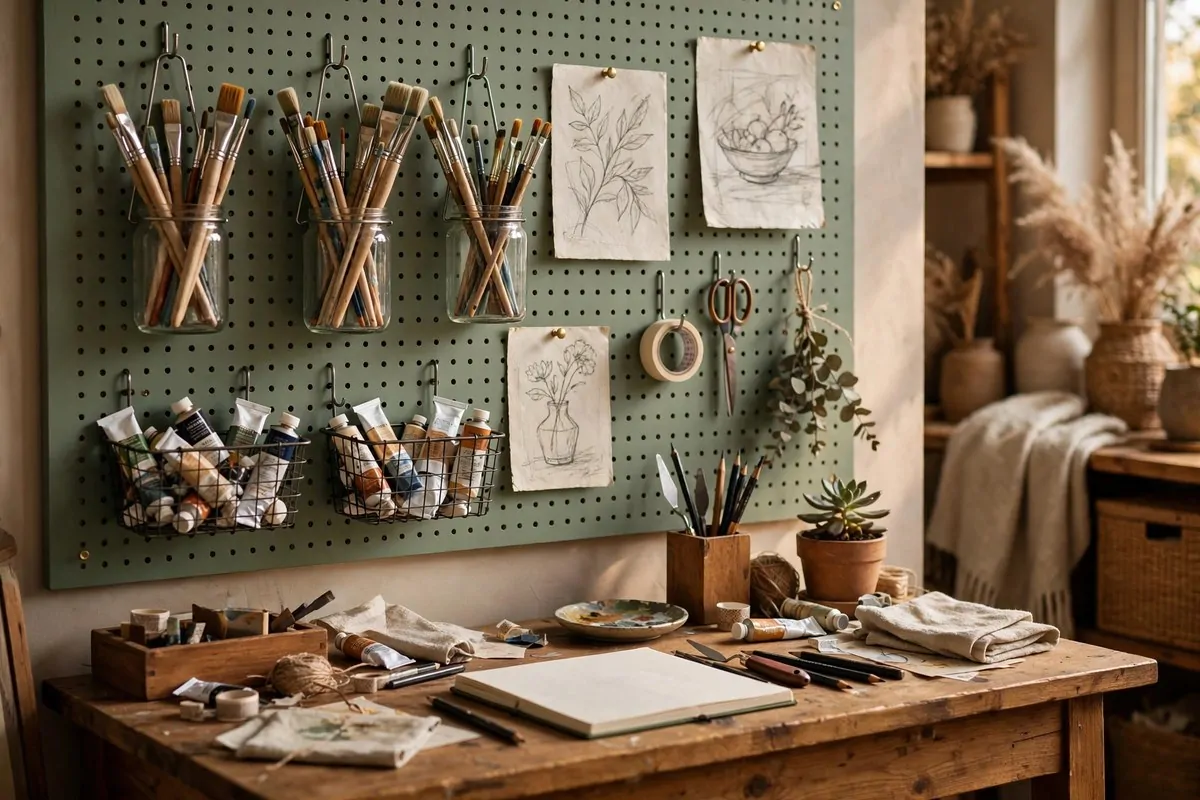
Walls are free storage, so use them. A pegboard above your desk turns dead wall space into a tool wall you can rearrange whenever you like. Brushes, scissors, tape, small baskets, all hanging where you can see them.
Start with a board about the width of your desk. Hang it at arm’s reach height. You want to grab a brush without standing up, the way a cook grabs a spatula.
Use metal hooks and small cups for brushes. Brushes hanging bristle-down dry better and keep their shape longer. That is a real tip from a real art teacher.
Small wire baskets hold paint tubes and markers. Clip them on, step back, and admire your organized little shop. It looks good and it works good too.
Leave one section of the pegboard for inspiration. Pin a postcard, a color swatch, a tiny sketch. Your tools and your ideas side by side is a happy thing.
I painted my pegboard a soft sage green. Plain wood boards look nice too, but a little color makes the wall feel like part of the studio instead of a hardware store.
If drilling is not allowed in your place, a standing pegboard on the desk works too. Smaller, but same idea. Your landlord will never know.
Rearrange the pegs every few months as your work changes. That is the whole point. The wall grows with you instead of fighting you.
5. The Mood Board Wall
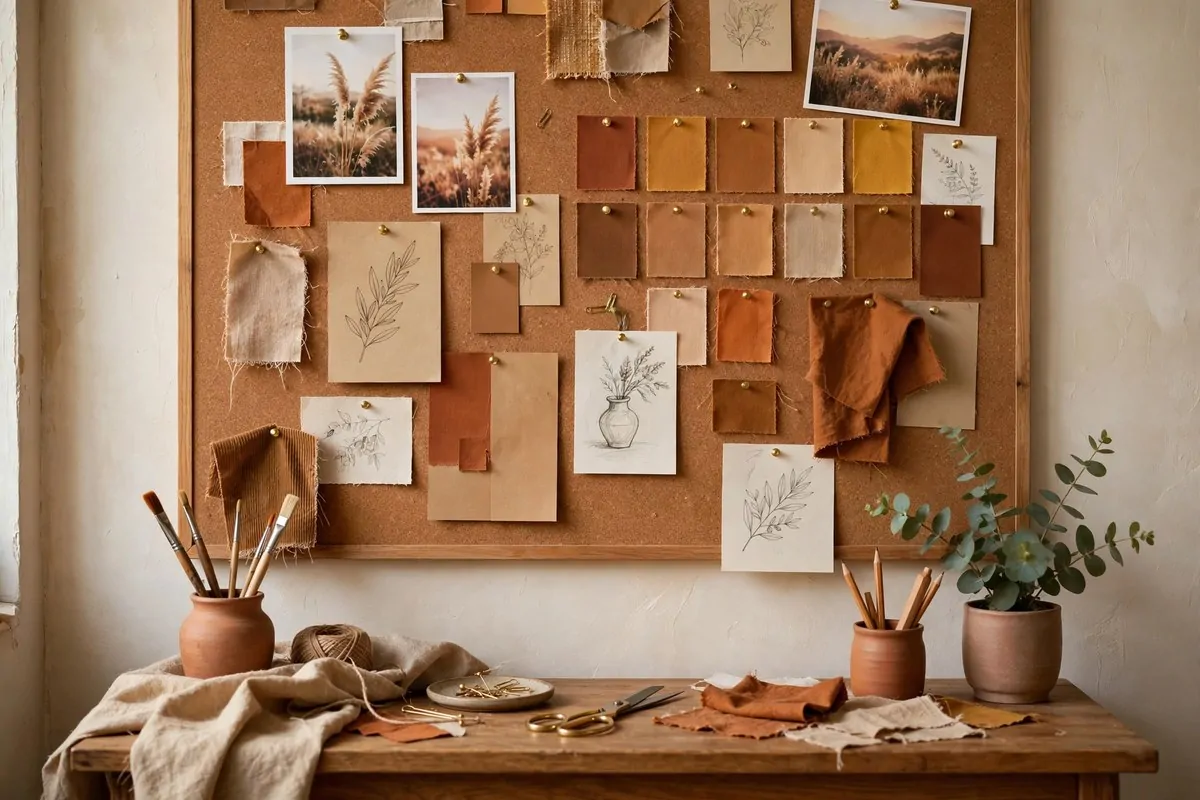
This is the part that makes the studio feel like yours. Pin up color swatches, sketches you love, postcards, fabric scraps, anything that sparks an idea. A mood board wall is where your taste lives.
Keep it to one area, about two by three feet. That reads as a feature, not as clutter. A small, full board beats a big, empty one every time.
Stick to three or four colors that repeat across the rest of your corner. When the board matches your rug and your lamp shade, the whole space feels designed. It is an easy trick and it works.
Cork boards are cheap and classic. Or use a strip of magnetic paint on the wall with magnets. Or just washi tape things straight to the wall if you are renting.
Swap pieces out each season so it stays fresh. I pull my board down every few months and start over. The old pieces go into a folder I actually look through. Sometimes they surprise me.
Include one thing that makes you laugh. A silly doodle. A photo of your dog mid-sneeze. Studios need joy, not just inspiration. The laugh keeps the hard days lighter.
Stand back and squint at your board. If the colors blur into a pleasing mush, you did it right. If one thing screams louder than the rest, pull it and save it for later.
A mood board is a living thing. Let it change. The day it looks finished forever is the day it stops being useful.
6. The Closet Turned Studio
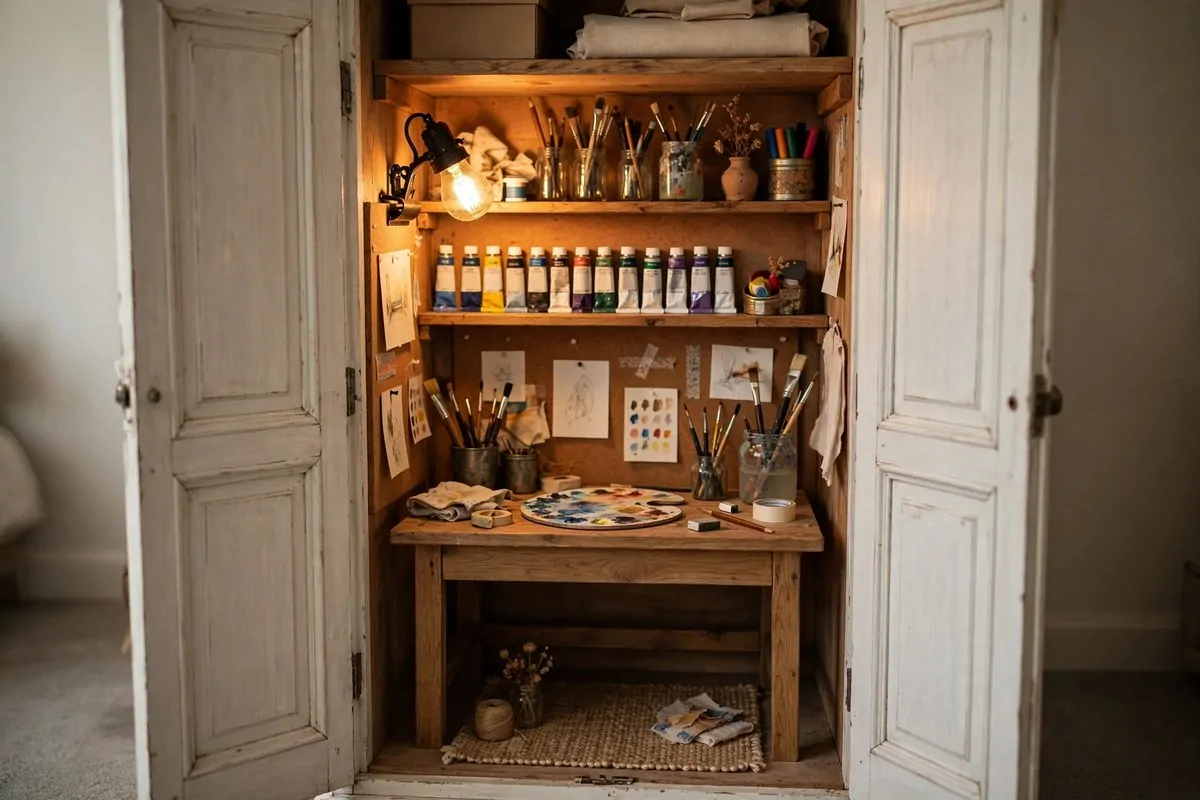
You would be amazed what a closet can become. Clear out the clothes, move them to boxes under the bed, and suddenly you have the coziest little studio in the house. Closets are small, but small is cozy.
A wall-mounted table inside the closet is the classic move. It folds down when you paint and folds up when you are done. Doors closed, and the studio vanishes. Magic for shared rooms.
The closet shelves are ready-made storage. Paint tubes on one shelf, paper on another, jars of brushes on the top. You barely need to buy anything. The closet already did the work.
Light is the one thing a closet lacks, so plan for it from day one. A battery puck light or a clip-on lamp fixes the dark in minutes. Without it, you will never use the space.
Paint the inside a light color. White or pale cream bounces the little light around and makes the tiny space feel twice as big. I used leftover paint from my hallway.
Add a small rug or mat at the opening. It marks the studio as its own zone, even with the doors wide open. Your feet know when they are in creative territory.
The best part is closing the doors on a messy desk. Mid-project chaos just disappears. Open them again tomorrow and pick up exactly where you left off.
A closet studio forces you to stay small and focused. That is not a limit. It is a gift. Big rooms scatter your attention. Small ones hold it.
7. A Fold-Down Wall Table
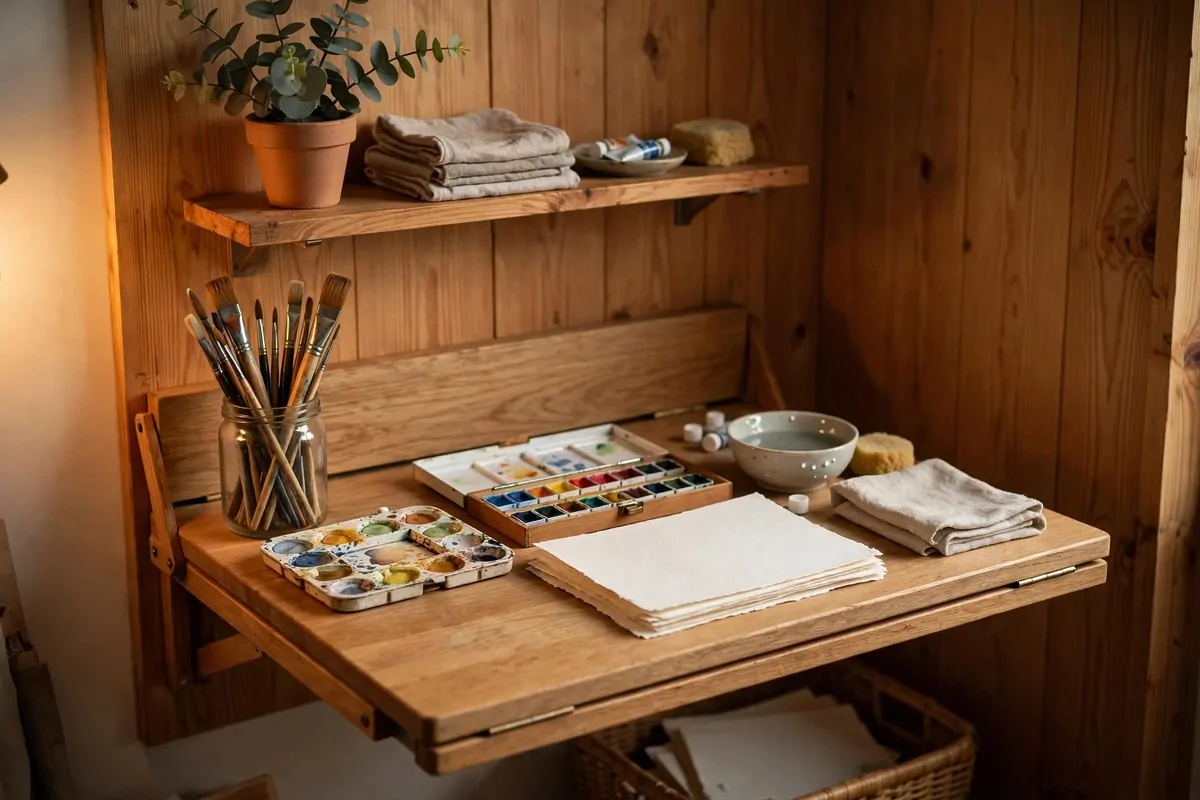
A wall table that folds flat is the space-saver of my dreams. Around thirty inches wide, it opens for sketching and watercolor, then folds up and the corner turns back into a room. It is perfect for small homes.
Mount it at the right height for your chair. Sit down, rest your forearms on a book at the height you like, and measure. Comfort first, because you will sit here for hours.
Keep only the basics on it: a small watercolor set, two jars of brushes, paper. The wall table teaches you to be choosy, and choosy is cozy. Everything else lives on the cart beside you.
A little ledge or rail along the back edge stops pencils rolling off. I learned this the hard way after chasing a pencil across the room mid-painting. The pencil won.
Fold it up when guests come or when you need the floor space. The room gets instantly bigger. It is like having a secret second room.
Stain or paint the table to match your other furniture. Mine is a warm honey wood that matches my bookshelf. When it is folded down, the whole corner looks planned.
Check the brackets can hold your weight of stuff, not just the table. Paint, jars, an elbow leaning hard while you shade. Buy brackets rated for more than you need.
This table will not fit a giant canvas. That is fine. Watercolor, sketching, journals, small studies, this table handles them all with grace.
8. The Rolling Stool That Slides Under
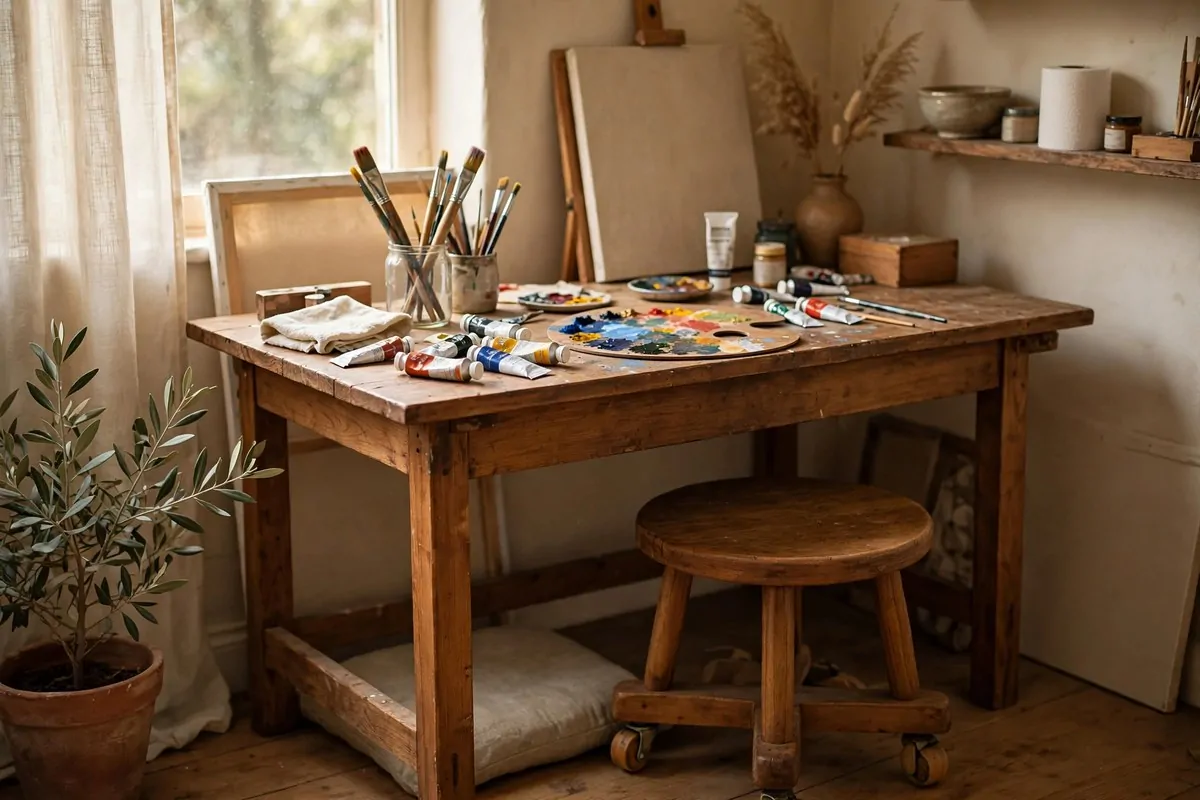
A full chair eats floor space. A round rolling stool tucks right under the desk when you are done and scoots between your desk and your cart while you work. It is the small studio’s seating answer.
Match the stool height to your table so your feet rest flat and your forearms land easy. A stool that is too tall makes your shoulders ache by noon. Too short and you hunch.
Look for one with a padded seat if you sit long. Wood stools are prettier, but padding is kinder. I put a round cushion on mine and tied it on with ribbon. Cute and comfy.
The wheels matter. Hard floors want soft wheels, carpet wants harder ones. Roll around the room before you commit. A squeaky stool will drive you slowly mad.
I keep a folded throw on my stool’s seat. It doubles as a lap blanket for chilly painting sessions. Warm legs make for longer sessions, it is simple science in my house.
A stool with a small storage seat is even better. Mine has a hollow seat where I keep my favorite pencils. Out of sight, always within reach.
When friends visit, the stool becomes extra seating. It rolls out of the studio and into the living room like it was always meant to be there. Furniture that works twice is the best kind.
Wipe the stool base now and then. Paint drips find wheels like magnets find fridges. A quick wipe keeps it rolling smooth.
9. Warm Layered Lighting
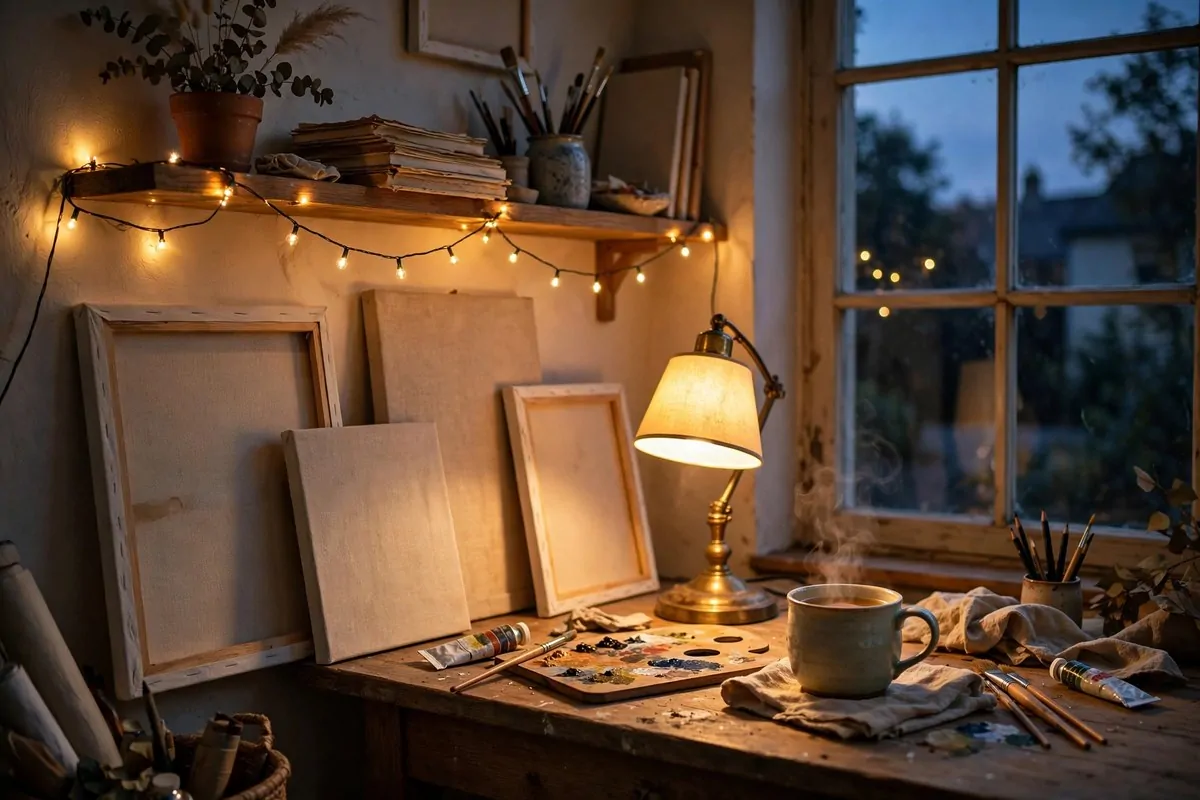
Overhead light alone makes a studio feel like an office. Layer your light and the room turns cozy. I use three layers: a task lamp for work, a warm floor lamp behind me, and string lights for pure mood.
String lights are the cheapest cozy upgrade on earth. Drape them along a shelf or around the mood board. The soft glow makes evening sessions feel like a gift you give yourself.
Use warm bulbs for the mood layer, around 2700K. Save the daylight lamp for the task layer where color accuracy matters. The two temperatures play nicely together.
A paper lantern or fabric shade softens a harsh bulb beautifully. I hung one over my reading chair in the corner. It throws the gentlest light, like a campfire that never burns out.
Candles are lovely but risky around turpentine and paper. I use flameless candles on a high shelf. Same flicker, zero worry. My insurance company would approve.
Dimmer plugs are worth every penny. For a few dollars, any lamp becomes adjustable. Bright for detail work, low for sketching and dreaming. Your eyes will feel the difference.
Turn the overhead light off once the lamps are on. Let the layers do the work. The corner shrinks into a warm pool of light and the rest of the world fades out.
This is how studios become places you linger. Nobody lingers under a fluorescent tube. Everybody lingers in lamplight.
10. The Wooden Taboret Cart
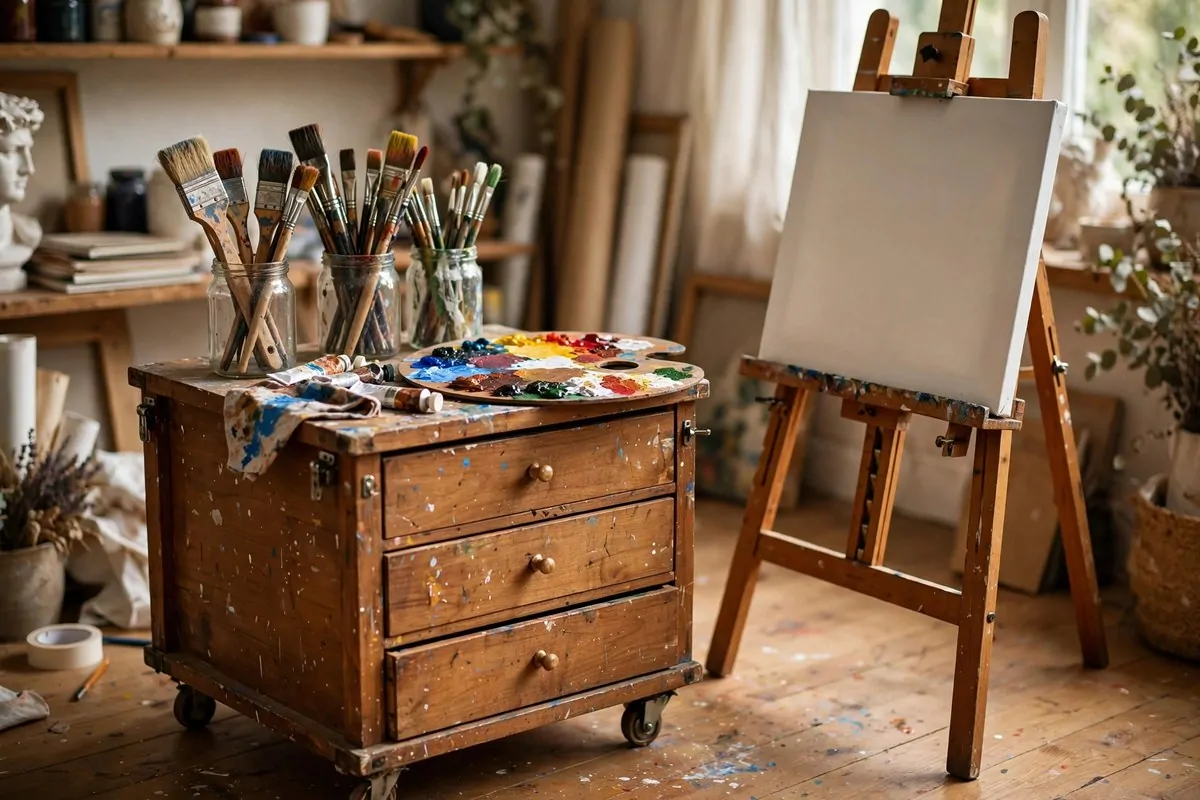
A taboret is a wood cart that looks like real furniture, and it changes everything when your studio shares a room. Shallow drawers hold brushes and pencils. Deeper ones swallow paint tubes and sketchbooks.
Solid beech ones cost more than metal carts, but they last forever. Mine has survived three moves and still rolls smooth. It feels like an heirloom, not a supply rack.
Put your most-used tools in the top drawer. Brushes in a divided tray, pencils sorted by type. Opening that drawer should feel like opening a treasure chest, not a junk drawer.
The flat top is bonus workspace. I keep my palette and water jars up there while I paint. When I need the space, everything sweeps into the drawers in seconds.
Rub a little beeswax on the drawer runners once a year. They will glide like new. Wood furniture asks for almost nothing and gives back for decades.
If the cart will sit in a bedroom, pick a finish that matches your bed or dresser. Mine is natural beech and it blends right in. Guests think it is a nightstand until the drawers open.
Lock the wheels when you work. A cart that rolls away mid-brushstroke is funny exactly once. Most carts have little brakes on two wheels.
Dust the top weekly and oil the wood twice a year. A taboret is furniture, treat it like furniture. It will outlive your current art phase and welcome the next one.
11. Color-Sorted Paint Display
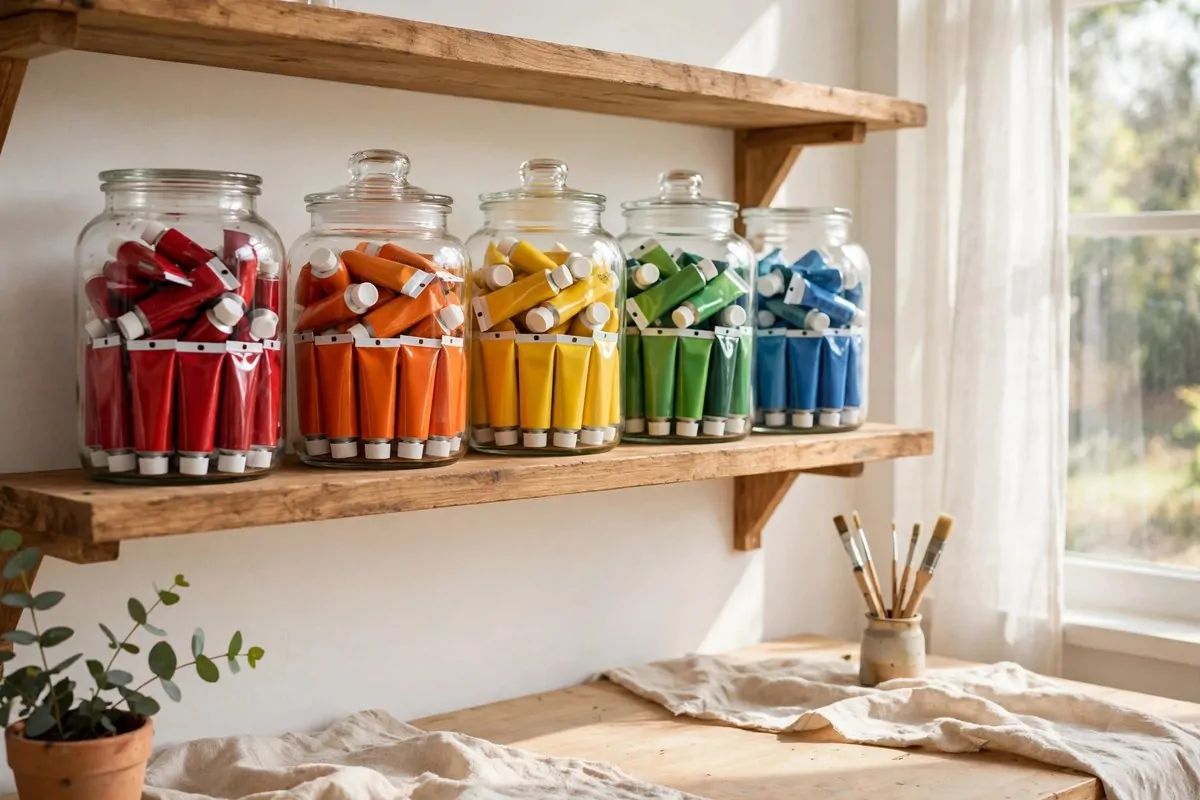
Sorting paints by color turns storage into art. Line up glass jars on a shelf, one color family per jar, and the wall becomes a rainbow you made yourself. It is pretty and practical at once.
Clear jars let you see everything. When you can see the cadmium red, you reach for it. Paints you cannot see are paints you forget, and forgotten paint dries out in the tube.
Group warm colors together and cool colors together. Reds, oranges, yellows on one side. Blues, greens, purples on the other. Your eye will start mixing palettes just looking at the shelf.
Tiny jars from the kitchen work great. Jam jars, spice jars, whatever you have. Matching jars look tidier, but a mixed set has charm. I use whatever I find.
Keep tubes cap-down in the jars so the paint stays ready at the tip. And always, always cap them tight. A dried-out tube of good paint is a small heartbreak.
Label the shelf edge with the color names if you are learning. Burnt sienna, ultramarine, Payne’s gray. The names become familiar friends instead of confusing codes.
Dust the shelf monthly with a soft cloth. Paint tubes collect dust fast. A clean shelf keeps the rainbow bright and the studio smelling like a studio, not a storeroom.
When a jar runs low, it is your shopping list writing itself. No more guessing what you need. The empty jar tells you. Simple systems beat memory every time.
12. The Drying Rack Corner
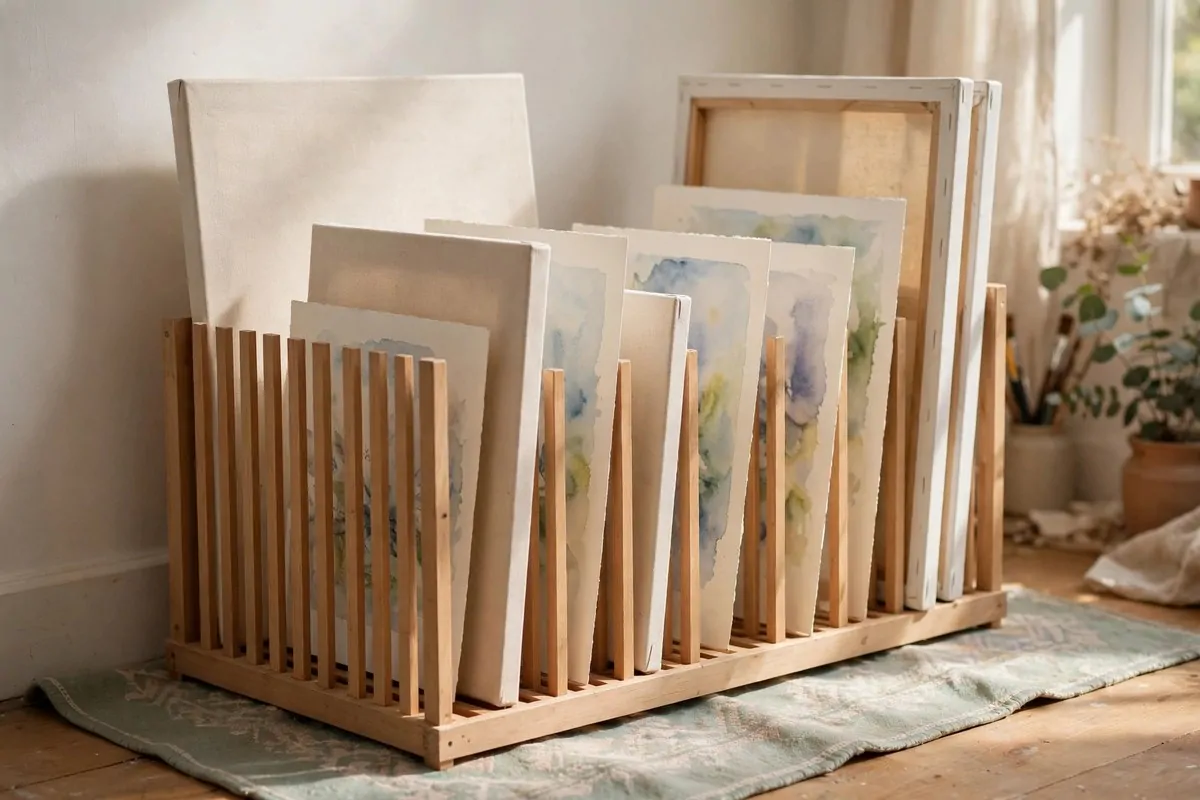
Wet paintings need a home, or they end up on every flat surface in the house. A simple drying rack in the corner solves it. Slatted wooden racks hold canvases upright with air flowing between them.
Place the rack near a window but out of direct sun. Gentle air and soft light dry work evenly. Hard sun can fade wet paint before it even sets. Learned that one the sweaty way.
A wire dish rack works for small studies and watercolors. It is cheap, light, and fits on a shelf. My small pieces dry in one while the big canvases take the wooden rack.
Leave space between pieces. Paint needs air on all sides. Stacking wet canvases is how you get stuck-together masterpieces, and not the fun kind.
Put a washable mat under the rack. Drips happen. A mat catches them and rinses clean. Your floor will never know how messy your process really is.
For oils, the rack needs to be somewhere dust-free. A spare shelf with a curtain in front works. Dust on wet oil paint is a forever problem, so plan for it.
Label the back of each piece with the date. When you pull a dry canvas off the rack weeks later, you will know exactly when you made it. Future you says thanks.
The drying corner doubles as a gallery. Visitors always wander over to see what is new. It is the most honest art show you will ever hang.
13. The Sketchbook and Art-Book Shelf
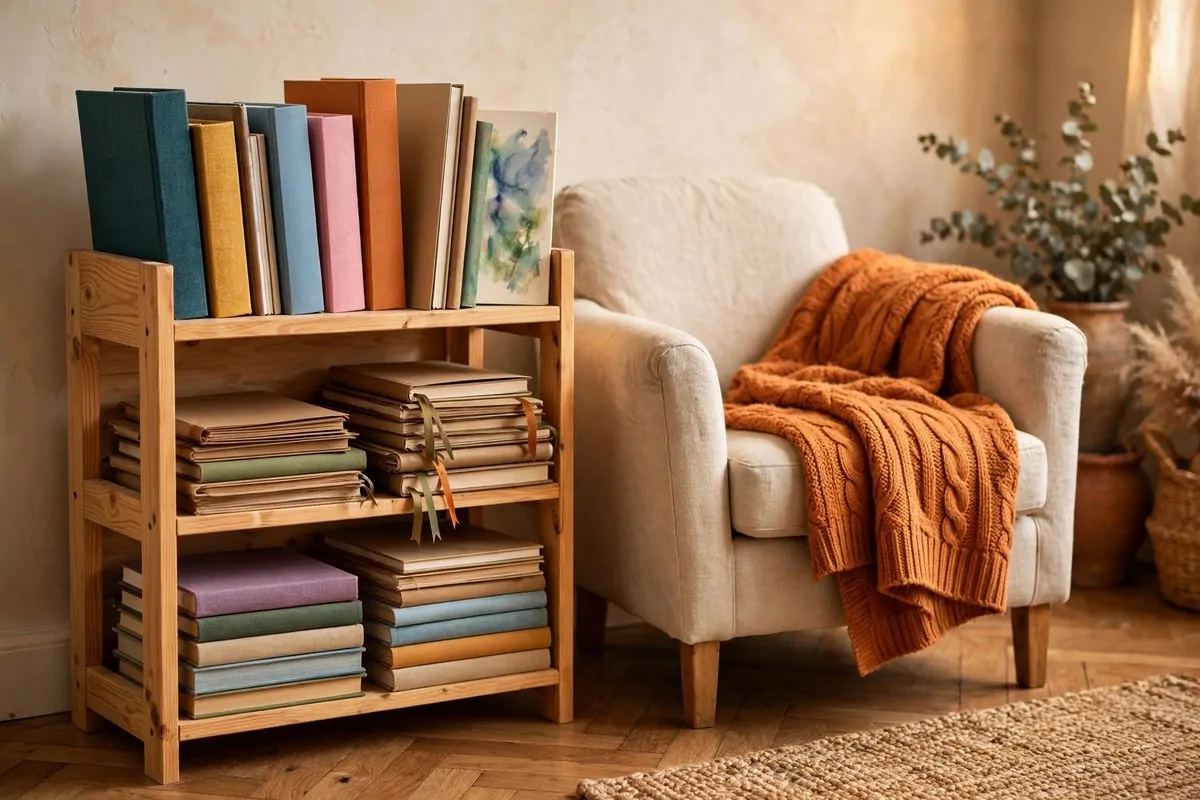
Every cozy studio needs a shelf of books. Art books for inspiration, sketchbooks for practice, journals for the messy thoughts. A small shelf turns your corner into a library of making.
Keep your current sketchbook on top, easy to grab. The rule is simple: the book you can reach is the book you will use. Bury it and it stays buried.
Organize finished sketchbooks by date on the lower shelf. A row of them is a timeline of your progress. Flip through an old one on a bad day. You have grown more than you think.
Art books with big pictures beat art books with big words. You want images you can stare at, steal from, dream over. My favorite is all plates, almost no text.
A small basket on the shelf holds loose papers and cuttings. Magazine pages, ticket stubs, leaf skeletons. Future collage material, or just pretty things. Both are valid.
Dust the shelf when you dust the paint shelf. Books collect dust too. A quick wipe keeps the pages clean and the studio smelling like paper and possibility.
Leave one empty slot on the shelf. It is for the book you will fill next. An empty space is a promise, and promises are motivating.
Sit with a book and tea sometimes without making anything. Looking is part of the work. The shelf reminds you that artists have always learned by looking.
14. The Tea Station
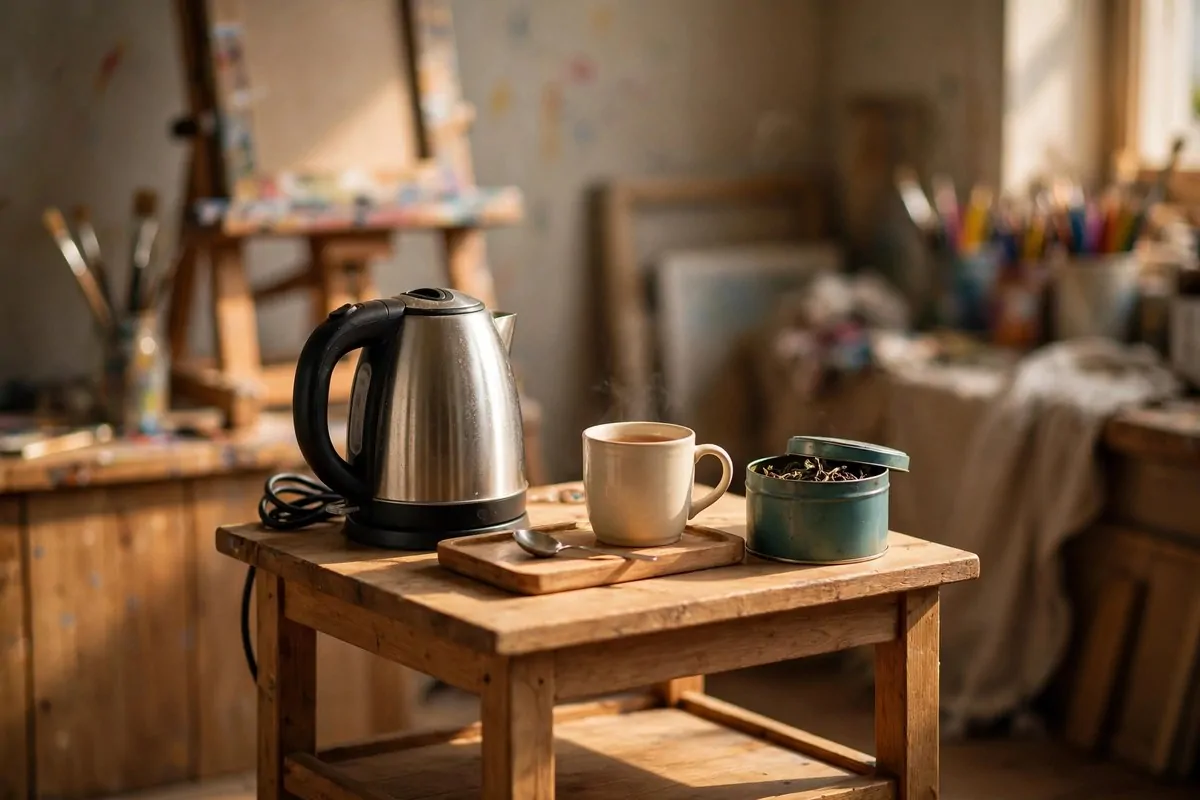
Long creative days run on warm drinks. A tiny tea station in the corner keeps you painting instead of wandering to the kitchen every hour. A kettle, a mug, a tin of tea. That is the whole setup.
An electric kettle is safest around paper and paint. No open flame, auto shut-off, done in minutes. Mine lives on a small side table with a cork mat under it.
Keep two mugs: one for tea, one for brush water. This rule exists because of a terrible morning I do not want to talk about. Label them if you must.
A small tray holds the tea tin, honey, and a spoon. Everything in one spot means you can refill without breaking your flow. Flow is precious. Protect it.
Herbal tea is my painting drink. No jitters, warm hands, calm mind. Your mileage may vary. Coffee people, I respect you, but keep the cup far from the watercolor.
Wipe the station daily. Tea rings on wood are stubborn. A damp cloth after each session takes ten seconds and saves the table.
The kettle’s little click when it boils becomes part of the studio’s soundtrack. I associate that sound with starting something new. Rituals make rooms feel like studios.
Offer guests tea from your station when they visit. A studio that serves tea is a studio people love. And loved studios get used more.
15. A Washable Wool Rug Underfoot
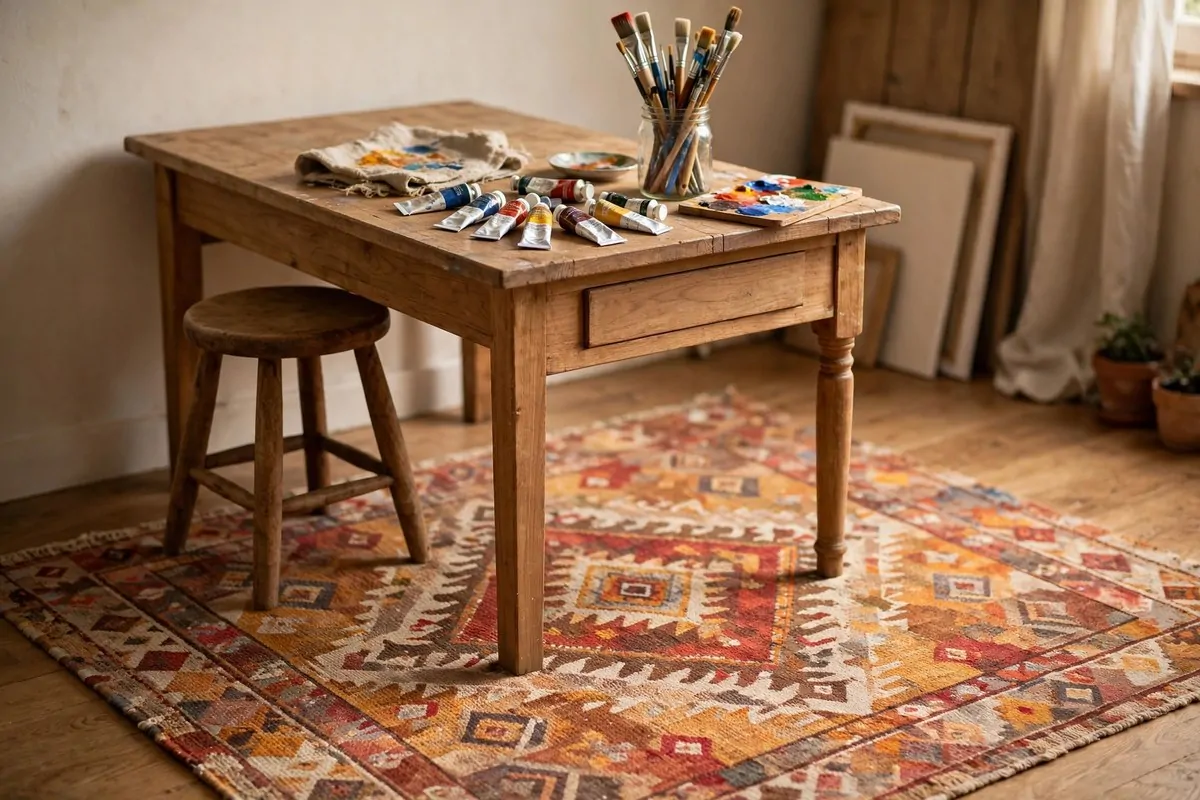
Bare floors are cold and loud. A rug under your desk warms the whole corner, softens the sound, and catches the drips that gravity insists on. Wool or washable cotton is the way to go.
Washable is the key word. Paint will land on this rug. It is not a question of if. A rug you can toss in the machine removes all the worry.
Choose a pattern that hides stains. Busy patterns are forgiving friends. My rug has a faded floral that has absorbed three years of creative accidents invisibly.
The rug marks your studio zone. Step onto it and your brain knows: we are making things now. It is a boundary made of wool, and it works.
Make sure the rug lies flat under rolling stools. A curled edge plus wheels equals disaster. Tape the corners down with rug tape if they lift.
Shake it out monthly and wash it seasonally. A clean rug keeps the studio smelling fresh. Old paint dust in rugs is a real thing, so stay ahead of it.
Layer a small mat under your easel for extra drip protection. Two layers means the good rug stays good. Think of it as a raincoat for your floor.
Sit on the rug sometimes. Seriously. Spread out big paper on it, sit cross-legged, and draw large. The floor is a workspace too, and the rug makes it inviting.
16. Sheer Curtains That Soften the Sun
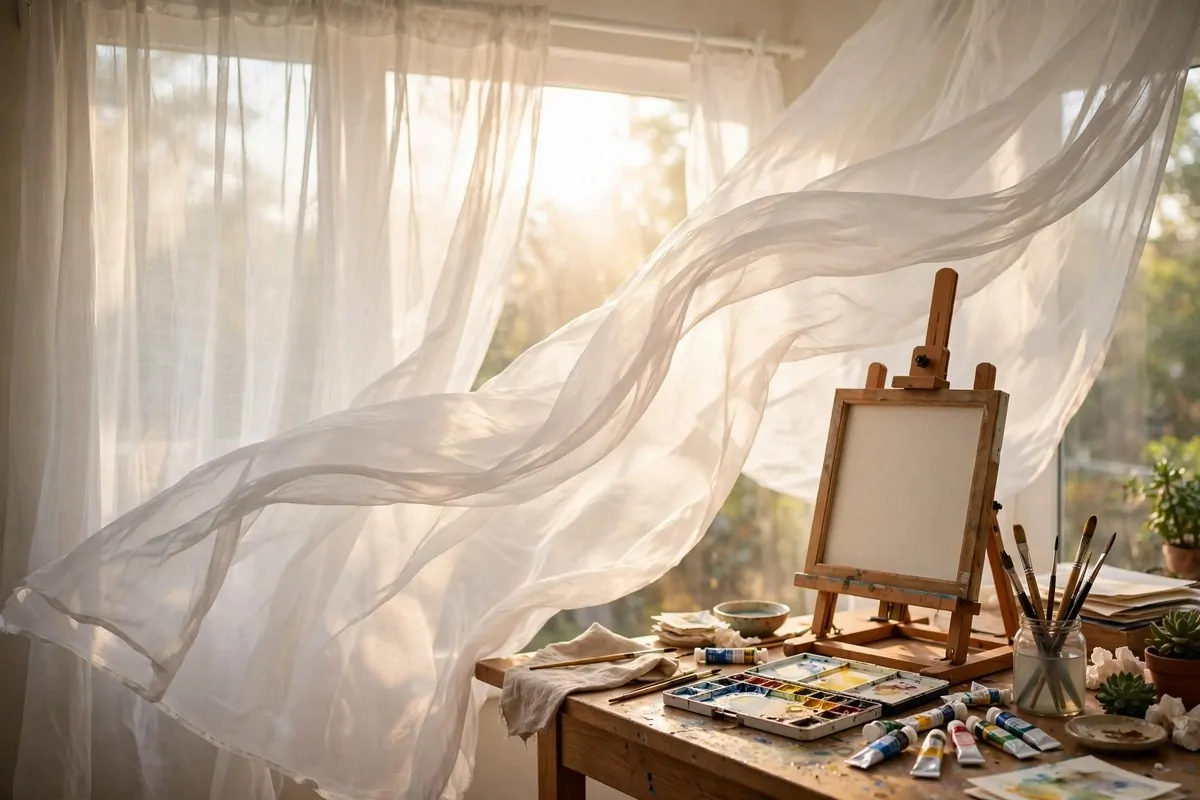
Direct sun is a bully. It bleaches your view, heats the room, and makes you squint at your own canvas. Sheer curtains turn that bully into a gentle friend. The light comes through, but soft.
White or cream sheers are best. They do not tint your colors. Colored curtains throw a color cast over everything, and your painting will lie to you about what it really looks like.
A tension rod means no drilling. I put mine up in ten minutes with no tools. Renters, this one is for you. Take them down when you move and the walls are untouched.
Layer sheers over heavier curtains. Sheers for the day, heavy curtains for the night or for blocking glare on a screen. Two rods, endless control.
The way sheers move in a breeze is pure studio poetry. They billow softly while you paint, and the whole room breathes. It sounds dramatic because it is.
Wash the sheers twice a year. They collect dust and dull the light. Clean sheers glow. Dingy ones just hang there looking tired.
In winter, sheers let in every bit of precious daylight while keeping the cold glass feeling at bay. The room stays bright even when the sun sits low. Cozy does not have to mean dark.
Pull them closed during your hardest painting hours. Open them wide when you are done, to let the room air out. The curtains become part of your studio rhythm.
17. The Plant Corner

Plants make a studio feel alive. A little green in the corner softens all the straight lines of desks and shelves. It also gives your eyes somewhere restful to land between brushstrokes.
Pick tough plants. Studios have weird light and forgetful owners. Pothos, snake plants, and spider plants forgive almost everything. I have neglected mine for weeks and they still thrive.
A hanging plant above the desk adds green without taking desk space. Macrame hangers are cheap and pretty. The plant sways gently, and it is oddly calming to watch.
Keep plants away from wet paint and solvents. Leaves catch dust and drips. A shelf across the room is perfect. Close enough to see, far enough to stay clean.
Watering the plants becomes a studio ritual. I water mine when I arrive and when I leave. It marks the start and end of creative time, like a little ceremony.
Sketch your plants sometimes. They are free, patient models that never complain about sitting still. My pothos has appeared in at least forty sketches.
A big plant in the corner fills empty space beautifully. One statement plant beats five tiny pots for impact. Pick the biggest one your light allows.
If you kill plants, try a good fake one. No shame in it. The green still soothes your eyes, and nobody has to know. Your secret is safe with me.
18. The Wall Grid With String Lights
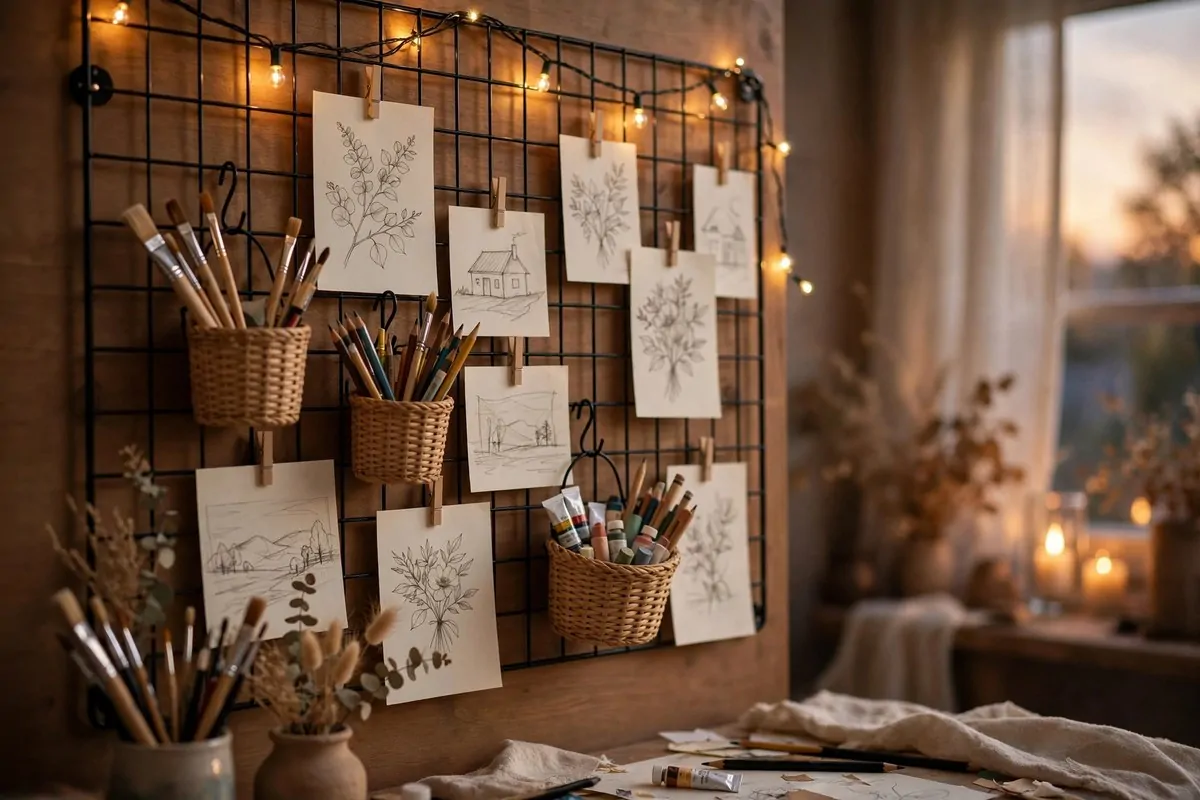
A wire wall grid is part storage, part gallery, part fairy lights. Clip on cups for brushes, hang small baskets for tubes, and pin sketches in between. Then wrap it in string lights and watch it glow.
Grids come in sets with clips and hooks included. Hang one above your desk or on the side wall. They are light, so a couple of strong hooks hold them fine.
Clip your works in progress to the grid. Seeing yesterday’s sketch at eye level keeps ideas cooking. It also keeps paper off the desk, which keeps the desk usable.
The string lights are what make it cozy. Warm white, battery or plug-in, draped along the top edge. In the evening the grid becomes a glowing constellation of your own work.
Swap the clipped pieces weekly. Old work comes down, new work goes up. The wall stays fresh and you get a little exhibition every Friday. It feels like progress.
Use the baskets for the small stuff that vanishes: erasers, clips, pencil sharpeners. If it has a clip, it has a home. Lost erasers become a thing of the past.
Keep the grid to one wall. Two grids is a store display. One grid is a studio feature. Restraint is what separates cozy from cluttered.
At night, turn off everything except the grid lights. Sit with your tea and look at your week of work glowing softly. This is the reward part of the creative day.
19. A Curtain Divider That Makes a Zone
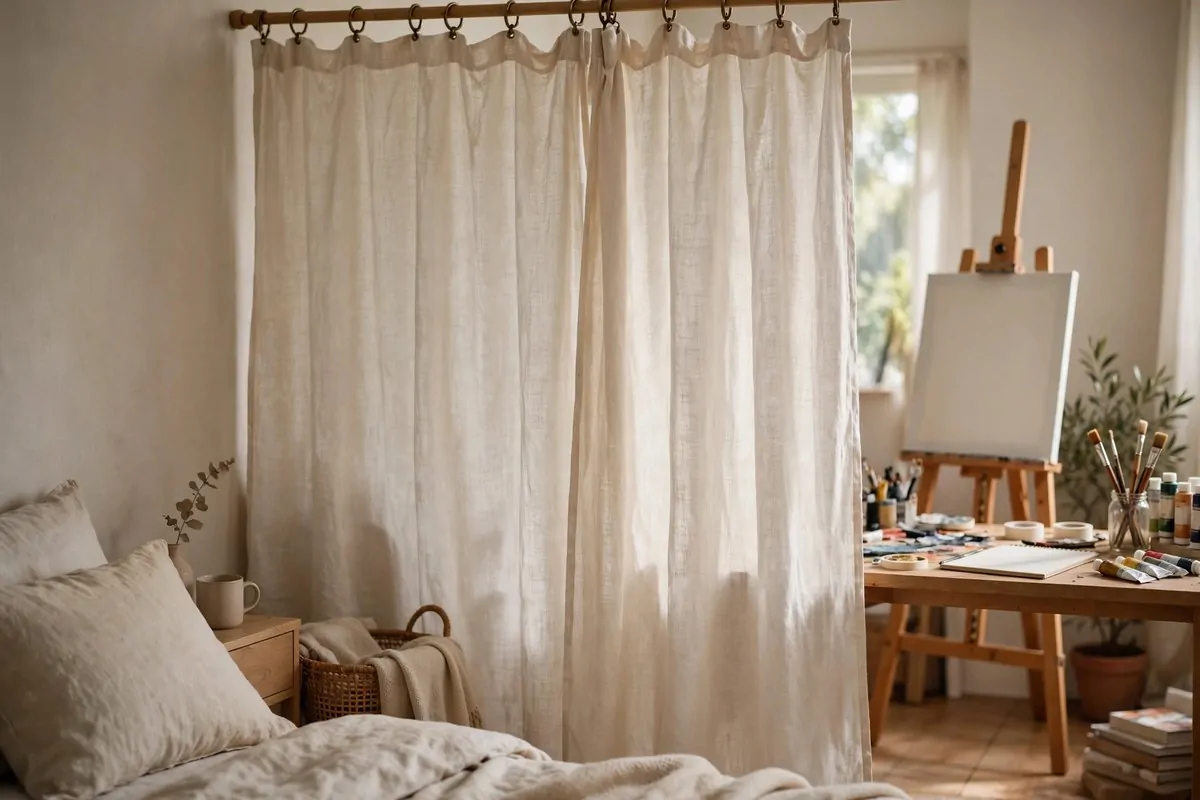
When the studio shares a room, a curtain divider draws the line. Pull it closed and you are in the studio. Open it and you are back in the bedroom. One piece of fabric, two rooms.
A ceiling track or a tension wire holds the curtain. No construction needed. I hung mine from a wire kit in under an hour, and it has held for two years.
Choose a fabric with some weight. Linen or cotton duck hangs nicely and blocks a bit of sound. Sheer fabric looks pretty but does nothing for focus. You want a real boundary.
The curtain hides the mess too. Mid-project chaos disappears behind it when guests come. Out of sight, out of mind, and your bedroom looks calm again.
Pick a color that matches your bedding. When the curtain blends with the room, it looks intentional instead of improvised. Mine is the same warm white as my quilt.
Tie-backs hold it open during the day. A simple fabric tie or a brass hook on the wall. Open curtain means the studio is inviting you in. Closed means deep work is happening.
The ritual of pulling the curtain matters. It is like closing a door on the rest of the day. Your brain learns: curtain closed, phones away, brushes out.
Wash the curtain yearly. Studio dust settles on everything. A fresh curtain keeps the zone feeling crisp instead of dusty. Small care, big difference.
20. The Seasonal Swap Board
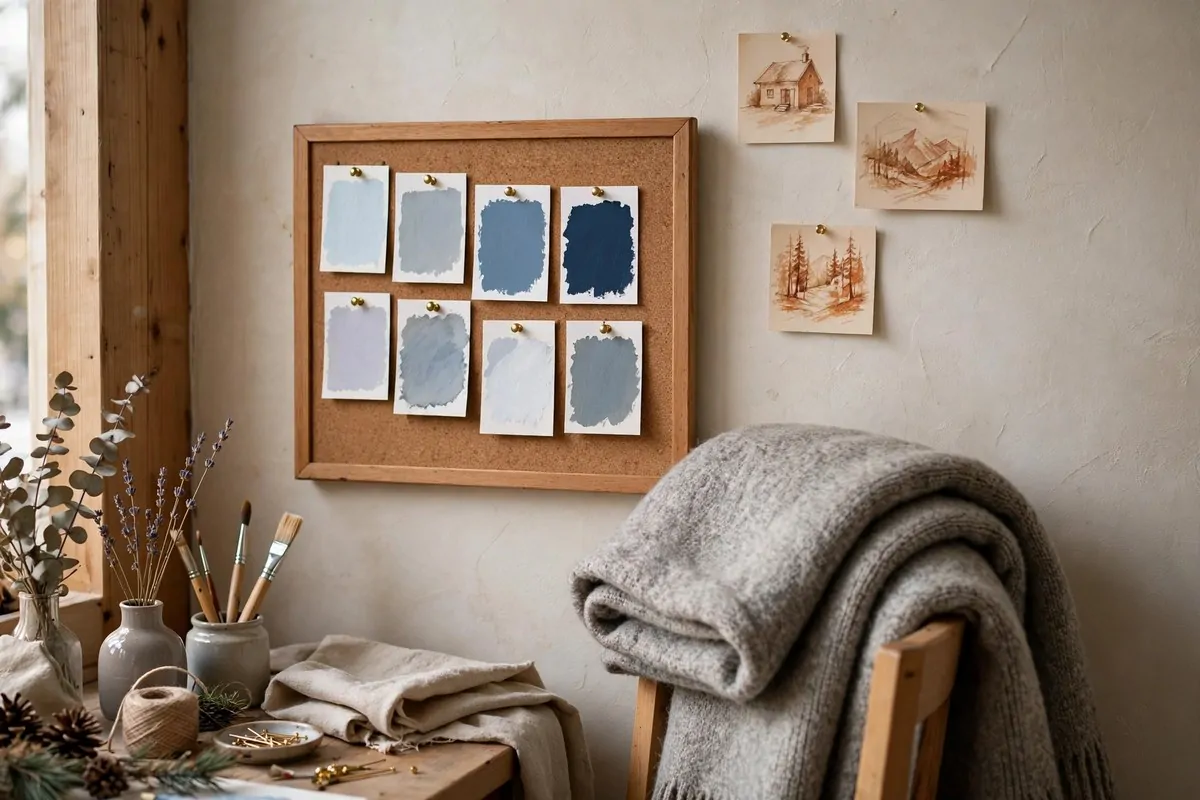
A small board you refresh with the seasons keeps the studio feeling alive. Swap the pinned colors and images four times a year. Winter gets cool blues and warm ambers. Spring gets fresh greens.
I keep a folder of seasonal cuttings: paint chips, magazine pages, dried leaves. When the season turns, I spend a happy hour re-pinning. It is like redecorating in miniature.
Your palette will follow the board without you noticing. In winter I reach for deep, warm colors. In summer everything goes bright. The board steers your eye gently.
Add a seasonal textile too. A wool throw in winter, a light cotton in summer. Drape it over your chair or stool. The studio feels different with one small change.
Winter light is low and golden, so this is the season to chase it. Move your easel a little closer to the window in the darker months. Every bit of sun counts.
The swap is also a cleaning moment. Old pins come down, dust gets wiped, the board starts fresh. Maintenance disguised as fun is the best kind.
Photograph the board each season before you change it. A little archive of your year’s moods. Looking back at all four is surprisingly moving.
Let the board remind you that creativity has seasons too. Some months you make a lot. Some months you mostly look and think. Both are part of the work.
21. The End-of-Day Reset Routine
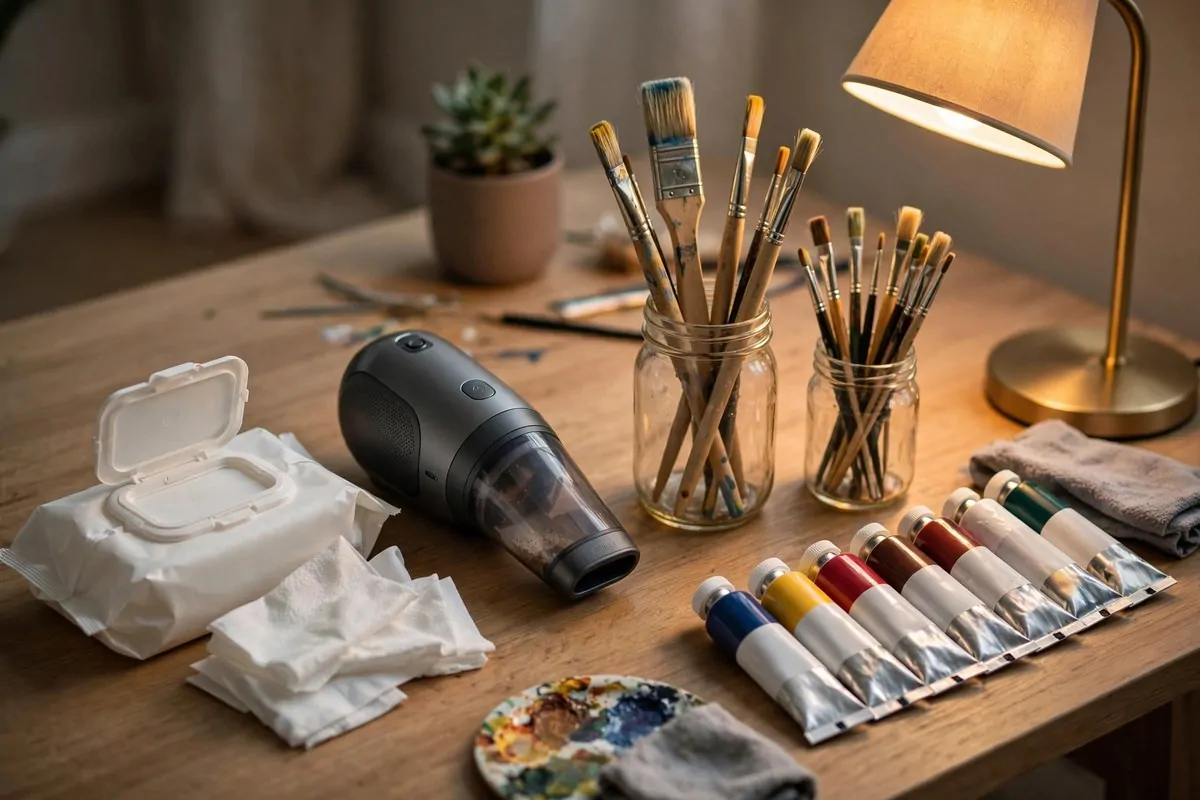
A cozy studio stays cozy because of a five-minute reset. Wipe the table, sweep the crumbs, put the day’s tools back. Tomorrow you walk into a clean corner instead of yesterday’s mess.
My nightly reset goes like this:
- Wipe the desk with one damp cloth
- Vacuum the eraser crumbs with the mini vacuum
- Rinse brushes and stand them bristle up
- Cap every tube and jar, no exceptions
- Stack today’s work on the drying rack
Keep wipes in the top cart drawer. One wipe across the desk takes thirty seconds. Dried paint is forever paint, but fresh paint wipes right off. Speed matters.
A mini desktop vacuum eats eraser crumbs and pencil shavings. It is small, cheap, and weirdly satisfying to use. I vacuum my desk like it is a tiny construction site.
Return brushes to their jars, bristle up. Rinse them first if they touched paint. Clean brushes last years. Neglected brushes last weeks. The math is simple.
Cap every tube and jar. Every single one. Open paint dries out, and dried paint is money in the trash. Make it a habit and it takes no time at all.
Stack today’s work on the drying rack or in a flat pile. Clear surfaces invite morning creativity. A messy desk invites morning dread. Choose wisely.
Empty the brush-water jar and the tea mug. Rinse both. Starting the day with clean jars is a small joy. It is the studio equivalent of fresh sheets.
Write one line in a notebook about what you made today. Just one line. It closes the day and opens tomorrow. Five minutes now buys you a happy morning.
22. The One Statement Piece
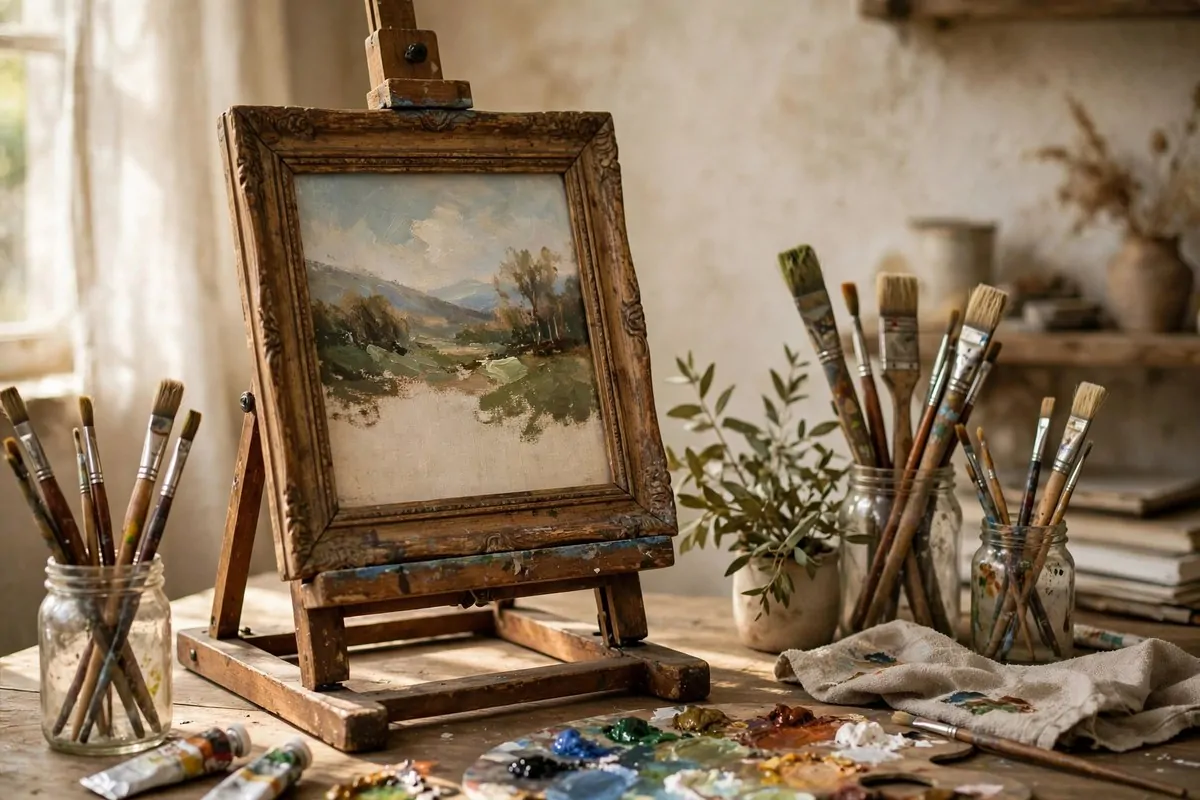
Every cozy studio needs one thing to love. A vintage frame. A painting in progress on a small easel. A beautiful old lamp. One statement piece gives the corner a heart.
Mine is a battered wooden frame I found at a flea market. It holds whatever I am working on, and it makes even a rough sketch look important. The frame says: this matters.
Keep it to one. Two statement pieces argue with each other. One sings. The rest of the studio stays quiet and useful around it, which makes the one piece shine brighter.
Place it where you see it when you walk in. First impressions set the mood. If the first thing you see is beautiful, the whole session starts on a high note.
A painting in progress on a small easel is the easiest statement piece. It is free, it changes all the time, and it reminds you that you are a person who makes things.
Dust it and love it. Statement pieces collect dust like they are paid for it. A quick wipe keeps yours looking like the treasure it is.
Let it change over the years. Today it is a frame. Next year it might be a sculpture or a gorgeous old mirror. Studios grow, and their hearts grow with them.
When someone visits and asks about it, you will tell the story. Every statement piece has one. And telling it reminds you why you built this cozy corner in the first place.