15 Sunroom Art Studio Ideas Full of Natural Light

There is a yellow paint smear on my sunroom floor that will never come out. It happened on a July afternoon, when I was painting sunflowers and slid my knee across the tile without thinking.
I scrubbed it with everything I had. Soap, vinegar, that white sponge that claims to clean anything. The smear stayed right where it was.
So I gave up, and you know what? It grew on me. Now it is part of the room. A little yellow flag that says real art happens here.
That is the whole spirit of a sunroom art studio. You take the brightest room in your house and you stop treating it like a showroom. You let it get busy, you let it get a little messy, and you let the light do what it does best.
These 15 sunroom art studio ideas are the setups I wish someone had shown me at the start. Each one uses real natural light the way artists have used it for hundreds of years. Pick the ones that fit your room and your kind of art.
1. Put Your Easel in the North-Facing Corner
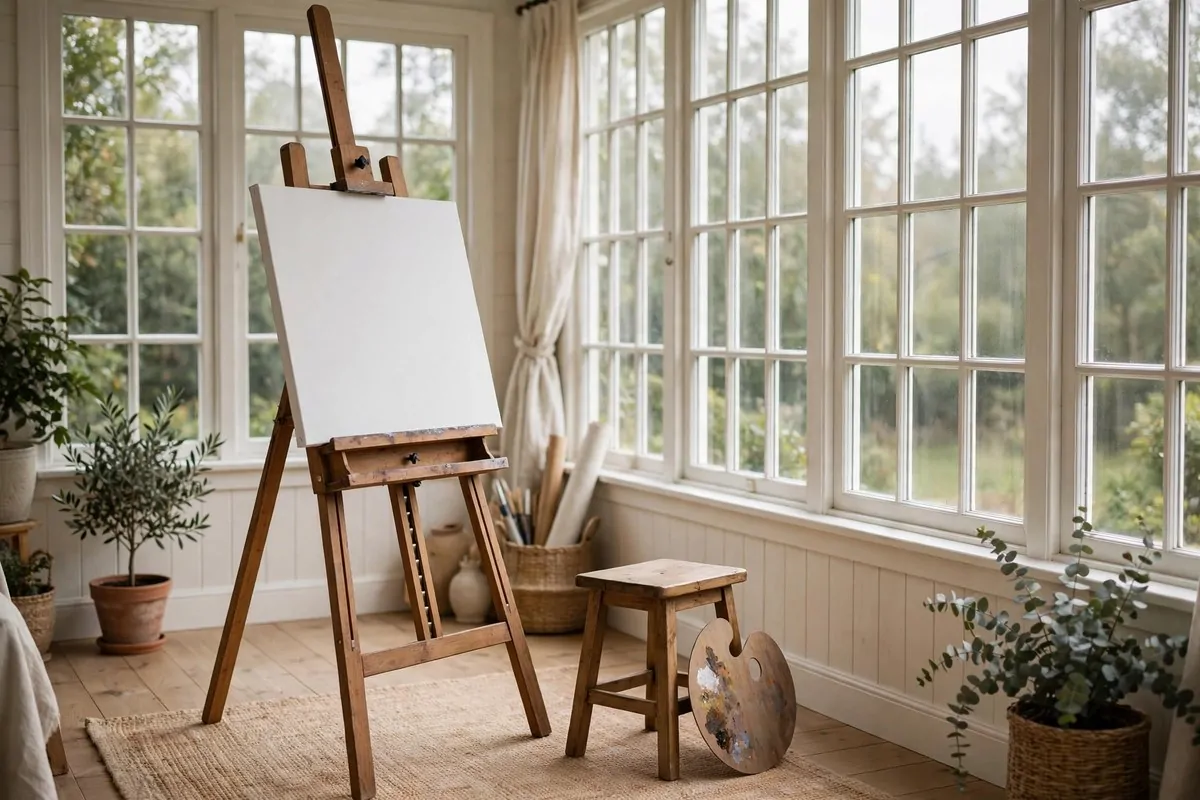
Ask any old painter about the best studio light and they will say the same two words. North light.
In the northern half of the world, a north-facing window never gets direct sunbeams. It gives soft, even, indirect light that barely changes from morning to evening. Your colors stay honest all day long. That is gold when you are mixing paint.
Find the window in your sunroom that faces most toward the north. Set your easel at about a forty-five degree angle to it. If you paint with your right hand, the window should sit over your left shoulder. This way your body never throws a shadow on your canvas.
Left-handed painters flip it. Window over the right shoulder. Simple rule, big difference.
Watch out for bounced light. Low windows can throw light up at your ceiling, and then the ceiling throws it back down in a soft wash. That kills the shadows you want. A simple fix is a short piece of cardboard taped above the window like a little hood. It sounds funny. It works like a charm.
South-facing sunrooms are trickier. The sun moves across and the light changes every hour. You can still paint there, you just need curtains or blinds to tame the bright patches. More on that in the next idea.
Here is a quick guide to how each window direction behaves for artists:
| Window direction | Light feel | Best for |
| North | Soft and steady all day | Oil painting, color mixing |
| South | Bright, shifts through the day | Sketching, loose watercolor |
| East | Warm in the morning, cool later | Morning painting sessions |
| West | Cool mornings, hot afternoons | Evening work with shades down |
If your sunroom only has one main wall of glass, use it anyway. Steady north light is a bonus, not a rule. Plenty of artists work in east-facing rooms and love the morning glow.
Try painting the same small study at three different hours. Tape them to the wall side by side. You will see the light change with your own eyes.
That little test teaches you more than any book. And it costs you nothing but a scrap of paper and an afternoon.
2. Hang Sheer Linen Curtains to Soften Harsh Sun
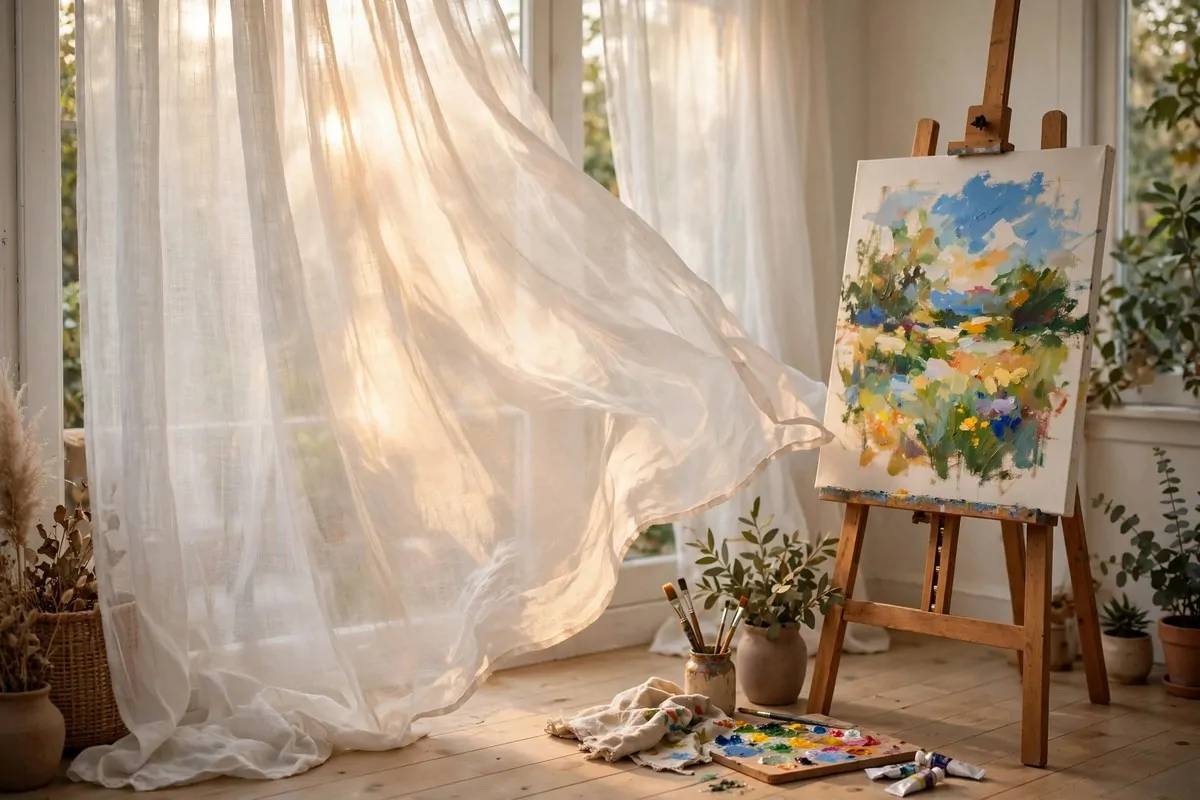
Direct sun on a wet canvas is a real headache. The glare blinds you. The paint dries too fast on one side. And your eyes get tired in about twenty minutes.
Sheer curtains fix all of that in one move. They turn hard beams into a soft glow. The room stays bright, but the light stops fighting you.
Linen is my favorite fabric for this. It has a natural, slightly wrinkled look that feels right in a studio. Cotton voile works too, and it costs less. Avoid heavy polyester sheers if you can. They look fine from far away but they shine a little, and that shine bugs me.
Hang the panels on a simple rod with rings. Rings slide easy when you want full sun back. You want that option. Some days you need bright light to see pencil lines. Other days you want the soft version.
Let the curtains hang all the way to the floor. Long sheers move a little in the breeze from an open door, and that movement makes the whole room feel alive.
Here are fabrics worth trying, cheapest first:
- Cotton voile: light, cheap, washes well, slightly crisp look
- Linen blend: soft drape, natural texture, gets better with washing
- Muslin: very cheap, great diffuser, looks handmade in a good way
- Gauze: airy and soft, best for a dreamy studio feel
Double up the panels on the sunniest window. Two layers cut glare more than one, but the room still feels bright. I keep one layer on the east windows and two on the south.
Wash them once a season. Studio dust and paint mist settle into fabric faster than you think. Clean sheers let through more light than dusty ones, and the difference is bigger than it sounds.
One more trick. If glare hits your canvas from below, meaning light bouncing off a light floor, lay a darker rug under your easel. That kills the bounce. Cheap fix, instant relief.
3. Set Up a Glass-Top Table for Watercolor Days
Watercolor loves light. It loves it so much that painting it in a dim room is almost a different hobby.
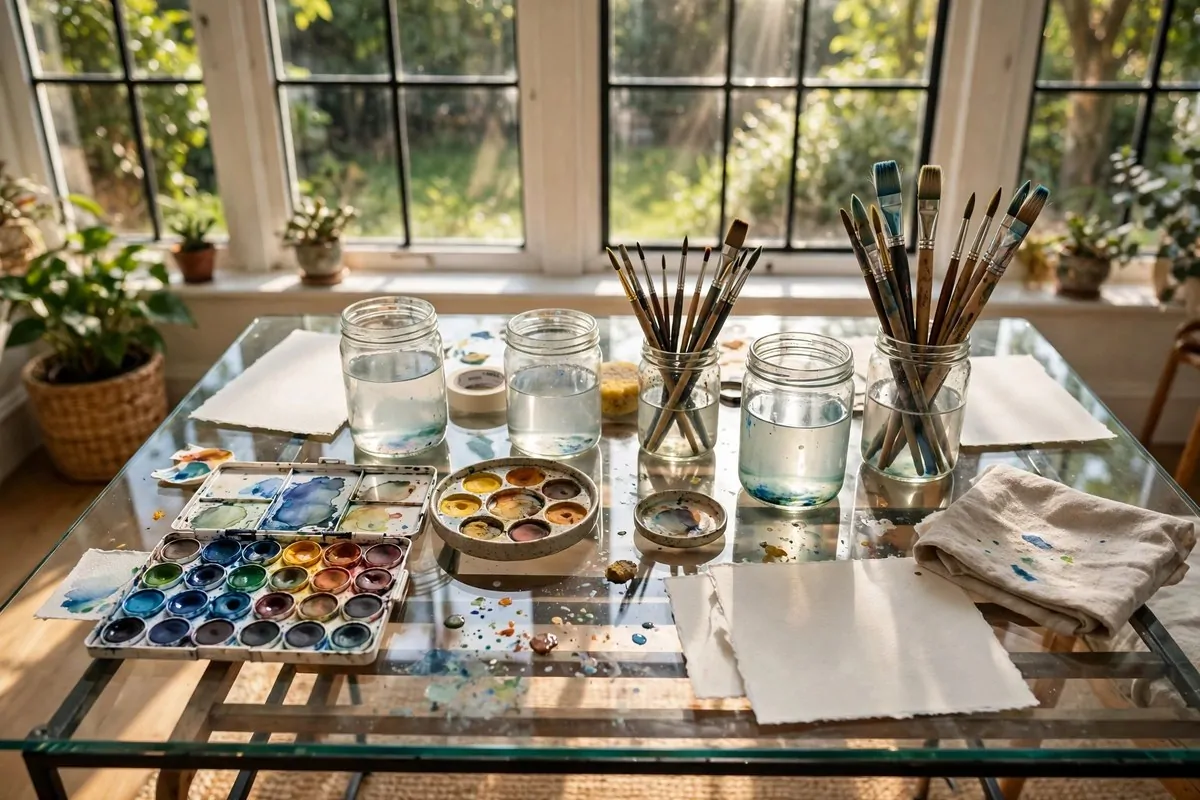
A glass-top table near the windows is the perfect watercolor station. Light passes under and around your paper. Colors look true. Wet washes dry evenly because no harsh beam hits one corner.
You do not need a fancy art table. I used an old glass coffee table for two years. Put it on blocks or short legs to get it to a comfy height. Your back will thank you by noon.
Tape your paper to a board, then lay the board on the glass. The tape keeps edges from curling when they get wet. Painter’s tape is cheap and peels clean.
Keep two jars of water on the table. One for rinsing dirty brushes, one for clean water when you mix. This sounds fussy. It saves your colors from turning muddy, and you will notice the difference in one session.
Line up your palette on the side where your hand does not rest. Right-handers, palette goes left. It keeps your sleeve out of wet paint, which is the kind of small thing that ruins a good morning.
A white towel folded under your palette does two jobs. It stops the palette sliding on the glass, and it catches drips before they run. Drips always run toward the edge you care about. Always.
Dry finished paintings flat on the same table, away from the window edge. Direct sun on wet watercolor can bleach a wash before you even see what you did. Slide them back a foot or two and they dry safe.
Small thing that matters: keep a spray bottle handy. A light mist wakes up a palette that sat for an hour. It also lets you re-wet an area you want to lift.
When the table is not in use, it holds your drying rack, your reference photos, and whatever plant refuses to die. Glass tables earn their keep in a sunroom.
4. Let Skylights Do the Heavy Lifting
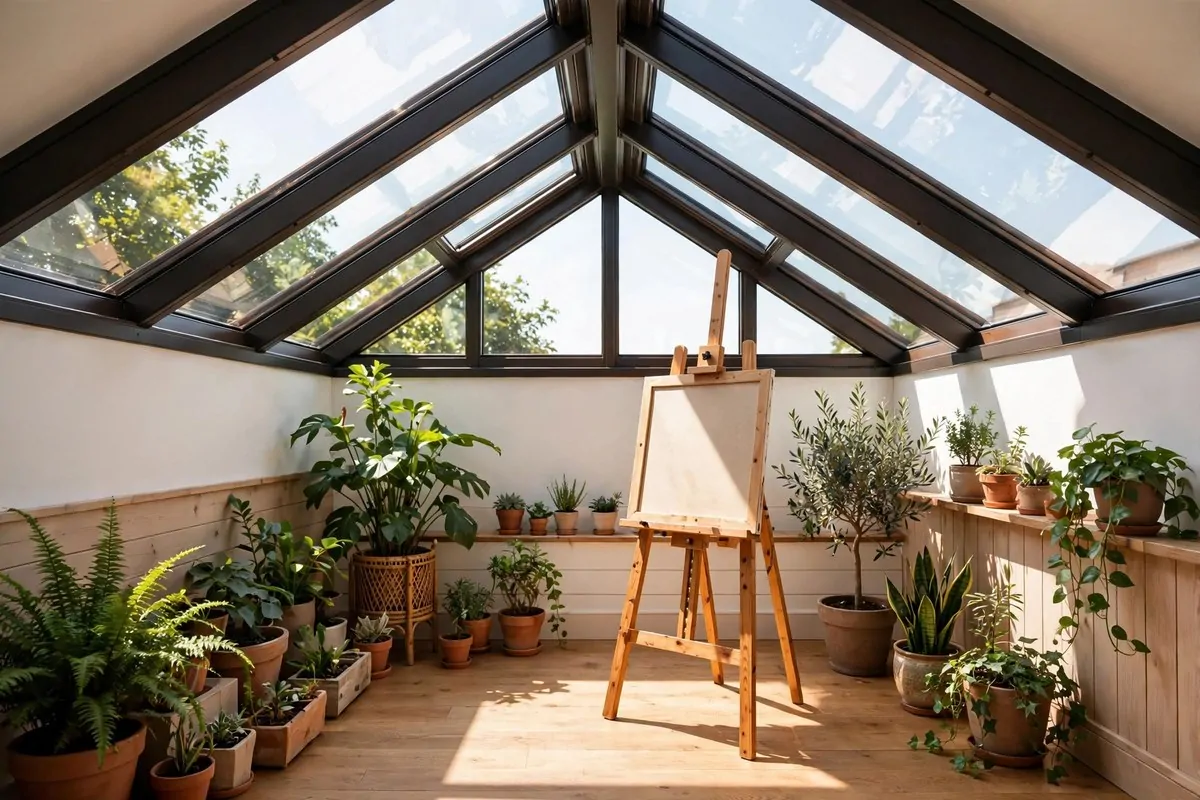
If your sunroom has a glass or pitched roof, you are sitting on a gold mine. Overhead light is the most even light there is.
Skylight light falls straight down. It fills shadows softly. It does not rake across your canvas from the side the way window light does. Portrait painters especially love it because faces read so clearly.
Place your main easel in the brightest pool of skylight. You will find it by watching the floor at noon. Where the sun patch lands, that is your spot. Mark it with a small piece of tape so you can find it again.
On blazing summer days, skylights can roast a room. A simple pull-down blind or a light shade cloth over the glass fixes it. You still get plenty of light, just without the greenhouse heat.
UV film is worth thinking about. Strong overhead sun can fade finished paintings hanging on the walls. A clear UV film on the skylight glass blocks most of it and you cannot even see it is there.
Ventilation matters with skylights. Paint fumes rise, and a sunroom with a glass roof can trap them. Crack a window or a roof vent when you work with oils or solvents. Your lungs are part of your studio too.
I know skylights are not in every budget. A cheaper cousin is a large light tube or a sun tunnel in the ceiling. It pipes daylight down from the roof in a neat circle. Not as grand, but surprisingly bright.
Even one small skylight changes the feel of a room. The light comes from above like being outside, but you stay dry and your coffee stays warm. Best of both worlds.
Try this on a cloudy day. Stand under the skylight with a blank canvas. Notice how you can see every edge and tone without squinting. That is why old master studios were built with overhead glass.
5. Build a Botanical Corner for Live Subjects
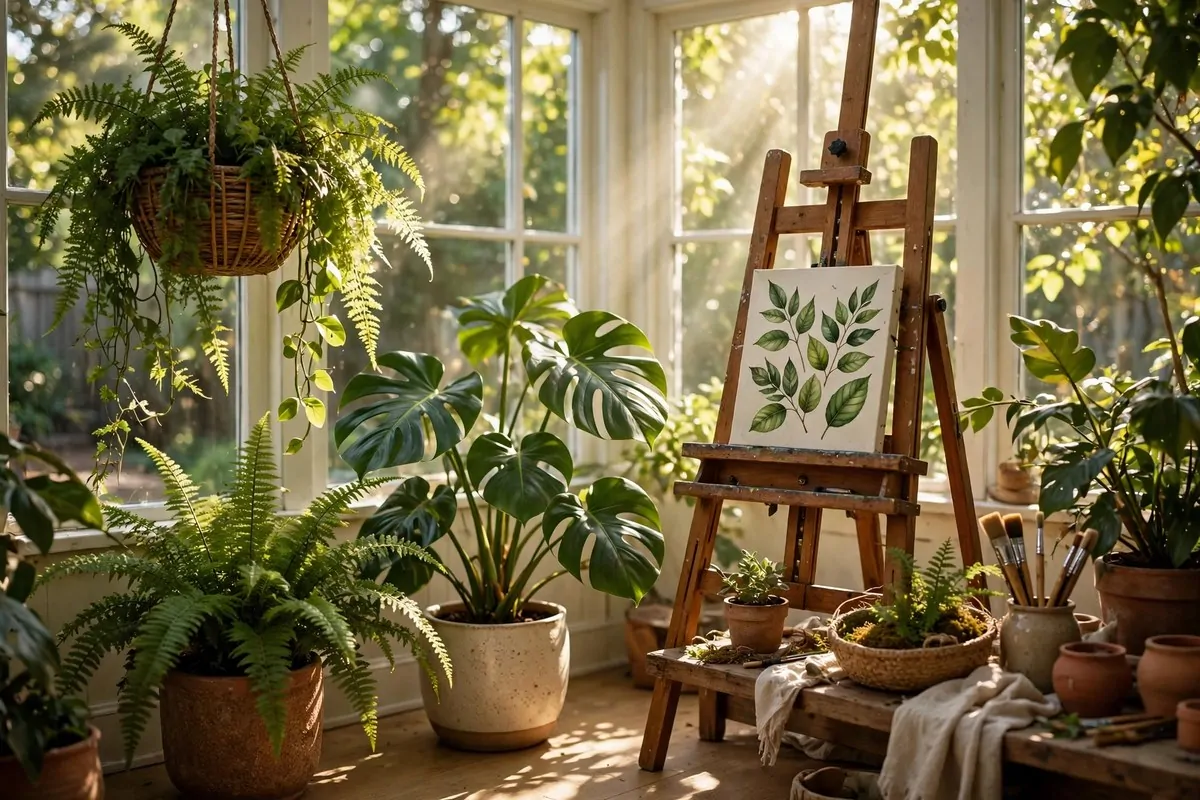
A sunroom already wants to be a greenhouse. Lean into it. Plants make the best free art models you will ever have.
Still life painting gets boring when you paint the same apple for the tenth time. A living plant changes every week. New leaves, new shadows, new shapes. You never run out of subjects.
Put your plant corner where it gets light but not the harshest beam. Most indoor plants like bright, indirect light. Ferns, monsteras, and philodendrons are happy in sunrooms and they look gorgeous in paintings.
Keep a small easel or a drawing board right beside the plants. When the light hits a leaf just right, you can sketch it in the moment. Those quick studies are often better than the planned ones.
Water your models. Dead plants make sad paintings, and they also make you feel guilty every time you walk past. A weekly watering day keeps everyone alive, plants and artist alike.
Here are easy plants that double as painting subjects:
- Monstera: big dramatic leaves, great for bold shapes
- Ferns: soft texture, lovely in pencil and ink
- Succulents: slow, patient models that never move
- Flowering kalanchoe: color pops for watercolor practice
- A small lemon tree: leaves, fruit, and branches all in one
Rotate which plant you paint. Pick one a month and really study it. By week four you will know that plant better than your own hand, and your drawings will show it.
Press a few leaves in a heavy book. They become flat, free reference material for winter days when the garden is asleep. I have a book full of pressed fern fronds I still use.
One warning. Keep soil and water trays away from your paper stash. Wet soil and dry paper are enemies. A plastic tray under each pot saves a lot of heartache.
6. Roll Your Supplies on a Studio Trolley
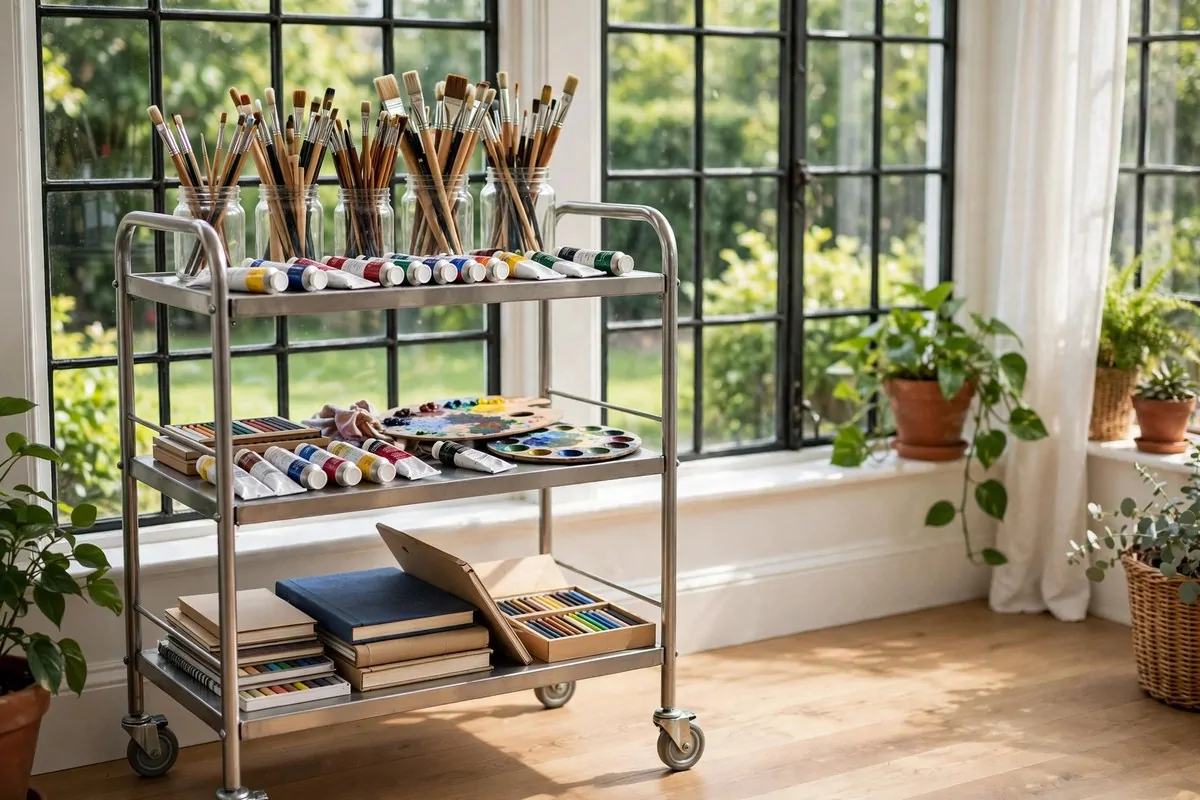
Sunroom light moves. Morning light sits on one side, afternoon light on the other. If your supplies are stuck in one spot, you end up hauling armfuls of stuff across the room twice a day.
A rolling trolley ends that. Load it once, wheel it wherever the light is best. When you are done, roll it into a corner and the room looks tidy again.
Kitchen carts work great for this. The three-tier metal ones are cheap, sturdy, and they already have little rails so jars do not slide off. Art supply brands sell fancier versions, but a kitchen cart does the same job for less money.
Set it up with zones. Top shelf for the stuff you grab constantly: brushes, palette, rag. Middle shelf for paint tubes and mediums. Bottom shelf for the heavy things: big paper pads, canvas boards, the spray bottle.
Glass jars beat plastic cups for holding brushes. You can see what is inside, they do not tip over easy, and they look nice. Save your jam jars. They are perfect brush holders and they cost nothing.
Wheels with brakes matter. A trolley that rolls away mid-painting is funny exactly once. Lock the wheels when you park it, unlock when you move. Tiny habit, big peace.
Keep a damp rag draped on the side rail. You will reach for it a hundred times a session. Having it on the trolley means it follows you, not the other way around.
Label the shelves if you share the studio with kids or a partner. A little tape label that says “wet brushes” stops a lot of arguments. I learned that one the hard way.
At the end of the day, wheel the trolley out of the sun. Paint tubes last longer away from heat, and your brushes keep their shape. Two minutes of rolling buys you months of supply life.
7. Cover One Wall With Your Finished Work
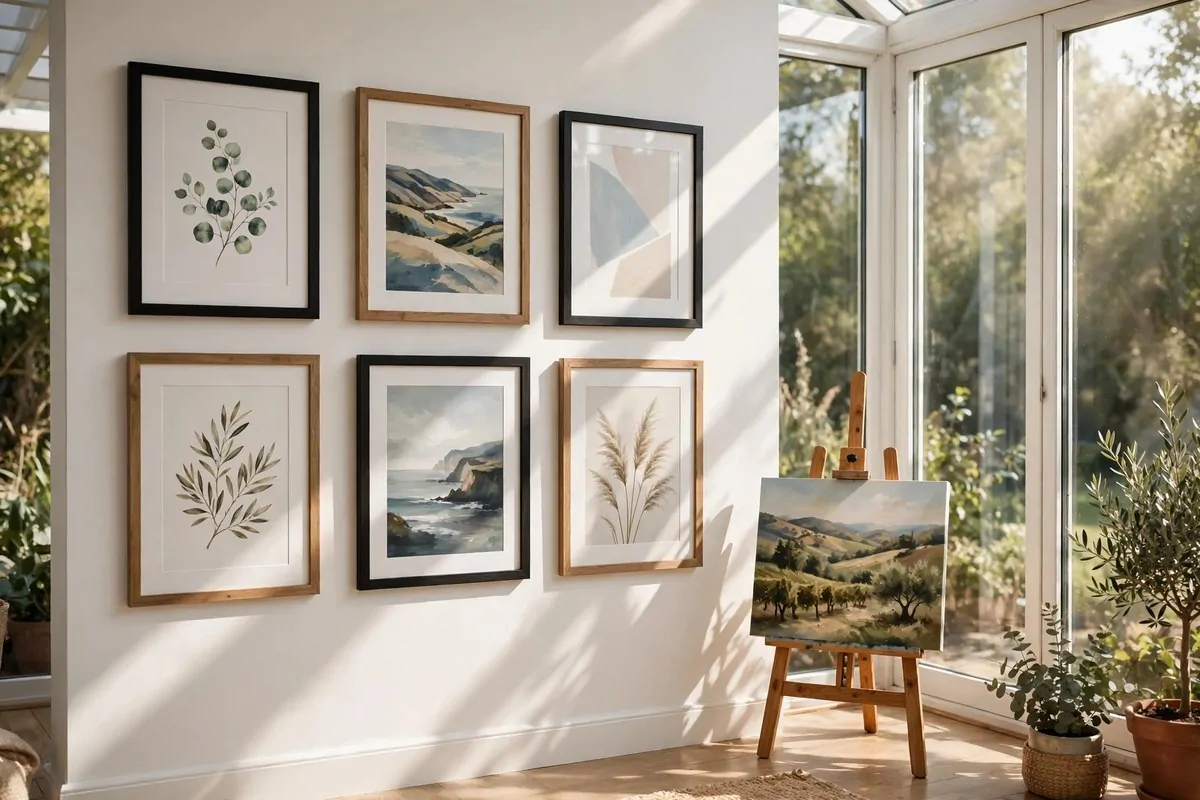
Nothing feeds motivation like seeing your own progress. A wall of finished pieces turns your sunroom into a little gallery that cheers you on.
Pick the wall that gets the least direct sun. Finished art fades in strong light, even behind glass. The shadiest wall in the room is the safest gallery spot. If every wall is bright, UV-protective glass in your frames helps a lot.
Start with what you have, even if it is only three pieces. A small wall of real work beats a big empty wall every time. You add to it as you go, and watching it grow is half the fun.
Mix frame sizes for a collected look. One big anchor piece in the middle, smaller ones around it. Keep the spacing even, about two inches apart, and the whole thing looks planned even when it was not.
Here is a simple hanging plan that always looks good:
| Piece size | Where it goes | Best for |
| Large (24×36 in) | Center, eye level | Anchors the whole wall |
| Medium (11×14 in) | Around the anchor | Builds the cluster |
| Small (5×7 in) | Edges and gaps | Fills odd spaces |
Use removable hanging strips for the light frames. Sunroom walls can be tricky to patch, and strips let you rearrange without damage. Save the nails for the heavy pieces.
Leave one empty frame hook on the wall. It is a promise to yourself. The next painting you finish has a spot waiting, and that little empty hook nags you in the best way.
Photograph the wall every few months. Flip through the photos and you will see your style changing. It is the nicest mirror an artist can own.
Rotate pieces seasonally. Swap in the bright summer landscapes when the light is strong, the cozy winter studies when it turns grey. Your gallery stays fresh and your old work gets new eyes.
8. Keep a Sketch Chair by the Brightest Window
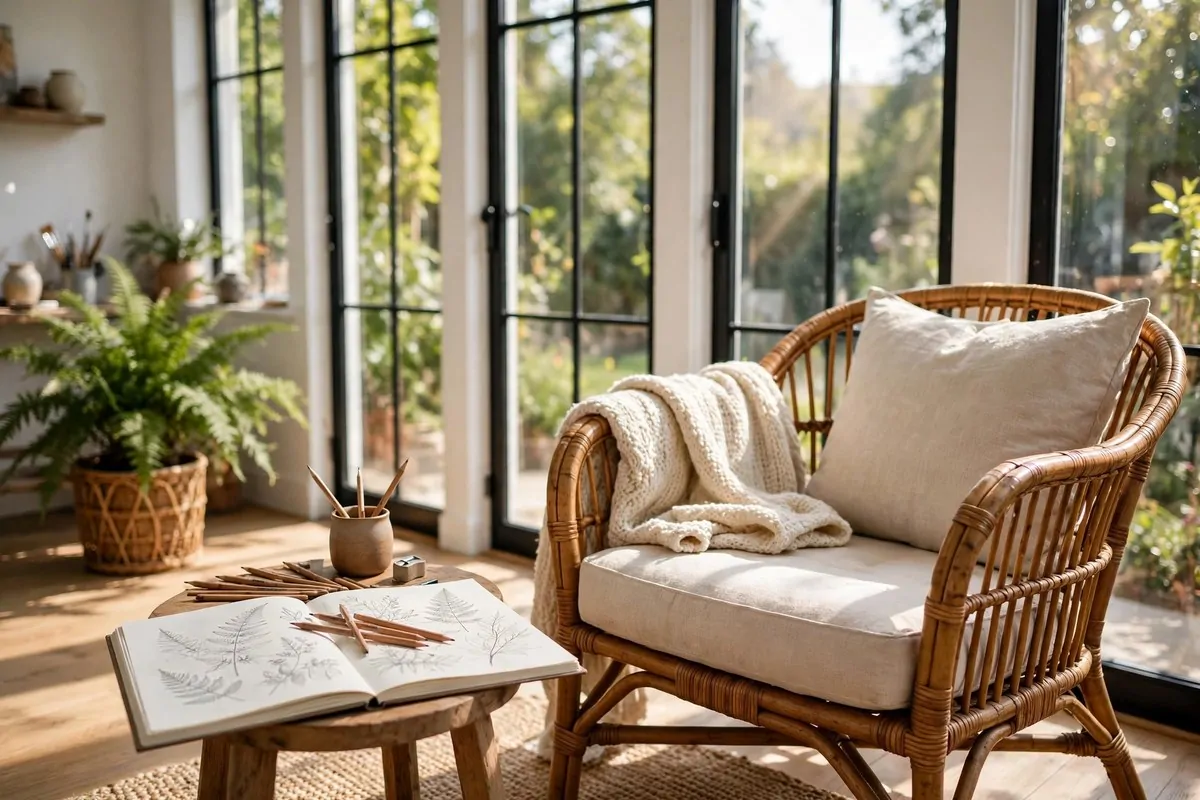
Not every art moment needs an easel. Some of the best drawing happens sitting down with a sketchbook on your knee.
Put a comfy chair by the brightest window in the sunroom. Not for napping, though that will happen too. For those loose, watch-the-world sketch sessions that keep your hand sharp.
A rattan or wicker chair fits a sunroom perfectly. It is light, it breathes, and it looks right next to all that glass. Add a cushion so you can sit for an hour without fidgeting. Your drawings get better when your back is happy.
Keep a dedicated sketch basket beside the chair. A couple of sketchbooks, a pencil roll, an eraser, a small sharpener. When everything lives in one basket, you never waste ten minutes hunting for a pencil.
Draw what you see from that chair. The garden, the neighbor’s cat on the fence, the way light falls on your own hand. Boring subjects make great practice because there is no pressure.
Set a tiny timer. Ten minutes of sketching, no erasing, no fixing. Just look and draw. These quick sessions build a habit that survives even busy weeks.
A small side table holds your coffee and your phone for reference photos. Keep the table low so it does not block the light. Light is the whole point of the chair.
This chair also becomes your thinking spot. Stuck on a painting? Sit here with the sketchbook closed and just stare out the window for a while. Answers show up when you stop chasing them.
Invite a friend to sit and draw with you sometime. Two chairs, two sketchbooks, no talking needed. It is the quietest, nicest kind of company.
9. Tilt a Drafting Table Toward the Light
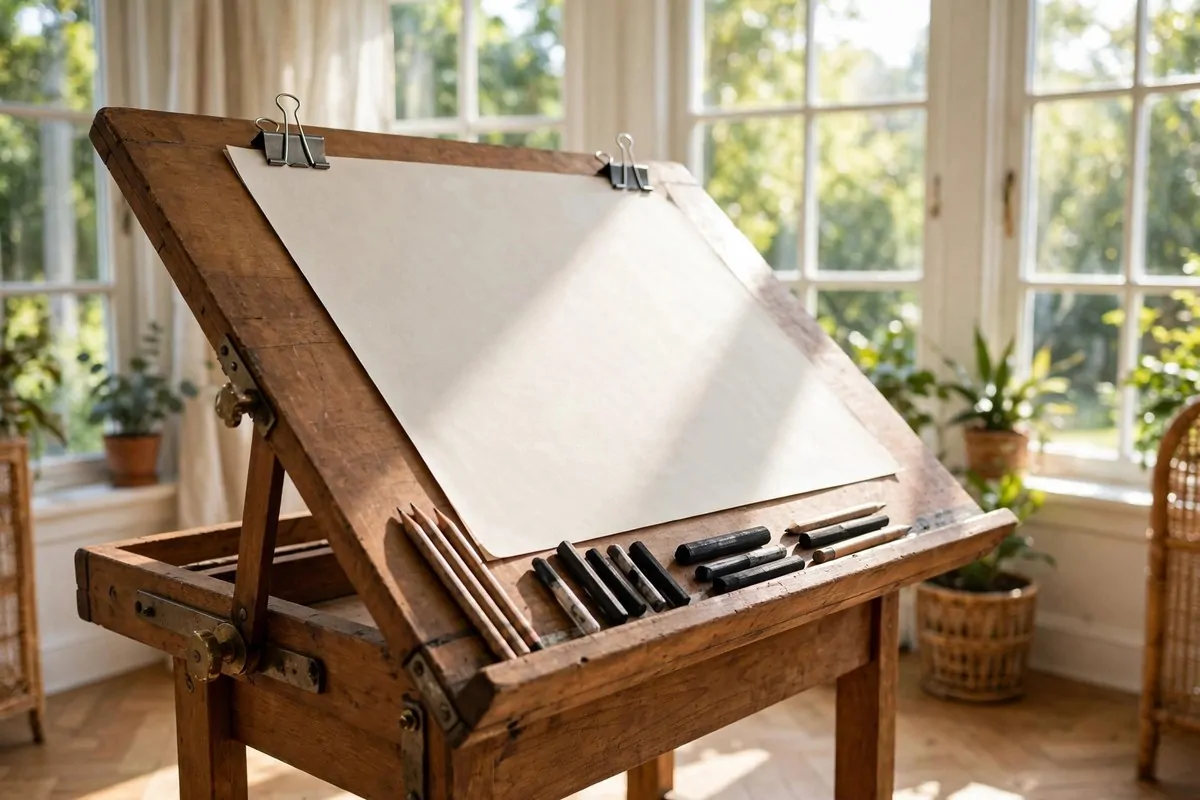
Drawing flat on a table hurts your neck. Drawing on a wall is awkward for detail work. A drafting table splits the difference, and it loves sunroom light.
The tilt matters. A slight angle, maybe fifteen to twenty degrees, lets light wash across the paper evenly. Steeper angles work for inking, flatter for watercolor. Most tables adjust with a simple lever.
Face the table toward your main window so the light comes from the side of your drawing hand. Right-handed, light from the left. This is the same shoulder rule as the easel, and it exists for the same reason. Shadows are the enemy of clean lines.
Clip your paper down with the parallel bar or simple bulldog clips. Paper that slides mid-drawing is a special kind of pain. Clip it, forget it, draw.
Keep your tools on the little ledge at the bottom of the tilt. Pencils, rulers, erasers, all in one line where you can see them. A tidy ledge means you stop mid-thought less often.
A drafting stool beats a regular chair here. It is tall, it swivels, and it tucks under the table when you stand to step back. Stepping back to look is a habit worth building.
Good news for small sunrooms. Many drafting tables fold flat against the wall. Open it when you draw, fold it when guests come. Your studio can be a sitting room again in thirty seconds.
Tape a value scale to the table edge. Those little grey strips from light to dark help you check your tones in real daylight. It is a five-minute DIY that pays off forever.
Clean the surface with a dry cloth weekly. Graphite dust builds up and greys your paper edges. A clean table keeps your whites white, and white paper is half the beauty of a drawing.
10. Add a Small Sink for Messy Paint Days
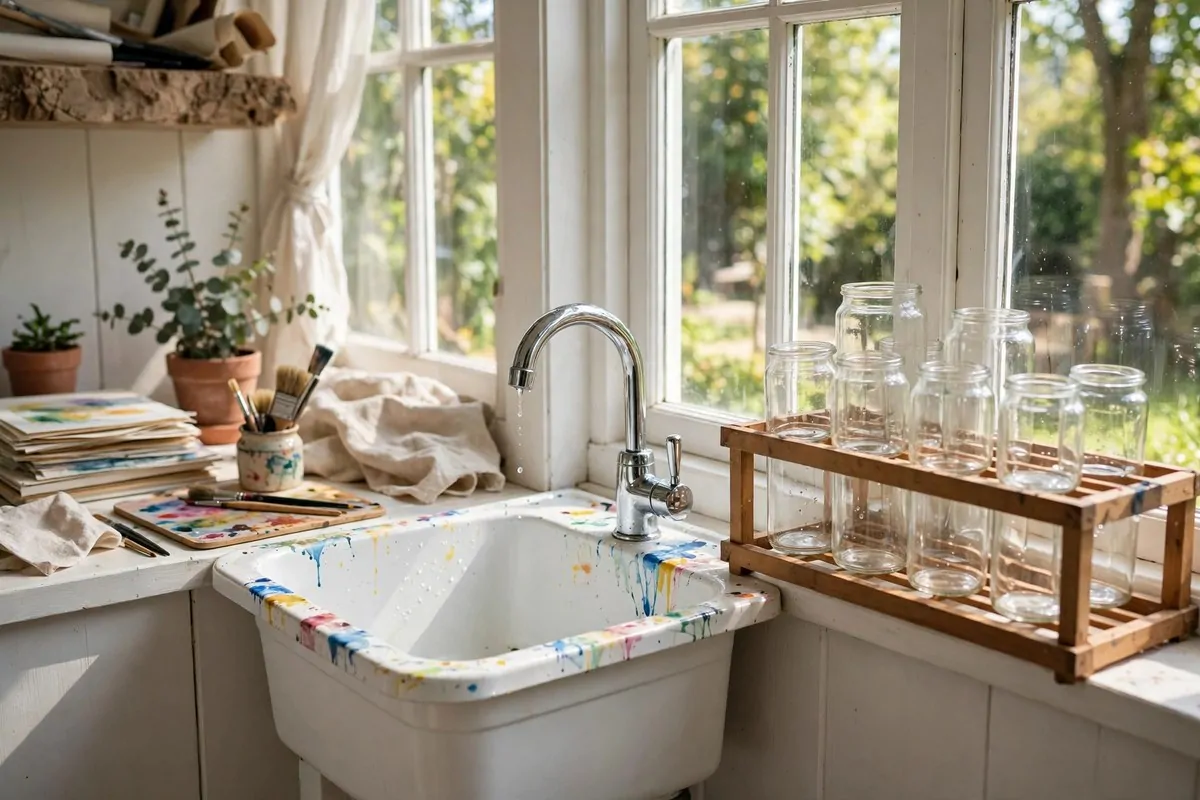
Ask studio artists what they would add if they could, and a sink wins almost every time. Rinsing brushes in a jar works, but it is slow and the water turns to soup by noon.
You do not need plumbing through the wall. A portable camping sink with a foot pump does the job. Fill the fresh tank in the morning, drain the grey tank at night. No plumber, no permits.
If you can get a real plumbed sink, even a tiny bar sink, do it. Running water changes everything. Brushes rinse clean in seconds. Palettes wash off while paint is still wet. You will paint more because cleanup stops being a chore.
Place the sink in a corner, not in the light zone. Water and windows do not need to compete. The corner by the door is perfect. In, rinse, out.
Keep these at the sink station:
- A bar of plain soap for brushes, cheap and gentle
- A nail brush for getting paint out of ferrules
- A small drying rack or an old towel folded thick
- A trash bin with a bag for paper towels and tape
- A spray bottle of water for quick palette touch-ups
Never pour paint water down a septic system without checking first. Some pigments, especially cadmiums, should not go down drains. Let the water settle, pour off the clear top, and wipe the sludge into the trash.
A bucket under the sink catches drips and holds the grey water if you use a portable setup. Line it with a bag for easy dumping. Your garden will thank you for the extra water if the paint is non-toxic.
Dry your brushes flat or bristles-down after washing. Bristles-up lets water seep into the ferrule and loosen the glue. This one habit doubles the life of a good brush.
Wipe the sink after each session. Dried acrylic in a basin is nearly permanent. Thirty seconds with a sponge while it is wet saves you an hour of scraping later.
11. Carve Out a Clay and Pottery Corner
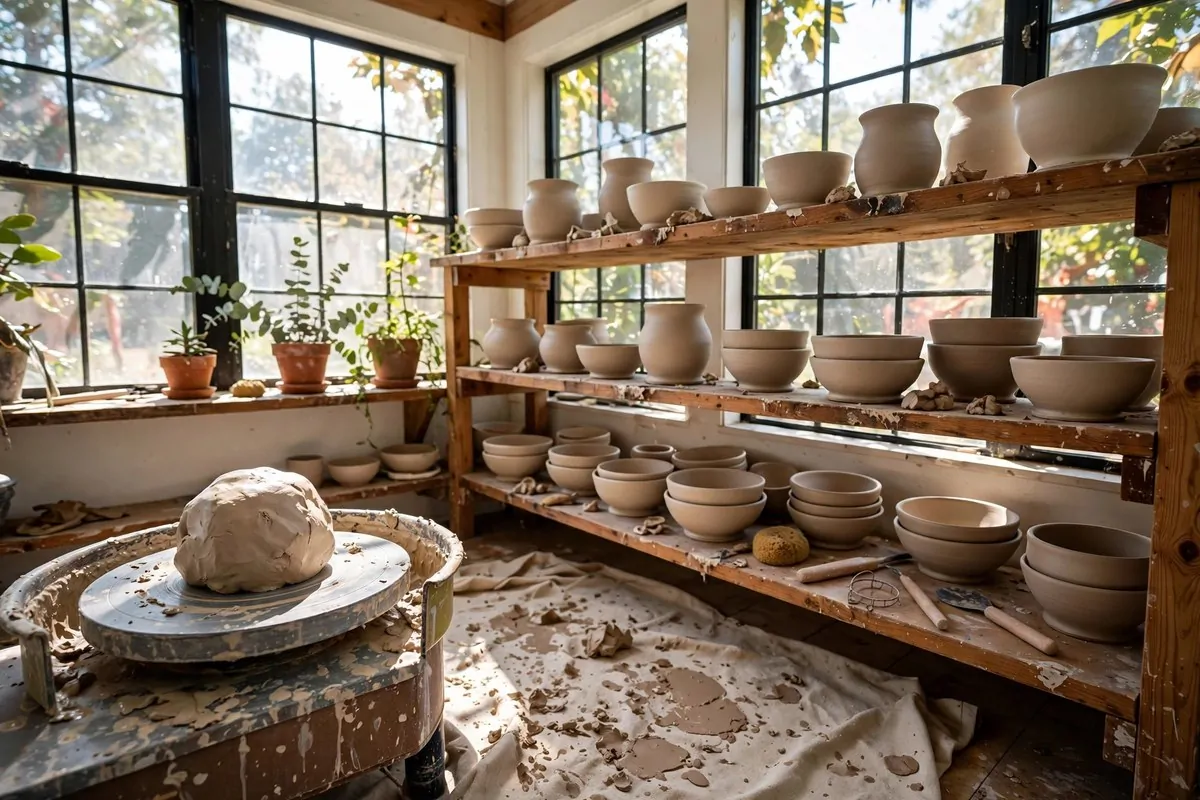
Painting is not the only art that loves a sunroom. Clay loves it too. Natural light shows every fingerprint and wobble, which sounds scary but actually makes you better faster.
A pottery wheel needs less space than you think. About a four-foot square is enough. Put it near a window so you can see the profile of your pots against the light. Silhouettes do not lie about lopsided rims.
Clay dust is the one real concern. It is fine and it floats. Keep a damp mop handy and wipe surfaces instead of sweeping. Sweeping throws dust in the air. Mopping keeps it down.
Cover the floor under the wheel with a washable mat or an old shower curtain. Clay splatter is part of throwing pots. A mat you can hose off makes it a non-issue.
Shelving for drying pots should be close but not in direct sun. Pots dry too fast in a hot beam and they crack. A shaded shelf in the same room is perfect. Slow, even drying is what you want.
Keep your tools in a small caddy on the wheel tray. Wire cutter, wooden rib, sponge, needle tool. When everything sits within reach, your hands stay on the clay where they belong.
A bucket of slip water beside the wheel is your best friend. Dip your hands often. Dry hands drag on clay. Wet hands glide.
Store bagged clay in a cool corner, off the floor if you can. Heat dries out the bags faster. A low shelf in the shadiest part of the sunroom works great.
Hand-building needs even less gear. A sturdy table, some canvas cloth, and your hands. Coil pots and pinch pots look wonderful in sunroom light, and kids can join in without a wheel.
12. Give Kids Their Own Craft Table
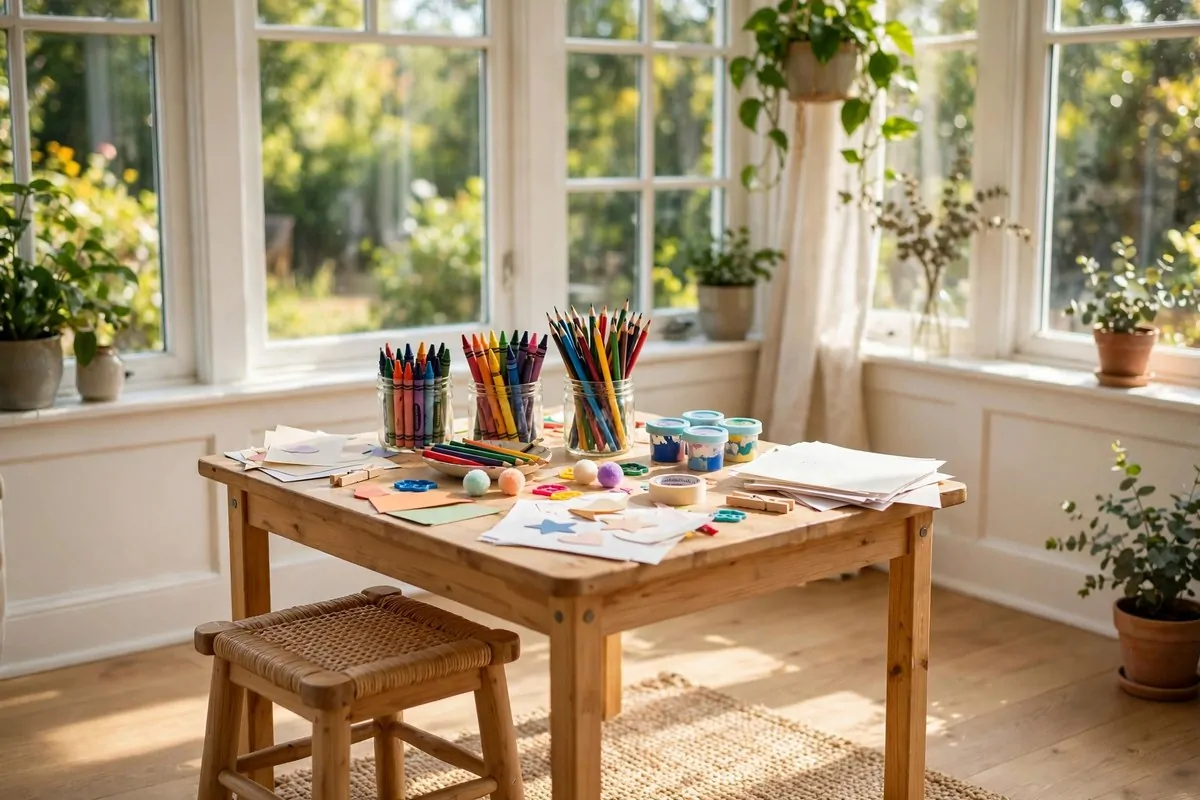
If your sunroom is a family space, do not fight it. Give the kids a corner and let them make art beside you. It is the sweetest setup there is.
A small table at kid height changes everything. When the table fits them, they sit longer and spill less. Folding kids tables are cheap and they store flat when you need the space back.
Washable supplies only. Washable markers, washable paint, washable crayons. This is not about being strict. It is about you staying relaxed while they create. Relaxed parents make better art neighbors.
Put a washable mat under their table. Bigger than you think you need. Kids paint with their whole arms, and the mat catches what the table misses. Shake it outside and it is clean.
Give each kid a lidded cup for water and a small palette with big wells. Lids stop the classic elbow-in-water disaster. Big wells are easier for little hands to load a brush from.
Store their stuff in low bins they can reach. When kids can get their own supplies and put them back, they do it. When they cannot reach, you become the supply butler all afternoon.
Tape a long roll of paper to the wall at their height sometimes. A whole wall of paper is pure joy for a child. They draw standing up, big arm movements, huge smiles.
Hang their best work on a string with clothespins across one window. It is their gallery wall, and they will beam every time they see it. Swap pieces weekly so everyone gets a turn.
Art time together builds a habit. My kids now ask for “studio time” the way they ask for playground time. That sentence alone makes the whole corner worth it.
13. Light the Room for After Dark
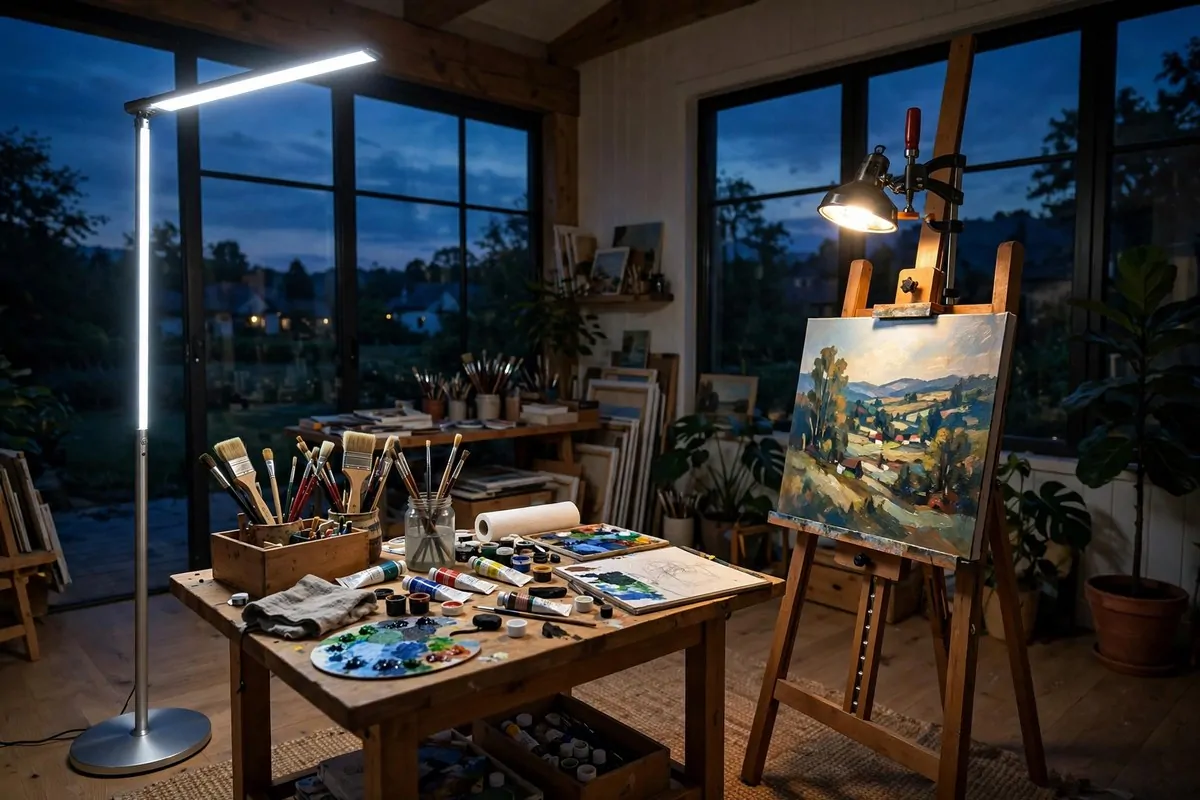
Natural light is wonderful until six in the evening. Then it leaves, and your painting does not care what time it is.
Daylight-balanced bulbs are the answer. Look for bulbs marked 5000K with a high CRI, ninety or above. That combo mimics noon daylight closely. Your colors stay true after dark.
You need two kinds of light. Overhead light for the room, and task light aimed at your work. Overhead alone leaves your canvas in your own shadow. A clamp lamp on the easel or table fixes that.
Clip the task lamp to the top of your easel and aim it down at the canvas. The light should wash across the surface, not blast one spot. Move it back until the whole canvas glows evenly.
Avoid warm yellow bulbs for painting. They make everything look cozy and golden, which sounds nice but lies to you about color. Save the warm bulbs for the reading chair corner.
A floor lamp with an adjustable arm works for the sketch chair and the drafting table both. Swing it where you need it. One good lamp can serve three stations if you plan the layout.
Here is a quick lamp shopping checklist:
| What to check | Look for |
| Color temperature | 5000K, marked daylight |
| Color accuracy | CRI 90 or higher |
| Adjustability | Swivel head or clamp arm |
| Glare | Shade that aims light down |
Test any new lamp before a big painting session. Paint a small color chart under the lamp, then check it in daylight the next morning. If the colors match, the lamp is a keeper.
Keep one soft warm lamp for wind-down time. When the painting is done, switch off the daylight rig and let the room go cozy. Your eyes earned the break.
14. Layer Washable Rugs Under Everything
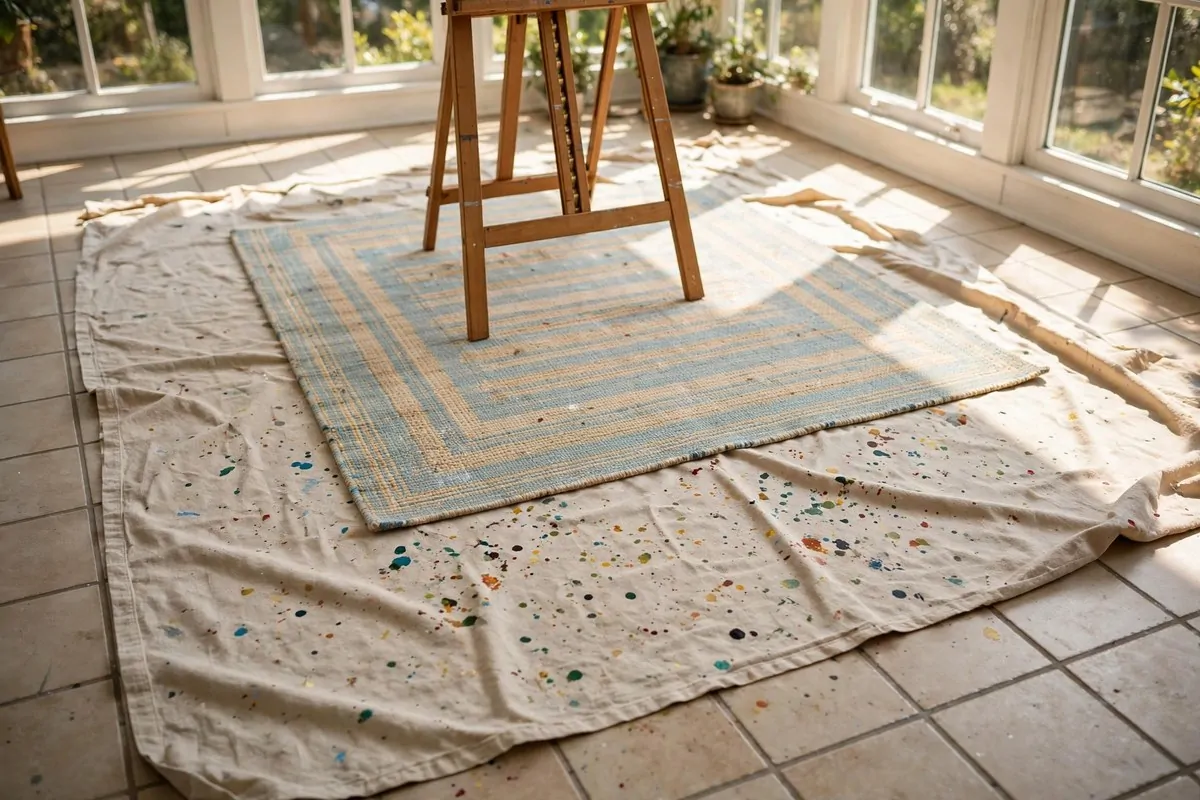
Art is messy. Sunrooms usually have nice floors. These two facts need a referee, and that referee is a washable rug.
Layer like this. A canvas drop cloth right under the easel or table, then a washable flatweave rug over the bigger area. The drop cloth takes the direct hits. The rug makes the room look like a room.
Drop cloths are cheap at hardware stores. The thin canvas kind, not plastic. Plastic gets slippery when wet and paint peels off it in sheets. Canvas absorbs a little and stays put.
Washable rugs have come a long way. The good ones look like real rugs and go straight in the washing machine. For a studio, pick a pattern that hides stains. Busy patterns are your friend. Solid cream is a brave choice I would not make.
Overlap the edges by a few inches. Paint has a talent for finding the exact gap between two rugs. Overlap closes the gap and the layers stay flat enough to walk on.
Tape the drop cloth edges down with painter’s tape if it curls. Curled edges trip you when you step back to look at your painting. Stepping back matters, so the floor must be safe.
Shake the drop cloth outside weekly. Dried paint flakes off and falls through. What stays is the history of your work, which looks kind of beautiful in its own way.
Keep a small stain kit in the trolley. A stain stick, a rag, a little soap. Fresh paint comes out of almost anything if you catch it fast. Old paint is a tattoo.
When a rug finally gives up, do not mourn it. Rugs are cheaper than floors. That is the whole philosophy. Protect the floor, sacrifice the rug, keep painting.
15. Point Your Easel at the Garden View
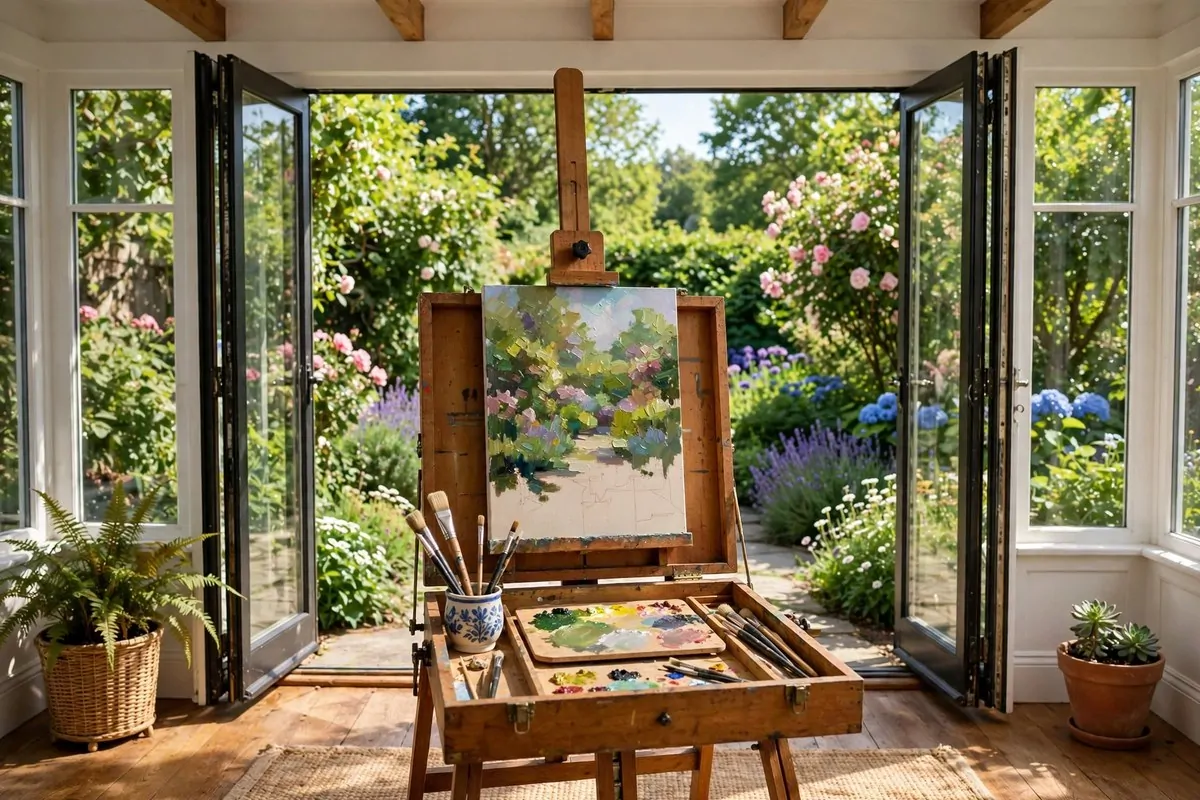
Here is the idea that makes a sunroom studio truly special. You are already surrounded by glass. Use the view as your subject.
A French easel is made for this. It folds into a box, carries your paints inside, and sets up in a minute. Carry it to the glass doors, open them wide, and paint the garden from inside the dry, bug-free comfort of your sunroom.
Morning is the magic hour. The garden glows, shadows are long, and the light changes fast enough to keep you alert. Set a timer for forty-five minutes. Paint fast, paint loose, stop when the timer rings.
Plein air studies from your sunroom are the best practice there is. You learn to see big shapes, mix colors quickly, and let go of tiny details. Every landscape painter I admire started this way.
Keep a dedicated outdoor kit packed in the French easel. Small tubes, a few brushes, paper or small panels, a rag. When the kit is always packed, you actually use it. Unpacked kits stay in closets.
Bad weather is not an excuse here, it is a subject. Rain on the glass, grey skies, winter branches. Some of the moodiest paintings come from the gloomiest days. You stay warm inside. The view does the drama.
Photograph the garden in each season from the same spot. Those photos become winter reference material. A July photo of full blooms can fuel a January painting when everything outside is asleep.
Here is a simple setup checklist for view painting:
| Step | What to do |
| Pick your spot | Where the view is widest and light is soft |
| Set the easel | Canvas shaded, view in front of you |
| Limit your palette | Five colors max for harmony |
| Time yourself | 45 minutes, then stop and look |
Sign and date these little studies. In a year you will have a stack of them, and flipping through that stack feels like flipping through your own seasons. That is a collection worth keeping.
Your sunroom was built to look outward. Let your art do the same. The garden is already posing. All you have to do is show up with a brush.