34 Budget Home Makeover Ideas Room by Room

I walked into my living room last Tuesday and I just stopped. The walls looked tired and the sofa looked sad and I thought, this room needs help but my wallet is thin.
I did not have money for a big fix. I had a small pot of paint, a little money left over, and a free Saturday. That was enough to start.
That day I learned a small change can make a whole room feel new.
You do not need new floors or new walls to feel proud of your home. You need one good idea at a time, a bit of time, and a plan that fits your pocket.
In this post I share budget home makeover ideas that work room by room. We start in the living room, then we move to the kitchen, then the bedroom, and then the rest of the house. Each idea is small, simple, and kind to your budget.
You can pick one room and start there. You do not have to do it all in one week.
I put all 34 ideas in this one post for you. You can read them room by room and pick the ones you like best.
1. Paint One Living Room Wall a Soft Colour
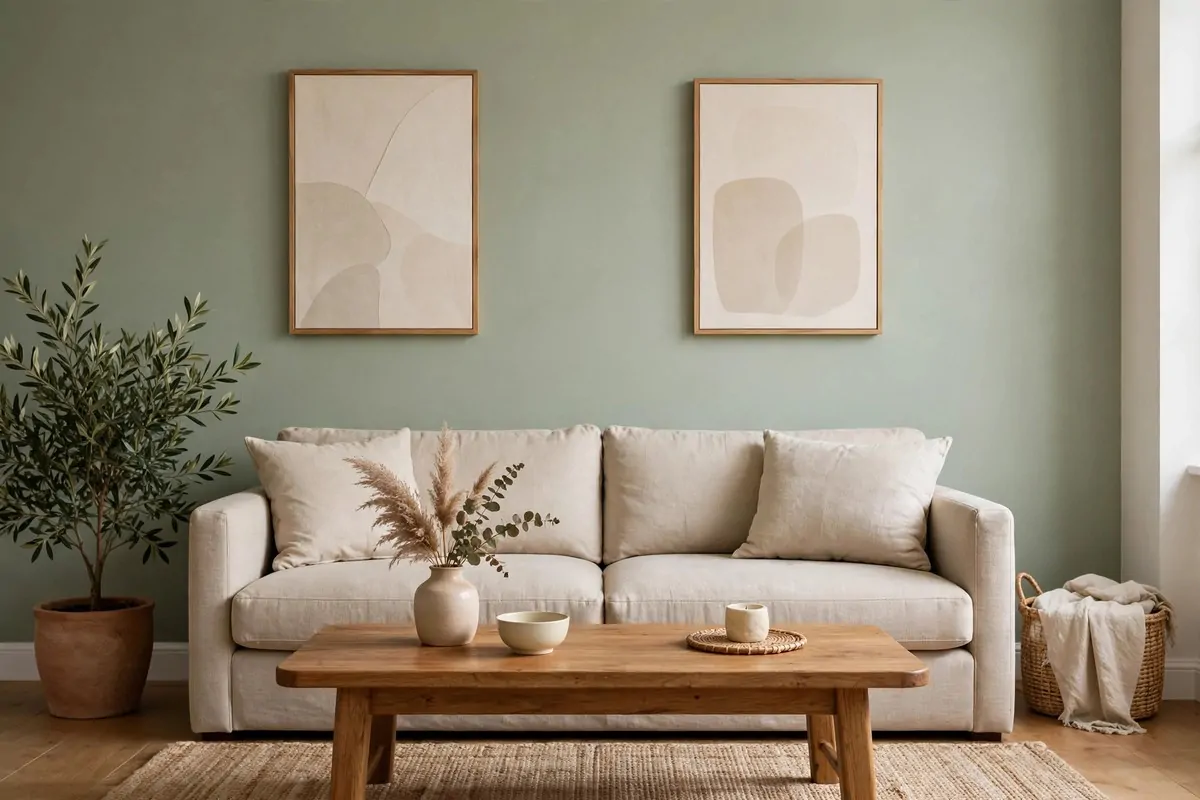
I painted one wall in my living room last spring and I still smile when I walk in. I picked a soft sage green and it made the whole room feel calm.
Typical cost is $20 to $35 for one small can of paint.
You do not need to paint all four walls. One wall is enough to change the feel of the room. I picked the wall behind my sofa because that is the wall I see most.
Pick a soft colour that you love, like pale blue, warm cream, or light grey.
Clean the wall first with a damp cloth. Dust can make the paint look patchy and rough.
I used a small roller and a brush for the edges. I did two thin coats and I let the first coat dry fully before I started the second one. The second coat made the colour look deep and even.
It took me one afternoon and I was done before tea time. My sofa looked new against the fresh wall, even though I had not bought a thing for it.
If you rent your home, ask your landlord first before you paint.
Try a test pot on a small spot first. Paint can look dark on the wall even when it looks light in the can, so test it in the morning light and in the evening light too. A small test can save you from a big mistake.
2. Swap the Living Room Curtains
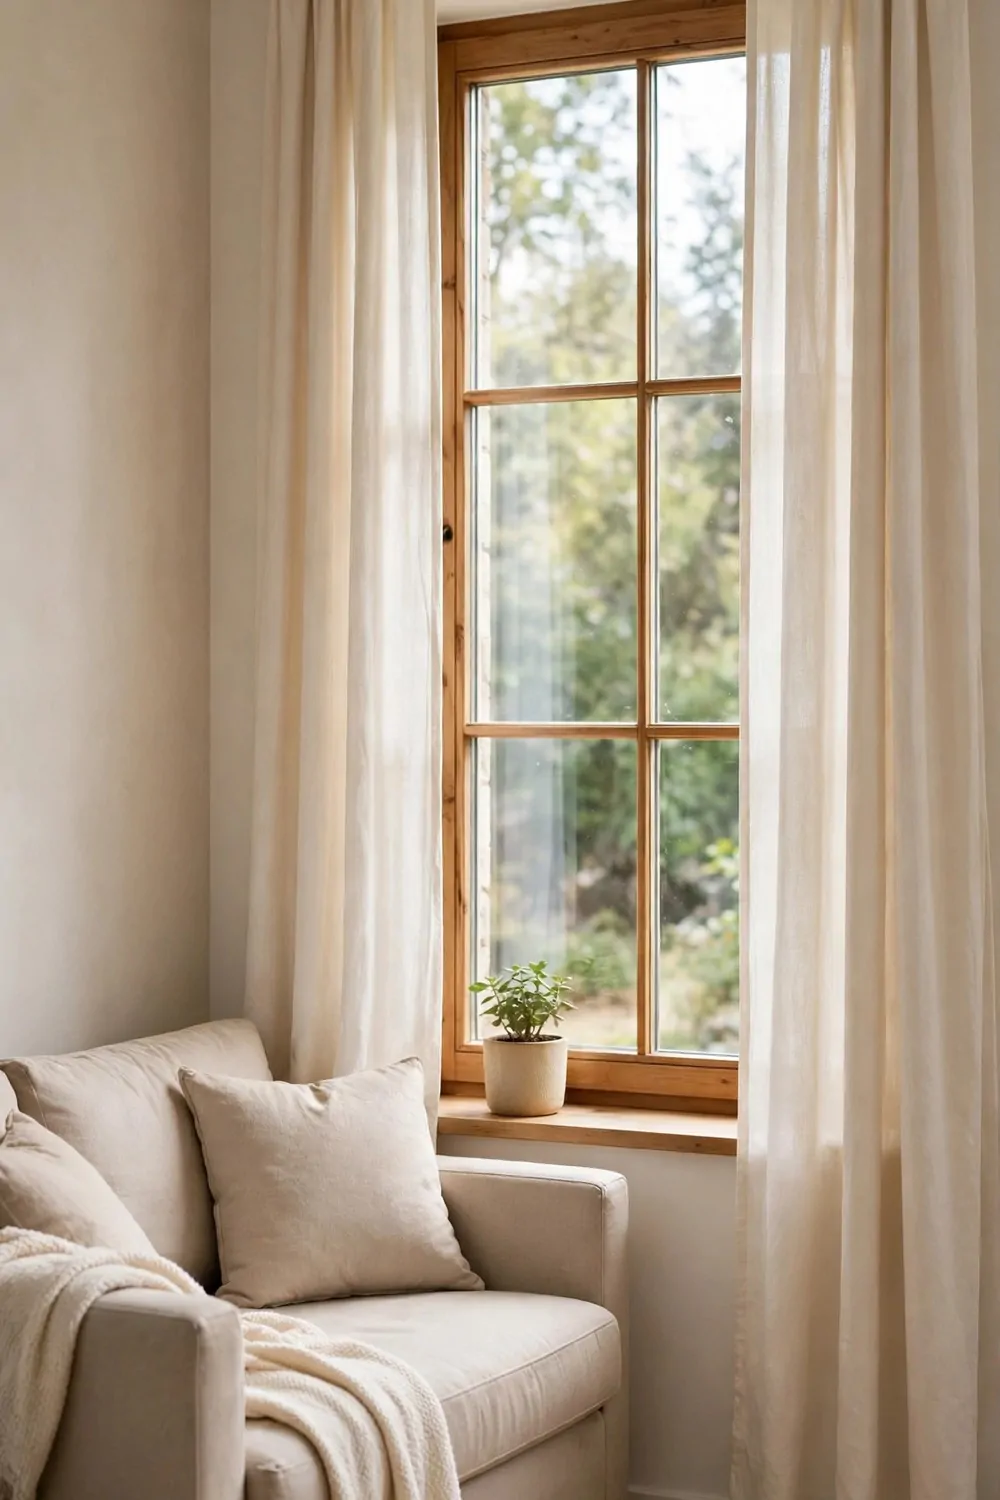
My old curtains were heavy and dark and they made my living room feel small. I took them down one morning and the room felt lighter in one minute.
New curtains can cost $15 to $40 for a pair, and light ones work best.
I picked plain white curtains with a soft cotton feel. They let the sun in but they still give me a bit of privacy at night. They also wash well and they do not fade fast.
Hang them a little higher than the window frame. It makes the wall look taller and the room look bigger, and it costs nothing extra to do it that way.
Make sure the curtains touch the floor or just brush it, because short curtains can make a room look unfinished.
You can wash most cotton curtains at home. I wash mine two times a year and they still look fresh.
If you want a bit of charm, pick curtains with a small stripe or a soft check. Keep the pattern small so it does not fight with your sofa or your rug. A small pattern is calm and it is easy to live with.
Keep your old curtain rod if it still works well, because you only need new curtains, not a whole new set.
Try this on a bright day and step back to look. You will see the room change right away, and you will wonder why you waited so long to do it.
3. A Washable Rug in the Living Room
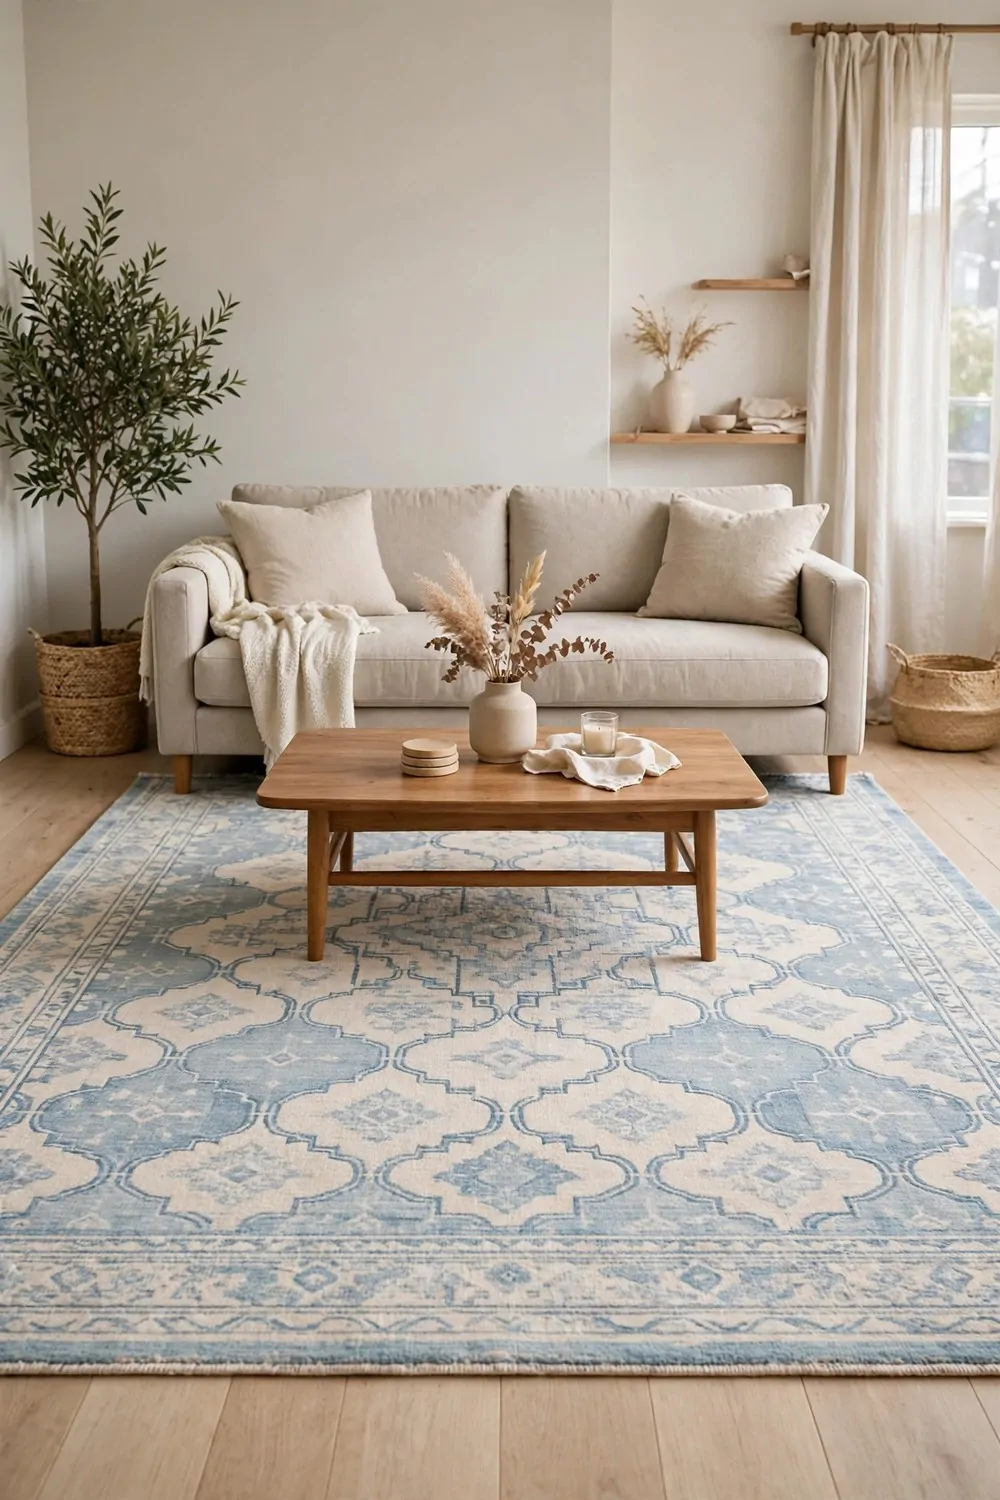
I used to worry about spills on my living room rug all the time. Then I bought a washable one and I stopped worrying.
Typical cost is $30 to $70 for a good washable rug.
You can put it in the washing machine when it gets dirty. That is a big help if you have kids at home or if you drink tea on the sofa like I do. I wash mine once a month and it comes out fresh every time.
Pick a rug that is big enough for the front legs of your sofa to sit on it. A small rug in the middle of the floor can look lost and it does not tie the room together.
Look for a flat rug with a low pile, because it is easy to clean and easy to move.
I picked a soft beige rug with a thin dark border. It hides small marks well and it goes with my grey sofa and my wooden floor.
- Measure your floor space before you buy.
- Pick a colour that hides dust and small marks.
- Check the wash label so you know it fits your machine.
Shake it out outside once a week if you can. Fresh air helps it stay clean and it smells nice when you bring it back in. I hang mine over the garden fence for an hour on sunny days.
A new rug can make old chairs look new again, even though I did not change my sofa at all.
If your rug slips on the floor, add a thin rug pad under it. A pad costs a few dollars and it stops the rug from moving when you walk on it.
4. A Slipcover for the Living Room Sofa
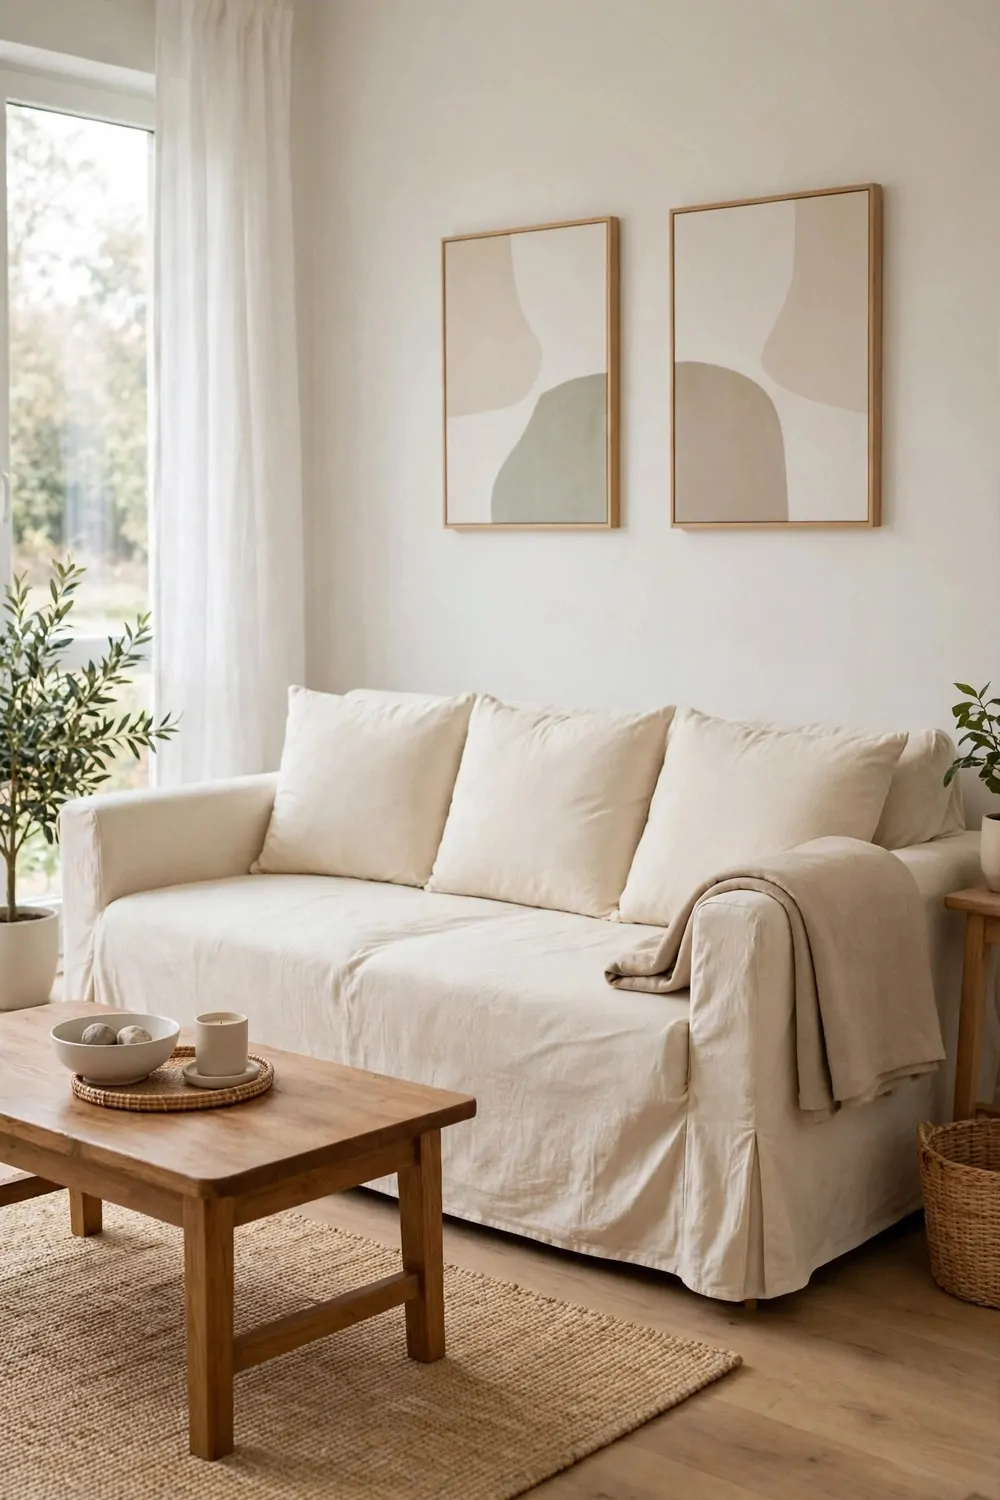
My sofa was still strong but the fabric looked tired and stained. I did not want to buy a new sofa, so I tried a slipcover.
Typical cost is $25 to $60 for a good stretch slipcover.
A slipcover fits over your old sofa like a new skin. It hides marks, it hides faded spots, and it makes the sofa look neat again in one afternoon. It is the cheapest way I know to make an old sofa look new.
Measure your sofa before you buy one. Check the length, the width, and the arm height so you get the right size.
I picked a plain cream slipcover with a soft stretch, and it took me about twenty minutes to pull it on and tuck the extra fabric into the gaps.
Most slipcovers can go in the washing machine. I wash mine every few weeks and it still fits well after many washes.
Push the fabric deep into the seat cracks with a wooden spoon. That one small step makes it look like a real sofa cover and not a loose sheet. Take your time with the corners, because neat corners make the whole cover look smart.
Add two small cushions in a soft colour after you fit the cover, because they add a bit of charm and they make the sofa feel cosy and done.
If the cover slips a lot, add small foam tubes in the gaps. They hold the fabric in place and they cost very little at a home shop.
5. Peel-and-Stick Panels on the Living Room Wall
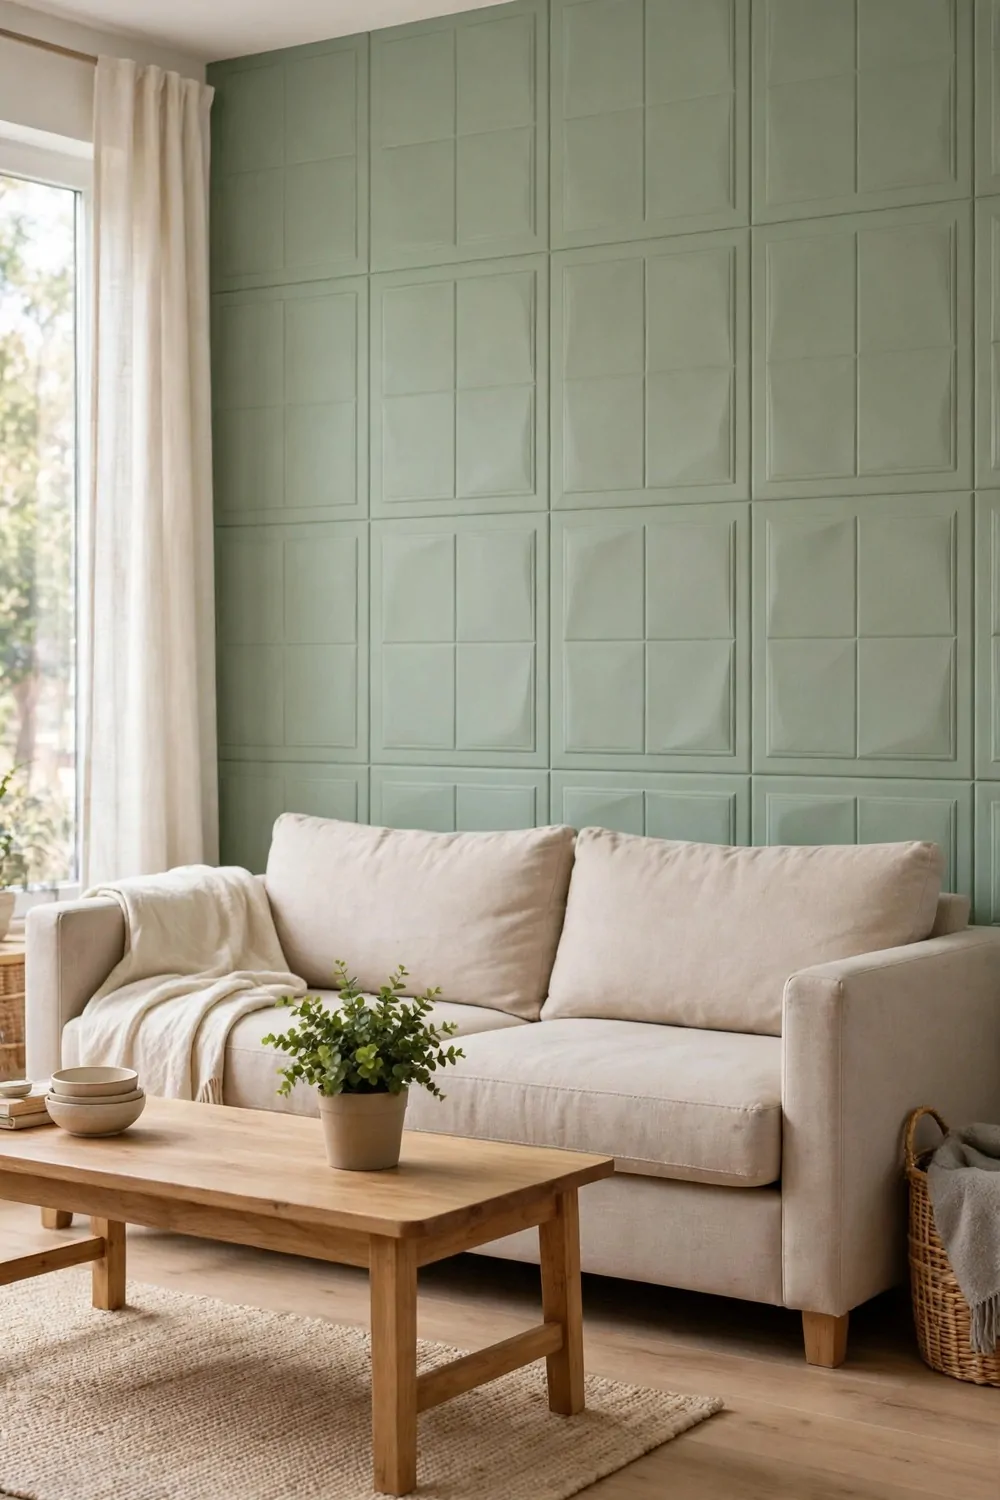
I wanted a feature wall but I did not want to drill or glue big boards. Peel and stick panels were the easy answer for me.
Typical cost is $25 to $55 for a pack that covers one small wall.
These panels stick to the wall with a peel off back. You pull off the paper, press the panel on, and smooth it down with your hand. It takes just a minute per panel, and you do not need glue or nails.
I picked light wood look panels for the wall behind my TV, and they added warmth and made the plain wall look planned, not bare.
Start at the bottom and work up in straight lines. Use a small level or a phone app to check the first row, because a wonky first row will show in every row after it. I checked mine twice before I pressed it down.
You can cut the panels with sharp scissors or a craft knife. Measure twice, cut once, and keep the cut edge at the corner where it is less easy to see.
If a panel goes on wrong, peel it off slow and try again, because the glue is kind and it lets you fix a small mistake.
Do not put them on a damp wall or a wall with loose paint. Clean the wall, let it dry, and then start your work on a dry day.
When I finished, my friends thought I had paid someone to do it. I just smiled, because I did it myself in one evening with no tools and no mess. It was one of the easiest jobs I have done in my home.
6. Paint the Kitchen Cabinets
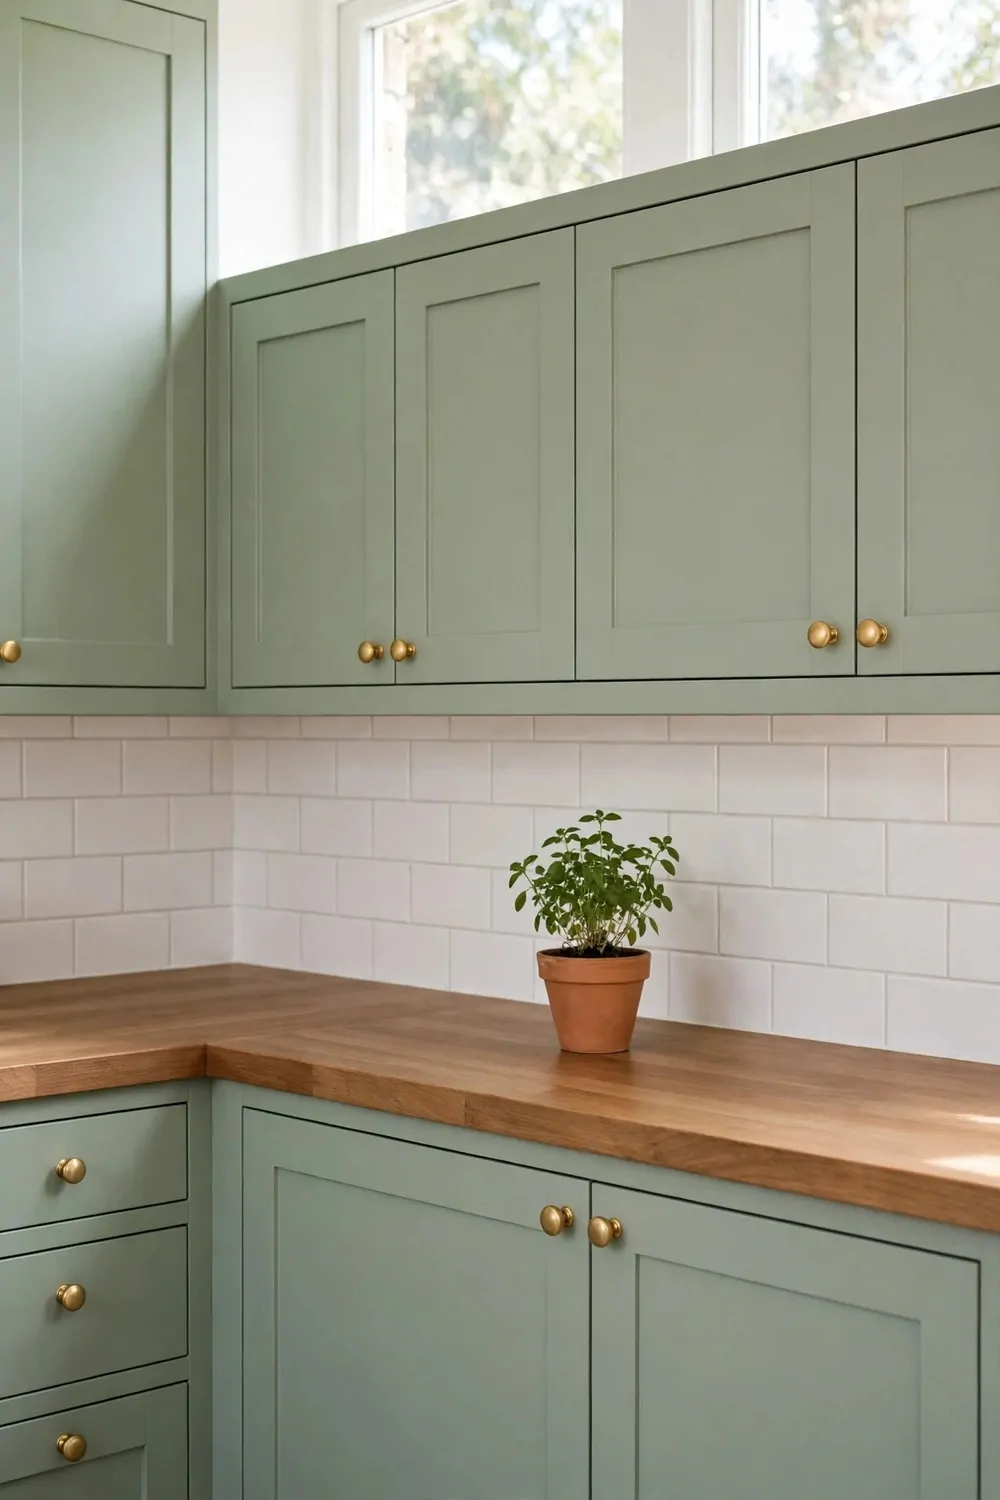
My kitchen cabinets were old and the white paint had turned a dull yellow. I did not want new cabinets, so I painted the ones I had.
Typical cost is $40 to $90 for paint and brushes for a small kitchen.
Take the doors off first if you can. It is much easier to paint a flat door on a table than to paint it while it hangs on the wall. I put mine on old sheets on the floor so I did not mark the table.
Clean the doors well with warm soapy water, wash them twice, and let them dry fully, because kitchen grease can stop paint from sticking.
Chalk paint is $35 to $70 a gallon and latex paint is $25 to $50 a gallon. Cabinet enamel is $45 to $85 a gallon and it dries hard and smooth. Spray paint is $30 to $60 for a few cans and it works well for small doors and frames.
| Paint type | Typical cost | Best for |
|---|---|---|
| Chalk paint | $35 to $70 | Old wood with little prep work |
| Latex paint | $25 to $50 | A simple low cost repaint |
| Cabinet enamel | $45 to $85 | A hard smooth finish that lasts |
| Spray paint | $30 to $60 | Small doors and frames |
Use a small foam roller for a smooth finish. Brush marks can show on cabinets, so roll the flat parts and use a brush only for the edges.
I painted my cabinets a soft sage green on the bottom and white on the top. It made my small kitchen feel bigger and much more fresh. My friends asked if I had bought new cabinets, and I laughed.
Let each coat dry fully before you add the next one, and wait a full day before you put the doors back on.
Label each door with a small bit of tape as you take it off. That way you know just where each door goes back, and you do not have to guess at the end.
7. Swap the Kitchen Cabinet Knobs
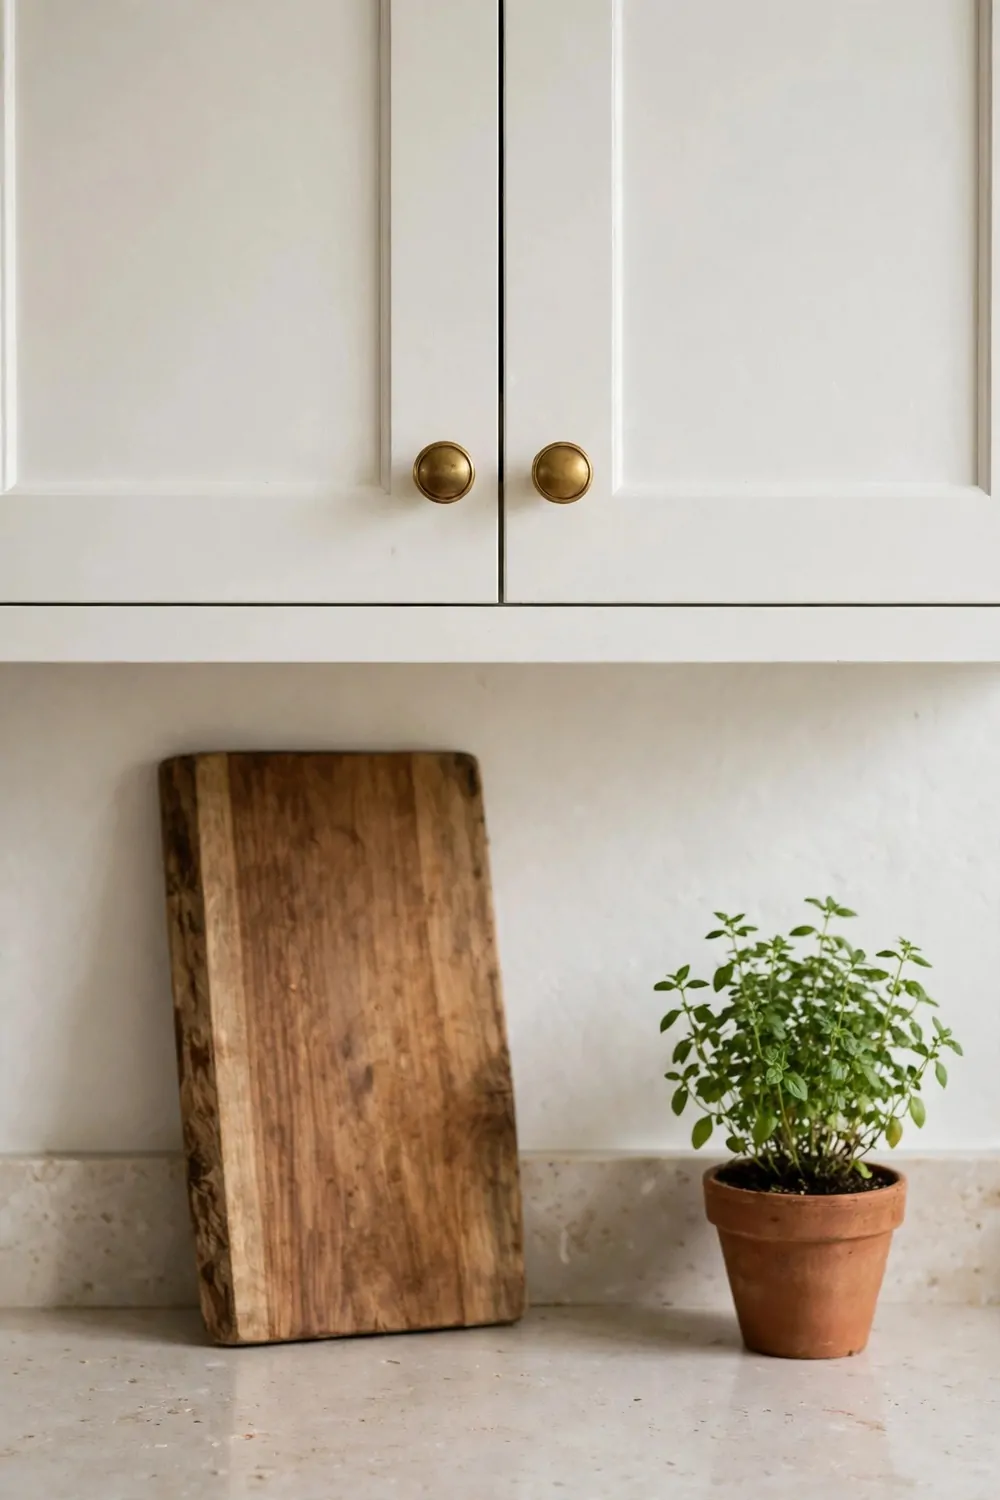
My kitchen cabinets looked old, but the doors were still good. I changed the knobs and the whole kitchen felt new.
Typical cost is $15 to $40 for a full set of new knobs.
Knobs are small but your eyes see them every day. A new knob can change a plain door into a smart looking door in just a few minutes. It is a small job with a big pay off.
Take one old knob off and take it to the shop with you, so you can check the screw size and the fit before you buy a full set.
I picked simple matte black knobs for my white cabinets. The dark knobs stood out well and they made the doors look neat and new.
You only need a screwdriver for this job, so unscrew the old knob, line up the new one, and screw it in tight.
Keep all the old knobs in a small bag. You may need them later, and it is good to keep spare parts in one safe place. I keep mine in a jam jar in a drawer, so I know just where they are.
Mix knobs and small pulls if you like. I used knobs on the doors and long pulls on the drawers, and it looks tidy and easy to use.
Count your doors and drawers before you shop, because I counted twice and I still bought two extra knobs, and I was glad I had spares when one screw did not fit right.
8. Peel-and-Stick Backsplash in the Kitchen
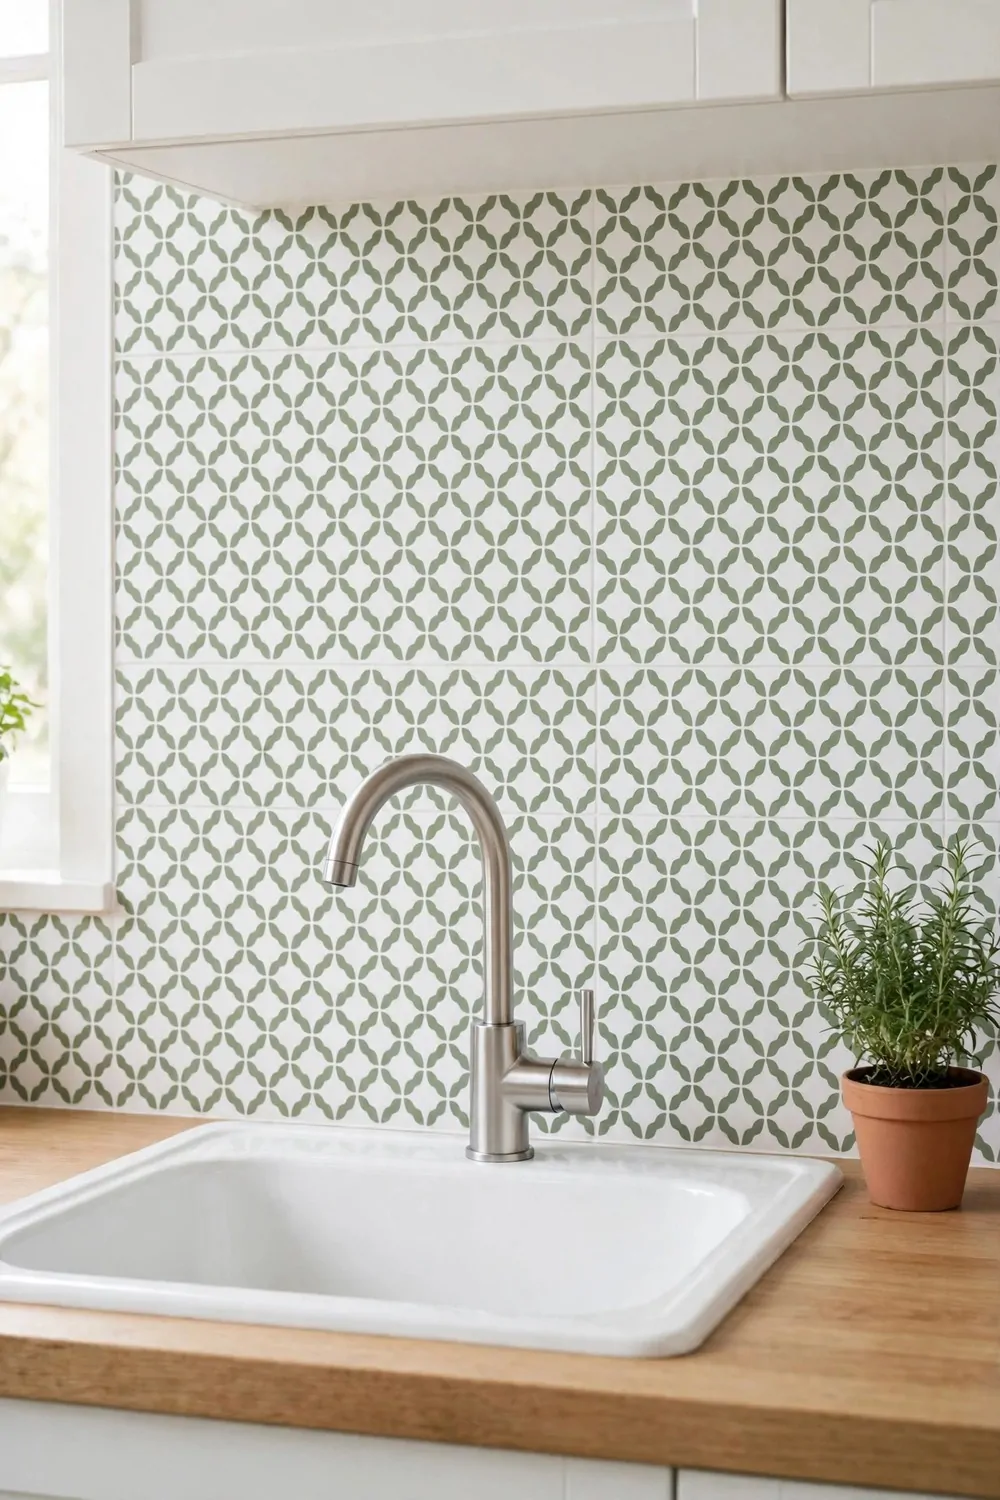
My kitchen wall behind the cooker was plain and stained. I did not want to fit real tiles, so I tried a peel and stick backsplash.
Typical cost is $20 to $50 for a pack that covers the wall behind a cooker.
These tiles stick on with a peel off back, just like a big sticker. You press them on the wall and smooth out the air with your hand. It took me less than an hour to do the whole wall.
I picked white subway look tiles with a soft shine, and they made my kitchen look clean and bright and easy to wipe after cooking.
Clean the wall first with warm soapy water. Grease and dust can stop the tiles from sticking well, so wash it and let it dry.
Start at one end and work across in a straight line. Use a small level to check the first row, because the first row sets the line for all the rest. A straight first row makes the whole job look neat.
You can cut the tiles with sharp scissors to fit around plugs and corners. Measure the space first and cut small, because you can trim more but you cannot add it back.
Wipe the tiles with a damp cloth after cooking, because food splashes come off fast and the tiles stay bright for a long time.
If one tile lifts at the edge, press it back down and hold it for a few seconds. Most tiles stick well again, and you do not need glue for a small lift.
9. Open Shelves in the Kitchen
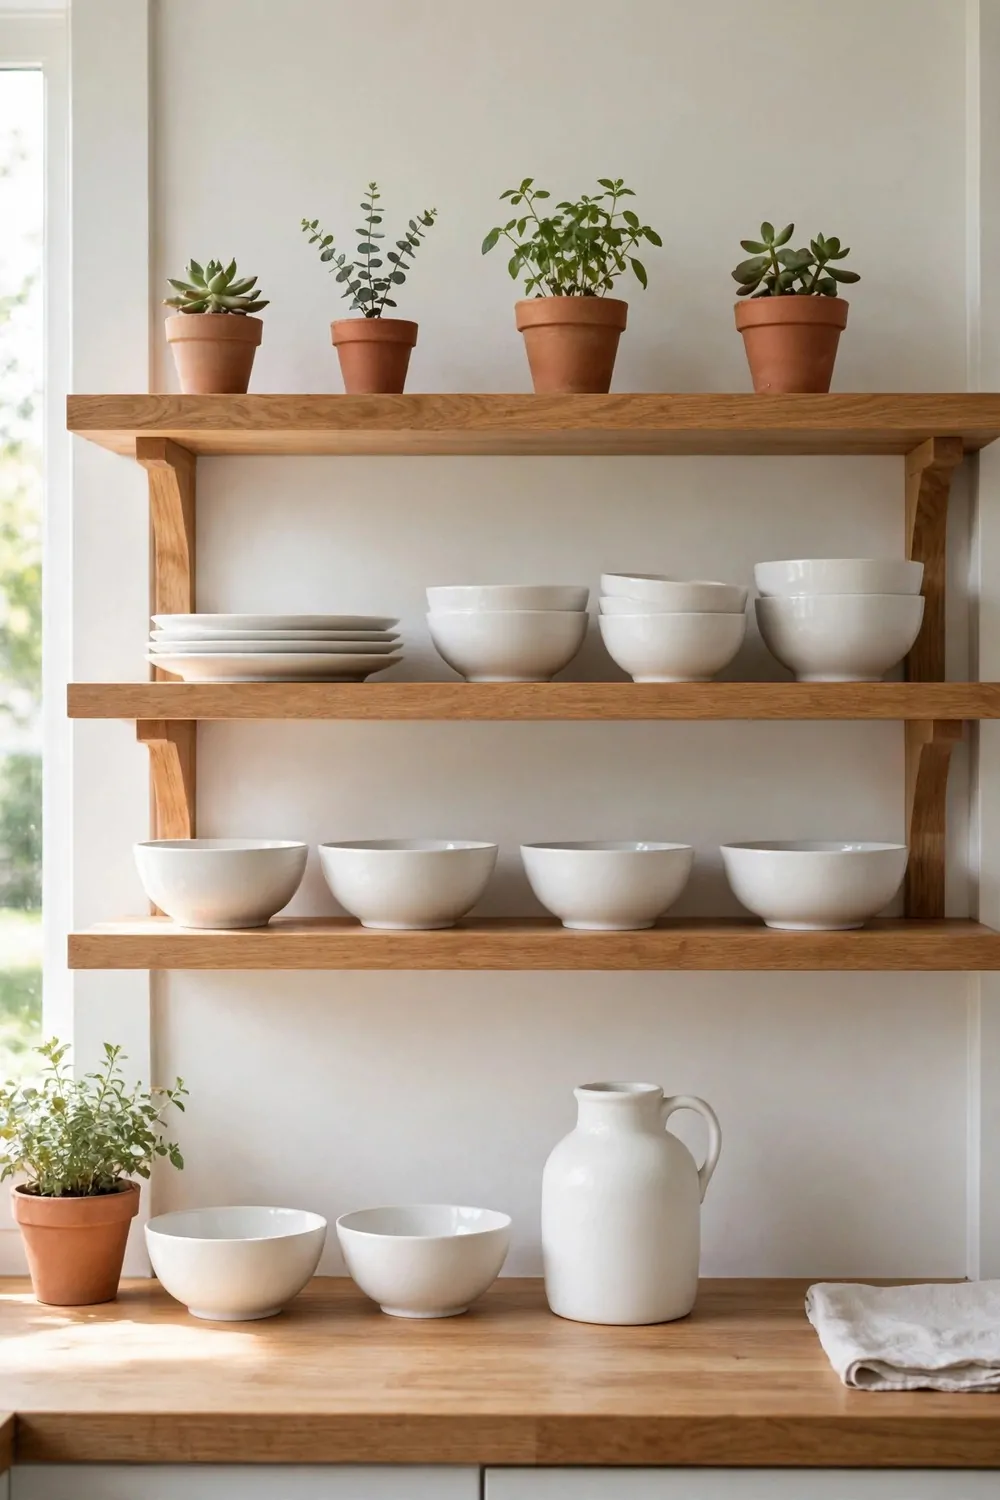
I had one high cabinet that I never used well. I took the door off and made it into an open shelf, and now I use it every day.
Typical cost is $20 to $45 for two simple wooden shelves and brackets.
Open shelves make a small kitchen feel bigger. You can see your plates and cups, and you do not have to open a door to find what you need. My kitchen feels lighter now that the big door is gone.
Pick a wall that is easy to reach, like the wall next to the cooker so your plates are close when you serve food.
Use strong brackets and wall plugs that fit your wall type. A shelf full of plates is heavy, so fix it well and test it before you load it up.
- Keep daily plates and cups on the lowest shelf.
- Put pretty jars and bowls on the top shelf.
- Leave a little space so the shelf does not look full.
Keep the shelves tidy and light. I keep six plates, four bowls, and a few cups on mine, and it looks neat and calm.
Wood shelves look warm in a white kitchen. I used light pine wood and I sealed it with a clear coat so water marks do not stain it. The wood has held up well for a year now.
If you rent, use shelves that you can take down with ease, fill the small holes when you leave, and keep the brackets in a bag for your next home.
Start with just one shelf if you are not sure. You can add a second shelf later once you know you like the open look and you use it every day.
10. A New Light Over the Kitchen Table
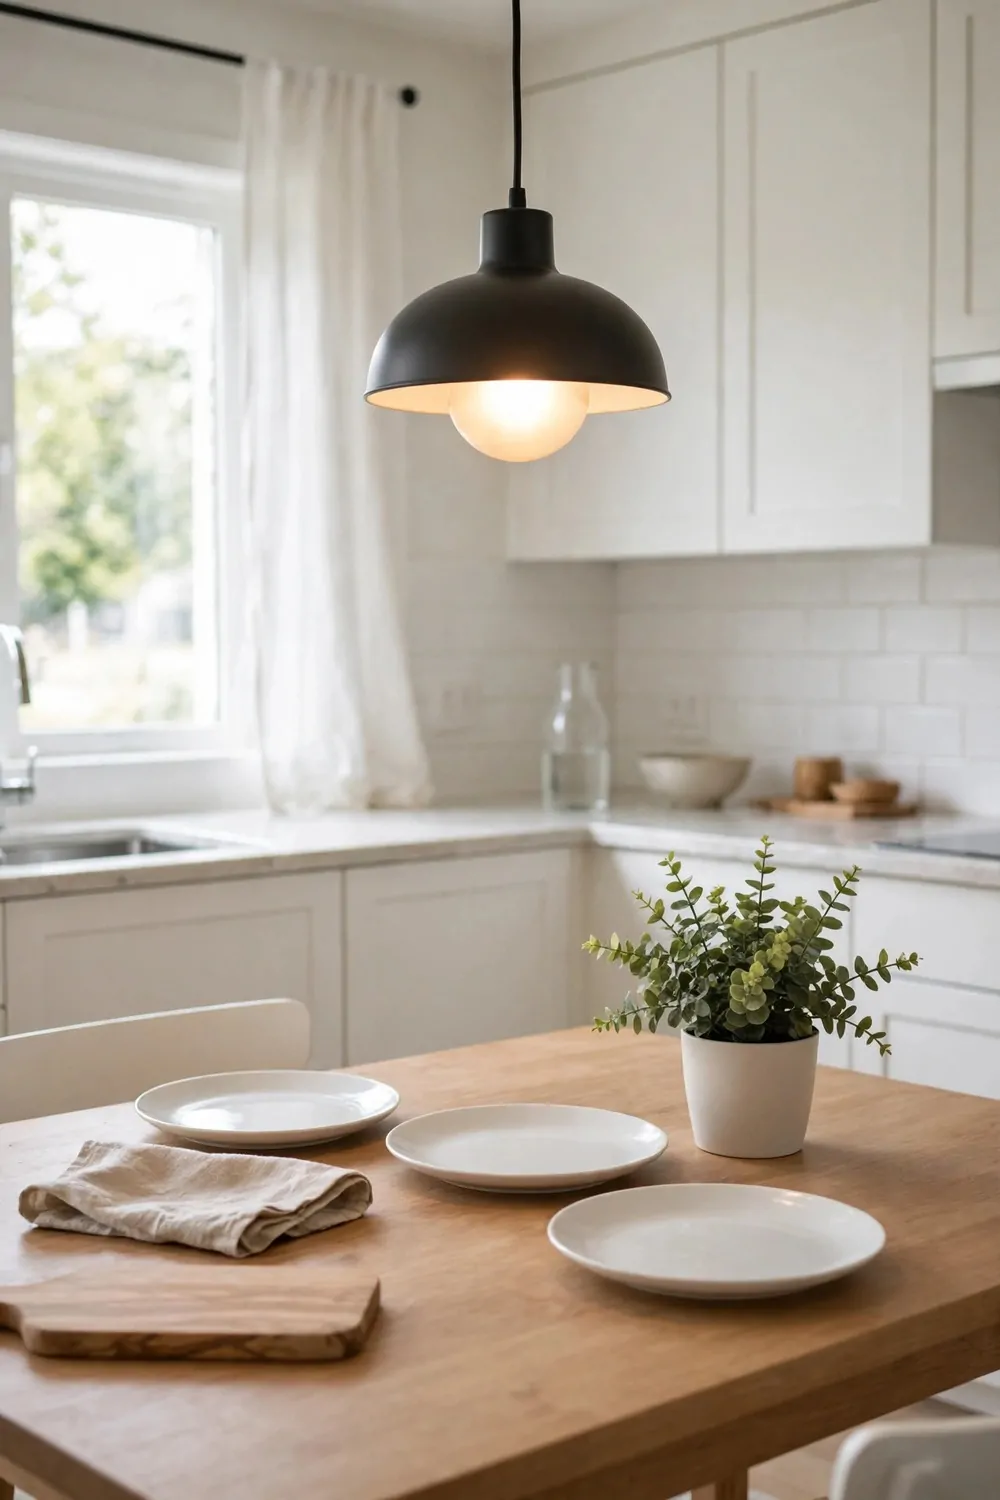
My kitchen table had a plain bare bulb and it made dinner feel dull. I changed the light and dinner felt warm and cosy again.
Typical cost is $25 to $60 for a simple pendant light.
A pendant light hangs low over the table and it puts soft light just where you eat. It makes the table feel like a special place, not just a work top. We eat at the table more now, and I think the light is part of why.
Pick a light that fits your table size, because a small table needs one small light and a long table can take two small lights in a row.
Hang the light about 75 cm above the table top. That height gives good light for food and faces, and it does not block your view across the table.
I picked a simple white shade with a warm bulb. The warm light made my wooden table glow and it made evening meals feel calm. It is my favourite light in the whole house now.
Turn off the power at the main switch before you change any light, and if you are not sure about wires, ask a skilled person to fit it for you.
Clean the shade once a month with a dry cloth. Dust can dim the light fast, and a clean shade makes the whole kitchen look bright.
Try a dimmer switch if your light takes one. A low light is nice for a late supper, and a bright light is good when you chop food or read a recipe. I use the low setting most nights now.
11. Fresh Bedding in the Bedroom
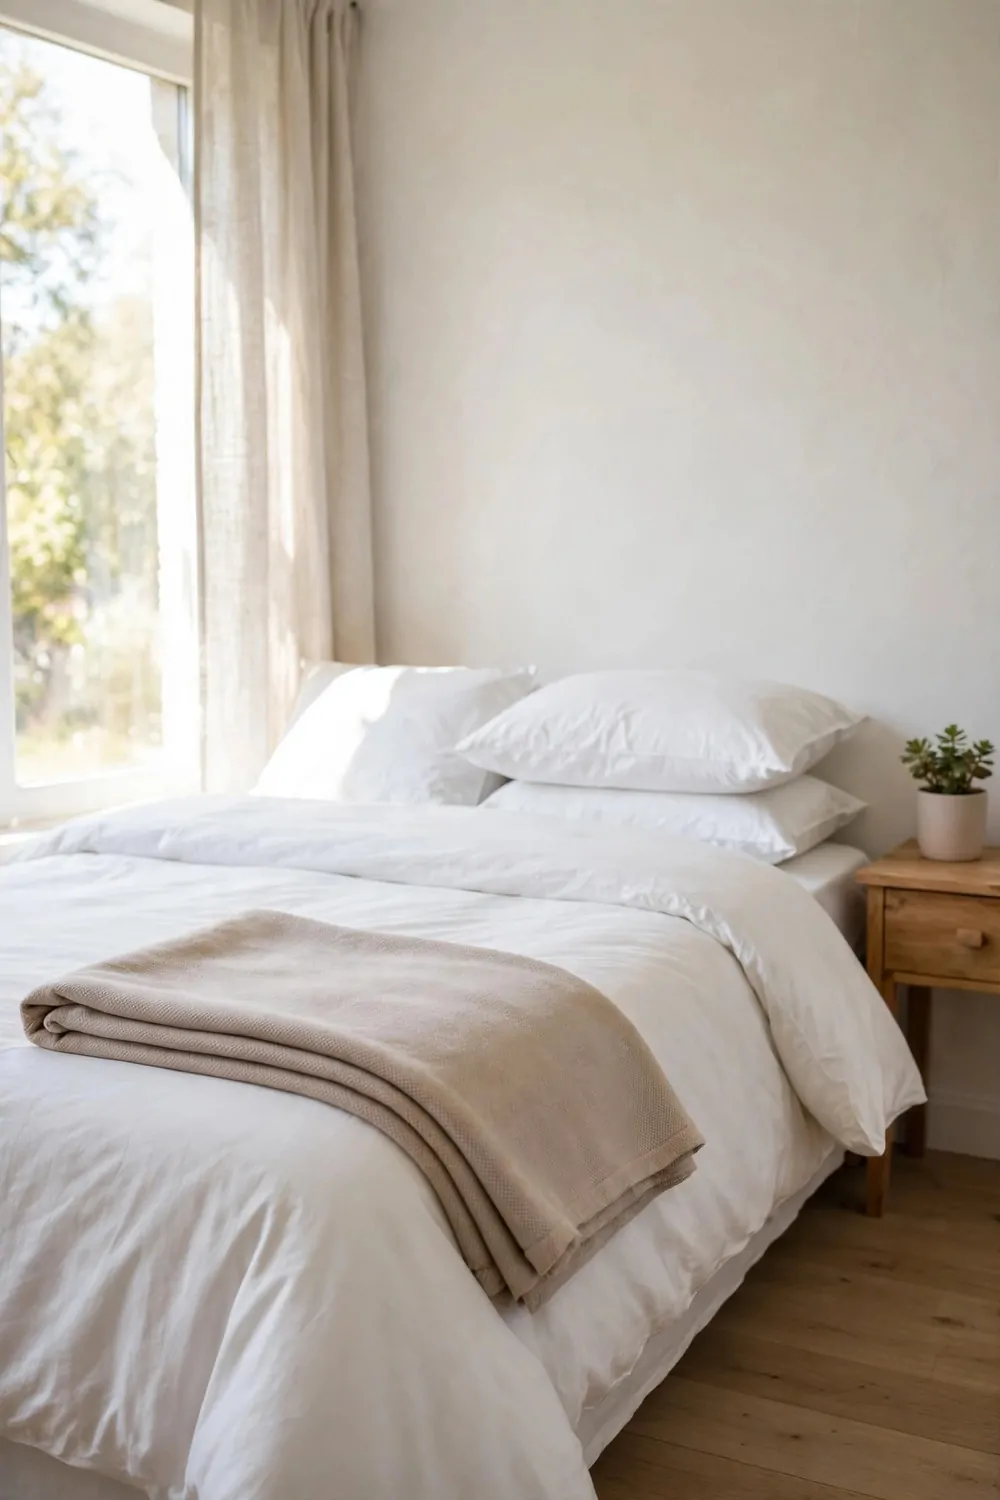
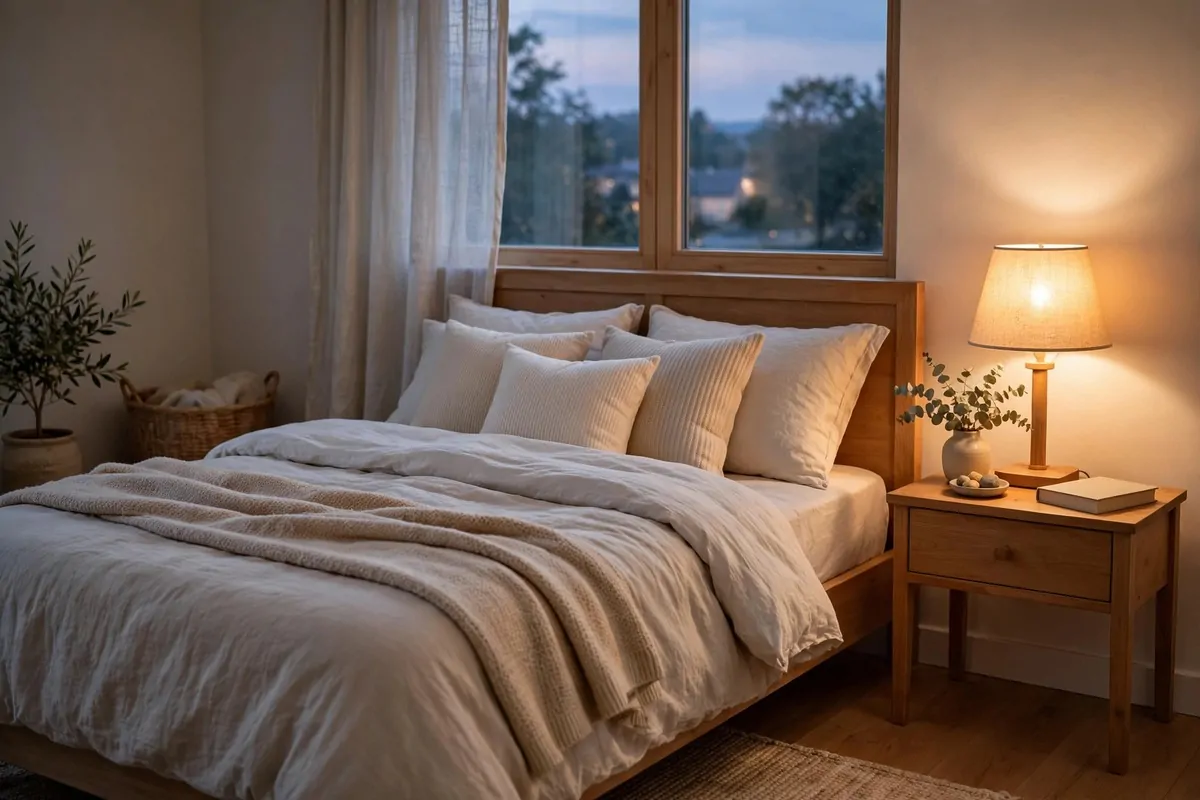
My bedroom felt dull for weeks and I could not work out why. Then I changed my bedding and the whole room felt new in ten minutes.
Typical cost is $25 to $55 for a fresh bedding set.
Pick soft cotton bedding in a light colour. White, soft cream, and pale grey all make a bed look clean and calm, and they go with most walls. I picked pale grey because it hides small marks well.
Wash the new set before you put it on the bed, because new fabric can feel stiff and one wash makes it soft and fresh.
I iron my top sheet just a little, not fully. It makes the bed look neat without taking a lot of time, and I like the crisp feel when I climb in.
Add two soft pillows in a calm colour. I use one sage green pillow and one cream pillow, and they add a bit of charm without a lot of fuss. They are the first thing I see when I walk in, and they make me smile.
Fold a light throw across the end of the bed, because it adds colour, it keeps your feet warm at night, and it makes the bed look done.
Change your bedding once a week if you can. Fresh sheets help you sleep well, and a made bed makes the whole bedroom feel tidy in the morning.
Keep a spare set in a clean drawer so you always have one ready. When one set is in the wash, the other set is on the bed, and your room never looks undone. It is a small habit that makes a big change.
12. Paint the Wall Behind the Bed
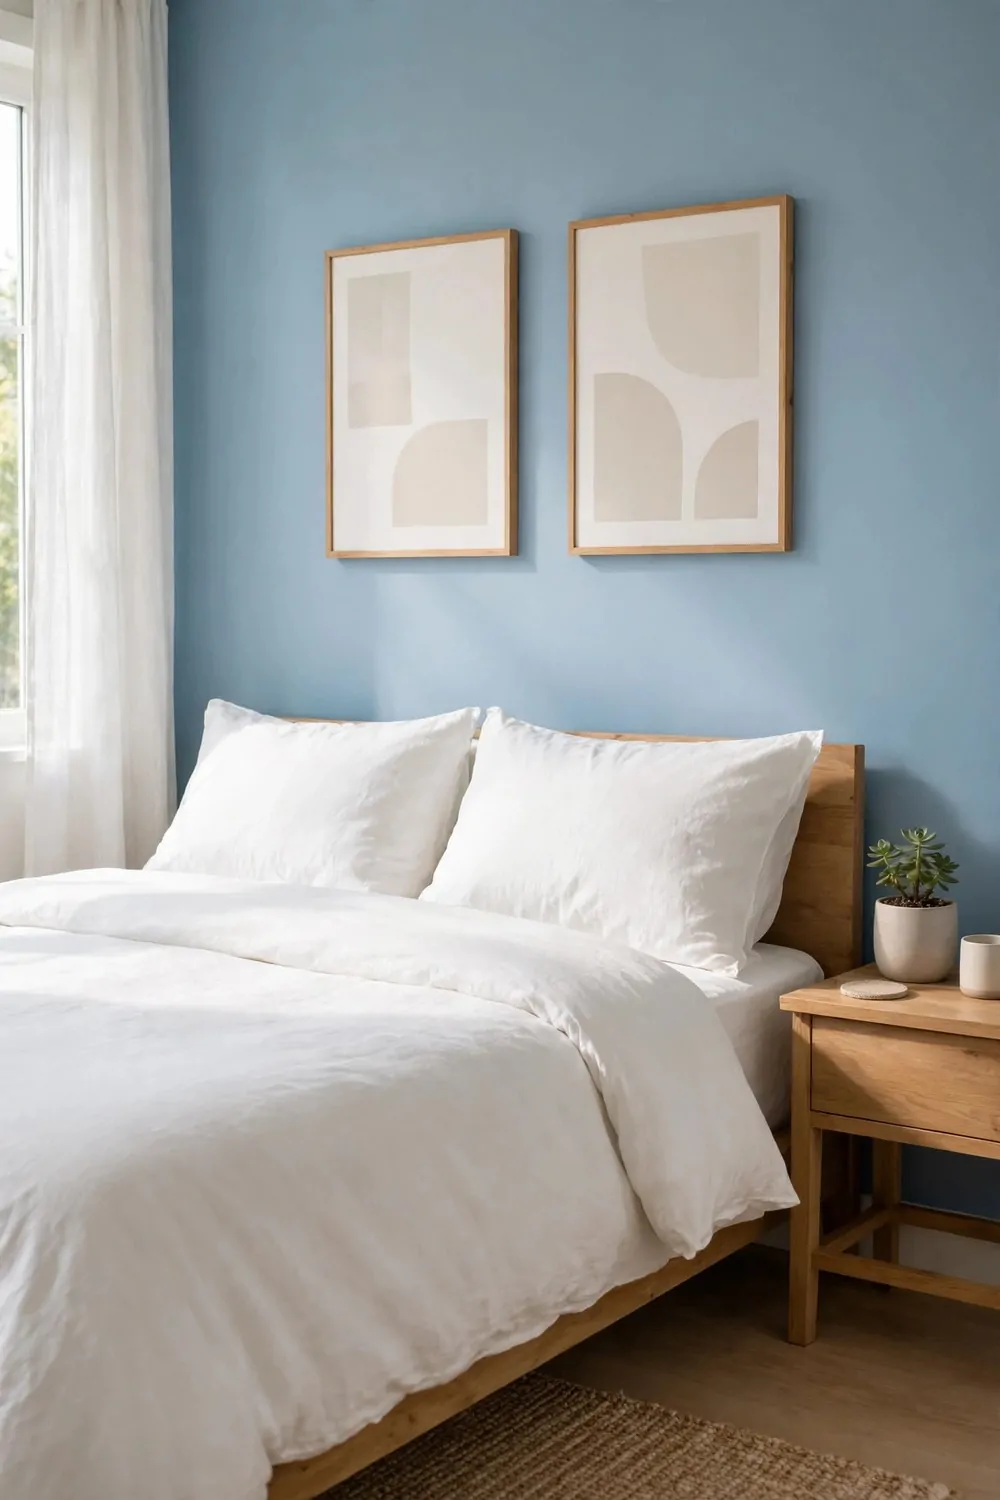
I painted the wall behind my bed last spring and I still smile when I walk in the room. It took one afternoon and one small can of paint. Typical cost is $20 to $35.
You do not need to paint the whole room. One wall is enough to change how the room feels. Pick a calm colour you love to wake up to.
I chose a soft sage green. It makes the white bed sheets look fresh and clean. My room feels calm now, even on busy mornings.
Move the bed a little bit away from the wall first. Put an old sheet on the floor so paint drops land on that and not on your floor.
Use painter tape along the edges. I skipped this step once and I had to scrub paint off the ceiling for an hour. Learn from my mistake and tape first.
Two thin coats look much better than one thick coat. Let the first coat dry fully before you start the second one. I waited about two hours between coats.
A small roller works best for a flat wall. A brush helps in the corners and near the edges. You can buy both for a few dollars at any home store.
Push the bed back when the wall is fully dry. Hang one picture or leave the wall plain. Both look good, so go with what feels right to you.
This one change made my whole bedroom feel new. I spent very little and I did it all by myself. You can do it this weekend too.
13. New Lampshades in the Bedroom
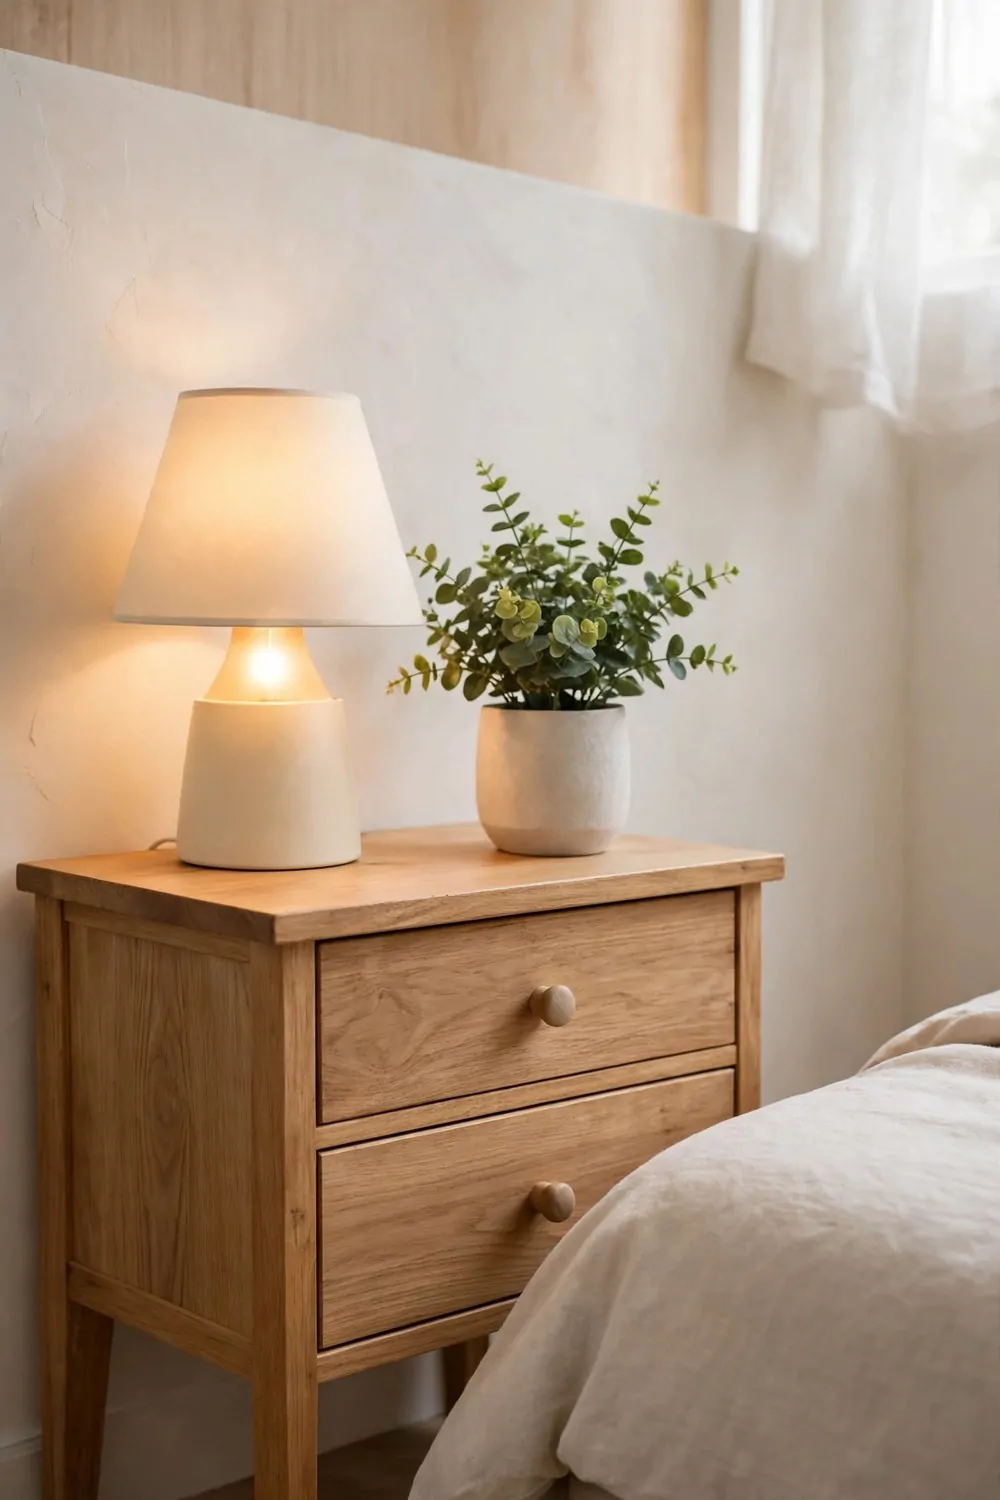
My old lampshades were yellow and dusty and they made the whole room look tired. I swapped them for two plain white ones and the room woke up. Typical cost is $15 to $30 for two.
Lampshades are easy to change. You just unscrew the top, lift the old shade off, and drop the new one on. It takes about two minutes per lamp.
Pick a shade that lets warm light through. White or cream works in almost any bedroom. A linen look feels soft and homey too.
Make sure the shade fits your lamp base. I measured the old shade first and took a photo with me to the shop. That saved me a second trip.
Two matching shades look tidy and calm. I used the same shade on both bedside lamps. The room feels put together now, even when the bed is not made.
If you like a bit of charm, pick a shade with a soft pattern. Small dots or thin stripes are nice. Keep it simple so it does not fight with your bedding.
Warm bulbs make the room feel cosy at night. I use warm white bulbs in both lamps. The light feels soft on my eyes before sleep.
Clean the new shades with a dry cloth once a week. Dust builds up fast on fabric. A quick wipe keeps them looking bright.
This is one of the cheapest bedroom fixes I know. Two new shades, ten minutes of work, and the room feels fresh again.
14. A Tidy Nightstand in the Bedroom
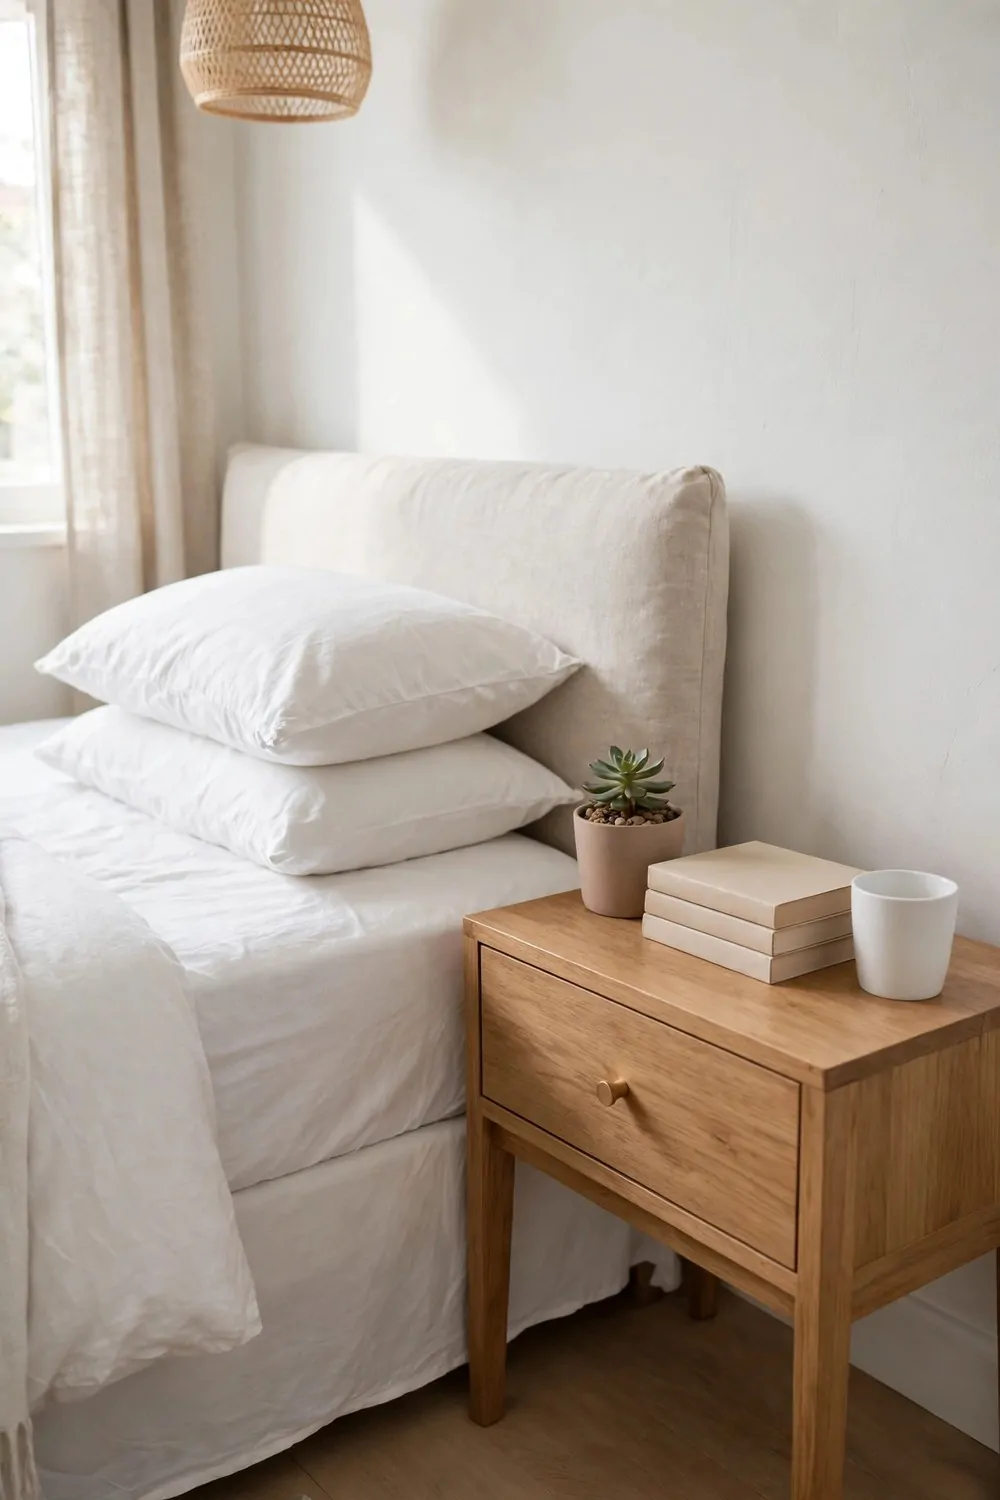
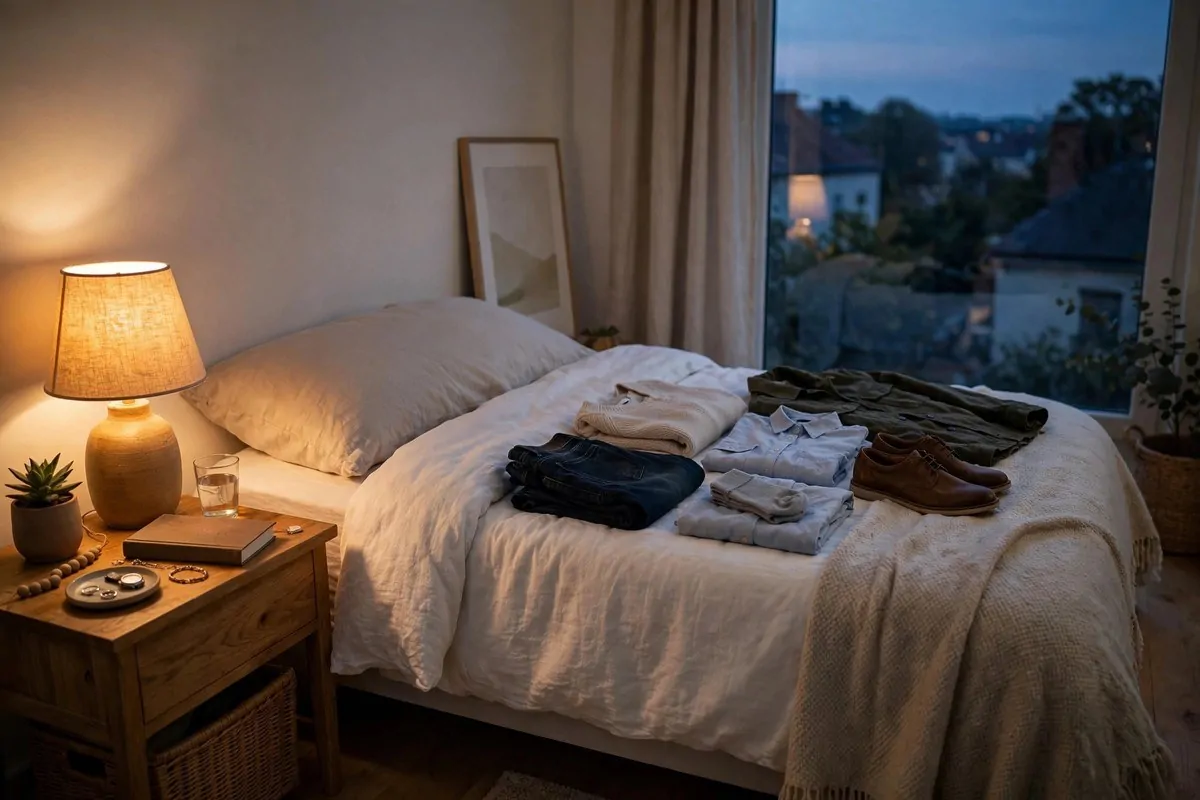
My nightstand used to be a pile of stuff. Books, cups, chargers, and old receipts all lived there. I cleared it one evening and my mornings got calmer.
Take everything off the nightstand first. Put it all on the bed so you can see what you really have. You will be shocked, I was.
Keep only what you use each night. For me that is a lamp, my phone charger, a glass of water, and one book. Everything else found a new home.
A small tray helps a lot. I put my watch and earrings on a little tray. It keeps small things in one spot so they do not wander off.
Use the drawer for the rest. Chargers, spare pens, and lip balm all live in the drawer now. Out of sight means out of mind, and that feels good.
Wipe the top clean before you put things back. A damp cloth and a drop of soap is all you need. The wood looks warm and new again.
One small plant or a framed photo adds a bit of charm. I have a tiny green plant on mine. It makes me smile when I wake up.
Try to clear the nightstand once a week. It takes two minutes. A tidy nightstand makes the whole bedroom feel tidy, even if the rest is not perfect.
Typical cost here is $0 to $15. You may not need to buy a thing. If you want a tray, a small one costs a few dollars and it is worth it.
15. A Washable Rug Beside the Bed
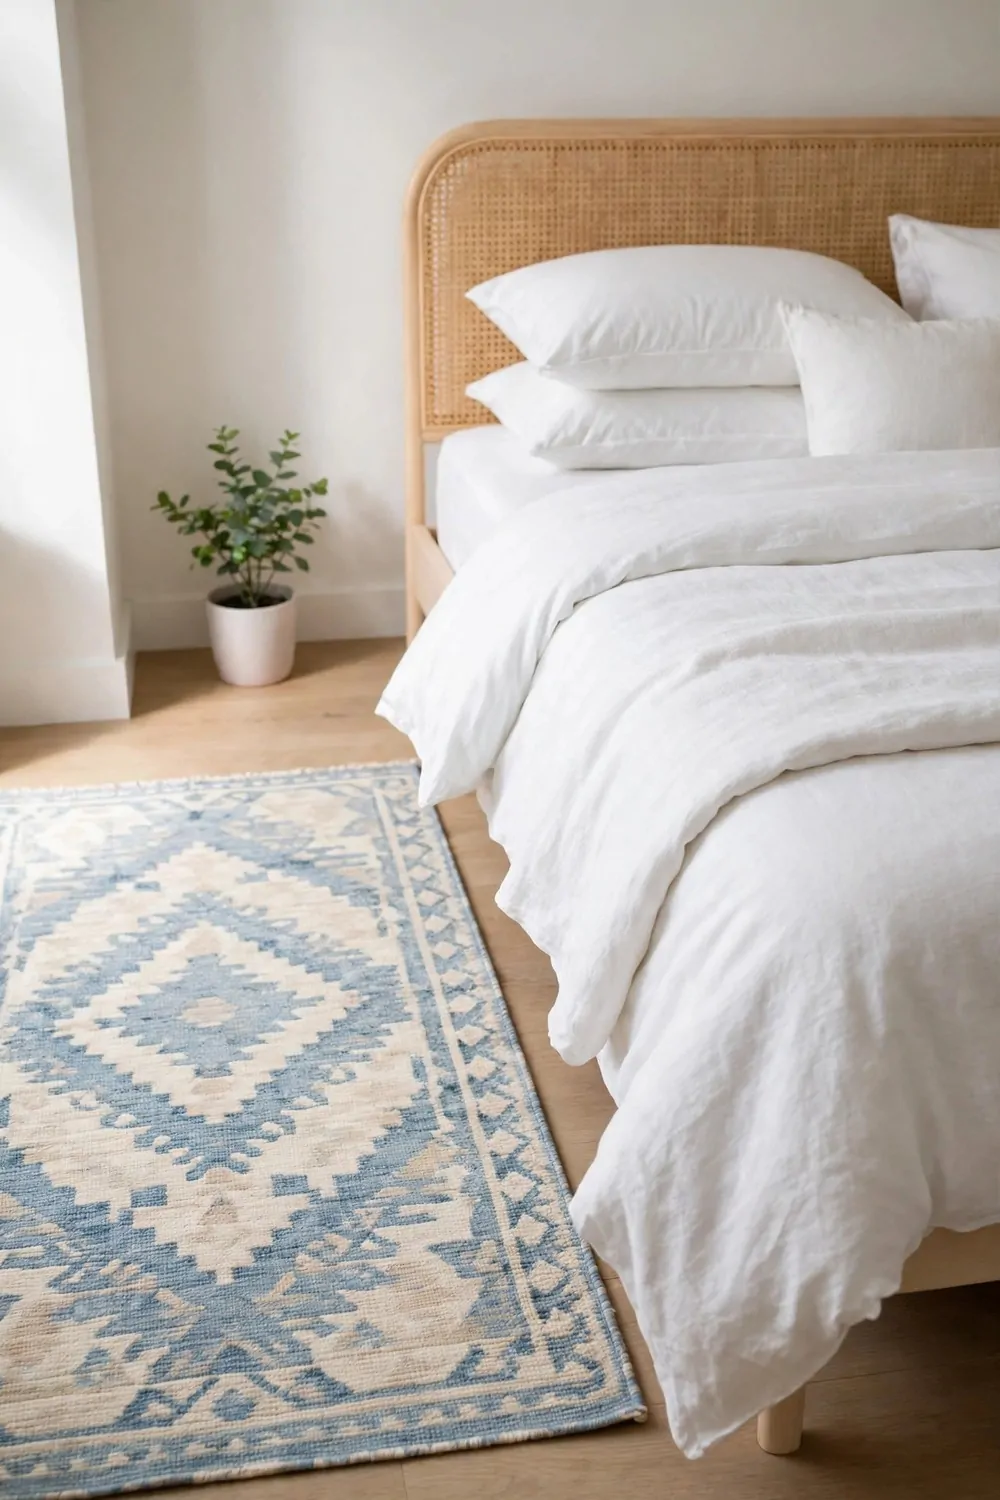
I used to step onto a cold floor every morning and I hated it. A small washable rug beside the bed fixed that in one day. Typical cost is $25 to $45.
Your feet touch the rug first thing in the morning. That soft feeling makes waking up a little nicer. I wish I had done it years ago.
Pick a rug you can wash in the machine. Bedrooms get dusty and rugs get dirty fast. A washable one stays fresh with no hard work.
Measure the space beside your bed first. I got a rug that was too long once and it stuck out in a weird way. A quick measure saves that trouble.
Soft cotton or a low pile rug works well here. Thick rugs can trip you up when you are half asleep. Keep it low and soft.
Pick a colour that matches your bedding. I chose a pale grey that goes with my white sheets. It looks calm and clean next to the bed.
Wash the rug every two or three weeks. I toss mine in the machine on a gentle wash. It comes out clean and dries fast on the line.
If you share the room, put a rug on both sides of the bed. Two small rugs cost little and both of you get warm feet. That is a fair deal.
This is a small buy with a big daily payoff. Every morning starts a little softer now. Your feet will thank you, I promise.
16. A New Shower Curtain in the Bathroom
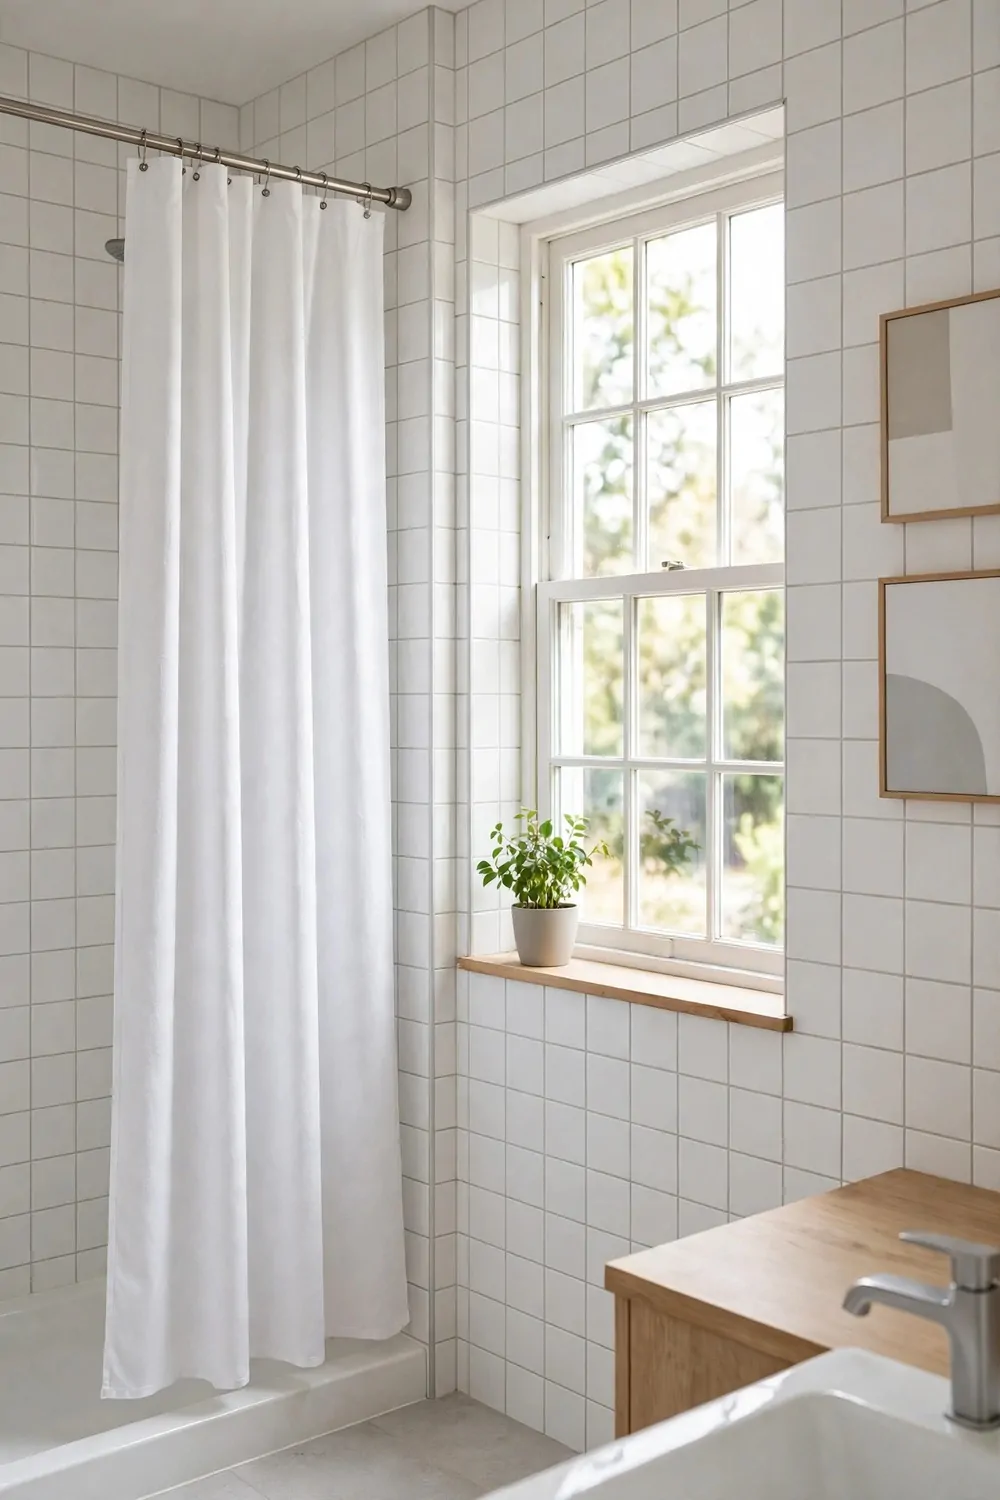
My old shower curtain had stains that would not wash out. I replaced it for a few dollars and the bathroom looked new again. Typical cost is $12 to $25.
A shower curtain covers a big part of the bathroom. When it looks fresh, the whole room looks fresh. It is the fastest bathroom fix I know.
Pick a light colour or a simple pattern. White, pale blue, or soft stripes all work well. A light curtain also lets more light into the shower.
Make sure you buy the right size. I measured the width of my shower rail first. Standard sizes fit most showers, but a quick check helps.
Hang the new curtain on the same rings or hooks. You do not need new rings unless yours are rusty. If they are rusty, new rings cost very little.
A liner inside the curtain keeps water off your floor. I use a clear liner behind the pretty curtain. The liner does the hard work and the curtain stays dry and clean.
Wash the curtain now and then to keep it fresh. Many fabric curtains go in the machine on a gentle wash. Check the label first so you wash it right.
Keep the curtain pulled closed after a shower so it dries well. A damp curtain bunched up can get musty. I learned that the hard way.
Ten minutes and a few dollars, and your bathroom feels new. I change mine every year or so. It is a small habit that keeps the room bright.
17. Peel-and-Stick Floor Tiles in the Bathroom
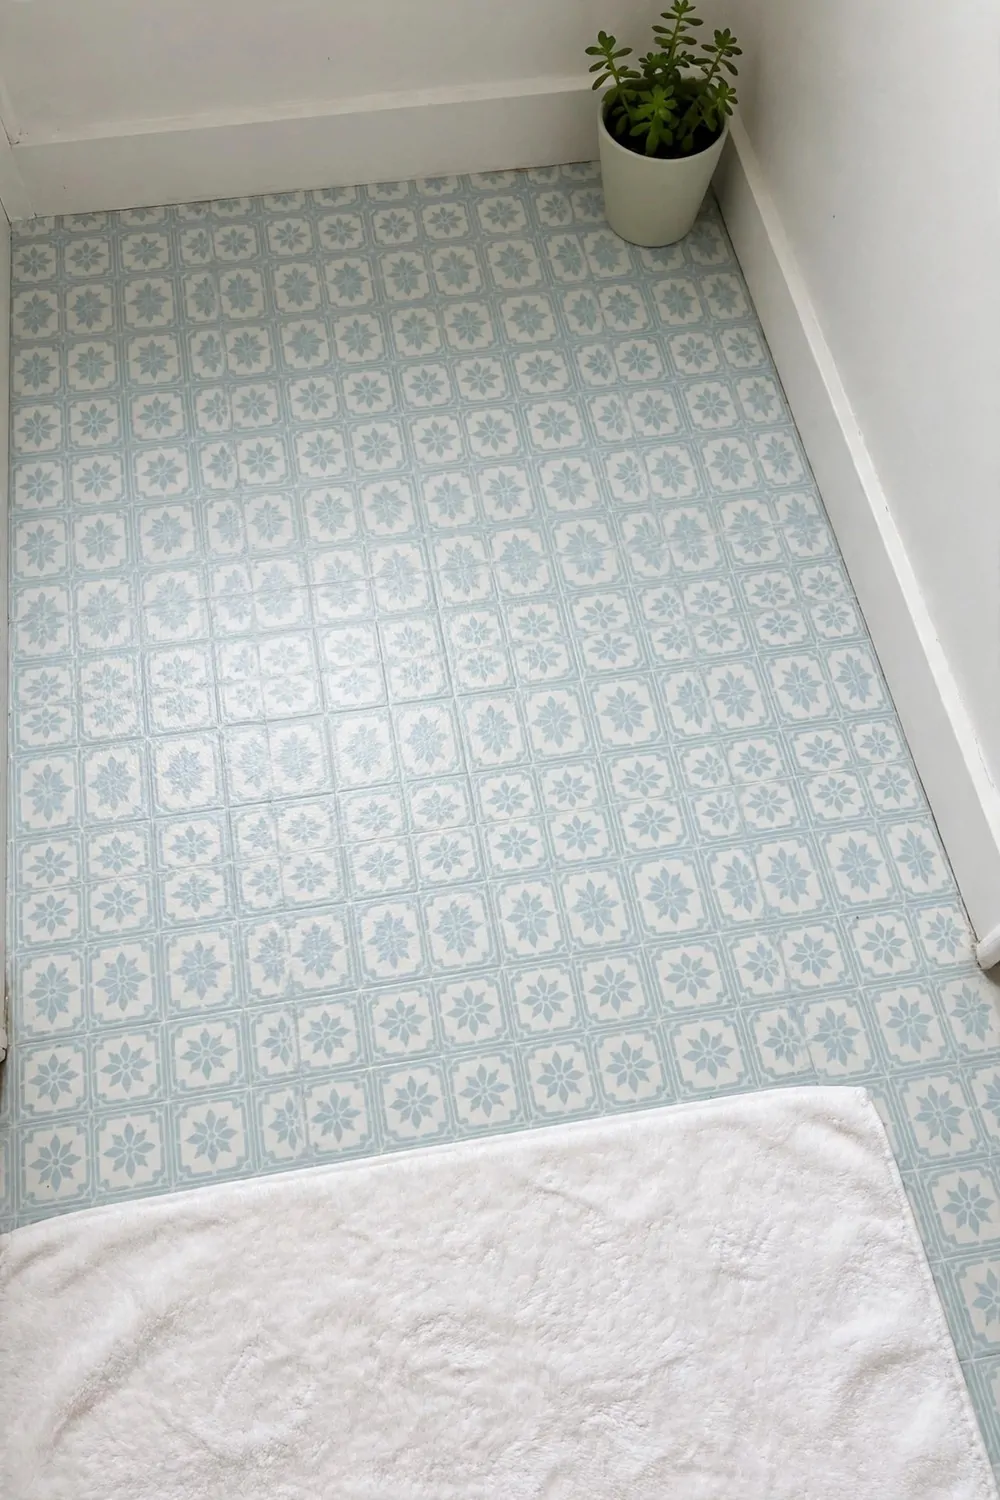
My bathroom floor was old and dull and I did not want to pay for new tiles. Peel-and-stick floor tiles fixed it in one afternoon. Typical cost is $35 to $70 for a small bathroom floor.
These tiles sit right on top of your old floor. You peel off the back paper and press them down. No glue, no mess, and no big tools needed.
Clean the floor well before you start. I swept it twice and mopped it, then let it dry fully. A clean floor helps the tiles stick and stay stuck.
Start in the middle of the room and work your way out. I laid the first tile in the centre and lined the rest up from there. It kept my rows straight.
You can cut the tiles with a sharp craft knife to fit the edges. Measure twice and cut once. I used an old ruler as a straight edge and it worked fine.
There are a few types to pick from, and the price changes a bit by type. Peel-and-stick vinyl tiles cost $35 to $70 per box, and peel-and-stick stone-look tiles cost $45 to $90 per box.
Wood-look planks are another good pick for a warm feel. Peel-and-stick wood-look planks cost $40 to $85 per box, and peel-and-stick mosaic sheets cost $25 to $55 per box.
Press each tile down hard with your hands or a rolling pin. Walk on them gently at first. Give them a day to settle before you mop the floor.
These tiles handle bathroom splashes well if the edges are pressed down tight. I check the edges once a month and press any loose corner back down. My floor still looks new a year later.
| Tile type | Typical cost per box | Best for |
|---|---|---|
| Peel-and-stick vinyl tiles | $35 to $70 | Plain floors, easy cleaning |
| Peel-and-stick stone-look tiles | $45 to $90 | A cool, smart look |
| Peel-and-stick wood-look planks | $40 to $85 | A warm, homey feel |
| Peel-and-stick mosaic sheets | $25 to $55 | Small floors, fun patterns |
18. A New Mirror in the Bathroom
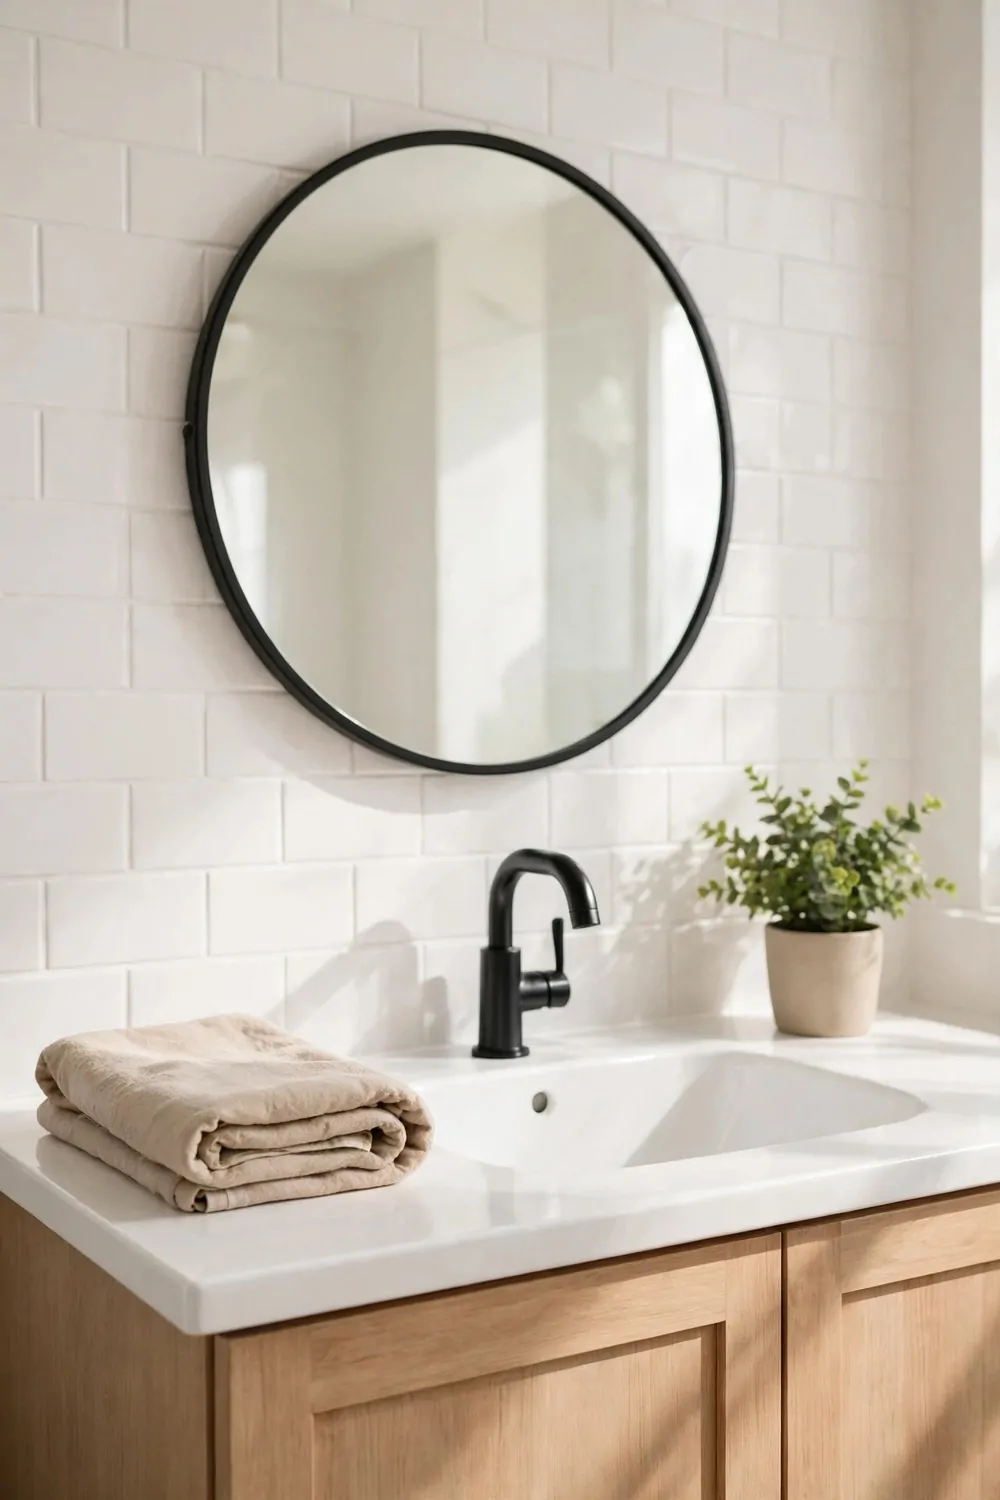
My old bathroom mirror was small and spotted. I hung a bigger one and the room felt twice as bright. Typical cost is $25 to $50.
A bigger mirror bounces light around the room. My bathroom has one small window, and the new mirror made the most of it. It feels less dark now.
Pick a mirror that fits the wall above your sink. I measured the space first so the mirror did not crowd the light or the tap. A little space on each side looks best.
A plain frame is a safe pick. Wood, white, or black frames go with most bathrooms. I chose a simple wood frame and it warms up the white tiles.
Hang it with the right hooks for your wall type. I asked at the shop and they gave me the right fixings for a tiled wall. Asking saved me a lot of guesswork.
Hang the mirror at eye level. Stand in front of the sink and mark the spot with a pencil. It should be easy to see your whole face without bending down.
Clean the mirror with a dry cloth and a little glass spray. I wipe mine once a week. A clear mirror makes the whole room feel clean, even on a busy day.
A round mirror adds a bit of charm to a square room. Mine is round and it softens all the straight lines. If your room feels boxy, try a round one.
This is a simple swap with a big payoff. One new mirror, one afternoon, and my bathroom feels brighter every single morning.
19. Fresh Towels and a New Bath Mat
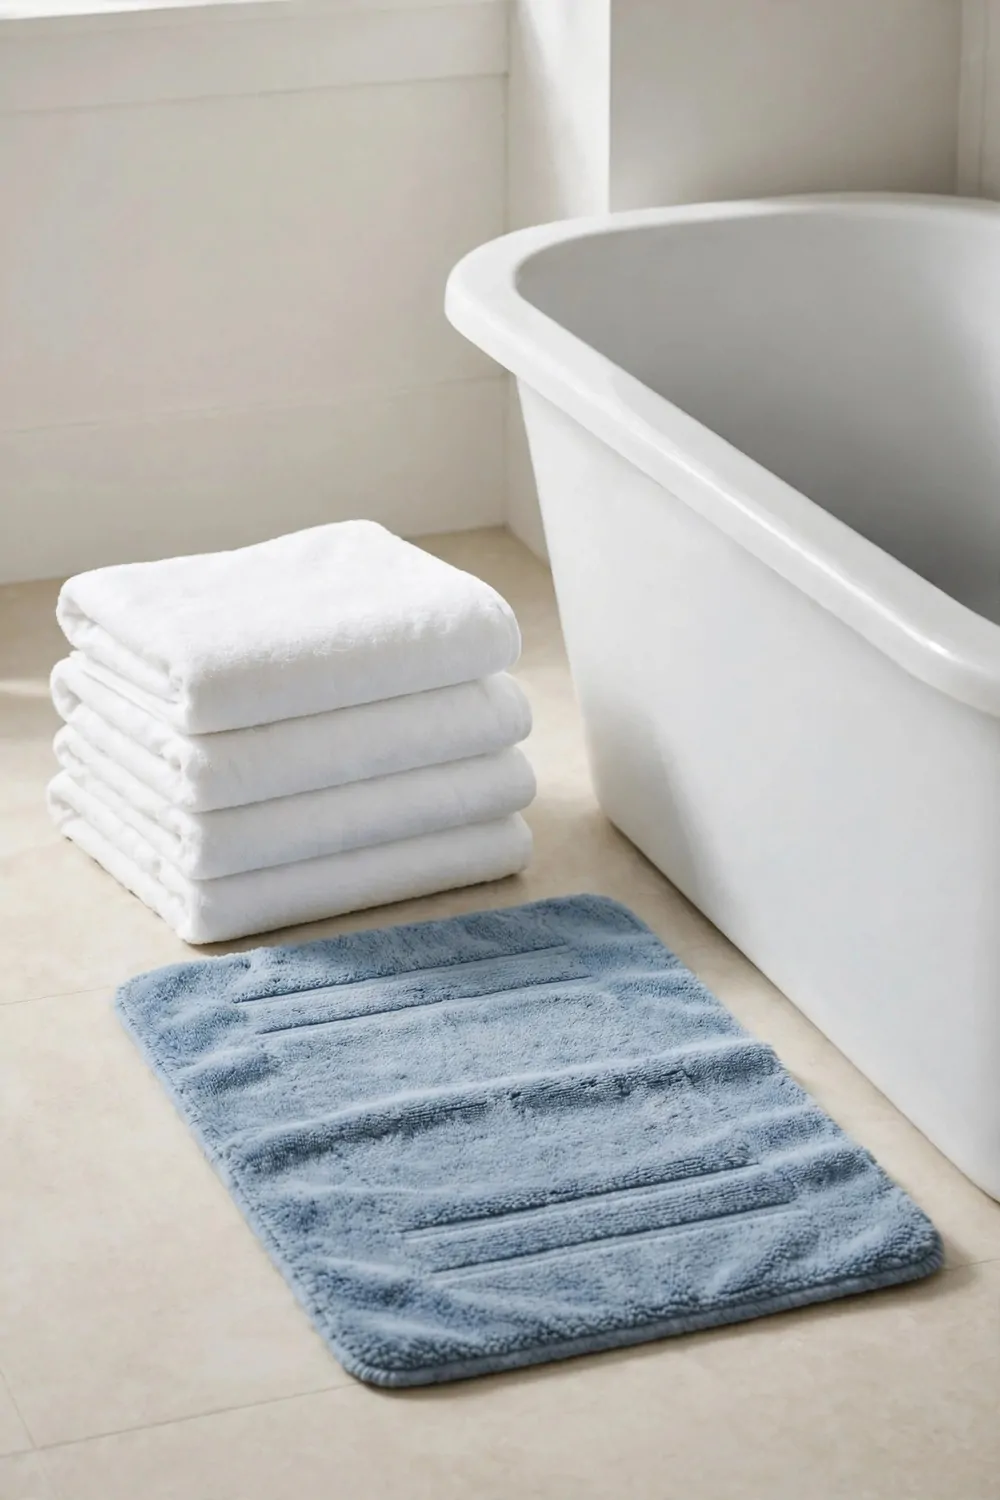
Old towels get thin and rough and they make the bathroom feel tired. I bought two new fluffy towels and a fresh bath mat. Typical cost is $20 to $40 for the set.
New towels feel soft on your skin after a shower. That small bit of comfort is worth a few dollars. I fold mine neatly now because they look so nice.
Pick one colour for all your towels. I chose white towels with a soft grey bath mat. Matching towels make the room look calm and tidy.
Thick cotton towels dry you best and last the longest. Feel the towel in the shop before you buy it. If it feels soft and thick in your hand, it will feel good at home.
A new bath mat keeps your feet warm and the floor dry. I step out of the shower onto a soft mat now instead of cold tiles. It is a tiny joy each morning.
Good towel colours for a fresh look are:
- White towels for a clean, bright feel
- Soft grey towels for a calm look
- Pale blue towels for a fresh, cool feel
- Sage green towels for a soft, natural touch
Wash new towels once before you use them. This makes them softer and more absorbent. I wash mine on a warm cycle and skip the fabric softener.
Hang towels up to dry after each use. A towel left in a heap stays damp and gets musty. I use a simple hook on the back of the door.
Swap the bath mat out for a wash every week or two. A clean mat keeps the floor fresh and the room smelling nice. Small swaps, big difference.
20. A New Table Runner in the Dining Room
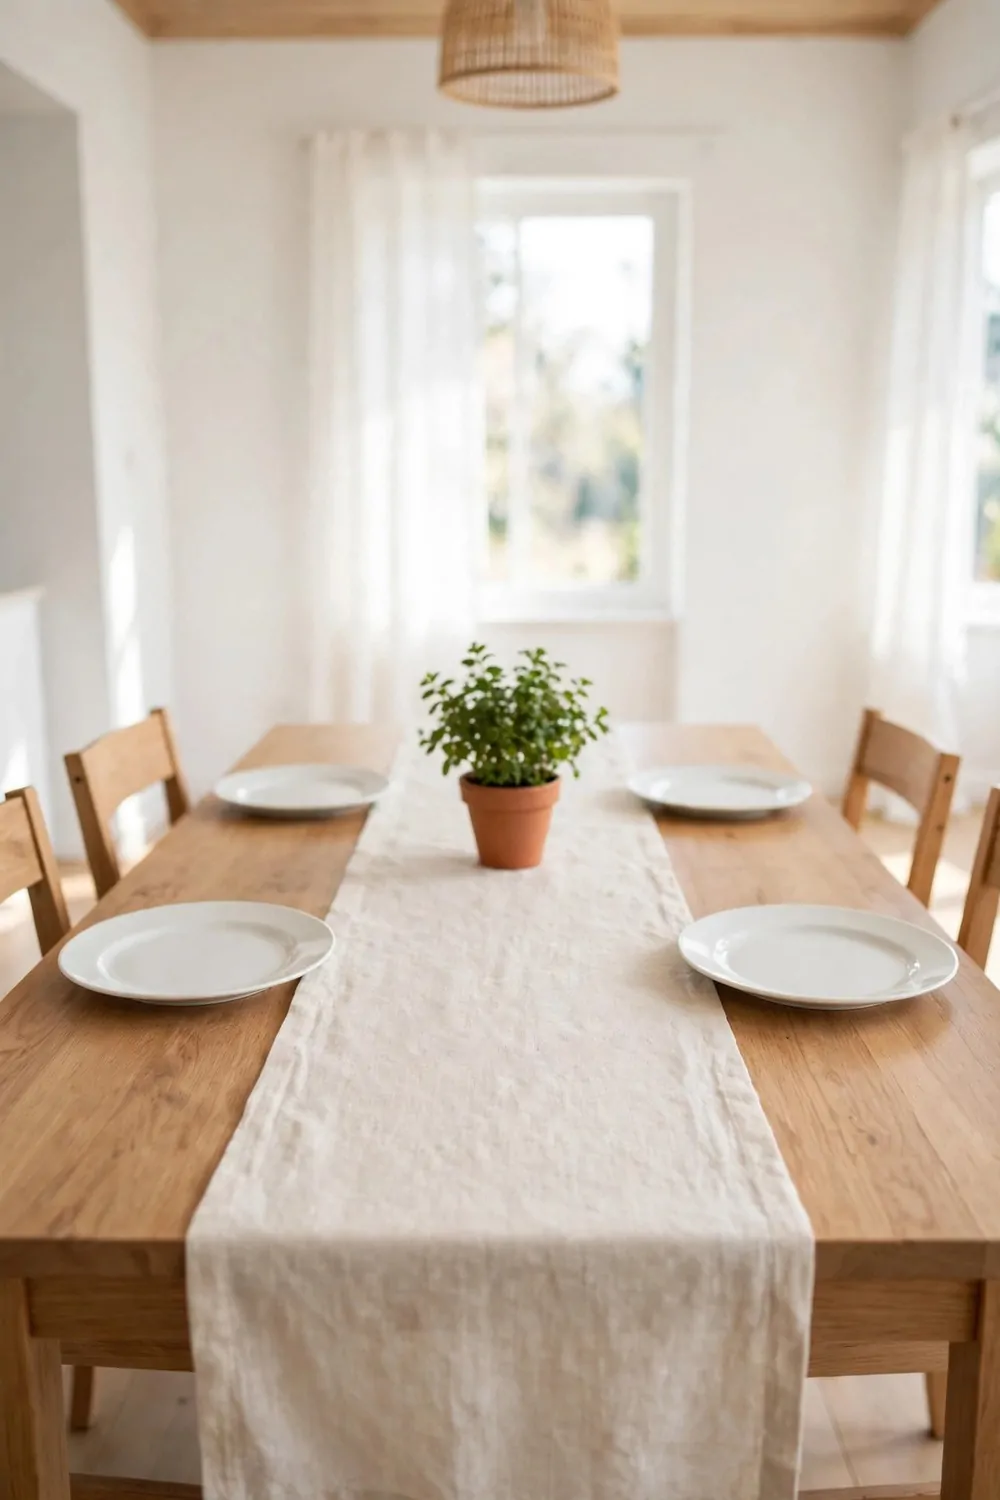
My dining table looked plain and a bit bare most days. A simple table runner changed that in seconds. Typical cost is $12 to $25.
A runner is a long strip of cloth that runs down the middle of the table. It adds colour and softness without covering the whole table. I love how easy it is.
Pick a runner that is a little shorter than your table. Mine leaves a bit of wood showing at each end. That looks neat and it shows off the table too.
A cotton or linen runner is easy to wash. Dining tables get spills, so a washable runner is a must. I wash mine every week and it still looks new.
Pick a colour that goes with your chairs or your walls. I chose a soft cream runner with thin stripes. It matches my chairs and it brightens the whole room.
Layer a runner over a tablecloth if you like a fuller look. I do this when friends come over for dinner. It feels a bit special without much work.
Iron the runner before you lay it out. A flat runner with no creases looks so much smarter. It takes two minutes and it is worth it.
Change the runner with the seasons if you like. I have a light one for warm months and a deeper one for cold months. Two runners cost little and keep the room fresh.
This is one of the easiest dining room fixes there is. One runner, no tools, no fuss, and my table looks dressed every single day.
21. A Simple Centrepiece for the Dining Table
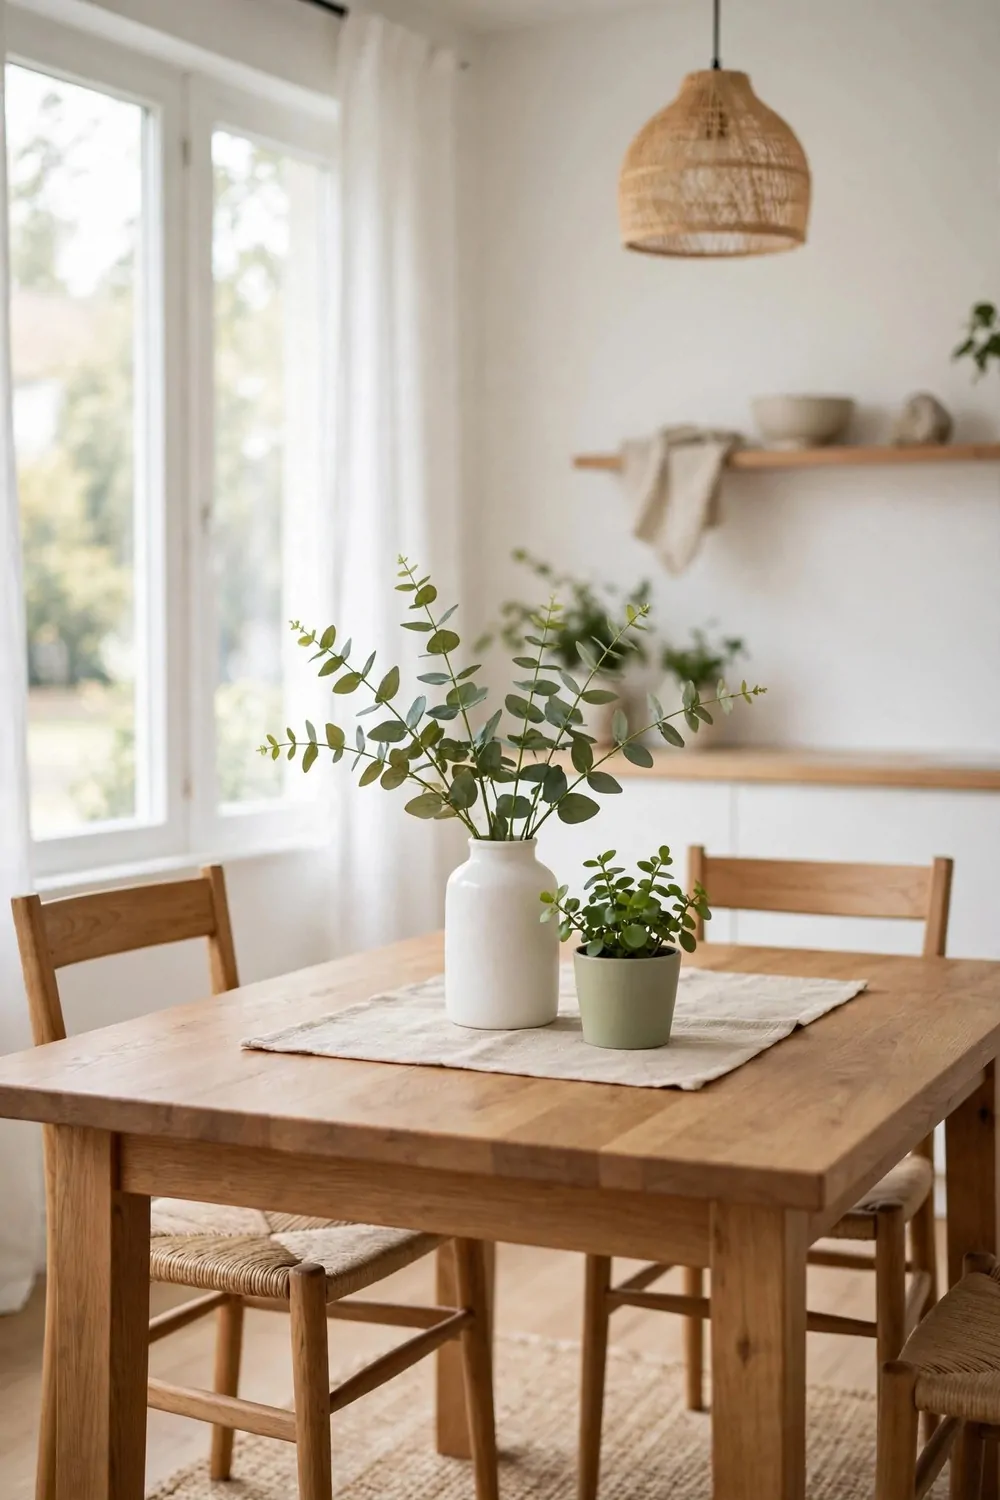
A bare table can feel cold, even in a warm room. A simple centrepiece fixed that for me. Typical cost is $10 to $30.
You do not need anything fancy or costly. A low bowl, a small tray, or a plain vase works well. The key word is simple, so the table still feels open.
Keep the centrepiece low so people can see each other across the table. Tall pieces block faces and make dinner feel awkward. I learned this at a family dinner once.
Fresh green leaves in a jar are my go-to centrepiece. I snip a few stems from the garden and pop them in water. It costs nothing and it looks alive.
A bowl of fruit works well too. Lemons or apples in a plain bowl add colour and you can eat them later. It is pretty and practical at the same time.
Easy centrepiece ideas you can try are:
- A small tray with three candles in glass jars
- A plain vase with fresh green leaves
- A low bowl of lemons or apples
- A wooden board with a tiny potted plant
Change the centrepiece now and then to keep it fresh. I swap mine every couple of weeks. It takes five minutes and the room feels new again.
Keep the middle of the table clear when you serve food. I move the centrepiece to the sideboard at dinner time. It comes back out once the plates are cleared.
A centrepiece makes the dining room feel cared for. Guests notice it and I notice it too. It is a small touch with a warm payoff.
22. Cushions for the Dining Chairs
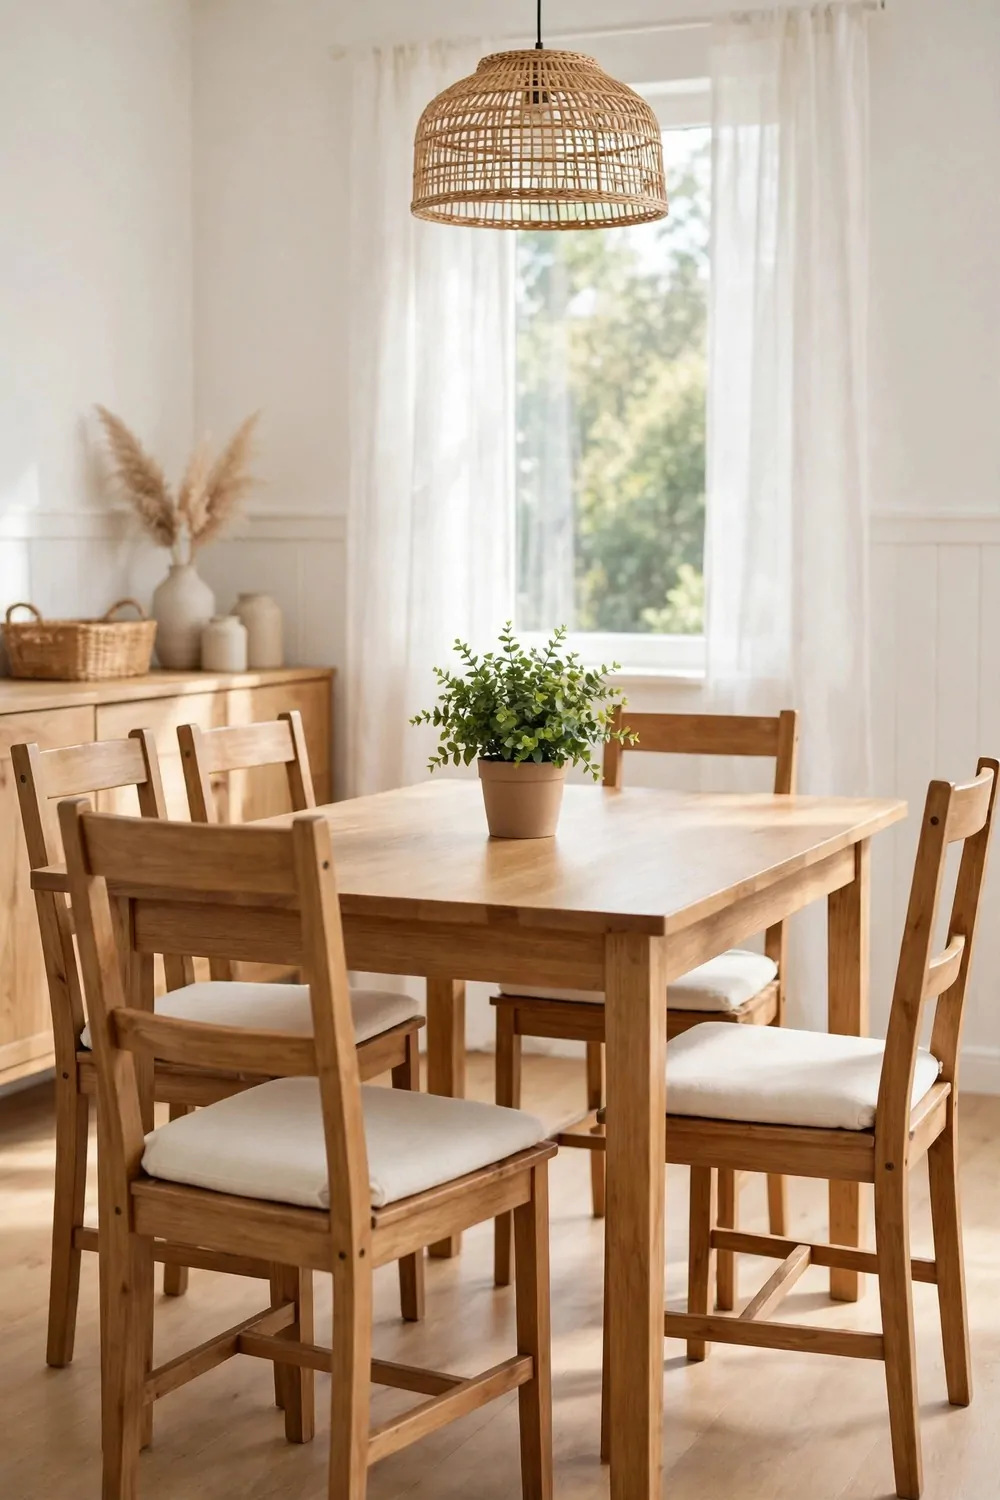
Hard dining chairs make long dinners feel too long. I added simple seat cushions and now everyone stays at the table longer. Typical cost is $20 to $40 for a set of four.
Comfort matters more than looks at the dinner table. A soft cushion makes a plain chair feel like a good chair. My family noticed the change right away.
Pick cushions with ties so they stay put. I tie mine to the chair backs and they do not slide around. Loose cushions end up on the floor, I know from experience.
A washable cover is a must for dining chairs. Food spills happen, that is just life. I take my covers off and wash them every couple of weeks.
Pick a colour that matches your table runner or your curtains. I chose soft grey cushions to go with my cream runner. The room looks pulled together now.
Foam cushions hold their shape well and feel firm but soft. Thin flat cushions go flat fast and do not help much. Spend a tiny bit more for a good thick one.
Measure your chair seats before you buy. My chairs are a little wider than standard, so I checked the size first. A cushion that fits looks neat and feels right.
Two cushions per chair is too much, one is just right. Keep it simple and let the chair do the rest. Simple always looks best in my home.
This small buy made family dinners nicer. People linger, chat more, and nobody rushes off. A comfy chair is worth every penny.
23. A New Doormat and Hooks in the Entryway
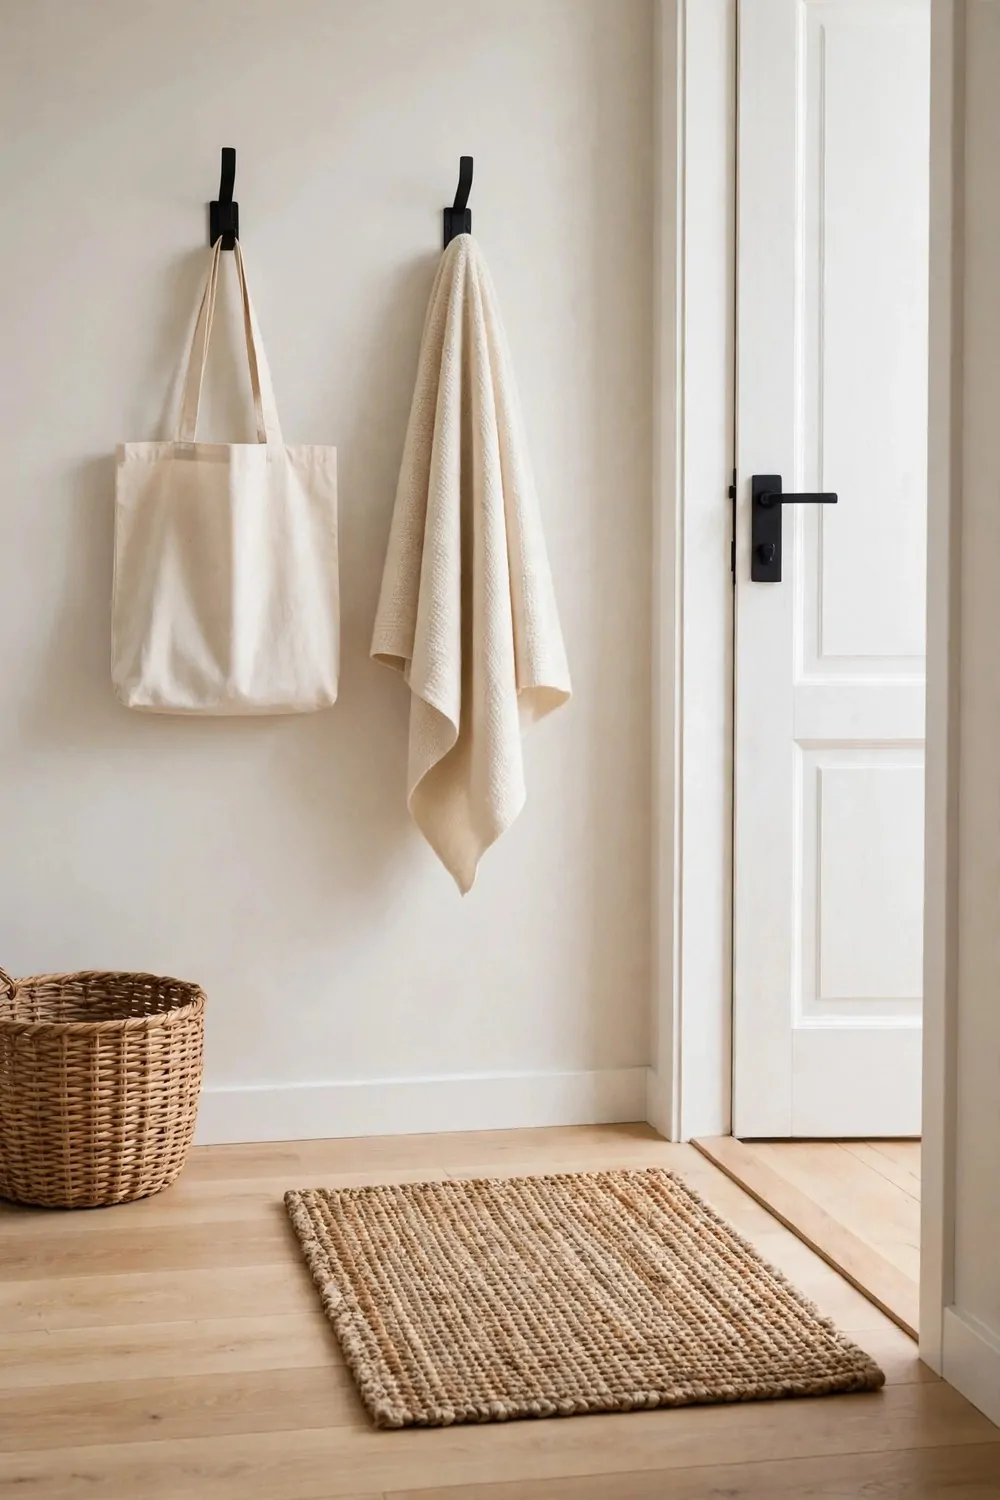
My entryway used to be a mess of shoes and coats on the floor. A new doormat and a few wall hooks sorted it out in one afternoon. Typical cost is $15 to $30.
A good doormat catches dirt before it walks into your house. I shake mine out every few days and my floors stay cleaner. It is a small thing that saves a lot of sweeping.
Pick a mat that fits the space by your door. Mine covers the width of the door and a little more. A mat that is too small looks lost and does not catch much dirt.
Coir mats are tough and they scrub shoes well. Rubber backed mats stay in place and do not slide. I use a coir mat with a rubber back and it works great.
Wall hooks keep coats off the floor and off the chairs. I fixed three hooks at different heights by the door. The kids reach the low one and I use the high one.
Fix hooks into a solid part of the wall, not just plaster. I used wall plugs and they hold firm. If you are not sure, ask at the shop for the right fixings.
One hook per person is a good rule. Each coat has its own spot and nobody argues about space. Our mornings run smoother now that coats are easy to grab.
A small shoe tray under the hooks catches wet shoes in rainy weather. I put a cheap tray there and it saves my floor. It costs a few dollars and it is worth it.
Guests see the entryway first, so make it welcoming. A clean mat, neat hooks, and no clutter says welcome before you even say hello.
24. A Mirror in the Entryway
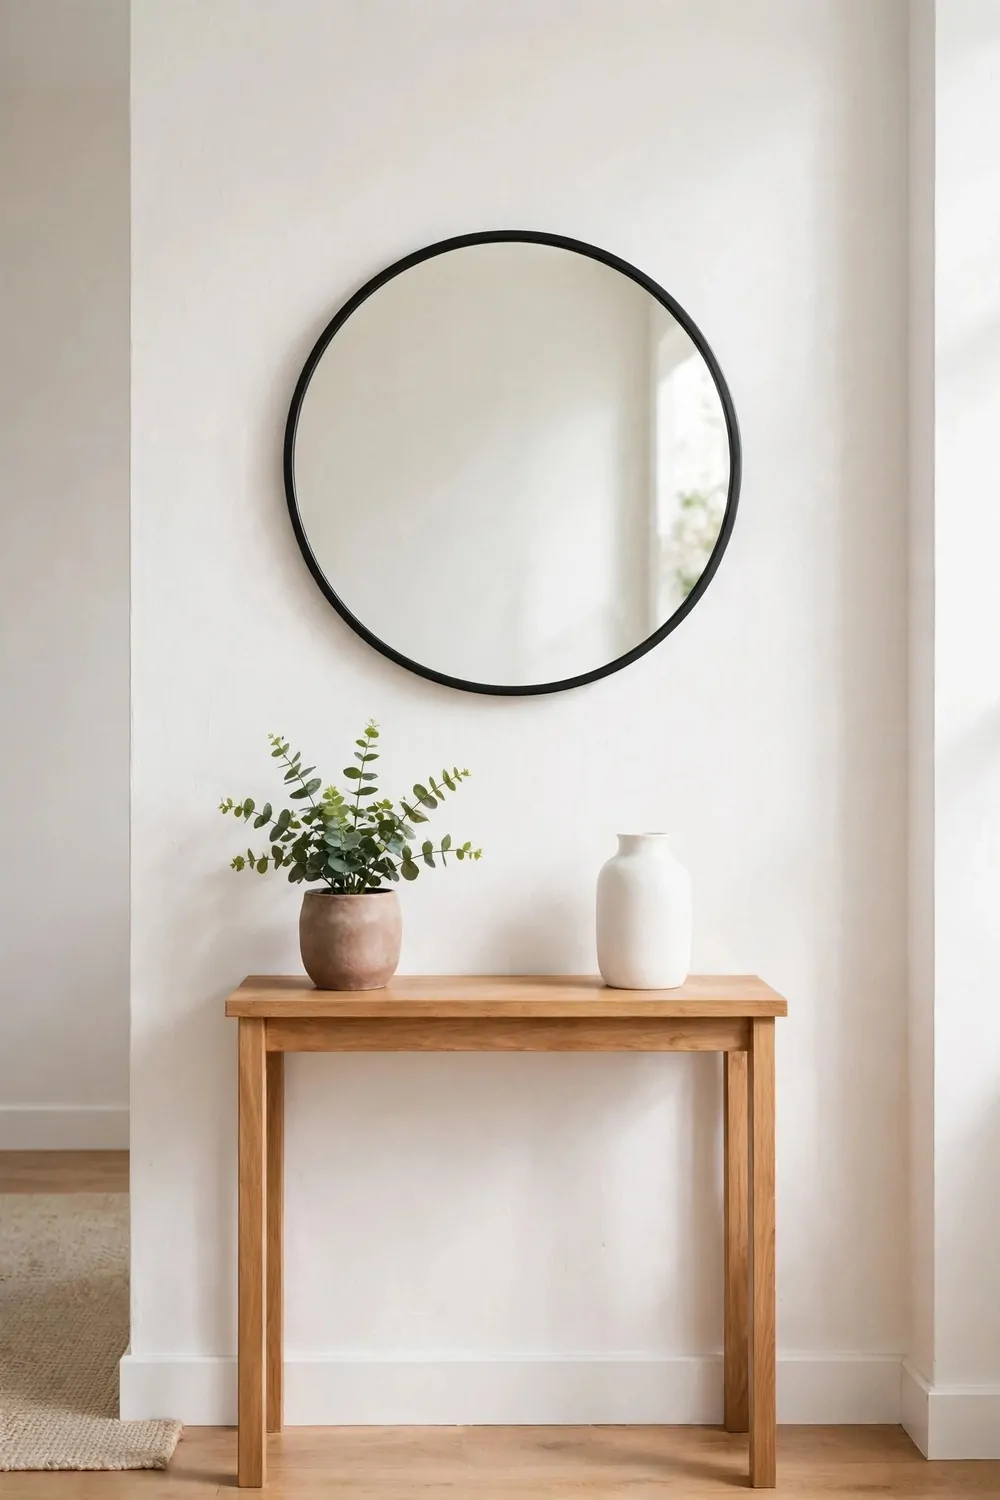
I hung a mirror by my front door last year. It changed the whole entryway in one afternoon.
A mirror bounces light around. It makes a small space feel bigger right away.
You do not need a big one. A simple round mirror works well.
I found mine at a thrift shop for very little money. You can find one online too.
Typical cost is $20 to $40 for a nice simple mirror. That is a small price for such a big change.
Hang it at eye level. You want to see your face when you walk in.
I check my hair in it every morning before I leave. It saves me a trip back to the bedroom.
A thin frame looks best in a small entryway. A thick frame can feel too heavy.
Try it for a week and see how it feels. I think you will love it.
25. A Small Gallery Wall in the Hallway
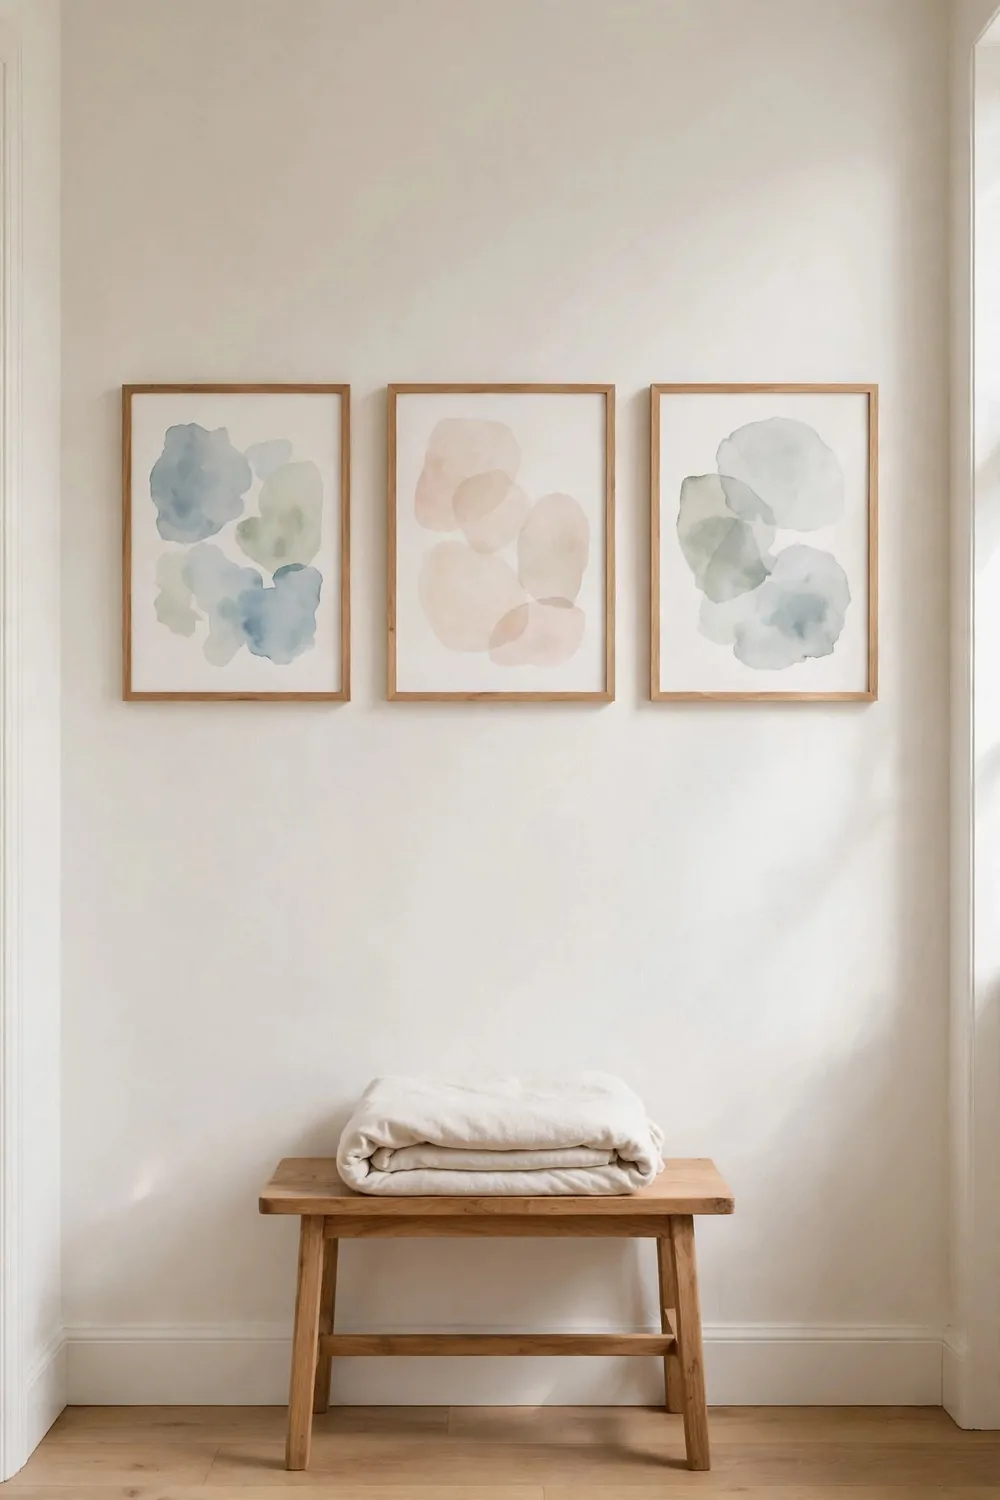
My hallway used to be the dullest spot in my house. Now it is my favourite place to walk through.
A gallery wall is just a few frames hung close together. You can use photos, prints, or your kids drawings.
I started with three frames. That was enough to make it feel full.
You can mix frame sizes if you like. I like odd numbers best.
Typical cost is $25 to $50 for frames and prints. I used frames I already had, so mine cost even less.
Lay the frames on the floor first. Move them around until you like the shape.
Then hang the middle one first. Work your way out from there.
I smile every time I walk past mine. It feels like my home now.
Start small and add more later. A gallery wall can grow with you.
26. Fresh Bedding in the Kids Room
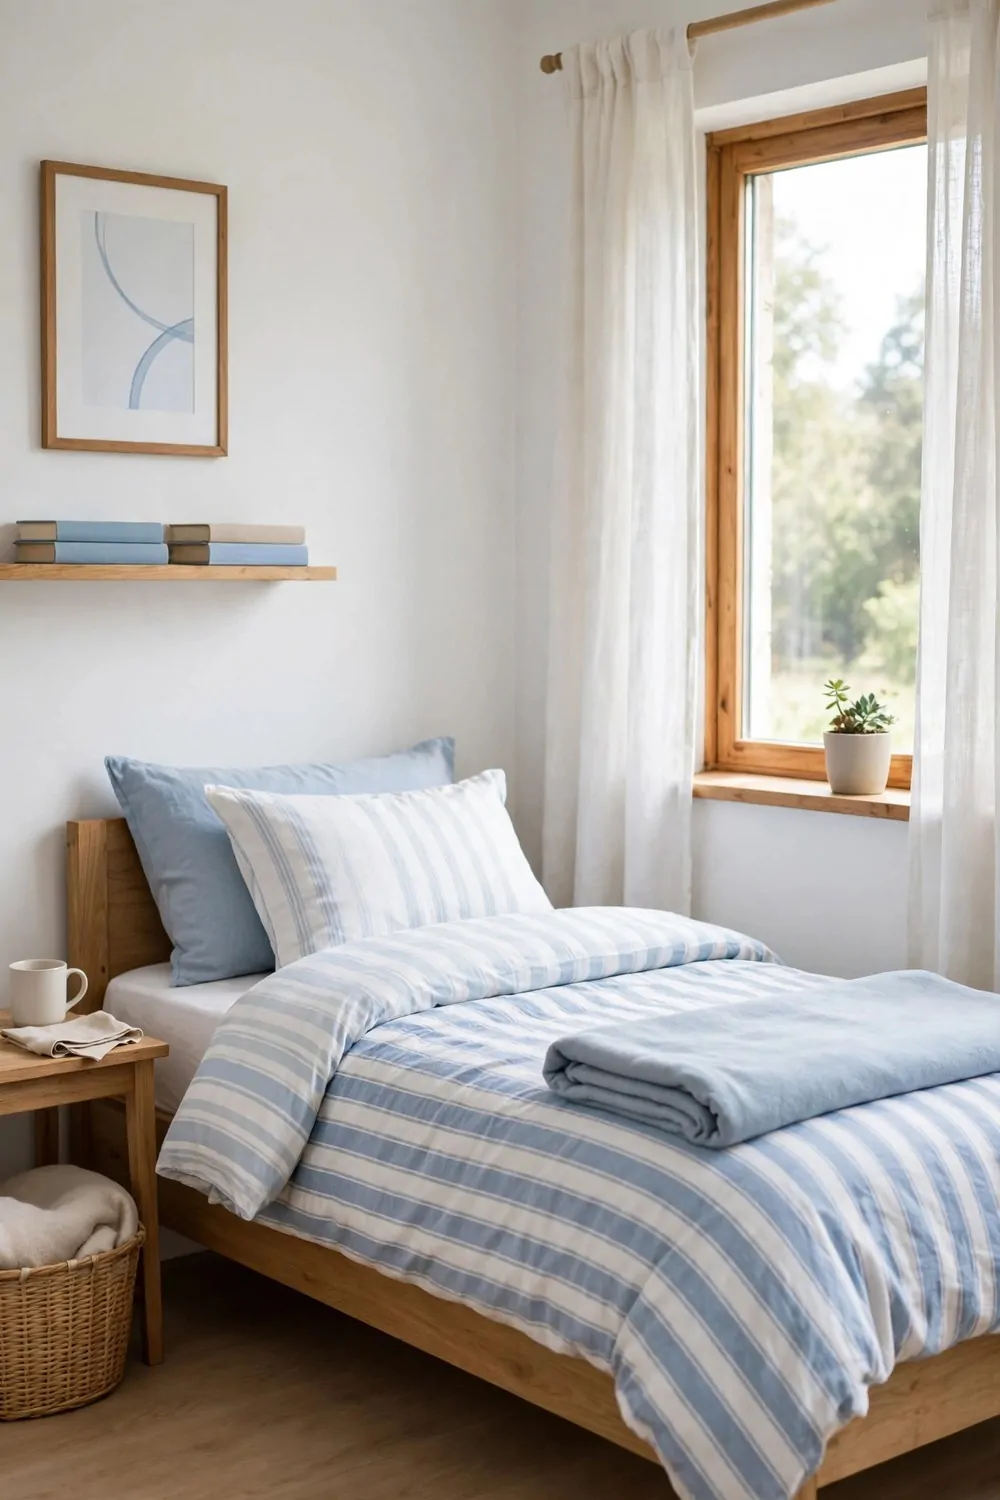
New bedding can make a kids room feel brand new. I changed my kids bedding last month and the room looked so fresh.
Pick a colour your child loves. Let them help you choose if you can.
Soft cotton sheets feel best on skin. I always wash new bedding before the first use.
A fun pattern can make bedtime feel exciting. Stripes, stars, and dots all work well.
Typical cost is $30 to $55 for a full bedding set. That covers a sheet, a pillow case, and a duvet cover.
I keep one spare set in the closet. That way I can change the bed fast on wash day.
Mix a plain sheet with a patterned duvet cover. It looks neat and it is easy to match.
You do not need to buy a whole new bed. New bedding does the job on its own.
Try it this weekend and see the change. Your child will notice it right away.
27. Baskets for Toys in the Kids Room
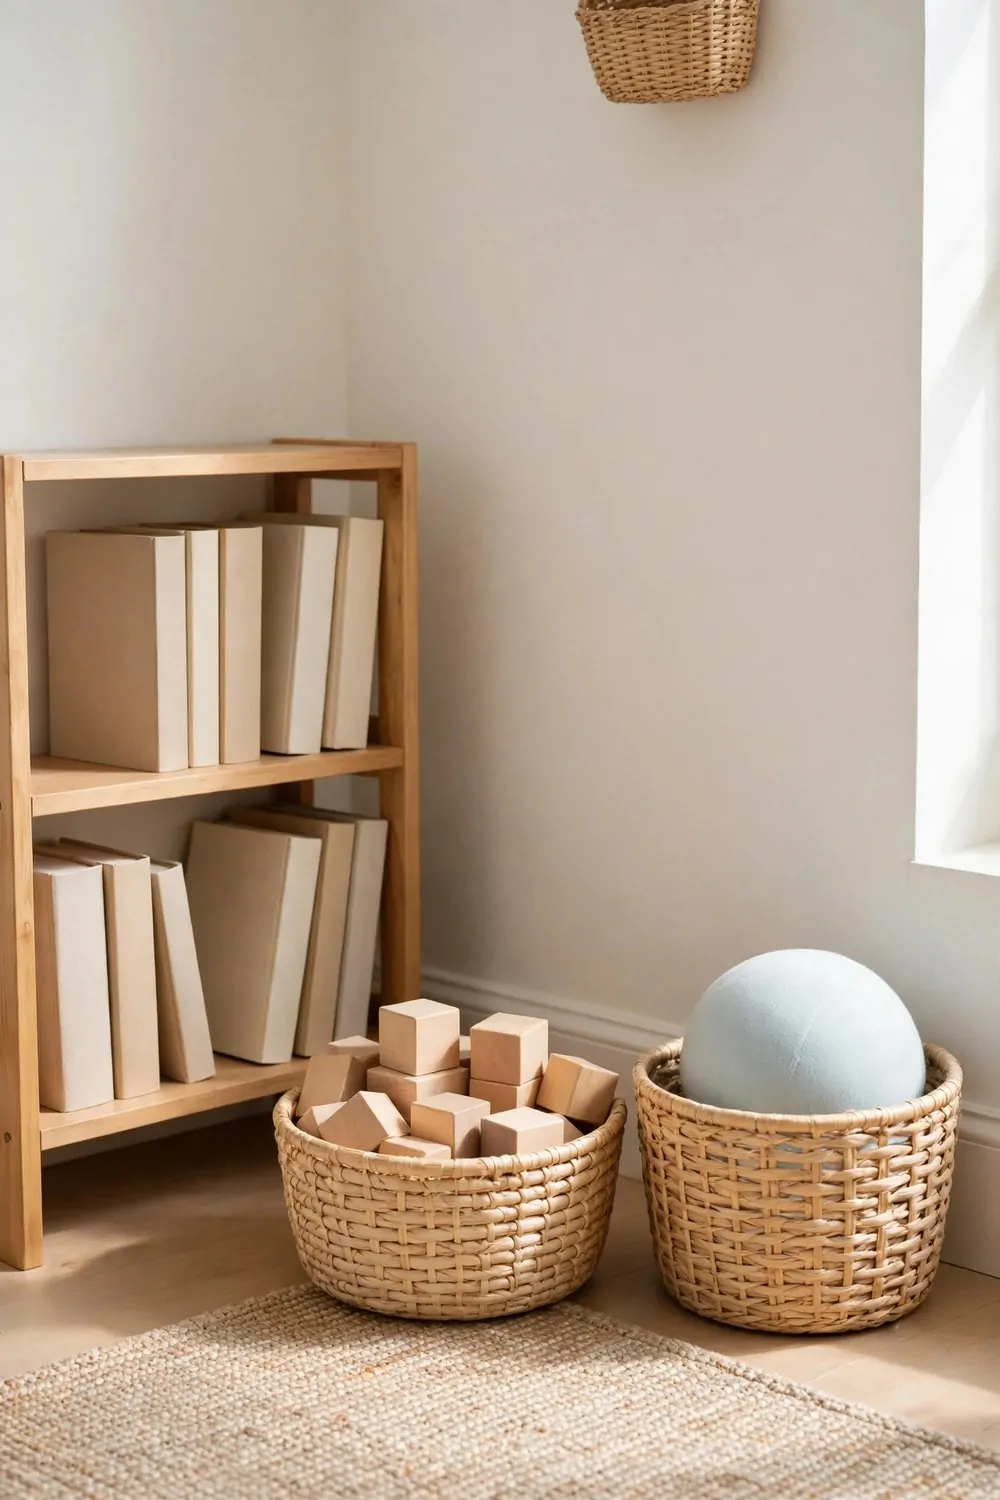
Toys end up all over the floor in my house. Baskets fixed that problem in one day.
I put three baskets in the corner of the kids room. One holds blocks, one holds books, and one holds small toys.
Kids can toss toys in fast. That makes tidy up time much shorter.
Woven baskets look warm and soft. Fabric bins work well too.
Typical cost is $15 to $35 for a set of baskets. I found a good set on sale.
Put a label on each basket if you like. A simple picture label helps little kids know where things go.
Keep the baskets low so kids can reach them. If they cannot reach, they will not use them.
I tidy the baskets once a week. It takes me about ten minutes.
A tidy room feels calm. Your kids will play better when they can find their toys.
28. A Tidy Desk in the Home Office
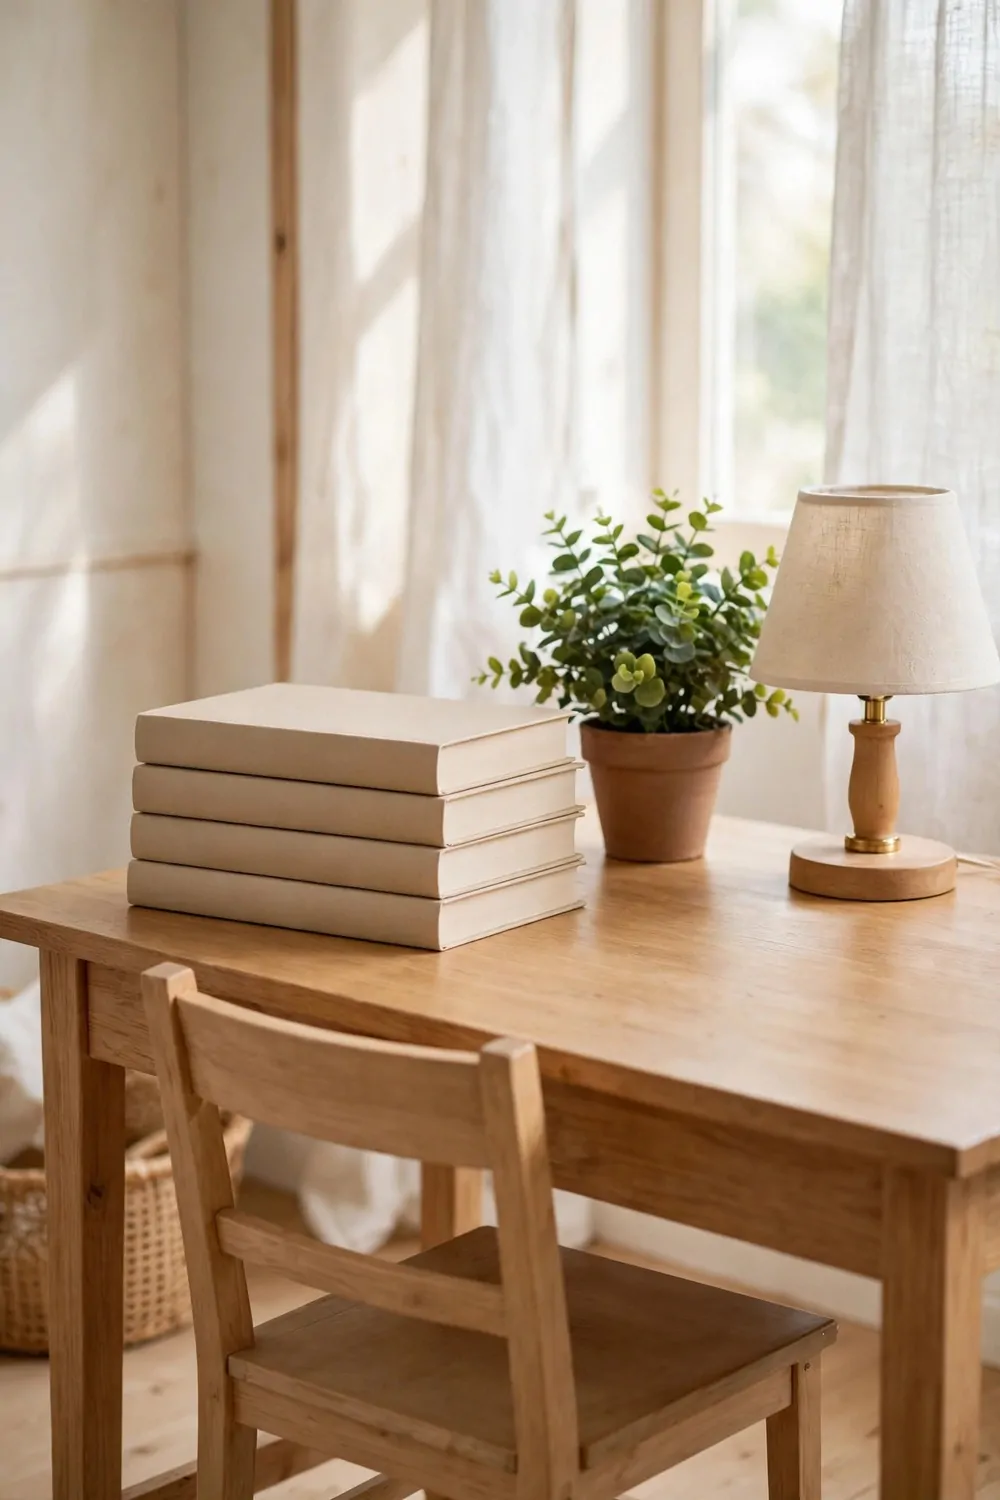
My desk used to be a pile of papers and cords. I could not find anything on it.
A tidy desk helps me think clear. I get more work done now.
Start by taking everything off the desk. Yes, everything.
Keep only what you use each day. A lamp, a pen cup, and your laptop are enough.
Typical cost is $10 to $30 for a desk tray and a pen cup. Small buys, big change.
I use a small tray for papers I need this week. The rest goes in a drawer.
Hide the cords behind the desk. A cable tie costs almost nothing.
Wipe the desk down once a week. It takes two minutes and it feels so good.
A clean desk makes Monday feel easier. Try it and see.
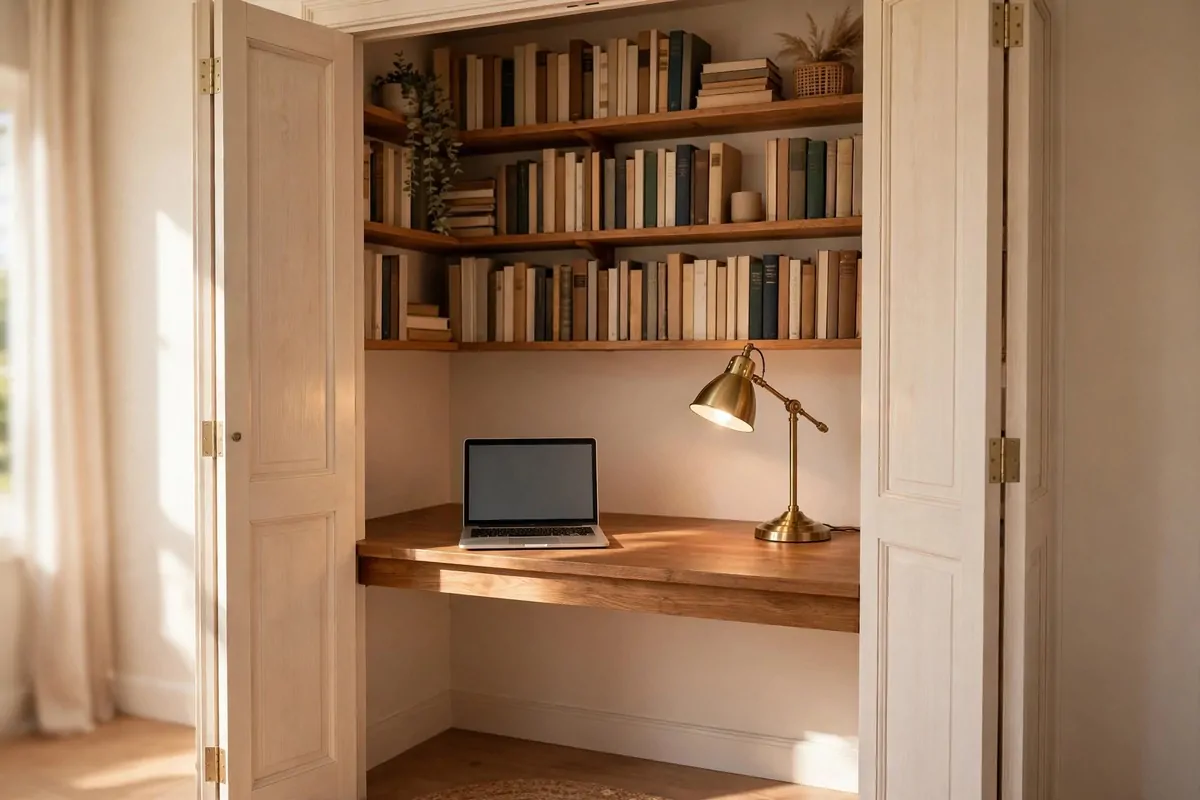
29. A Wall Shelf in the Home Office
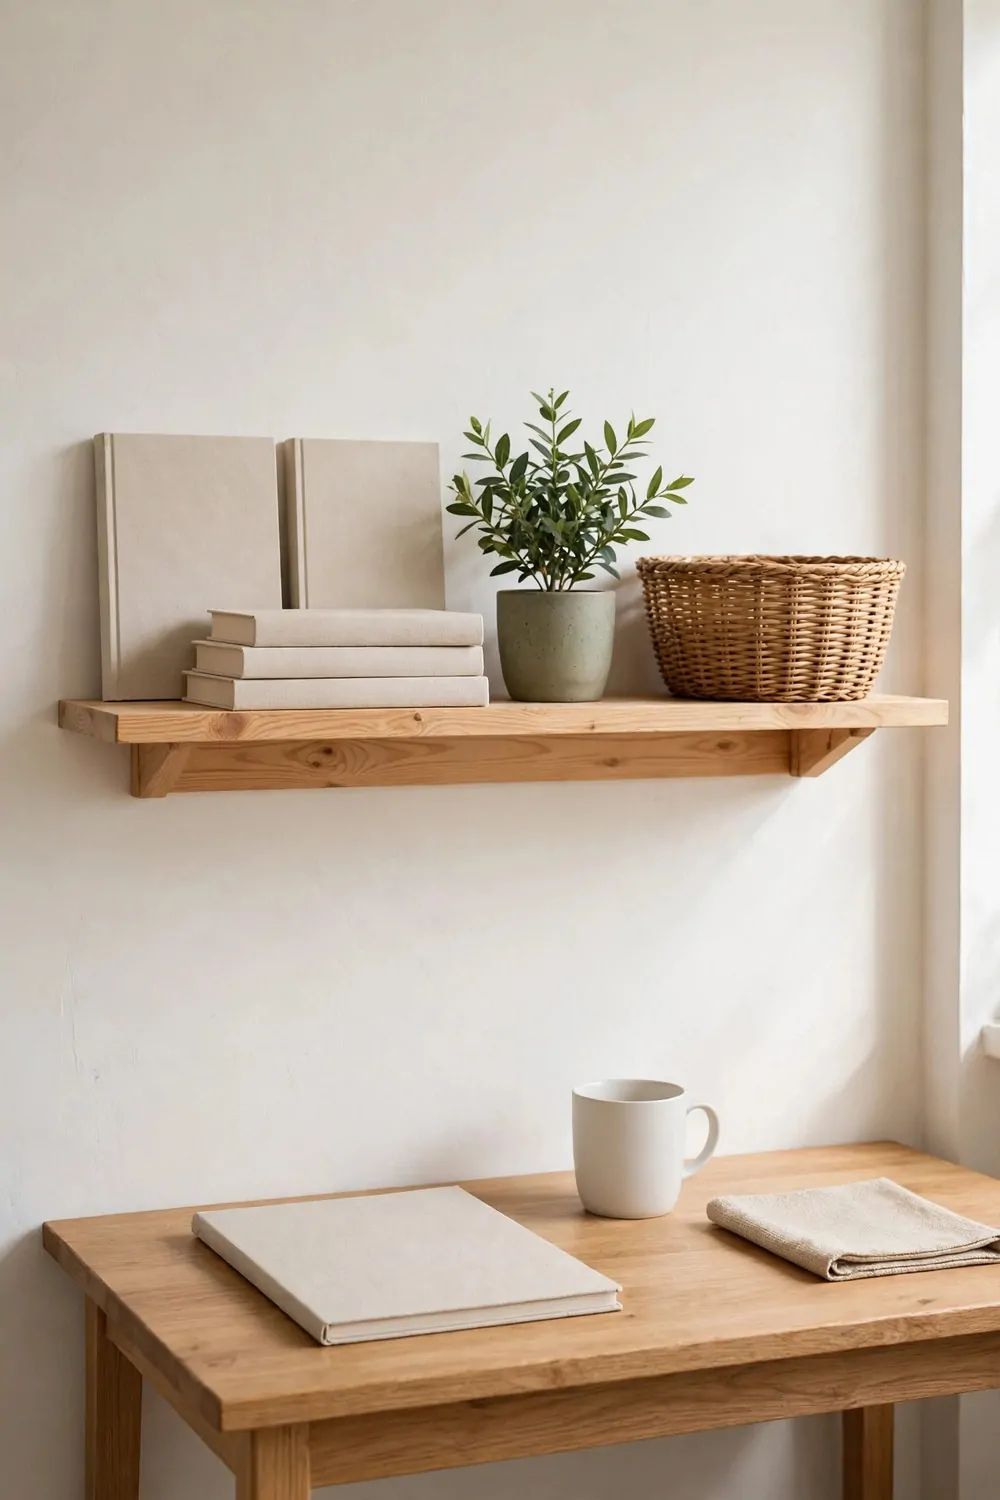
A wall shelf gives you space without taking up floor space. I put one above my desk last spring.
I keep my books and a small plant on it. It looks neat and it keeps my desk clear.
You can hang a shelf in under an hour. All you need is a drill and a level.
Pick a shelf that matches your desk. Wood looks warm and simple.
Typical cost is $20 to $45 for a shelf and brackets. That is a fair price for extra storage.
Do not overload it. A few books and one or two small things are enough.
I like to keep my most used book up there. It is easy to grab when I need it.
A shelf can hold a clock too. I check the time without looking at my phone.
One shelf is often enough. Add a second one later if you need more room.
30. A Fold Station in the Laundry Corner
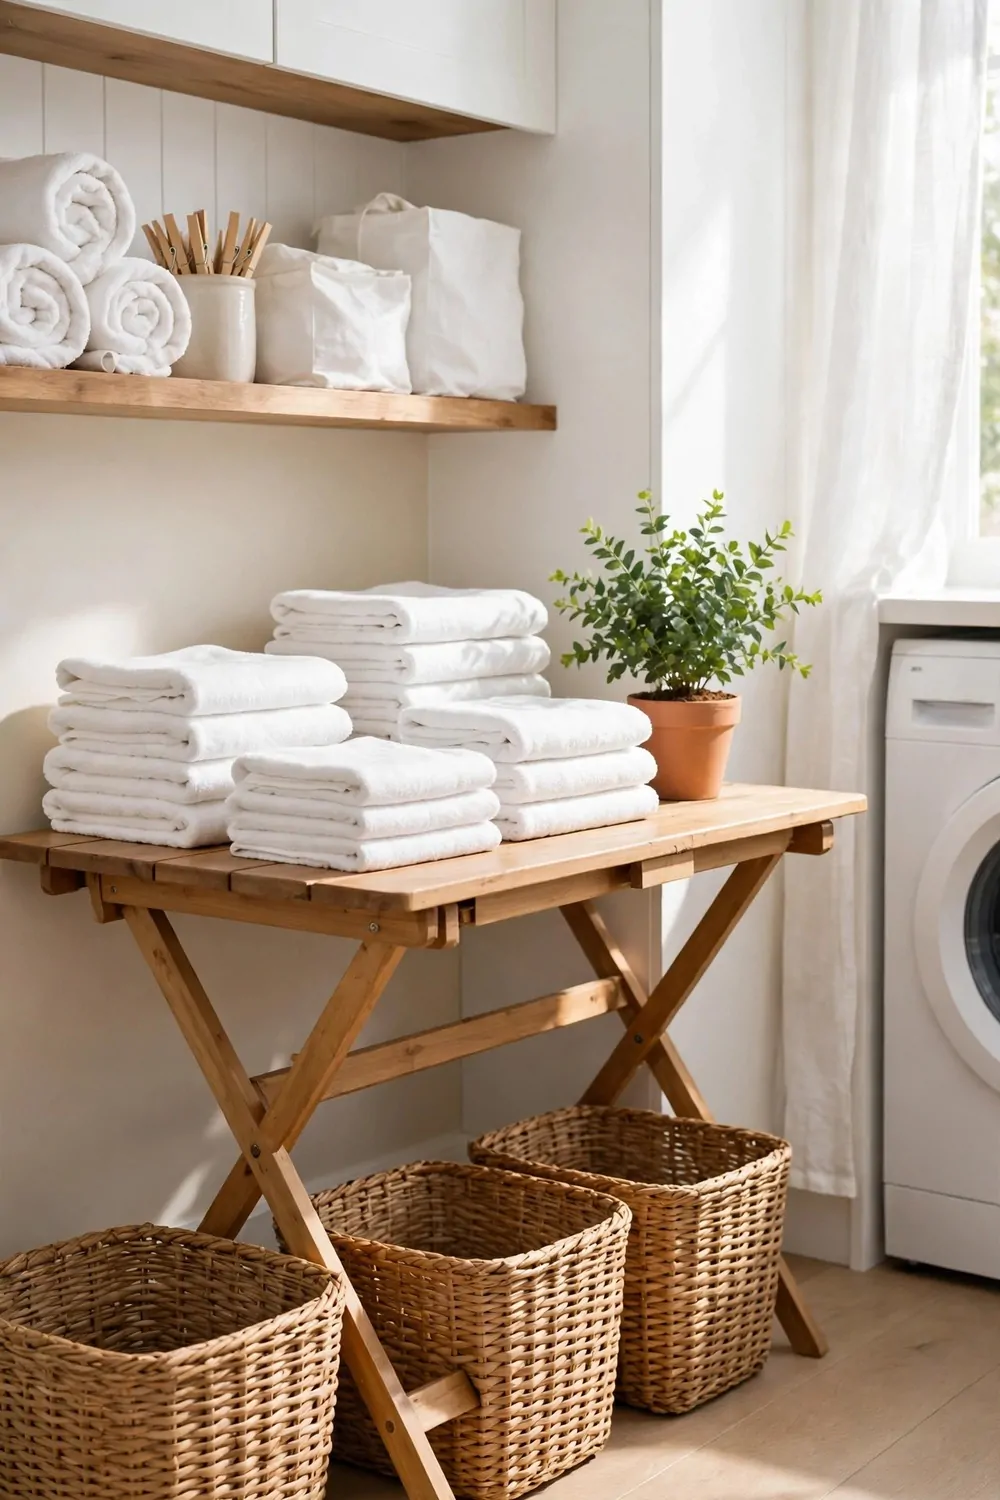
Folding clothes on the bed never worked for me. I made a small fold station instead.
A fold station is just a flat spot near the washer. A small table or a shelf works fine.
I use a folding board to keep shirts neat. It is a simple plastic board that helps me fold fast.
Put a basket for clean clothes next to it. That way nothing piles up on the floor.
- A flat table or shelf
- One basket for clean clothes
- A folding board
Typical cost is $15 to $40 for a small table and a folding board. I used a table I already had.
Keep the station clear at all times. If it holds clutter, it will not help you.
I fold each load right when it comes out of the dryer. It takes five minutes and the clothes stay smooth.
A small shelf above the station holds soap and softener. Everything stays in one place.
Try it for one week. You will wonder how you lived without it.
31. Warm Bulbs in Every Room
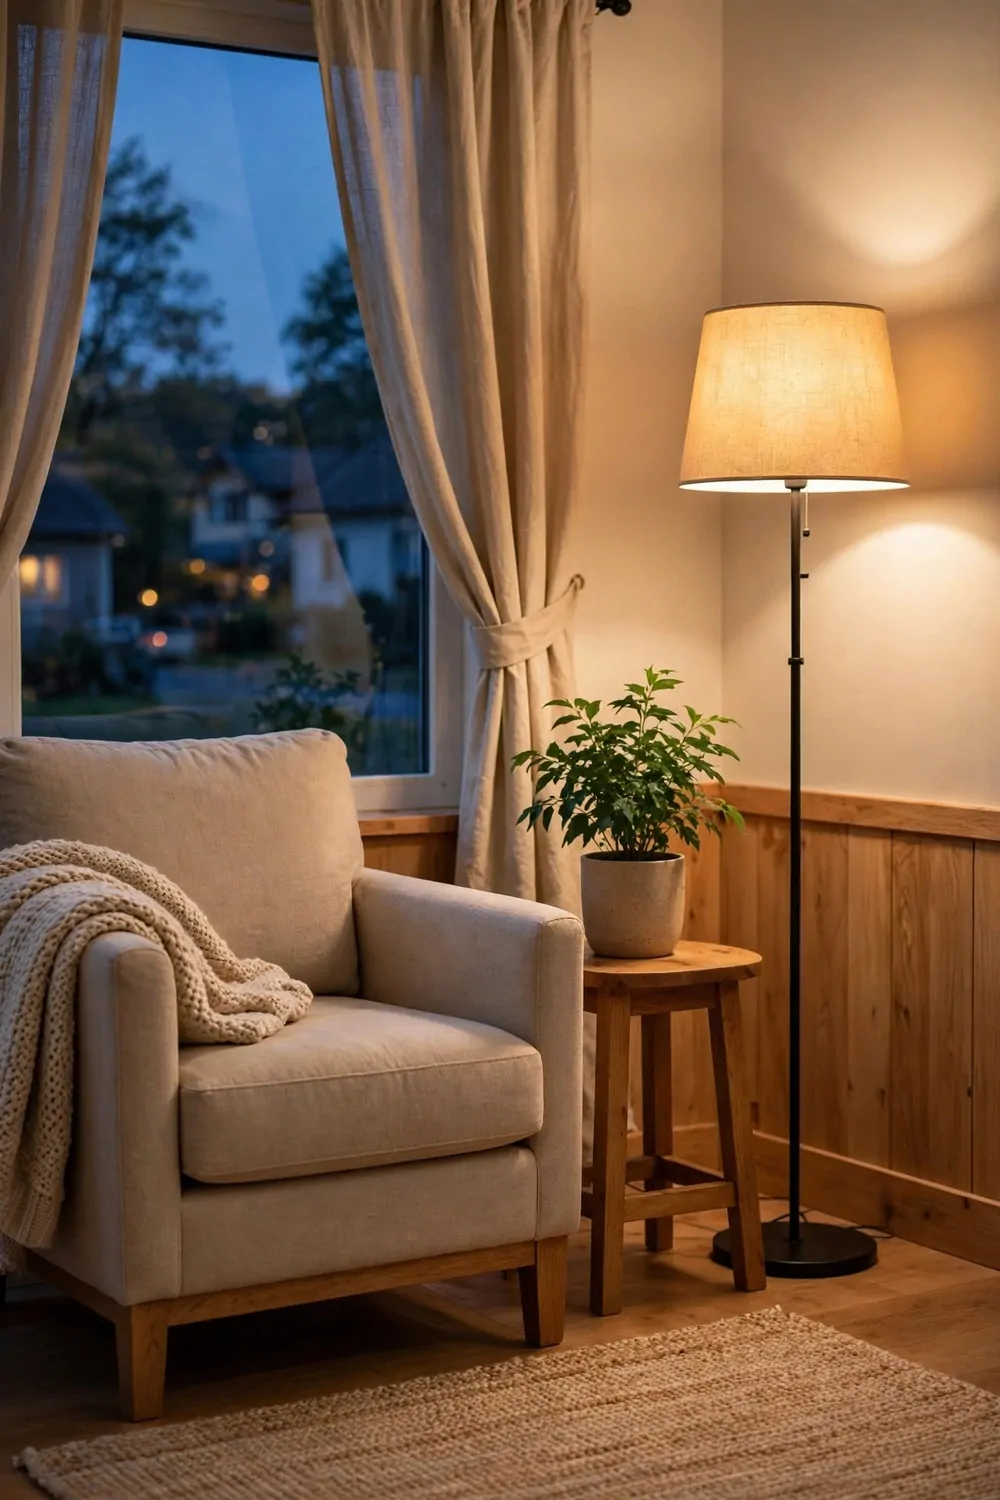
Light changes how a room feels. Warm bulbs make a room feel cosy and soft.
I swapped all my cool white bulbs for warm ones. My whole house felt friendlier that night.
Look for bulbs marked warm white on the box. They give a soft yellow glow.
You do not need new lamps. Just change the bulbs you already have.
Typical cost is $10 to $25 for a pack of warm bulbs. One pack can cover a few rooms.
I like warm light in the living room and bedroom most. It helps me relax in the evening.
Keep one brighter bulb in the kitchen if you cook a lot. You still need to see what you are doing.
Changing a bulb takes one minute. It is the easiest makeover on this list.
Try it tonight and look around. I think your home will feel warmer at once.
32. New Door Handles All Through the House
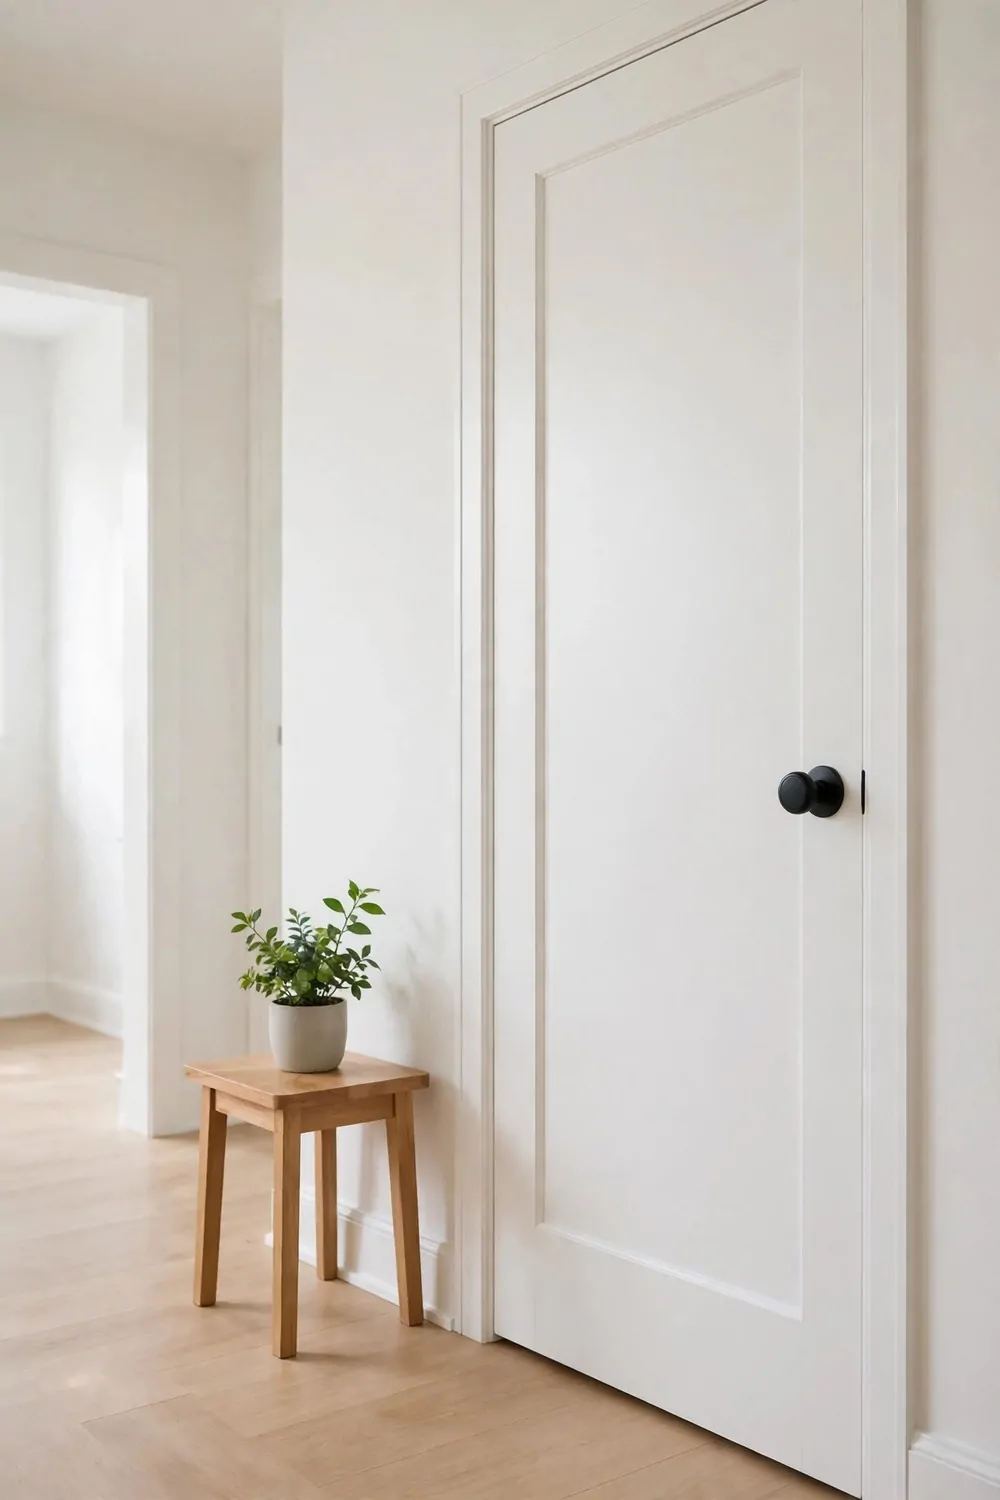
Old door handles can make a home look tired. New ones make every door feel fresh.
I changed all my door handles in one afternoon. It was easier than I thought.
You only need a screwdriver. Most handles come with the screws you need.
Pick one style for the whole house. Matching handles look neat and planned.
Typical cost is $5 to $12 per handle. For a whole house, that adds up to about $40 to $90.
I picked simple black handles. They look good on white doors and wood doors too.
Change one door first to test the fit. Then do the rest the same way.
Keep the old handles in a bag. You may need a spare screw one day.
Small details like this add up. Your home will feel cared for.
33. Plants in Every Room
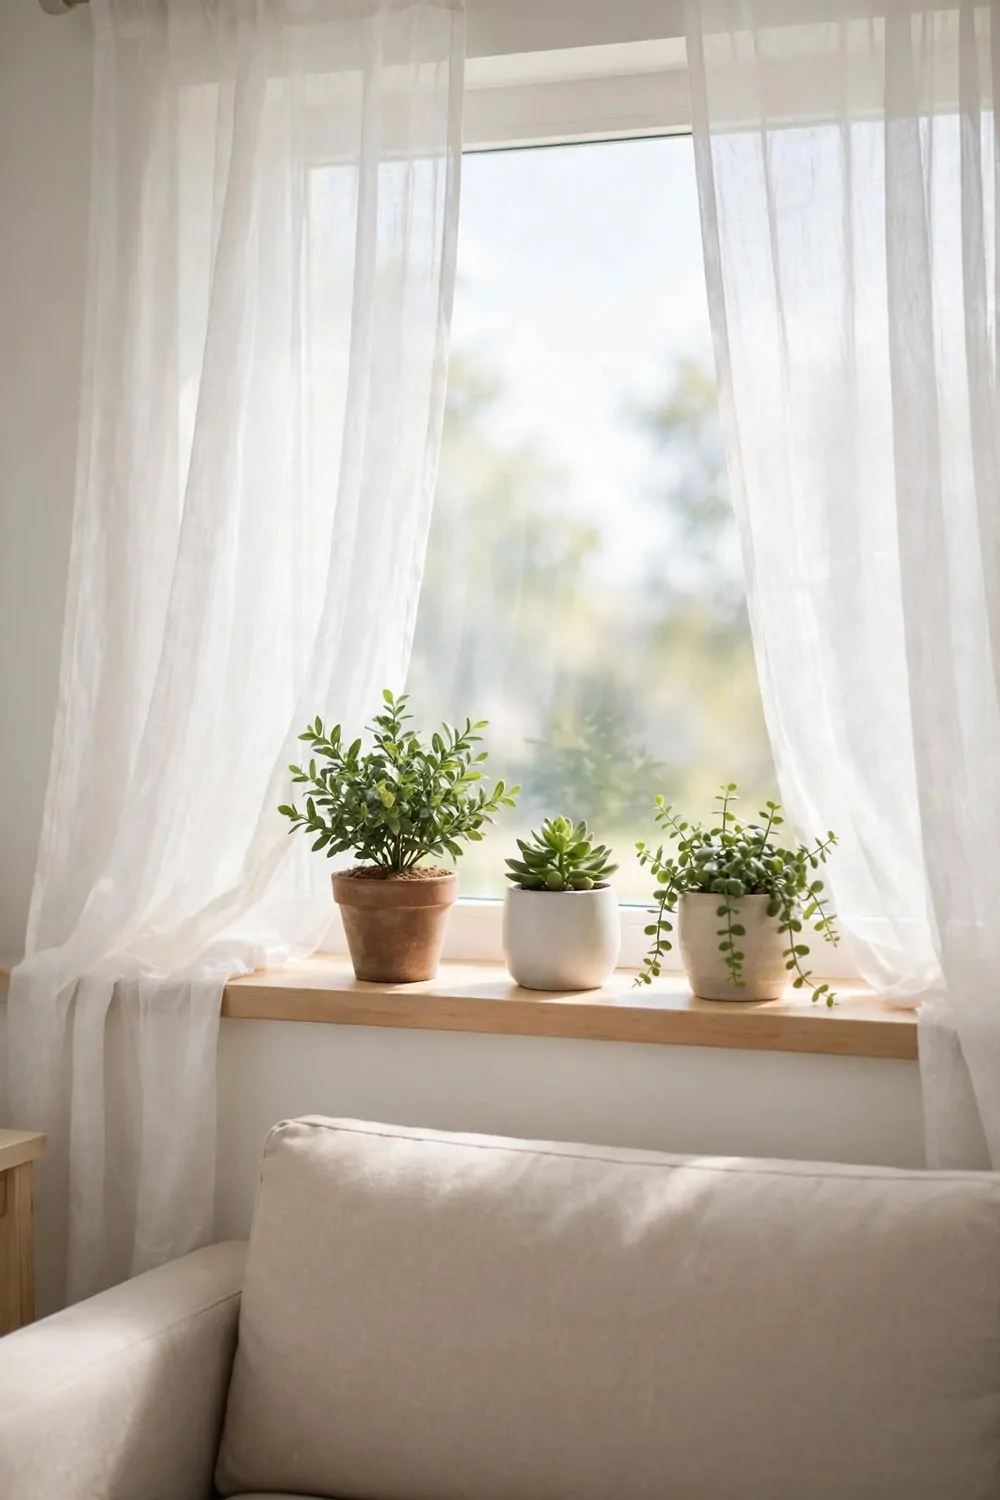
Plants bring life into a room. I have one in almost every room now.
You do not need a green thumb. Start with easy plants that forgive a missed watering.
A small plant on a shelf looks lovely. A big plant in a corner fills an empty spot.
I water mine once a week. That is all most of them need.
Typical cost is $8 to $20 per plant with a pot. Start with two or three and add more later.
Put plants near a window when you can. They need light to grow well.
A plant in the bathroom loves the steam from the shower. Mine grows fast there.
If a plant looks sad, move it. Sometimes a new spot is all it needs.
Plants make a home feel fresh and calm. Try one in your favourite room first.
34. A One-Weekend Budget Makeover Plan
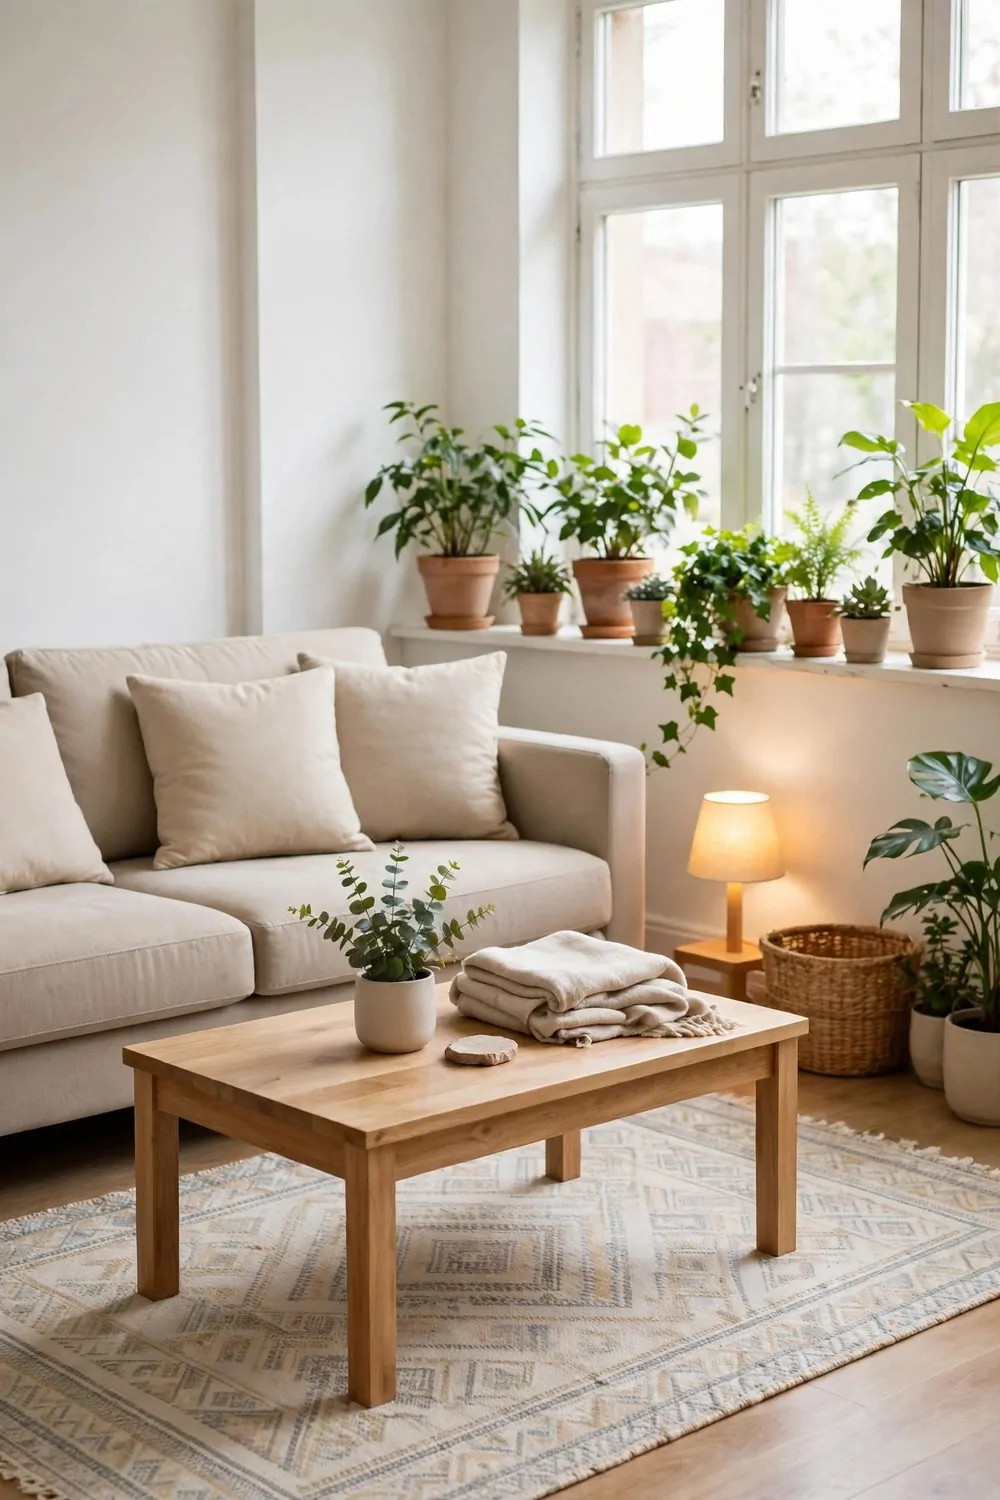
You can give your whole home a fresh look in one weekend. I did it last spring and it felt so good.
Start on Saturday morning with the living room. A new throw, a tidy shelf, and warm bulbs make a big change. Typical cost for the living room is $35 to $70.
Next, move to the kitchen. New handles, a clean counter, and a small plant can lift the whole room. Typical cost for the kitchen is $30 to $60.
After lunch, do the bedroom. Fresh bedding and a clear bedside table make it feel calm. Typical cost for the bedroom is $40 to $80.
On Sunday morning, take on the bathroom. New towels, a small shelf, and a tidy sink area work fast. Typical cost for the bathroom is $25 to $50.
Finish with the dining room in the afternoon. A simple centrepiece and clean chairs make meals feel special. Typical cost for the dining room is $20 to $45.
Add it all up and the whole weekend costs $150 to $305. That is a full home makeover for less than one big shop trip.
I like to keep a list as I go. It helps me stay on budget and not buy extra things.
Take a photo before you start and one when you finish. You will be proud of what you did in just two days.
| Room | Main Cost | Typical Cost |
|---|---|---|
| Living Room | Throw, tidy shelf, warm bulbs | $35 to $70 |
| Kitchen | New handles, clean counter, small plant | $30 to $60 |
| Bedroom | Fresh bedding, clear bedside table | $40 to $80 |
| Bathroom | New towels, small shelf, tidy sink area | $25 to $50 |
| Dining Room | Simple centrepiece, clean chairs | $20 to $45 |
| Total | Whole weekend makeover | $150 to $305 |
Keep Reading
If you liked these ideas, you will love these posts too.
- 21 Rental Living Room Ideas That Feel Like Home
- 23 Rental Bathroom Ideas That Need No Drilling
- 25 Rental Kitchen Ideas That Renters Can Actually Do
- 27 Shiplap Wall Ideas That Add Charm to Any Room
- 22 Ladder Shelf Ideas That Fit Any Corner
- 30 Wallpaper Ideas That Make a Room Feel New
Pick one room this weekend and start with the cheapest idea on the list. You will love how fresh your whole home feels by Sunday night.