25 Rental Kitchen Ideas That Renters Can Actually Do

My rental kitchen had plain white walls and a tired old sink, and I felt stuck every time I walked in to make tea.
The landlord said no paint and no holes in the wall. I nodded and smiled, but inside I felt sad. I thought a rental kitchen had to stay plain and dull.
Then I started to look for small fixes that I could undo in a few minutes. I tried one cheap idea at a time. Some worked so well that my friends asked if I had moved to a new flat.
I learned that a rental kitchen can still feel like my own place. I just had to pick ideas that peel off, lift out, or screw back the way they were.
Nothing here needs a drill or a big budget. Most of these ideas cost less than a weekly shop, and you can take them with you when you move.
I made all of my changes on a quiet weekend, one step at a time. I kept the old knobs and the old bits in a small bag so I could put them back later.
In this one post you will find all 25 ideas that renters can actually do, from quick wall fixes to smart storage tricks that make a small kitchen feel calm and easy to use.
1. Peel-and-Stick Backsplash Tiles
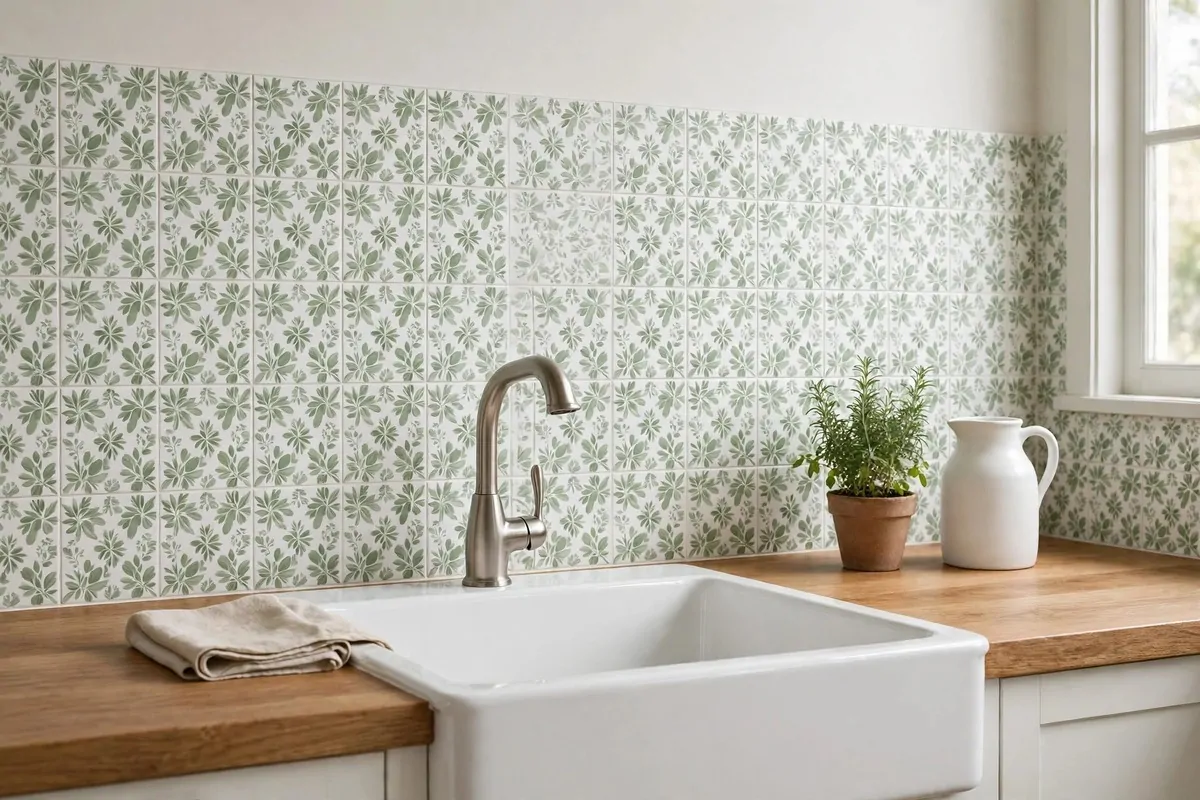
My kitchen wall behind the cooker looked dull and a bit greasy, even after I wiped it clean. I wanted colour there, but I could not paint it or stick on real tiles. Peel-and-stick tiles gave me the look I wanted without any mess.
These tiles come as flat sheets with a sticky back. You peel off the paper, press the sheet on the wall, and smooth it down with your hand. I did my whole backsplash in one evening while the rice was cooking.
First I cleaned the wall with warm soapy water and let it dry all the way. A clean dry wall helps the tiles stick well. I also wiped off any grease near the cooker with a soft cloth.
I started at one end and worked my way along in a straight line. I lined up each sheet with the last one so the pattern looked neat. When a sheet did not sit right, I lifted it off and tried again before I pressed it down hard.
I checked prices at three shops before I bought mine, and the costs were simple to compare. Peel-and-stick subway tiles cost $15 to $30 per pack, peel-and-stick mosaic sheets cost $10 to $20 per pack, peel-and-stick stone look tiles cost $25 to $40 per pack, and peel-and-stick vinyl panels cost $8 to $15 per pack.
| Backsplash type | Typical cost | Why I like it |
|---|---|---|
| Peel-and-stick subway tiles | $15 to $30 per pack | Clean and bright, suits most kitchens |
| Peel-and-stick mosaic sheets | $10 to $20 per pack | Small pattern, hides small marks |
| Peel-and-stick stone look tiles | $25 to $40 per pack | Warm and cosy, looks like real stone |
| Peel-and-stick vinyl panels | $8 to $15 per pack | Cheapest pick, easy to cut and fit |
You can cut the sheets with normal scissors to fit around plugs and taps. I measured twice and cut once, and the small offcuts filled the gaps at the ends. A sharp craft knife also helps for a neat edge.
When it is time to move out, you can peel the tiles off slowly from one corner. Warm them a little with a hair dryer on a low heat if they feel stuck. Then wipe the wall with warm soapy water, and it goes back to how it was.
I picked a soft white tile with a thin grey line, and it made my whole kitchen look fresh. The light bounced off it in the morning, and the room felt bigger. My mum thought I had paid someone to fit real tiles.
This is a good first idea if you want a big change with no risk. It is cheap, quick, and easy to undo. If you do not like the pattern, you can take it down and try a new one next weekend.
2. Removable Wallpaper on One Wall
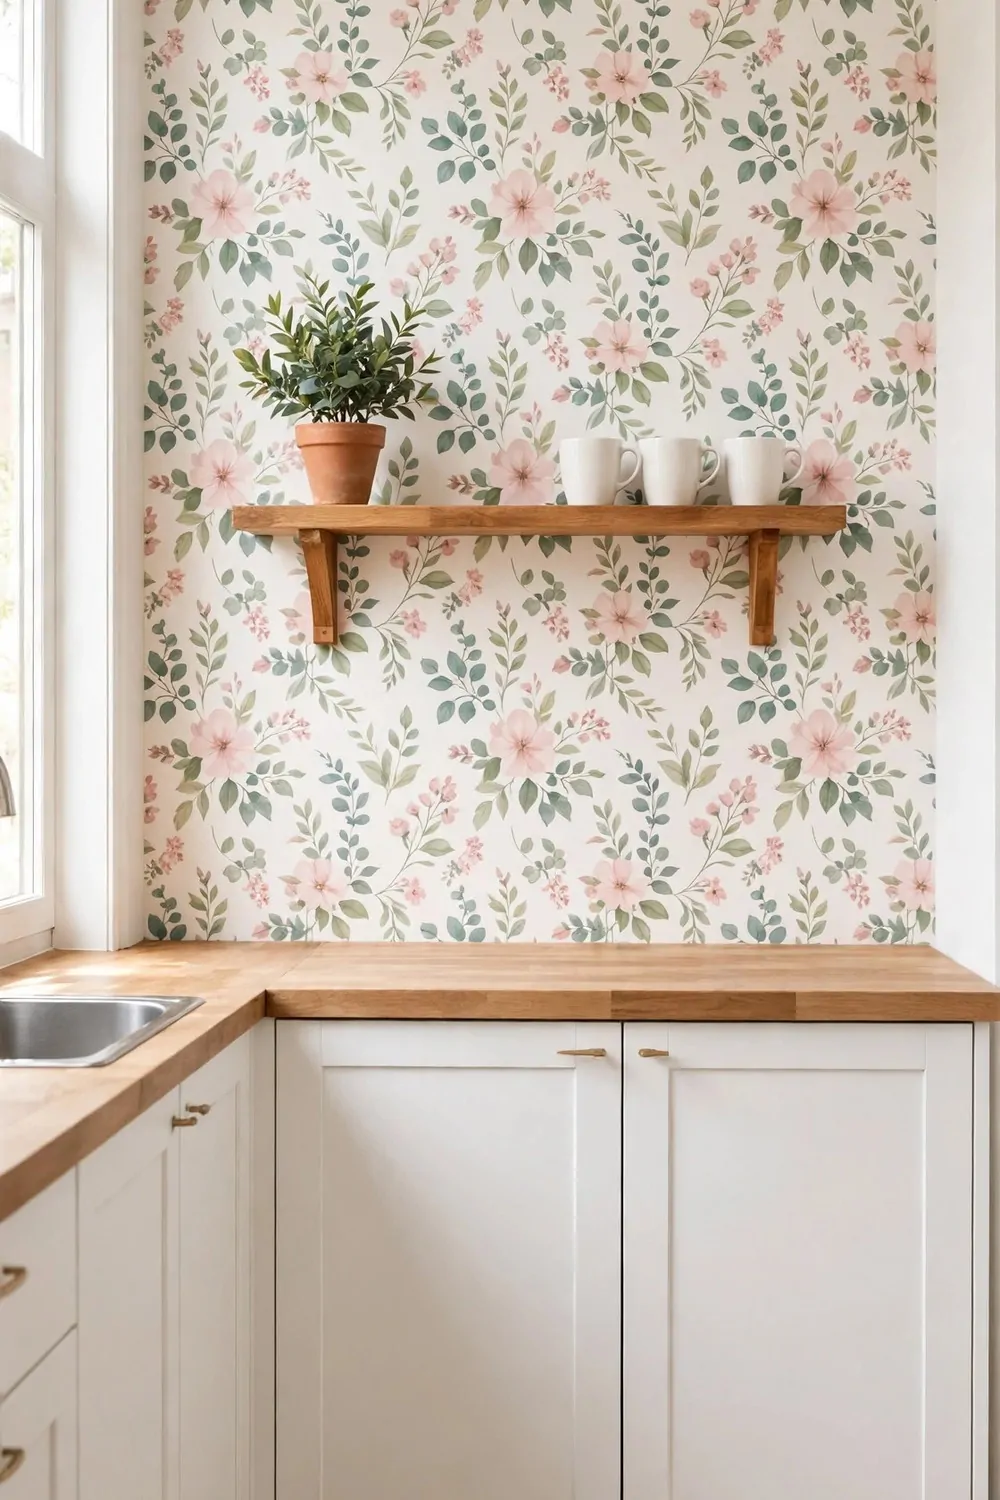
One plain wall in my kitchen made the whole room feel cold. I wanted a soft pattern there, but paint was not allowed. Removable wallpaper gave me that warm feel in one afternoon.
This paper sticks with a light glue that comes off clean. You can peel it away when you move, and it should not pull paint off the wall. I picked a pale floral print that felt calm and light.
First I measured the wall from top to bottom and side to side. I bought one extra roll just in case I made a mistake. It is better to have a little spare than to run out halfway up the wall.
I started at the top and let the paper drop down slowly. My sister held the bottom end while I smoothed out the air bubbles with a dry cloth. We worked in small strips, and it went faster than I thought.
If a strip went on crooked, I just peeled it back and lined it up again. That is the best part of this paper. You do not have to get it perfect on the first try.
I only papered one wall, and that was enough. The rest of the walls stayed plain white, so the pattern did not feel too busy. The room still felt light and airy.
Pick a light colour if your kitchen is small. A pale print makes the space feel open, and a dark print can make it feel closed in. I learned that the hard way in my old flat.
When I move out, I will peel the paper off from the top corner and pull it down slow. I will wipe the wall with a damp cloth after, and it will look just like it did on the day I moved in. That gives me real peace of mind.
This idea is great if you rent and you love colour. It feels like a real change, but it is not a permanent one. You can even take the roll with you and use it in your next home.
3. Swap the Cabinet Knobs
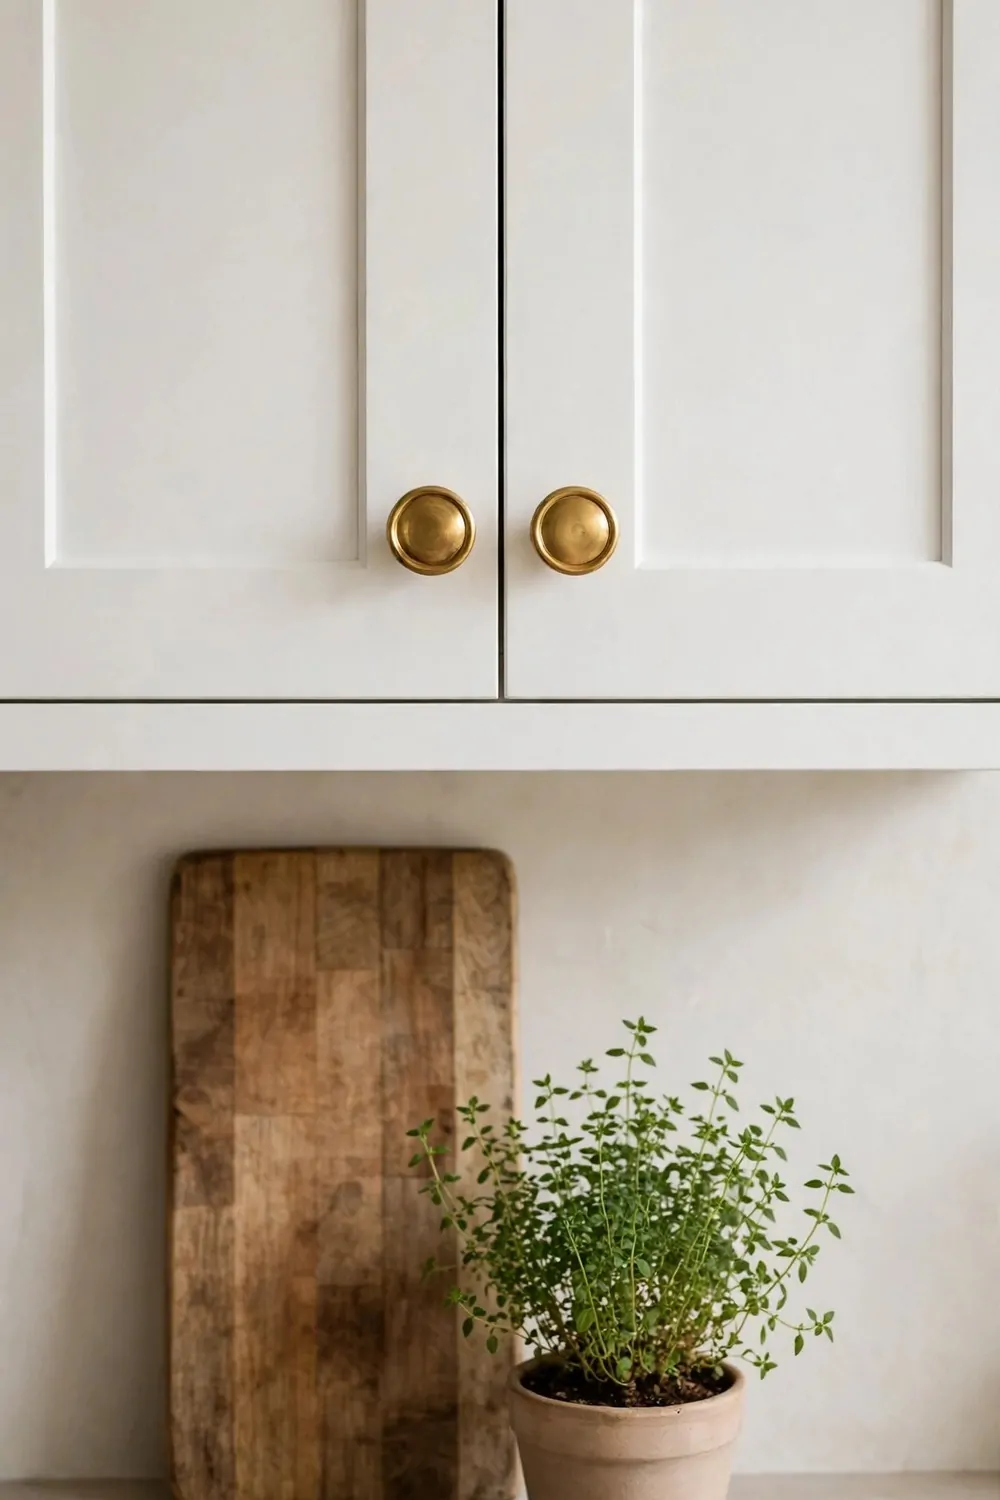
My kitchen cupboards had old brown knobs that looked tired and worn. The doors were fine, but the knobs made the whole kitchen feel old. A new set of knobs changed the look in less than an hour.
I bought simple round knobs in a soft brass colour. They were not costly, and they came with small screws in the pack. I picked a style that matched my taps so the room felt pulled together.
First I put all the old knobs in a small zip bag with their screws. I wrote “old kitchen knobs” on the bag with a pen. I keep that bag in a drawer so I can find it fast on moving day.
Then I unscrewed each old knob with a normal screwdriver and popped the new one in its place. I did one door at a time so I did not mix up the screws. It felt so easy that I smiled at how quick it was.
You do not need any skill for this job. If you can turn a screwdriver, you can do it. I did it while my tea was cooling, and I still had time to sit down and enjoy it.
Try knobs in wood, black metal, or soft gold for a warm feel. Round knobs feel soft in the hand, and bar pulls feel neat and modern. Pick the one that feels good to you when you open a door.
This small swap makes old cupboards look new without any paint or fuss. My kitchen felt fresh the same day, and no one could tell it was just new knobs. It is one of the cheapest wins I know.
When I leave, I will take off my new knobs and put the old ones back on. The doors will look just like they did before, with no marks and no damage. I can take my nice knobs to my next kitchen too.
Keep the old screws safe, and do not throw them away. The landlord may want the same knobs back, and you will be glad you saved them. This is a renter trick I tell all my friends now.
4. Contact Paper Inside Shelves and Drawers
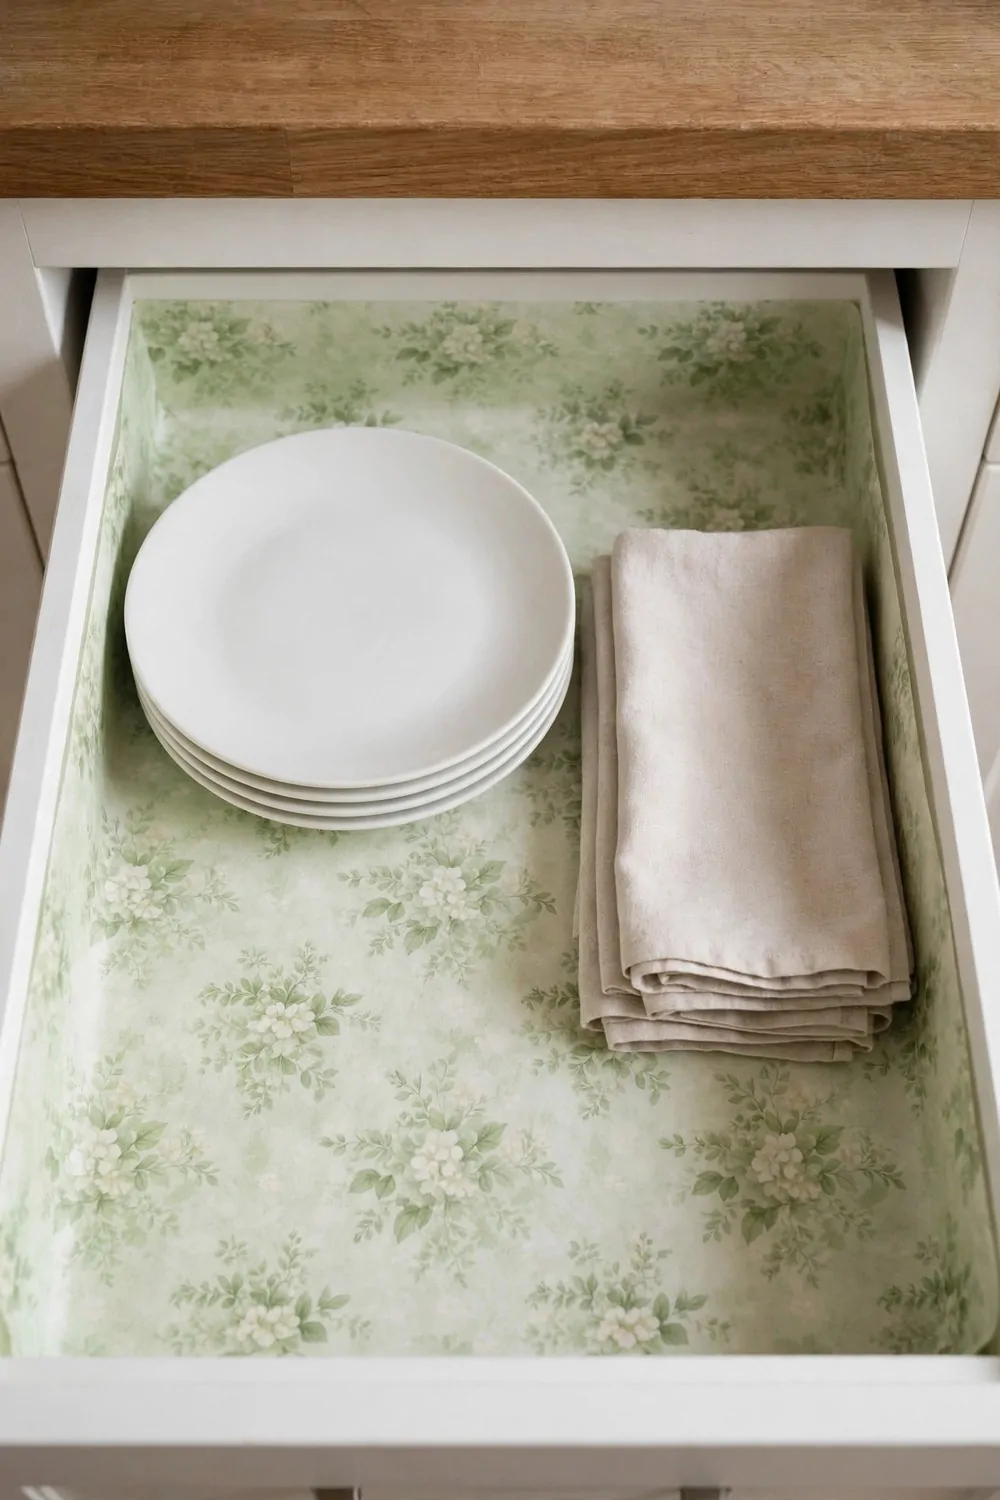
The inside of my kitchen shelves looked stained and old, even though I cleaned them a lot. I did not want to see those marks every time I opened a cupboard. Contact paper gave the shelves a clean new lining.
Contact paper is a thin sticky sheet that you cut to size. You lay it flat inside a shelf or a drawer, and it covers up marks and stains. I picked a plain cream paper with a soft dot pattern.
First I took everything out of the shelf and wiped it clean. I let it dry fully before I laid the paper down. A dry shelf helps the paper sit flat with no bubbles.
I measured the shelf, cut the paper a little big, and then trimmed the edges with scissors. I peeled back a small bit at a time and smoothed it down as I went. That slow way stopped wrinkles from forming.
If a bubble popped up, I lifted the corner and smoothed it out again. It took a bit of patience, but the end result looked so neat. My plates now sit on a clean soft surface.
This paper also helps to stop cups and plates from sliding about. It gives a soft grip, so things stay in place when you open and close the drawer. It also makes cleaning much easier.
When a sheet gets dirty, I just wipe it with a damp cloth. If it gets too worn, I can peel it up and lay a fresh sheet down. It is a quick job that takes only a few minutes.
To undo it, I peel the paper up from one corner and pull it off slow. I wipe the shelf with warm soapy water after, and the shelf looks just as it did before. No paint comes off, and no sticky marks stay behind.
This is a quiet little fix that no guest will even notice, but you will notice it every day. Your shelves will feel clean and cared for. It is perfect for a rental kitchen.
5. A Tension Rod Under the Sink
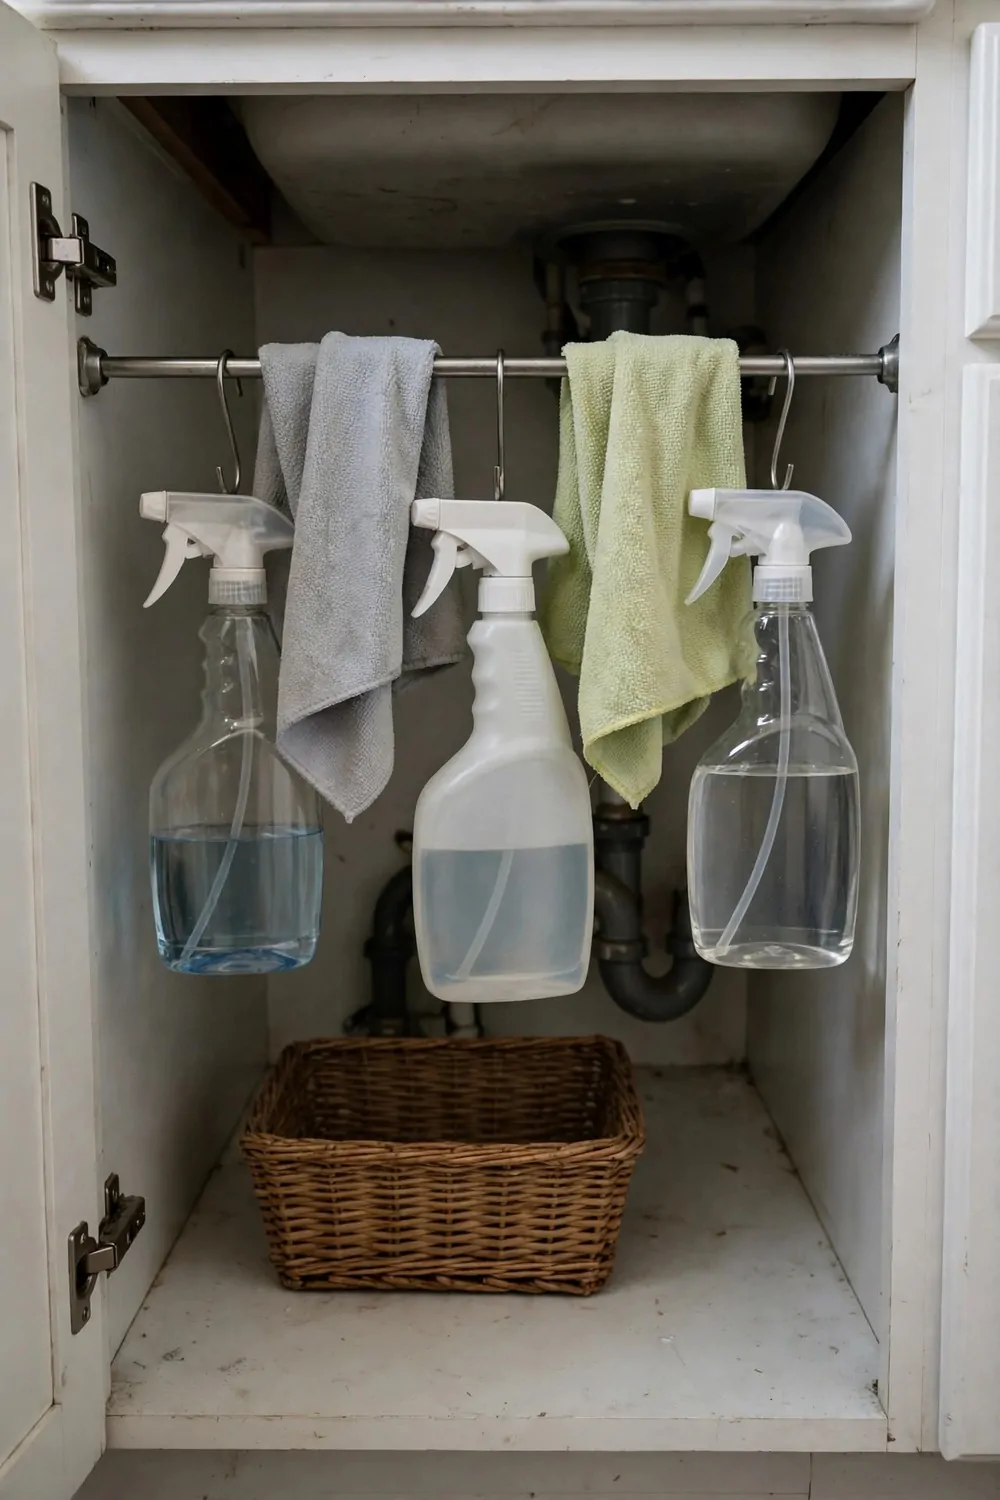
The cupboard under my sink was a mess of bottles and cloths all piled up. I could never find the spray I needed, and things fell over each time I opened the door. A tension rod fixed it in five minutes.
A tension rod is a metal rod that pushes out to fit tight between two walls. You twist it to make it longer, and it holds itself in place. You do not need screws or holes at all.
I put the rod across the cupboard, just under the top edge. Then I hung spray bottles from it by their triggers. The bottles hung in a neat row, and I could see each one at a glance.
Now the bottom of the cupboard is free for cloths and sponges. I keep them in a small tub so they do not slide around. The whole space feels calm and easy to use.
Measure the gap before you buy a rod, so you get the right size. Most rods fit a range of widths, but it is still best to check. Mine was a bit too long at first, so I twisted it back to fit.
You can also hang small baskets from the rod if you want more storage. I hung one basket for gloves and one for spare cloths. It felt like I had gained a whole extra shelf.
This trick works in other tight spots too. I have a small rod in a tall cupboard to hold baking trays upright. It keeps them from falling over in a noisy pile.
When I move, I just twist the rod short and lift it out. There are no holes, no marks, and no damage to the cupboard walls. The space goes back to how it was in seconds.
It is such a simple fix, but it changed how I use my kitchen. I no longer dread opening that cupboard door. Everything has a place now, and I can find it fast.
6. Over-Door Hooks on Cabinet Doors
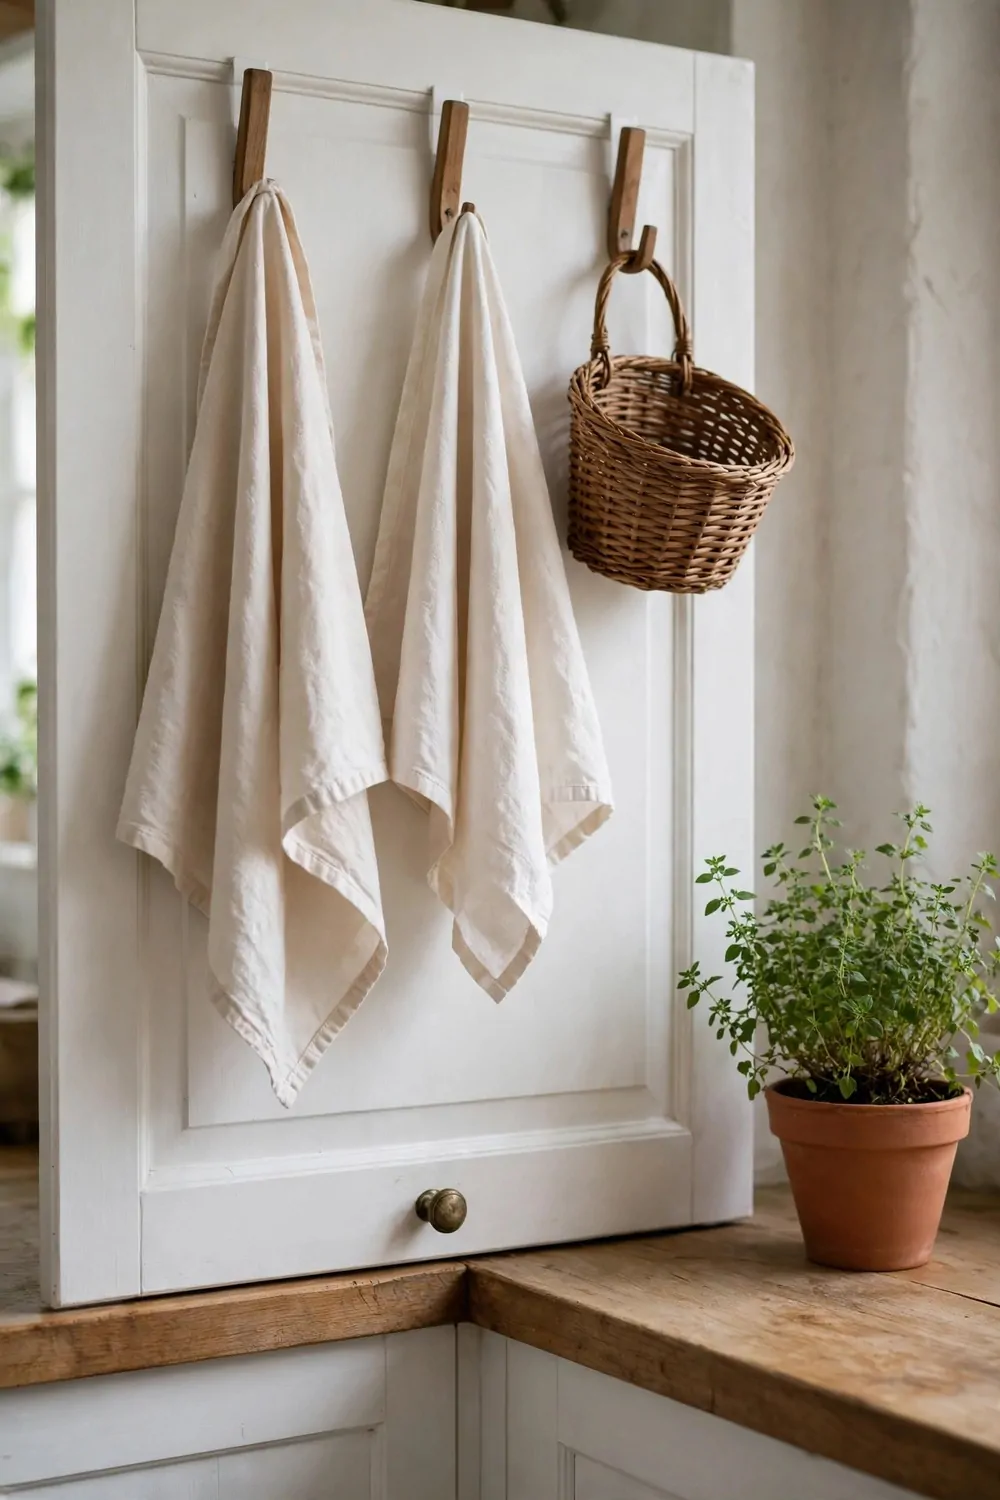
I had no place to hang my tea towels, and they kept ending up on the worktop in a damp pile. I wanted hooks, but I could not drill into the doors. Over-door hooks solved it with no tools at all.
These hooks are made to slide over the top of a cupboard door. They have a flat metal strip that sits on the door edge, and hooks that hang down on the front. You just slip them on and they stay put.
I put one set on the door under my sink for tea towels. I put another set on a tall cupboard door for my apron and oven gloves. It took me less than a minute to fit each one.
Now my tea towels dry fast and stay off the worktop. My apron hangs neat and ready, and I do not have to hunt for it when I start to cook. The kitchen looks tidier too.
Pick hooks that fit the thickness of your doors. Most doors are a normal size, but a quick check helps. My hooks fit snug with no wobble, and the doors still close fine.
You can use these hooks for more than towels. Hang measuring cups, small pans, or a shopping list clip from them. I keep a small hook by the cooker for my wooden spoon rest.
Do not overload them with heavy pans, or the door may not close well. Light things work best here. Keep the heavy stuff on a shelf or in a drawer where it belongs.
When it is time to move, I just lift the hooks off the doors. There are no holes and no marks left behind. The doors look just the same as they did on move-in day.
This is one of the easiest renter fixes I know. It costs very little, needs no skill, and makes daily cooking so much smoother. I wish I had tried it years ago.
7. Command Strip Hooks on the Wall
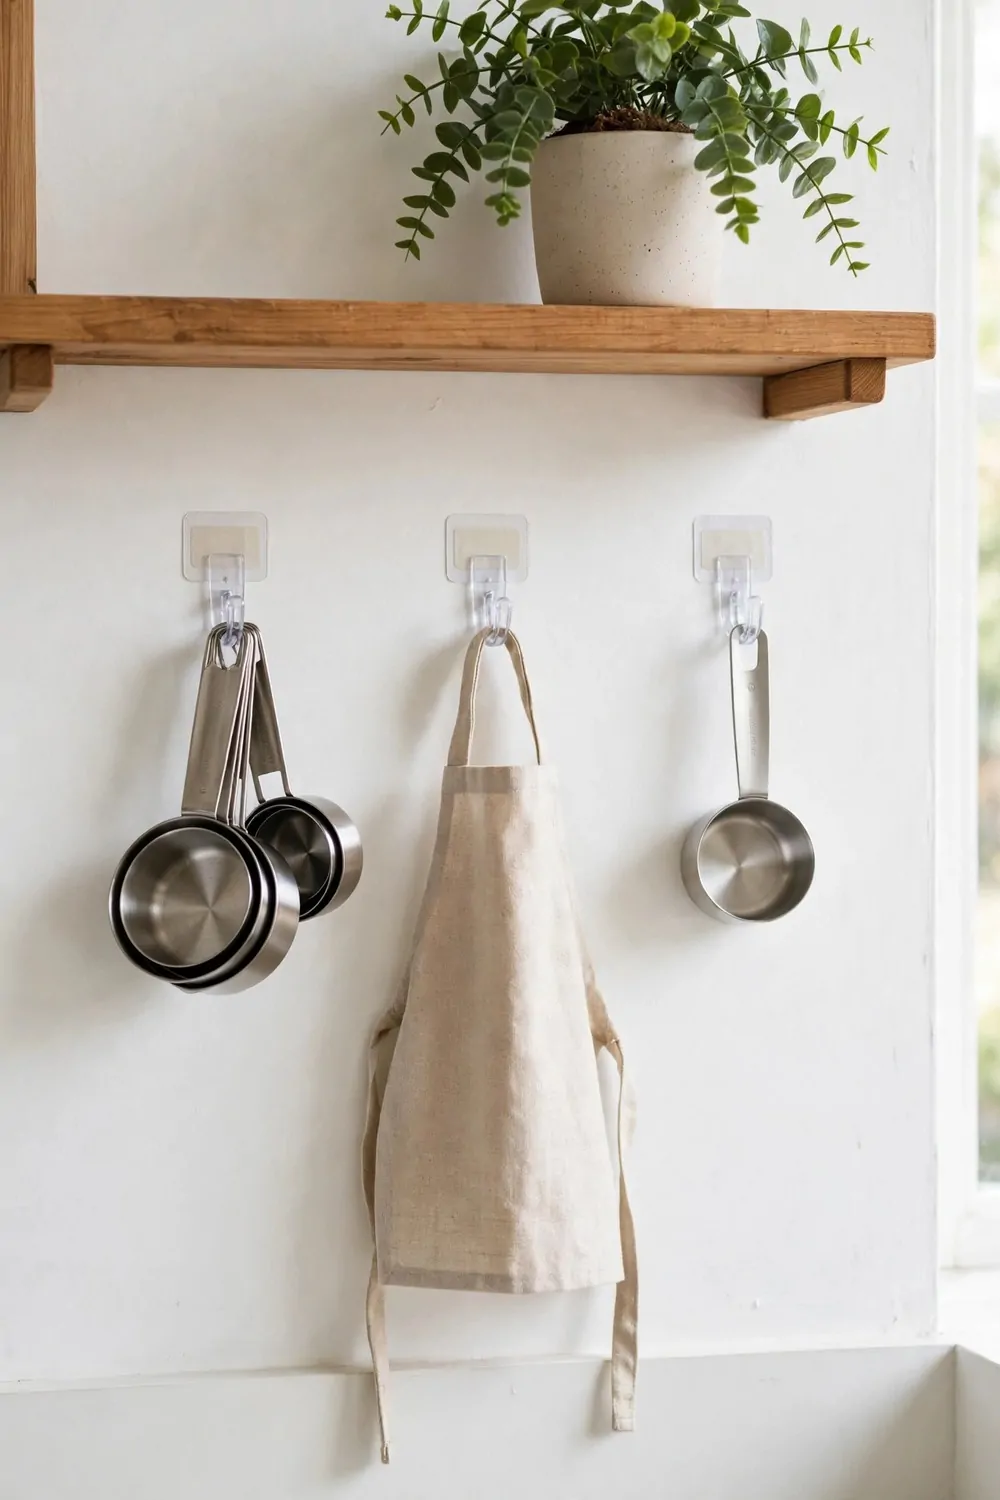
My kitchen walls were bare, and I had nowhere to hang my mugs or my small tools. I did not want to make holes in the wall for the landlord to find later. Command strip hooks gave me hanging space with no damage.
These hooks stick to the wall with a special strip that peels off clean. You press the strip on the wall, wait a short time, and then press the hook on top. It holds well if you follow the steps on the pack.
I put a row of small hooks by the kettle for my favourite mugs. I put two bigger hooks near the door for my apron and my shopping bags. The wall went from bare to useful in one afternoon.
First I cleaned the wall spot with a damp cloth and let it dry. Dust and grease can stop the strip from sticking well. I pressed each strip firm for thirty seconds, just like the pack said.
Check the weight limit on the pack before you hang anything heavy. Small hooks are for light mugs and towels, and big hooks can hold a little more. I never hang a heavy pan from a small hook.
These hooks are great for keys, scissors, and small baskets too. I hung a small wire basket from two hooks to hold my tea bags and sugar packets. It freed up space on my worktop.
If a hook feels loose, take it down and try a fresh strip on a clean spot. Do not just add more glue or tape, as that can mark the wall. A fresh strip is cheap and works best.
To remove a hook, pull the strip tab down slow and steady, just like the pack shows. The hook comes off, and the paint stays on the wall. I have done this in two flats now, and the walls were fine both times.
This is a safe way to use your wall space in a rental home. You get the storage you need, and you can take it all down in minutes. The wall goes back to how it was, with no holes at all.
8. A Freestanding Shelf or Bakers Rack
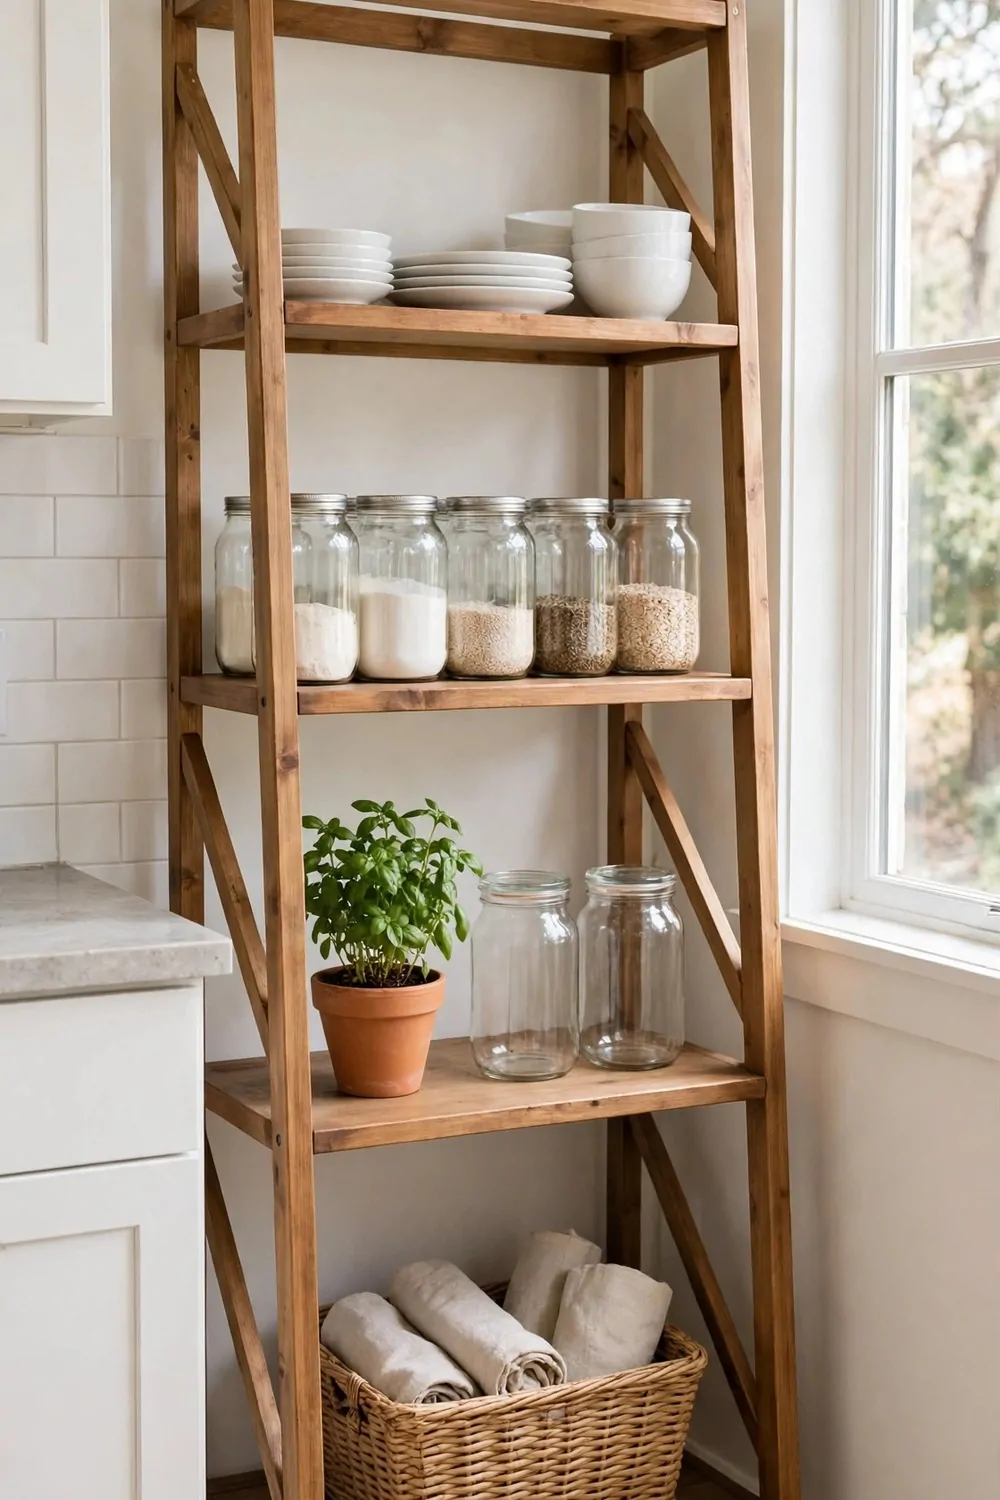
My kitchen had very little worktop space, and my microwave took up most of it. I needed more room, but I could not fit new cupboards. A freestanding bakers rack gave me that extra space in one day.
A bakers rack is a tall open shelf unit that stands on the floor. It does not fix to the wall, so you just put it where you want it. Mine has three shelves and a small top for my kettle.
I put my microwave on the middle shelf and my plates on the top shelf. The bottom shelf holds my big pots and my slow cooker. Now my worktop is free for chopping and mixing.
Pick a rack that fits your space before you buy it. Measure the width and the height, and leave room to open the door next to it. My first pick was too wide, so I swapped it for a slimmer one.
You can use the rack for more than cooking tools. I keep my cookbooks on one shelf and a small plant pot on the top. It makes the kitchen feel warm and lived in, not just a place to cook.
Look for a rack with strong metal frames and shelves that can hold weight. Cheap thin shelves can bend under heavy pots. I tested mine by pressing down firm before I loaded it up.
If you rent, a freestanding shelf is a perfect pick. It needs no screws, no wall fixings, and no change to the room at all. You just stand it in place and start to use it.
When you move, you can take the whole rack apart or carry it out in one piece. The wall and floor stay just as they were. You can use the same rack in your next kitchen too.
This one buy changed my kitchen more than any other idea. It gave me room to breathe, room to cook, and room to store things I love. I use it every single day.
9. Stackable Shelf Risers Inside Cabinets
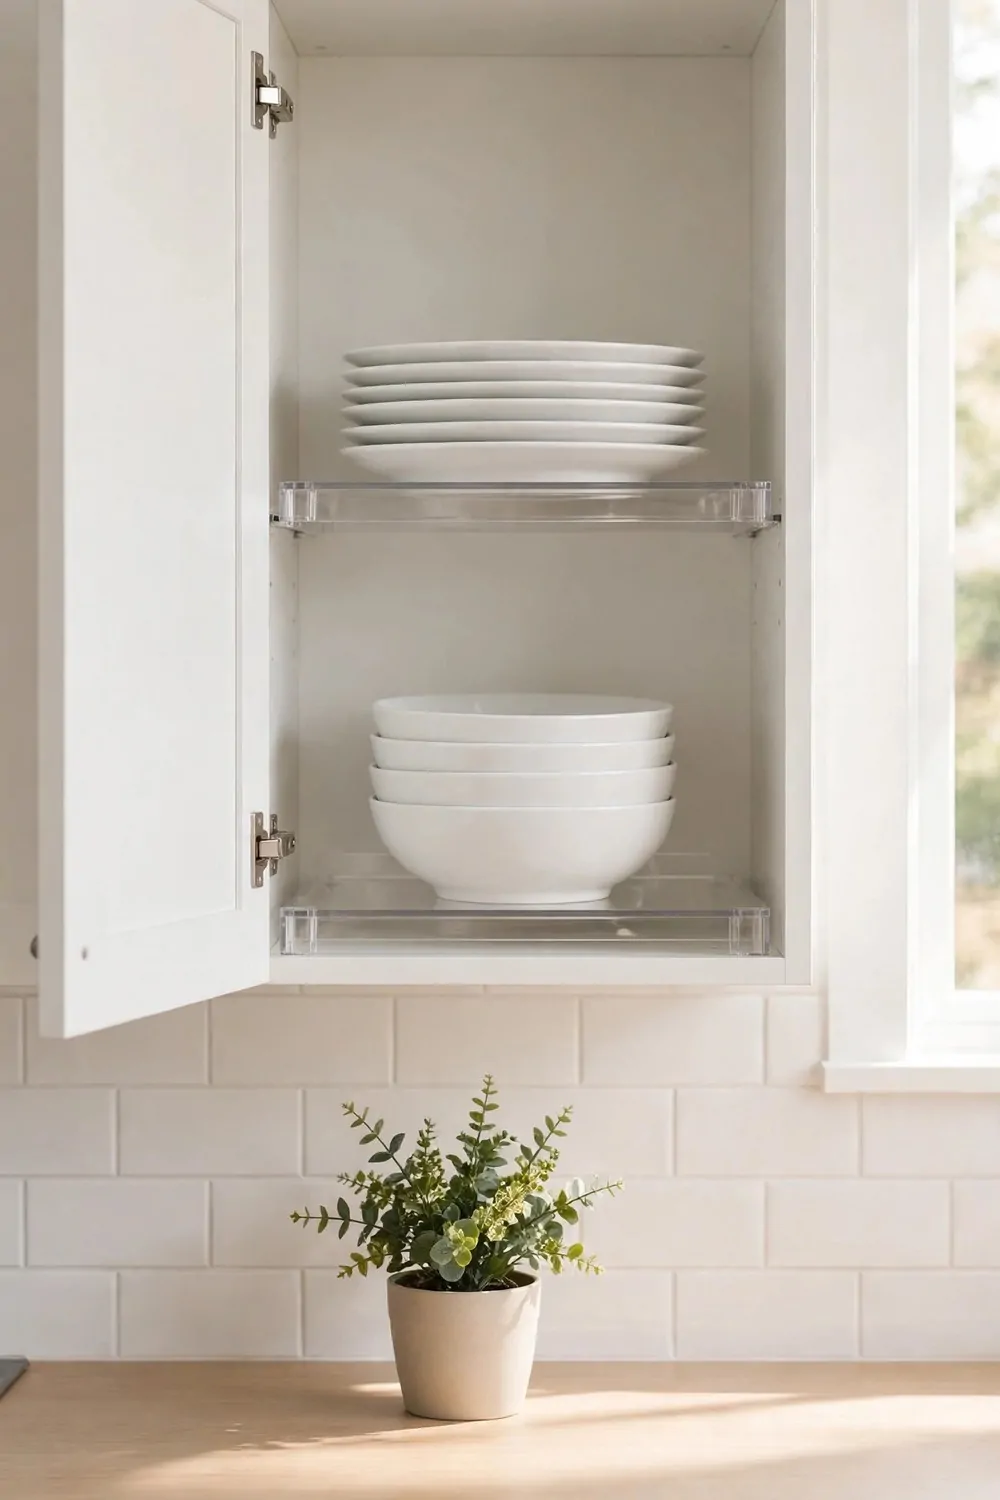
My kitchen cupboards were tall, but I could only use the bottom half of each shelf. Plates sat in one low pile, and the space above them was wasted. Stackable shelf risers fixed that in a few minutes.
A shelf riser is a small stand that sits inside a cupboard and makes a second level. You put plates on the bottom and bowls on the top, so you use the full height of the shelf. They come in metal, wood, and plastic.
I put one riser in the cupboard with my plates and cups. Now I can see all my plates at once, and I do not have to lift a tall pile to reach the one I want. It feels much safer too.
Measure the inside of your cupboard before you buy a riser. Check the height and the depth so the riser fits with room to spare. My first riser was too tall for the shelf, so I took it back and got a shorter one.
You can stack two risers in a deep cupboard if you need more levels. I did that in my food cupboard for tins and jars. Small tins sit on top, and tall jars sit below, and I can see them all.
These risers are great for mugs, bowls, and spice jars as well. I use a small one for my spice jars so the labels face out. Cooking feels faster when I can spot what I need in seconds.
Pick risers that feel steady and do not wobble when you put a plate down. A wide base helps a lot. I press down on each corner before I load it up, just to be sure.
When I move out, I just lift the risers out of the cupboards. There is nothing to unscrew and nothing to peel off. The shelves go back to how they were, with no marks at all.
This is a cheap and simple way to double your storage without any change to the kitchen. It works in every rental I have lived in. Your cupboards will feel bigger the same day you add them.
10. A Rolling Cart for Extra Counter Space
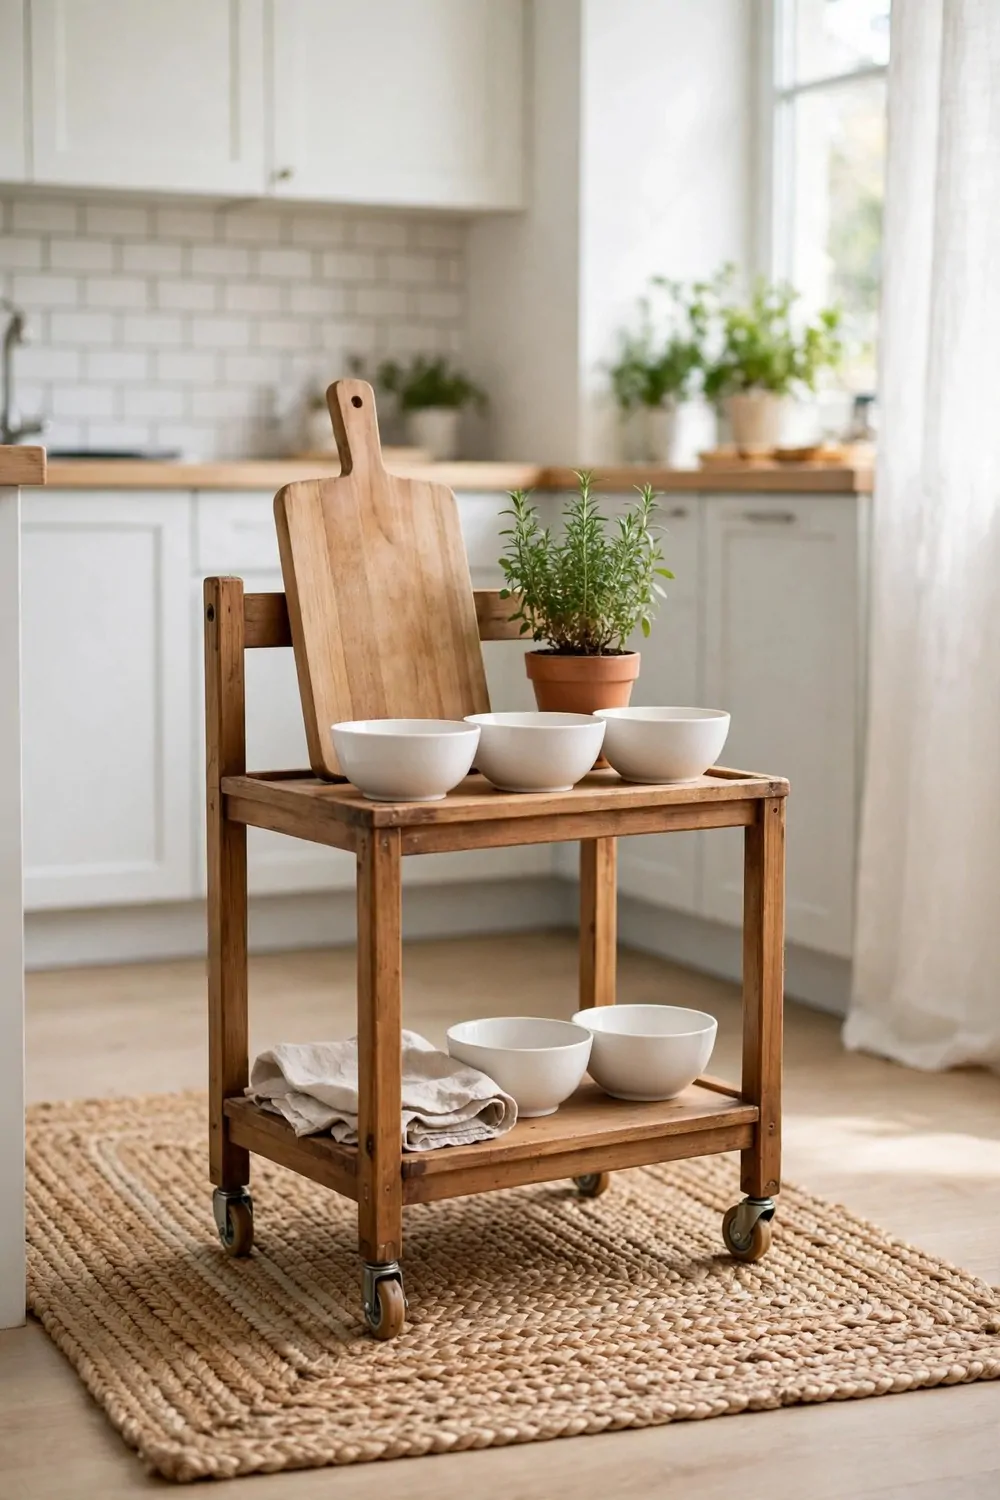
I love my rolling cart more than I thought I would. It gives me a whole extra bit of counter when I need it most.
You just roll it where you need it.
I keep mine next to the stove when I cook. Then I roll it back by the wall when I am done. It takes two seconds and my kitchen feels big again.
Mine has a wood top and two shelves below.
The top holds my chopping board and a bowl. The shelves hold my big pots and my baking tray.
Pick one with wheels that lock. That way it stays still while you chop. You can unlock it with your foot and move it again.
You do not need to fix it to the wall.
When you move out, you just roll it out the door. It leaves no marks and no holes behind.
It is such a simple fix.
11. A Turntable in the Corner Cabinet
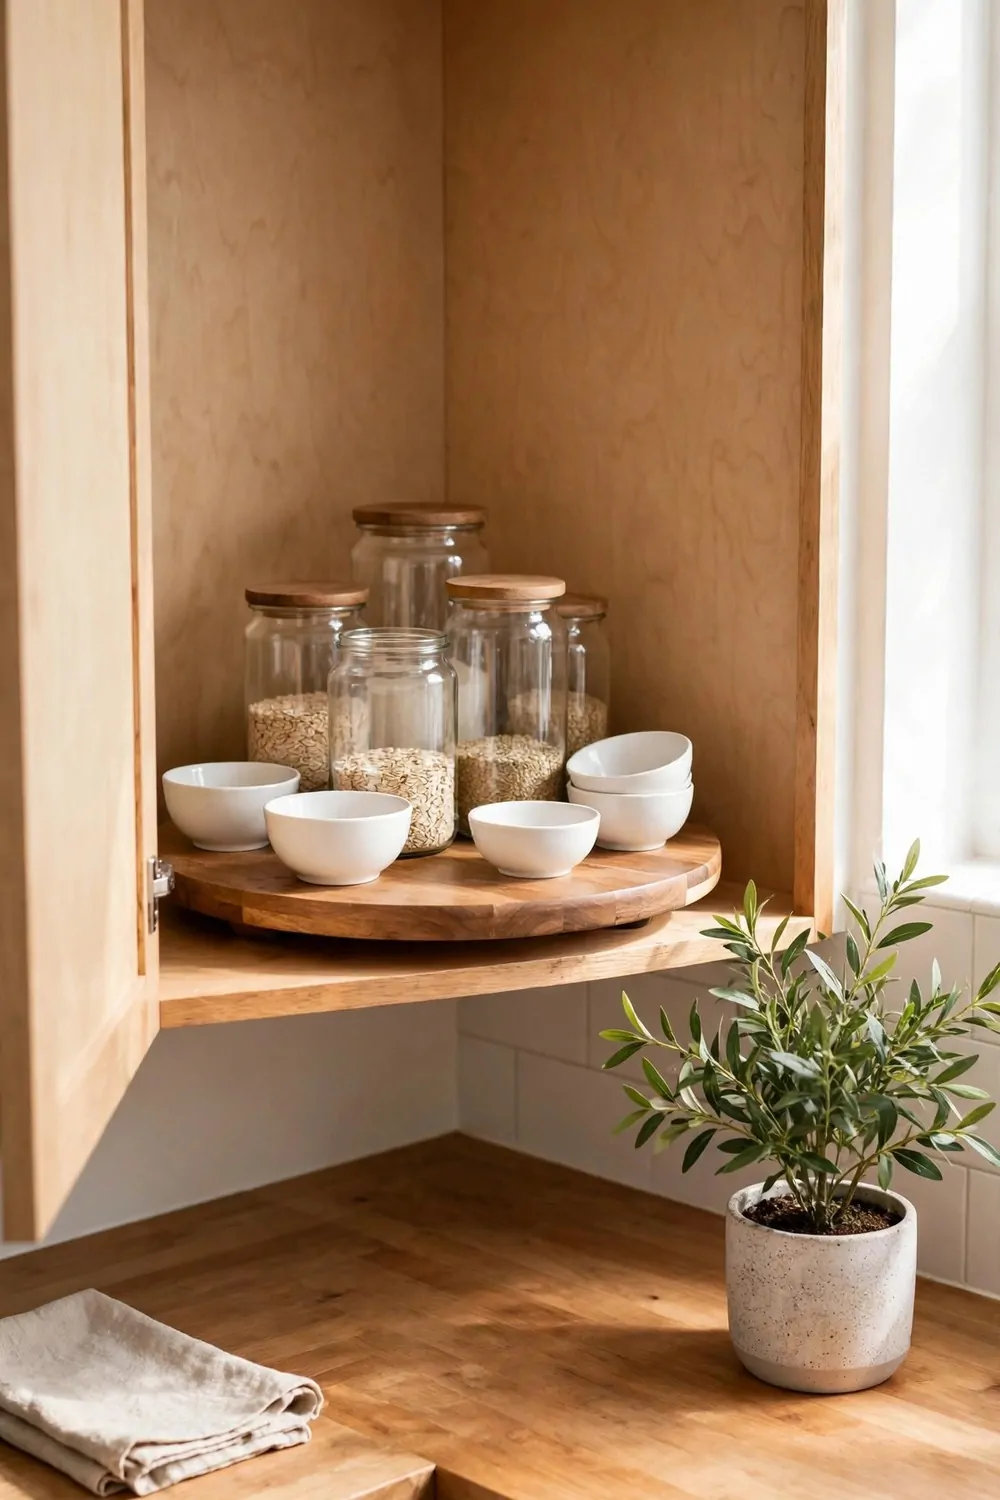
My corner cabinet used to be a black hole. Things went in and I never saw them again.
A turntable fixed that in one day.
You put it on the shelf and you spin it. Everything comes round to you. No more reaching right to the back and knocking things over.
I keep my oils and sauces on mine.
I also keep my small jars of spices there. It is so nice to spin and find what I want in a second.
Pick one that fits your shelf first. Measure the shelf with a tape before you buy. A turntable that is too big will not spin at all.
It just sits there.
When you move, you lift it out and the shelf looks just like it did before. There is nothing to unscrew and nothing to fill in.
I wish I had bought one years ago.
12. Battery Puck Lights Under the Cabinets
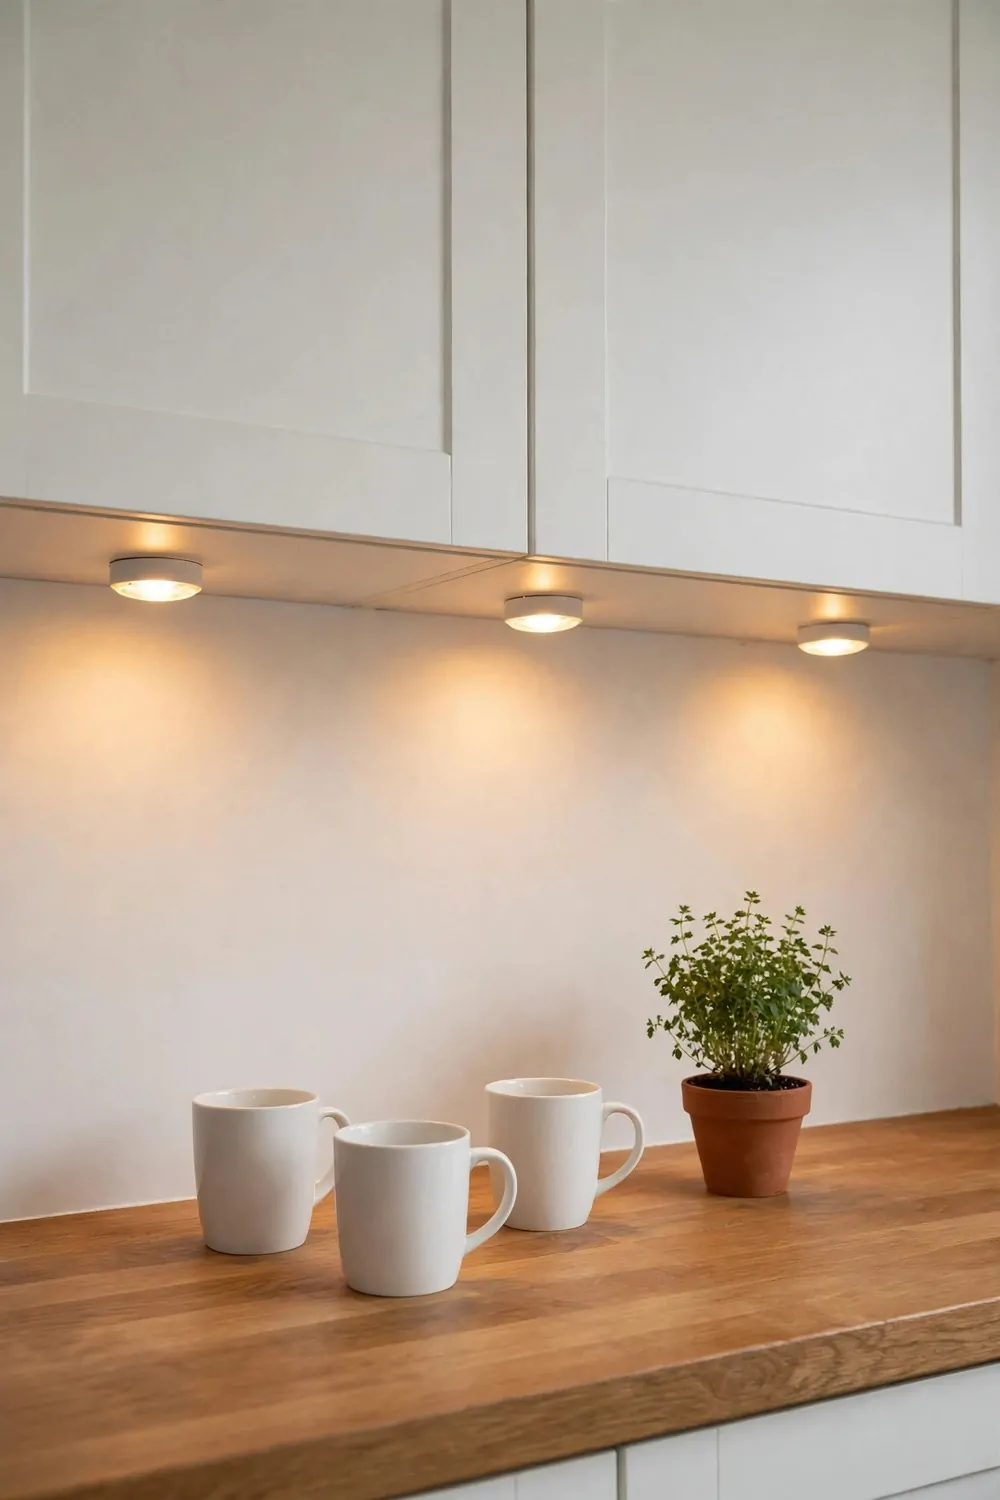
My kitchen felt dark at night, even with the main light on. The counter under the cabinets was always in shadow.
Battery puck lights fixed it.
They are small round lights that stick under your cabinets. You tap them to turn them on. You tap them again to turn them off.
Most of them use sticky tape on the back. You peel it and press the light up. No wires and no tools.
The basic stick-on puck lights cost $10 to $20 for a pack.
Battery light bars are a bit longer and they cost $15 to $25 for a pack. I like them over the sink because they light a wide bit of counter. They stick on the same way, with tape.
Motion-sensor puck lights cost $20 to $30 for a pack.
| Light type | Typical cost |
|---|---|
| Stick-on puck lights | $10 to $20 for a pack |
| Battery light bars | $15 to $25 for a pack |
| Motion-sensor puck lights | $20 to $30 for a pack |
They turn on when you wave your hand near them. That is so handy when your hands are wet or full. You just peel them off when you move out, and the cabinet looks the same as before.
Pick warm white if you can. It makes food look nice and the kitchen feels cosy at night.
13. A Washable Rug Runner on the Floor
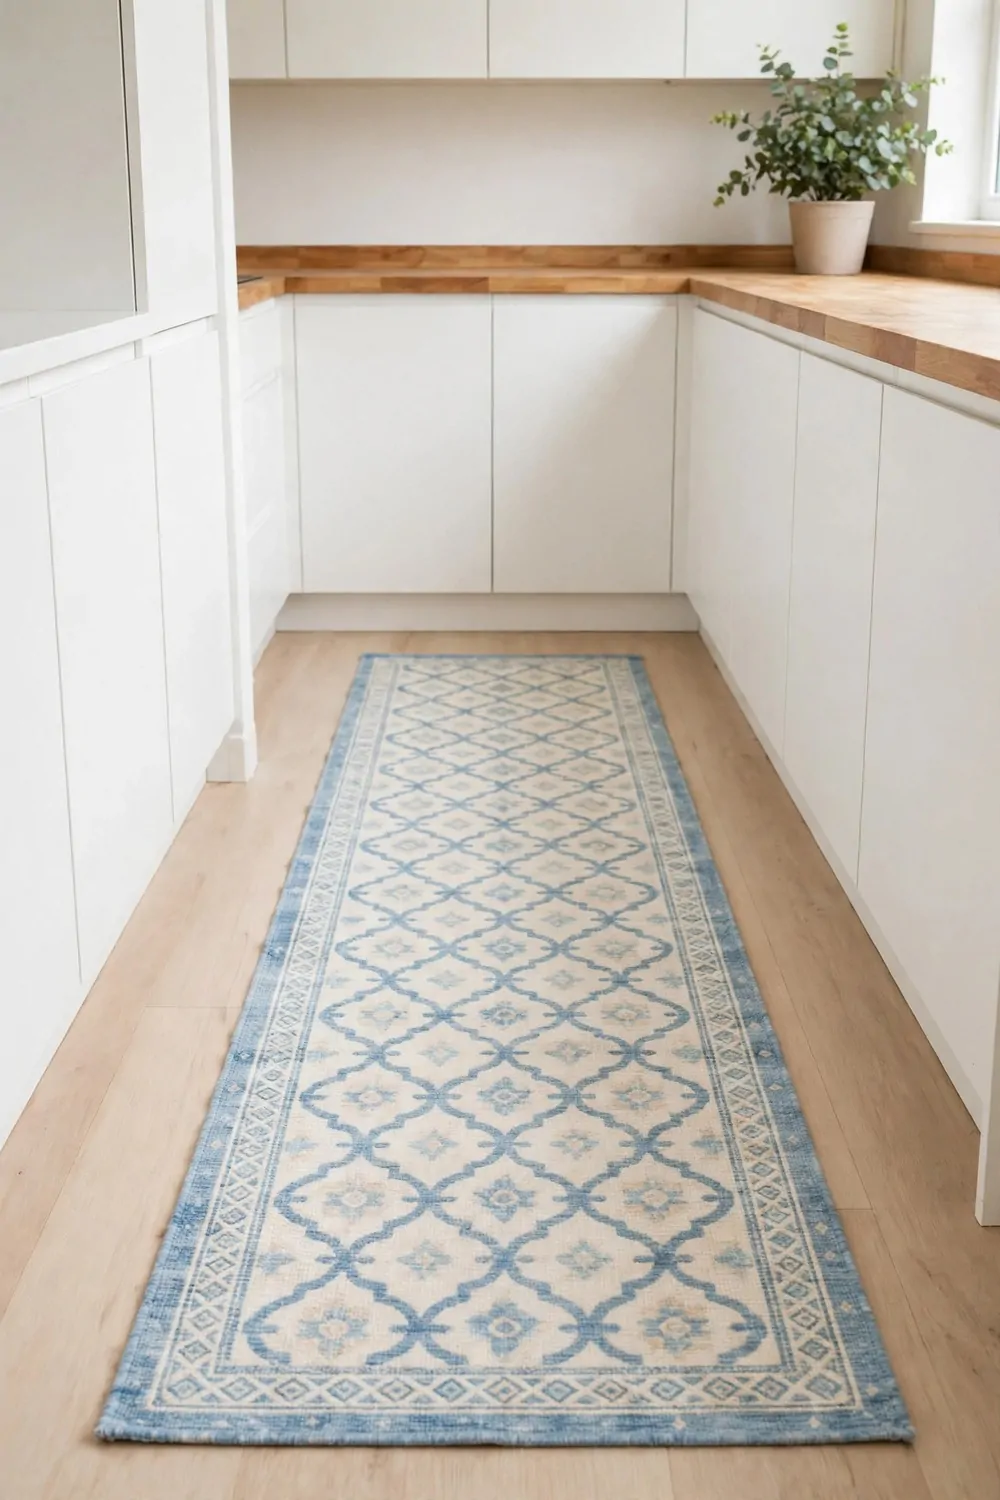
My kitchen floor used to feel cold and hard. My feet got tired when I stood there to cook.
A washable rug runner changed that.
It is long and soft and it sits in front of the sink or the stove. You stand on it and your feet feel so much better. It also adds a bit of colour to a plain floor.
Pick one you can wash in the machine.
Kitchen floors get spills and splashes all the time. You just pick it up, wash it, and put it back down.
Look for a thin one with a grip back. It stays in place and it does not trip you up. A thick rug near the stove is not a good idea.
You do not need to stick it down.
When you move out, you roll it up and take it with you. The floor under it is just as it was.
It is the easiest way to make the room feel warm.
14. A Curtain Under the Sink
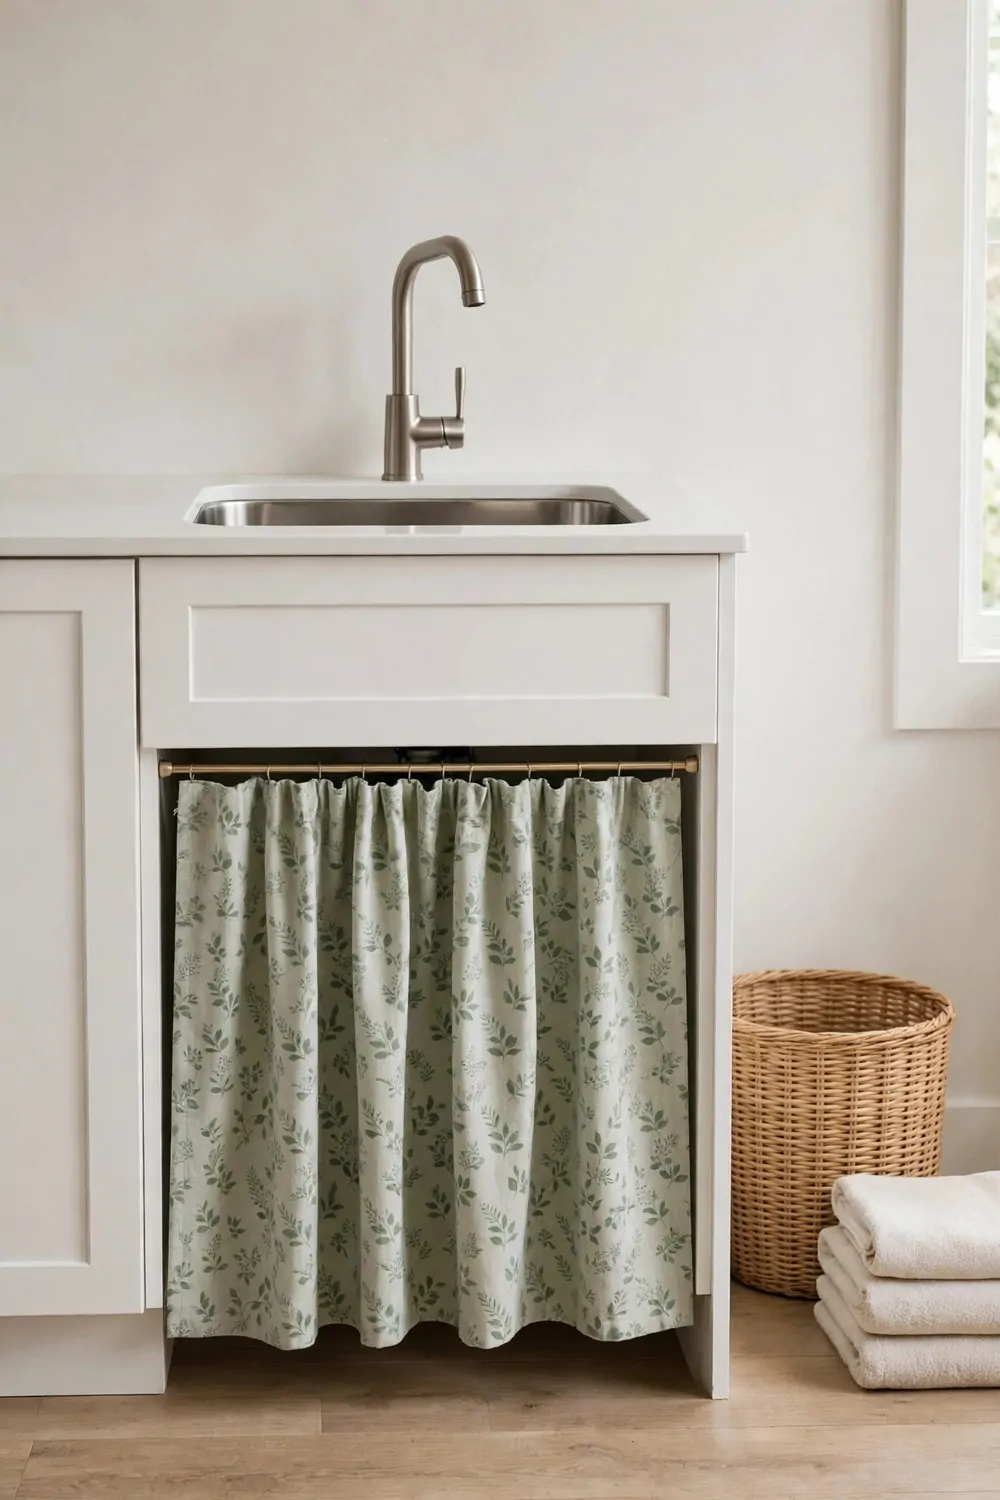
I did not like looking at the pipes under my sink. It always looked messy, even when it was clean.
A small curtain fixed it.
You hang a short curtain on a tension rod under the sink. It hides the pipes and the cleaning stuff. It makes the whole kitchen look tidy in one go.
A tension rod just pushes between the two sides.
You twist it till it feels tight. You do not drill any holes at all.
Pick a light fabric you can wash. I use a plain cotton one in a soft colour. It matches my towels and it is easy to take down and wash.
It is so cheap to do.
When you leave, you take the rod down and the curtain with you. There are no marks left on the cupboard.
I smile every time I see it now.
15. Potted Herbs on the Windowsill
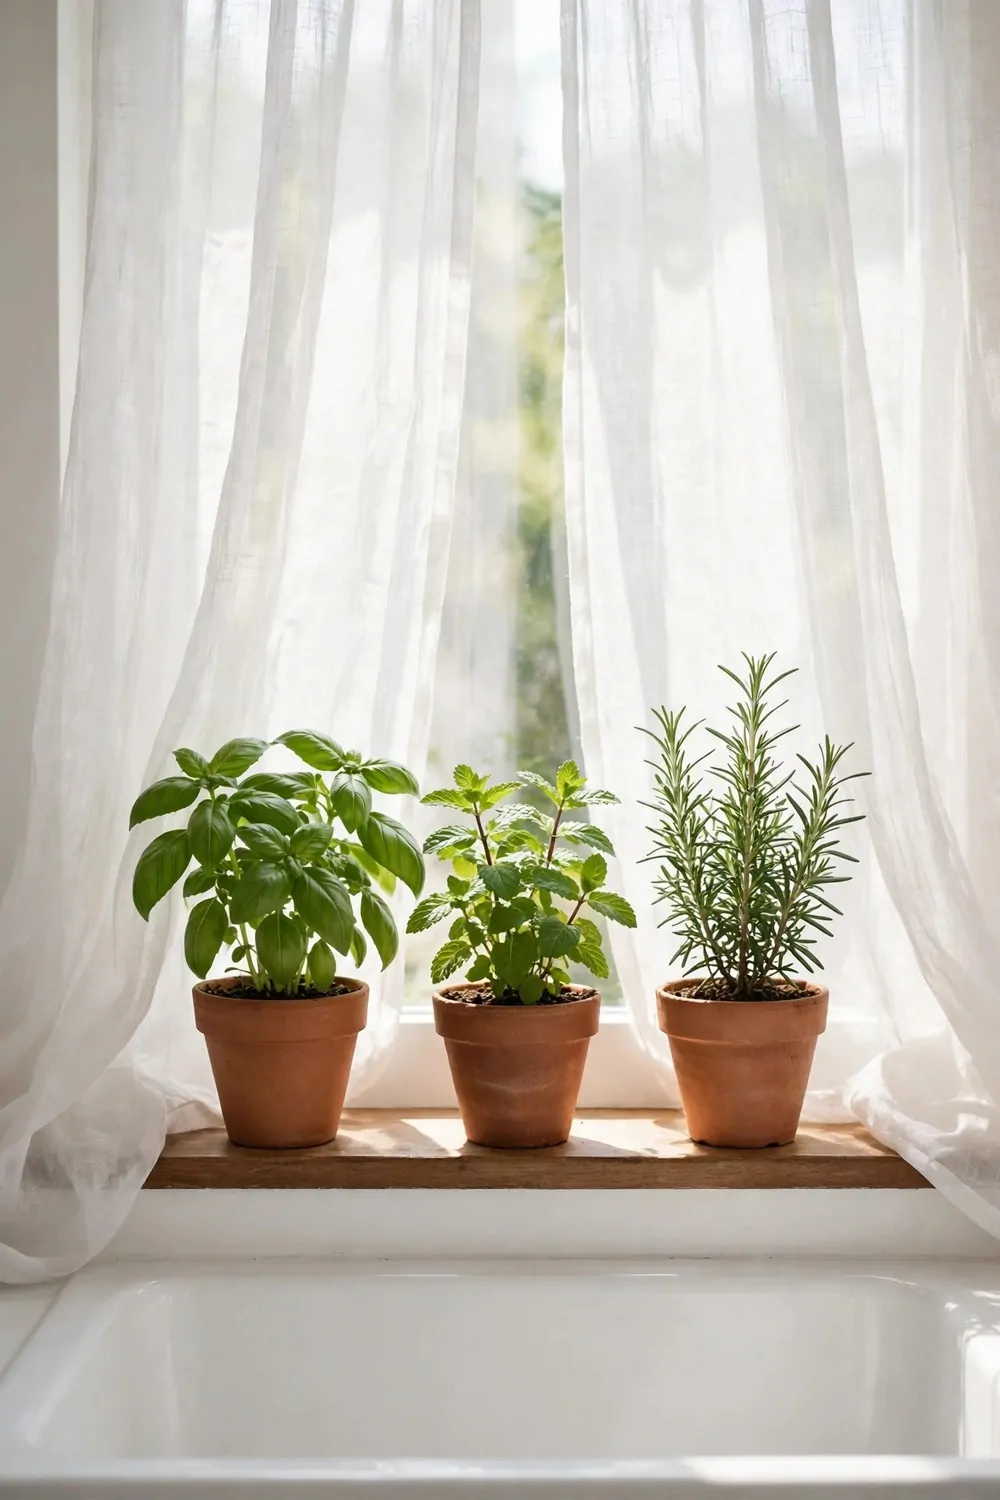
I love having fresh herbs right by my window. They smell so good when you brush past them.
You do not need a garden.
A few small pots on the windowsill are enough. I grow basil, mint, and parsley. I snip a bit off when I cook and the plant keeps on growing.
Use small pots with a tray under them.
The tray catches the water when you water them. That keeps the sill clean and dry.
Put them where they get a bit of sun. Most herbs like a bright spot. Turn the pots round once a week so they grow even.
It is fun to watch them grow.
When you move, you just pick up the pots and take them with you. Wipe the sill and it looks just like it did before.
Fresh herbs make plain food taste so much better.
16. An Over-Sink Dish Rack
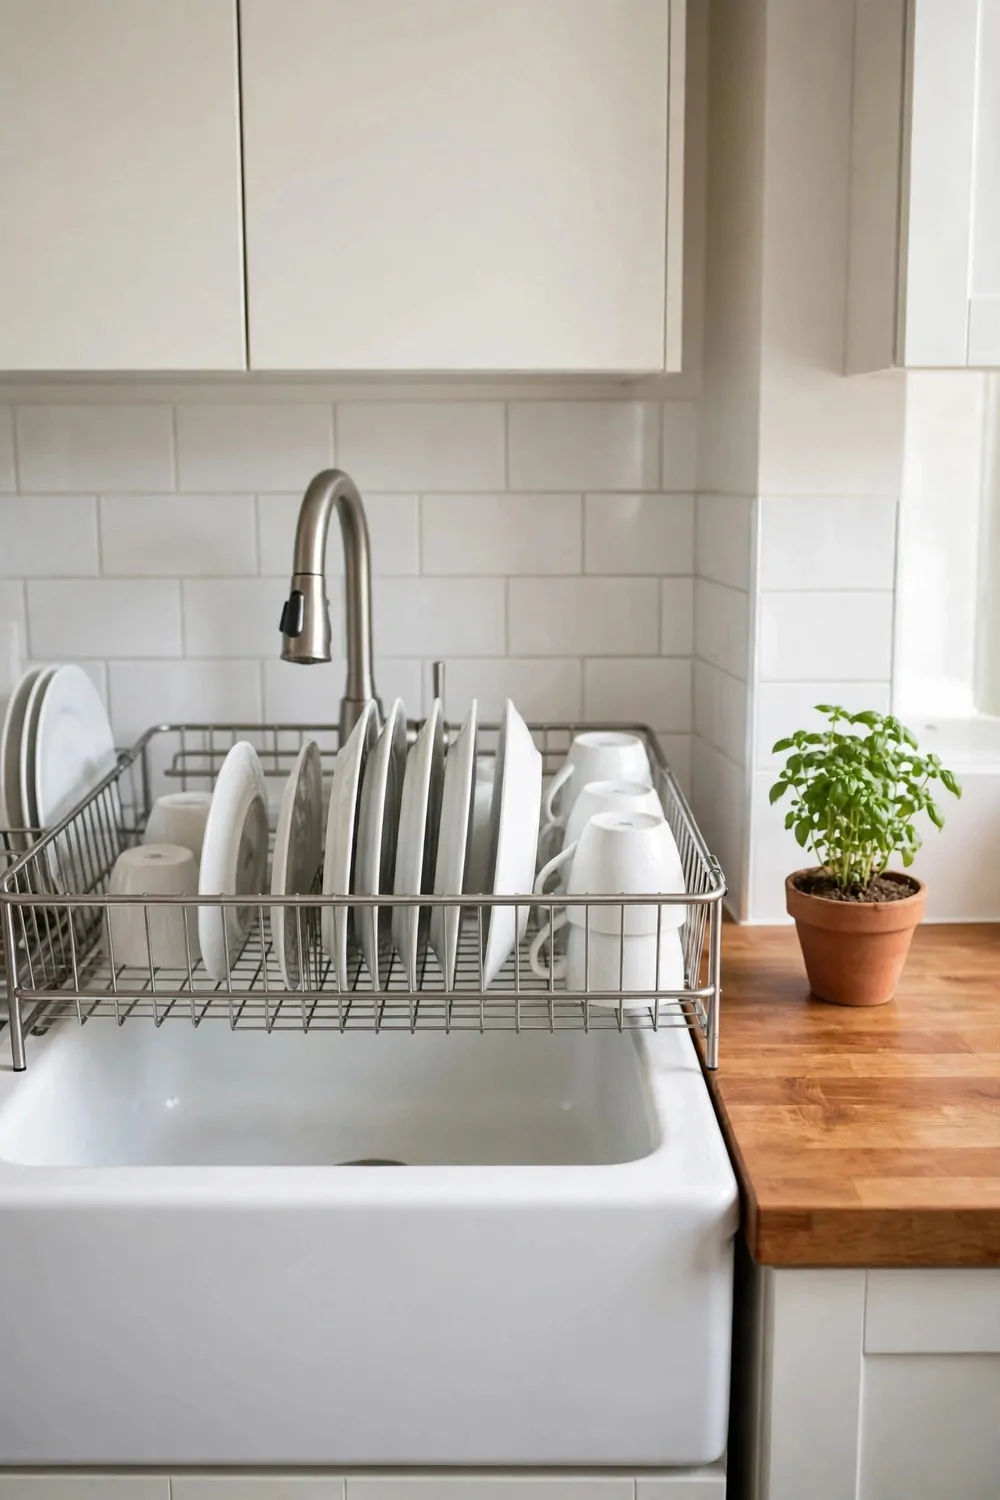
My dish rack used to take up half my counter. There was no room left to chop or mix.
An over-sink rack fixed that.
It sits right over the sink and holds your plates and cups. The water drips down into the sink. Your counter stays clear and dry.
It is so easy to set up.
You just place it over the sink and it rests on the edges. You do not need screws or glue.
Pick one that fits your sink first. Measure the sink from side to side. A rack that is too wide will wobble and a small one will slip.
I wash up and put things straight on it.
When you move out, you lift it off and pack it in a box. The sink looks just the same as it did on day one.
It gives you back your whole counter.
17. Magnetic Spice Jars on the Fridge
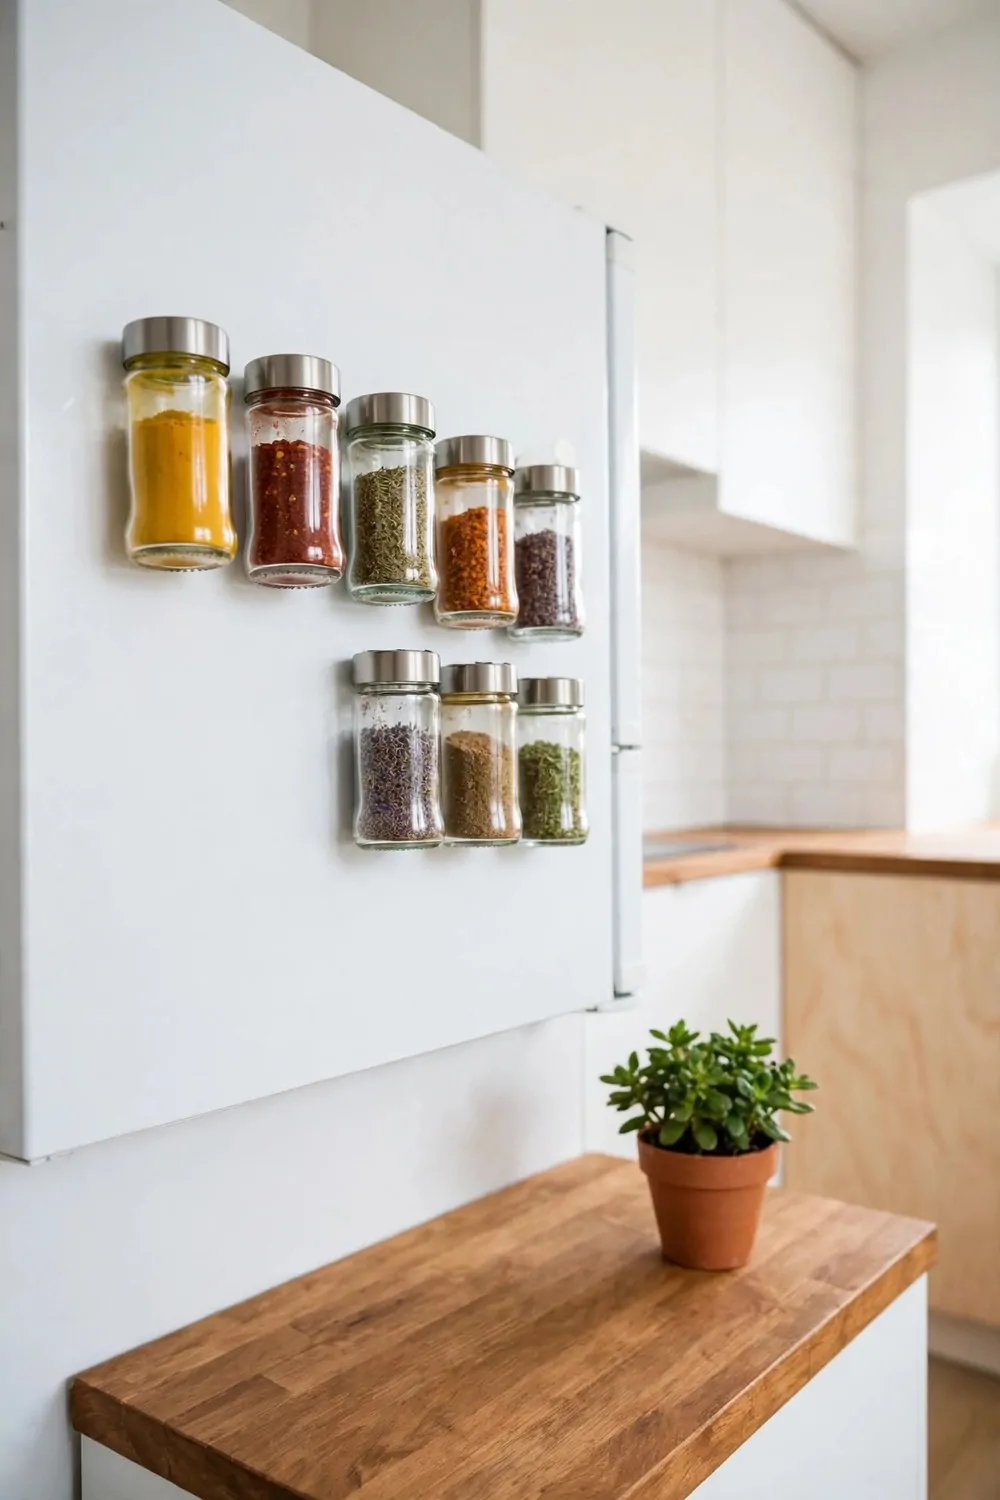
My spice jars used to fill a whole shelf. I could never find the one I wanted.
Magnetic jars on the fridge changed that.
They are small jars with a magnet on the back. They stick to the side of the fridge. You can see all your spices at a glance and grab the one you need.
It frees up so much cupboard space.
I put my most used spices in them. Chilli, cumin, and dried herbs live on my fridge now.
Make sure your fridge side is metal first. Most fridges are, but check with a fridge magnet. If it sticks, your spice jars will stick too.
You do not need to drill or glue anything.
When you move, you just pull them off the fridge. There is no mark left and your spices come with you.
It looks so tidy and it makes cooking quicker.
18. A Pretty Bin and Labels for the Pantry
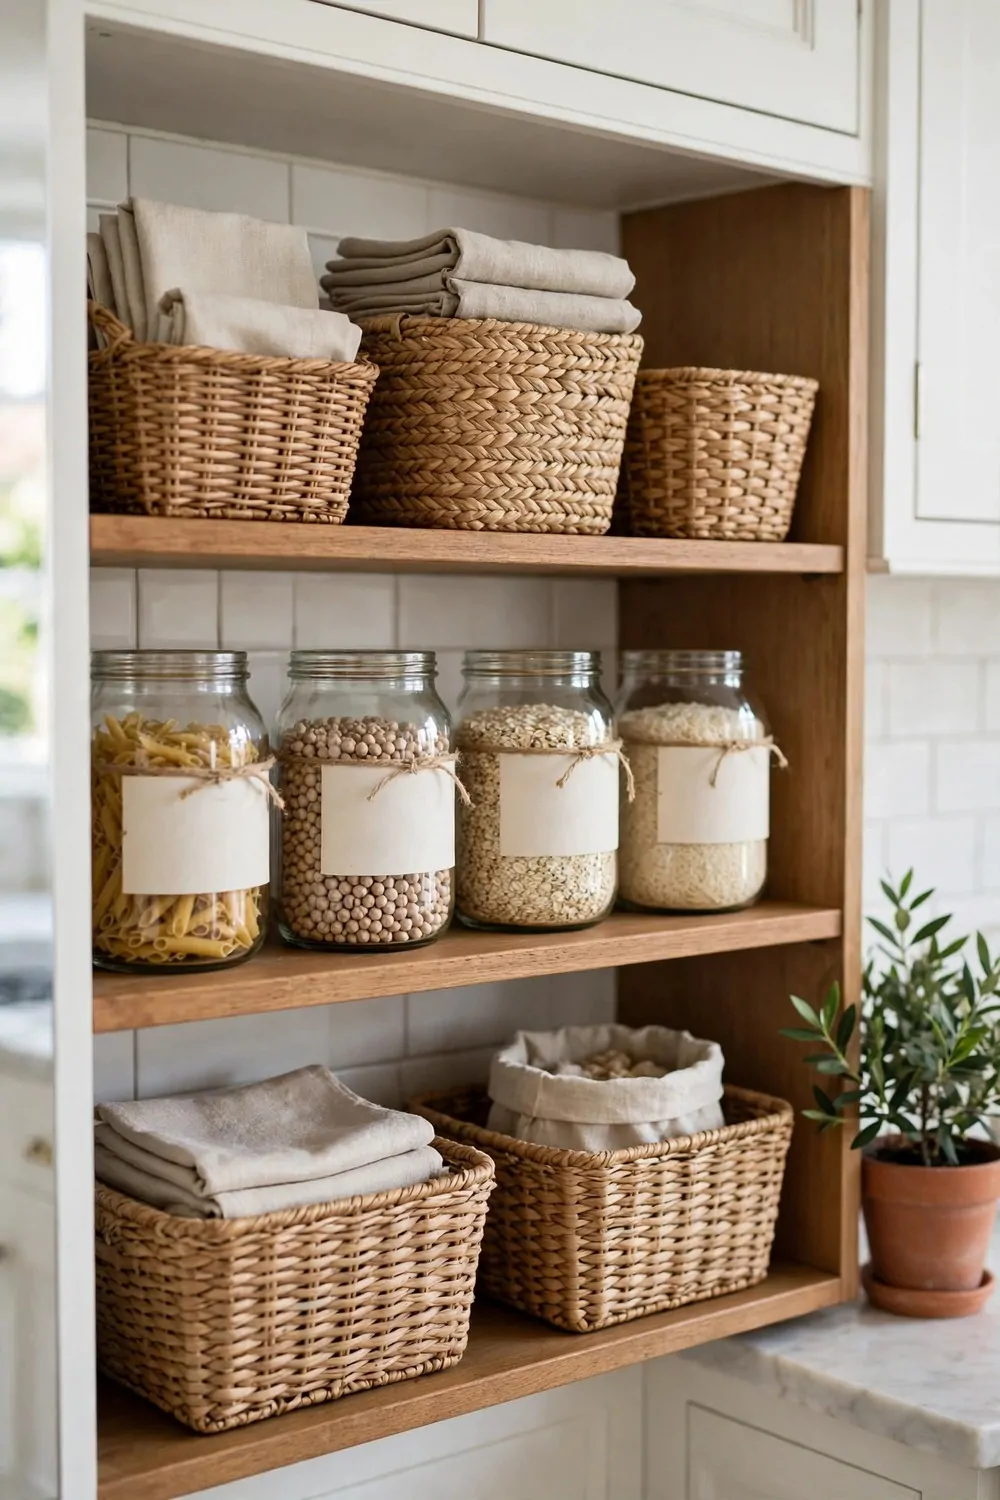
I used to lose things in my pantry all the time. A pretty bin fixed that for me.
You can buy a few small bins that fit your shelves. Pick ones you like to look at. I like plain bins in soft colours.
Put one kind of food in each bin. Snacks go in one bin. Pasta goes in another one.
Labels make it even better. You can write on a small label and stick it on the front of each bin.
I write the names in big clear letters. My kids can find things now too.
You do not need to buy fancy labels. Plain paper labels work just fine.
This idea is perfect for a rental kitchen. The bins just sit on the shelf and you can take them with you when you move.
Nothing gets stuck to the shelf. Nothing gets drilled in. Your landlord will never even know they were there.
Your pantry will look calm and tidy every time you open the door.
19. A Pegboard on Adhesive Hooks
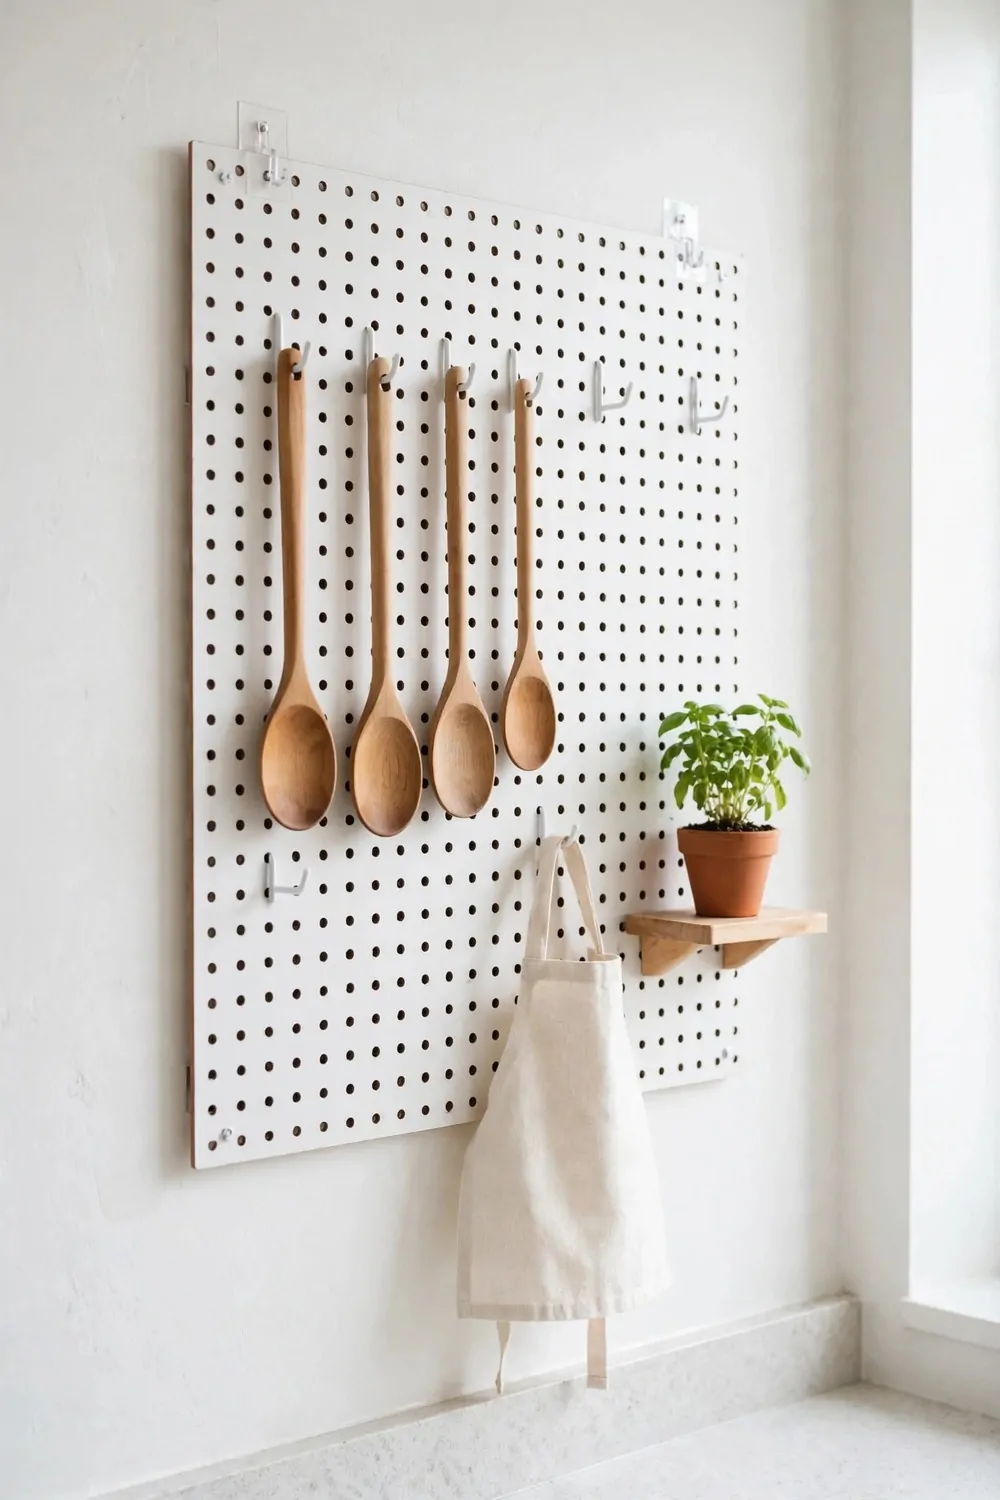
A pegboard gives you a spot to hang things up. It keeps your counter clear.
You do not need screws for this one. Strong adhesive hooks hold a light pegboard on the wall. I used two big hooks and mine has stayed up for months.
Hang your mugs on small peg hooks. Hang your measuring cups too.
You can also hang a small pair of scissors and a tea towel. It all stays close to your hand when you cook.
I like that I can move the pegs around. If I buy a new mug, I just shift a peg over.
Keep the board light. Do not hang heavy pots on it.
When you move out, you pull the adhesive strips off the wall. They come off clean if you pull them slow and straight down.
The wall goes back to how it was. No holes, no marks, no trouble with your landlord.
It is a small change that makes the whole kitchen feel more useful.
20. A Small Lamp on the Counter
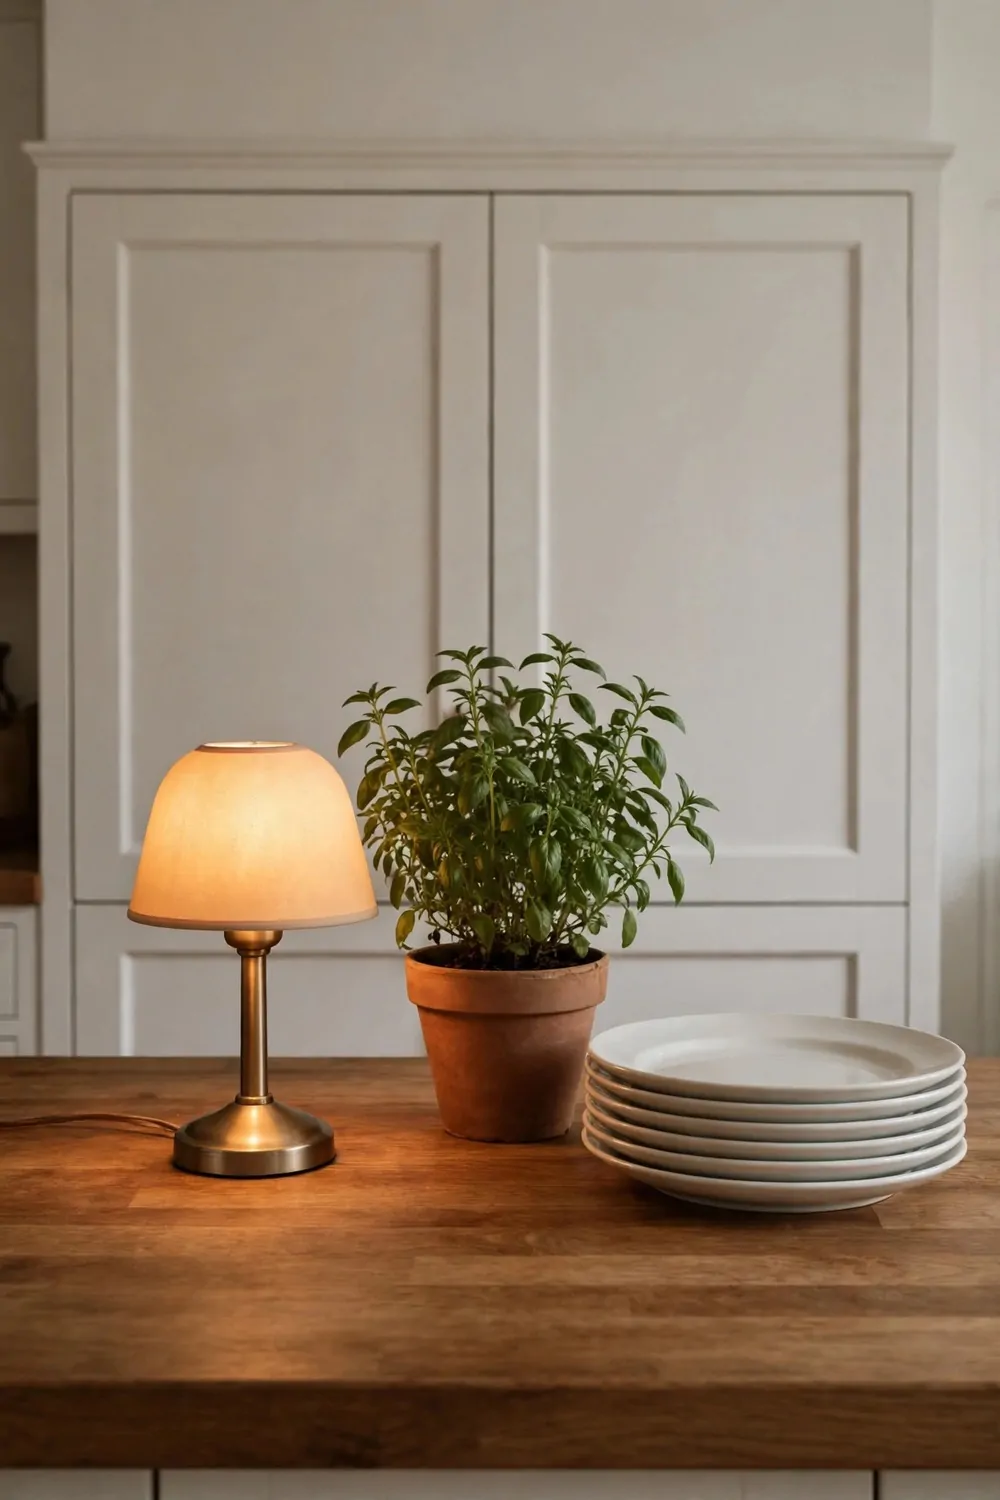
A small lamp on the counter makes the kitchen feel warm at night. I did not expect such a small thing to matter so much.
Pick a little lamp that fits in a corner. A short one works best so it does not get in your way.
You just plug it in. There is nothing to fix to the wall.
I turn mine on in the evening when I make tea. The soft light makes the whole room feel cosy.
You can pick a lamp with a warm bulb. Warm light feels much nicer than bright white light in a kitchen.
Keep it away from the sink and the stove. A dry corner spot is the safest place for it.
This is one of the easiest renter ideas there is. You set the lamp down and you are done.
When you move, you just unplug it and pack it in a box. Nothing stays behind and nothing needs to be fixed.
Try it for one evening and you will see what I mean.
21. A Tea Towel Rail with Suction Cups
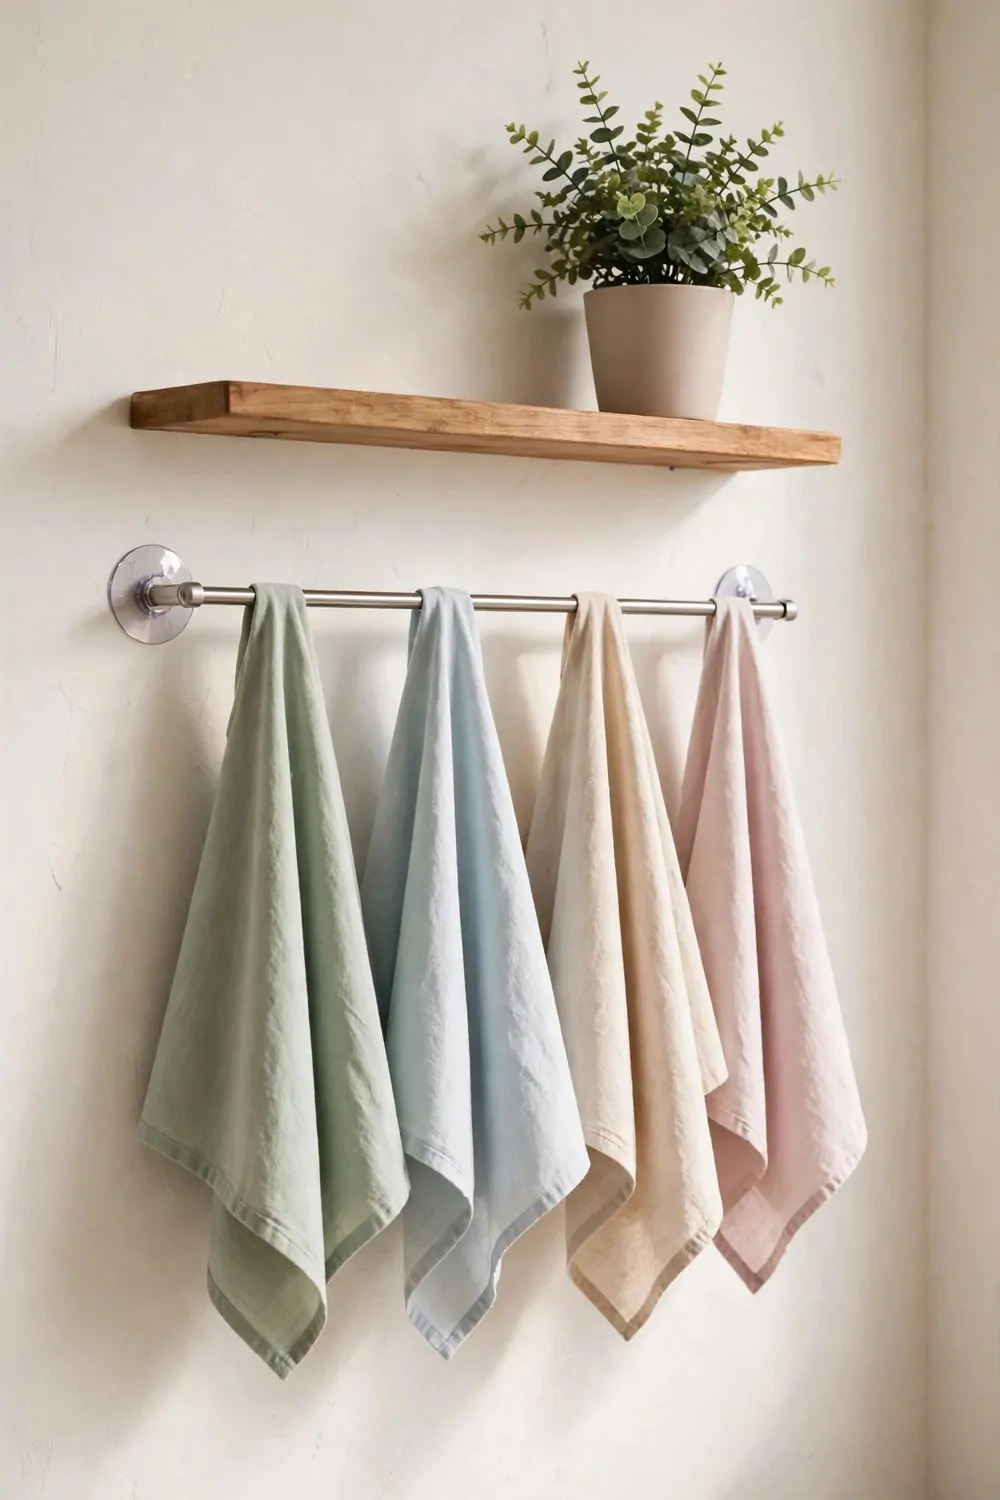
Tea towels always end up in a pile in my kitchen. A rail gives them a proper home.
You can get a small rail that sticks on with suction cups. It holds on smooth tile or glass.
Press the cups on the wall and flip the little levers. The rail stays firm.
Hang two towels on it. One for hands and one for dishes.
I put mine near the sink so the towels are right where I need them. It saves me from hunting through a drawer.
Suction cups work best on smooth, clean tiles. Wipe the tile first so the cups grip well.
If a cup ever slips, just press it back on. It takes five seconds.
When you leave, you pull the rail off the wall. The cups come off clean and the tile looks just like before.
It is a tiny fix that keeps your kitchen tidy every single day.
22. A Dish Drying Mat by the Sink
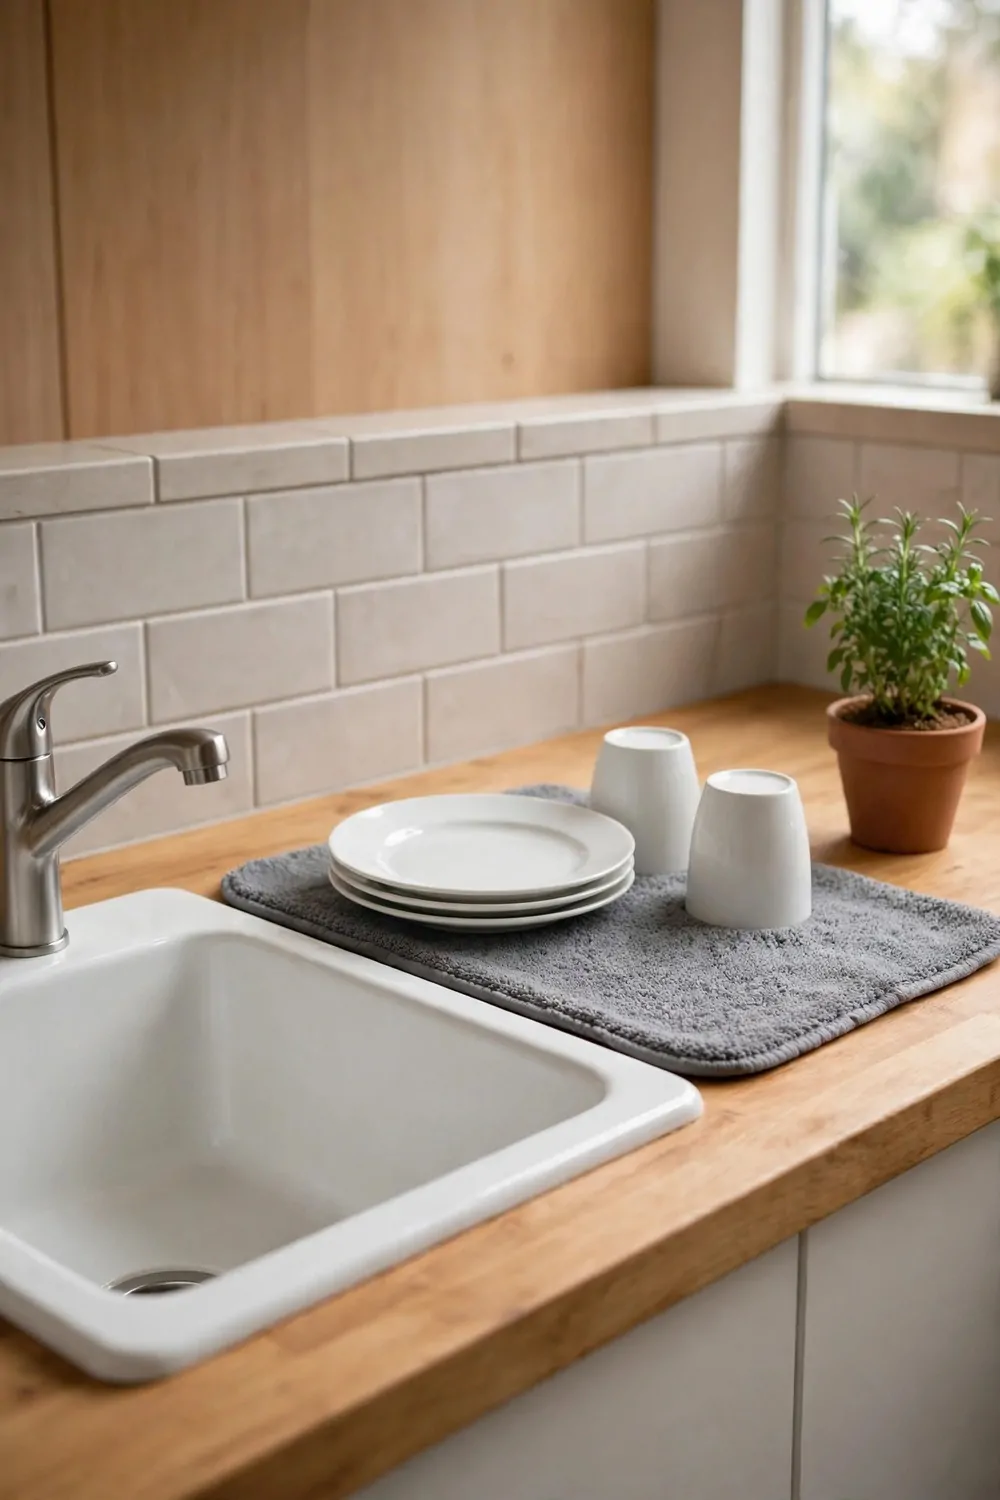
A dish drying mat is a soft pad that sits next to your sink. You put wet dishes on it to dry.
It works better than a towel because it soaks up the water and dries fast. My counter stays dry now.
Pick a mat in a colour you like. I have a plain grey one and it looks neat.
You can fold it up and put it away when you are done. Or you can leave it out all the time.
It is great for small rental kitchens. You do not need a big drying rack that eats up your counter.
Wash the mat in the machine when it gets grubby. It comes out fresh and ready to use again.
There is nothing to stick or screw down. The mat just lies flat on the counter.
When you move out, you roll it up and take it with you. The counter is exactly how you found it.
It is a small, cheap buy that makes washing up much easier.
23. Open Shelves with Baskets
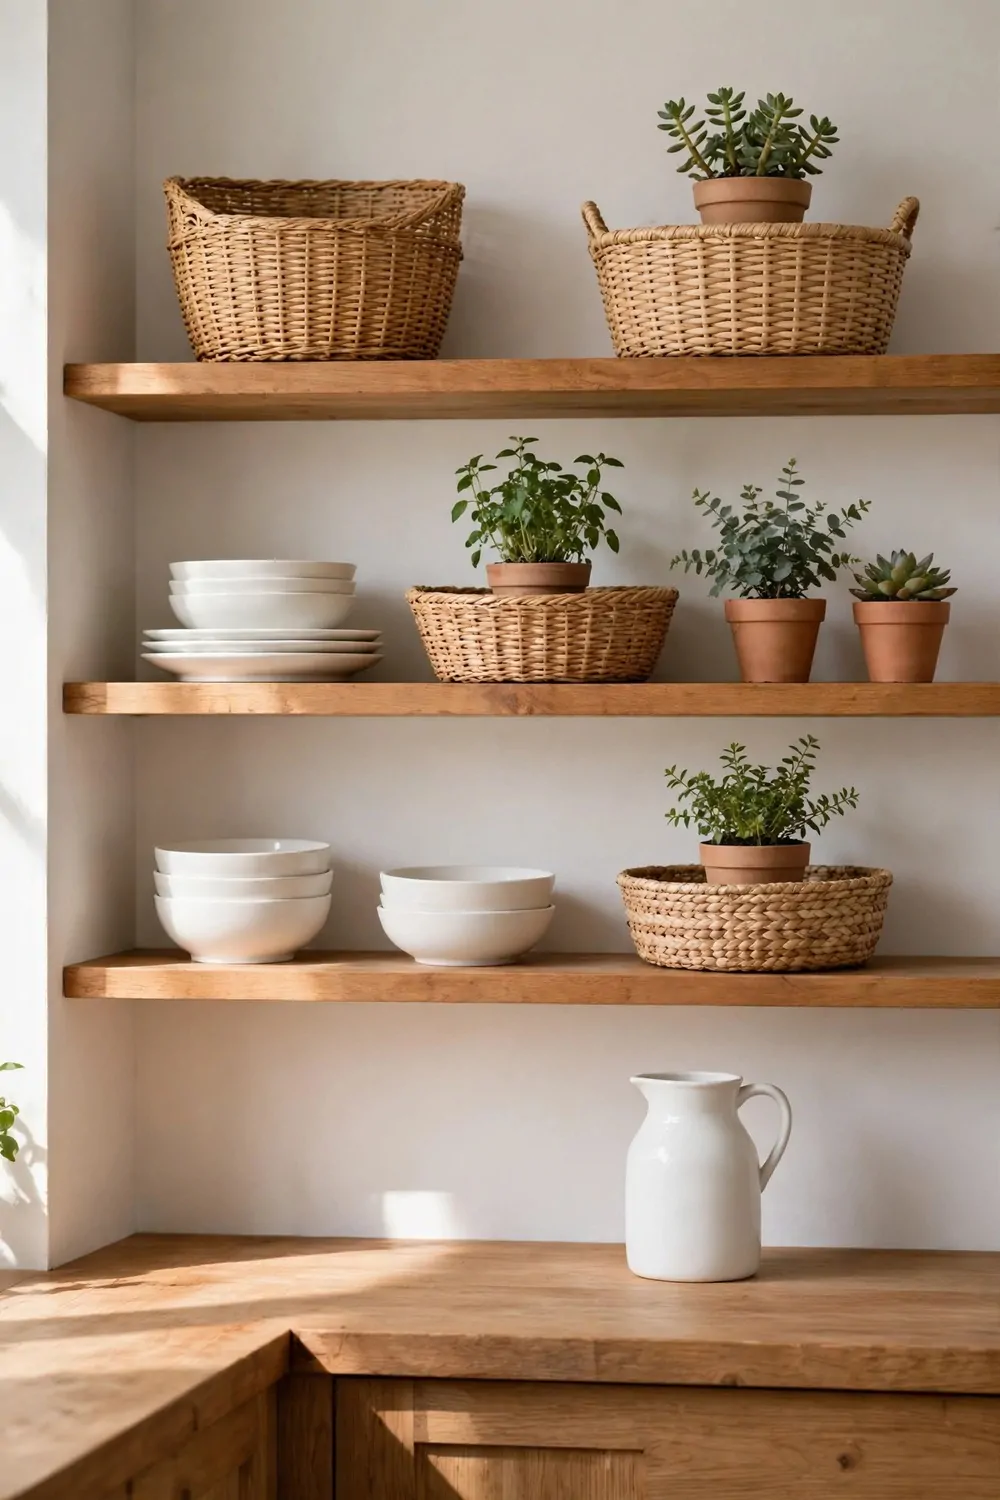
Open shelves can look messy fast. Baskets fix that in one step.
If your rental already has open shelves, put a basket on each one. The basket hides the clutter inside.
I keep spices in one basket and baking things in another. I just pull the basket down when I need something.
Pick baskets that fit your shelves. Measure first so they are not too tall.
Woven baskets look lovely and warm. Plain fabric boxes look neat and calm.
You can add a small label to the front of each basket. Then you always know what is inside.
This idea changes nothing about the shelves themselves. You are not drilling or painting anything.
When you move, you lift the baskets off and take them with you. The shelves go back to how they were in a minute.
Your kitchen will look tidy even when the shelves are full.
24. A Fridge Door Makeover with Magnets
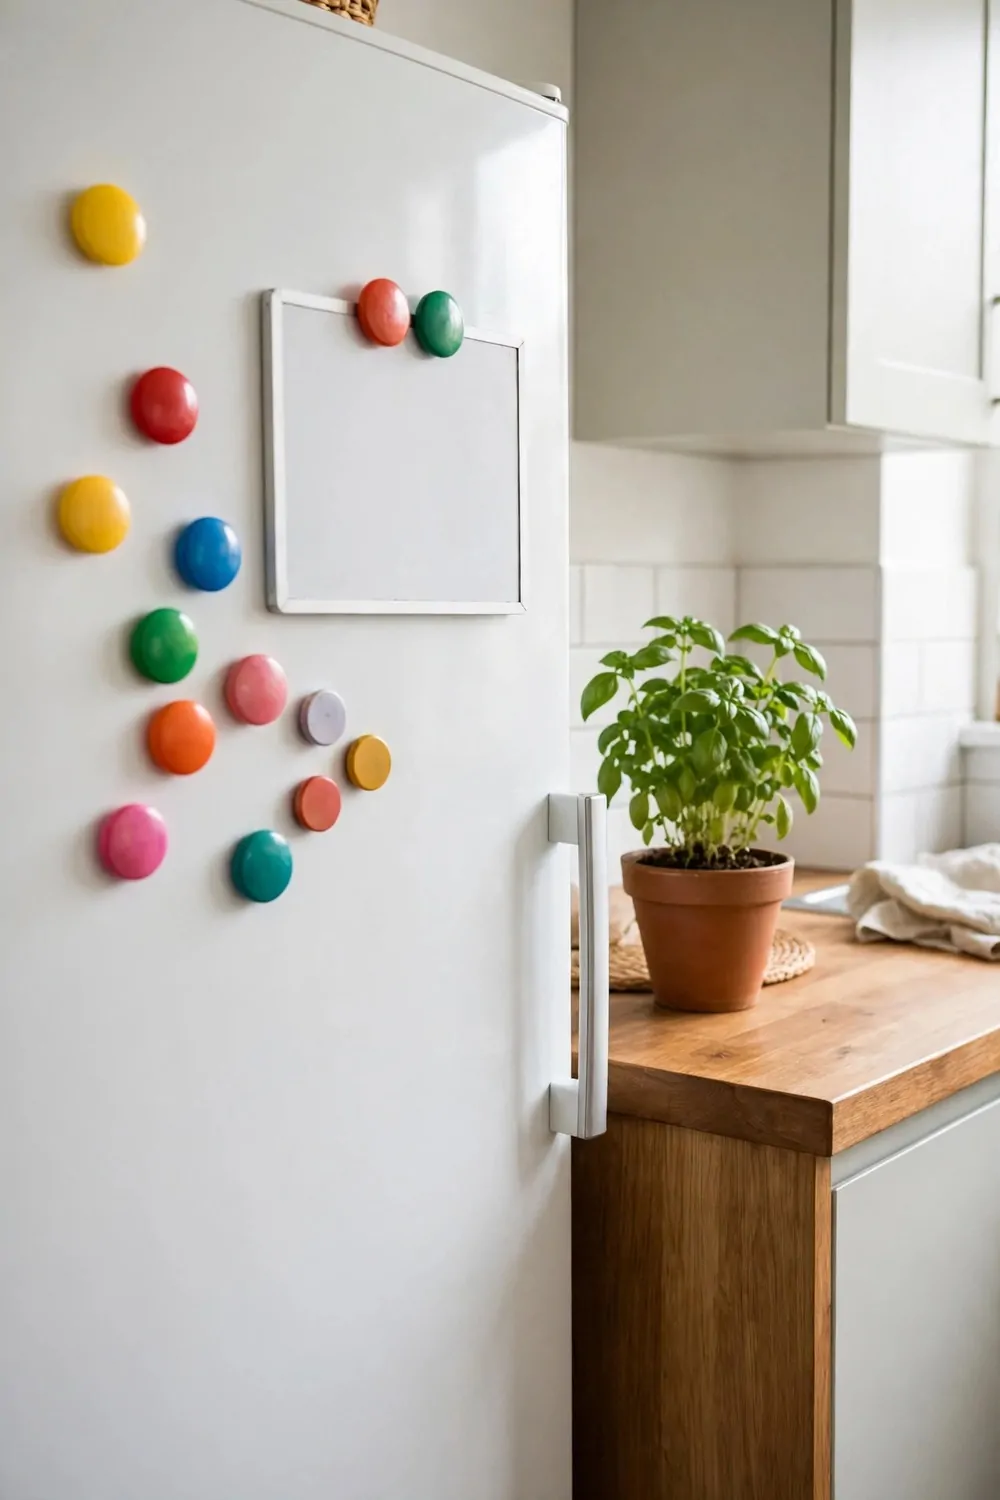
Your fridge door is free wall space. Magnets turn it into a pretty display.
You can stick up photos, a shopping list, and a few fun magnets. It makes the kitchen feel like yours.
I put up a small weekly meal plan on mine. It helps me plan my shopping.
Magnetic clips hold papers tight. They do not fall down like tape does.
You can also add a magnetic spice tin or a small magnetic shelf. They just cling to the door.
Keep the display light and simple. Too many papers make it look messy.
This is the most renter friendly idea of all. Magnets leave no marks at all.
When you move out, you slide the magnets off the door. The fridge looks exactly like it did on the day you moved in.
It costs almost nothing and it makes me smile every morning.
25. A One-Weekend Rental Kitchen Makeover Plan
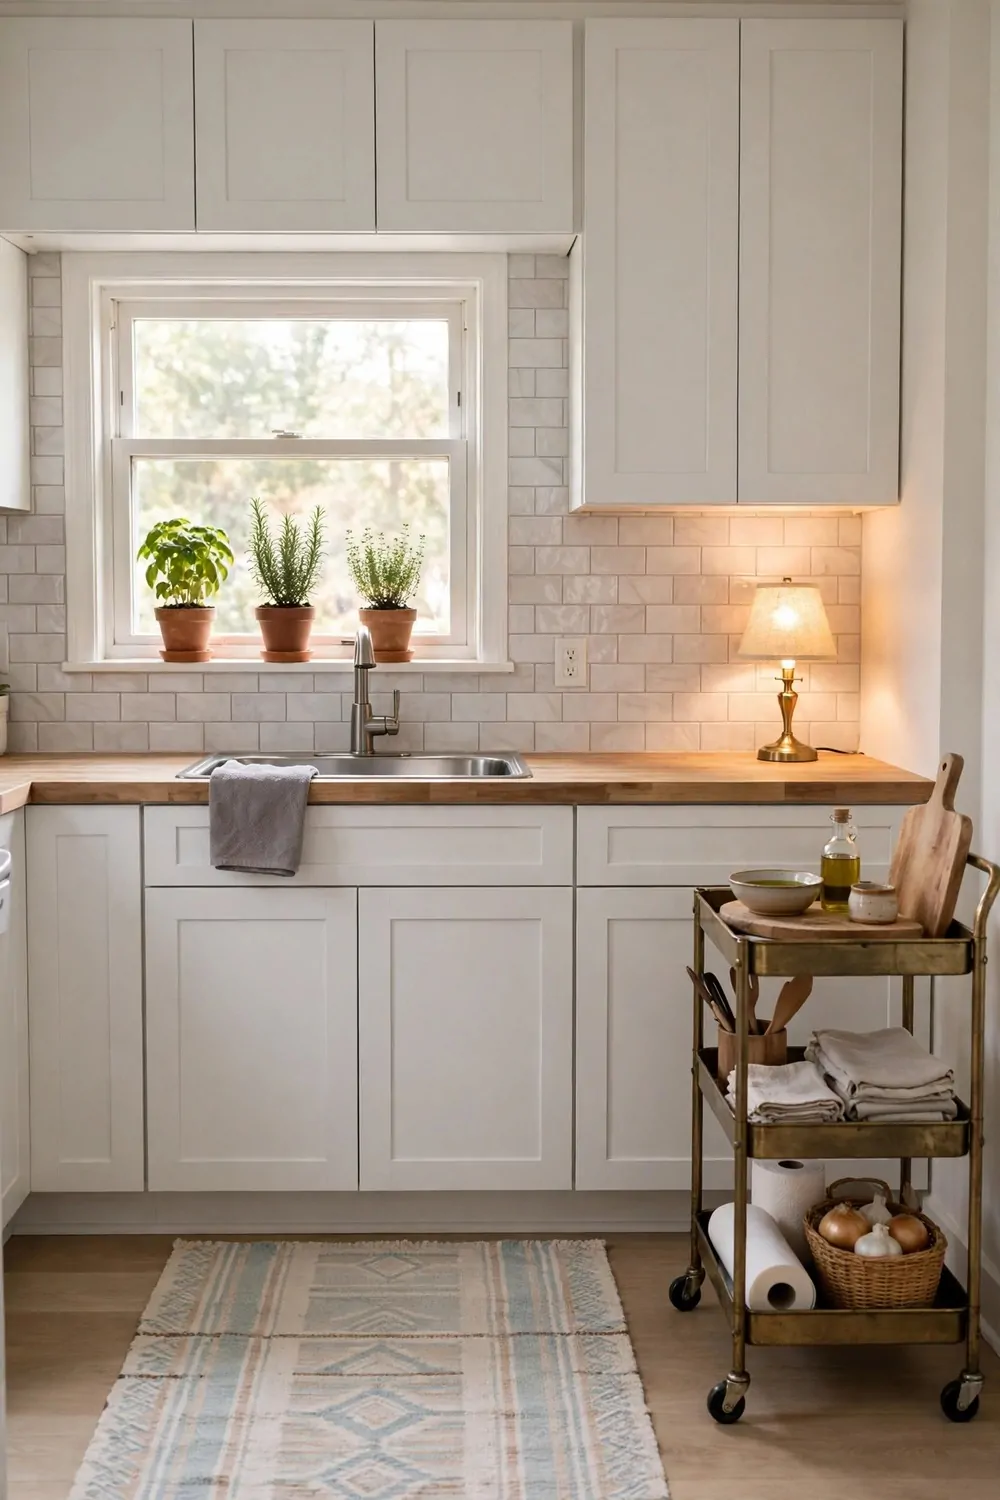
You can change your whole rental kitchen in one weekend. You just need a simple plan.
Start on Saturday morning with a good clean. Wipe the counters, the shelves, and the front of the cupboards. A clean kitchen is the best place to start.
Then add your peel and stick touches. Put up the backsplash and line the shelves. These two jobs take about an hour.
After lunch, hang your hooks and rails. Put the pegboard up and add the tea towel rail. By the evening your kitchen will already look different.
On Sunday, add the soft touches. Set out the small lamp, the baskets, and the dish drying mat. Put your pretty bins in the pantry.
Finish with the fridge door. Stick up your magnets and your meal plan. Step back and enjoy what you did.
Take your time with each step. You do not need to rush to get it all done.
Here is what the weekend can cost. Peel and stick backsplash $20 to $35, removable shelf liners $8 to $15, adhesive hooks and rails $10 to $18, small counter lamp $15 to $25, baskets and labels $12 to $20. That adds up to $65 to $113 in total.
| Item | Typical cost |
|---|---|
| Peel and stick backsplash | $20 to $35 |
| Removable shelf liners | $8 to $15 |
| Adhesive hooks and rails | $10 to $18 |
| Small counter lamp | $15 to $25 |
| Baskets and labels | $12 to $20 |
| Total | $65 to $113 |
Every single thing in this plan comes off cleanly when you move. The backsplash peels away, the liners lift out, the hooks pull off, and the lamp, baskets, and magnets just pack into a box. Your kitchen goes back to how it was, and all your lovely things come with you to your next home. That is the best part of a rental makeover.
Keep Reading
If you liked these ideas, you will love these posts too.
- 27 Shiplap Wall Ideas That Add Charm to Any Room
- 22 Ladder Shelf Ideas That Fit Any Corner
- 30 Wallpaper Ideas That Make a Room Feel New
- 34 Floating Shelf Ideas That Add Storage to Any Wall
- 29 Curtain Ideas That Make Windows Look Taller and Brighter
- 25 Accent Wall Ideas That Change a Room in a Weekend
Pick one small change this weekend and try it in your kitchen. You will love how much better your rental feels.