31 Composting Ideas for Small Homes and Apartments

My potato peels used to go straight in the bin, and I never stopped to think about where they ended up.
Then I learned that those peels, and my fruit skins, and my old tea leaves, could turn into food for my plants.
I live in a small flat with no big garden, and I thought compost was only for people with a yard and a big heap out back.
I was wrong, and I wish someone had told me sooner how simple it can be in a small space.
You can start with one small pot on your counter, and you can build up from there as you learn what works for you.
In this post I share easy ways to save your scraps, keep smells low, and turn kitchen waste into rich soil for pots and planters.
This post holds 31 composting ideas for small homes and flats, and you can look through the whole list and pick the ones that fit your kitchen and your space best.
1. A Kitchen Counter Compost Caddy
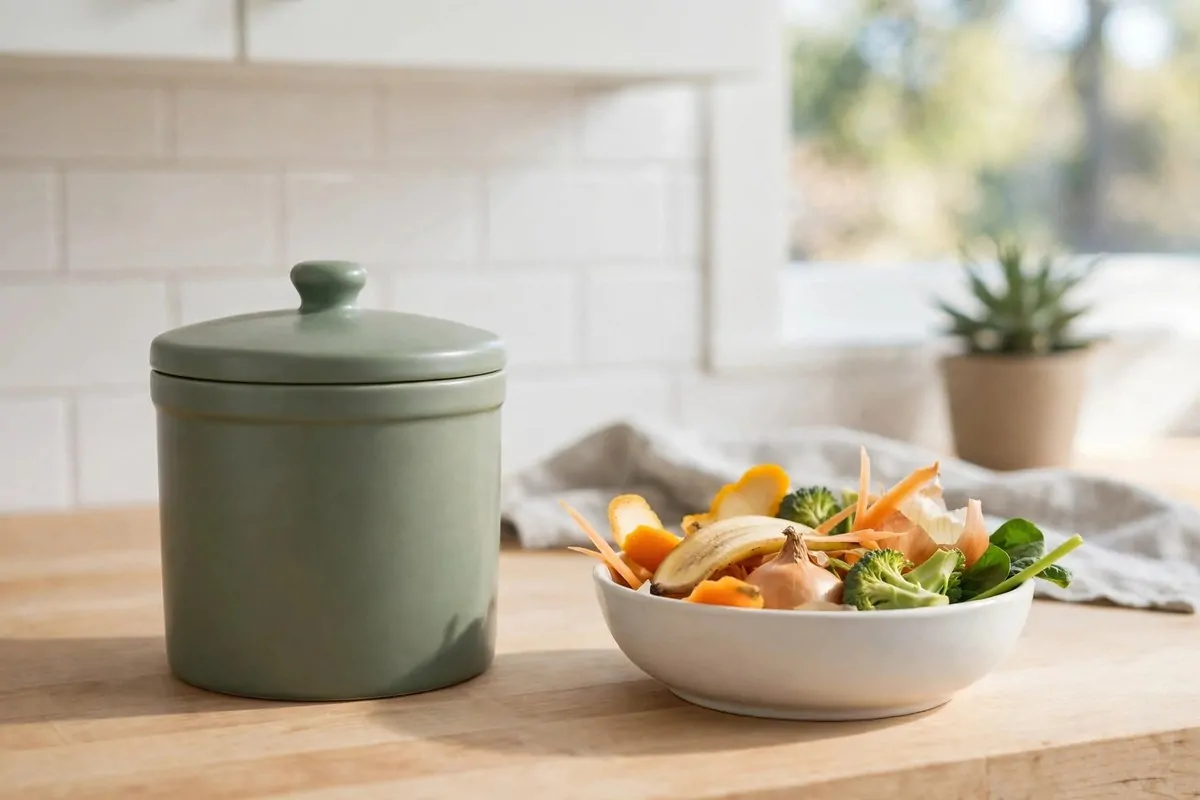
A small caddy sits on your counter and gives your peels a home while you cook.
You can drop in fruit skins, veg peels, coffee grounds, and torn bits of paper as you go, and the lid keeps the smell in.
I empty mine every day or two, and that one small habit keeps my kitchen tidy and my bin much lighter.
You can line it with a sheet of old newspaper, and that makes the emptying much quicker and less messy.
Typical cost $12 to $20.
A caddy with a snug lid works best, and a small size fits even a tiny counter with room to spare.
You can keep it near your chopping board, and you will reach for it without even thinking after a short while.
Rinse it out with warm water when you empty it, and it stays fresh and ready for the next round of peels.
Start with a caddy that feels easy to lift and clean, and compost will soon feel like a normal part of your cooking.
2. A Small Bokashi Bucket Under the Sink
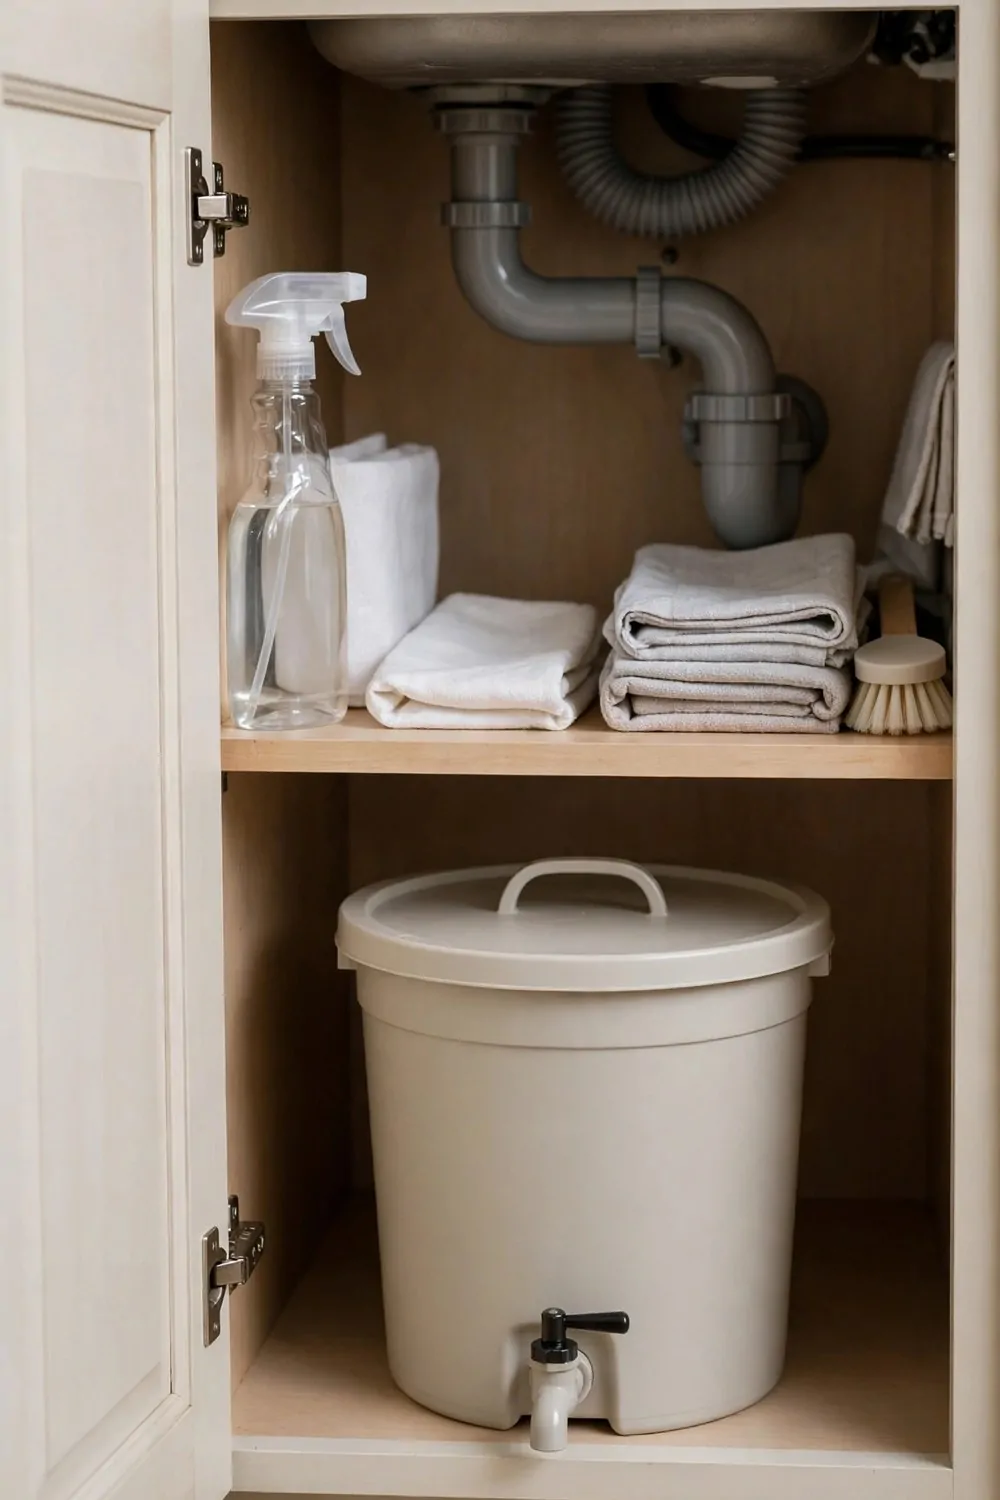
A bokashi bucket lives under the sink and takes scraps that a plain pile would break down more slowly.
You can add your fruit peels, veg scraps, bread crusts, and rice leftovers, and press them down as the bucket fills.
A sprinkle of bokashi bran goes over each layer, and the bran helps the scraps break down in a closed bucket.
The lid stays shut between adds, and that keeps smells low and flies out of your kitchen.
Typical cost $15 to $24.
When the bucket is full, you can leave it shut for a short rest, and then the contents are ready to mix into soil or a planter.
You can drain the liquid from the tap at the base, and a little of it mixed with water feeds your pots.
I like this way because it hides away under the sink, and it asks for very little space or fuss.
Pick a bucket that fits your cupboard, and start with small loads until the routine feels easy.
3. A Countertop Compost Bin with a Filter Lid
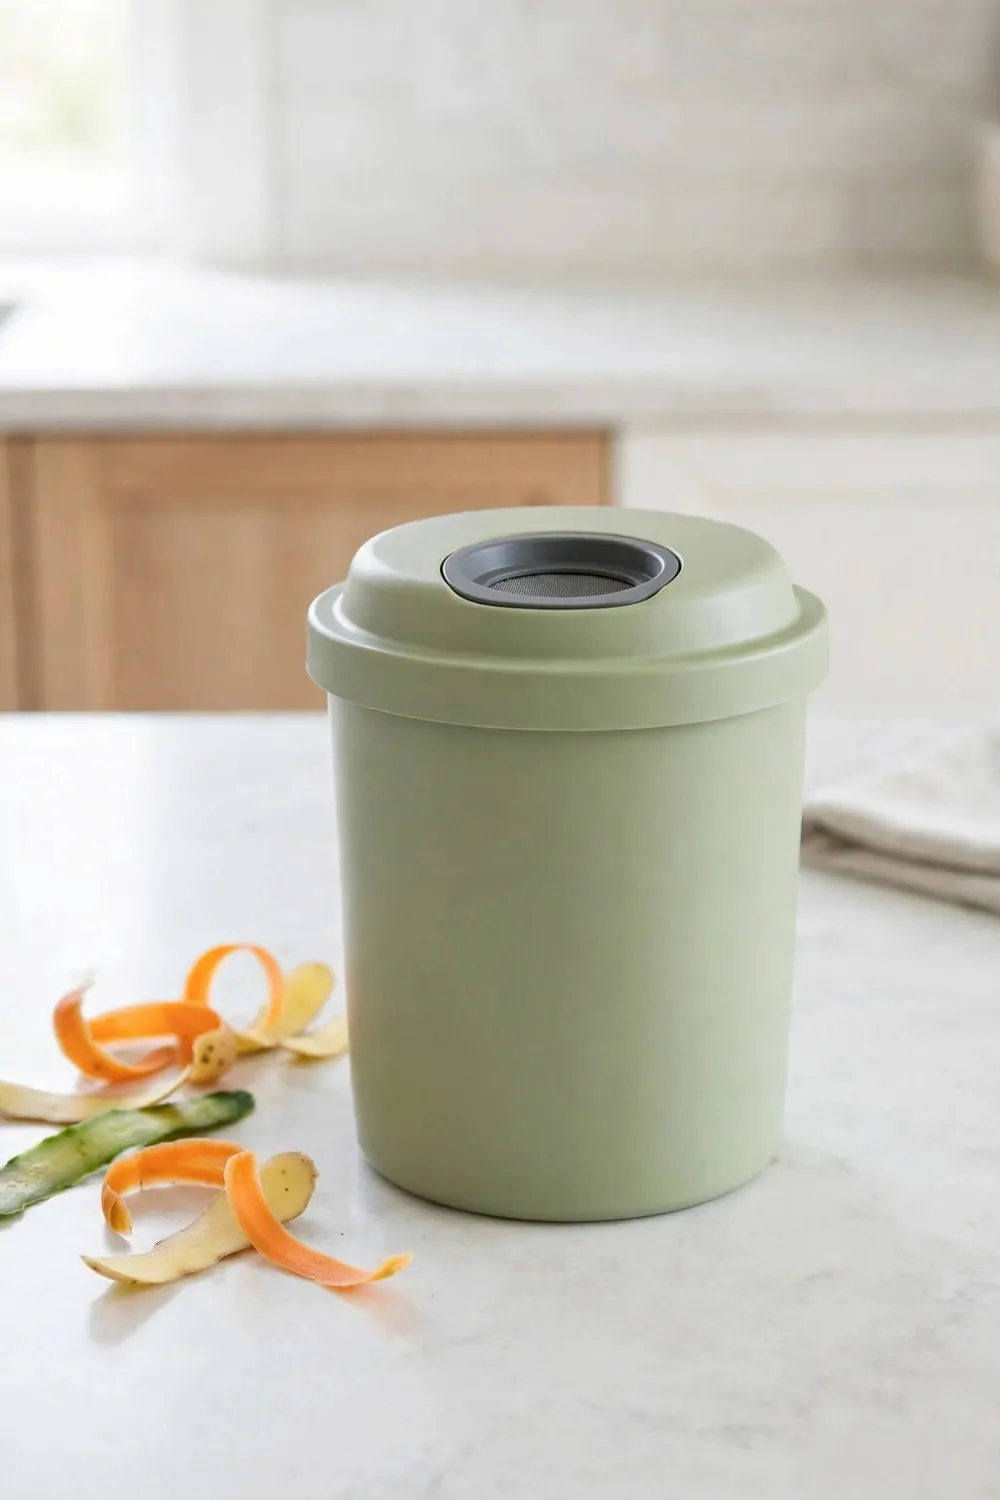
A bin with a filter in the lid keeps the air fresh while your scraps wait inside for their next step.
You can toss in peels, cores, tea leaves, and eggshells, and the filter traps smells before they reach the room.
The filter needs a swap now and then, and a fresh one takes only a minute to fit.
I wipe the rim each time I empty the bin, and that keeps the lid and the filter working well.
Typical cost $18 to $30.
A bin like this one suits a counter near the sink, and you can lift it out with one hand when it is time to empty it.
You can pair it with a small bag or a sheet of paper inside, and the whole load slides out in one go.
Empty it often in warm weeks, and the bin stays sweet and easy to live with.
Look for a lid that shuts tight and a size that fits your counter, and the bin will earn its spot fast.
4. A Freezer Bag for Kitchen Scraps
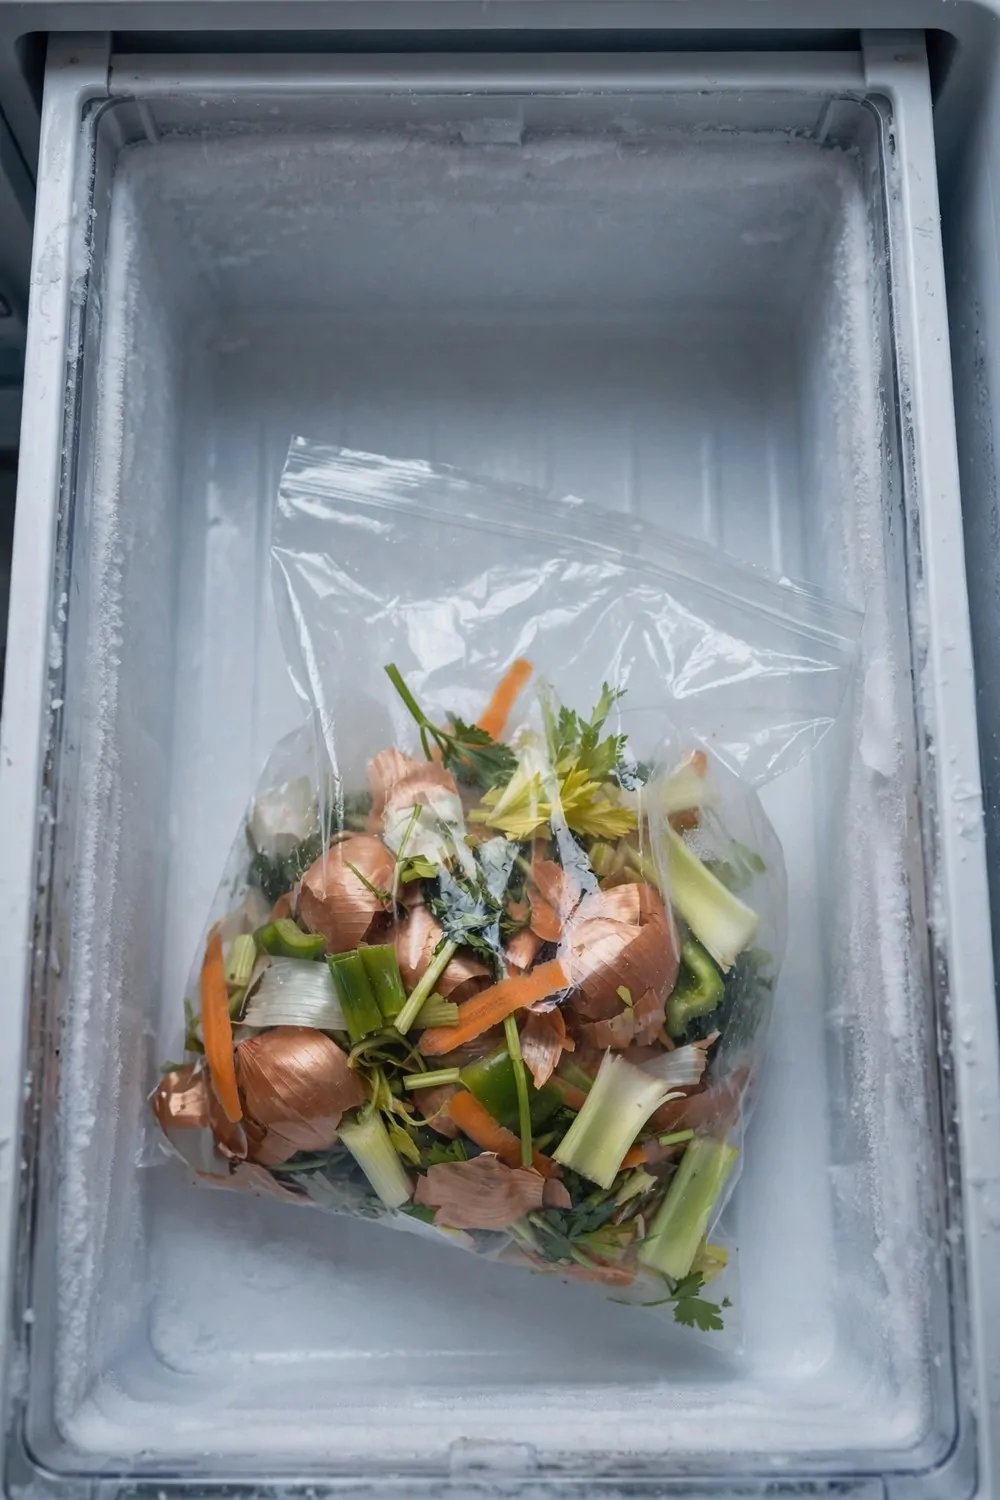
A bag in the freezer is the cheapest trick I know, and it stops smells before they even start.
You can drop peels, cores, and stale bread into the bag, and the cold keeps them fresh until you are ready.
I keep my bag in the freezer drawer, and it holds a surprising amount before it needs an empty.
When the bag is full, you can tip it into your compost pile, your worm bin, or your bokashi bucket.
Typical cost $3 to $7.
You can use any strong bag you already own, and a zip top keeps the cold in and the smells out.
Label the bag with a marker, and no one in the house will mix it up with the frozen peas.
This trick suits a hot flat, and it suits a week when you cook a lot and the scraps pile up fast.
Start with one bag, and add a second one only when the first fills up quicker than you expect.
5. A Worm Bin in a Cupboard
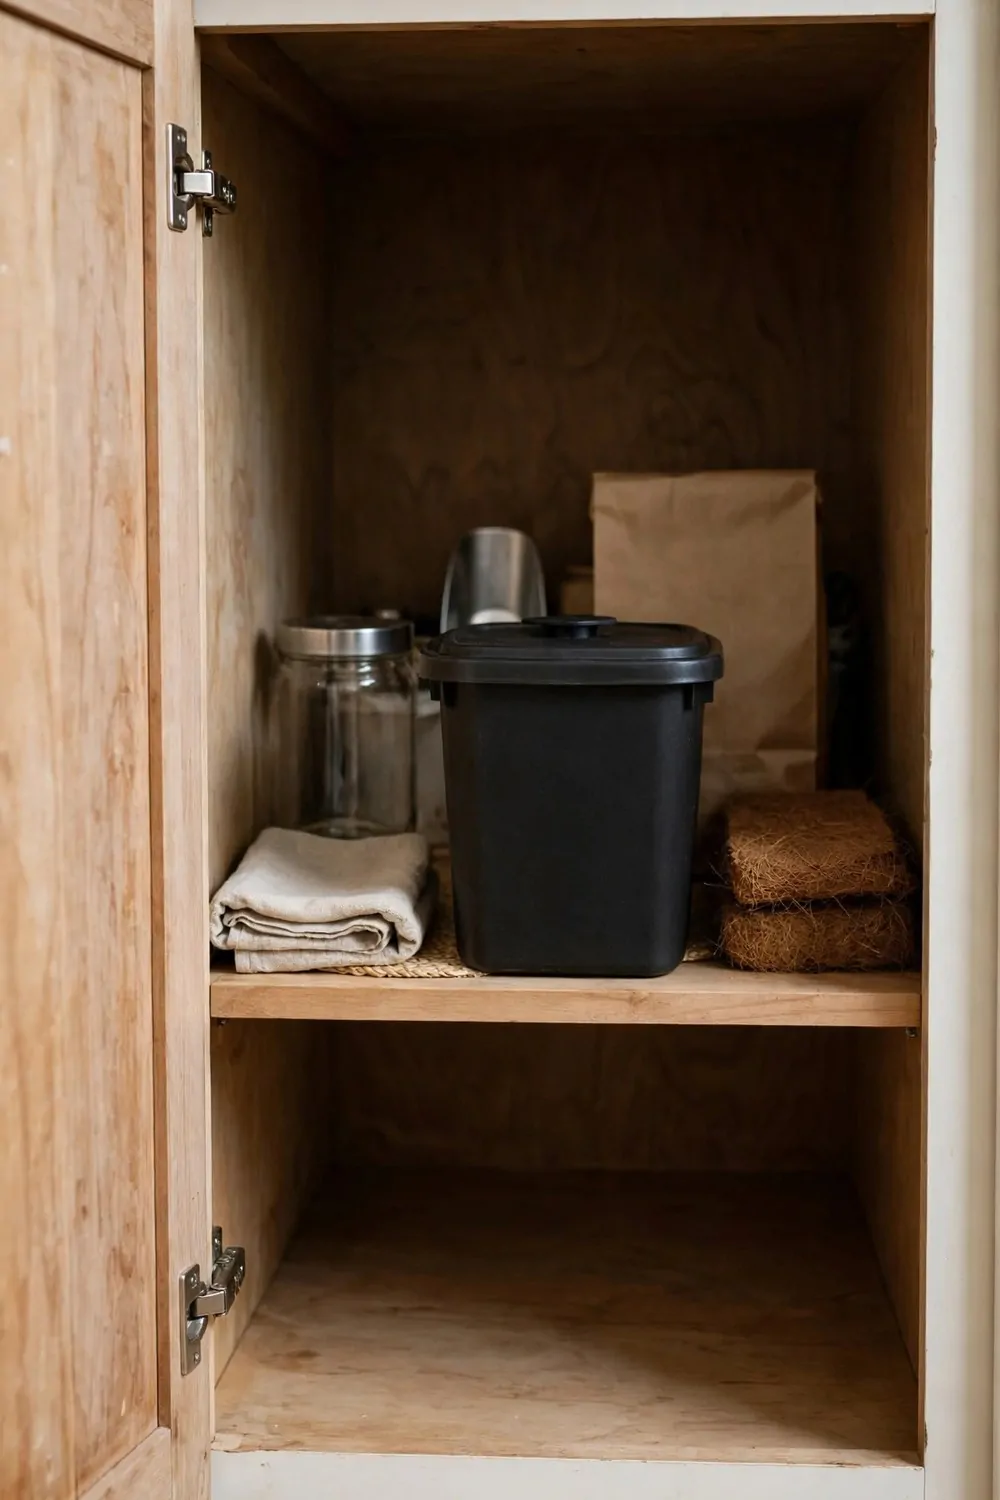
A worm bin sounds odd at first, and it turns out to be one of the quietest ways to compost in a flat.
You can keep the bin in a cupboard, and the worms work away in the dark without any noise or fuss.
They eat your fruit peels, veg scraps, tea leaves, and torn paper, and they leave rich soil behind.
You can feed them a small scoop at a time, and they will work through it at their own pace.
Typical cost $20 to $32.
Keep the bedding damp like a wrung-out sponge, and the worms stay happy and busy.
I add a bit of crushed eggshell now and then, and it helps the bin stay sweet and balanced.
You can harvest the crumbly soil from the base, and your pots will love the feed.
Start small, feed little and often, and your worm bin will soon feel like a normal part of the kitchen.
6. A Balcony Compost Tumbler
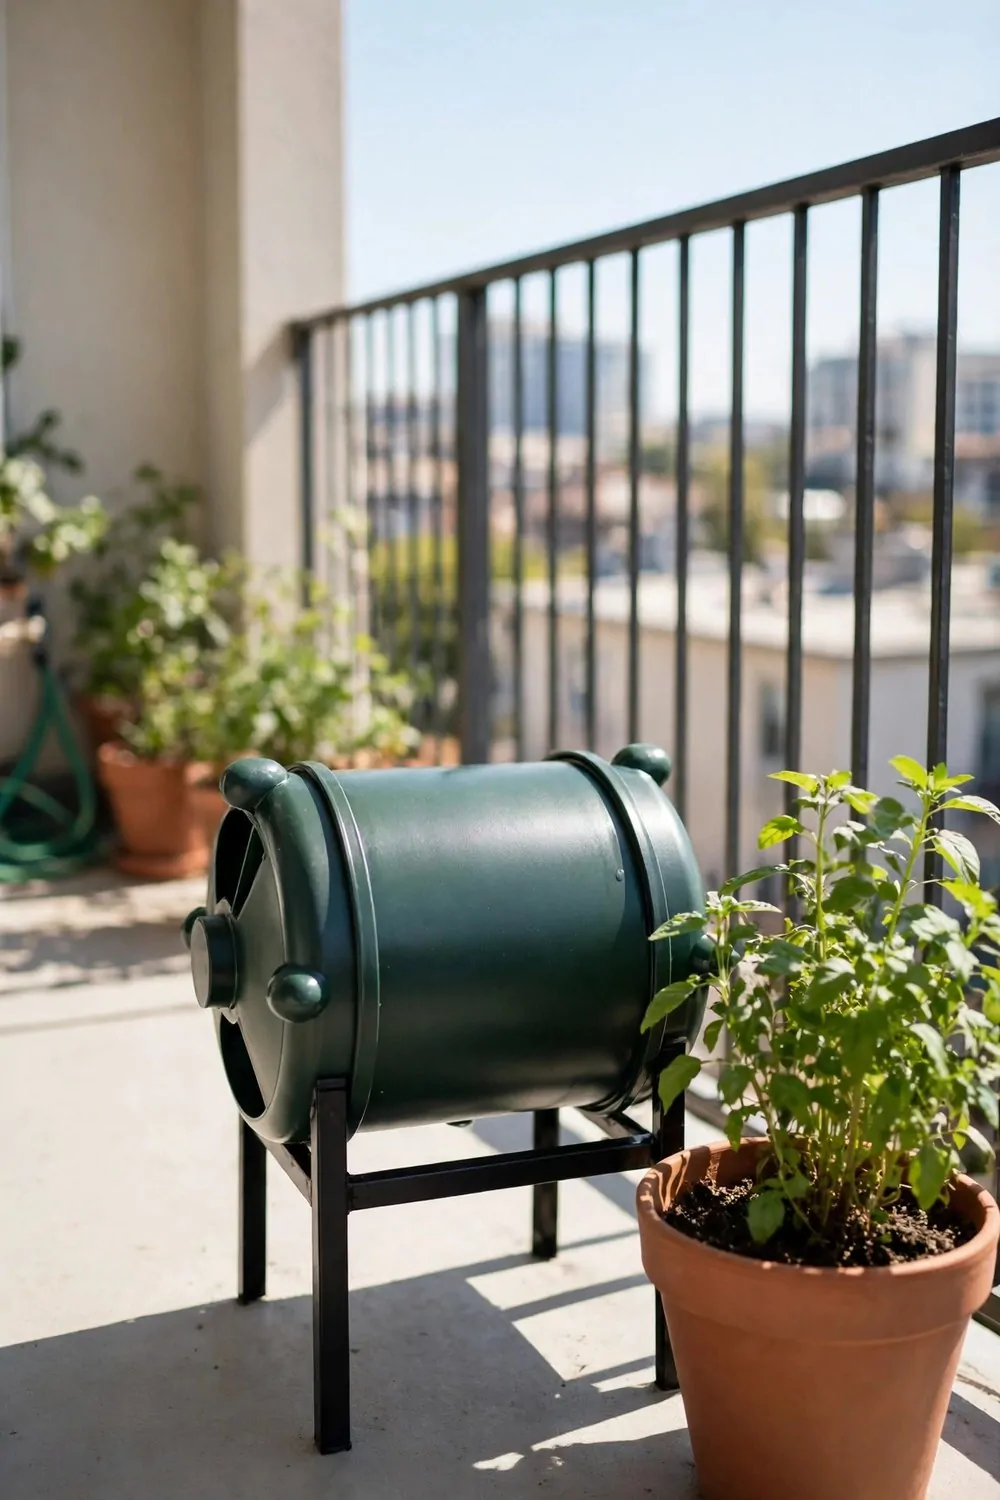
A tumbler turns your scraps with a spin, and that spin keeps the air moving through the mix.
You can add peels, leaves, torn paper, and coffee grounds, and give the tub a turn each time you add a load.
A tumbler suits a balcony with a bit of floor space, and it keeps the pile neat and off the ground.
You can mix dry leaves with wet peels, and that balance helps the pile break down faster.
Typical cost $45 to $75.
Turn it often in warm weather, and the mix will heat up and shrink down sooner than you think.
I check the dampness with my hand, and I add dry leaves when the mix feels too wet.
You can rest the tumbler in a tray, and any drips stay in the tray and off your floor.
Pick a size that fits your balcony, and leave room to spin it without a struggle.
7. A Compost Bin for a Shady Balcony
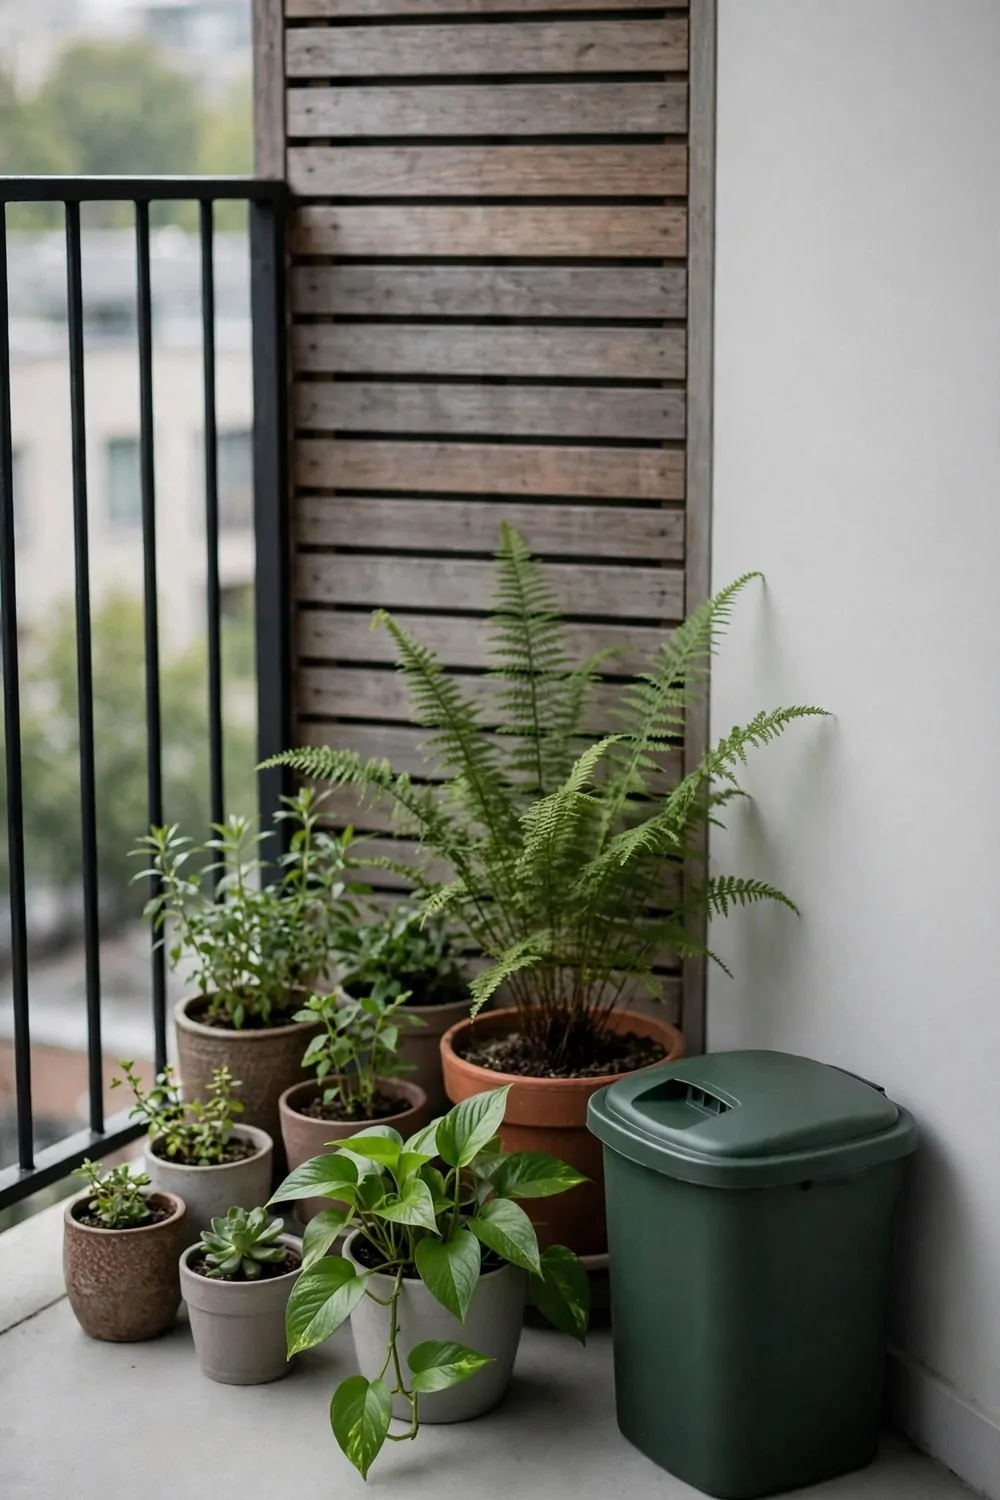
A shady balcony still works for compost, and you just need a bin that suits cool and damp air.
You can add your peels, leaves, and paper, and the bin will work at a slow and steady pace.
A lid that shuts tight keeps rain out, and that matters most when the rain keeps coming for days.
You can add more dry leaves in a damp spot, and the dry bits soak up the extra wet.
Typical cost $25 to $42.
I turn my shady bin less often, and I give it more time to do its work.
You can set the bin where air can move round it, and that helps it stay fresh.
A bin with small air holes works well here, and it lets the pile breathe without letting rain pour in.
Be patient with a shady spot, and your scraps will still turn into good soil for your pots.
8. A Compost Bag for Coffee Grounds
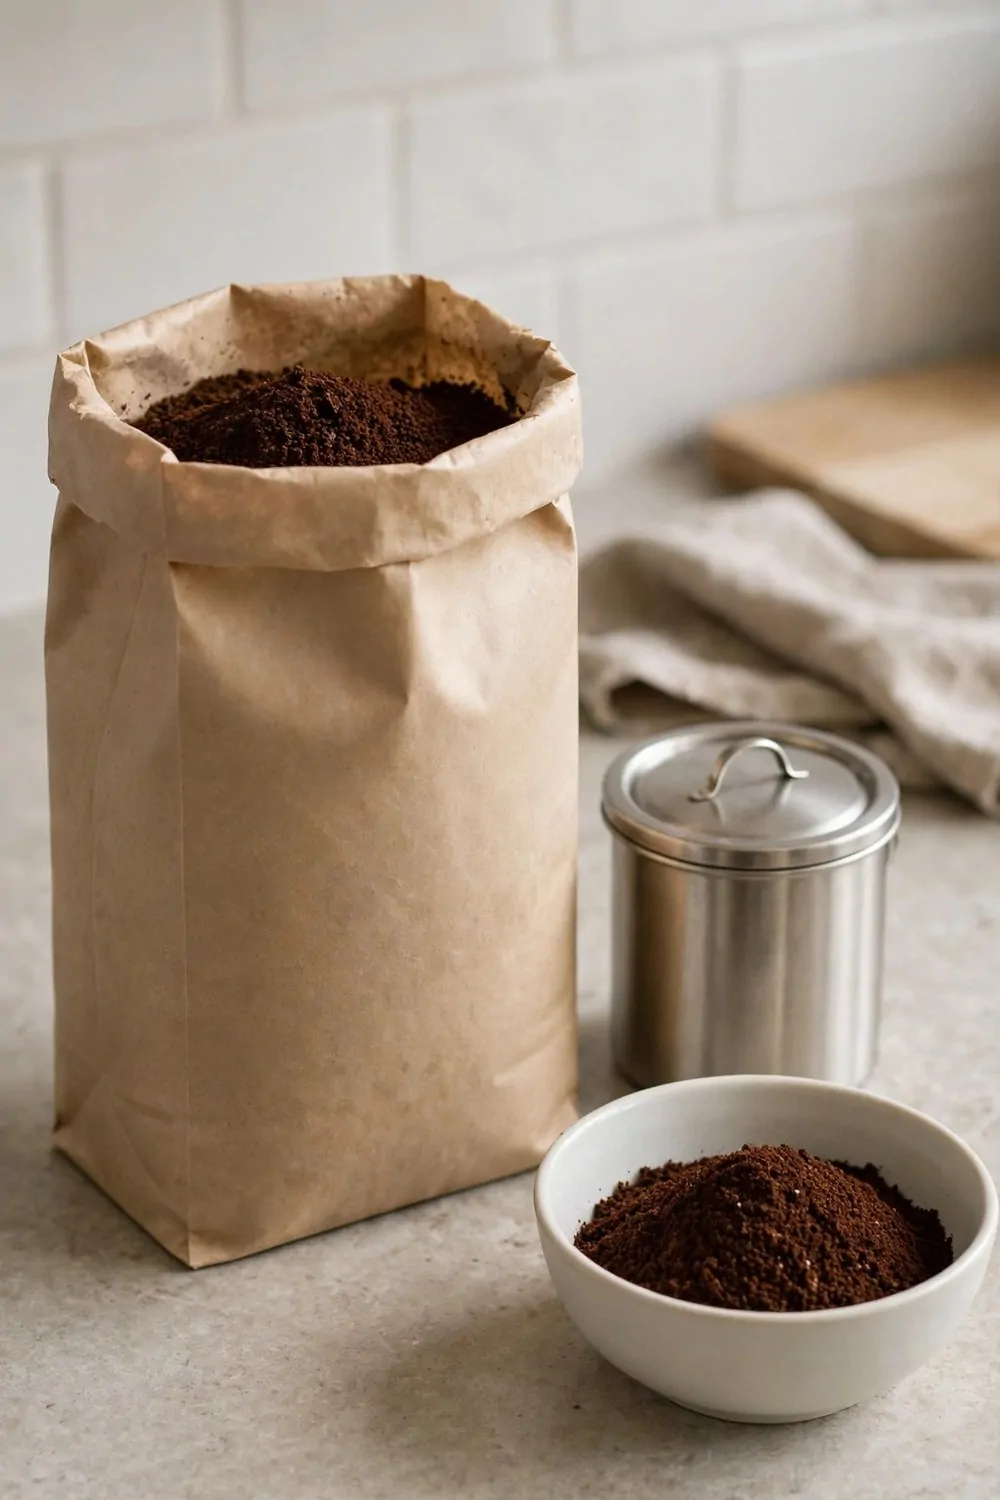
Coffee grounds are a gift for compost, and a small bag keeps them tidy until you need them.
You can tip each morning’s grounds into the bag, and the bag keeps them dry and out of the way.
I keep my bag near the kettle, and it takes only a second to add the day’s grounds.
You can mix the grounds into your pile, your pots, or your worm bin, and they feed the soil as they break down.
Typical cost $4 to $8.
A bag with a drawstring top shuts tight, and that keeps the grounds fresh and the kitchen tidy.
You can rinse the bag out now and then, and it will last through many rounds of grounds.
Share the bag with the rest of the house, and the grounds will pile up faster than you think.
Start with one small bag, and your morning coffee will soon feed your plants too.
9. A Herb Pot Fed with Compost Tea
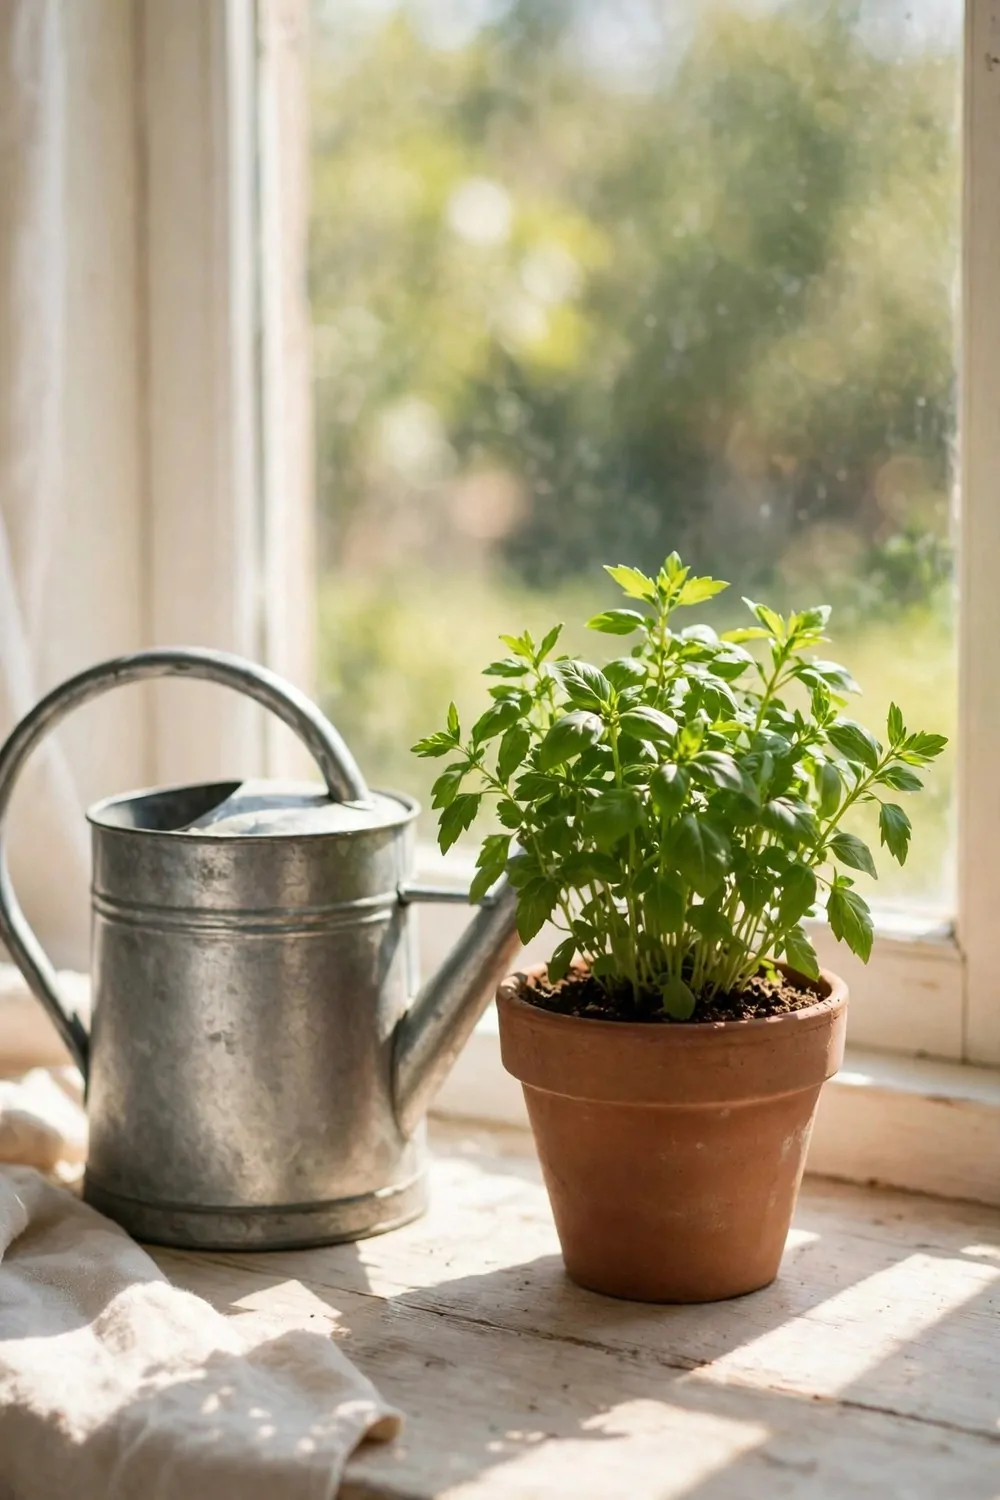
Compost tea is a weak brew made from finished compost and water, and your herbs will drink it up with joy.
You can soak a scoop of compost in a bucket of water, and leave it to sit for a day or two.
Strain the liquid through a cloth, and you will have a light feed for your pots.
You can pour it round the base of your herbs, and the roots take it up as they grow.
Typical cost $8 to $15.
I feed my herbs this way once a week in the growing months, and the leaves stay full and lush.
You can make a fresh batch each time, and a small pot needs only a small cup of tea.
Keep the tea weak and light. A small pot needs only a splash each week.
Try it on one pot first, and you will soon see which of your herbs likes the feed best.
10. A Small Patio Compost Bin
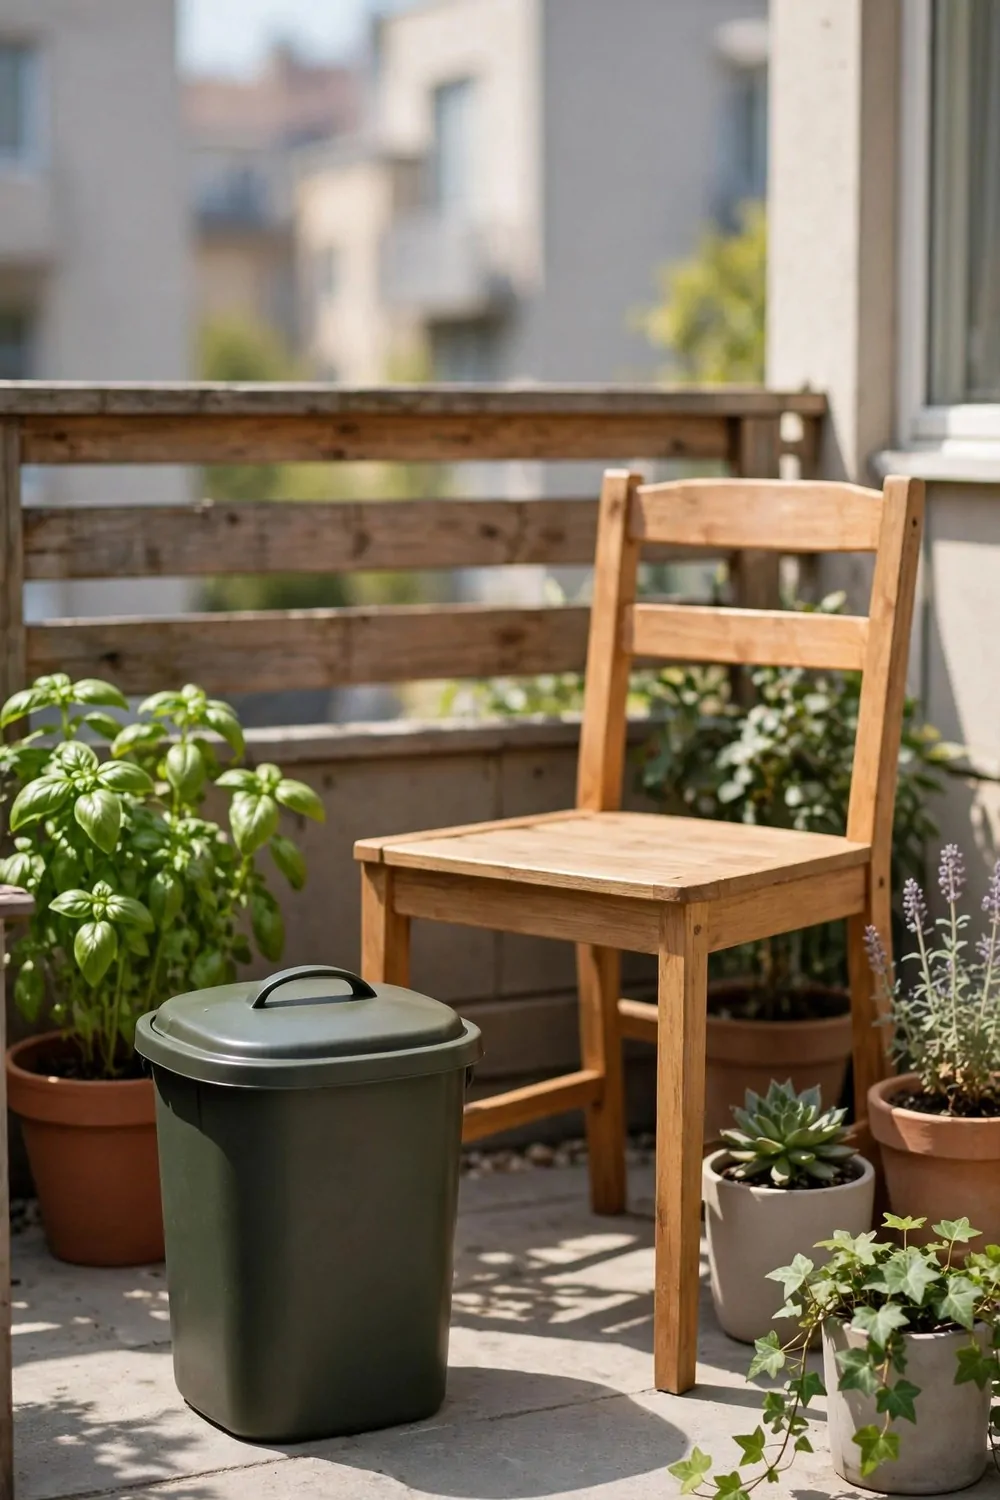
A small patio bin gives your scraps a home outside, and it keeps the kitchen clear.
You can add peels, leaves, grass clippings, and torn paper, and the pile will work away on its own.
You can set it beside a wall or a fence, and a lid on top keeps rain out and smells in.
You can turn the pile with a fork now and then, and that lets air reach the middle of the mix.
Typical cost $28 to $48.
I add dry leaves when the pile feels wet, and I add peels when it feels dry and slow.
You can harvest the finished soil from the base, and your pots and planters will thank you for it.
A small bin suits a patio of any size, and it asks for very little work from you.
Start with scraps you already have, and your patio bin will soon turn waste into rich soil for your home.
| Idea | Main change | Typical cost |
|---|---|---|
| A Kitchen Counter Compost Caddy | small caddy by the sink for daily peels | $12 to $20 |
| A Small Bokashi Bucket Under the Sink | closed bucket for scraps under the sink | $15 to $24 |
| A Countertop Compost Bin with a Filter Lid | lidded bin with a filter for smells | $18 to $30 |
| A Freezer Bag for Kitchen Scraps | frozen bag that holds scraps till emptying | $3 to $7 |
| A Worm Bin in a Cupboard | quiet worm bin tucked in a cupboard | $20 to $32 |
| A Balcony Compost Tumbler | spinning tumbler for a balcony floor | $45 to $75 |
| A Compost Bin for a Shady Balcony | lidded bin that suits a cool shady spot | $25 to $42 |
| A Compost Bag for Coffee Grounds | small bag that stores morning grounds | $4 to $8 |
| A Herb Pot Fed with Compost Tea | weak compost feed poured at herb roots | $8 to $15 |
| A Small Patio Compost Bin | neat lidded bin for a small patio | $28 to $48 |
| Total | $178 to $301 |
11. A Compost Caddy for Fruit Peels
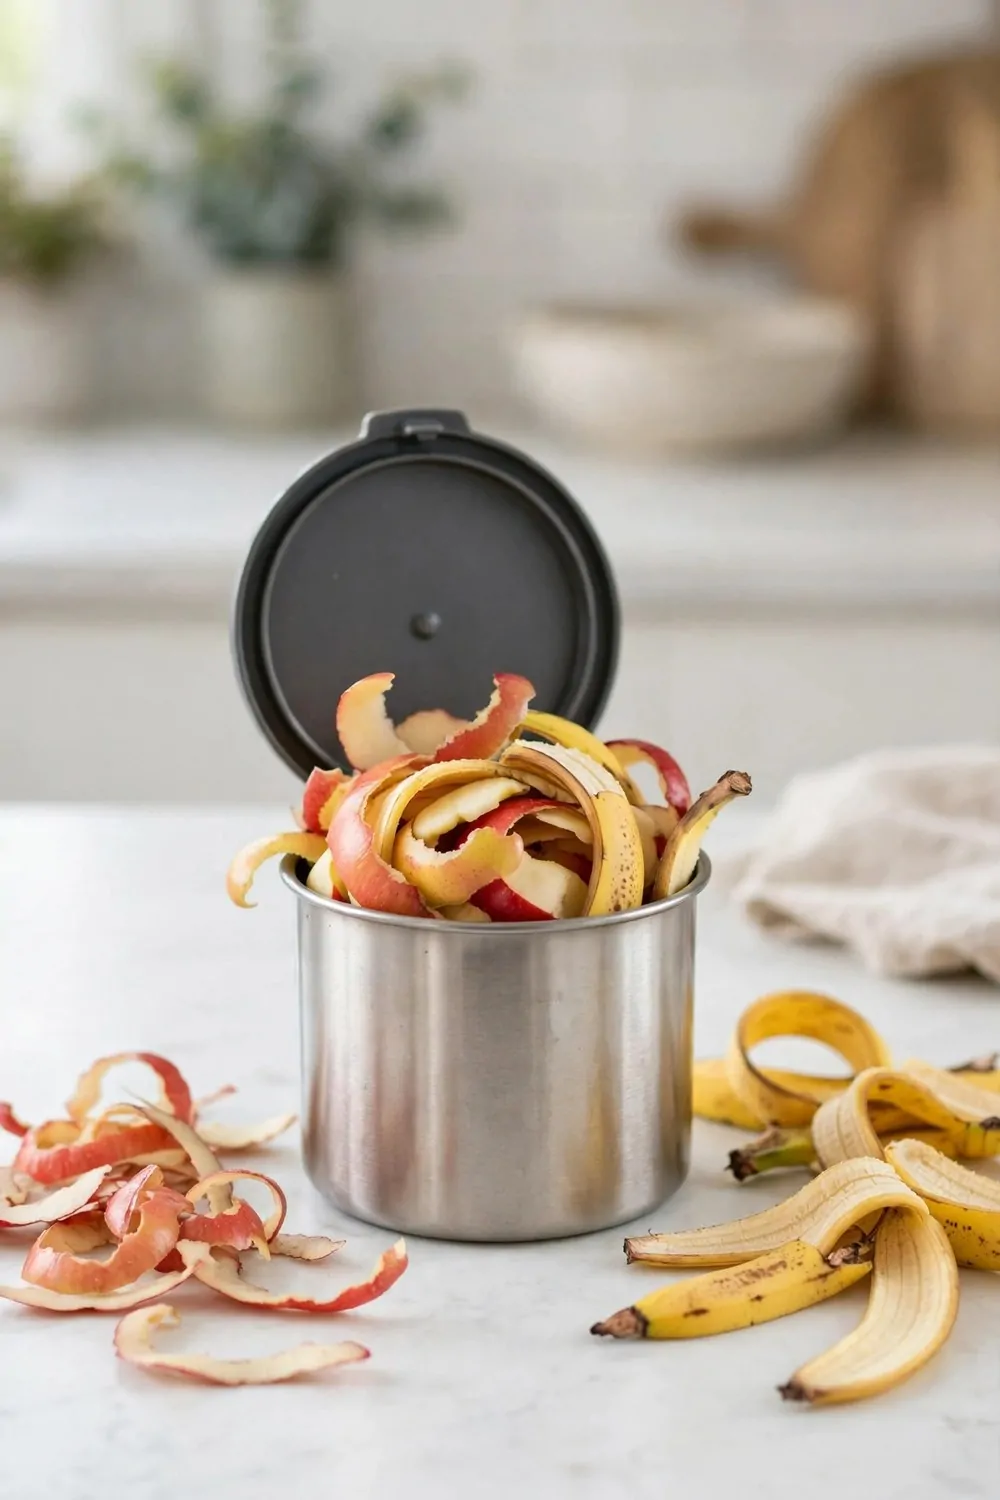
I peel a lot of fruit in my kitchen. A small caddy makes the peels easy to save.
You can set a caddy where you peel fruit each day.
I toss in banana peels and apple cores after I eat. I leave out pits that feel too hard to break down.
A lid helps keep smells low in a small room. I empty my caddy when it starts to feel full. I rinse it out with plain water before I fill it again.
Typical cost $10 to $18.
You can line it with a sheet of old paper. The paper soaks up wet bits and makes the caddy easy to clean.
I like how a caddy keeps my counter clear while I cook.
Fruit peels break down fast when they stay damp. I mix them with dry leaves or torn paper in my pile.
You can start small and see how it fits your day.
12. A Cardboard Corner for Dry Browns
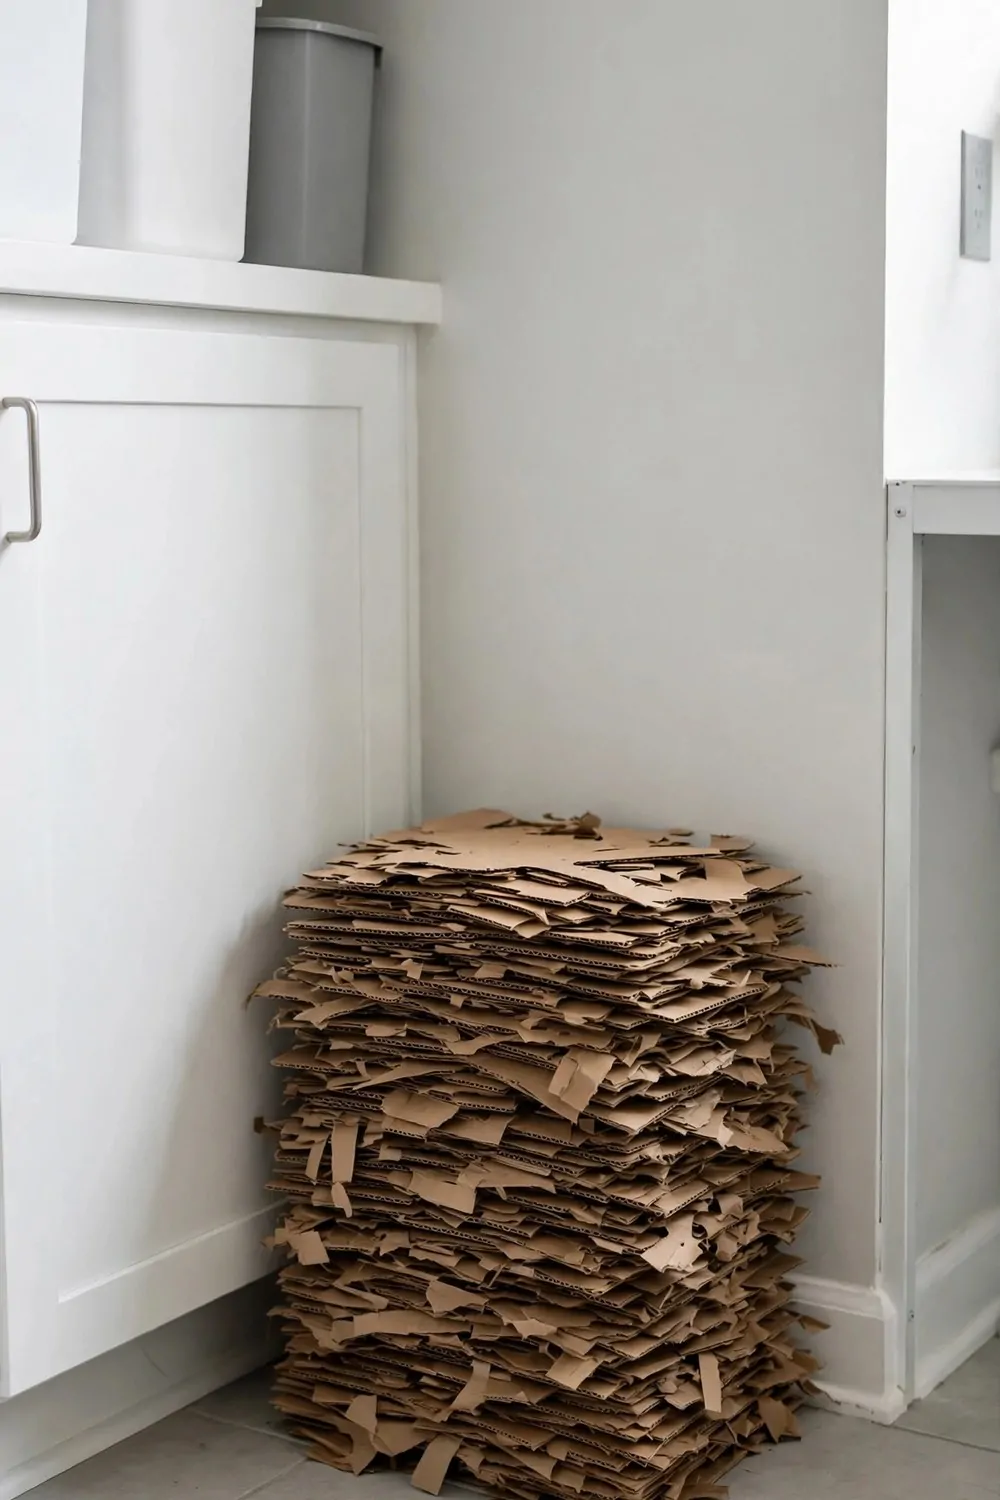
Dry browns balance wet scraps in a pile. I save torn cardboard and dry leaves for this job.
You can set a small box where you keep paper and cardboard bits.
I tear big pieces into small bits with my hands. Small bits break down much faster than big flat sheets.
I keep the box dry so the paper stays light and loose. Wet paper turns into a heavy clump. I add a layer of browns each time I add wet scraps.
Typical cost $2 to $5.
Plain cardboard works well when you take off tape and labels first.
You can ask your family to toss paper bits in the box. It soon turns into a habit for the whole house.
I mix browns and wet scraps in equal parts when I can. The pile stays airy and smells like fresh earth.
A dry corner saves you trips to the bin each day.
13. A Small Compost Bin for Eggshells
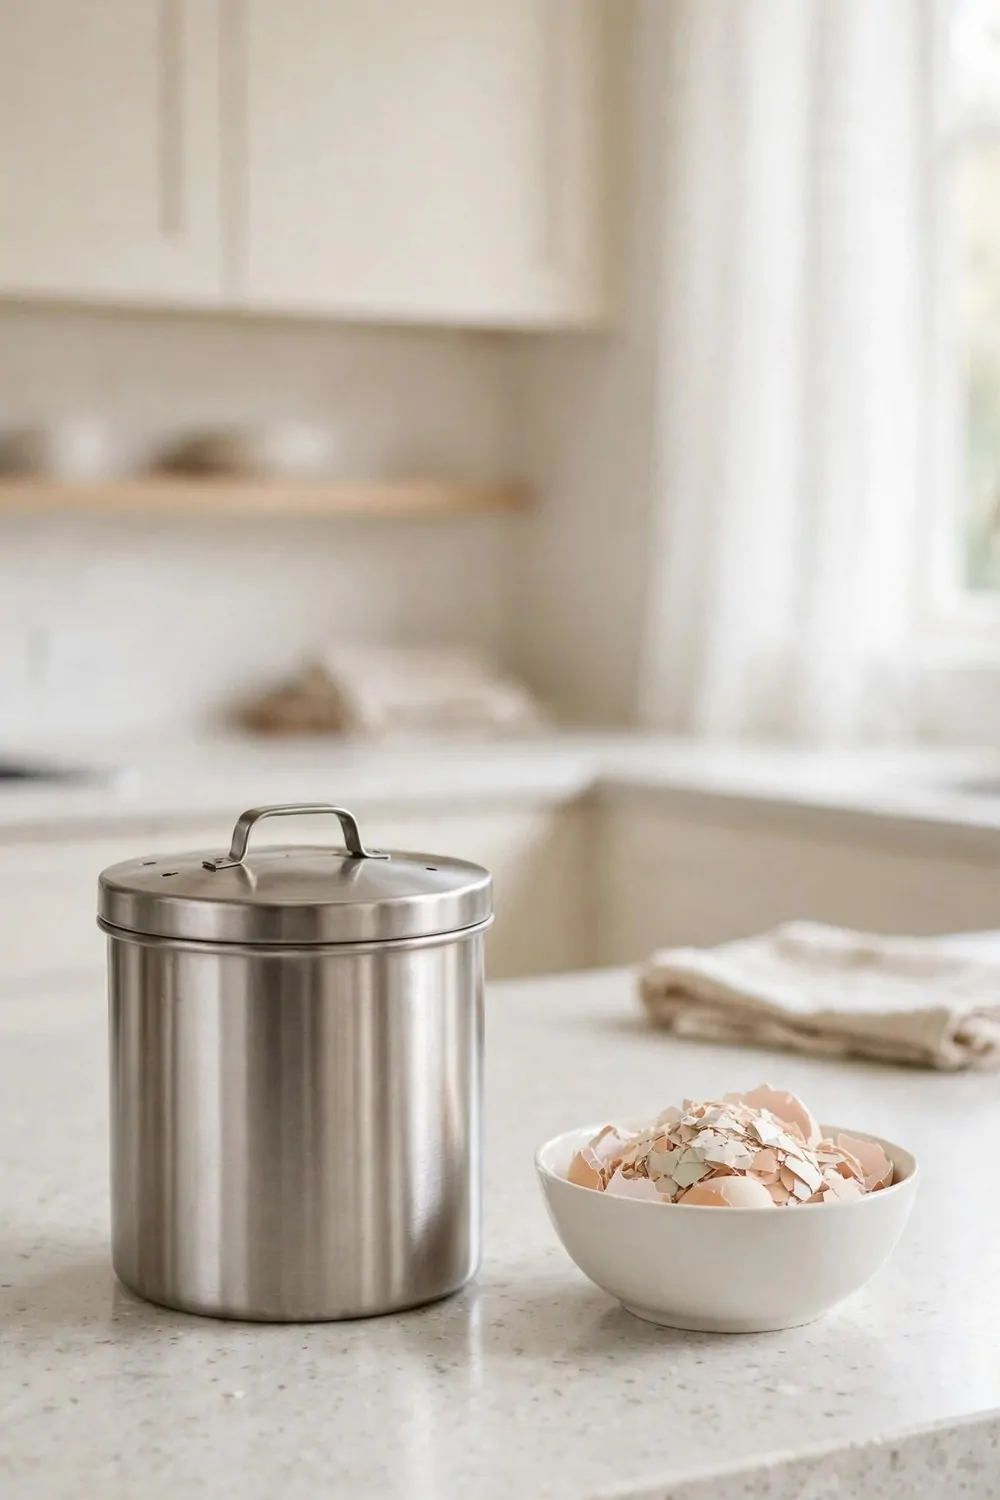
Eggshells add grit to a compost pile. I save mine in a small bin for this job.
You can crush shells with your hands before you add them to the pile.
Crushed shells break down faster than whole shells. I rinse mine under plain water and let them dry first.
I keep the bin lid on between uses. It keeps the shells dry and out of the way. I empty it into the pile when it feels full.
Typical cost $6 to $11.
You can dry shells on a tray in the sun for a day. Dry shells crush into tiny bits with very little work.
I like how a small bin keeps this scrap apart from the rest.
Eggshells mix well with coffee grounds and tea leaves. I stir them into the pile so they spread out and break down.
You can start with shells from your morning eggs and build the habit from there.
14. A Balcony Worm Tower
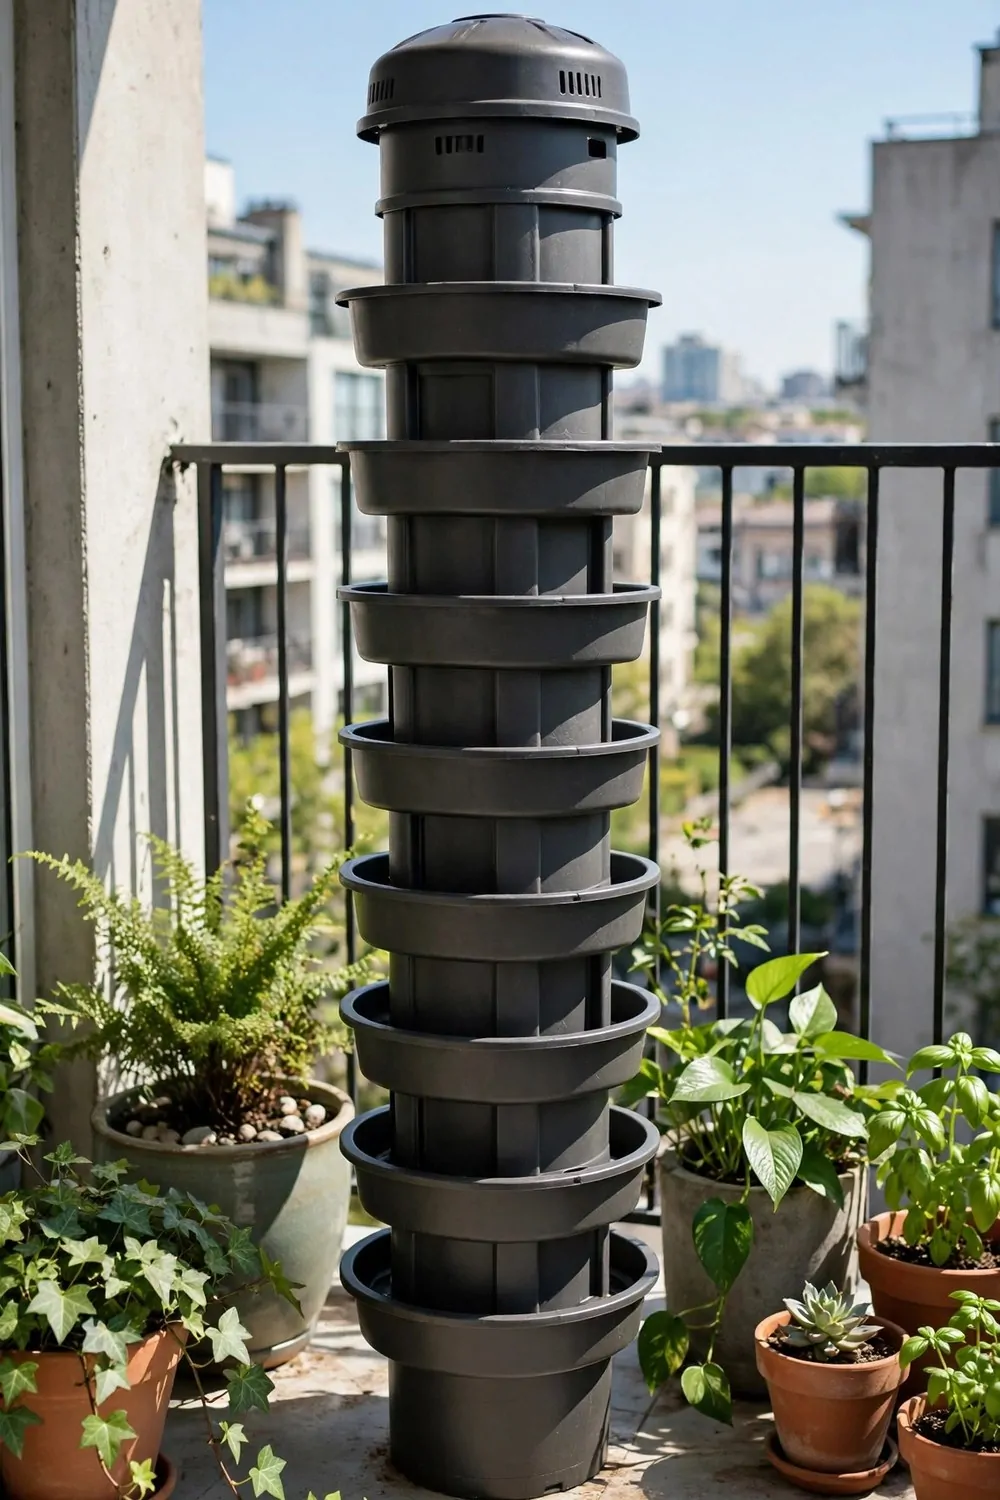
A worm tower turns scraps into rich soil on a balcony. I feed mine small bits of fruit and veg each week.
You can set a tower where it stays cool and out of harsh sun.
Worms like damp bedding made from torn paper and leaves. I add a small layer of bedding with each feed.
I chop scraps small so worms can eat them fast. I bury each feed under bedding so smells stay low. I check the tower each week and add water if the bedding feels dry.
Typical cost $30 to $52.
You can start with a small group of worms and let them settle in. They soon make their home in the bedding and start to work.
I love how little space a tower needs for the soil it makes.
Veg peels, coffee grounds, and tea leaves all suit a worm tower. I leave out bread and rice so the tower stays clean and calm.
You can harvest the soil when it feels soft and crumbly.
15. A Compost Tea Bucket for Houseplants
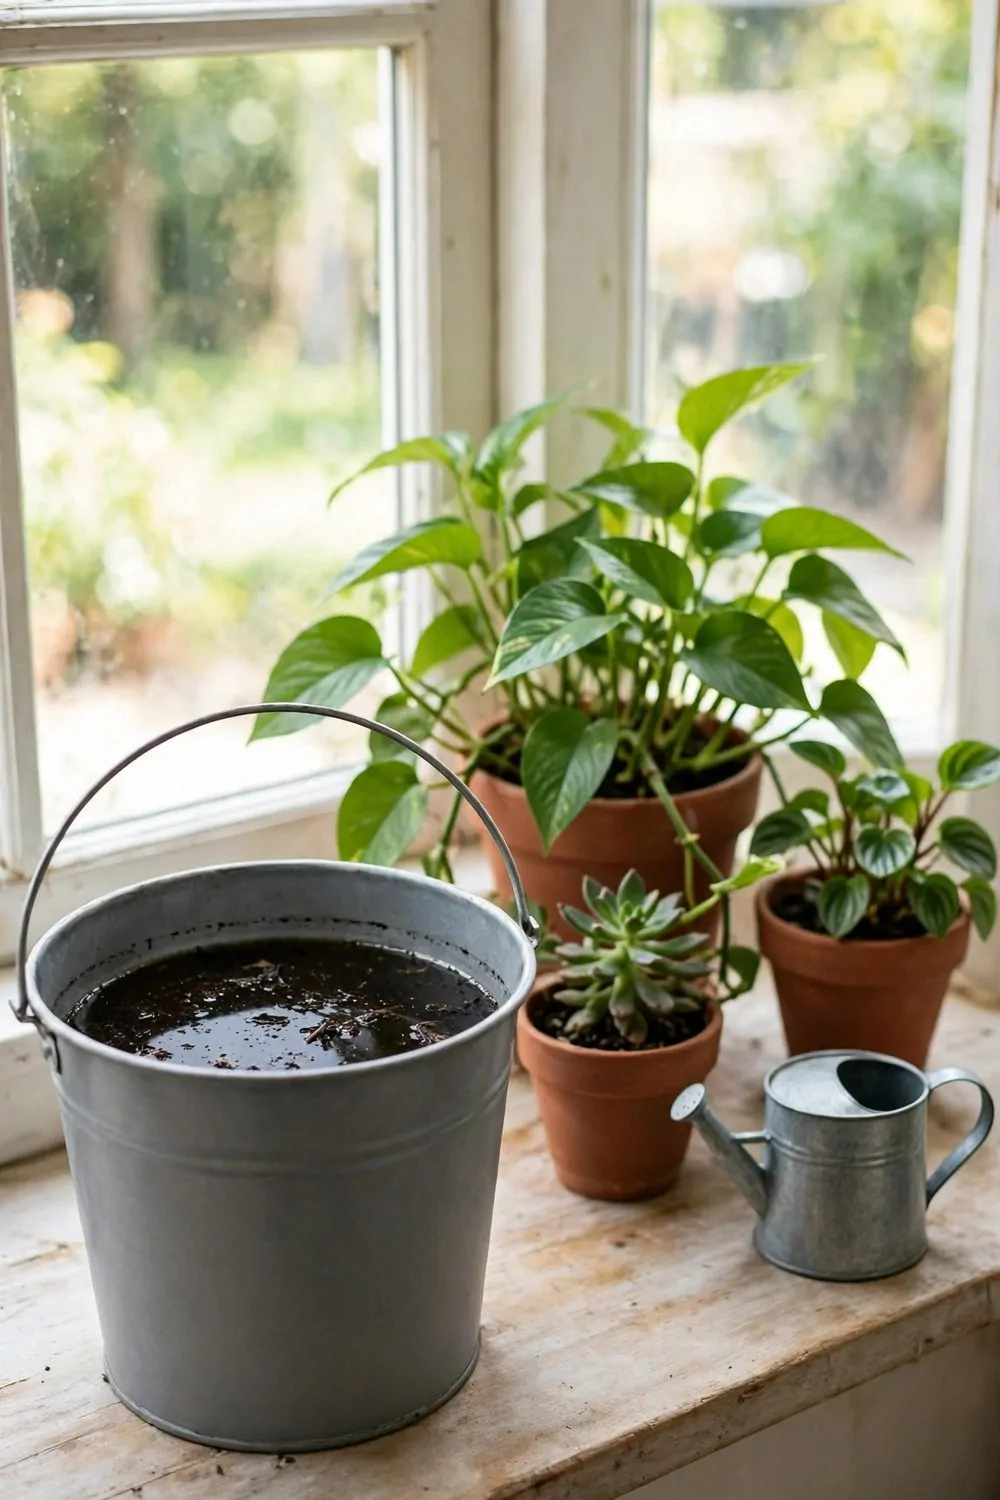
Compost tea gives houseplants a gentle feed from your pile. I make mine in a plain bucket with water and finished compost.
You can set a bucket where you can stir it with ease each day.
I scoop finished compost into a cloth bag for the soak. The bag keeps bits out of the water while the good stuff seeps out.
I stir the bucket each morning and each night. I let it sit for a day before I use it on plants. I pour it at the base of each plant and skip the leaves.
Typical cost $7 to $13.
You can dilute the tea with plain water if it smells strong.
I use it on my plants once a week in the warm months. It fits well into my normal watering day.
Finished compost works best for tea, not fresh scraps. Fresh scraps can make the mix smell bad and turn sour.
You can start with a small bucket and learn what your plants like.
16. A Small Compost Bin for Bread and Pasta
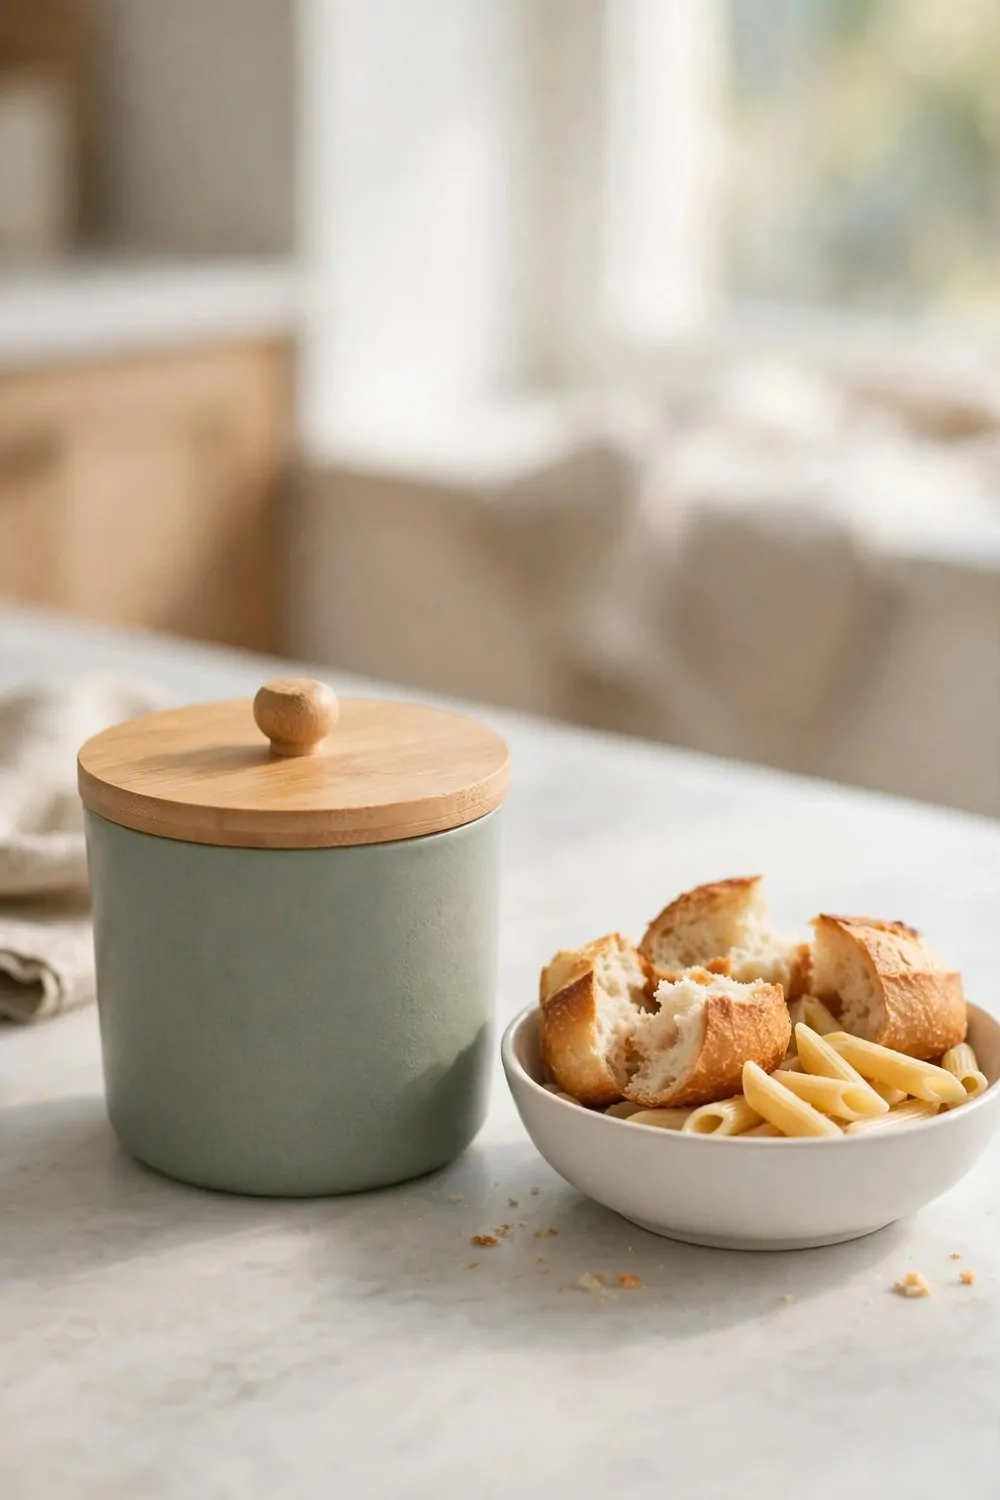
Stale bread and plain pasta still have a place in compost. I save mine in a small bin for dry scraps.
You can tear bread into small bits so it breaks down fast.
I mix bread bits with dry leaves and torn paper. The dry bits stop the bread from turning into a wet lump.
I add bread in small amounts, not all at once. I stir the pile after I add a new batch. I add more browns if the pile starts to smell.
Typical cost $9 to $16.
Plain pasta with no sauce works best in a pile. I break long strands into short bits before I toss them in.
I like how this bin stops good food from going in the trash.
You can keep the bin lid shut to keep smells low. I empty it often so bread never sits too long.
You can start with ends of loaves and bits of plain pasta from your meals.
17. A Compost Bin with a Charcoal Filter
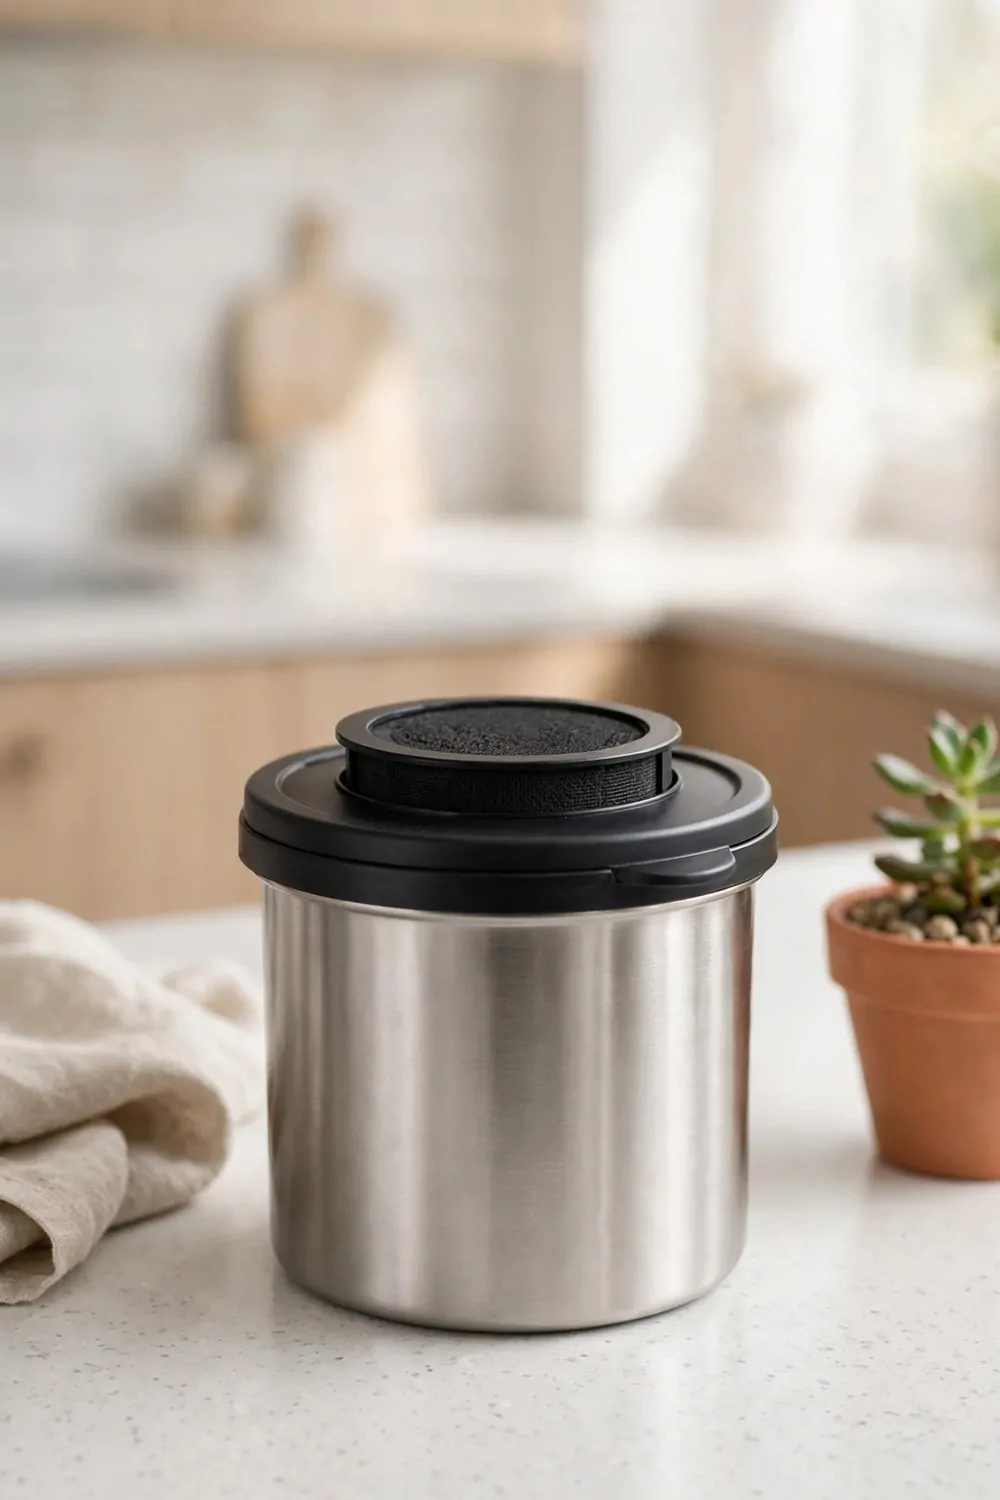
A charcoal filter helps cut smells from a kitchen bin. I picked a bin with a filter for this reason.
You can swap the filter when smells start to come back.
I change mine every few weeks in warm weather. A fresh filter keeps the bin fresh for the whole house.
I line the bin with old paper to soak up wet drips. I empty the bin when it feels full. I wipe it out with plain water before I line it again.
Typical cost $22 to $38.
You can keep spare filters in a dry spot for quick swaps.
A filter bin suits a small home with no outdoor pile. I use mine for fruit peels, coffee grounds, and tea leaves.
You can still mix in dry browns with each load of scraps. The mix stays airy and the filter does the rest.
You can start with a filter bin and see how much it helps your kitchen.
18. A Small Compost Station in the Laundry Room
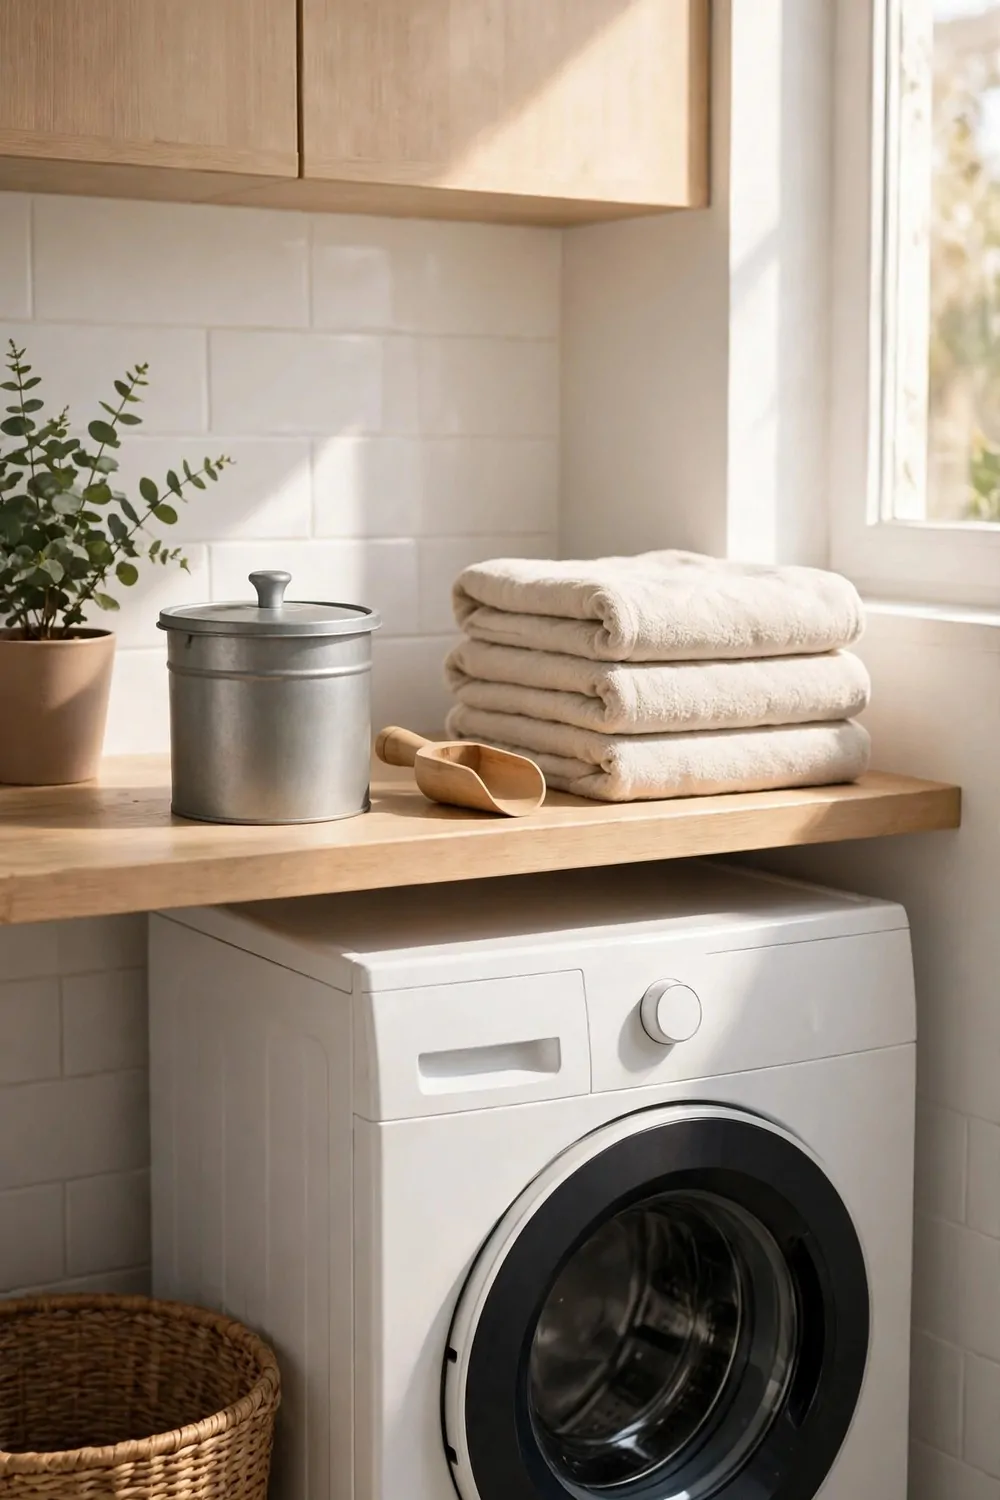
A laundry room can hold a small compost station with ease. I sort dry browns there while I wait for a wash to end.
You can set a station where it stays dry and out of the way.
I sort torn paper and dry leaves at the station each week. I add them to wet scraps when I take the bin out.
I wipe the station down with a damp cloth each week. It takes just a minute and keeps the room fresh. I toss in a new layer of browns after each clean.
Typical cost $15 to $26.
You can label the boxes so the whole house knows what goes where. Clear labels stop mix-ups and keep the habit easy.
I like how a spare room turns into a handy spot for compost chores.
You can store a small scoop and a spare bag at the station. They make each trip to the pile quick and tidy.
You can start small and build the station from there.
19. A Compost Bin for Leaves on a Small Patio
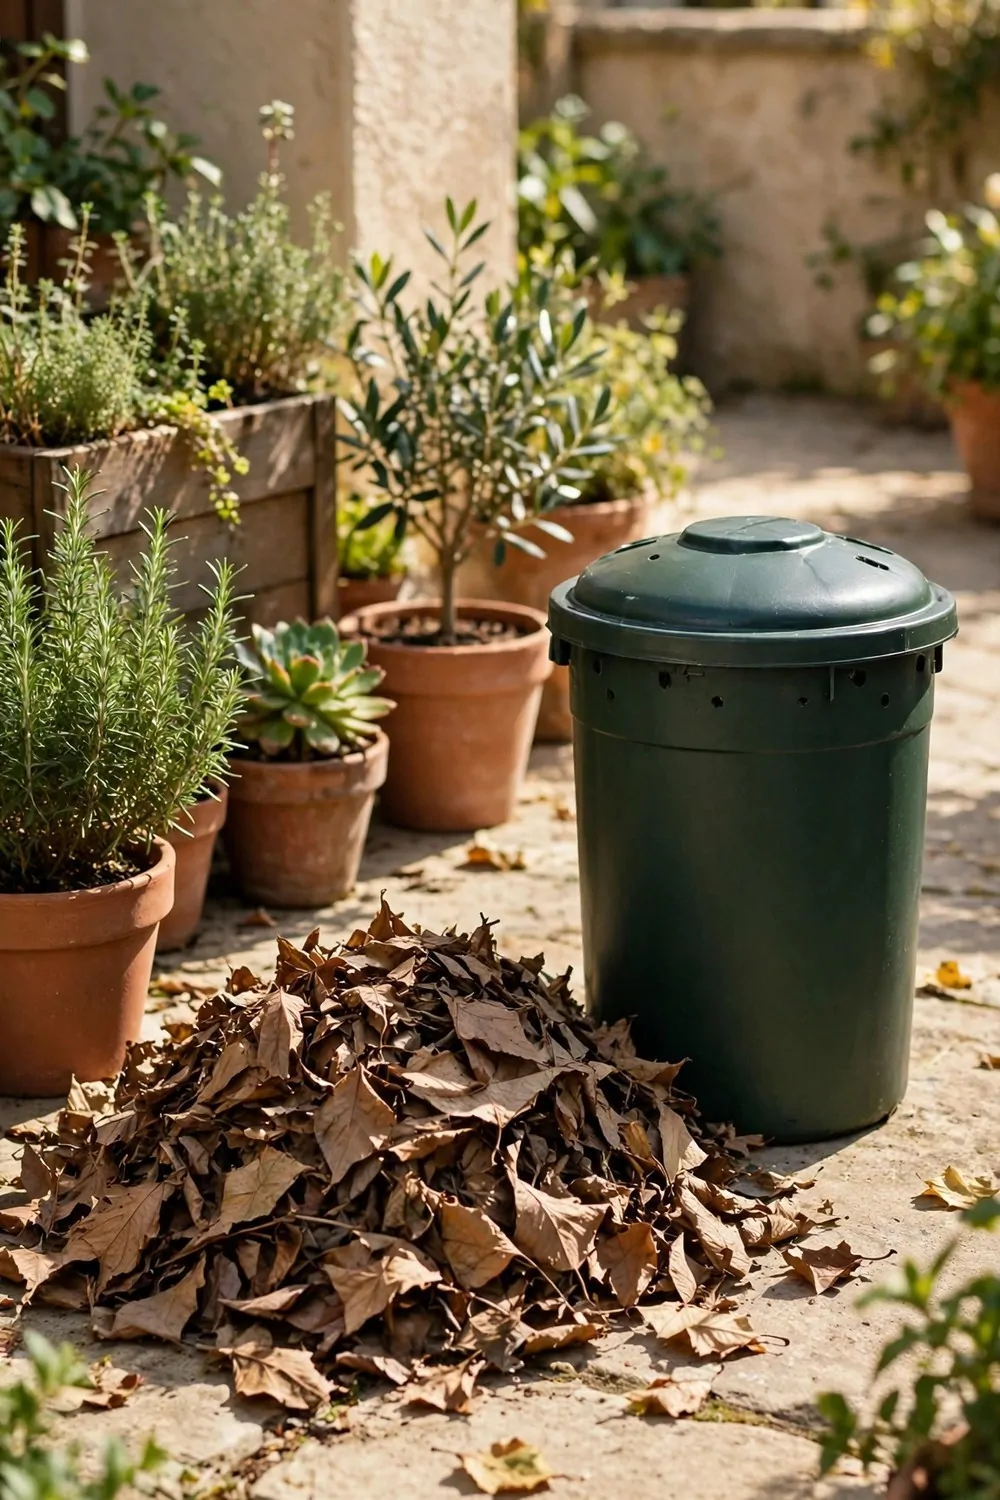
Fallen leaves make great browns for a compost pile. I gather mine from my small patio each week.
You can set a leaf bin where it stays dry and gets some air.
I crush dry leaves with my hands before I add them. Crushed leaves break down much faster than whole leaves.
I mix leaves with wet scraps in layers. I water the pile a little if the leaves feel too dry. I turn the pile with a fork when I have time.
Typical cost $12 to $21.
You can save leaves in a bag for use through the dry months.
I like how a leaf bin turns patio mess into rich soil. It gives me free browns all year round.
Leaves from trees and shrubs all work well in a pile. I leave out leaves that feel waxy or tough to break down.
You can start with leaves from your own patio and learn as you go.
20. A Kitchen Scrap Chopping Habit
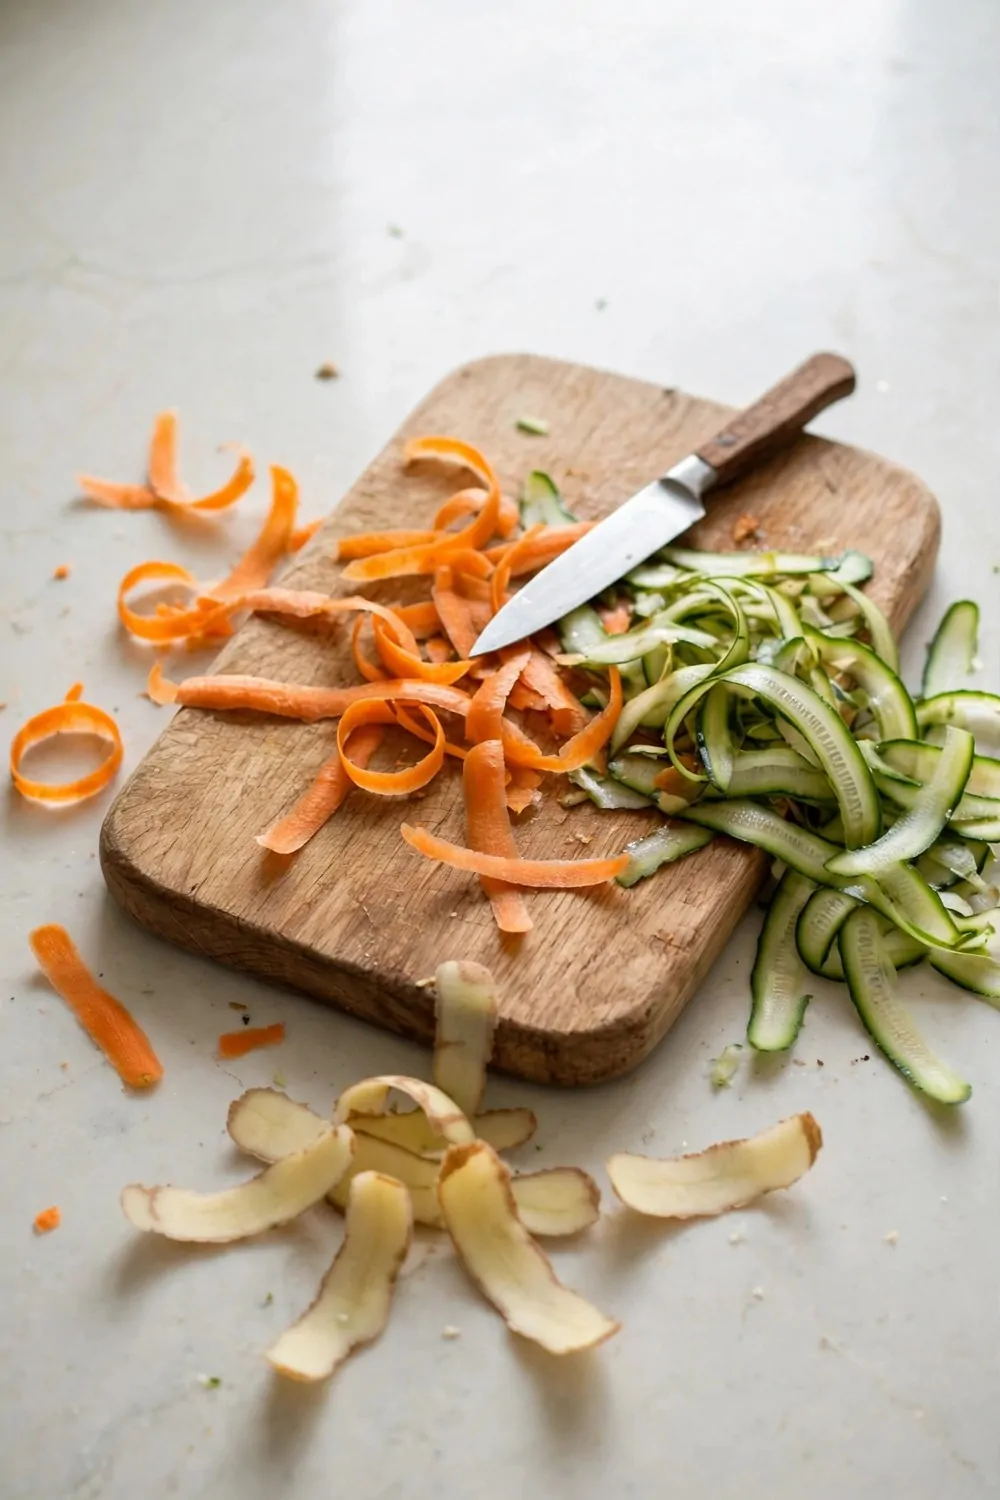
Chopping scraps small helps them break down fast. I chop scraps small before they go in the bin.
You can keep a small knife and board near your scrap bin for this job.
I chop peels, stems, and cores into small bits each night. Small bits mix well with dry leaves and torn paper.
I rinse the board after I chop each batch. I dry it and put it back for the next meal. I wipe the knife clean and store it with care.
Typical cost $5 to $9.
You can chop scraps while you wait for a meal to cook.
I like how this habit cuts the time my pile needs to turn into soil.
Chopped scraps blend into the pile with no big lumps. I turn the pile often so air can reach each bit.
You can start tonight with peels from your meal and see the change.
| Idea | Main change | Typical cost |
|---|---|---|
| A Compost Caddy for Fruit Peels | Keep fruit peels in a small lidded caddy | $10 to $18 |
| A Cardboard Corner for Dry Browns | Save torn cardboard in a dry box | $2 to $5 |
| A Small Compost Bin for Eggshells | Crush and save shells in a small bin | $6 to $11 |
| A Balcony Worm Tower | Feed scraps to worms in a tall tower | $30 to $52 |
| A Compost Tea Bucket for Houseplants | Soak compost in water for plant feed | $7 to $13 |
| A Small Compost Bin for Bread and Pasta | Tear stale bread into a dry scrap bin | $9 to $16 |
| A Compost Bin with a Charcoal Filter | Fit a filter bin to cut kitchen smells | $22 to $38 |
| A Small Compost Station in the Laundry Room | Sort dry browns in the laundry room | $15 to $26 |
| A Compost Bin for Leaves on a Small Patio | Gather patio leaves into a leaf bin | $12 to $21 |
| A Kitchen Scrap Chopping Habit | Chop scraps small before they go in the bin | $5 to $9 |
| Total | $118 to $209 |
21. A Compost Bin for a Shared Apartment Kitchen
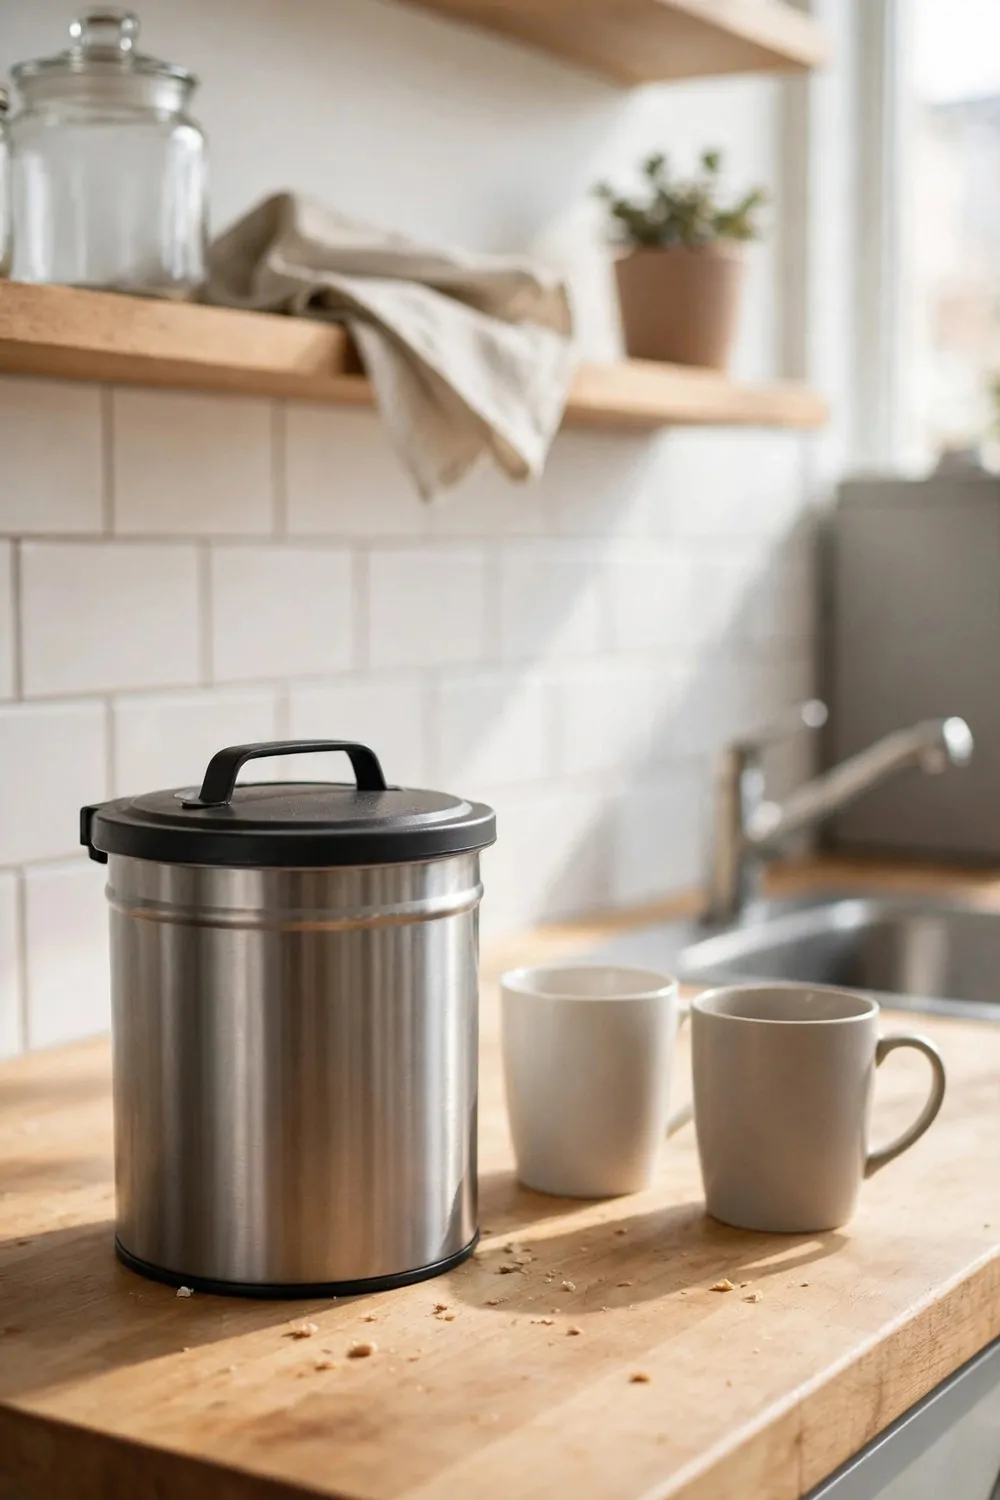
A shared kitchen can still hold a small compost bin. I keep our scraps in one neat bin, and it works fine for all of us.
You can set it on the counter or tuck it in a corner of the kitchen.
We tip in fruit skins, coffee grounds, and old tea leaves. We add torn paper and dry leaves when the bin feels too wet. A quick stir keeps the mix light and airy.
A lid on the bin helps a lot. It keeps the smell in and the kitchen fresh.
Typical cost $16 to $27.
We empty the bin into the big compost pile twice a week. A quick rinse keeps the bin clean for the next round.
A small list helps new housemates learn what goes in. We write down peels, grounds, leaves, and torn paper. It saves a lot of questions, and we all stay on the same page.
I learnt to keep the bin small so it fills up fast and gets emptied often.
You can start with a plain bin and a roll of liners. Your shared kitchen will feel tidy, and your scraps will turn into rich soil.
22. A Compost Bin for Vegetable Peels
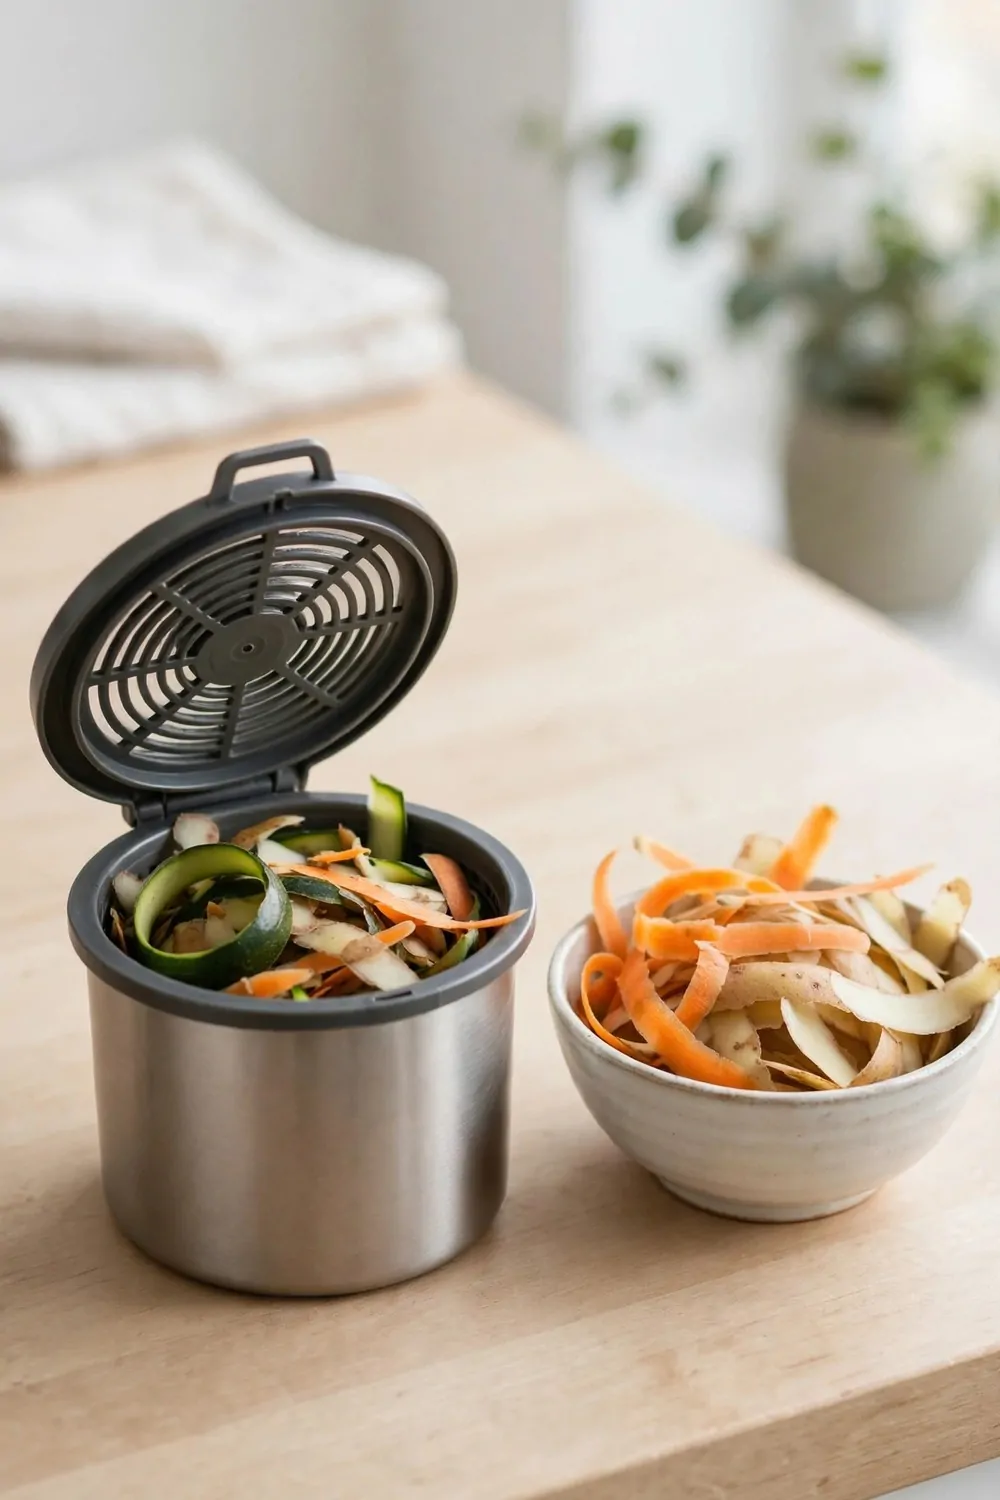
Vegetable peels are the easiest scraps to compost.
I peel carrots, potatoes, and onions straight over the bin. The peels drop in, and I wash my hands after. It takes no extra time at all.
You can add fruit peels too. Apple cores and banana skins break down fast in a warm bin.
Typical cost $11 to $19.
I chop big peels into small bits first. Small bits rot faster than big pieces.
Dry leaves help a lot when the peels feel wet. I add a handful of torn paper at the same time. The mix stays loose, and the smell stays low.
You can empty the bin into the garden pile once it feels full.
I learnt not to add big chunks of raw veg all at once. Small bits work better, and the bin stays sweet.
Peels from one meal can feed a whole bin over a week. I love how little waste we throw away now. You can start tonight with the peels from dinner.
23. A Balcony Compost Bin for Grass Clippings
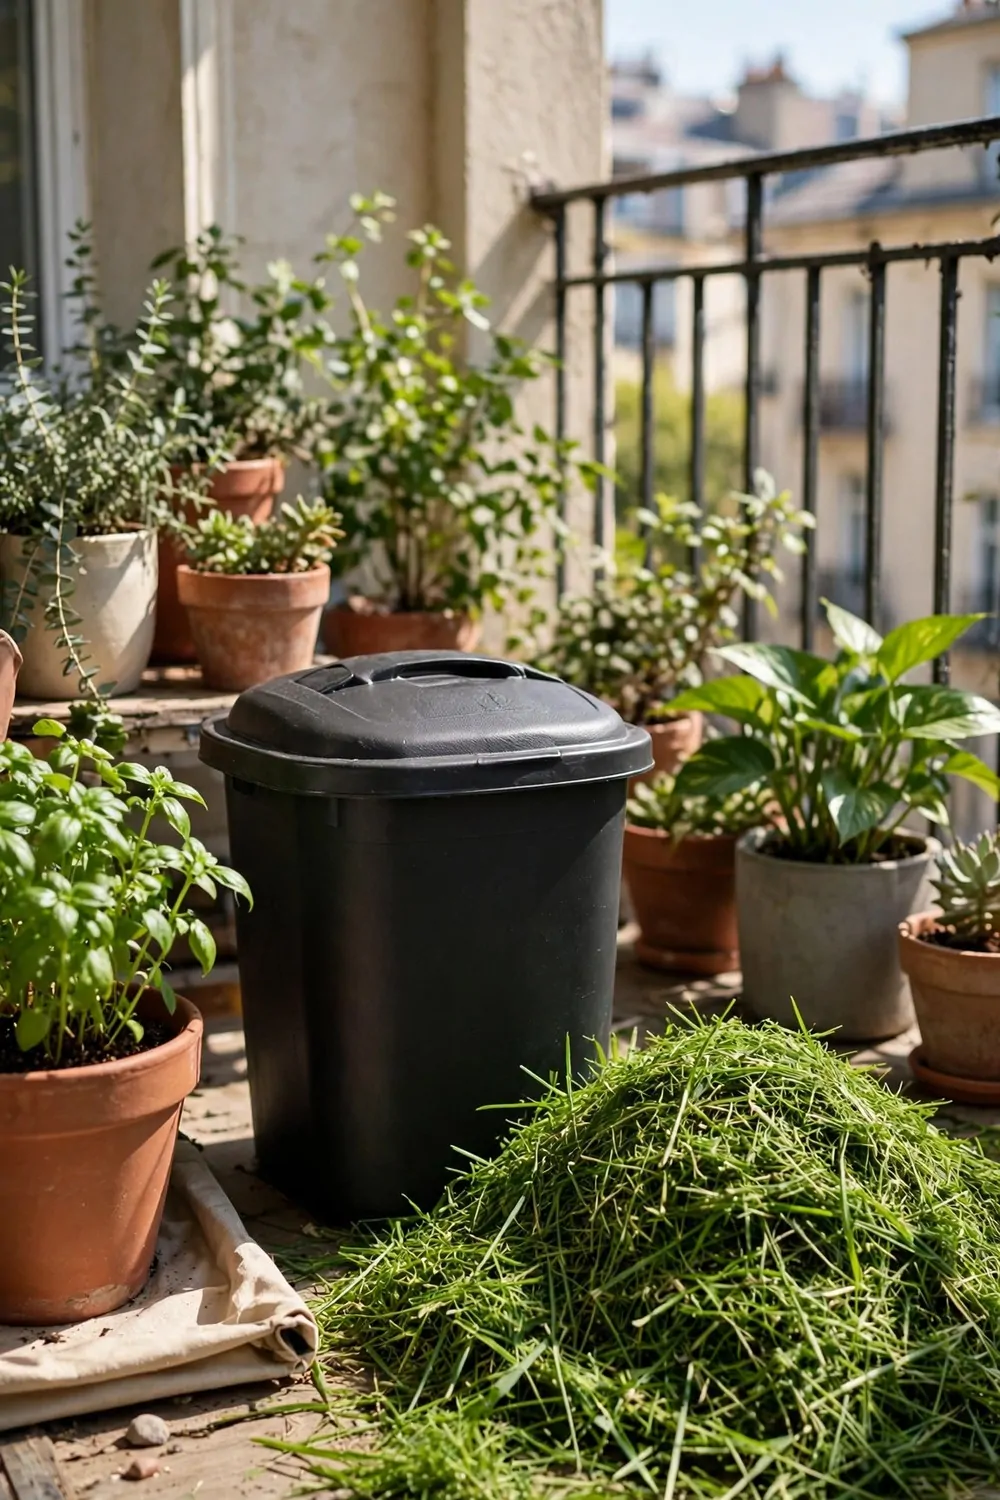
Grass clippings make good compost if you mix them right. I add them in thin layers with dry leaves and torn paper.
You can set the bin in a corner of the balcony where it gets a bit of air.
Fresh clippings clump up fast when they sit alone. I toss in dry leaves each time I add a new batch. A quick mix with a hand fork keeps it loose and light.
A lid helps keep rain off the mix. It also keeps the smell down on hot days.
I turn the mix with a small fork once a week. It takes five minutes, and the bin stays fresh.
Typical cost $24 to $40.
Too many clippings at once can turn the bin slimy. I learnt to add a little at a time. Dry paper and leaves balance the wet grass, and the mix stays crumbly.
You can scoop the finished compost out when it looks soft and crumbly.
I spread it round my pots and beds with my hands. The plants look happy, and the soil feels soft under my fingers.
24. A Small Compost Bin for Paper Towels
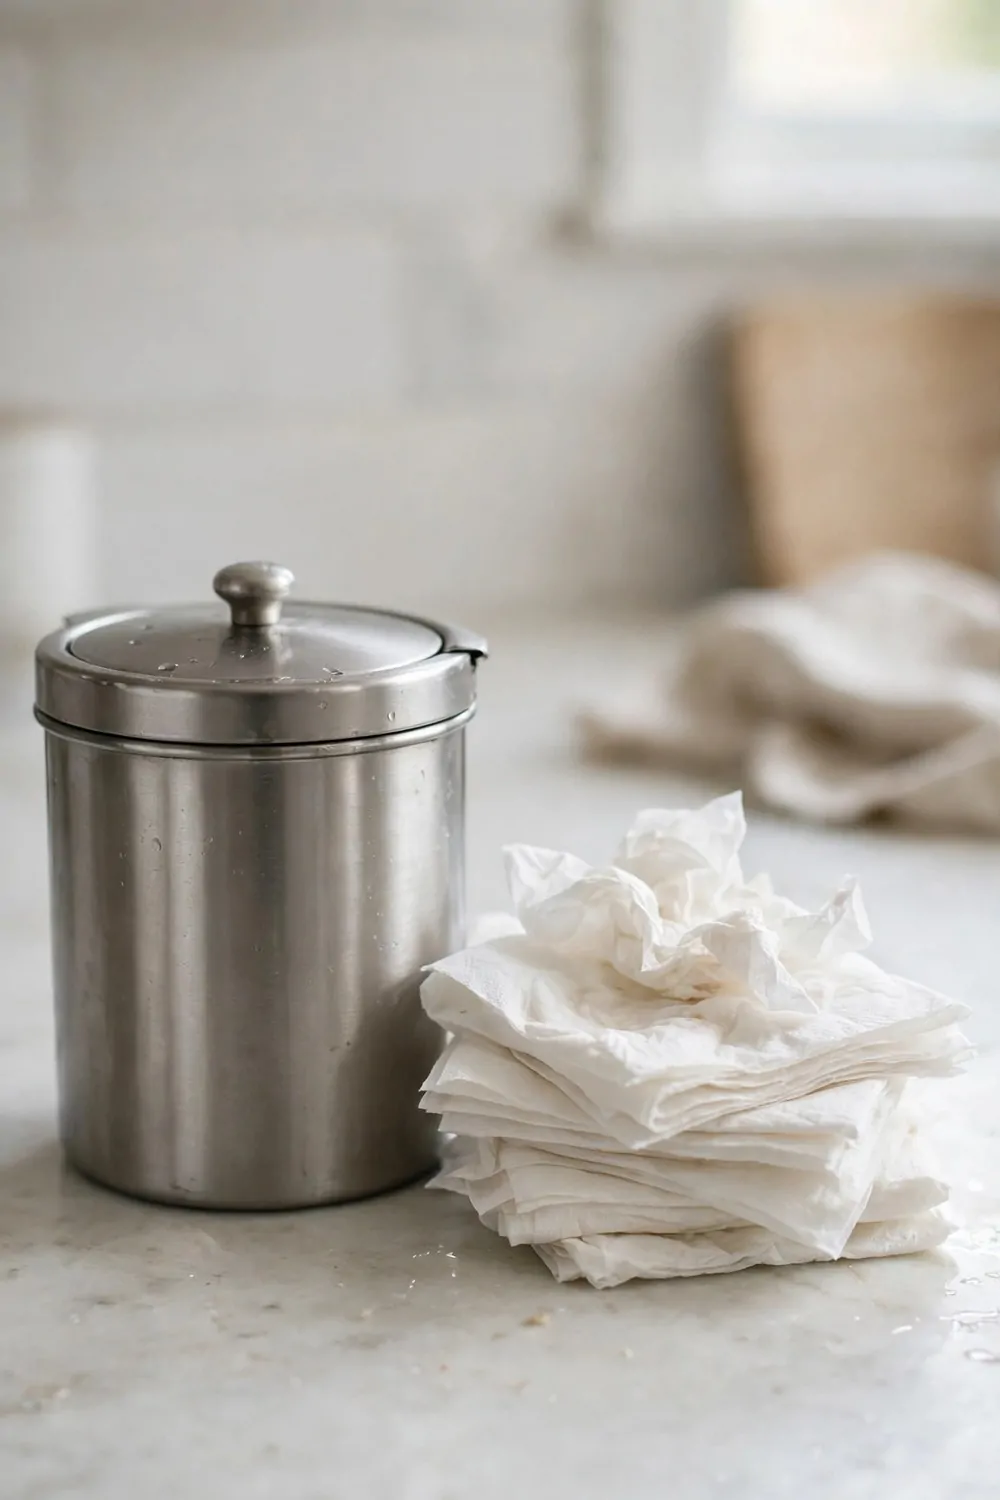
Paper towels can go in the compost when they are plain and clean.
I tear them into small strips before I toss them in. Small strips break down much faster than whole sheets.
Wet scraps love dry paper. I tuck torn towels in with fruit peels and coffee grounds. The towels soak up extra wetness, and the bin stays balanced.
You can keep a small pile of torn towels by the bin. Then you can grab some each time you add wet scraps.
Typical cost $4 to $8.
I only add towels that wiped up water or dry crumbs. Towels with soap or strong cleaners stay out of the bin. Plain paper rots well, and the mix stays safe for plants.
You can tear a big stack of towels at once and keep them in a bag.
I learnt this trick after my bin stayed too wet for weeks. Now the towels fix the wetness, and the smell stays low.
Paper towels are free browns from your own kitchen. You can save them from the bin bag and give them a second life in compost.
25. A Compost Bin for Nut Shells
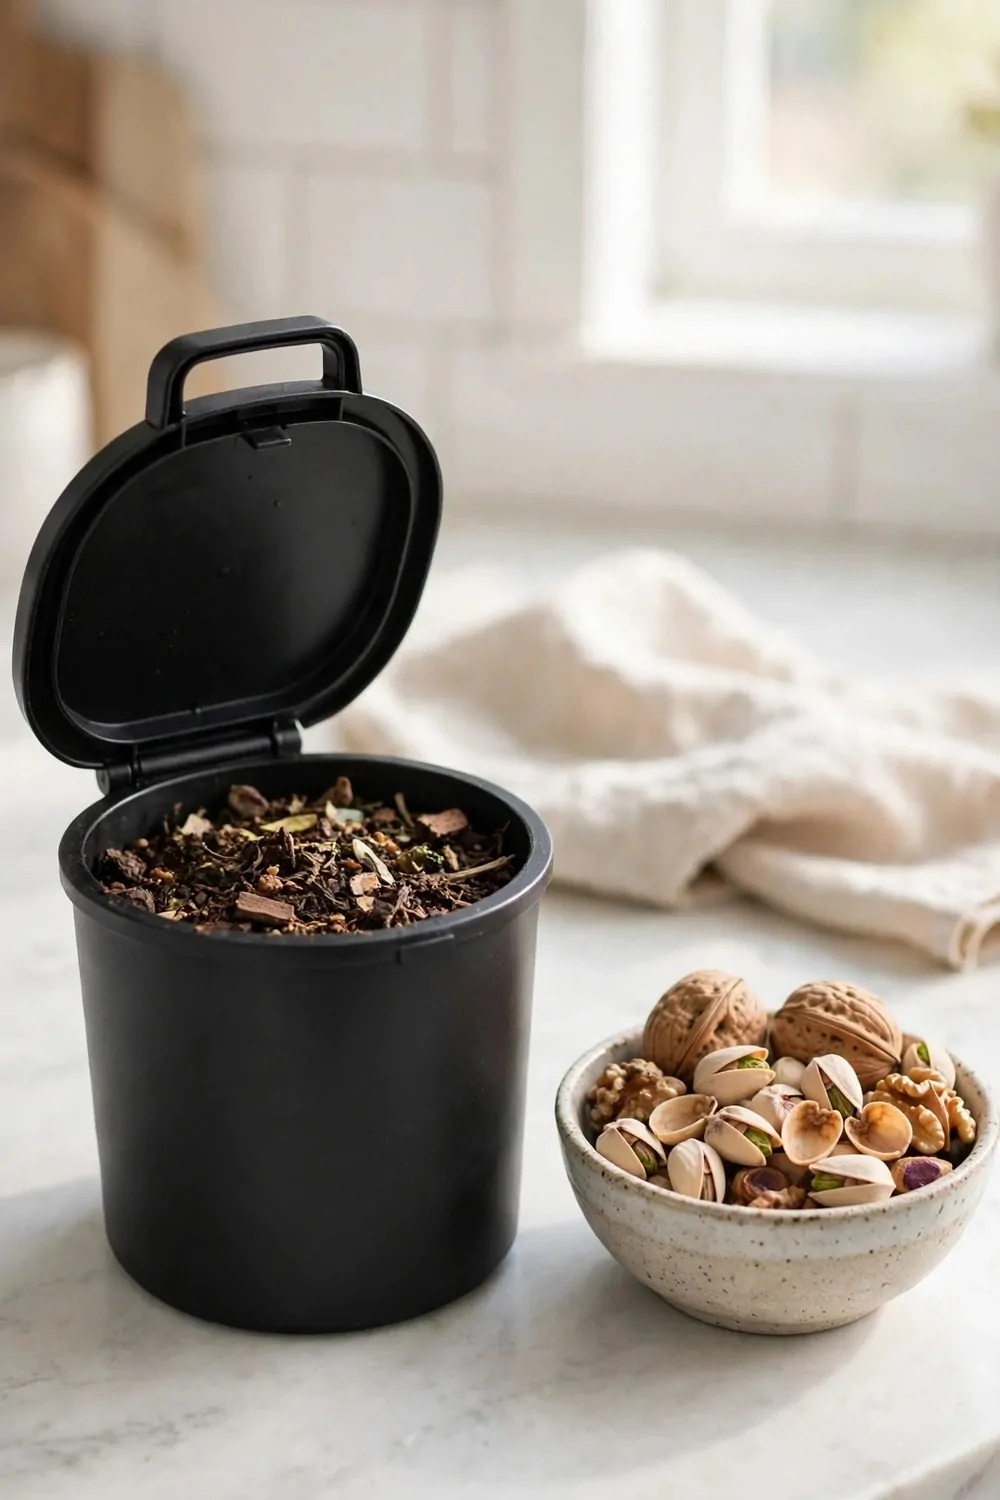
Nut shells take a long time to break down. I crush them first so they rot much faster in the bin.
I put the shells in a cloth bag and tap them with a rolling pin. The bits come out small and rough. Small bits mix well with soft fruit peels and tea leaves.
You can add a small handful of crushed shells each week.
Shells add air gaps to the mix. The gaps let air move through the bin, and the scraps rot faster.
Typical cost $7 to $12.
I learnt not to dump a whole bowl of shells in at once. A little at a time works best, and the bin stays balanced.
Peanut shells, walnut shells, and pistachio shells all work the same way. I crush each batch before it goes in the bin. The shells turn soft over many months, and they feed the soil in the end.
You can save shells in a jar through the week and crush them on the weekend.
I love that nothing goes to waste at snack time. Your shells can feed the garden too, one small handful at a time.
26. A Small Compost Bin for Houseplant Trimmings
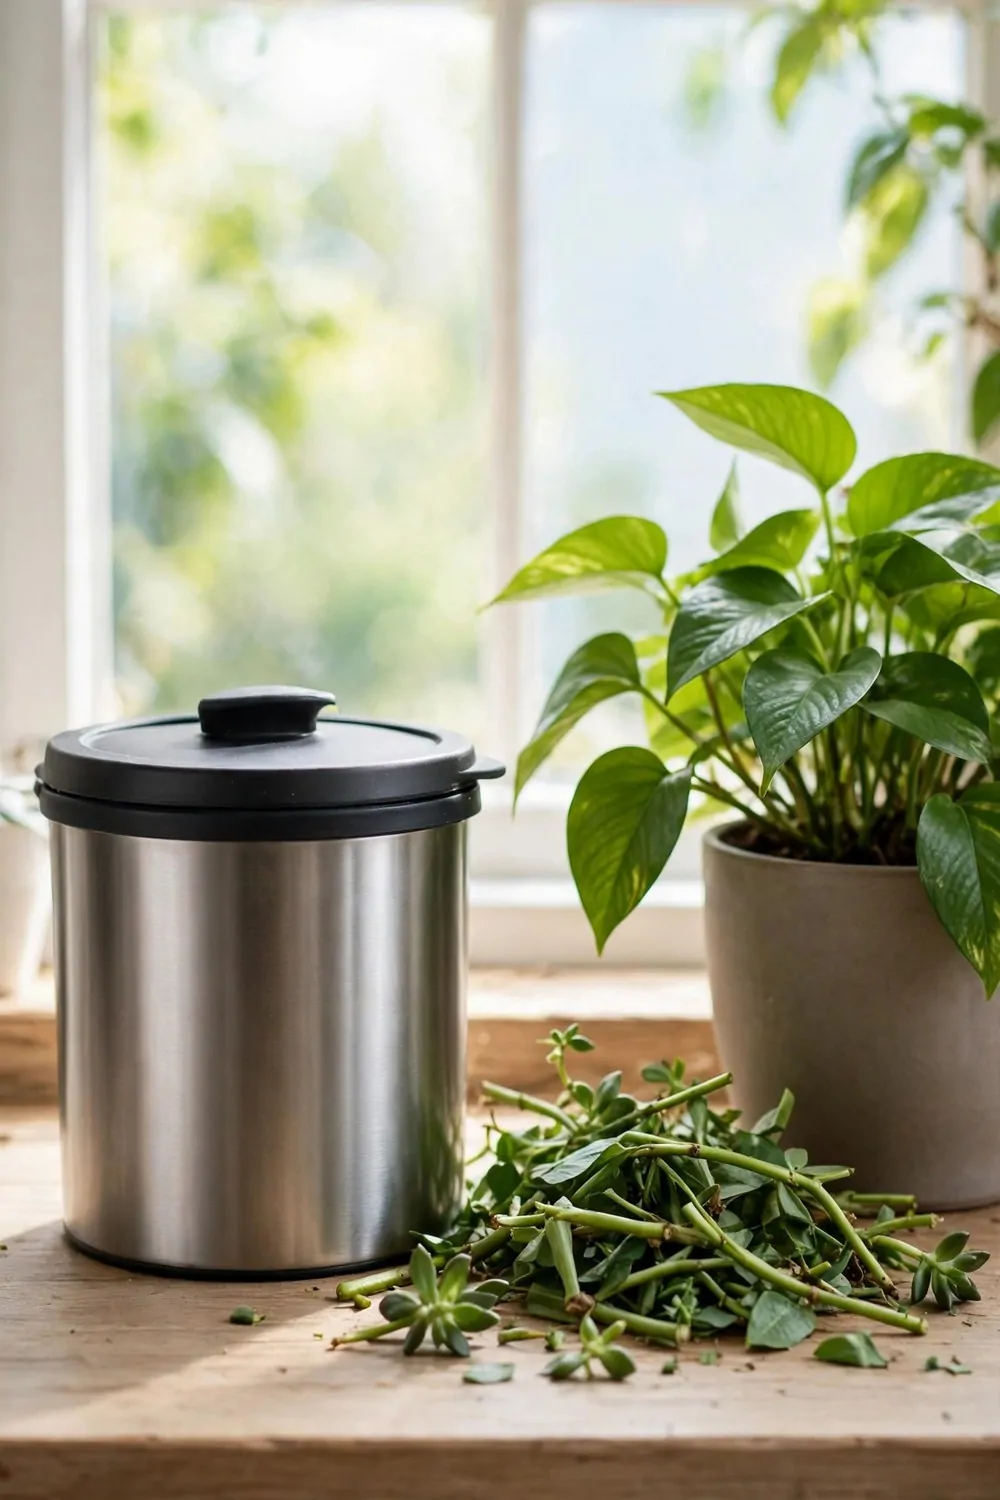
Houseplant trimmings make fine compost for your pots.
I snip off dry leaves and long stems when I tidy my plants. The trimmings go straight in the small bin.
I chop the stems into short bits first. Short bits rot faster than long stems. A quick mix with fruit peels keeps the bin damp and lively.
You can add the trimmings a little at a time. The bin stays light, and the mix never feels heavy.
Typical cost $8 to $14.
Dry leaves from plants count as browns. I mix them with wet peels and coffee grounds. The mix stays balanced, and the smell stays low.
You can keep the bin close to your plants so the trimmings go in right away.
Old leaves turn into soft compost in a few weeks. I spoon it back round my pots, and the plants look fresh and full.
Trimming day is now my favourite plant chore. You can turn the bits you snip off into food for the soil.
27. A Compost Bag for Autumn Leaves
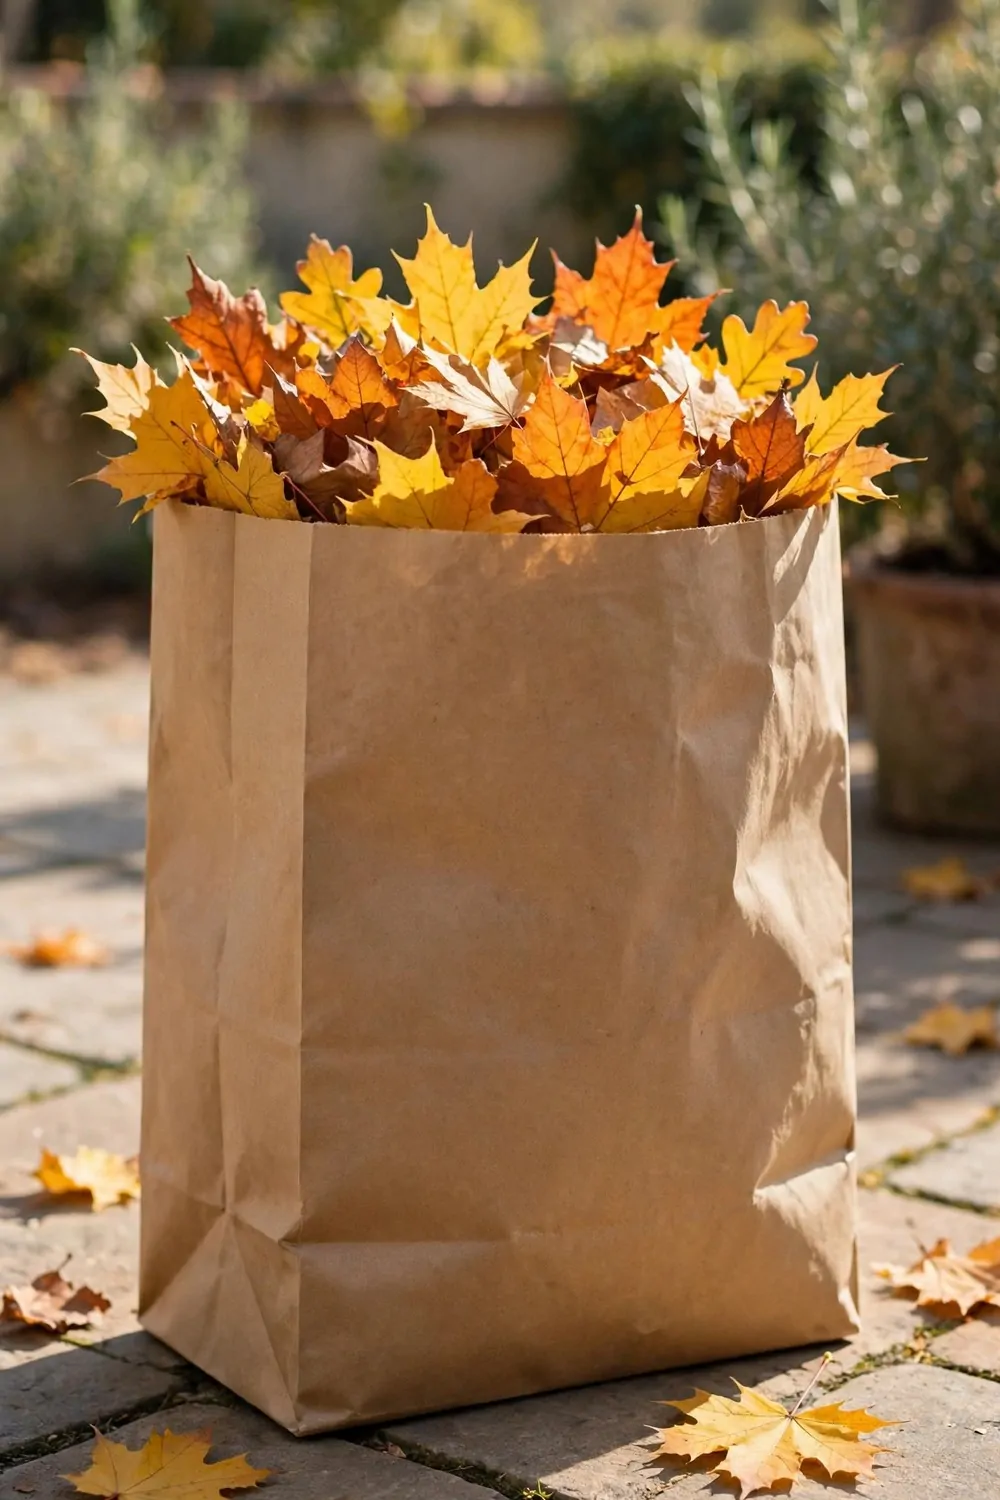
Autumn leaves are free browns for your compost. I fill a bag with dry leaves each time the yard fills up.
You can set the bag in a dry spot till you need the leaves.
I crush the leaves with my hands before they go in. Crushed leaves rot much faster than whole ones. A bag of crushed leaves lasts me through the cold months.
Dry leaves balance wet kitchen scraps. I add a big handful of leaves each time I add peels and grounds.
Typical cost $5 to $9.
The paper bag breathes a little. The leaves stay dry, and the bag never smells bad.
I learnt to keep the bag out of the rain. Wet leaves clump and rot slow in a soggy bag. Dry leaves work best, and they keep the bin light and airy.
You can mix the leaves with grass clippings and fruit peels for a rich blend.
I love how a plain bag of leaves turns into garden gold. Your autumn leaves can feed next spring beds, and the garden will thank you.
28. A Compost Tea Spray Bottle for Plants
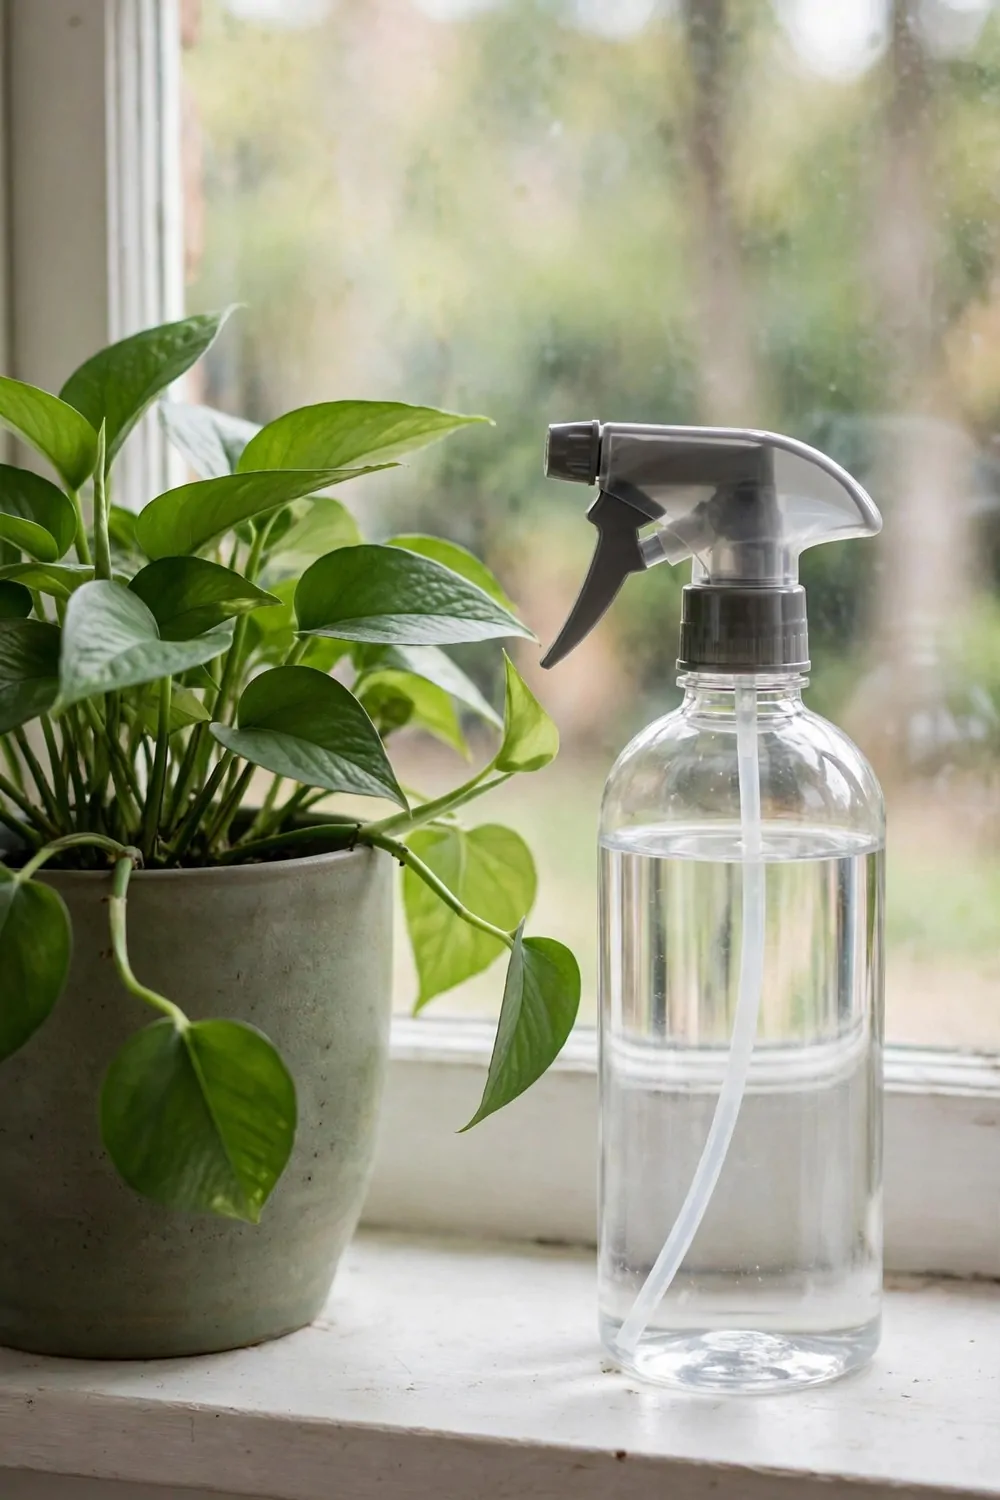
Compost tea is a light liquid feed you make from finished compost.
I soak a scoop of compost in a bucket of water overnight. The water turns rich and earthy by morning.
I strain the tea through a fine cloth into a jug. The bits stay back in the cloth, and the tea runs clear. Then I pour it into a clean spray bottle.
You can mist the leaves of your plants with the tea. A light mist once a week is plenty for most pots.
Typical cost $6 to $11.
I also pour the tea round the base of my plants. The soil drinks it up fast, and the plants look fresh. A small bottle lasts me a whole week of light feeds.
You can make a fresh batch each week so the tea never sits too long.
I learnt to strain the tea well so the spray nozzle never blocks. A blocked nozzle is a pain, and a good strain saves the fuss.
Compost tea is my easy way to feed plants from kitchen scraps. You can try it this week and watch your plants perk up.
29. A Small Compost Bin for Rice and Noodle Leftovers
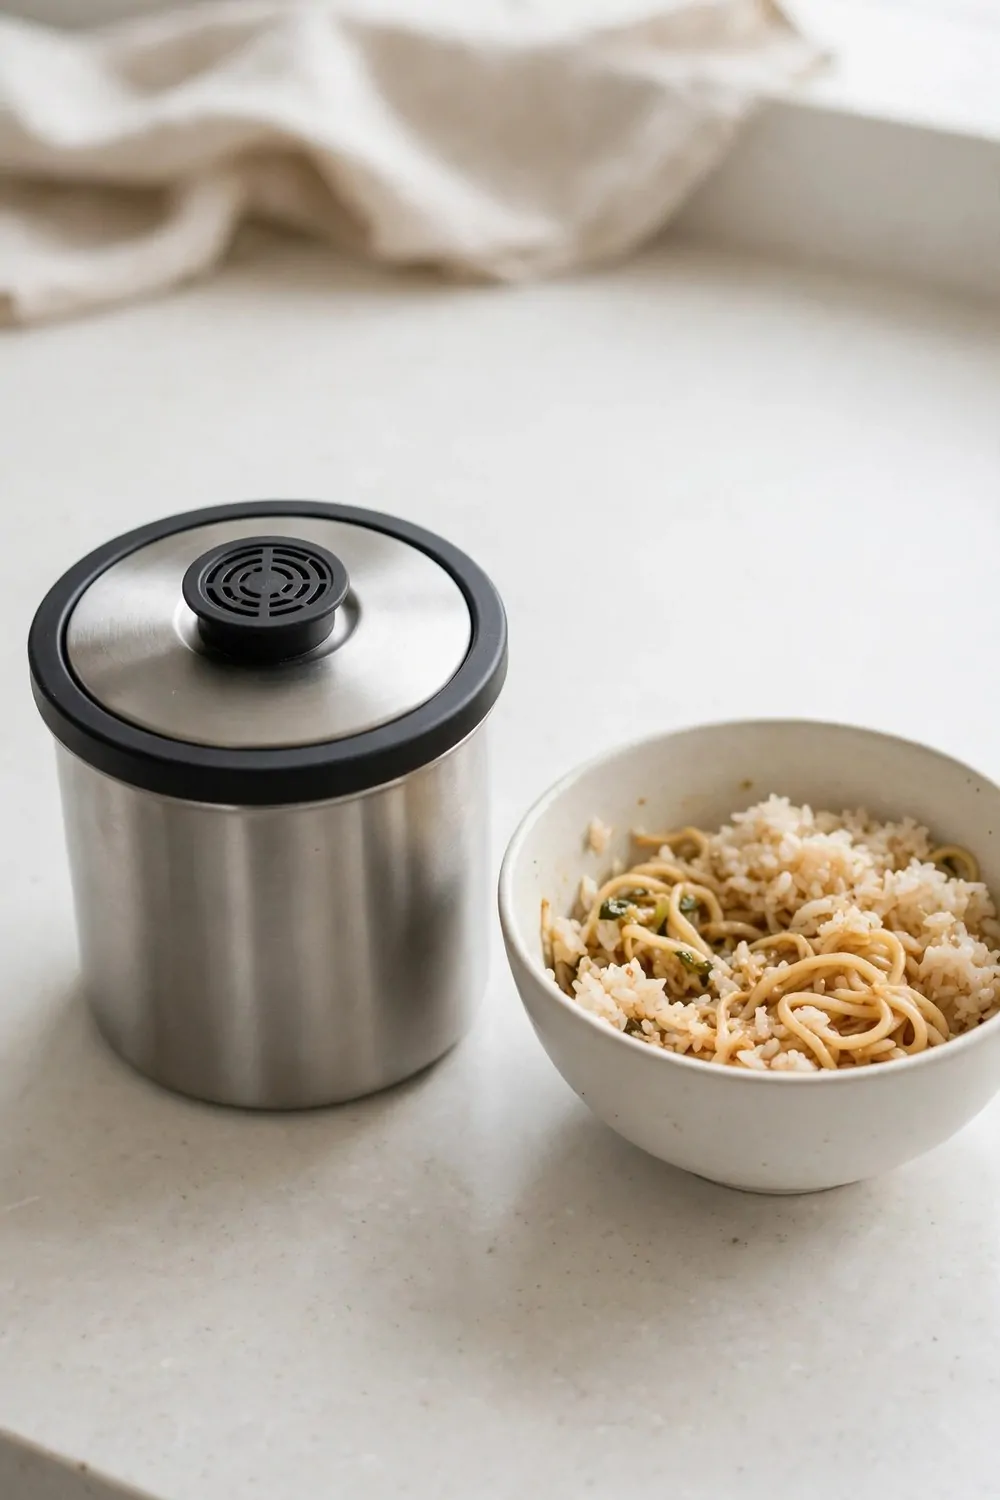
Leftover rice and noodles rot fast in a small bin. I add them in small amounts so the bin never turns soggy.
You can tuck the leftovers under dry leaves and torn paper.
I mix the rice with coffee grounds and fruit peels. The blend stays airy, and the smell stays faint. A quick stir each day keeps the bin fresh and airy.
Plain rice and noodles work best. I keep saucy bits out of the bin.
Typical cost $10 to $17.
I learnt to add the leftovers right after the meal. Warm scraps rot faster, and the bin stays clean.
A lid on the bin helps a lot with rice. It keeps the smell in and the flies out. I empty the bin often, and the kitchen stays fresh.
You can mix the leftovers with dry leaves so the bin never feels too wet.
Rice and noodles are easy scraps to save from the bin bag. Your small bin can turn last night dinner into soft soil for the pots.
30. A Compost Bin for Tofu and Bean Scraps
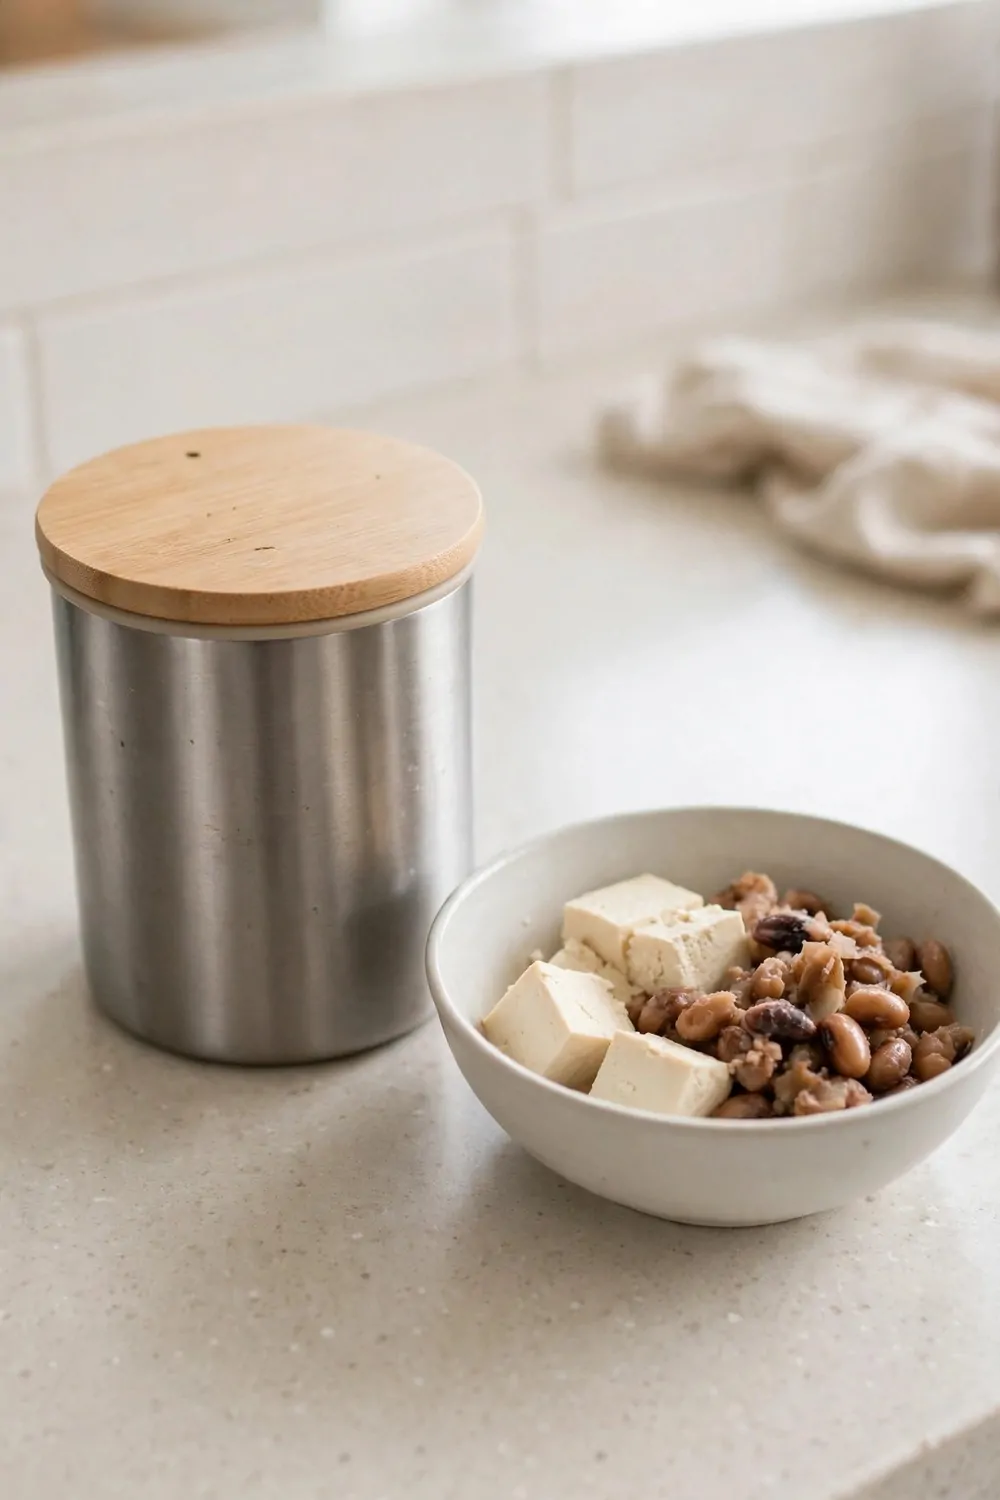
Tofu and bean scraps make good compost in small amounts.
I crumble leftover tofu into the bin with torn paper. The bits mix well with dry leaves and fruit peels. A quick stir keeps the mix loose and fresh.
You can add soft bean scraps the same way. Small loads keep the bin calm and balanced.
I tuck the scraps under a layer of dry leaves. The leaves hide the scraps, and the smell stays low.
Typical cost $9 to $15.
I learnt to add only a small scoop of these scraps at a time. Big lumps rot slow and smell strong in a warm bin. Small bits rot fast, and the bin stays sweet.
You can empty the bin into the garden pile once a week.
Bean water from the pot can go in too. I pour it over the dry leaves, and the bin soaks it up.
I love that plant-based scraps feed the soil so well. You can start with the tofu from tonight dinner and see how fast it turns.
31. A Small Composting Starter Kit
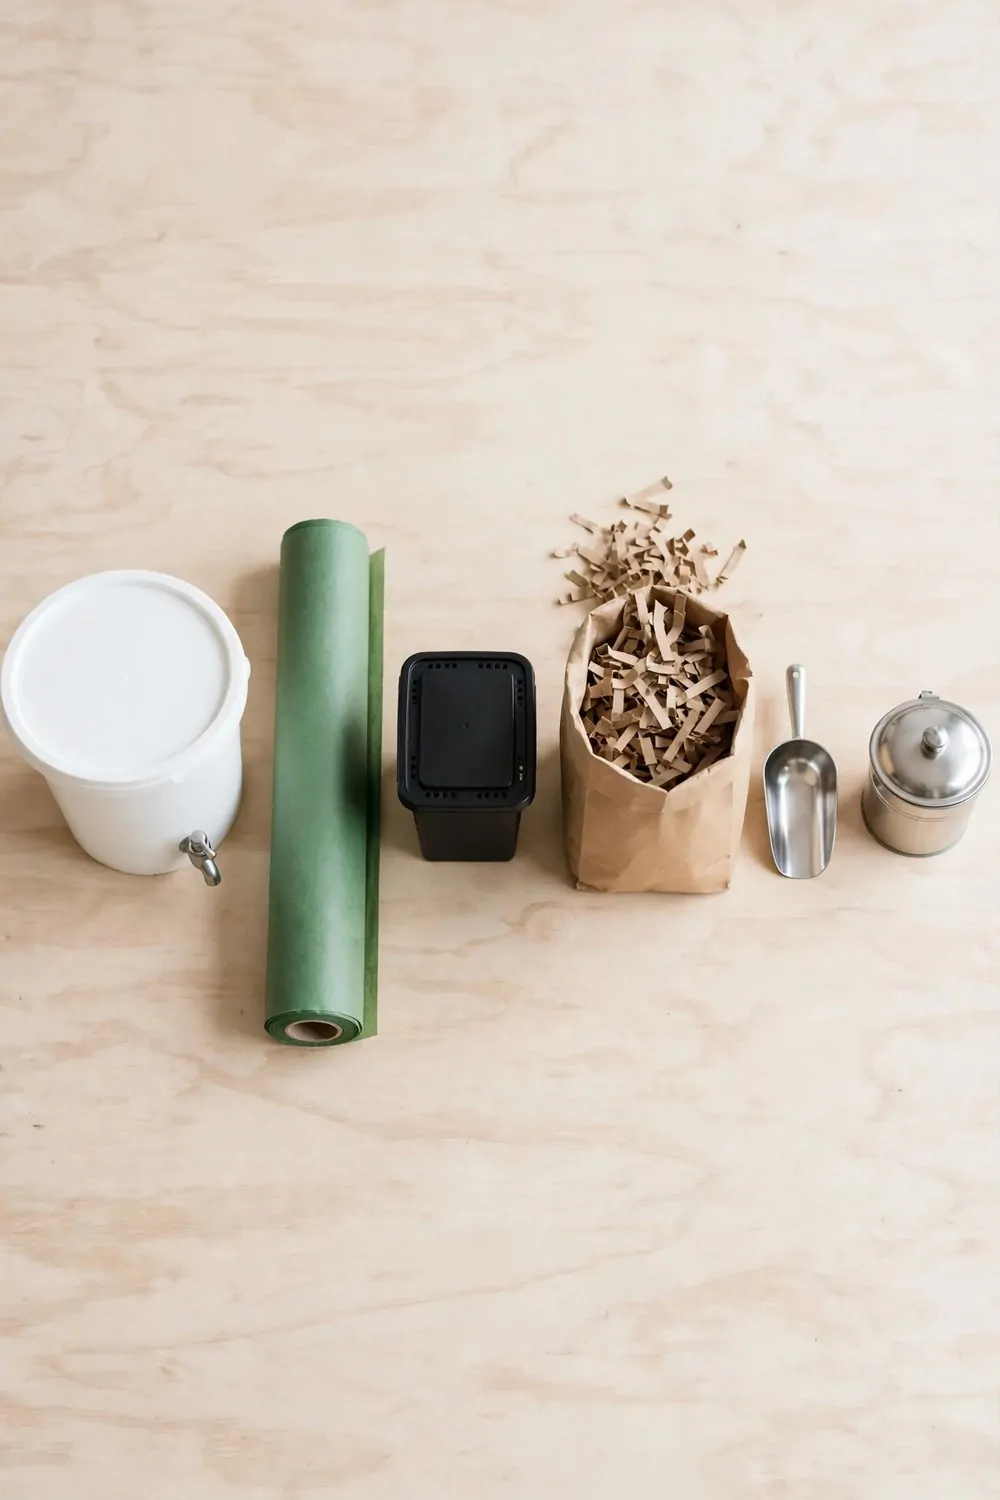
This small kit holds six pieces that work well side by side. I built my own set from these same six bits, and it made composting feel easy.
You can start with the bokashi bucket and its tap, which lets you drain the liquid off the scraps.
You can line the lidded pail with a compostable liner to hold the daily scraps. You can lift a full liner out and drop it in the bin with no mess. The pail stays clean, and the kitchen stays fresh.
Typical cost $14 to $22 for the bokashi bucket, $4 to $8 for the liners, $18 to $28 for the worm bin, $3 to $6 for the cardboard, $4 to $7 for the scoop, and $8 to $14 for the pail, for a total of $51 to $85.
The stackable worm bin gives the worms room to work through the scraps. You can feed the top tray and let the worms move down as they eat.
Shredded brown cardboard is the dry part of the mix. I add a handful each time I add wet scraps. It soaks up wetness and keeps the bin light and airy.
You can scoop scraps with the stainless steel scoop and keep your hands clean.
All six pieces work as one small loop in your kitchen. The pail holds the scraps, the bucket and the worm bin turn them, and the cardboard and scoop keep the mix right.
Pick up these six pieces this week and set your first bin going. Your kitchen scraps are ready to turn into soft soil, and your plants will love you for it.
| Idea | Main change | Typical cost |
|---|---|---|
| small bokashi bucket with a tap | Ferment scraps in a bokashi bucket | $14 to $22 |
| roll of compostable caddy liners | Line the pail with compostable liners | $4 to $8 |
| small stackable worm bin | Keep worms in a stackable bin | $18 to $28 |
| bag of shredded brown cardboard | Add shredded cardboard as dry browns | $3 to $6 |
| small stainless steel scoop | Scoop scraps with a steel scoop | $4 to $7 |
| small lidded kitchen scrap pail | Collect scraps in a lidded pail | $8 to $14 |
| Total | $51 to $85 |
Keep Reading
If you liked these ideas, you will love these posts too
Each post has more simple ideas you can try at home this weekend.