25 Beeswax Wrap Ideas for a Plastic-Free Kitchen

The top shelf of my fridge used to hold a stack of plastic tubs, and I could never find the right lid when I needed one.
I got tired of the roll of plastic wrap that stuck to itself more than it stuck to a bowl.
A friend showed me a beeswax wrap one day, and I liked how warm it felt in my hands.
The heat from my hands helped the wrap fold round a bowl, and it stayed in place on its own.
I started with just two wraps, and I kept them near the bread box so I would reach for them first.
Now my kitchen feels calmer, and I throw away a lot less plastic than I did before.
All 25 beeswax wrap ideas live in this one post from start to finish, so you can work through them in order and keep the ones that fit your kitchen best.
1. A Beeswax Wrap for Sandwiches
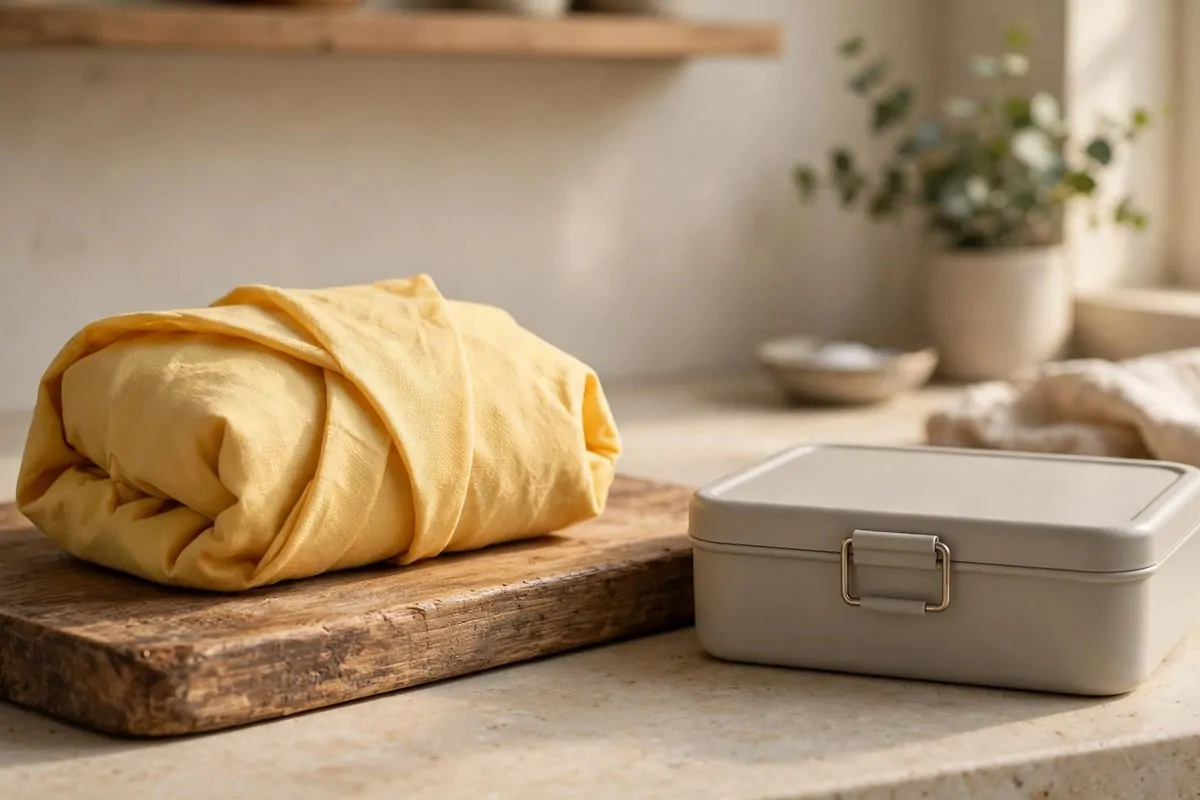
I wrap my sandwich in a beeswax wrap before I put it in my lunch bag.
The wrap folds round the bread with ease, and the corners tuck in neat.
I like that I can open it at lunch, eat, and then fold it back up for the trip home.
My kids like to pick their own wrap colour, and that makes lunch feel fun.
A wrap keeps crumbs in one place, so my bag stays clean.
I wash the wrap with cool water and a little soap after lunch.
Then I let it dry on the rack while I make tea.
Typical cost $4 to $9.
You can keep one wrap just for sandwiches, so you always know where it is.
2. Wraps for Half a Lemon
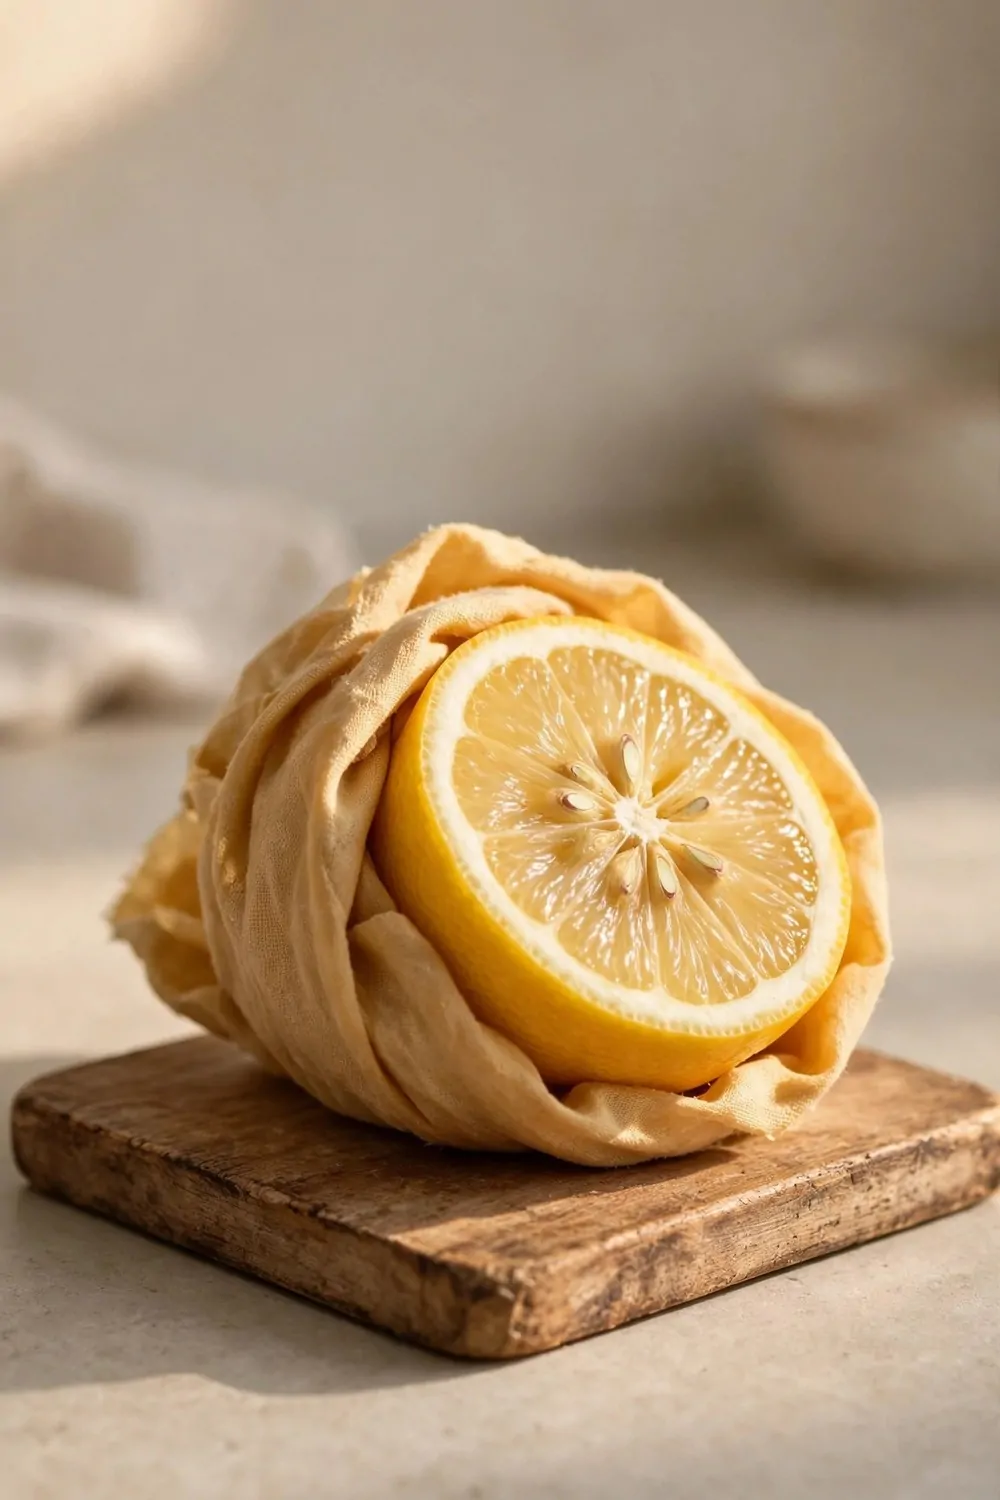
Half a lemon can dry out fast if you leave it bare in the fridge.
I tuck a small wrap round the lemon half, and it holds its shape well.
The wrap hugs the round fruit, and the juice stays inside.
I pop it in the fridge door, and I can see it at a glance.
Next day the lemon still smells fresh when I lift the wrap off.
It works for lime halves too, and I use the same small size.
Typical cost $3 to $7.
A small wrap is all you need here, so do not buy a big one for this job.
Keep the wrap in a drawer near the fruit bowl for quick use.
3. A Wrap for a Bowl of Leftovers
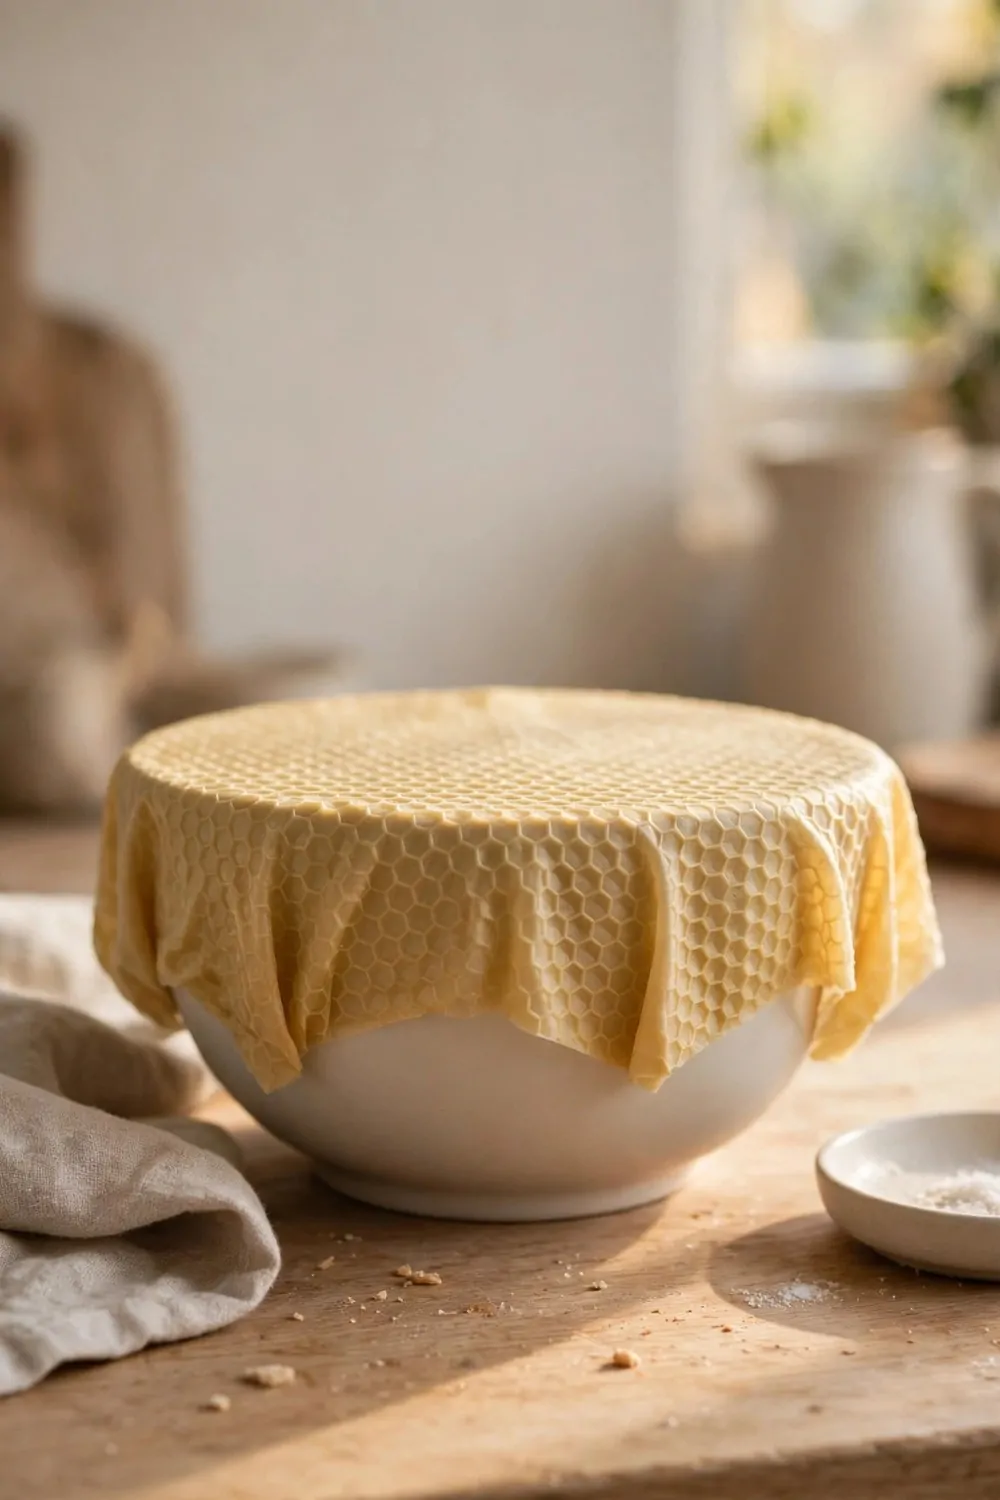
I had a bowl of rice left after dinner, and I did not want to move it to a tub.
A large wrap went over the top, and I folded the edges down round the rim.
The wrap stayed put all night in the fridge.
In the morning I lifted it off, and the rice was ready to warm up.
This trick saves me a lot of washing up.
It also works for soup bowls, pasta bowls, and salad bowls.
Just pick a wrap that is a bit wider than the bowl.
Typical cost $5 to $10.
I keep two large wraps for bowls, and they get used most days.
4. Wraps for Cheese Blocks
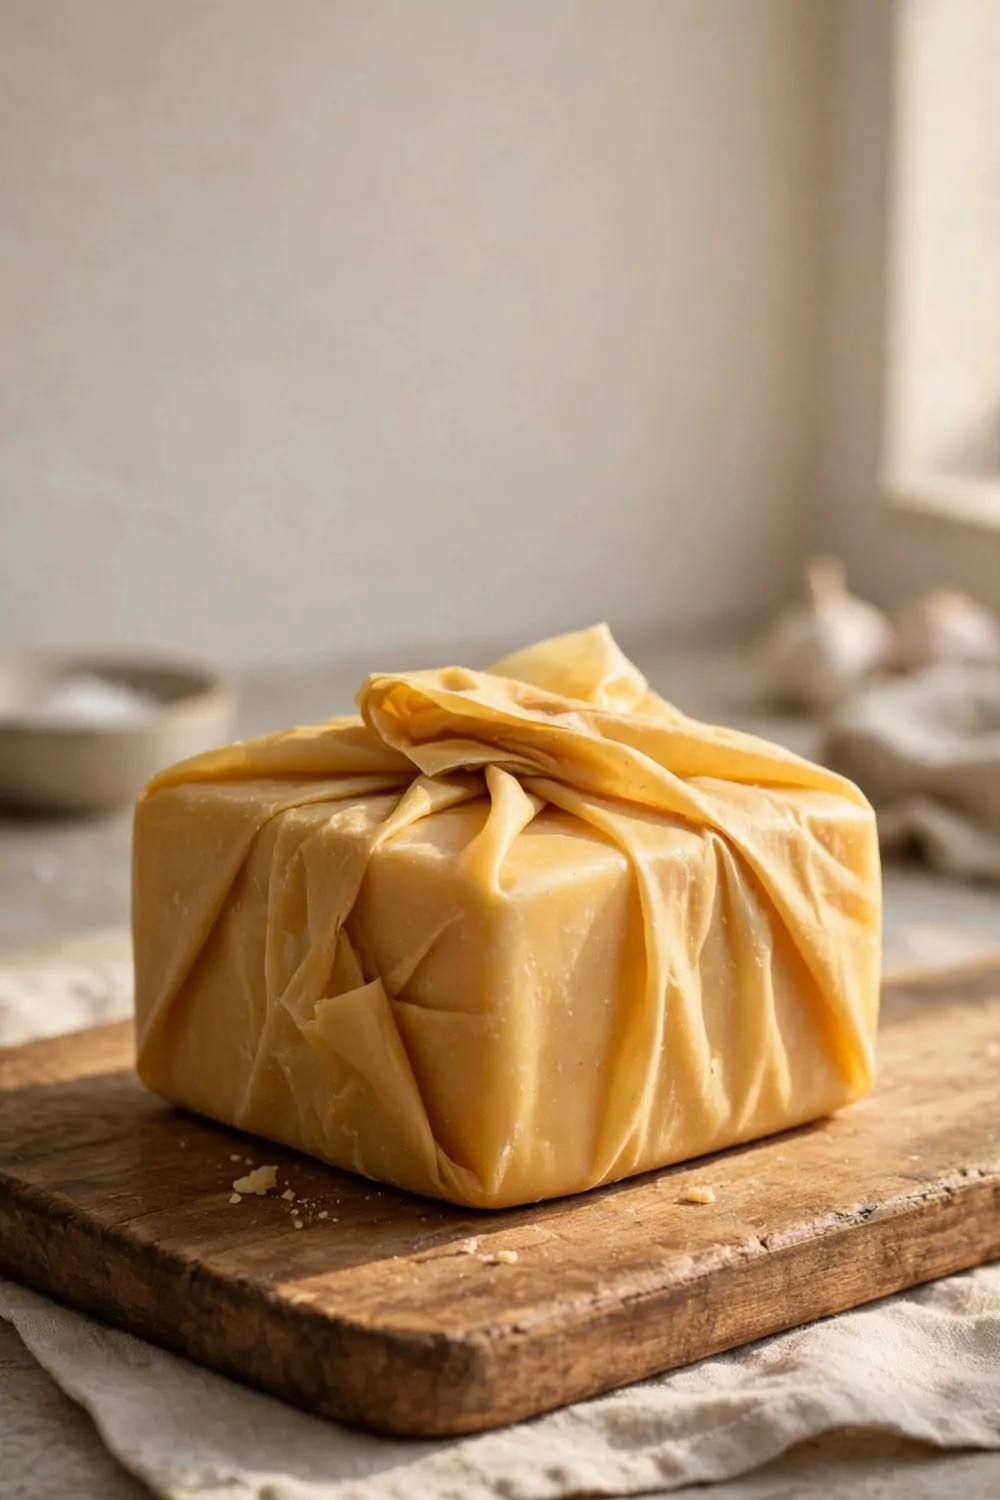
Cheese can go dry at the edges if you leave it open in the fridge.
I wrap the block in a beeswax wrap, and I fold the ends in like a parcel.
The wrap keeps the cheese safe, and it folds flat when I open it.
When I need a slice, I open one end and cut what I need.
Then I fold it back up, and it goes straight back in the fridge.
This works for hard cheese best, and soft cheese works too if you are gentle.
Typical cost $4 to $8.
I wash the wrap after a few days, so it stays fresh for the next block.
Your cheese will last longer in the fridge with this simple step.
5. A Wrap for Fresh Herbs
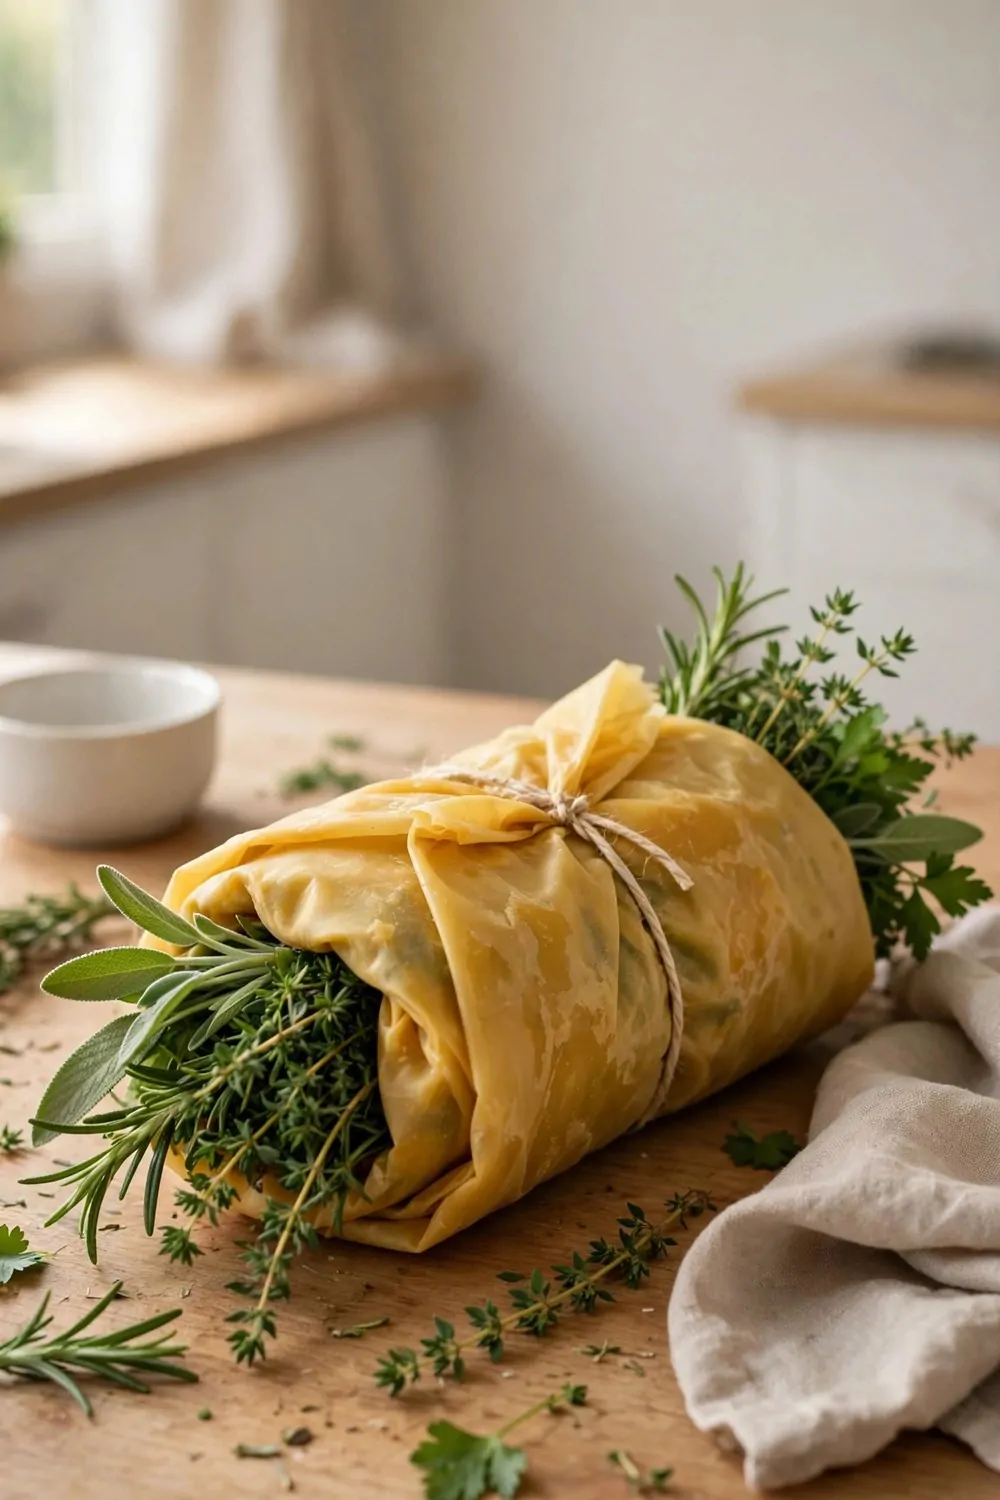
Fresh herbs wilt fast, and I used to lose half a bunch each week.
Now I lay the herbs flat on a wrap and roll it up loose.
The wrap holds a bit of air round the leaves, and they stay green longer.
I put the roll in the fridge, and I unroll it when I need a few leaves.
It works well for mint, parsley, and coriander.
You can damp the herbs first, then wrap them, and they stay soft.
Typical cost $3 to $6.
I keep one wrap just for herbs, so it does not pick up other food smells.
This small change has saved me a lot of trips to the shop.
6. Wraps for Bread Loaves
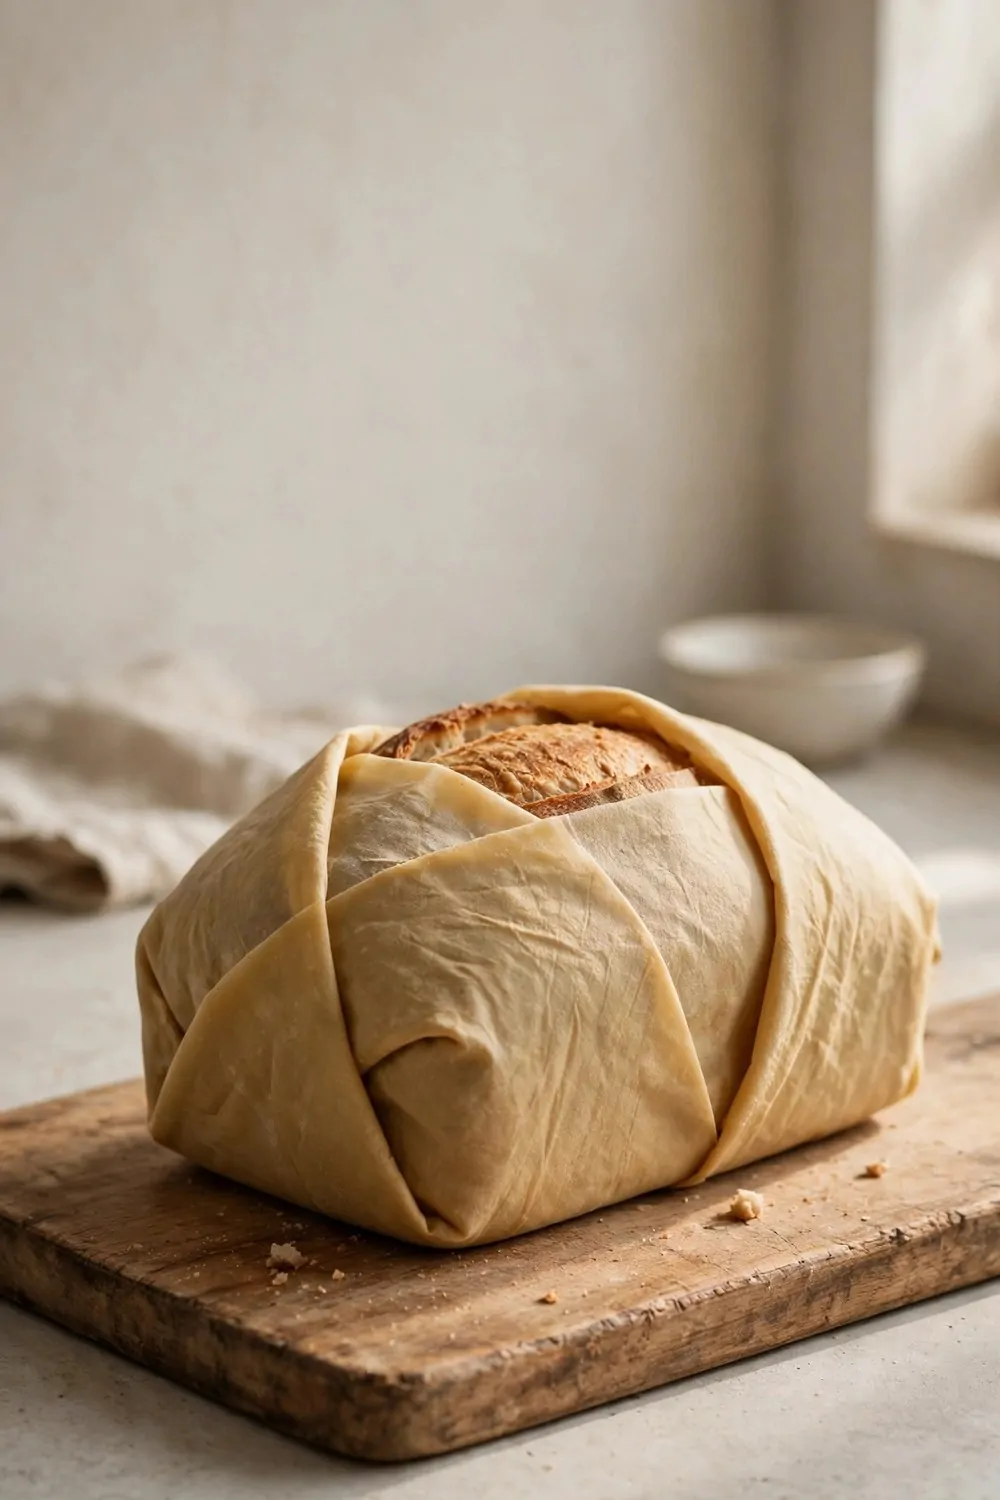
A whole loaf is too big for a small wrap, so I use a large one.
I lay the loaf in the middle and fold the wrap over the top.
The ends tuck under, and the loaf sits neat on the counter.
Bread stays soft for longer this way, and the crust does not go hard too fast.
I slice what I need and fold the wrap back over the cut end.
This works for white bread, brown bread, and rolls too.
Typical cost $6 to $12.
Keep the loaf away from heat, and the wrap will do its job well.
You can wash the wrap once a week and let it dry flat.
7. A Wrap for Cut Vegetables
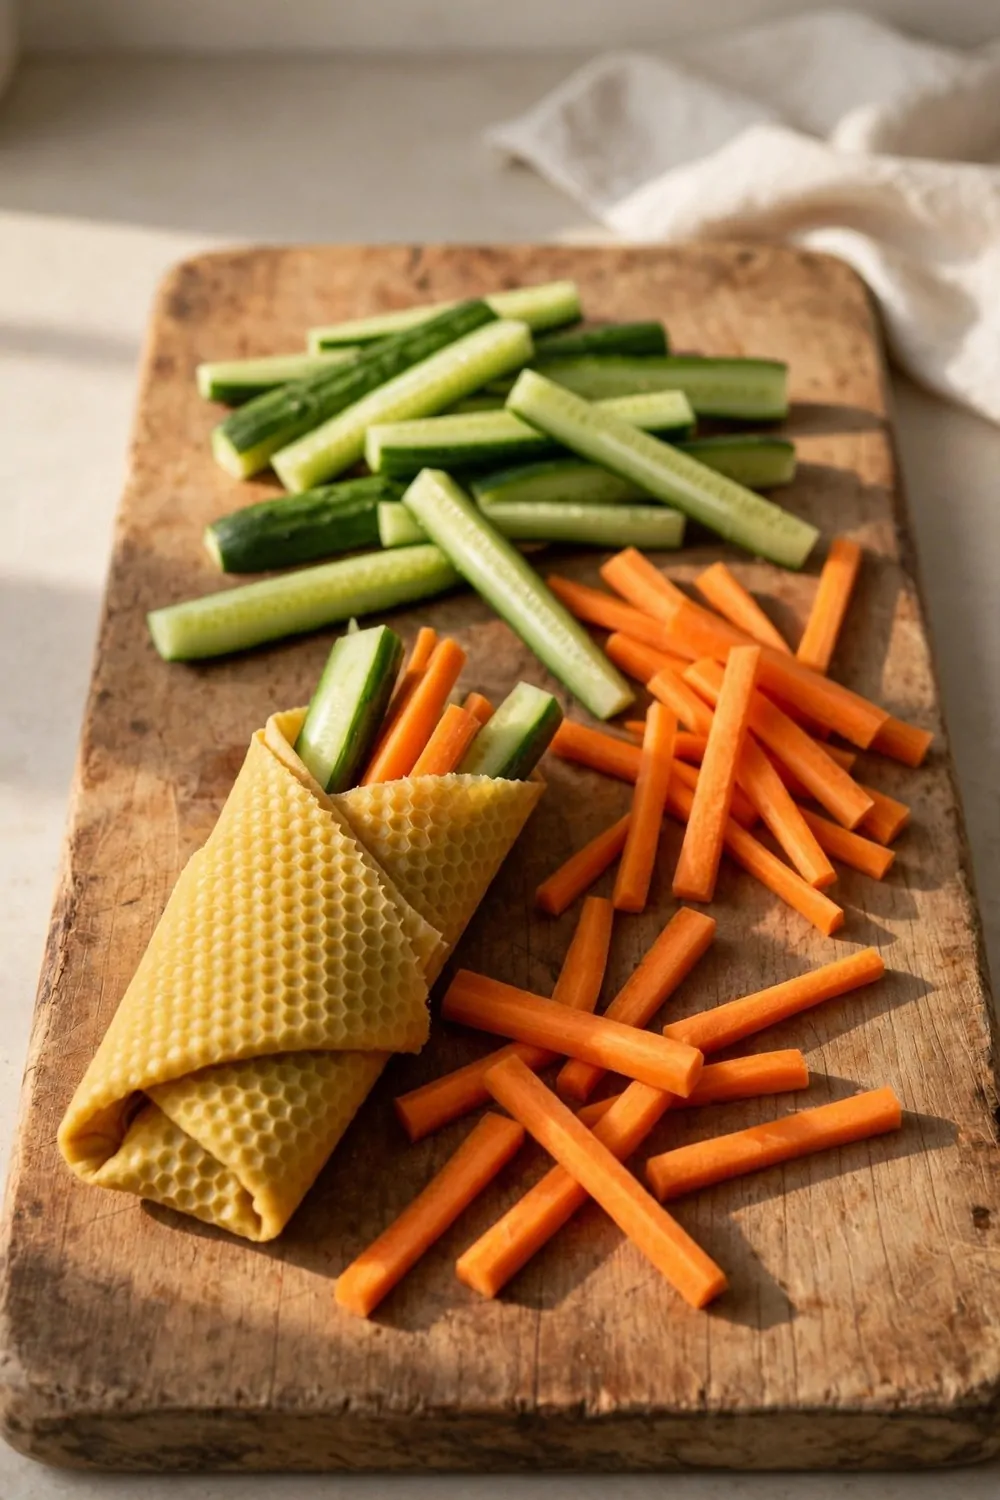
I often cut a pepper or a cucumber and only use half of it.
A wrap round the cut end keeps the rest fresh in the fridge.
I press the wrap firm round the veg, and it holds its shape.
The next day I can use the other half in a salad or a stir fry.
This works for onions too, and the smell stays inside the wrap.
I like that I do not need a tub for each half veg.
Typical cost $4 to $9.
Pick a wrap that fits the veg, and fold the spare cloth under.
Keep the wrapped veg where you can see it, so you use it first.
8. Wraps for Snacks on the Go
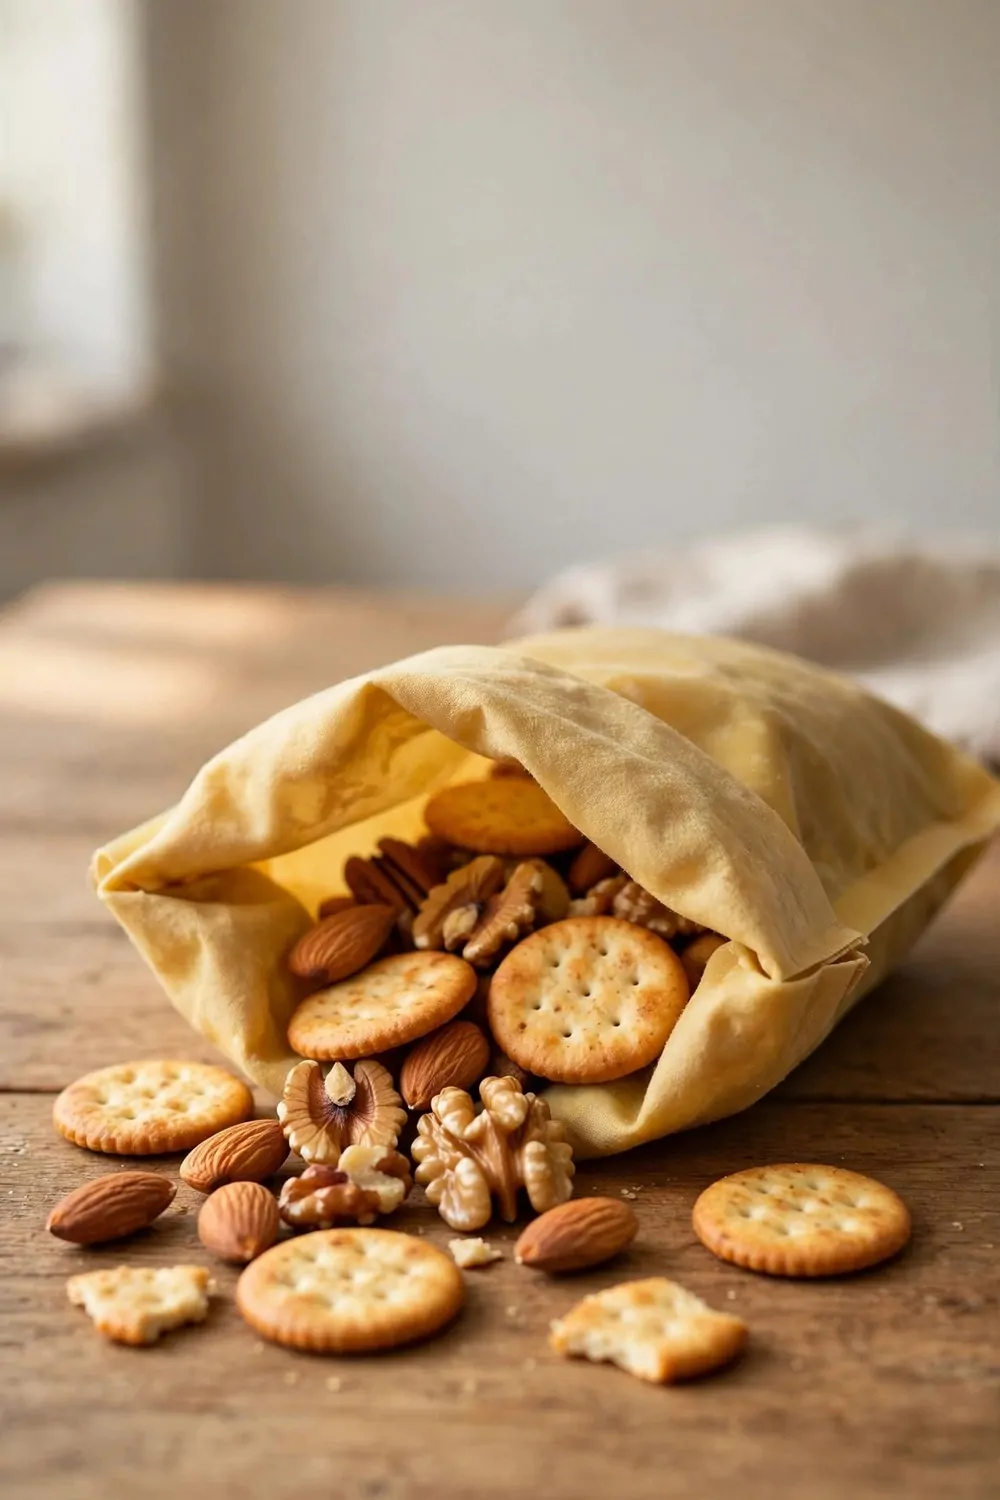
I pack snacks for trips in a beeswax wrap, and it works a treat.
Crackers, nuts, and dried fruit all sit well inside a folded wrap.
I fold it like a small pouch, and I tuck the end in tight.
The pouch goes in my bag, and it does not leak or spill.
At the park I open it up, and it turns into a small mat for the snacks.
My kids love to open their own pouch at snack time.
Typical cost $3 to $8.
After the trip I shake out the crumbs and wash the wrap at home.
You can make one pouch per person, so no one mixes up their snacks.
9. A Wrap for a Jar Lid
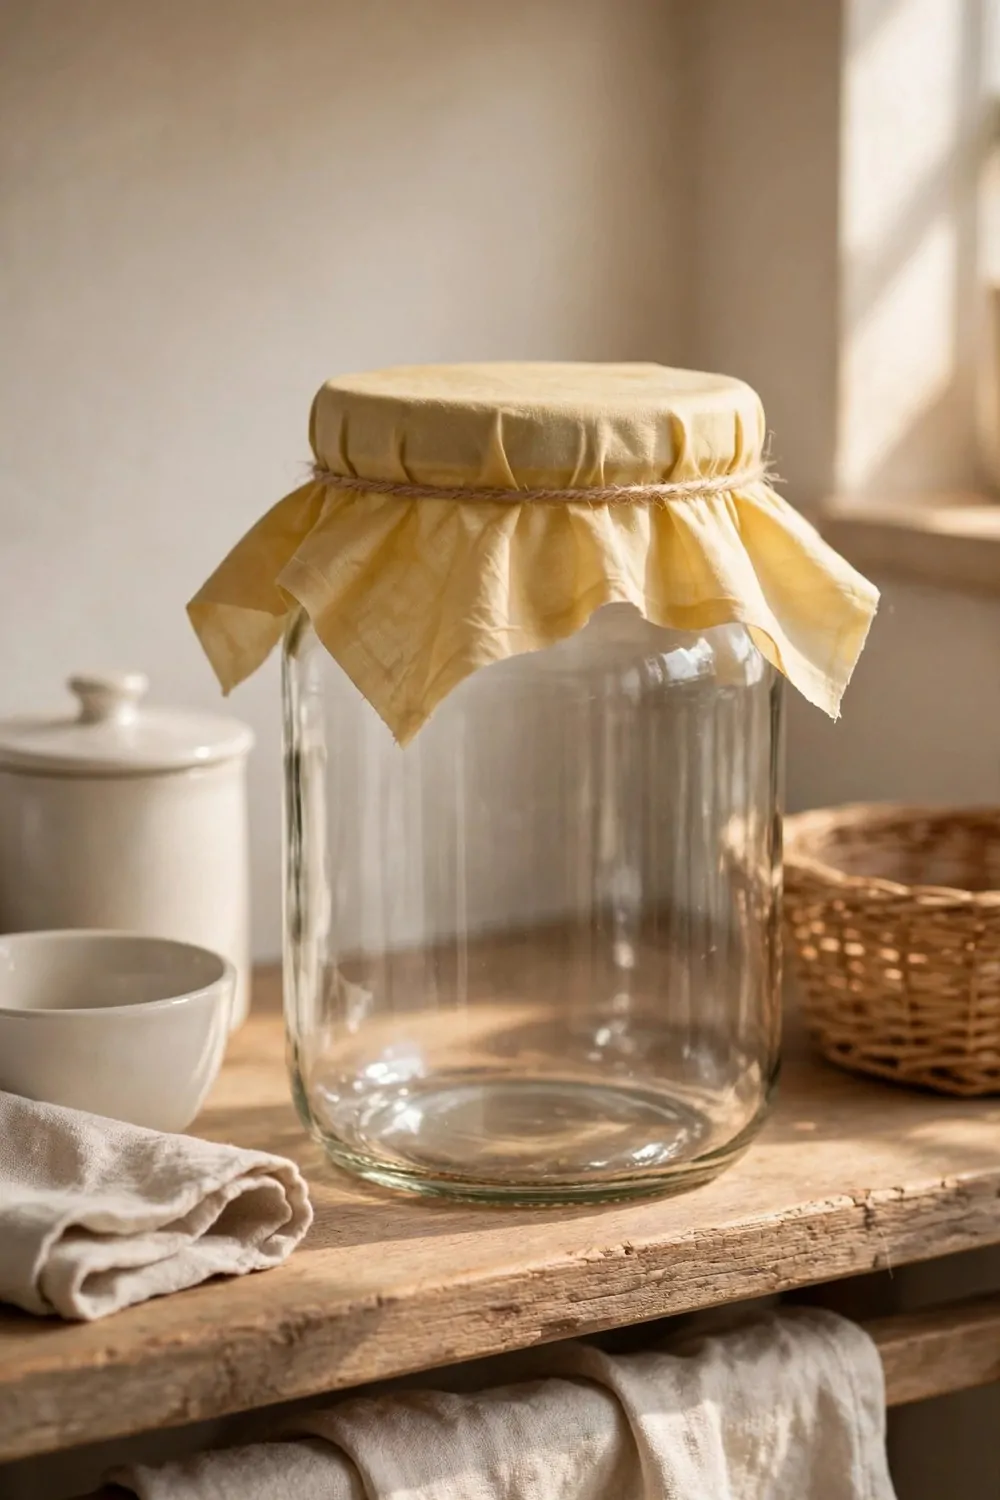
I lost a jar lid once, and the jam inside went dry in the fridge.
Now I use a small wrap as a lid when a jar has no top.
I lay the wrap over the mouth of the jar and press it down round the rim.
A band round the neck helps it stay put, and I use a plain tie for that.
The wrap keeps dust out, and the jar stays clean on the shelf.
This works for jars of honey, jam, and pickles too.
Typical cost $2 to $6.
Just lift the wrap off when you need a spoonful, then put it back.
It is a quick fix that saves a good jar from the bin.
10. Wraps for Avocado Halves
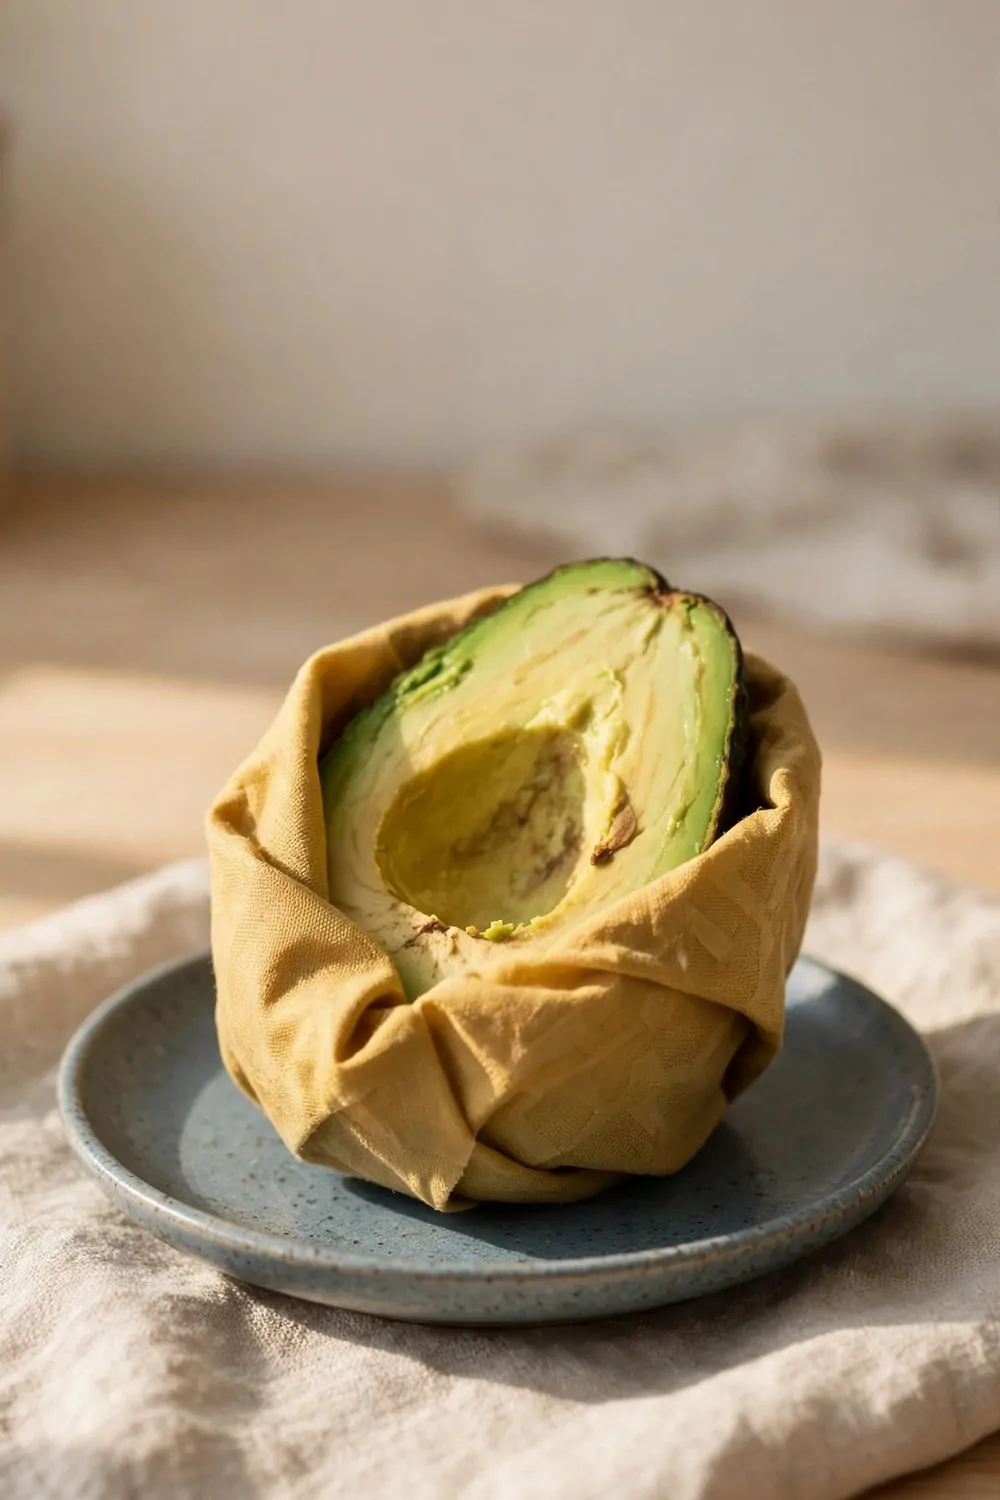
Half an avocado can turn brown fast, and that always felt like a waste.
I press a wrap round the half, and it holds its shape well.
The wrap hugs the curve, and the green flesh stays bright.
I put it in the fridge on a small plate, cut side up, and it stays neat.
Next day I lift the wrap off, and the avocado is ready to eat.
It works for any half this way, if you press the wrap close.
Typical cost $3 to $7.
A small wrap is the best size here, and it is easy to wash after.
Keep the wrap near the fruit, so you grab it before the avocado browns.
| Idea | Main change | Typical cost |
|---|---|---|
| A Beeswax Wrap for Sandwiches | wrap sandwiches in beeswax cloth | $4 to $9 |
| Wraps for Half a Lemon | cover half a lemon with a wrap | $3 to $7 |
| A Wrap for a Bowl of Leftovers | cover a bowl of leftovers with a wrap | $5 to $10 |
| Wraps for Cheese Blocks | wrap cheese blocks in beeswax cloth | $4 to $8 |
| A Wrap for Fresh Herbs | wrap fresh herbs in a beeswax wrap | $3 to $6 |
| Wraps for Bread Loaves | wrap bread loaves in beeswax cloth | $6 to $12 |
| A Wrap for Cut Vegetables | cover cut vegetables with a wrap | $4 to $9 |
| Wraps for Snacks on the Go | wrap snacks for trips in beeswax cloth | $3 to $8 |
| A Wrap for a Jar Lid | cover a jar with a beeswax wrap lid | $2 to $6 |
| Wraps for Avocado Halves | cover avocado halves with a wrap | $3 to $7 |
| Total | $37 to $82 |
11. A Wrap for Baked Treats
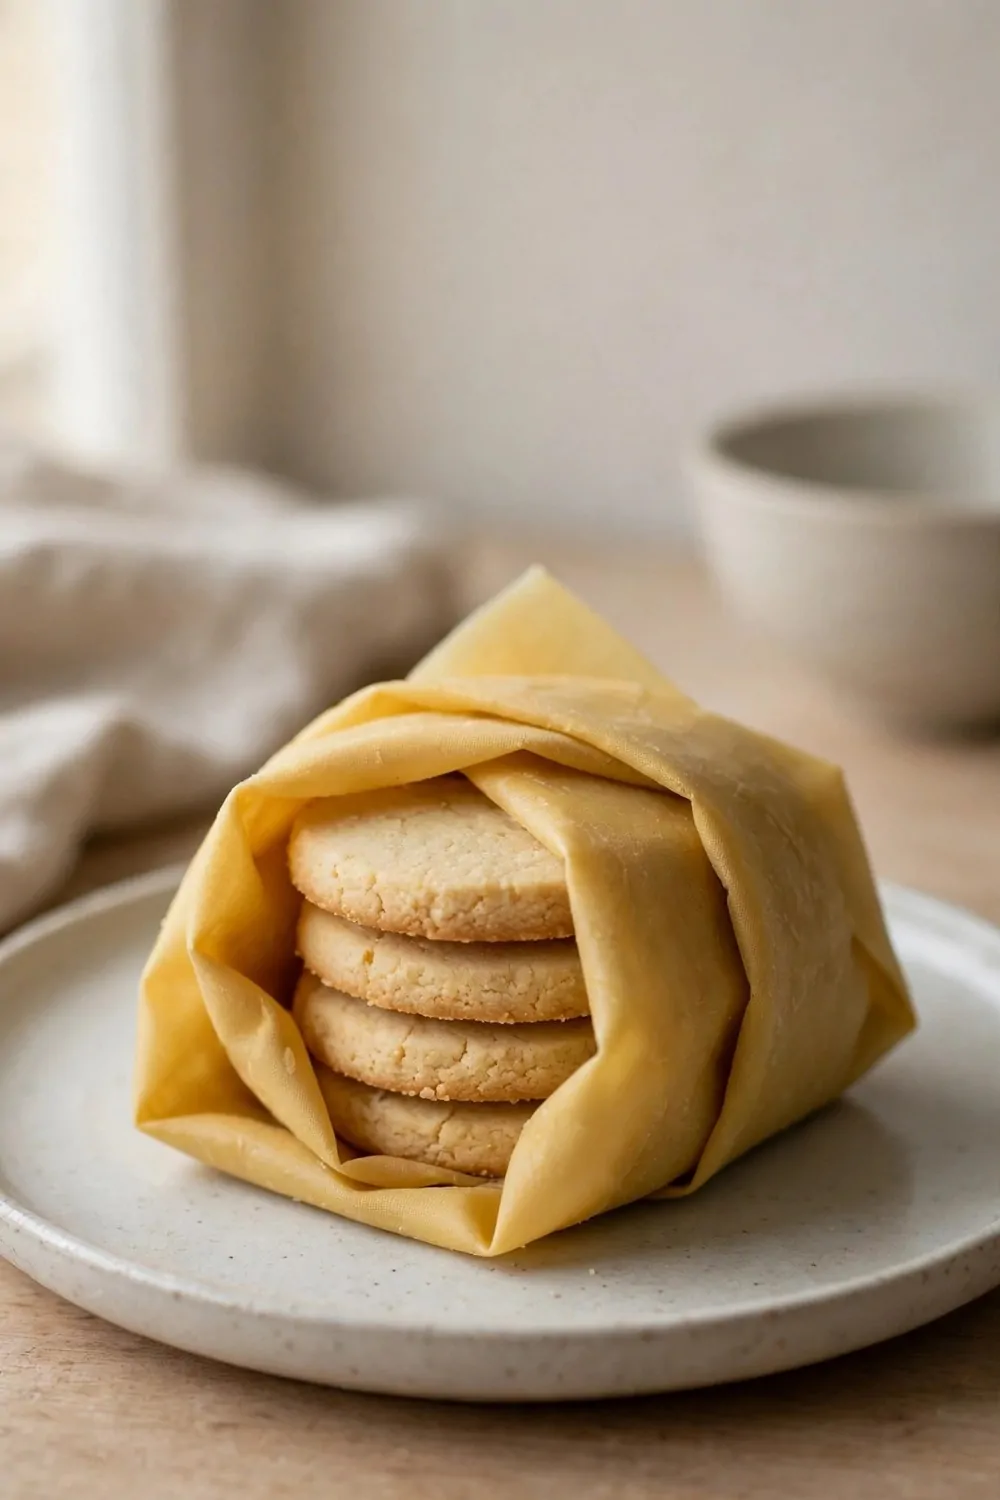
I bake a tray of treats on a quiet afternoon. I let them cool a bit before I wrap them.
A beeswax wrap folds round them with ease.
I press the edges with my warm hands. The heat helps the wrap stick to itself. It makes a soft seal round the treats.
I put the bundle on a plate in my kitchen. It looks neat and it stays in one place.
Typical cost $3 to $8.
You can take the bundle to a friend too.
I wash the wrap in cool water when I am done. I hang it on the line till it feels dry.
I use it again the next time I bake. It saves me from throwaway wrap. It feels like a small win each time.
Try it with your next batch.
12. Wraps for a Plate of Cut Fruit
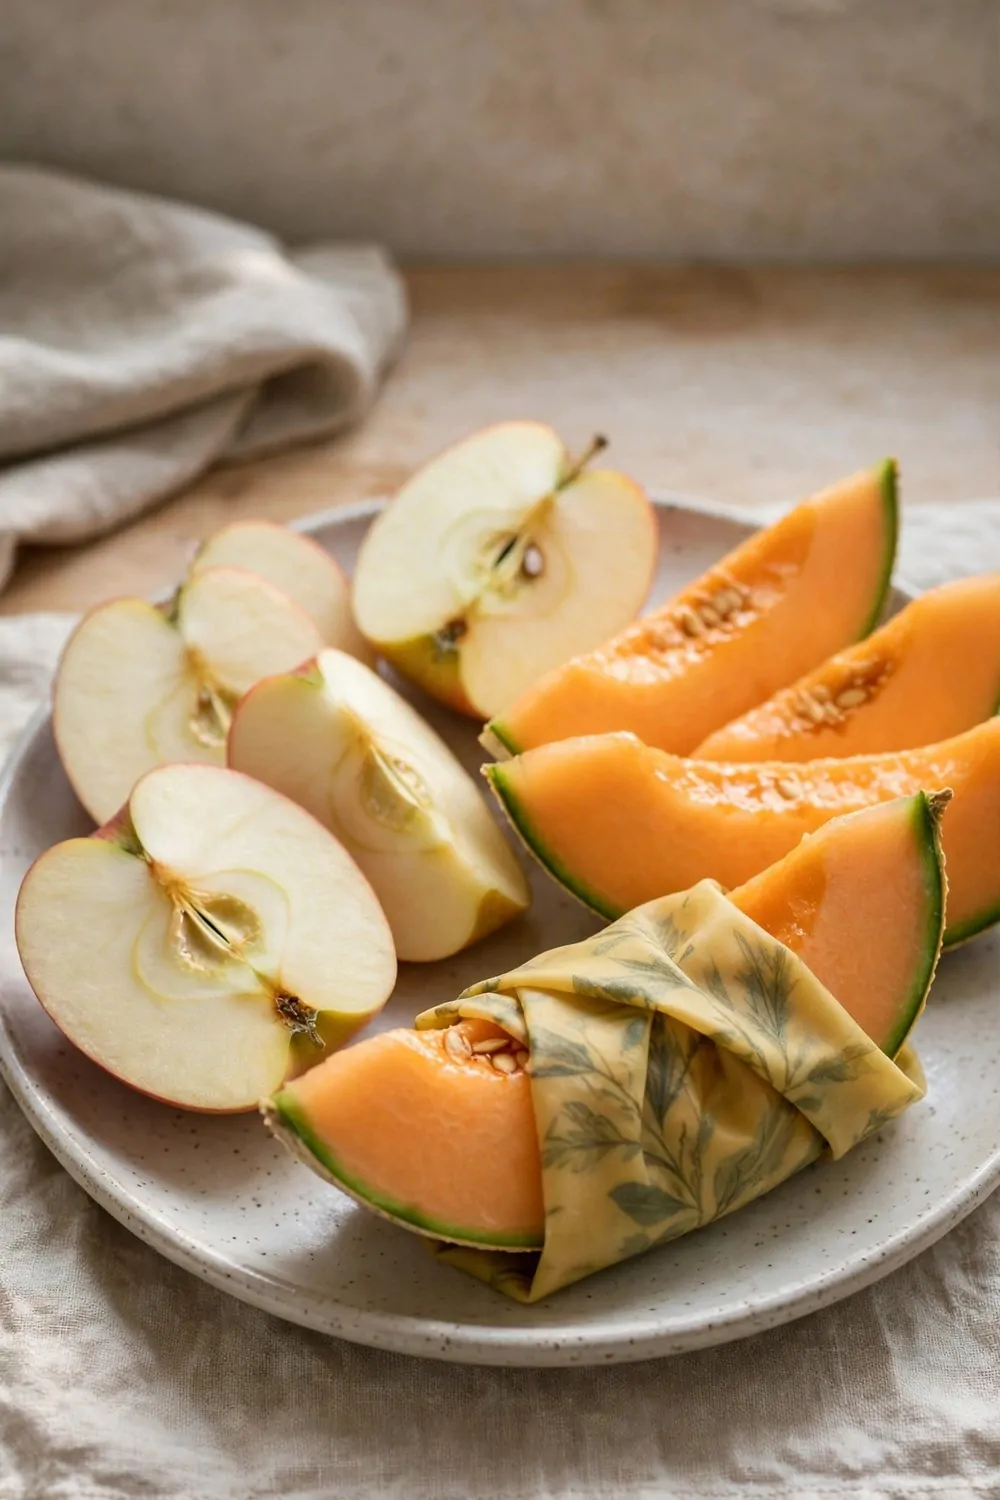
I cut up fruit for a snack and I put the pieces on a small plate. I do not want them to dry out on the counter.
A wrap goes round one slice at a time.
I press it round the melon slice with my fingers. It holds its shape and keeps the cut end covered. The rest of the fruit stays bright on the plate.
I slide the plate into the fridge for later. It is ready when my kids ask for a snack.
Typical cost $4 to $9.
You can use a small wrap for a small plate.
I lift one corner to take a piece out. Then I press it back down again.
I rinse the wrap after the fruit is gone. It dries fast on a rack by the sink. I fold it up for the next snack plate.
It is a simple swap that works well.
13. A Wrap for a Lunch Box
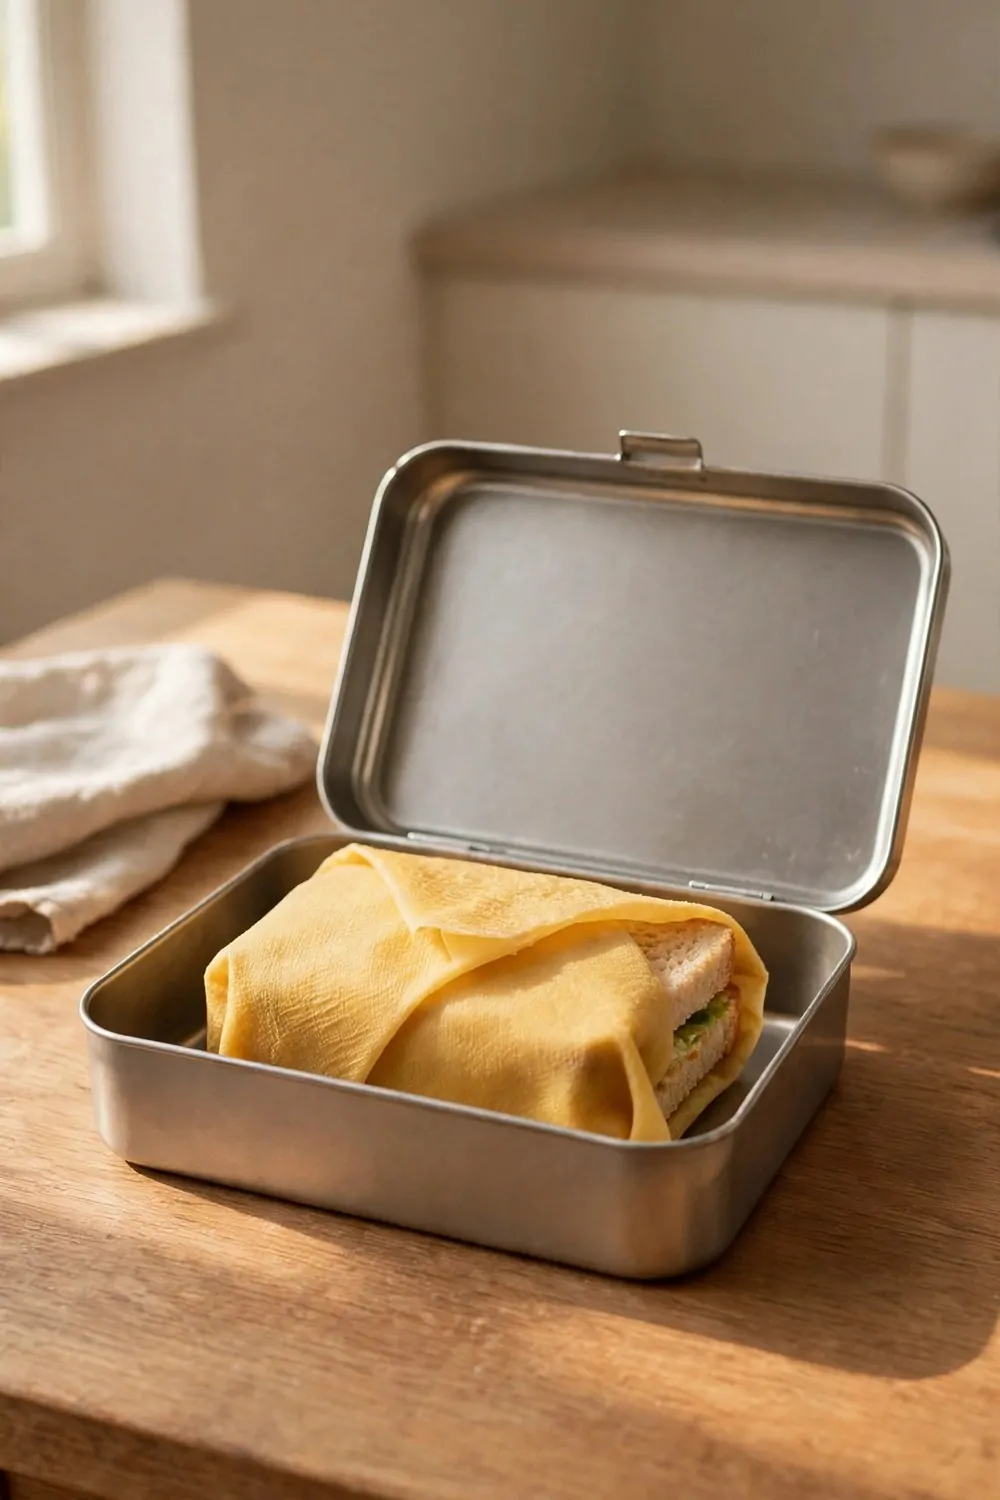
I pack lunch in a box most mornings. I want the food to stay put on the way to work.
A wrap round the sandwich sits neat in the open box.
It stops crumbs from spreading round the box, and it keeps the box a bit cleaner.
I fold a wrap round a sandwich when I have no lid that fits. It holds the two halves close together.
Typical cost $3 to $7.
You can pick a wrap size that fits your box.
I shake out the crumbs when lunch is done. I wash the wrap with cool water and mild soap.
I hang it up to dry while I wash the box. It is ready to pack again the next day. I like that I can use it over and over.
Pack it once and see how it feels.
14. A Wrap for a Fruit Bowl
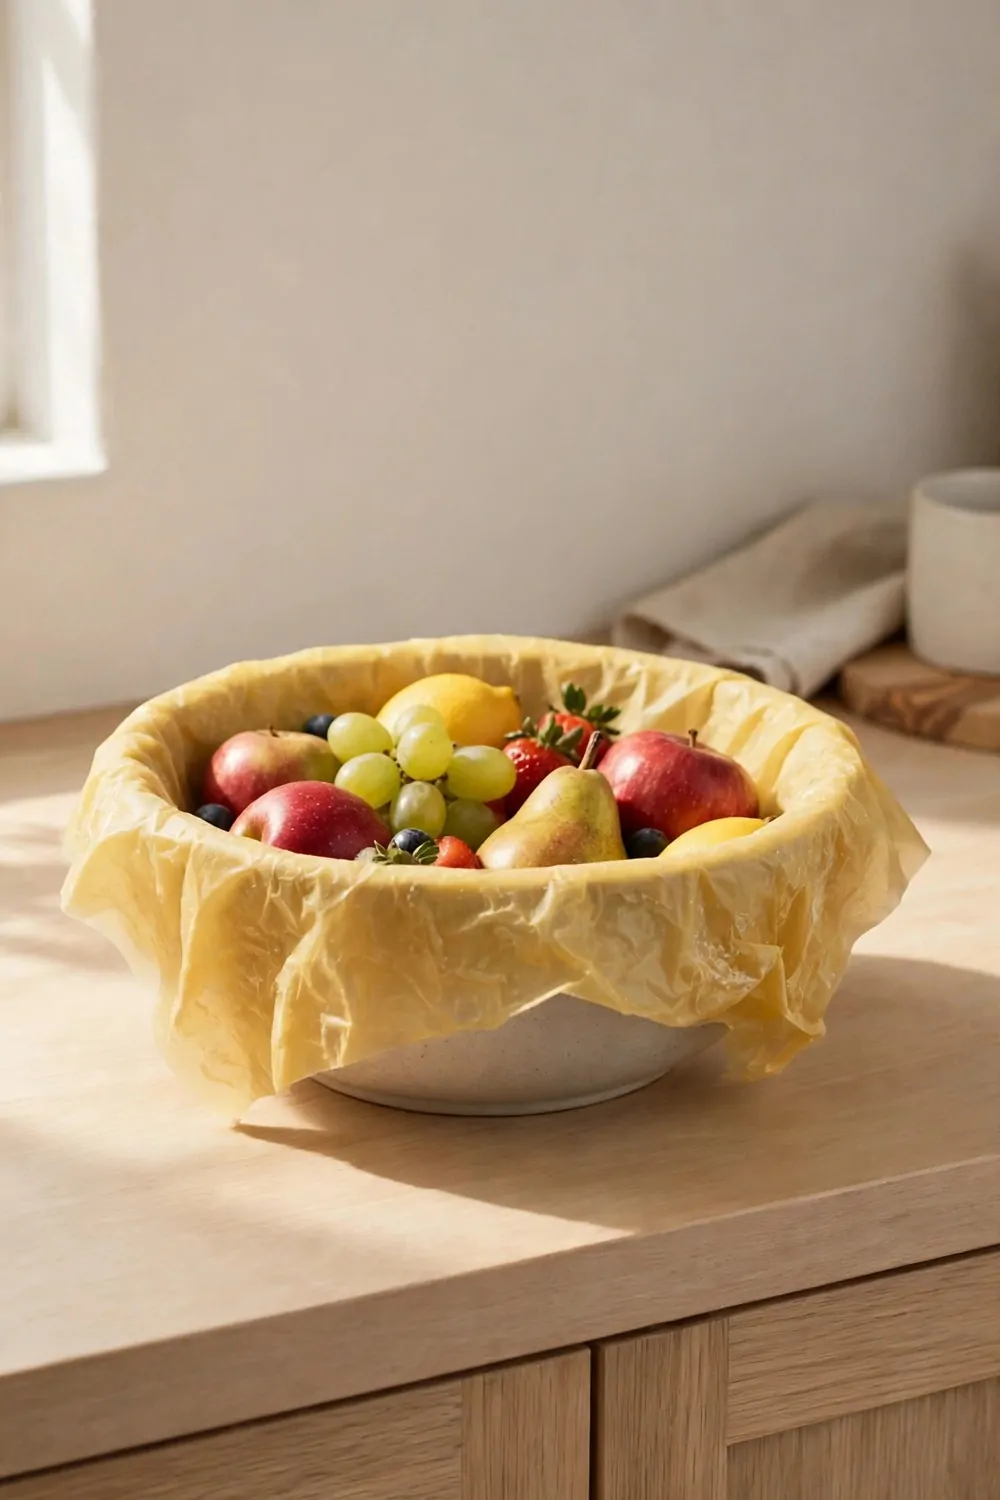
I keep a bowl of fruit on my table. Some days I want to cover it for a short while.
A big wrap fits round the sides of the bowl.
I press the wrap round the sides of the bowl. It grips the curve and it stays in place. It lets me move the bowl without a fuss.
I like that I can still see the bright fruit on top. The bowl looks tidy on the table.
Typical cost $4 to $10.
You can use the same wrap for a salad bowl too.
I take the wrap off when we are ready to eat. I fold it and put it in a drawer.
I wash it when it gets sticky from fruit juice. Cool water does the job well. I let it air dry flat on a clean towel.
It is an easy cover for a busy table.
15. A Wrap for Dough Rising
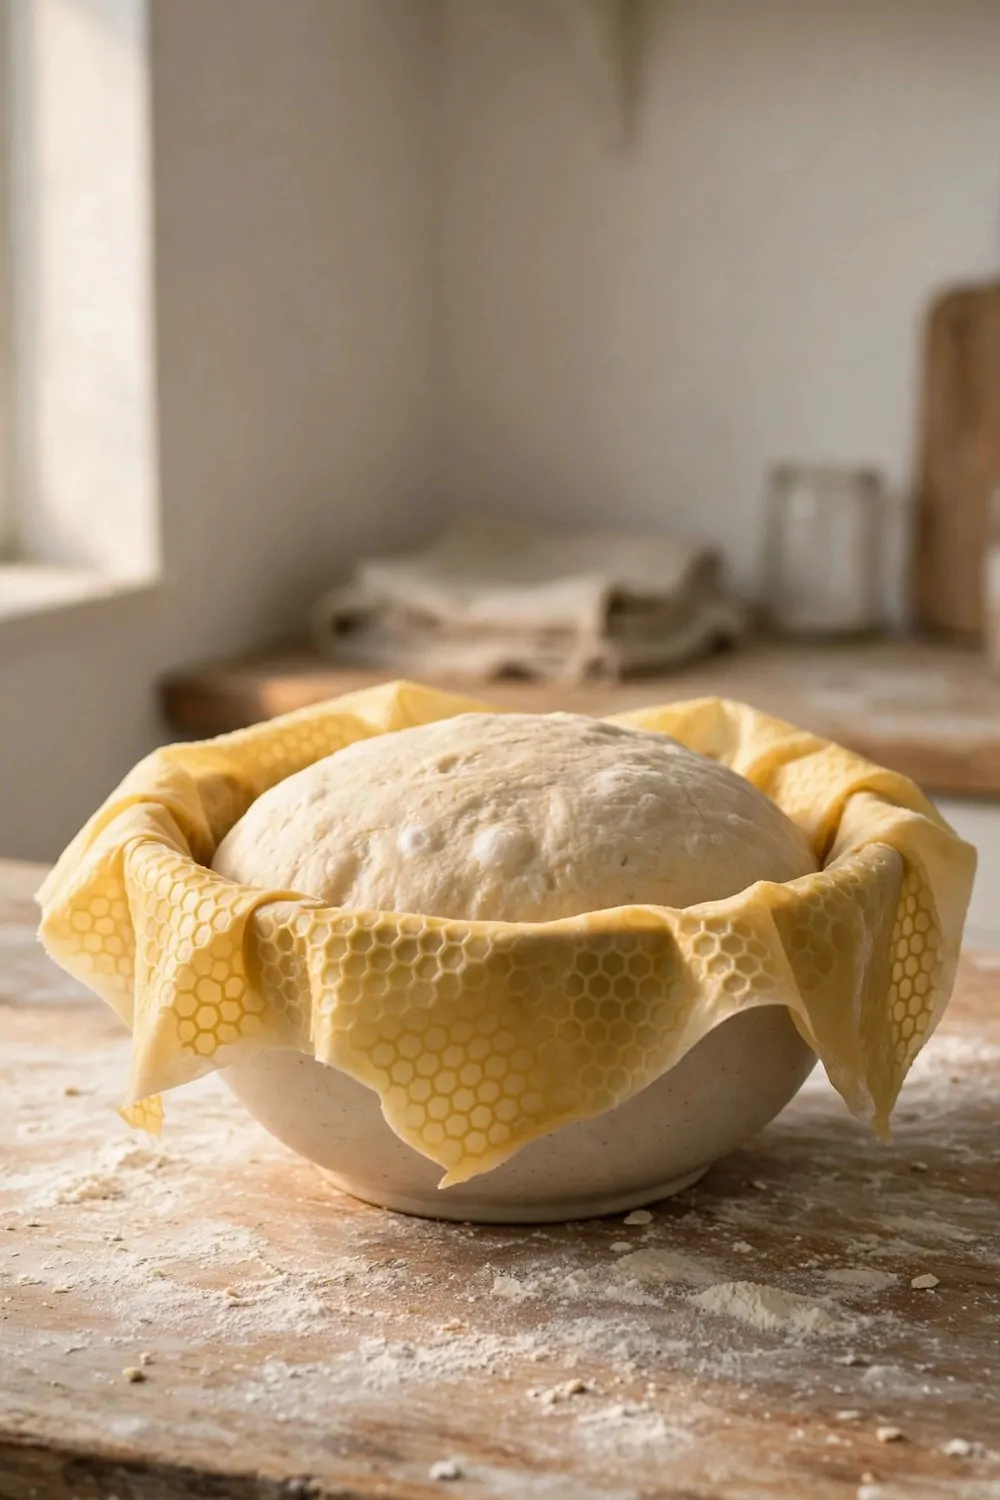
I mix dough in a big bowl on a slow morning. I need to leave it alone so it can rise.
A wrap makes a soft nest for the bowl.
I lay it round the sides and I tuck the edges down. It keeps the bowl neat while the dough rests. It is easy to lift and check on the dough.
I set the bowl in a warm spot in my kitchen. I check on the dough now and then.
Typical cost $3 to $8.
You can reuse the same wrap each time you bake bread.
I wash it after the dough is out of the bowl. I dry it and fold it away with my other wraps.
I like this wrap more than a tight lid. The dough rises free in the bowl. It feels calm and simple to use.
Give your dough a soft cover next time.
16. Wraps for Picnic Food
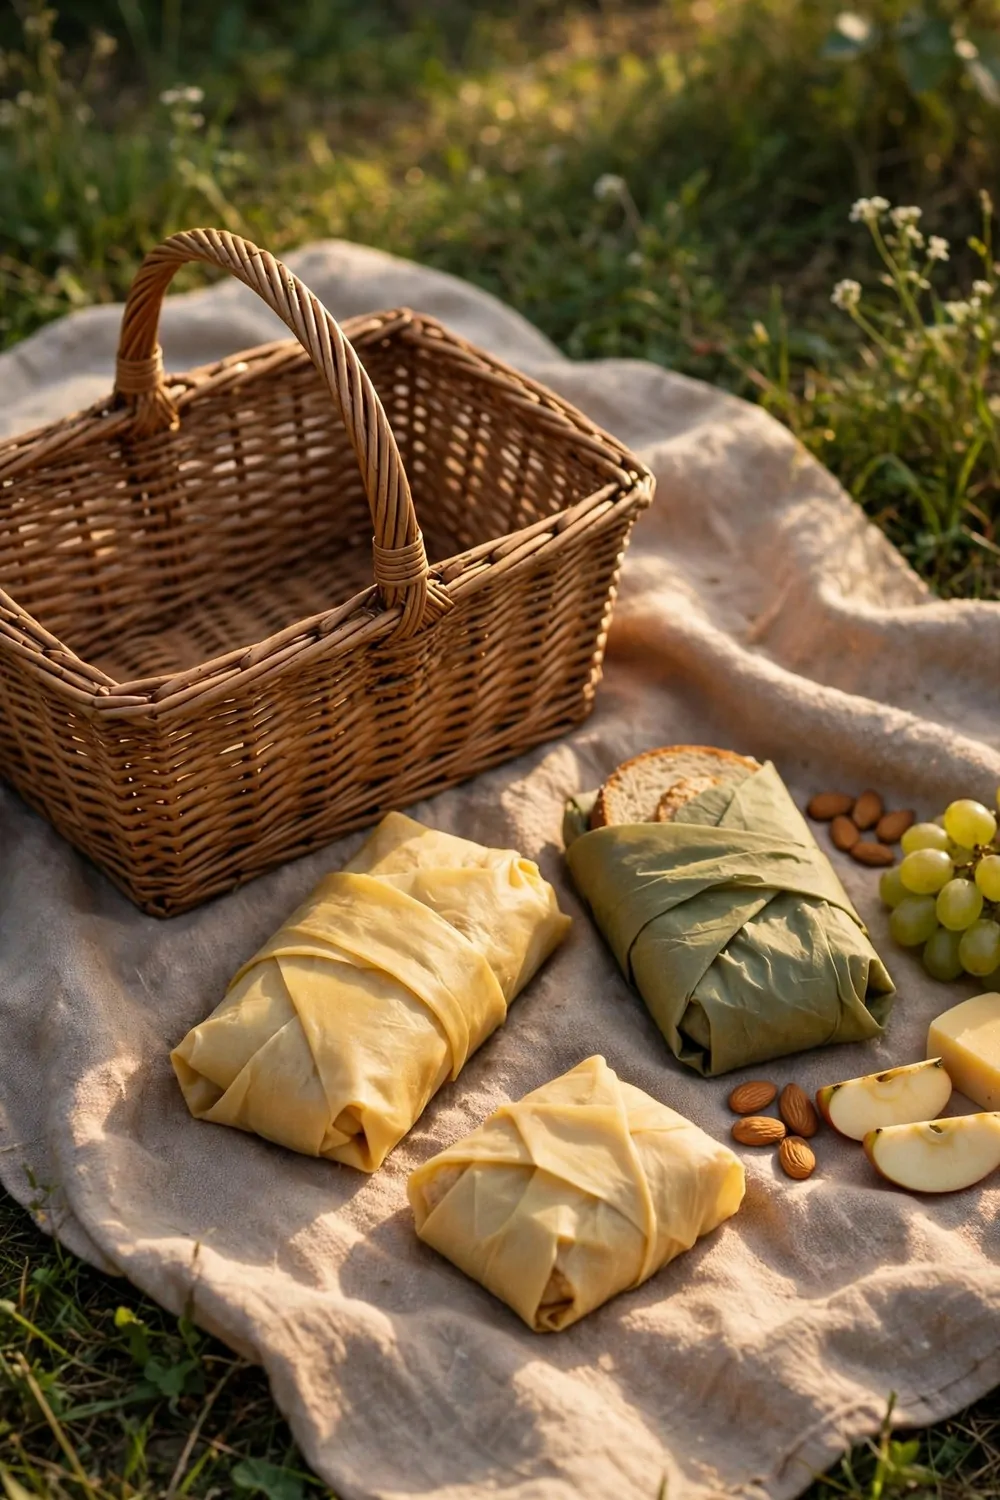
I pack food for a picnic on a warm day. I want it to travel well in my basket.
Wraps are great for food that goes out of the house.
I fold one round a sandwich and I press the ends shut. I wrap cheese in another one and I tuck it next to the bread. Each bundle stays closed on the blanket.
I set the bundles on the blanket beside the basket. Nothing leaks or slides about too much.
Typical cost $5 to $11.
You can bring a spare wrap for leftovers on the way home.
I unwrap each bundle when we sit down to eat. The food is still in one piece and ready to share.
I fold the used wraps and put them back in the basket. I wash them when I get home. They dry fast and they are ready for the next trip out.
It makes a picnic feel light and tidy.
17. A Wrap for a Butter Block
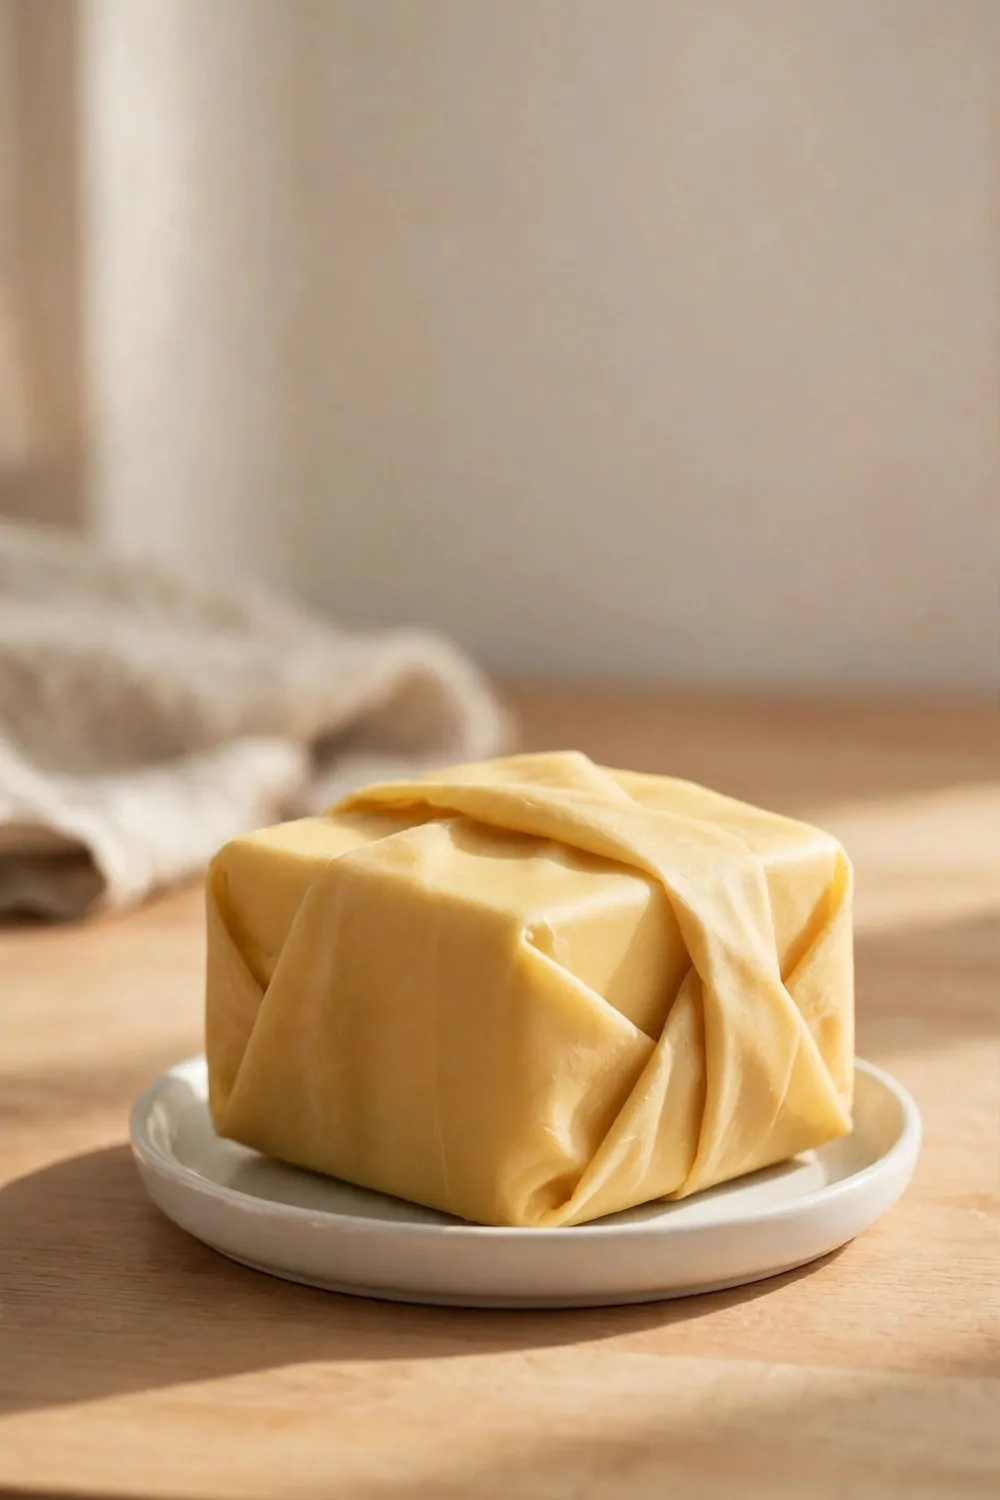
I keep a block of butter in my fridge. I want it to stay clean and easy to cut.
A small wrap folds round the block with no fuss.
I set the butter in the middle of the wrap. I fold the sides over and I press the ends flat. It makes a neat parcel that fits in the fridge door.
I unwrap it when I need a slice for toast. Then I fold it back round the block.
Typical cost $2 to $6.
You can use a wrap that is just a bit bigger than the block.
I wash the wrap when the butter is all gone. I let it dry and I use it for the next block.
I like that the wrap keeps the butter neat on a small plate. The wrap does the job and it takes up less room. It is one less thing to wash in the sink.
Try it with your next block of butter.
18. Wraps for the Freezer
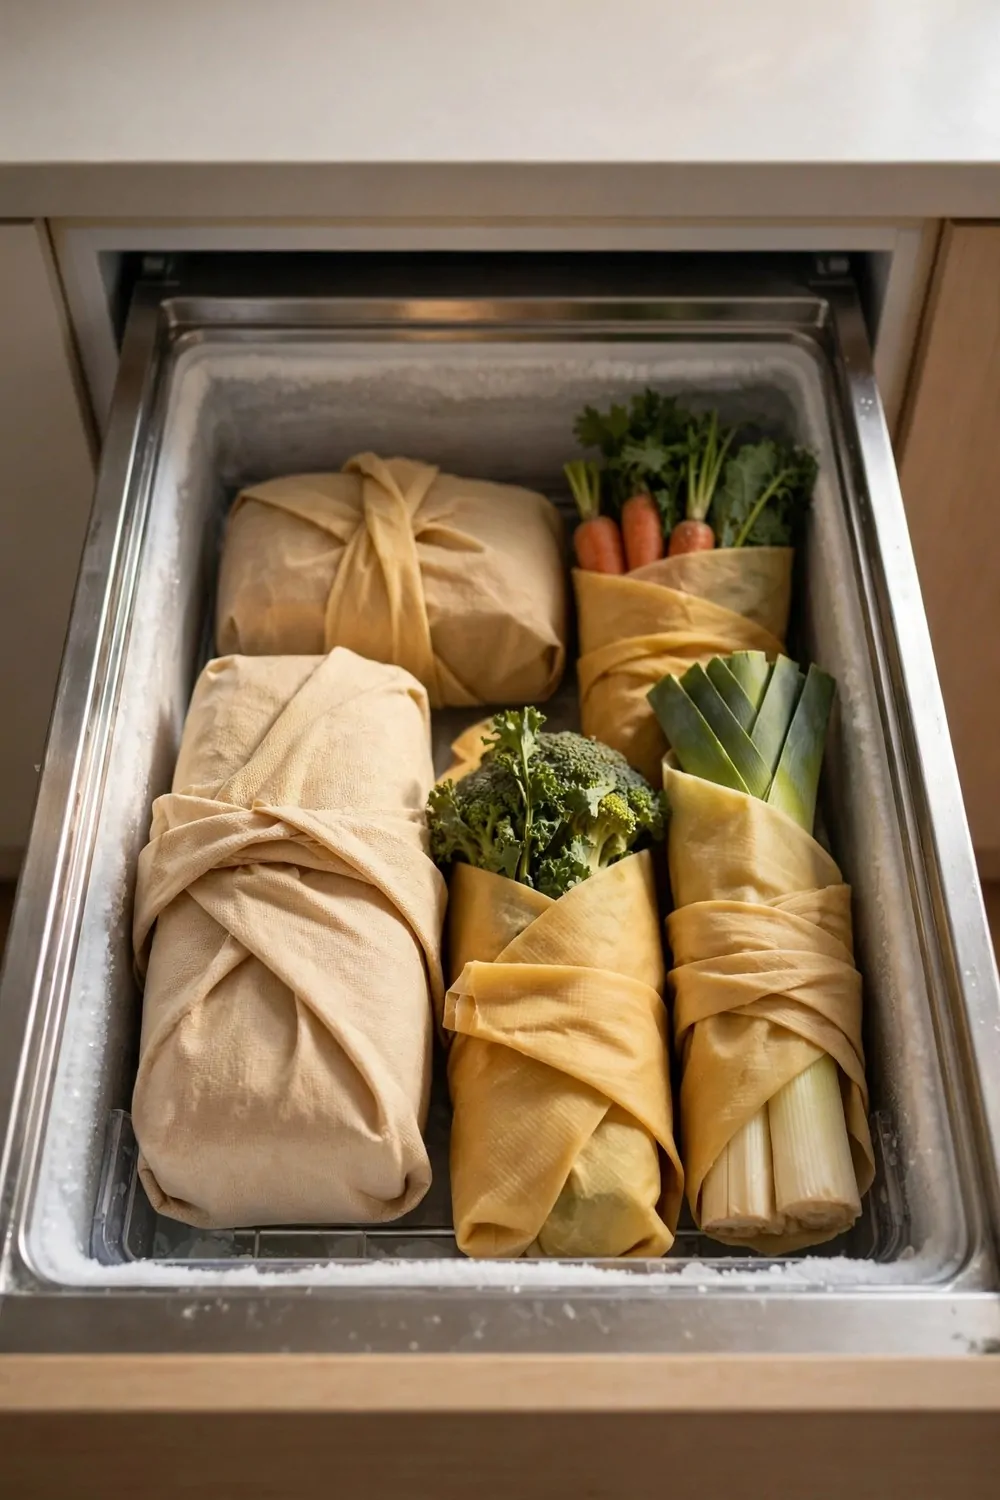
I freeze bread and leftovers when I cook too much. I want a cover that holds up in the cold.
Beeswax wraps can go in the freezer for short storage.
I fold a wrap round a loaf or a small portion. I press the folds firm so the wrap stays shut.
I lay the bundles in a neat row in the freezer. They take up less room than a big box.
Typical cost $6 to $12.
You can use a large wrap for a loaf and a small one for a portion.
I take a bundle out and let it warm up on the counter. I open the wrap once the food is soft enough to move.
I wash the wrap in cool water after I use it. I dry it flat and I fold it for the next freeze. It holds up well if I treat it with care.
It is a handy swap for freezer bags.
19. A Wrap for a Cut Onion
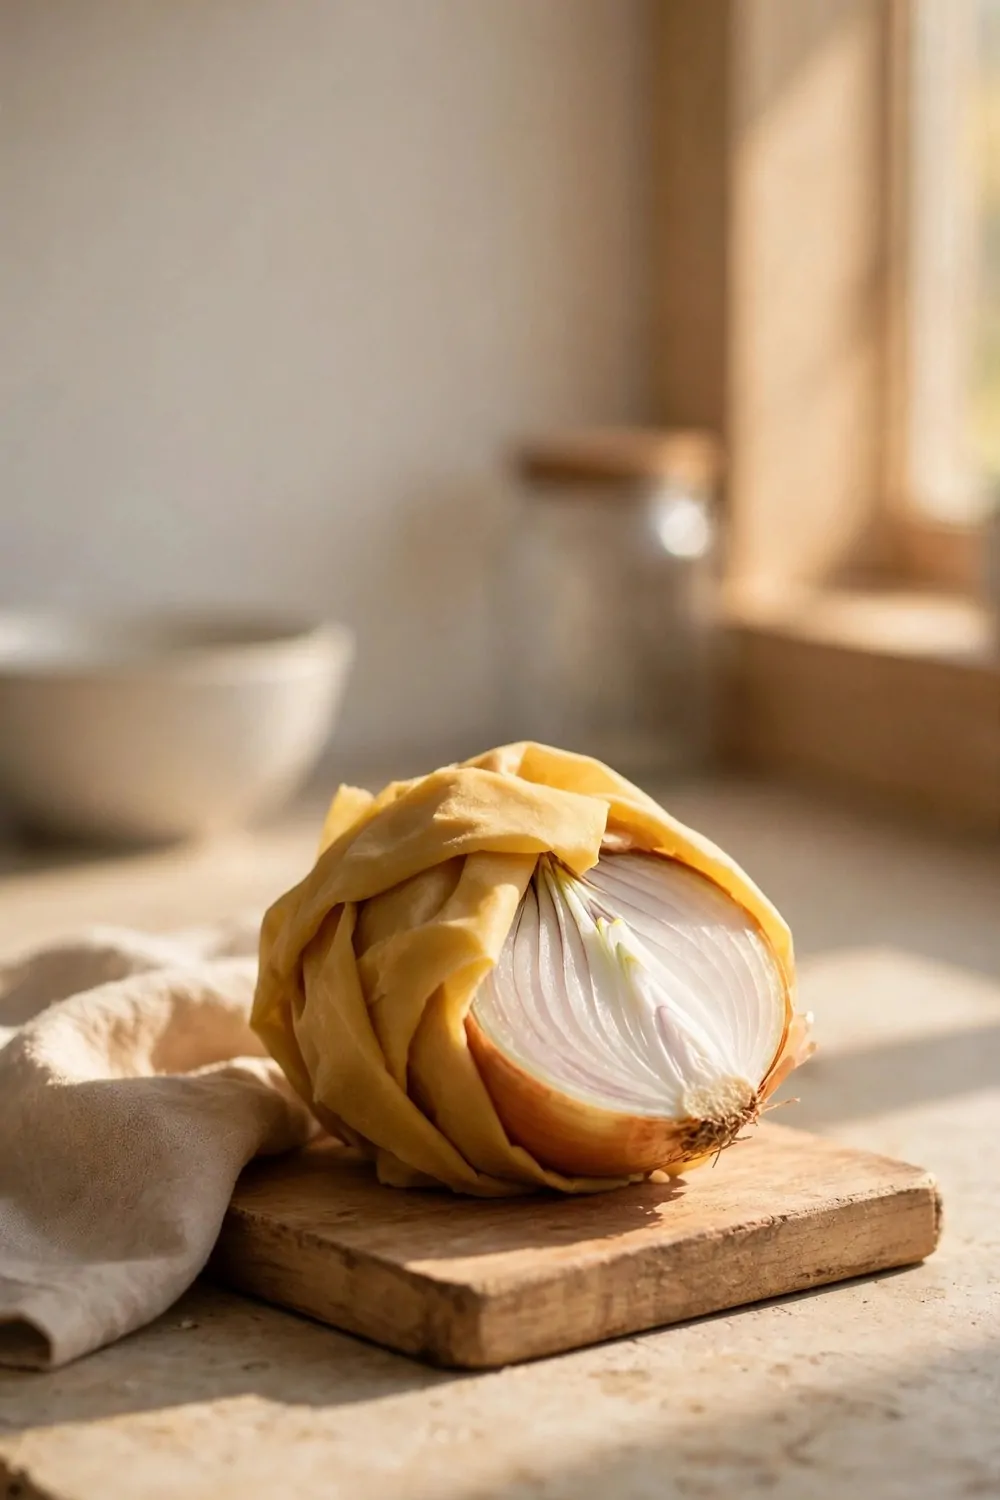
I cut an onion in half and I only use one part. I want to save the other half for later.
A small wrap is just right for this job.
I set the cut side up on the wrap. I fold the wrap up round the onion and I press it snug. It hugs the round shape and the cut face stays fresh.
I put the parcel in the fridge with the cut side up. It is easy to find when I need it.
Typical cost $2 to $5.
You can keep a small wrap aside just for onions.
I use the saved half in soup the next day. I chop it up and it goes straight in the pot.
I wash that wrap on its own after use. I rinse it well in cool water. I lay it flat on the rack till it feels dry.
It saves a good onion from the bin.
20. Wraps for Cakes and Pies
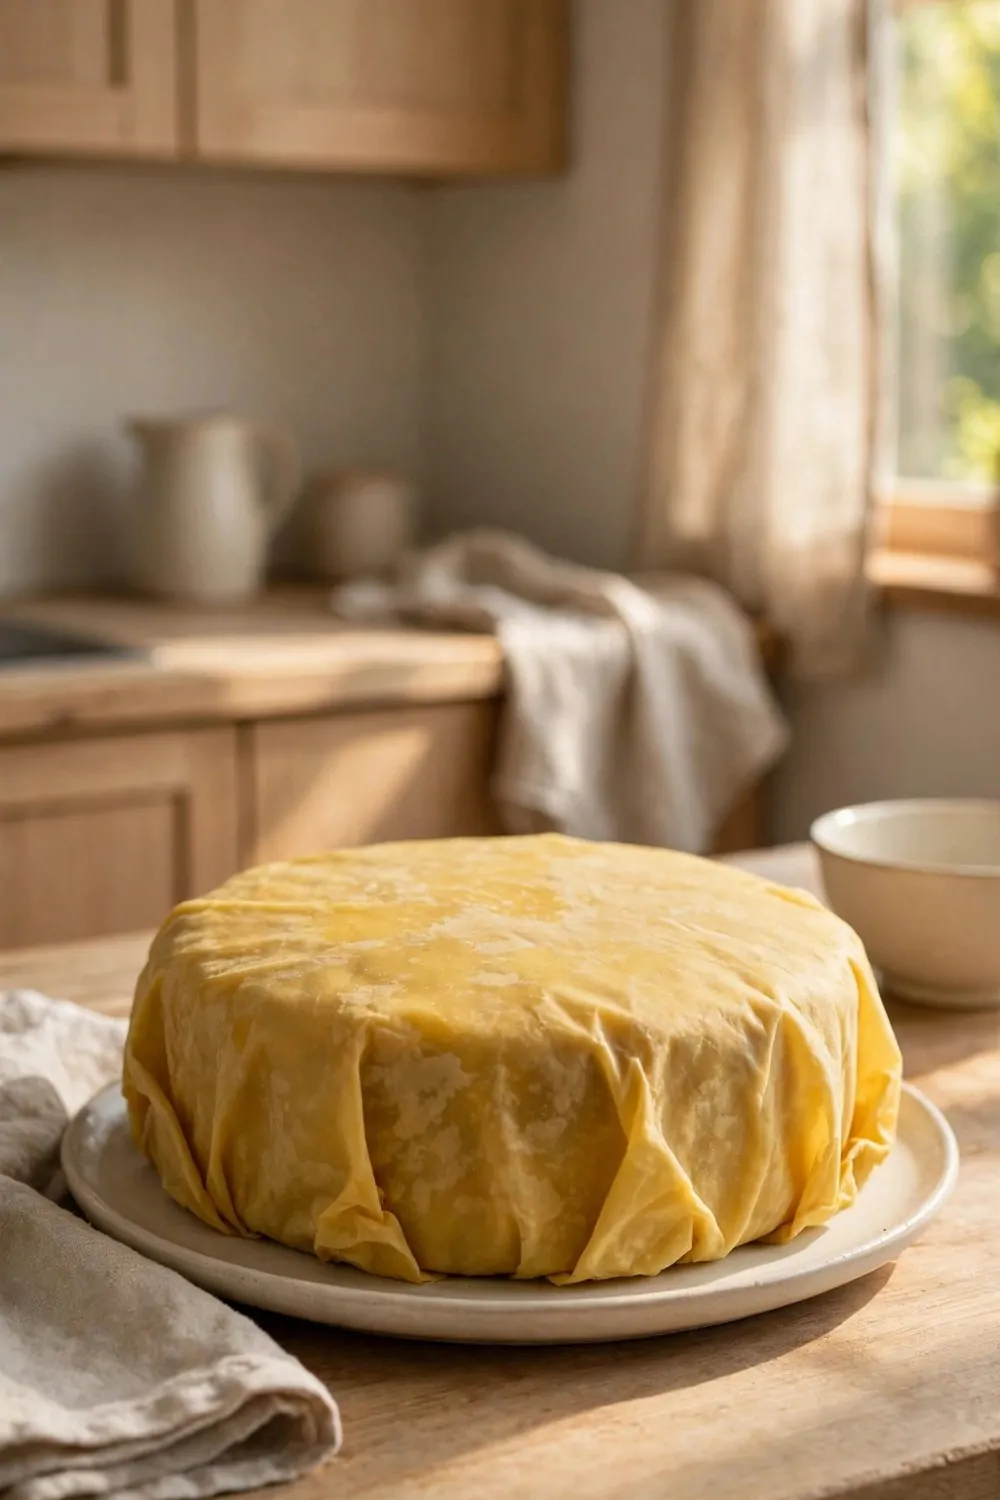
I bake a cake for a family tea. I want to keep it covered till we cut it.
A large wrap can cover a whole cake plate.
I lay the wrap over the top and I press it round the edge of the plate. It sits soft over the cake and it does not squash the top. It keeps dust off while we wait to eat.
I lift it off when it is time to serve. The cake still looks just as I left it.
Typical cost $5 to $10.
You can use two wraps side by side for a wide pie dish.
I fold a wrap round a slice to take to a neighbour. It holds the slice safe on the walk over.
I wash the wraps after the cake is gone. I dry them flat and I put them with my baking things. They are ready for the next cake or pie I make.
It is a soft cover that fits the job well.
| Idea | Main change | Typical cost |
|---|---|---|
| A Wrap for Baked Treats | wrap baked treats in beeswax cloth | $3 to $8 |
| Wraps for a Plate of Cut Fruit | cover cut fruit on a plate with a wrap | $4 to $9 |
| A Wrap for a Lunch Box | wrap a sandwich for a lunch box | $3 to $7 |
| A Wrap for a Fruit Bowl | cover a fruit bowl with a wrap | $4 to $10 |
| A Wrap for Dough Rising | cover dough in a bowl with a wrap | $3 to $8 |
| Wraps for Picnic Food | wrap picnic food in beeswax cloth | $5 to $11 |
| A Wrap for a Butter Block | wrap a butter block in beeswax cloth | $2 to $6 |
| Wraps for the Freezer | wrap food for the freezer in beeswax cloth | $6 to $12 |
| A Wrap for a Cut Onion | wrap a cut onion in beeswax cloth | $2 to $5 |
| Wraps for Cakes and Pies | cover cakes and pies with beeswax wraps | $5 to $10 |
| Total | $37 to $86 |
21. A Wrap for a Melon Slice
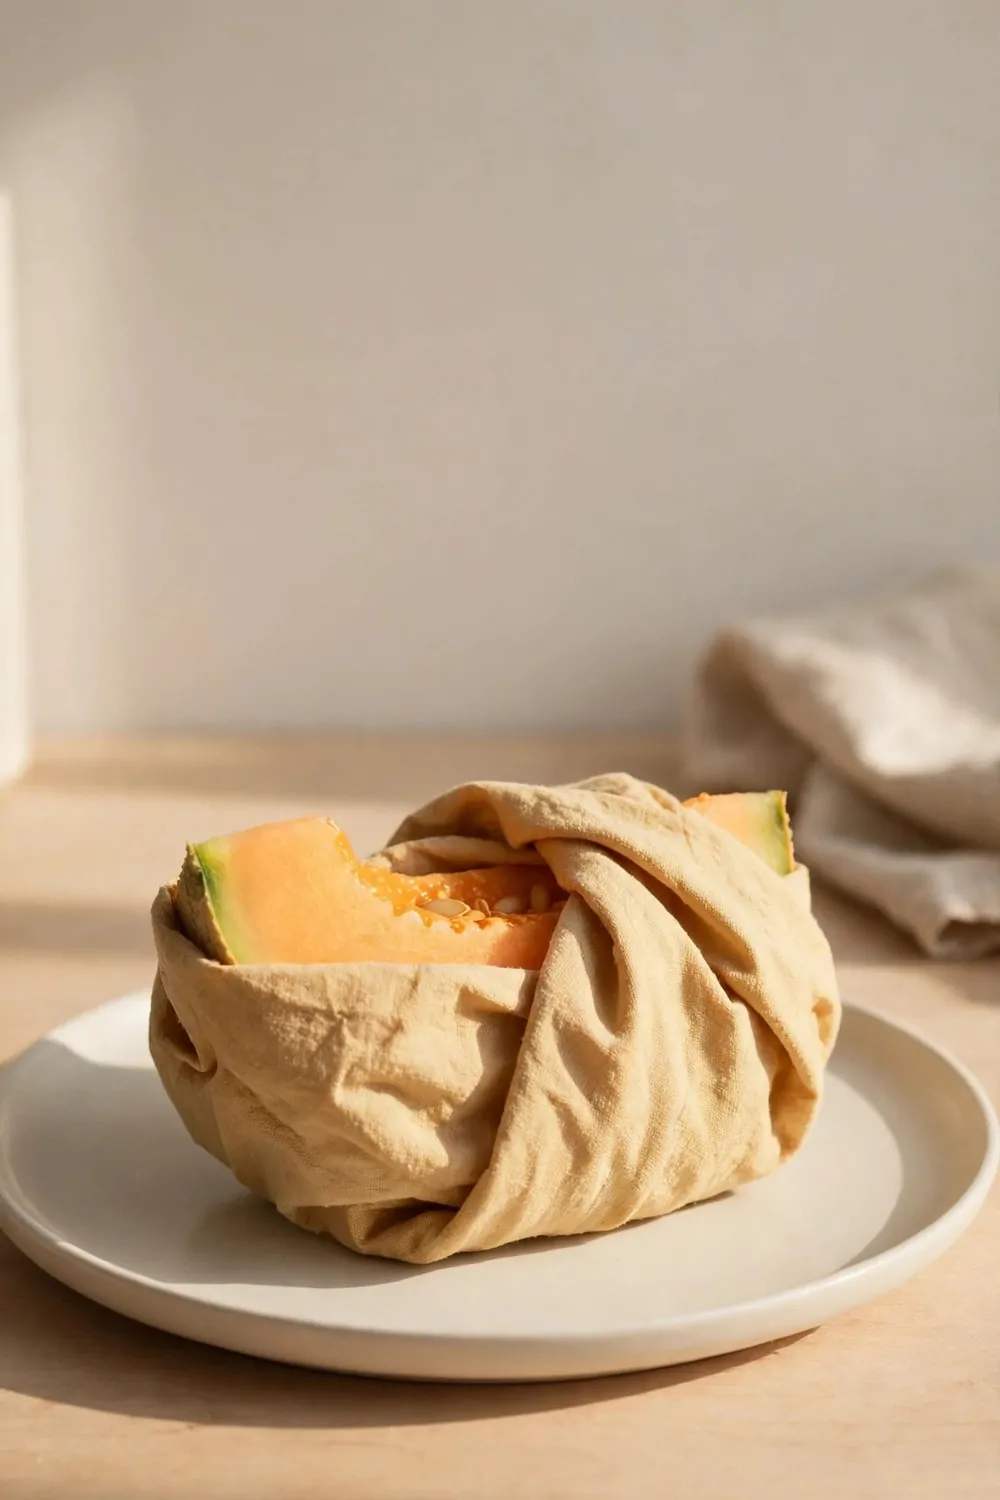
I cut a thick slice of melon and I wrap it right away so it stays fresh.
A small wrap fits the slice well. I press the cloth round the edges and the heat from my hands helps it hold.
The wrap holds the slice neat, and the juice stays off my shelf.
I set the wrapped slice on a plate in the fridge. It sits flat and it does not slide. I grab it fast when I want a cold snack.
I wash the wrap with cool water and a drop of mild soap. Then I let it dry on a rack before I fold it away.
I do not put a beeswax wrap in hot water or in the microwave.
Typical cost $7 to $12.
A melon slice is big, so I pick my wide wrap for this job. A small wrap leaves the corners open and that does not help.
You can try this tonight with one slice. Wrap it snug and pop it in the fridge. It feels good to skip the cling film for once.
22. Wraps for Travel Snacks
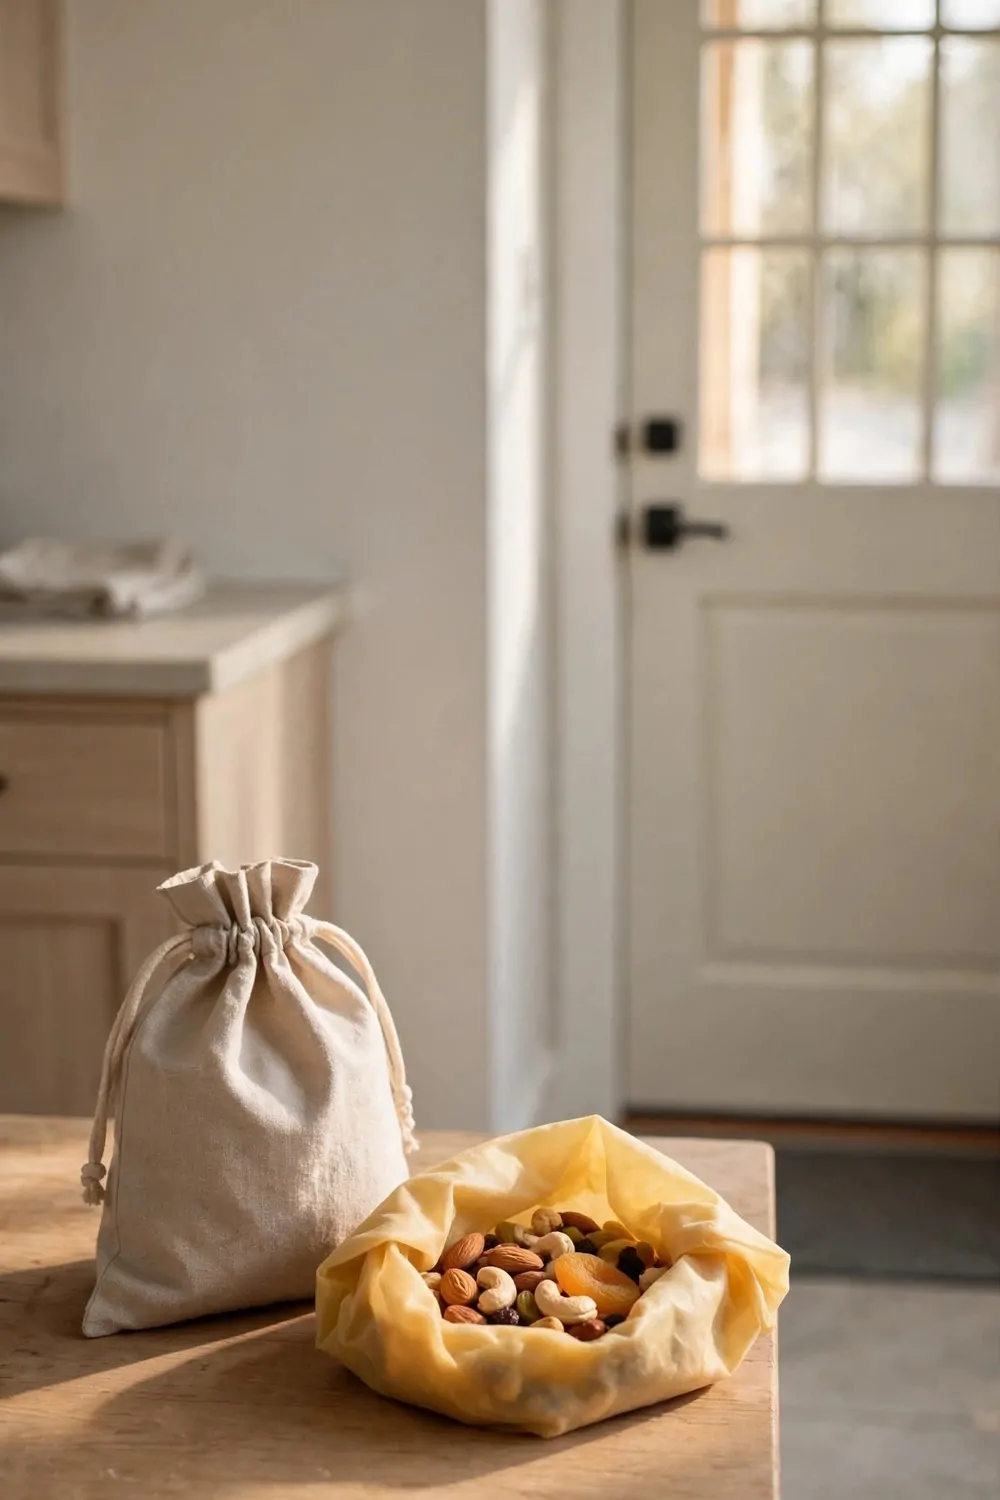
I pack snacks for a trip in beeswax wraps and they ride well in my bag. A wrap folds flat round a small pile of nuts or a few crackers.
I tie the ends with a bit of string so nothing spills on the road.
I like wraps for the car and for a walk. They weigh almost nothing in my tote. They also fold up small when the snack is gone.
I keep one wrap just for dry snacks. It stays clean longer and it is easy to wipe.
I skip wraps for wet food on a trip, as leaks make a mess in a bag.
Typical cost $6 to $11.
I wash each wrap when I get home and I hang it to dry. It is ready for the next trip by morning.
You can pack two small wraps for a day out. One holds your snack and one holds a spare bite. That way you have no loose bits in your bag.
A wrap in your bag beats a pile of small bags in the bin.
23. A Wrap for a Warm Mug
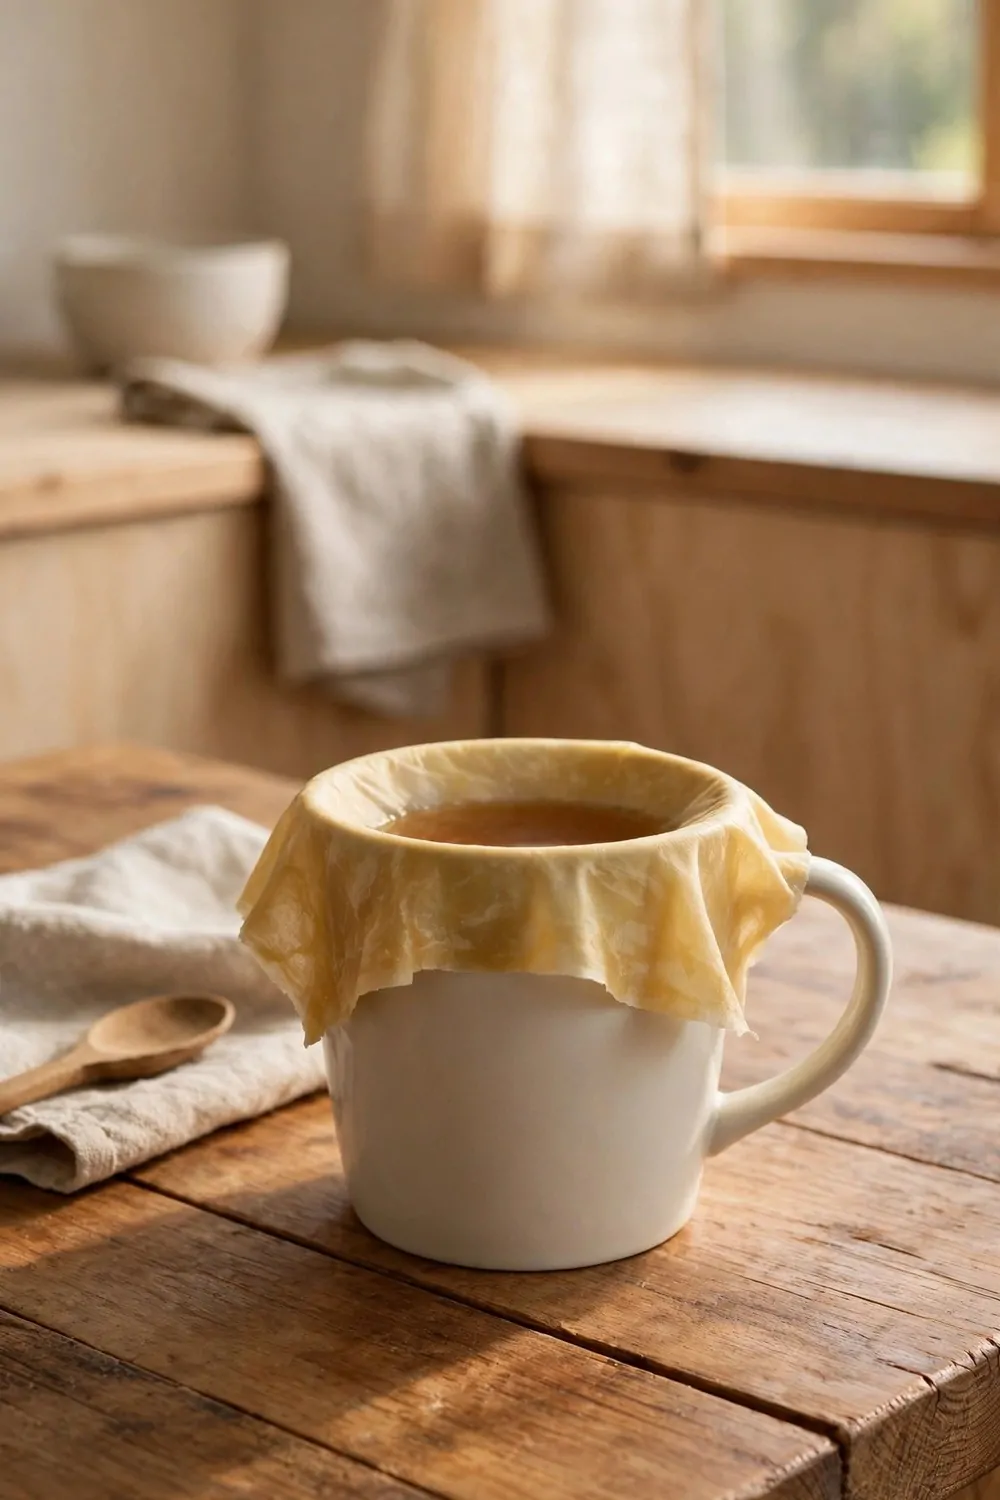
I set a wrap over a warm mug when I want my drink to stay warm a bit longer. It rests on top and it does not need a tight seal.
I use a small square wrap, as it fits a mug top well.
The wrap rests soft on the rim while my tea cools to the right heat. I lift one corner to take a sip. Then I set it back down and it stays put.
I do not press a wrap hard onto a very hot mug. Warm is fine, and the wax holds its shape.
I keep a plain wrap just for mugs, so it never picks up food smells.
Typical cost $5 to $9.
A wrap on a mug looks soft and calm on my desk. It beats a cold drink and a dusty top. I reach for it most mornings now.
You can try this with any plain mug at home. Pick a wrap that covers the top with a little extra round the rim.
It is a small trick, but it makes my morning drink feel cared for.
24. Wraps for Biscuits and Crackers
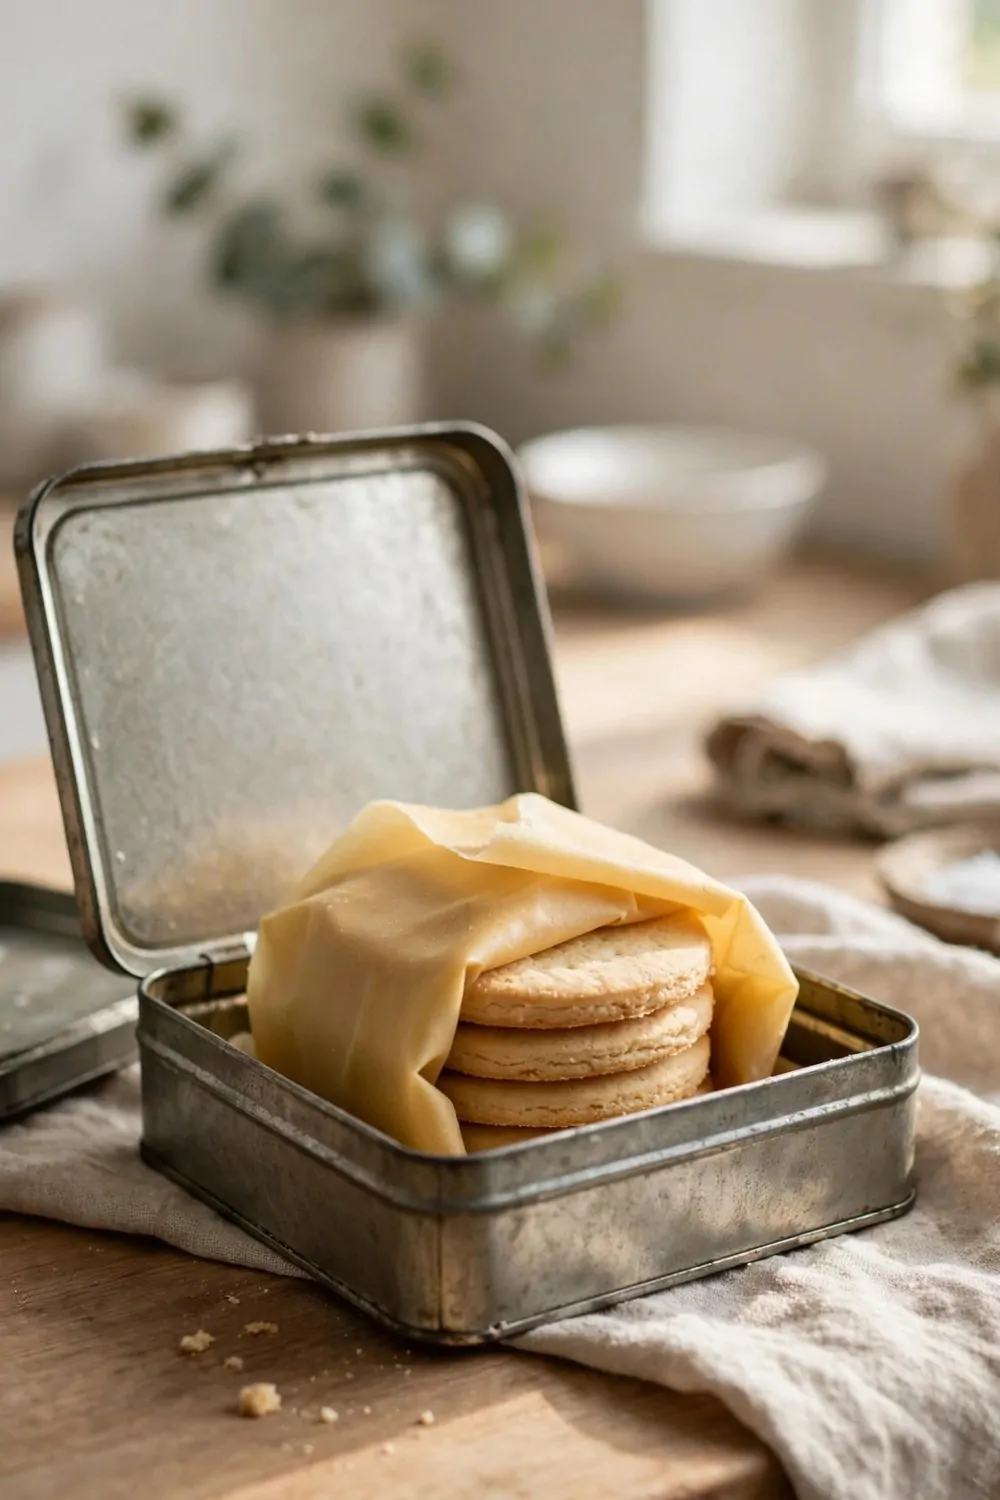
I wrap a small pile of biscuits in a beeswax cloth for a snack box.
The wrap folds round the pile and holds the crumbs in one place. I drape it over the top and it rests soft on the biscuits.
Crackers stay crisp in a wrap for a short trip. I do not stack them too high, or they crush. A flat pile travels best, I find.
I keep sweet biscuits and plain crackers in their own wraps. That way the tastes do not mix in the box.
I wipe the wrap clean after a dry snack, as it needs no full wash each time.
Typical cost $6 to $10.
A wrap is easy to fold back up when the snack is done. It slips into a side pocket and it weighs nothing.
You can pack wraps for a picnic or for a work lunch. They look neat and they save a small bag each time. I like that plain swap a lot.
Try it once and you may pack your snacks this way for good.
25. A Small Beeswax Wrap Starter Kit
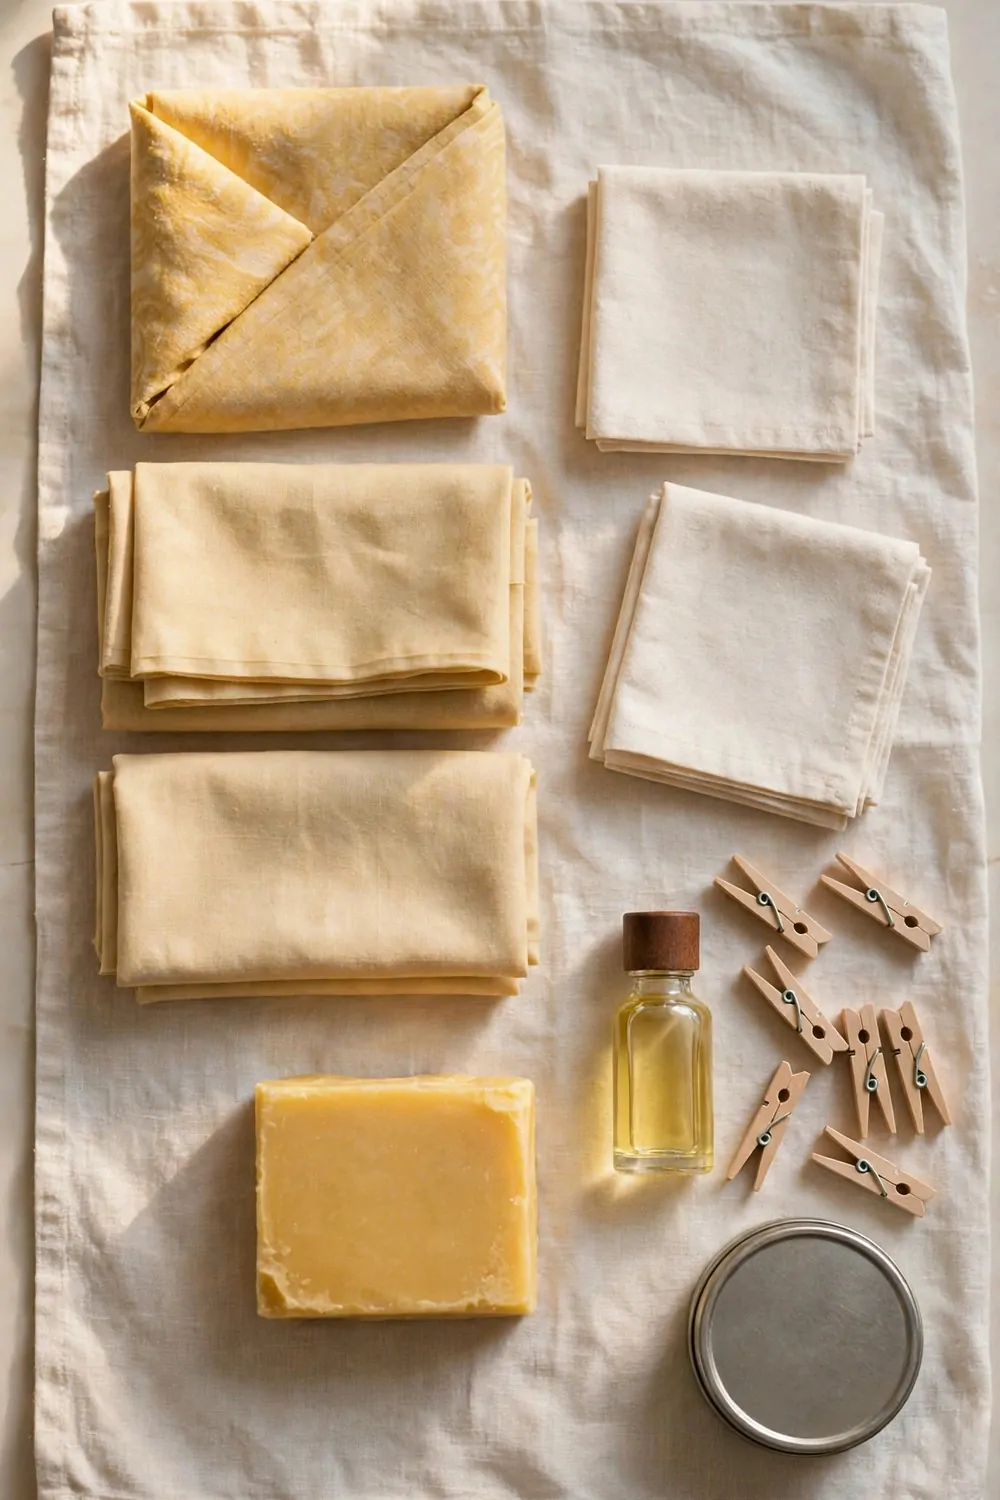
A small starter kit makes beeswax wraps feel easy to start. It holds six plain things and nothing extra you do not need.
The set of three beeswax wraps is the heart of the kit. One is small, one is mid size, and one is wide for a big bowl. I reach for the wide one most days.
The plain cotton cloth squares wait in the kit for the day you want to make more wraps. The block of beeswax sits at the foot of the cloth, ready to melt.
A small bottle of jojoba oil joins the wax and helps the cloth bend soft in your hands.
The wooden clothes pegs clip your fresh wraps to a line while they dry. They hold the cloth flat and they do not mark it. I peg mine on a line by the window.
The metal storage tin holds the clean wraps when they are dry. It keeps them flat and it keeps dust off them.
Six plain things, one tin, and you have all you need to start.
Typical cost $8 to $14 for the set of three beeswax wraps, $4 to $8 for the plain cotton cloth squares, $5 to $9 for the block of beeswax, $4 to $7 for the small bottle of jojoba oil, $2 to $4 for the wooden clothes pegs, and $6 to $10 for the metal storage tin, for a total of $29 to $52.
Wrap one bowl tonight, tuck it in the fridge, and let one small cloth swap make your kitchen feel calm and plastic-free.
| Idea | Main change | Typical cost |
|---|---|---|
| set of three beeswax wraps | Wrap food in beeswax cloth | $8 to $14 |
| plain cotton cloth squares | Cut cloth squares for wraps | $4 to $8 |
| block of beeswax | Melt beeswax onto cotton cloth | $5 to $9 |
| small bottle of jojoba oil | Mix oil into the wax coating | $4 to $7 |
| wooden clothes pegs | Peg wraps to dry on a line | $2 to $4 |
| metal storage tin | Store wraps in a metal tin | $6 to $10 |
| Total | $29 to $52 |
Keep Reading
If you liked these ideas, you will love these posts too
Each post has more simple ideas you can try at home this weekend.