23 Refill Station Ideas for a Low-Waste Home

By Friday my kitchen bin was always full of empty bottles, and I was the one who put them there.
A refill station is a small spot in your home where you fill the same bottle or jar again and again. You buy the soap or the rice in bulk, and you pour a little into the bottle you already own. It sounds small, but it changes how much waste leaves your home each week.
Most of us throw away a lot of plastic without even thinking about it. A bottle of dish soap lasts a few weeks and then goes in the bin, and a jar of oats lasts a month before the bag goes too. When you refill instead, those same bottles and jars stay in your home for months or even years.
The best part is how simple it is to start. You do not need a big budget or a whole new room, just a few plain jars, a small tray, and one good bottle for your whole station. You can build it up slowly, one piece at a time, as you learn what your family really uses.
These ideas cover the whole home, not just one room. You will find kitchen ideas for dry goods and dish soap, bathroom ideas for hand soap and shampoo, pantry ideas for bulk bins, and laundry ideas for detergent and softener. Each spot works on its own, so you can start with the room that feels easiest.
Refilling also helps you see what you use. When you pour rice from a big bag into a clear jar, you know at a glance when it is time to buy more, and when your soap bottle is half full, you can plan a refill trip instead of running out on a busy morning. It makes the whole home run a little smoother.
Here are all 23 refill station ideas in one place, from a small counter jar to a full starter kit, so you can pick the ones that fit your kitchen and start refilling this week.
1. A Refill Station on the Kitchen Counter
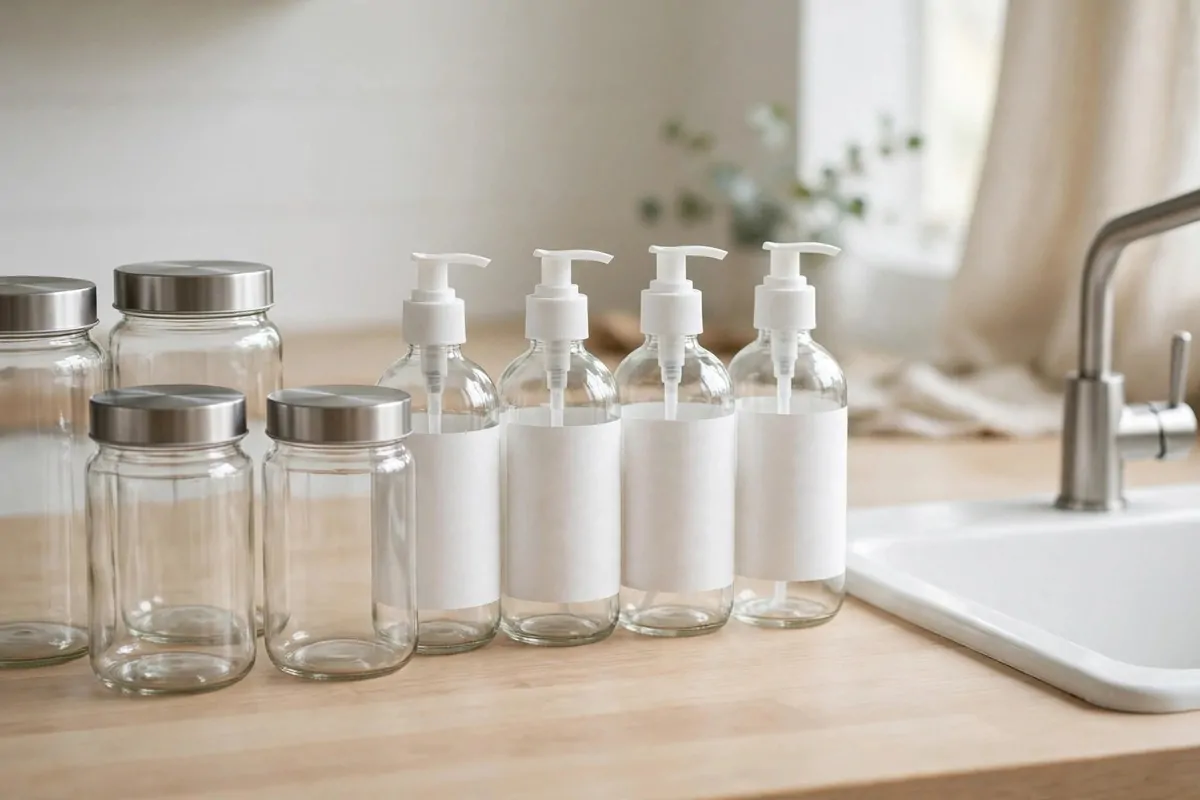
A small refill station on the kitchen counter keeps your daily basics close at hand. You can reach for the soap or the oil without opening a cupboard each time.
Start with a plain tray or a small wooden caddy. It holds your bottles in one spot and keeps drips off the counter.
Pick two or three bottles you use every day, like dish soap, hand soap, and cooking oil. Fill them from bigger bulk bottles that you keep under the sink or in the pantry. That way the counter stays neat and the big bottles stay out of sight.
Keep the station near the sink if you can. It makes washing up faster when the soap is right there.
A small funnel helps a lot here. Pouring from a big bottle into a small one can get messy, and a funnel keeps it tidy. Wipe the bottle necks now and then so they stay clean and easy to open.
Label each bottle in plain words, so no one in the house mixes them up. A simple tag tied with string works fine, and you can change it when the bottle gets a new job.
Refill the bottles when they get low, not when they are empty. It takes a minute, and it stops that rushed feeling when you run out mid wash.
Your counter station will look different from mine, and that is fine. The point is that it fits your kitchen and your daily routine.
Typical cost $6 to $14.
2. Glass Jars for Dry Goods Refills
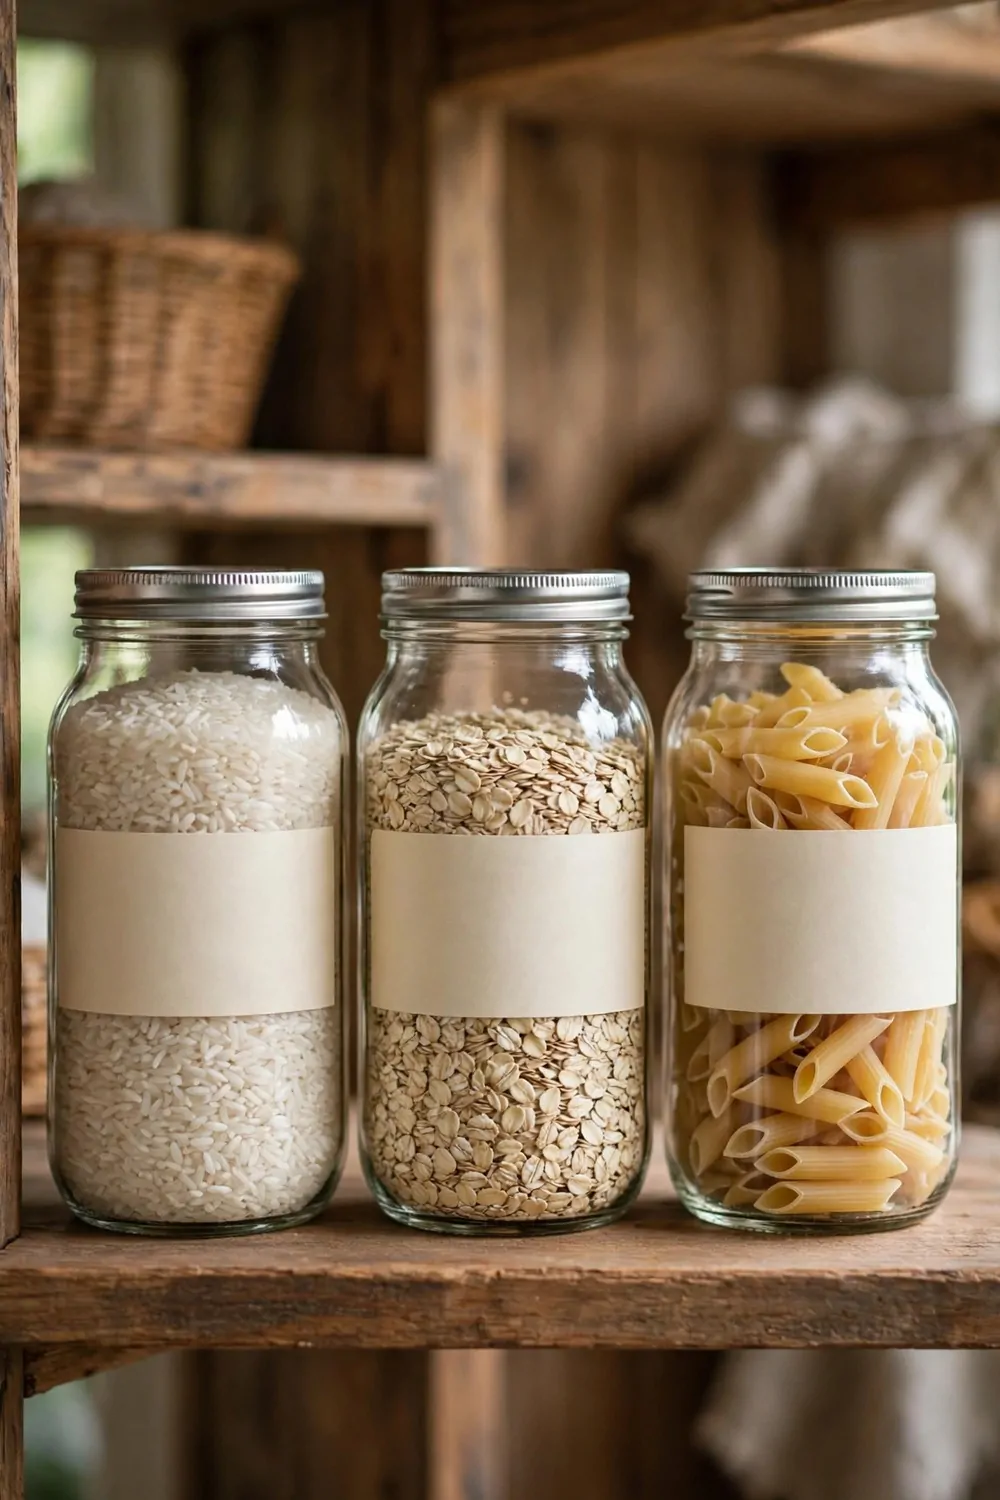
Glass jars make dry goods easy to see and easy to reach. Rice, oats, pasta, and flour all look tidy in a row of clear jars.
Choose jars with wide mouths and lids that close well. A wide mouth makes filling and scooping simple, and a good lid keeps food fresh.
Buy your dry goods in bulk and pour them into the jars at home. Keep the big bulk bags in a cupboard or on a pantry shelf, and keep the jars where you cook. You will use less packaging, and your shelves will look calmer too.
Wash and dry each jar fully before you refill it. A damp jar can spoil dry food, so let it air dry upside down for a while.
Put a small scoop inside a jar you use a lot, like rice or sugar. It saves you from hunting for a spoon each time you cook.
Write the name of the food on each jar, plus the date you filled it. Old stock gets used first that way, and nothing sits forgotten at the back for months.
Start with just a few jars if your shelf space is tight. Three or four jars for your most used foods can make a real difference.
Glass jars last for years when you treat them gently. They are one of the easiest swaps in a low waste home.
Typical cost $5 to $12.
3. A Wall Shelf for Refill Bottles
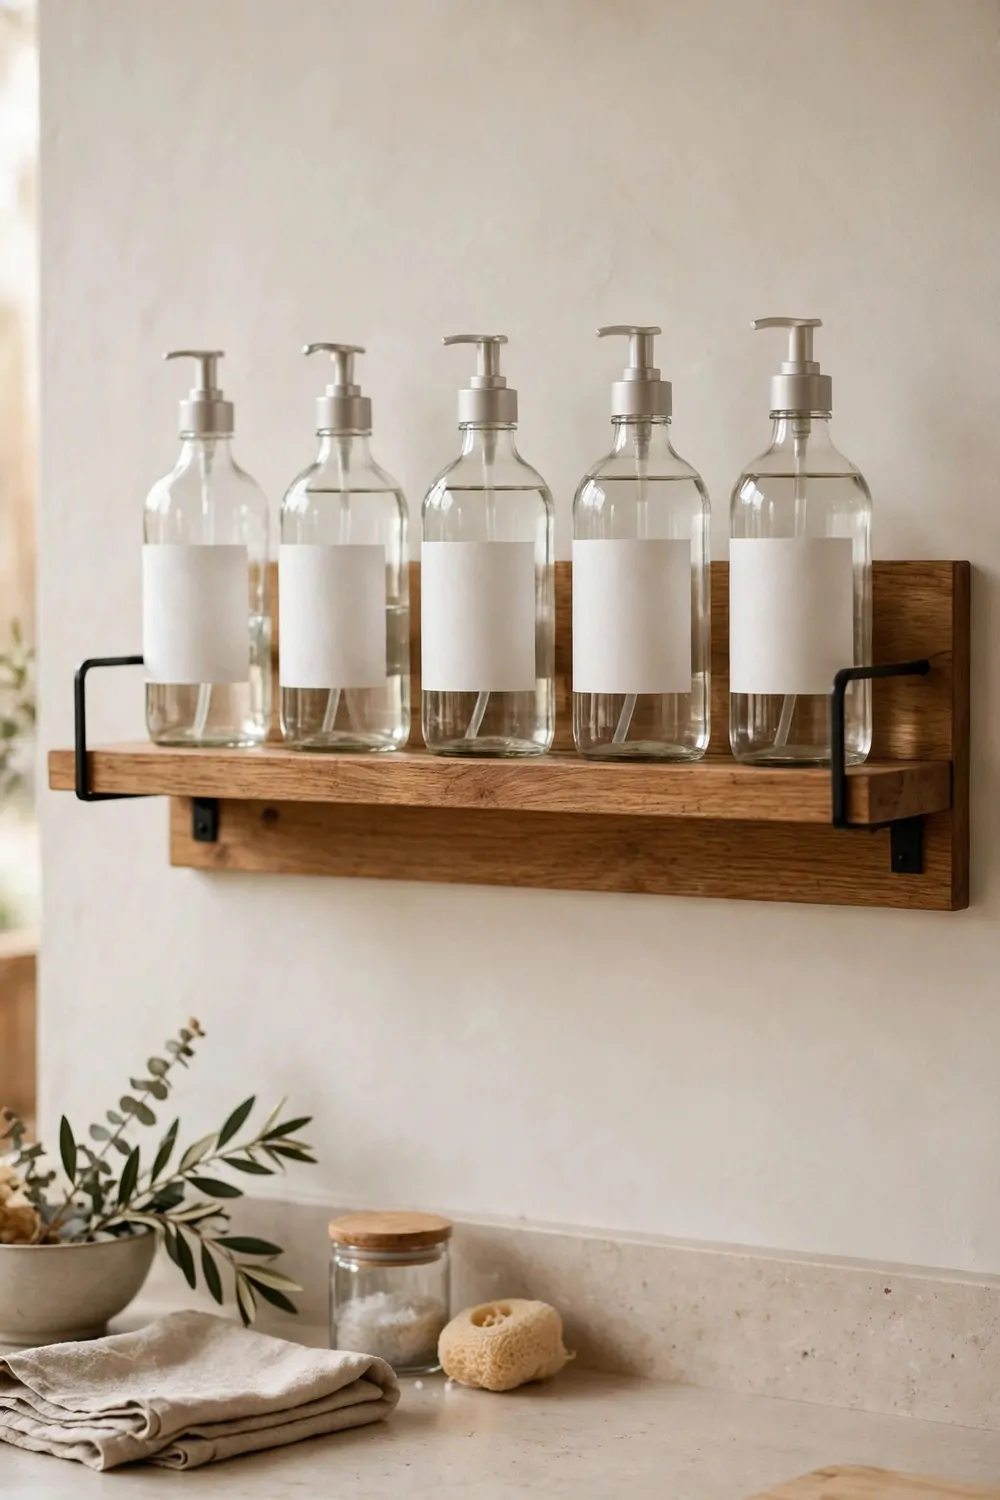
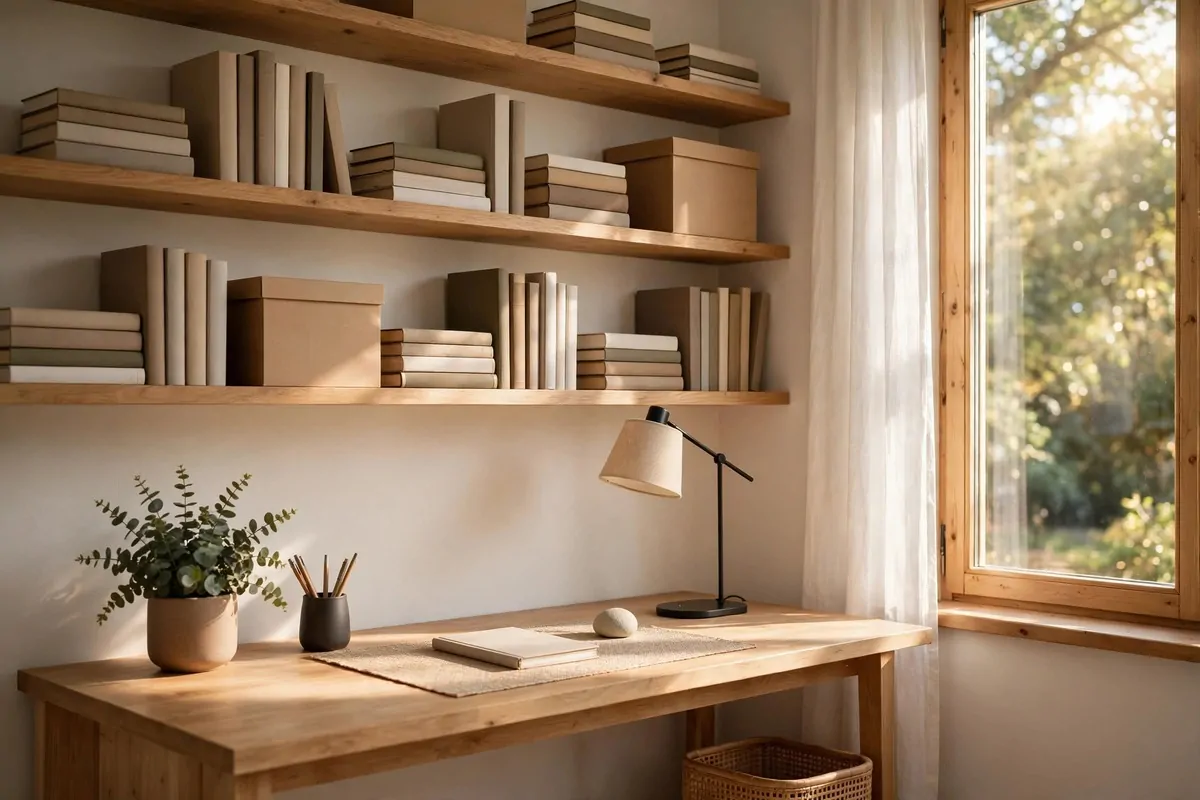
A wall shelf gives your refill bottles a home of their own. It frees up counter space and keeps bottles where you can see them.
Pick a shelf that fits the wall space you have. A short shelf near the sink or the cooker works well for daily bottles.
Keep the bottles you reach for most on the shelf, and keep spare bulk bottles lower down or in a cupboard. That way the shelf stays useful and never gets crowded.
Use plain bottles that are easy to hold and easy to pour from. A pump top works well for soap, and a narrow spout works well for oil or vinegar.
Wipe the shelf once a week so dust and drips do not build up. A quick wipe keeps the bottles looking neat and the shelf feeling fresh.
Leave a little space between bottles so you can lift one out without knocking the next one over. A shelf that is too full is harder to use than a shelf with room to breathe.
If you rent your home, look for a shelf that hangs on strong hooks or a rail. You can take it down when you move, and your bottles move with you.
A wall shelf turns a plain stretch of wall into a useful part of your kitchen. It is a small change with a big daily payoff.
Typical cost $8 to $18.
4. Refillable Soap Dispensers in the Bathroom
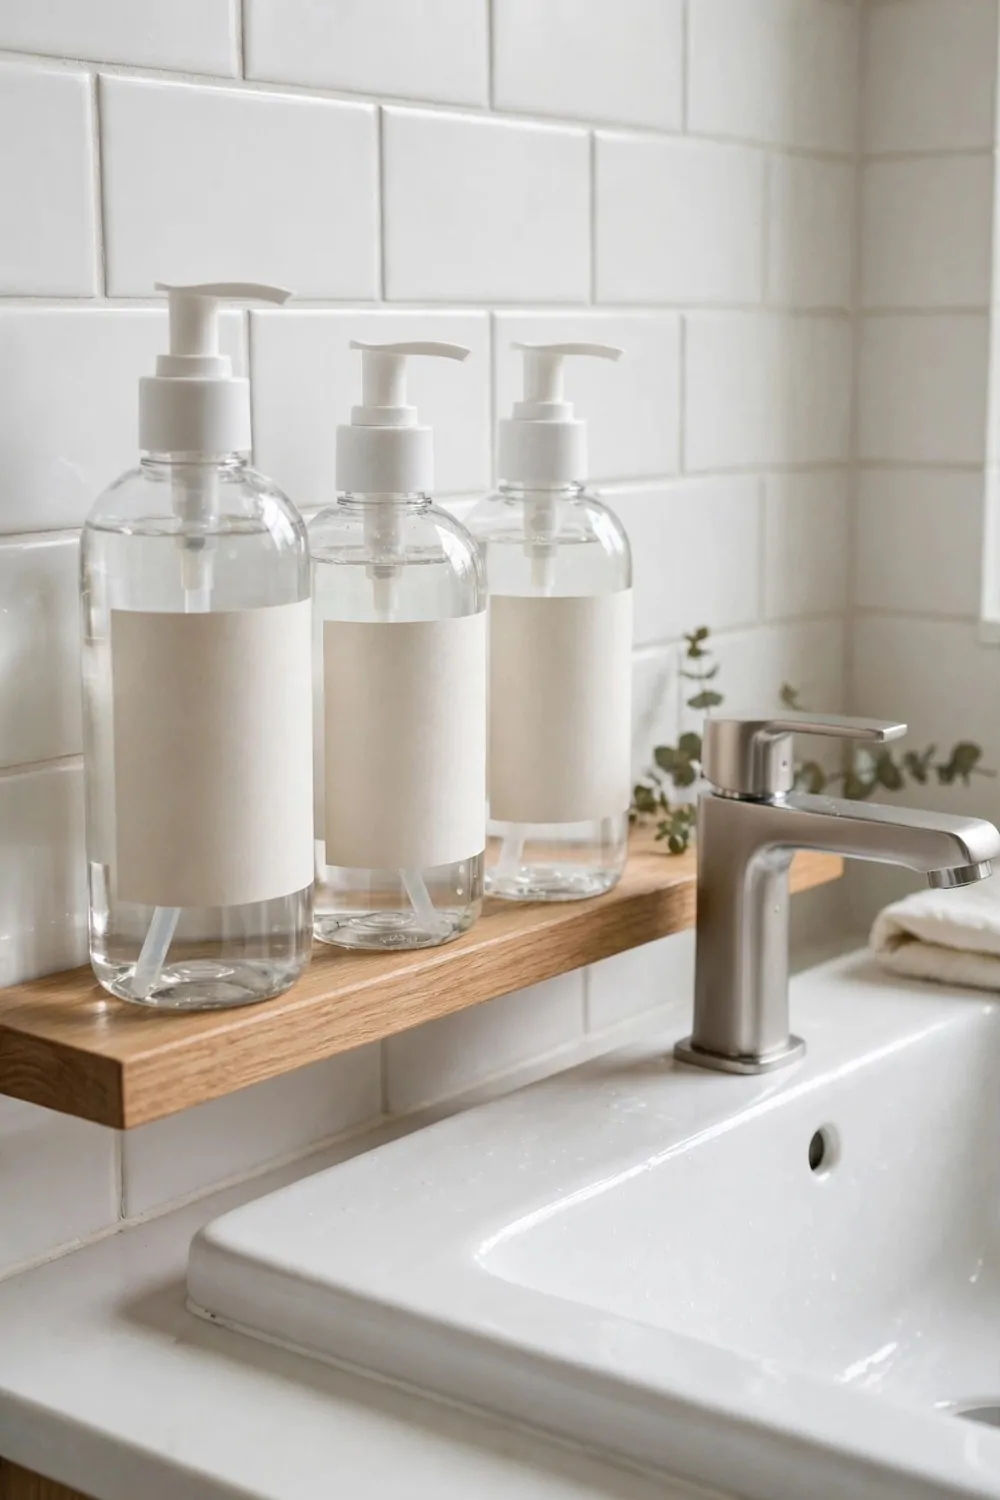
Refillable soap dispensers make the bathroom feel tidy and calm. One nice dispenser beats a row of half empty plastic bottles on the sink.
Pick a dispenser with a pump that feels smooth and easy to press. A stiff pump gets annoying fast, so test it before you commit to it.
Fill the dispenser from a large bulk bottle of hand soap or body wash. Keep the bulk bottle in a cupboard, and top up the dispenser when it gets low.
Match your dispensers if you have more than one sink in the house. The same style in each bathroom makes the whole home feel planned, not patched together.
Rinse the pump now and then so soap does not dry and clog it. Warm water and a quick pump or two usually clears it.
Put a small tray under the dispenser if your sink tends to splash. It keeps the counter dry and gives the dispenser a neat little spot.
Let each person in the house pick a scent they like for their own bathroom. A small choice like that makes the refill habit stick.
Soap dispensers are a gentle first step into refilling. They are cheap, simple, and you will notice the difference in a week.
Typical cost $7 to $15.
5. A Bulk Bin Corner in the Pantry
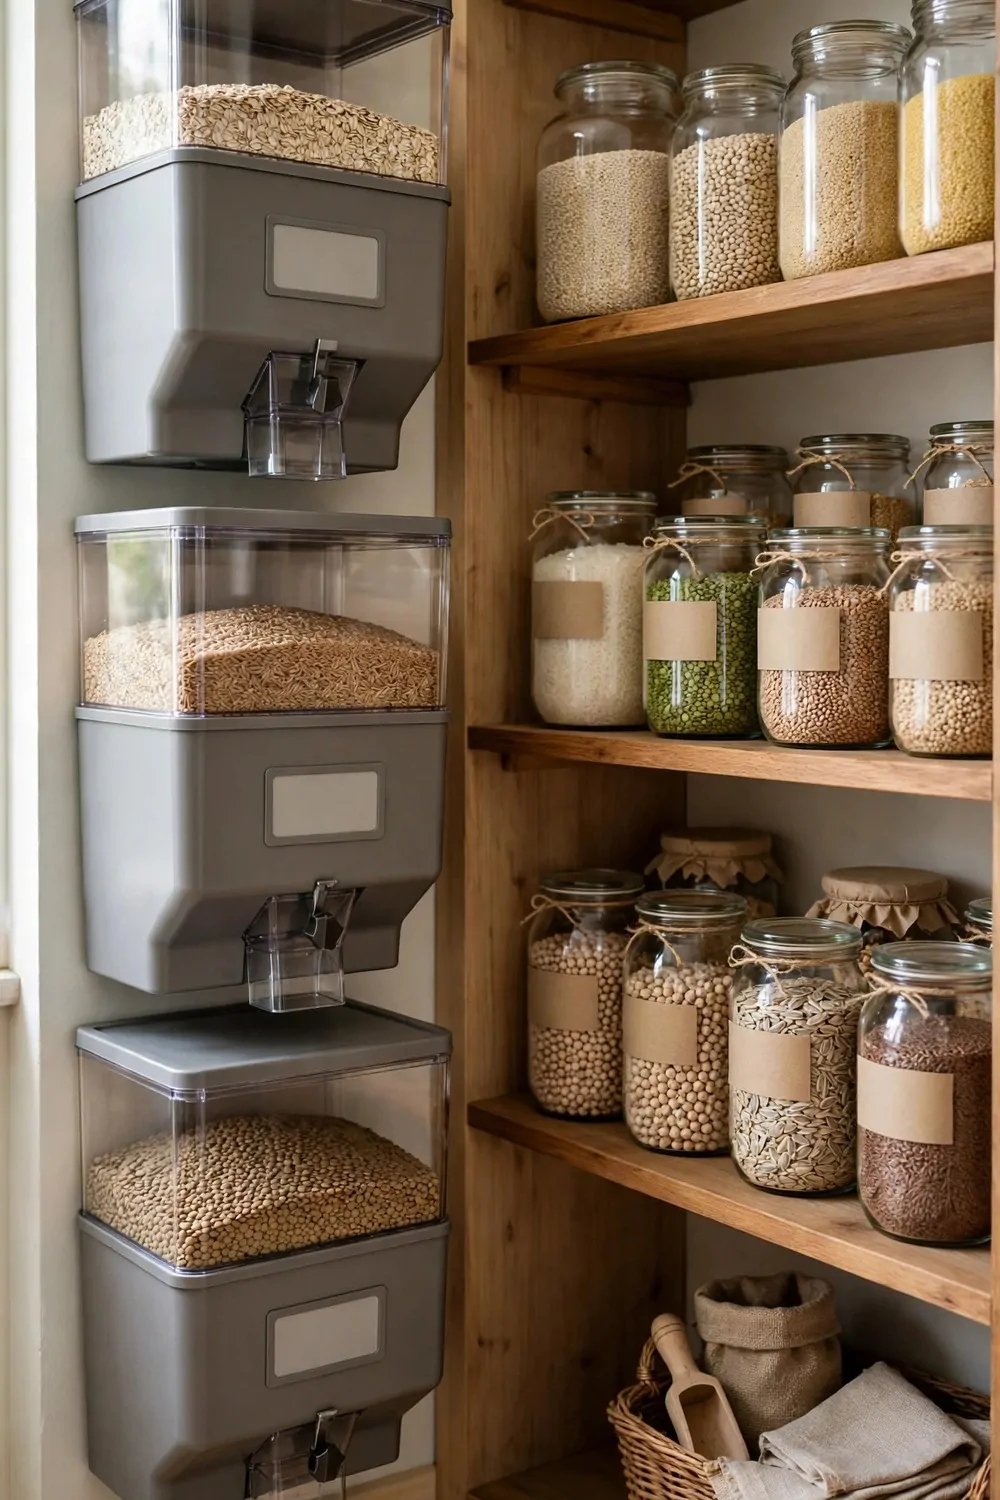
A bulk bin corner turns one part of your pantry into a refill zone. It is where your big jars and bins live, ready to top up the small ones in the kitchen.
Choose a corner or a shelf that you can reach without moving ten other things. Refilling should feel quick, not like a chore.
Use large jars or bins with lids that seal well. Flour, rice, lentils, and sugar all keep well in a sealed bin, and you can see at a glance what needs a refill.
Keep a scoop or a measuring cup in each bin. It stops you from pouring too much, and it keeps your hands out of the food.
Label each bin in big clear letters. When the labels are easy to read, anyone in the house can find what they need and put it back right.
Refill your small kitchen jars from these bins once a week. A short weekly top up keeps the kitchen jars full and the pantry bins tidy.
Check the bins for spills now and then, and wipe the shelf under them. Dry goods can leave a fine dust, and a quick wipe keeps it under control.
A bulk bin corner saves trips to the shop and cuts down on bags and boxes. It is the quiet engine behind a low waste kitchen.
Typical cost $5 to $11.
6. Cloth Bags for Refill Shopping
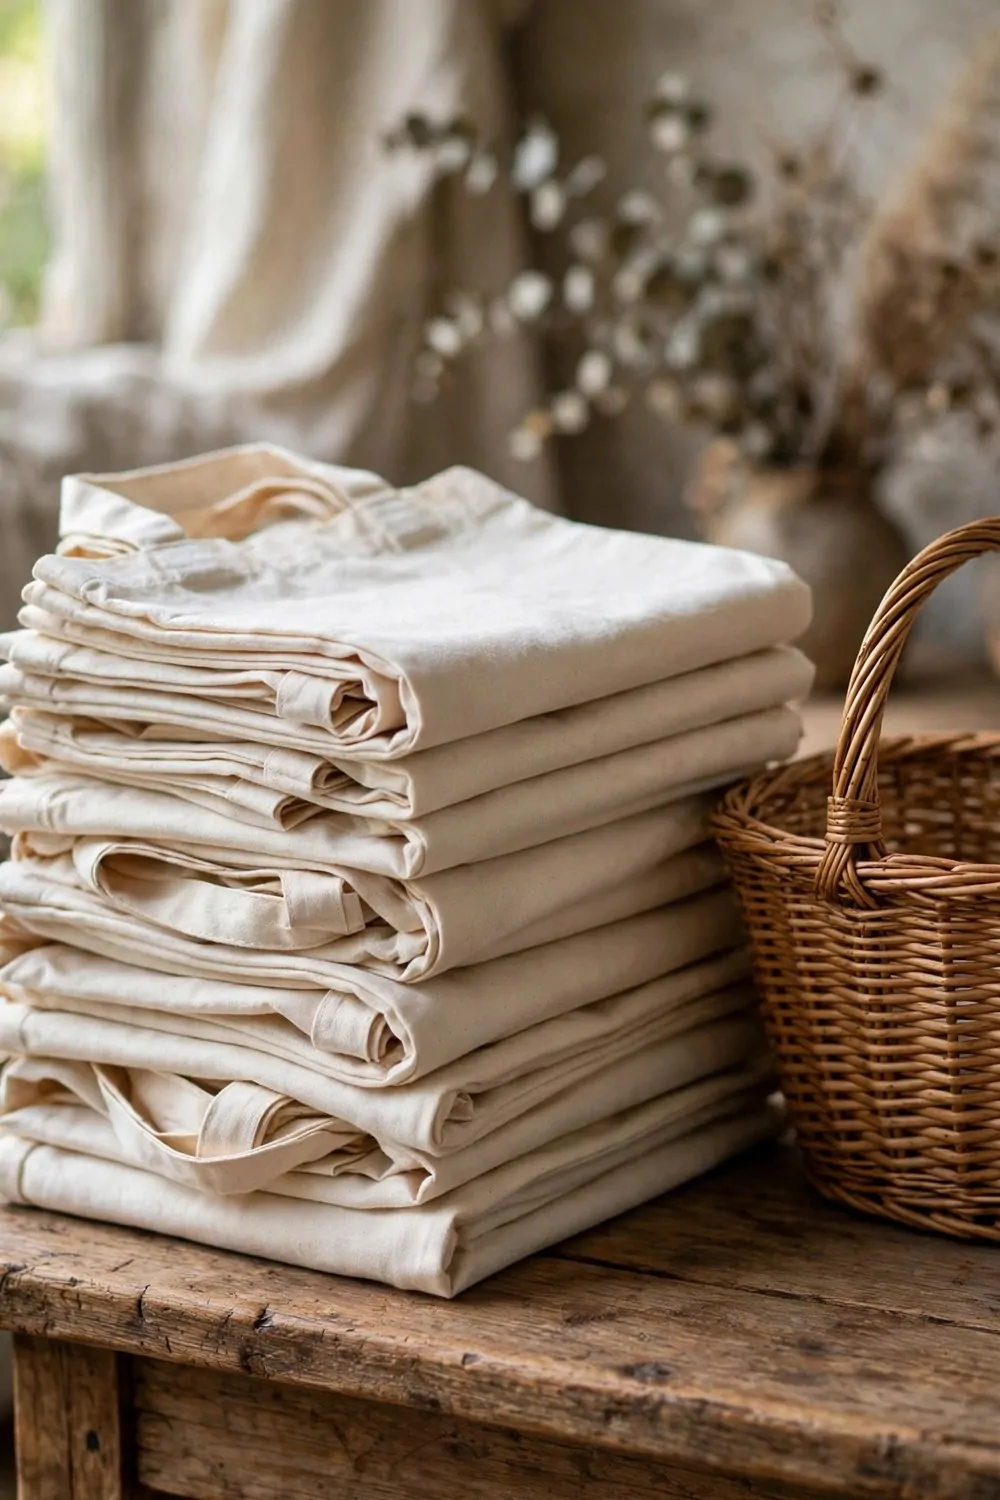
Cloth bags are the easiest way to carry refill shopping home. They fold small, wash well, and last for years.
Keep a few bags by the door or in the car, so you always have one when you head out. A bag you forget at home does not help anyone.
Use light cotton bags for dry goods like rice, oats, and pasta. Use a sturdier bag for heavy jars or big bottles of soap and cleaner.
Weigh your empty bag at the refill shop before you fill it, if the shop asks for that. Some shops take the bag weight off at the till, so you only pay for the food inside.
Wash your bags often, and let them dry fully before you fold them away. Clean bags keep your food fresh and your shopping trips pleasant.
Give each bag a job if you like. One for grains, one for soap bottles, one for fresh produce. It makes packing at the shop faster.
Cloth bags also work for the weekly shop, not just refill trips. One set of bags can cover most of your shopping in a week.
Start with a small set and add more as you learn what you need. A few good bags go a long way.
Typical cost $4 to $10.
7. A Label System for Refill Jars
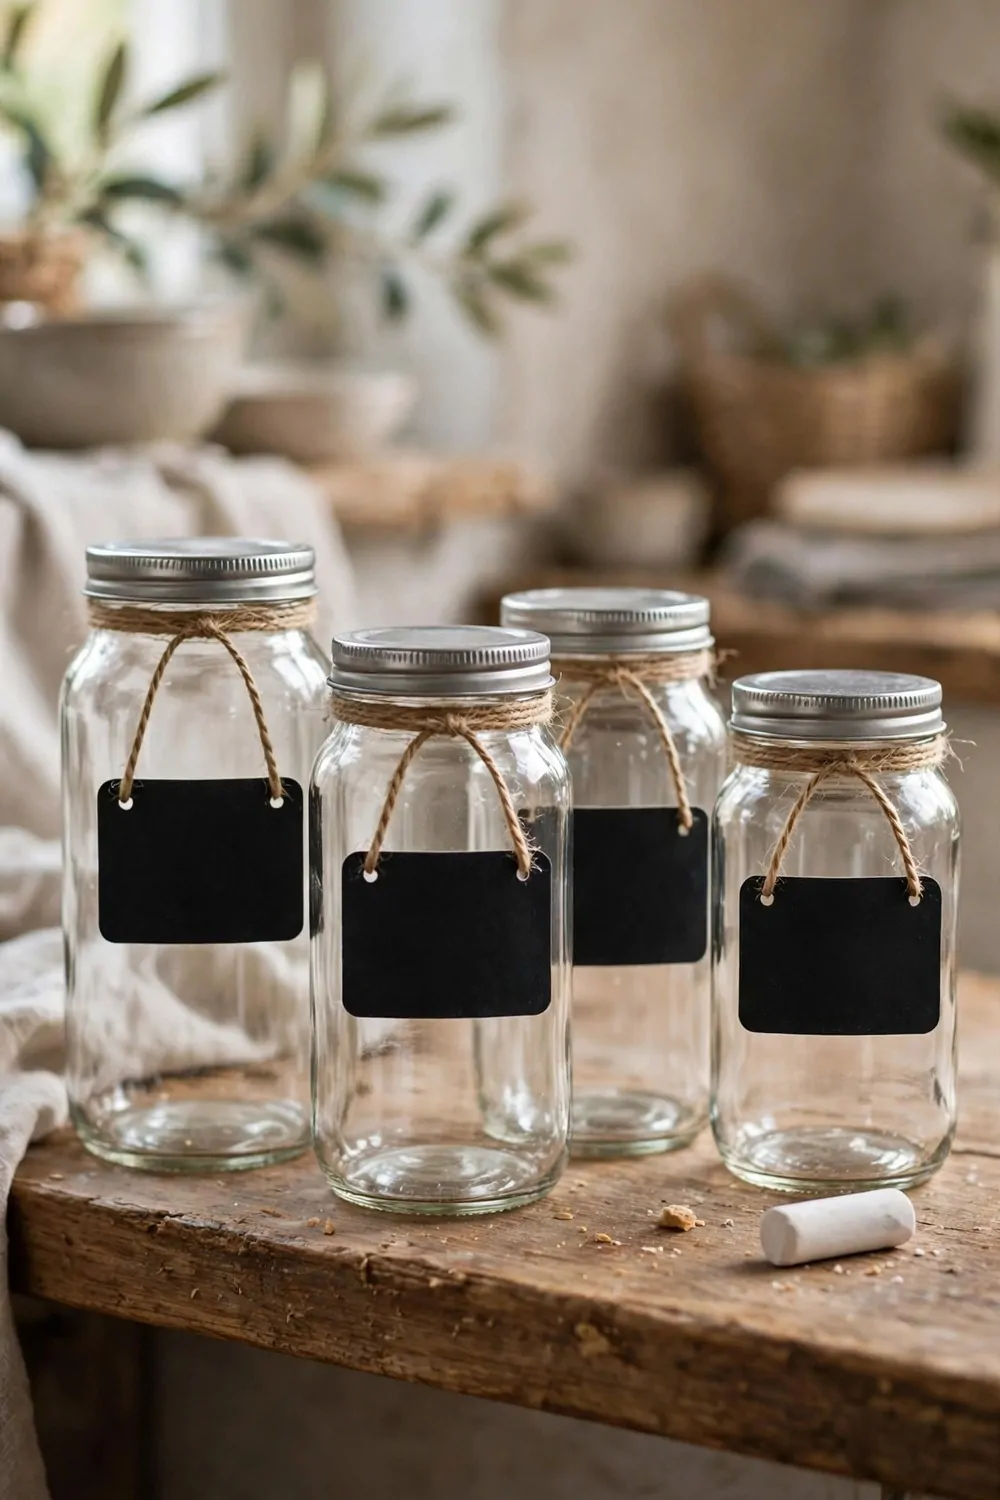
A good label system stops mix ups in your jars and bottles. You will know what is inside each one without opening it.
Use plain labels you can read at a glance. The name of the item should be big, and the date should be small but clear.
Write labels by hand on paper tags, or use a simple label maker if you have one. Both work fine, so pick the one that feels easier to keep up with.
Stick the label where you can see it from the front of the shelf. A label on the back of a jar does not help when you are in a hurry.
Add the refill date each time you top up a jar. That small note helps you use older stock first and spot anything that has sat too long.
Use the same style of label across your kitchen and pantry. When all the labels look alike, the shelves look calm and the system feels real.
Change a label when the jar gets a new job. Peel the old one off, wipe the jar clean, and write a fresh label before you fill it.
Labels are a tiny detail, but they make the whole refill system work. Without them, jars turn into a guessing game.
Typical cost $3 to $8.
8. Refillable Cleaning Spray Bottles
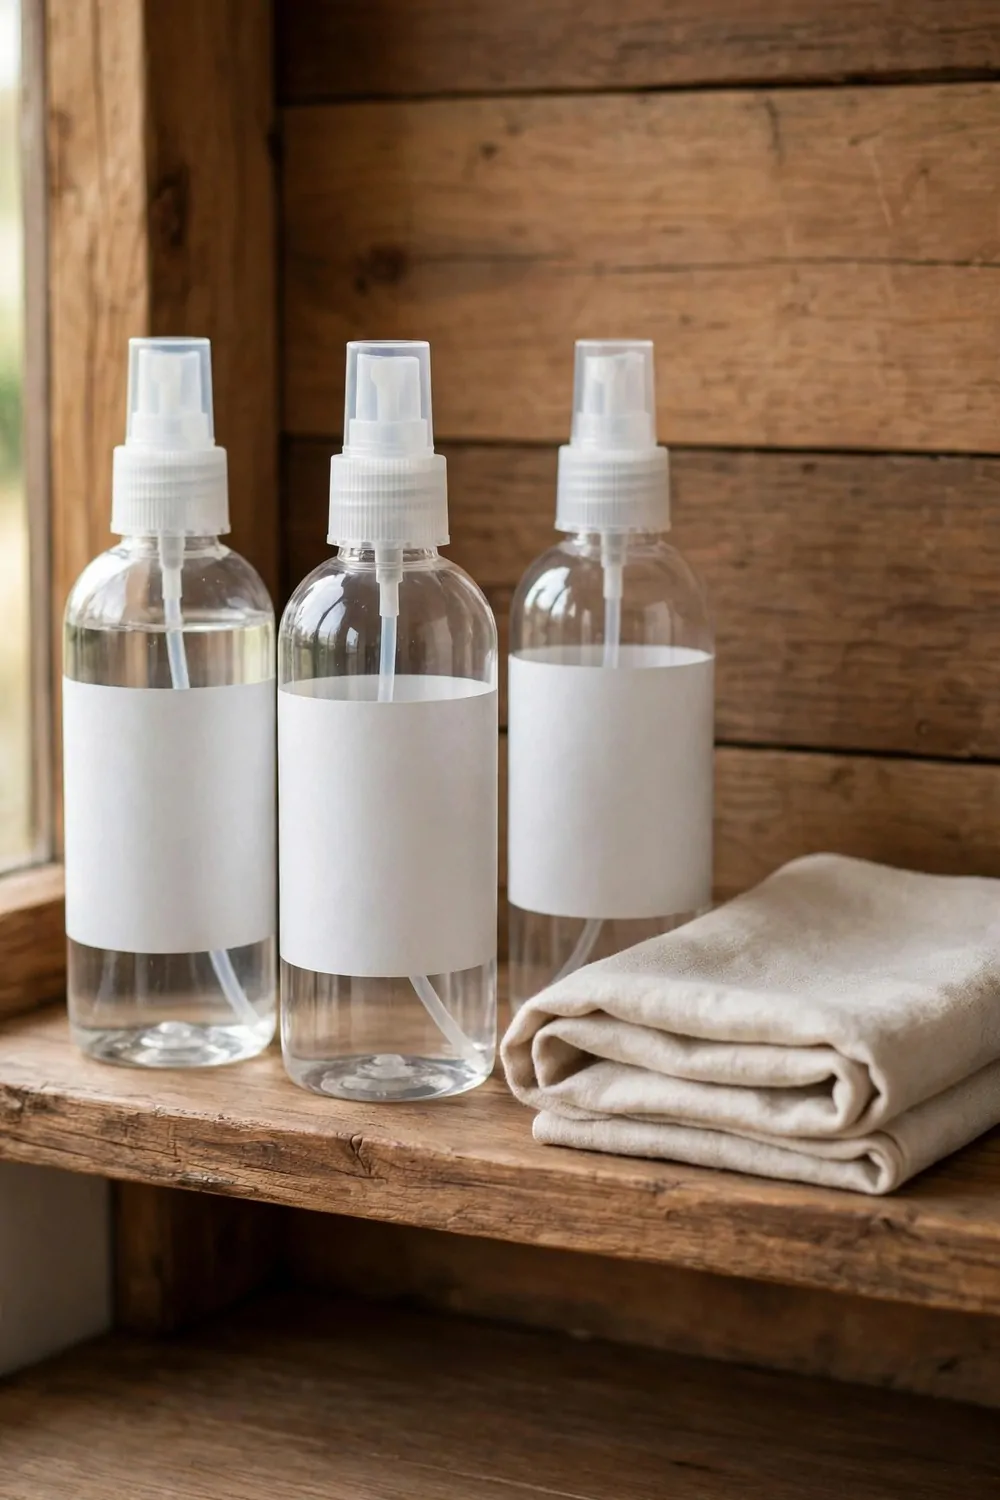
Refillable spray bottles cut down on the plastic that comes with cleaning products. One good bottle can be refilled for months.
Pick a sturdy bottle with a spray head that gives a fine, even mist. A cheap spray head that dribbles makes cleaning harder than it needs to be.
Mix your cleaner in the bottle and mark it clearly, so no one mistakes it for water or soap. A bold label on the front keeps everyone safe.
Keep one bottle for the kitchen and one for the bathroom. That way you are not carrying the same bottle from room to room all day.
Rinse the bottle well before you refill it with a new cleaner. Old residue can weaken the new mix, so a quick rinse is worth the minute it takes.
Store the bulk cleaner in a safe spot, out of reach of small hands. A high cupboard or a locked shelf works well for refills.
Test a new cleaner on a small hidden spot first. Most cleaners are fine on most surfaces, but a quick test saves you from a surprise mark.
Spray bottles are a practical swap that pays for itself fast. You buy less plastic, and your cleaning routine stays just as simple.
Typical cost $6 to $13.
9. A Small Funnel Set for Easy Refills
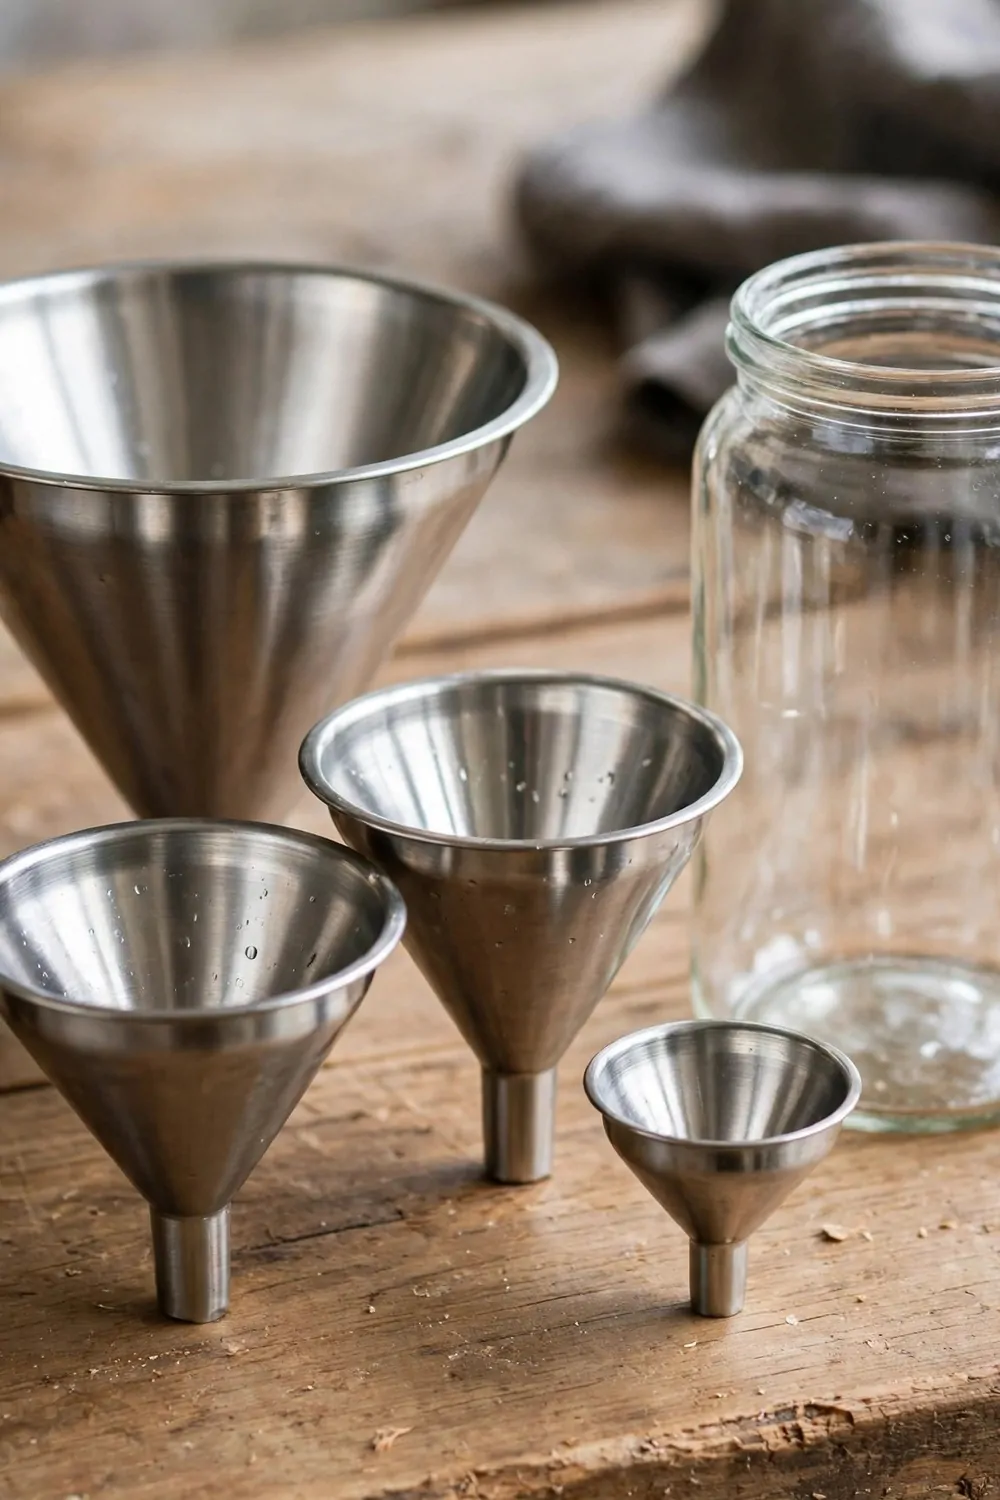
Refills get messy fast without a funnel.
I keep a small set by my bottles now. Each one fits a different neck, from tiny spice jars to big refill jugs.
You will spill less with a funnel in place.
Pick a set that nests together so it stores in one small spot. I wash mine after thick liquids like soap or oil.
Typical cost $4 to $9.
Hold the funnel steady while you pour slow. A fast pour can overflow the neck in a second.
I like funnels with a wide rim that rests on the bottle mouth. They stay put while your hands are busy with a heavy jug.
If a funnel fits too loose, wrap a small rubber band around the stem. That little grip stops it from wobbling.
Once you try a good funnel set, you will not go back to pouring freehand. Your counters stay clean and your bottles fill to the top.
10. A Refill Station for Laundry Soap
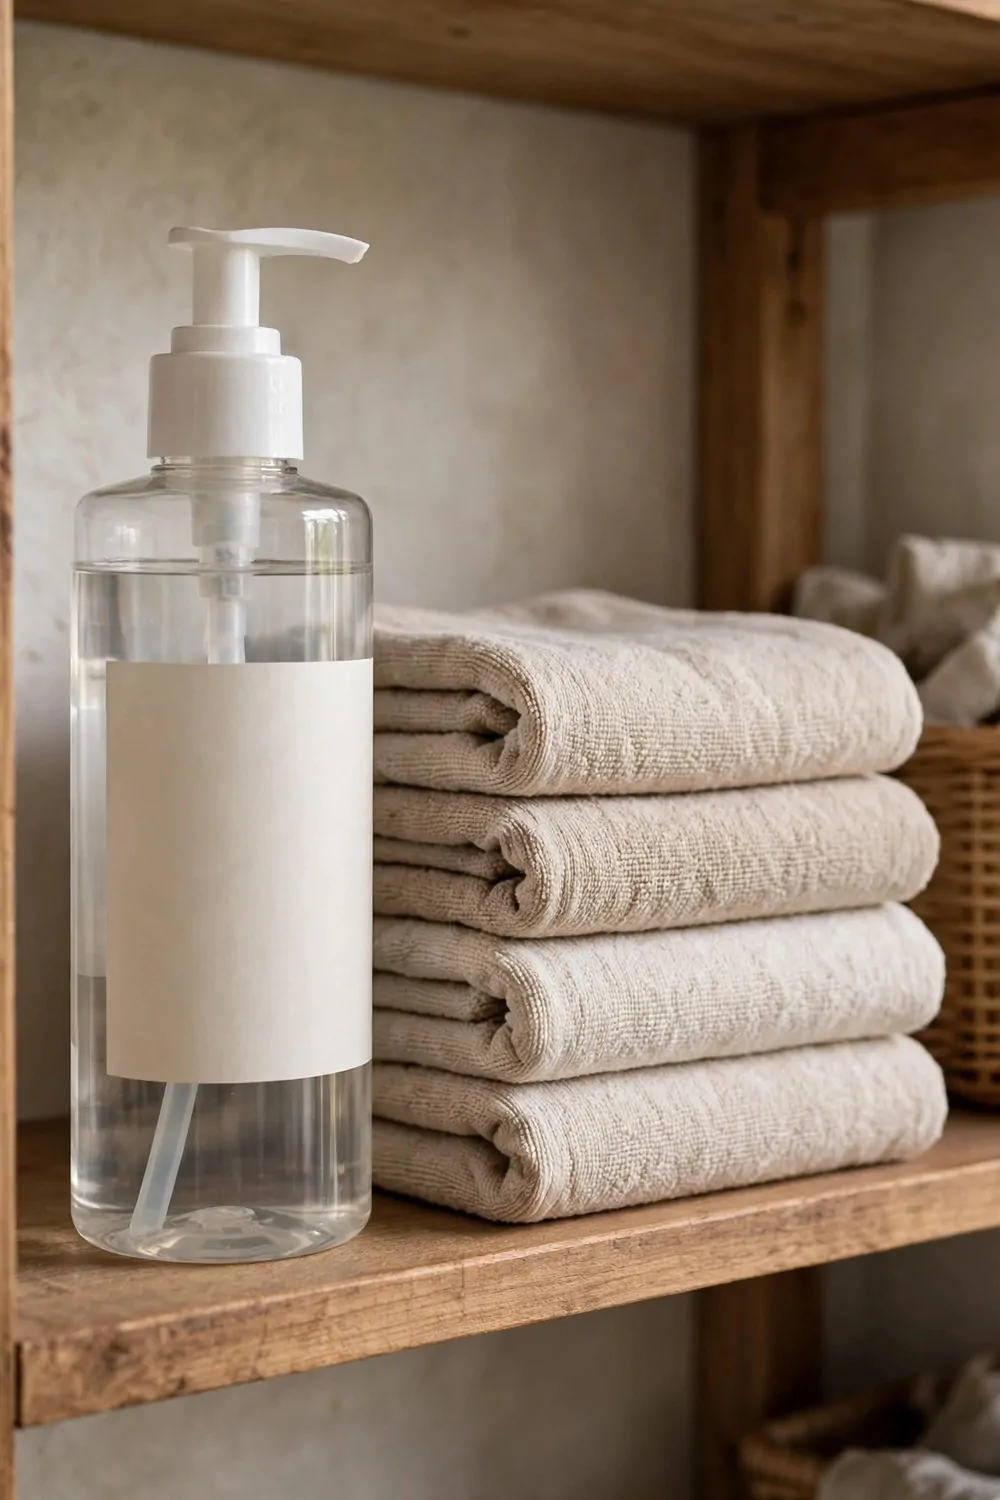
Laundry soap comes in big heavy jugs.
I pour mine into a plain pump bottle that sits on the shelf beside the towels. The big jug stays tucked away in the cupboard.
You can pump a little into a small cup and carry it to the machine.
Label the dispenser so nobody pours the wrong thing by mistake. A simple tag on the front does the job.
Typical cost $12 to $25.
Keep a cloth nearby for drips. Soap is slippery and a drop on the floor can make you slide.
I measure the same amount every time now. It saves soap and my clothes rinse clean without extra suds.
If the pump drips, wipe the spout and check the seal. A loose seal is often the only problem.
A laundry refill spot makes wash day feel easy. You grab the cup, fill it, and get on with your load.
| Idea | Main change | Typical cost |
|---|---|---|
| A Refill Station on the Kitchen Counter | set up a refill station on the kitchen counter | $6 to $14 |
| Glass Jars for Dry Goods Refills | fill glass jars with dry goods refills | $5 to $12 |
| A Wall Shelf for Refill Bottles | hang a wall shelf for refill bottles | $8 to $18 |
| Refillable Soap Dispensers in the Bathroom | switch to refillable soap dispensers in the bathroom | $7 to $15 |
| A Bulk Bin Corner in the Pantry | set up a bulk bin corner in the pantry | $5 to $11 |
| Cloth Bags for Refill Shopping | use cloth bags for refill shopping | $4 to $10 |
| A Label System for Refill Jars | add a label system for refill jars | $3 to $8 |
| Refillable Cleaning Spray Bottles | switch to refillable cleaning spray bottles | $6 to $13 |
| A Small Funnel Set for Easy Refills | add a small funnel set | $4 to $9 |
| A Refill Station for Laundry Soap | set up a laundry soap dispenser | $12 to $25 |
| Total | $60 to $135 |
11. A Basket for Empty Bottles to Refill
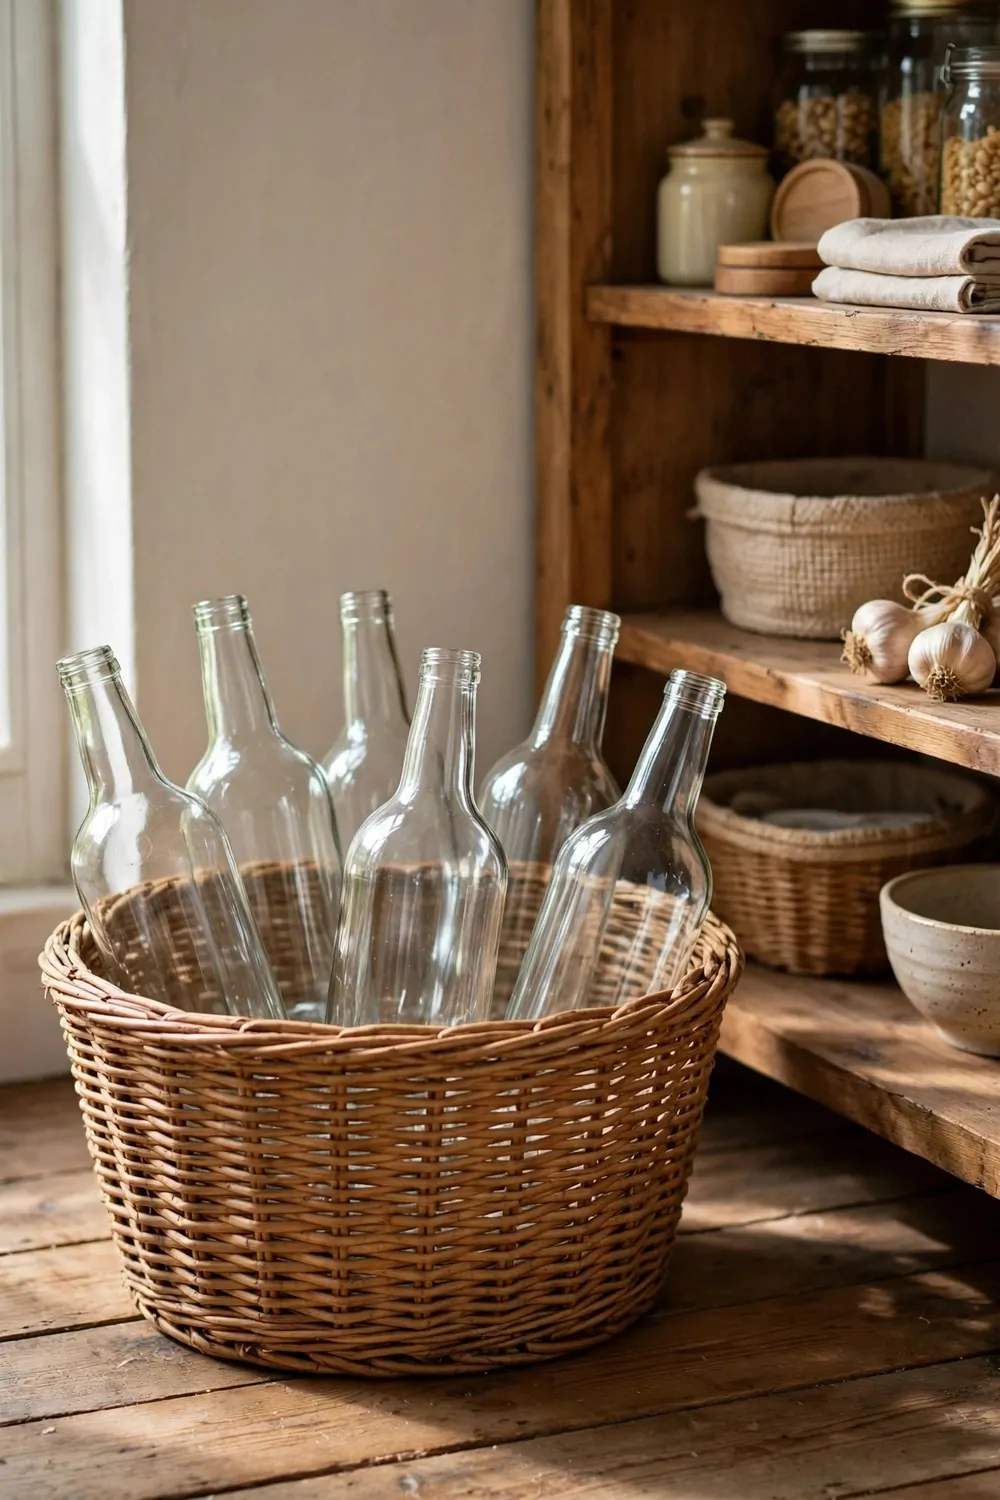
Empty bottles pile up on my counter when I have no spot for them.
I set a plain basket near the door now. Every empty bottle goes straight in when it runs out.
You will know at a glance what needs a refill.
Pick a basket with a flat base so bottles stand upright. A wide basket keeps tall bottles from tipping over.
Typical cost $6 to $14.
I rinse each bottle before it goes in the basket. Dry bottles stay clean and do not leave sticky rings.
Take the basket with you on your next refill trip. It keeps all the empties together in one carry.
If the basket gets full, that is your sign to plan a refill run. A full basket means a few trips saved into one.
This one small habit keeps my shelves tidy. Nothing lingers on the counter, and nothing gets forgotten.
12. Refillable Shampoo Bars in the Shower
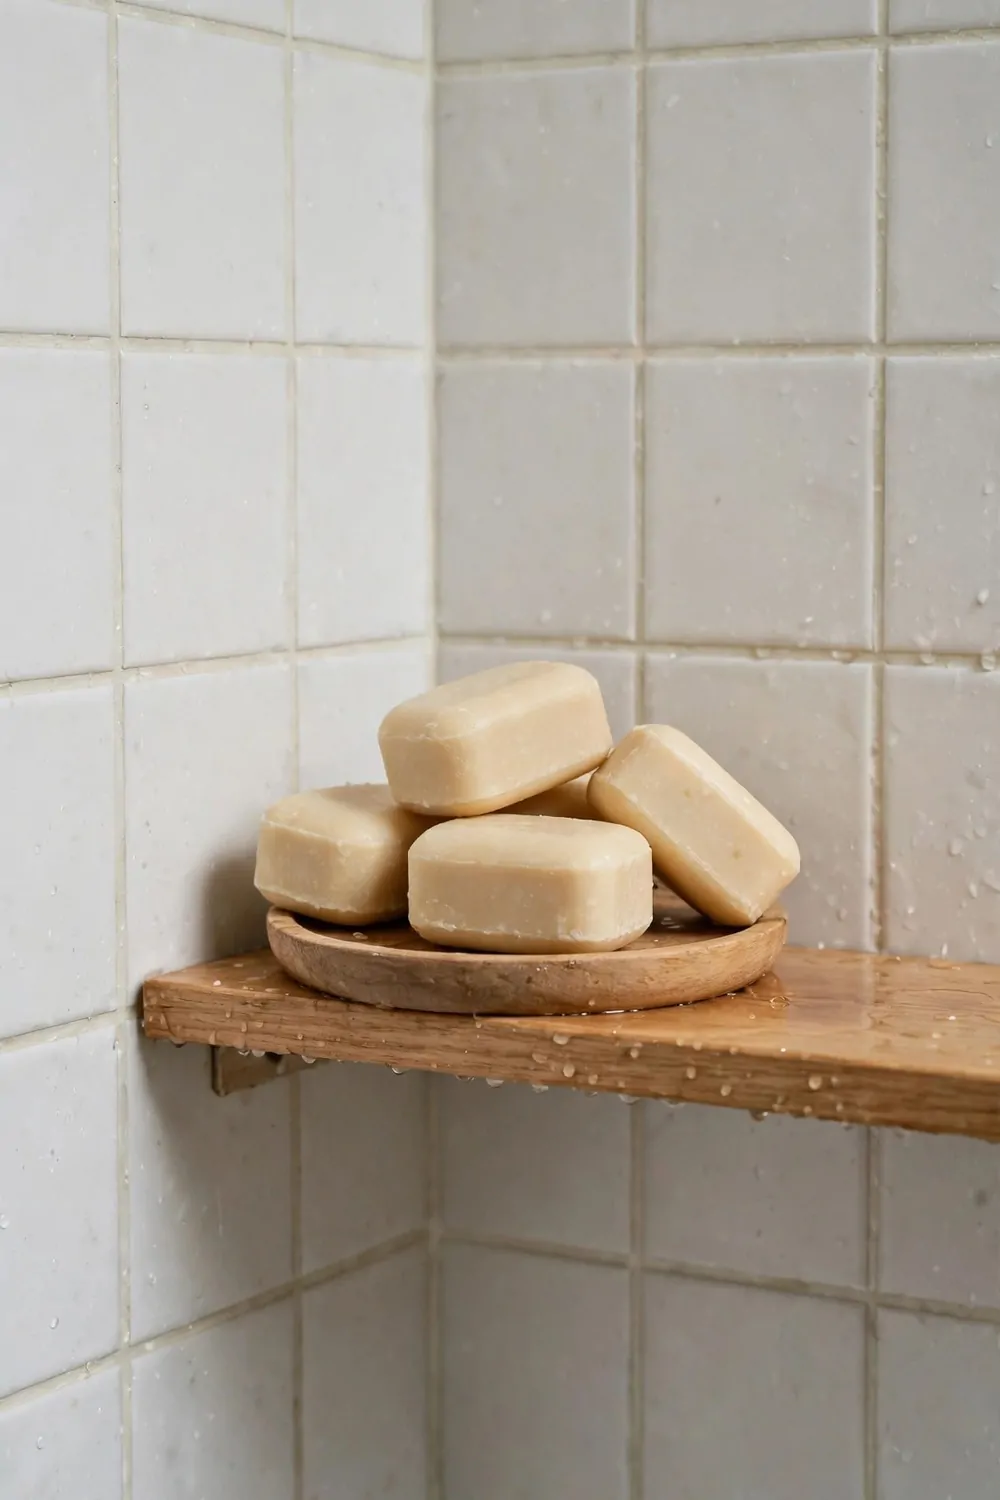
Shampoo bars take up almost no space in the shower.
I keep mine on a small dish that drains well. The bar dries between uses and lasts longer that way.
You can rub the bar between wet hands and work up a lather.
Pick a bar that suits your hair type and stick with it for a while. Switching bars too often makes it hard to know what works.
Typical cost $8 to $16.
Store a spare bar in a dry spot outside the shower. A damp shelf can soften it before you even open it.
I cut my bar in half when it gets small. The small piece is easier to hold, and the other half stays dry in the dish.
Rinse the dish once a week so no residue builds up. A clean dish keeps the bar firm and easy to grab.
Bars mean fewer bottles in the shower and less waste in the bin. My shower shelf looks calm now, and washing my hair feels simple.
13. A Chalkboard List for Refill Needs
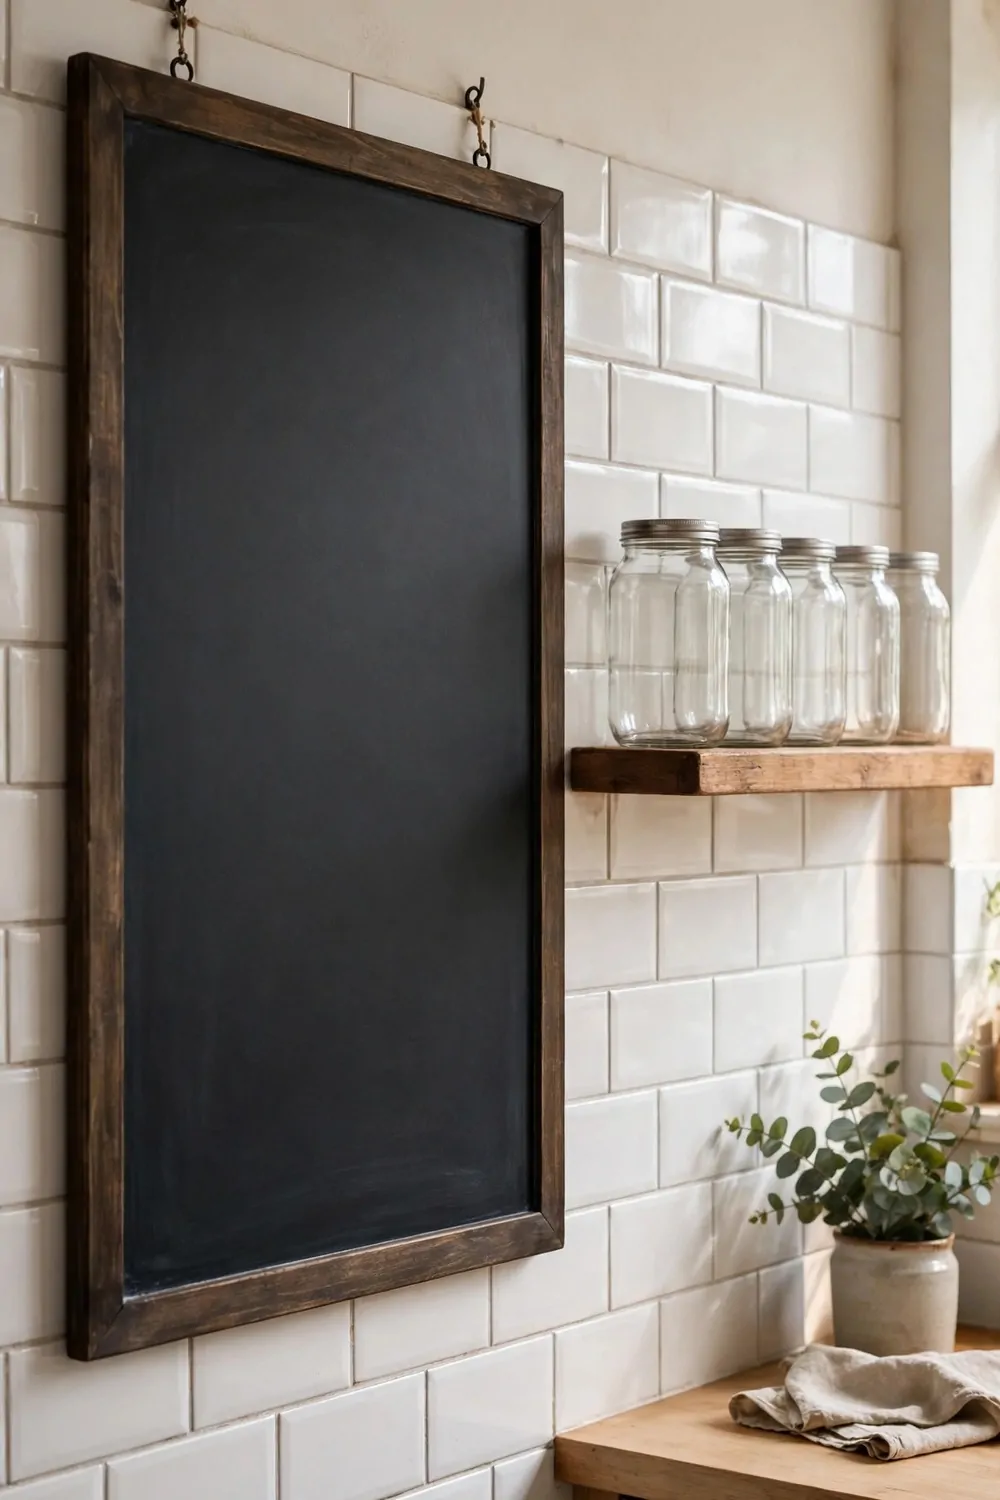
A chalkboard by the door reminds me what to refill.
I hang mine where I pass it every day. When a bottle runs low, I add it to the list right away.
You will stop running out of the things you use most.
Pick a board that fits your wall space and a spot at eye level. A board too high gets ignored.
Typical cost $5 to $12.
Keep a piece of chalk in a small cup beside the board. If the chalk is right there, you will actually use the board.
I wipe the board clean after each refill trip. A fresh board makes the next list easy to start.
Check the board before you head out to the shops. It takes ten seconds and saves a second trip.
This little board keeps my refill routine on track. Nothing slips my mind now, and the station stays stocked.
14. A Refill Station for Cooking Oil
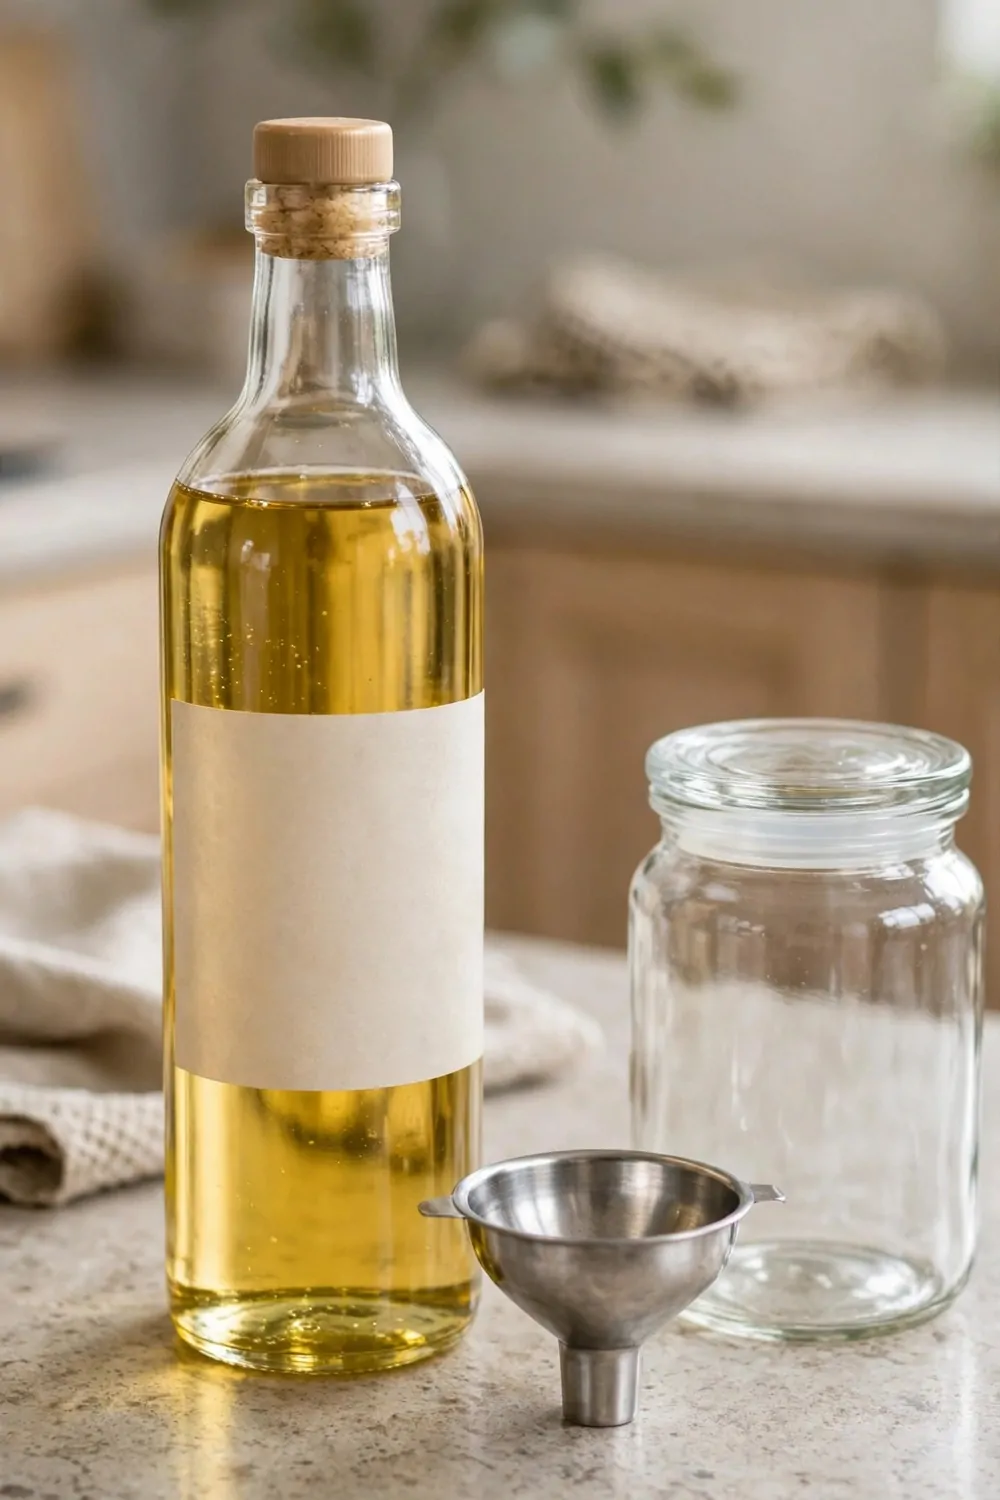
Cooking oil in a big tin is hard to pour neatly.
I decant mine into a plain bottle with a cork stopper. The stopper keeps the oil fresh and the bottle easy to hold.
You will waste less oil with a slow, steady pour.
Keep the big tin in a cool spot away from the stove. Heat and light can turn oil stale faster.
Typical cost $10 to $22.
Wipe the bottle neck after each refill. A sticky neck picks up dust and feels unpleasant to hold.
I label the bottle so I know which oil is inside. Olive and vegetable oil look the same in a plain bottle.
Pour over the sink the first time you try a new bottle. That way a slip lands in the sink, not on the counter.
A small oil station makes cooking smoother. You grab the bottle, pour what you need, and put it back in one move.
15. Small Jars for Spice Refills
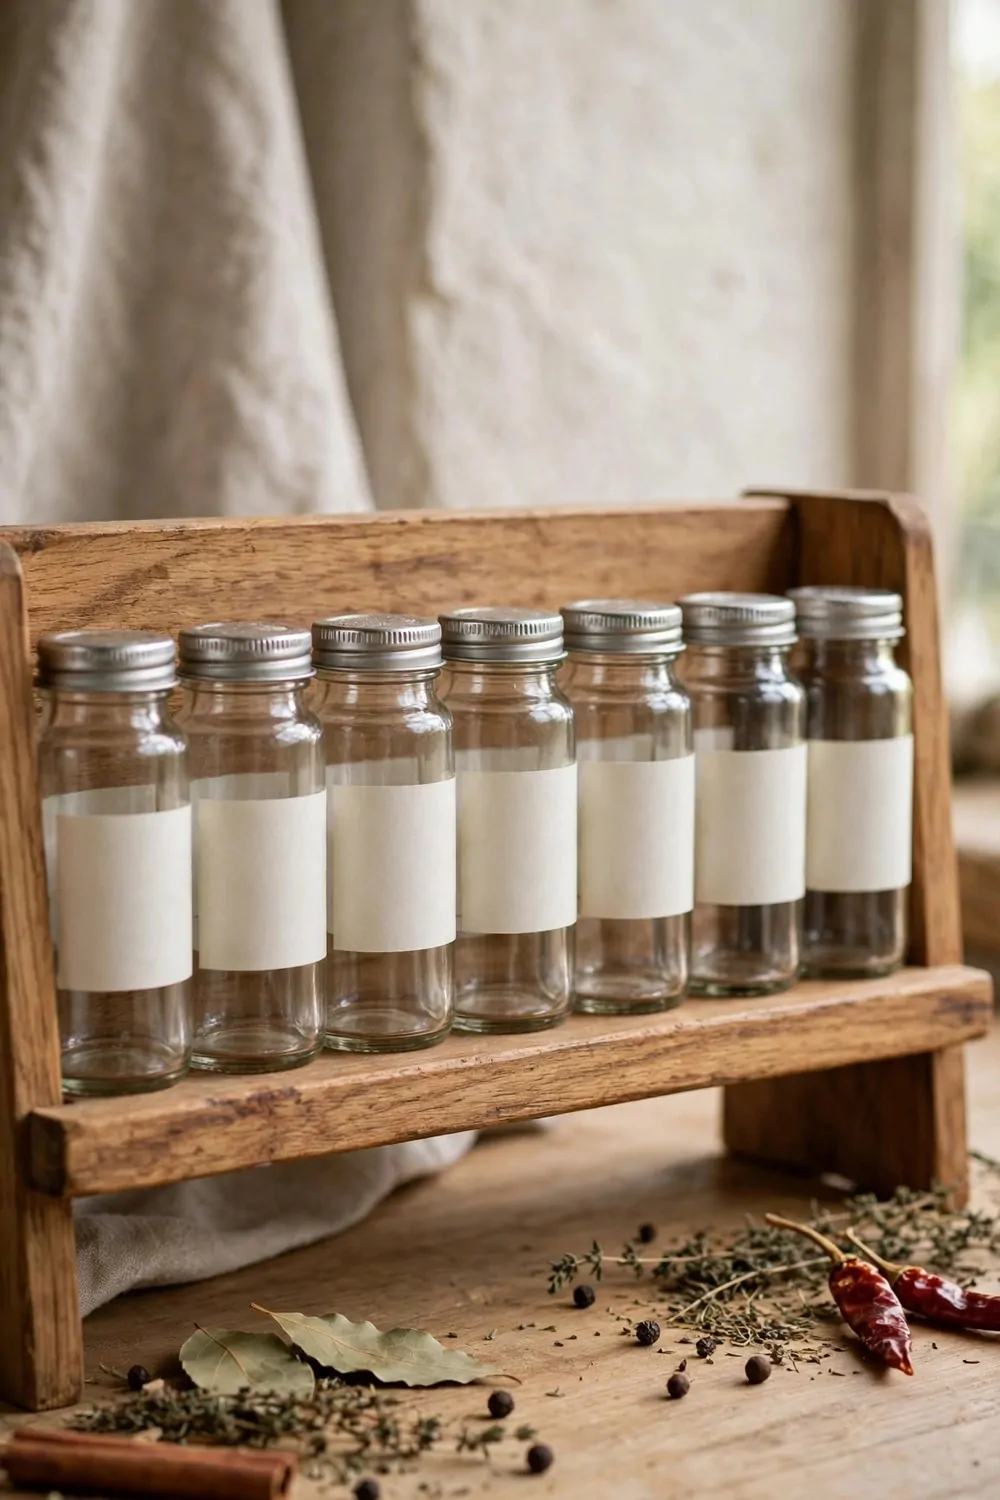
Spice bags tear and spill in the cupboard.
I keep small plain jars for all my spices now. Each jar can hold one spice and has a lid that seals tight.
You can see at a glance which jar is getting low.
Pick jars that are all the same size so they line up neat. Matching jars make the shelf look calm and tidy.
Typical cost $7 to $15.
Label each jar on the front, not the lid. Lids get mixed up, but the front stays with the right spice.
I refill jars over the sink or a tray. A few grains always escape, and a tray makes them easy to sweep up.
Keep the jars away from the stove steam. Damp air can make spices clump and lose their smell.
Small jars turn a messy spice shelf into a tidy one. Cooking feels quicker when every spice is easy to find.
16. A Refill Caddy Under the Sink
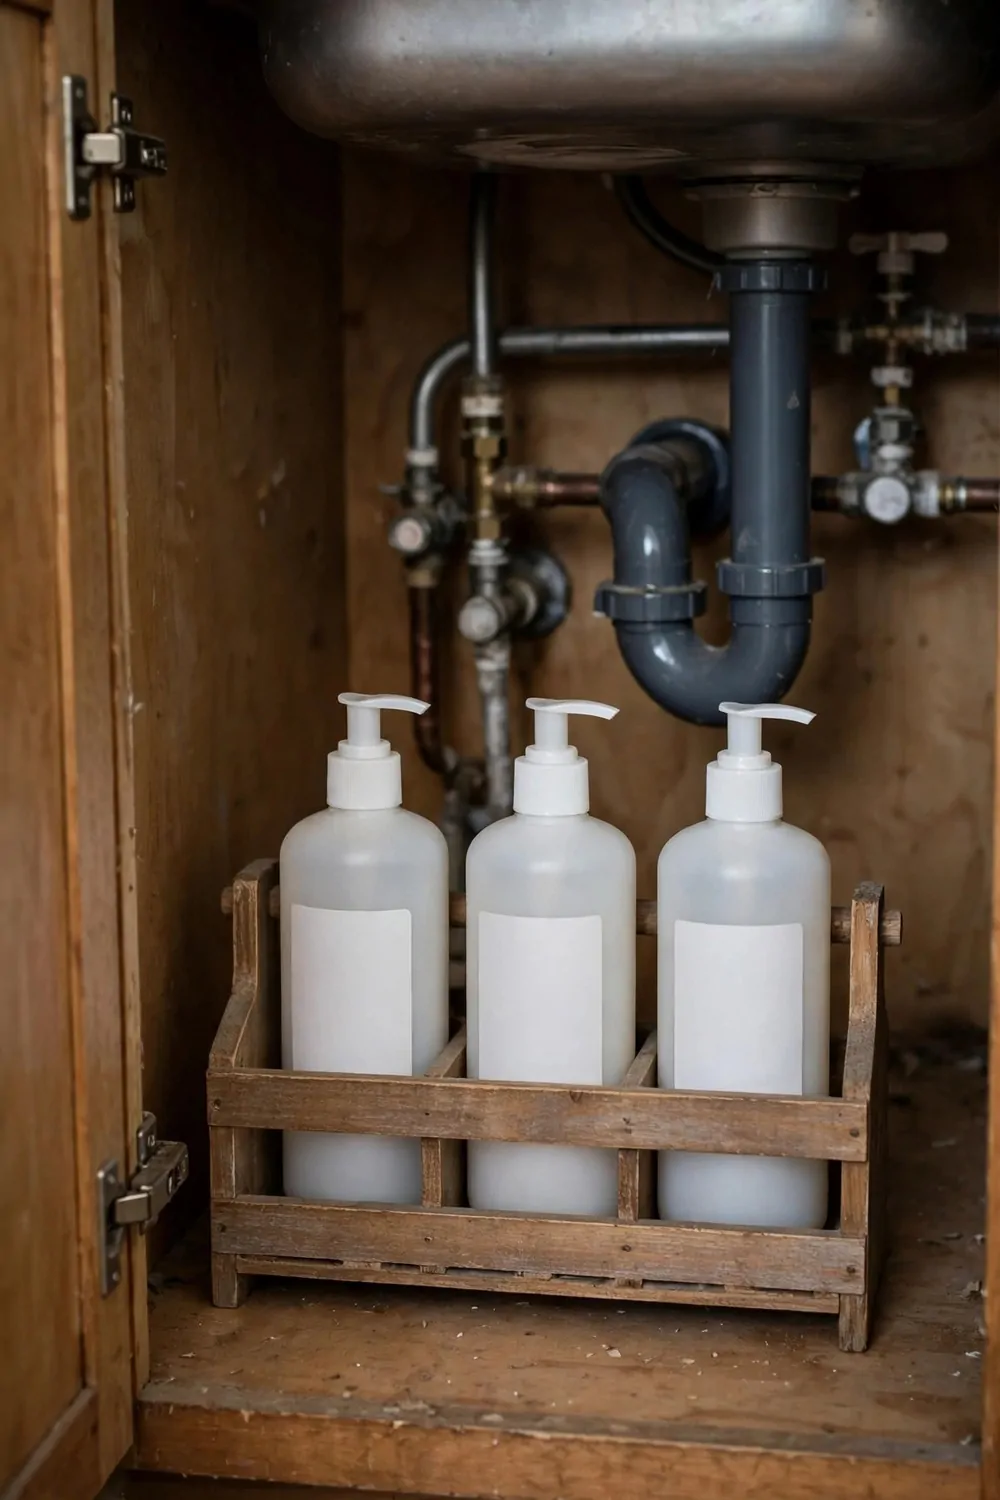
The space under my sink was a jumble of bottles.
I set a small caddy there to hold the refill bottles together. Now I can pull the whole caddy out and find what I need.
You will stop knocking bottles over in the dark.
Pick a caddy with a handle so it lifts out in one move. A handle also stops bottles from sliding when you pull it.
Typical cost $9 to $18.
Keep the caddy near the front of the cupboard. If it sits at the back, you will forget what is inside it.
I wipe the caddy once a month to clear drips and dust. A quick wipe keeps the bottles clean and easy to grab.
Put the bottles you use most at the front of the caddy. The ones you use once in a while can sit behind them.
A tidy caddy makes the whole sink area feel calm. Refills take a minute, and nothing hides at the back of the cupboard.
17. Refillable Hand Soap by Every Sink
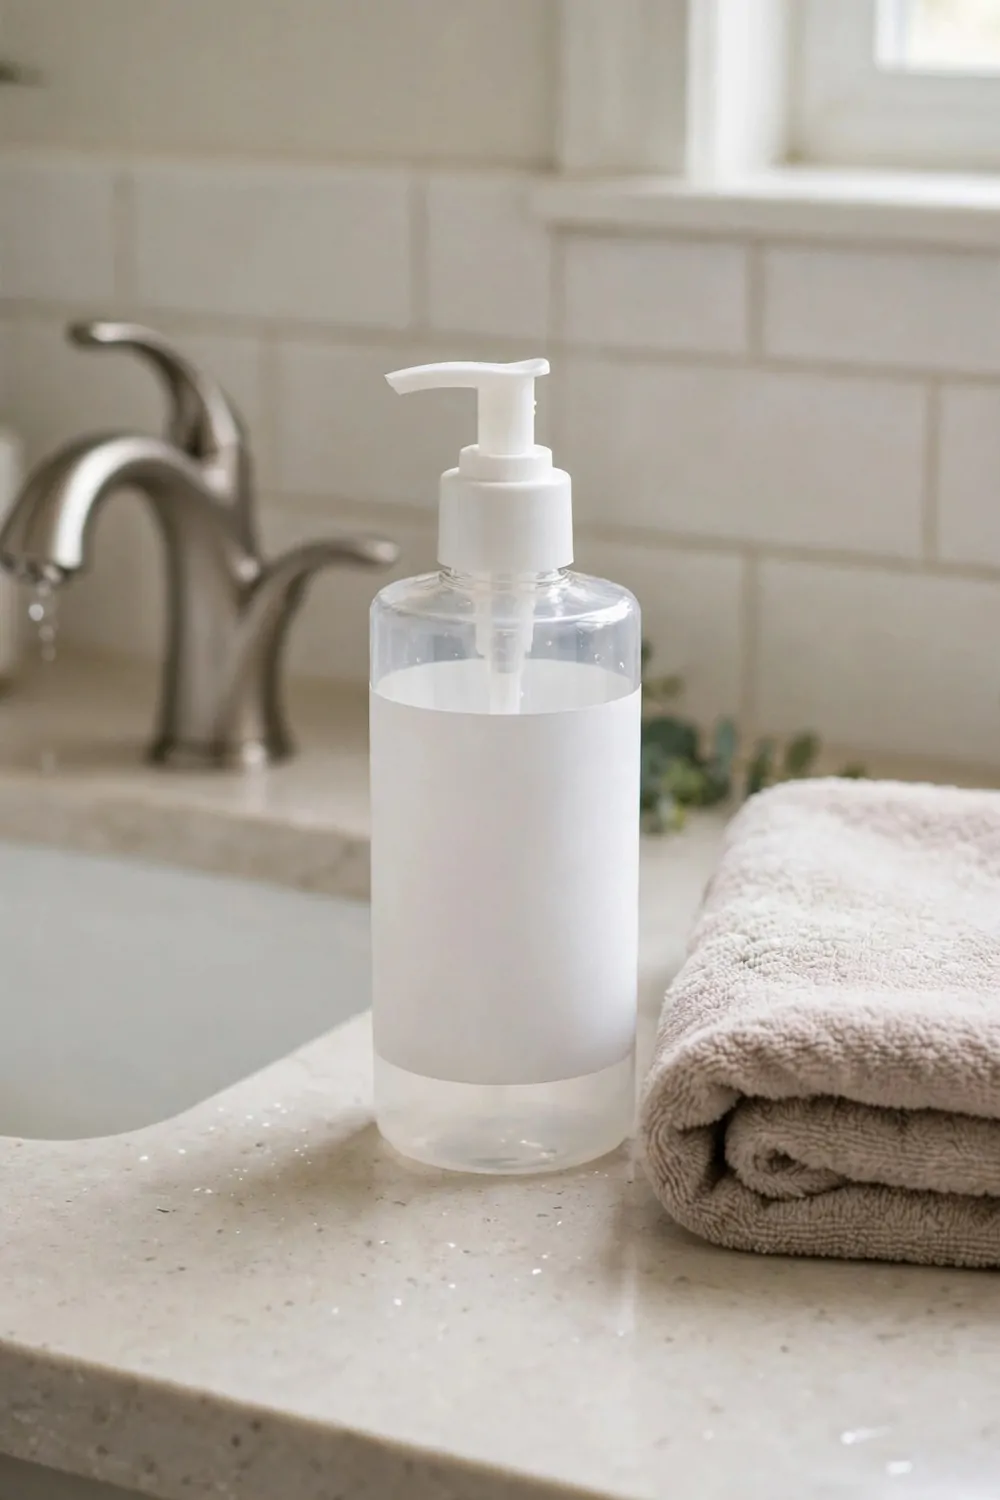
I keep a refillable pump bottle by every sink in my home.
The kitchen sink gets one, and each bathroom sink gets one too.
A plain pump bottle is easy to use and it looks neat on the counter.
When the bottle runs low, I fill it from a big jug of liquid soap.
I keep the big jug under the sink so it stays out of sight.
Typical cost $6 to $12.
The pump can get sticky after a while, so I rinse it under warm water once a month.
A small label on the bottle tells my family what is inside.
You will wash your hands just the same, but you will throw away far less plastic.
18. A Pantry Shelf Just for Refills
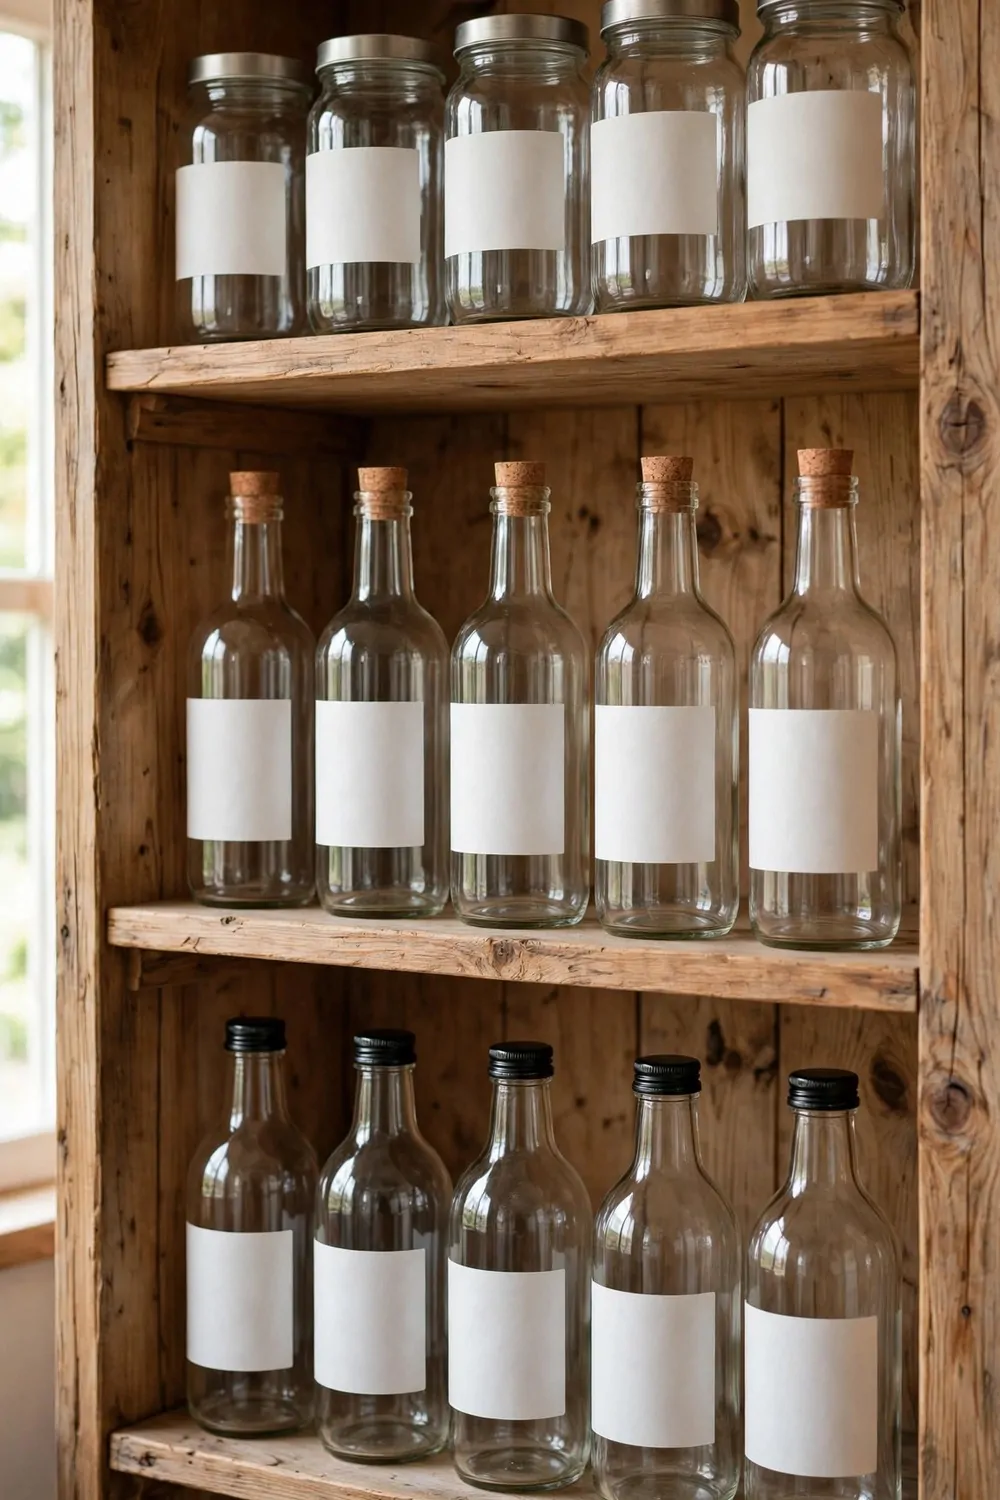
One shelf in my pantry holds all my refill supplies.
Plain glass jars and refill bottles sit in a row there.
I can see everything at a glance, so I know what needs topping up.
Plain glass jars can hold the dry goods like baking soda and washing powder.
Each jar has a simple label so I never mix things up.
Typical cost $15 to $25.
The shelf keeps refills in one place instead of spread out through the house.
My kids know where to find things when a bottle runs empty.
It feels good to open the pantry and see a tidy row of refills waiting.
19. Refillable Water Bottles for the Family
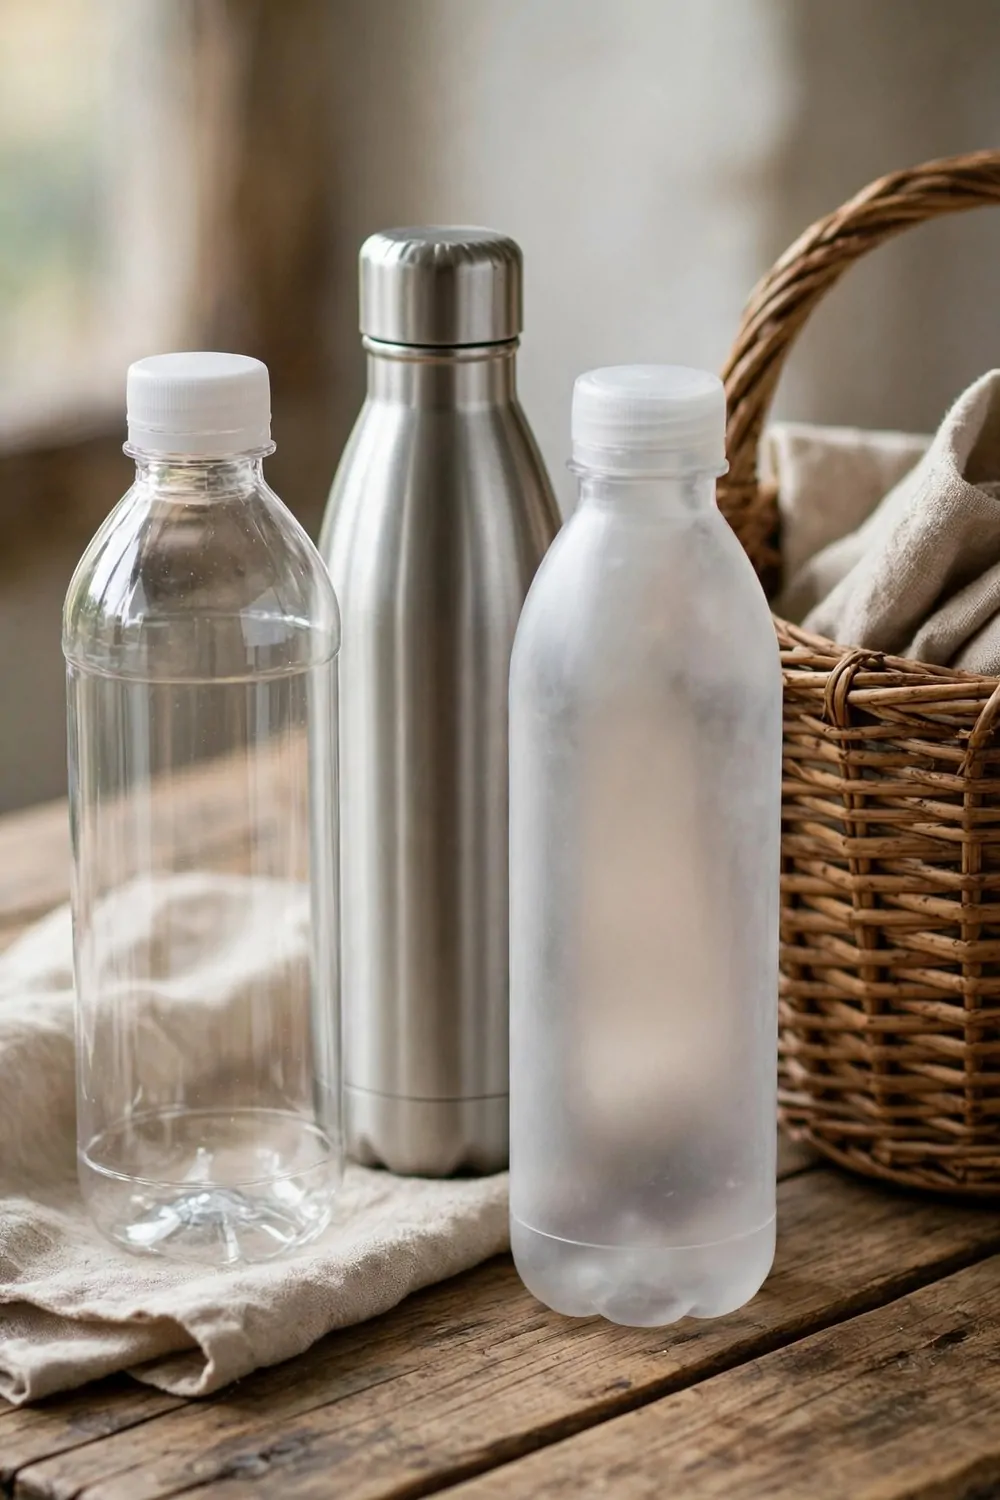
Each person in my family has their own refillable water bottle.
We fill them at home before we head out for the day.
A sturdy bottle lasts for years, so we buy far fewer throwaway ones.
I pick plain bottles with a simple lid that does not leak in a bag.
The kids choose a bottle in a colour they like, which makes them want to use it.
Typical cost $8 to $20.
At night I wash the bottles with warm water and a little soap.
We keep a few spare bottles by the door for guests and busy mornings.
Carrying your own bottle is a small habit that saves a lot of plastic over time.
20. A Refill Station in the Laundry Room
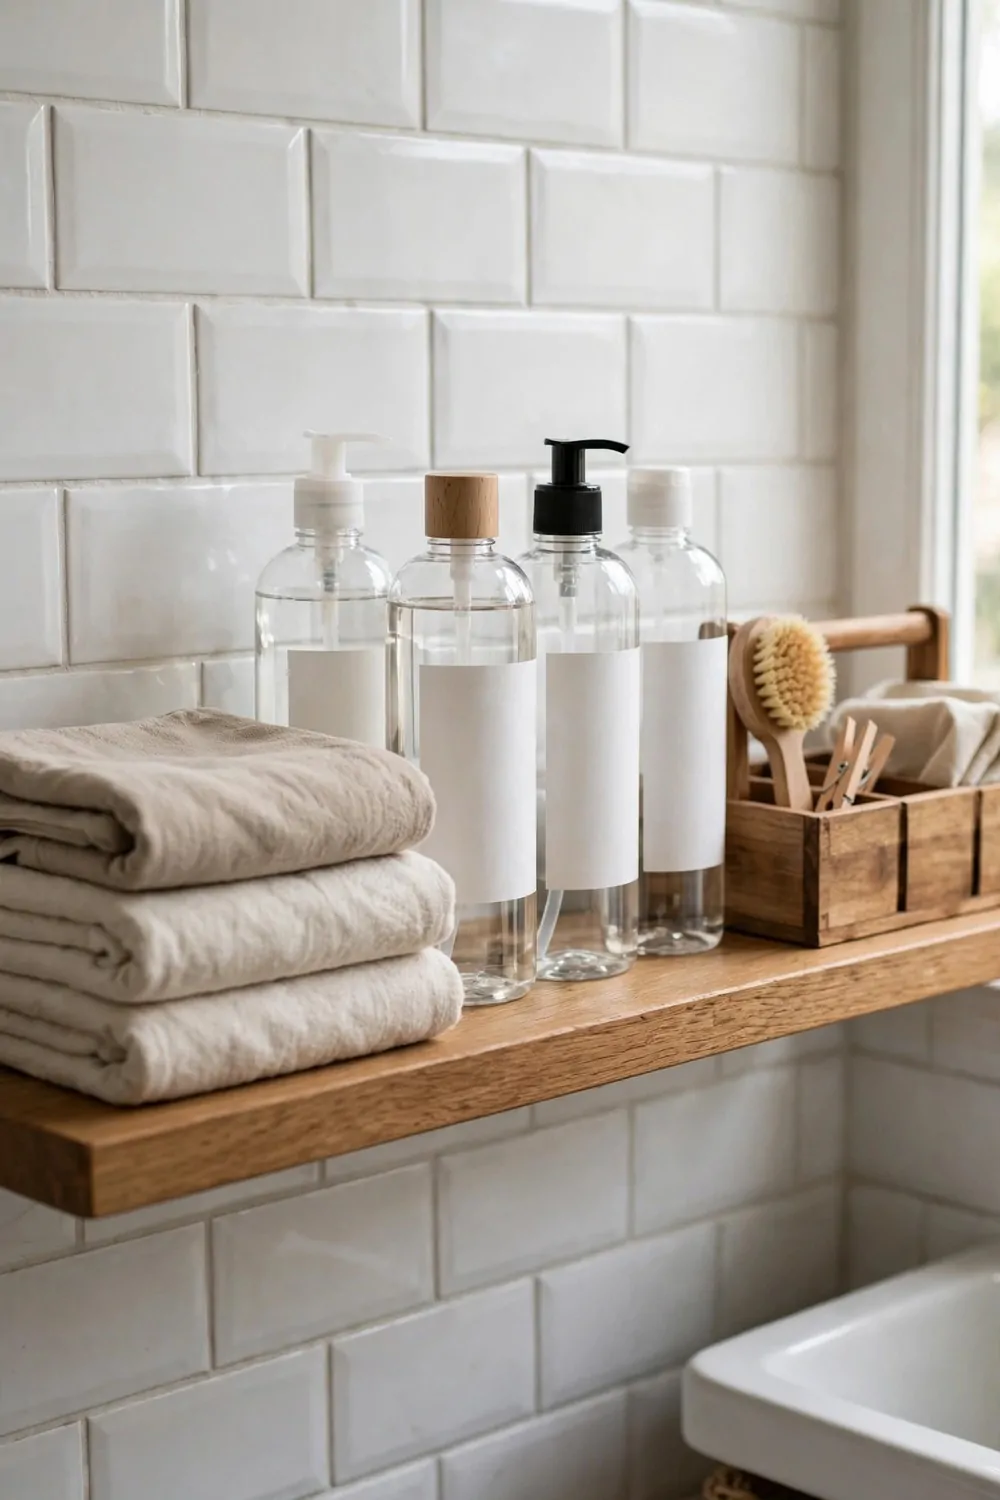
My laundry room has its own little refill corner.
A big jug of washing liquid sits beside the machine with a pump on top.
I refill a small bottle from it each time I start a load.
Fabric softener and stain remover live in plain bottles on the same shelf.
Everything is labelled, so there is no mix-up on wash day.
Typical cost $10 to $18.
A funnel helps me pour without drips on the counter.
The big jugs last for months, so I shop for refills far less often.
Laundry feels calmer when every bottle has its place and nothing runs out mid-wash.
| Idea | Main change | Typical cost |
|---|---|---|
| A Basket for Empty Bottles to Refill | keep a basket for empty bottles | $6 to $14 |
| Refillable Shampoo Bars in the Shower | switch to shampoo bars | $8 to $16 |
| A Chalkboard List for Refill Needs | hang a chalkboard for refill needs | $5 to $12 |
| A Refill Station for Cooking Oil | set up a cooking oil refill bottle | $10 to $22 |
| Small Jars for Spice Refills | move spices into small refill jars | $7 to $15 |
| A Refill Caddy Under the Sink | add a refill caddy under the sink | $9 to $18 |
| Refillable Hand Soap by Every Sink | Keep a refillable pump bottle by each sink | $6 to $12 |
| A Pantry Shelf Just for Refills | Keep bulk refills on one tidy pantry shelf | $15 to $25 |
| Refillable Water Bottles for the Family | Give each person a refillable water bottle | $8 to $20 |
| A Refill Station in the Laundry Room | Set up a refill corner beside the washer | $10 to $18 |
| Total | $84 to $172 |
21. Refillable Dish Soap at the Sink
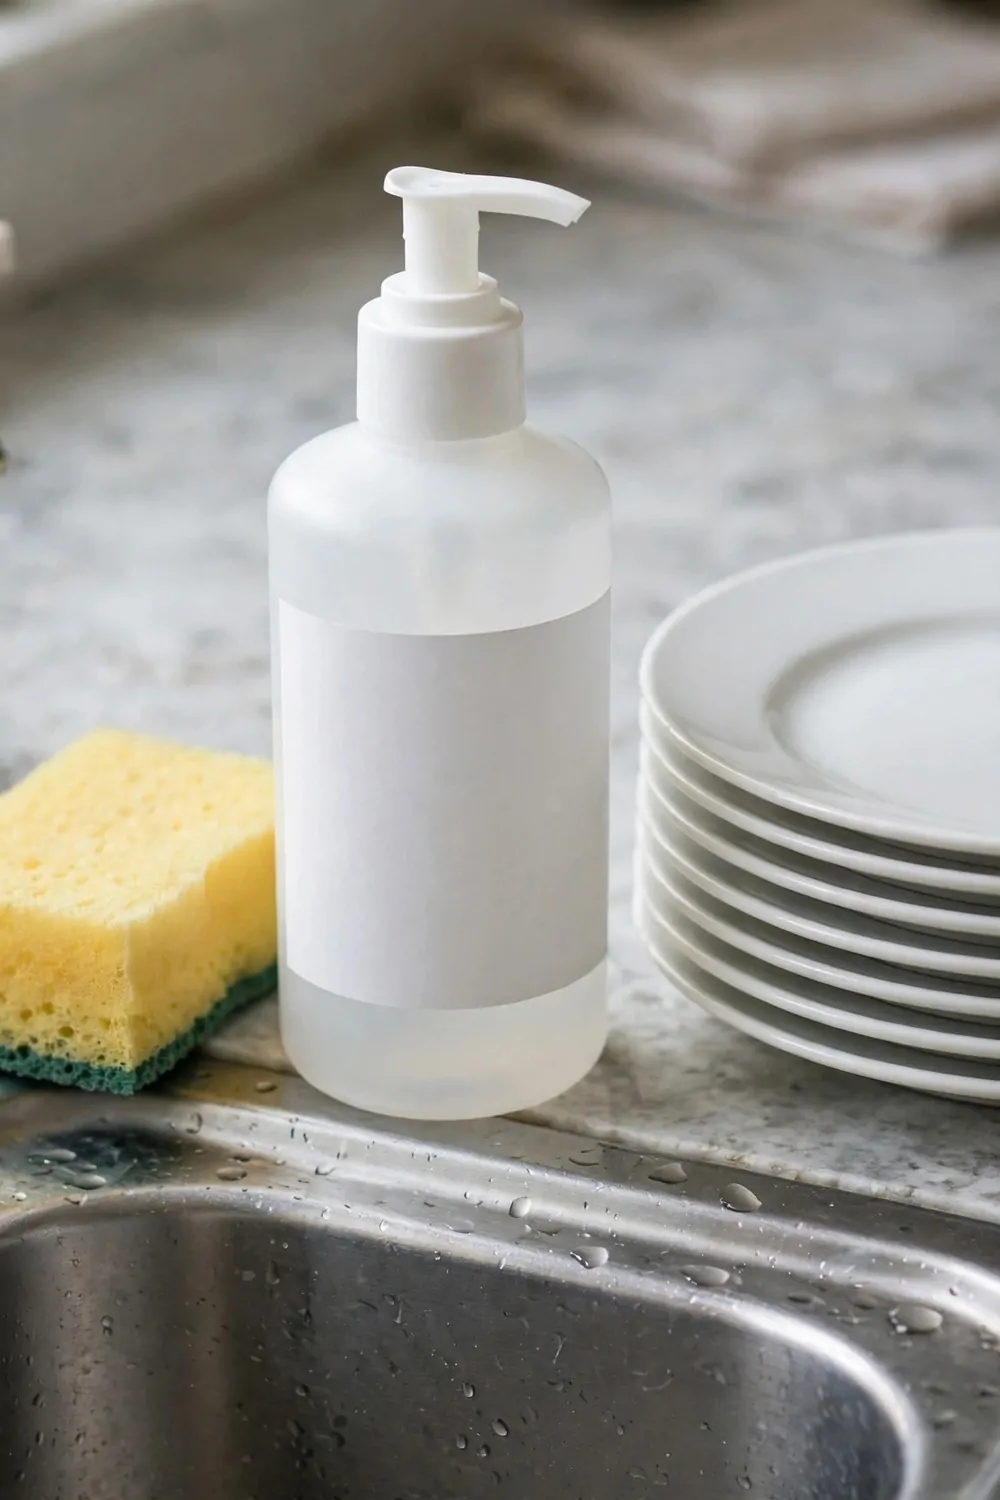
Dish soap is one of the easiest things to refill at home.
I keep a plain pump bottle right beside the kitchen sink.
One squeeze is enough for a sink full of dishes.
The big refill jug lives under the sink, close at hand.
When the pump bottle runs low, I top it up in a few seconds.
Typical cost $5 to $10.
You can set the bottle on a small tray and keep drips off the counter.
I rinse the pump now and then so it never sticks.
Refilling dish soap is a tiny change, but it cuts a lot of plastic from my kitchen.
22. A Simple Refill Kit for Beginners
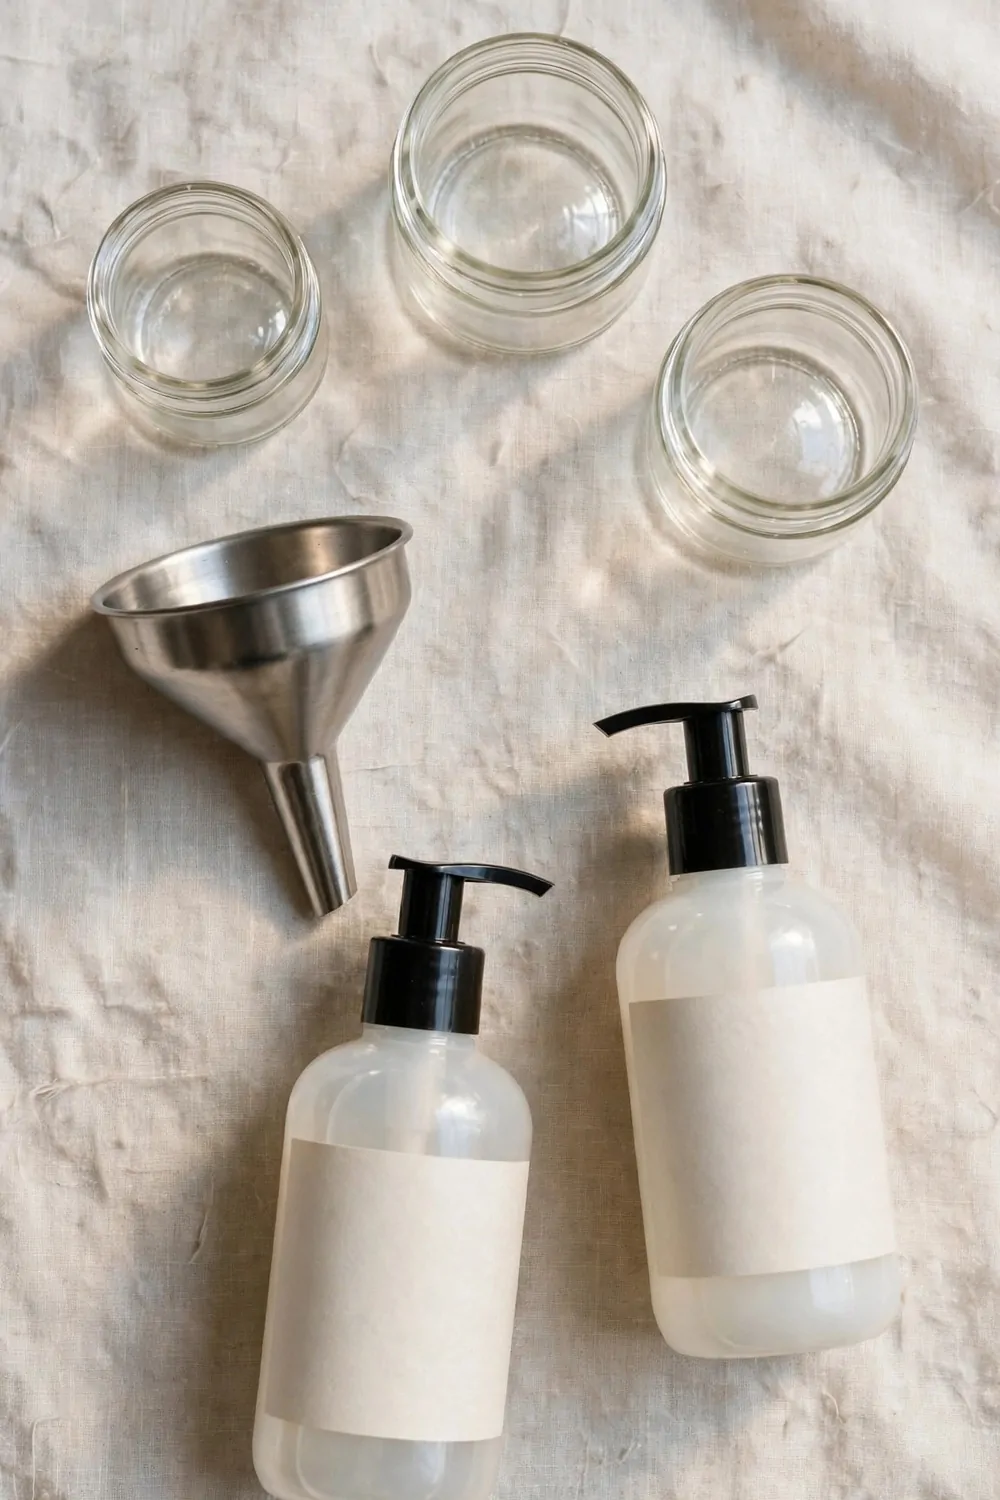
If you are new to refilling, start with a small kit.
A few plain bottles, one funnel and a couple of labels are all you need.
Pick one thing to refill first, like hand soap or dish soap.
Once that feels easy, add another bottle to your routine.
A small tray or caddy keeps your kit together in one spot.
Typical cost $10 to $16.
Labels help a lot at the start, so you always know what is in each bottle.
Do not worry about making it perfect on day one.
Start small, keep going, and your home will slowly fill with less waste.
23. A Small Refill Station Starter Kit
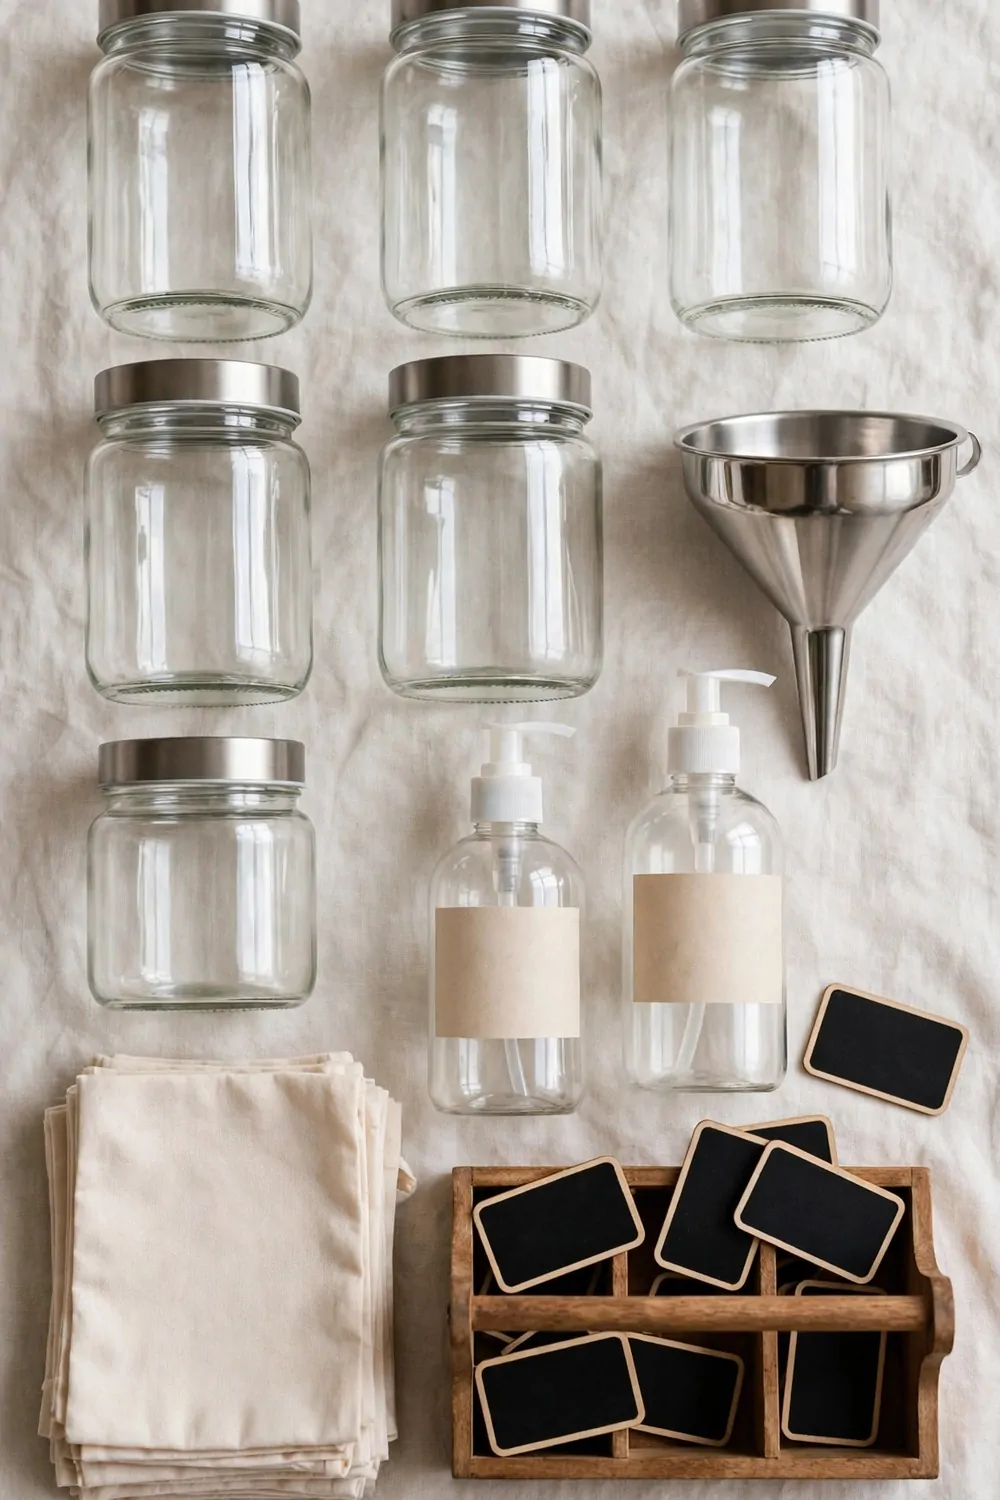
A small starter kit is the easiest way to begin refilling at home.
A set of six plain glass refill jars can hold your bulk goods in clear view, and you can fill them at the shop or from big jugs at home.
A plain stainless steel funnel makes pouring neat and quick, with no drips on the counter or floor.
A set of plain refillable pump bottles gives every sink its own soap, ready whenever you need it.
Plain chalkboard labels can mark each jar and bottle, so everyone in the house knows what is inside.
A small wooden refill caddy can carry your jars and bottles from the pantry to the sink in one trip.
Typical cost $12 to $18 for the set of six plain glass refill jars, $3 to $6 for the plain stainless steel funnel, $8 to $14 for the set of plain refillable pump bottles, $2 to $5 for the plain chalkboard labels, $6 to $11 for the small wooden refill caddy, and $5 to $9 for the folded stack of plain cotton refill bags, for a total of $36 to $63.
I keep my kit on a low shelf in the pantry, where I can reach it without a fuss.
Start with these six little pieces, fill them up, and let your home grow lighter and simpler one refill at a time.
| Idea | Main change | Typical cost |
|---|---|---|
| set of six plain glass refill jars | Fill glass jars with bulk refills for the kitchen | $12 to $18 |
| plain stainless steel funnel | Pour refills through a steel funnel without spills | $3 to $6 |
| set of plain refillable pump bottles | Fill pump bottles with soap for the sinks | $8 to $14 |
| plain chalkboard labels | Mark each jar with a chalkboard label | $2 to $5 |
| small wooden refill caddy | Carry refills in a wooden caddy | $6 to $11 |
| folded stack of plain cotton refill bags | Pack refills in cotton bags for the shop | $5 to $9 |
| Total | $36 to $63 |
Keep Reading
If you liked these ideas, you will love these posts too
Each post has more simple ideas you can try at home this weekend.