20 Outdoor Wall Decor Ideas for Patios and Porches

A plain wall outside can feel a bit dull, even when the rest of your patio looks nice. You sit out there with your drink and your eyes land on bare brick or plain siding. It does not feel finished yet.
I felt that way about my own porch for a long time. The chairs were comfy and the plants were happy, but the wall behind them did nothing at all. It was just there, taking up space.
Then I hung one small wooden panel on it, and the whole spot changed. It gave my eyes something warm to look at. It made the porch feel like a real room, not just a place to pass through.
You do not need a big budget to do the same thing. Most of these ideas use simple stuff you can find at a local shop or make in an afternoon. A little paint, a few hooks, and some patience go a long way.
I also learned to pick things that can handle rain and sun. Outdoor walls get wet and hot, so soft indoor frames and thin paper will not last long out there. Pick wood, metal, or sealed prints and they will stay nice for years.
Think about how you use your space too. If you eat outside a lot, you might want a chalkboard for notes or shelves for pots. If you like quiet mornings, a mirror and some soft lights might suit you better.
In this one post I share all 20 ideas with you, from painted wood panels to pretty wall planters. There is no part two and nothing is split up, so you can read the whole list here and pick your favourites today.
1. Painted Wooden Wall Panels
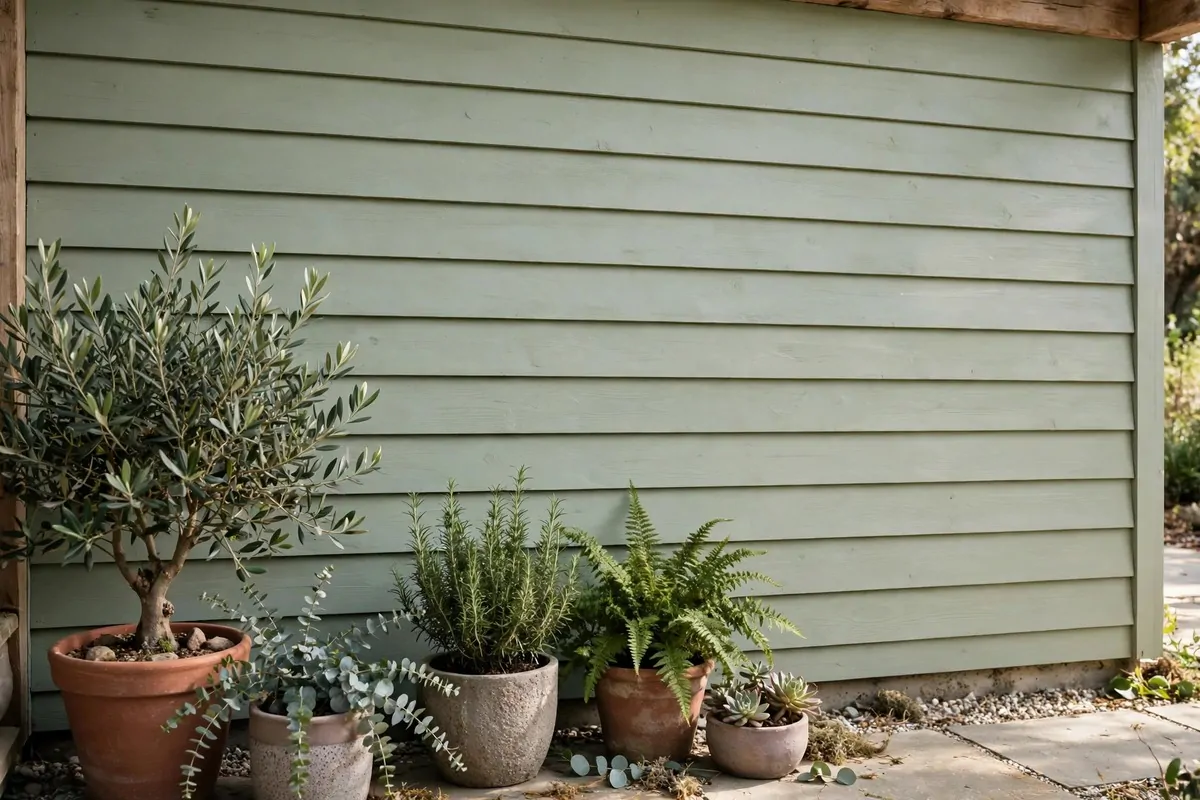
Wooden panels are one of the easiest ways to warm up a bare outdoor wall. I painted mine a soft sage green and it made my porch feel calm right away. You can pick any colour you like.
Start with plain wood boards from a local shop. Sand the rough edges a little so they feel smooth to touch. Then wipe the dust off with a damp cloth.
Use outdoor paint, because normal indoor paint will peel after the first rain. Two thin coats look much better than one thick coat. Let the first coat dry fully before you add the second one.
You can hang the boards side by side or leave small gaps between them. I left a tiny gap on mine and it looks like real panel work. It also helps air move behind the wood.
Typical cost is $25 to $70 for the wood and paint, and that covers a medium size wall area. If you already have paint at home, it costs even less.
Fix the panels with strong outdoor screws and wall plugs. Ask at the shop if you are not sure what fits your wall type. A solid fix keeps them safe on windy days.
I like to add a small plant hook at one end of my panels. It breaks up the flat wood and gives you a spot for a hanging pot. You can move it around when you want a change.
Clean the panels once in a while with a soft brush and water. Do not use a hard scrubber, because it can scratch the paint. A quick wash in spring keeps them looking fresh.
If a board gets a chip, just dab a little paint on it. It takes two minutes and no one will notice the fix. That is why I love wood so much, it is easy to care for.
2. A Large Round Outdoor Mirror
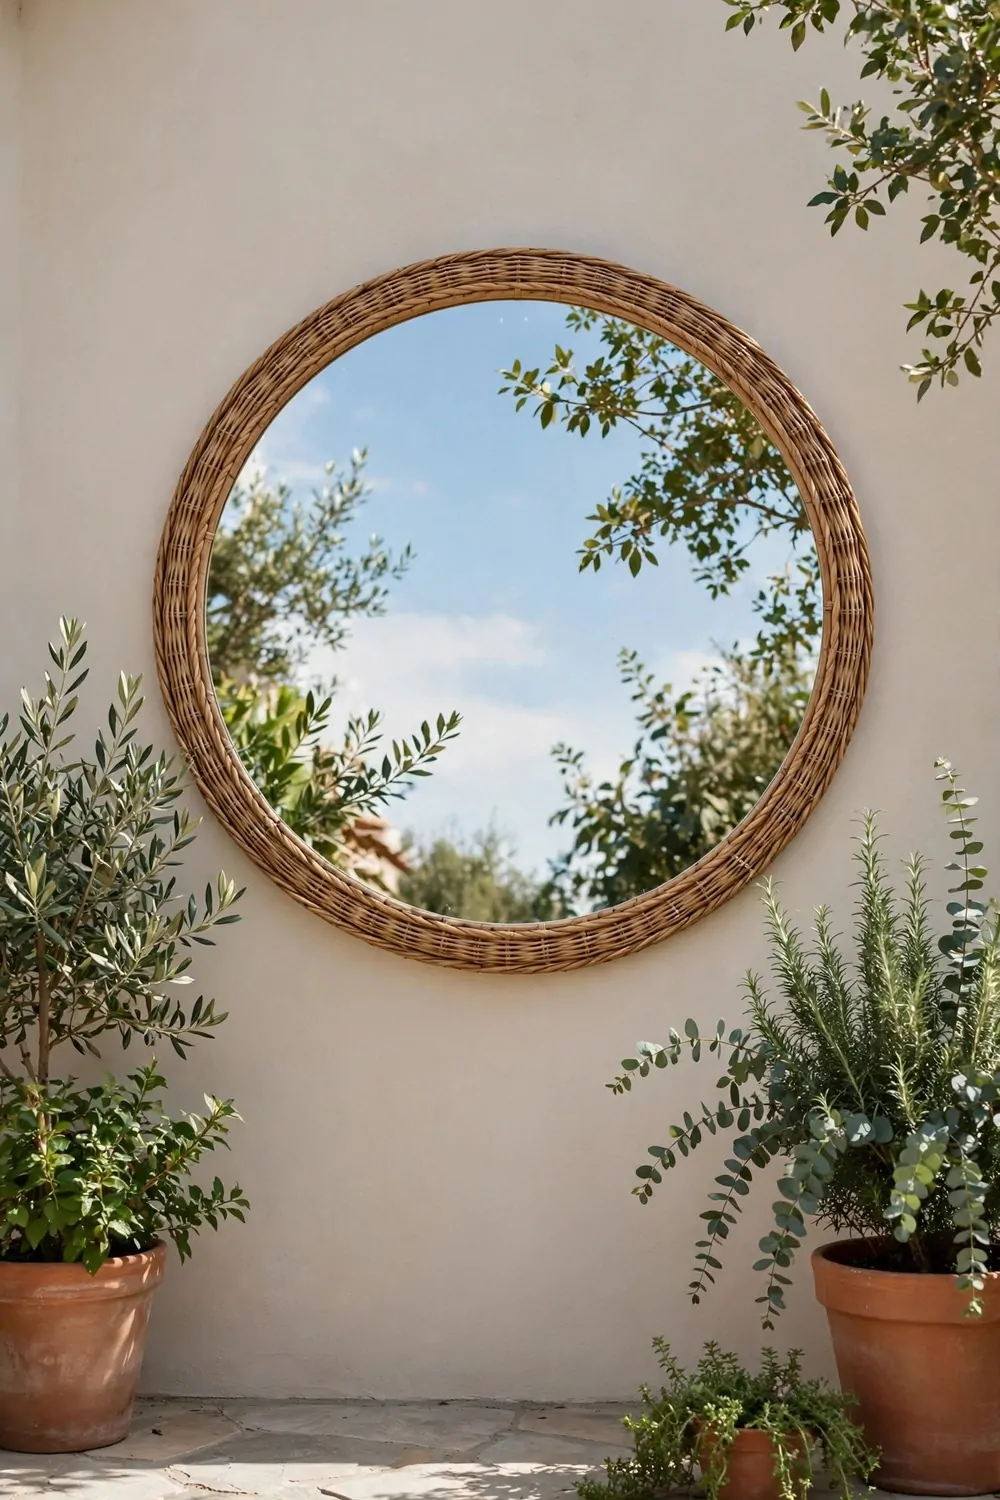
A big round mirror can make a small patio feel much larger. It bounces light around and shows your plants from a new angle. I was surprised how much space it seemed to add.
Pick a mirror made for outdoor use, or one with a sealed frame. A normal indoor mirror can fog up and the back can go spotty fast. Metal or resin frames hold up much better outside.
Hang it at eye level where you sit most. That way you see the garden in it, not just the sky. I hung mine above a low bench and it looks lovely from my chair.
Typical cost is $40 to $120 for a good size round mirror. Bigger ones cost more, but even a medium one makes a real change. Check the frame is thick enough to feel solid.
Use a strong hook made for your wall type. Brick needs a different plug than wood siding, so check first. You do not want a heavy mirror to slip.
Wipe the glass with a soft cloth and a little water now and then. Birds can leave marks on it, and dust builds up fast in summer. A quick wipe once a week is enough.
Do not hang it where strong sun hits it all day. It can throw a bright glare onto your seat and that gets annoying fast. A shaded wall or a spot with soft morning light works best.
I put a small potted plant next to mine, and the mirror doubles the green in the view. It feels like there are twice as many leaves. It is a simple trick and it works.
If you have kids running around, hang it a bit higher than usual. That keeps it safe from bumps and balls. You still get the light and the view, just with less worry.
3. Hanging Planters on the Wall
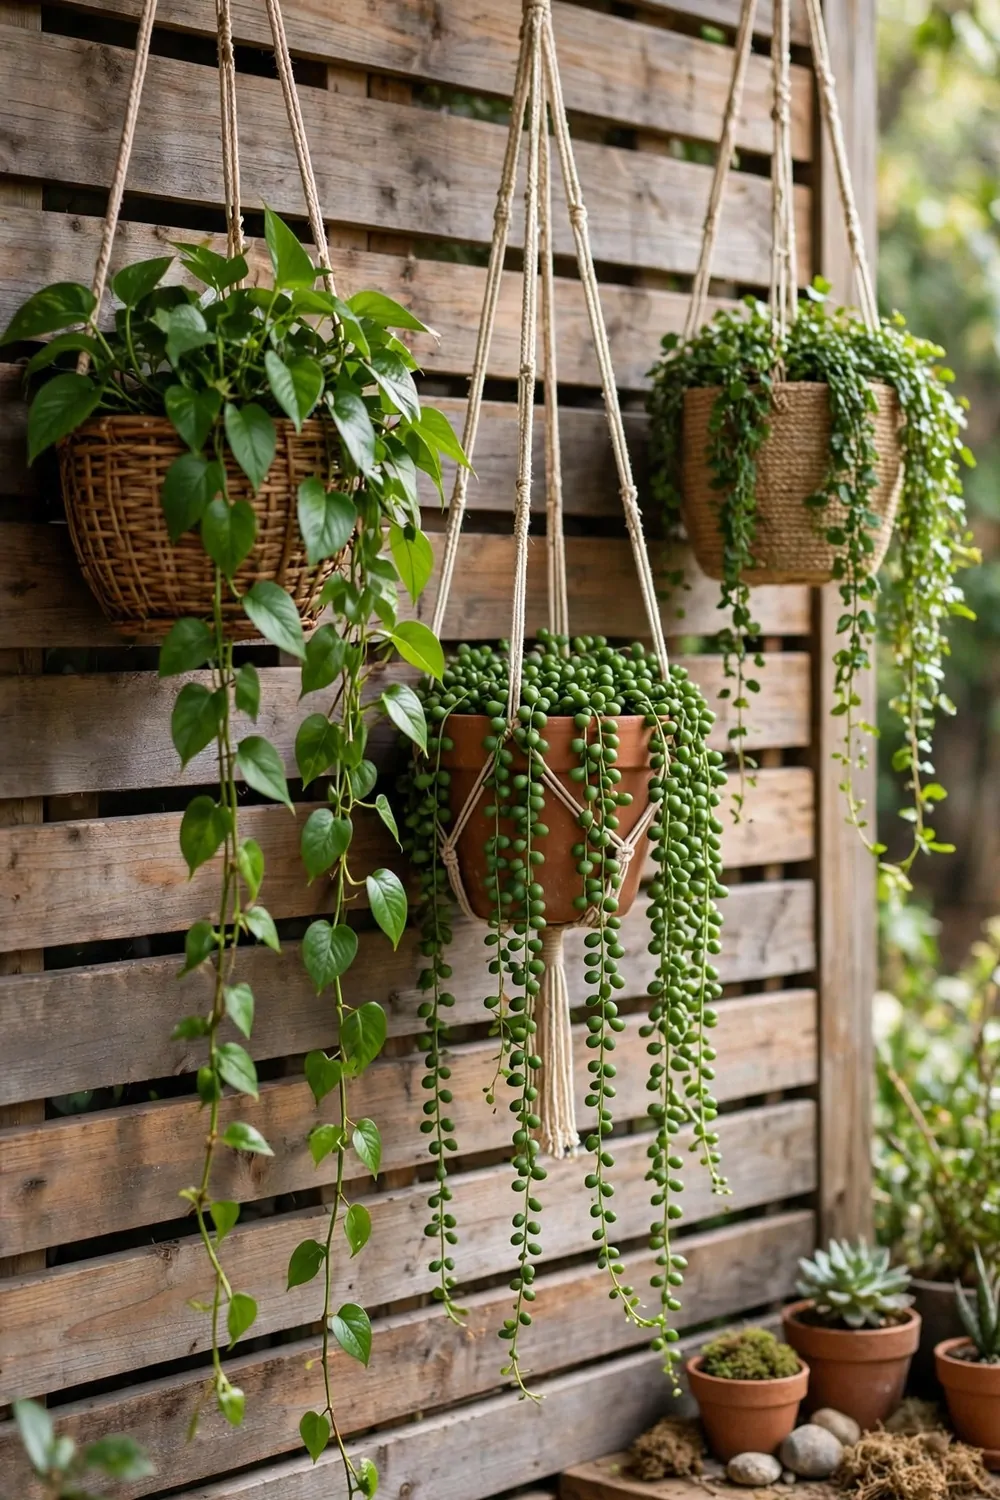
Hanging planters turn a plain wall into a living green wall. I started with three small pots and now I have a whole row of them. They make my porch smell fresh after rain.
Pick plants that like your light. Herbs like basil and mint do well in sun, and leafy trailing plants do well in shade. Read the small tag that comes with the plant.
Use pots with holes in the bottom so water can drain out. If water sits in the pot, the roots can rot. I put a small saucer under each one to catch drips.
Typical cost is $8 to $15 for a small pot planter, $5 to $12 for a tin can planter, and $12 to $25 for a wood box planter. You can start small and add more pots later. That is what I did, one month at a time.
Hang the planters at different heights for a natural look. If they are all in a straight line, it can look a bit stiff. A mix of high and low feels more relaxed.
Water them in the morning when the sun is soft. That gives the leaves time to dry before night. Wet leaves at night can get spotty.
I use simple rope hangers and metal brackets on my wall. Both are cheap and strong. Just check the bracket can hold the pot when the soil is wet, because wet soil is heavy.
Trim the plants back when they get too long. A quick snip keeps them bushy and neat. I keep the cuttings in a jar of water on my table till they root.
Change the plants with the seasons if you like. I swap in bright flowers for summer and hardy greens for cooler months. Your wall never looks the same twice.
| Planter type | Typical cost | Best for |
|---|---|---|
| Small pot planter | $8 to $15 | A cheap start on the wall |
| Tin can planter | $5 to $12 | A fun low cost idea |
| Wood box planter | $12 to $25 | A sturdy look for big plants |
4. Metal Wall Art in Simple Shapes
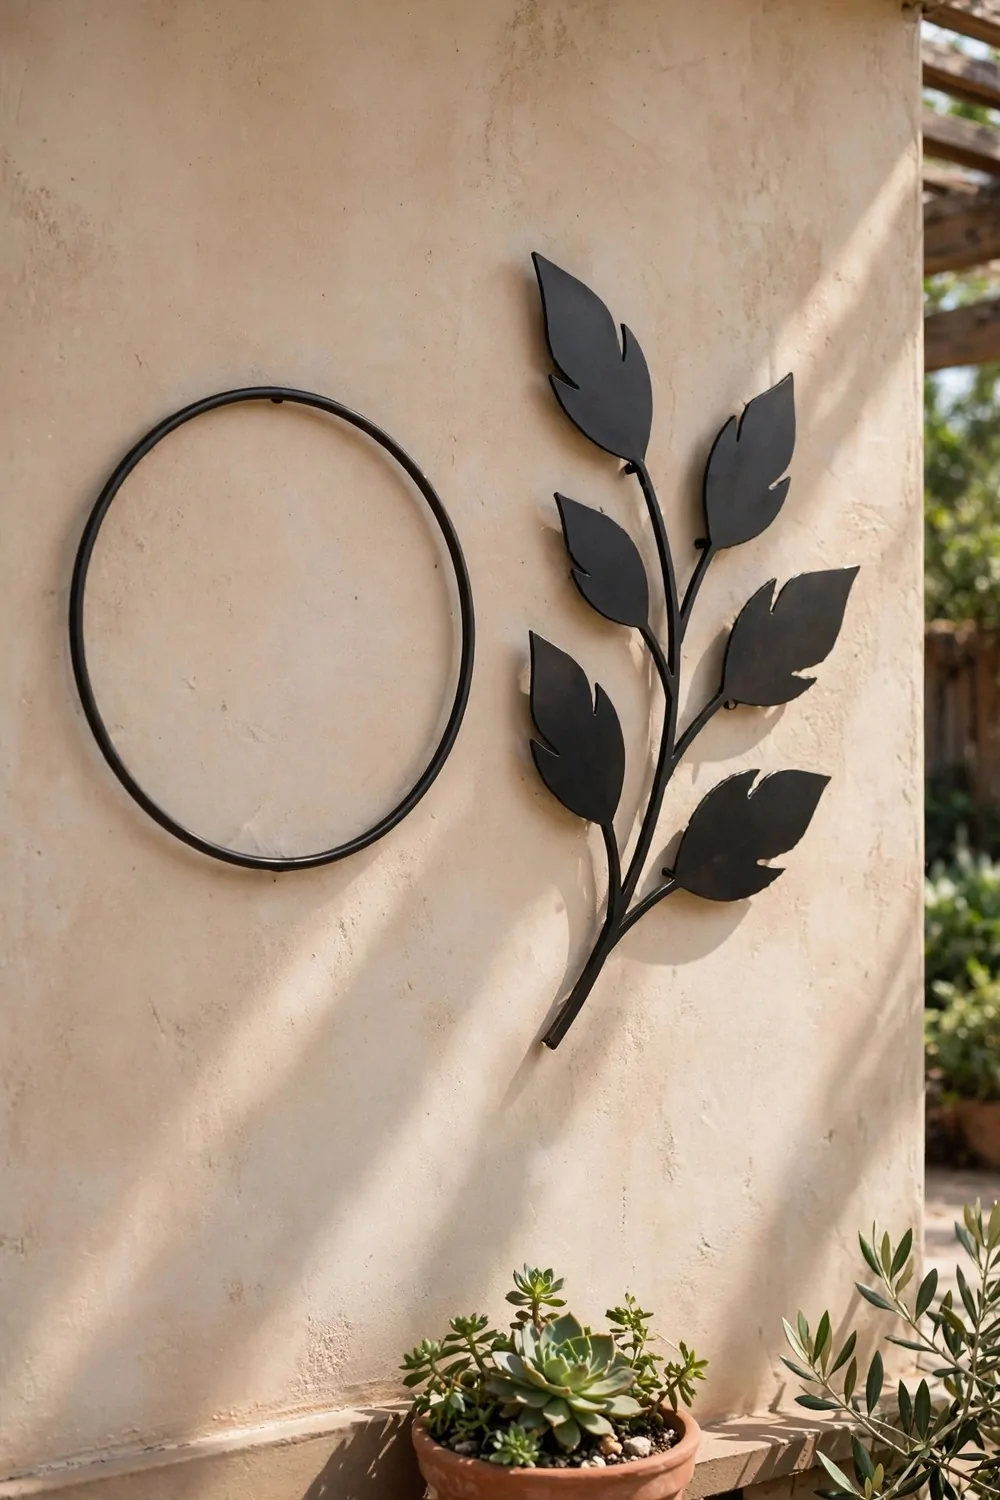
Metal wall art is perfect if you want something bold but simple. I have a set of plain circles on my wall and they catch the light in a lovely way. They never fade or peel.
Look for flat shapes like suns, leaves, waves, or plain rings. Simple shapes suit outdoor walls best. Fancy thin details can bend in the wind.
Pick metal with a powder coat or a rust proof finish. Raw steel will rust after a few rains and leave marks on your wall. A coated piece stays clean for years.
Typical cost is $30 to $90 for a medium piece, and sets of three often cost a bit more. You can find nice ones at garden shops and craft fairs. I found mine at a small local market.
Hang it with a short screw and a small spacer behind it. The gap lets air move and stops damp from sitting on the wall. It also makes a soft shadow that looks nice.
Keep the size in scale with your wall. A tiny piece on a huge wall will look lost. A big piece on a small wall will feel too much. I measured my wall first, and I am glad I did.
Wipe the metal down with a damp cloth in spring. Dust and pollen stick to it over winter. It only takes a few minutes and it shines again.
You can mix metal art with plants for a soft look. I have a leaf shape next to a trailing plant, and the two go so well together. The hard metal and soft leaves balance each other.
If you move house or change your style, metal art is easy to take down and reuse. Just fill the small screw hole and hang it in a new spot. I have moved mine twice already.
5. A Chalkboard Wall for Notes
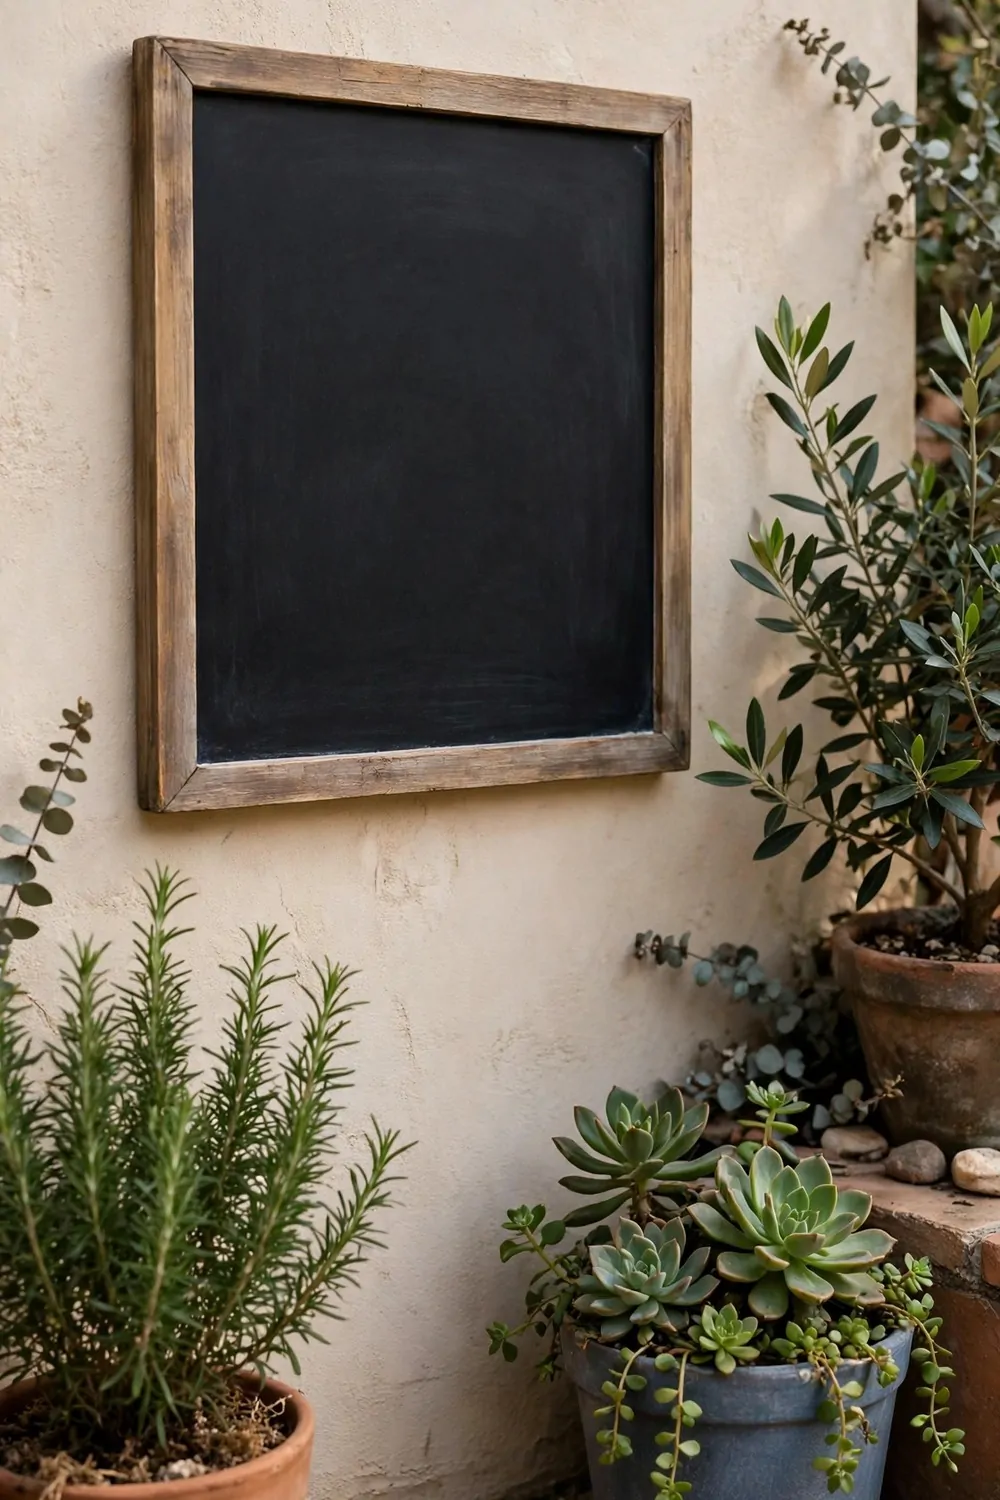
A chalkboard on the patio wall is fun and useful at the same time. I use mine for shopping lists, meal plans, and little reminders. It saves me trips back inside the house.
You can buy a ready made outdoor chalkboard or paint a board with chalkboard paint. Outdoor paint lasts longer in rain. Make sure the board is sealed well at the edges.
Hang it near your back door so you see it when you come and go. I hung mine by the steps, and I check it every morning. It has become part of my routine.
Typical cost is $20 to $55 for a medium board or a tin of paint and a board. Chalk is cheap too, and one box lasts a long time. I keep mine in a small jar nearby.
Use chunky chalk that is easy to hold. Thin chalk breaks too fast outside. I like white chalk best, because it is easy to read from a few steps away.
You can also write a kind word on it for your family to see when they come home. It is a small thing, but it makes people smile. I change mine every few days.
Wipe it clean with a damp cloth when you want a fresh start. Let it dry fully before you write again. Wet chalk smudges and looks messy.
If rain hits it, the writing may wash off. That is normal for chalk, so do not worry. Just write it again when the board is dry, or keep it under a small roof edge.
I added a tiny ledge at the bottom of mine to hold the chalk and a cloth. It keeps everything in one place. You can make one from a thin strip of wood.
6. String Lights Along the Wall
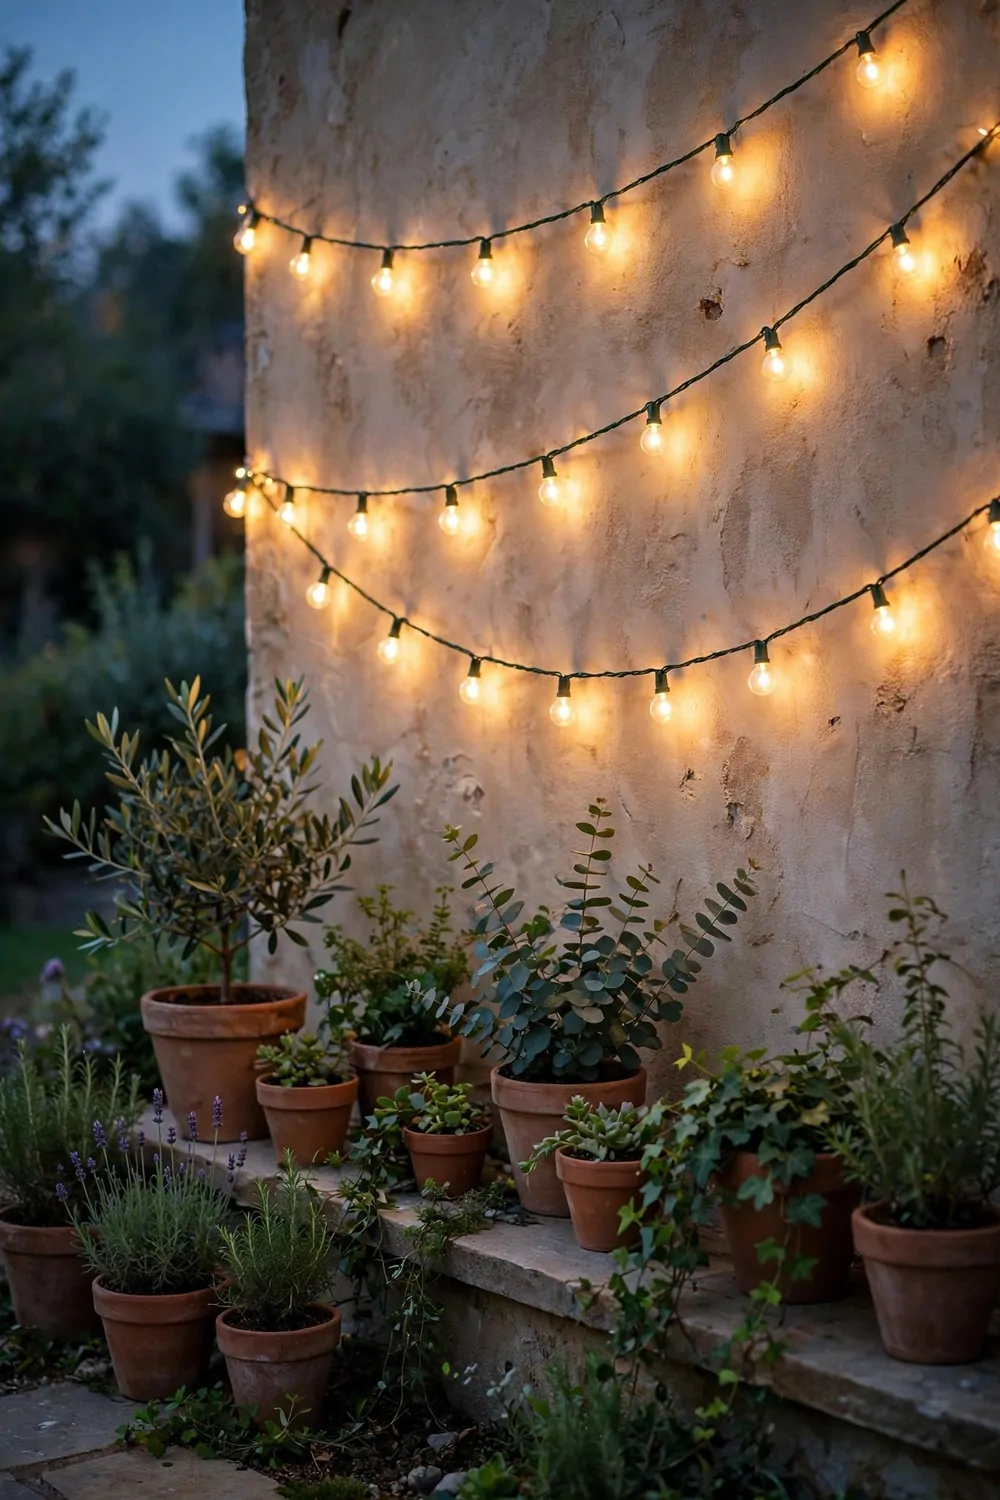
String lights make a patio feel warm as soon as the sun goes down. I turn mine on at dusk and the whole wall glows soft gold. It feels like a little party every night.
Pick lights made for outdoor use with a sealed plug. Indoor fairy lights are not safe in rain. Look for the outdoor label on the box before you buy.
Run the wire along the top of the wall in a gentle sag. If you pull it too tight, it looks stiff and can snap. A soft dip between hooks looks much nicer.
Typical cost is $25 to $65 for a good outdoor set. Longer sets cost more, but one set often covers a whole patio wall. Solar sets can save you a plug socket too.
Use small clear hooks or clips to hold the wire. Do not use nails that pinch the wire, because they can damage it. I space my hooks about two feet apart.
Warm white bulbs give the cosiest light. Bright white can feel cold outside. I tried both and warm white won by a mile for evening meals.
Keep the plug off the ground so rain water does not sit on it. I tuck mine under a small cover by the door. It is a simple safety step.
If one bulb stops working, check it first before you buy a new set. Most sets let you swap a single bulb. I keep two spare bulbs in a drawer just in case.
Turn them off when you go to bed. It saves power and keeps the bulbs lasting longer. I put mine on a timer so I never forget.
7. Wooden Shelves for Pots
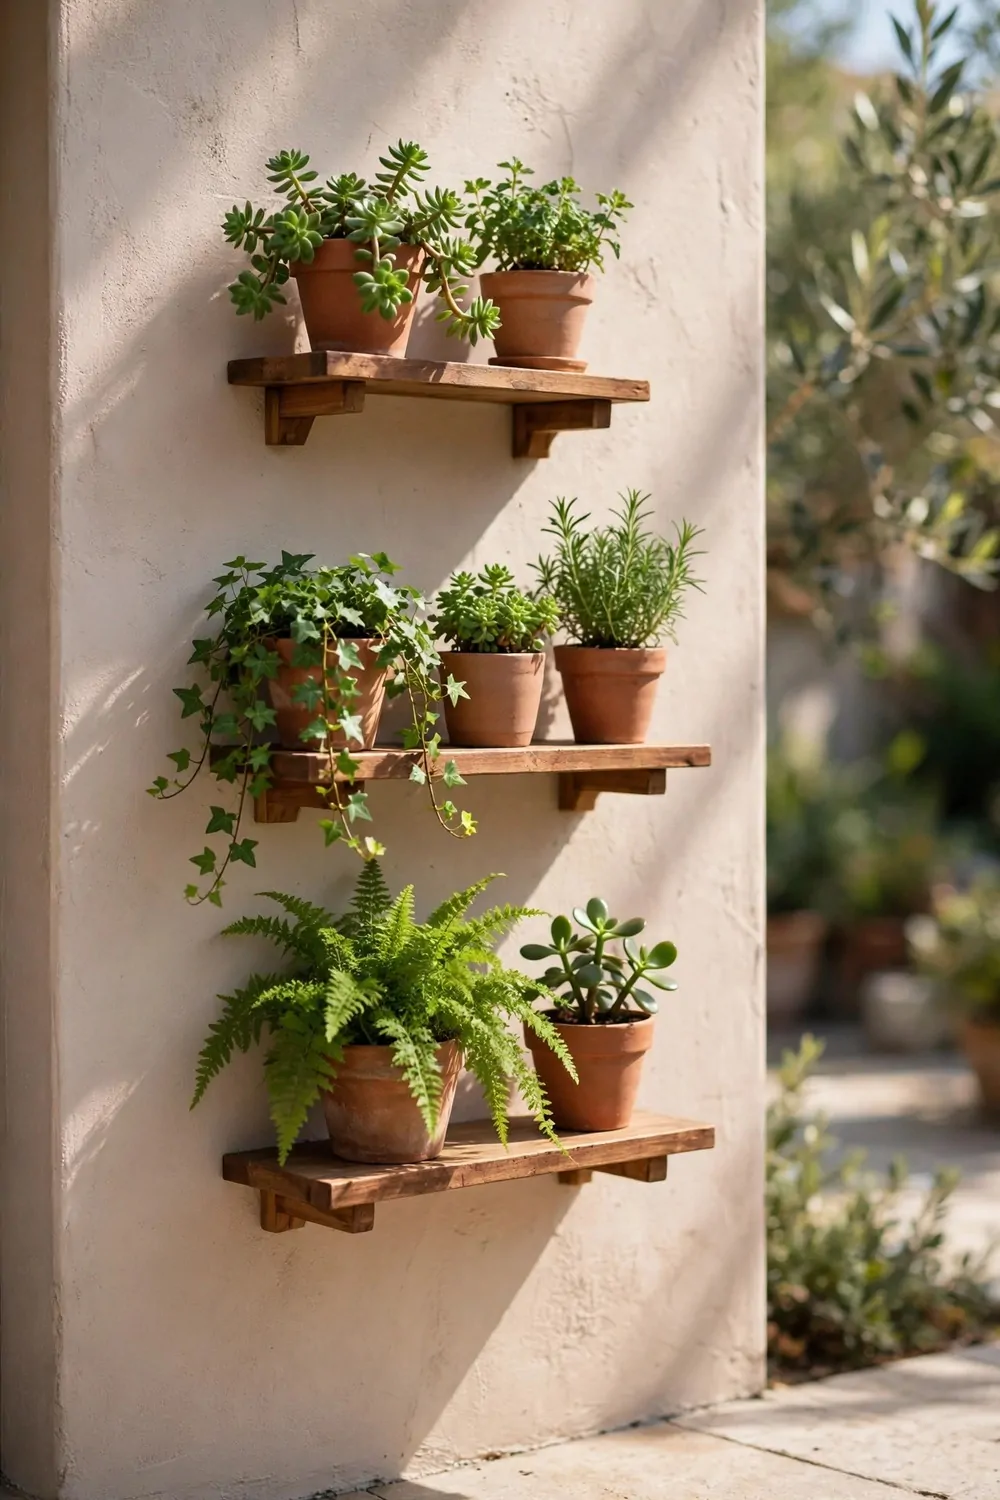
Wooden shelves give you a place to show off your pots without taking up floor space. I have two shelves on my porch wall and they hold all my small plants. It freed up my table too.
Use thick wood that can hold wet pots. Thin boards will bend over time. I used boards about an inch thick, and they feel very solid.
Seal the wood with outdoor oil or varnish. That stops rain from soaking in and making the boards swell. I reseal mine once a year in spring.
Typical cost is $10 to $20 for a small shelf, $15 to $30 for a medium shelf, and $20 to $40 for a long shelf. Reclaimed wood can cost less if you find it locally. Just sand it well first.
Fix the brackets into solid wall, not just loose plaster. Heavy pots pull down hard when they are wet. I had a friend check my first bracket, and I felt much safer after that.
Put the biggest pots on the lowest shelf. That keeps the weight low and the look balanced. Small pots and tiny plants go on the top shelf.
Leave a little space between pots so air can move. Crowded pots can get mouldy leaves. I leave about a hand width between each one.
You can paint the shelves to match your wall or leave the wood natural. I left mine natural and it goes with everything. A clear seal keeps the grain looking nice.
Water the pots with care so water does not run down the wall. I use a small jug with a narrow spout. It takes a bit longer, but my wall stays clean.
| Shelf size | Typical cost | Best for |
|---|---|---|
| Small shelf | $10 to $20 | One pot by the door |
| Medium shelf | $15 to $30 | A row of small pots |
| Long shelf | $20 to $40 | A full wall of plants |
8. A Woven Wall Basket Display
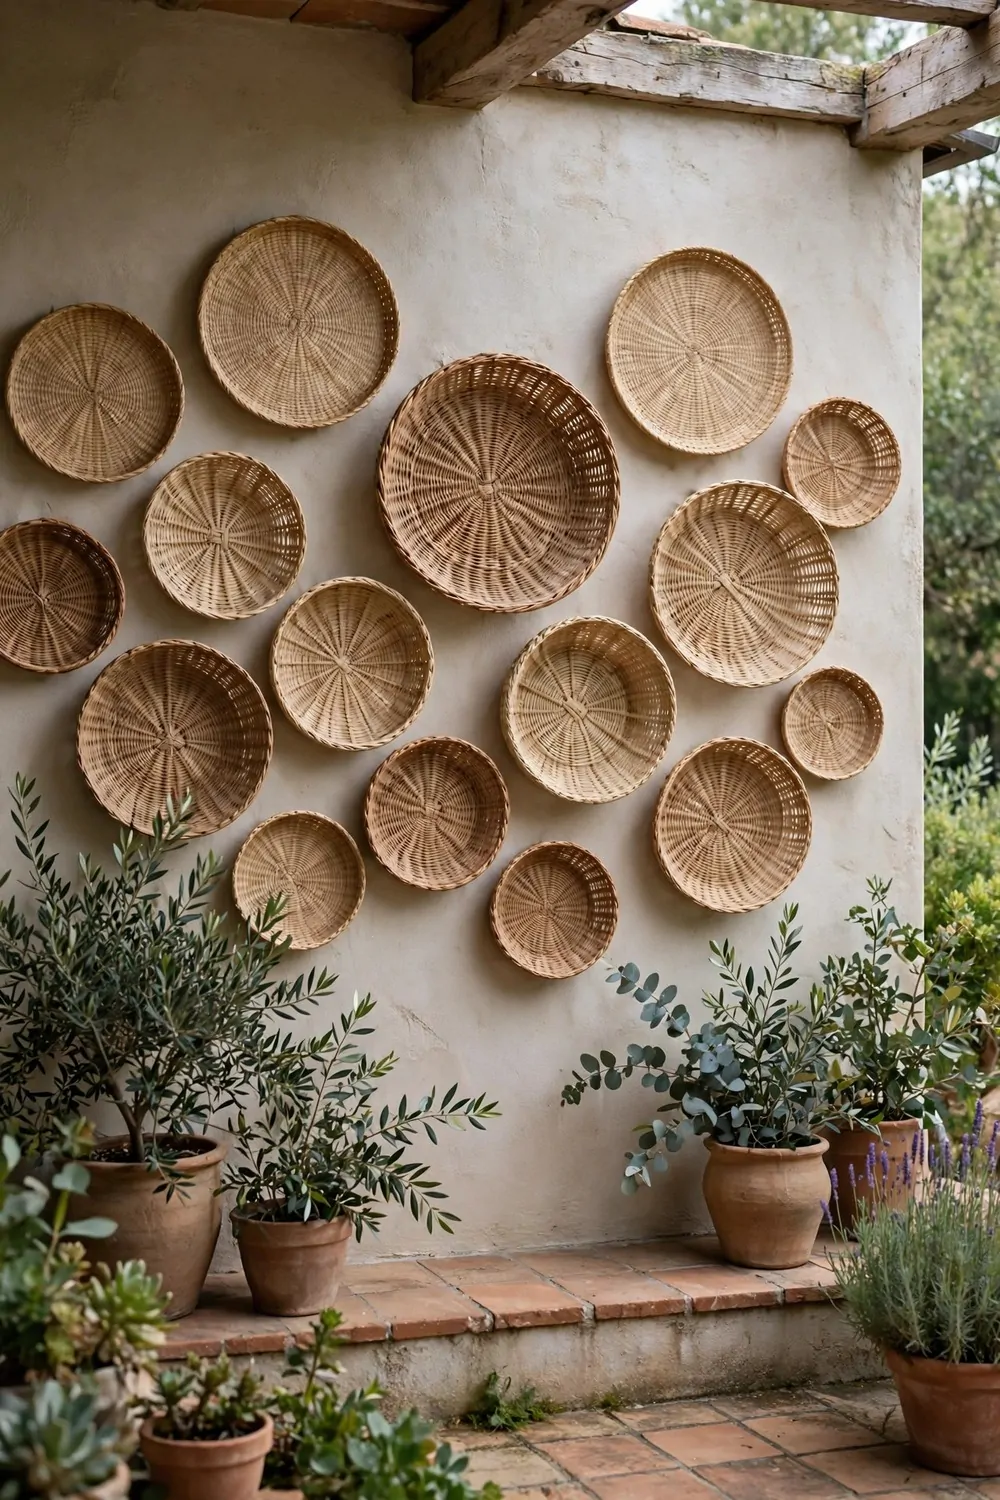
Woven baskets bring a soft, natural feel to an outdoor wall. I hung five baskets in a loose group and they look like art. They cost very little and they change the whole porch.
Look for baskets made from seagrass, rattan, or wicker. These fibres handle outdoor air well if they stay mostly dry. Keep them under a roof edge if you can.
Mix sizes for the best look. A big flat basket in the middle with smaller ones around it works well. I tried them all the same size first, and it looked a bit flat.
Typical cost is $25 to $70 for a set of four or five baskets. Thrift shops often have them for a few dollars each. I found two of mine at a second hand shop.
Hang them with a small nail or hook through the back weave. Make sure the hook is strong enough for the basket weight. Flat baskets are light, so most hooks work fine.
Step back and look from your chair before you fix them in place. It is easy to hang them too high or too close together. I moved one of mine three times before I liked it.
Brush dust off the baskets with a dry brush now and then. Do not soak them in water, because the fibres can go soft. A quick brush keeps them neat.
You can tuck a small dry flower stem inside one basket for a soft touch. I use dried lavender in mine, and it smells lovely on warm days. Keep it dry so it lasts.
If a basket gets wet in a storm, take it down and let it dry in the sun. That stops it from going musty. Mine have lasted three summers this way.
9. Framed Botanical Prints
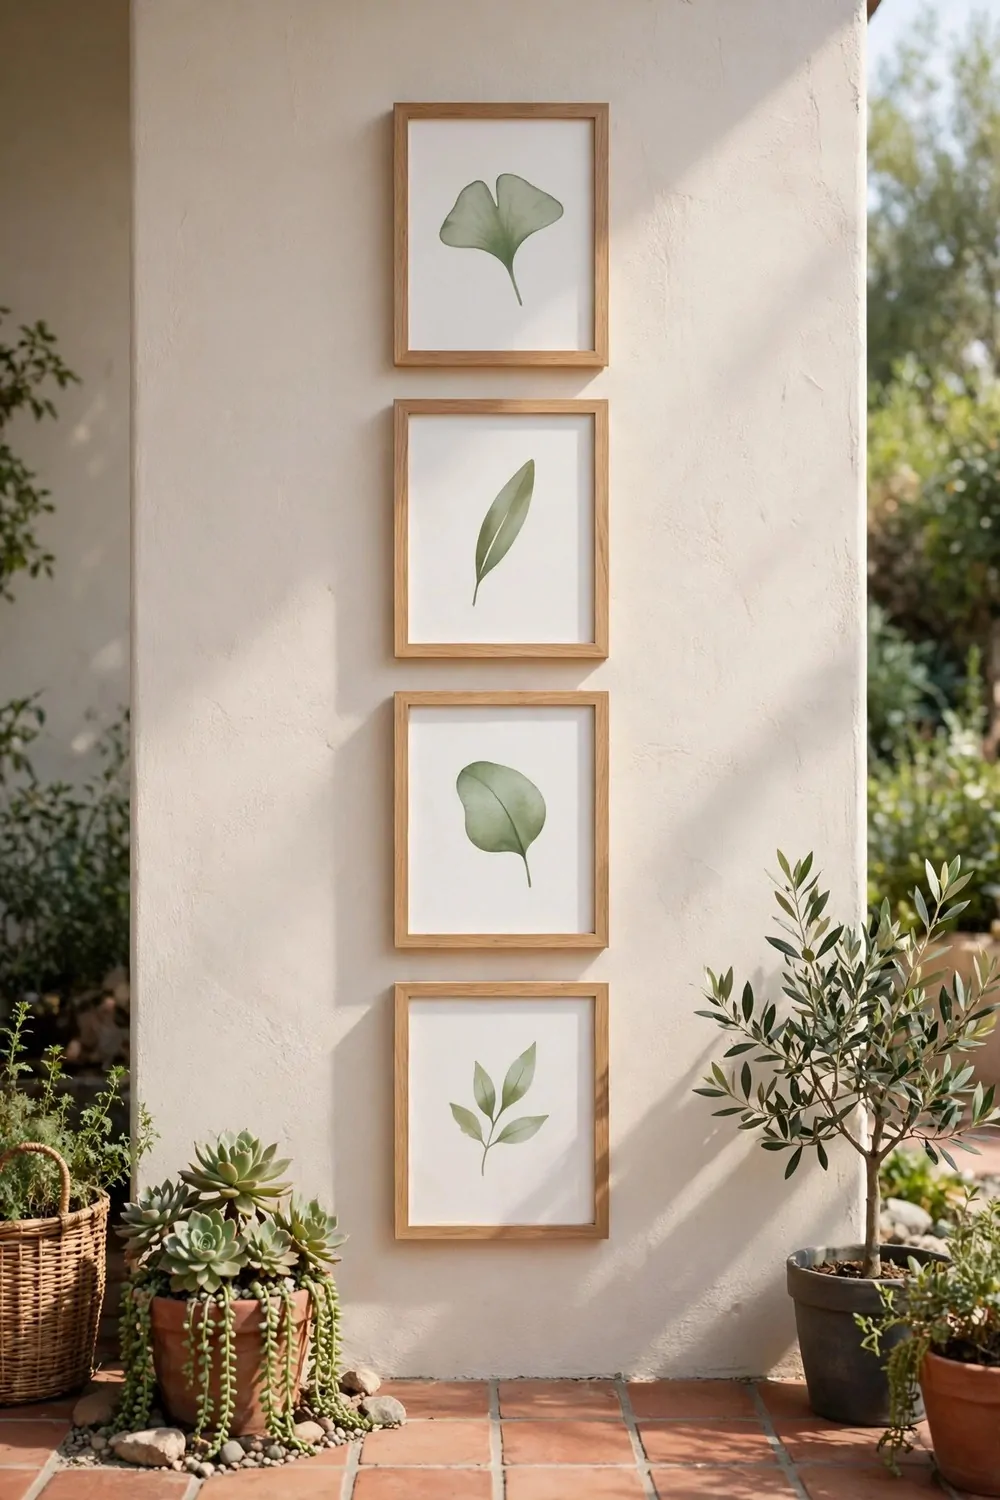
Framed prints are a calm way to add green to your wall without more watering. I have three frames with simple green leaf shapes, and they look fresh all year round. They never wilt or drop leaves.
Pick prints that show plain leaf shapes with no words or letters in them. Simple green shapes on a light background look clean outside. I chose one big leaf per frame, nothing busy.
Use frames made for outdoor use, or seal a normal frame well. Glass can fog up outside, so acrylic fronts work better. They are lighter too, which helps when you hang them.
Typical cost is $30 to $75 for three framed prints. You can print your own leaf art at home and buy cheap frames. That is a fun low cost way to start.
Hang the frames in a row at the same height for a tidy look. I used a small level to get mine straight. It only took a few extra minutes and it made a big change.
Keep them out of direct hard rain if you can. A porch roof or a wall overhang helps a lot. Mine sit under my porch roof and they still look new.
Wipe the fronts with a soft dry cloth to clear dust. Do not spray cleaner straight on the frame, because it can seep inside. Spray the cloth first, then wipe.
Mix the prints with a real plant nearby for a nice blend. I have a small fern under my frames, and the real leaves echo the printed ones. It ties the wall together.
Swap the prints when you want a new mood. I change mine from light green in spring to deep green in autumn. It is a five minute job and it feels like a new wall.
10. Terracotta Wall Planters
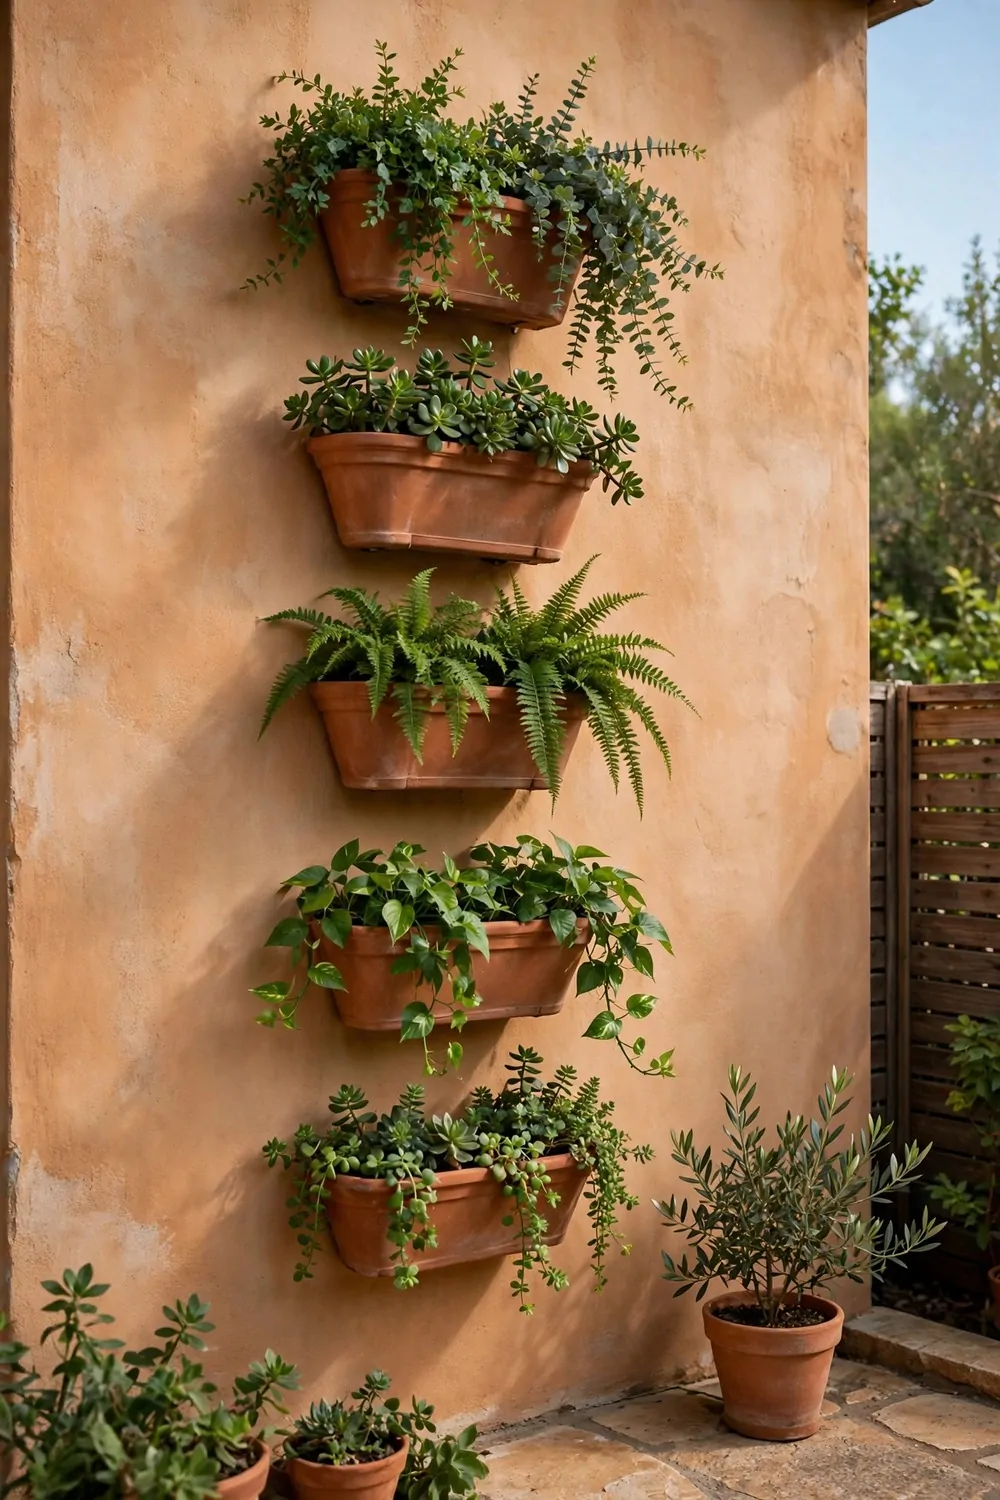
Terracotta planters add a warm orange glow to a patio wall. I love how the clay looks against green leaves. It feels earthy and simple, like a garden in a warm country.
Terracotta is a natural clay that lets air reach the roots. That helps plants stay healthy. It also dries out fast, so you need to water a bit more in hot weather.
Pick wall planters with a flat back so they sit close to the wall. Round pots can stick out too far. Flat back pots look neat and take up less space.
Typical cost is $25 to $65 for three wall planters and their brackets. Larger ones cost a bit more. I bought mine one at a time to spread the cost.
Use strong brackets that match the pot size. A full terracotta pot is heavy, even more when the soil is wet. Check the bracket rating on the box before you hang it.
Plant herbs or trailing flowers in them for the best effect. I have mint in one and trailing lobelia in another. They spill over the edge and soften the hard clay.
Water slowly so the clay can soak it up. If you pour too fast, water runs straight out the bottom. I water mine in two small rounds, morning and evening in summer.
In cold winters, terracotta can crack if water freezes inside it. I bring mine under cover or empty them before the first frost. It is a small job that saves the pots.
Clean the pots with a brush and water in spring to remove white salt marks. Those marks are normal for clay and they wash off easy. My pots look new again after a quick scrub.
11. A Wall-Mounted Water Fountain
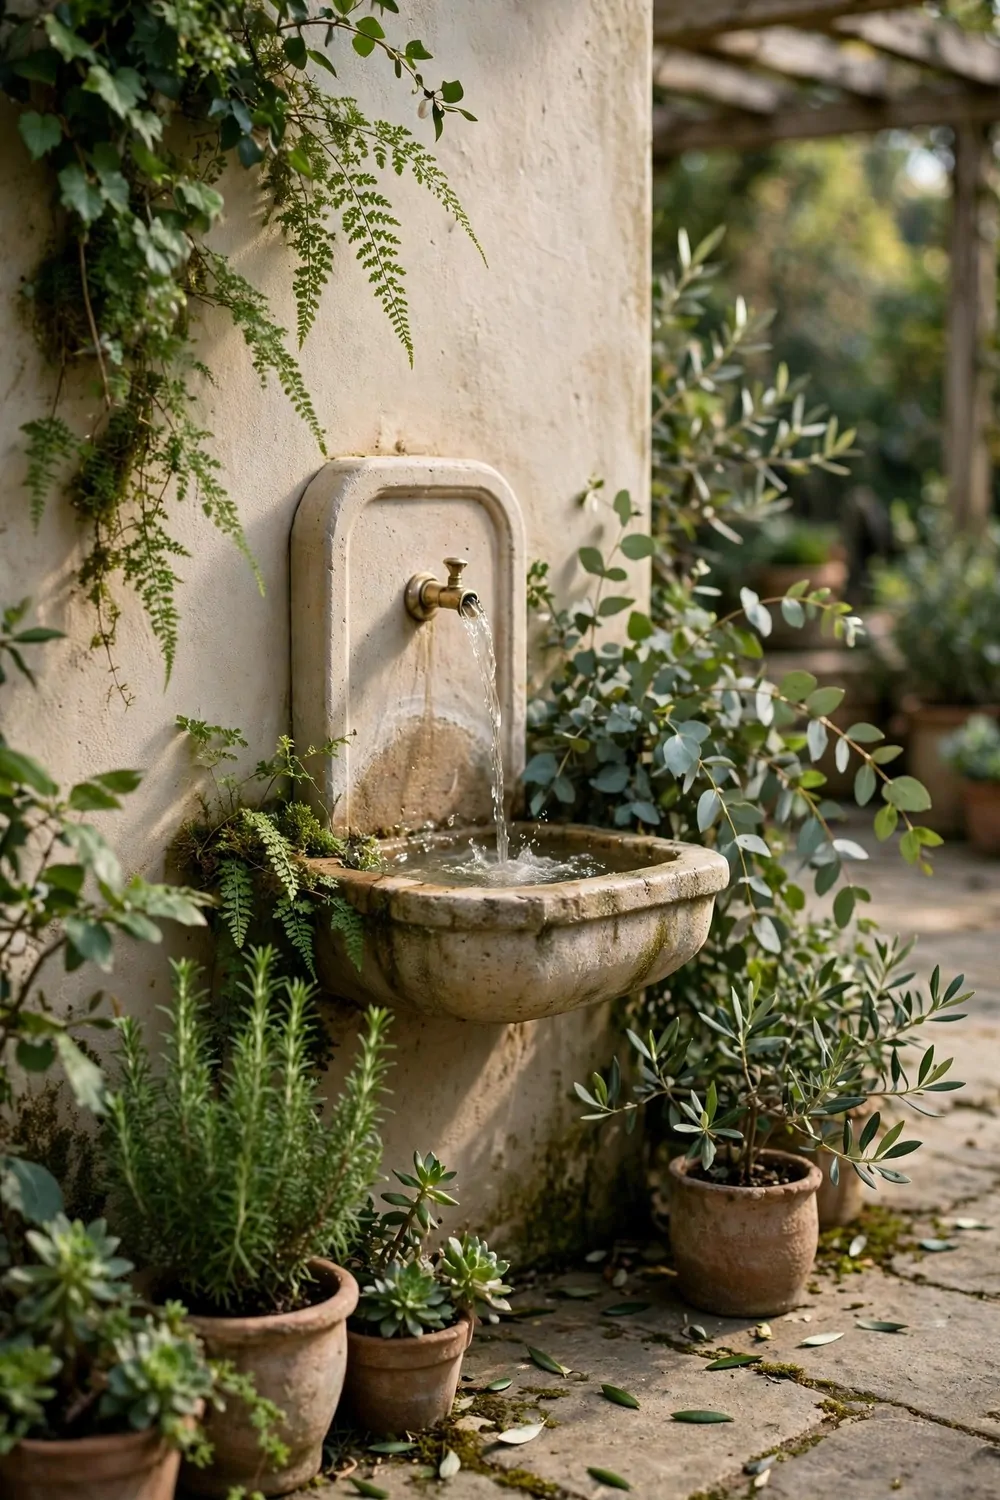
I love the sound of water on my porch because it makes the whole place feel calm in a second. A wall fountain gives you that sound without taking up floor space.
You hang it on the wall like a picture. Water runs down the front and back into a small basin. It looks fancy but it is really simple.
I picked one that plugs into a normal outlet near my porch. You fill it with water and flip the switch. That is all it takes to start it.
Typical cost is $60 to $150 for a good wall fountain. Small ones cost less. Big stone ones cost more.
Pick a spot near an outlet so you do not need a long cord across the wall. The cord should hide behind the fountain or run down to the outlet neatly. I used a small clip to hold mine flat.
Keep the water clean and change it once a week. Leaves and dust fall in fast outside. I just pour the old water out and add fresh water from the hose.
The pump is the part that can stop working. I check mine every month and clean the little filter. A quick rinse keeps it running strong all summer.
My fountain sits right by my chair, and I hear it when I drink my tea in the morning. It makes a plain wall feel like a real garden spot.
If you rent, look for a light one that hangs on two strong hooks so you can take it down when you move and it leaves just two small holes to fill.
12. Lanterns Hung on Wall Hooks
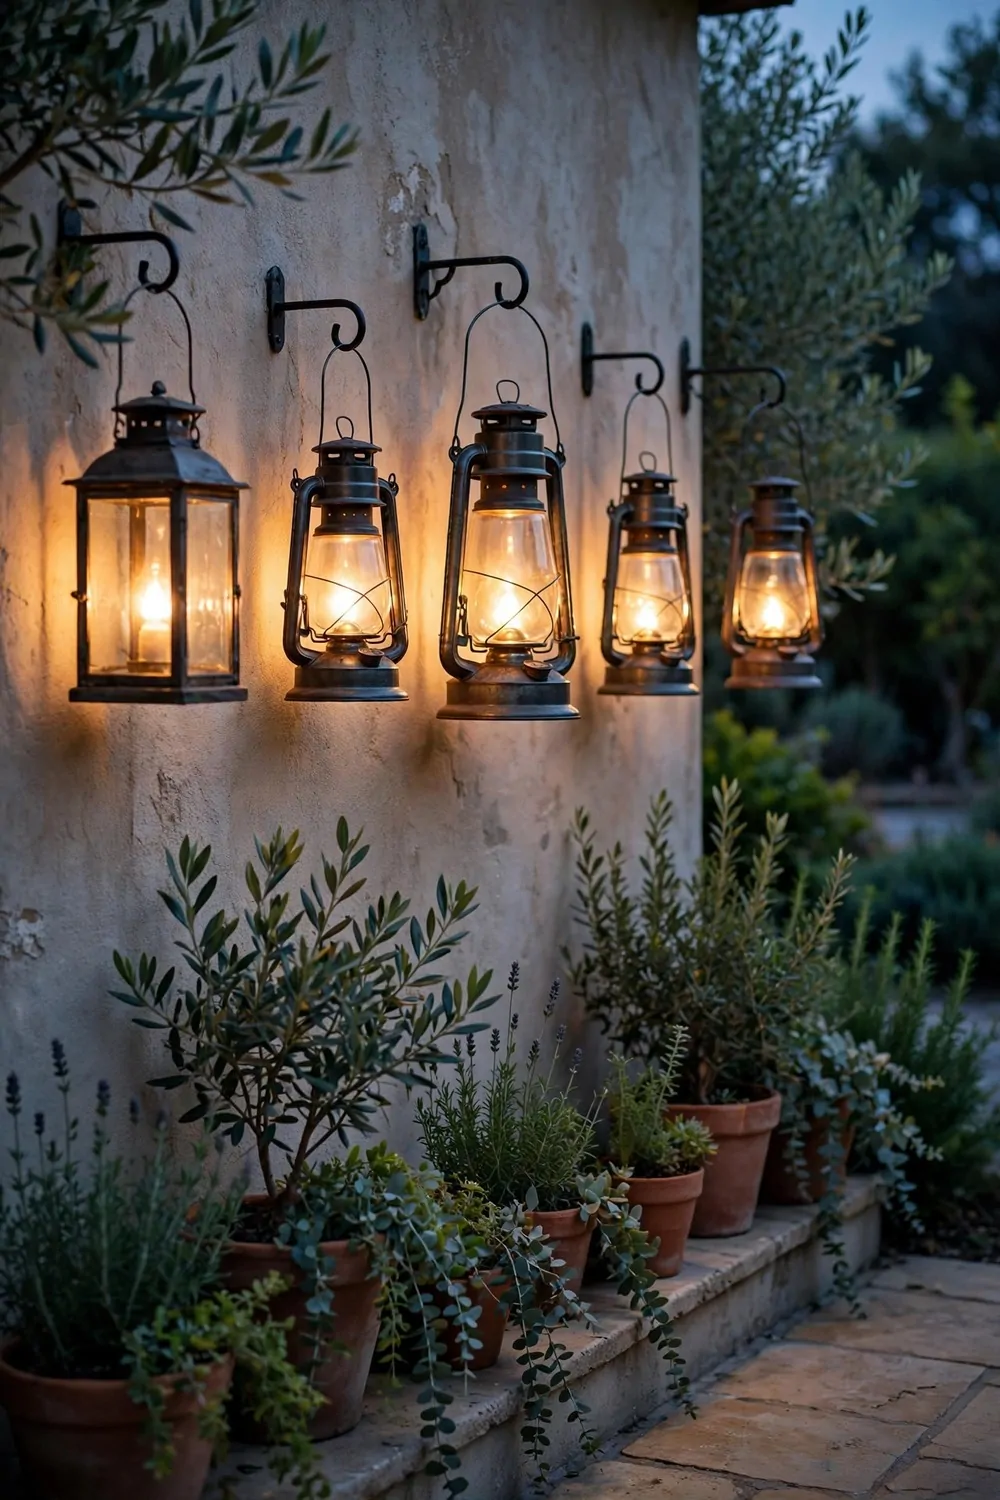
Lanterns are one of the easiest ways to make a porch wall look warm. You hang them on hooks and you are done. No tools beyond a drill and two screws.
I put three hooks on my wall in a row, each holding one lantern at a different height. It looks planned even though it took me ten minutes.
Use battery candles inside the lanterns. Real flames are not safe on a windy porch. The battery ones flicker just like real candles and you turn them off with a switch.
Typical cost is $25 to $70 for a set of three lanterns and hooks. Metal lanterns cost a bit more. Simple ones cost less.
Pick lanterns that match your porch style. Black metal looks clean and simple, and wood and glass looks soft and homey. I went with black because my chairs are black too.
Hang them where the wind cannot swing them hard. A flat wall spot works best. Mine sit close to the wall so they do not bang around on stormy nights.
You can change what goes inside the lanterns with the seasons. I use plain candles in summer and small pine cones in fall. It keeps the wall fresh without buying anything new.
At night the light from the lanterns makes the whole porch glow. My friends always say it feels like a cafe out there. It is my favorite spot after dark now.
Put a small tray under each lantern if your wall is painted. It holds any drips or dust. I wipe mine down once a month and they still look new.
13. Painted Clay Tiles on the Wall
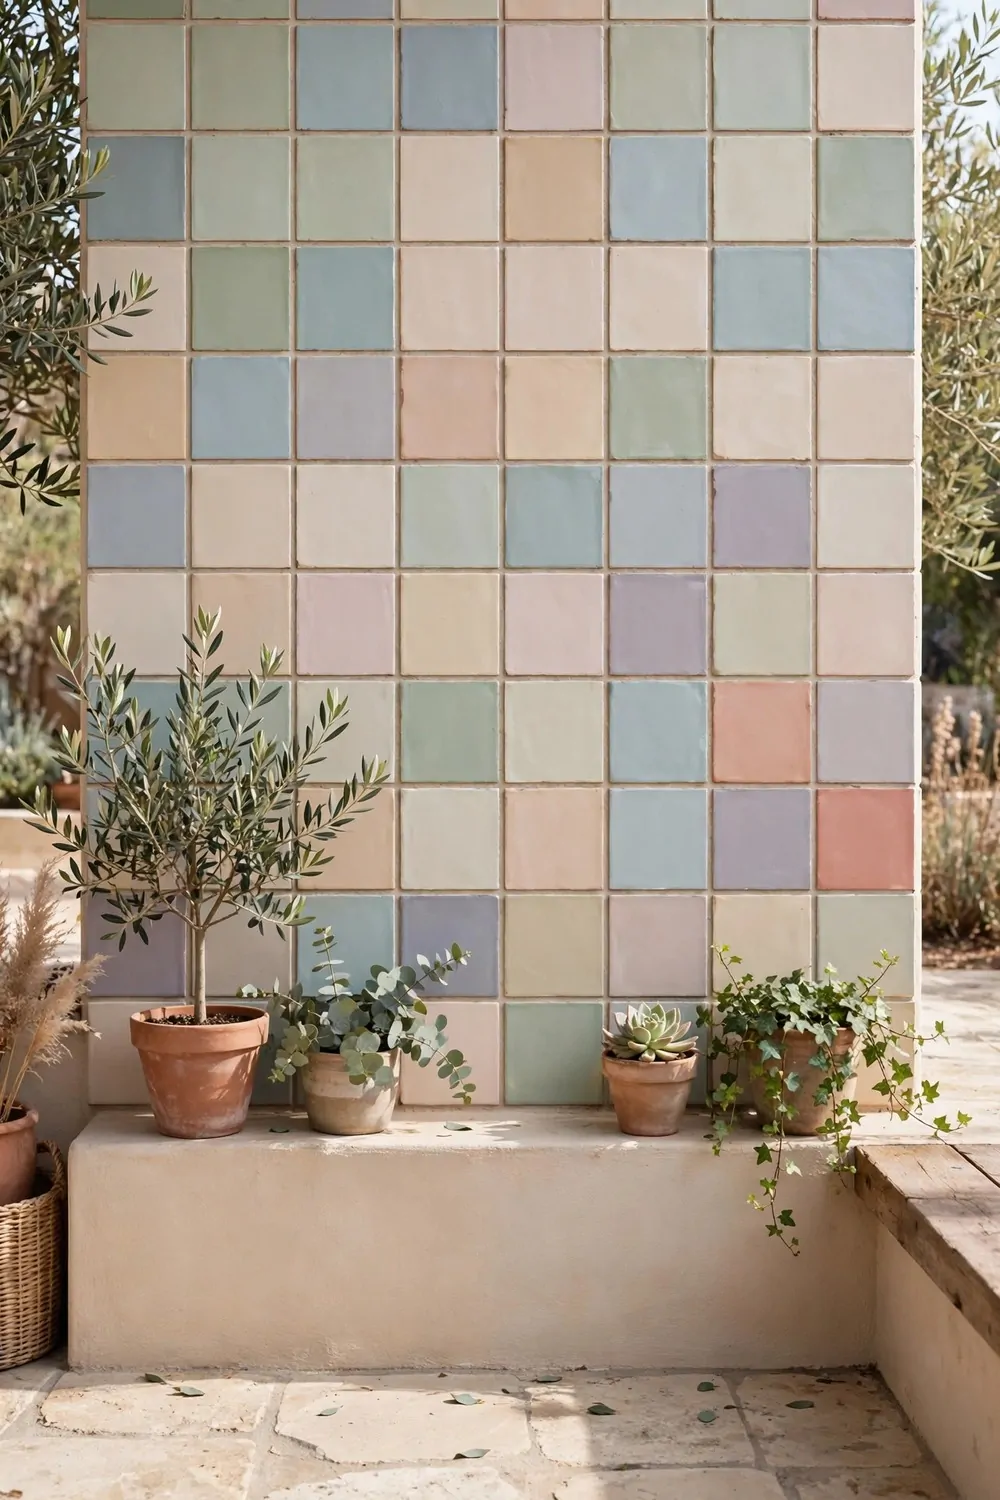
Painted clay tiles bring so much color to a plain wall. Each tile is like a tiny painting. Together they make the porch feel bright and happy.
I bought plain clay tiles from a craft store and painted them with outdoor paint in blues and yellows. You do not need to be an artist. Simple shapes look great.
Try dots, leaves, suns, and wavy lines. I painted one tile with a big sun and it is my favorite. My kids painted two tiles too and they hang right in the middle.
Typical cost is $20 to $55 for tiles, paint, and wall glue. A small set of six tiles is enough to start. Bigger sets cost more.
Use outdoor paint or seal your tiles with a clear outdoor spray. Rain will wash off normal paint in one season. I learned that the hard way on my first set.
Stick the tiles on with outdoor adhesive or hang them on small nails. I used adhesive dots made for outdoor use. They have held for two summers now.
Space the tiles out in a loose pattern instead of a stiff grid. I left a hand width between each one. It looks relaxed and fun that way.
You can mix painted tiles with plain ones for a calm look. I put three painted tiles next to three plain cream tiles. It keeps the wall from feeling too busy.
If a tile cracks in winter, just pop it off and paint a new one, and that is the nice part. Your wall art can change any time you want.
14. A Vertical Herb Garden Wall
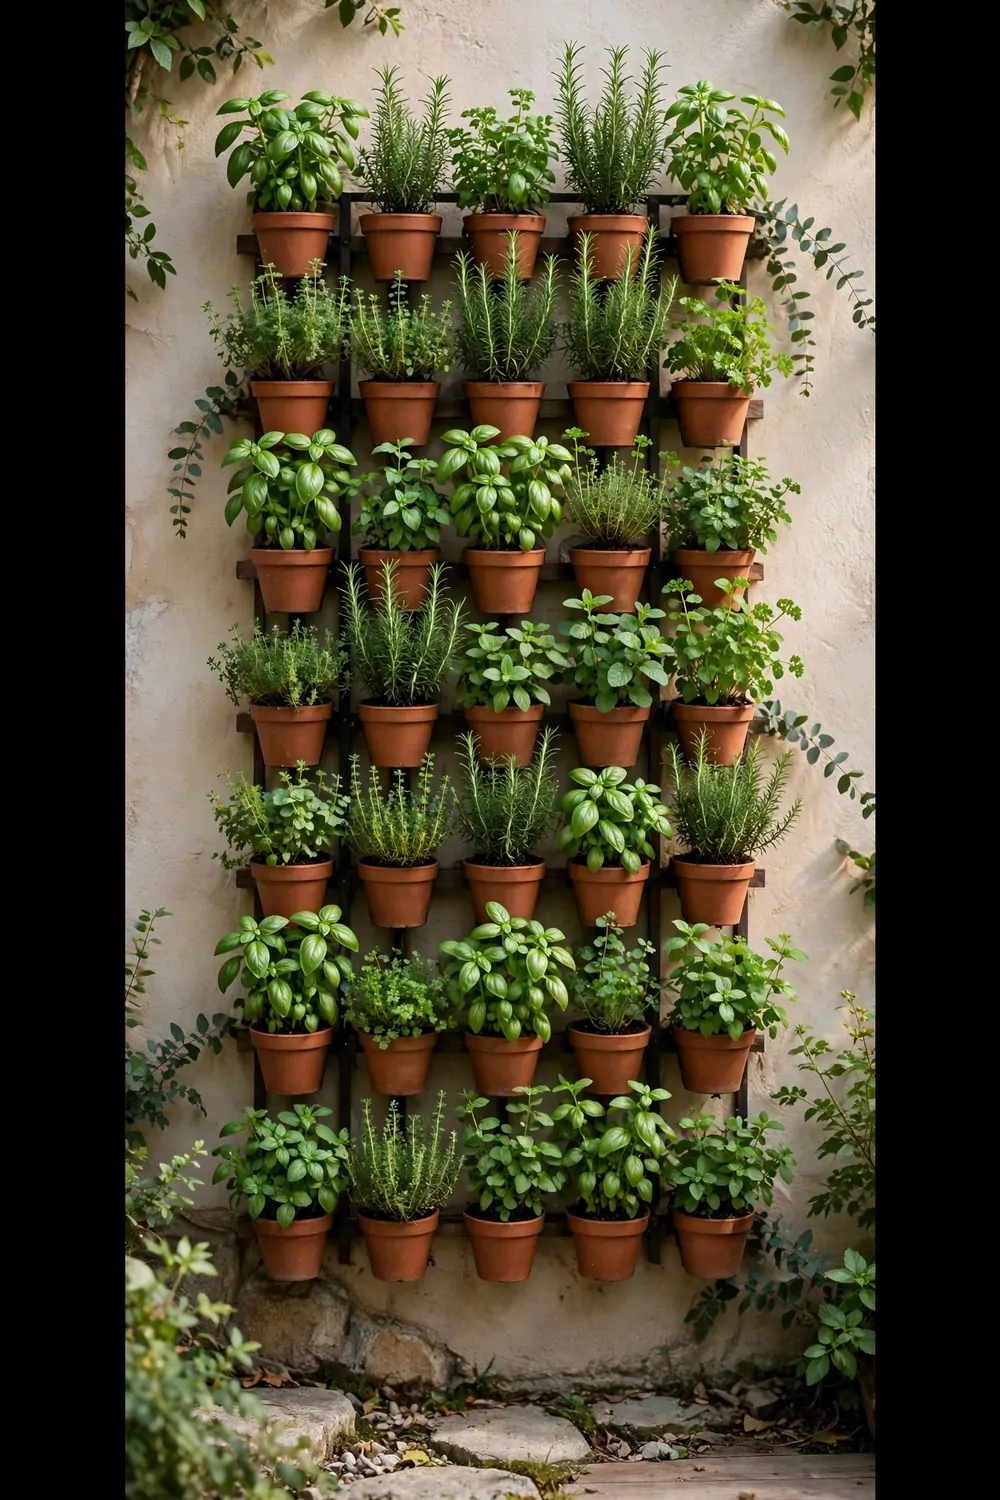
A herb wall is pretty and useful at the same time. You grow your own herbs right on the porch wall. Then you snip what you need for dinner.
I used small pots hung on a wooden frame. Basil, mint, and rosemary grow well in pots. They smell so good when you brush past them.
Start with three or four herbs you actually use. I cook with basil a lot so I planted two pots of it, and mint grows fast so one pot is plenty.
Typical cost is $35 to $90 for pots, a frame, soil, and starter plants. Seeds cost less but take longer. Starter plants give you herbs in a few weeks.
Hang the frame where it gets morning sun. Most herbs need about six hours of light a day. My wall faces east and my herbs love it there.
Water the pots when the top of the soil feels dry. Small pots dry out fast on hot days. I water mine every morning before it gets warm.
Label each pot so you know what is what, and I wrote the names on small wooden sticks. It saves me from picking the wrong leaves when I cook.
Trim the herbs often and they grow back thicker. I snip the tops every week. The plants look full and bushy instead of tall and thin.
In fall I bring the pots inside and set them by a sunny window, and I hang the pots back out in spring.
15. Outdoor Wall Sconces
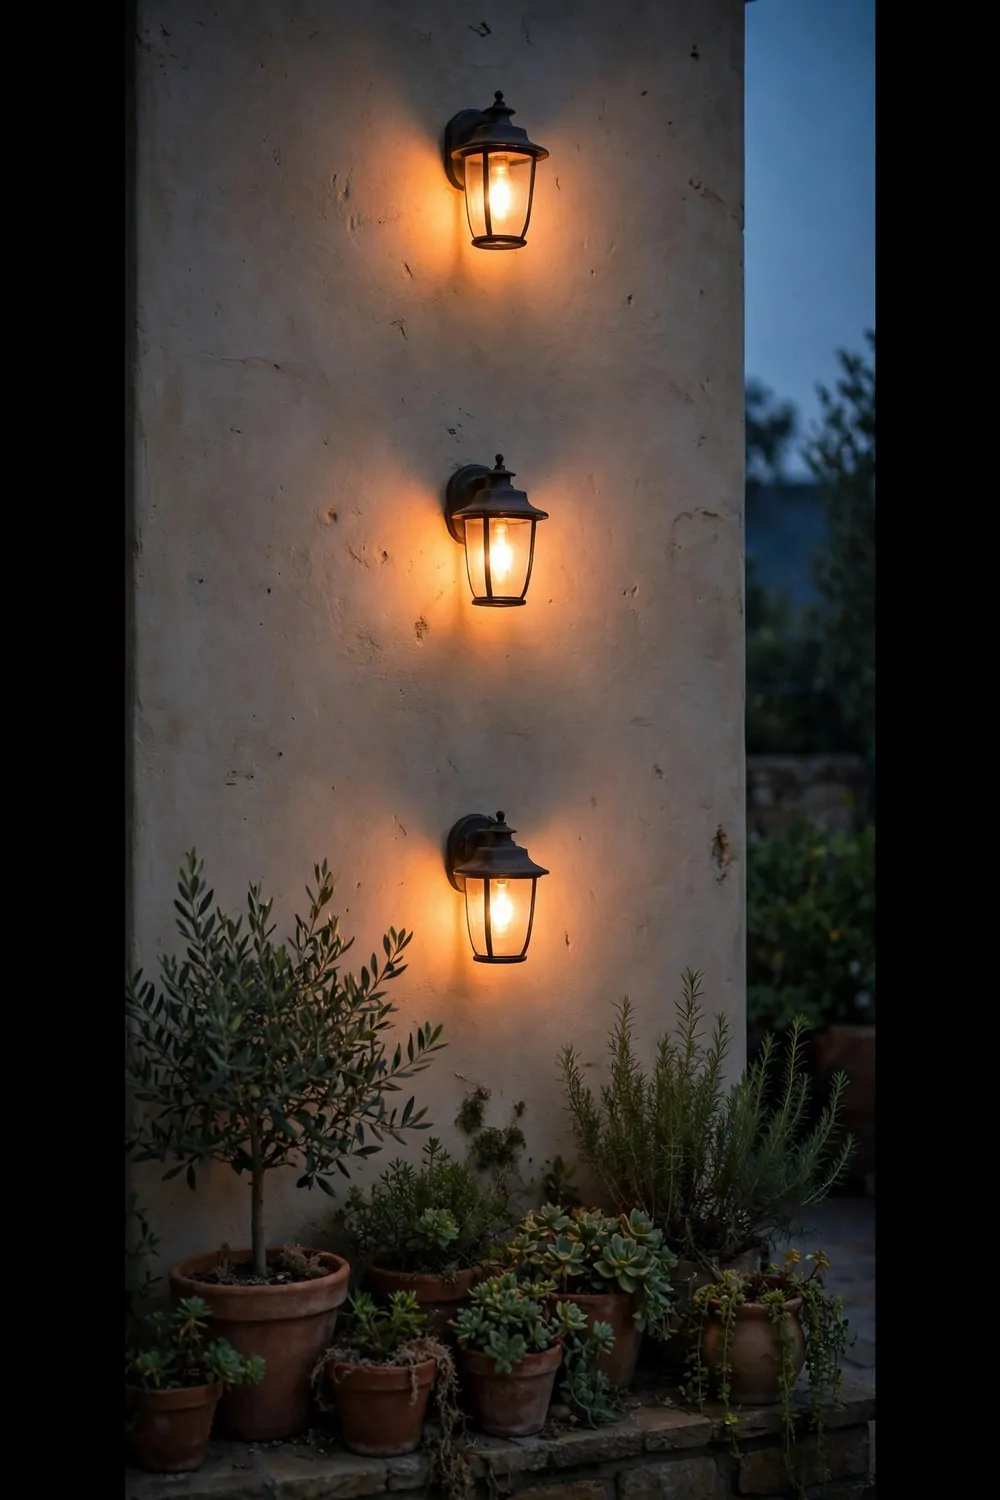
Wall sconces give your porch real light without a big fixture. They sit flat on the wall and shine up and down. It looks neat and tidy.
I put one sconce on each side of my front door. The warm light makes the door look welcoming at night. Guests can see the steps clearly too.
Pick sconces made for outdoor use. They are sealed against rain and dust. Indoor ones will rust or stop working fast outside.
Typical cost is $40 to $120 for a pair of outdoor sconces. Simple ones cost less, and ones with a sensor that turns on at dark cost more.
If you do not have wiring on the wall, battery sconces work great. I have one battery sconce by my side gate. It runs for months on one set of batteries.
Match the sconce finish to your door hardware. Mine are matte black like my door handle. It makes the whole entry look like it was planned together.
Keep the glass clean so the light stays bright. I wipe mine with a damp cloth once a month. Dust builds up fast on a porch.
Warm light looks better than bright white light outside. I use warm bulbs and the porch feels cozy. White bulbs make it feel like a parking lot.
Put the sconces at eye level or a little higher. Too low and the light hits your eyes, and too high and it misses the steps. Mine sit just above my head.
16. A Mosaic Tile Panel
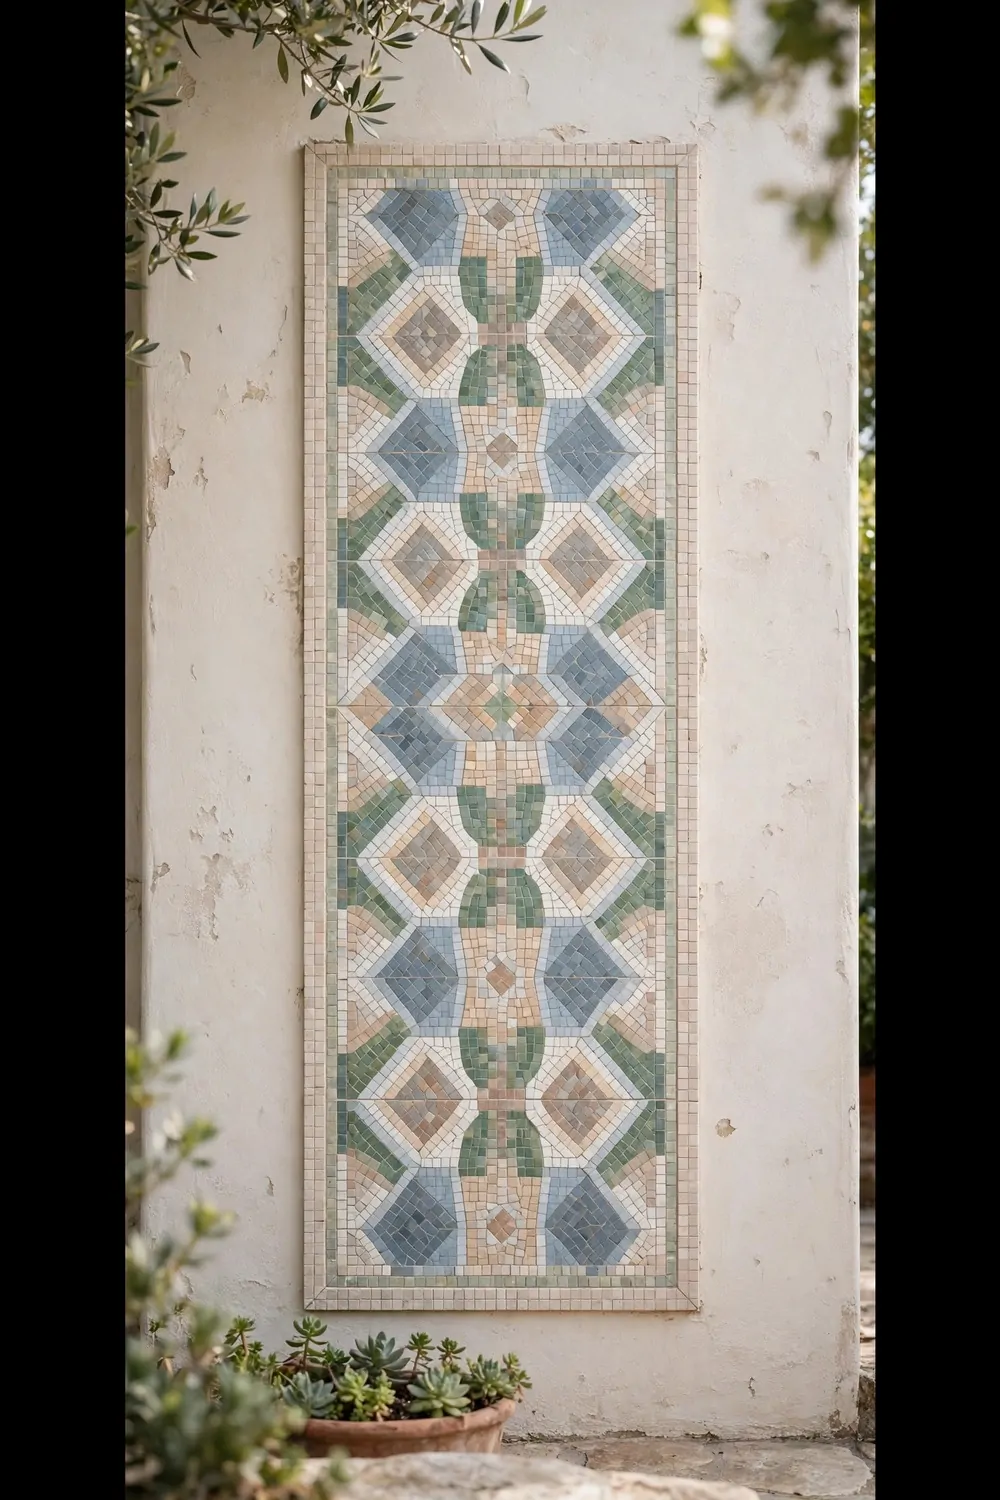
A mosaic panel is a piece of art made from tiny tiles. You glue small pieces together to make a picture or a pattern. It looks rich and handmade.
I made a panel with blue and green tiles in a wave pattern. It reminds me of the sea. People always ask where I bought it and I smile because I made it myself.
You can buy broken tile pieces in bags at craft stores. They come in mixed colors and cost very little. You can also cut old tiles with tile nippers.
Typical cost is $30 to $80 for tile pieces, a board, glue, and grout. A small panel costs less. A big panel with lots of colors costs more.
Glue the tiles on a weatherproof board first, then hang the board on the wall. This is much easier than gluing tiles right on the wall.
Leave small gaps between the tiles for grout. The grout fills the gaps and holds everything tight. I used gray grout because it makes the colors pop.
Seal the finished panel with outdoor grout sealer. Rain can soak into plain grout and crack it in winter. One coat of sealer keeps it safe for years.
Start with a simple shape if it is your first mosaic. A sun, a flower, or stripes are good first tries, and my first panel was just stripes and it still hangs on my wall.
Hang the panel with two strong screws into the wall studs. A mosaic board gets heavy. Mine weighs about ten pounds so I made sure the screws were solid.
17. Hanging Macrame Wall Decor

Macrame is knotted rope art that hangs on the wall. It looks soft and handmade. It adds a warm touch to a porch that feels too hard or plain.
I bought a simple macrame piece with a wooden dowel on top. It hangs from one nail. The knots form a loose pattern that lets light through.
You can buy macrame or make your own with cotton rope. I tried making a small one and it took me one evening, and the basic knots are easy to learn from a video.
Typical cost is $25 to $75 for a ready-made macrame wall hanging. A small one costs less. A large one with thick rope costs more.
Keep macrame under a covered porch so rain does not soak it. Cotton rope holds water and can get moldy. Mine hangs under my roof overhang and stays dry.
Shake it out once a month to get the dust off. I take mine down, give it a good shake outside, and hang it back up. It takes two minutes.
Pair macrame with a plant or a lantern nearby. The soft rope next to green leaves looks lovely. I hung a small plant hook right beside mine.
Pick a size that fits your wall. A tiny piece gets lost on a big wall, and a huge piece crowds a small porch. Mine is about two feet wide and it fits just right.
If the rope ends start to fray, trim them with sharp scissors. I cut mine straight across and they look tidy again. You can also tie a small knot at each end to stop the fraying.
18. A Wall-Mounted Birdhouse
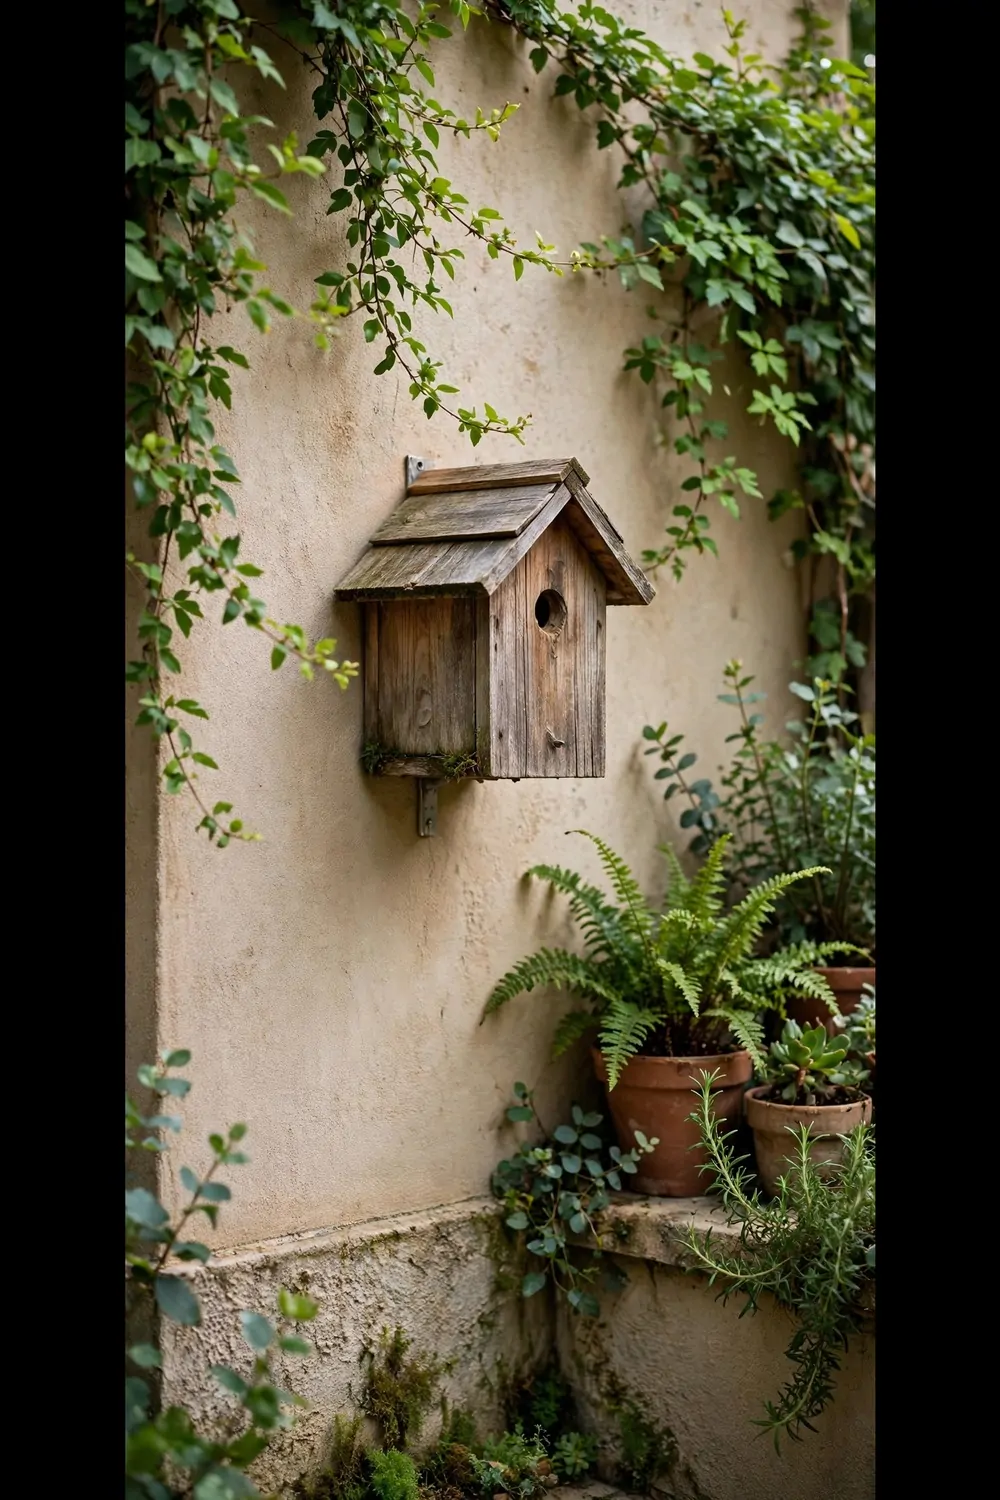
A birdhouse on the wall brings life to your porch. Small birds visit and sing in the morning. It makes the whole porch feel alive.
I hung a simple wooden birdhouse on the wall near my garden, and within a week a pair of small birds moved in. I watch them from my chair with my tea.
Pick a birdhouse made for outdoor use with a small round hole. The hole size decides which birds can use it. A hole about one and a half inches wide suits small songbirds.
Typical cost is $15 to $45 for a wooden birdhouse and mounting screws. A plain one costs less. A painted or fancy one costs more.
Hang the birdhouse where you can see it but not right next to your chair. Birds like a quiet spot. Mine sits on the far end of the wall away from the door.
Face the hole away from strong wind and rain. I turned mine toward the east so storms from the west do not blow rain inside, and the birds stay dry and happy.
Clean the birdhouse out once a year in late fall. Old nests can carry bugs. I open the side panel, scoop the old nest out, and rinse it with water.
Do not put food inside the birdhouse. Birds use it only for shelter and nesting. I keep a small feeder on a pole a few feet away instead.
Paint the outside with outdoor paint if you want color. I painted mine soft green to match my shutters. Use paint only on the outside so the inside stays safe for birds.
19. Solar Wall Lights
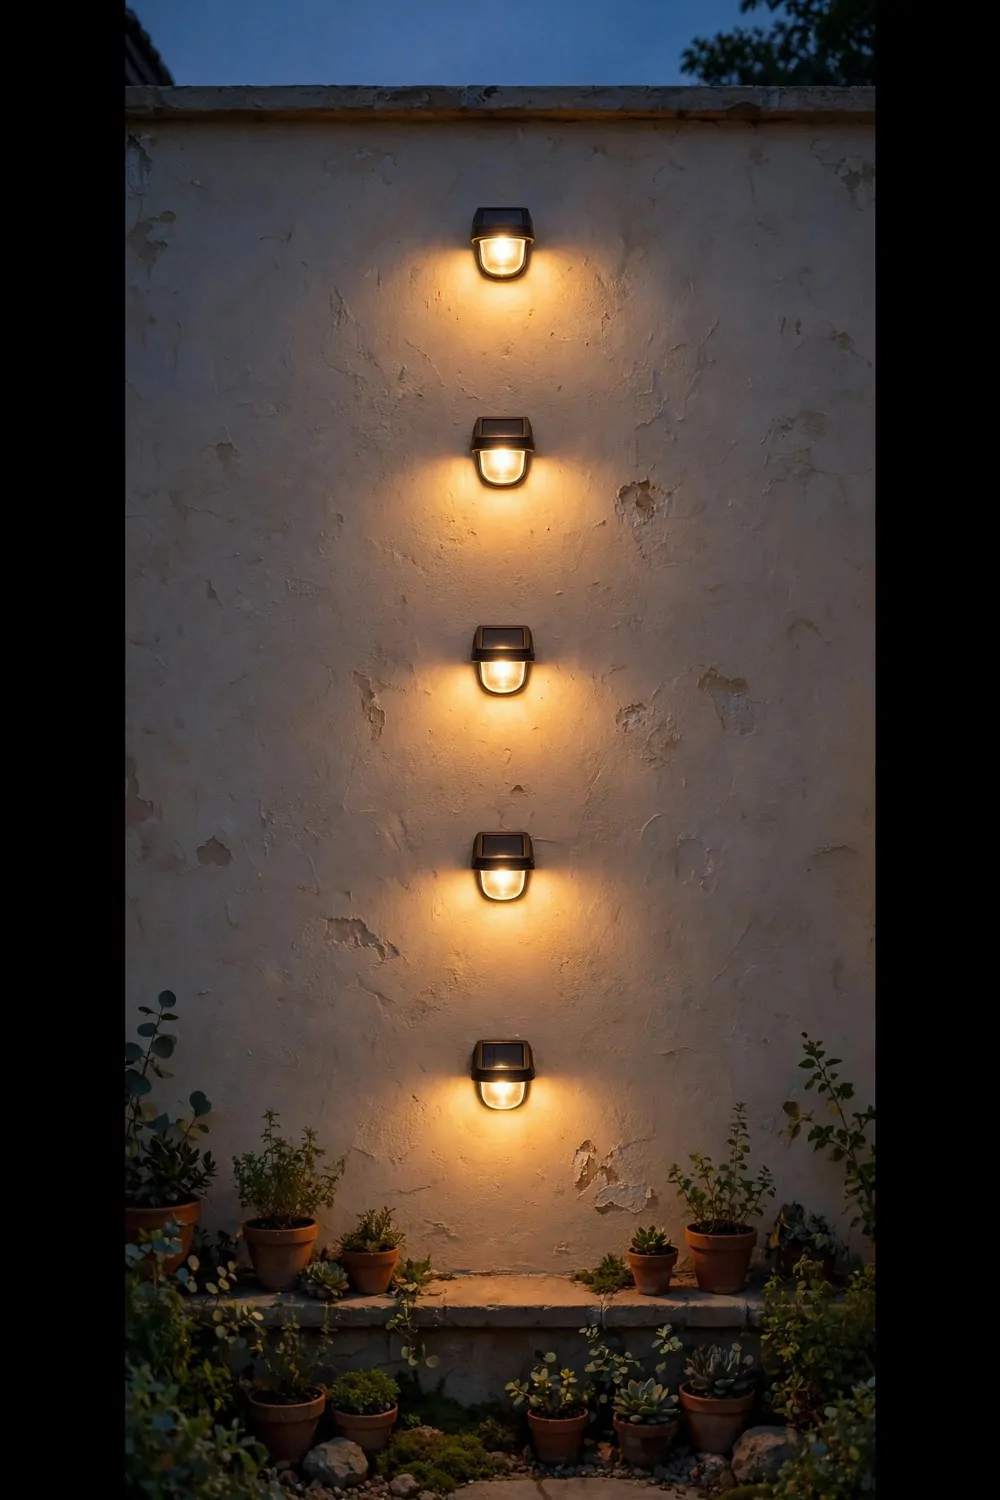
Solar wall lights charge in the sun and glow at night. You do not need wires or an outlet. That makes them perfect for any porch wall.
I stuck four solar lights along my porch wall. They charge all day in the sun. At dusk they turn on by themselves and shine till late night.
Pick lights with a small solar panel on top. The panel needs direct sun for a few hours a day, and my wall gets afternoon sun so the lights charge fully by evening.
Typical cost is $20 to $60 for a set of four solar wall lights. Basic ones cost less. Brighter ones with bigger panels cost more.
Mount them with screws or strong outdoor tape. I used screws because tape can fail in summer heat. The screws took me five minutes each.
Keep the solar panel clean so it charges well. Dust and pollen block the sun. I wipe each panel with a damp cloth once a week.
Put the lights where they help you see at night. I placed two near the steps and two near the door, so now I never trip when I come home after dark.
Solar lights work best in summer when days are long. In winter they may glow for fewer hours. Mine still give a soft light on short winter days.
If a light stops working, check the battery first. Most solar lights use a small rechargeable battery you can swap out. I replaced one battery last year and the light works like new.
20. A One-Afternoon Porch Wall Refresh Plan
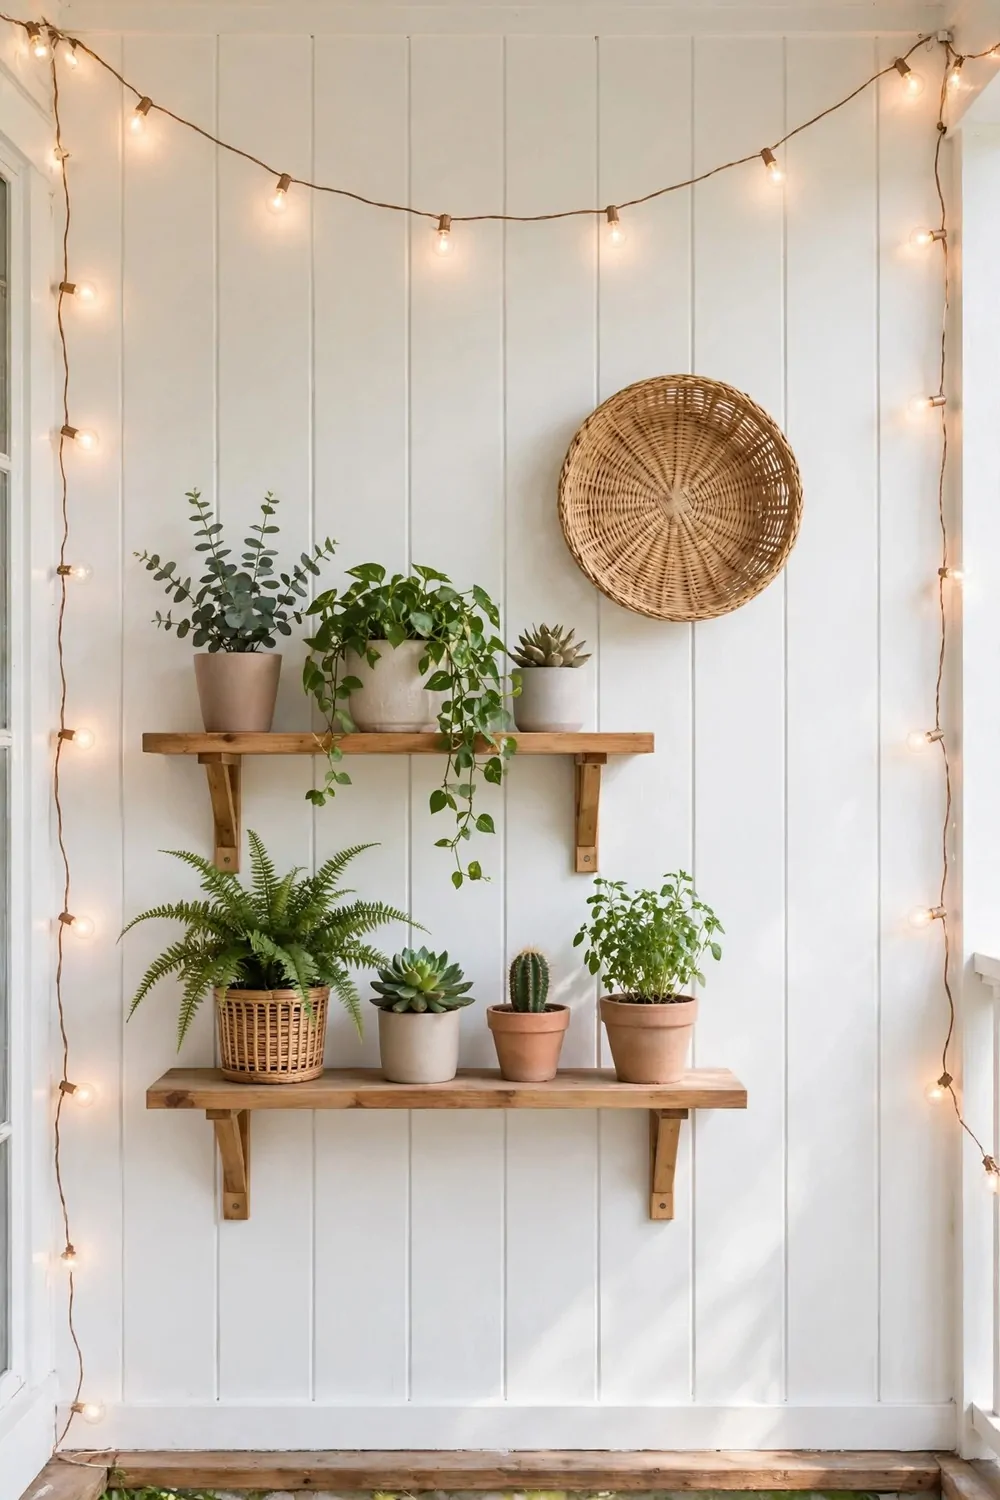
You can refresh your whole porch wall in one afternoon. You do not need a big budget or special skills. You just need a simple plan and a few hours.
Start by taking everything off the wall and giving it a good wash. I scrubbed mine with soapy water and let it dry in the sun. A clean wall makes everything else look better.
Next, set up your seating area with a small chair and a side table. I moved my old chair to the sunny corner and added a cushion, and it became my favorite spot in one move. Typical cost for the seating part is $15 to $25.
Then hang your lights on the wall hooks. I put up two lanterns and one solar light near the door, and the wall looked alive before I even finished.
Typical cost for the lights part is $10 to $20. Battery candles and a small solar light cover it. I already had one lantern so I spent even less.
Add plants next to fill the empty spots. I hung two small pots and set one big pot on the floor. Green leaves make the wall feel fresh right away.
Typical cost for the plants part is $8 to $15. Small starter plants and one pot fit this budget, and I used pots I already had and bought only the plants.
Finish with cushions on the chair and a small rug on the floor. I added two bright cushions and a woven mat by the door. The porch felt done and cozy.
Typical cost for the cushions part is $12 to $25. Typical cost for the floor part is $10 to $15. Typical cost is $55 to $100 for the whole afternoon.
| Area | Main change | Typical cost |
|---|---|---|
| Seating | A small chair and a soft cushion | $15 to $25 |
| Lights | A string of lights and a small solar light | $10 to $20 |
| Plants | Pots near the door and seats | $8 to $15 |
| Cushions | A pile on a chair or bench | $12 to $25 |
| Floor | A swept patio and a small rug | $10 to $15 |
| Total | Whole afternoon refresh | $55 to $100 |
Keep Reading
If you liked these ideas, you will love these posts too.
- 29 Backyard Decor Ideas on a Budget
- 22 Front Door Decor Ideas That Make a Great First Impression
- 31 Outdoor Storage Ideas for Small Yards and Patios
- 24 Deck Decor Ideas That Make Outdoor Evenings Better
- 27 Backyard Storage Ideas That Keep Outdoor Gear Tidy
- 26 Vertical Storage Ideas That Make Small Homes Feel Bigger
Look at your wall tonight and pick the one idea that makes you smile. A small change up there can make your whole patio feel new by the weekend.