26 Outdoor Furniture Storage Ideas That Protect Your Pieces

Count the chairs, the table, the cushions, and the umbrella on your patio right now. Now think about what rain, sun, and damp air do to each one of them over a single season.
I did that count last year and the number shocked me a little. I had more outdoor pieces than I thought, and most of them had no real home when the weather turned bad.
Sun fades the color out of fabric fast. Rain soaks into cushions and leaves a damp smell that is hard to shake off.
Wind is no kinder. It tips light chairs over, drags cushions across the yard, and pushes dust into every fold and seam.
The good news is you do not need a big shed or a big budget to fix this. You just need a dry spot for each piece, and a habit of putting things away before the sky turns gray.
That is what this list is for. Each idea is simple, cheap to start, and made for real patios and small yards, not perfect show homes.
You will find all 26 outdoor furniture storage ideas in this one post, from deck boxes and wall racks to dry garage corners and tarp tents, so you can protect every piece you own without buying a whole new set next year.
1. A Deck Box That Hides the Cushions
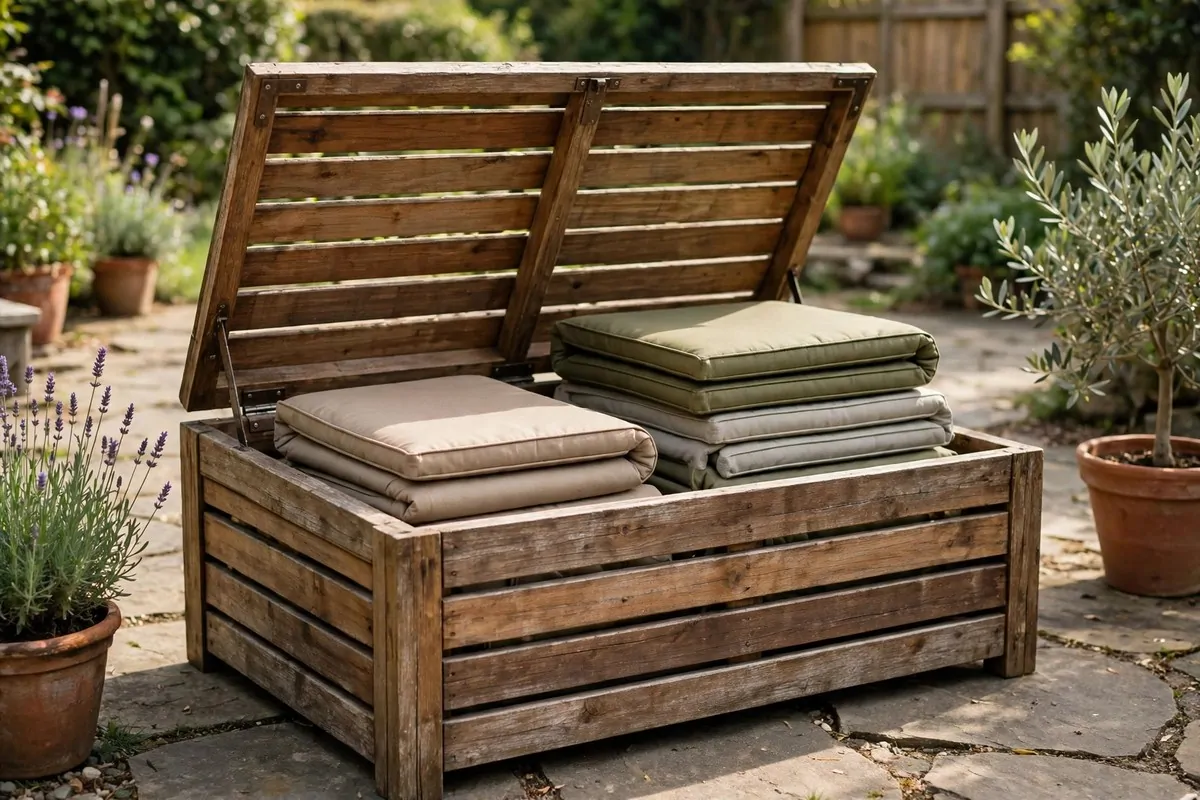
A deck box is a big outdoor chest that sits right on your patio. You lift the lid, drop the cushions in, and close it up tight.
I keep mine by the back door because that is where I use the cushions most. It saves me ten trips across the yard every time the sky looks dark.
Look for a box with a lid that closes flat and a small gap at the back for air to move. Air flow matters more than people think, because trapped damp air makes cushions smell musty in a week.
Put a folded old towel at the bottom of the box before you add the cushions. It soaks up any tiny bit of damp that sneaks in.
Typical cost is $60 to $180 for a good deck box, and bigger ones with a stronger lid cost a bit more.
Stack the cushions on their sides, not flat on top of each other. They dry faster that way, and you can pull one out without digging through the whole pile.
Wipe the inside of the box dry once a month with a cloth. It only takes two minutes, and it keeps the box fresh all season.
If your box sits in full sun, a light colored one stays cooler inside. Dark boxes get hot, and hot air can make fabric fade even faster.
Your cushions will last years longer with this one change. That is the whole point of a deck box, really, a dry little home for the soft stuff.
2. A Storage Bench by the Back Door
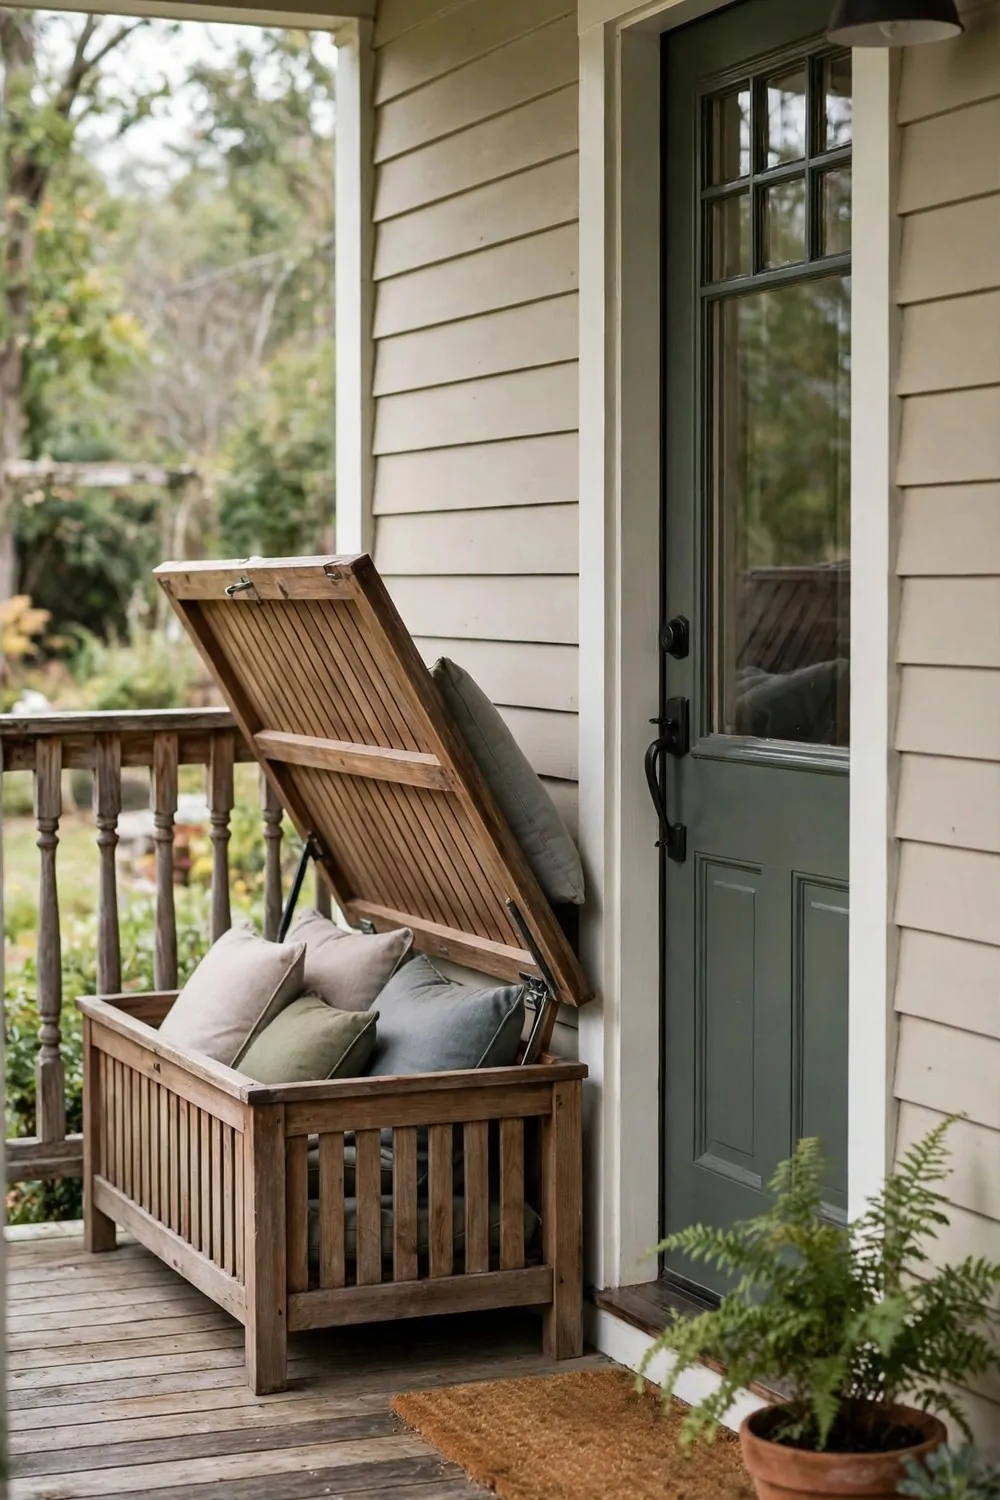
A storage bench looks like a normal seat, but the top lifts up and hides a deep box inside. You sit on it in the morning and store things in it at night.
I love this one for small patios. It gives you a seat and a storage spot in the same square of space.
Keep light things in it, like seat pads, small blankets, and table mats. Heavy things make the lid hard to lift, and you will stop using it.
Typical cost is $70 to $200 for a storage bench, and wood ones often cost more than plastic ones.
Put the bench where rain cannot drip straight onto it from the roof edge. A little roof overhang makes a big difference here.
Add a small hook on the side for a dust cloth. Then you can wipe the bench down in ten seconds before you sit.
If the bench wobbles on uneven patio stones, slide a flat stone under the short leg. A steady bench feels safe, and you will use it every day.
Teach everyone in the house one rule, that the bench lid always closes after use. An open bench fills with rain in one storm, and then you have a small pond instead of storage.
A bench by the door turns a messy pile of pads into a tidy seat. It is one of the easiest wins in this whole list.
3. Stackable Chairs on a Shed Shelf
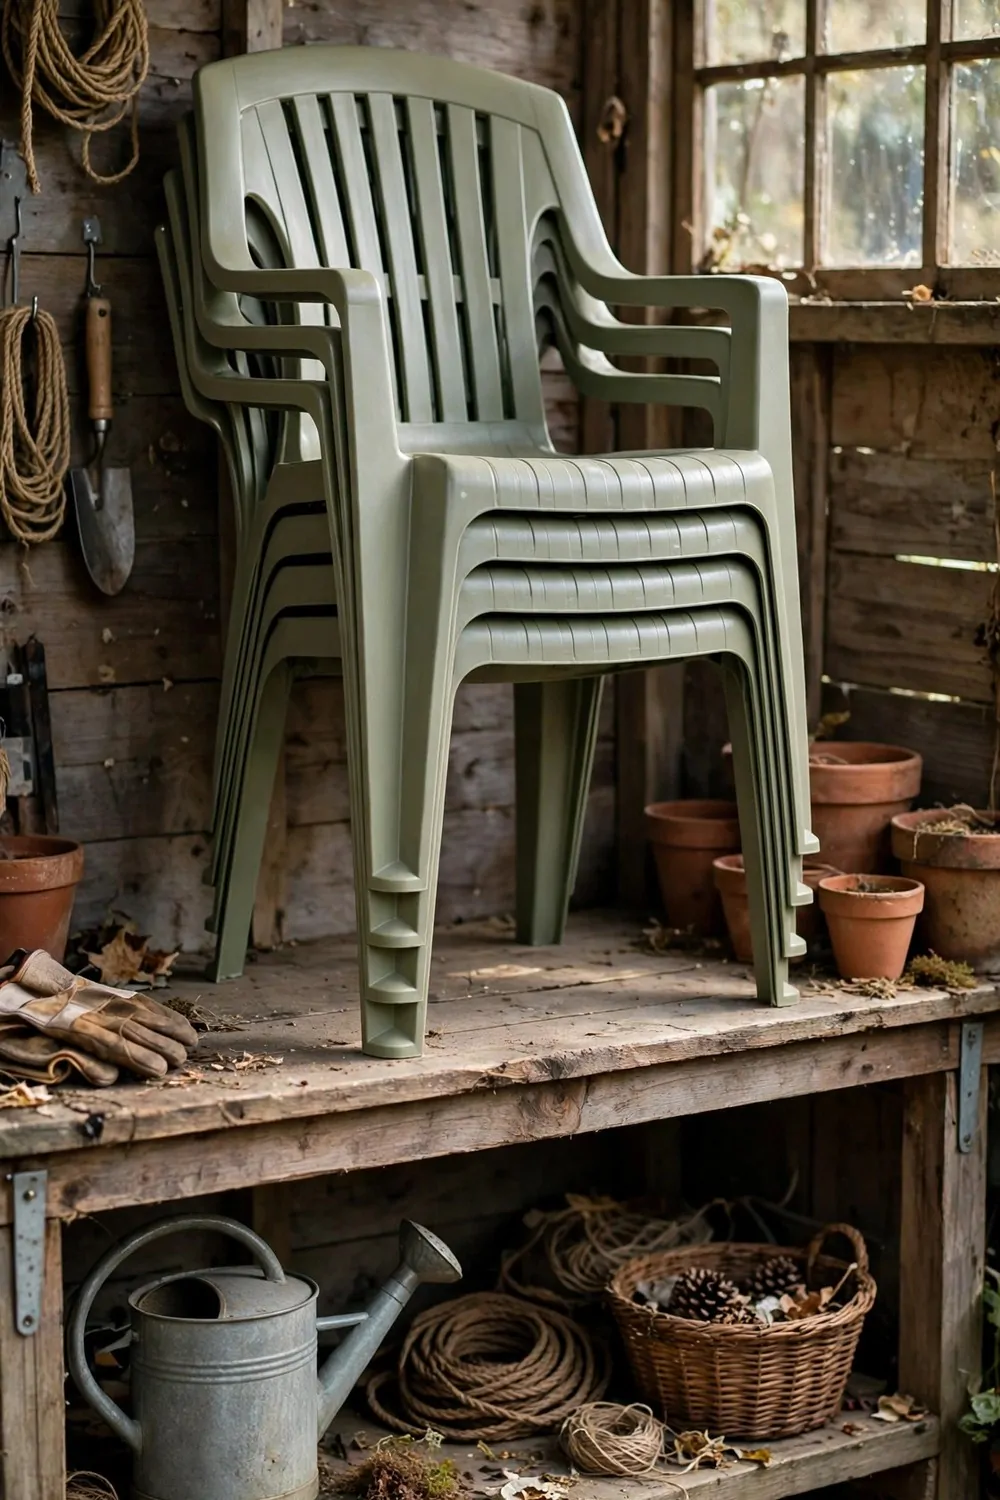
Stackable chairs are made to sit one on top of the other, so a whole set takes up the space of one chair. That is a gift when your shed is small.
A strong shelf in the shed holds the stack up off the floor. Floor damp is the quiet enemy here, and even a few inches of height helps a lot.
Stack the chairs with the legs facing the same way each time. It sounds fussy, but a neat stack does not wobble, and it slides in and out without a fight.
Typical cost is $25 to $60 for a small shelf, $70 to $140 for a medium one, and $150 to $300 for a large one that holds a full set of chairs.
Wipe the chairs down before you stack them for the season. Dirt left on the seats turns into stains over the cold months, and stains are much harder to clean later.
A bungee cord around the stack keeps it steady on windy days when the shed door blows open. One cord is enough, and it takes five seconds to hook on.
If your shed has no shelf yet, two solid brackets and a thick board make one in an afternoon. You do not need fancy tools for this job.
Keep the chair stack near the shed door, not buried behind boxes. You will actually use the chairs when they are easy to grab.
When spring comes, you lift the stack down, wipe it once, and your chairs look almost new. That is the reward for a little shelf and a neat stack.
| Shelf size | Typical cost | Best for |
|---|---|---|
| Small shelf | $25 to $60 | A cheap start for a few chairs |
| Medium shelf | $70 to $140 | Room for a small set |
| Large shelf | $150 to $300 | A full set of chairs |
4. Waterproof Covers That Fit Tight
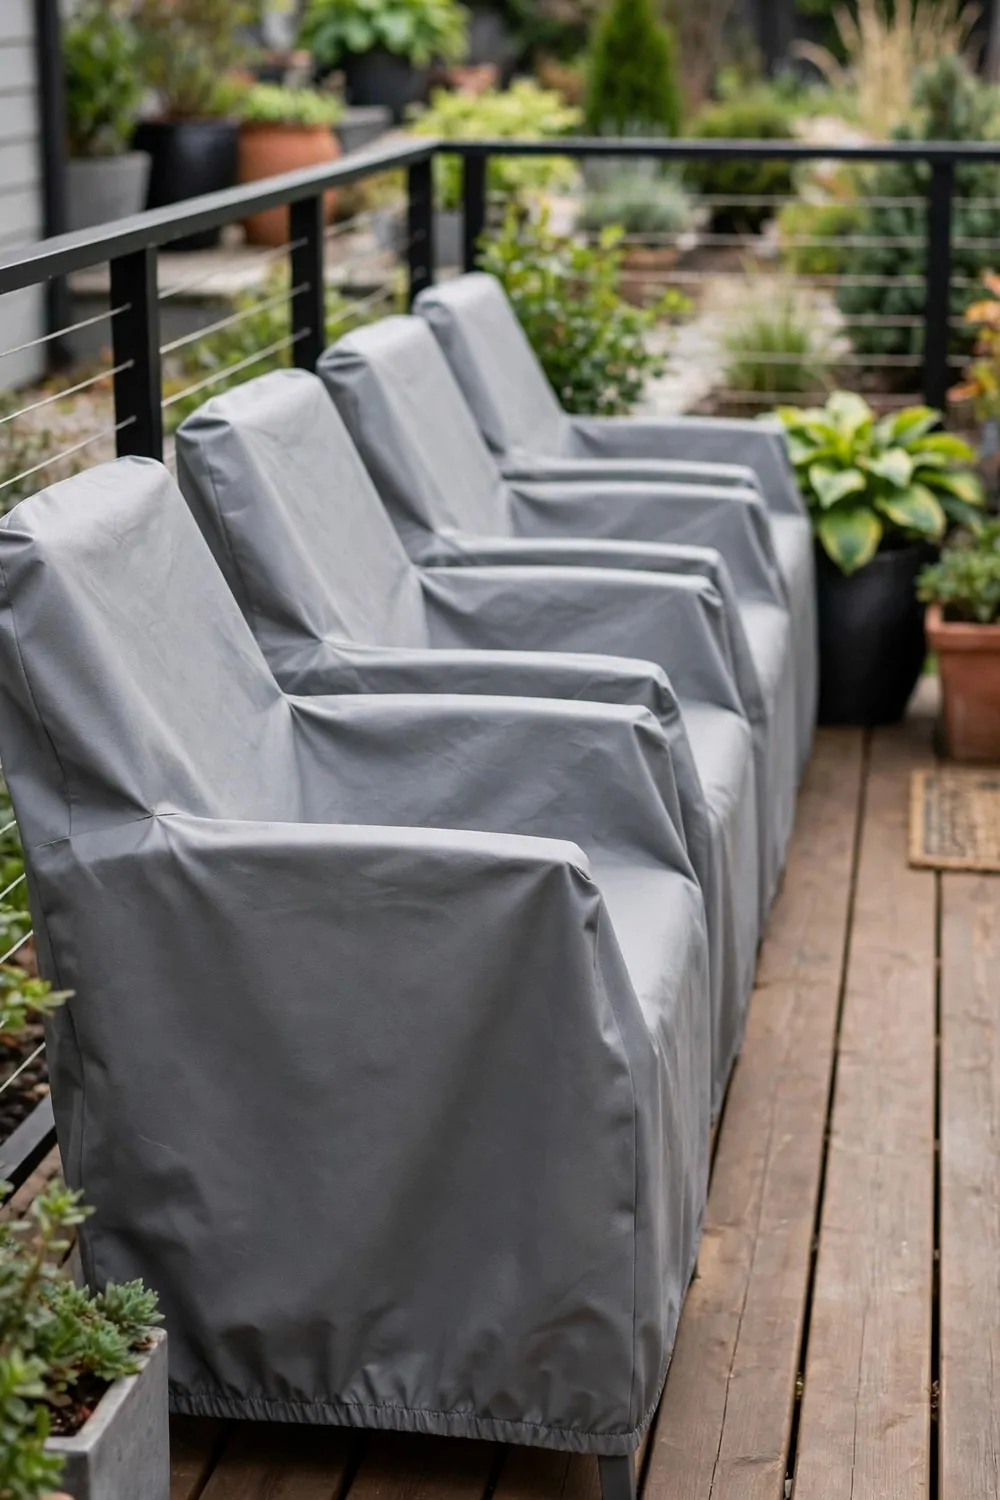
A cover only works if it fits tight around the piece it protects. A loose cover flaps in the wind, lets rain in under the edges, and can even blow away.
Measure your chair or table before you buy anything. Write the numbers down on your phone so you do not have to guess in the shop.
Look for covers with a drawstring or a strap at the bottom. That little tie is what keeps the cover in place when a storm rolls in.
Typical cost is $15 to $45 for a good chair cover, and table covers cost a bit more.
Put the cover on while the furniture is dry. Covering damp furniture traps the damp inside, and that is worse than no cover at all.
Lift one corner of the cover every few weeks and peek underneath. If you see damp, take the cover off on a dry sunny day and let everything air out.
Fold the covers neatly when you take them off in spring. Stuffing them in a ball makes creases that crack over time, and cracked covers leak.
A cover with a light color stays cooler in the sun. Dark covers can get so hot they stick to the furniture a little, which is no fun to peel off.
Tight covers are the cheapest way to protect outdoor furniture. One good cover can add years to a chair you already love.
5. A Rolling Cart for Small Pieces
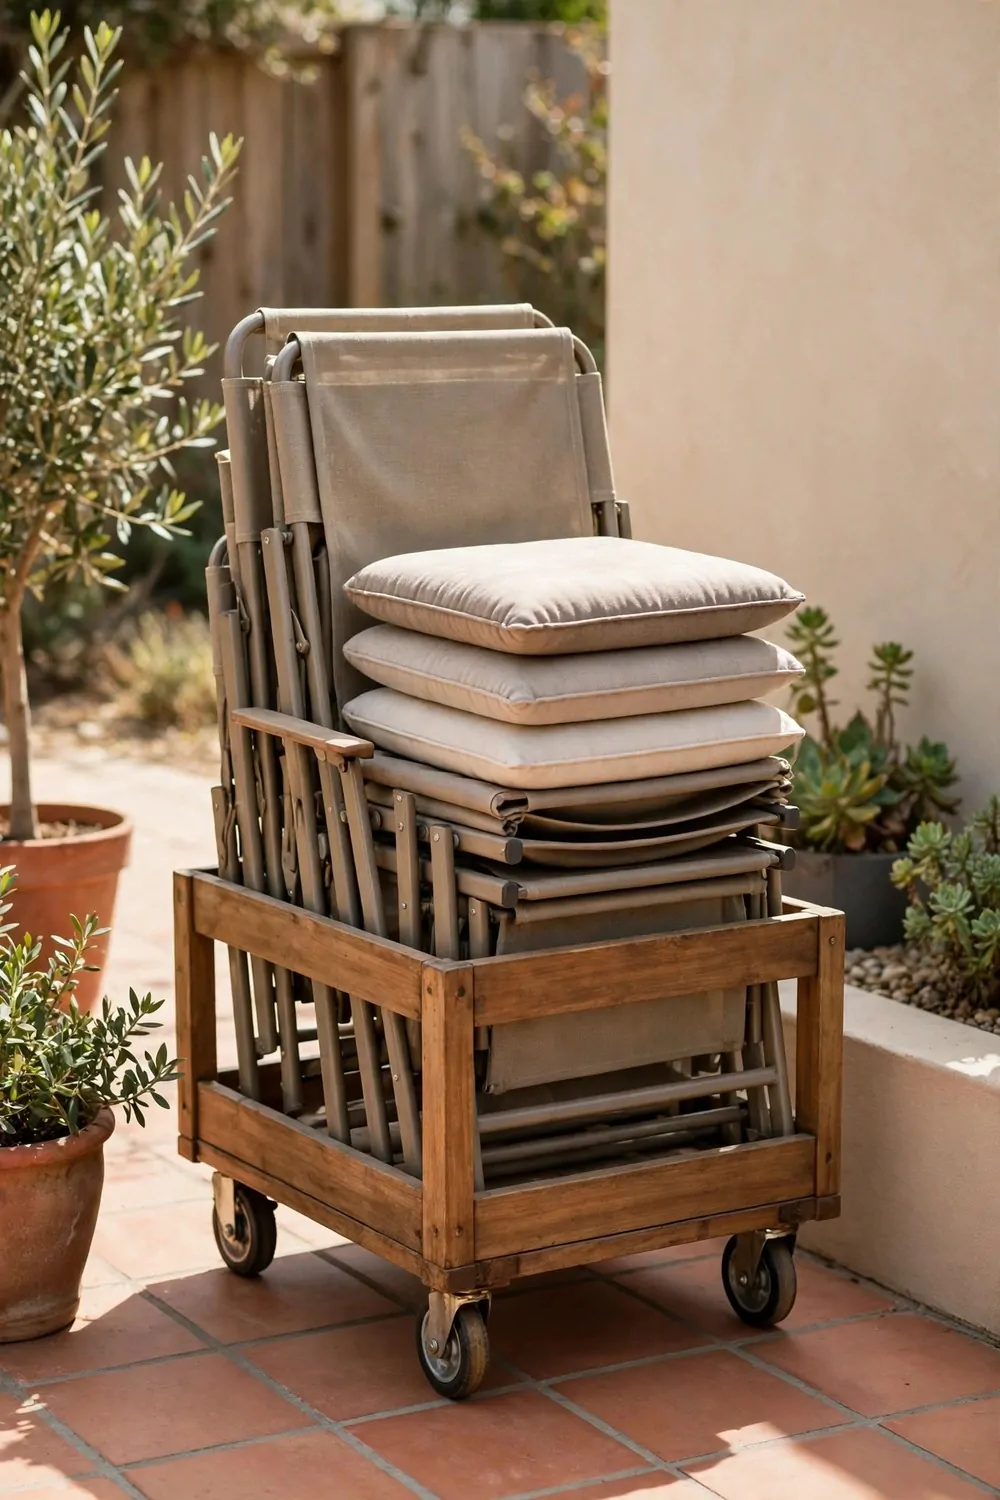
A rolling cart is a small shelf on wheels that holds the little outdoor pieces. Side tables, plant stands, and footstools all fit on it.
I roll mine into the shed when rain starts, and roll it back out when the sun comes back. It takes less than a minute, so I actually do it.
Pick a cart with wheels that lock. A cart that rolls away on a sloped patio is a small disaster waiting to happen.
Typical cost is $40 to $120 for a rolling cart, and metal ones with bigger wheels cost more.
Keep the heavy pieces on the bottom shelf and the light ones on top. A top heavy cart tips over, and tipped carts break things.
A cart also works as a drying rack on sunny days. Set damp cushions on it in the morning, and they dry fast with air moving all around them.
Wipe the wheels clean once in a while. Dirt and small stones jam them up, and then the cart stops rolling smooth.
If you have no shed, park the cart under a roof overhang or a covered porch. Even a little roof keeps most of the rain off.
Small pieces get lost and broken more than big ones do. A cart gives them a home, and a home is what keeps them safe.
6. Under-Bench Bins for Pillows
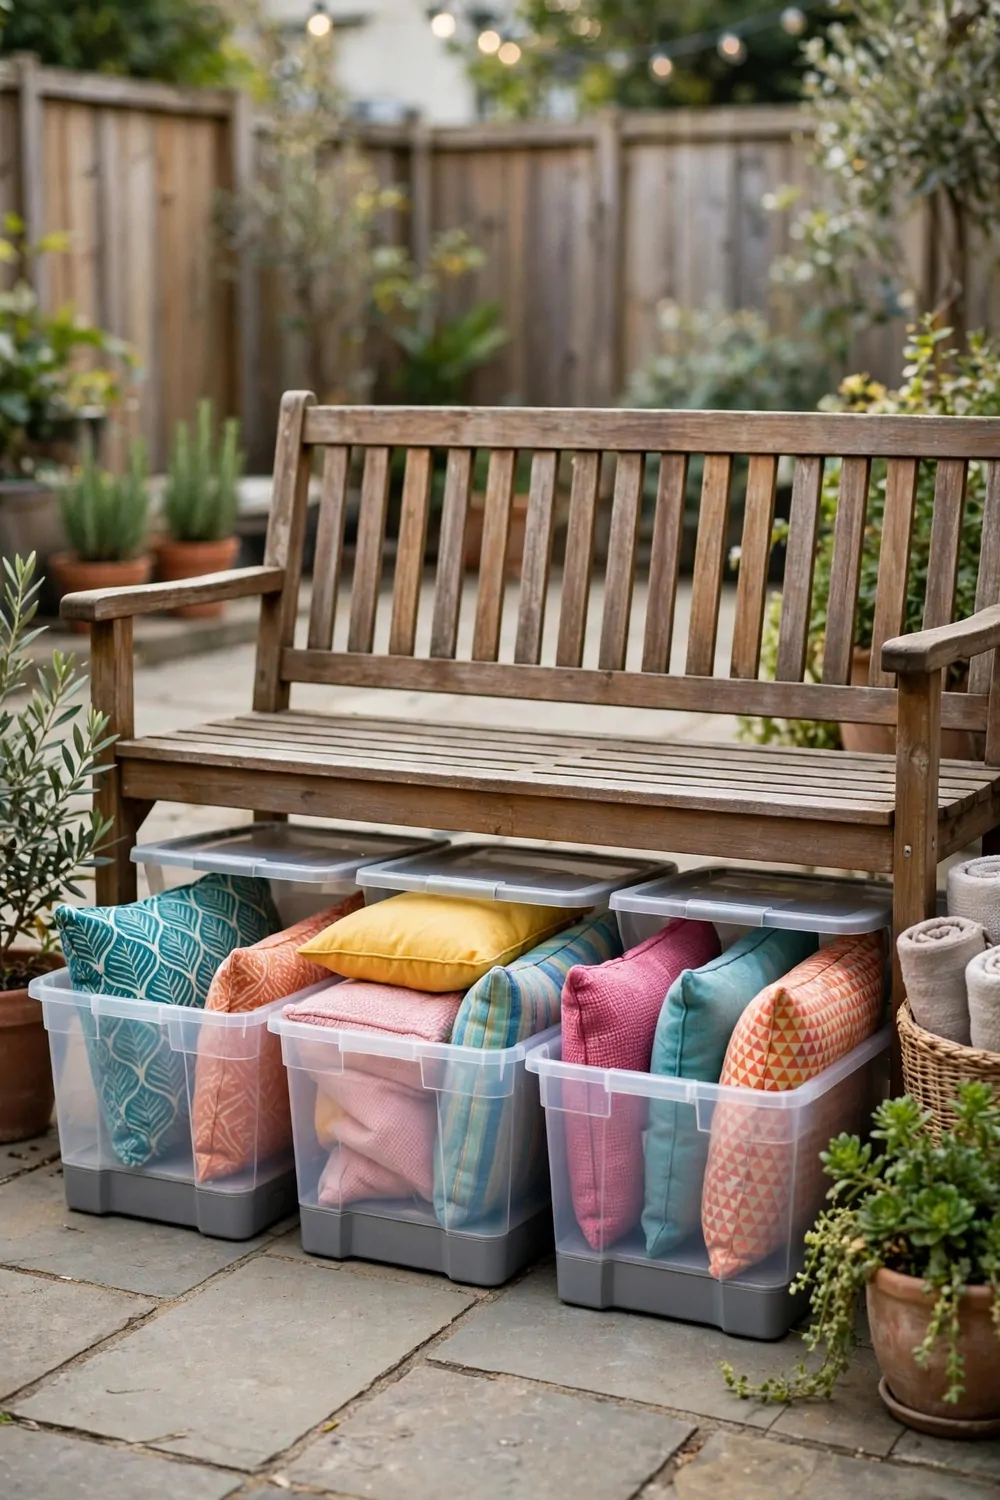
The space under a bench is dead space in most yards. A few low bins turn it into pillow storage, and the pillows stay dry and close by.
Pick bins that slide in and out easy. If you have to fight the bin every time, you will stop using it by the second week.
Label each bin with a small tag, one for big pillows and one for small ones. It sounds silly, but it stops the morning dig through three bins to find one pillow.
Typical cost is $10 to $30 for each bin, and a set of three costs a bit less per bin.
Drill two small holes in the back of each bin for air to move through. Air keeps pillows fresh, and fresh pillows smell nice when you sit down.
Shake the pillows out before you put them away each night. A quick shake knocks off dust and crumbs, and the bin stays clean longer.
Wash the bins with soapy water once a month. It takes five minutes, and clean bins mean clean pillows.
If the bench sits low, use flat bins instead of tall ones. Flat bins slide under easy, and you do not have to lift the bench to reach them.
Pillows are the first things to get ruined by rain. Under-bench bins keep them dry, close, and ready for the next sunny afternoon.
7. A Wall Rack for Folding Chairs
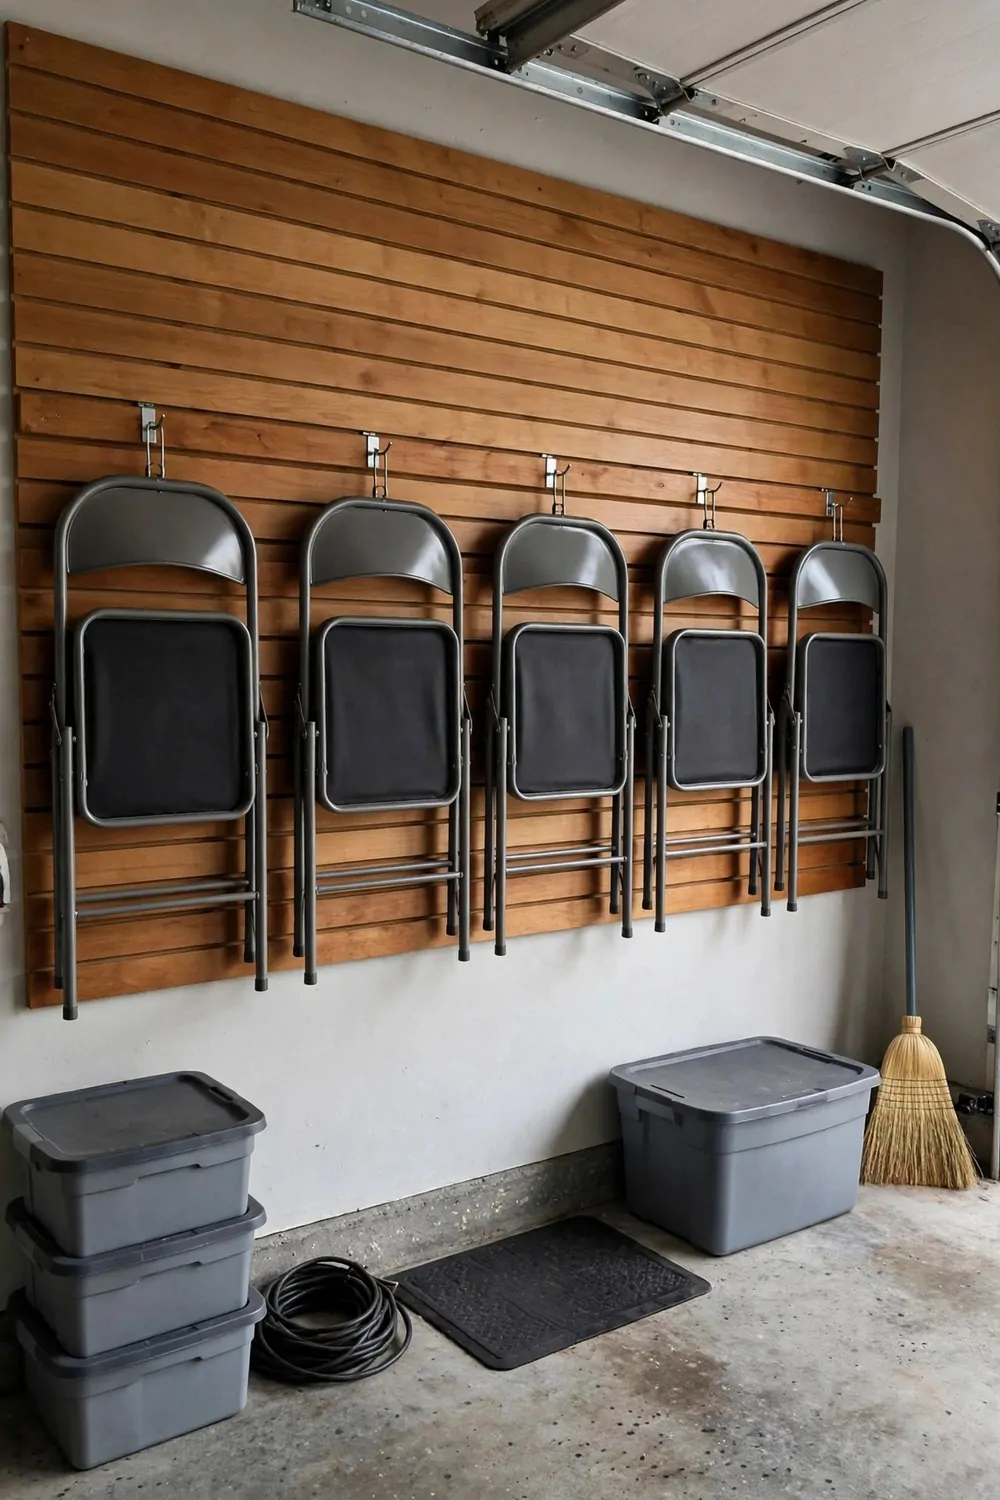
Folding chairs lean in corners and fall over at the worst times. A wall rack holds them flat against the wall, safe and out of the way.
A rack is just two strong hooks or arms fixed to the wall. You hang the folded chairs on them, one after the other, like books on a shelf.
Fix the rack into solid wall studs, not just the surface boards. Chairs are heavier than they look, and a rack that pulls out of the wall is a mess.
Typical cost is $20 to $60 for a wall rack, and longer racks that hold more chairs cost more.
Hang the chairs with the seats facing out. That way you can grab one fast when guests show up without warning.
Keep the rack at a height you can reach without a step stool. If you need a stool to hang a chair, you will leave the chair on the ground instead.
A rack in the garage works best, because the chairs stay dry and dust free there. A covered porch wall works too, if the rain cannot reach it.
Count your chairs before you buy the rack. A rack made for four chairs will not hold six, no matter how hard you push.
Wall racks turn a wobbly pile of chairs into a neat row. Your floor stays clear, and your chairs stay in one piece.
8. A Dry Corner in the Garage
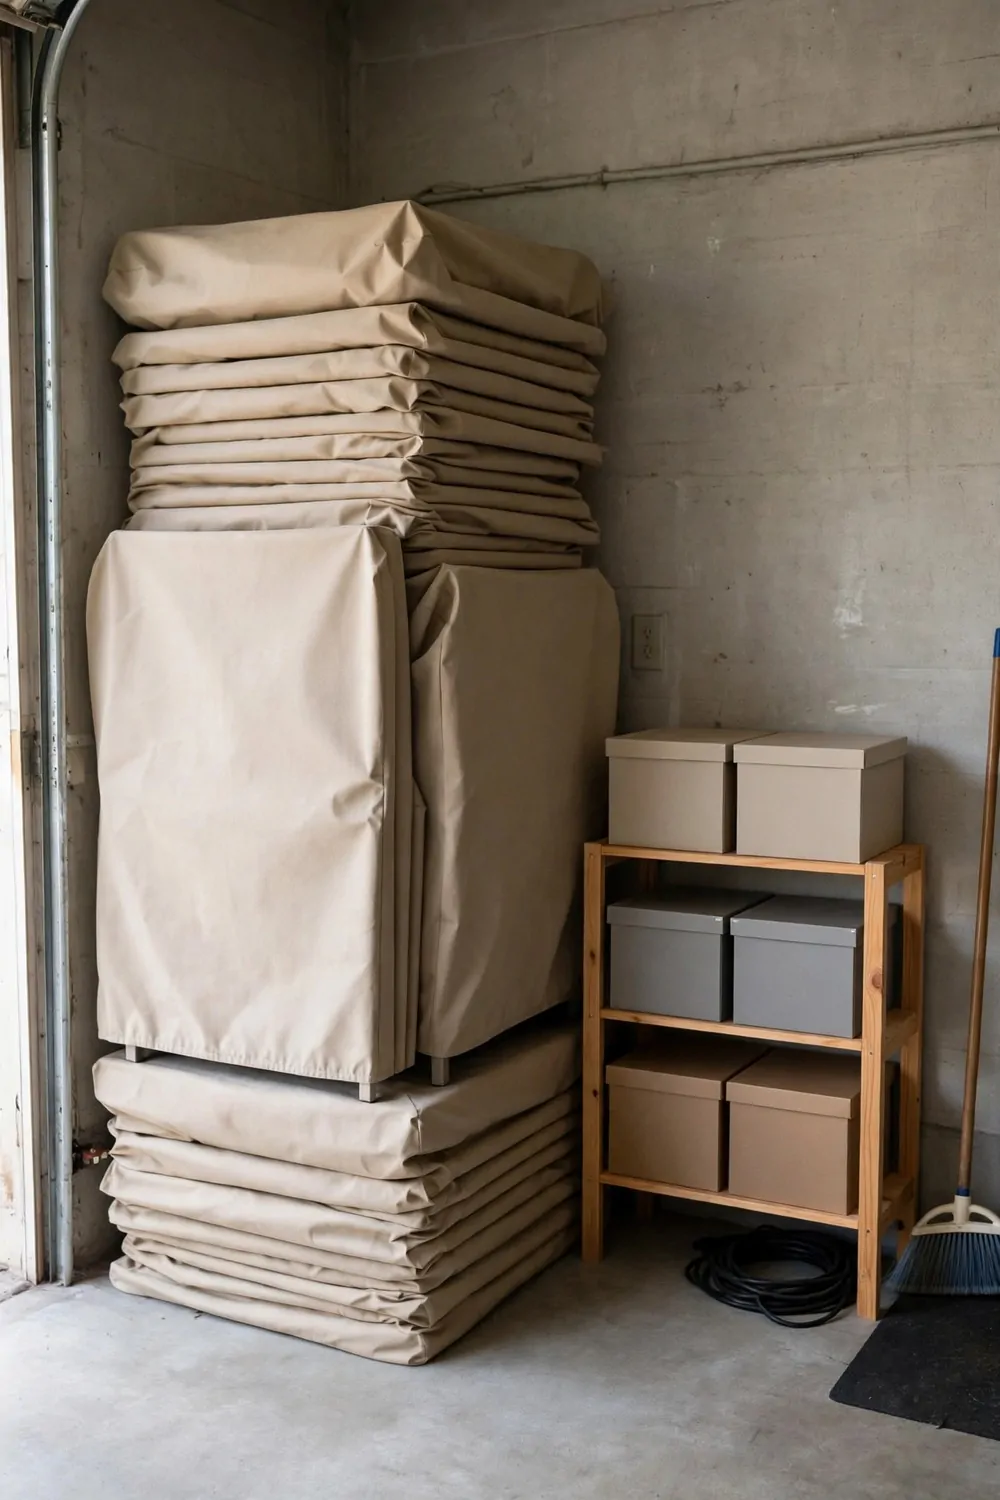
You do not need a whole garage for outdoor furniture. One dry corner is enough, if you pick the right corner and keep it clear.
Pick the corner farthest from the garage door. Rain blows in through the door gap, and the far corner stays driest.
Lay a wooden pallet or a rubber mat on the floor first. It lifts everything off the cold concrete, and concrete damp is what ruins chair legs over time.
Typical cost is $15 to $50 for a pallet or mat setup, and a raised platform costs a bit more.
Keep this corner free all year, even when the garage fills up with other stuff. The day you pile boxes on your chairs is the day you stop using the corner.
A small fan in the corner helps on damp days. Moving air dries things out, and dry furniture lasts much longer than damp furniture.
Hang a few hooks on the wall above the corner for light things, like seat pads and tablecloths. Wall space is free storage, and it keeps the floor clear.
Check the corner after a big storm. If you see a puddle, find where the water came in and fix that spot first.
One dry corner can hold a whole patio set if you stack and fold with care. It is the simplest storage idea in this list, and it works.
9. A Fold-Down Table on the Wall
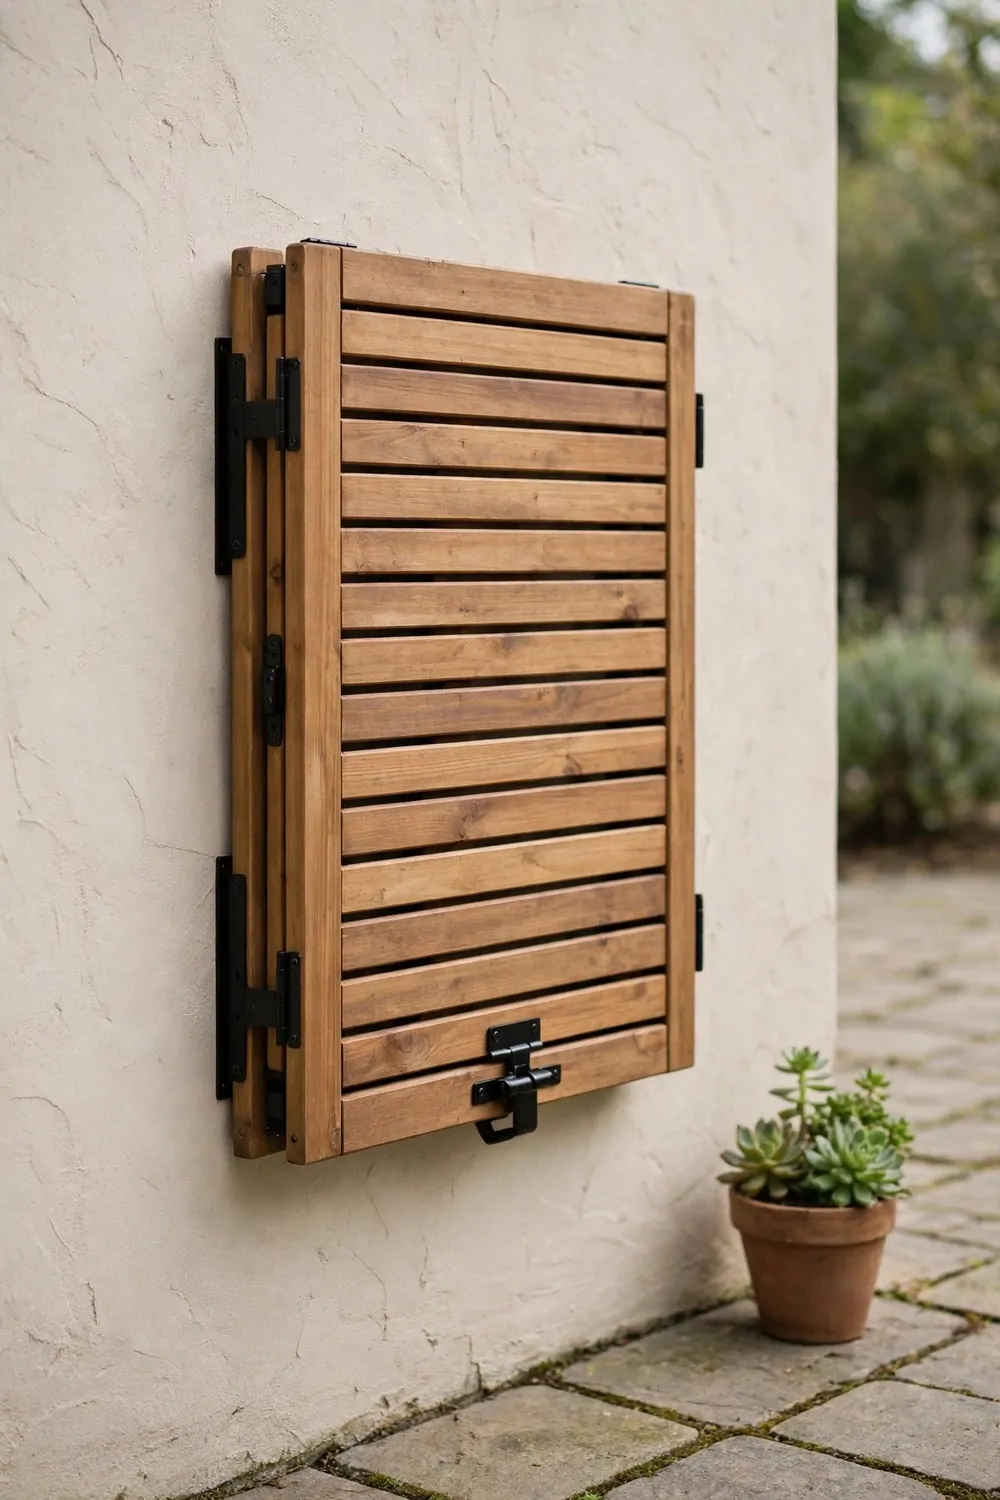
A fold-down table hangs on the wall and folds flat when you do not need it. Fold it up to eat outside, fold it down to free the space.
This is perfect for tiny patios where a full table eats up all the room. When the table is folded away, you can walk past without turning sideways.
Fix the table to a solid wall with strong brackets. A wobbly table spills drinks, and spilled drinks ruin a nice afternoon fast.
Typical cost is $50 to $150 for a fold-down table, and bigger ones with stronger brackets cost more.
Store the folding chairs on a hook right next to the table. Then the whole eating spot lives in one place, and setup takes one minute.
Wipe the table top dry before you fold it away. Trapped damp between the table and the wall makes stains that are hard to clean later.
A fold-down table also works on a balcony wall, if the wall is solid and the fixings are strong. Check the wall first, and ask for help if you are not sure.
Paint the underside a bright color if you like. When the table is folded down, that color becomes a little piece of wall art.
Small spaces need furniture that can disappear. A fold-down table does just that, and your patio feels twice as big.
10. An Umbrella Stand That Drains
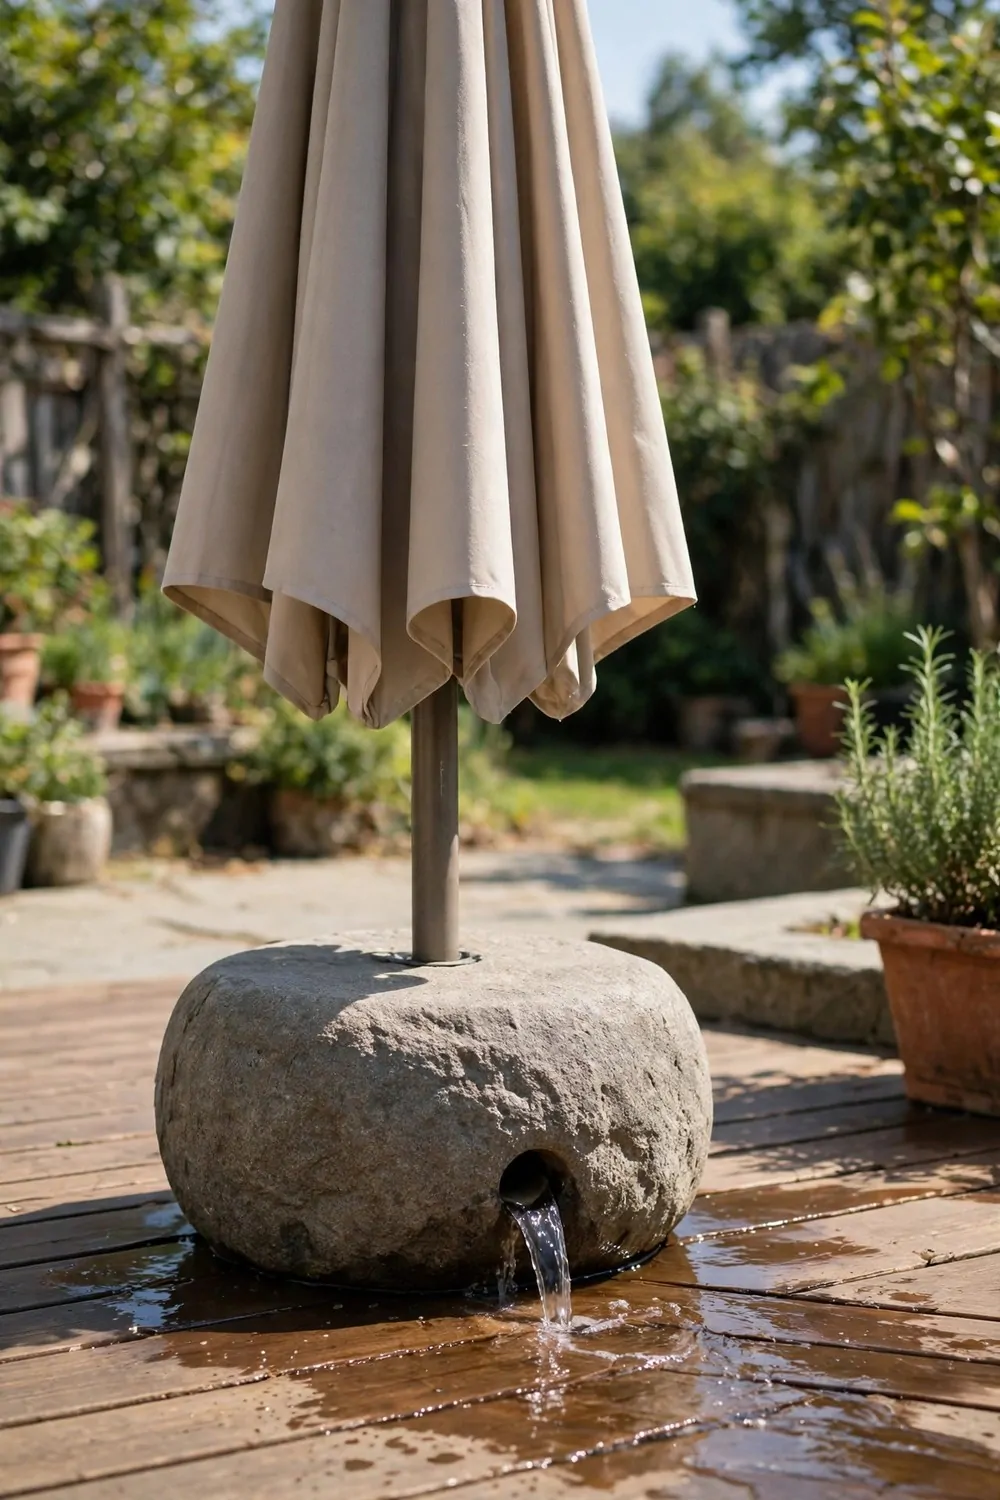
An umbrella stand holds your patio umbrella upright, but a good one also lets rain water drain out. A stand that holds water turns into a rusty bucket.
Look for a stand with drain holes in the bottom or a base that lifts the pole off the ground. Water needs a way out, or it sits and causes trouble.
Empty the stand after every big rain, even if it has drain holes. Leaves and dirt clog small holes fast, and a clogged hole is the same as no hole.
Typical cost is $30 to $70 for a small stand, $80 to $160 for a medium one, and $170 to $300 for a large one with a heavy base.
Pick a heavy stand if your patio gets strong wind. A light stand tips over, and a tipping umbrella can break a table or hurt someone.
In the cold months, store the umbrella and the stand inside if you can. Ice cracks cheap stands, and a cracked stand wobbles all next summer.
Wipe the pole dry before you slide it into the stand. A wet pole rusts from the inside, and you will not see the rust until it is too late.
A stand with wheels makes moving the umbrella easy. You can chase the shade across the patio without lifting a heavy base.
A draining stand is a small thing, but it saves your umbrella from rust and your patio from puddles. That is money well spent.
| Stand size | Typical cost | Best for |
|---|---|---|
| Small stand | $30 to $70 | A cheap start for one umbrella |
| Medium stand | $80 to $160 | A steady hold for big umbrellas |
| Large stand | $170 to $300 | A heavy base for windy days |
11. A Chest for Outdoor Blankets
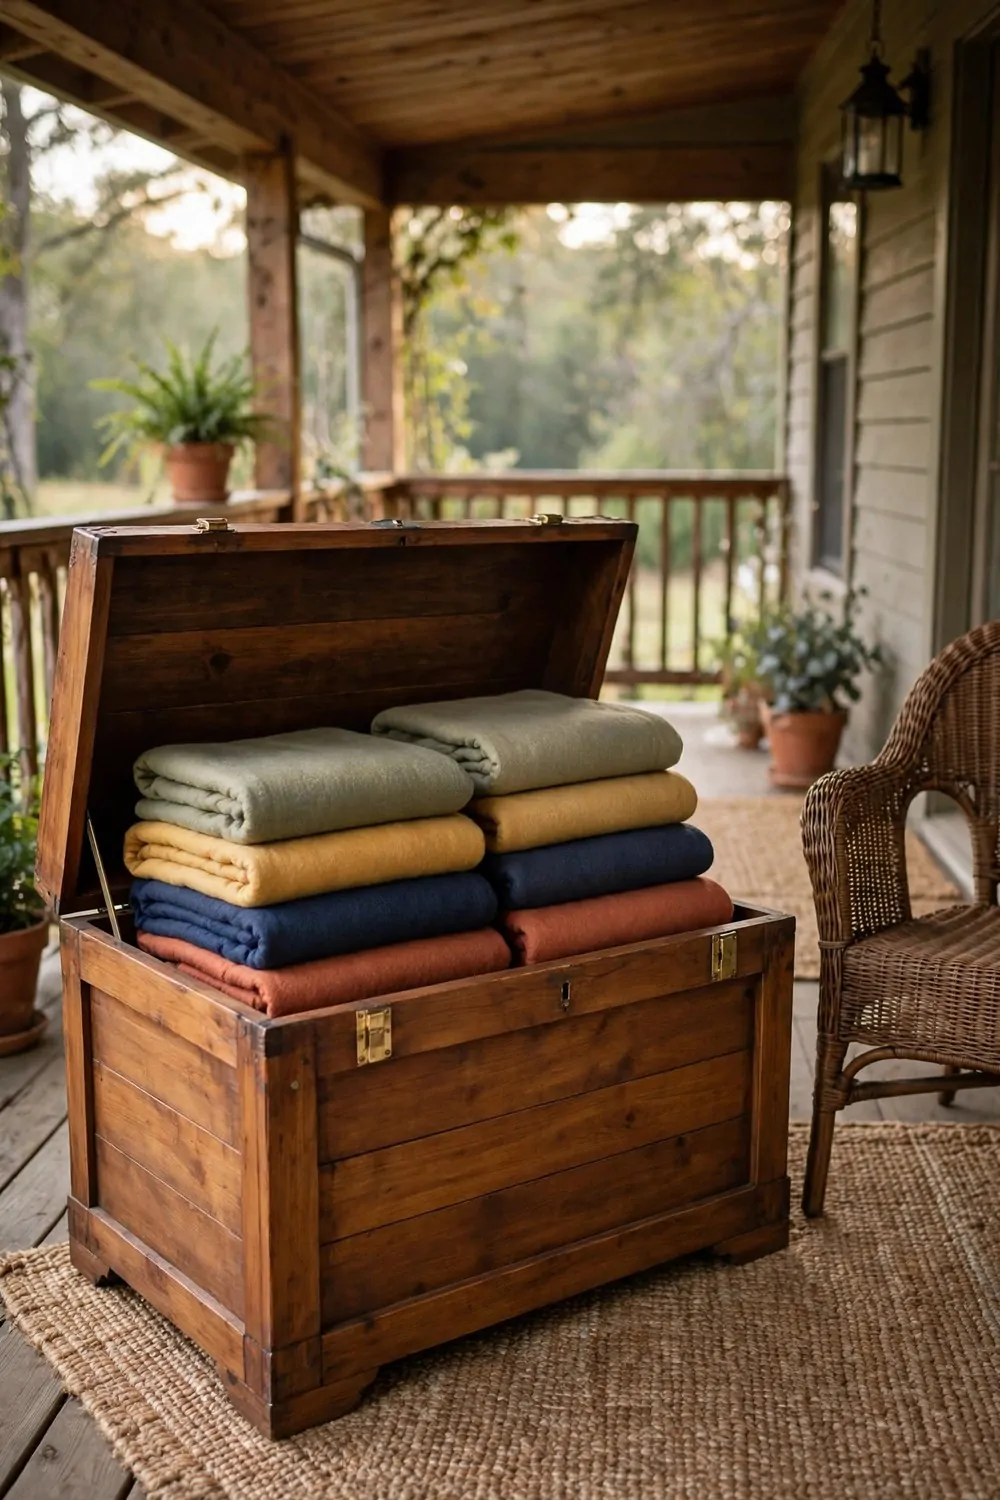
Outdoor blankets get damp fast when they sit on chairs all night. A chest keeps them dry, folded, and ready for cool evenings.
Pick a chest with a lid that closes tight and a small seal around the edge. That seal is what keeps the night damp out.
Fold each blanket the same way every time. Neat folds stack better, and you can fit three blankets where messy ones only fit two.
Typical cost is $40 to $130 for a blanket chest, and cedar ones cost a bit more.
Add a small bag of dried lavender or a scented cloth inside the chest. It keeps the blankets smelling fresh without any strong sprays.
Keep the chest near your sitting area, not in a far shed. If the chest is far away, nobody will walk to get a blanket, and the blankets will stay unused.
Air the blankets out on a sunny day once a month. Sun and fresh air kill damp smells better than anything you can buy.
If the chest sits outside, raise it on small feet or a flat stone. Feet keep the bottom dry, and a dry bottom means dry blankets.
Cool evenings are so much nicer with a warm blanket close by. A chest makes that happen, every single time.
12. Hooks for Hanging Hammocks
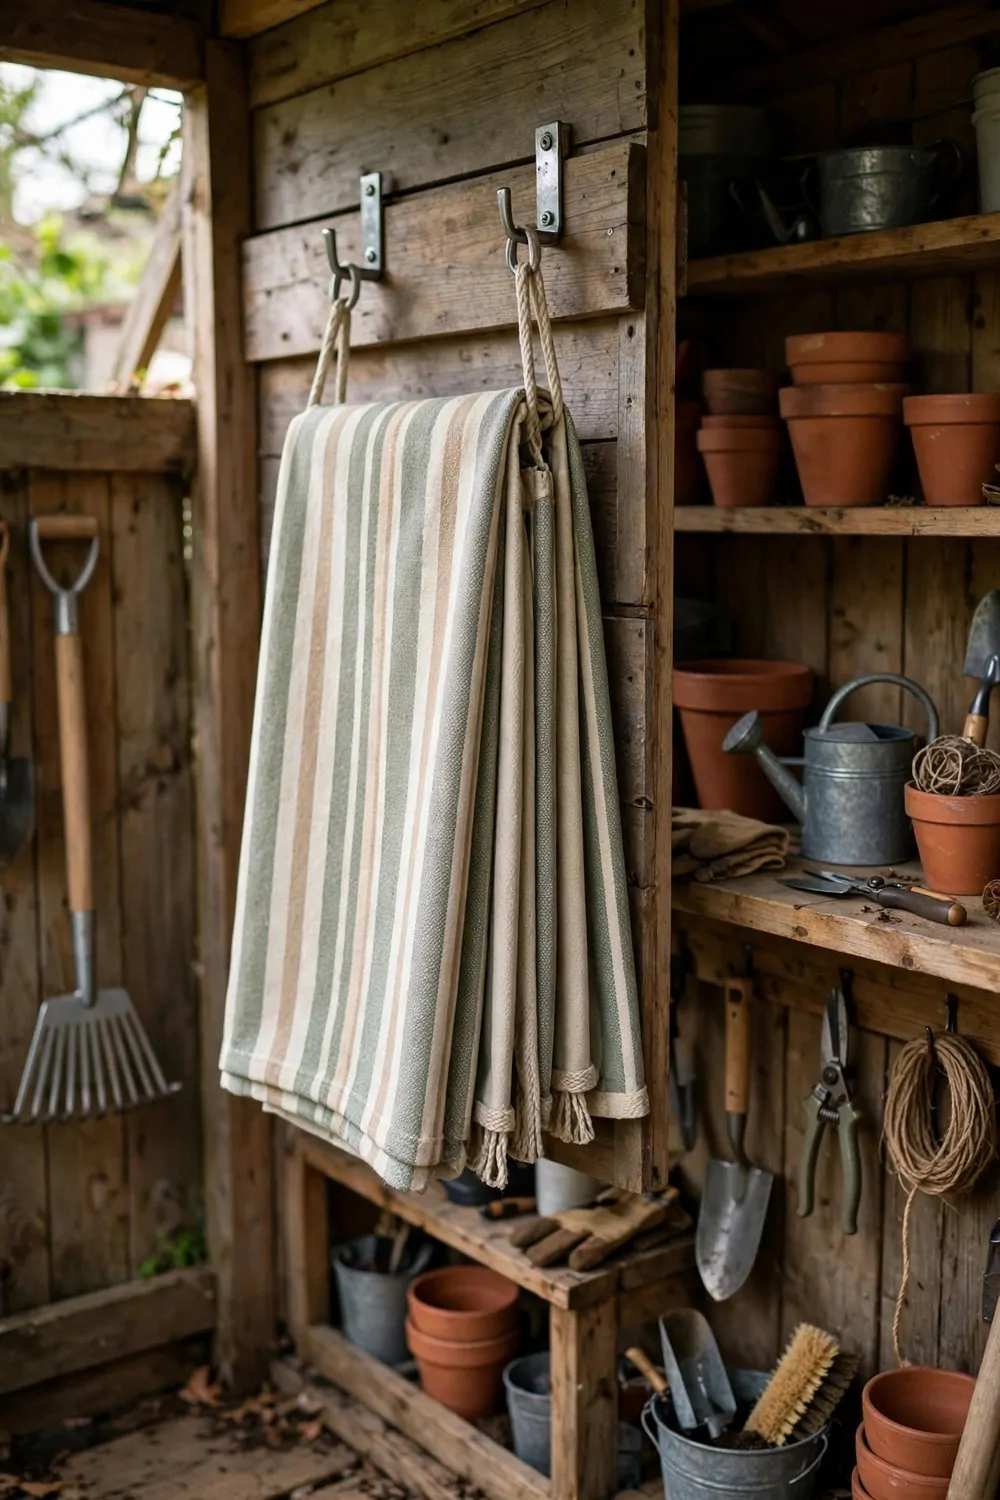
A hammock left on the ground gets dirty, damp, and worn out by weather. Hooks on a wall or a post let you hang it up high and dry.
Fix strong hooks into solid wood or a brick wall. A hammock hook holds your full weight, so weak fixings are not just annoying, they are unsafe.
Hang the hammock up after every use, even if you plan to use it again tomorrow. One night of rain is enough to soak it through.
Typical cost is $10 to $35 for a pair of strong hooks, and a full hanging kit costs a bit more.
Roll the hammock up loosely before you hook it on the wall. A loose roll dries faster than a tight ball, and it does not get musty smells.
Keep a small bag near the hooks for the hammock straps and ropes. Little parts get lost fast, and a lost strap means no hammock that day.
Check the hooks every spring for rust or loose screws. Tighten what is loose, and swap out any hook that looks worn.
If you have no wall near your trees, a freestanding hammock stand works too. It folds up for storage, and you can move it around the yard.
A hammock is for lazy afternoons, not for laundry piles on the ground. Hooks keep it clean, dry, and ready when the sun comes out.
13. A Tarp Tent Over the Table Set
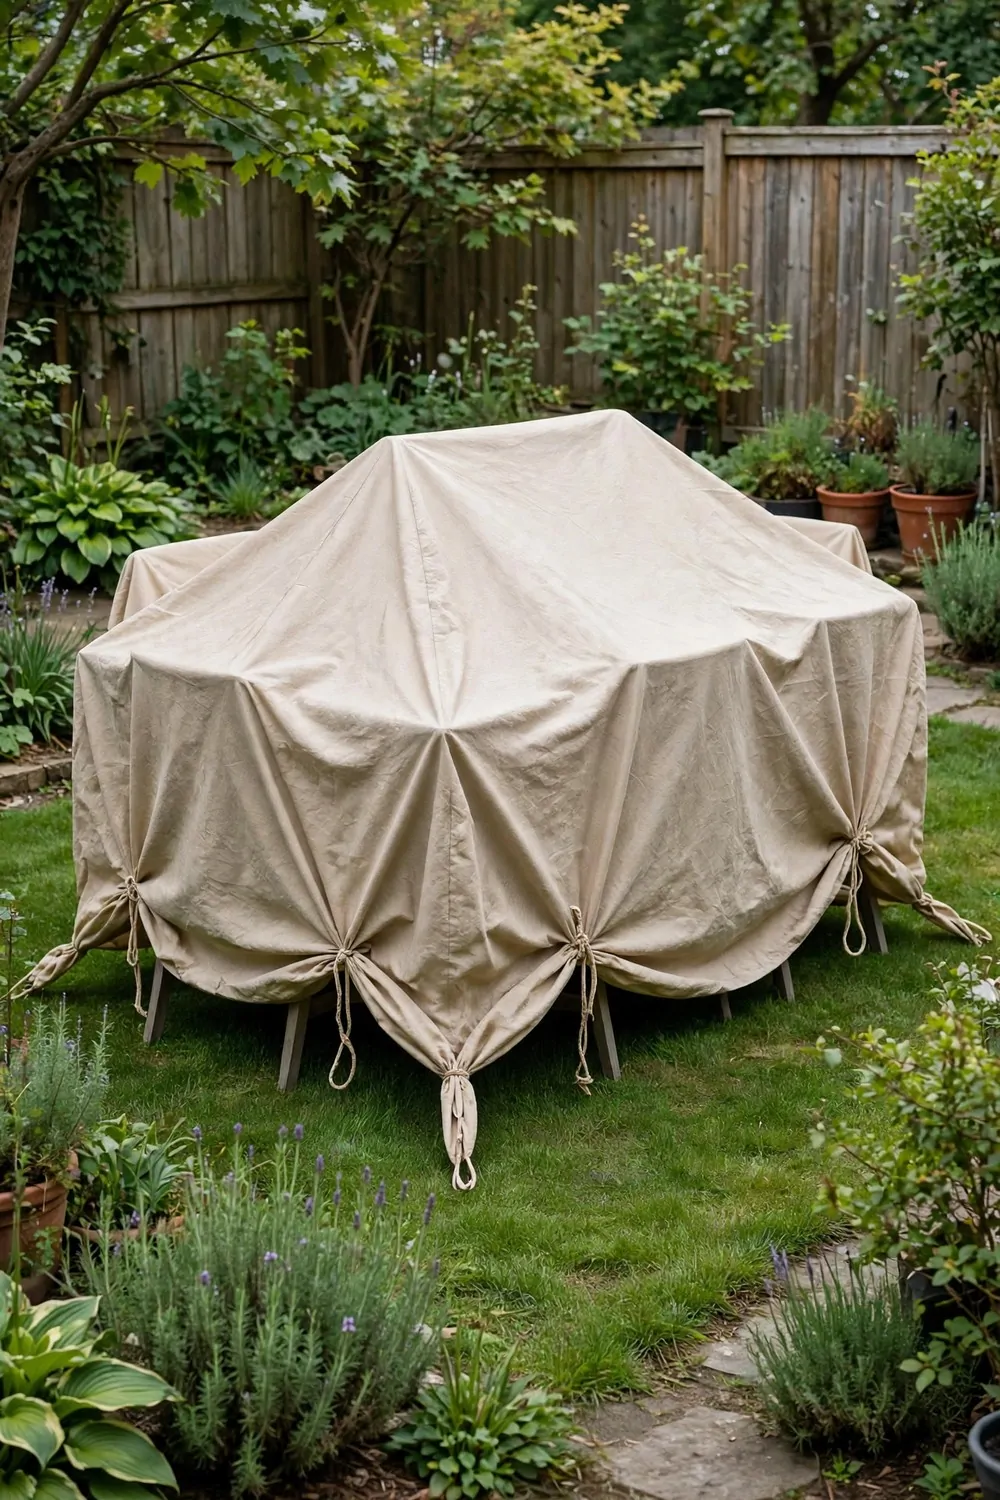
A tarp tent is a big waterproof sheet held up over your table set like a little roof. It keeps rain off the whole set at once.
Tie the tarp high in the middle and lower at the edges, so rain runs off instead of pooling in the center. A pool of water on a tarp can tear it in one night.
Use strong rope and solid anchor points, like fence posts or heavy pots. Weak ties snap in wind, and a loose tarp flaps like a sail.
Typical cost is $20 to $60 for a good tarp and ropes, and a full tent frame costs a bit more.
Take the tarp down on very windy days if you can. Even a strong tarp can pull its anchors out in a big storm, and then it flies.
Let the table set dry fully before you cover it again. Covering wet furniture traps damp under the tarp, and damp grows smells fast.
Fold the tarp neatly when you store it, and keep it in a dry bag. A clean folded tarp lasts years, while a crumpled wet one rots in a season.
A tarp tent is the fastest cover for a big table set. You can set it up in ten minutes, and your whole set stays dry all night.
When the rain stops, pull the tarp off and let the sun do its work. Dry furniture and fresh air are the best team for a long lasting patio set.
14. A Slim Cabinet on the Porch
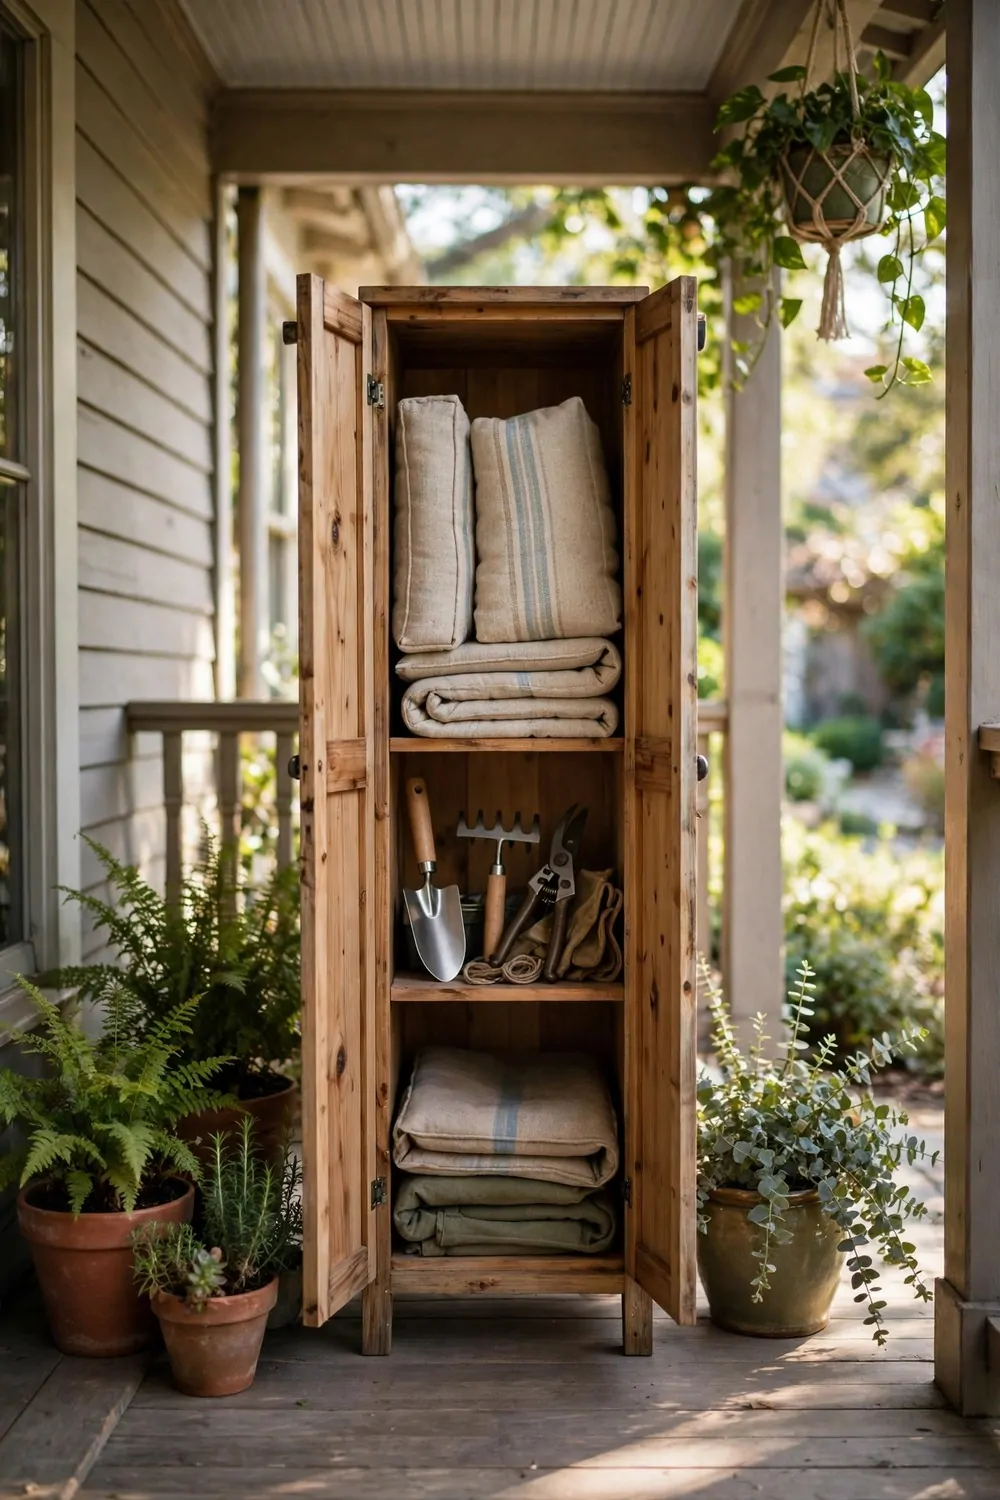
A slim cabinet fits where a big box never will. I put one right by my porch door and it changed how fast I tidy up.
It holds small things like seat pads, cloths, and spare screws.
You do not need a deep cabinet for this job. A shallow one keeps things in sight. You can grab what you need without digging through a pile.
I like to keep the top shelf for the things I use most. The lower shelf holds the things I use once in a while.
Typical cost is $60 to $140 for a slim porch cabinet.
Pick a cabinet with doors that shut tight. Rain can blow in sideways on a porch, so a good latch matters a lot.
I wipe the inside once a month. It takes five minutes and it stops dust from building up in the corners.
You can paint it the same color as your porch trim. It will blend in and look like it was always there.
Measure your wall space before you buy one. A cabinet that is one inch too wide will make the whole porch feel cramped.
15. Cushion Bags That Keep Out Dust
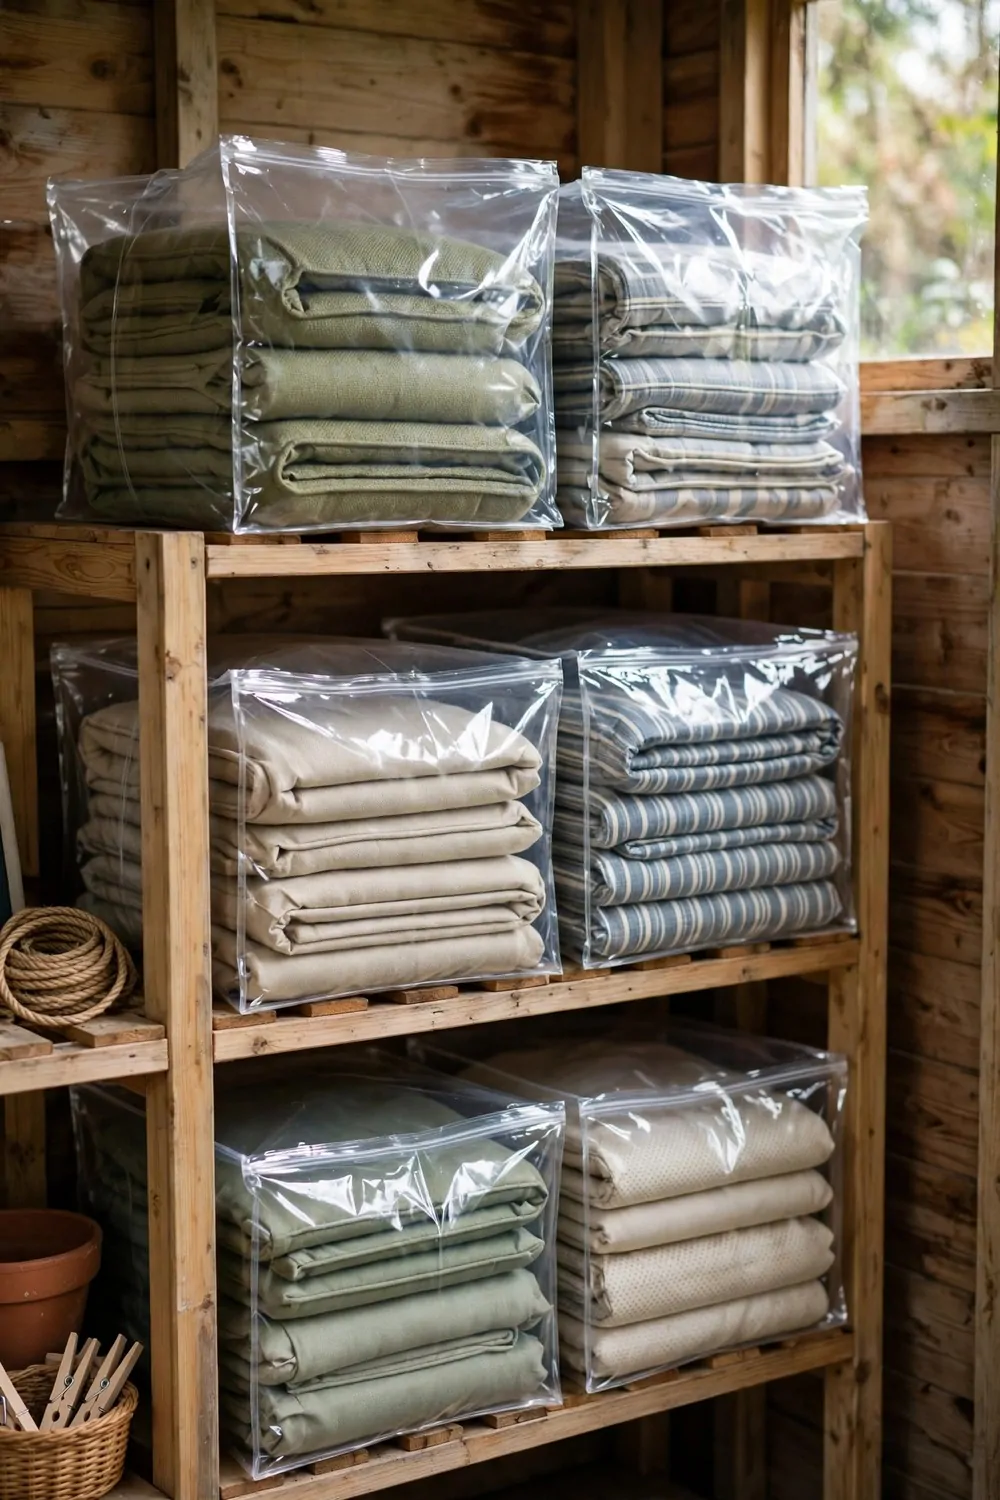
Cushion bags are simple and they work so well. I slip each cushion into its own bag before I stack them away.
Dust cannot settle on the fabric when the bag is shut.
You can use big zip bags made for storage. They are light and easy to carry. I label each one with a small tag so I know what is inside.
I learned this after I left cushions bare in my garage one winter. They came out grey and dull and I had to wash them all.
Typical cost is $12 to $30 for a set of cushion bags.
Do not pack the bags too tight. A little air helps the cushions keep their shape.
I store the bags flat on a shelf. They stack neat and they do not slide around.
You can also use the bags for small pillows and throws. Just fold them soft and zip the bag most of the way shut.
Check the bags once a season for tiny tears. A small tear lets dust in, so I tape it or swap the bag out.
16. A Wheeled Bin for Pool Floats
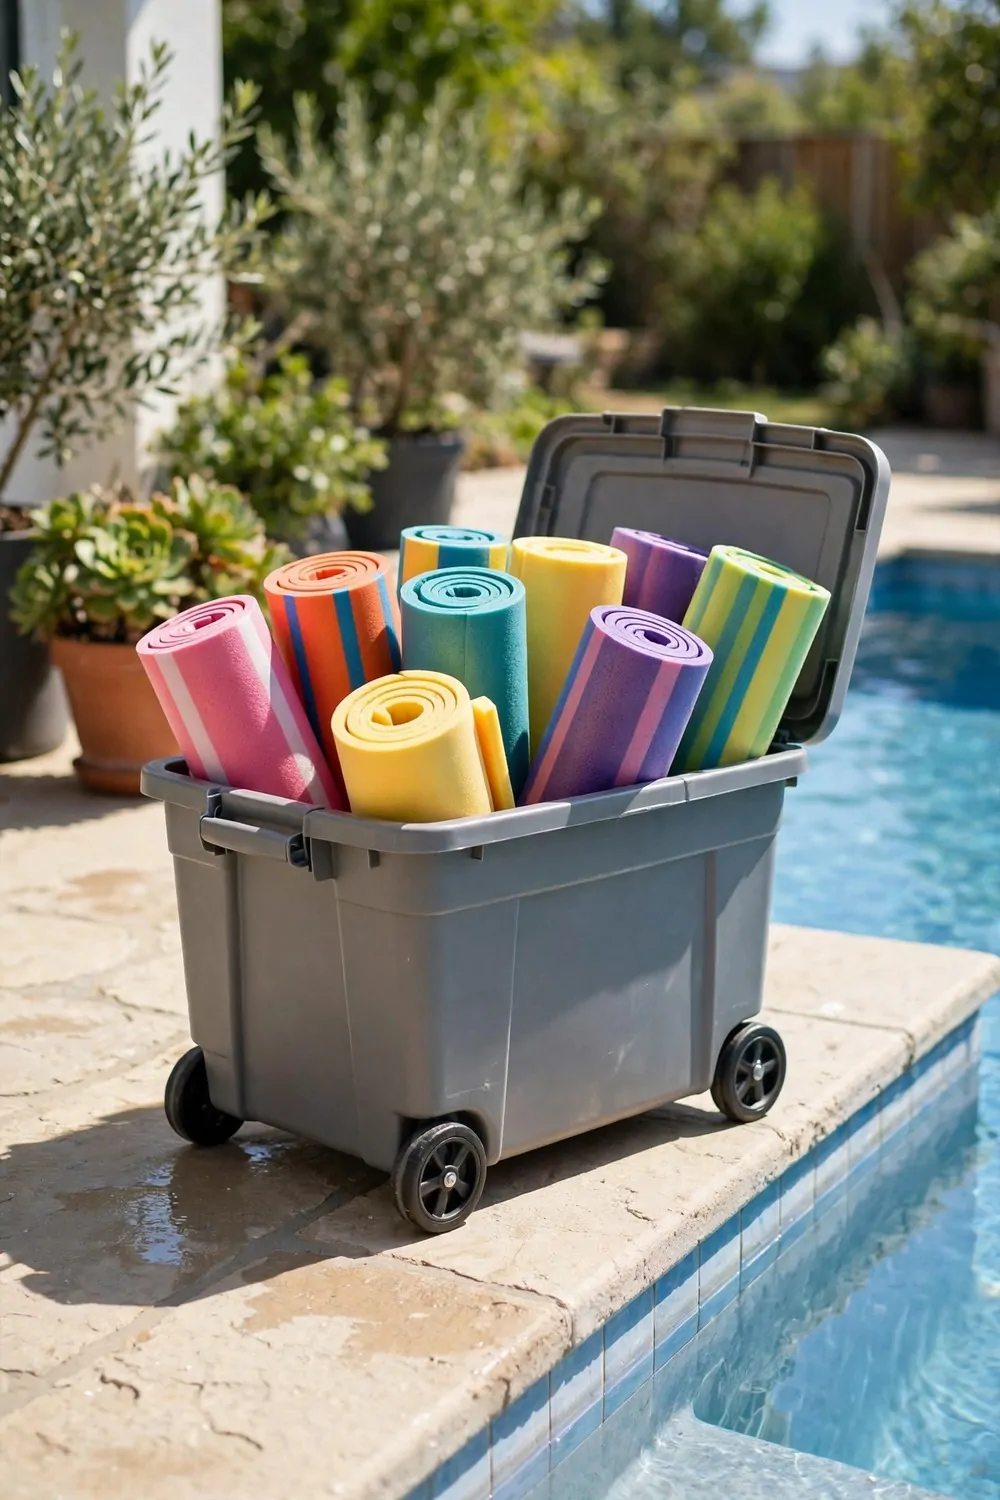
Pool floats end up all over the yard if you let them. A wheeled bin gives them one home and you can roll it away.
I roll mine to the side of the house when swim time is done.
The wheels make a big difference on grass and patio stones. You do not have to drag a heavy bin. You just tilt it back and push it along.
Pick a bin with holes or slats in the sides. Water drains out and air moves through. That keeps the floats from getting damp and smelly.
Typical cost is $40 to $90 for a wheeled storage bin.
I keep the bin near the pool steps so the kids can drop floats in as they climb out. It sounds small, but it saves me a lot of picking up.
You can rinse the floats quick before you put them in. A fast rinse keeps dirt out of the bin.
Put the lid on loose if your bin has one. A tight lid traps wet air inside.
At the end of the season I wash the bin out with soap and water. Then it is clean and ready for next year.
17. A Rack for Stacked Side Tables
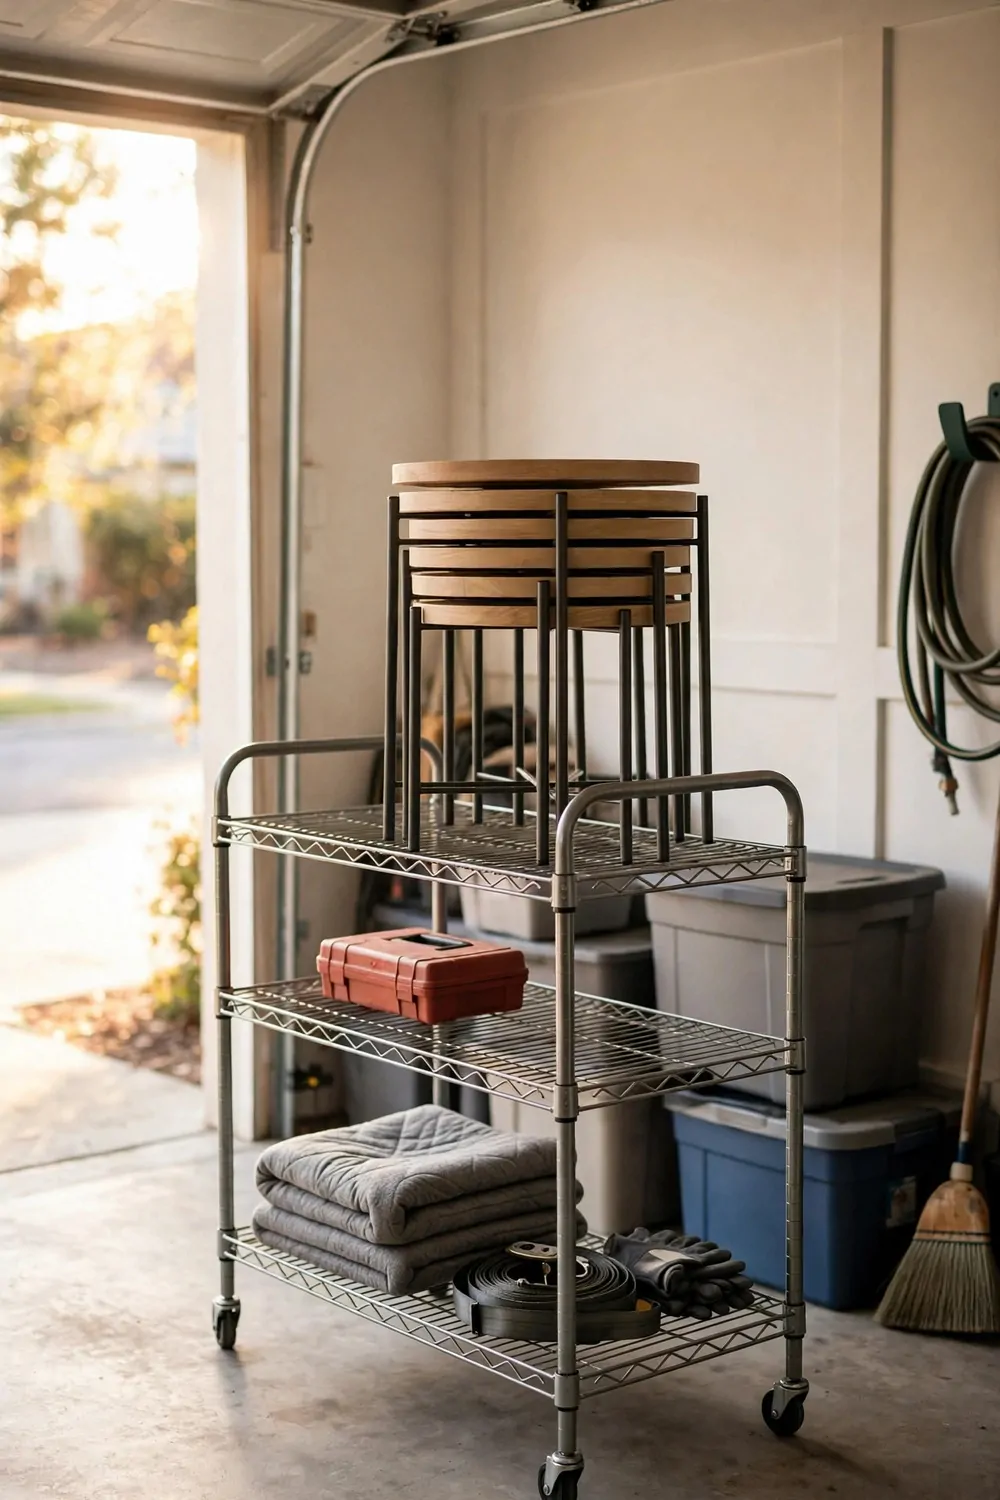
Side tables stack up fast when you have a few. A simple rack holds them in one neat pile.
I used to lean mine against the wall and they always slid down.
A rack with two upright arms keeps each table in place. You slide one in, then the next. Nothing tips over and nothing gets scratched.
You can build a rack from wood or buy a metal one. I like metal because it is slim and it does not wobble.
Typical cost is $35 to $80 for a side table rack.
Put the rack in a dry corner of your garage or porch. Tables last longer when they stay dry and out of the sun.
I put a soft cloth between each table top. It stops marks and it only takes a second.
You can use the same rack for small plant stands too. They are about the same size and they stack just as well.
Count your tables before you pick a rack size. You want room for one more, just in case you add another table later.
18. A Covered Nook Under the Stairs
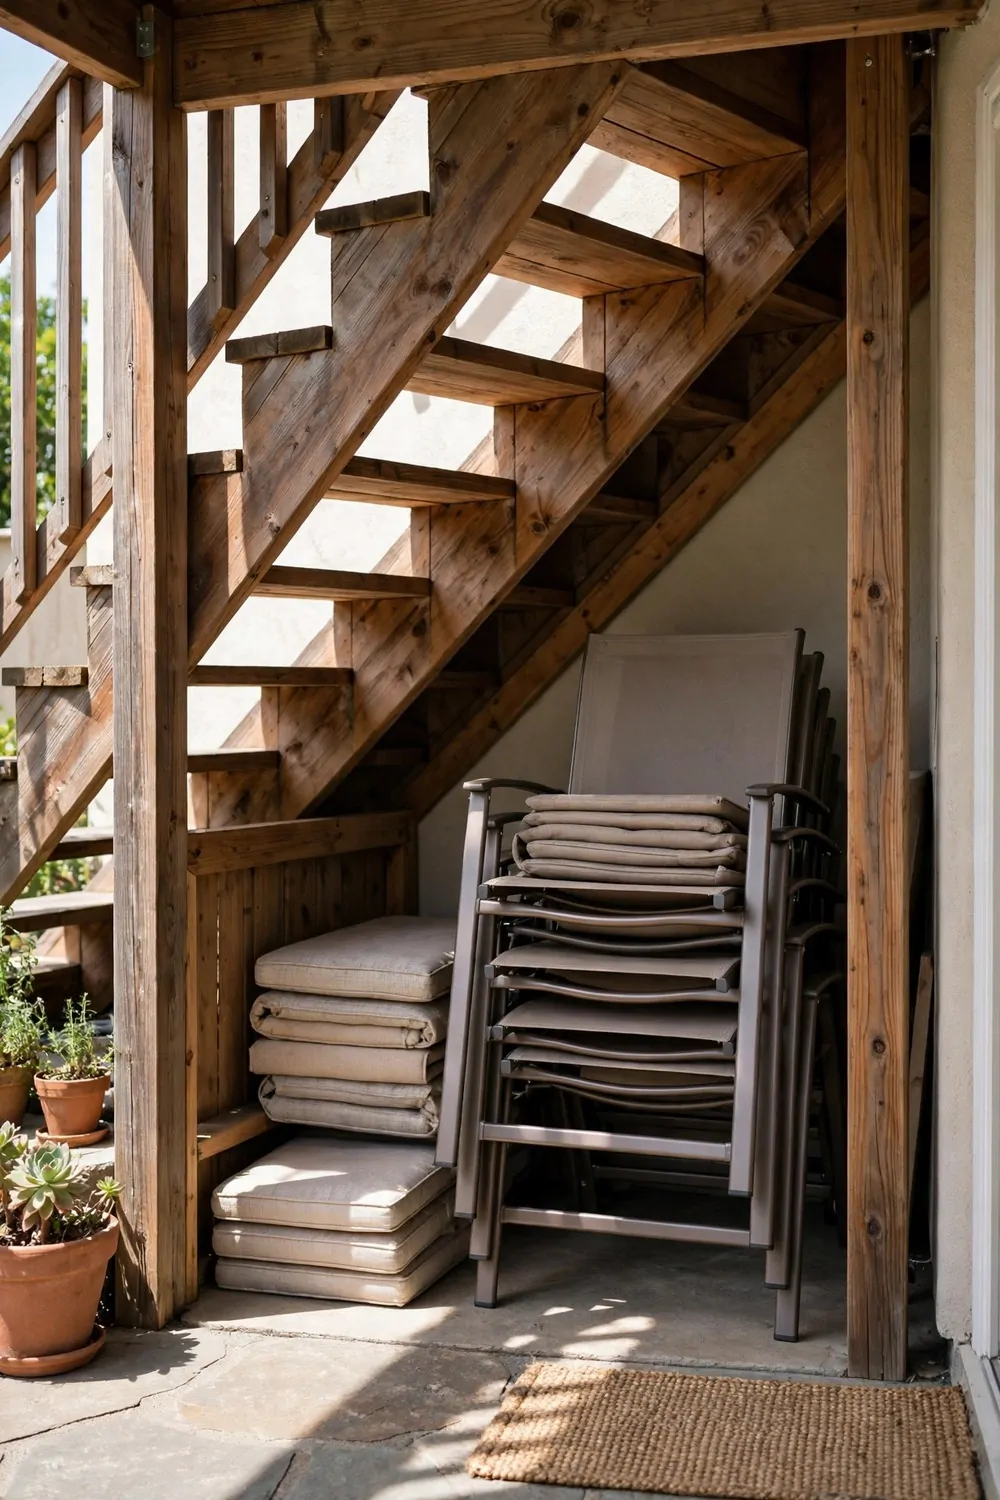
The space under outdoor stairs is easy to miss. I turned mine into a covered nook for my small chairs and tools.
It is dry, shaded, and out of the way.
You need a simple cover to close the front. I used a plain outdoor curtain on a rod. It keeps rain out and it hides the clutter.
A low shelf inside helps a lot. I keep seat pads on the shelf and folding chairs below it.
Typical cost is $25 to $70 for a covered stair nook setup.
Check the height before you plan the nook. You need enough room to slide chairs in without banging the tops.
I sweep the nook out once a month. Leaves blow in and they can trap damp if you leave them there.
You can add a small hook on the side for a broom or a dustpan. It keeps your cleaning tools close to where you use them.
This little nook saved me a whole shelf in my garage. I love a spot that uses space I already had.
19. A Storage Ottoman on the Patio
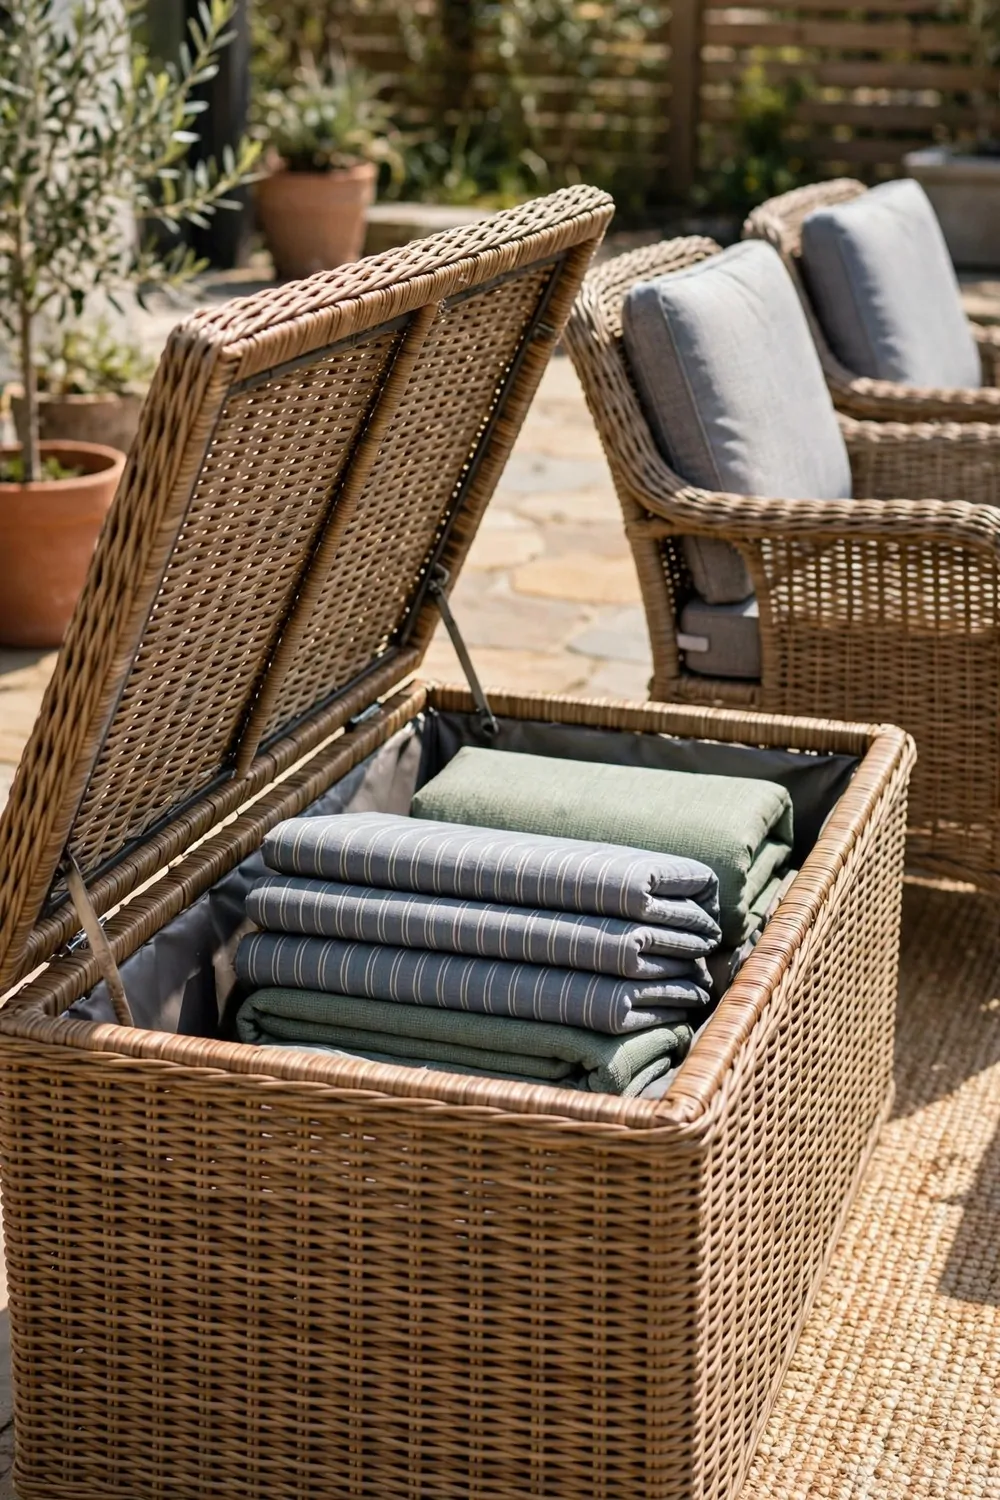
A storage ottoman does two jobs at once. You can rest your feet on it and you can hide things inside it.
I keep mine right next to my patio chair.
Inside I store small cushions, a throw, and a book. When friends come over, I lift the lid and everything is right there.
Pick one with a lid that stays open on its own. You do not want the lid to fall on your fingers while you reach inside.
Typical cost is $45 to $110 for a patio storage ottoman.
I look for a waterproof top if the ottoman will sit outside. A wet cushion is no fun to sit on later.
You can move it around the patio with ease. It is light, so I slide it where I need it.
I wipe the top after rain so it dries fast. A quick wipe keeps the surface clean and ready.
An ottoman is a good pick for a small patio. It adds storage without adding a big box to your space.
20. A Bench With a Lift-Up Seat
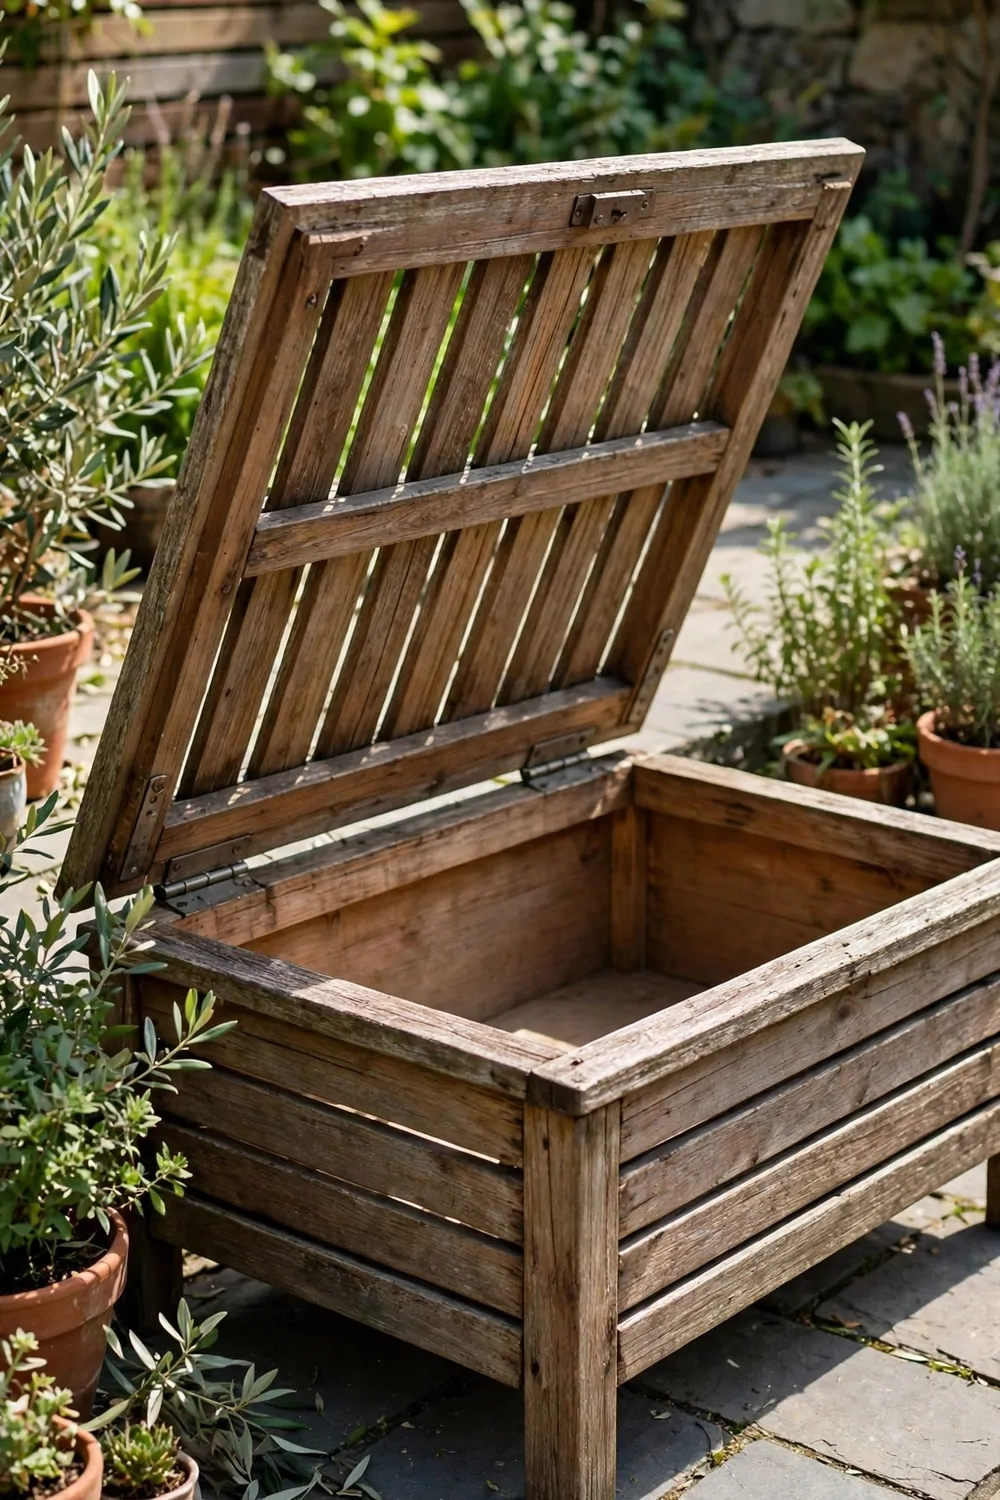
A bench with a lift-up seat is one of my top picks. You sit on it all day and your storage hides right under you.
I keep my outdoor games and extra seat pads in mine.
Lift the seat and you see a deep box. It holds a lot more than it looks like from the outside. You can fit long things in there too.
Look for strong hinges that hold the seat up. Cheap hinges can slam shut and that hurts.
Typical cost is $90 to $220 for a bench with a lift-up seat.
I put a small mat at the bottom of the box. It keeps things from sliding and it soaks up a little damp.
You can paint the bench to match your other patio seats. Mine matches my chairs and it looks like a set.
I check the hinges once a year and add a drop of oil. It keeps the lid smooth and quiet.
This bench is great by a door or along a wall. It gives you a seat and a storage box in the same spot.
21. A Vertical Rack for Lounge Chairs
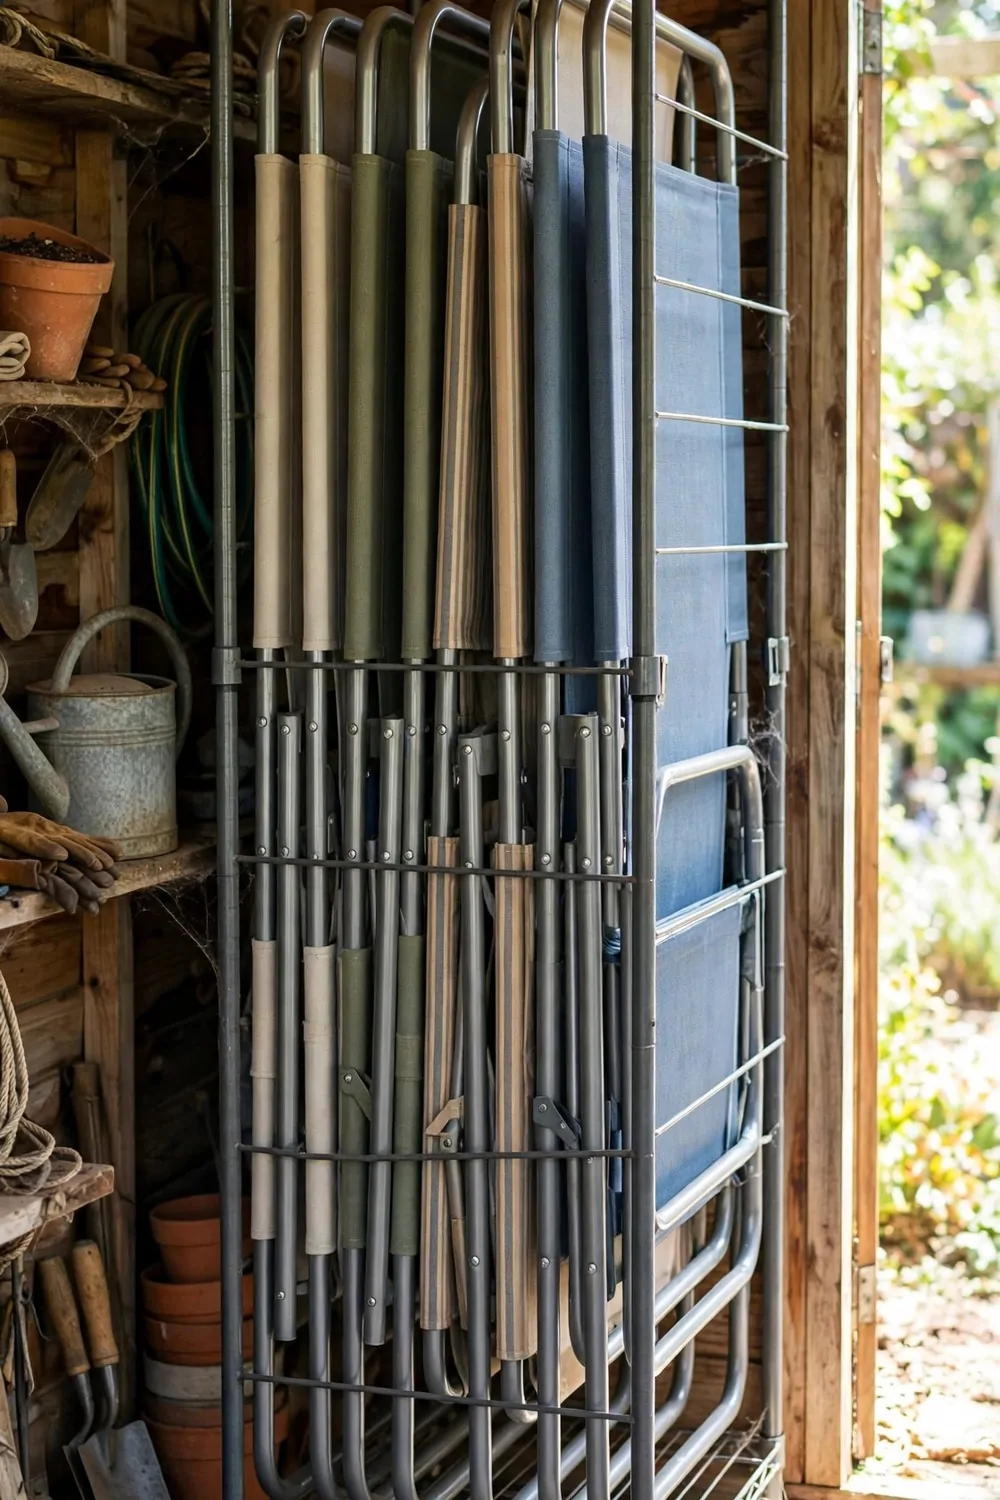
Lounge chairs take up a lot of floor space when they lie flat. A vertical rack stands them up and frees the floor.
I hang mine by the hooks and they stay put all winter.
You need a rack fixed to a strong wall. I used wall plugs and long screws so it would not pull loose.
Each chair hangs by its frame, not by the fabric. That way the fabric does not stretch or tear.
Typical cost is $30 to $75 for a vertical lounge chair rack.
I leave a little gap between each chair. Air can move around them and they dry out if they get damp.
You can label the hooks if your chairs look the same. It sounds fussy, but it saves time when you grab one in a rush.
I wipe the frames before I hang them up. Clean frames do not rust as fast in storage.
A vertical rack is best in a garage or a shed. It turns a messy pile into a neat row on the wall.
22. A Small Shed Just for Furniture
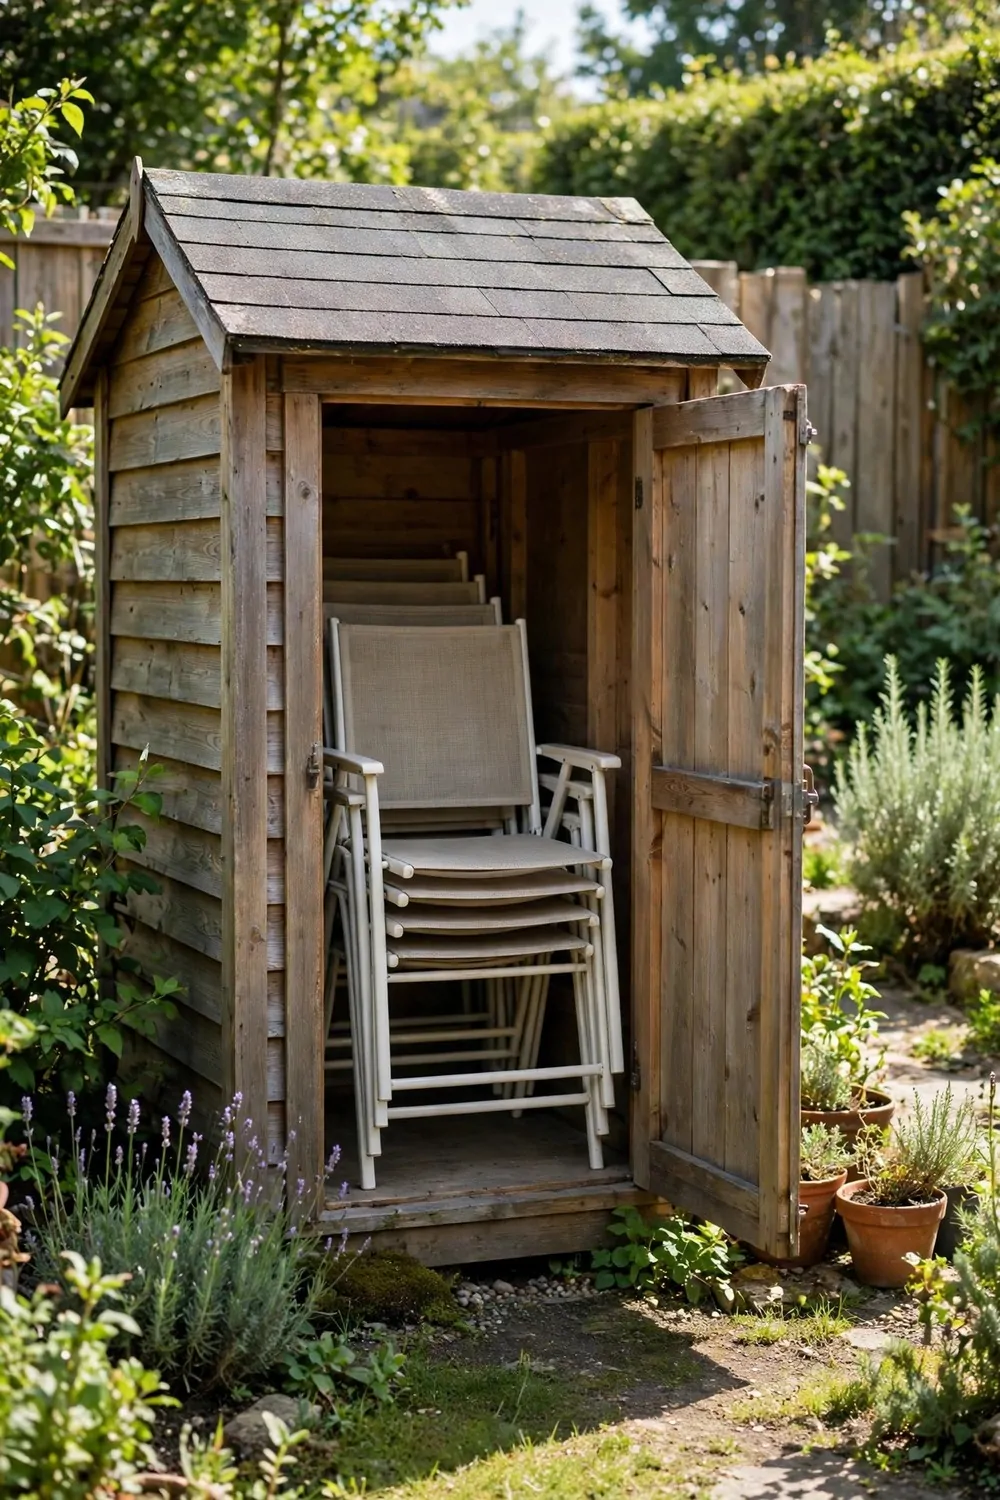
A small shed just for furniture sounds like a treat, and it is. I keep my chairs, tables, and cushions in one dry place.
No more hunting through the garage for a missing chair leg.
You do not need a huge shed for this. A small one with a wide door works fine. You want to roll chairs in and out with ease.
Put shelves on one wall for small parts and pads. Keep the floor clear for the big pieces.
Typical cost is $250 to $600 for a small storage shed.
I add a vent near the roof so air can move. Good air flow stops damp and musty smells.
You can lock the door and feel calm about your furniture. Rain, wind, and dust all stay outside.
I sweep the shed floor each month in the warm season. It takes a few minutes and it keeps bugs from settling in.
If you have the yard space, this shed is worth it. It keeps all your outdoor pieces in one safe spot.
23. A Corner Shelf for Folding Stools
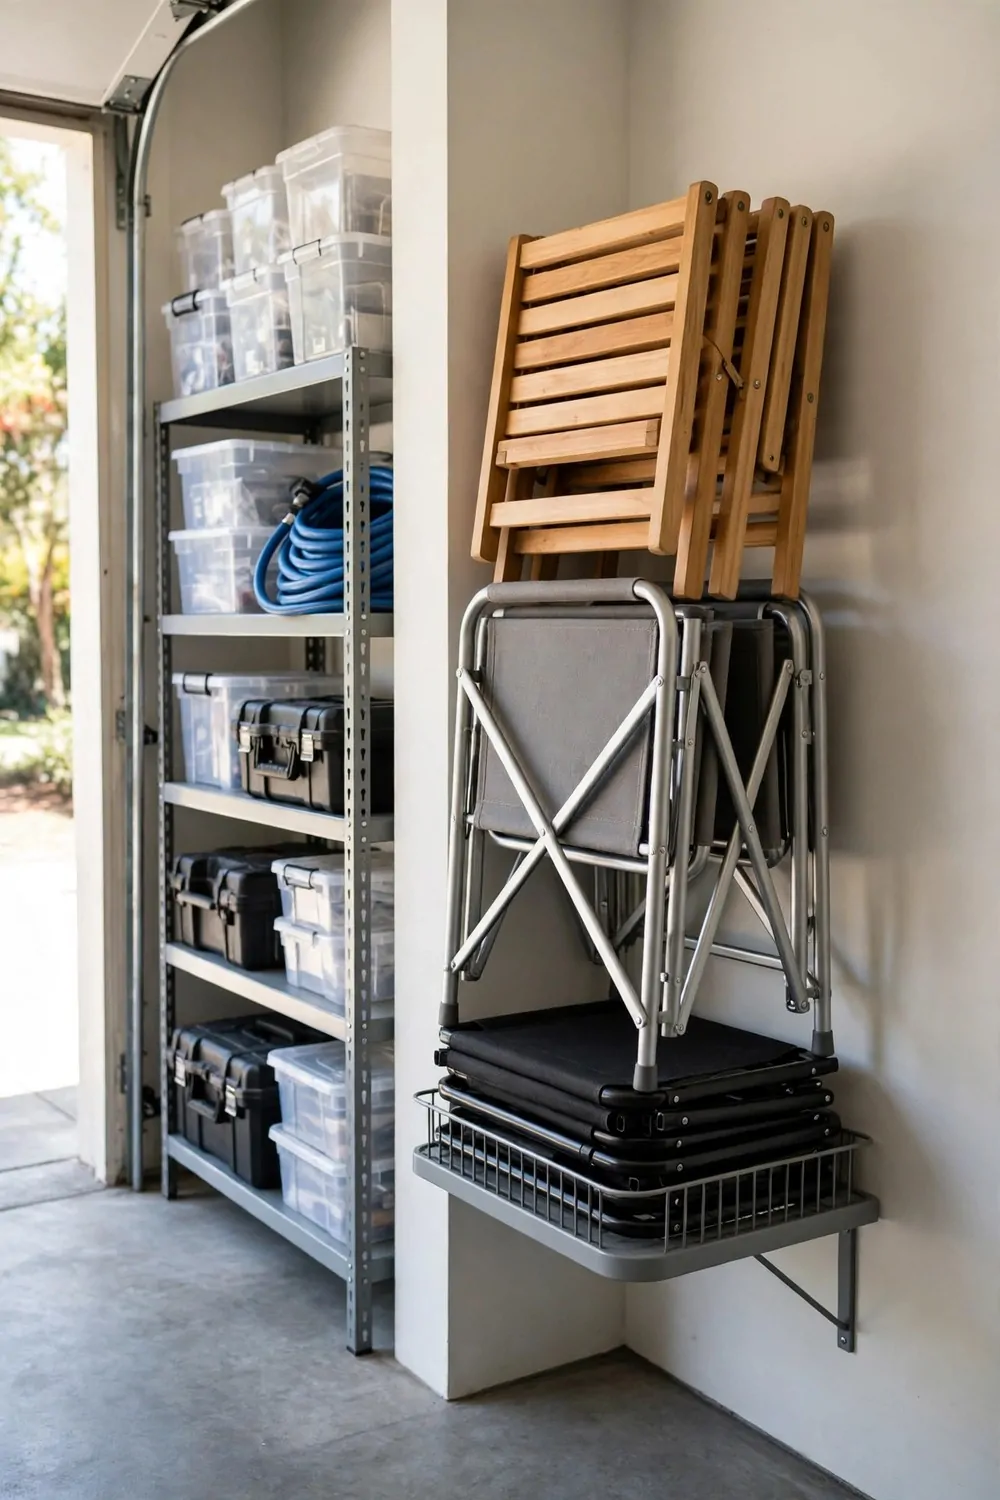
Corners get wasted in most yards and garages. I put a corner shelf there and now my folding stools have a home.
They sit neat and they are easy to reach.
A corner shelf uses the shape of the wall so nothing sticks out. You can walk past it without bumping your hip.
I stack the stools flat on the shelf, one on top of the other. They are light, so I can lift the whole stack down in one go.
Typical cost is $20 to $55 for a corner shelf for stools.
Pick a shelf that can hold the weight of your stools. Wood shelves work well if they are fixed tight to the wall.
You can also keep a small plant pot or a lantern on the top shelf. It makes the corner look cared for, not just full of stuff.
I check the shelf screws twice a year. A loose shelf can tilt, and I do not want stools to slide off.
This is a quick win for a small space. One corner shelf can clear a whole pile from your floor.
24. A Breathable Cover for the Sofa Set
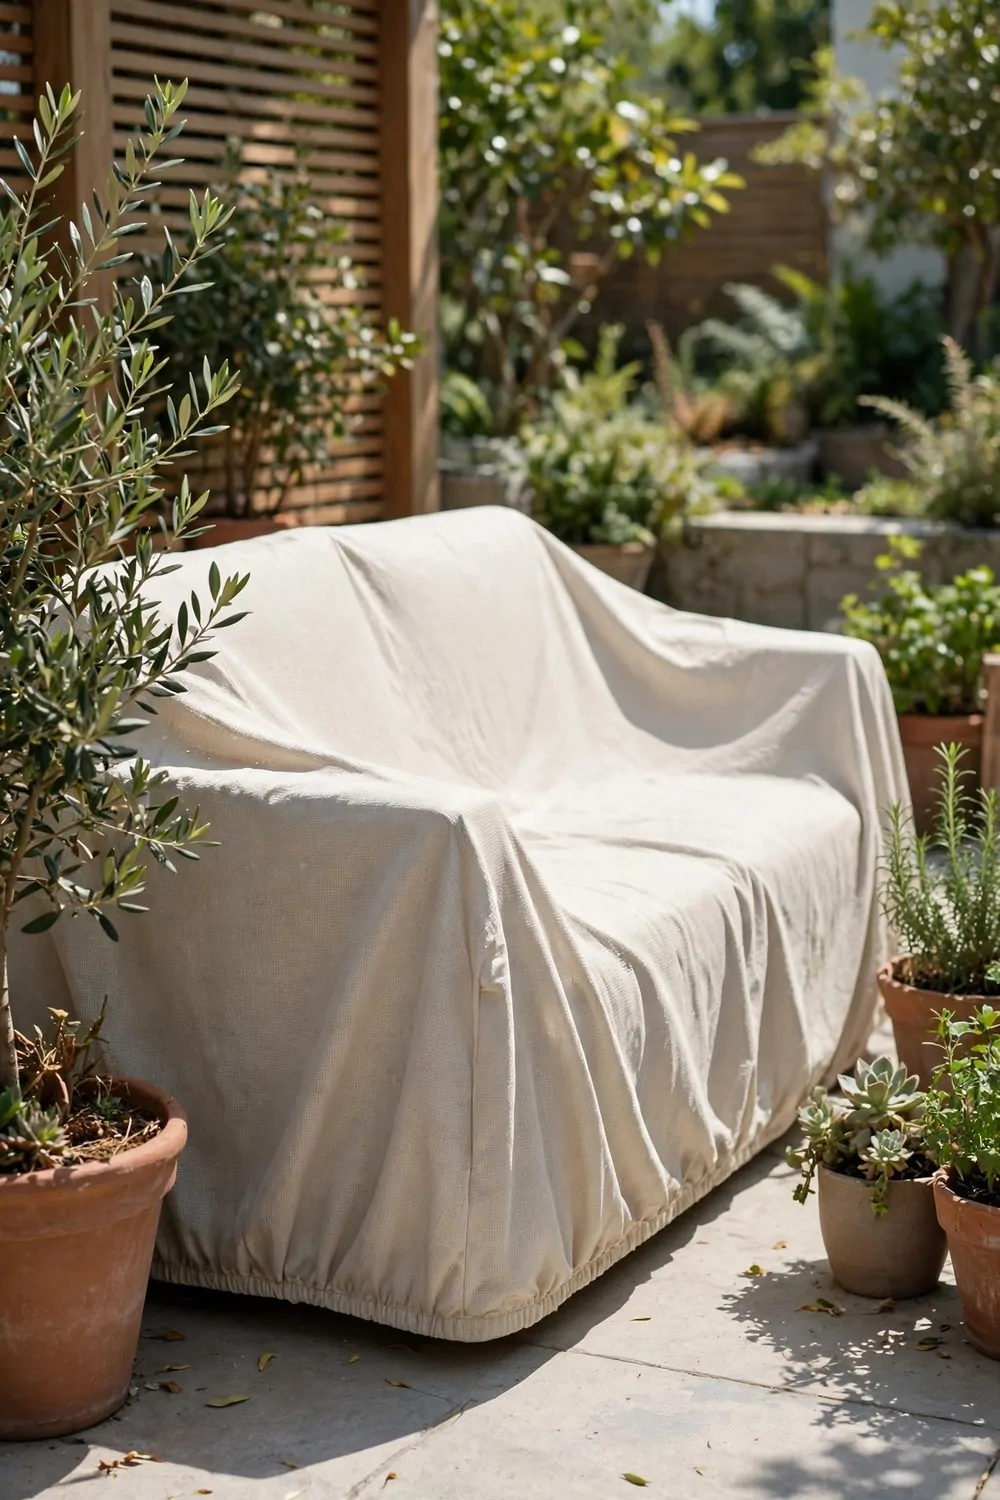
A breathable cover is the best friend your sofa set can have. It keeps rain and dust off but it still lets air move.
I learned this the hard way with a plastic sheet that trapped damp.
Breathable fabric lets wet air escape. Your cushions stay dry and they do not get that musty smell.
Pick a cover that fits your set with a little room to spare. A tight cover pulls at the seams and can rip.
Typical cost is $35 to $85 for a breathable sofa set cover.
I tie the cover down with its straps on windy days. A loose cover can blow off and land in the yard.
You can take the cover off in a minute when friends come over. Just fold it and tuck it in a bin by the door.
I wash my cover once a season with mild soap. Clean fabric lasts longer and it looks fresh.
A good cover can add years to your sofa set. It is a small cost for a big save.
25. A Labelled Bin System for Parts
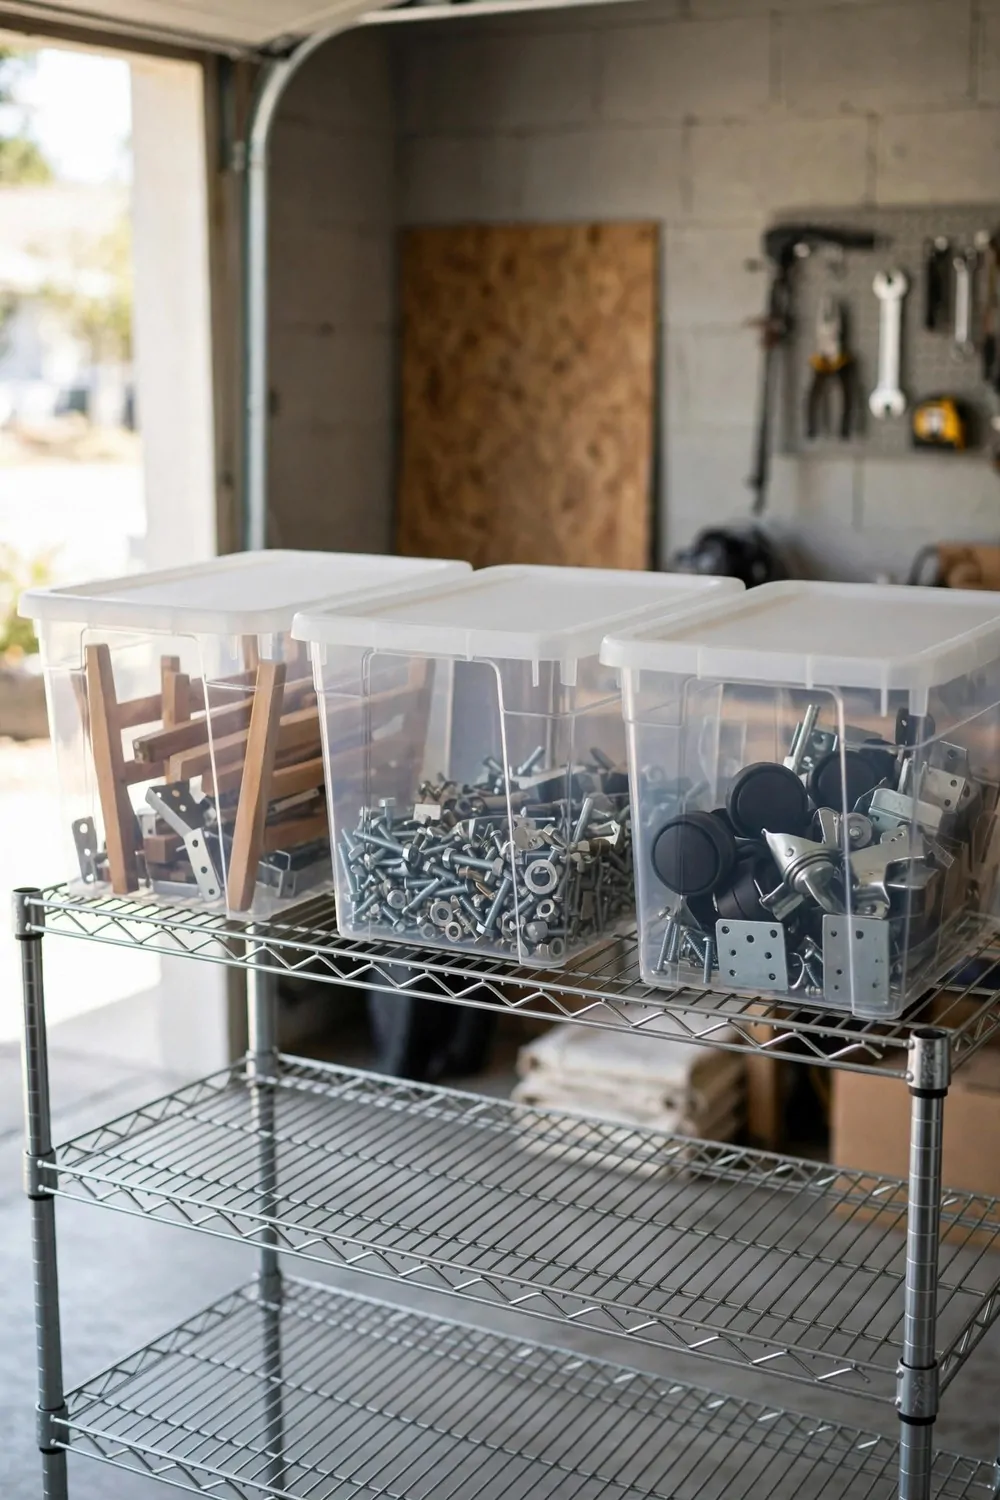
Small parts get lost fast if you toss them in one big box. I use labelled bins so every screw, bolt, and cap has a place.
You will thank yourself next spring when you put chairs back together.
I use clear bins with snap lids. I can see what is inside without opening each one.
Each bin gets a plain label in big letters. I write things like chair bolts, table caps, and umbrella parts.
Typical cost is $18 to $45 for a labelled bin system.
Keep the bins on one shelf in order. I put the ones I use most at eye level.
You can add a small bag inside each bin for tiny screws. That way they do not roll around and hide in the corners.
I check the labels each year and fix any that have faded. A clear label saves you from opening five bins to find one bolt.
This system is simple, but it works. No more lost parts and no more guesswork when you set up your furniture.
26. A One-Weekend Furniture Protection Plan
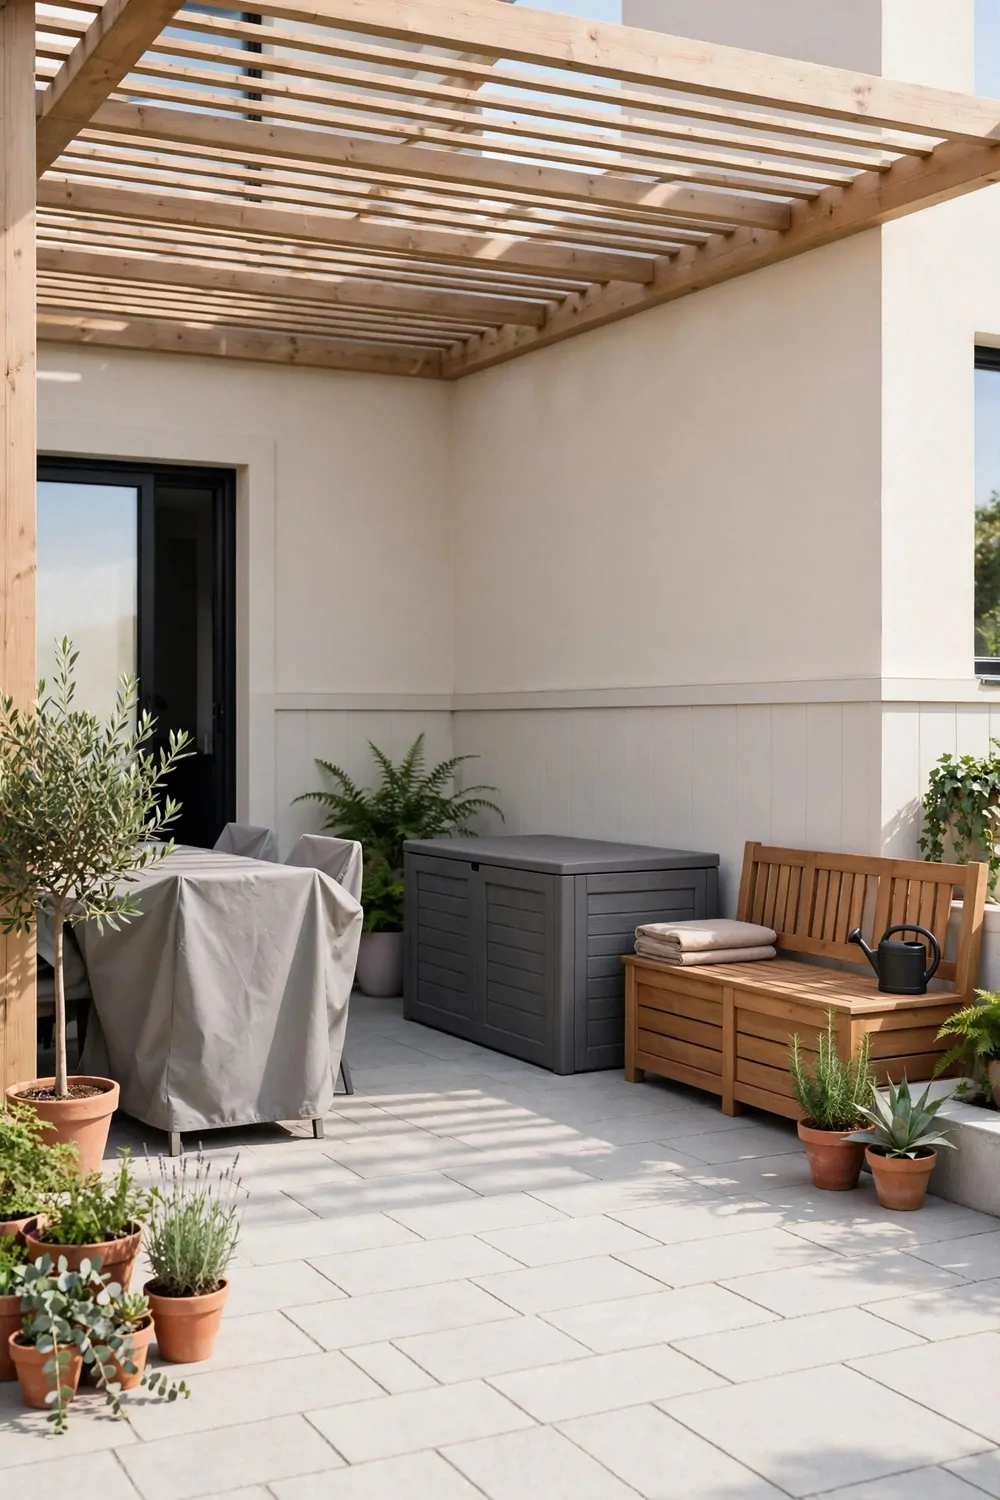
You can protect all your outdoor furniture in one weekend. I did it last year and it felt so good to finish.
Start on Saturday morning with a quick look at every piece. Make a short list of what needs a wash, a fix, or a cover.
Seating costs $15 to $25. That covers a wash, a quick wipe, and a check of the legs and joints.
Covers cost $10 to $20. That is for new ties, a patch, or a fresh cover for one piece.
Cushions cost $8 to $15. That covers a wash and a dry in the sun.
Bins cost $12 to $25. That is for a new bin or new labels for the ones you have.
Floor care costs $10 to $15. That covers a sweep, a wash, and a mat under your storage spot.
Typical cost is $55 to $100 for the whole weekend. You can spread the work over two days so it never feels rushed.
When Sunday ends, walk round your yard and smile. Your furniture is clean, covered, and ready for the next sunny day.
| Area | Main change | Typical cost |
|---|---|---|
| Seating | A wash, a wipe, and a check of the legs | $15 to $25 |
| Covers | New ties, a patch, or a fresh cover | $10 to $20 |
| Cushions | A wash and a dry in the sun | $8 to $15 |
| Bins | A new bin or new labels | $12 to $25 |
| Floor | A sweep, a wash, and a mat | $10 to $15 |
| Total | Whole weekend protection plan | $55 to $100 |
Keep Reading
If you liked these ideas, you will love these posts too.
- 20 Outdoor Wall Decor Ideas for Patios and Porches
- 29 Backyard Decor Ideas on a Budget
- 22 Front Door Decor Ideas That Make a Great First Impression
- 31 Outdoor Storage Ideas for Small Yards and Patios
- 24 Deck Decor Ideas That Make Outdoor Evenings Better
- 27 Backyard Storage Ideas That Keep Outdoor Gear Tidy
Cover one piece tonight and see how much better it looks in the morning. A little care now means your patio stays ready all year long.