21 Pottery Studio Ideas That Turn Clay Into Calm

The first time I touched wet clay, it was cold and soft in my hands. I pressed my thumb into the lump and it gave way like fresh dough. I did not know what I was making yet, and that was the best part.
My hands were messy in a minute, with clay under my nails and on my sleeves. I laughed at myself because I looked like I had been digging in the garden. But my mind felt quiet for the first time all week.
I tried to make a small cup, but it wobbled and leaned to one side. Then it fell over on the wheel and turned into a flat little pancake. I kept the pancake anyway, because it was mine.
That is what a pottery studio gives you: a slow hour, a lump of clay, and a place to try again. You do not need to be good at it. You only need a spot where you can sit down and start.
A good studio does not need to be big. A corner of a room can work, and a spare table by a window can work too. What matters is that your tools are near, your clay stays damp, and your finished pots have a safe place to dry.
In this post I share simple ideas to set up your own pottery studio at home. Each idea is small, cheap to try, and easy to change later. You can pick one idea today and add more as you go.
All 21 ideas are right here in this one post for you to read through in one go. Take your time, pick the ones that fit your space, and start with the one that makes you smile most.
1. A Pottery Wheel in the Corner
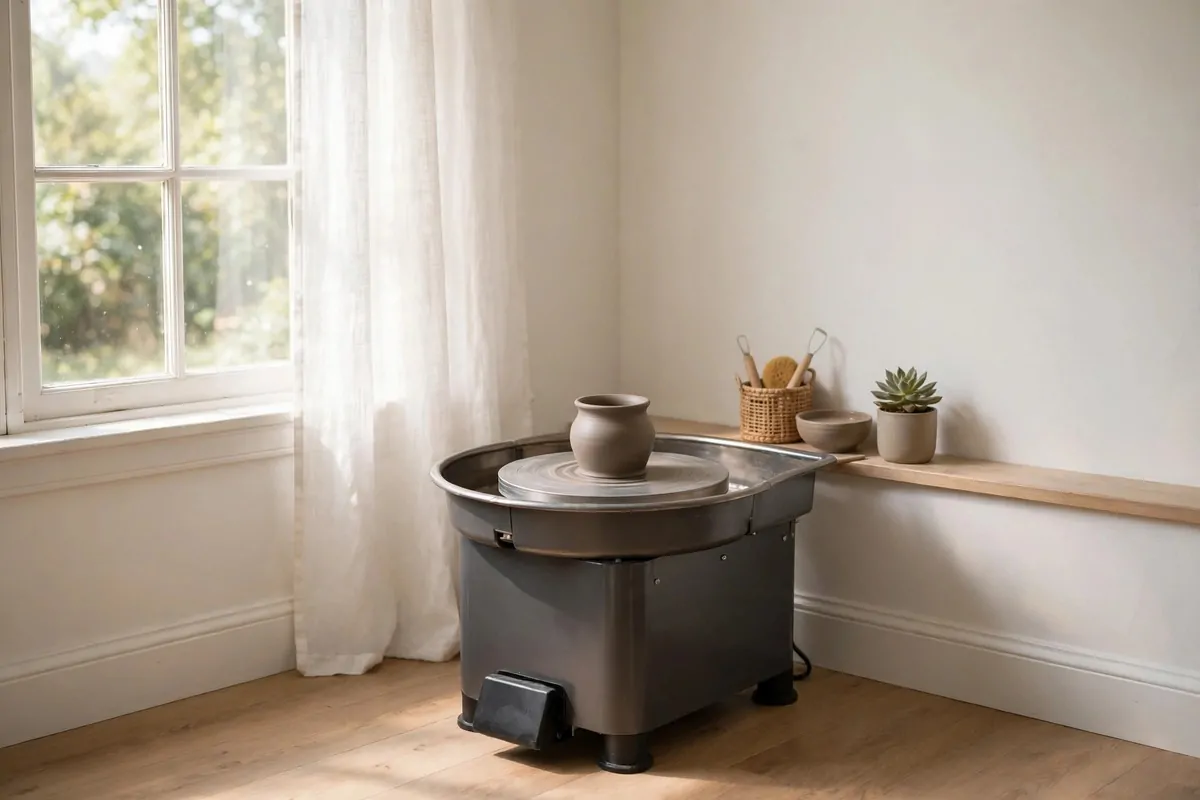
A pottery wheel in the corner turns an empty spot into the heart of your studio. You sit down, you switch it on, and the clay starts to spin. That corner becomes your favourite place in the house.
Pick a corner with a bit of floor space around it. You need room for your knees, your elbows, and a small bucket of water. A tight corner will make you bump your arms, and that gets old fast.
Put a splash pan around the wheel if yours has one. It keeps the wet clay from flying onto the floor. You will still get messy, but the mess stays small.
Keep a towel on your lap when you throw. Clay water drips down your arms and onto your legs. A dark towel hides the marks, and you can wash it at the end of the day.
A small stool works better than a tall chair. You want to sit low and close to the wheel head. Your back stays straighter, and your hands can rest on the clay with less strain.
A second hand wheel costs less than an electric one. A basic electric wheel runs about $200 to $500, while a simple kick wheel can cost about $100 to $300. Start with what fits your budget, and upgrade later if you love it.
Put a small shelf or a stool next to the wheel for your tools. You will reach for a sponge, a needle tool, and a wire cutter again and again. If they sit within arm’s reach, you never have to stop the wheel to find them.
Wipe the wheel head clean after each use. Dried clay sticks hard and makes the next pot wobble. A damp sponge and thirty seconds is all it takes.
Give the corner good light, even if it is just a small lamp. You need to see the shape of the clay as it rises. Soft light from the side shows every bump, and that helps you fix it early.
2. Open Shelves for Finished Pots
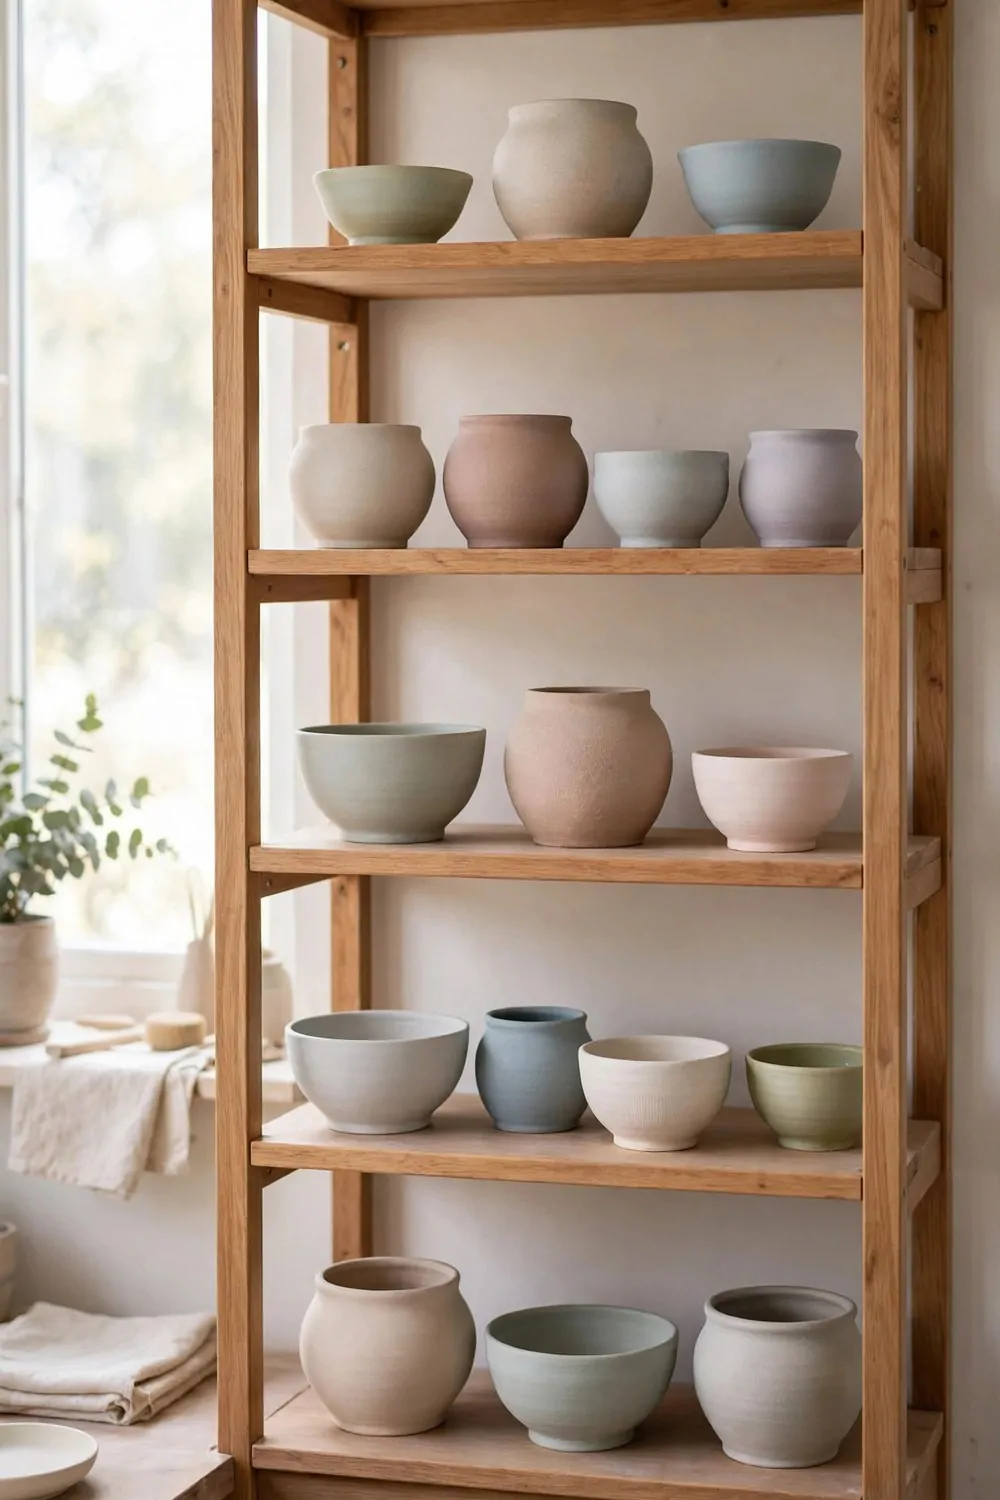
Open shelves let you see every pot you have made. You walk in, you look up, and there they are, all in a row. It feels like a little gallery in your own home.
Wood shelves work well because they are warm and strong. A plain pine board on brackets can hold a row of mugs and bowls. You do not need fancy shelves, just ones that sit level on the wall.
Put the shelves where they will not get bumped. A wall away from the door is best. Pots fall fast when a door swings open, and a shelf full of pots is a sad thing to lose.
Leave a little space between each pot. When pots touch, they chip each other. A finger width of space is enough, and it also makes each pot easier to pick up.
Sort your pots by use if you like. Mugs on one shelf, bowls on the next, vases up high. You will find what you need fast, and the shelves look tidy without much effort.
Small shelves cost about $20 to $60 each, and brackets add a few dollars more. You can start with two shelves and add a third later. Your wall grows with your pots.
Dust the shelves once a week with a dry cloth. Clay dust settles on everything in a studio. A quick wipe keeps your pots looking fresh and your shelves clean.
Do not put heavy pots on a high shelf. Your arms get tired, and a heavy pot is hard to lift down safely. Keep the big bowls low, where you can hold them with both hands.
Save one shelf for your favourite pieces. The ones you are most proud of deserve a spot of their own. When friends visit, that shelf is the first thing you will want to show them.
3. A Clay Storage Bin Under the Bench
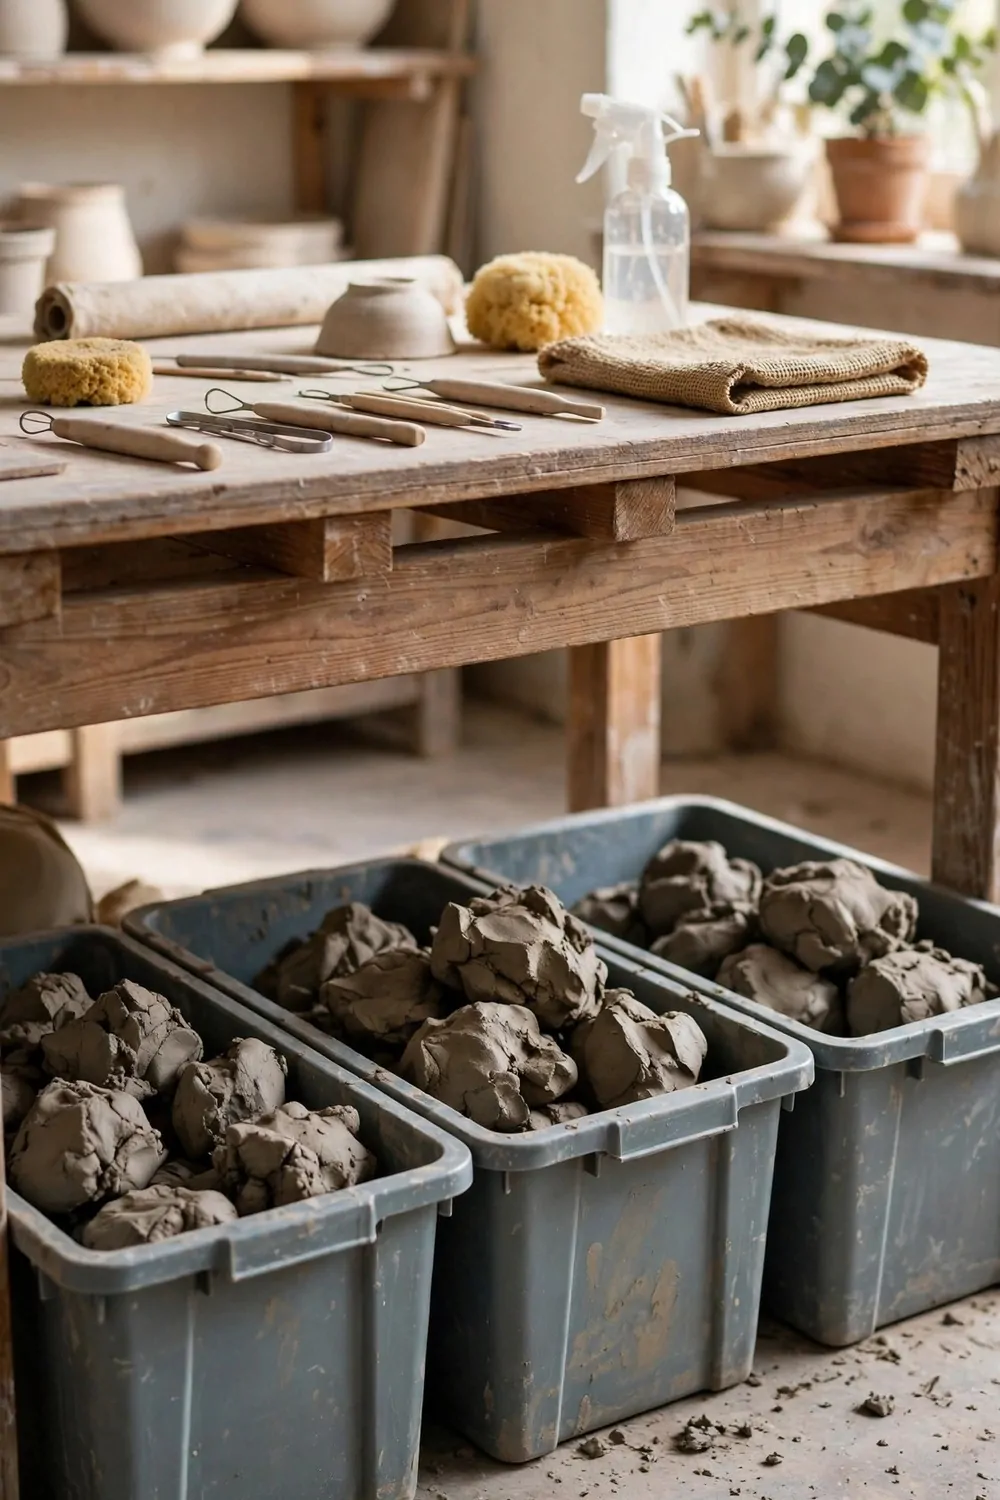
A clay storage bin under the bench keeps your clay damp and out of the way. You slide it out when you need clay, and you slide it back when you are done. The bench top stays clear for work.
Clay dries out fast in open air. A bin with a tight lid locks the damp in. Your clay stays soft for weeks, and you do not waste a single lump.
A small bin holds enough clay for a few small pots, and a small bin costs about $15 to $30. It fits under most benches, and you can lift it out with one hand when it is full.
A medium bin holds more clay for bigger projects, and a medium bin costs about $25 to $50. It is a good size if you make pots most weekends and want clay ready to go.
A large bin holds a big batch of clay for a busy studio, and a large bin costs about $45 to $80. It is heavy when full, so keep it low and slide it instead of lifting it.
Line the bin with a damp cloth if your clay feels a bit dry. The cloth adds a little damp back into the clay. Check it every few days, and wet the cloth again when it dries out.
Label each bin with the type of clay inside. Stoneware, porcelain, and earthenware all look alike when they are grey and wet. A strip of tape and a pen saves you from mixing them up.
Keep a wedge of clay wrapped in plastic inside the bin too. The plastic stops the outside from drying while the inside stays soft. You can unwrap it and use it straight away.
Clean the bin out once a month. Old bits of clay dry on the sides and fall into the fresh clay. A quick wipe with a damp cloth keeps the bin clean and your clay smooth.
| Bin size | Typical cost | Best for |
|---|---|---|
| Small bin | $15 to $30 | Enough clay for a few small pots |
| Medium bin | $25 to $50 | Plenty of clay for a full weekend |
| Large bin | $45 to $80 | A big batch for a busy studio |
4. A Wedging Table by the Window
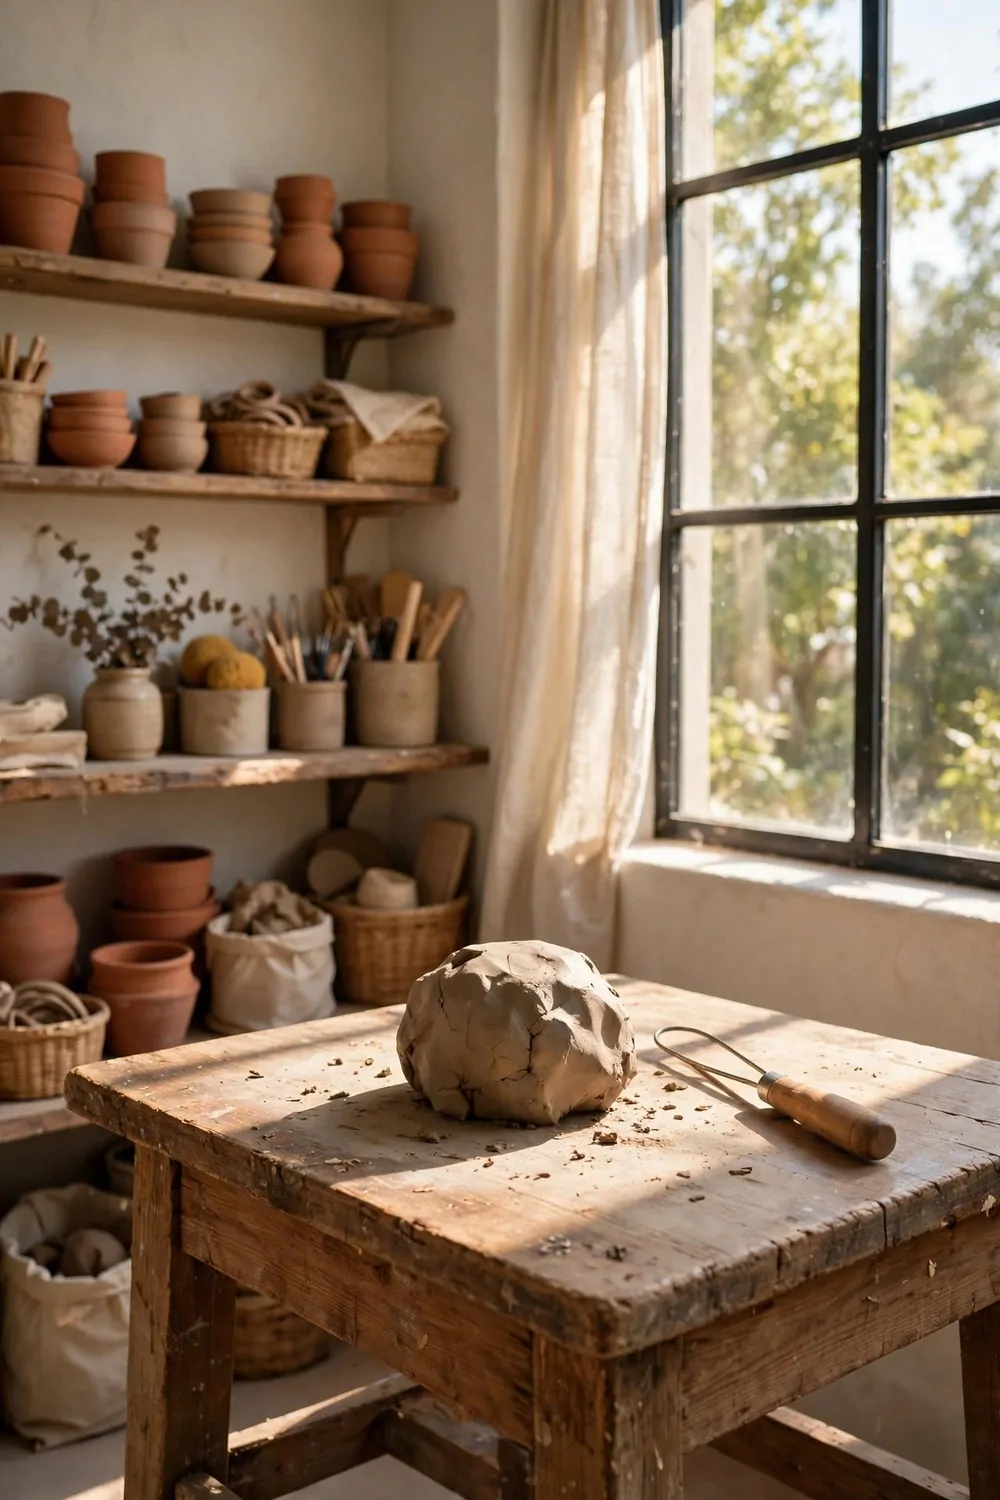
A wedging table by the window gives you a bright spot to knead your clay. You push the clay, fold it, and push it again. The light from the window helps you see air bubbles as you work.
Wedging takes the air out of the clay. Air bubbles make pots crack in the kiln, so this step matters. A few minutes of wedging now saves a pot later.
A plaster top works well for wedging because it pulls a little damp out of wet clay. If your clay is too soft, the plaster firms it up. A wood top works too, and it is easy to clean.
Make the table the right height for you. Your elbows should bend a little when your hands press down. If the table is too low, your back will ache after ten minutes.
Keep a wire cutter on the table at all times. You cut the clay, check the inside for holes, and wedge it again. The wire is your best tool for seeing what is hiding in the clay.
A simple wedging table costs about $80 to $200 if you buy one ready made. You can also build one from a strong table and a plaster slab for less. Either way, it pays for itself in pots that do not crack.
Wipe the table after each use. Dried clay on the top makes the next lump stick in the wrong way. A damp sponge and a quick scrub leaves it ready for tomorrow.
Put a bin under the table for clay scraps. The little bits you trim off add up fast. You can wedge them together later and use them again instead of throwing them away.
Stand at the window and take your time. Wedging is not a race. Slow, steady pushes work better than fast, hard ones, and your shoulders will thank you for it.
5. Drying Shelves with Soft Light
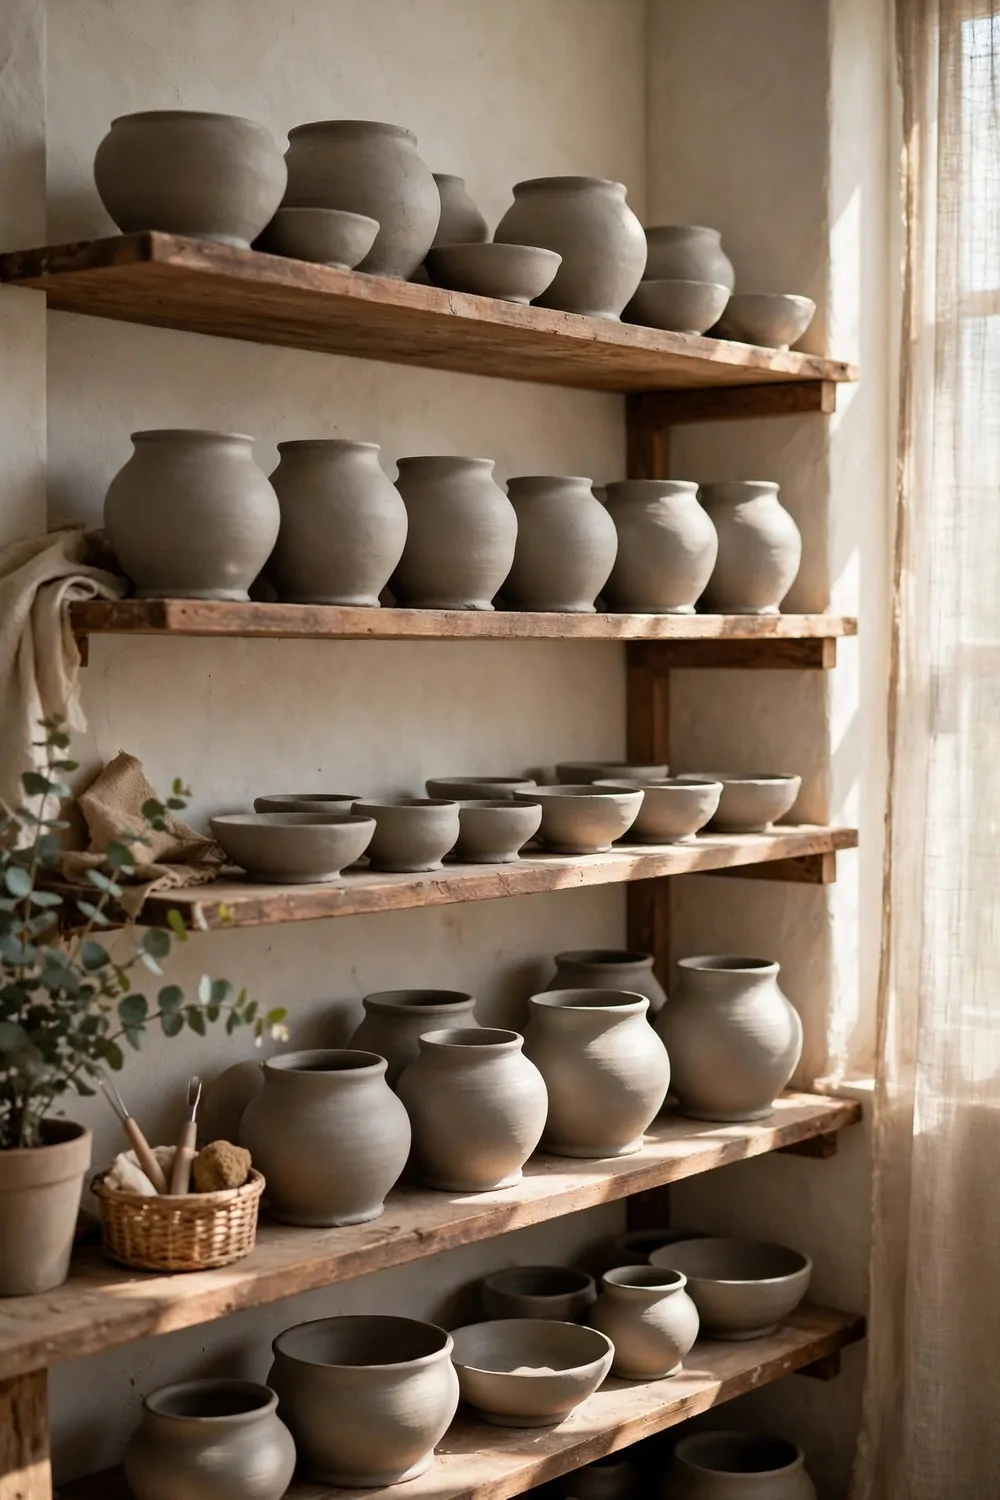
Drying shelves with soft light give your pots a calm place to firm up. Wet pots need time and air, not heat. A shelf in a bright room dries them slow and even.
Do not dry pots in direct sun, because the sun dries one side fast and leaves the other side wet. That is how pots warp and crack. Soft, indirect light is much kinder.
Use open wire shelves if you can. Air moves through them from below as well as from above. Your pots dry from all sides at the same pace, and that keeps them straight.
Turn each pot once a day while it dries. A small turn stops one side from drying faster than the other. It takes ten seconds, and it makes a real difference.
Cover fresh pots with a light plastic sheet for the first day. The sheet slows the drying so the pot firms up gently. Lift a corner to let a little air in, and remove the sheet on day two.
A set of drying shelves costs about $40 to $120, based on size and material. Metal shelves last long and wipe clean. Wood shelves look warm, but they need a wipe after wet pots sit on them.
Keep the shelves away from a heater or a fan. Fast air dries the rim first, and the rim pulls away from the base. Slow air is the secret to a pot that stays true.
Write the date on a small tag for each batch. Pots made on Monday dry at a different pace than pots made on Friday. A date tag tells you when each pot is ready to trim.
Check your pots with a gentle touch. If the clay feels cool and firm, it is ready for the next step. If it still feels cold and soft, give it one more day on the shelf.
6. A Glaze Corner with Small Jars
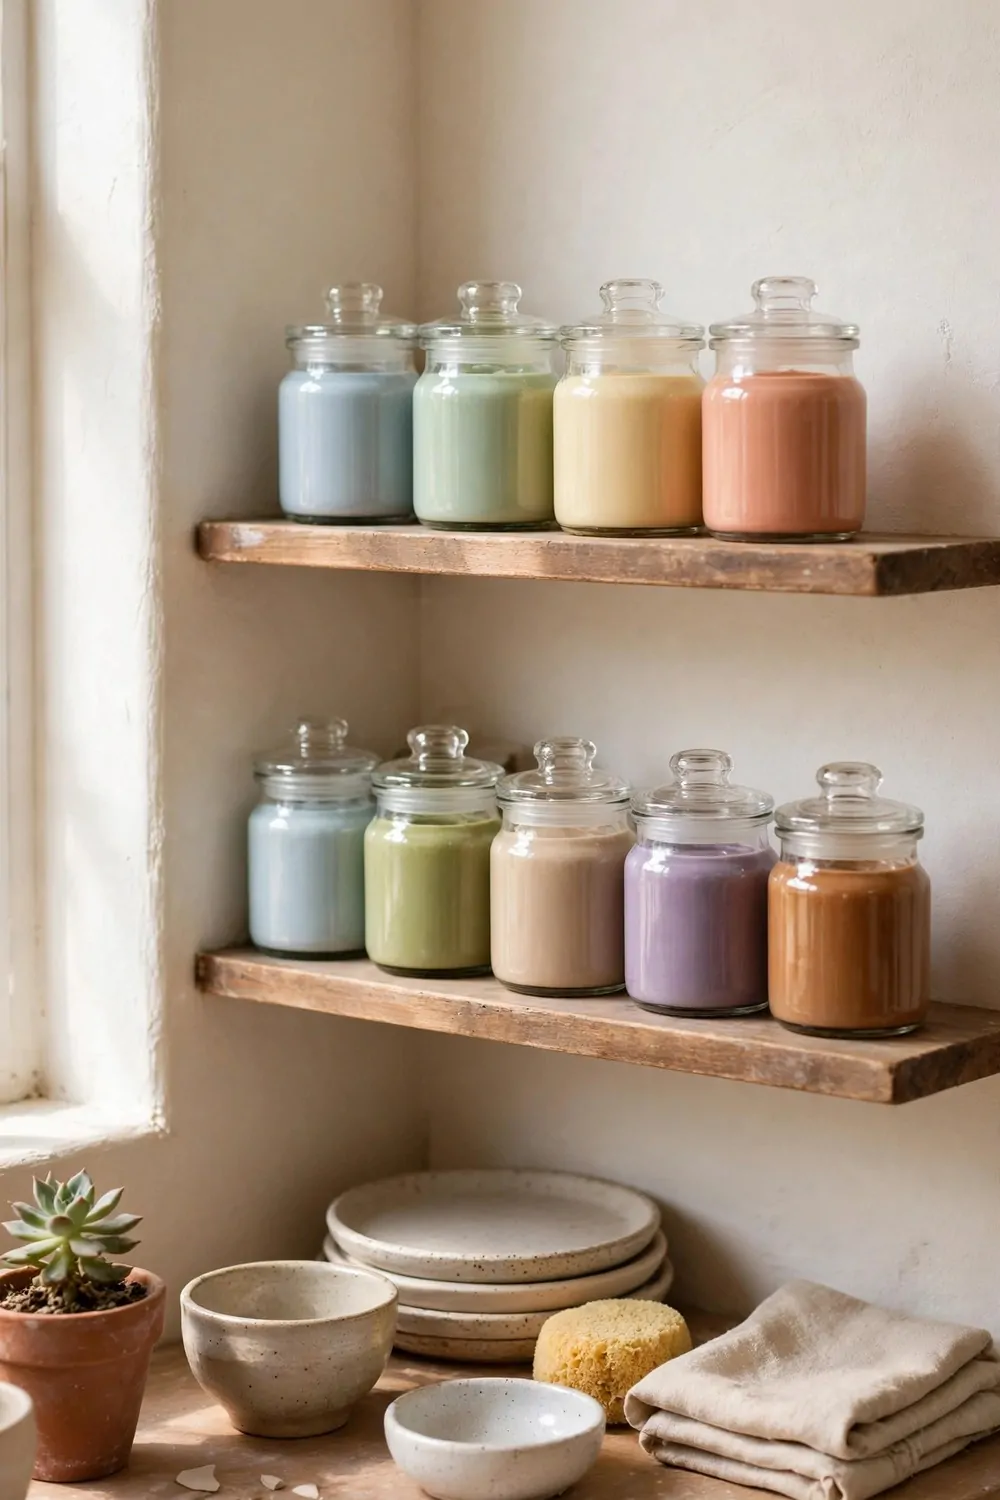
A glaze corner with small jars turns colour into a tidy little station. Each jar holds one colour, and you can see them all at a glance. Picking a glaze becomes the fun part of the day.
Small jars work better than big buckets for a home studio. You use a little glaze at a time, and a small jar is easy to stir. A big bucket is heavy, and it takes up too much room.
Label every jar with the glaze name and the date you mixed it. Two blue glazes can look the same in the jar and very different after firing. A label stops you from guessing wrong.
Keep a stir stick in each jar if you have room. Glaze settles to the bottom fast, and you need to stir it before you dip a pot. A wooden stick in each jar means you never hunt for one.
Put a tray under your jars. Drips happen, and a tray keeps them off the bench. A cheap baking tray works well, and you can wash it in the sink when it gets messy.
Small glaze jars cost about $3 to $8 each, and a set of test glazes runs about $30 to $60. Start with five or six colours you love. You can add more colours as you learn what you like.
Keep test tiles next to your jars. A test tile is a small flat piece of clay with one glaze on it. It shows you the true fired colour, so you know what to expect before you glaze a real pot.
Wear gloves when you handle glaze. Some glazes have stuff in them that you do not want on your skin. Gloves keep your hands clean, and you can peel them off when you are done.
Close each jar tight after you use it. Open jars dry out, and dried glaze is hard to fix. A tight lid keeps your colours ready for the next pot you want to glaze.
7. A Sink for Washing Clay Tools
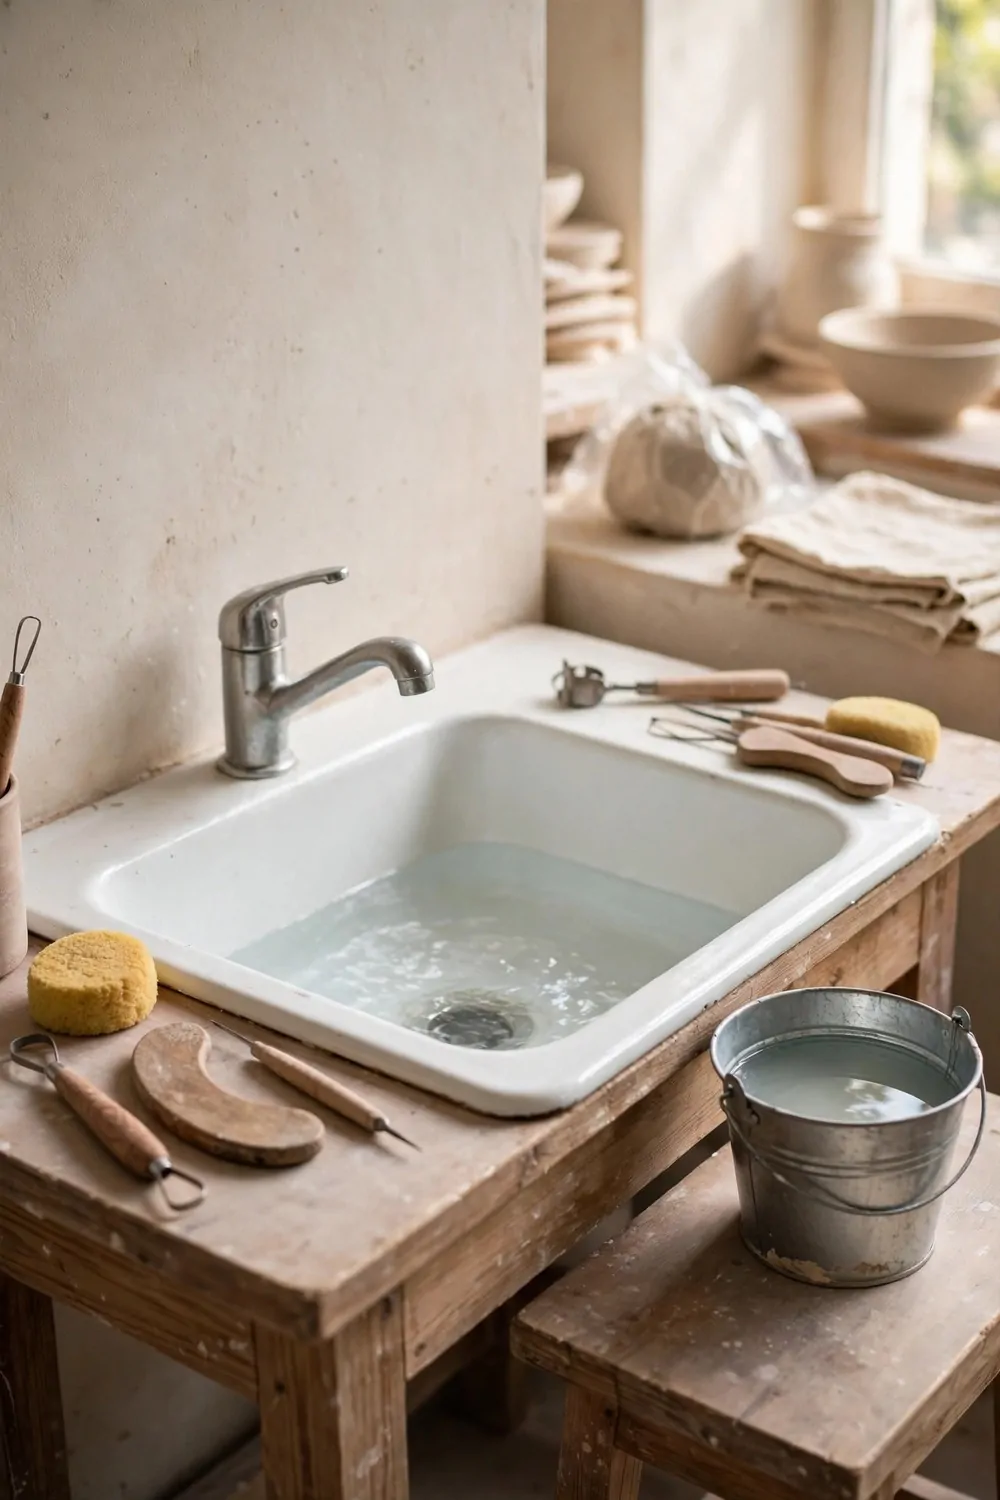
A sink for washing clay tools saves your kitchen sink from a clay mess. Clay and kitchen sinks do not mix well. A studio sink keeps the clay where it belongs.
Clay settles in pipes and blocks them over time. That is why a studio sink needs a trap or a bucket under it. The trap holds the clay, and you empty it before it fills up.
Use a bucket of water first, then the sink. Rinse your tools in the bucket to get the worst clay off, then wash them in the sink with clean water. The bucket does the hard work, and the sink stays clear.
Keep a brush by the sink for scrubbing tools. A stiff brush gets clay out of small gaps. A sponge is good for wiping, but a brush is better for the fiddly bits.
A small utility sink costs about $100 to $250, plus a bit more for fitting if you need a plumber. If a full sink is too much, a big bucket and a hose outside can work as a simple start.
Put a drying rack next to the sink. Wet tools rust if they sit in a pile. A rack lets air reach each tool, and they dry fast and stay in good shape.
Hang a towel on a hook by the sink. You will wash your hands a lot in a pottery studio. A towel that is always there means you never drip clay water across the floor.
Empty the trap bucket every week, or sooner if it looks full. Tip the settled clay into a bin, not down the drain. Let it dry, and you can even reuse some of it later.
Keep the sink area clear of pots and boxes. A clear sink is one you will actually use. When the sink is blocked by clutter, tools pile up dirty, and that slows your whole day down.
8. A Work Table with a Canvas Top
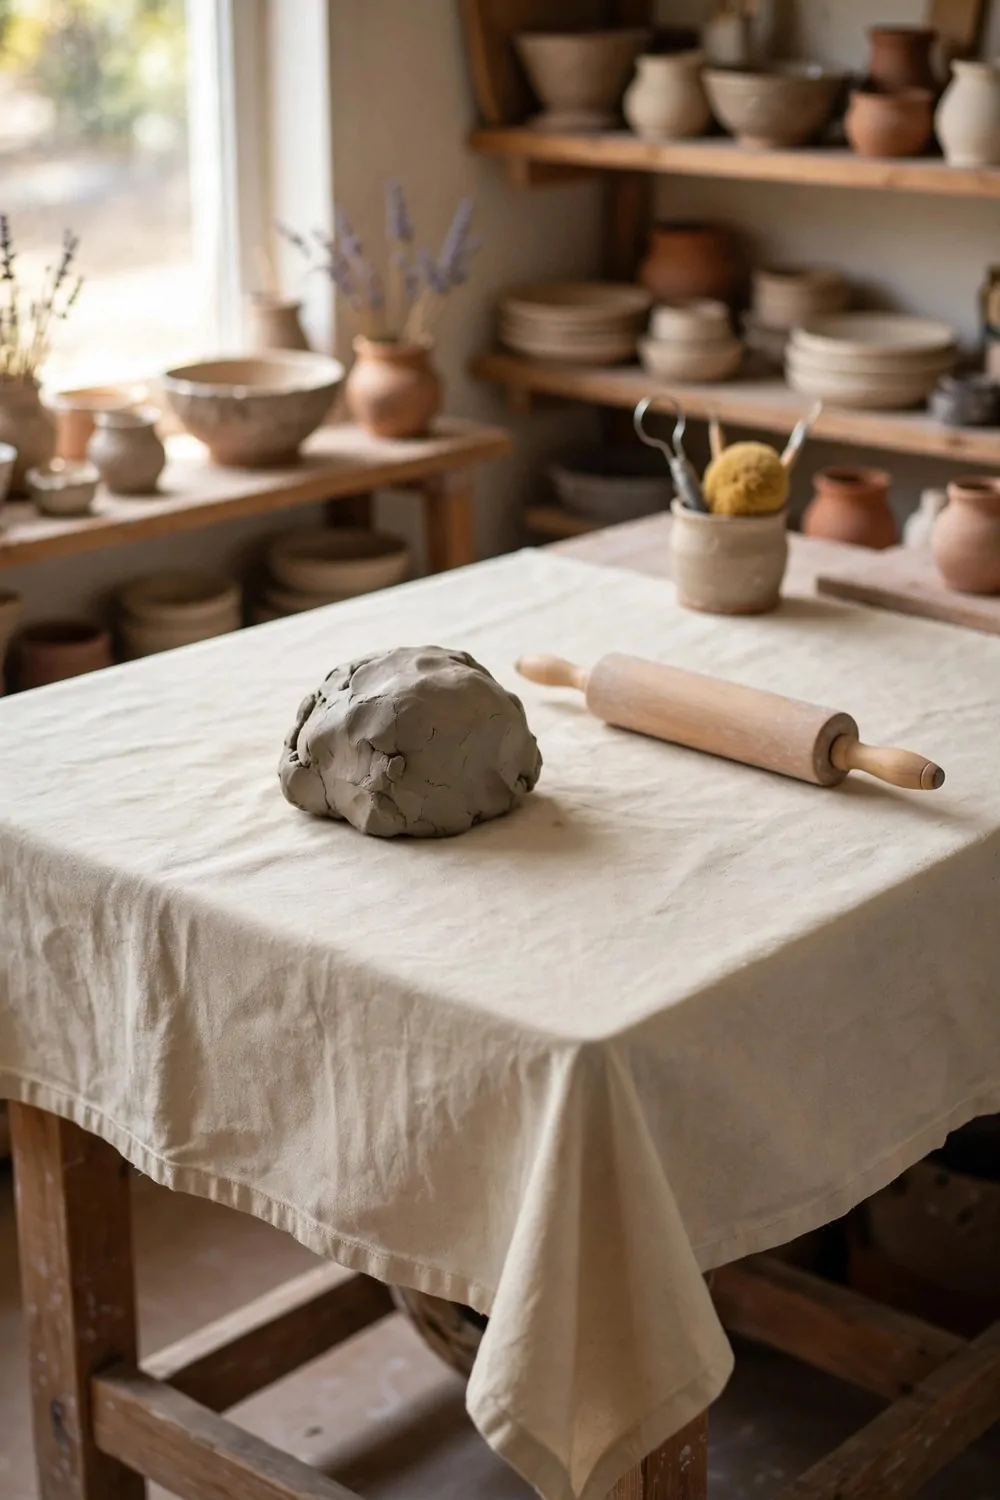
A work table with a canvas top is the plain, hard working heart of a studio. You roll clay on it, you cut shapes on it, and you build pots on it. The canvas stops the clay from sticking.
Canvas grips the clay just enough. When you roll a slab, the clay stays put instead of sliding around, and when you lift the slab, it peels off clean. That grip is what makes canvas so useful.
Stretch the canvas tight over the table and staple it under the edge. Loose canvas bunches up and leaves marks on your clay. Tight canvas feels smooth and flat under your hands.
Keep a rolling pin on the table at all times. A plain wooden pin works well for slabs. Roll from the middle out, and turn the clay a quarter turn after each pass to keep it even.
A strong work table costs about $100 to $300, and a piece of canvas costs about $10 to $25. You can cover an old table you already own, and it will work just as well as a new one.
Sprinkle a little dry clay dust on the canvas if your clay sticks. The dust acts like flour on a baking board. A light sprinkle is enough, and too much will dry your clay out.
Brush the canvas clean at the end of each day. Dried bits of clay leave bumps on the next slab you roll. A stiff brush and a quick sweep keeps the top smooth.
Swap the canvas when it gets worn or torn. A fresh piece costs little and takes ten minutes to fit. Your slabs will come out smoother, and your hands will feel the difference.
Leave the middle of the table clear when you finish. A clear table invites you to start again tomorrow. A table buried under tools and scraps feels like a chore before you even begin.
9. A Kiln Shelf in a Safe Spot
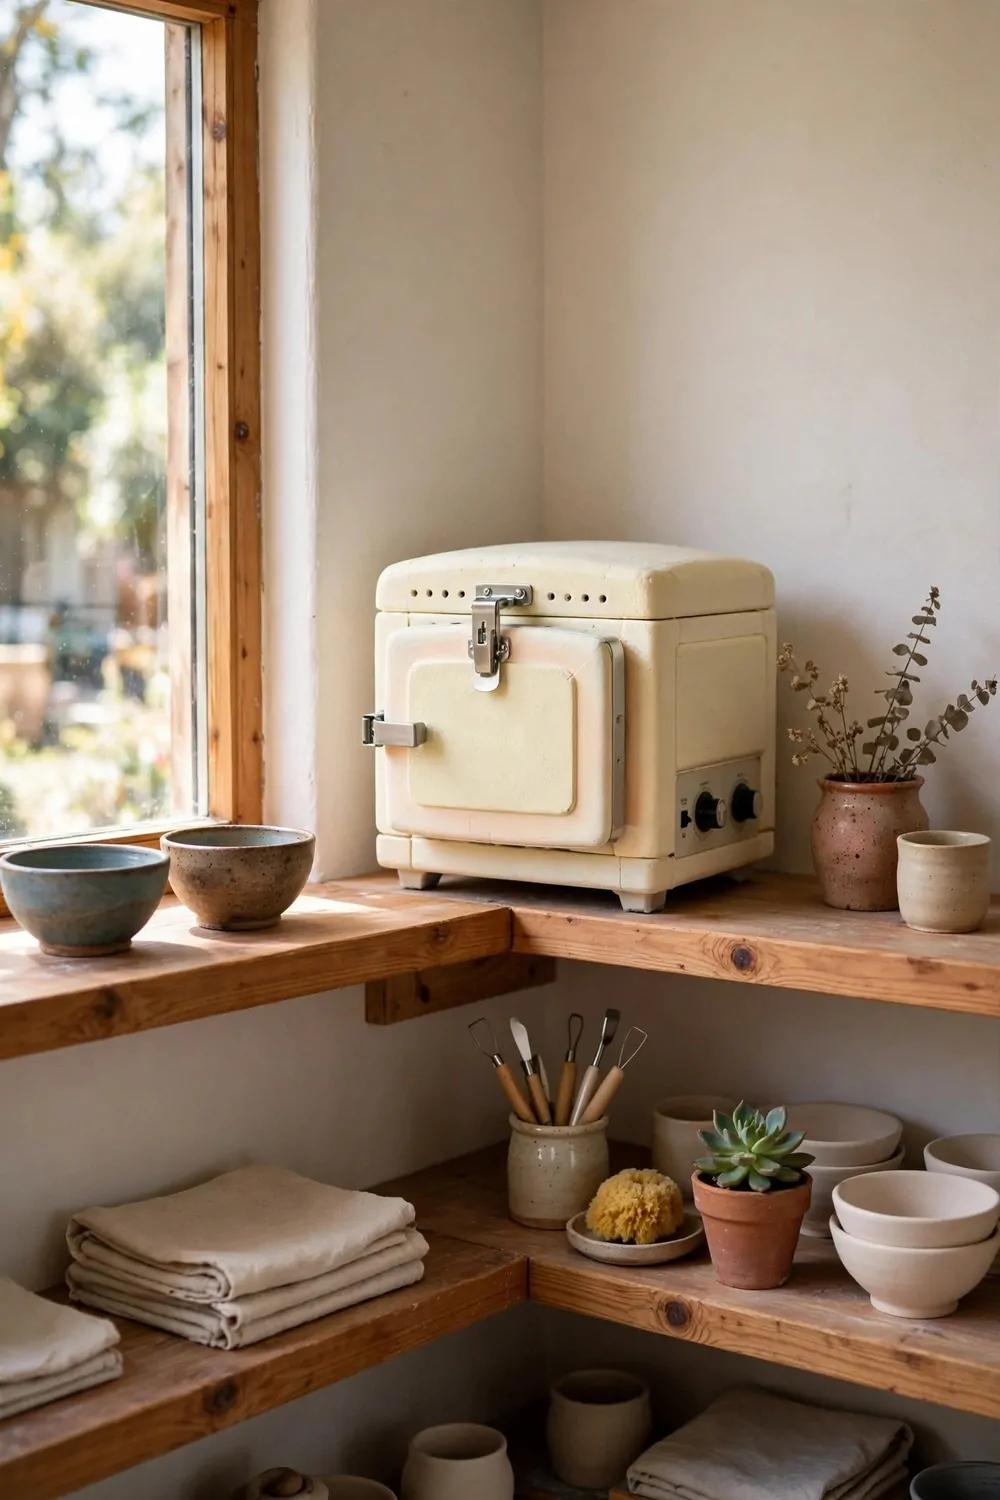
A kiln shelf in a safe spot gives your kiln a home that will not cause trouble. A kiln gets very hot, so where it sits matters a lot. A safe spot keeps you, your house, and your pots protected.
Put the kiln on a stand made for kilns, or on concrete blocks. Never put a kiln straight on a wood floor. The heat can scorch the floor, and that is a risk you do not want.
Leave space all around the kiln. A foot of clear space on each side is a good rule. You need air to move around it, and you need room to open the lid without bumping a wall.
Keep the kiln away from anything that can burn. Paper, cloth, and wood scraps have no place near a kiln. A clear zone around it is the simplest safety step you can take.
A small kiln shelf or stand costs about $50 to $150, and a small home kiln runs about $800 to $2,000. That is a big buy, so many potters share a kiln or use a local studio kiln at first.
Make sure the room has fresh air while the kiln fires. Open a window or run a vent if you have one. Fumes from glaze and clay need a way out, and fresh air keeps the room safe to be in.
Put a fire extinguisher near the kiln, but not right next to it. You want to reach it fast without reaching over the hot kiln. A small extinguisher on the wall by the door is a smart spot.
Check the kiln shelves inside for cracks before each firing. A cracked shelf can break under a load of pots. A quick look takes a minute, and it saves a whole firing from ruin.
Let the kiln cool fully before you open it. Hot pots look done, but they can crack from a sudden chill. Wait until the kiln feels cool to the touch, then lift the lid and see your pots.
10. A Tool Wall with Hooks and Jars
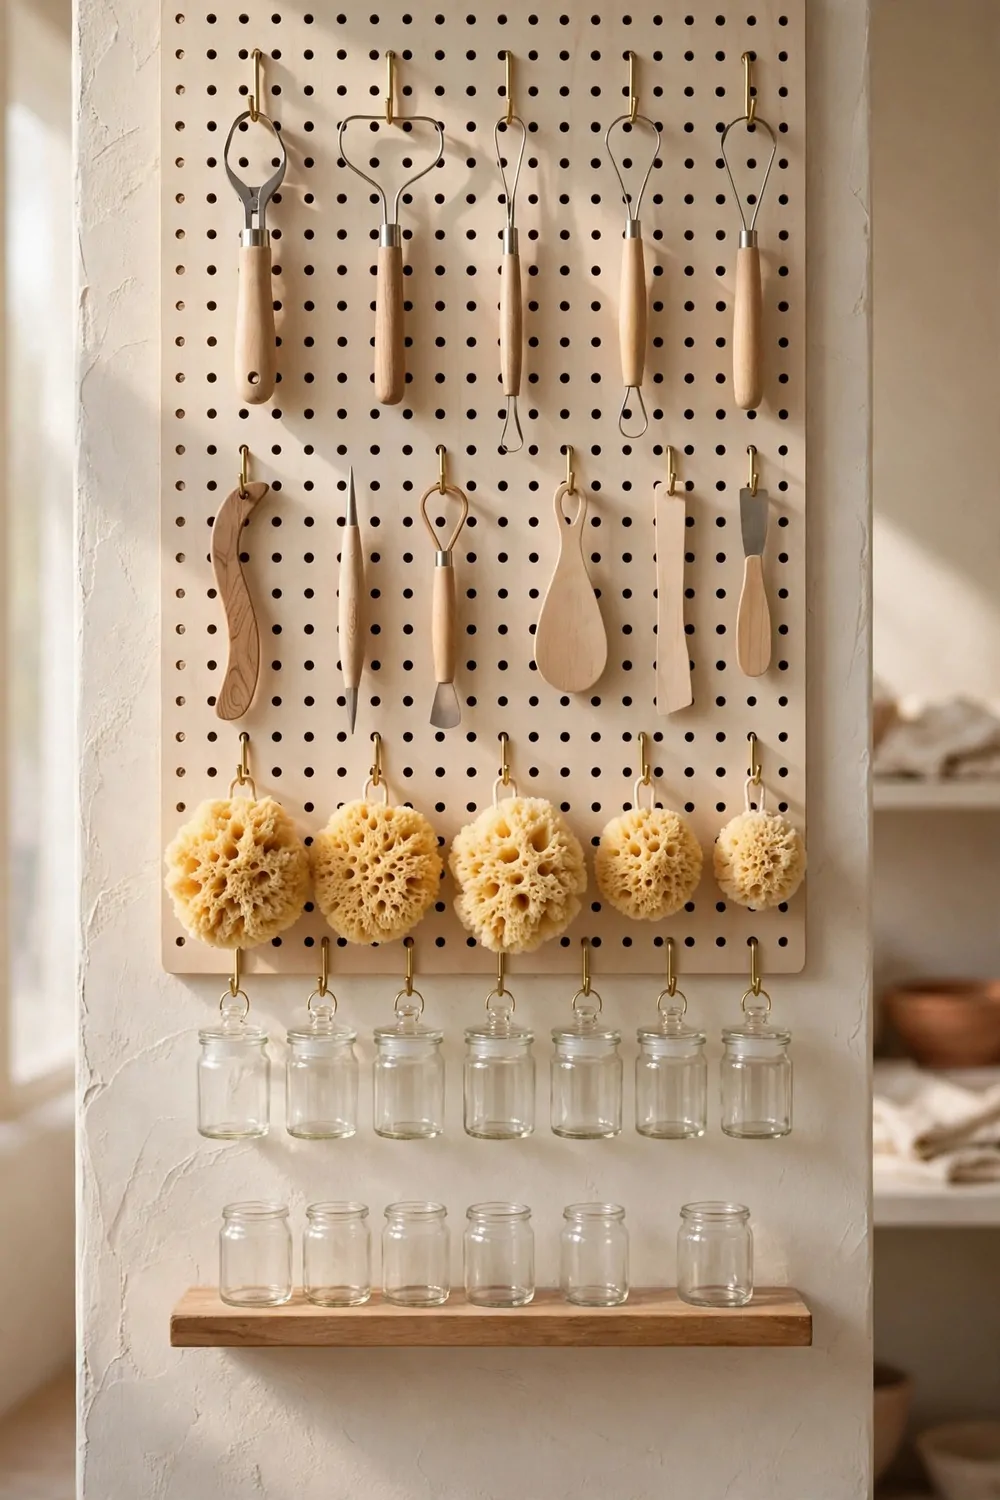
A tool wall with hooks and jars puts every tool where you can see it. You look up, you grab what you need, and you put it back when you are done. No more digging through a box.
Hang a pegboard or a plain board on the wall near your bench. Hooks hold your loop tools, ribs, and sponges, while jars hold your brushes, needles, and small cutters. Everything has a home.
Group your tools by job. Trimming tools together, carving tools together, brushes together. When tools sit with their own kind, you find the right one in seconds.
Use small jars for brushes, and stand the brushes with the bristles up. Bristles that sit in a pile bend and lose their shape. Bristles up means the brush stays straight and lasts longer.
A pegboard costs about $15 to $40, and a set of hooks costs about $5 to $15. Small jars cost a few dollars each, or you can reuse clean food jars for free. The whole wall can cost less than one bag of clay.
Keep your sharp tools on the higher hooks. Needles and wire cutters can prick you if they sit at hand height in a busy spot. Up high, they are safe, and you still reach them with ease.
Label the jars if you have a lot of tools. A bit of tape with “brushes” or “ribs” on it helps a lot. Anyone who uses your studio will know where things go, and that keeps the wall tidy.
Clean your tools before you hang them back up. Clay left on a tool dries hard and is tough to remove later. A quick rinse and a wipe keeps each tool ready for its next job.
Leave one empty hook on the wall. You will buy a new tool one day, and it will need a spot. An empty hook is a small promise that your studio will keep growing.
11. A Trimming Station with a Small Wheel
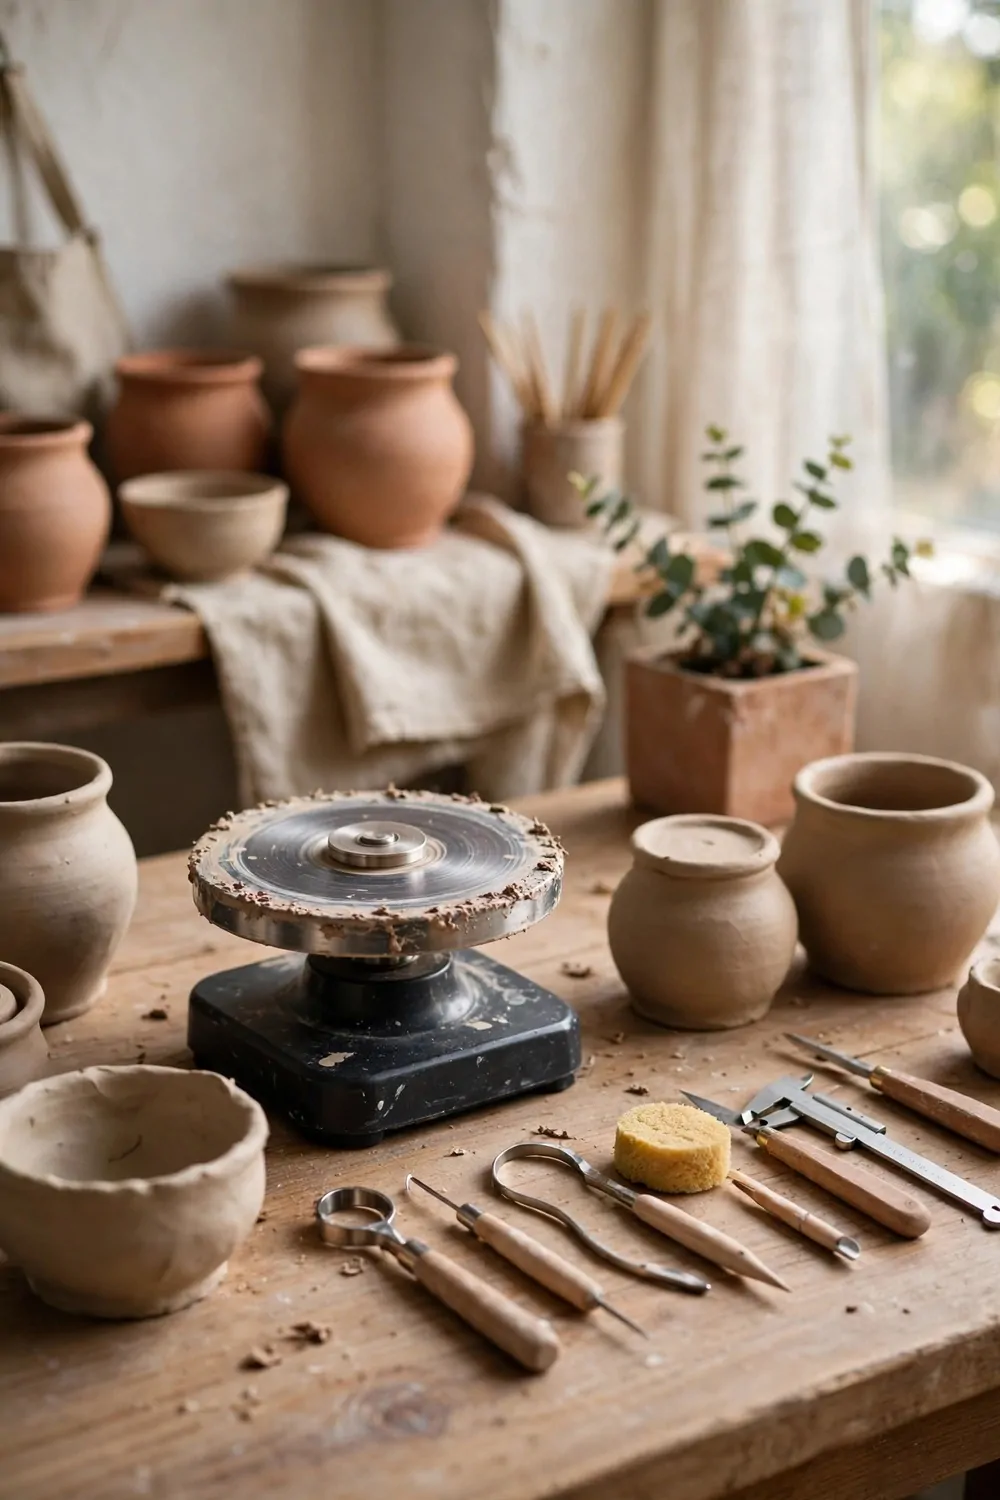
A trimming station with a small wheel gives your pots their final shape. After a pot firms up, you trim the base and clean the foot. This is the step that makes a pot look finished.
A small wheel is enough for trimming. You do not need a big, fast wheel for this job. A slow, steady spin lets you cut thin, even shavings from the base.
Set the station next to your drying shelves. Pots move from the shelf to the wheel and back again. A short trip means fewer bumps and fewer pots dropped on the way.
Keep your trimming tools in a small tray on the station. Loop tools, a sponge, and a needle should sit within reach. You will use them in a set order, so keep them in that order on the tray.
A small trimming wheel costs about $80 to $250, and a set of loop tools runs about $15 to $40. You can also trim on your main wheel, but a small second wheel keeps your main wheel free for throwing.
Hold the pot firm with one hand and cut with the other. Press too hard and the pot will wobble off centre. Light, steady cuts take off thin curls, and the base comes out smooth.
Save the trimmings in a tray under the wheel. The thin curls of clay pile up fast. You can wedge them together later and use them for a new pot, so nothing goes to waste.
Wipe the wheel head after each pot. Wet trimmings stick to the wheel and mark the next pot. A damp sponge keeps the head clean, and each pot starts fresh.
Check the foot of the pot when you finish. It should sit flat on the table without rocking. A flat foot is the mark of a well trimmed pot, and it is the part people feel every time they pick it up.
12. A Slab Roller on a Low Table
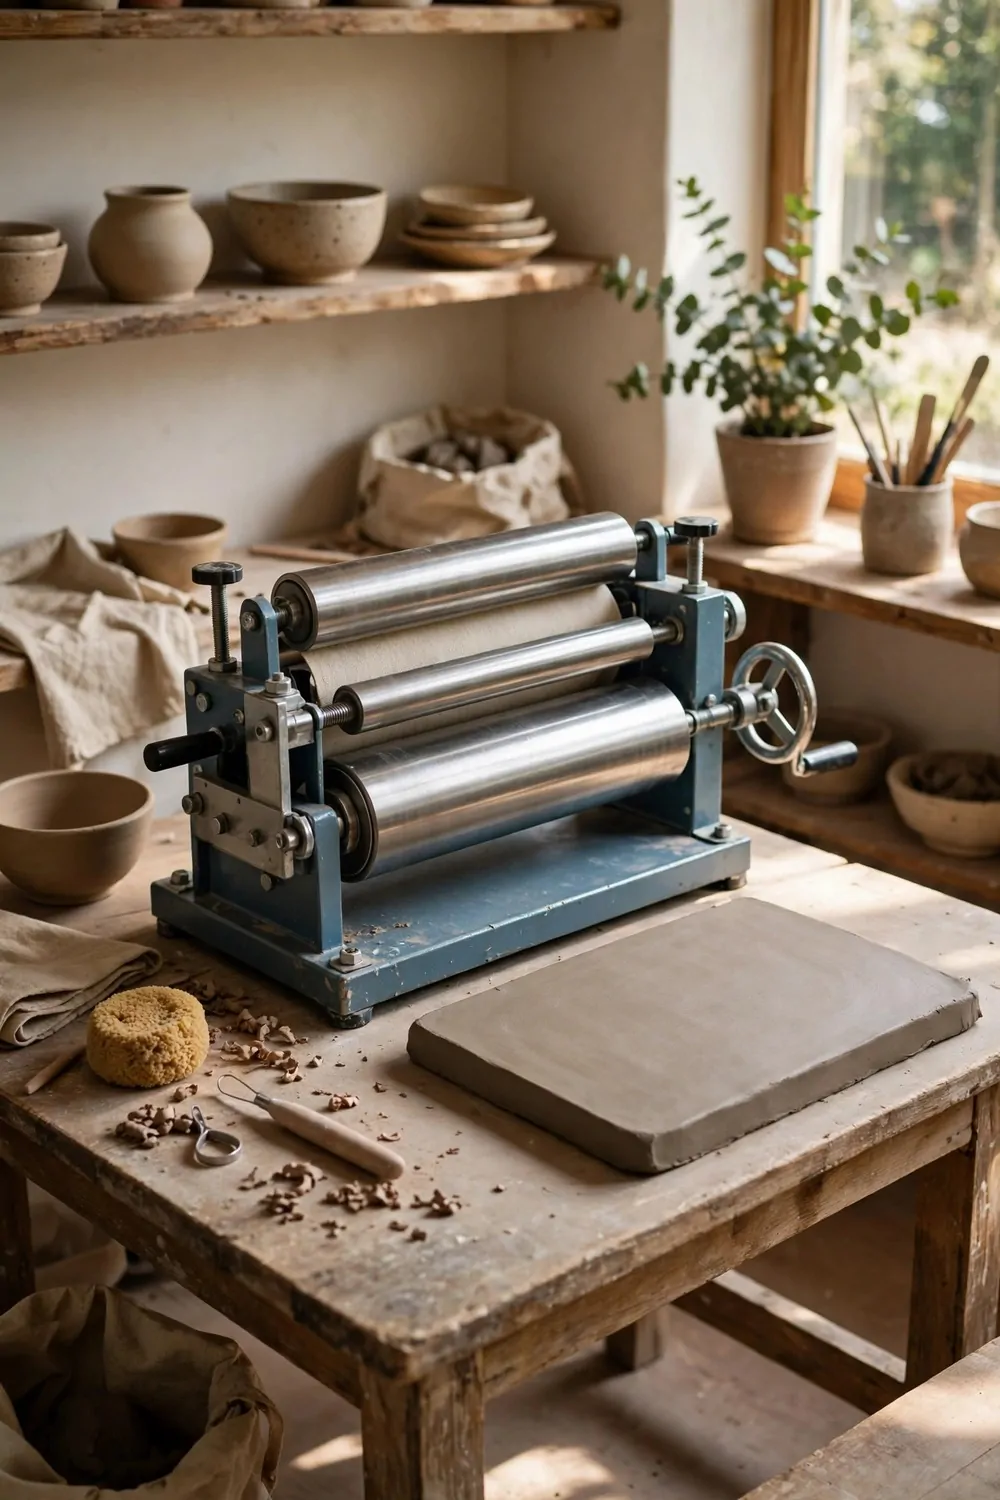
I put my slab roller on a low table, and it changed how I work. You do not need to lift a heavy slab up high, and your arms stay relaxed.
A low table lets you lean in a little and press with steady hands. I like that my shoulders do not get tired fast.
Pick a table that feels solid when you push on it. If it wobbles, your slab can come out uneven.
I keep the table near my main work spot so I do not carry wet clay far. You can roll a slab and move it straight to your board.
A small roller costs about $80 to $150, and a bigger one can cost more. I started with a simple one, and it did the job well.
Keep a cloth and a little water close by for the roller. I wipe the top after each use so dried clay does not stick.
You can store flat boards under the low table when you are done. I slide mine in and out, and the room stays tidy.
If your table is too tall, your back will tell you fast. I learned to test the height before I bought mine.
A low table turns slab work into a calm part of my day. You roll, you smooth, and you start your pot with a flat, even base.
13. A Bisque Shelf for First Fires
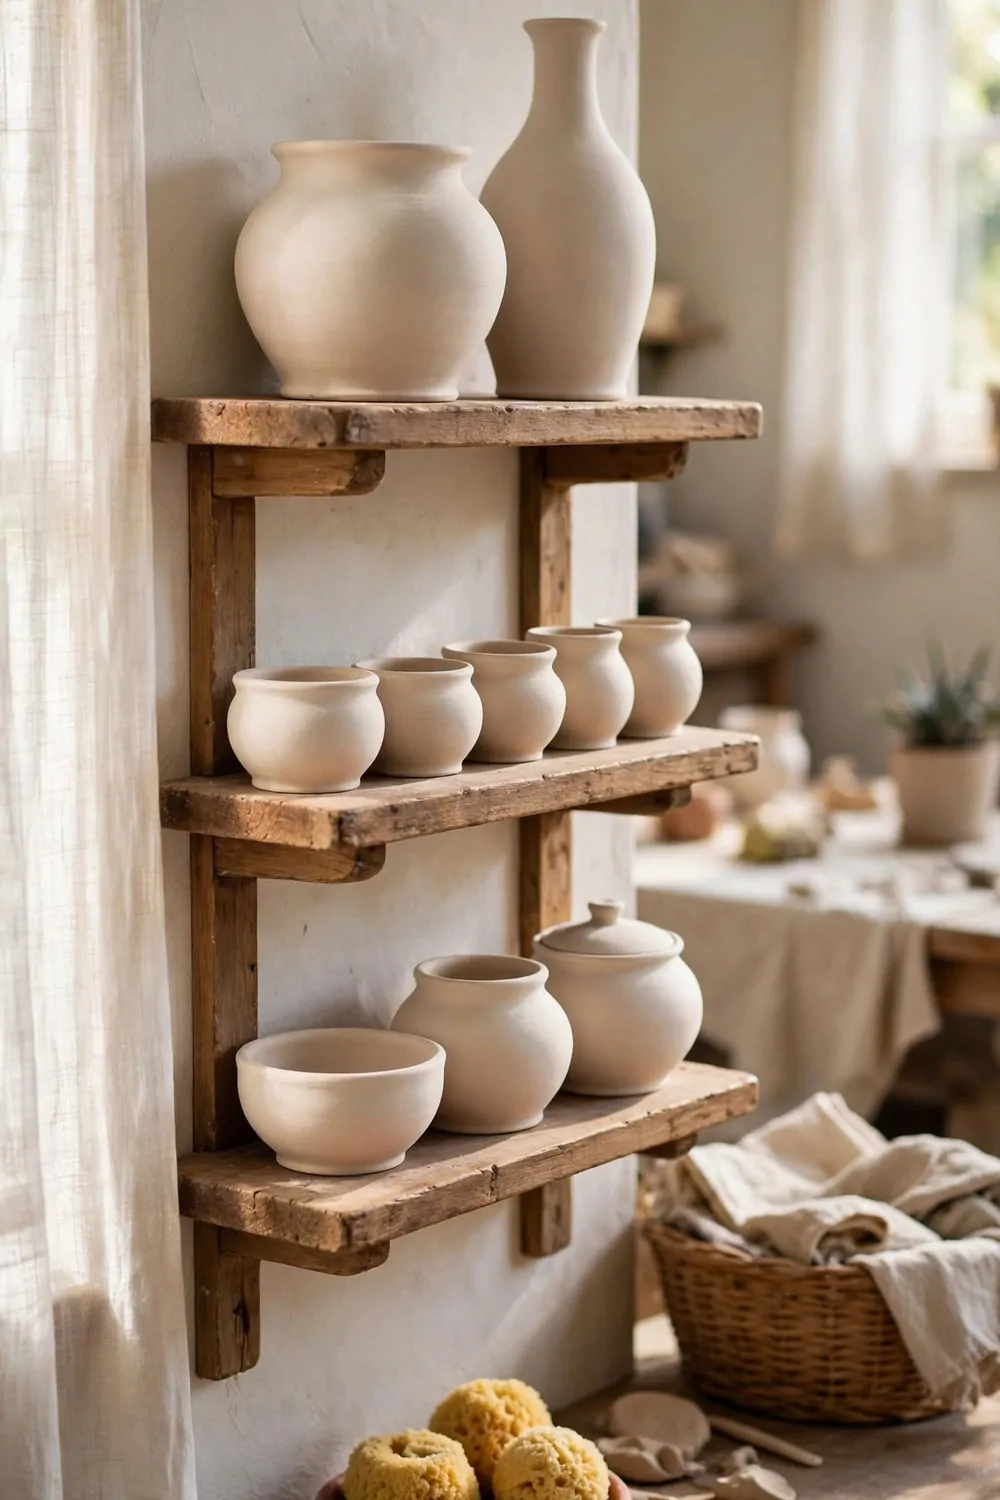
A bisque shelf holds your first-fired pots while they wait for glaze. I like seeing them in one safe place.
Put the shelf where no one will bump into it. You want your pots to sit still and stay whole.
A small shelf costs about $20 to $40, and it fits a few pots at a time. I used one like this when my studio was tiny.
A medium shelf costs about $40 to $70, and it gives you room for a full kiln load. You can sort pots by size on each row.
A large shelf costs about $70 to $120, and it holds a lot of work at once. I moved to this size when I started to make more pots.
Leave a little space between each pot so air can move around them. I do not stack bisque pots on top of each other.
Label each row with a small card if you fire for friends too. You will know whose pot is whose, and nothing gets mixed up.
Wipe the shelf now and then so dust does not settle on your pots. I use a dry cloth, and it takes less than a minute.
A good bisque shelf keeps your first fires safe and easy to find. You can pick up a pot, check it, and plan your next glaze step.
| Shelf size | Typical cost | Best for |
|---|---|---|
| Small shelf | $20 to $40 | A few pots at a time |
| Medium shelf | $40 to $70 | Room for a full kiln load |
| Large shelf | $70 to $120 | A lot of work at once |
14. A Throwing Apron Hook by the Door
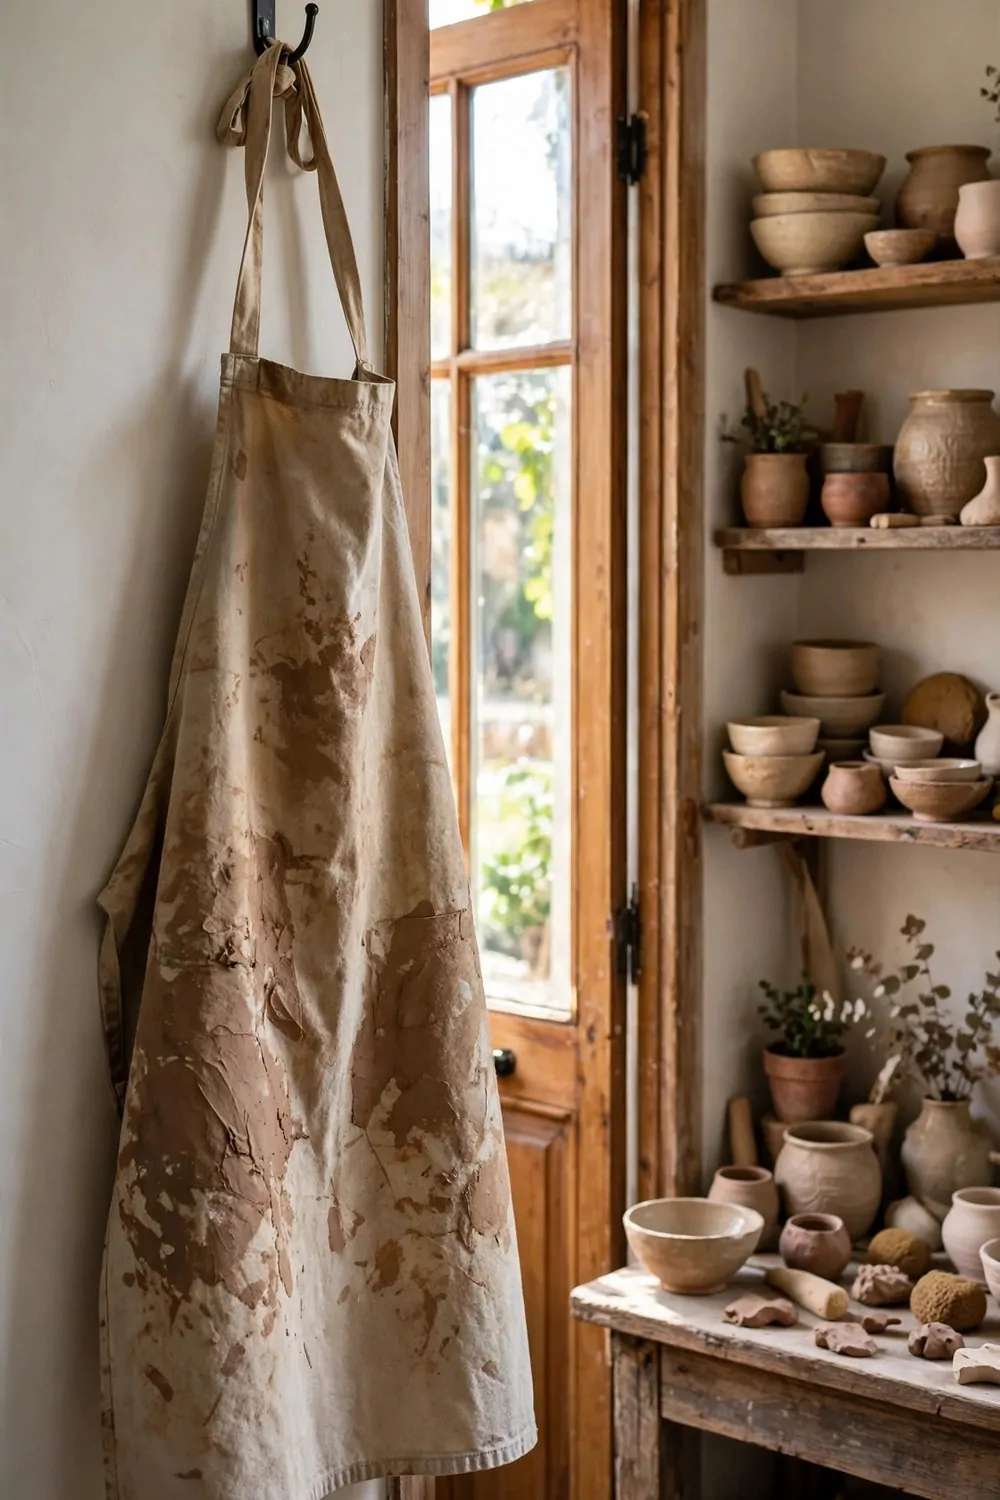
I hang my throwing apron on a hook by the door, and I never lose it now. You can grab it on your way in and hang it up on your way out.
A hook by the door keeps clay off your clean clothes and off your chairs. I like that my apron has one home.
Pick a strong hook that can hold a damp apron. I use a metal hook, and it has never bent or slipped.
Put the hook at a height you can reach without a stretch. You want to hang the apron with one hand while you hold a mug in the other.
A simple hook costs about $5 to $12, and you can fit it in a few minutes. I used two small screws, and it felt solid right away.
If you share the studio, give each person their own hook. You will not mix up aprons, and no one has to hunt for theirs.
I keep a small towel on the same hook when my hands are wet. You can dry them fast and get back to the wheel.
Wipe the hook now and then so clay dust does not build up on it. I do a quick wipe once a week, and it stays clean.
A hook by the door is a tiny change with a big result. You walk in, you put on your apron, and you are ready to work.
15. A Bucket Station for Slip and Water
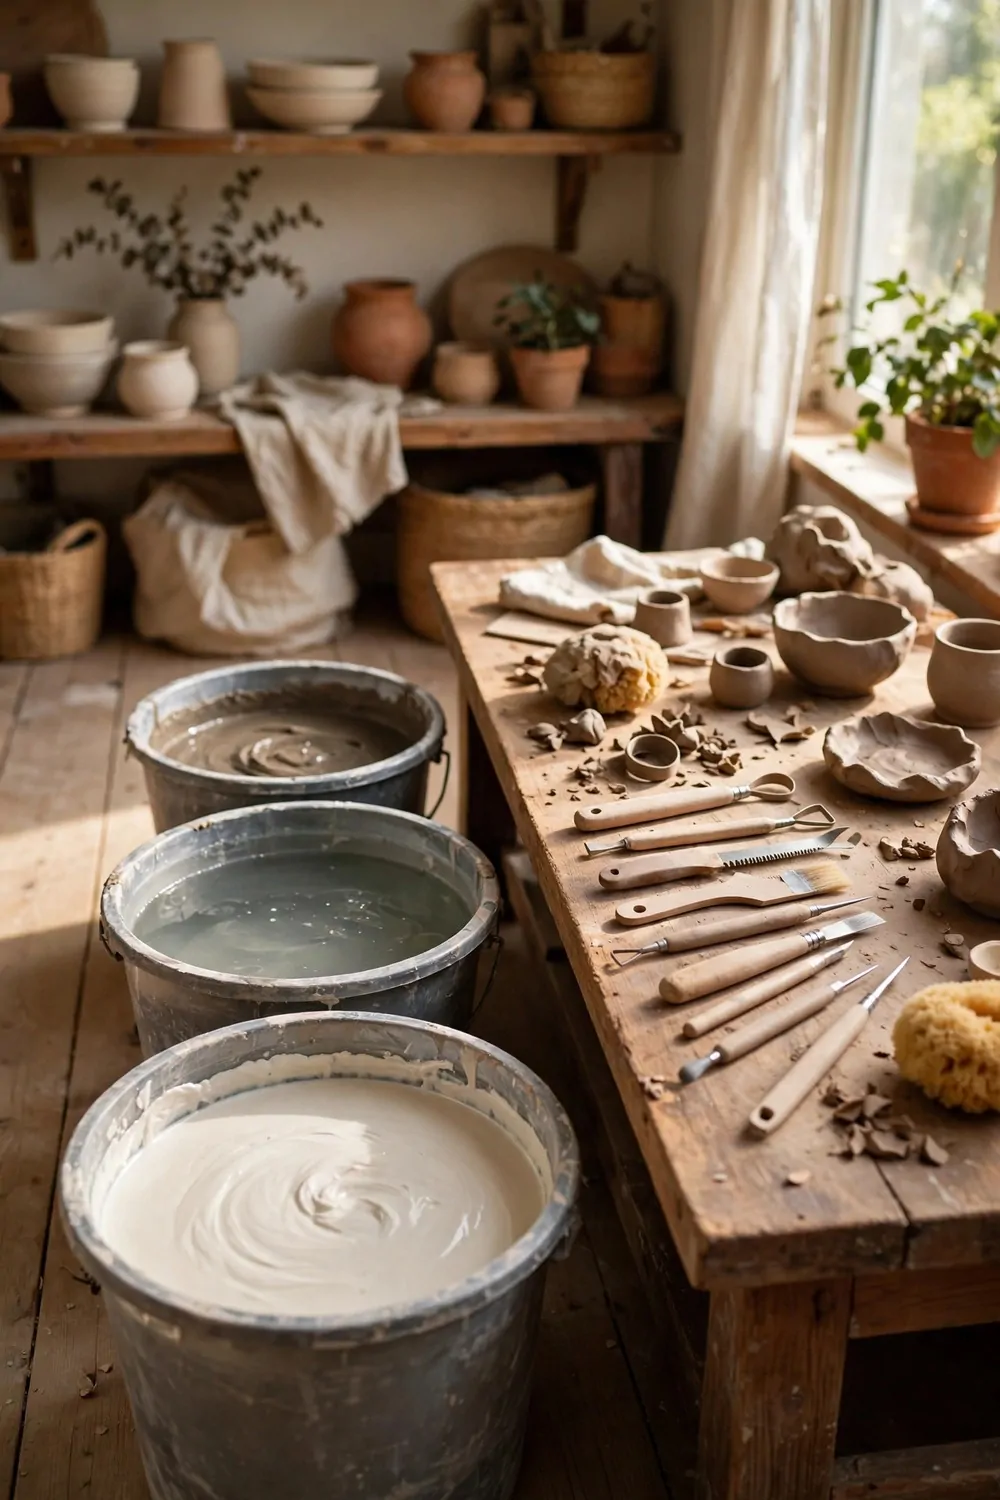
A bucket station keeps your slip and water in one tidy spot. I do not chase buckets around the room any more.
I use one bucket for clean water and one for slip. You can tell them apart at a glance if you use two colours.
Put the buckets on a low tray so spills stay in one place. I mop the tray fast, and the floor stays dry.
Keep a ladle or a big spoon with the slip bucket. You can stir the slip smooth before you use it on a pot.
A set of sturdy buckets costs about $10 to $25, and they last a long time. I picked thick ones that do not crack when I move them.
Change the clean water often so your hands and tools stay clean. I swap mine when it turns cloudy.
Put a lid on the slip bucket when you take a break. You will keep dust out, and the slip will stay soft for longer.
I keep my sponges in a small cup next to the buckets. You can grab one fast, and it drips back into the tray.
A bucket station makes messy work feel calm and simple. You have water where you need it, and you can focus on your pot.
16. A Display Ledge for Favourite Pots
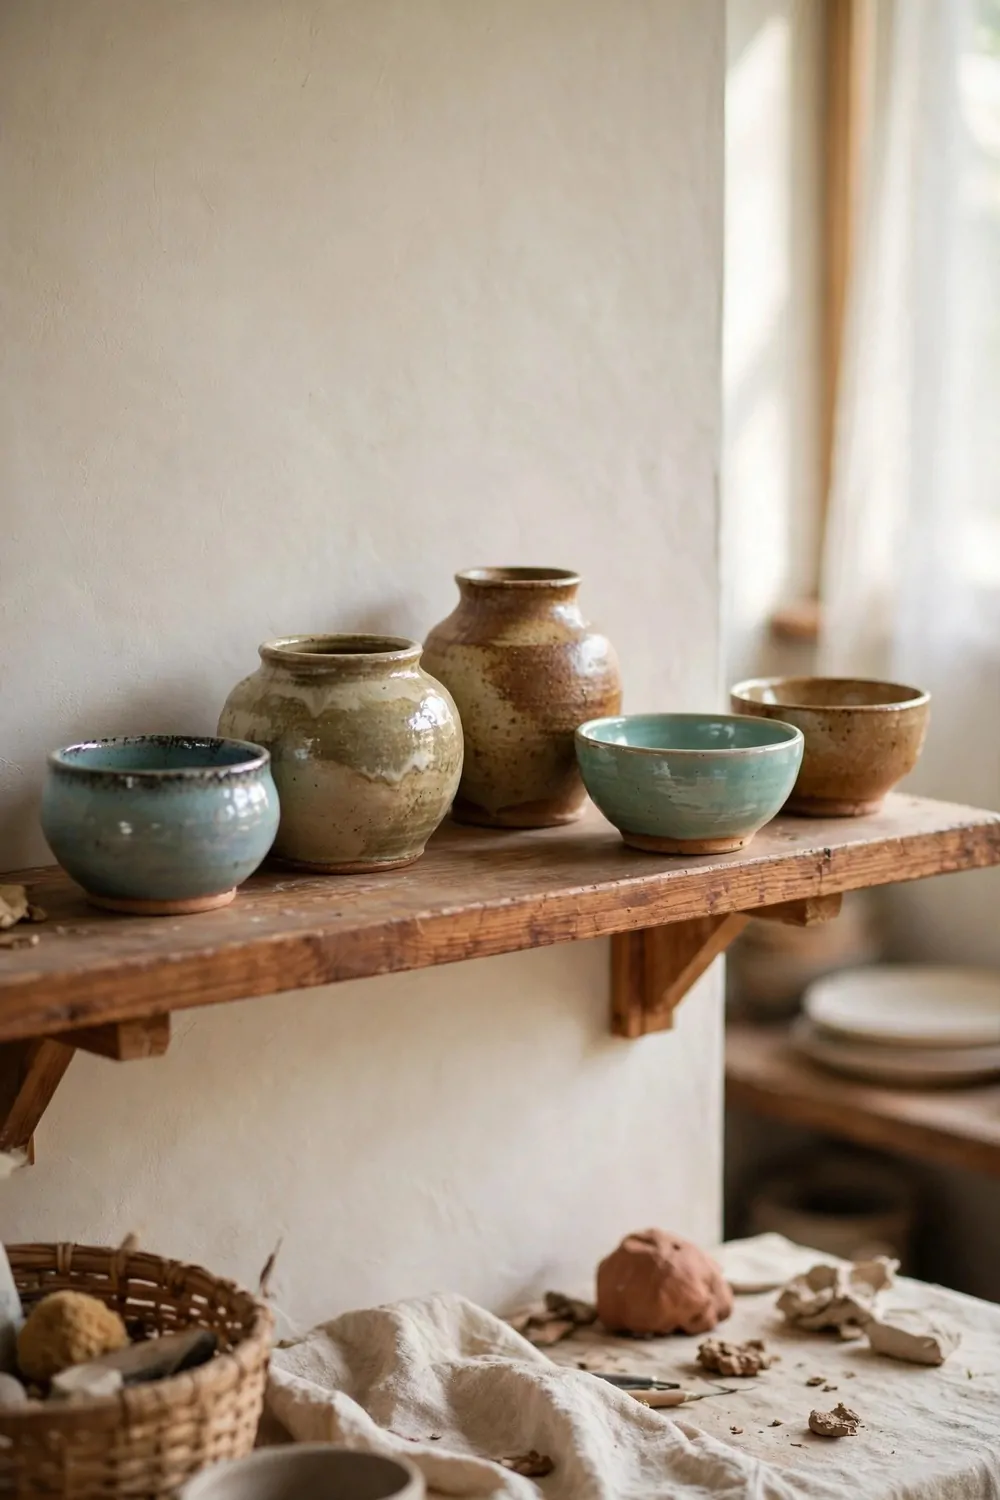
A ledge for your favourite pots turns your best work into a daily treat. I look at mine each morning, and it makes me smile.
Pick a ledge that is wide enough for a mug or a small vase. You do not want a pot to sit too close to the edge.
Put the ledge where you can see it from your work table. I placed mine on a plain wall, and my pots stand out nicely.
I change the pots on my ledge when I finish a new batch. You can show your newest work and put older pots back in a cupboard.
A wooden ledge costs about $15 to $35, and you can fit it with a few screws. I used a short one first, then added a second row.
Leave space between pots so each one gets its own spot. I do not crowd the ledge, and each pot looks better that way.
Dust the ledge with a soft cloth once a week. You will keep your pots bright, and the wood will stay clean too.
If you have kids in the house, put the ledge a little higher up. I keep mine where small hands cannot reach it by accident.
A ledge for favourite pots reminds you why you love clay. You see your progress, and you feel proud of how far you have come.
17. A Packing Corner for Pots to Gift
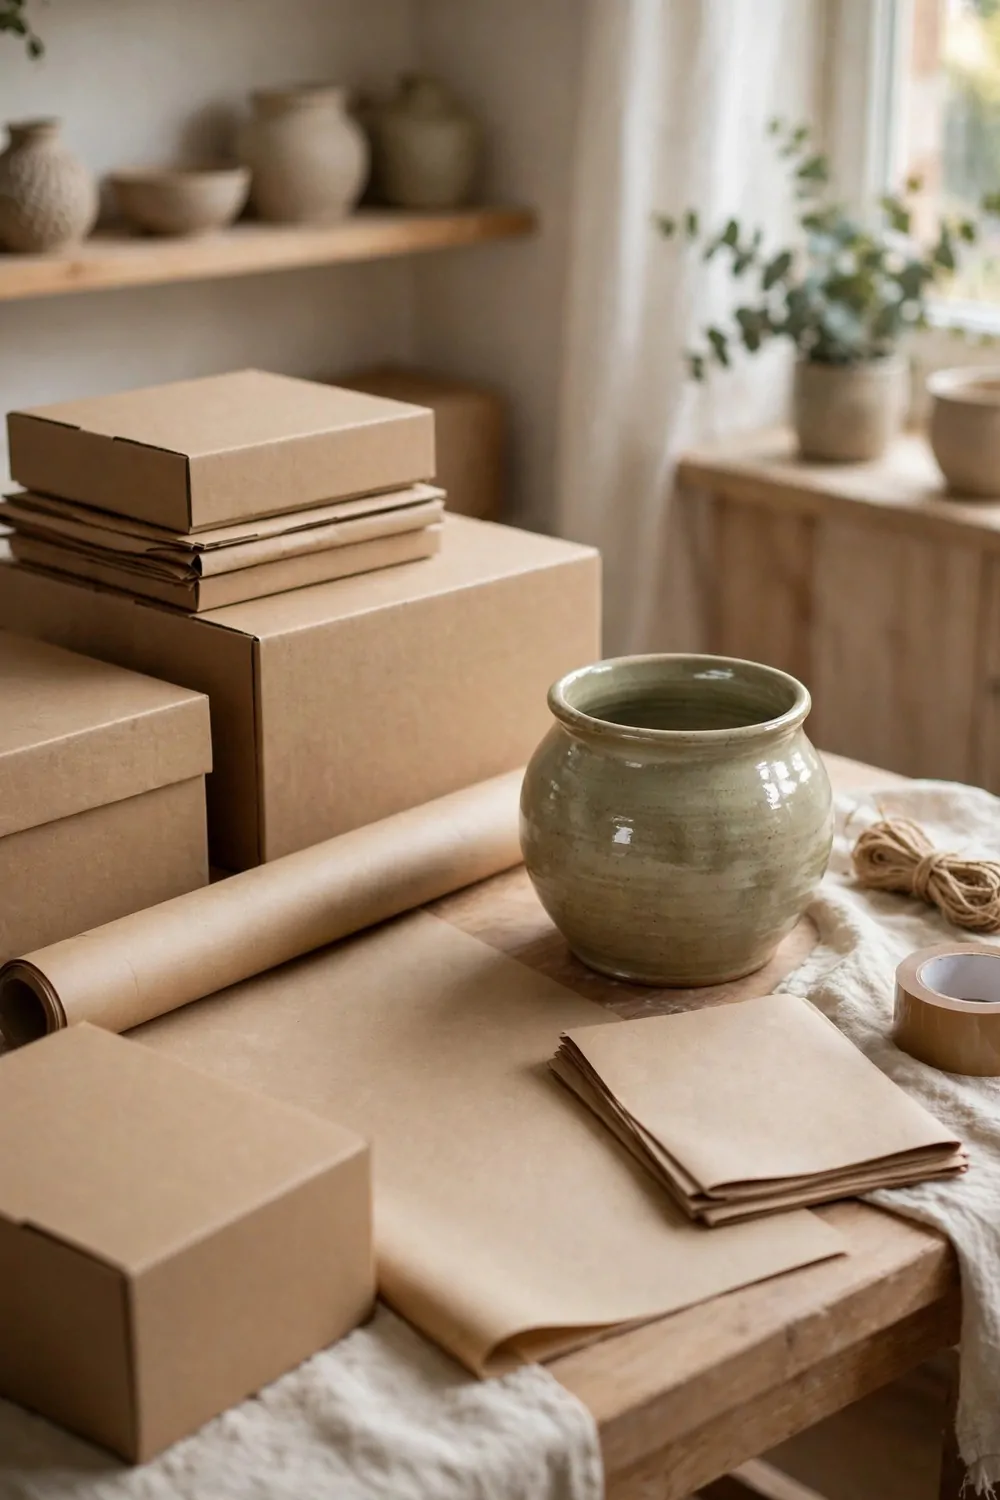
A packing corner is where I get pots ready to gift. I keep boxes, paper, and tape in one small spot.
Pick a corner near a table so you have room to wrap. You can set a pot down, wrap it, and tape the box shut.
I use soft paper and bubble wrap to keep pots safe. You want the pot to arrive whole, with no chips on the rim.
Keep a few box sizes on hand for mugs, bowls, and vases. I stack them flat when I am not using them, and they take up little room.
A starter set of boxes and wrap costs about $12 to $30, and it lasts through many gifts. I buy a few at a time so I never run out.
Write a short note to go with each gift. I add the name of the glaze and a line about how to wash the pot by hand.
I keep a marker and labels in a small jar in the corner. You can write the address fast, and the box is ready to go.
Check each pot once more before you pack it. I look for cracks and chips, and I only send pots I would love to receive.
A packing corner turns gifting into a calm last step. You wrap with care, and your pot leaves home safe and ready to be loved.
18. A Plant Shelf Above the Work Table
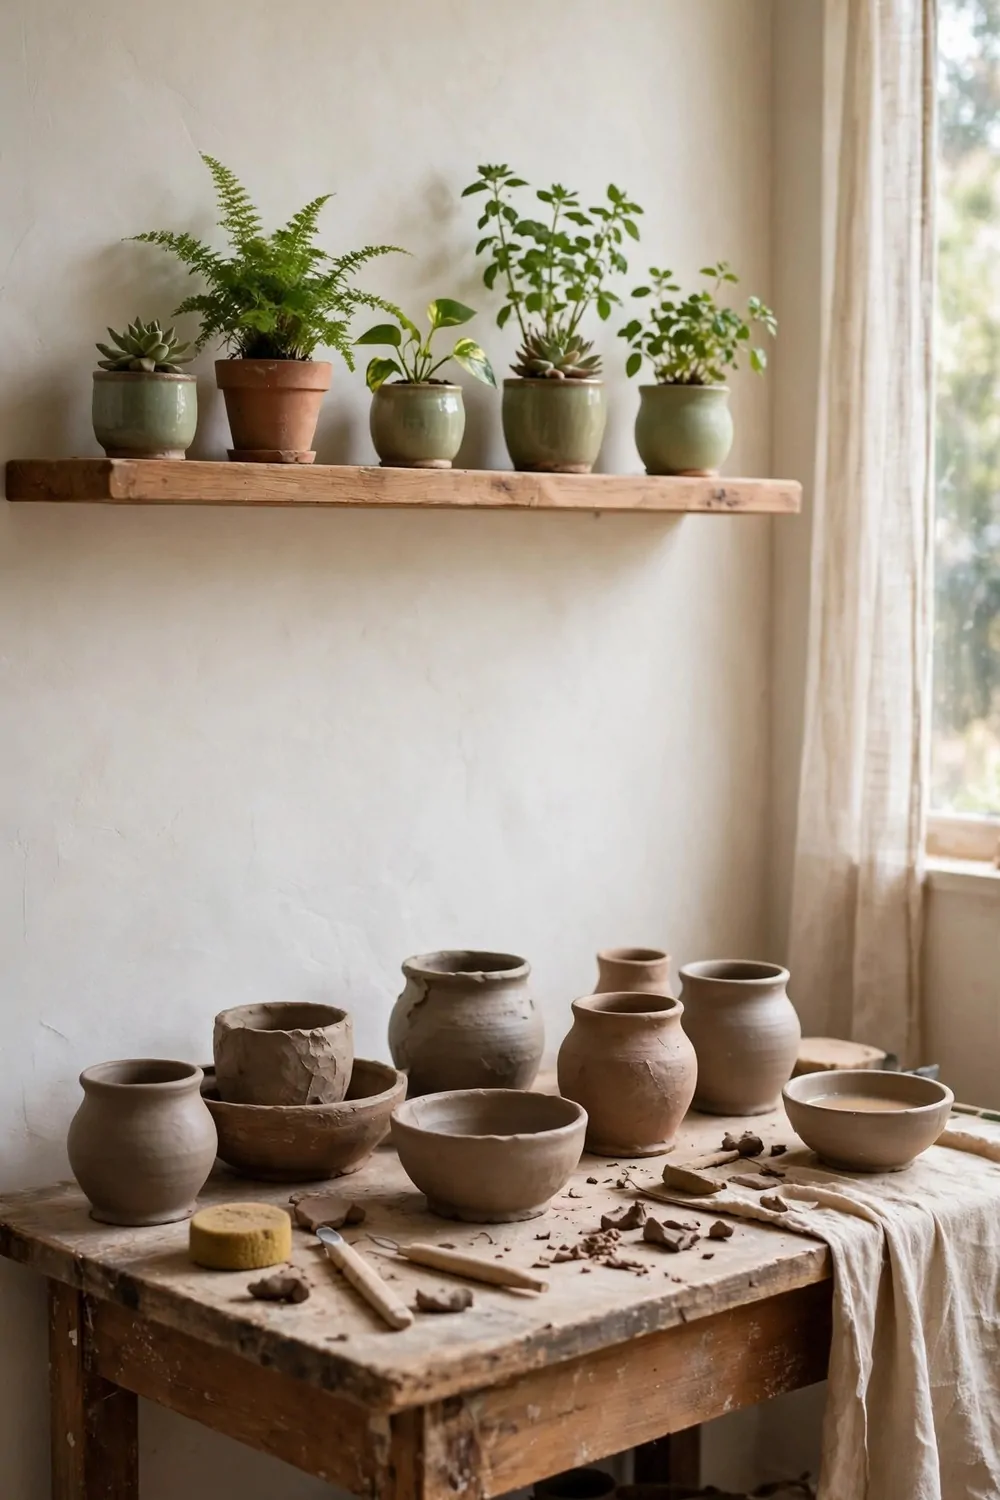
A plant shelf above the work table brings a bit of green into my studio. I like to look up and see leaves while I work.
Pick plants that like a little shade and do not need much fuss. I use small pots that are easy to lift down for watering.
Make sure the shelf is fixed tight to the wall. You do not want a plant pot to slip while you are working below it.
I keep a small watering can on the shelf so I do not forget. You can water fast, and the extra drops fall on the table, not the floor.
A shelf and a few small plants cost about $20 to $45 together. I started with two plants, and I added one more later.
Wipe the leaves now and then so dust does not sit on them. I use a damp cloth, and the green looks fresh again.
Choose pots with trays so water does not drip on your clay. I learned this after one wet spot ruined a soft slab.
If your studio gets little light, pick plants that can cope with that. You will still get the green feel without a lot of care.
A plant shelf makes the room feel soft and alive. You work with clay below, and green leaves rest quietly above you.
19. A Warm Lamp for Evening Work
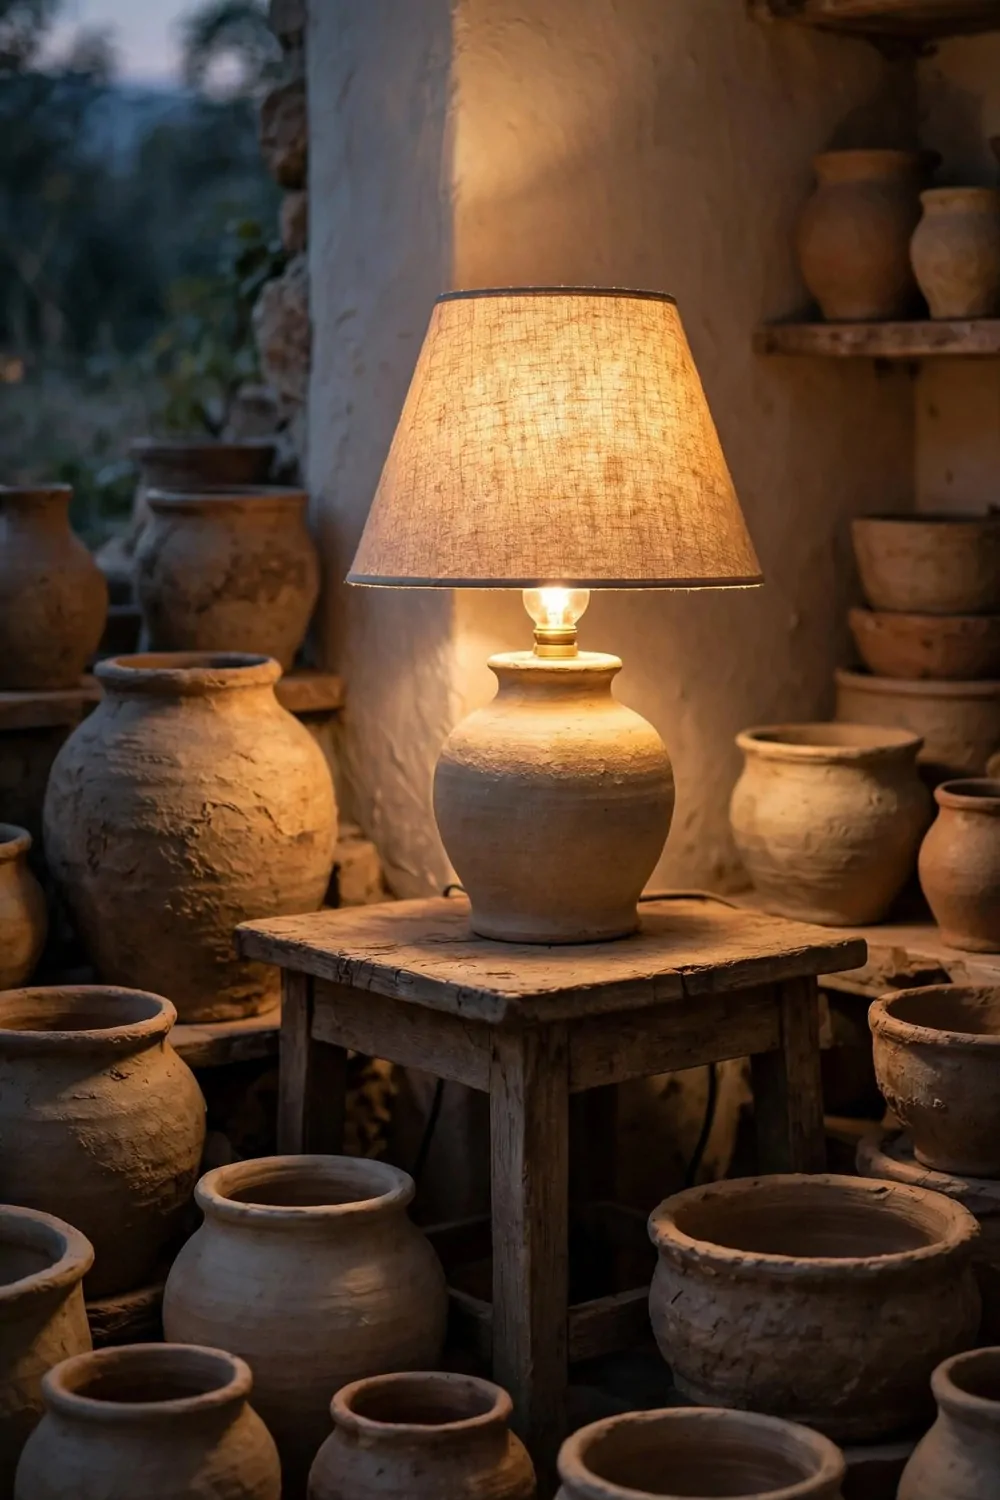
A warm lamp makes evening work feel cosy and calm. I turn it on, and my whole table glows soft and gold.
Pick a lamp with a warm bulb, not a cold white one. You want the light to feel gentle on your eyes after a long day.
I put my lamp on the left side of my table so it does not block my right hand. You can move it till the light falls just right.
A good lamp helps you see small marks and rough spots on a pot. I check rims and feet under the lamp before I set a pot aside.
A warm table lamp costs about $18 to $40, and it can last for years. I picked a simple one with a steady base.
Keep the lamp cord tucked back so it does not snag your sleeve. I run mine along the back of the table, and it stays out of the way.
I turn the lamp off when I leave the room, even for a short break. You save power, and the bulb stays cool for next time.
If you work late, a lamp is kinder than a bright ceiling light. I feel less tired, and my pots still look true in the warm glow.
A warm lamp turns a dark evening into a sweet work time. You sit down, you switch it on, and your clay waits for you.
20. A Small Stool That Tucks Away
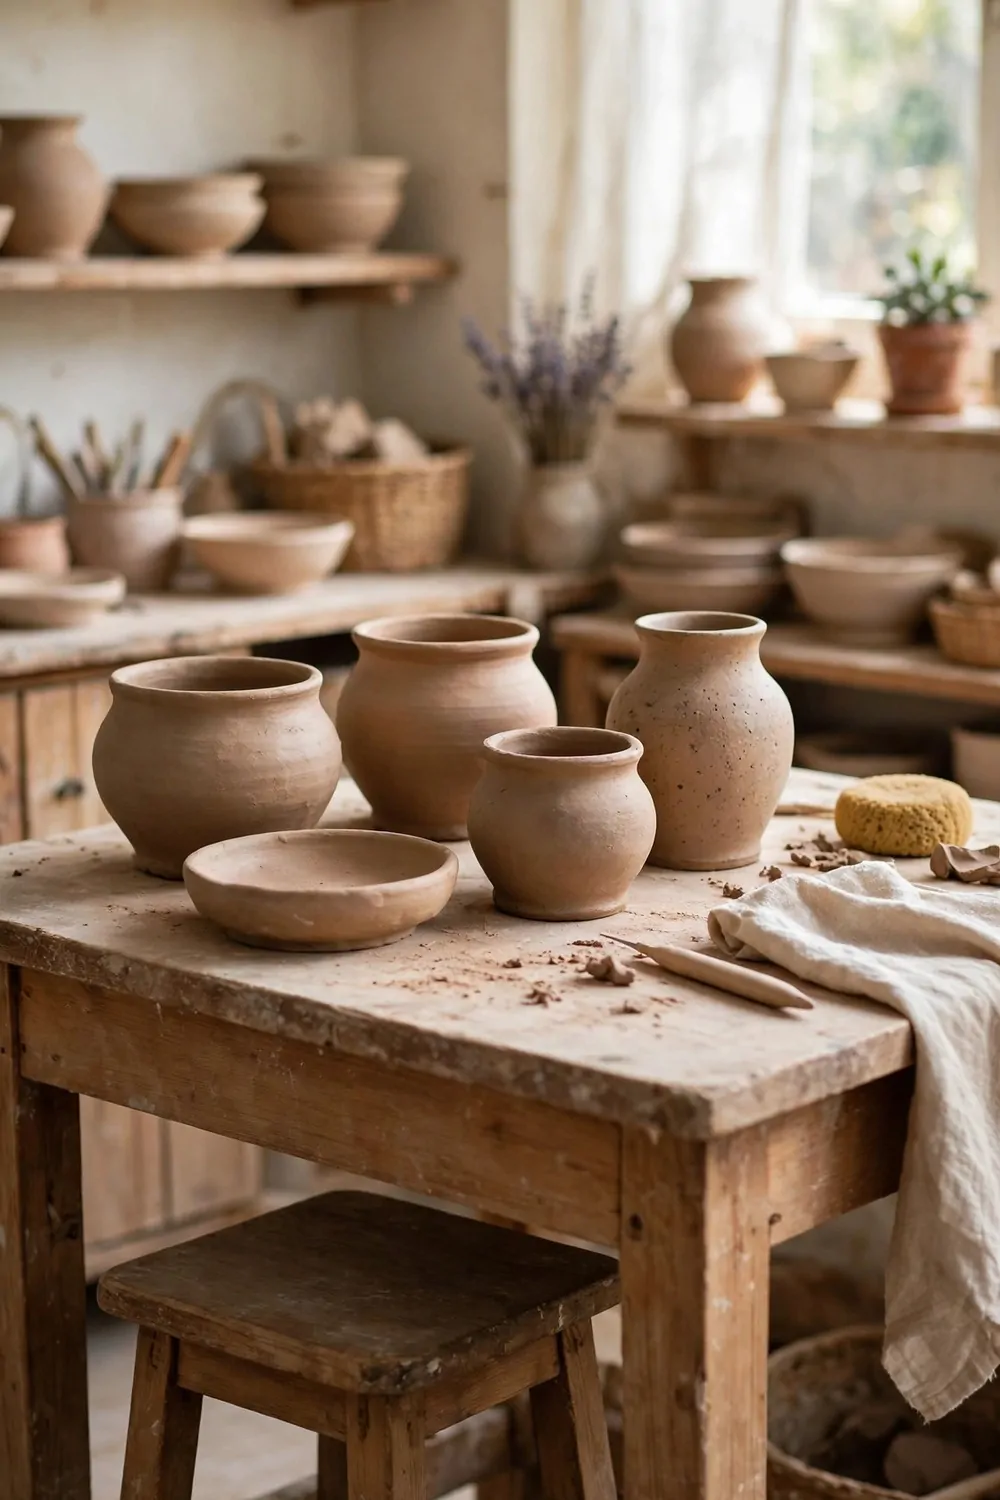
A small stool that tucks away is my favourite seat in the studio. I pull it out to sit, and I push it back when I stand.
Pick a stool with no back so it slides under your table. You save floor space, and the room looks tidy when you are done.
I like a stool with a round seat and short legs. You can turn a little while you work, and your feet rest flat on the floor.
A sturdy stool costs about $25 to $50, and it should feel solid when you sit. I test mine by sitting and shifting my weight.
Keep the stool near the wheel or the work table, where you use it most. You will reach for it without thinking.
Wipe the seat after a clay session so it stays clean. I use a damp cloth, and dried clay comes off in a few seconds.
If your stool has a wood seat, oil it now and then to keep it smooth. You will stop splinters, and the seat will feel nice for years.
I stack a small cushion on mine when I work for a long time. You can sit longer, and your back will thank you later.
A stool that tucks away keeps your studio open and easy to move in. You sit when you need to, and you step away when you want to stand.
21. A One-Weekend Pottery Studio Refresh Plan
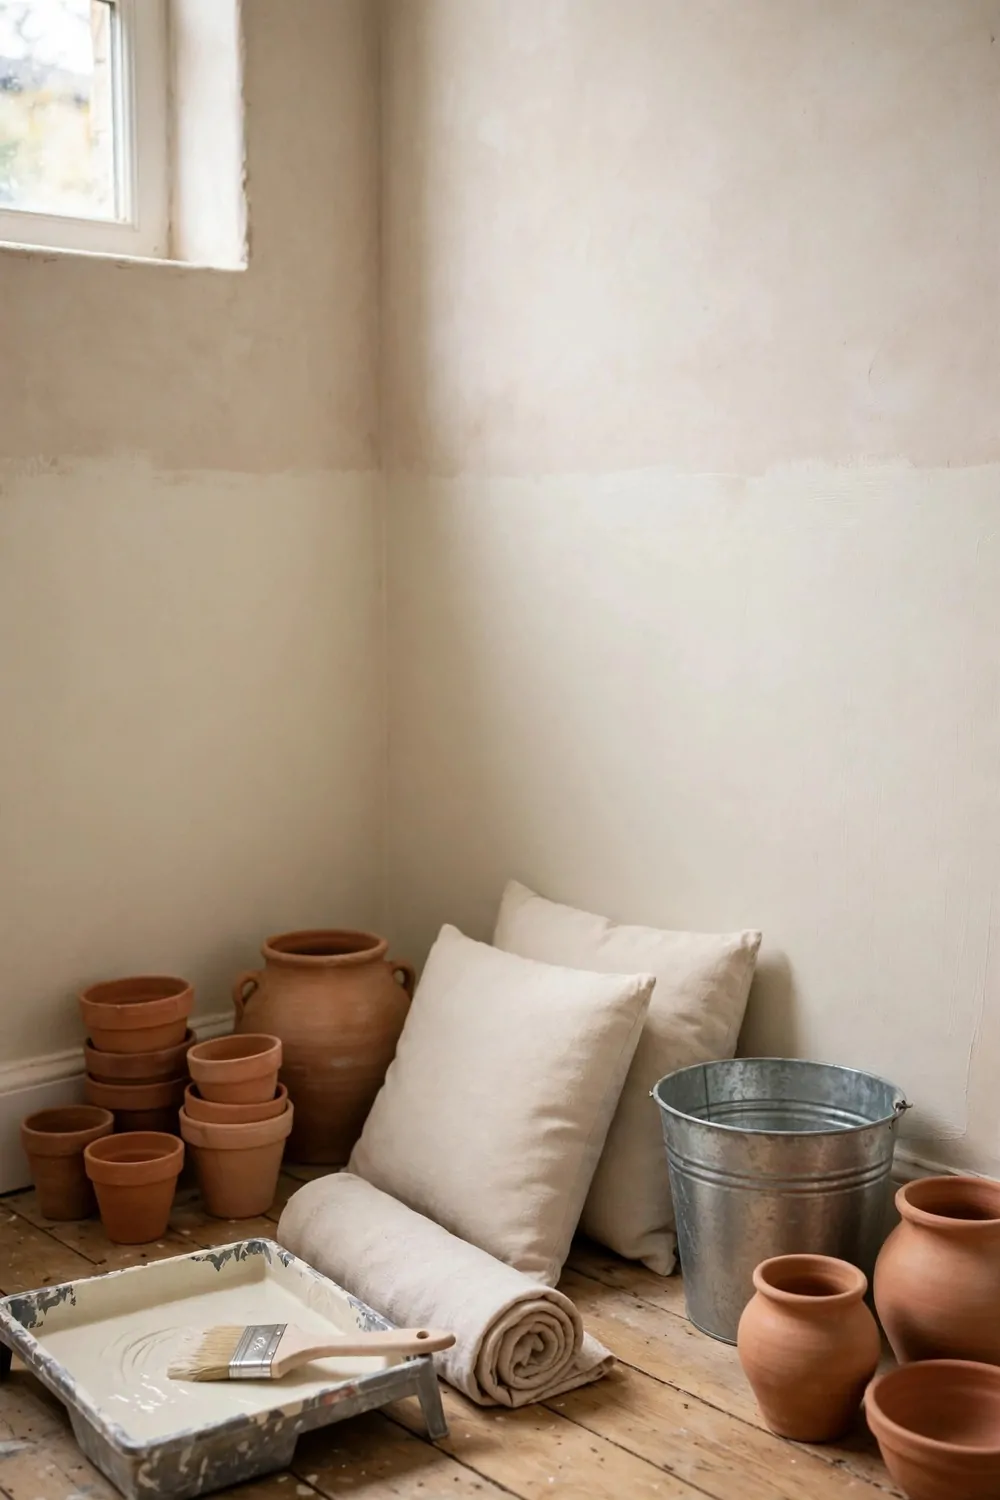
This one-weekend refresh plan starts with your walls. I clear the wall space first, then I wipe it clean so paint can stick well.
Walls cost about $15 to $25 for paint and a small roller. You can paint one main wall on Saturday morning and let it dry while you work on the rest.
Next, I sort the floor and sweep it well. You want a clean base before you add a mat or move shelves into place.
Floor costs about $10 to $20 for a washable mat and a small rug. You can lay the mat by your work table so clay drops land on it, not on the bare floor.
Then I look at the trim around doors and shelves. You can wipe it down and add a fresh coat of paint where it looks worn.
Trim costs about $8 to $15 for a small tin of paint and a brush. You will be surprised how fresh the whole room looks after this small step.
After that, I fix the shelves and put tools in their homes. You can hang hooks, set out jars, and keep each tool where your hand can find it fast.
Shelves cost about $12 to $25, and Tools cost about $10 to $15 for hooks, jars, and a small tray. You can finish this part on Sunday and still have time for a cup of tea.
When you add the five parts together, the whole weekend comes to about $55 to $100. You get a fresh room, a tidy floor, and a studio that feels new without a big spend.
| Area | Main change | Typical cost |
|---|---|---|
| Walls | One main wall painted | $15 to $25 |
| Floor | A washable mat by the table | $10 to $20 |
| Trim | Fresh paint on worn trim | $8 to $15 |
| Shelves | Hooks, jars and tools in place | $12 to $25 |
| Tools | Hooks, jars and a small tray | $10 to $15 |
| Total | Whole room in one weekend | $55 to $100 |
Keep Reading
If you liked these ideas, you will love these posts too.
- 25 Photo Studio Ideas That Look Pro on a Tiny Budget
- 28 Art Studio Ideas That Make You Want to Create All Day
- 20 Home Art Studio Setups Any Creative Can Copy
- 18 Garage Art Studio Ideas That Turn Dead Space Into Creative Space
- 17 Basement Art Studio Ideas for a Cozy, Creative Hideaway
- 19 Bedroom Art Studio Ideas That Keep Creativity Close
Pick one pottery idea tonight and try it at your table this weekend. One lump of clay can make your whole home feel calm and creative by Sunday.