18 Garage Art Studio Ideas That Turn Dead Space Into Creative Space

Your garage is the most creative room in your house. You just do not know it yet.
Right now it holds boxes, an old bike, maybe the car. But look at it with artist eyes and everything changes. It has the biggest open floor of any room you own. The walls are blank and waiting. The floor is plain concrete, which means spilled paint does not scare anyone.
And it sits just a few steps from the house. Close enough to reach in your slippers. Far enough that a little mess never bothers anyone inside. That quiet separation is a gift.
That is why so many artists are moving their studios into the garage. You do not need to finish the walls like a showroom. You do not need fancy floors or big windows to start. You need light, a strong table, smart storage, and a few clever moves.
These 18 Garage Art Studio Ideas will walk you through exactly that. Every idea comes from real studios people built in their own garages. Pick the ones that fit your space, and by the end of the weekend your garage could be the room where your best work happens.
1. Open the Big Door and Let the Light In
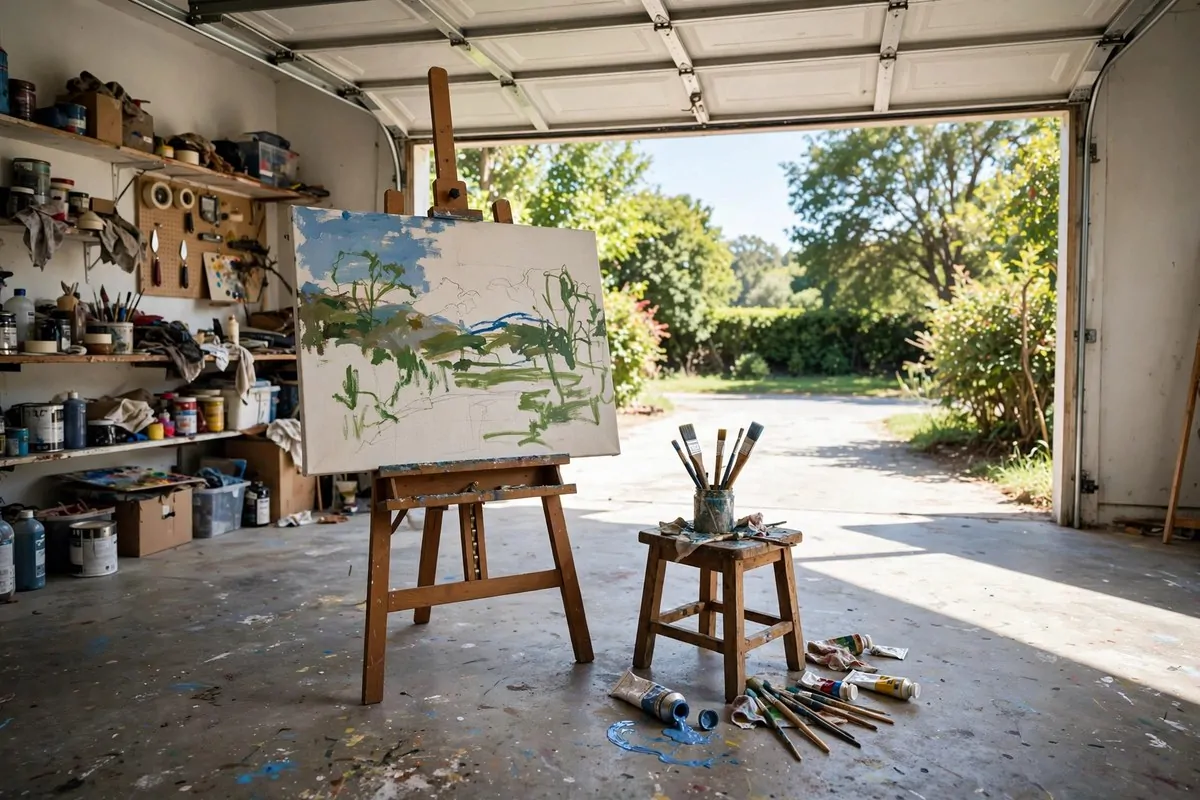
Your garage already owns the best light you can get. It is free, and it is huge.
Open the big door on a nice day and watch what happens. Daylight pours across the floor in one wide sheet. I have seen paintings look alive under that kind of light.
Set your easel a few feet back from the opening. You get bright, even light without the glare of direct sun.
Some artists take this further and swap the solid door for a clear-paneled one. It lets light in even when the door is shut. On gray days it still feels open and bright.
Working near the open door has another bonus. Fresh air. Paint and glue fumes drift out instead of hanging around you.
There is one thing to watch out for. Keep small supplies away from the edge, because a sudden wind can scatter paper in seconds.
And lock up if you step inside the house. An open garage is easy to forget.
Try this before you buy a single lamp (yes, before you spend anything). Open the door, place your chair, and paint for an hour. Most people are shocked how far this one free change takes them.
Natural light is the whole reason big art schools pay for huge windows. You get it for free, every morning, with one button push.
2. Paint One Wall a Bold Color or Mural
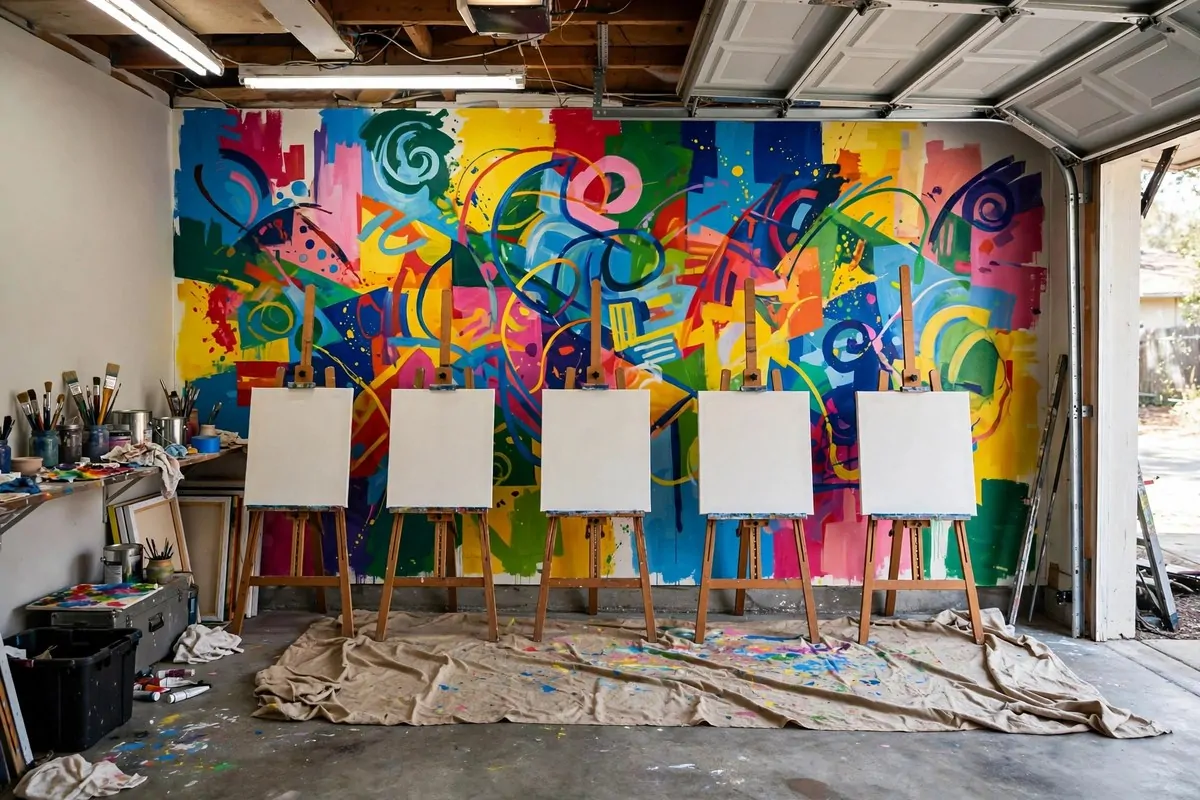
A garage wall is a blank page the size of a house. Most people leave it gray and sad. You do not have to.
Paint one wall in a color that makes your heart beat faster. A deep teal. A warm yellow. A bright coral.
Bold color does two jobs at once. It hides the scuffs and marks that garages collect. And it wakes your brain up the second you walk in.
If you are brave, paint a mural instead. Big flowers. Abstract swirls. A simple landscape. It does not have to be perfect.
I painted wavy blue stripes on my own garage wall once. They were not straight. Friends still ask me about them.
Here are colors that work well in a studio:
– A warm white if you want light to bounce everywhere
– Deep green if you want the room to feel calm and focused
– Bright orange or coral if you want energy
– Chalkboard black on one wall so you can sketch ideas right on it
Use paint made for concrete or masonry walls. Regular wall paint peels on garage blocks.
Do the painting first, before you move any supplies in. You will thank yourself when there is nothing to cover up.
And keep a little of the paint in a jar. Touch-ups take five minutes and keep the wall looking fresh.
3. Chase North-Facing Daylight
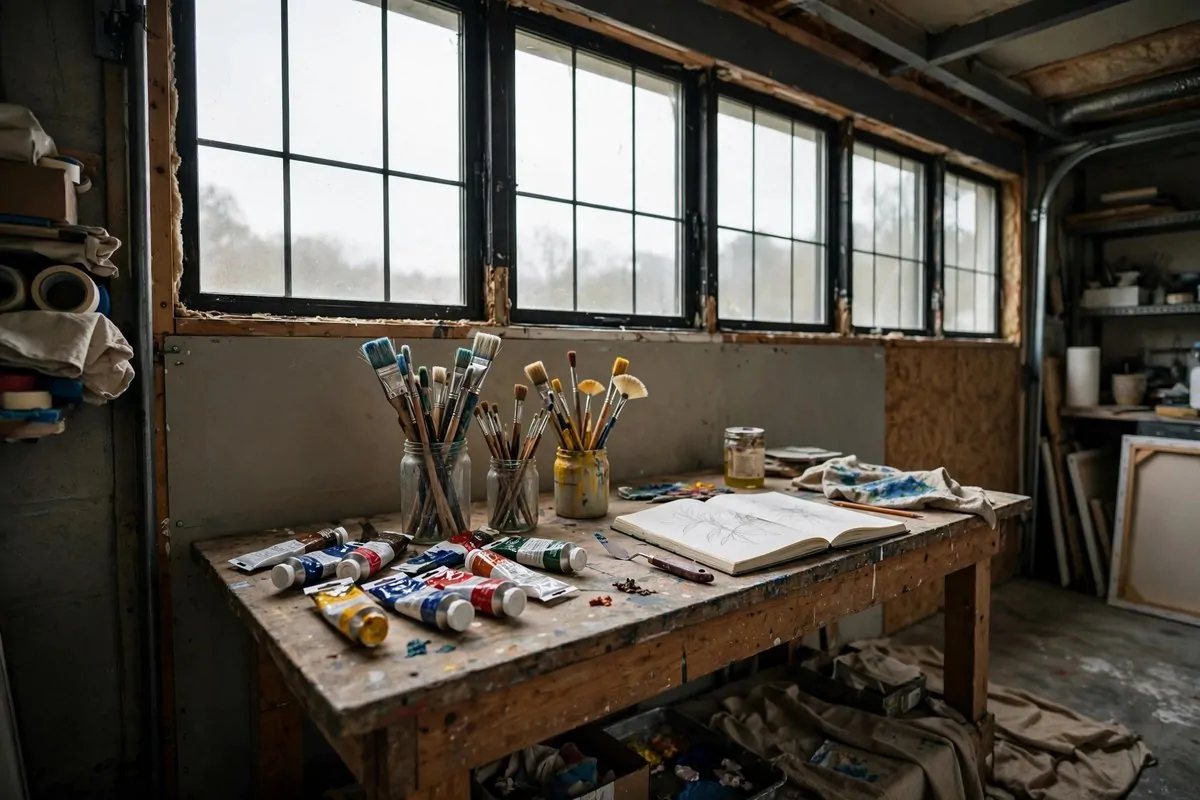
Here is a trick every painter I know swears by. Face your work toward north-facing light.
North light stays soft and steady all day. It does not blast you with morning glare or slide into harsh afternoon shadows.
Colors look true under it. That red you mix at noon still looks like the same red at four.
If your garage has a window, set your easel under it. Even one small window changes everything.
No window? Skylights are a real option in a garage. The roof is right there, and the install is simpler than in a finished room.
| Option | Light quality | Best for |
| Cut a small window into the north wall | Soft and steady all day | Painters who mix colors |
| Add a roof skylight | Bright from above | Sculptors and big-canvas work |
| Use the open garage door | Wide and free | Anyone, on good-weather days |
I know cutting into a wall sounds scary. Start with the door. It is already there.
Test the light before you rearrange. Sit where you plan to work and watch the light for one full day.
Notice where shadows fall at lunch. That tells you exactly where to put your table.
4. Layer Task Lighting Where You Work
Daylight is wonderful until six in the evening. Then you need a plan B.
Garages usually have one sad bulb in the middle of the ceiling. That is fine for parking a car. It is terrible for painting.
You need task lighting. Bright light aimed right where your hands work.
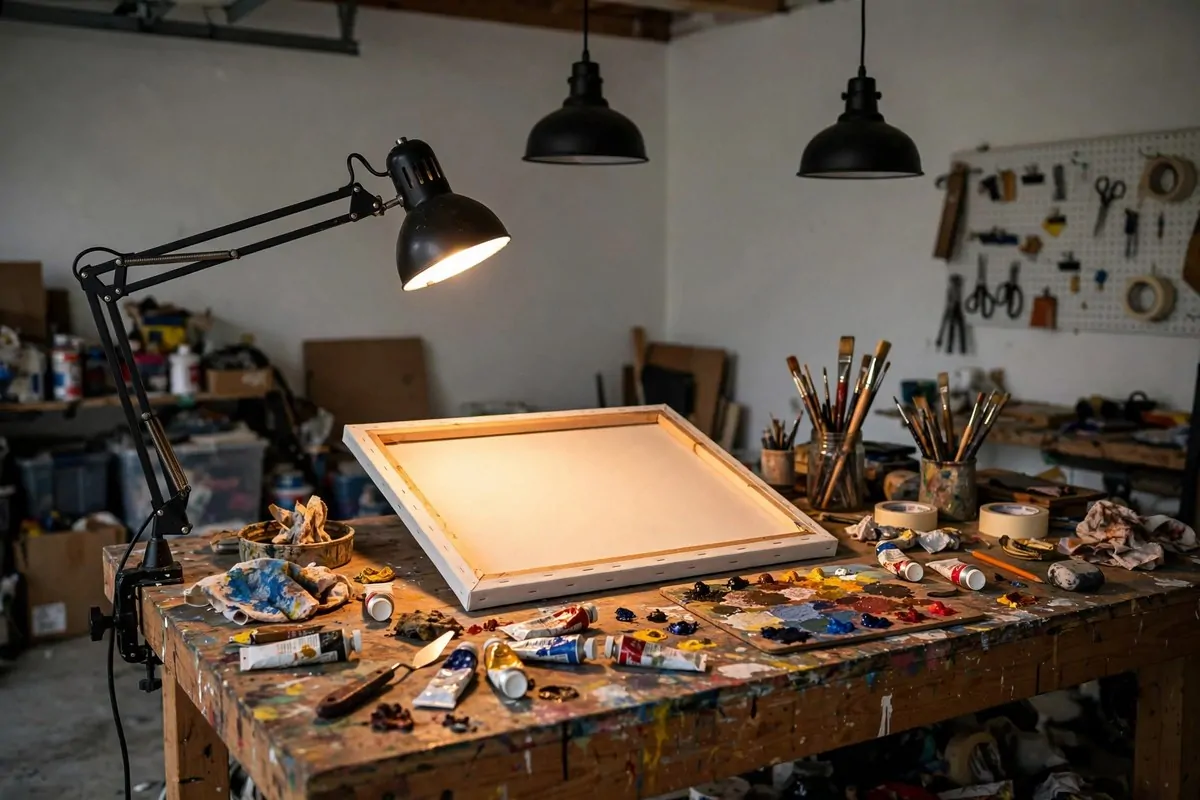
Hang pendant lights over your main table. They give you a pool of warm, clear light that follows your work.
Add an adjustable spot lamp too. Clip it to the table edge or stand it behind your easel. Point it where the detail happens.
Here is a simple lighting checklist for your studio:
– Overhead: two or three pendant lights above the work table
– Task: an adjustable spot lamp or clamp light for close work
– Fill: a floor lamp in the corner to kill dark shadows
– Dimmer switches so you can soften everything when you want mood
Choose bulbs that show true colors. Look for daylight-rated bulbs, around 5000 to 5500 Kelvin on the box.
I made the mistake of using warm yellow bulbs once. Every painting came out too blue in daylight the next morning.
Test your lights at night with a color chart or an old painting you trust. Your eyes will tell you the truth.
5. String Warm Fairy Lights for Evenings
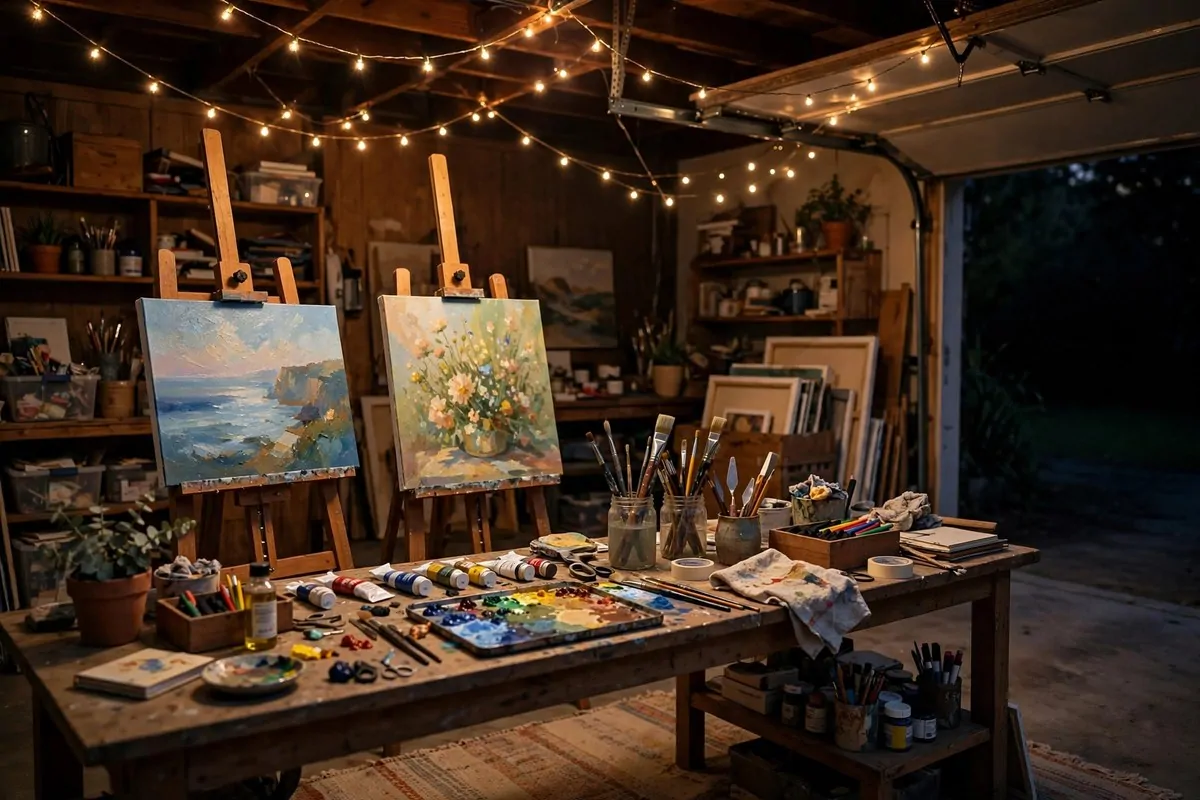
Not every light needs to help you paint. Some just need to make you want to stay.
Fairy string lights are my favorite cheap trick for a garage studio. A few strands across the ceiling and the whole room softens.
They turn a cold concrete box into a place that feels like evening magic. You will linger longer. That means more art.
Battery-operated ones work fine and need no wiring. Hang them with small hooks so you can take them down anytime.
String them along the ceiling beams or around a window frame. They look best where you glance up and catch them glowing.
They also make a great backdrop for photos of your work. Finished pieces look warm and inviting under that glow.
I keep mine on a timer. They click on at sunset and off at ten. It feels like the studio is waiting for me.
One warning. Do not mix them into your work lighting. Warm fairy lights lie about color.
Use them for mood only. When you need to judge paint colors, switch on your real task lights.
6. Build a Sturdy Work Table at the Right Height
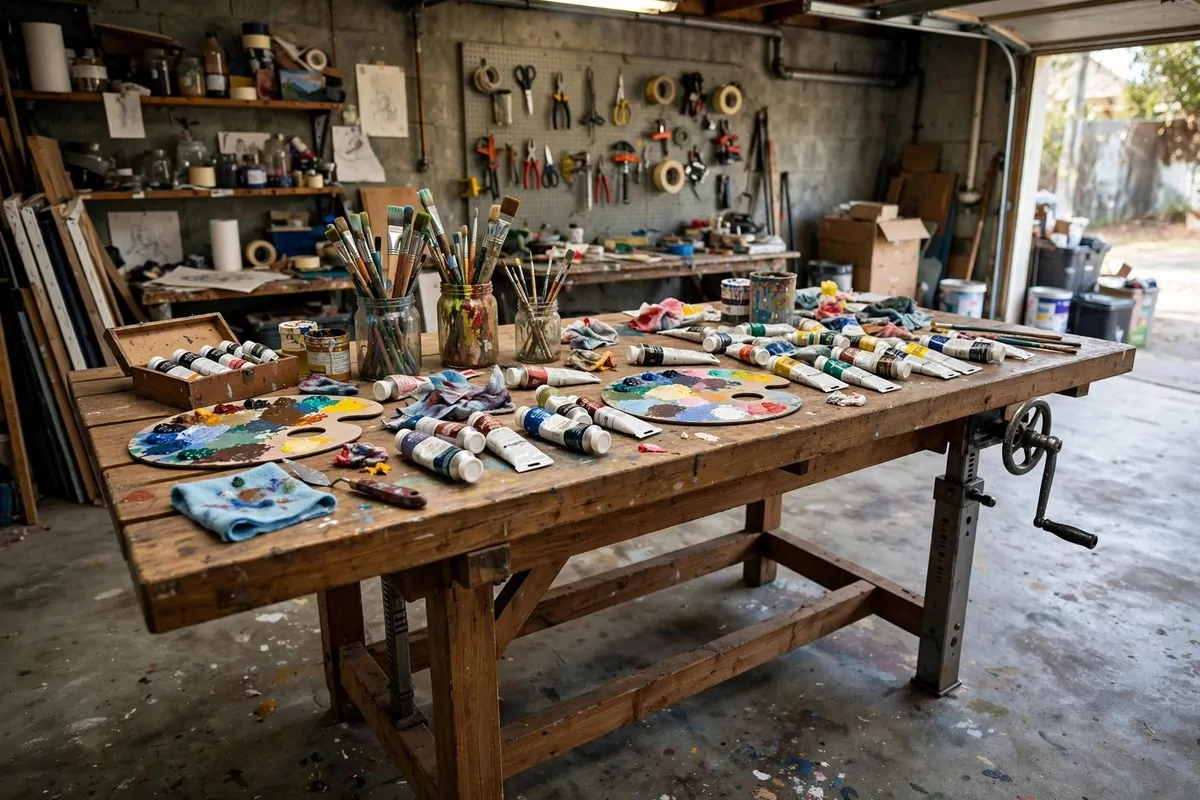
Every studio has one hero piece. For you, it is the work table.
Garages swallow small desks. A little folding table looks lost in that big space and wobbles when you lean on it.
Go big and go solid. A thick top on strong legs, wide enough to spread a large canvas flat.
Height matters more than you think. If you paint standing up, the table should meet your elbows. If you sit, it should let your shoulders relax.
Adjustable-height tables are perfect here. Crank it up for painting, drop it down for drawing. One table does both jobs.
Keep storage under the top. Slide flat drawers or open bins underneath for paper and canvases.
I once used a wobbly card table for a month. My water jar fell over twice. The second spill ruined a nearly finished piece.
A sturdy table is not fancy. It is just honest. It holds still so your hands can do the real work.
Check the secondhand marketplaces first. Big solid tables show up there all the time, and garage studios love a deal.
7. Hang a Pegboard Wall for Your Tools
Here is the problem with drawers. Things go in and disappear.
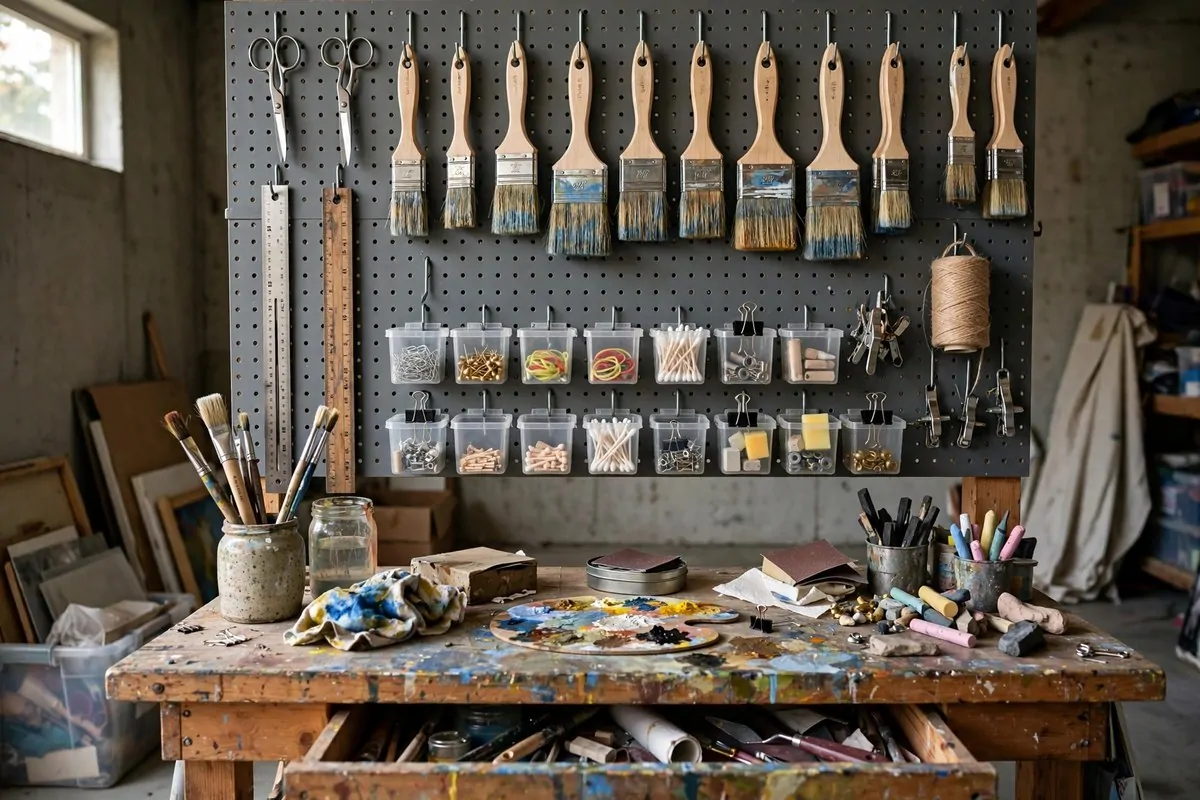
A pegboard wall fixes that. Every tool hangs where you can see it. You grab it and go.
Mount a big pegboard on the wall right beside your table. Fill it with hooks for brushes, scissors, rulers, and rolls of tape.
Small baskets hook onto pegboard too. They hold the little stuff that rolls away, like erasers and palette knives.
Arrange tools the way you reach. Brushes on the left if you are right-handed. The stuff you use every hour at arm height.
Label the spots if you share the space. A tiny painted outline of each tool looks cute and keeps everything in its home.
I painted my pegboard a soft cream color. It brightens the wall and makes dark handles easy to spot.
Pegboard is cheap and forgiving. If a hook does not work, you move it. No patching holes, no fuss.
Stand back once a month and look at it. Your pegboard tells you what you actually use and what is just decoration.
8. Seal or Paint the Concrete Floor
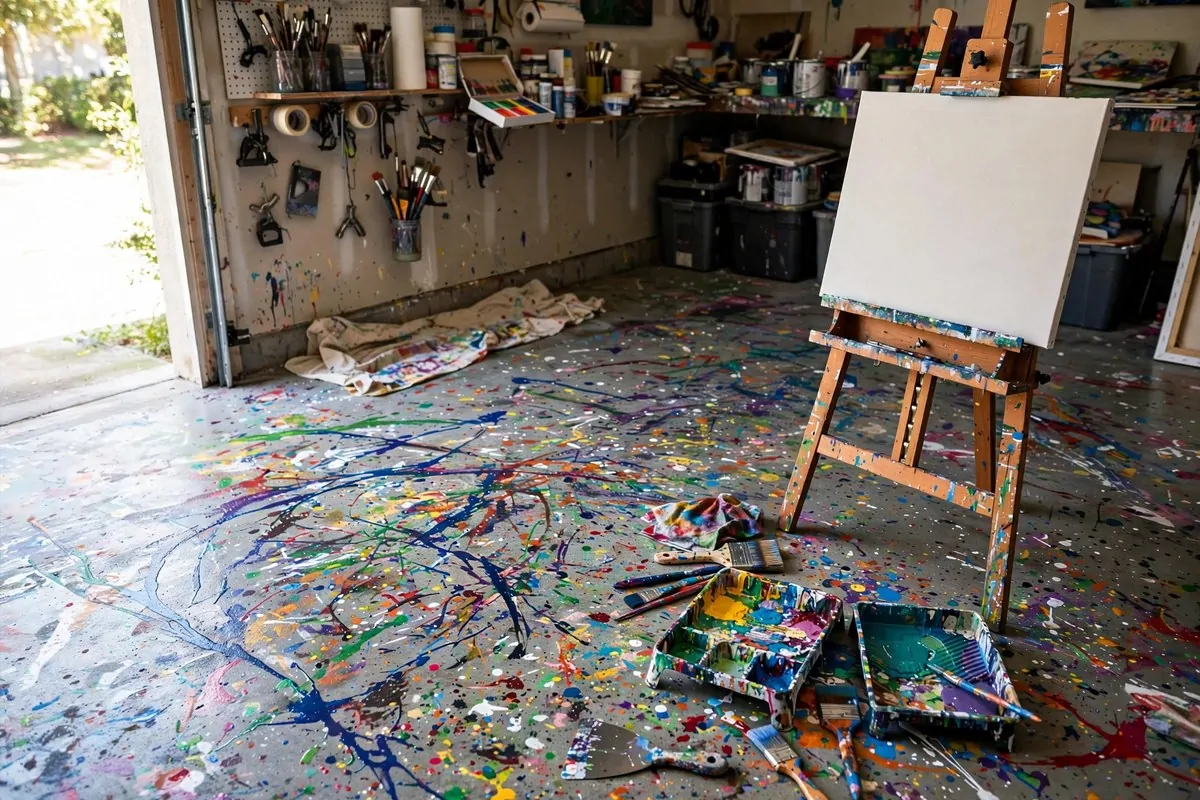
Look down. That gray concrete floor is a gift. It just needs a little help.
Raw concrete soaks up paint and water. Stains sink in forever. A sealed floor wipes clean with a damp mop.
Concrete sealer is easy to roll on in one afternoon. It dries clear and gives the floor a soft sheen.
If you want color, painted concrete kits go on just like thick paint. Gray, warm tan, even a bold red for the brave.
A painted floor bounces light back up. The whole room feels brighter without adding a single bulb.
| Option | Effort | Why artists like it |
| Clear concrete sealer | One afternoon | Spills wipe up, floor looks new |
| Painted concrete | One weekend | Adds color and bounces light |
| Interlocking vinyl tiles | A few hours | Soft underfoot, replace one tile if ruined |
Whatever you choose, keep a big drop cloth too. Sealers protect the floor, but a drop cloth protects the sealer.
Rugs help in the rest corner. Keep them away from the messy zone unless you love cleaning paint out of fibers.
Let the floor dry fully before you walk on it. I know it is hard to wait. Do it anyway.
9. Put Your Storage on Wheels
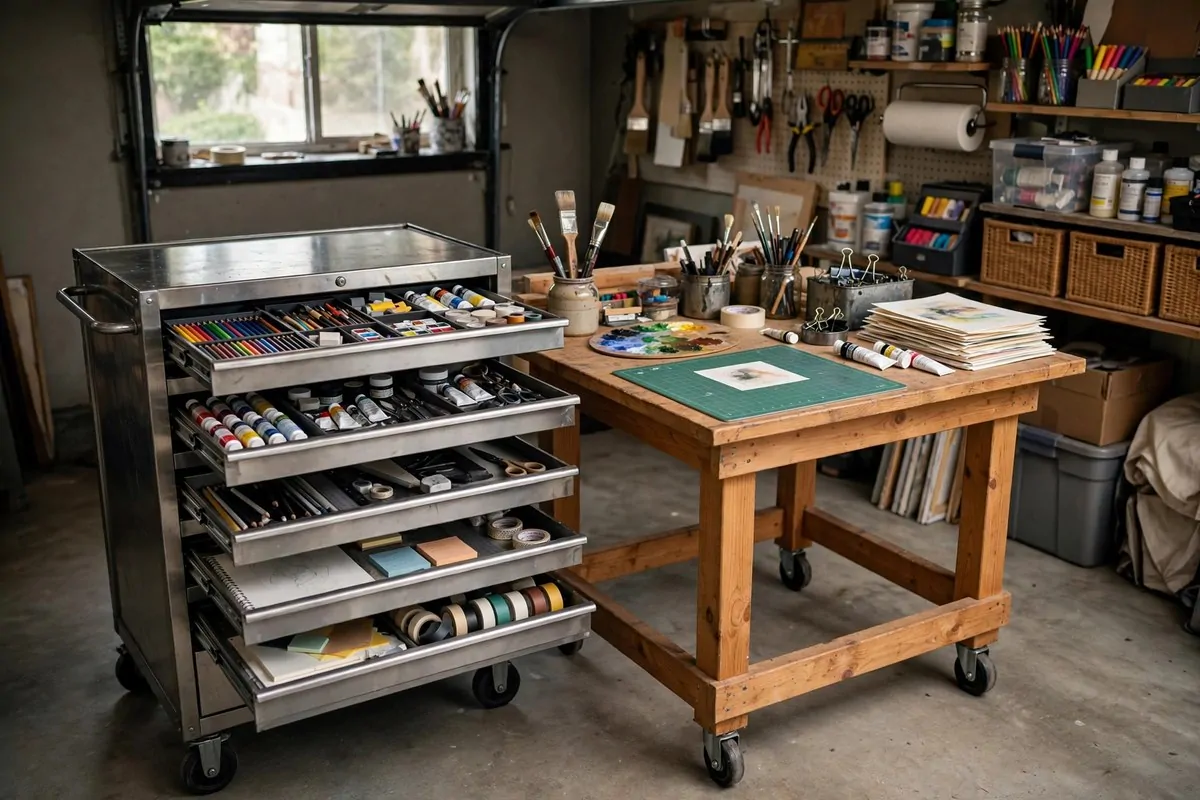
Garage studios change shape. Today you need the middle of the floor. Tomorrow you need it clear.
Furniture on wheels lets the room breathe. You roll things where the work is.
A rolling storage cart is the best first buy. Stack it with paints, brushes, and mediums, and wheel it to your table.
Lock the wheels when you park it. A cart that drifts mid-painting is nobody’s friend.
Put caster wheels on your work table too if it is heavy. Big projects need space, and wheels give it to you in seconds.
Rolling shelves work for drying pieces and storing canvases. Line them up along the wall when you are done.
I learned this from watching a real illustrator work in her garage. Her whole studio moved like a little train around the room.
She rolled the paint cart to the window in the morning. She rolled it back to the wall at night. It took ten seconds.
Wheels are cheap. Buy the locking kind, screw them on, and your heavy furniture becomes light.
10. Stack Tall Shelves With Labeled Bins
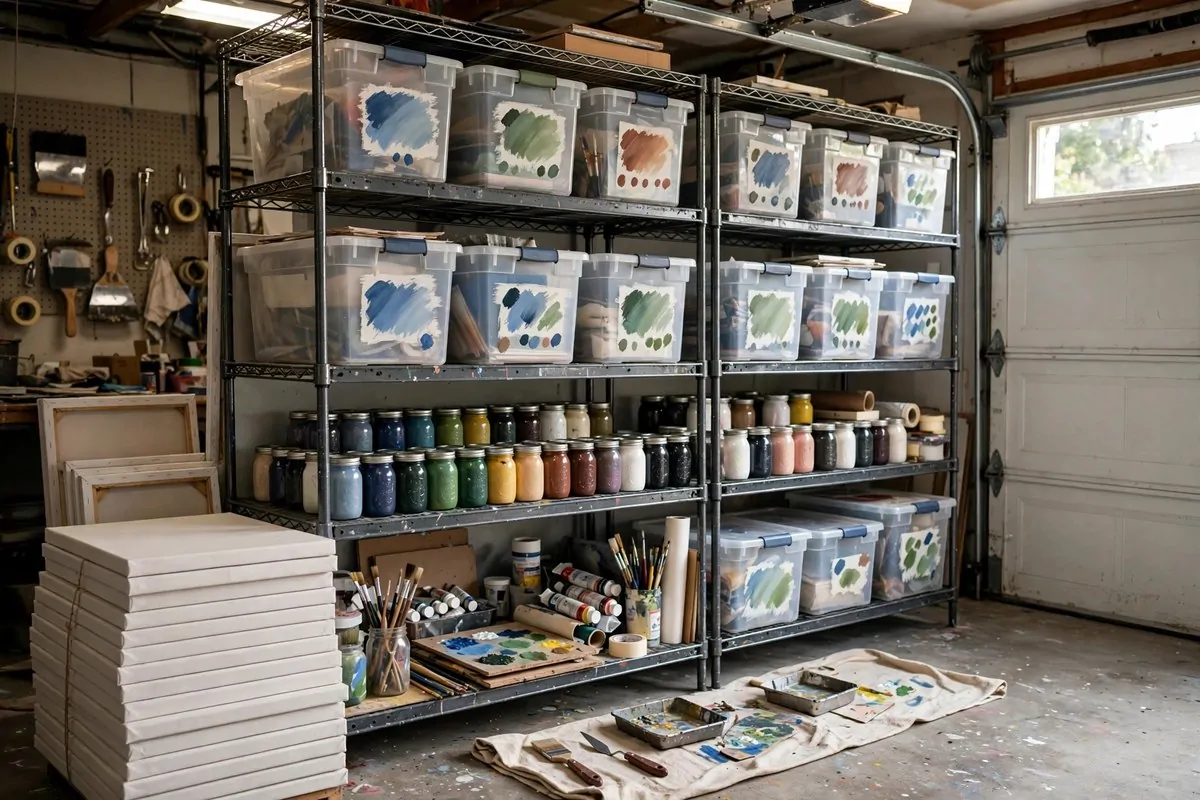
Garage walls are tall. Most of that height sits empty. That is free storage staring at you.
Install tall shelving units along one wall. They hold canvases, paper stacks, and boxes of supplies without eating floor space.
Clear bins are the secret. You can see what is inside without opening ten lids.
Label every bin anyway. Even a clear bin full of tubes looks like chaos until the label says oil paints.
Keep heavy stuff low. Cans of gesso and big paper pads belong on the bottom shelf, not above your head.
Store canvases upright like books on a shelf. Lean them in groups by size. They survive better standing than stacked flat.
I sort my bins by project, not by supply type. One bin holds everything for the current painting. It saves so much hunting.
Leave one shelf empty on purpose. It fills up within a month. It always does.
Dust the top shelf twice a year. Garages are dusty places, and sealed bins are your best friends.
11. Make a Drying Rack Corner
Wet paintings are like toddlers. They need a safe spot where they cannot get hurt.
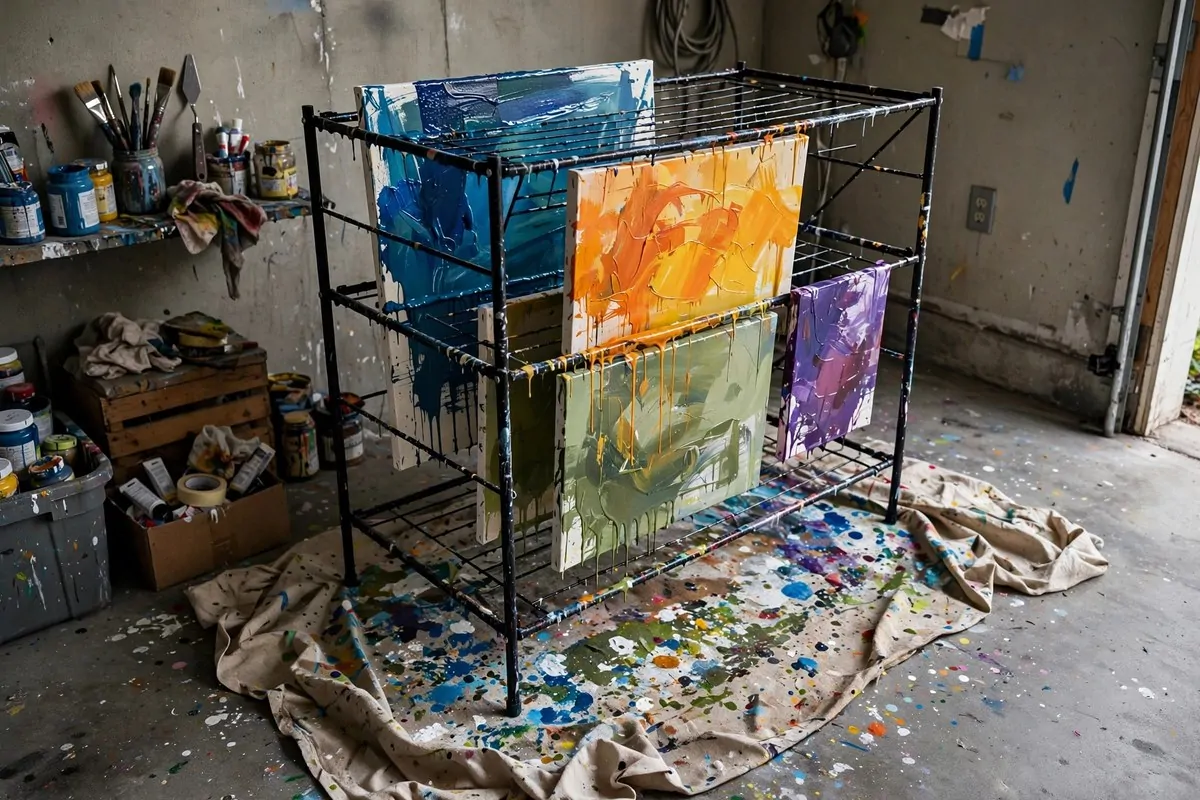
A drying rack corner solves the biggest garage studio problem. Where do I put this this while it dries?
Use a simple metal rack with wide shelves. Slide each piece in and leave it alone.
Keep the rack away from the door and the walkway. Dust and bumps are the enemies of wet paint.
If you paint big, leave wall space instead. Screw a few hooks into the wall and hang large canvases to dry.
Cover the floor under the rack with a drop cloth. Drips happen, even on careful days.
I once laid a wet painting flat on my work table to dry. A week later I needed the table and the painting stuck to a stack of paper.
A rack keeps every piece separate and visible. You can check progress without touching anything.
Label the back of each canvas with the date. It is satisfying to see a row of dates filling up.
12. Add a Washing Station With a Deep Sink
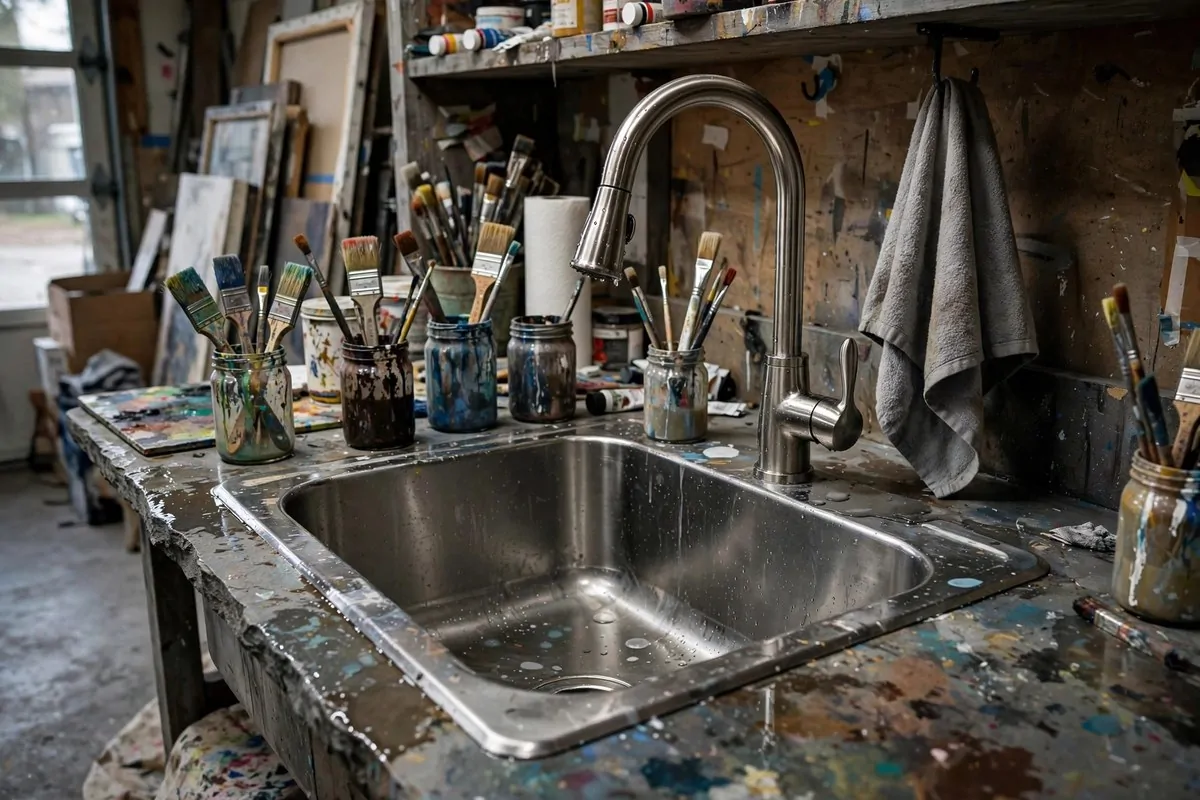
Here is what separates a real studio from a hobby corner. Running water.
Brushes need washing. Hands need washing. Jars need rinsing. Doing that in the kitchen gets old fast.
If your garage has plumbing nearby, a deep utility sink is worth every penny. Hot water melts dried acrylic in seconds.
A tall faucet helps too. It clears big buckets and washes large brushes without splashing the wall.
No plumbing? A portable camping sink with a water jug works. Fill it in the morning, drain it at night.
Here is what a good washing station needs:
– A deep sink or large basin you can fit a palette in
– Hot and cold water if you can manage it
– A brush soap bar and a scrub pad
– An old towel that lives at the sink, not in the house
– A bucket under the counter for dirty rinse water
Never pour paint water down a garden drain. Let it settle, pour off the clear top, and bin the sludge.
I keep a timer by my sink. Fifteen minutes of cleanup at the end of a session keeps brushes alive for years.
Clean brushes today mean happy painting tomorrow. Your future self says thanks.
13. Hang a Wire and Clip Display Wall
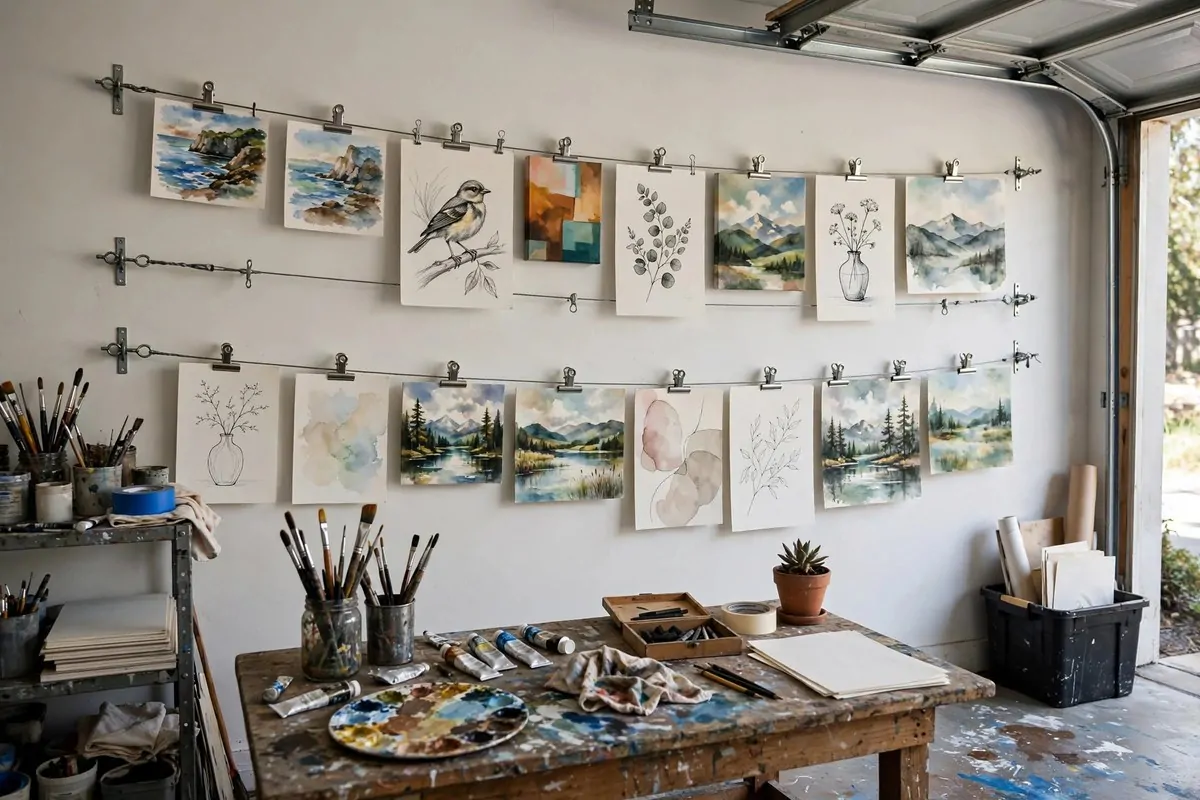
Your finished work deserves better than leaning against a wall on the floor.
A wire and clip display wall turns finished pieces into the room’s best decoration. It costs almost nothing to make.
Stretch two or three wires across a wall. Use small screws or hooks to hold them tight.
Clip paintings and drawings on with metal clips or wooden clothespins. Swap them whenever you like.
This wall does two jobs. It shows off your progress. And it reminds you how far you have come on low-energy days.
Rotate the pieces every few weeks. Old work down, new work up. The wall stays fresh and so do you.
I hung my first five paintings on a wire in my garage. They were rough. They were also the reason I kept going.
Visitors love this wall. Friends walk straight to it and start asking questions. It starts conversations.
Leave one empty clip. It is a promise to yourself that more art is coming.
14. Pin an Inspiration Board by Your Desk
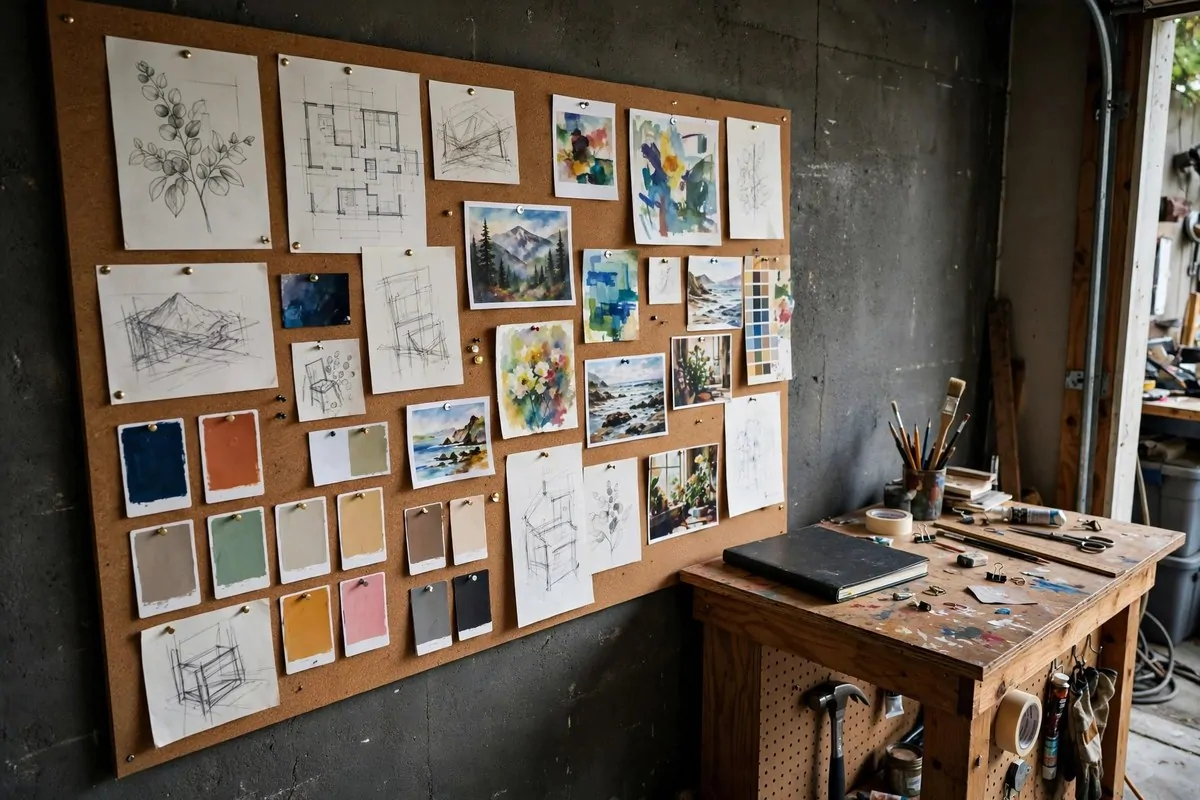
Every artist needs a place to collect sparks. That is what an inspiration board is.
Pin up photos, sketches, color swatches, torn magazine pages, anything that makes your eyes happy.
Cork board tiles are perfect for a garage wall. They stick up easily and you can rearrange them anytime.
Put the board where you see it while you work. Beside the easel is ideal. Above the desk works too.
Mix textures on purpose. A rough fabric scrap next to a smooth photo teaches your eyes new things.
I pin my failures up too. The color combo that went wrong. The sketch that looked better in my head.
They sit there until they teach me something. Then I take them down with thanks.
Change the board with the seasons or with your mood. It should feel alive, not frozen.
One rule. Nothing precious goes on the board. It is a working wall, not a gallery.
15. Furnish It With Upcycled Finds
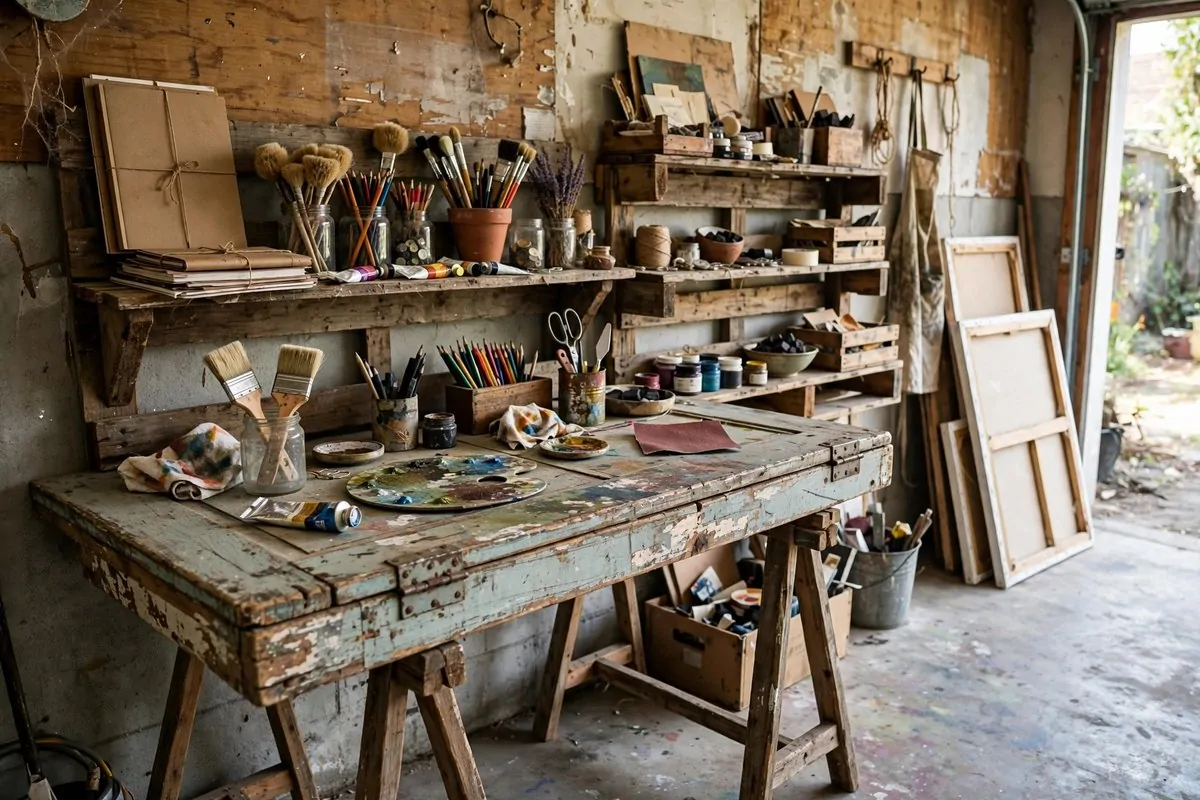
Garage studios and secondhand furniture were made for each other.
An old solid door on two trestles makes a fantastic desk. It is wide, heavy, and costs next to nothing.
Wooden pallets turn into shelves with a little sanding. Stack them, screw them to the wall, and load them with supplies.
Old kitchen cabinets make great base storage. Paint them one color and they look like they were built for the studio.
Thrift stores and curbside pickups are your best friends here. Check them weekly and keep a list of what you need.
I found my favorite studio stool at a yard sale. It wobbled, so I tightened one bolt. It has held me for six years.
Upcycled pieces have character that new furniture lacks. A scratched table tells you it is okay to make a mess.
Sand rough edges and give everything a coat of paint. One color across old pieces makes them look like a set.
Spend the money you save on good brushes and paint. The tools in your hand matter more than the table they sit on.
16. Carve Out a Small Rest Corner
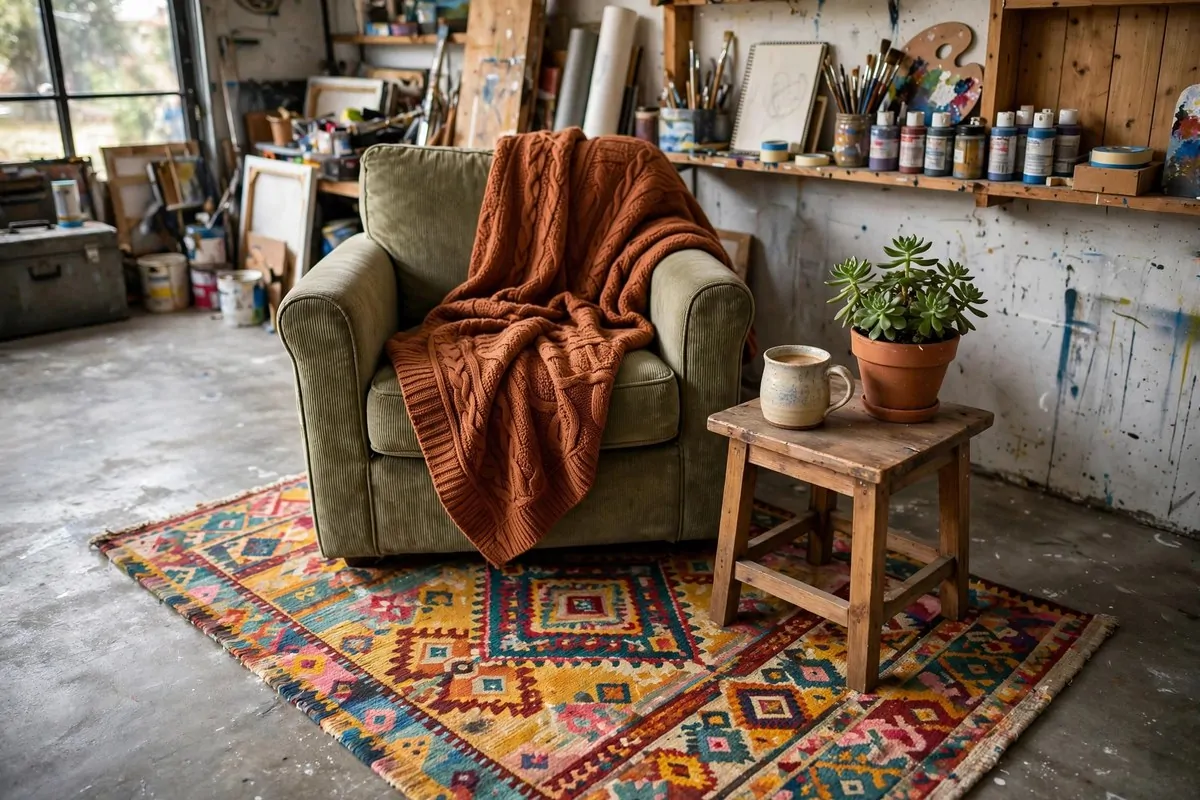
You cannot create for hours without a pause. Your eyes need a break. Your back needs one too.
Set aside one small corner for resting. Not working. Resting.
Lay down a colorful rug. It marks the spot and softens the cold concrete under your feet.
Add a comfortable chair or a floor cushion. Something you sink into for ten minutes.
A small side table holds your tea or coffee. Keep a sketchbook there too, because ideas visit during breaks.
A plant makes the corner feel alive. Something tough that forgives forgotten watering.
I step away from my easel every hour and sit in my corner. Half my best fixes arrive while I am not looking at the painting.
Keep this corner clean of supplies. No tubes, no brushes. It is a no-work zone and that is the whole point.
Even a tiny corner works. Four feet by four feet is enough to reset your brain.
17. Keep the Air Fresh and Moving
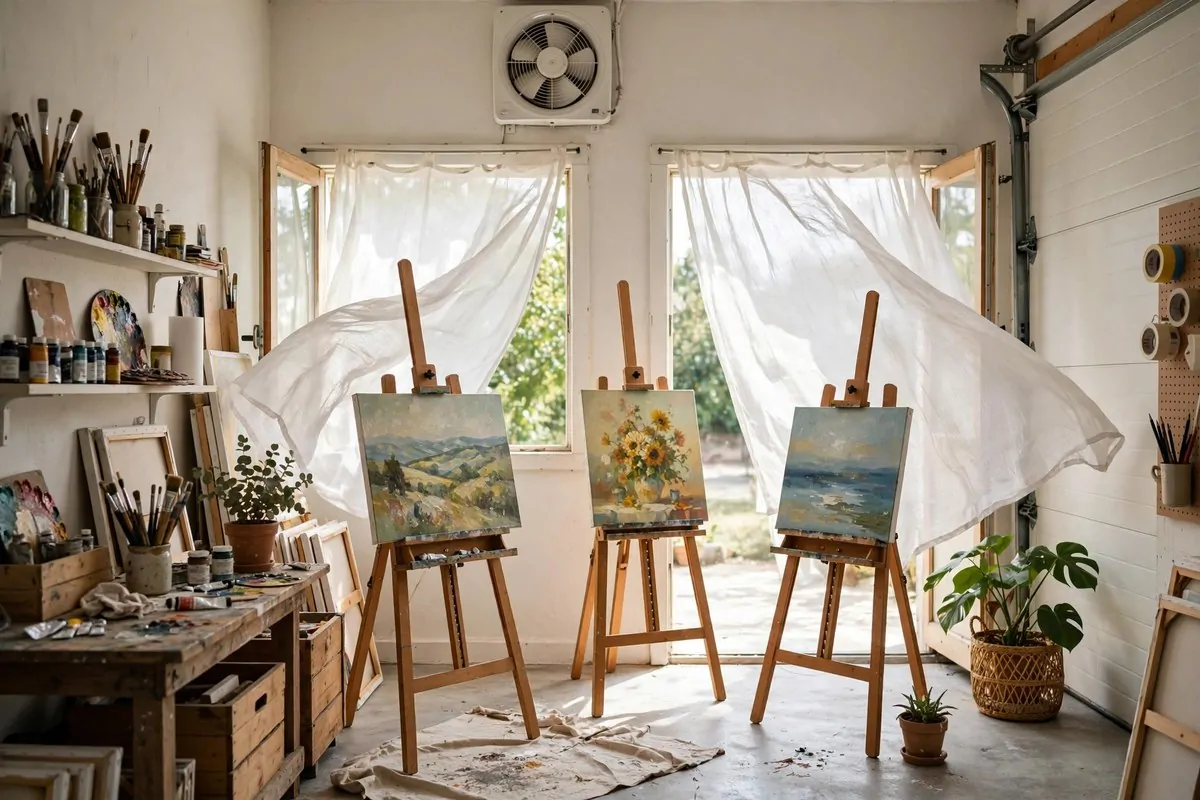
Garages trap air. Paint, glue, and solvents do not care, but your lungs do.
Good ventilation is not optional in an art studio. It is part of the setup, like light and a table.
Open a window or the side door while you work. Cross air carries fumes out and fresh air in.
A simple exhaust fan in the wall works wonders. Run it during messy sessions and for a while after.
Point the fan so air moves across your work and out. You want the fumes traveling away from your face.
Here is a fresh air checklist:
– Work with a window or door open whenever you use solvents
– Run an exhaust fan during and after painting
– Store smelly mediums in sealed containers, not open jars
– Step outside for a minute if you feel dizzy or headachy
I keep a small plant by my window too. It does not replace a fan. It just makes the fresh air feel nicer.
In winter, crack the door for short bursts instead of leaving it wide open. Fresh air in, freezing air out.
Your future health is worth more than any painting. Take this one seriously.
18. Line One Wall With Picture Ledges
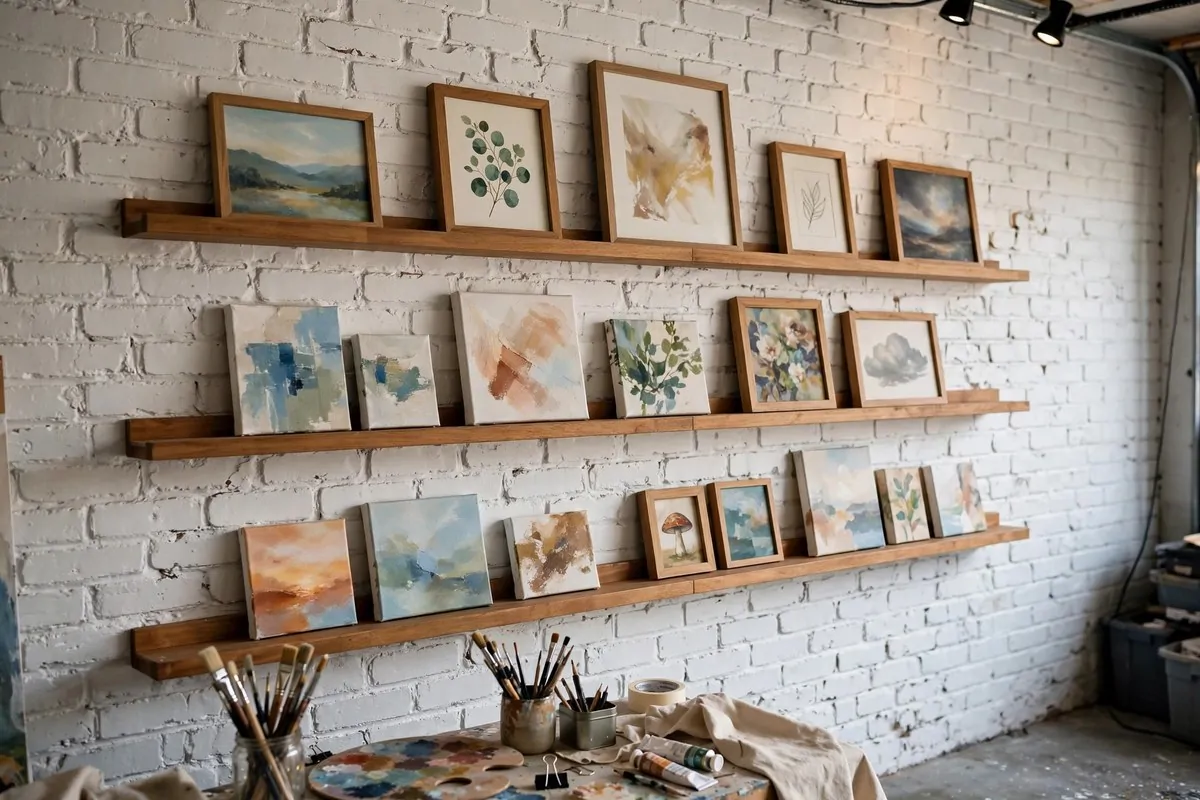
Here is a trick borrowed from real galleries. Picture ledges.
They are slim shelves with a small lip. You lean framed art on them instead of hammering nails.
Line one garage wall with two or three ledges. Fill them with finished pieces, small canvases, and prints.
The best part is how easy they make changes. Lift a frame off, set a new one down. No holes, no measuring.
Arrange them by color, by size, or by mood. Try a row of warm reds beside a row of cool blues.
Lean bigger pieces on the lower ledge and smaller ones up high. Your eye reads the whole wall like a story.
I change my ledge wall every season. It takes twenty minutes and the whole studio feels new again.
Ledges also hold works in progress that you want to stare at. Prop one up and let it talk to you for a few days.
Cheap pine boards make fine ledges. Sand them, stain them, and screw them level. Done.