27 Studio Backdrop Ideas You Can Make for Under $30

There is a corner in my spare room that has been twenty-seven different places this year.
In March it was a marble wall. In June it turned into a field of dried flowers. Last month it was a sheet of wrinkled silver foil that looked like liquid metal in photos.
None of it is real. Every single one was a backdrop I made myself, and not one of them cost me thirty dollars.
That is the thing nobody tells you about studio photos. The backdrop does all the heavy lifting, and it is also the cheapest part of the whole setup. Paper, cloth, paint, fairy lights, old book pages. Half of a photo studio is already sitting in your house.
I put together this list of 27 Studio Backdrop Ideas after making every one of them with my own hands. Each one costs under thirty dollars, and most of them cost way less than that. Some take ten minutes. Some take a whole Saturday afternoon. All of them photograph beautifully, which is the only test that matters.
Pick one that fits your style and your budget, and try it this weekend. Your photos will never look flat again.
1. Crinkle Some Tin Foil for a Metallic Backdrop
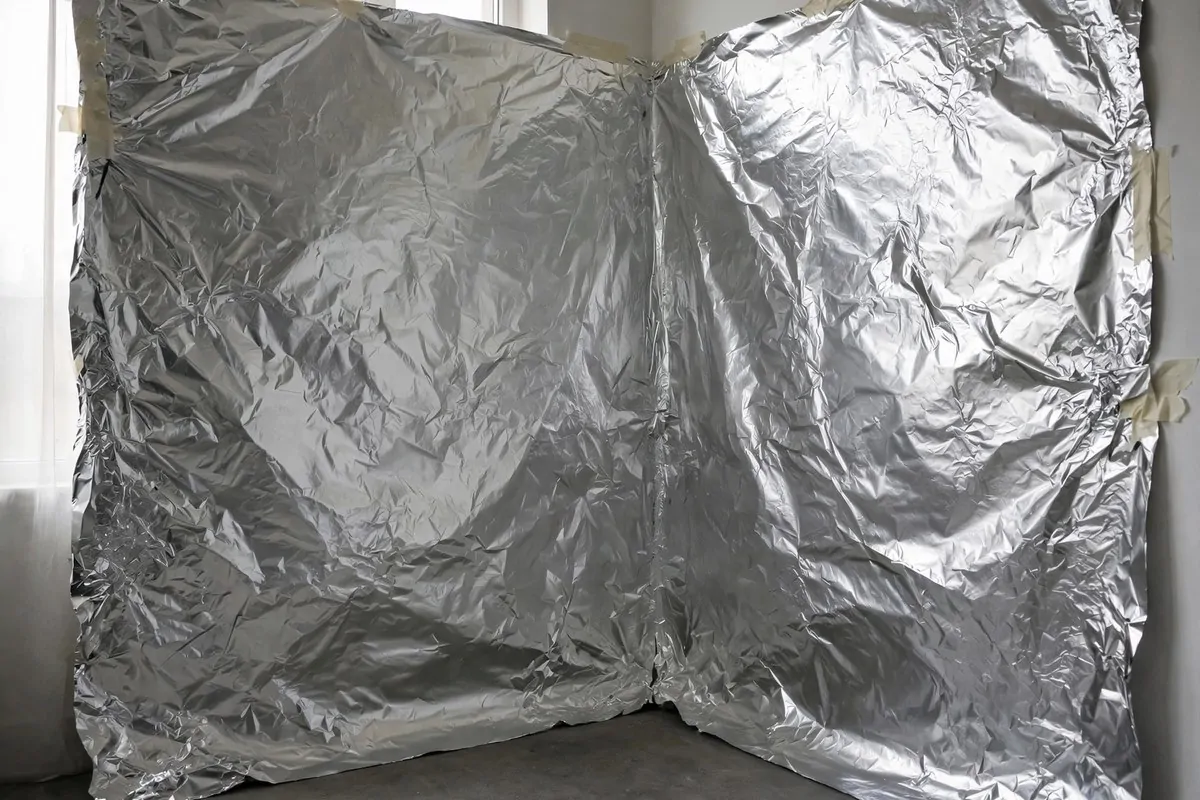
This is the cheapest backdrop on the whole list, and honestly it might be my favourite.
You take regular kitchen foil, the roll you already have in your drawer. You crinkle up big sheets of it into tight balls, then smooth them back out again. Not flat. Just open enough to lie on the wall.
Tape the sheets to your wall in rows, overlapping the edges a little. Painter’s tape works best because it comes off clean. I use the cheap blue kind and it holds fine for a whole weekend of shooting.
The trick is the light. Foil bounces light back in a hundred tiny directions, so your subject gets this soft sparkly glow. It looks like a thousand-dollar studio light setup, but it is just foil and a window.
Shoot with the foil a little out of focus behind your subject. The wrinkles blur into a silver shimmer that looks expensive. I have used this one for product shots, for portraits, even for my own profile picture.
One roll of foil covers a good-sized wall section. Mine lasted through three separate shoots before I recycled it. You cannot beat that for the price.
Keep a spare roll nearby during the shoot. Foil tears if someone brushes against it, and a quick patch keeps you going.
A small desk fan on low makes loose edges flutter slightly, which looks alive in video.
2. Hang a Fairy Light Curtain for Bokeh
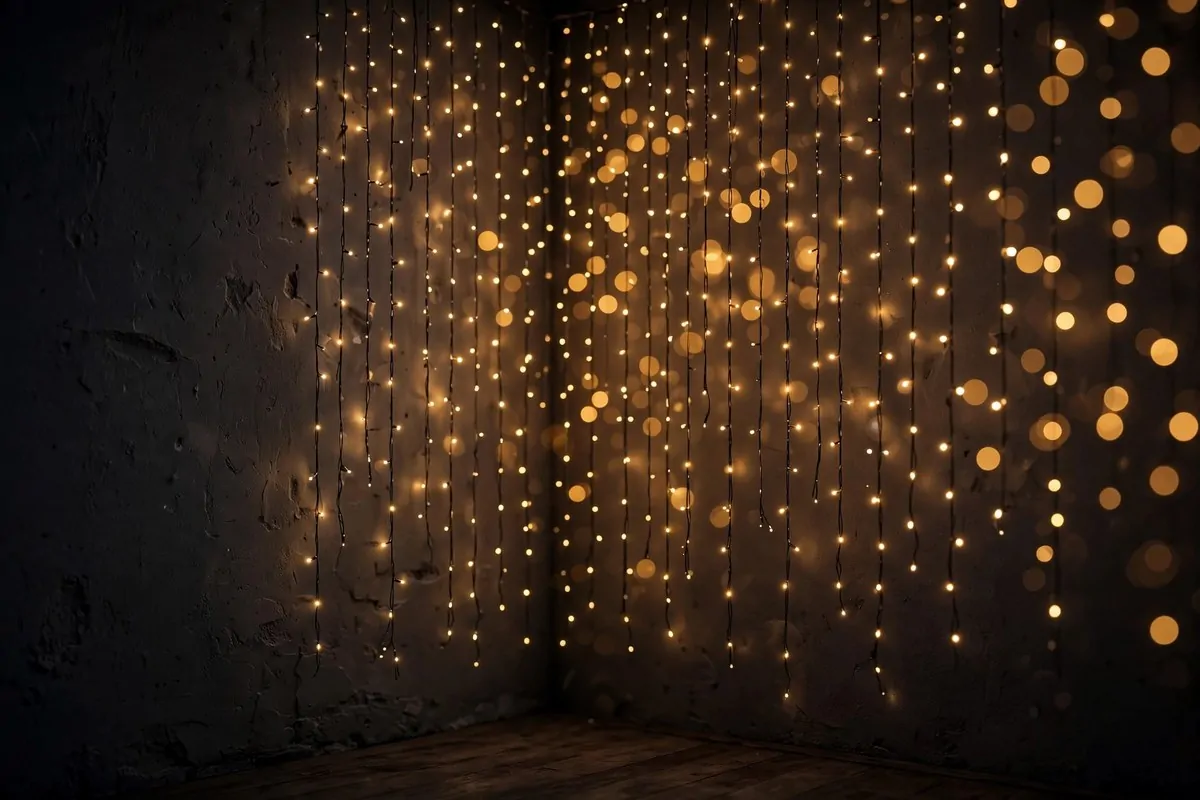
If you own a string of fairy lights, you already own a backdrop.
Hang them on a dark wall in long vertical strands. You can drape them over a curtain rod, tape them up, or hook them on small nails. The pattern does not have to be perfect. Random looks better, actually.
Shoot with the lights a little behind your subject and slightly out of focus. That is what makes the famous bokeh effect, those soft round glows that float in the background. Every photographer on the internet uses this trick, and now you know why.
Warm white lights are the safest choice. They make skin tones look golden and happy. Cool white works too, but it can make people look a bit pale, so test it first.
This backdrop lives in my house from November through February, but I put it up for shoots all year. One strand behind a plain sheet gives you two looks in one. My total cost was one string of lights I bought on sale years ago.
It photographs best in a dimmer room. Turn off the overhead light and let the little bulbs do the work. Your camera will handle the rest.
Test your camera settings before the shoot day. A wide aperture turns each bulb into a big soft circle.
Battery fairy lights are worth the extra cost because there is no cord to hide in photos.
3. Start With a Plain White Bedsheet
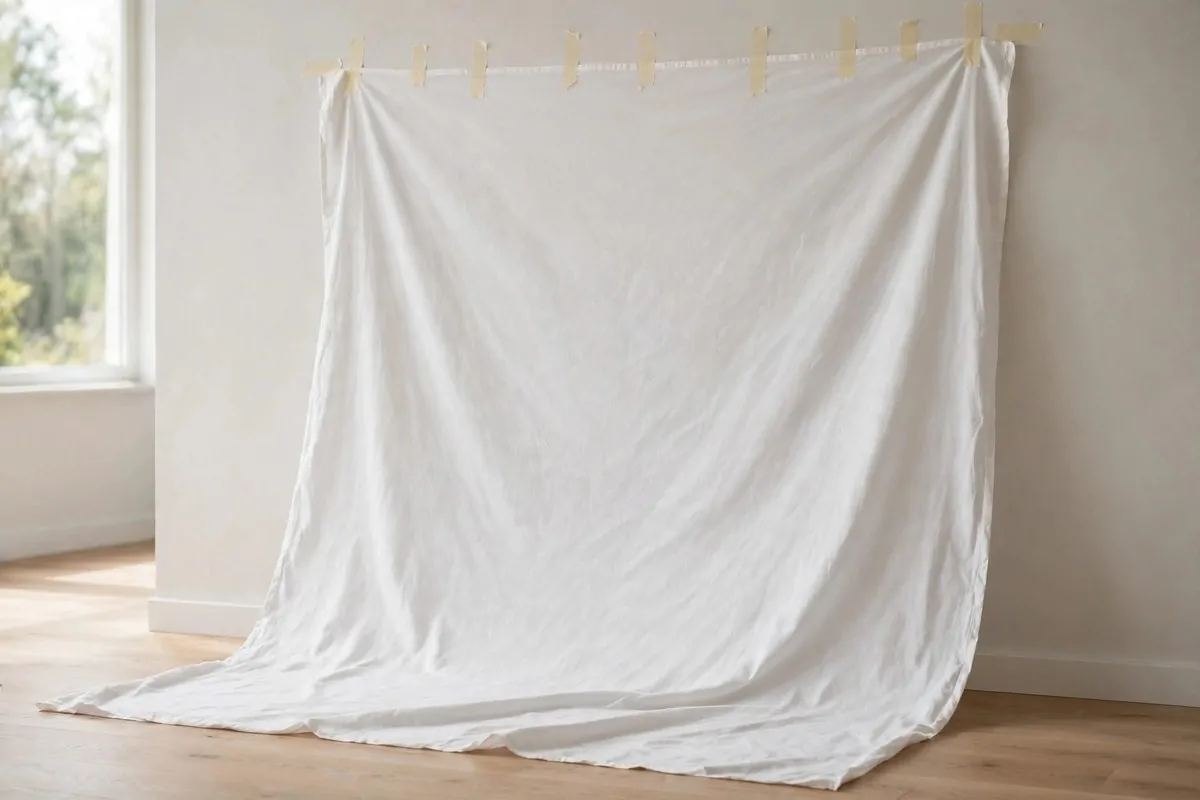
The classic. The one every photographer started with. A plain white bedsheet.
Tape the top edge to your wall, high up near the ceiling. Let it fall straight down and curve out across the floor. That curve is the whole secret. It hides the line where wall meets floor, so the background looks endless in photos.
Iron the sheet first, or at least smooth it with your hands. Wrinkles show up in bright light and they are a pain to edit out later. I learned that the hard way on my very first shoot, and and I still iron every sheet now.
White reflects light beautifully, which means you need less light overall. A bedsheet near a window can give you soft, glowy portraits that look like you hired a studio. Pull the subject a few feet in front of the sheet so no shadows land on it.
A fitted sheet works in a pinch, but a flat sheet is better because it has no elastic edges. Use the biggest one you own. Queen or king size gives you the most room to work with.
When you are done, it goes back on the bed. That is the beauty of this one. It costs you nothing and stores itself.
If the sheet is not wide enough, overlap two sheets and tape the seam. The overlap disappears in photos if you smooth it well.
Hang the sheet a few inches off the wall with the tape so it falls straight without hugging the bumps.
4. Paint a Plywood Board Your Signature Colour
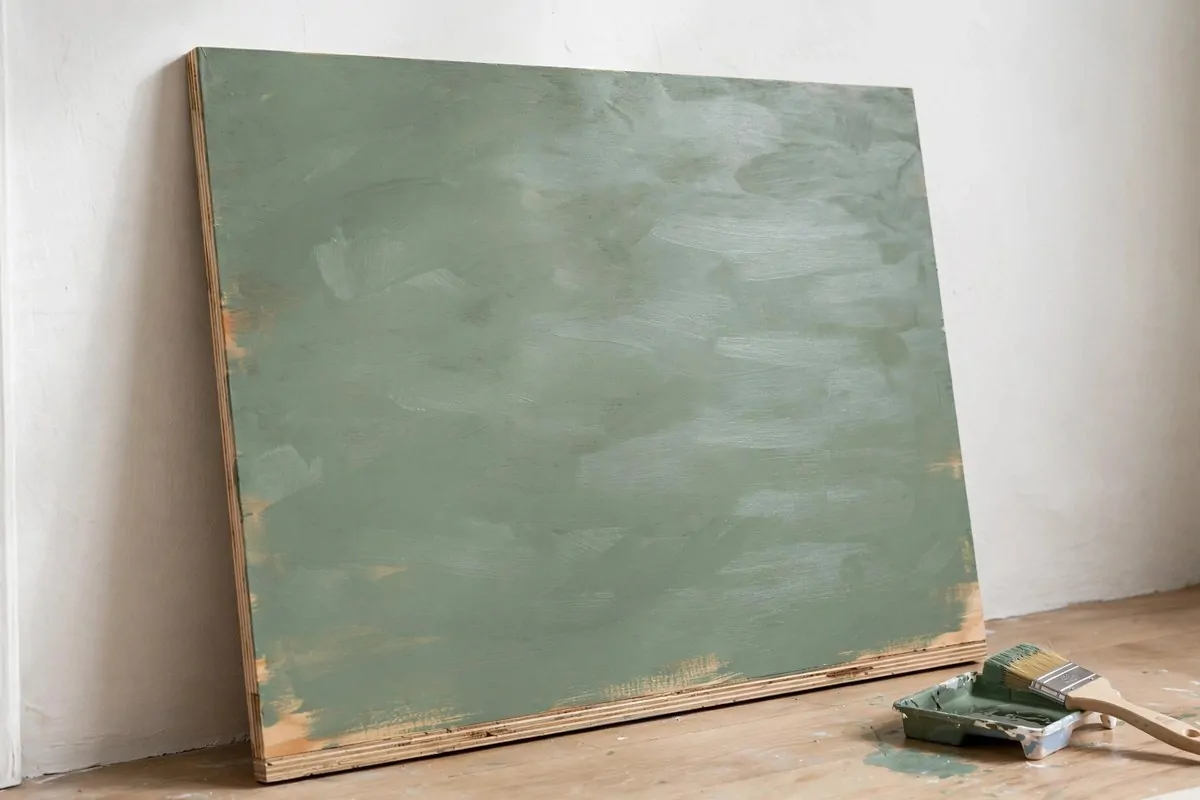
A plywood board and a sample pot of paint. That is all this one needs.
Get a sheet of thin plywood or MDF from the hardware store. The thin kind is light and cheap and easy to store. Paint one side in whatever colour fits your style. I chose sage green because it makes everything I photograph look calm and rich.
Paint it with a roller for a smooth finish, or with a brush if you want a little texture. Brush marks actually look good in photos. They catch the light and give the background some life. You can also sponge on a second colour for a cloudy, textured look.
The best part is that the back stays plain wood, so you get two backdrops in one board. Flip it around and you have a warm natural wood background for free.
Store it flat under a bed or behind a wardrobe. It slides right out when you need it. Mine has survived two years and probably forty shoots, and the paint still looks good.
Pick a colour you love, because you will use this board more than any other backdrop you make. Mine gets used at least twice a month.
Two boards in different colours give you four looks, since each has two sides. That is a whole studio in a corner.
Wipe the painted side with a dry cloth before each shoot. Dust shows up as little spots in close-up photos.
5. Build a Balloon Garland Arch Wall
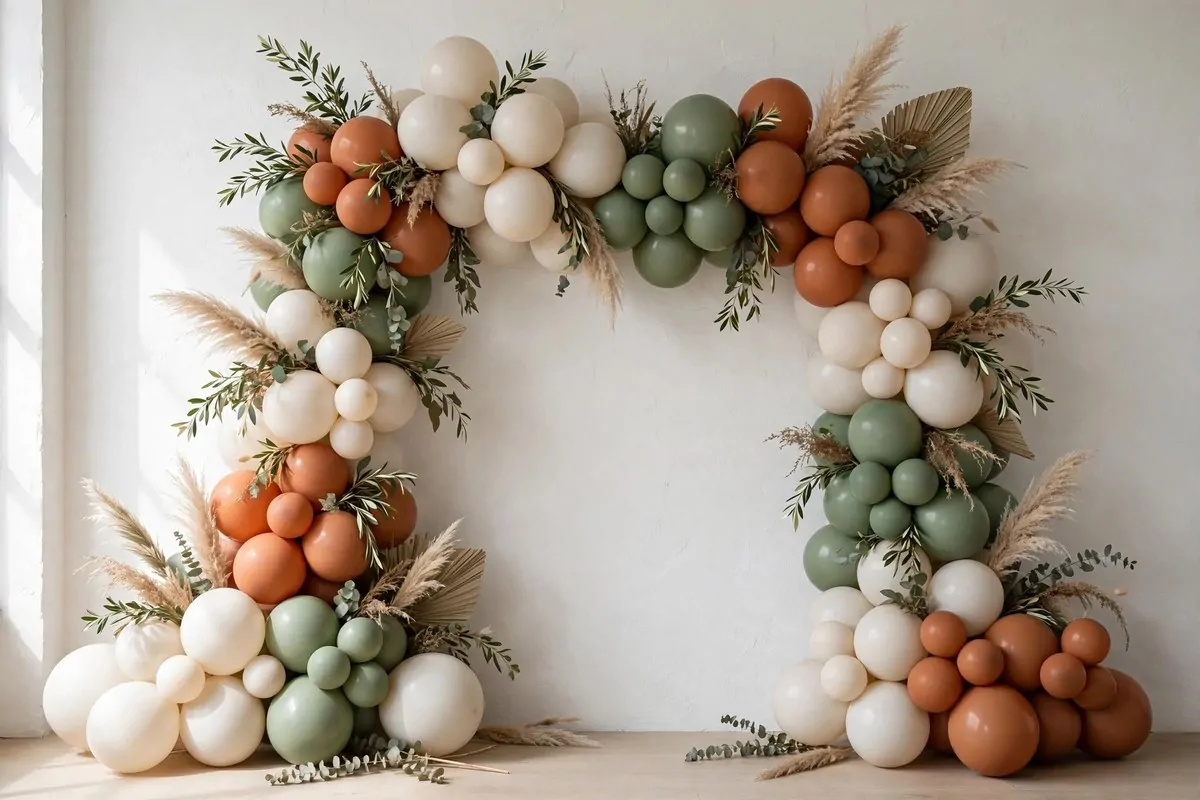
Balloons are not just for parties anymore. A balloon garland makes one of the prettiest photo backdrops I have ever shot.
Buy a bag of balloons in two or three colours that go together. Earthy tones photograph the best. Terracotta, sage, cream, soft beige. They look expensive in photos even though the bag costs almost nothing.
Blow them up in different sizes. Big ones, medium ones, a few small ones. Tie them onto a long piece of string or fishing line, packing them tight so no gaps show. Curve the strand into an arch shape against your wall.
This takes about an hour and a bottle of water for breaks. Your cheeks will be tired. It is worth it. The result looks like something from a wedding magazine.
Photograph people standing inside the arch, or use one side of it as a frame for product shots. The balloons last a day or two, so plan your shoot for the same day you build it.
When it pops, and one always does, just pull it out and fluff the neighbours together. Nobody will ever know.
Use a balloon pump if you have one. Your lungs will thank you after the first fifty balloons.
Shoot the garland the same day you build it. Balloons start to droop by day two and the magic fades.
6. Stick Up Pastel Tissue Paper Pom-Poms
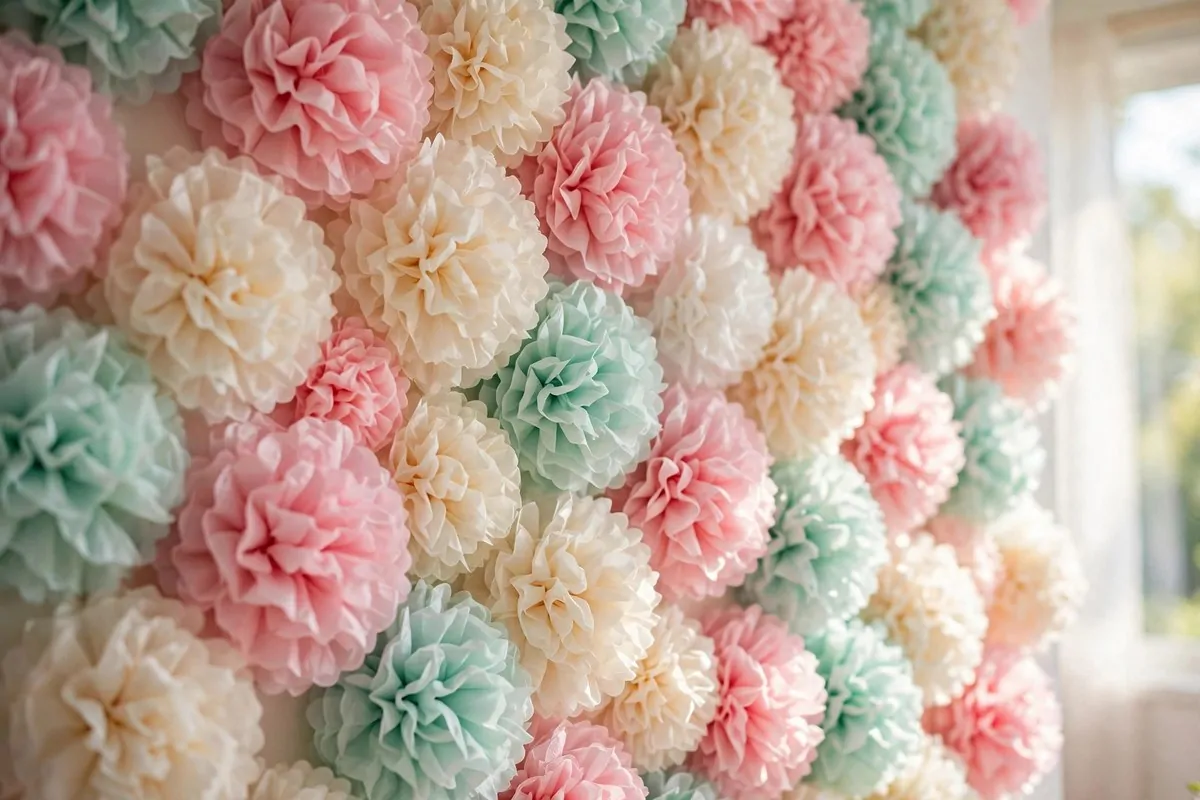
Tissue paper pom-poms look like giant soft flowers, and they cost pennies each.
You make them by stacking sheets of tissue paper, folding them like an accordion, tying the middle with string, and fluffing the layers out into a ball. There are a hundred tutorials online, and the first one you try will probably work fine.
Make a bunch in pastel colours. Pink, mint, cream, soft yellow. Then stick them to your wall with small pieces of tape or removable hooks. Pack them close together so the wall disappears behind the fluff.
This backdrop is a dream for baby photos, birthday shoots, and anything sweet. The texture reads beautifully on camera. Soft, round, cheerful.
The whole wall takes an afternoon to build if you are making the pom-poms from scratch. Put on a podcast and fluff away. I find the repetitive folding weirdly relaxing.
When the shoot is over, the pom-poms collapse flat and store in a bag. I have reused mine four times now. They still look brand new.
Mix sizes for a more natural look. Big pom-poms in back, small ones filling the gaps.
Fluff each pom-pom again right before shooting. They flatten in storage and need a wake-up shake.
7. Unroll a Roll of Kraft Craft Paper
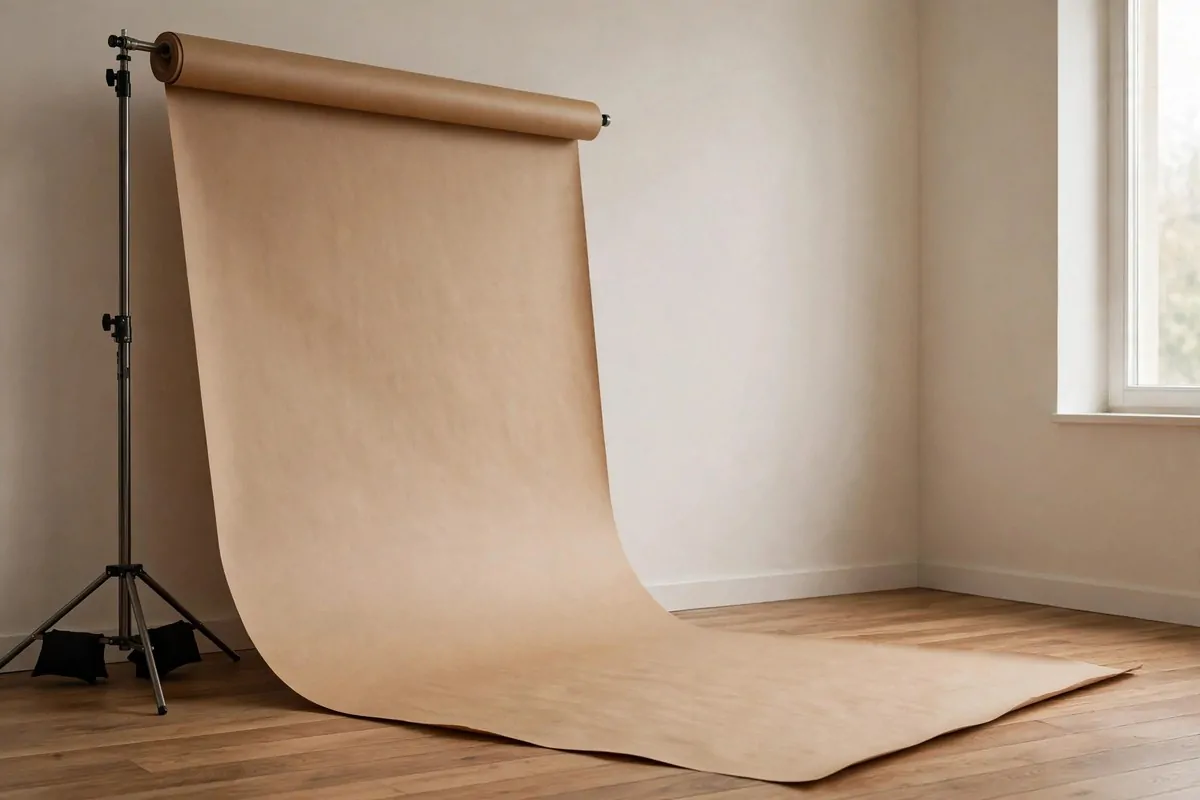
Photographers have used paper rolls for a hundred years, and kraft paper is the cheapest roll you can buy.
Get the widest roll you can find at a craft or office supply store. Unroll it down your wall and across the floor, just like the bedsheet trick. Tape the top and let the bottom curve naturally.
The warm brown colour flatters every skin tone. It also makes products look handmade and honest, which is perfect if you sell crafts online. My friend who makes candles uses kraft paper for all her shop photos now.
You can draw on it, stamp it, or paint a simple pattern down one side for extra interest. Or leave it plain. Plain kraft photographs like a warm hug.
When one section gets dirty or wrinkled, just cut it off and unroll fresh paper. That is the genius of a paper roll. You always have a clean backdrop waiting.
One roll has lasted me six months of regular shoots. At that price per shoot, it is basically free.
Double-layer the paper if your wall colour shows through. Two layers photograph warmer and richer.
Write the date on the roll end each time you use it. It is fun to see how many shoots one roll survived.
8. Cover a Board With Woodgrain Contact Paper
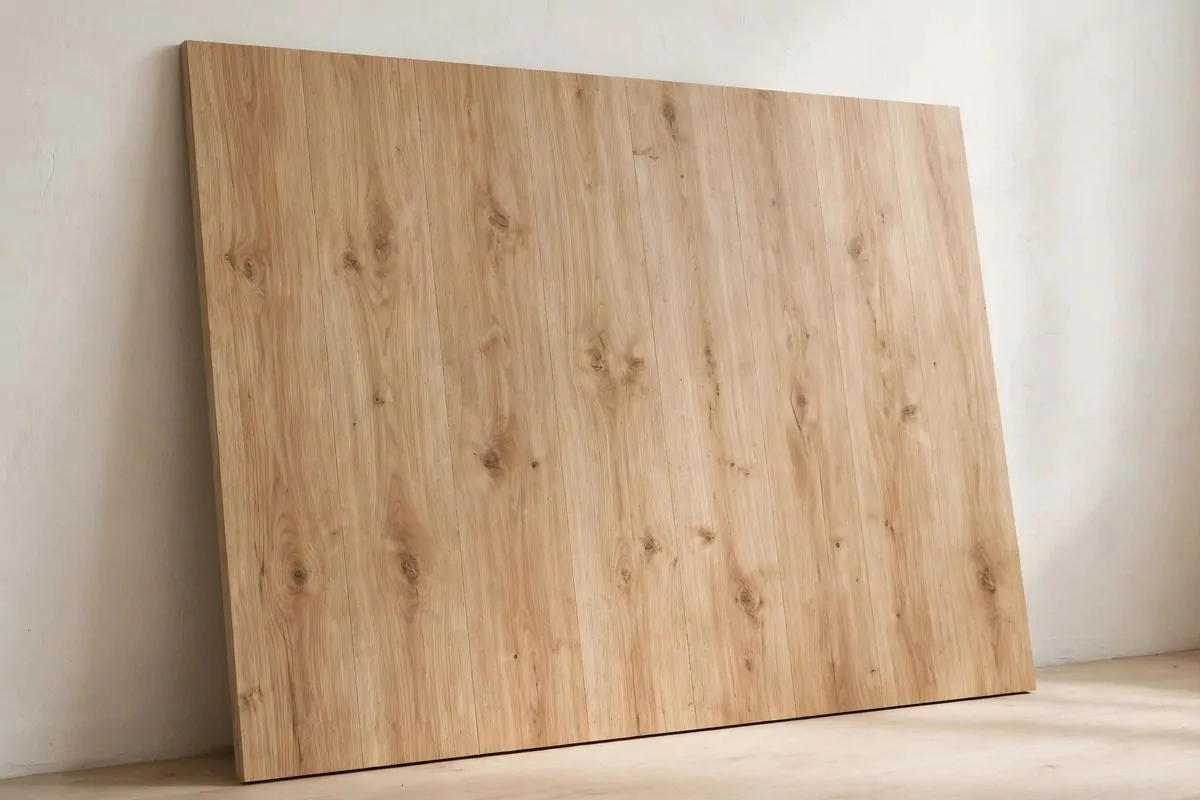
Real wood boards are heavy and expensive. Woodgrain contact paper gives you the look for a fraction of the cost.
Buy a roll of adhesive woodgrain vinyl. The light oak and whitewashed styles photograph the best. Peel and stick it onto a foam board or a piece of thin plywood, smoothing out bubbles as you go.
It wipes clean, which makes it perfect for food photography or anything messy. Spill something on it and it just wipes off. Try that with real wood.
Lean the board against a wall and shoot your subject in front of it. The woodgrain adds instant warmth and texture without stealing attention from your subject. It works for flat lays too. Lay it flat on a table and shoot straight down.
Here is a quick comparison of the board options I have tried, so you can pick the right one:
| Board type | Cost | Best for |
| Foam board | Very cheap | Flat lays and small products |
| Thin plywood | Cheap | Portraits and bigger setups |
| MDF sheet | Cheap | Painted backdrops, double-sided use |
Cover both sides in different patterns and you have four looks in two boards. I keep mine behind the sofa. They slide out in seconds.
Apply the vinyl slowly with a credit card to push out air bubbles. Bubbles catch the light and show in photos.
Keep a spare strip for patching corners that peel. The edges lift first, usually right before a shoot.
9. Drape Sheer Curtains for Soft Light Texture
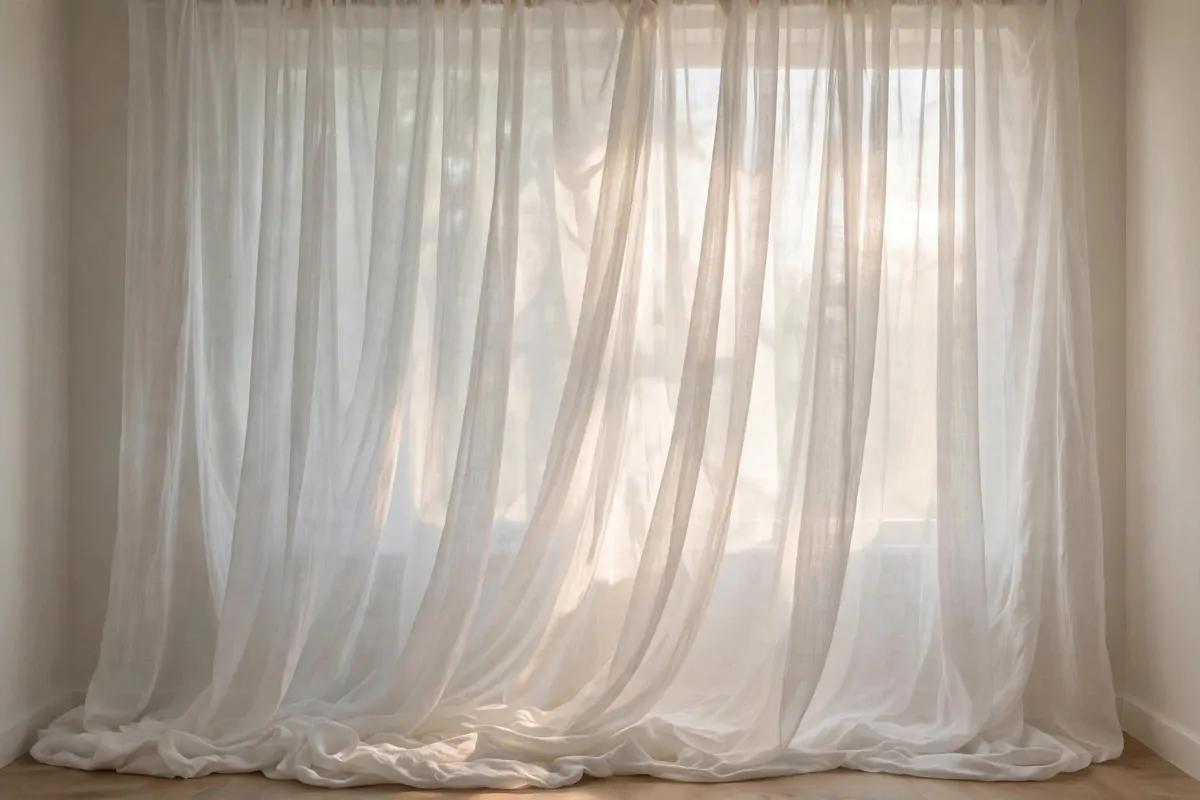
Sheer curtains are the backdrop I reach for when I want photos to feel dreamy.
Hang one or two panels on a tension rod or a curtain wire. Let them hang loose with soft folds. The folds are the magic. They catch window light and turn it into gentle stripes and shadows.
You can layer two panels for extra depth. White on white gives you the softest look. A white panel over a pale grey one adds a little more contrast.
This works beautifully as a background for portraits because it never fights with the subject. It just sits there being pretty. I also use it behind product photos when I want a clean, airy feel.
If your curtains are too long, let them pool on the floor a little. That pooled fabric looks intentional and soft in photos. Photographers pay good money for that effect, and you get it for free.
Wash them before the shoot so they hang fresh and bright. A dingy curtain photographs dingy. A clean one glows.
Double up the panels on a bright day. More layers mean softer, dreamier light.
Steam the curtains if they have fold lines from the packet. Five minutes of steam makes them hang like a dream.
10. Glue Up a Dried Flower Wall
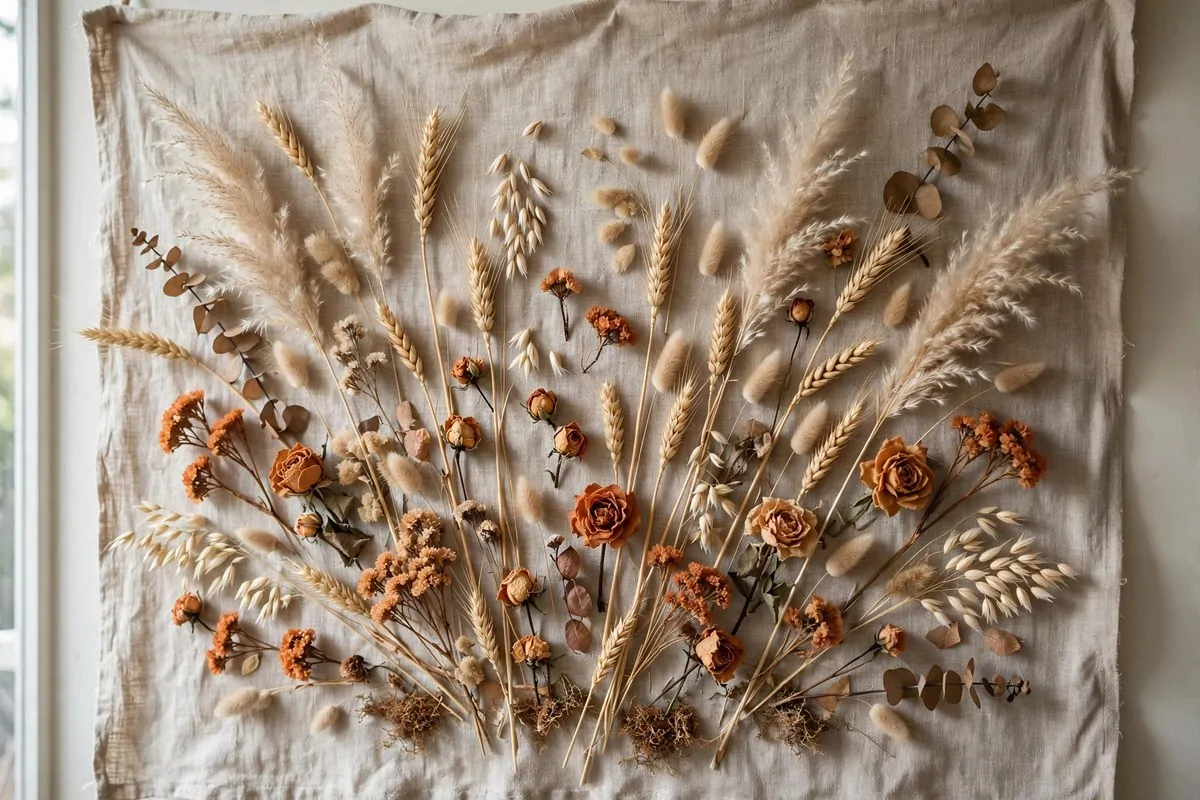
Dried flowers photograph like a dream. All those soft beige and rust tones look expensive on camera.
Dry your own flowers by hanging bunches upside down in a dark, dry spot for two to four weeks. Or buy a mixed bunch of dried grasses and flowers from a craft store. One big bunch goes a long way.
Glue them onto a cloth panel with a hot glue gun. Start with the big pieces, then fill the gaps with smaller stems and grasses. Work from the edges inward so the middle looks the fullest.
Use colours that go together. Beige, cream, terracotta, soft brown. That palette photographs beautifully and matches almost any outfit or product.
This backdrop is a favourite for maternity shoots, wedding details, and cosy autumn photos. It has a romantic feel that no plain backdrop can copy.
Handle it gently when you store it. Dried flowers are fragile, but if a stem snaps you can just glue it back on. Mine has been patched twice and still looks lovely.
Spray finished pieces lightly with hairspray. It keeps petals from crumbling during the shoot.
Photograph this backdrop in soft morning light. The warm tones glow and the whole wall looks alive.
11. Layer Old Book Pages and Newspaper
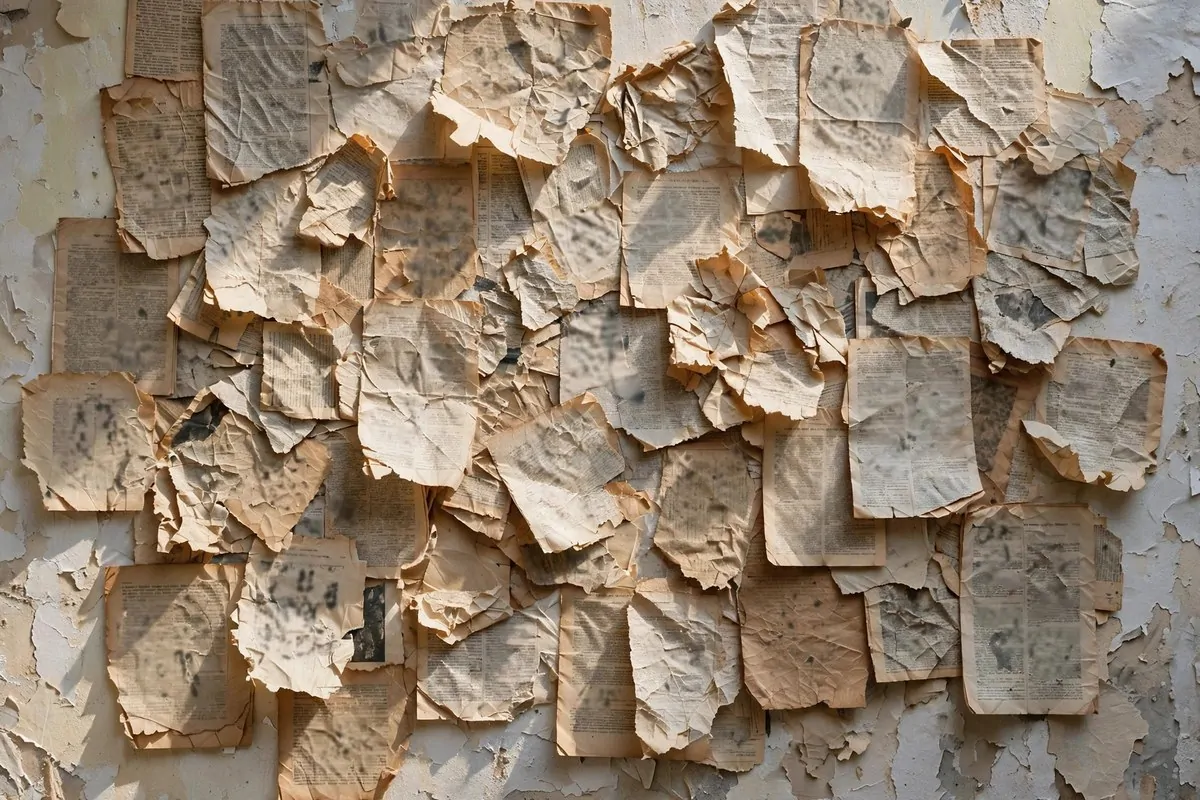
This one costs literally nothing, and it looks incredible in photos.
Find old books, magazines, or newspapers you do not mind tearing up. Thrift stores sell old books for almost nothing if your shelves are empty. Tape or glue the pages to your wall in overlapping rows, like shingles on a roof.
The mixed print creates a rich vintage texture that cameras love. Black and white pages give you a classic literary feel. Colour magazine pages give you a fun pop-art look. You can even crumple some pages first for extra texture.
This backdrop is perfect for writer portraits, cosy reading photos, and anything with a vintage theme. It tells a story all by itself.
Seal it with a light spray of clear matte sealer if you want it to last. Otherwise the tape yellows over time. Mine lasted about three months on the wall before I took it down for a new idea.
When you are done, recycle the pages. Nothing wasted. I love a backdrop I can throw in the recycling bin guilt-free.
Mix page sizes for a richer collage. Big pages as the base, small clippings filling gaps.
Wear gloves when handling old newsprint. The ink rubs off on your hands and then onto everything else.
12. Arrange Lace Doilies and Paper Fans
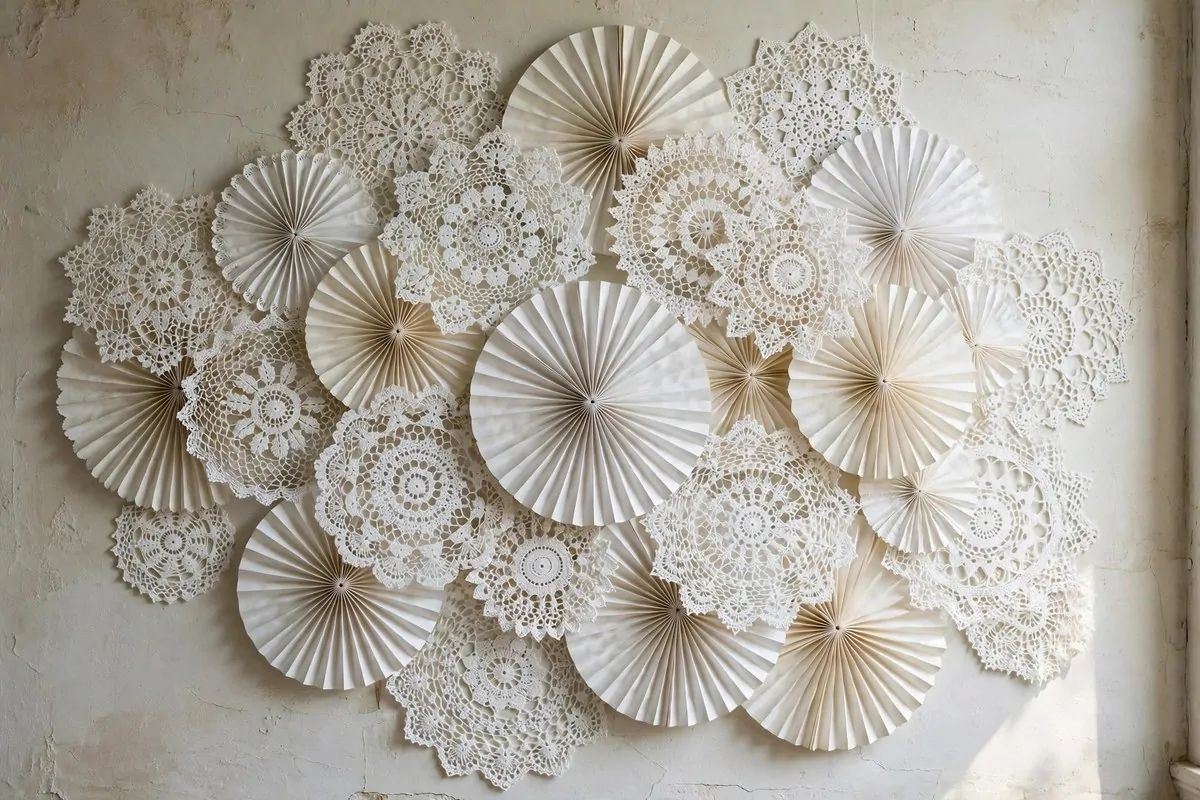
Paper doilies from the baking aisle make the prettiest vintage backdrop.
Stick them on your wall in an overlapping pattern. White doilies on a white wall give you a subtle lace texture. Painted doilies on a coloured wall give you a bold graphic look. You can paint them with cheap craft paint in any colour you like.
Mix in round paper fans for extra shape. The fans add circles that break up the doily pattern and make the whole wall more interesting. I buy the fans in packs and reuse them constantly.
This backdrop shines for tea party photos, baby showers, and anything feminine and soft. It also works beautifully for flat lays. Lay doilies on a table and shoot straight down.
The whole thing goes up in under an hour with tape or sticky tack. Coming down takes ten minutes. That is my favourite kind of backdrop.
Keep a bag of spare doilies for touch-ups. They tear if you look at them wrong, but at that price you can afford to be careless.
Overlap the doilies generously. Gaps of bare wall break the lace spell.
Photograph this one slightly to the side. Angled light makes the lace shadows dance on the wall.
13. Hang a Painter’s Canvas Drop Cloth
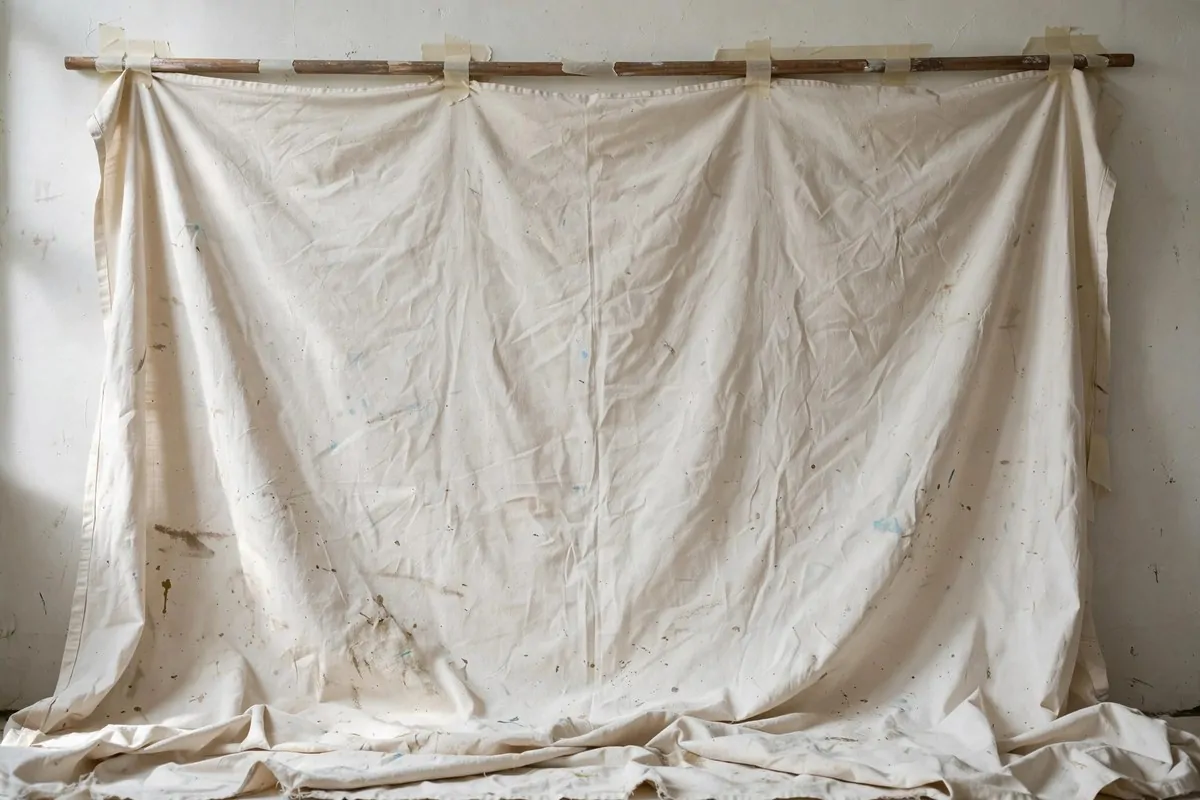
A canvas drop cloth from the hardware store is one of the best-kept secrets in photography.
It is a big sheet of thick cotton canvas, the kind painters throw over floors. Hang it on a rod or tape it to your wall, and you have a backdrop with gorgeous natural texture. The wrinkles and faint marks give it a rustic, lived-in feel.
The off-white colour is flattering for portraits and perfect for product shots. It is not stark white, so it will not blow out in bright light. It just sits there looking warm and natural.
You can dye it, paint it, or stamp patterns on it if you want to get creative. I painted one of mine a soft grey and it looks like expensive studio muslin now.
Wash it before the first use to soften it up and remove the factory stiffness. It gets better with age, honestly. Mine looks nicer now than the day I bought it.
It folds up small and stores in a closet. For the price of one fancy dinner, you get a backdrop that lasts for years.
Crumple it up and let it sit overnight before hanging. The natural creases are what make it beautiful.
A drop cloth also works as a floor covering. Lay one down for full-length shots with no floor line.
14. Nail Together Recycled Timber Slats
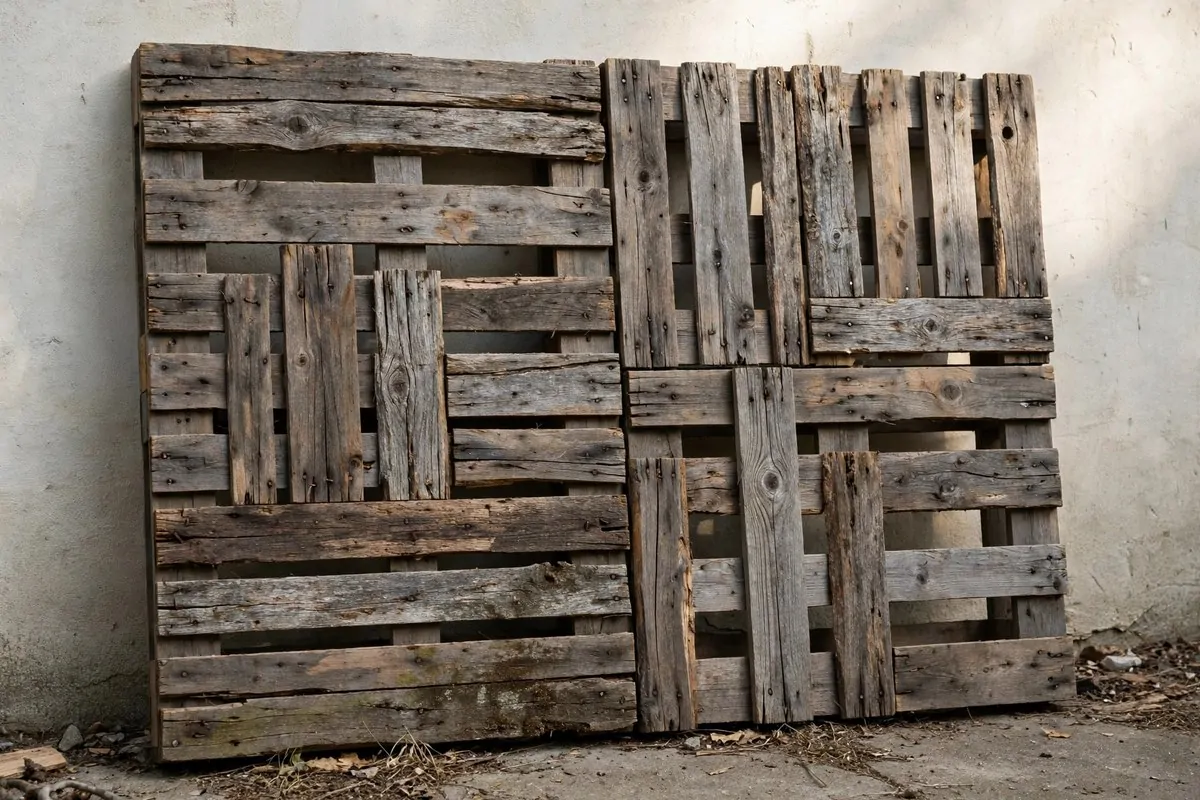
Old pallets and fence boards make the most characterful backdrop on this list.
Ask around for free pallets. Check local listings, building sites, or behind shops. People give them away constantly. Pull off the slats and nail or screw them together side by side on a simple frame.
The weathered wood has a texture you cannot fake. Grey tones, nail holes, rough grain. It photographs like a farmhouse wall or a rustic cabin, which is perfect for cosy, natural shoots.
Sand the roughest edges so nobody gets splinters. A light sanding is enough. You want to keep the character, just lose the danger.
This one is heavy, so lean it against a wall rather than hanging it. I store mine in the garage and drag it out for shoots. It has survived rain, sun, and one curious dog.
Paint it white for a shabby chic look, or leave it natural for full rustic charm. Either way, it photographs like a dream.
Check for loose nails before each shoot. Pull or hammer down anything sharp.
Lean the frame at a slight angle for portraits. It adds depth and keeps the boards from looking flat.
15. Make an Ombre Tissue Fringe Curtain
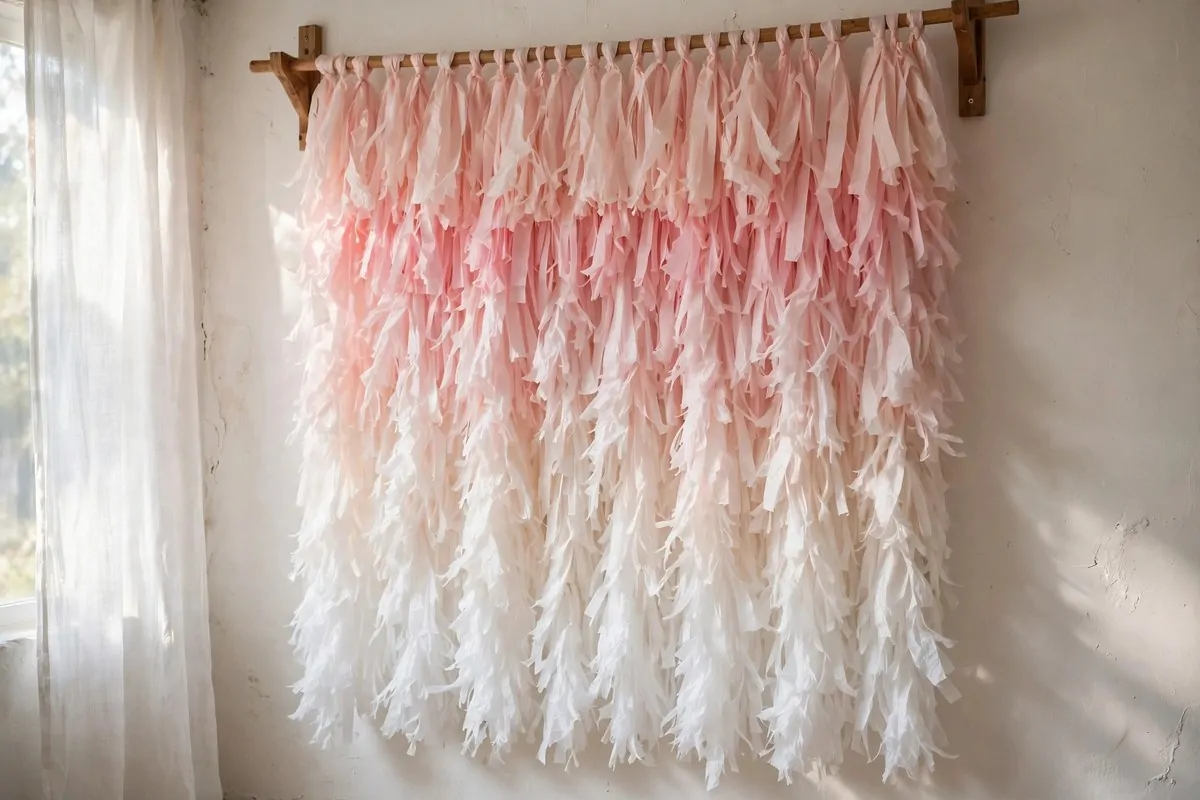
An ombre fringe curtain looks like it took a professional decorator all day. It takes you about two hours and a stack of tissue paper.
Cut tissue paper into long strips. Tape them in rows down a big sheet of paper or straight onto your wall, starting with the darkest colour at the top and fading to the lightest at the bottom. Pink to white is the classic, but any colour family works.
The strips flutter and move, which gives your photos a soft, lively texture. A little fan on low makes them dance gently. That movement looks magical in video too.
This is a favourite for birthday shoots, baby photos, and anything celebratory. The gradient reads as expensive and intentional, even though it is just tissue paper and tape.
Buy the tissue paper in bulk packs to keep the cost down. You will need more than you think. I always buy one extra pack and I always use it.
When the party is over, it comes down in minutes and the wall is untouched. Quick to build, quick to remove, gorgeous in between.
Cut all the strips the same length first, then trim the bottom edge wavy at the end.
Stand back every few rows to check the colour fade. It is easy to drift too dark or too light.
16. Pin Up a Eucalyptus Greenery Wall
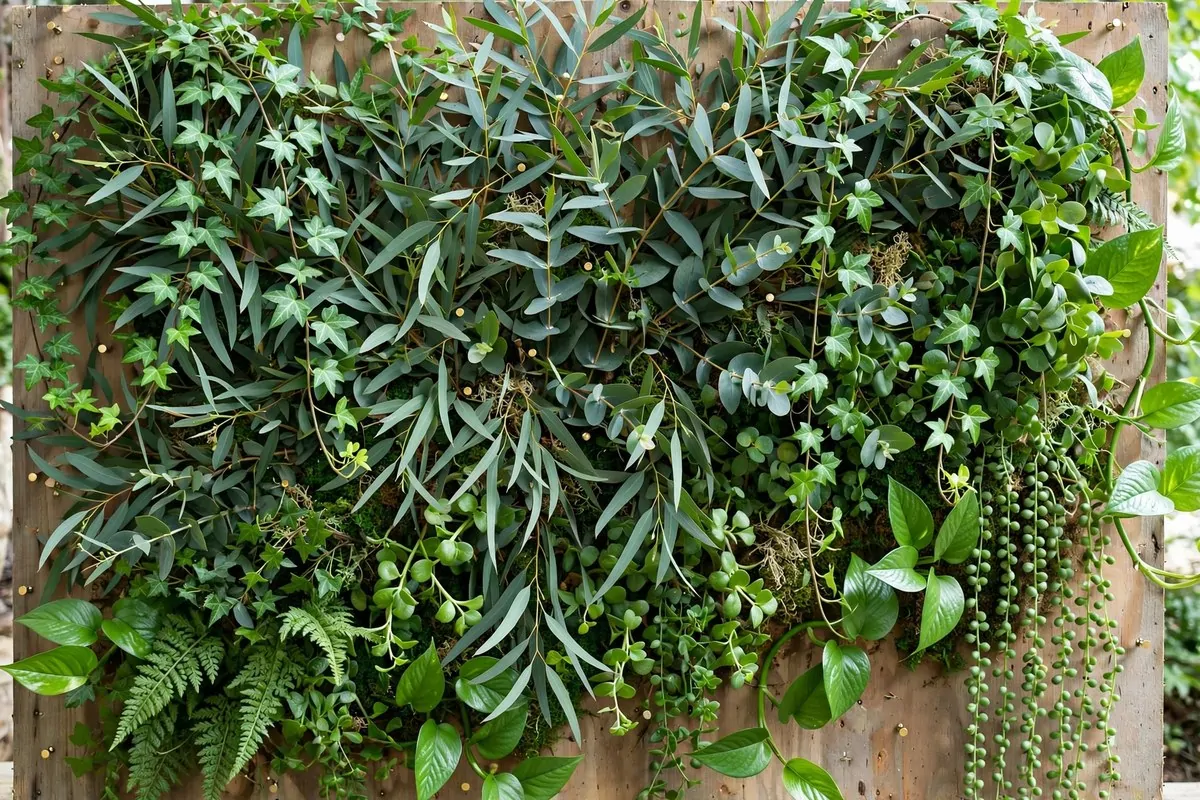
A wall of greenery makes every photo feel fresh and alive.
Pin eucalyptus branches, ivy, ferns, and trailing plants onto a board or straight onto your wall. Real plants smell amazing and photograph beautifully. Faux plants from the discount store work too and last forever.
Layer the pieces thickly, starting at the bottom and working up. Tuck stems behind each other so no wall shows through. The fuller it looks, the better it photographs.
Eucalyptus is the star here. Those round silver-green leaves are a photographer’s favourite for a reason. They look good in every light and they dry nicely, so your backdrop keeps working for weeks.
This backdrop is perfect for wedding details, fresh product shots, and spring portraits. It makes everything in front of it look more expensive. I do not know why, but green just does that.
Mist real plants with water before the shoot to keep them perky. And keep a few spare stems handy for filling any gaps that show up on camera.
Start with a base of cheap faux ivy, then add real eucalyptus on top. You get fullness for less money.
Keep a spray bottle handy. A light mist makes real leaves look fresh for hours.
17. Lay Down a Cream Faux Fur Throw
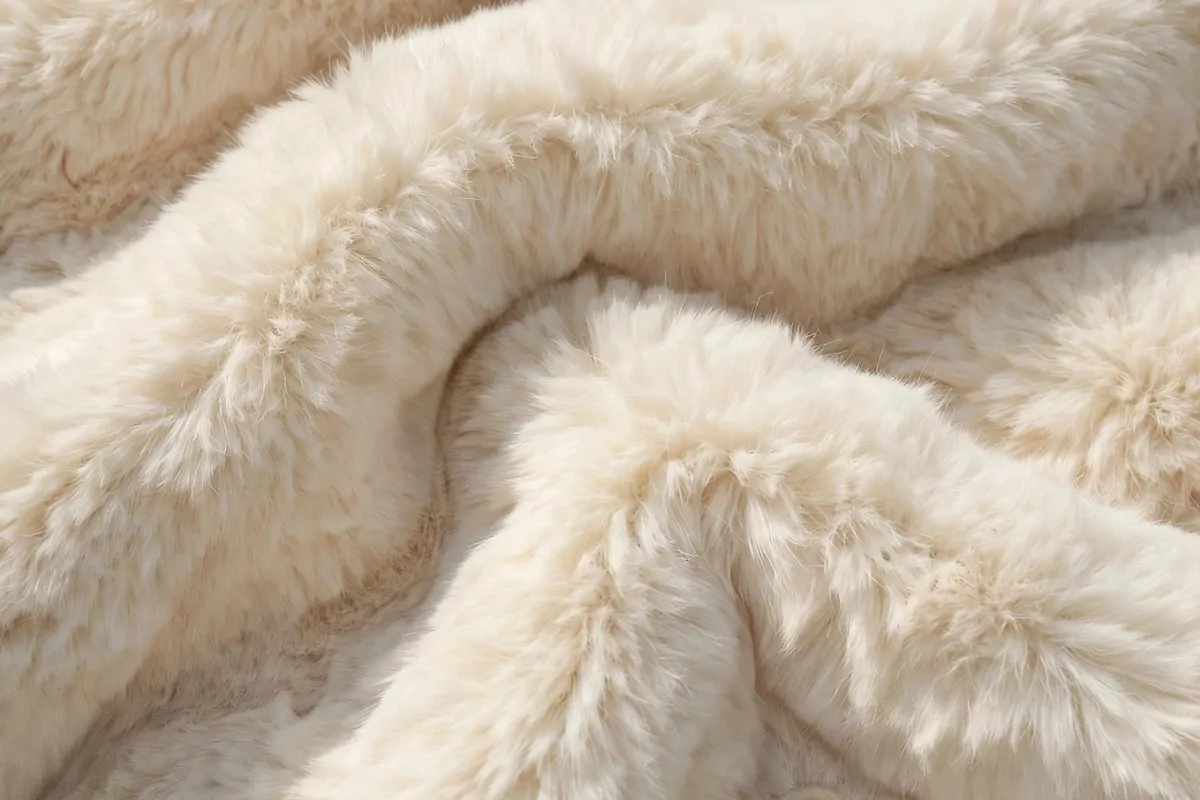
Faux fur adds instant luxury to any photo, and the cheap kind photographs just as well as the expensive kind.
Drape a cream or white faux fur throw over a chair, a box, or straight onto the floor. Shoot your subject sitting or lying on it, or use it as a textured background for small products.
The soft texture catches light in a beautiful way. It looks warm, cosy, and high-end. Nobody looking at the photo will guess it came from a discount store.
This is a favourite for baby photos, pet portraits, and jewellery shots. Small shiny things look stunning against soft fur. The contrast does all the work.
Brush the fur with your hand before shooting to make it lie in one direction. It photographs smoother that way. And keep a lint roller nearby, because fur collects everything.
Store it folded in a bag to keep the dust off. Shake it out before each shoot and it springs right back.
Vacuum the fur gently with a brush attachment before shooting. It lifts the fibres beautifully.
Dark fur shows lint, light fur shows shadows. Pick your colour based on what you are photographing.
18. Tape Up Bold Floral Wrapping Paper Panels
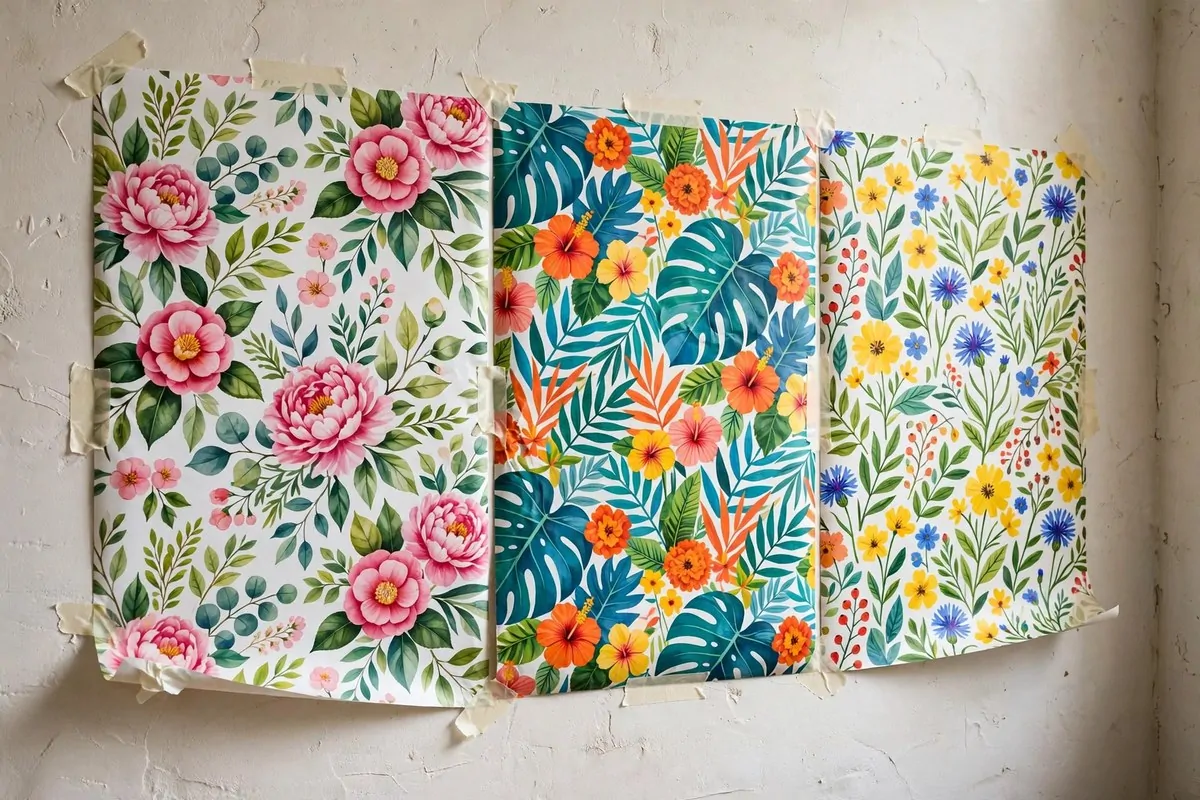
Wrapping paper is printed backdrop paper that costs almost nothing.
Buy a few rolls in a bold pattern you love. Big florals, tropical leaves, geometric prints. Tape the panels side by side on your wall, matching the pattern as best you can.
The print does all the design work for you. You do not need to be artistic. Just unroll, cut, and tape. In ten minutes you have a backdrop that looks like designer wallpaper.
This is perfect for fun, colourful shoots. Kids’ portraits, creative product photos, anything with personality. The bold pattern makes simple subjects pop.
Here are my go-to patterns and what they suit best:
– Big florals: portraits, beauty shots, spring themes
– Tropical leaves: summer products, fresh and fun shoots
– Geometric prints: modern products, tech items, bold portraits
– Marble prints: elegant products, jewellery, cosmetics
– Kraft brown: rustic products, handmade goods, warm portraits
Buy an extra roll so the pattern matches at the seams. And use painter’s tape on the wall side so you do not peel paint when you take it down.
Iron the paper on low with no steam to remove roll curl. Flat paper tapes down much easier.
Save the leftover strips for flat lay backgrounds. Small pieces work great for tabletop shots.
19. Drape a Chunky Knit Blanket
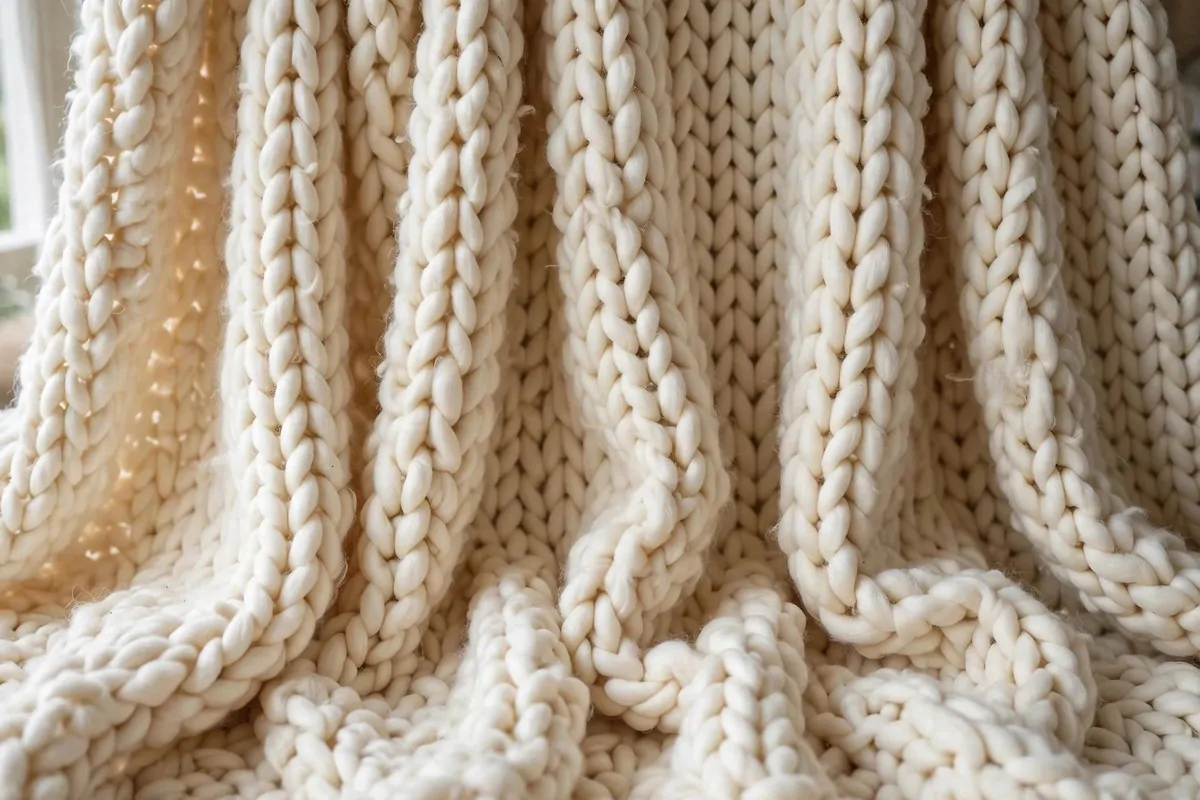
A chunky knit blanket is texture you can feel through the screen.
Drape it over a chair back, hang it on the wall, or spread it on the floor as a base. The thick knit stitches create deep shadows and highlights that cameras absolutely love.
Cream and natural colours photograph the best. They stay neutral and let your subject shine. A coloured knit works too if the colour fits your theme.
This backdrop is made for cosy shoots. Winter portraits, baby photos, coffee and book flat lays. Anything warm and soft. I use mine every single autumn without fail.
If you do not own one, thrift stores are full of them. People donate knit blankets constantly. Check the bedding aisle first.
Fluff the stitches with your fingers before shooting so the texture looks even. And shoot in soft side light to make the knit shadows pop. That is when the magic happens.
Fold the blanket in half for a thicker, plusher look in close-up shots.
Keep pets away until shoot time. Knit collects pet hair like nothing else I own.
20. Hang a Marble-Print Shower Curtain
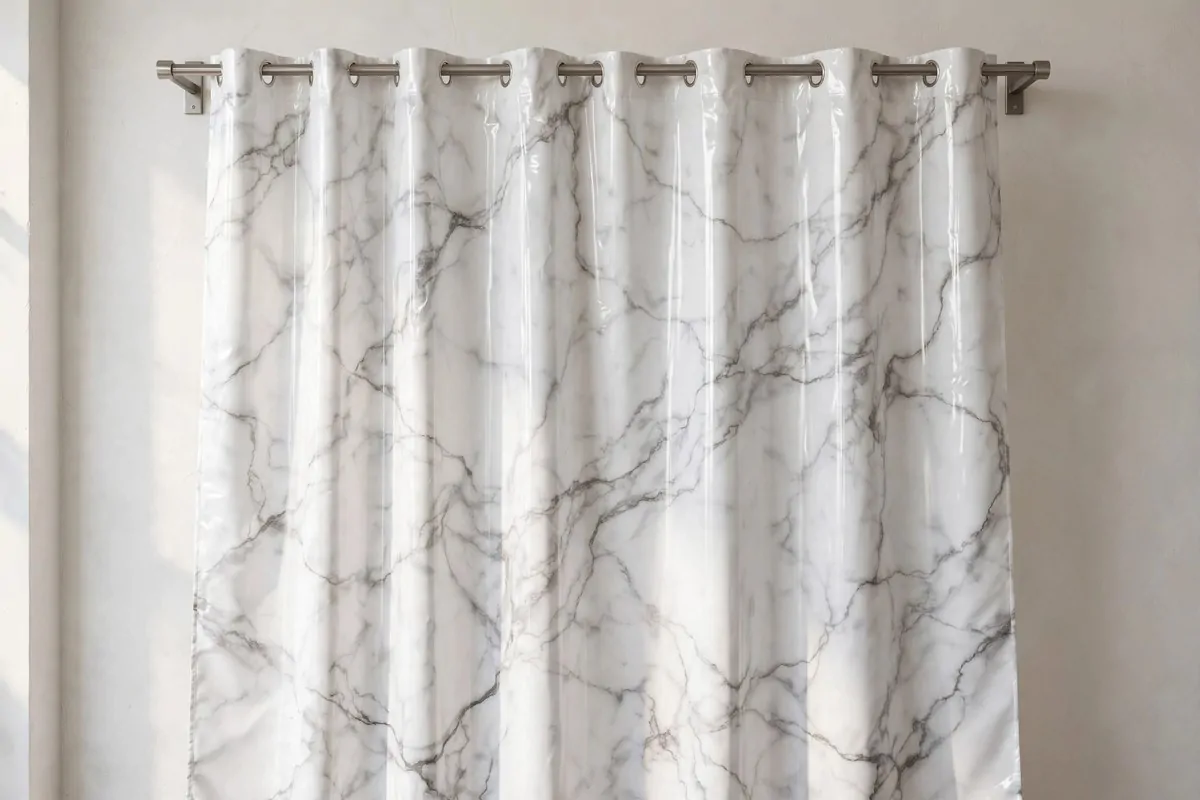
A marble-print shower curtain is the sneakiest backdrop trick I know.
Hang it on a rod against your wall. From a few feet away, it looks exactly like a real marble wall. The grey veining on white reads as expensive and elegant in every photo.
This is my secret weapon for product photography. Jewellery, cosmetics, candles, perfume bottles. Anything luxurious looks twice as expensive against fake marble.
Get the fabric kind, not the plastic kind. Fabric hangs better, catches light more softly, and does not shine weirdly under studio lights. The plastic ones can glare, and glare ruins the illusion.
Iron it on low first to remove the fold lines. Those creases are the one thing that gives the trick away. A quick iron makes it look seamless.
It stores folded in a drawer and costs less than a pizza. I have three different prints now, and I reach for the marble one most.
Hang it slightly off the wall so it falls in soft folds. Flat looks fake, folds look real.
Wipe it with a damp cloth before shooting. Dust dulls the print and kills the marble illusion.
21. Drape a Natural Linen Muslin Cloth
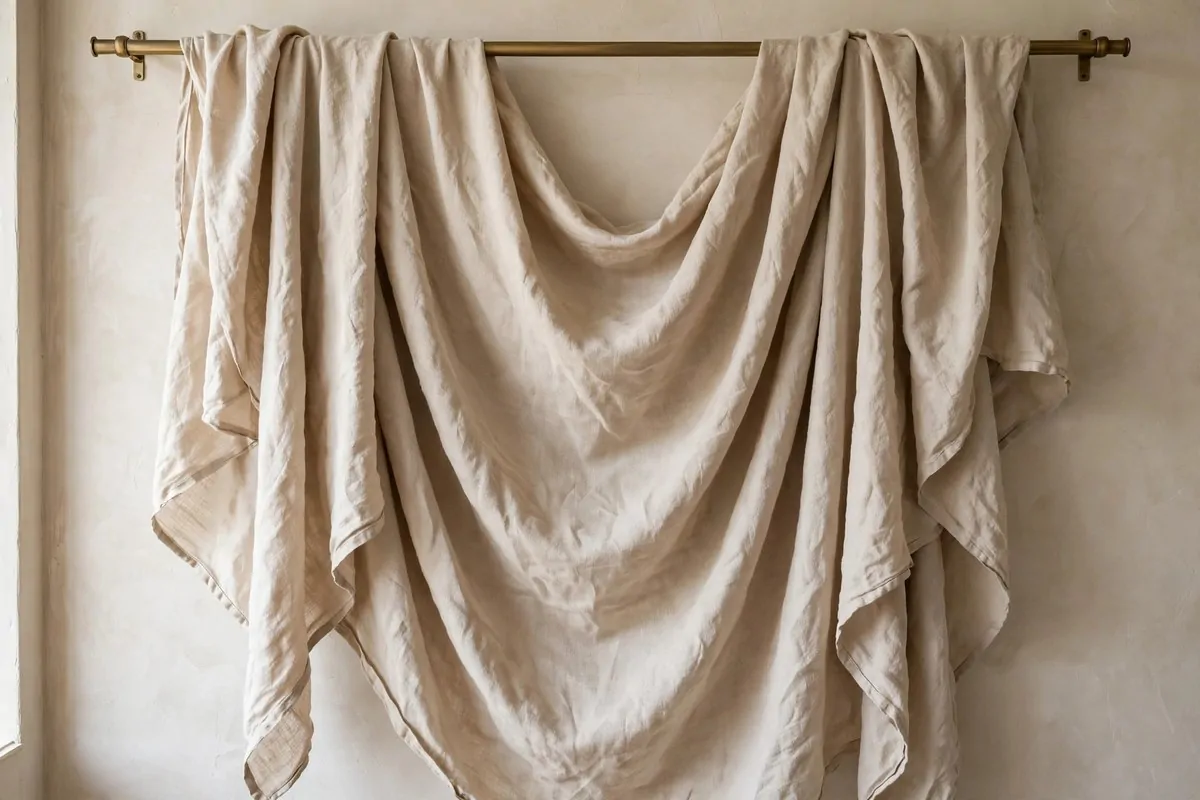
Linen muslin is what professional studios use, and the cheap version works just as well.
Buy a few metres of natural muslin or linen-look cloth from a fabric store. Drape it over a curtain rod or tape it to the wall. Let it hang with soft natural wrinkles. Do not iron it perfectly. The wrinkles are the texture.
The beige colour is warm and neutral. It suits portraits, family photos, and natural product shots. It never clashes with anything, which makes it the most versatile cloth backdrop you can own.
Layer it over a darker cloth for a two-tone effect. Or scrunch sections of it for extra depth. Muslin is forgiving stuff. You can arrange it a dozen ways and it always looks good.
Wash it in cold water and hang it to dry. It softens more every time you wash it. Mine is three years old and it photographs better now than when it was new.
For the price of two coffees, you get a backdrop that works for almost every shoot. That is hard to beat.
Clip the top edge with curtain rings instead of tape. It hangs straighter and lasts longer.
Scrunch the bottom into soft waves for close-ups. The texture photographs like clouds.
22. Cut an Arch From a Foam Board
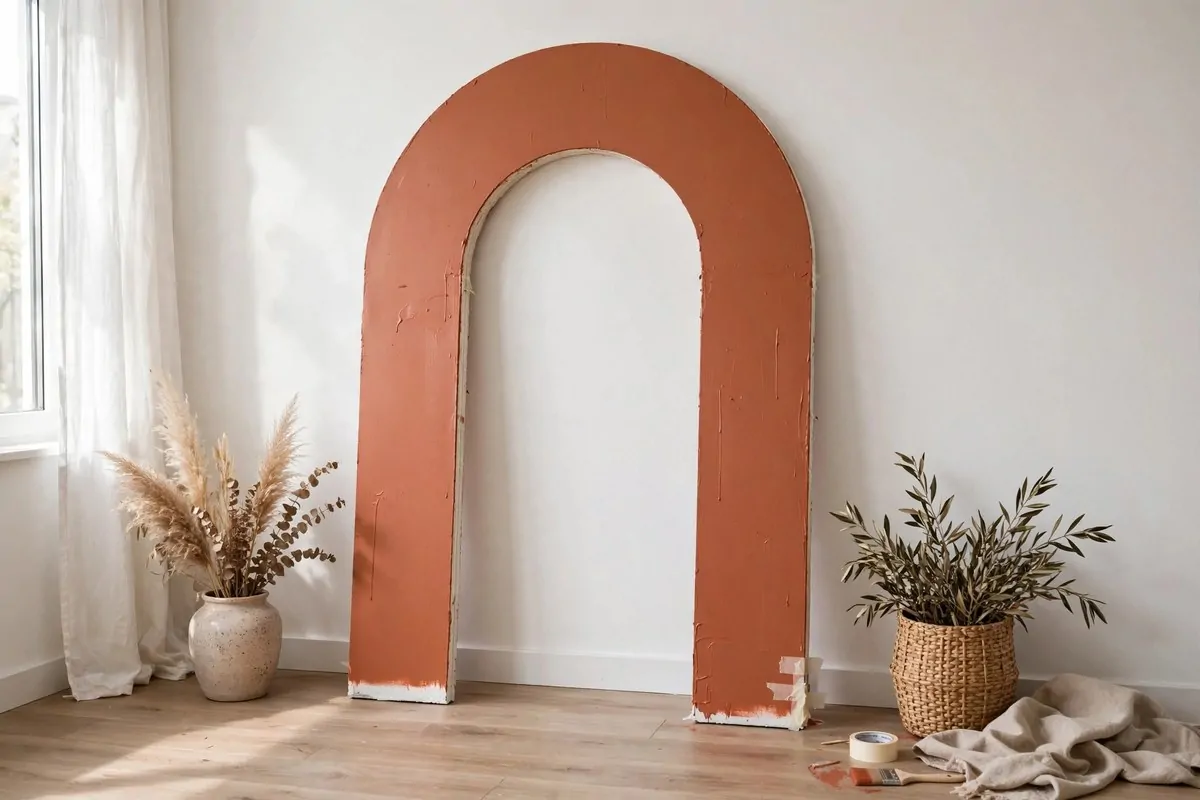
The foam board arch is all over social media right now, and you can make one in an afternoon.
Buy a sheet of foam insulation board from the hardware store. The half-inch kind is light and easy to cut. Draw a big arch shape with a pencil and a piece of string as your compass, then cut it out with a utility knife.
Sand the cut edge smooth, peel off any plastic film, and paint it. A sample pot of interior paint is plenty. Terracotta, sage, cream, and dusty pink are the colours everyone wants right now.
Stand it against your wall and shoot your subject in front of it or beside it. The arch frames them like a doorway to somewhere beautiful. It looks custom and expensive, and it cost you one board and one pot of paint.
Here is the basic build at a glance:
| Step | What to do | Time |
| 1 | Mark the arch with string and pencil | 15 min |
| 2 | Cut with a utility knife and sand the edge | 20 min |
| 3 | Paint two coats, let dry between | 1 hour |
| 4 | Stand against the wall and style around it | 10 min |
Cut carefully and keep your fingers clear of the blade. A fresh blade makes the cut much easier. Store the arch flat against a wall when you are not using it.
Paint the back a different colour. Flip it around and you have a second backdrop for free.
Weigh the base with a sandbag or a heavy book. Foam boards tip over in the smallest breeze.
23. Stick Up Old CDs for a Rainbow Shimmer Wall
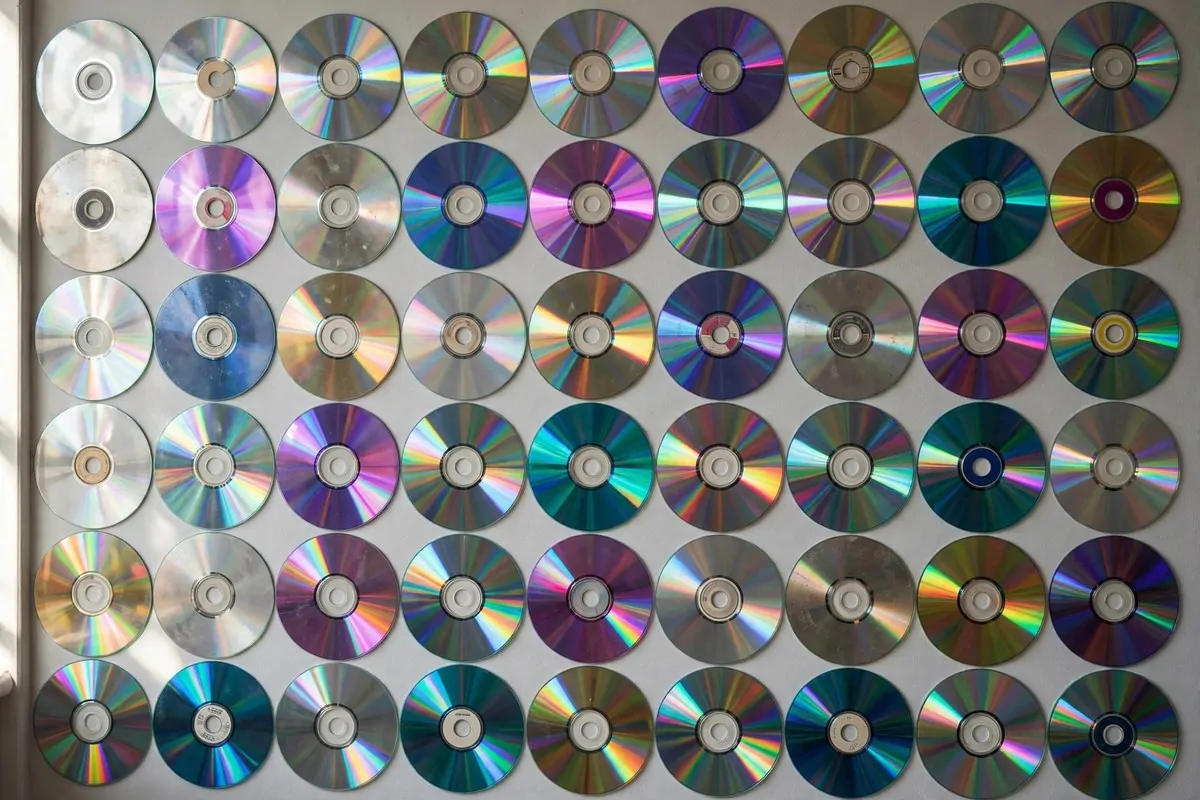
Dig out that box of old CDs in your closet. They are about to become a backdrop.
Tape or glue the discs to your wall in a tight grid, shiny side out. Overlap them slightly or line them up in neat rows. Either pattern works. The discs catch the light and throw rainbow reflections everywhere.
This backdrop is bold and playful. It is perfect for music-themed shoots, fun portraits, and anything with energy. The shimmer moves as the light changes, so every photo looks a little different.
Shoot with a light source to one side so the rainbows dance across the discs. Direct flash makes them pop even more. Experiment with the angles, because small moves make big changes with this one.
Ask friends for their old discs if you need more. Everyone has a stack they will never play again. I collected enough for a full wall in one weekend just by asking around.
It comes down easily and the discs go back in the box. Zero waste, maximum sparkle.
Clean the discs with a soft cloth first. Fingerprints show up as smudges in the reflections.
Shoot this one with the room lights low and one strong side light. The rainbows go wild.
24. Build a Sticky Note Pixel Heart Wall
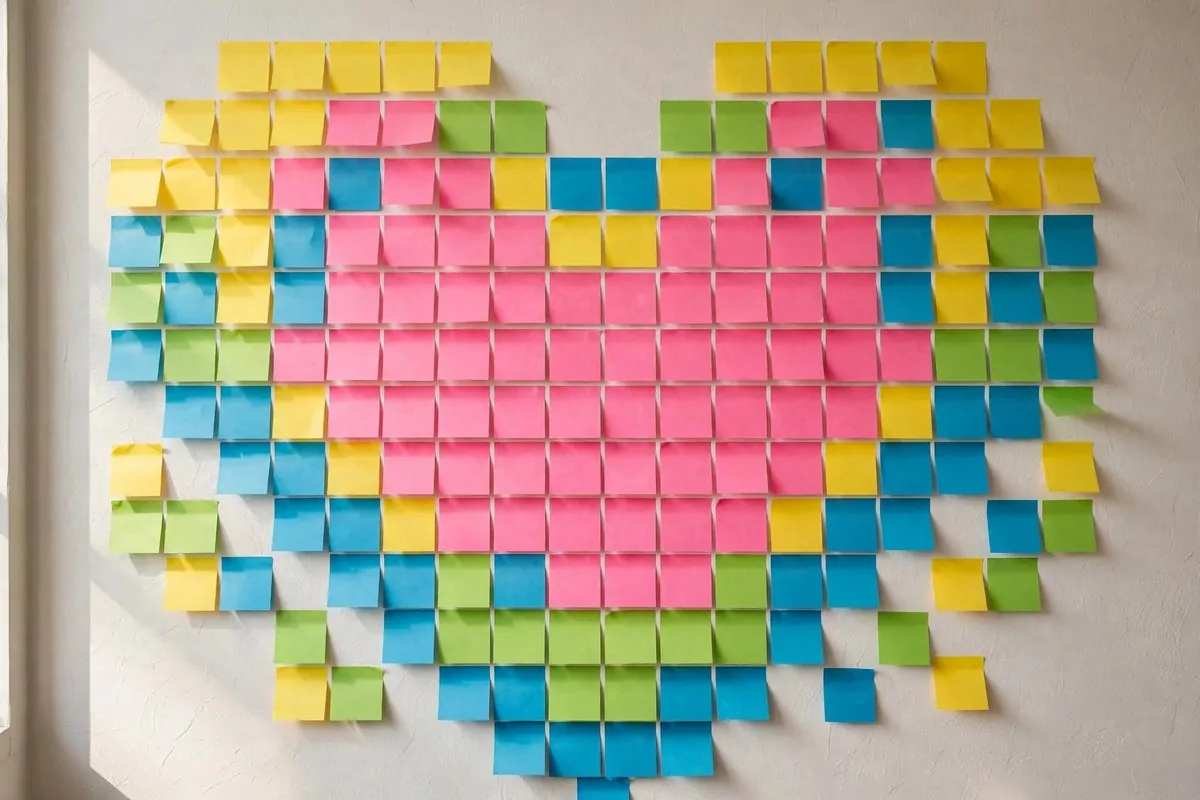
Sticky notes are the most fun backdrop material on this list.
Stick them to your wall in a grid, and arrange the colours into a pattern. A big pixel heart is the classic. You can also do stripes, waves, or a simple colour gradient from top to bottom.
Use at least three colours for the pattern to read clearly. Pink, yellow, blue, and green are the cheerful combo everyone loves. Draw your design on paper first so you know where each colour goes.
This backdrop is pure joy in photos. It works for kids’ shoots, creative portraits, and fun social media content. People smile automatically when they stand in front of it. I think the colours do something to your mood.
It takes a while to stick up a few hundred notes, so put on music and make it a project. The sticking is oddly satisfying. Each little square clicks into place.
When you are done, peel them off and use them for actual notes. Nothing wasted. My grocery lists looked very festive that week.
Press each note firmly in the centre, not the edges. They stay up longer that way.
Take a photo of your pattern plan before you start. You will lose your place halfway through without it.
25. Hang Long Pastel Paper Chain Garlands
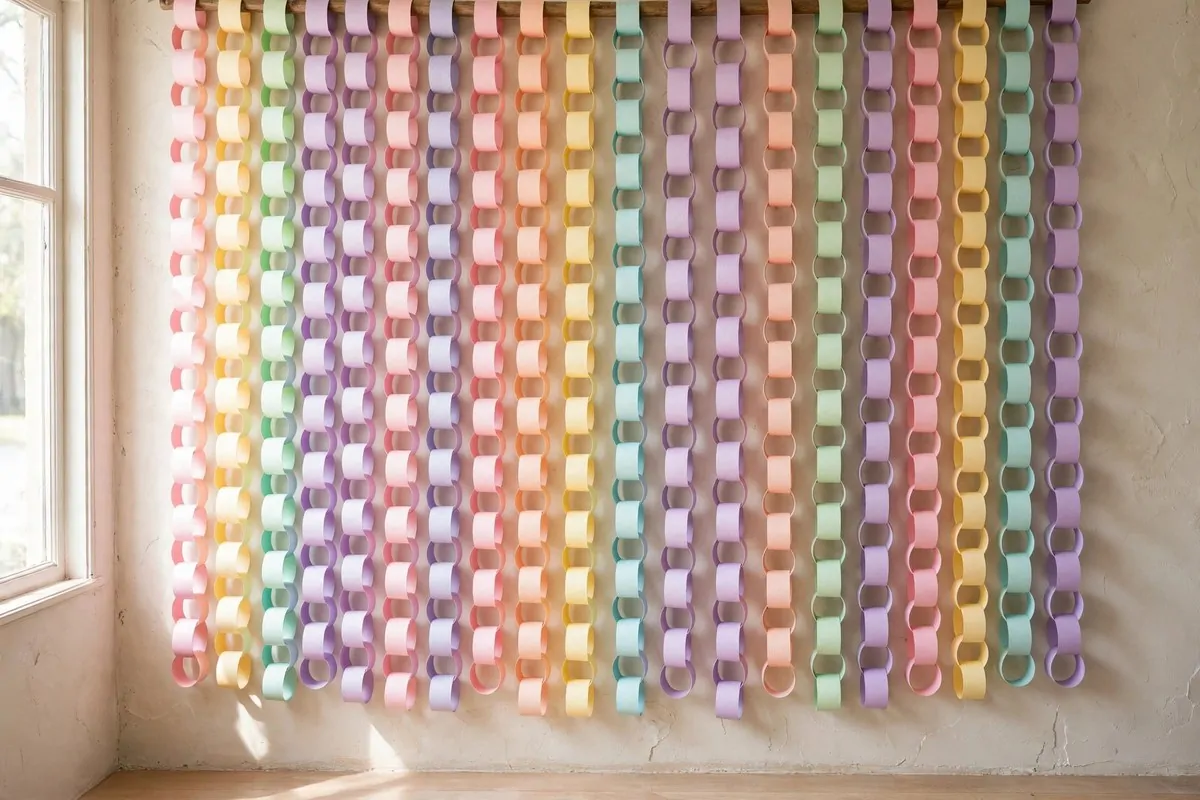
Paper chains are the craft you made as a kid, and they make a wonderful backdrop as an adult.
Cut coloured paper into strips, loop them into chains, and hang the long strands from a rod or tape them to your wall. Pastel colours look soft and dreamy. Bright colours look fun and bold.
Hang the strands at different lengths for a waterfall effect. The uneven ends look more natural than a straight line. Let a few strands twist a little. Imperfection reads as handmade charm in photos.
This backdrop moves gently in the air, which gives your photos a soft, lively feel. It is lovely for spring shoots, kids’ birthdays, and cheerful portraits.
Making the chains takes time, so start a few days before your shoot. It is a great evening project in front of the television. I can make about fifty loops per episode of my favourite show.
Store the strands coiled in a box and they survive for the next shoot. Mine have been to three parties and two photo sessions so far.
Make the chains in batches and link the batches together on shoot day. Easier to store.
Alternate matte and glossy paper. The mix catches light in a really pretty way.
26. Paint an Abstract Cloudy Texture Board
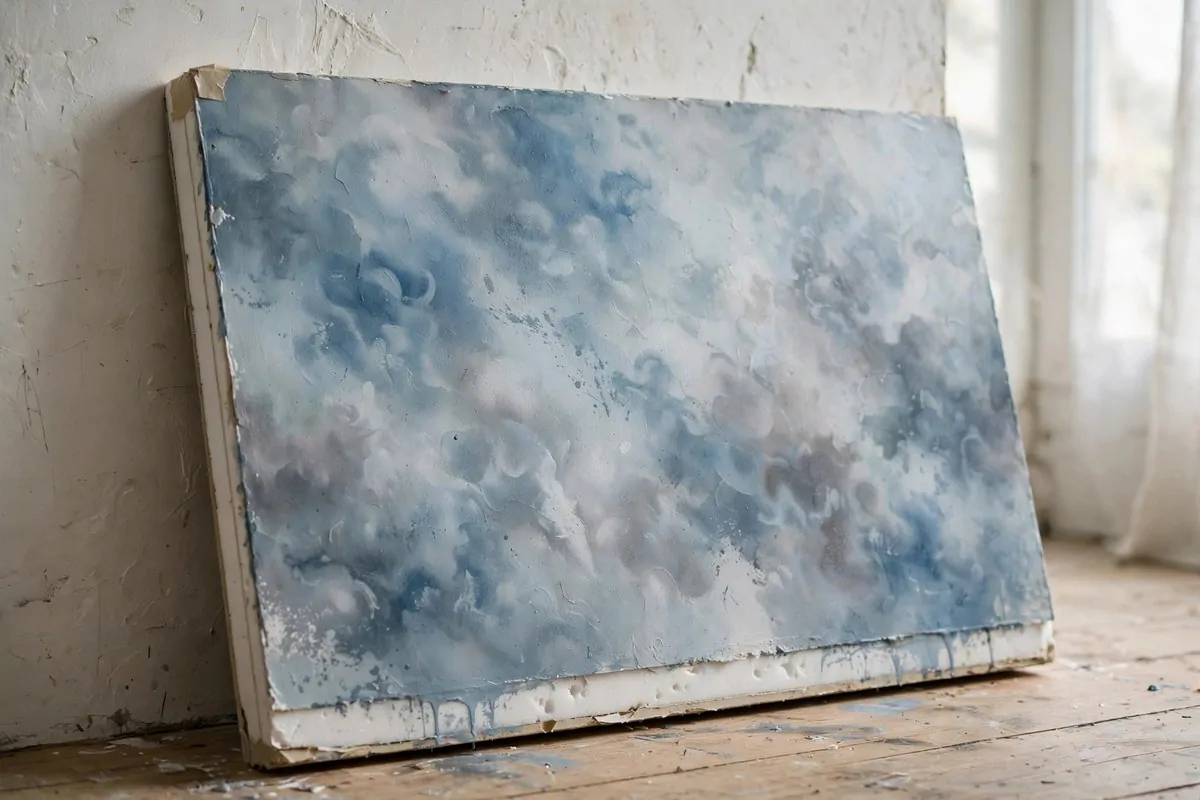
A hand-painted texture board looks like fine art, and nobody will guess you made it with sample pots.
Get a foam board or thin plywood sheet. Pick two or three paint colours that blend well. Blue and grey, beige and cream, sage and white. Sponge, swirl, and blend the colours together until you get a soft cloudy texture.
There is no wrong way to do this. Dab, swirl, layer, blend. The randomness is what makes it look like expensive hand-painted canvas. If you hate it, paint over it and start again. Paint is forgiving.
These boards are favourites for portrait photographers because the soft texture flatters skin and adds depth without distraction. They also work beautifully behind products and still life setups.
Seal it with a clear matte spray so the paint does not scuff. One light coat is enough. Let it dry fully before you lean anything against it.
Make three or four in different colour families and you have a whole collection. Mine stack flat behind a bookshelf and take up almost no space.
Photograph the board alone first to check the paint reads well on camera. Screens lie sometimes.
Label the back of each board with the colours you used. Future you will want to copy it.
27. Hang a Gold and Cream Ribbon Fringe Curtain
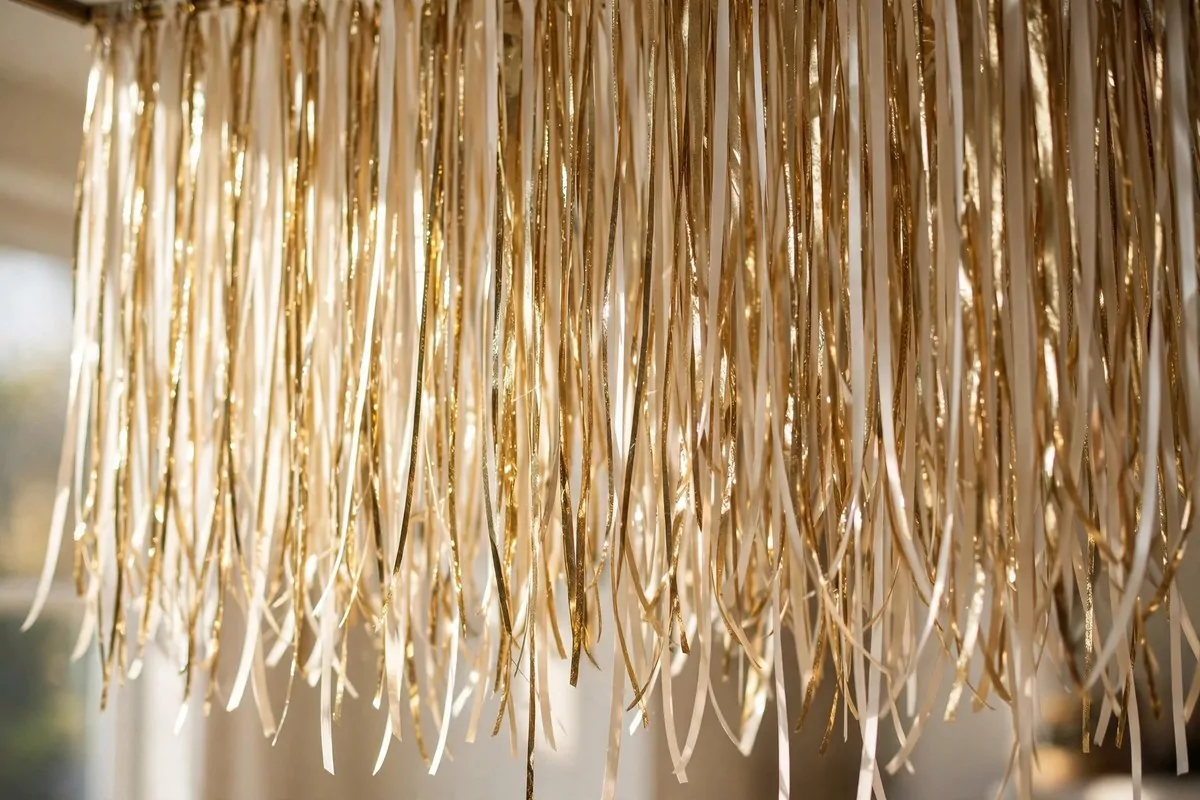
Ribbon fringe is the glamorous cousin of the tissue fringe curtain, and it costs about the same.
Cut thin ribbons in gold, cream, and champagne into long strands. Tie or tape them to a rod or a strip of cardboard, packing them close together. The more strands, the fuller it looks.
The ribbons catch the light and shimmer as they move. It looks like a waterfall of gold in photos. This is the backdrop I pull out for anything celebratory. New Year shoots, birthday portraits, glamorous product photos.
Mix matte and metallic ribbons for extra depth. The metallic ones sparkle, the matte ones give the sparkle something to sit against. That mix is what makes it look expensive.
It tangles if you are not careful, so hang it right before the shoot and take it down right after. Coil each section loosely for storage and it will be ready next time.
One bag of ribbon makes a full curtain. I have used mine for four shoots now, and it still looks brand new.
Cut the ribbons a little longer than you think. You can always trim, but you cannot add.
A gentle fan makes the ribbons sway. That movement turns a good photo into a great one.