27 Nature Activities for Kids That Get Them Outside

The garden gate creaks, my kids run out before I have my shoes on, and the whole morning turns into a nature hunt.
My kids love the smell of wet leaves after rain, and they love the quiet of a garden path in the morning.
We do not need fancy tools for these ideas. A basket, a jar, and a bit of time are enough for most of them.
Some days we stay out for ten minutes, and some days we stay out till lunch.
I like that each activity lets my kids touch, look, and ask questions at their own pace.
In this post you get 27 nature activities for kids, from a leaf hunt on the path to a quiet bug watch by the fence, and each one is easy to start and fun to finish.
Pick one idea, step outside with your kids, and see where the morning takes you.
1. A Leaf Hunt on the Garden Path
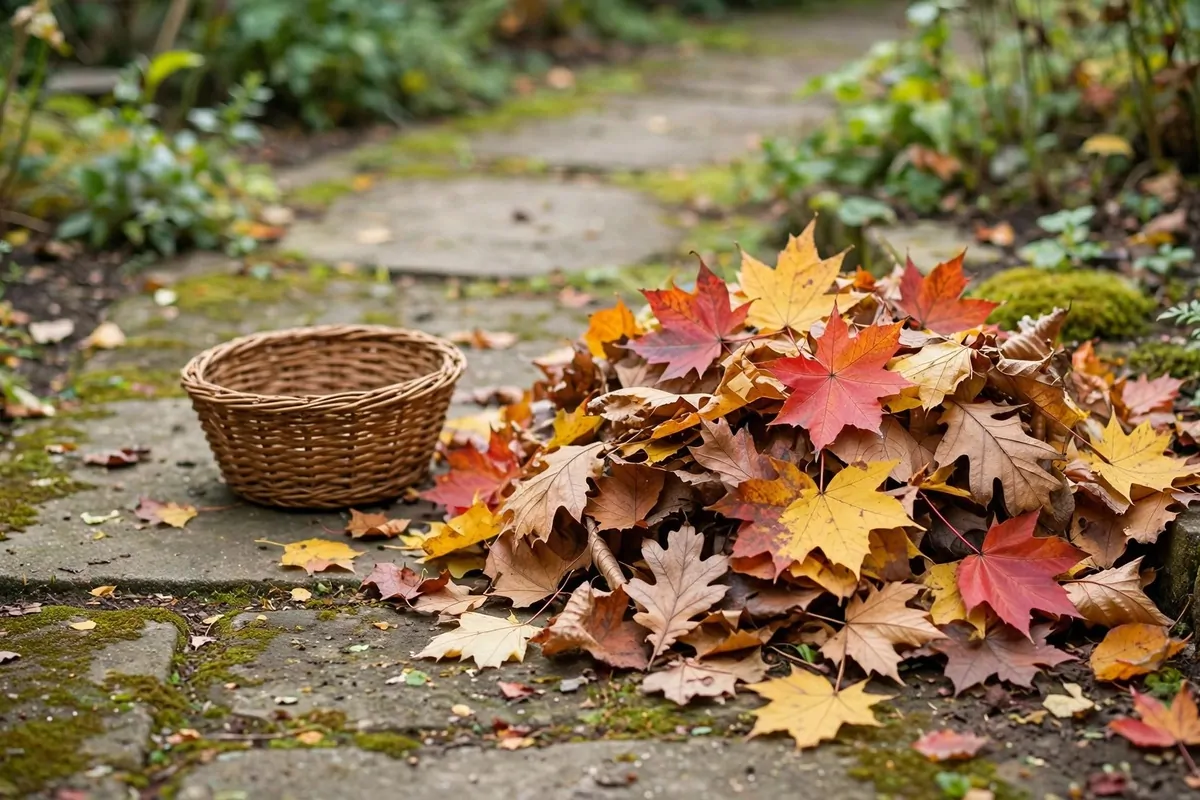
I start our leaf hunt right on the garden path, where red, yellow and brown leaves lie in a soft pile.
My kids grab the small basket and walk slow so they do not miss a good one.
We look for leaves with fun shapes and soft edges first.
The leaves are already in the garden, so we do not need to buy any.
We sort them by colour on the path. The red ones go in one spot. The yellow and brown ones go in their own spots too.
The kids love to hold each leaf up to the light. They talk about which one is their best find. I let them keep the ones they love most in the basket.
When the basket feels full, we carry it back to the porch for a closer look.
We lay the leaves out in a row and name the colours again. My kids point to the red ones first every time. Then we stack them back in the basket for tomorrow.
Typical cost $0 to $2.
2. A Bug Watch with a Magnifying Glass
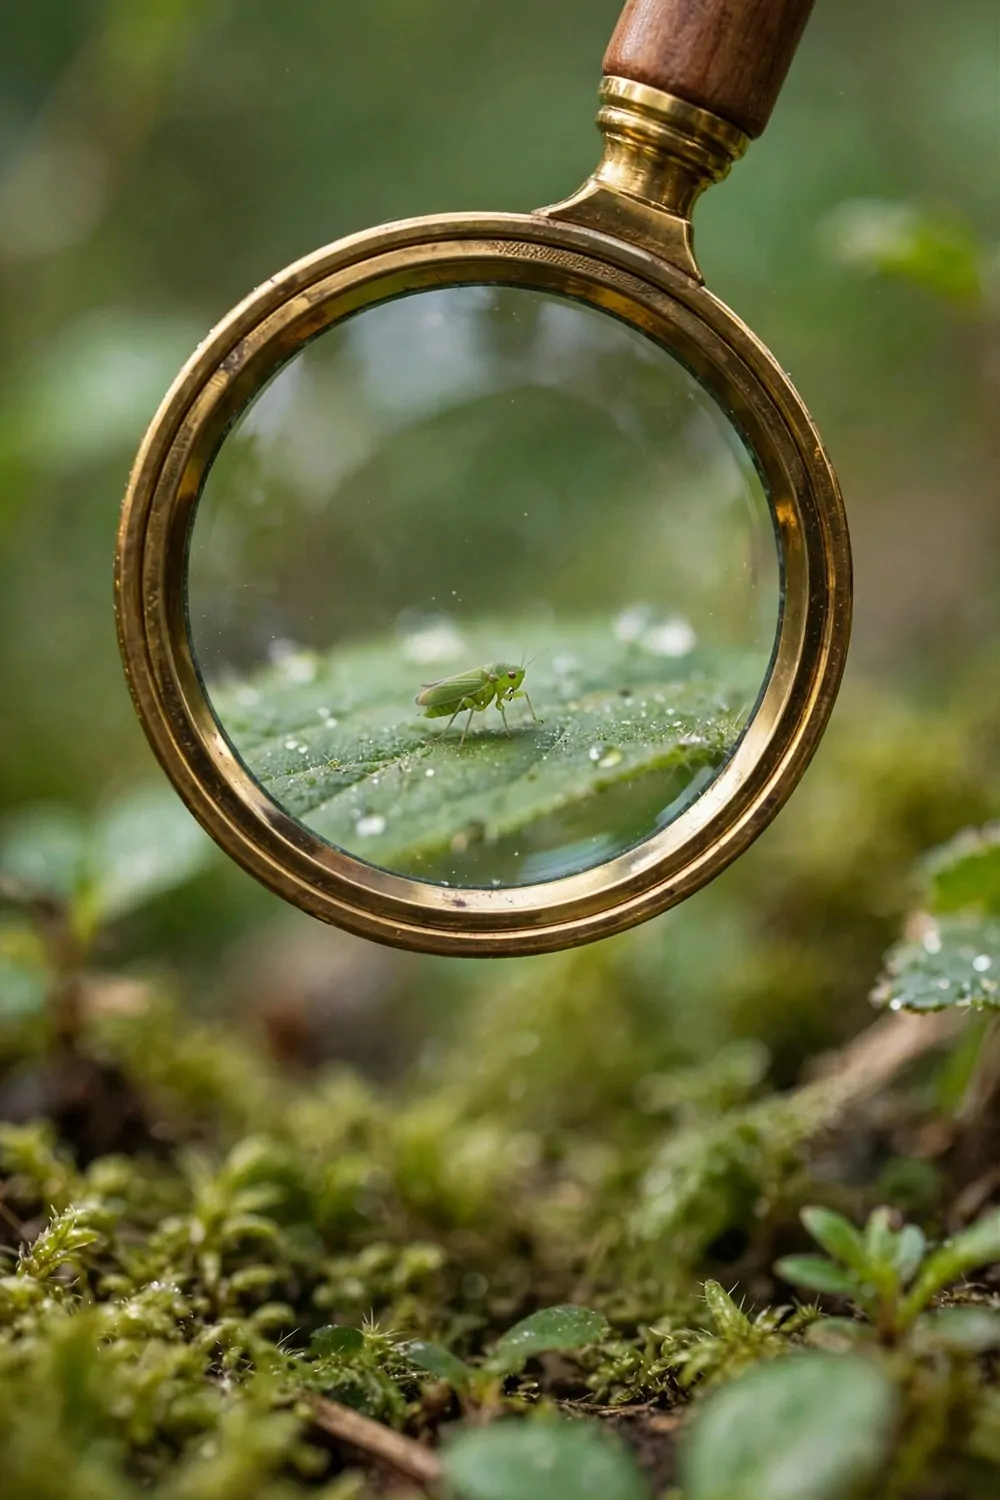
I hand my kids a magnifying glass and we look for a small green bug on a leaf.
We move slow and quiet so the bug stays put on its leaf.
The glass makes the tiny legs and soft green back look big and clear.
My kids whisper what they see. I ask them to tell me the shape and the colour.
We watch for a short while and then we let the bug be. My kids like to draw what they saw in a notebook. I help them spell the words they want to use.
A shady leaf near the fence is often the best spot to look.
We check the tops and the soft undersides of the leaves too.
If we find no bug, we try another leaf. My kids learn that a quiet look is part of the fun. We always put the leaf back where we found it.
Typical cost $2 to $4.
3. A Pine Cone Feeder for the Birds
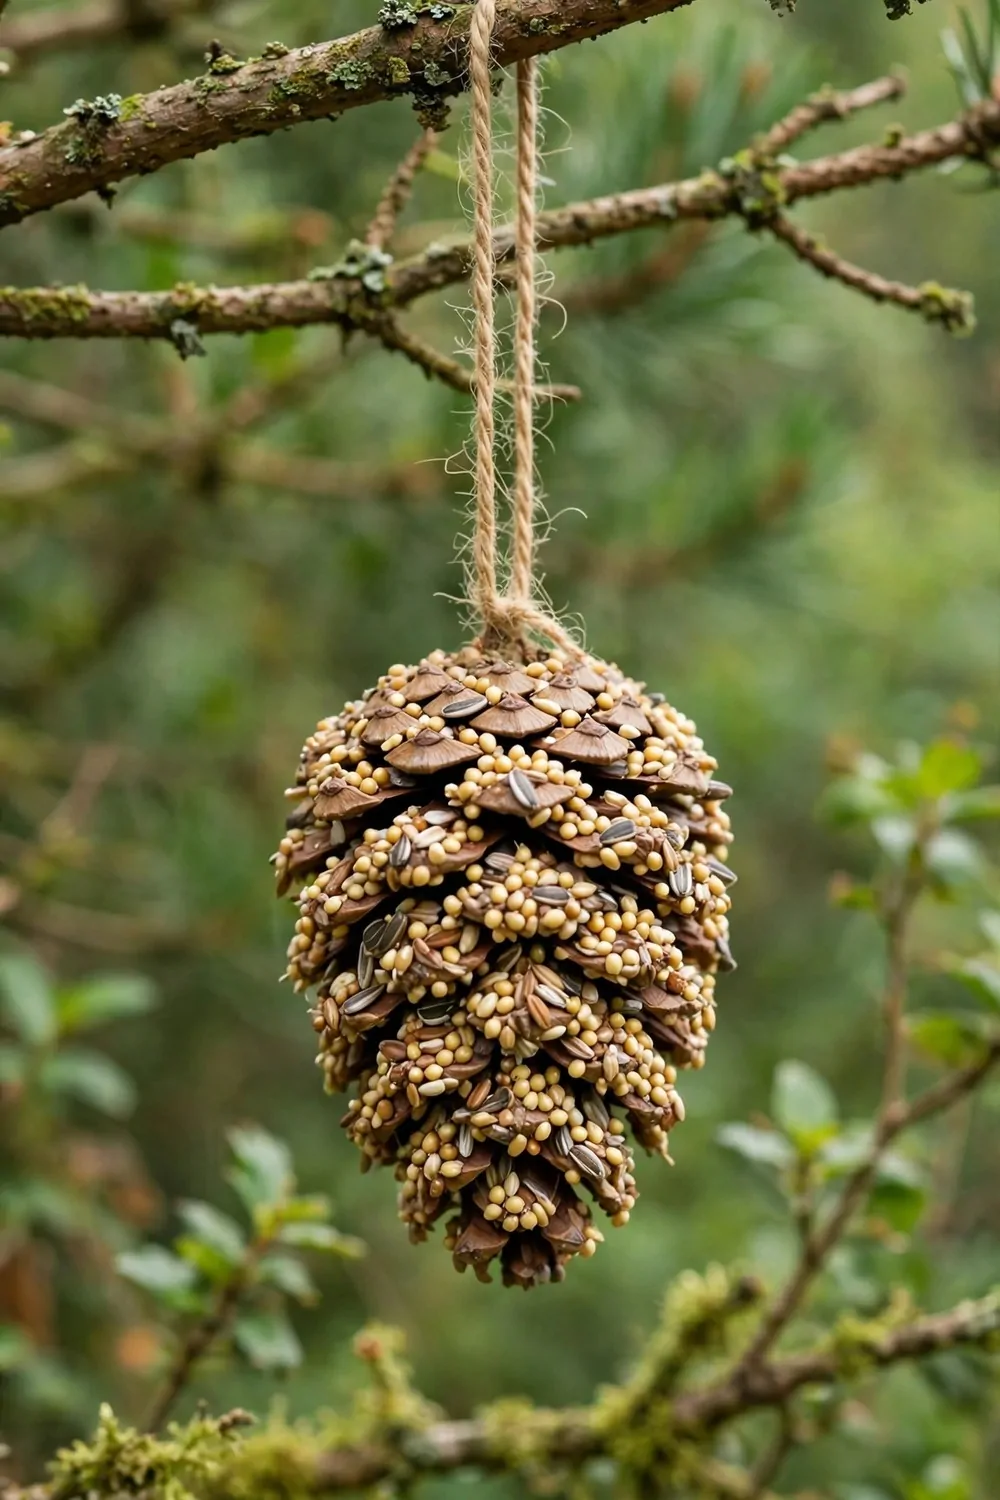
I tie a pine cone feeder to a low tree branch where we can see it from the window.
My kids press bird seed into the pine cone till it is full.
We use a bit of sticky spread to hold the seed in place. The pine cone hangs straight and still. My kids step back and wait for the first bird.
A small bird lands on the branch and pecks at the seed. We stay quiet and watch from a few steps away.
The feeder gives the birds a snack on cold mornings. My kids check it each day after breakfast. We fill it again when the seed runs low.
I pick a branch that is strong and easy to reach. We tie the string in a firm knot. The feeder stays up even when the wind blows.
The kids like to name the birds that visit. We keep a short list on the fridge. A new bird on the list makes the whole day feel bright.
You can hang a second feeder on another branch if your tree has room.
Typical cost $1 to $3.
4. A Stone Sorting Tray
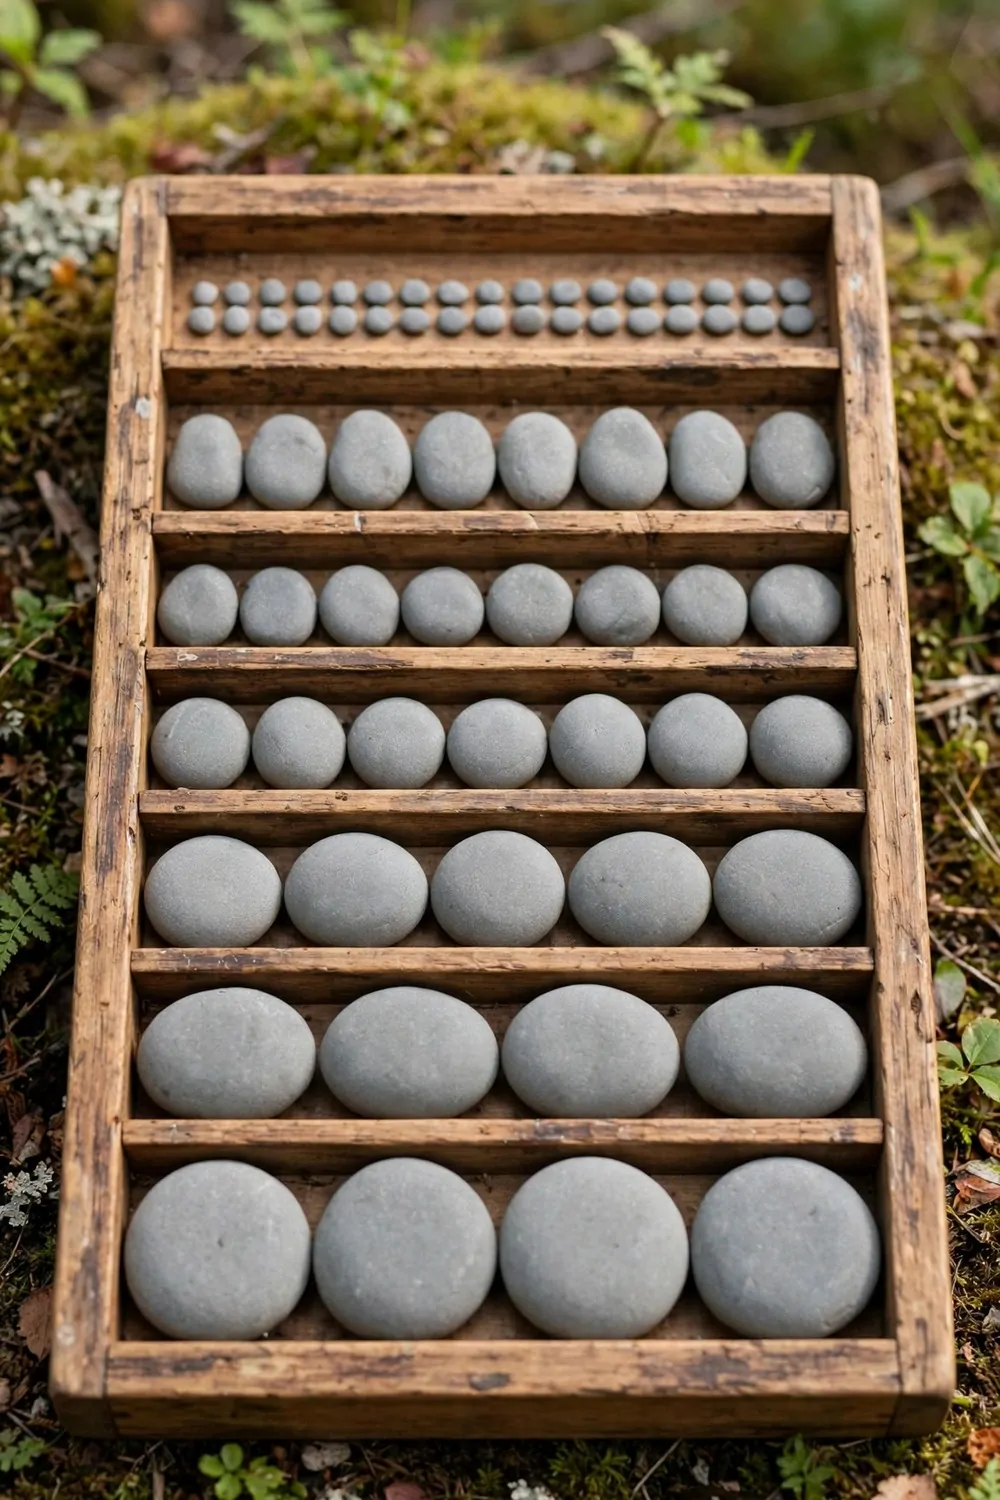
I set a stone sorting tray on the ground in the garden and we start with the stones from our own garden.
The stones are already in the garden, so we do not need to buy any for this game.
My kids wash the stones in a bowl of water. The smooth grey tops look clean and bright. We dry them on an old towel before we sort.
We lay the stones out in neat rows on the tray. The small ones go in the first row. The big ones go in the last row.
My kids like to feel each stone before they place it. A smooth stone feels cool and calm. A rough one stays in a pile by itself.
We count the rows together when we finish. My kids point to the row they like best.
The tray stays out in the garden all week. My kids add a new stone to it when they find one they like.
Sorting by size helps my kids see big and small in a clear way. They talk about the grey shades as they work. I love how quiet and focused this tray keeps them.
Typical cost $0 to $2.
5. A Flower Press in a Book
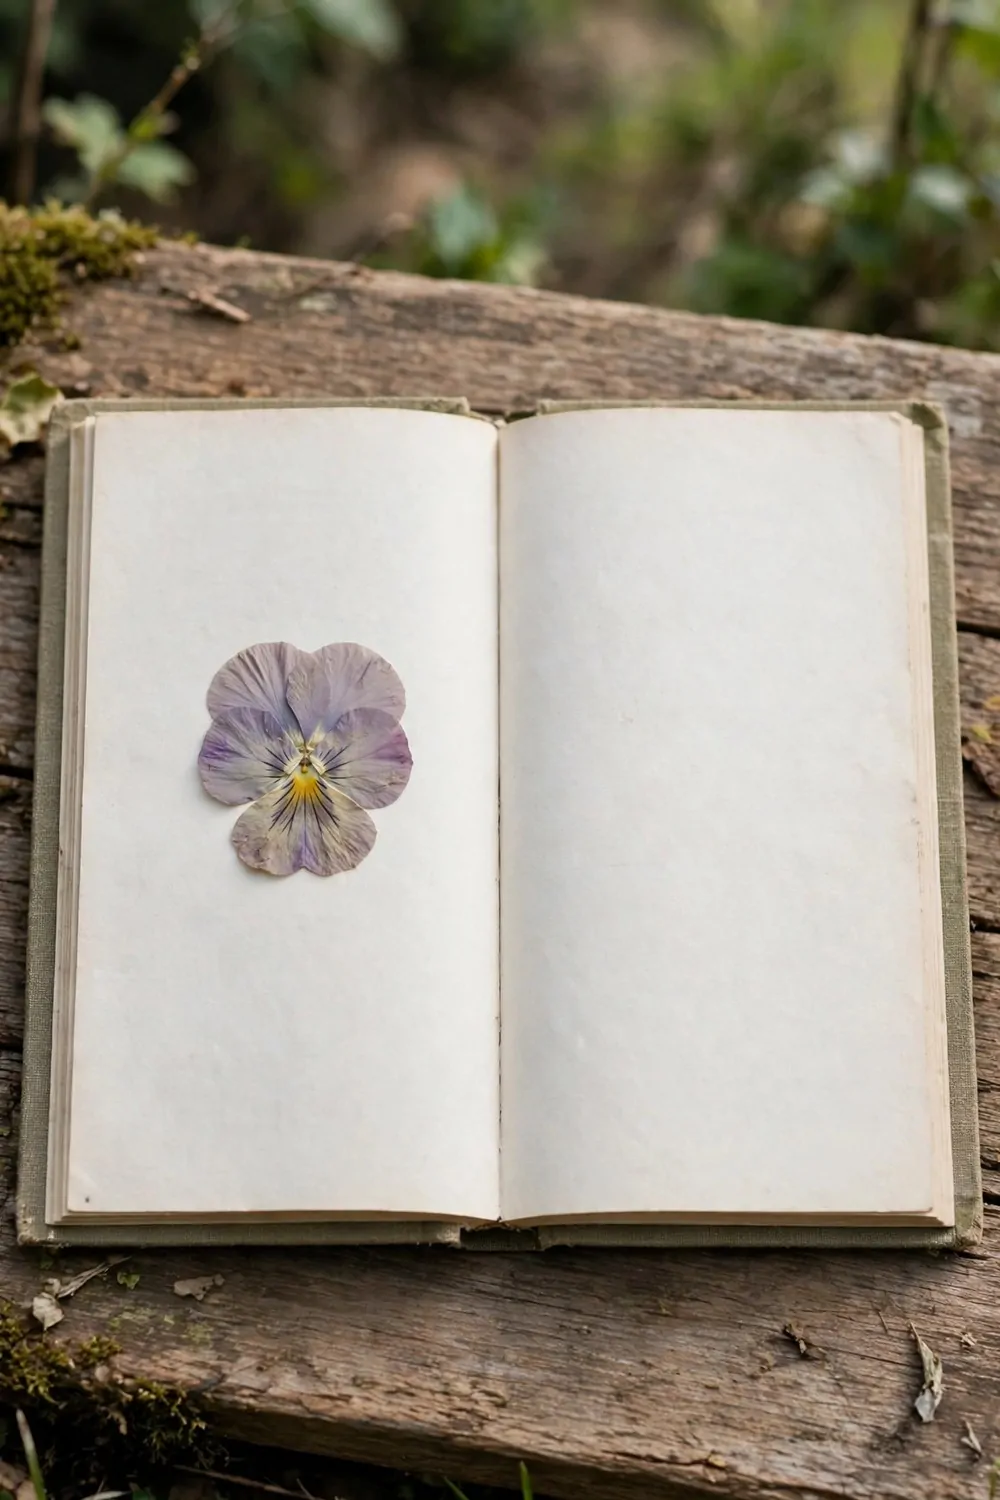
I pick a fresh flower from the garden and press it inside an open book on the table.
The book is one you already own, so you do not need a new one. A thick book with plain pages works best for this.
We lay the flower flat between two pages. My kids close the book soft and slow.
We stack a second book on top to add a bit of weight.
My kids check the flower after a week to see how flat it looks.
The petals keep their soft shape in the book. We lift the flower out with care and place it on a card.
You can tape the pressed flower to a plain card for a gift.
The kids love to show their pressed flower to grandma when she visits.
Typical cost $0 to $2.
6. A Twig Picture Frame
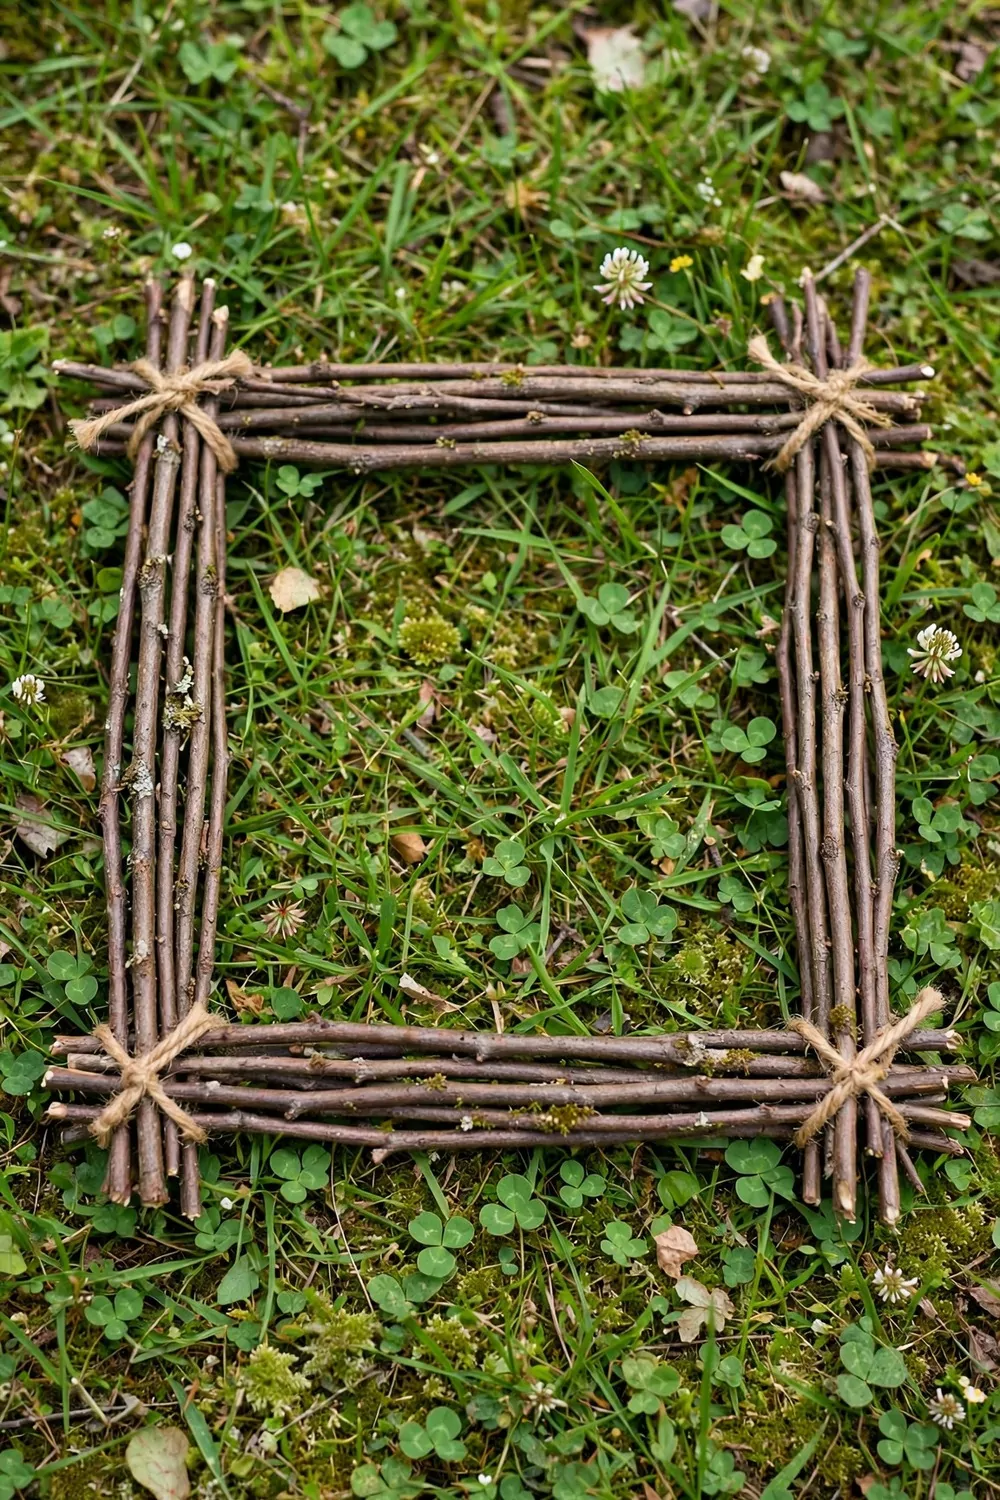
I make a picture frame from twigs tied with string, and it looks warm and simple in the garden.
We pick straight twigs from the garden path. My kids break off the small side bits that stick out.
We lay four twigs in a square on the table. I tie each corner tight with a bit of string.
My kids help me check that the corners sit straight.
We slip a small drawing inside the frame. The twigs hold it in place with a soft, natural edge.
You can hang the frame with a loop of string at the top.
I like how the frame turns a plain drawing into something special.
My kids pick a new drawing for the frame each week. We swap the old one out and keep it in a folder. The frame holds each new drawing with care.
Typical cost $1 to $3.
7. A Rain Gauge on the Fence
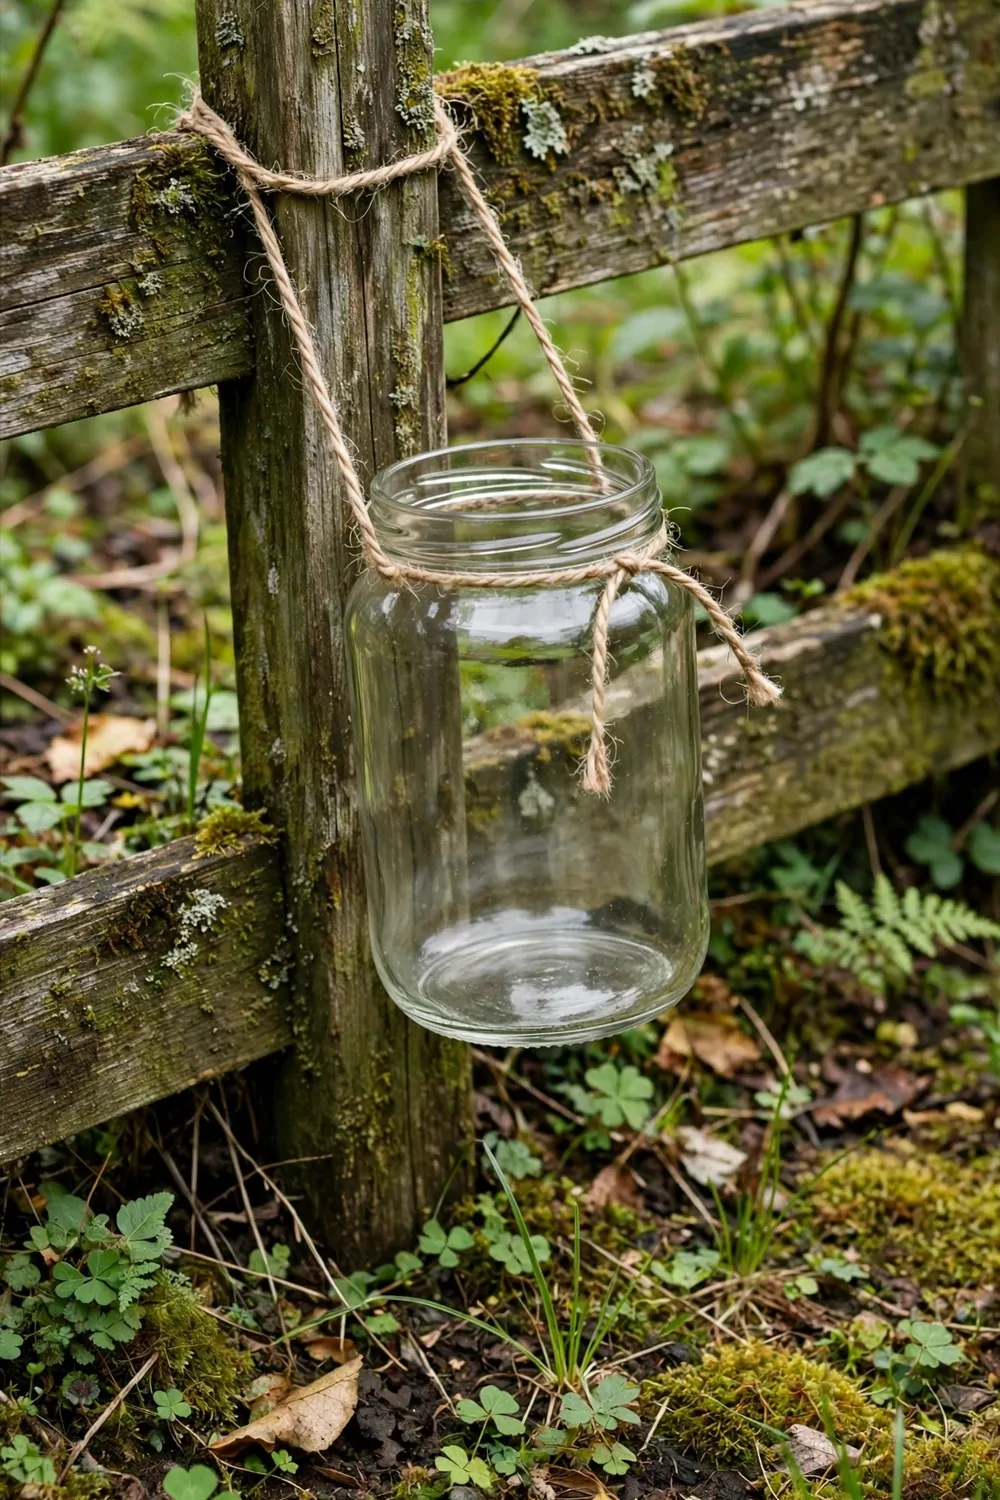
I tie a clear jar to the wooden fence and it becomes our rain gauge.
My kids mark a line on the jar with a sticker. We check the line after each rain.
The jar fills a little when the rain is light. It fills more when the rain is strong. My kids love to see how high the water climbs.
We empty the jar after we write down the level.
A fence post in an open spot is the best place for the jar.
My kids run to the fence first thing after a night of rain.
You can compare one rainy day with the next and see which one gave more water.
I like that this jar turns a rainy day into a small bit of fun.
Typical cost $1 to $3.
8. A Seed Planting Pot
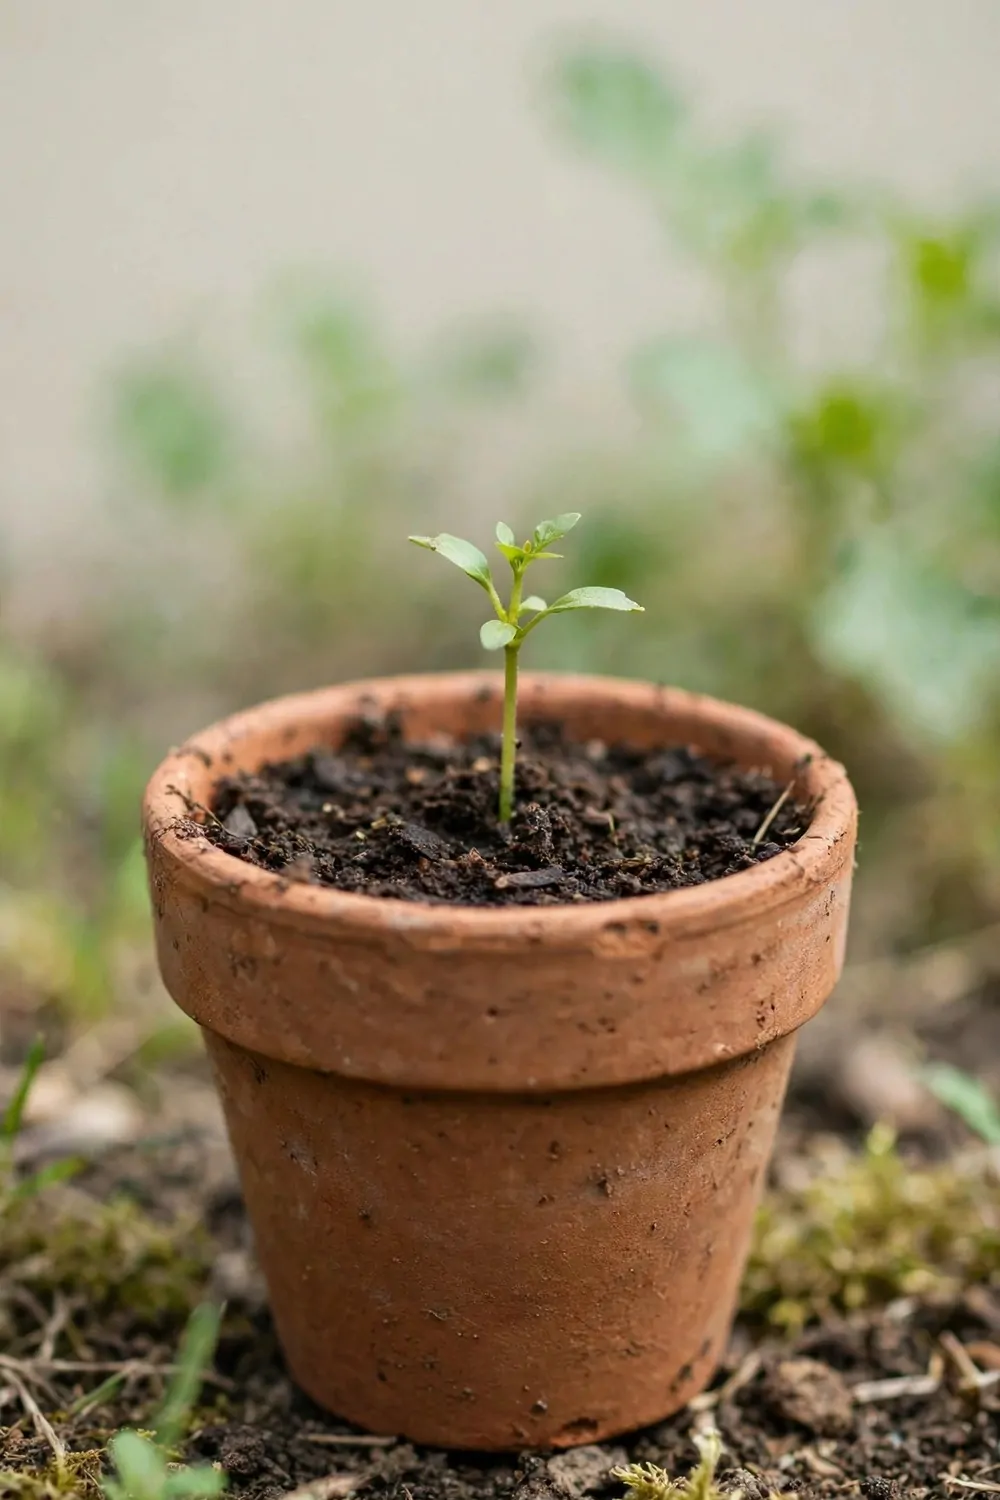
I fill a small clay pot with soil and we plant a seed together in the morning sun.
My kids poke a small hole in the soil with a stick. We drop the seed in and cover it soft.
We water the soil till it feels damp. The pot sits in the garden where the light is warm. My kids check the pot each day for a green shoot.
A small green seedling pops up after a week or so. We cheer when we spot the first tiny leaves.
My kids water the seedling with a small cup each morning.
We talk about what the plant needs to grow. Sun, water, and a bit of patience do the job.
The clay pot keeps the soil cool on hot days. My kids like the rough feel of the clay. We move the pot inside if the night turns cold.
You can plant a second seed in another pot and watch them grow side by side.
Typical cost $2 to $4.
9. A Nature Colour Hunt
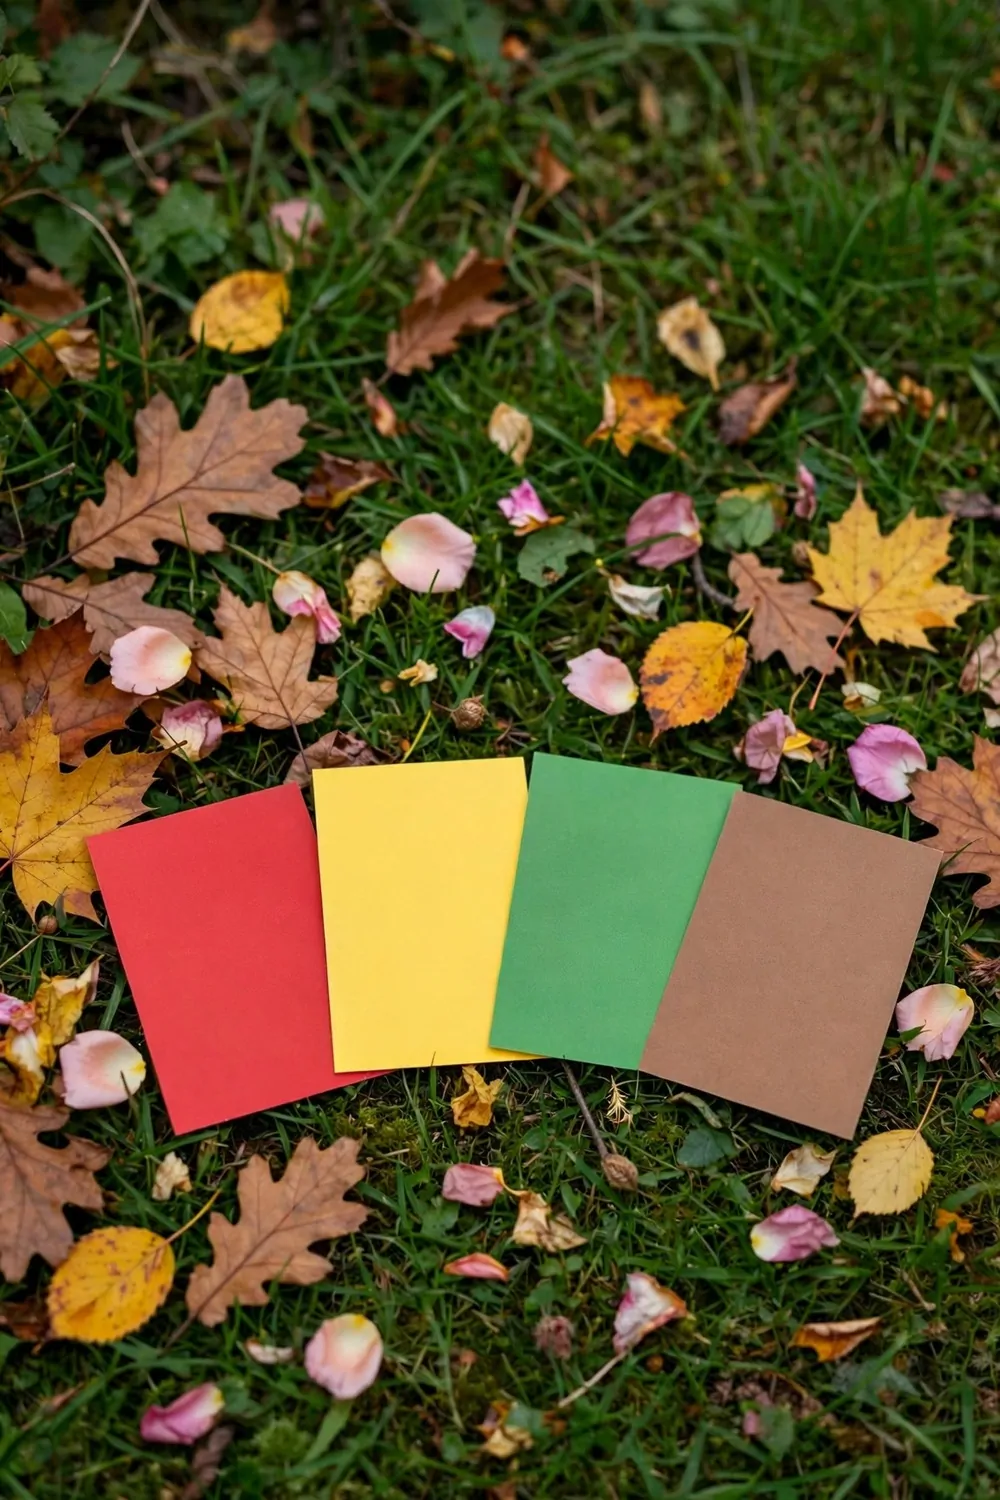
I lay colour cards on the grass beside leaves and petals for a nature colour hunt.
The cards are red, yellow, green and brown. My kids match each card to a leaf or petal of the same colour.
The cards are paper you already have at home, so this game costs almost nothing. We cut the paper into neat cards before we go out. My kids help me pick the four colours for the set.
We start with the red card and look for a red leaf. The yellow card sends us to a bright petal. The green card is the easiest one to match on the grass.
My kids run from card to card with a leaf for each match. They laugh when two finds match one card. I let them take their time and enjoy the hunt.
We lay each find next to its card on the grass. The brown card pairs well with a dry leaf. The green card pairs well with a fresh leaf from the bush.
My kids like to swap cards and start the hunt again. A new round brings new leaves and new petals. We keep the best finds in a small pile by the cards.
This hunt works well in the garden or at the park. My kids learn the names of the colours as they play. I love how a simple set of cards turns a walk into a game.
Typical cost $0 to $2.
10. A Bark Rubbing Card
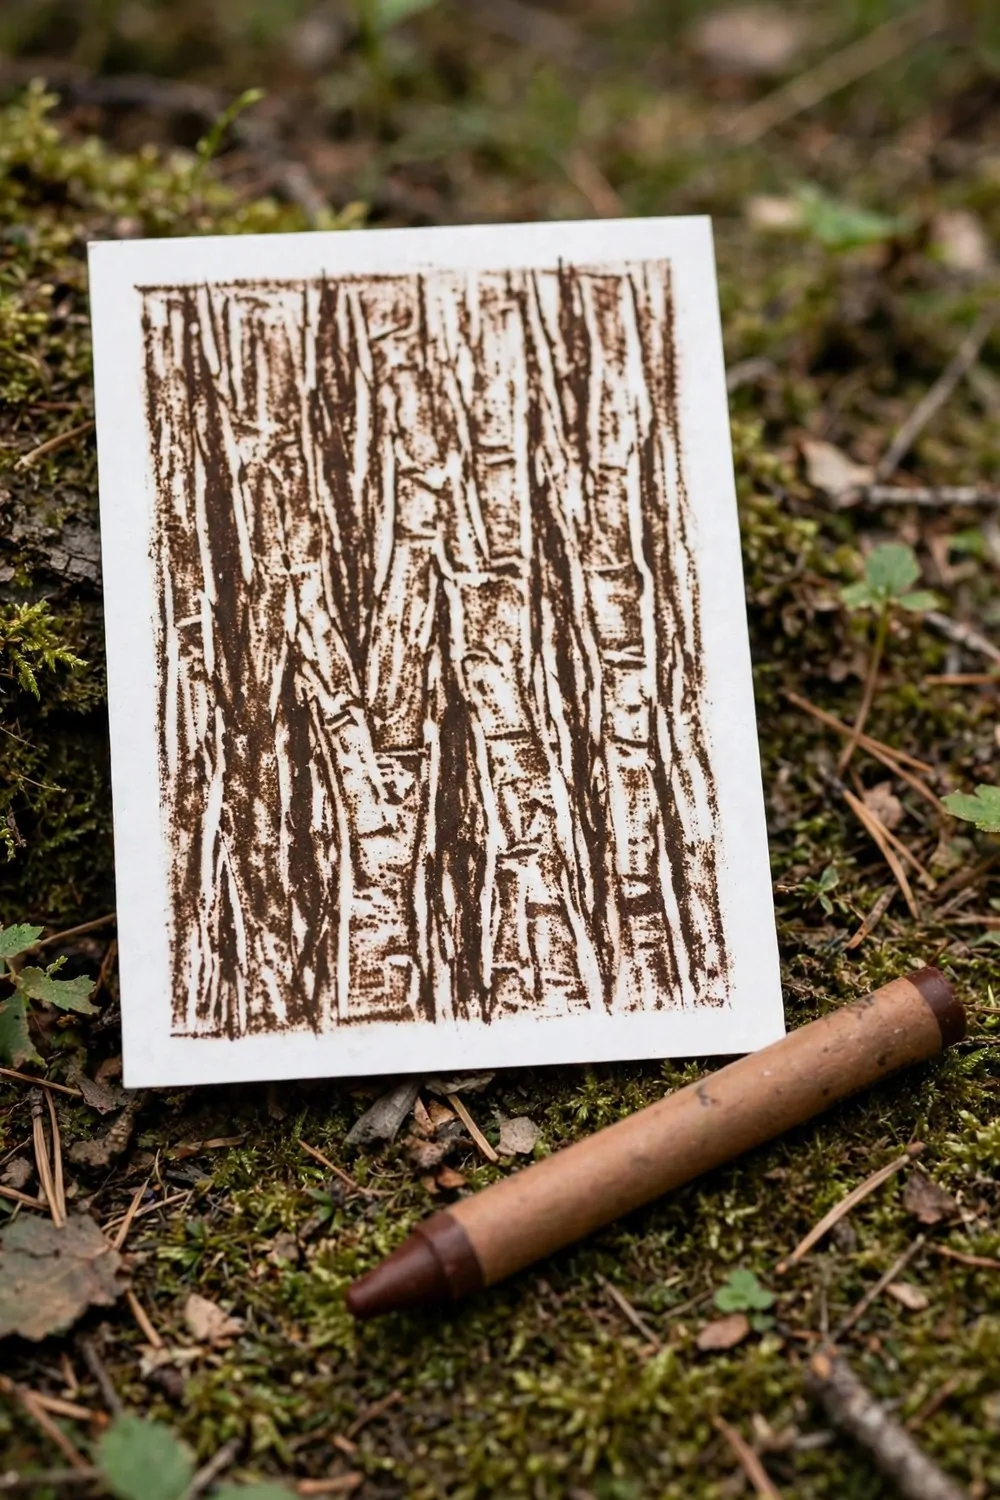
A bark rubbing card shows the tree pattern in a fun way.
You hold a plain card flat on the bark. A crayon moves back and forth over the top. The rough tree pattern comes through on the card.
Pick a tree with deep rough bark for the best marks.
Press the card down with one hand so it stays still.
Rub slow and even so the lines stay clear.
Try the side of the crayon first. It covers more bark at once. The tip works well for small rough spots.
Label your card with the tree name if you know it.
Keep the finished card in a folder. You can compare it with rubbings from other trees later. A set of cards makes a neat little tree record.
Typical cost $1 to $3.
| Idea | Main change | Typical cost |
|---|---|---|
| A Leaf Hunt on the Garden Path | leaves in a pile on the garden path | $0 to $2 |
| A Bug Watch with a Magnifying Glass | a bug watched up close with a glass | $2 to $4 |
| A Pine Cone Feeder for the Birds | a pine cone feeder hung in the tree | $1 to $3 |
| A Stone Sorting Tray | stones sorted in rows by size | $0 to $2 |
| A Flower Press in a Book | a flower pressed flat in a book | $0 to $2 |
| A Twig Picture Frame | a picture frame made from twigs | $1 to $3 |
| A Rain Gauge on the Fence | a jar that shows how much rain fell | $1 to $3 |
| A Seed Planting Pot | seeds planted in a small clay pot | $2 to $4 |
| A Nature Colour Hunt | colour cards matched to nature finds | $0 to $2 |
| A Bark Rubbing Card | a bark pattern rubbed on a card | $1 to $3 |
| Total | $8 to $28 |
11. A Feather Collection Box
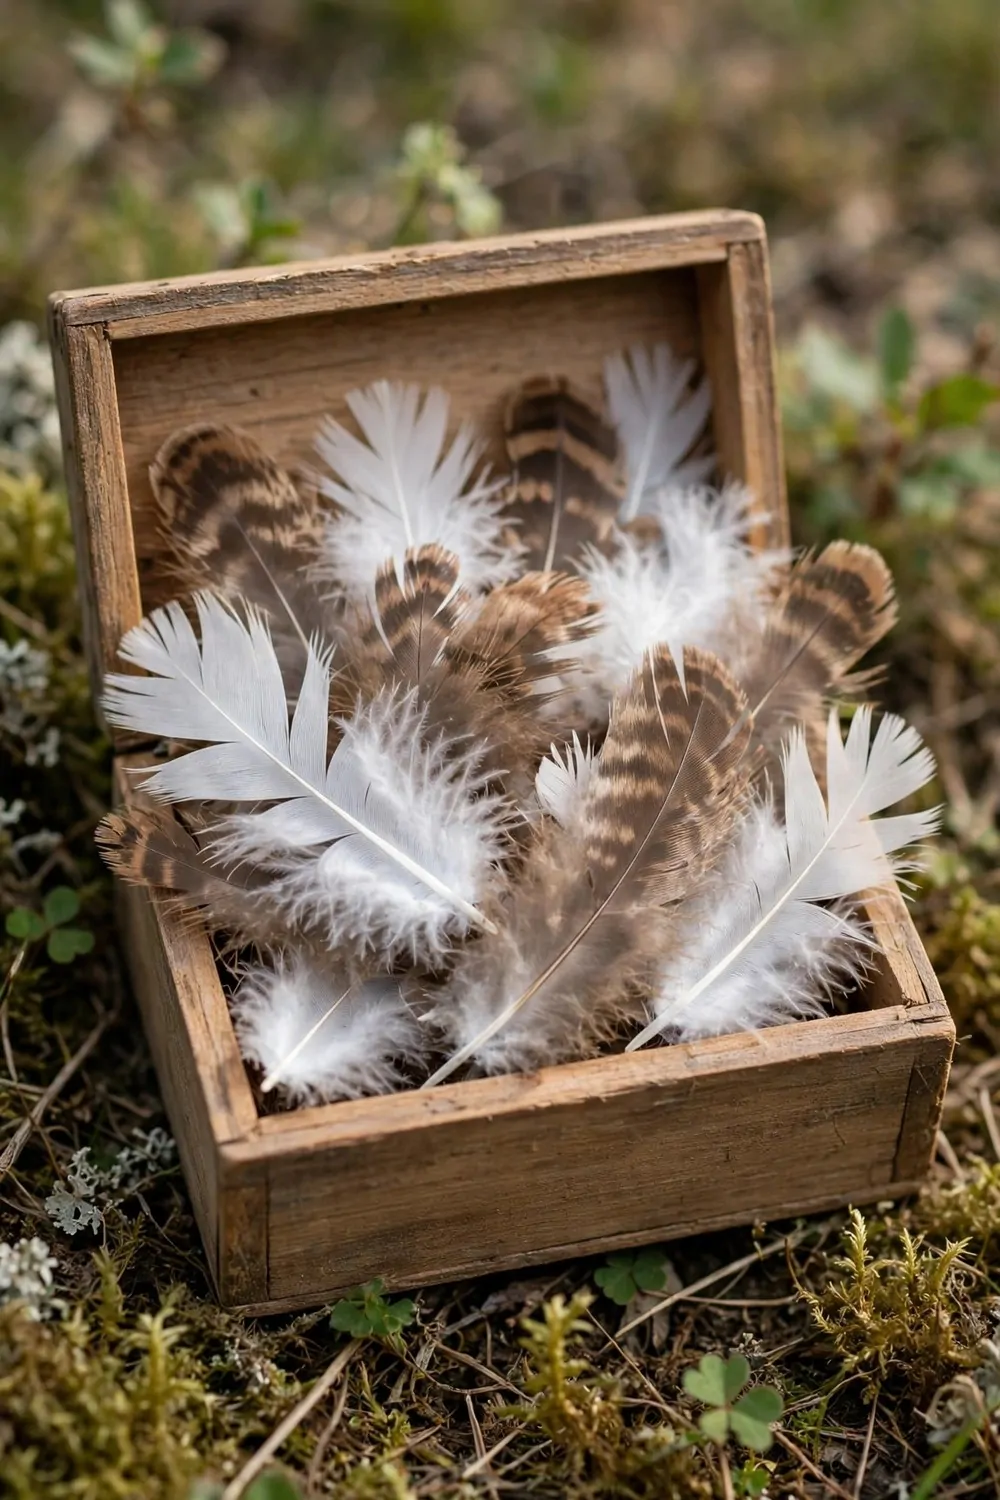
A feather collection box keeps the white and brown feathers you found outside in one safe spot.
Look on paths and under trees for feathers that fell on their own. Pick up only clean dry ones. A small box with a lid keeps them safe from wind and damp.
Sort the feathers by colour when you get home.
White feathers look soft next to the warm brown ones.
Line the box with a scrap of plain paper first. Lay each feather flat so it does not bend.
Write where you found each feather on a small slip.
You can add a feather from each walk you take. The box fills up slow and each one tells you where you went. It feels like a tiny nature museum of your own.
Ask a grown-up to help you check each feather is clean before it goes in the box. Wash your hands after you handle feathers from outside.
Typical cost $0 to $2.
12. A Snail Trail Watch
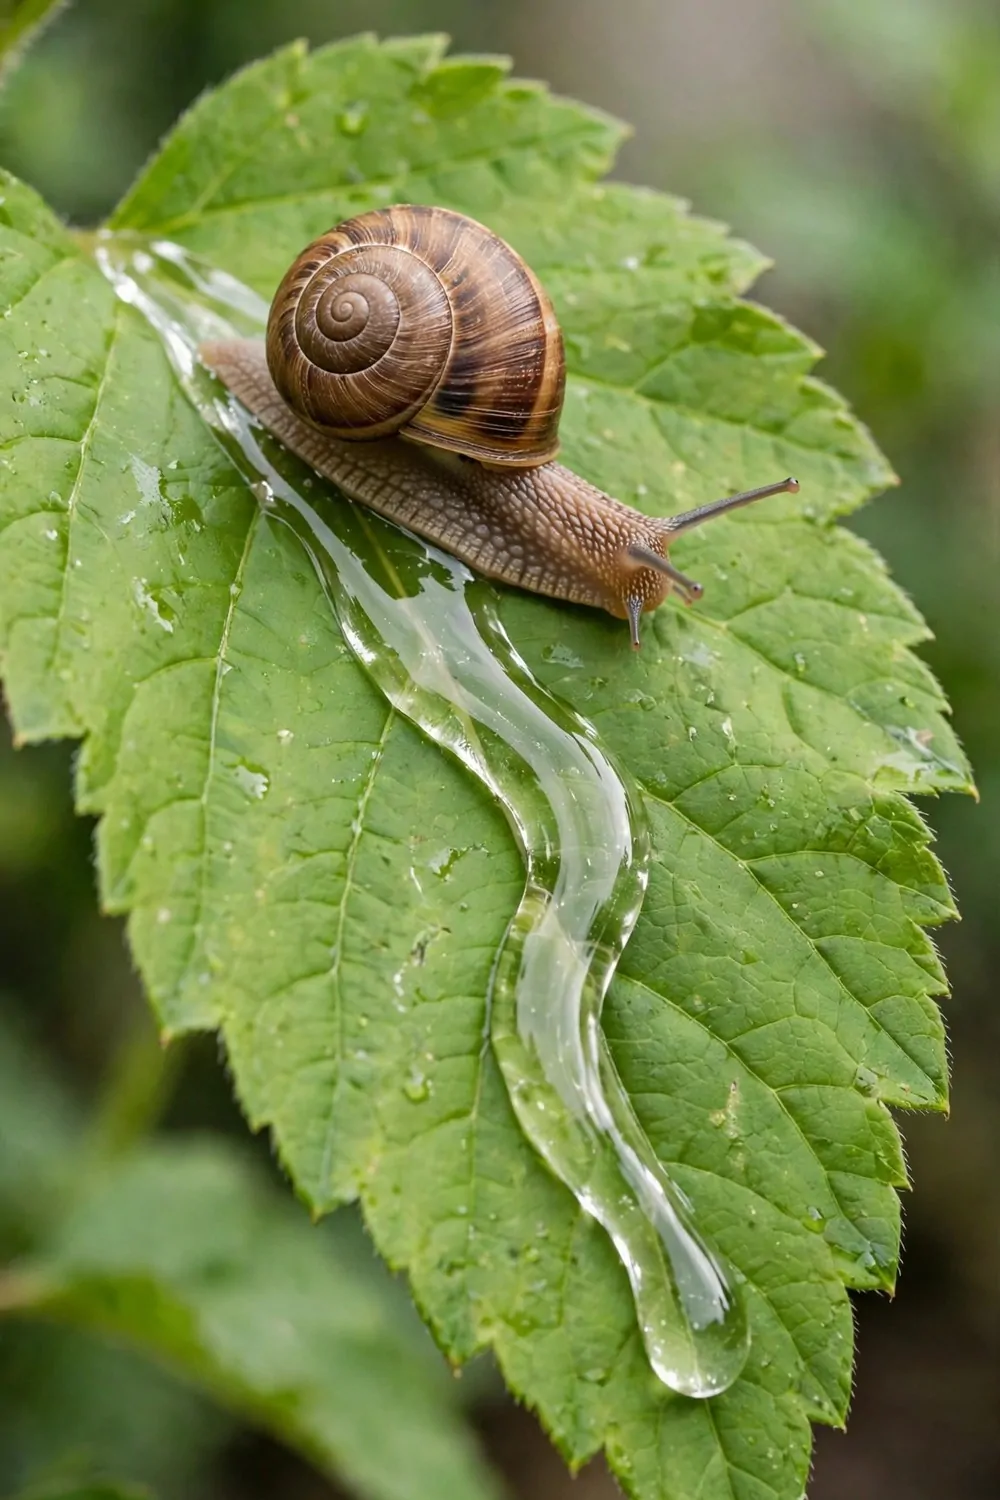
A snail trail watch is just sitting still and watching a snail move on a green leaf.
Find a snail on a leaf after rain or in the cool morning. Sit close but do not touch it. You will see a shiny trail appear behind it as it moves.
Nothing is needed for this one.
The snail moves slow, so take your time. Watch how its feelers wave as it goes.
You can guess where it will turn next. Then check if your guess was right.
A snail leaves a bright line on the leaf. The line dries in the sun after a while. That line shows the path the snail took.
Try this again on a different day.
Your snail may be on a new leaf next time.
Typical cost $0 to $2.
13. A Cloud Shape Game on the Grass
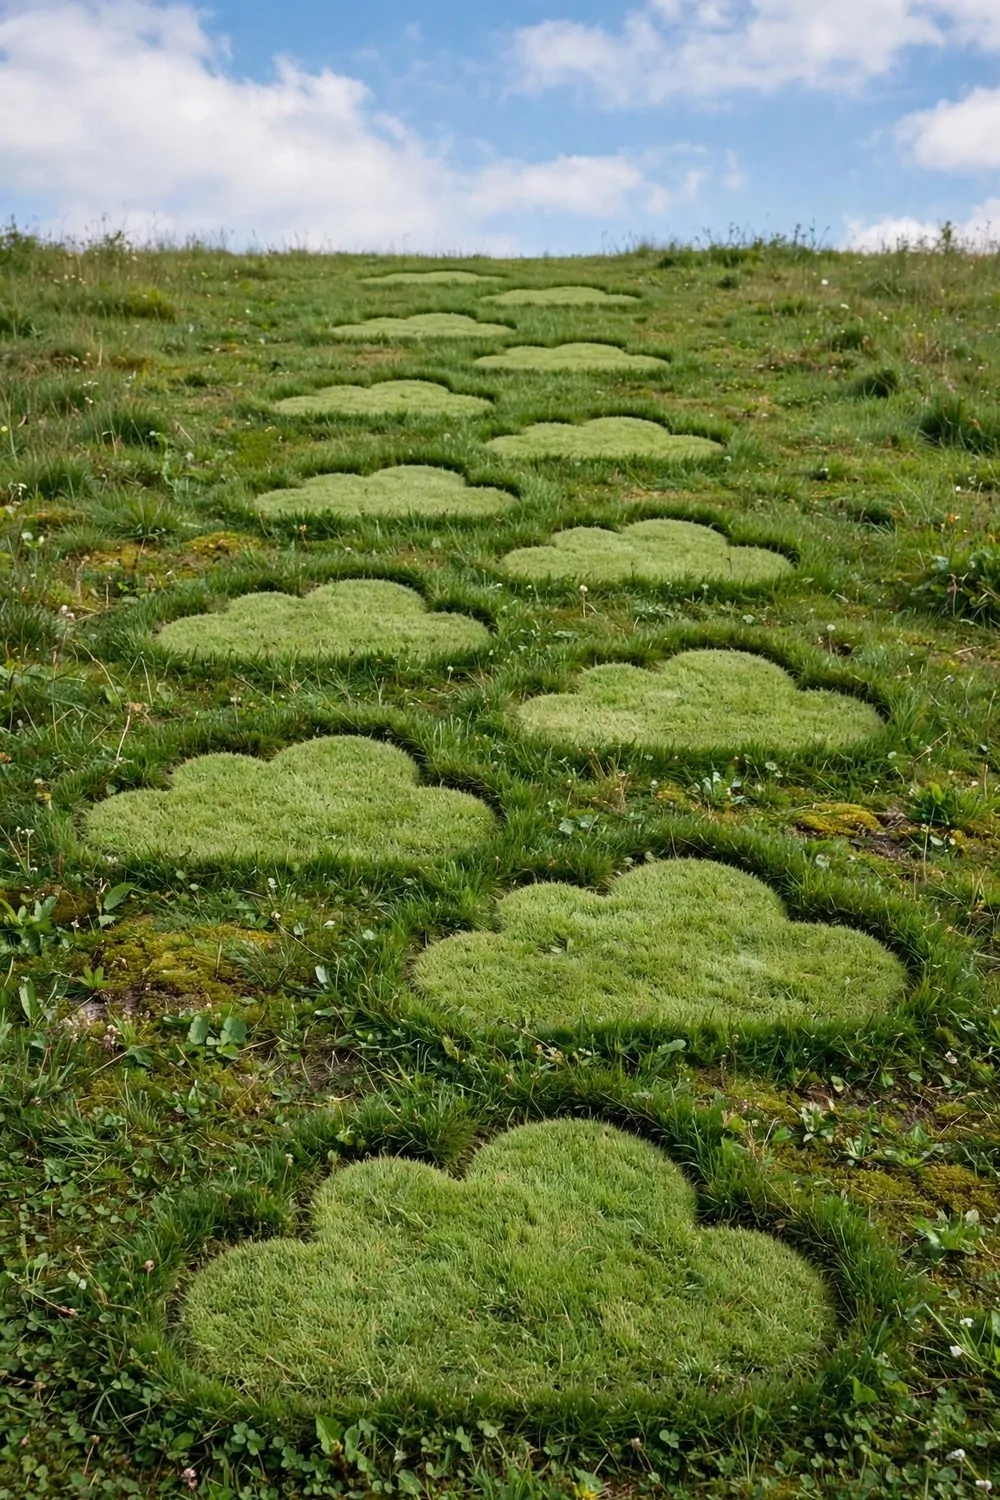
A cloud shape game on the grass is the easiest game you will play all week.
Walk slow across the grass and look down at the soft green patches. The patches are cut in the shape of clouds. Pick one cloud shape and say what you see in it.
You need nothing at all for this game.
One cloud shape may look like a boat with a tall sail. Another may look like a big soft hill. A third may look like a whale with a big round back.
Take turns with a friend or a family member. Each person names a shape in the same cloud patch.
You will hear new ideas each round. One person sees a hat where you saw a house. That is the fun of the game.
The grass shapes stay put while you play. A shape you loved will still be there when you come back.
Watch for a new cloud shape and start the game again. The grass gives you a fresh round each time.
Typical cost $0 to $1.
14. A Stick Teepee in the Garden
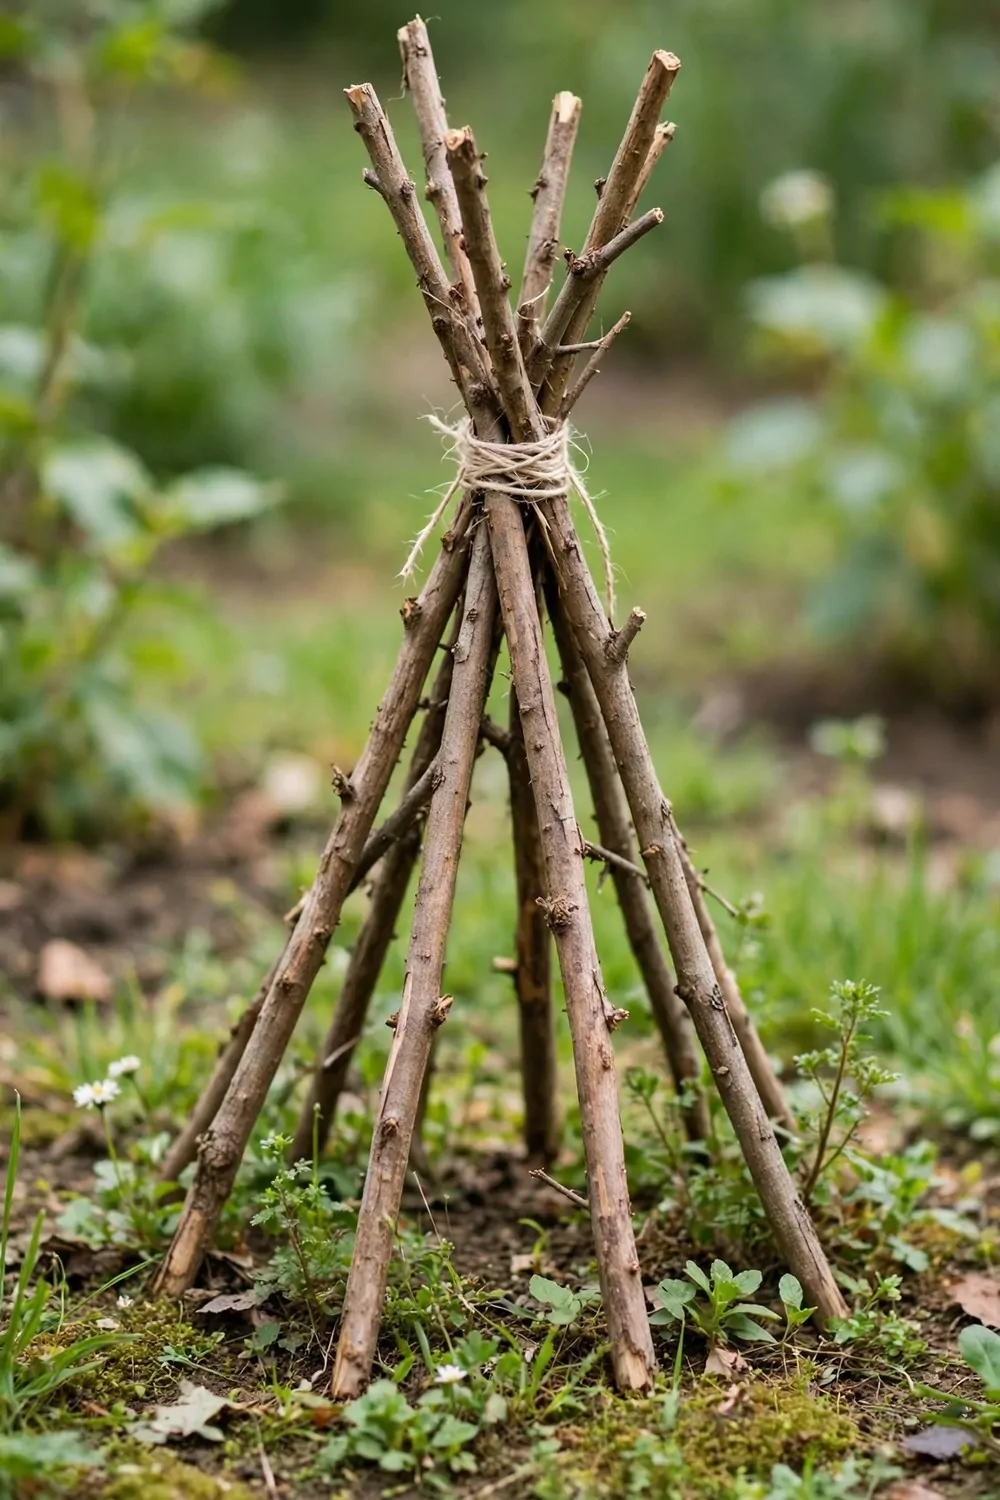
A stick teepee in the garden gives you a small hideout made from sticks tied with string.
Pick up long straight sticks from the garden. Lean them together in a tall cone shape. Tie the tops tight with string so the teepee stands firm.
Space the sticks out at the base. A wide base keeps the teepee steady.
Push each stick a little way into the soft ground.
Add more sticks around the sides to fill the gaps. Leave one gap open for a door.
Test it by giving it a gentle shake.
You can sit inside and read or just rest in the shade. A blanket on the ground makes it feel like a small room. Beans or peas can grow up the sticks later in the year.
Ask a grown-up to help you tie the top knot tight. A firm knot keeps the sticks from slipping down. Check the knot again after a windy day.
Typical cost $2 to $4.
15. A Soil Digging Patch
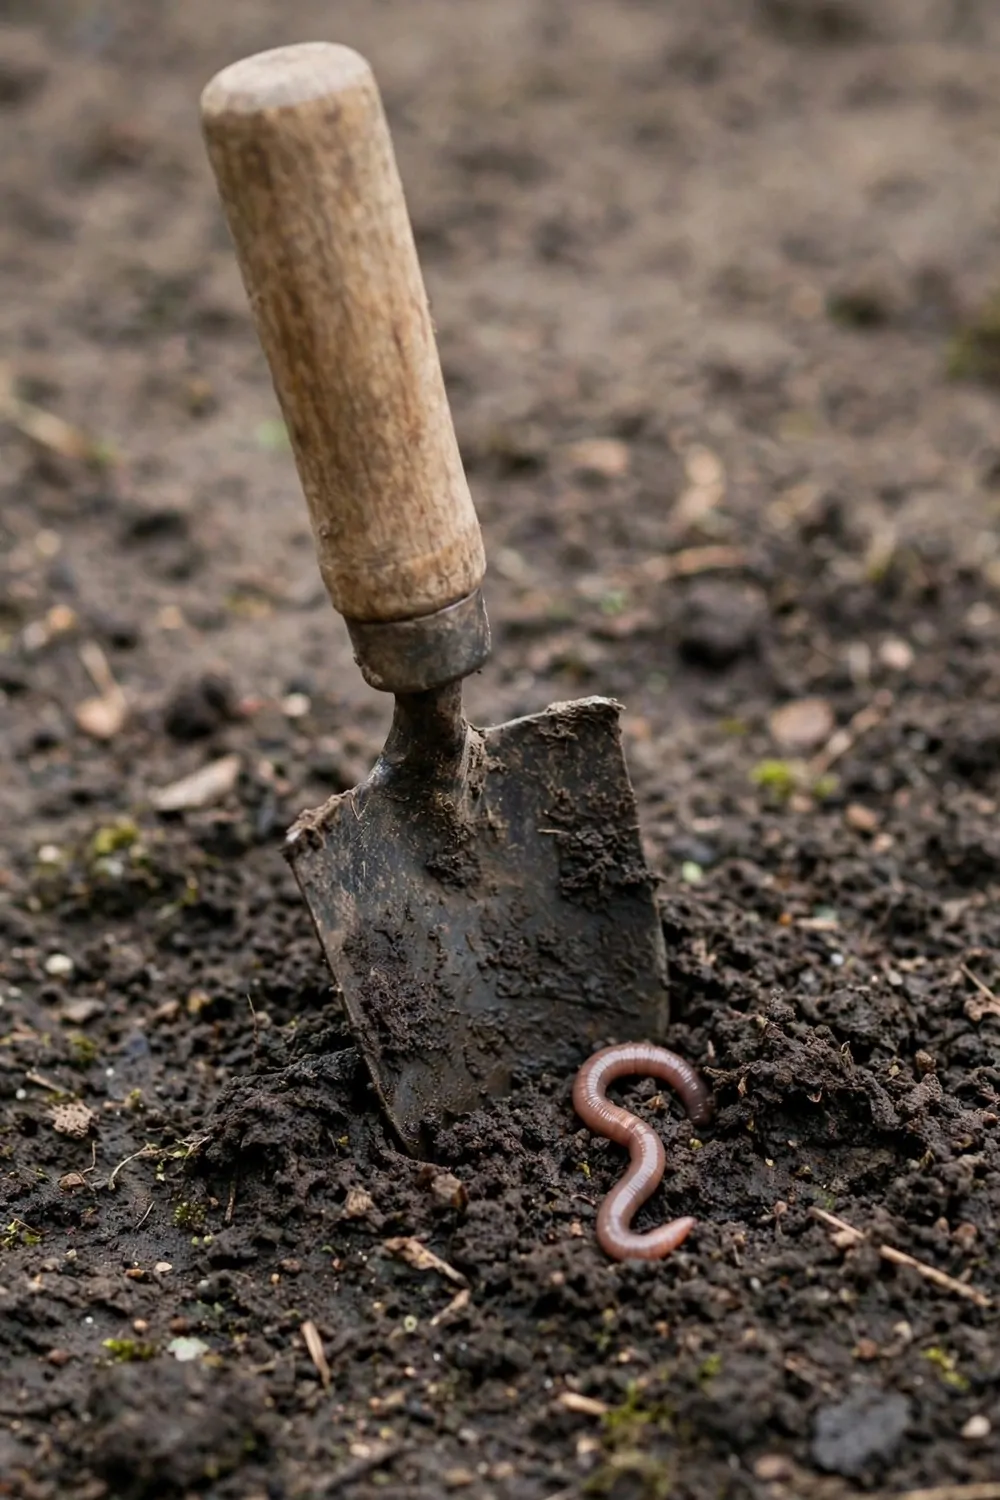
A soil digging patch is a small spot where you can dig in dark soil with a small spade.
Pick a corner of the garden that gets a bit of sun. Mark out a patch about as wide as your arms. A small spade is the right tool for this job.
Push the spade into the dark soil and lift it up. Turn the soil over so the top goes under.
Break up big lumps with the back of the spade. Pick out stones and old roots as you go. The soil should feel soft and crumbly in your hands.
You may spot a worm wriggling in the fresh soil. Worms help the soil stay soft and rich. Put the worm back gently and let it dig down.
Water the patch lightly when you finish.
Dig a little each week to keep the patch soft. You can plant seeds in it when the soil feels ready.
Your patch will look dark and fresh after a good dig. It smells like rain and earth. That is the smell of a garden waking up.
Typical cost $1 to $3.
16. A Wildflower Seed Ball
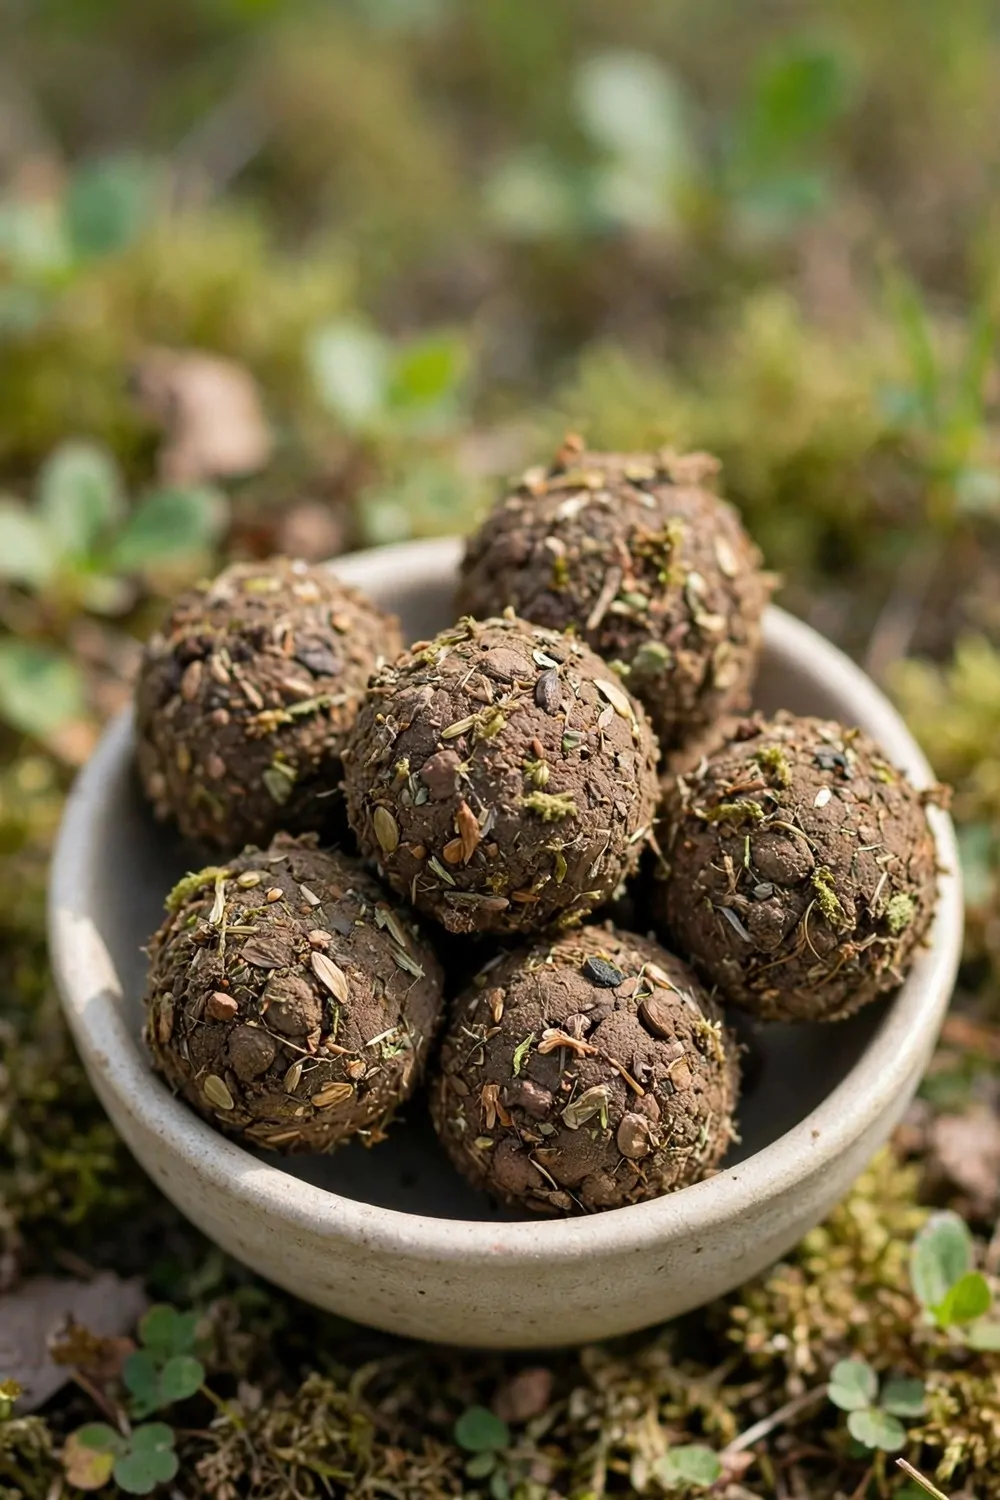
A wildflower seed ball is a round ball of seeds that you can toss into a bare patch of ground.
Mix wildflower seeds into soft damp clay and soil. Roll the mix in your palms till it forms a round ball. Set each ball on a tray to dry in the sun.
Wildflower seed balls sit in a small bowl till you are ready to use them. They look like plain brown balls, but each one holds lots of seeds inside. You can keep the bowl by the door for your next walk.
Carry the balls to a bare sunny spot.
Toss one onto the ground and leave it there.
Rain will soften the ball and the seeds will wake up. Roots will grow down into the soil. Green shoots will push up in a few weeks.
Check the spot after each rain. You may see the first green shoots appear.
Flowers will follow in the warm months.
Typical cost $2 to $4.
17. A Worm Watch in the Soil
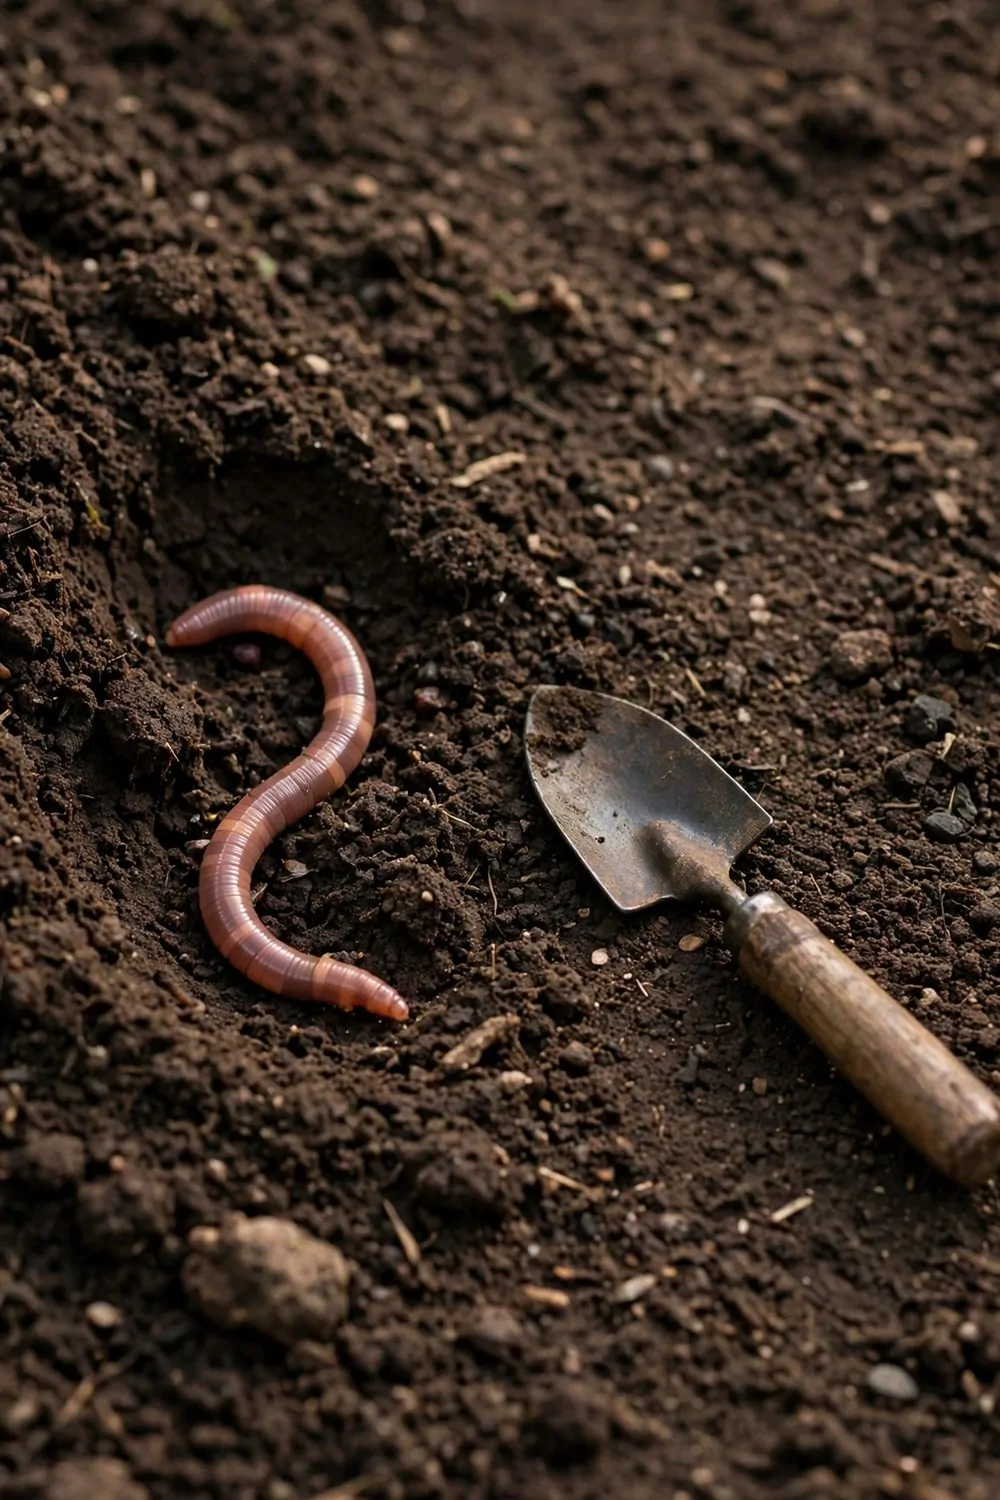
A worm watch in the soil is a quiet way to see how worms work under the ground.
Find a patch of dark soil in the garden. Dig a small hole with a small spade. Look close and you may see a worm moving through the soil.
Worms tunnel through the soil day and night. Their tunnels let air and water reach the roots. That is why gardeners like worms so much.
This one needs nothing at all.
Watch how the worm stretches and pulls itself along. It has no legs, yet it moves with ease.
Cover the worm with a little loose soil when you are done. It will dig back down on its own.
You can come back to the same patch next week. The soil will look soft where the worms have worked. Fresh worm castings on top show they have been busy.
Be gentle and do not poke the worm. It is a living thing doing a useful job.
Typical cost $0 to $2.
18. A Seedling Growth Chart
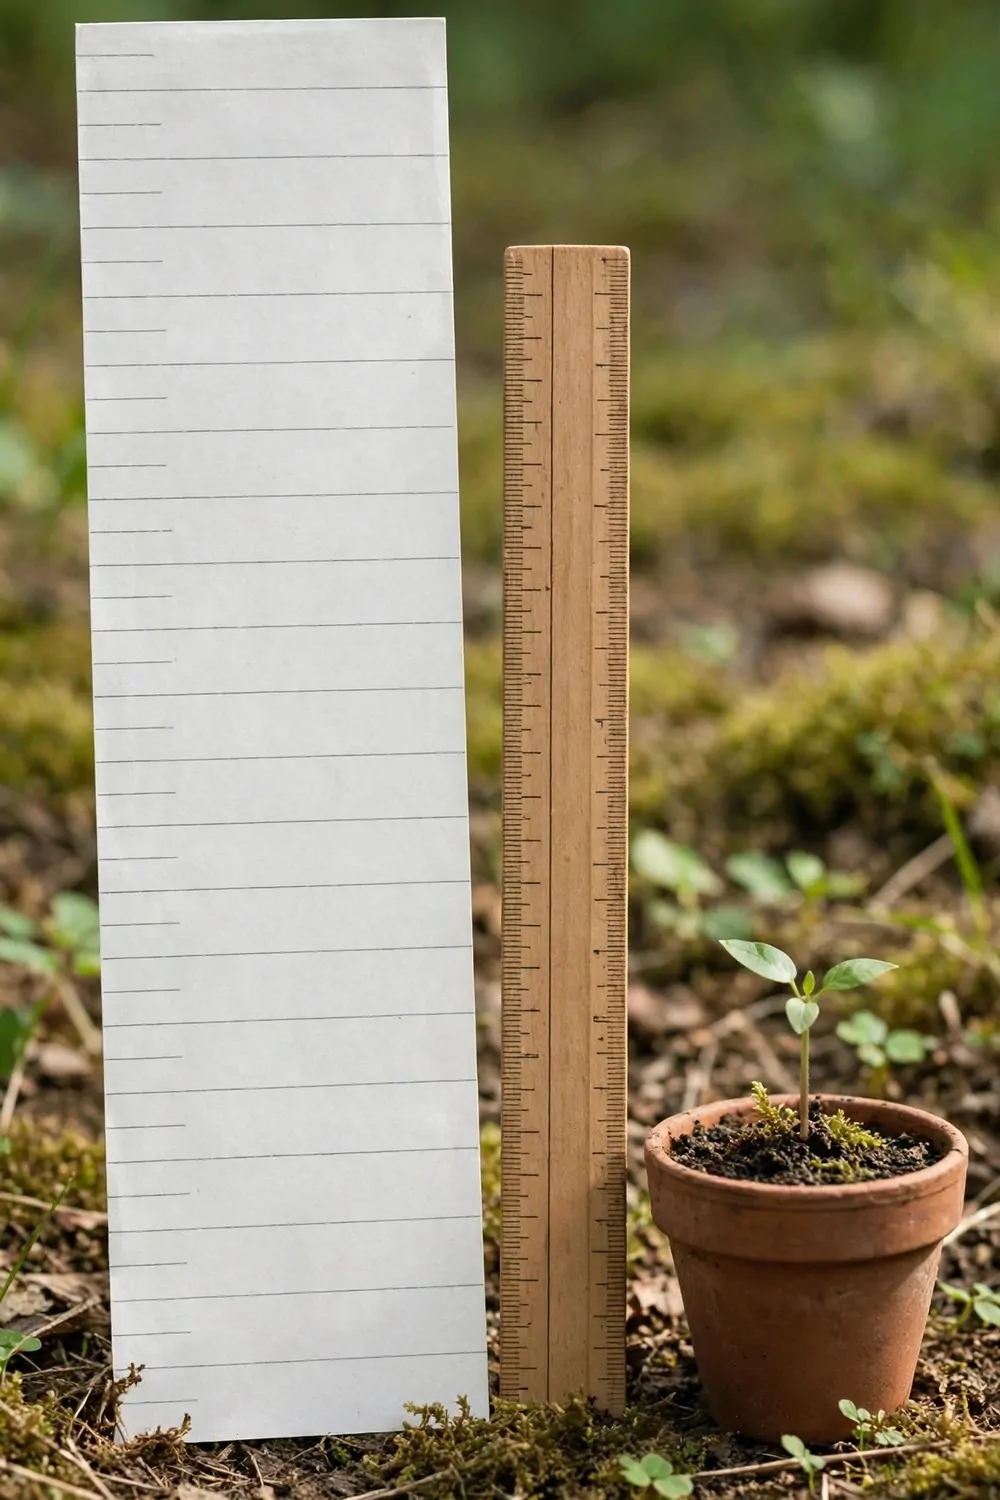
A seedling growth chart helps you track how tall your small seedling grows in its pot.
Draw a chart on a sheet of paper with days down one side. Tape a ruler beside the pot so you can measure with ease. Write down the height each day in the right box.
A paper growth chart with a ruler beside a small seedling in a pot makes the job simple. You can see the numbers climb a little each day. That small climb feels like a big win.
Measure at the same time each day. Morning works well, before the sun gets strong.
Water the seedling when the top of the soil feels dry.
Give it light from a bright window.
Mark each new leaf on the chart too.
Your chart will show a line that climbs up over the weeks. You can look back and see how fast your plant grew. It is fun to share the chart with your family.
Typical cost $1 to $3.
19. A Leaf Boat Race in a Tray
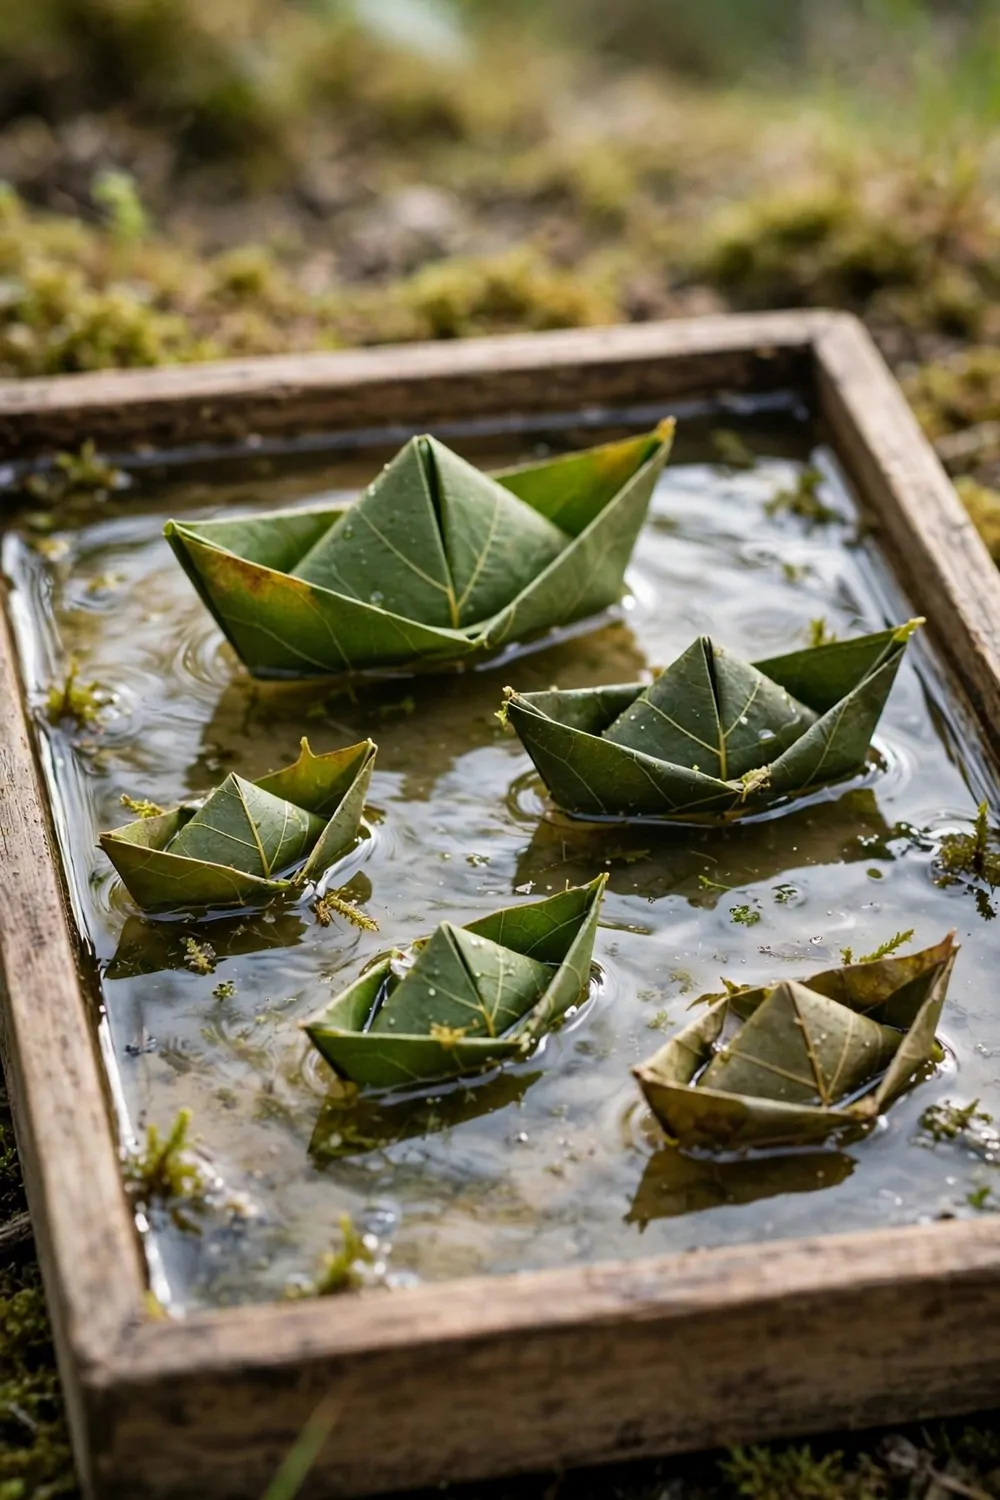
I set a shallow tray of water on the ground and let my little one race leaf boats across it.
We picked wide leaves from the garden and trimmed the stems short with care. My little one pushed each leaf gently and watched it drift to the far side. You can cheer for the leaf that moves first and laugh when it spins in a circle.
A small stick makes a fine mast when you poke it through the middle of a leaf. I showed my little one how to rest it upright so the leaf stays flat on the water. You can add a tiny paper flag on top if you like a bright race.
We filled the tray with cool water from the tap and set it on the grass. My little one lined the boats up at one end and gave them a soft puff of air. You can blow gently and see which leaf reaches the other side first.
I keep the tray low so little hands can reach it with ease.
We race the boats again and again until the water gets still. My little one picks a new leaf each time and tries a fresh start.
You can race with a friend and take turns blowing the leaves along. I like how this game needs no fancy toys at all.
I dry the tray after we play and put the leaves back in the garden.
Typical cost $1 to $3.
20. A Seed Sorting Jar
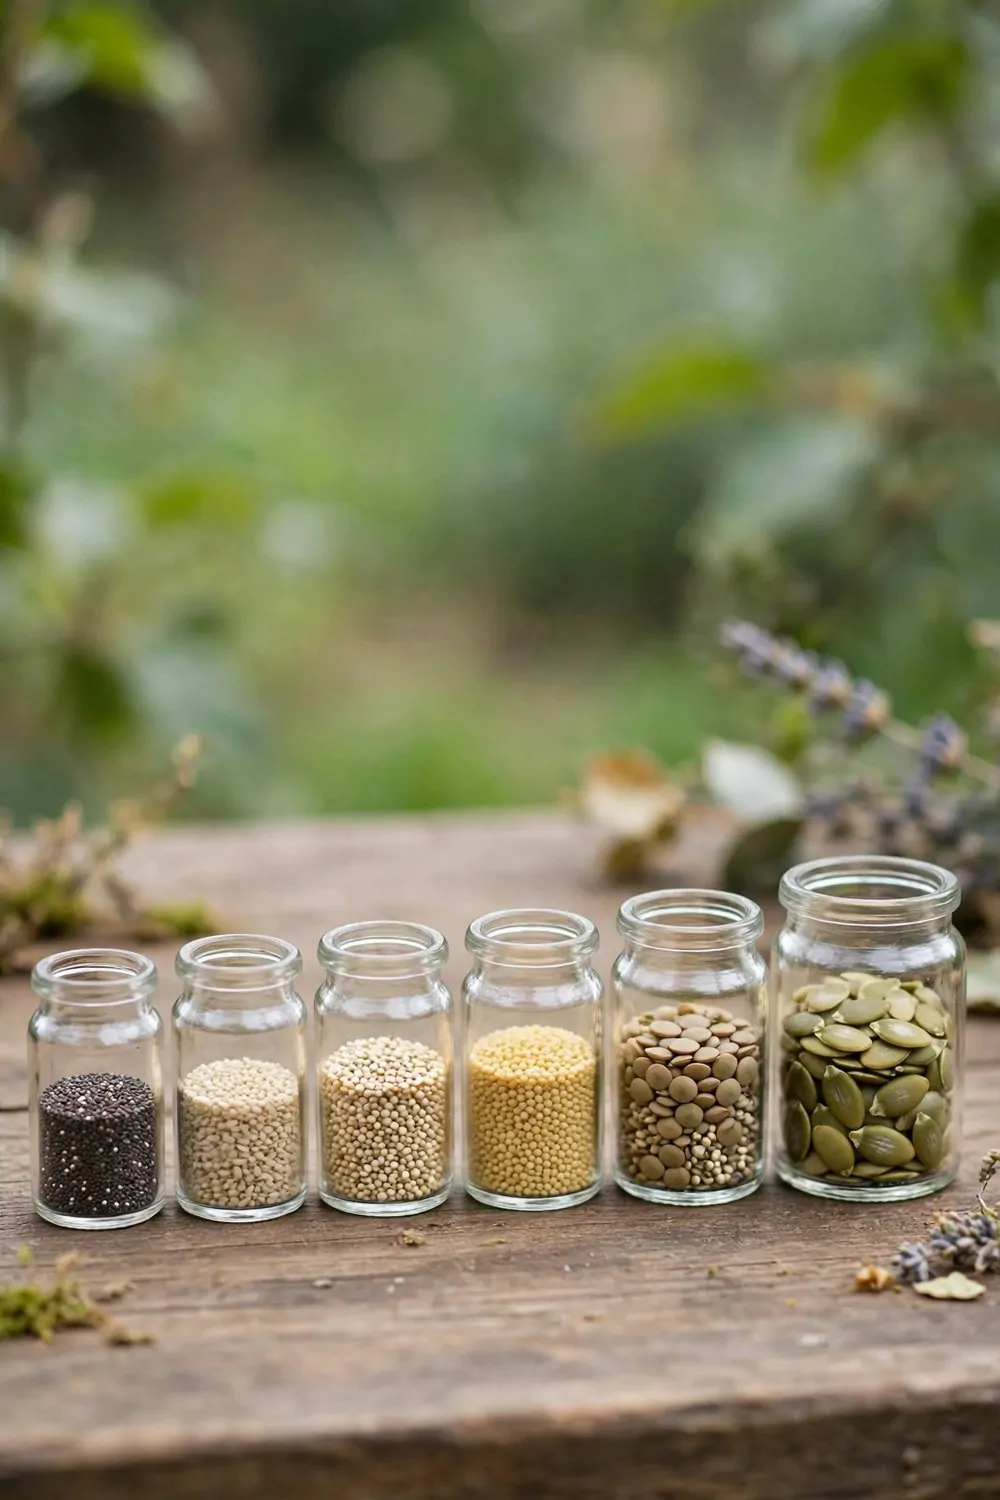
I poured a mix of seeds into a bowl and set out small glass jars on our wooden table. My little one sorted them by size and dropped each one into its own jar.
You can start with big seeds first because they are easy for small fingers to hold.
I talked about shapes and sizes while we worked side by side.
My little one lined the jars up in a row and checked each seed twice.
You can shake a jar softly and listen to the seeds move inside.
We used seeds from old packets and a few from the garden shed. I showed my little one how each jar holds a new kind of seed. My little one loved seeing the jars fill up one by one.
You can sort by colour next time if you want a fresh game. I keep the jars on a low shelf where my little one can reach them.
We set the jars back on the table in a neat row. My little one picked a favourite jar to show at dinner.
Typical cost $1 to $3.
| Idea | Main change | Typical cost |
|---|---|---|
| A Feather Collection Box | feathers kept safe in a small box | $0 to $2 |
| A Snail Trail Watch | a snail watched on a green leaf | $0 to $2 |
| A Cloud Shape Game on the Grass | cloud shapes named on the grass | $0 to $1 |
| A Stick Teepee in the Garden | a stick teepee built in the garden | $2 to $4 |
| A Soil Digging Patch | soil dug with a small spade | $1 to $3 |
| A Wildflower Seed Ball | wildflower seeds rolled into balls | $2 to $4 |
| A Worm Watch in the Soil | a worm watched in dark soil | $0 to $2 |
| A Seedling Growth Chart | a seedling marked on a paper chart | $1 to $3 |
| A Leaf Boat Race in a Tray | leaf boats raced in a tray of water | $1 to $3 |
| A Seed Sorting Jar | seeds sorted by size in small jars | $1 to $3 |
| Total | $8 to $27 |
21. A Twig Raft on the Pond
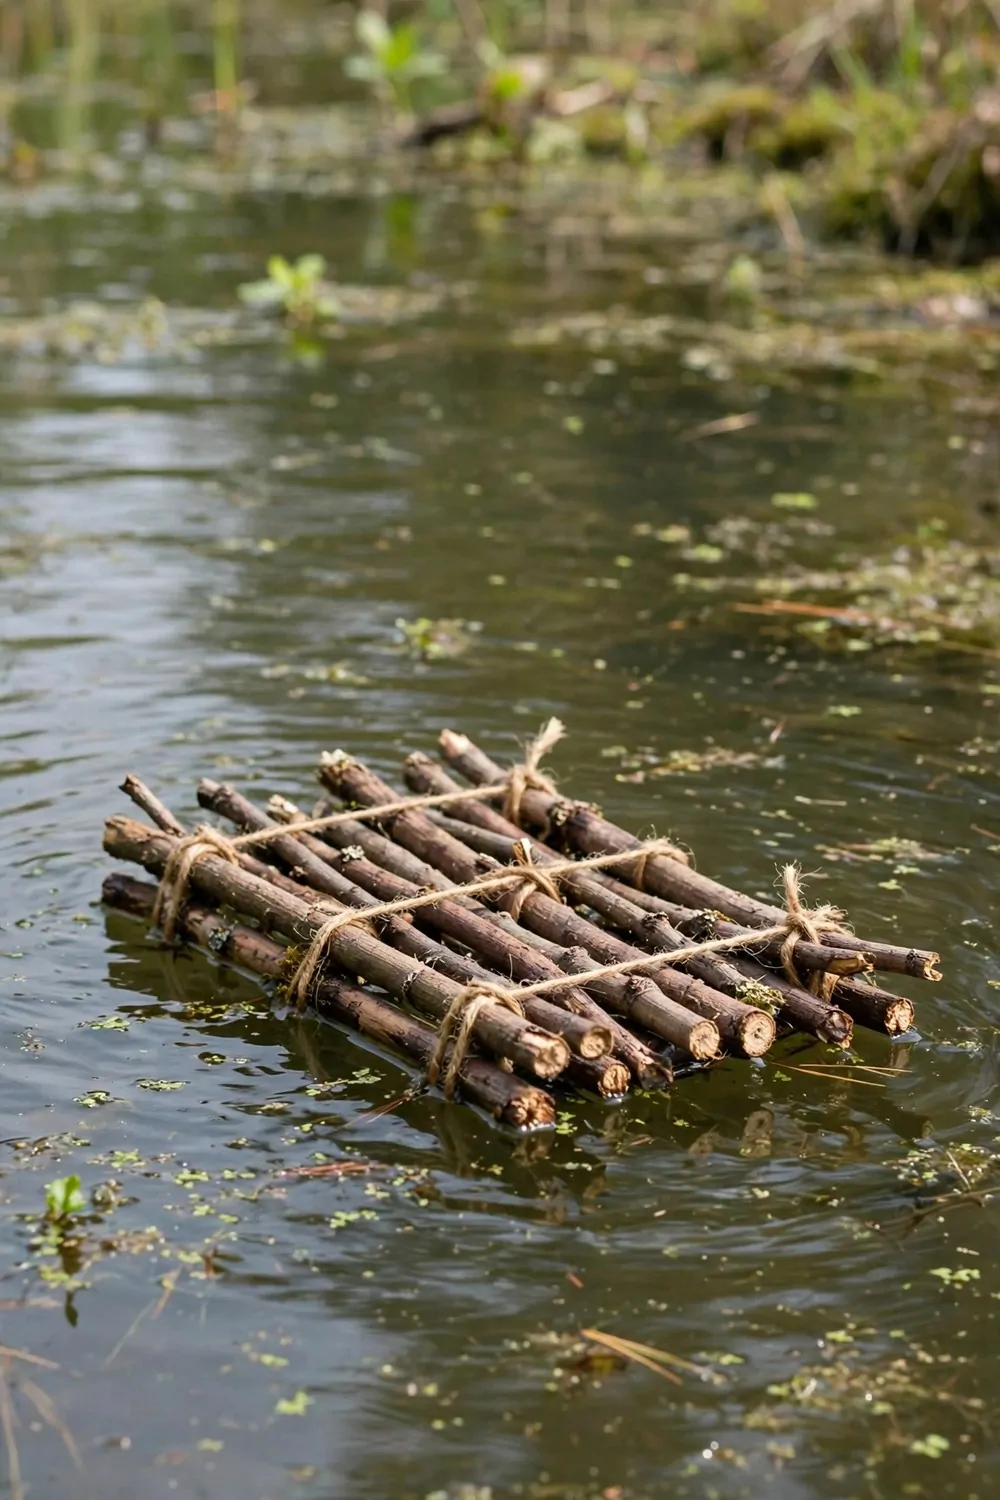
I tied short twigs side by side with string to make a small raft. My little one watched it float on the pond and clapped when it stayed up.
You can test it in a tub of water first if the pond feels too far away.
We picked straight twigs from the ground and broke them to the same length. I wrapped the string round each end and pulled it tight.
My little one watched it drift and called it our little boat.
You can push the raft gently and watch it drift across the still water.
I held the string end so the raft did not float too far from us.
We tried a second raft with thicker twigs and it held up well. My little one watched it float and smiled at how strong it looked. You can try more twigs next time and see how strong your raft can be.
I untied the string at the end and put the twigs back in the garden.
Typical cost $1 to $3.
22. A Stick and String Weaving
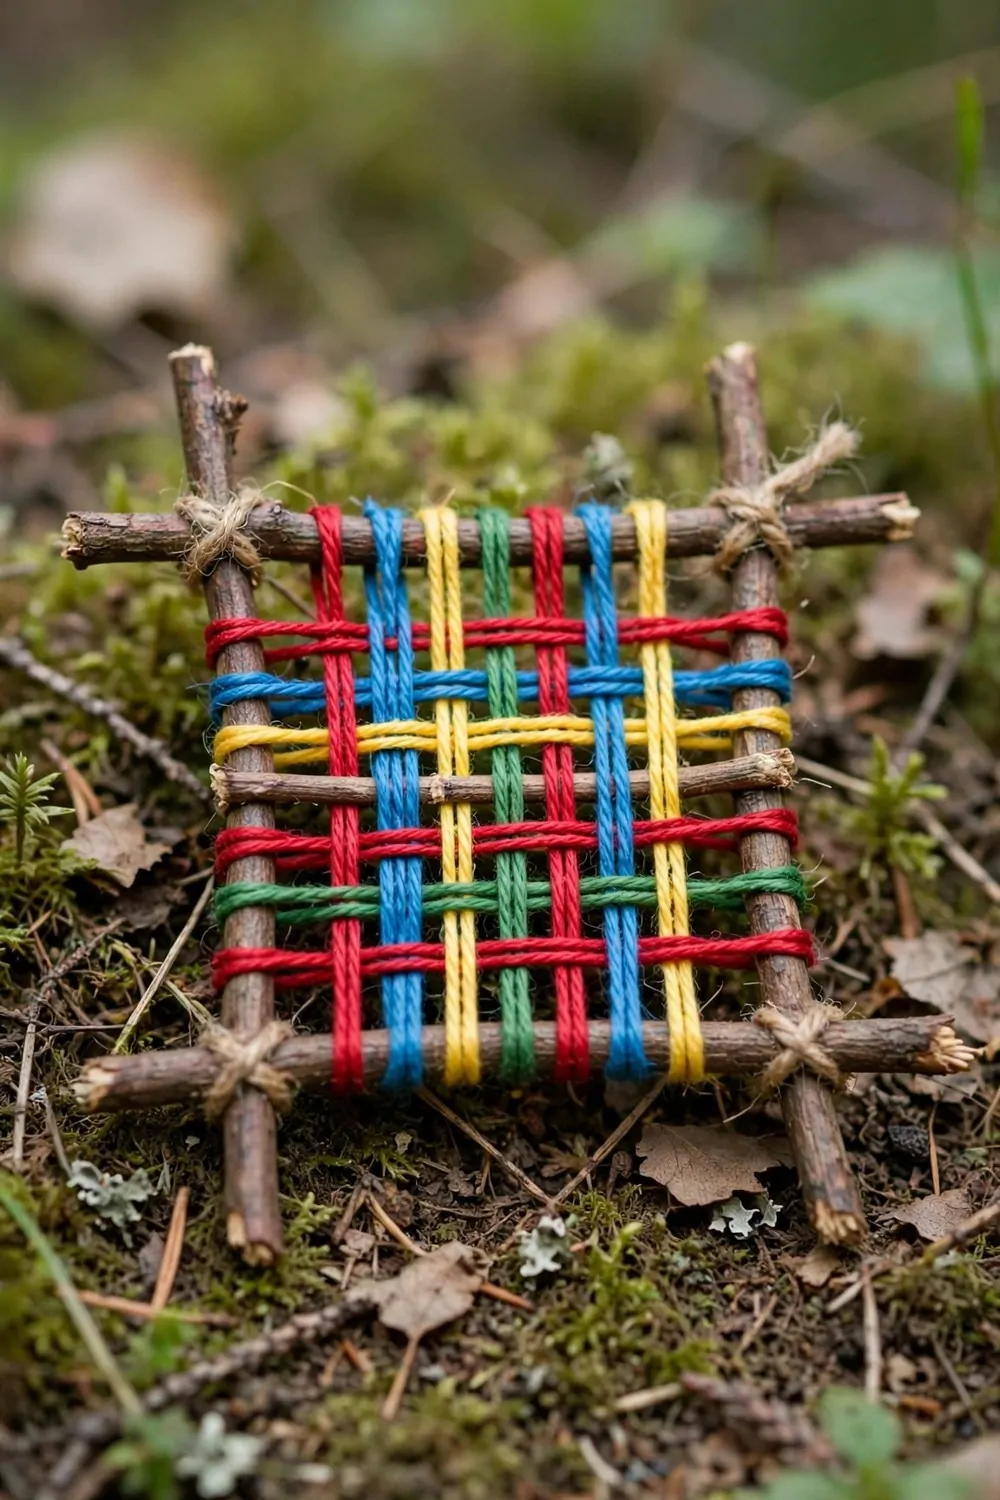
I tied four sticks into a square frame to start. My little one wound coloured string round and round the sticks.
You can pick bright colours first so the pattern shows up fast.
We went over one stick and under the next to make a neat weave. I showed my little one how to pull the string snug but not too hard.
My little one chose bright string for the middle rows. You can add a fresh row at the edge for a bold finish.
I tied a knot at the back when the weaving felt full.
We laid our weaving on the grass to see the bright rows. My little one pointed at the red rows first and smiled.
You can weave a smaller one for a friend if you have spare string. I keep short sticks in a box so we can start fast next time. My little one likes to try a new pattern with each fresh frame.
We talked about the colours while we worked and picked a favourite row. I trimmed the loose ends with small scissors and tied them off. You can hang yours outside for a day and watch it move in the breeze.
Typical cost $2 to $4.
23. A Rock Painting Stone
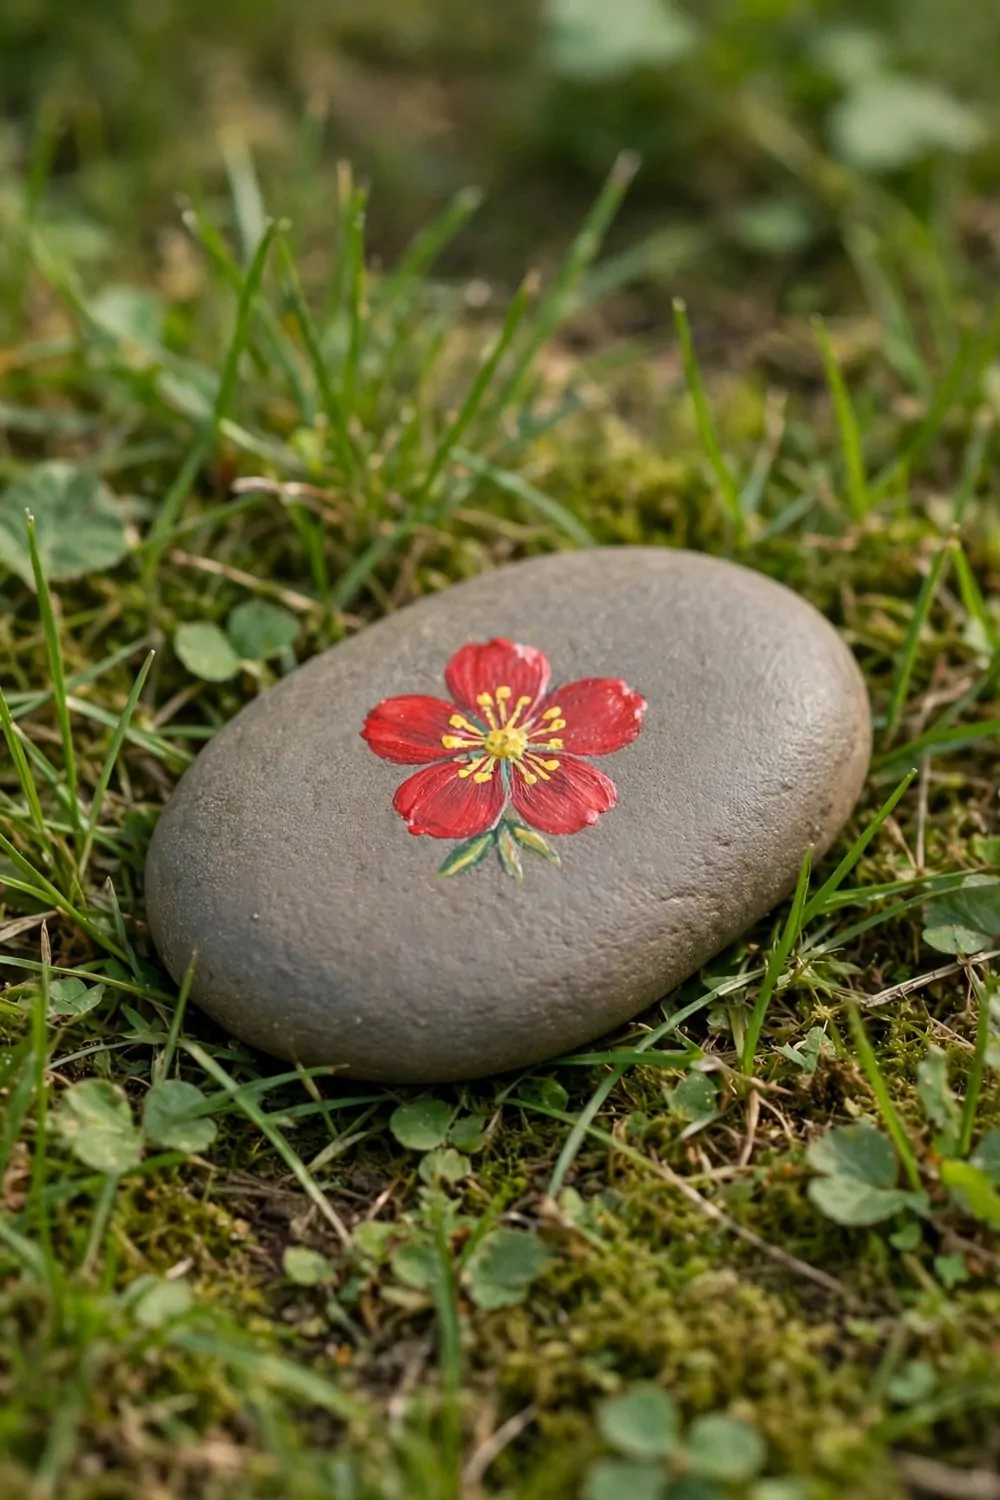
I washed a smooth stone and let it dry in the sun. My little one painted a red flower on top with a small brush.
We used a brush with a fine tip for the petals. I helped my little one paint each petal with care and slow strokes. You can add leaves at the base if you want more colour.
My little one held the stone still while the paint dried.
You can set your stone by the front door to greet each guest.
I sealed the paint with a clear coat so rain would not wash it off.
We painted a second stone with a simple flower shape. My little one gave it to grandma as a small gift.
You can paint stones for each season and line them up on a shelf. I keep our brushes in a jar so they stay clean and ready.
We looked for flat stones on our walks and saved the best ones. I washed each stone before we started so the paint would stick. My little one picked the smoothest stone for the red flower.
Typical cost $1 to $3.
24. A Mini Pond in a Bowl
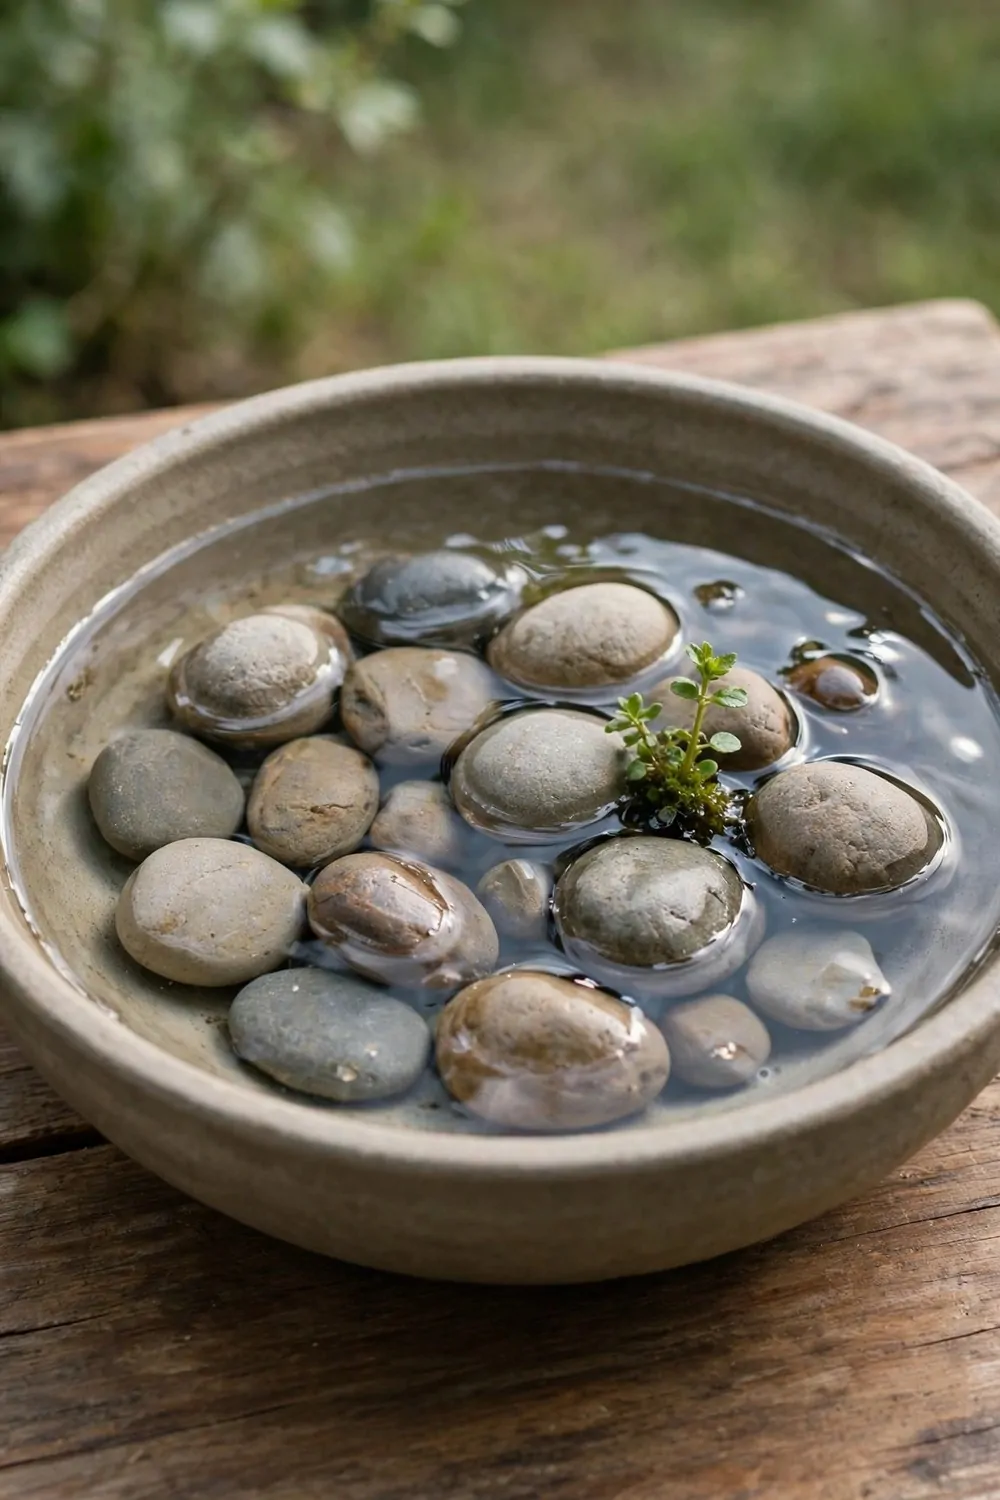
I filled a wide bowl with water and set it on the patio table. My little one dropped smooth stones in the bottom one by one.
We added a small green plant in the middle so it looked like a tiny pond. I showed my little one how to tuck the roots round the stones. You can watch the plant sway when you tap the water softly.
My little one liked the small green plant in the middle. I placed the bowl where the light hits it in the morning. You can peek in each day and see how clear the water stays.
We topped the water up when the sun made some of it go down. I wiped the rim with a cloth so it stayed neat. My little one checked the stones and liked how smooth they felt.
You can add a few more stones if the bowl looks too plain. I like how the green plant makes the whole bowl feel alive. My little one named our mini pond and told everyone about it.
We kept the bowl away from the path so no one would knock it over. I set it on the wooden table where we could see it each day. My little one watered the plant with a small cup each morning.
You can sit beside the bowl and draw what you see in a notebook. I asked my little one to spot the plant roots under the water. We talked about ponds we had seen on walks in the park.
I changed the water each week so it stayed fresh and clear. My little one helped me lift the plant out with care. You can start fresh with new stones if the old ones get dull.
Typical cost $2 to $4.
25. A Herb Leaf Basket
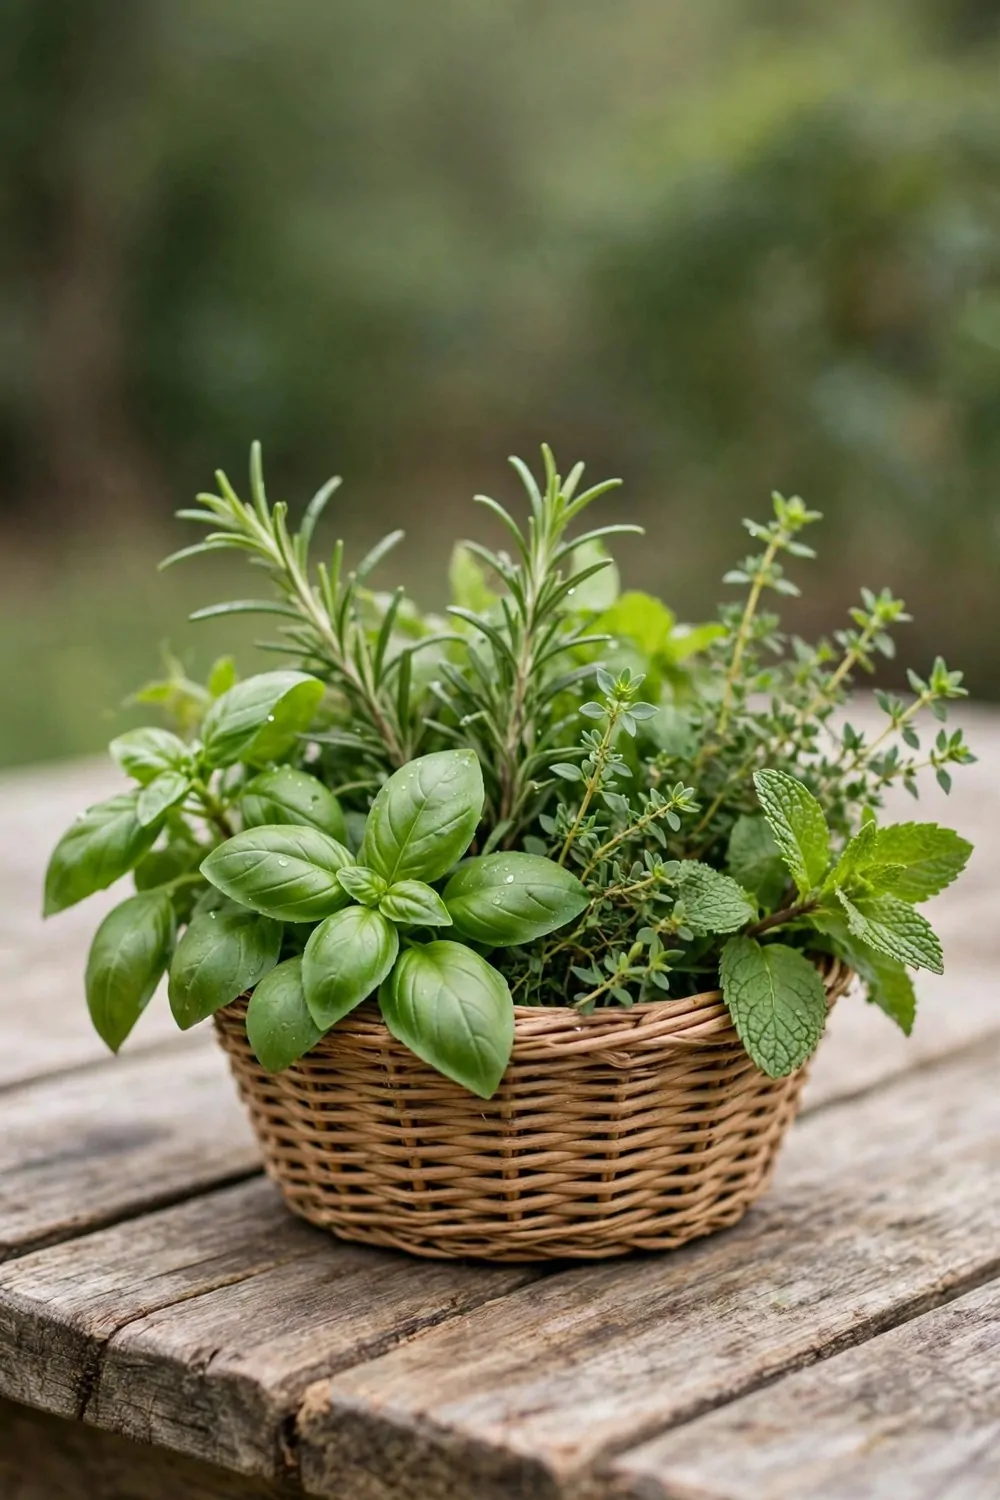
I took a small basket out to the garden with my little one. We snipped green herb leaves and laid them in the basket in soft layers. You can smell each leaf as you pick it and guess which herb it is.
Our herbs are already in the garden, so this basket costs us nothing to fill.
My little one held the basket with both hands while I snipped. I showed my little one how to pick from the top so the plant keeps growing.
We washed the leaves in cool water and shook them dry. My little one sorted the green leaves into small piles by shape.
You can use the leaves in lunch today or dry them for later. I tied a few stems in a bundle and hung it in the kitchen. My little one loved the fresh smell that filled the room.
I set the basket on the table so we could use the leaves at dinner.
You can pick a fresh basket each week while the herbs grow tall.
We talked about which leaves taste soft and which taste strong. I showed my little one how to rub a leaf and smell it first. My little one picked a favourite herb to grow again next year.
Typical cost $0 to $2.
26. A Wind Chime from Shells
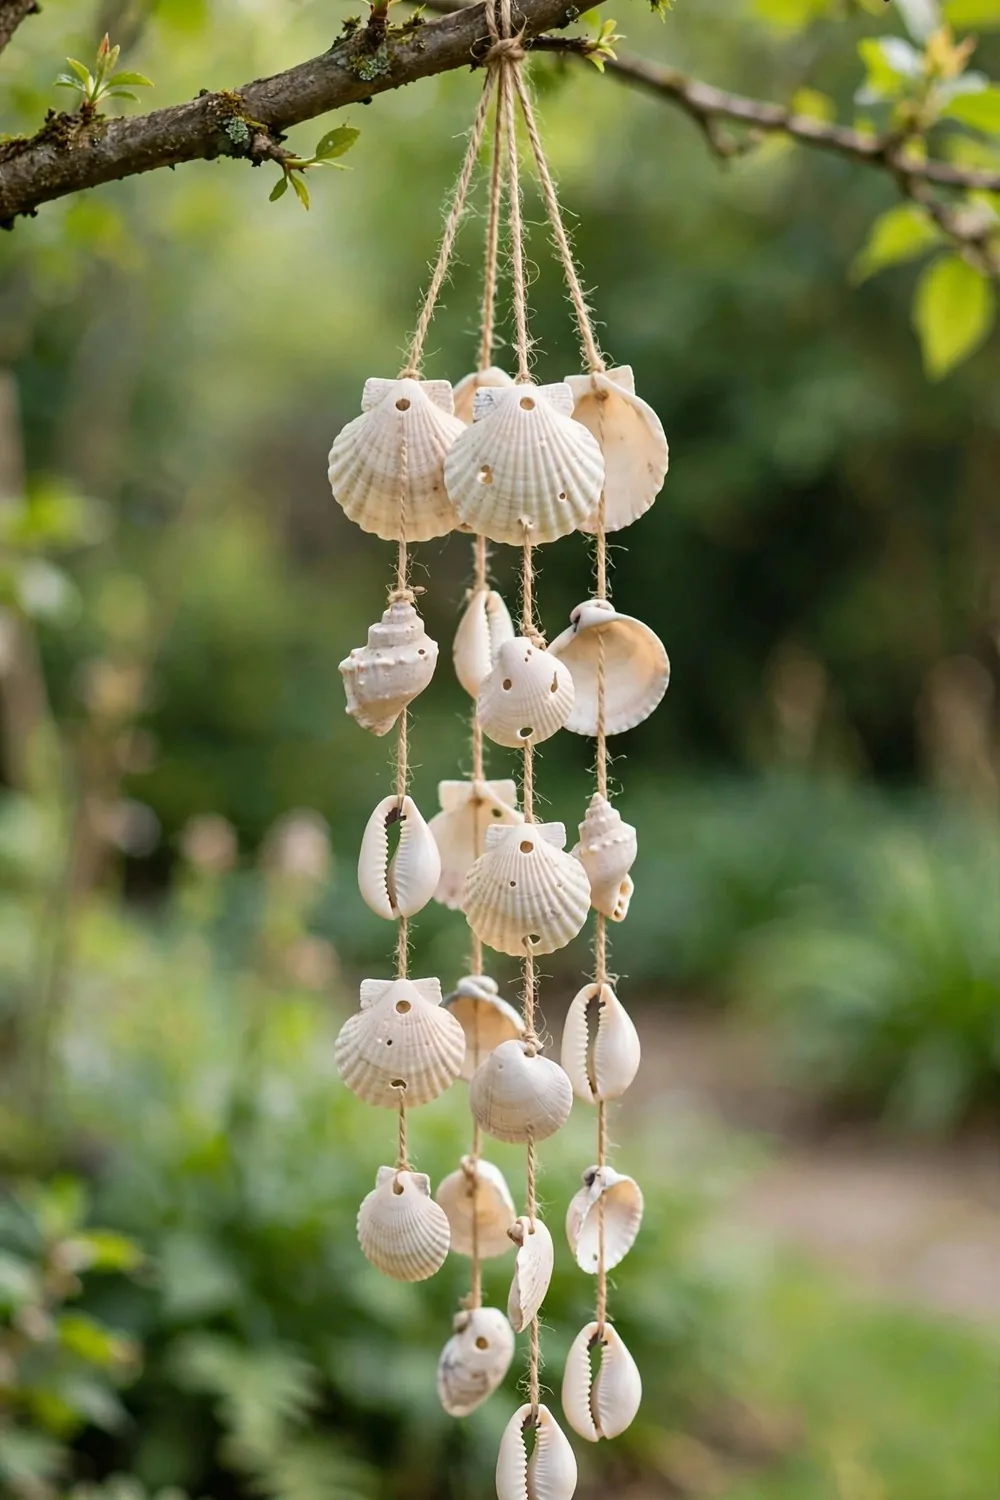
I hung shells from a branch with string to make a soft wind chime. My little one tied each shell at a new height so they would not bump. You can hang it near a window and listen for the soft taps.
I picked a strong branch that felt dry and light in my hand.
We threaded string through each shell and tied a firm knot. My little one chose which shell went on each string. I trimmed the ends so the chime looked neat from the front.
You can hang the chime from a hook on the porch. I watched my little one smile when the breeze moved the shells. We stood still and waited for the next soft sound.
My little one picked shells with smooth edges for the chime. I wrote down the steps so we could make one again next year.
You can add a bead at the end of each string for a bright touch.
We hung our chime where the morning breeze could reach it. I checked the knots each week so no shell would slip off. My little one ran outside each morning to hear it move.
You can make a second chime with shells from a fresh walk. I keep spare string in a drawer for days when we want to make one more. My little one likes to swap the shells round and try a new hang.
Typical cost $2 to $4.
27. A Nature Kit for the Week
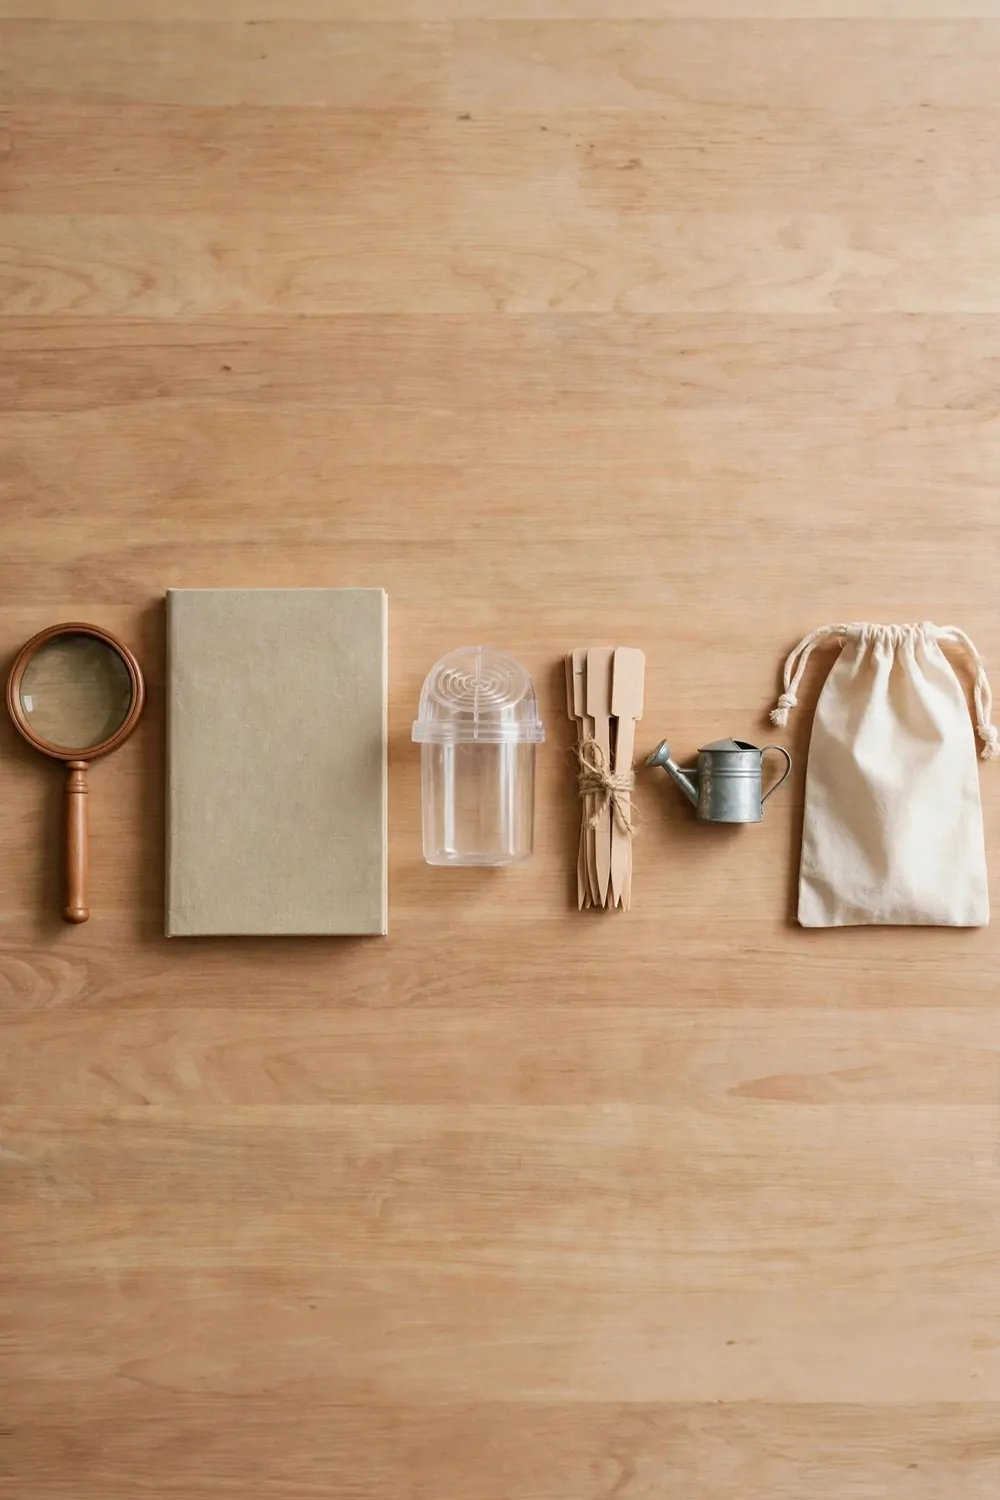
I put a small magnifying glass in our nature kit first. My little one holds it over leaves and spots the tiny lines on each one. You can use it to look at bark and stones up close too.
I added a nature journal with blank pages next. My little one draws leaves and bugs in it after each walk.
I packed a bug viewer with a lid for short looks at tiny guests. My little one watches a bug for a short time and then lets it go back outside.
I slipped in a set of wooden plant markers to label the plants in the garden.
I added a small watering can so we can water the seeds each day. My little one tips it slowly and watches the soil drink it up. You can carry it with both hands when it feels full.
I packed a cotton drawstring bag for finds at the end. My little one slips leaves and stones inside and carries them home with care.
I keep the whole kit by the back door so we can grab it fast.
A small magnifying glass costs $2 to $4, a nature journal with blank pages costs $3 to $5, a bug viewer with a lid costs $2 to $4, a set of wooden plant markers costs $2 to $3, a small watering can costs $3 to $5, and a cotton drawstring bag for finds costs $2 to $3, for a total of $14 to $24.
Choose one nature idea from this list for tomorrow morning, head out together after breakfast, and see what your little one finds first.
| Idea | Main change | Typical cost |
|---|---|---|
| a small magnifying glass | a glass to look at small bugs and leaves up close | $2 to $4 |
| a nature journal with blank pages | blank pages to draw leaves and bugs in | $3 to $5 |
| a bug viewer with a lid | a clear viewer to watch bugs for a short time | $2 to $4 |
| a set of wooden plant markers | wooden markers to label the plants in the garden | $2 to $3 |
| a small watering can | a small can to water the seeds each day | $3 to $5 |
| a cotton drawstring bag for finds | a cloth bag to carry leaves and stones home in | $2 to $3 |
| Total | $14 to $24 |
Keep Reading
If you liked these ideas, you will love these posts too
Each post has more simple ideas you can try at home this weekend.