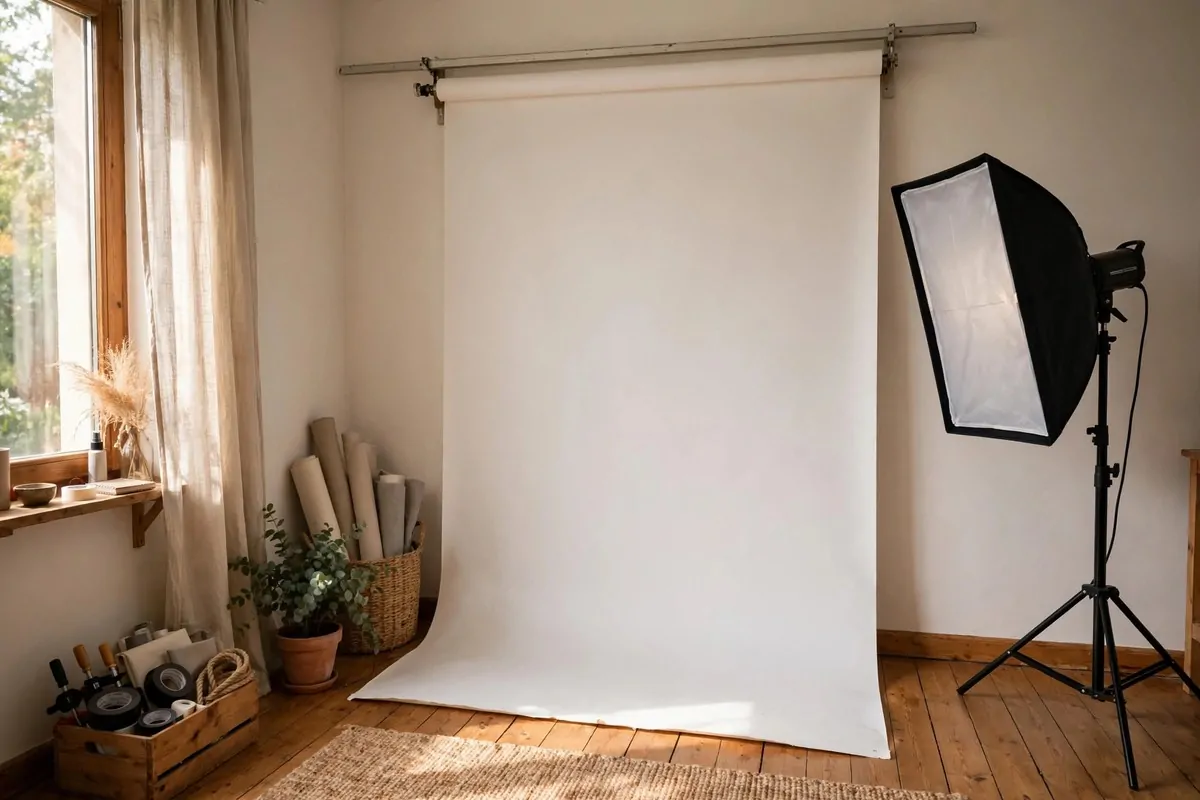
19 Bedroom Art Studio Ideas That Keep Creativity Close

Last night I fell asleep looking at a half-finished painting. It stood on the small easel in my bedroom corner, catching the hallway light, and I could not stop thinking about the blue I still needed to mix.
Then my eyes closed and I dreamed in that exact blue.
That is the whole secret of Bedroom Art Studio Ideas that really work. Your art never leaves the room. It stays close, the way a good book stays on your nightstand, and you bump into it at odd hours. A tired evening turns into ten quiet minutes of painting. A slow morning turns into a sketch before the kettle boils.
You do not need a spare room to make this work. I know because my bedroom is small and it still holds a studio. You need a corner, a little light, and a plan for the mess. That is honestly all.
Here are 19 Bedroom Art Studio Ideas that keep creativity close. Each one fits real bedrooms. Pick the ones that fit yours.
1. Claim the Window Nook First
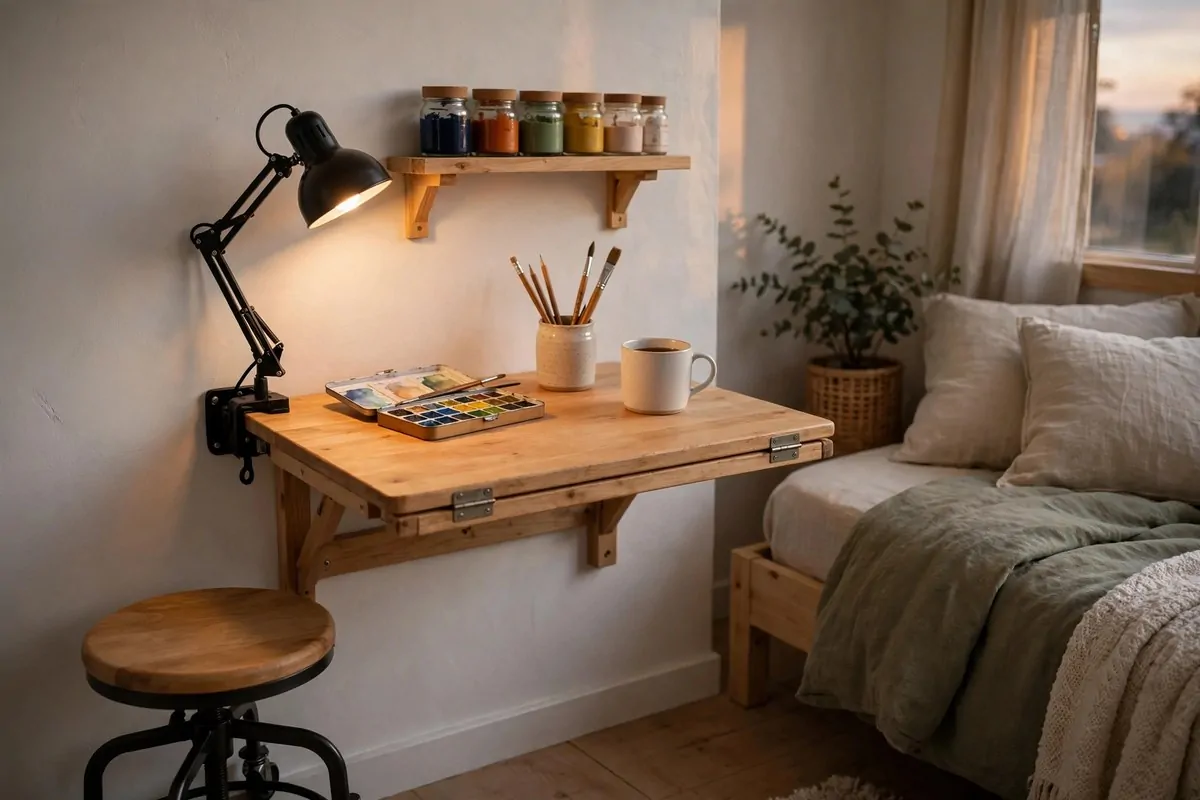
Every bedroom art studio starts in the same place. The window.
Artists love window light for a boring reason. It is free and it is true. Colors look right under daylight in a way no cheap bulb can fake. A spot near the window also gives you the quietest corner of most bedrooms, away from the door and the telly noise down the hall.
Push your desk or a small table right against the window wall. Sit facing the glass or with the window to your left if you are right-handed. Light coming from the side throws the softest shadows and does not blind you.
Hang a sheer curtain if the sun hits you hard at midday. Direct sun bleaches your view and heats your paints. A thin white curtain costs almost nothing and turns harsh light into a soft glow.
I keep my watercolors by the window and my life changed a little the day I moved them there. Mixing colors under real light means fewer surprises later. That muddy brown you thought was gray? It does not happen by the window.
No window to spare? A 5000K daylight lamp gets you close. Set it to the side of your work, the same way the sun would sit.
One more small thing. Pick a spot you can leave set up. A studio you have to unpack every single time is a studio you will not use. The window nook wins here too, because it is already a corner nobody else fights for.
Your bedroom already has the best light in the house at the window. Use it.
2. Hang a Fold-Down Wall Table
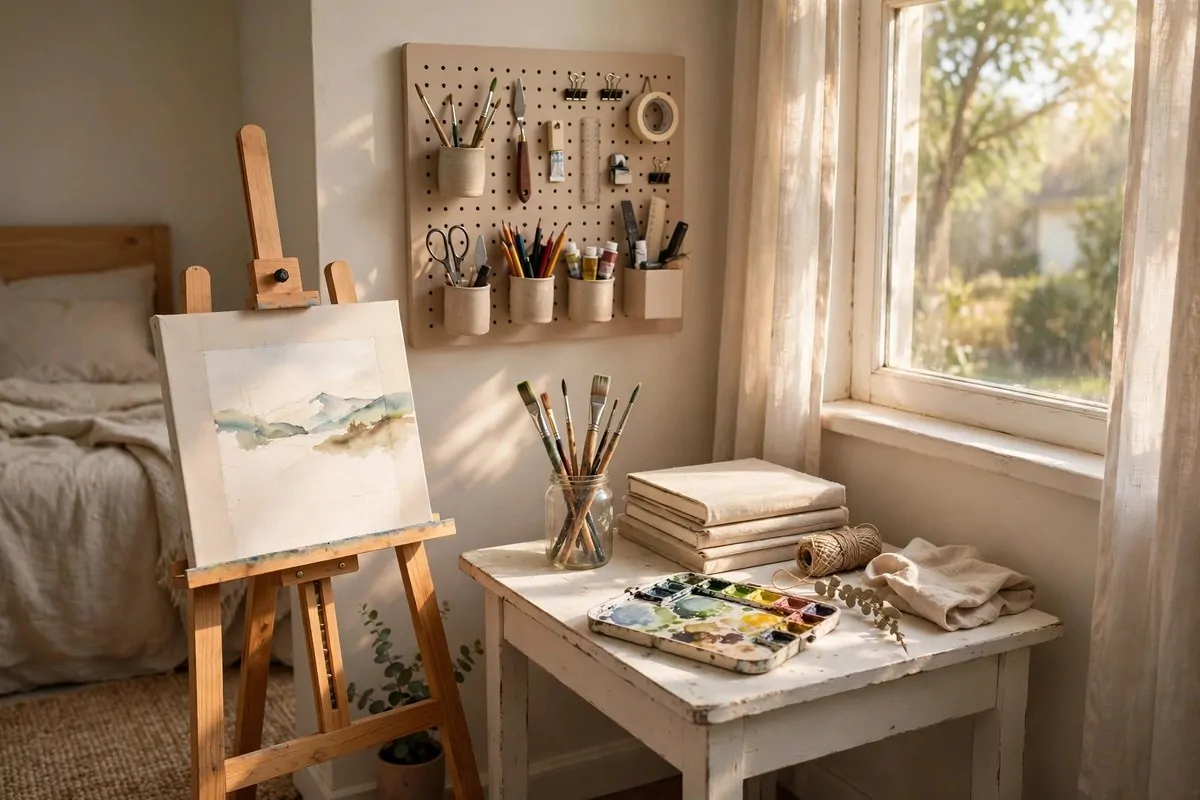
A fold-down wall table is the kindest thing you can do for a small bedroom.
It works like this. A wooden tabletop, roughly the size of a breakfast tray, hangs flat against the wall on strong hinges. Pull it down and you have a desk for sketching, watercolor, and small painting. Push it up when you finish and your bedroom looks like a bedroom again.
This is perfect for bedrooms that also need to feel restful at night. Seeing a full desk all evening keeps your brain in work mode. I learned that the hard way. Folding the table up tells your mind the art day is done.
Mount it at real desk height, about 28 to 30 inches from the floor. Too low and your back will complain within the week. Too high and your shoulders creep up to your ears.
Anchor it into wall studs, not just plaster. Art supplies are heavier than they look. A watercolor set, a jar of water, and a stack of sketchbooks add up fast.
Pair the table with a rolling stool that slides underneath. Now your whole studio takes up zero floor space when it is folded away. That is not a joke. Zero.
Keep your paints in a box on the shelf above the table, right where your hand lands. Grab, paint, fold, done.
If you can only pick one idea from this list, pick this one. A folding table makes the studio possible in bedrooms where a real desk simply cannot fit.
3. Park a Three-Tier Rolling Cart Beside Your Desk
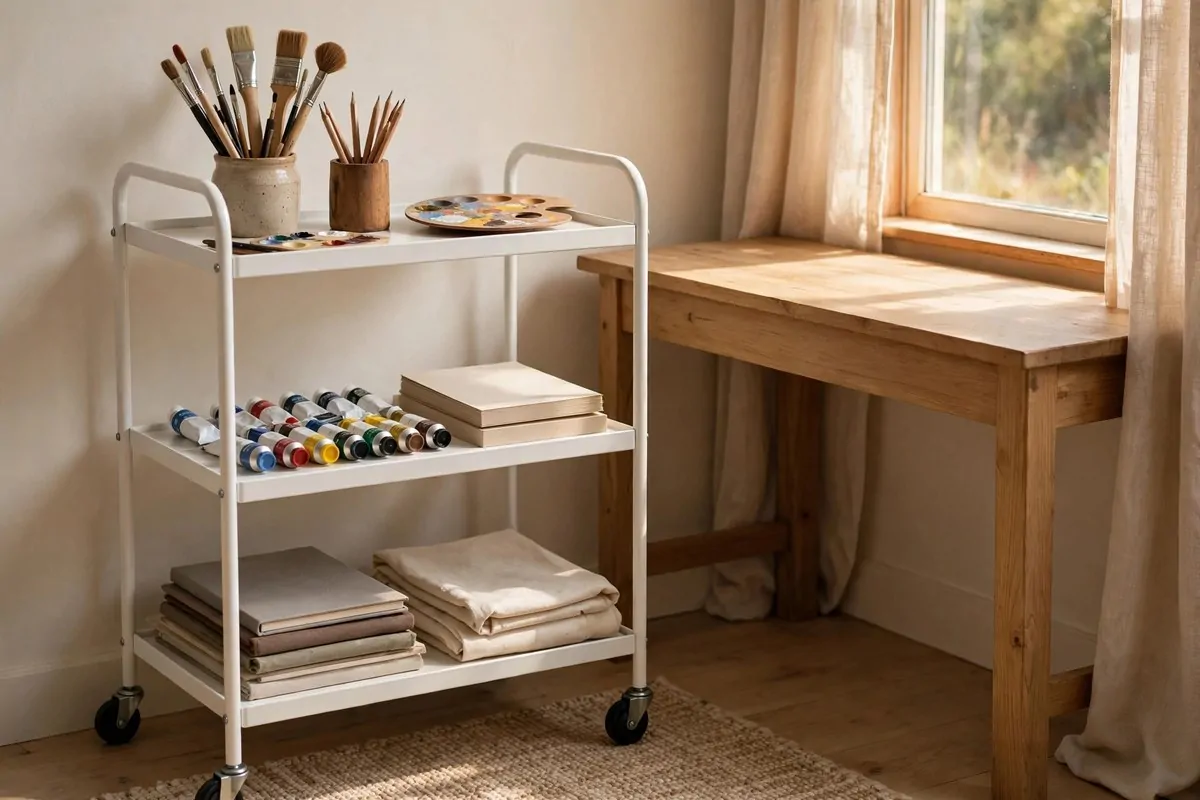
If the folding table is the studio, the rolling cart is the studio assistant.
A three-tier rolling cart holds your whole kit in about one square foot of floor. It rolls, so it goes where you go. It parks beside your desk when you paint and slides into the closet when guests come.
Here is how I load mine. Top tier holds what my hands need every session. Brushes, pencils, my palette, a rag. Middle tier holds paint and paper. Bottom tier takes the bulky stuff nobody wants to see.
| Tier | What goes there |
| Top | Brushes, pencils, palette, rag, water jar |
| Middle | Paint tubes, paper pads, tape, erasers |
| Bottom | Sketchbooks, drop cloth, bulky jars |
The magic rule is simple. Things you use every session stay on the cart. Everything else goes up on shelves or into drawers.
Small spaces get messy fast because everything fights for the same few inches. The cart ends that fight. Each tier is one job, and you always know where the blue tube lives.
Pick a cart with a lip on each shelf. Without a lip, paint tubes roll off the moment you move it. With a lip, you can roll it across the room with no fear.
Wipe the tiers down once a week. Paint dries fast on metal and turns into a crust you will regret later. A damp cloth takes ten seconds.
Your future self will thank you the first time you roll your whole studio to the good light by the window.
4. Put Up a Painted Pegboard
A pegboard turns a blank bedroom wall into storage you can rearrange any time you like.
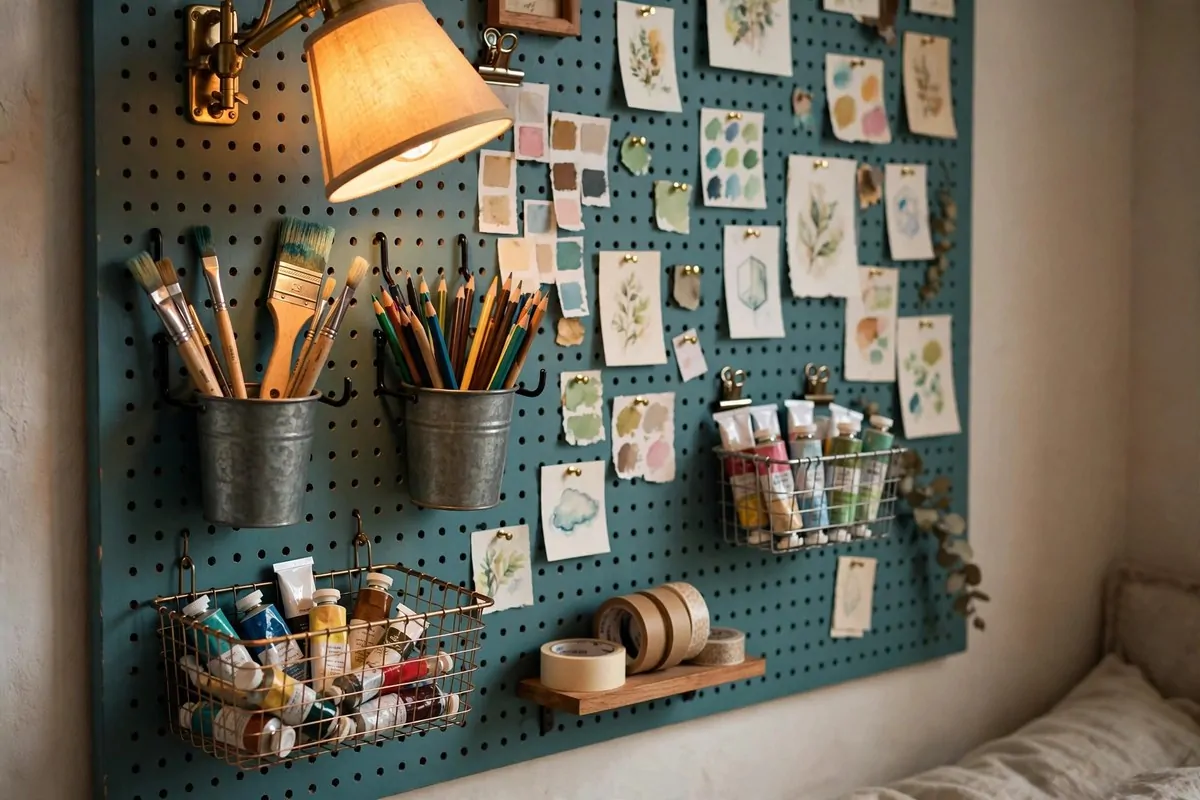
You know the brown boards from workshops. Forget those. Paint yours. A soft teal, a dusty pink, even a warm yellow. Painted pegboards act as decor and storage at once, which is exactly what a bedroom studio needs. The wall stops looking like a supply closet and starts looking like a choice.
Clip on metal cups for your brushes. Hang small baskets for paint tubes. Add a little shelf for the things that do not hang well. Pin sketches and color swatches in the gaps between tools.
The best part is that nothing is permanent. Move a hook. Shift a basket. The board grows with your art. My pegboard looked totally different a year ago, and it will look different again next spring.
Standard pegboard hooks fit most boards. If a hook slips out when you grab a brush, tighten the little tabs with pliers. Two seconds, fixed forever.
Keep the board to one wall section, about two feet wide. A small pegboard reads as a feature. A whole wall of them reads as a hardware store.
One color tip from my own wall. Match the pegboard color to something already in your bedroom. A cushion, a curtain, a rug. That one repeat makes the studio feel planned instead of pasted on.
Bedrooms are personal spaces. A painted pegboard says this studio belongs here, not in some cold rented room across town.
5. Roll Out a Slim Easel When You Paint
Not everyone paints at a desk. Some of us need to stand up and move.
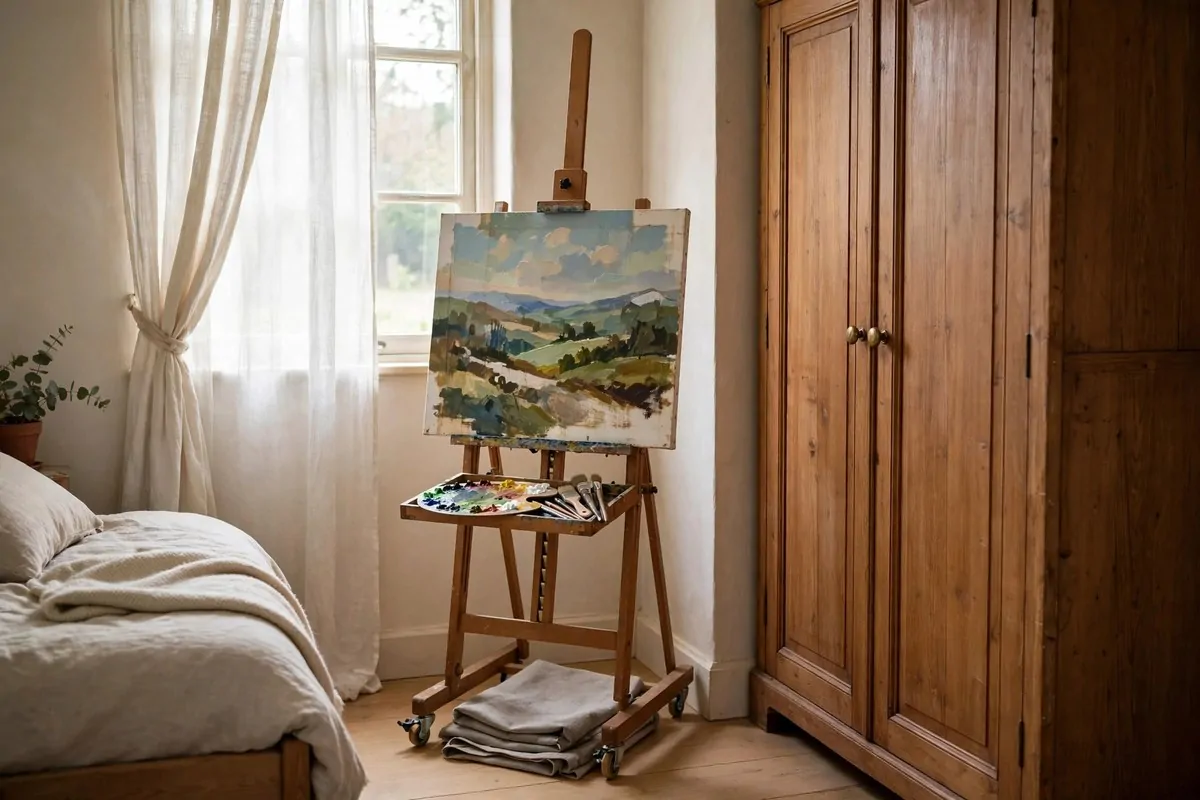
A slim easel on lockable wheels is the answer for bedroom painters. Roll it out when the mood strikes. Roll it behind the wardrobe or into the corner when you need your bedroom back. The wheels are the whole trick.
Pick a narrow frame with a hinged top and a small bottom tray for your palette. Wide studio easels eat floor space you do not have. Slim ones slip into gaps about a foot wide.
Lock the wheels before you paint. This matters more than it sounds. A rolling easel on a smooth floor will drift the moment you lean in with a brush. One locked wheel stops the whole thing.
Add small felt bumpers where the easel touches the wall. Paint-stained feet against bedroom paint is a fight nobody wants. Felt costs pennies and saves the wall.
Keep your biggest canvas size in mind when you buy. Measure your largest board first, then check the easel holds it. A canvas that overhangs the frame wobbles and it it will drive you mad.
Stand-up painting also saves your back on long sessions. Sitting hunched for three hours is a young person’s game. Standing lets you step back, look, and step in again.
Store the easel with a cloth over the painting in progress. In a bedroom, that cloth doubles as dust cover and as a little mystery. What is she working on in there? Only you know.
6. Turn Your Closet Into a Mini Studio
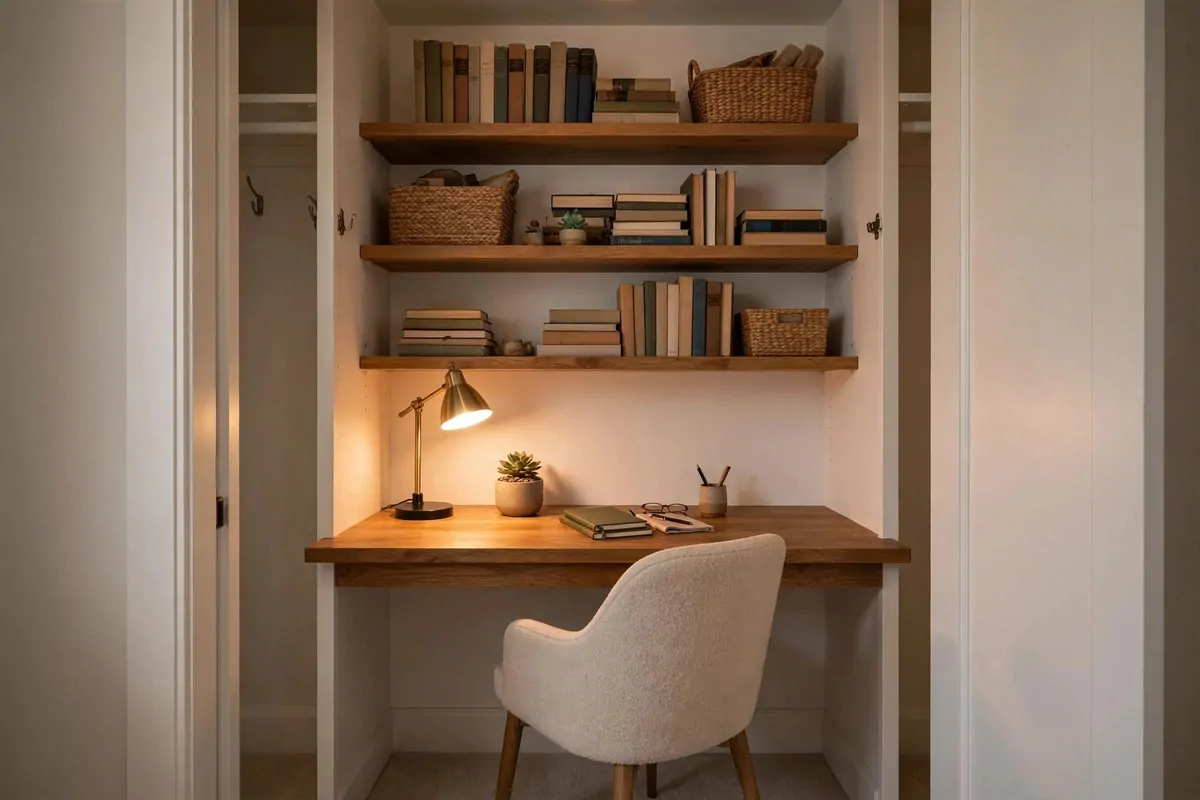
Your closet might be the best studio space you already own.
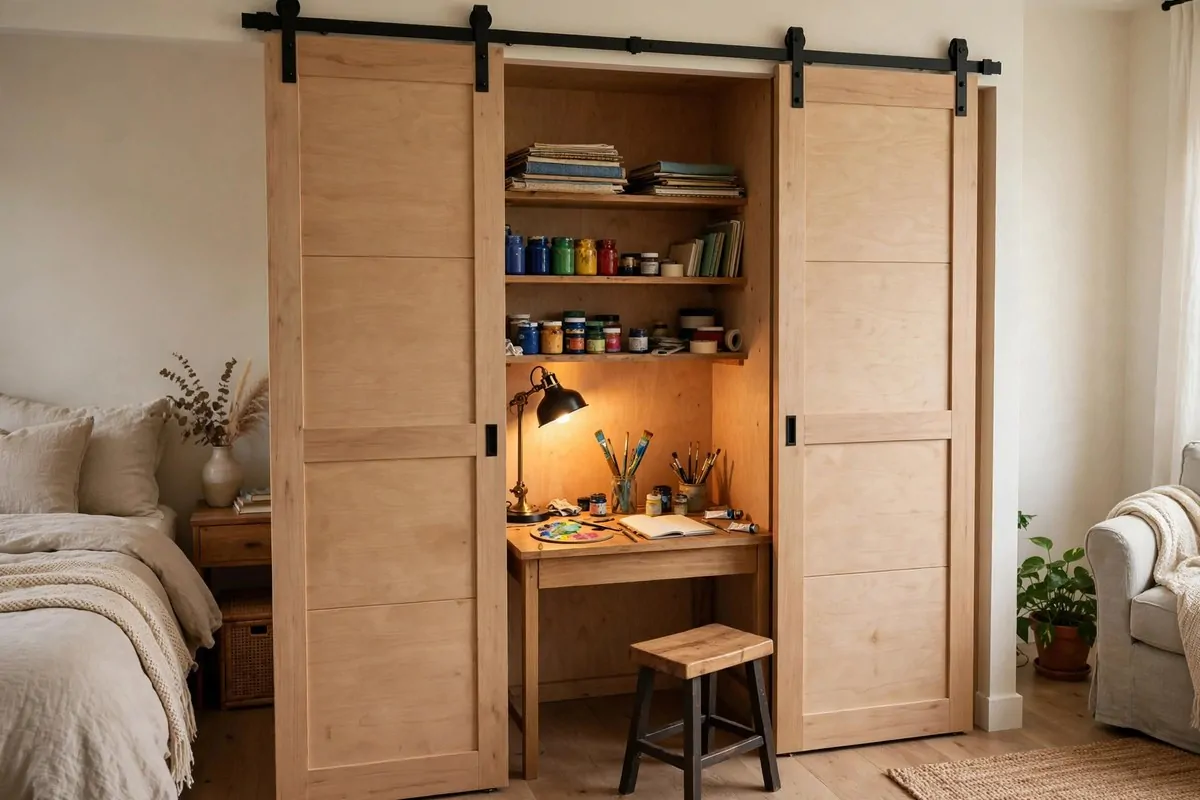
Take the doors off their hinges or slide them open. Put a small desk inside. Add a clip lamp and one shelf above for supplies. A closet that is two feet deep and four feet wide holds a full drawing or watercolor setup.
The doors are the magic. When you finish for the evening, you slide them shut and the studio is gone. Your bedroom is just a bedroom. Your brain gets the message that art time is over.
Most closet floors are dark. Fix that with a battery puck light or a small plug-in lamp on the desk. Good light matters more in a closet than anywhere else, because there is no window to help you.
Keep a stool that fits inside the closet too. A stool with no back slides under the desk and takes no room at all. You sit, you paint, you stand, you close the doors.
Ventilation is worth a thought here. A closet is a small closed box. Stick to dry media or water-based paints inside it, and open the doors while you work so air can move.
Sort the supplies once and keep the system tiny. A pencil cup, a small palette, one box of paint. If it does not fit in the closet studio, it does not belong in it.
Guests will never know. Dinner visitors see a bedroom with closed closet doors. You know there is a whole studio behind them, waiting.
7. Hide the Whole Studio in a Craft Armoire
Some bedrooms share their space with another person. A craft armoire is how you keep the peace.
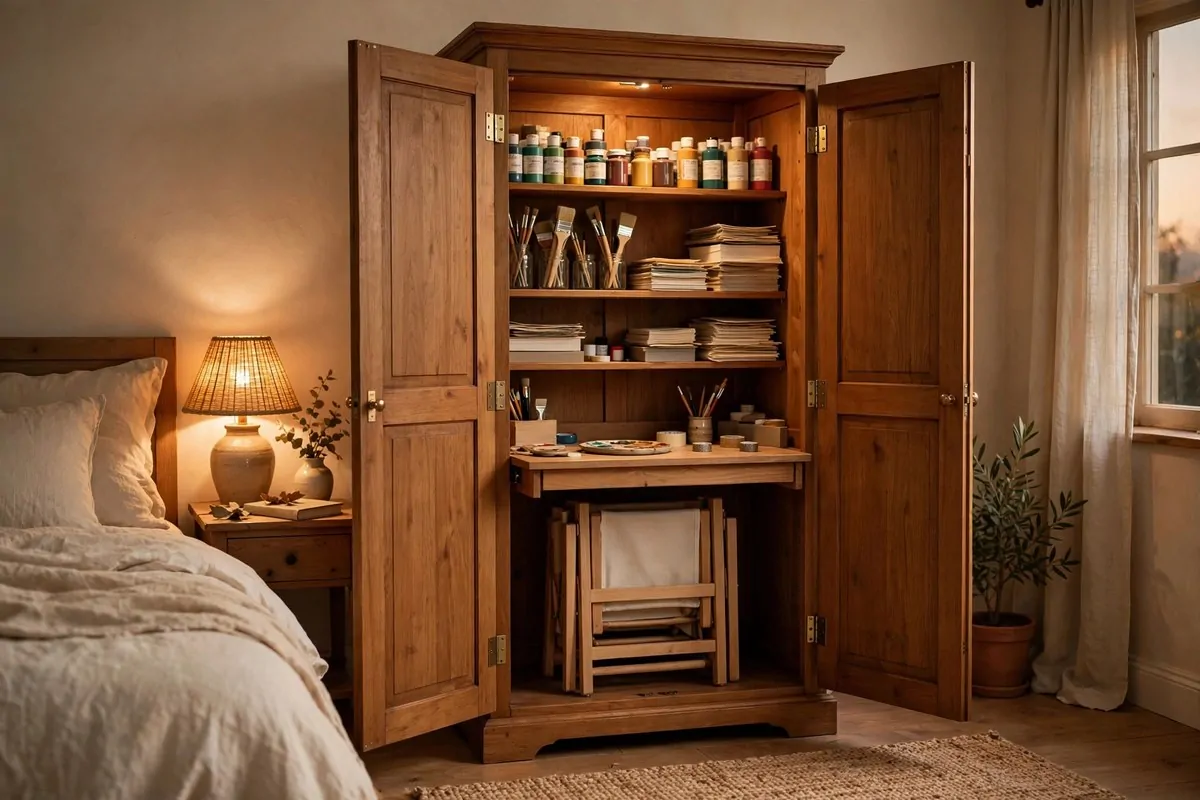
It looks like a normal wardrobe. Open the doors and inside is a full studio. A work surface. Shelves for supplies. Space for a folded chair. Close the doors and it is furniture again, tidy and quiet.
This is the bedroom art studio idea for people who hate visual clutter. Paint tubes and half-finished canvases stress some people out, especially at bedtime. The armoire lets the mess exist without staring at anyone.
Set it up in zones inside. Work surface at desk height. Shelves above for paint and paper. Hooks on the inside of the doors for scissors, rulers, and brushes. Every inch of the inside works hard.
Add a small battery lamp inside if the armoire sits away from the window. Most armoires are deep and shadowy at the back. Light the work surface and the whole thing feels professional.
The armoire also protects your supplies from dust and sun. Paint tubes fade in sunlight. Paper yellows. Behind closed doors, your materials last longer and stay ready.
Choose one that matches your bedroom furniture. When it matches, nobody questions it. It is just the wardrobe that happens to hold your creativity.
Close the doors at night. That five-second ritual is the off switch for your art brain. Tomorrow it opens again, fresh.
8. Slide Canvases Under the Bed
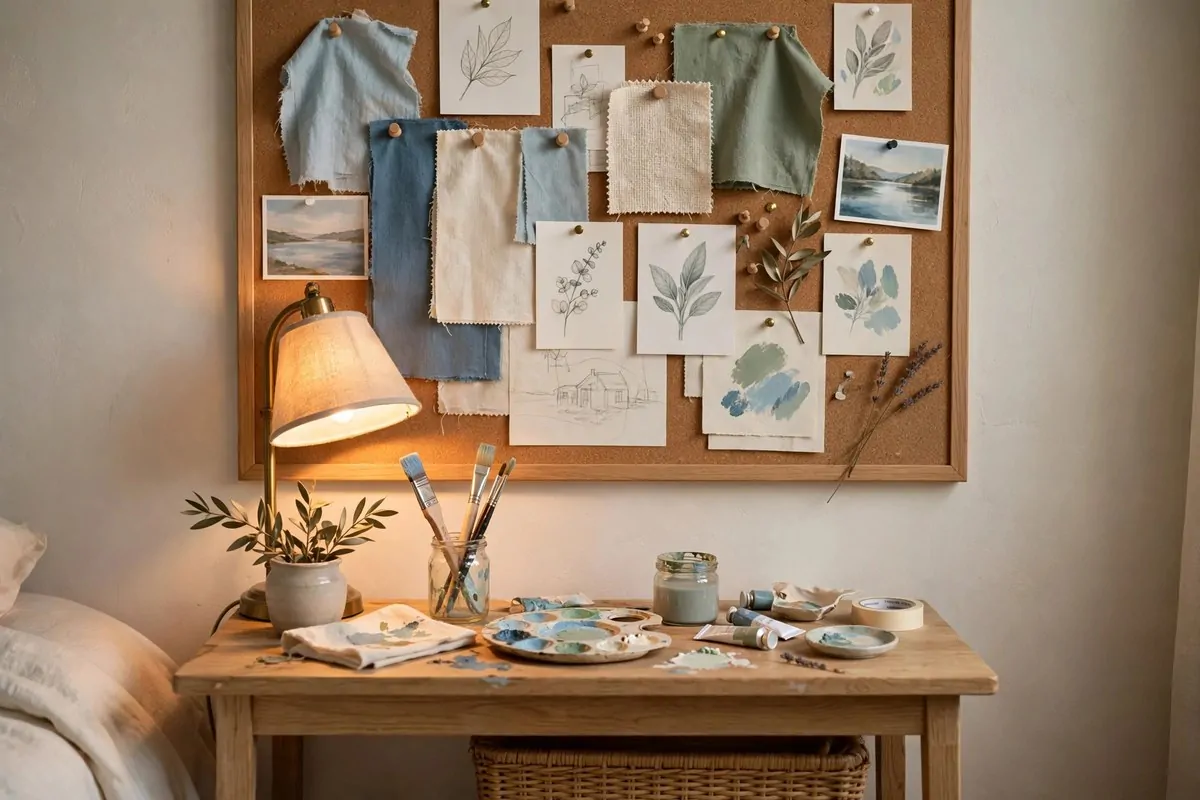
Canvases are the bulkiest part of painting. They lean in corners, they fall over, they collect dust. Your bed can fix that.
Raise the bed a few inches on risers and the space underneath becomes flat storage for canvases and boards. Slide them in like files in a drawer. A low rolling rack with dividers keeps them upright and separated so they do not stick together.
Measure first. Most risers add four to six inches of height. That fits canvas boards and thin stretched canvases easily. Big chunky frames need more, so plan for those separately.
Dust is the enemy under a bed. Slip each canvas into a cheap plastic bag or a pillowcase before sliding it under. It takes seconds and your paintings stay clean for months.
Keep a small list taped inside your nightstand drawer. Canvas sizes, what is painted on each, where it sits in the rack. When you have twenty boards under the bed, you will not remember which is which.
This also works for paper. Big watercolor sheets and drawing pads stay flat and safe under the bed, far from the coffee cup danger zone of the desk.
One warning from experience. Do not store wet paintings under the bed. Ever. They need air to dry, or they stick to everything and the paint stays tacky for weeks. Dry them on a rack first, then slide them underneath.
Your canvases get a home. Your corners get their floor back. Everybody wins.
9. Mark Your Zone With a Washable Rug
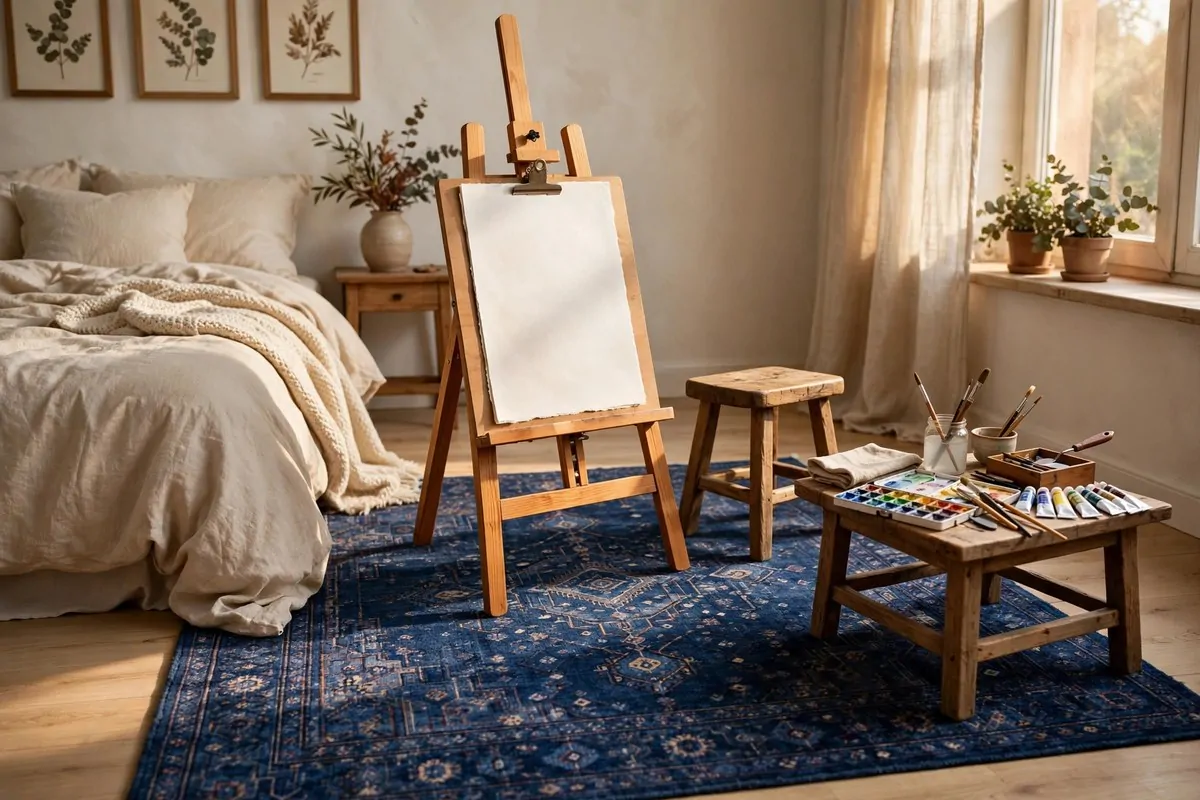
Bedroom floors and paint are old enemies. A washable rug ends the war.
Lay a low-pile washable rug under your easel or desk chair. It marks your studio zone the way a rug marks a reading corner. Your brain sees the edge of the rug and knows this is where art happens.
The rug also catches the drips. Paint water splashes. Pencil shavings fall. Eraser crumbs scatter. On a washable rug, all of that goes straight into the washing machine once a month. On bare carpet, it becomes a permanent gallery of mistakes.
Pick a pattern that hides stains. Busy patterns, dark colors, or both. A white shag rug in an art studio is a tragedy waiting for its first act. Mine is a deep blue with a busy print, and three years of painting barely show.
Make sure the rug is flat and low-pile. Thick rugs wobble under easels and chair wheels. You want a rug you can roll a cart across without a fight.
Size it to your work zone. About four by six feet covers a desk, a stool, and a little room to step back. Bigger is fine if your bedroom allows it.
Wash it on cold and hang it to dry. Most washable rugs do not love the dryer. Hang drying keeps the backing flat and the colors bright.
This one small rug also protects your deposit if you rent. Floors stay clean, landlords stay happy, and your art stays right where it belongs.
10. Build a Small Mood Board Wall
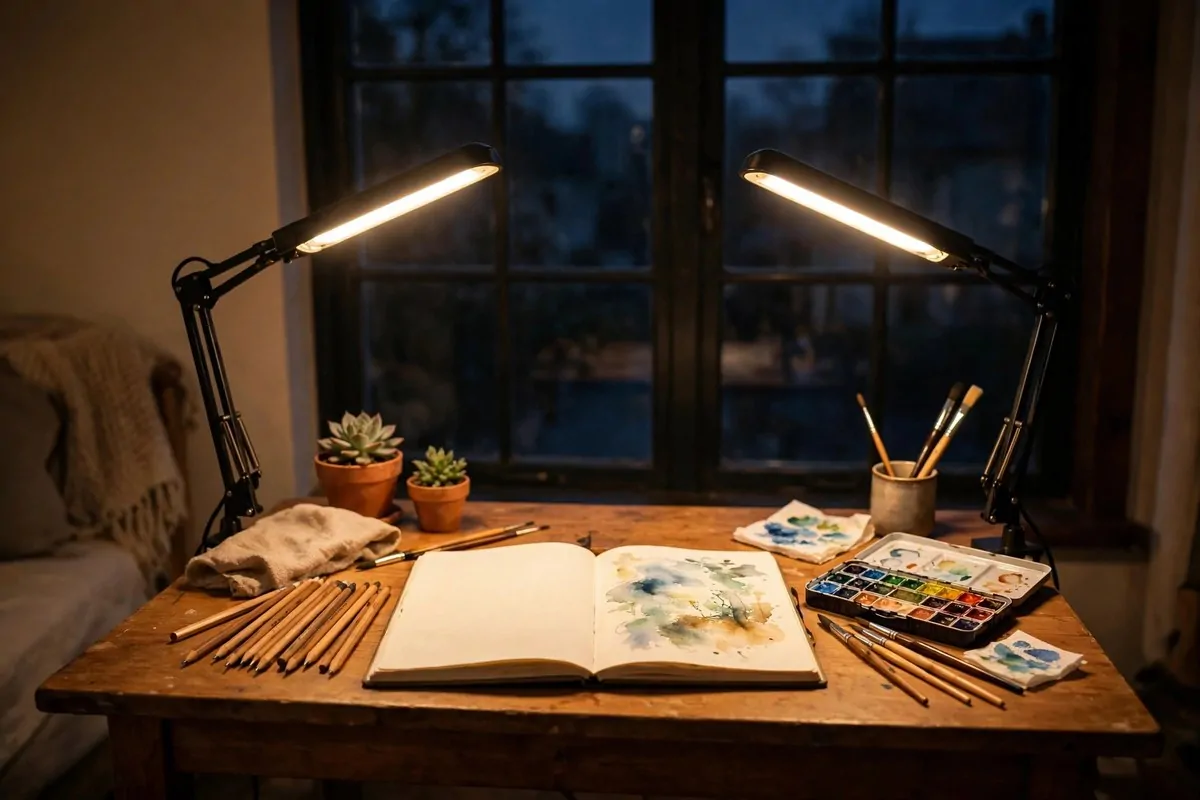
Every studio needs one spot that is pure inspiration.
A mood board is a small board, about two by three feet, where you pin the things that spark ideas. Color swatches. Sketches you love. Postcards. Fabric scraps. A photo of a painting you want to learn from. Anything that makes your fingers itch to start.
Use a cork board, a foam board, or even a piece of cardboard wrapped in linen. Hang it on the wall right where you see it while you paint. Eye level from your chair is perfect.
Here is what keeps a mood board from turning into clutter. Limit it to one area and one palette. Three or four colors that repeat across your corner. When the board shares your room’s colors, it reads as decor. When it holds every color at once, it reads as a mess.
Swap pieces out each season. Take down what stopped exciting you. Pin up what is new. A mood board that never changes becomes wallpaper. A mood board that changes stays alive.
Pin with intention. Put the thing you want to learn from at the center. Surround it with the colors and shapes that support it. Step back and look. The board starts to feel like a map of your next ten paintings.
Include one piece of your own finished work. Not your best one. Your favorite one. Seeing it there reminds you that you actually finish things.
I look at my board every morning while my coffee cools. Some days it gives me nothing. Other days it gives me the whole painting before I even pick up a brush.
11. Use Two Lamps Instead of One
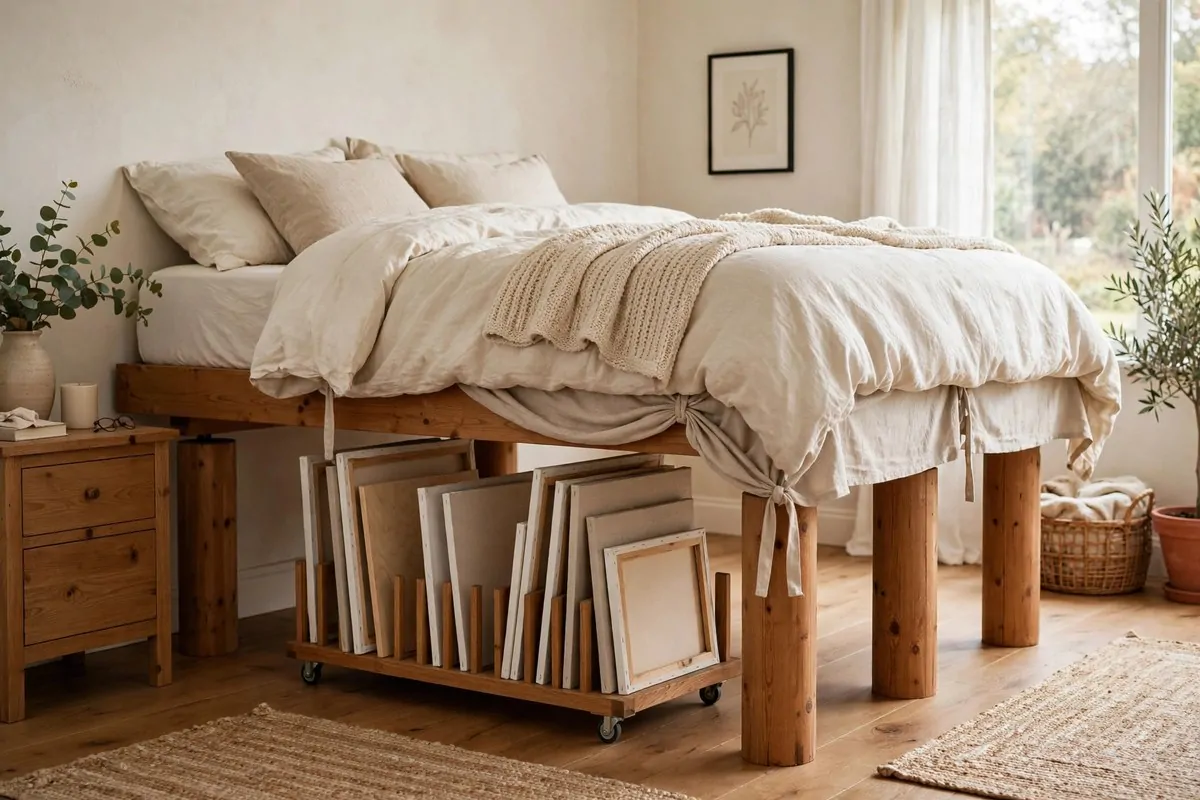
Here is a lighting trick most beginners miss. One lamp is not enough.
A single lamp throws a shadow from your own hand across the canvas. You lean in to paint and your brush hand blocks the light. The spot you are painting goes dark at the exact moment you need to see it.
Two lamps fix this. Put one on each side of your work. The light meets in the middle and the hand shadow disappears. Artists who paint at night swear by this setup.
Choose daylight-balanced bulbs, around 5000K. They show true colors. Warm bulbs make everything look golden, and your painting will look wrong in the morning. Ask me how I know. Actually, do not. It still hurts.
Pick lamps with adjustable color modes if you can. Warm light is fine for sketching in the evening. Cool daylight is what you want for mixing color. One lamp that does both covers every mood.
Clamp-base lamps save desk space. They grip the edge of the table and leave the whole surface free. In a bedroom studio, every inch of desk matters.
Angle the lamps at about 45 degrees to your work. Straight overhead light is flat and boring. Side light shows the texture of the paper and the ridges of the paint, which is half the fun.
Test your setup with a simple trick. Hold your hand over the paper. If you see two soft shadows instead of one dark one, you got it right.
Good light also makes the corner photograph well. Morning sun for real photos. Twin lamps for the midnight sessions. Your art deserves to be seen properly in both.
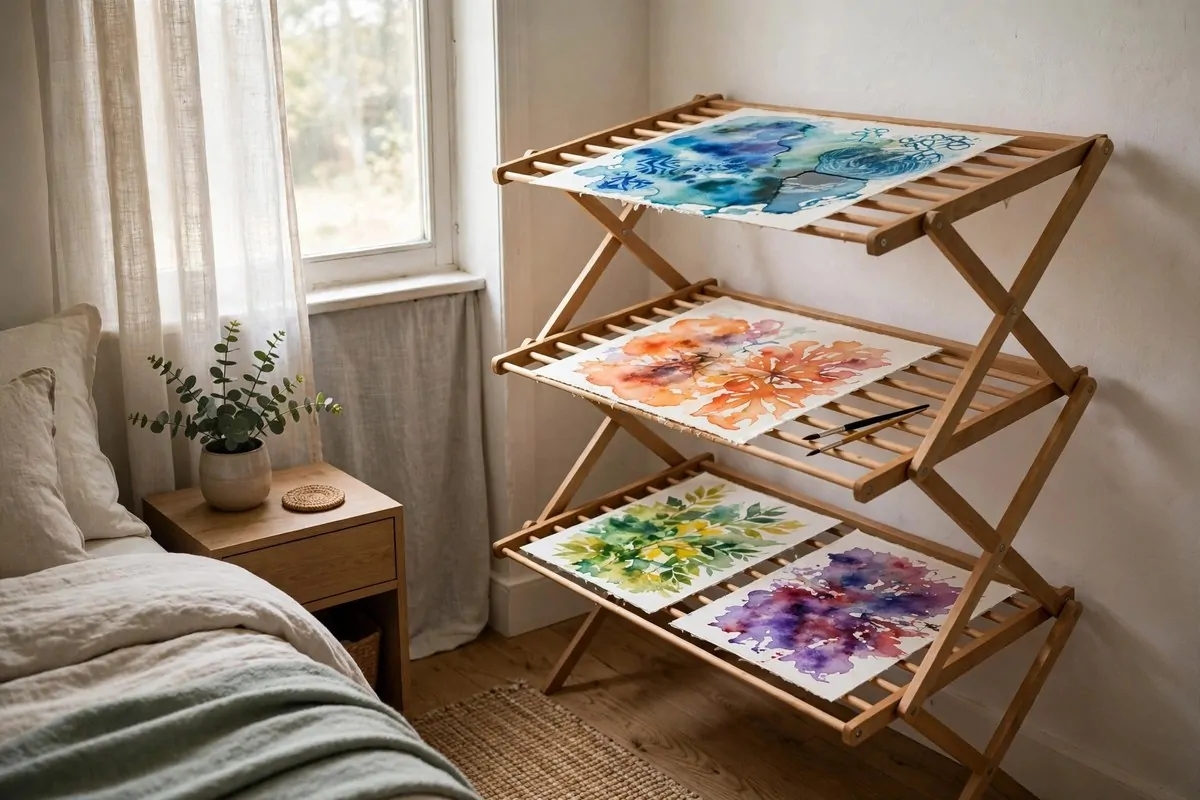
12. Dry Wet Paintings on a Folding Rack
Wet paintings need a safe place to dry. Your bedroom floor is not that place.
A folding drying rack solves it. It looks like a small bookshelf with flat shelves instead of books. You slide wet canvases and boards onto the shelves, spaced apart, and they dry flat without touching anything.
Flat drying matters more than people think. Wet paint slides when a canvas leans at an angle. Colors run into each other. A flat shelf keeps everything exactly where you put it.
Buy a rack that folds flat when it is empty. Bedroom space is precious. When the paintings are dry and stored, the rack collapses to a few inches thick and slides behind the door.
Keep the rack away from the bed. Paint fumes drift, even from water-based paints. A corner near the window is ideal, because moving air speeds up drying.
Do not stack wet paintings to save space. Two wet surfaces pressed together will bond like glue. I lost a whole week’s work to that mistake once. One layer per shelf, always.
For small studies, a dish drying rack works too. The little wire racks from the kitchen hold watercolor paper perfectly. It is cheap and it is already in your house.
When everything is dry, wipe the shelves before folding the rack. Dried paint crumbs scratch the next batch. Ten seconds with a cloth keeps the rack kind to your art.
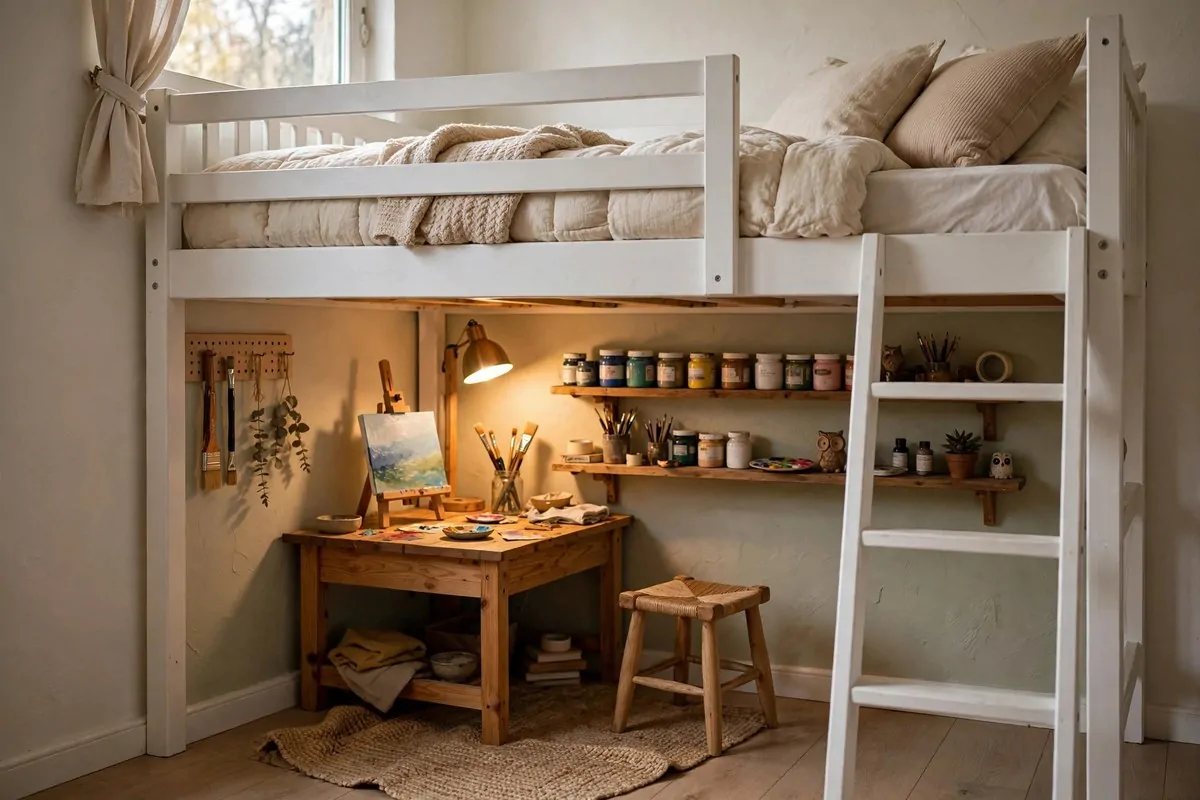
13. Put the Studio Under a Loft Bed
A loft bed gives you a whole room inside your room.
Sleep up top. Create underneath. The space under a raised bed fits a desk, a stool, shelves, and even a small easel. It is a studio with a roof, tucked into the corner of your bedroom.
The walls of the nook feel private. Curtains on the loft frame turn it into a real hideaway. Some people find they focus better in a smaller enclosed space. It is like a blanket fort that pays rent.
Check the height before you commit. Sit at your desk and make sure you do not hit your head when you stand. Most lofts give five to six feet underneath, which is enough for seated work.
Light it well. The underside of a loft bed is naturally shadowy. A daylight lamp on the desk plus a small clip light on the frame turns the nook bright and workable.
Use the loft frame itself for storage. Hooks on the posts hold bags and aprons. Small shelves bolted to the frame hold paint and paper. The structure is already there, so make it work.
Keep the sleeping area separate from the paint area. A fitted sheet on the mattress and a small curtain between zones stops paint dust from reaching your pillow.
This setup is a favorite for teenagers and students. One bedroom, two jobs, and the art is always ten seconds away from the bed.
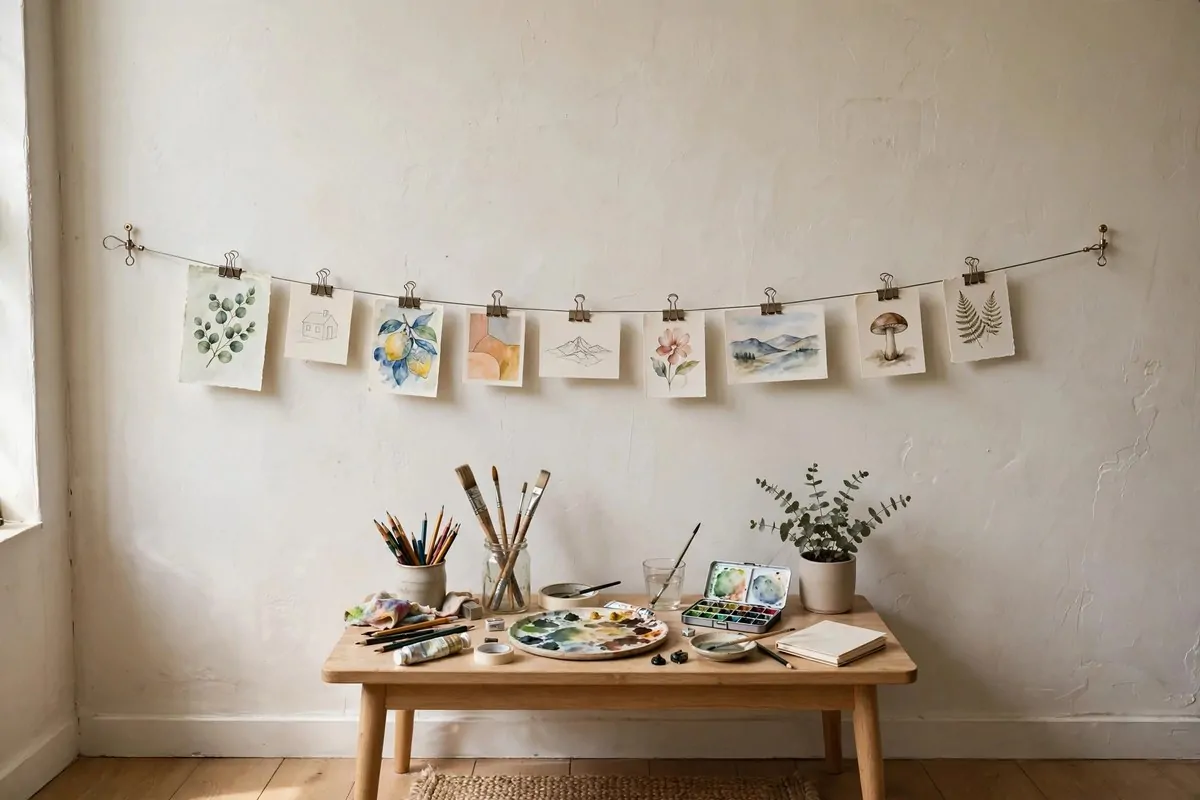
14. Hang Finished Pieces on a Curtain Wire
Finished art deserves better than a stack on the floor.
A thin steel curtain wire strung across one wall turns your bedroom into a gallery. Clip your finished pieces on with small metal clips. When a new piece is done, it joins the line. When you fall out of love with an old one, it comes down in seconds.
This does three jobs at once. It displays your work. It stores finished pieces without stacking them. And it fills your wall with art that is actually yours.
Hang the wire at a height you can reach easily. About eye level when you stand. Too high and swapping pieces becomes a chair-dragging chore. You will stop doing it.
Use clips with rubber tips. Bare metal clips can dent soft paper and leave little rust marks over time. Rubber-tipped ones grip gently and never mark.
Keep the wire to one wall or one stretch. A single line of ten pieces looks like a gallery. Wires on every wall look like a laundromat.
Mix sizes along the wire for the best look. Big, small, medium, small, big. The rhythm keeps your eye moving and makes the whole wall feel alive.
Swap the oldest piece for the newest every month. Your bedroom wall becomes a living record of how far you have come. That is worth more than any poster.
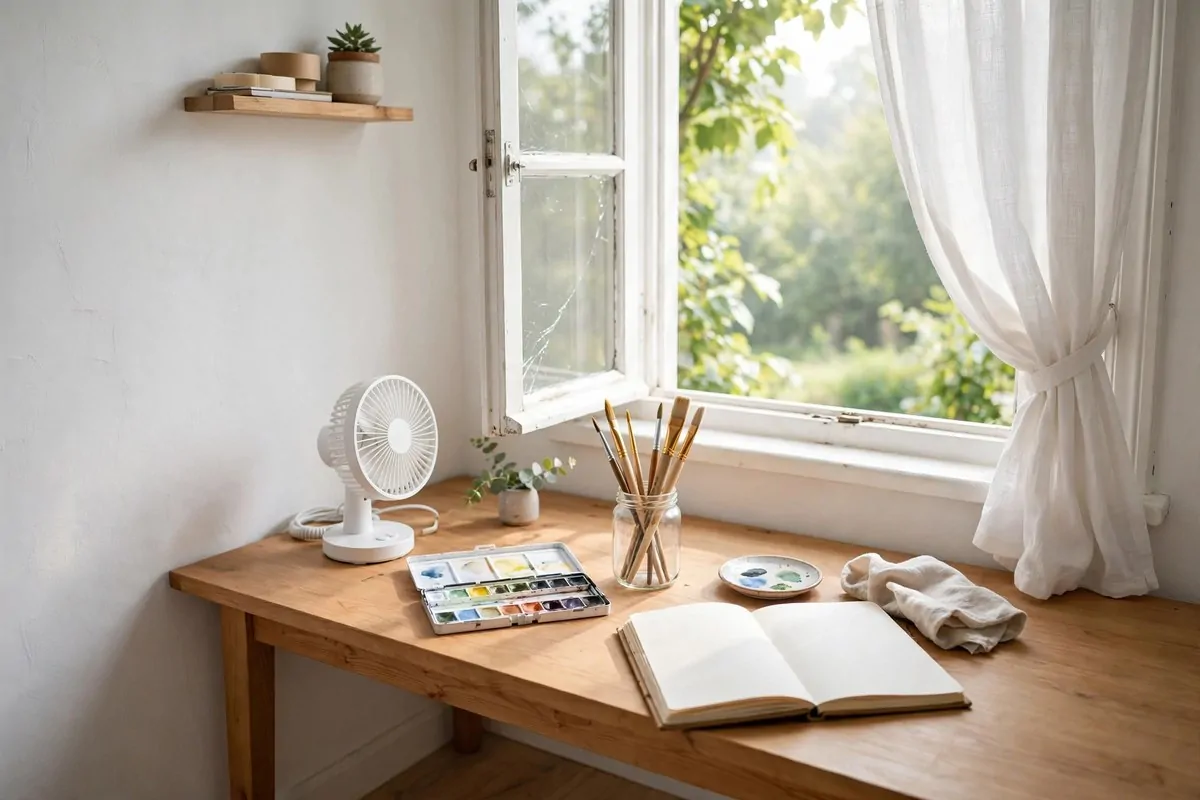
15. Keep the Air Clean While You Paint
Your bedroom is where you sleep for seven or eight hours. Whatever you breathe while you paint stays in that room.
This matters more than most Bedroom Art Studio Ideas lists admit. Solvents and oil mediums give off fumes that have no business in a small sleeping room. The fix is simple. Use water-based paints in the bedroom. Watercolors, gouache, acrylics, pencils, ink. Save the smelly stuff for a garage or an outdoor space.
Crack the window while you work. Even two inches helps. Moving air carries fumes out and fresh air in. A small desk fan pointed toward the window speeds this up nicely.
Keep a window fan running on low if your window opens well. It pulls the room air out all evening. Your lungs will thank you at 2 in the morning.
Store pigments sealed. Powdered pigments and pastels make dust that settles on everything. Lidded boxes and closed jars keep the dust in and the air clean.
Wipe surfaces weekly with a damp cloth. Paint dust is sneaky. It lands on shelves and sills and floats up when disturbed. A quick wipe stops the buildup.
If a paint smells strong, trust your nose. Headaches and a stuffy feeling are signs the room needs more air. Open up, take a break, come back when it smells like a bedroom again.
Your art should never cost you your sleep. Clean air rules keep the studio safe and the bedroom restful.
16. Let Your Nightstand Hold Your Paints
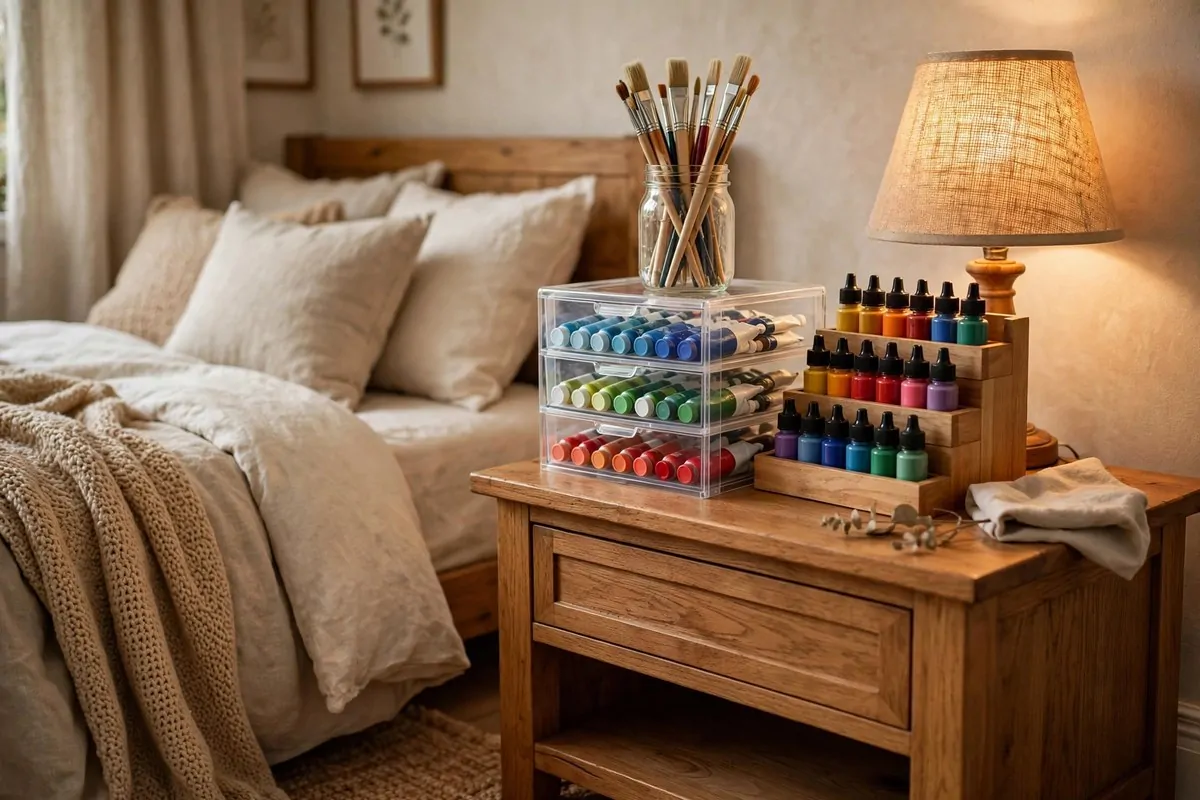
Your nightstand already sits by your bed. Give it a second job.
Swap the drawer contents for art supplies. A small clear drawer unit on or inside the nightstand holds paint tubes sorted by color, brushes, and tape. The lamp on top stays. The book you are reading stays. The paints move in beside them.
Clear drawers beat solid ones here. You can see the colors without opening every drawer. That sounds small, but it matters at 11 at night when you want the cadmium red and your eyes are half closed.
Use a spice rack for paint bottles if your nightstand has a flat top. Those little stepped racks from the kitchen hold craft paint bottles perfectly. A dab of the color on each cap tells you which is which from above.
Keep the brushes in a jar on top of the nightstand. Not in the drawer. Brushes in drawers get crushed and bent. Brushes in a jar stand ready, bristles up.
This setup shines for tiny bedrooms with no desk space at all. Bed, nightstand, lap board. That is a complete painting station. People have made whole sketchbooks this way.
Wipe the nightstand top weekly. Paint water rings are real. A quick wipe keeps the wood happy and your landlord happier.
The best part? Your supplies are within arm’s reach of where you sleep. Late-night idea? Sit up, grab a pencil, sketch it before it floats away.
17. Store Canvases on a Wall Rack
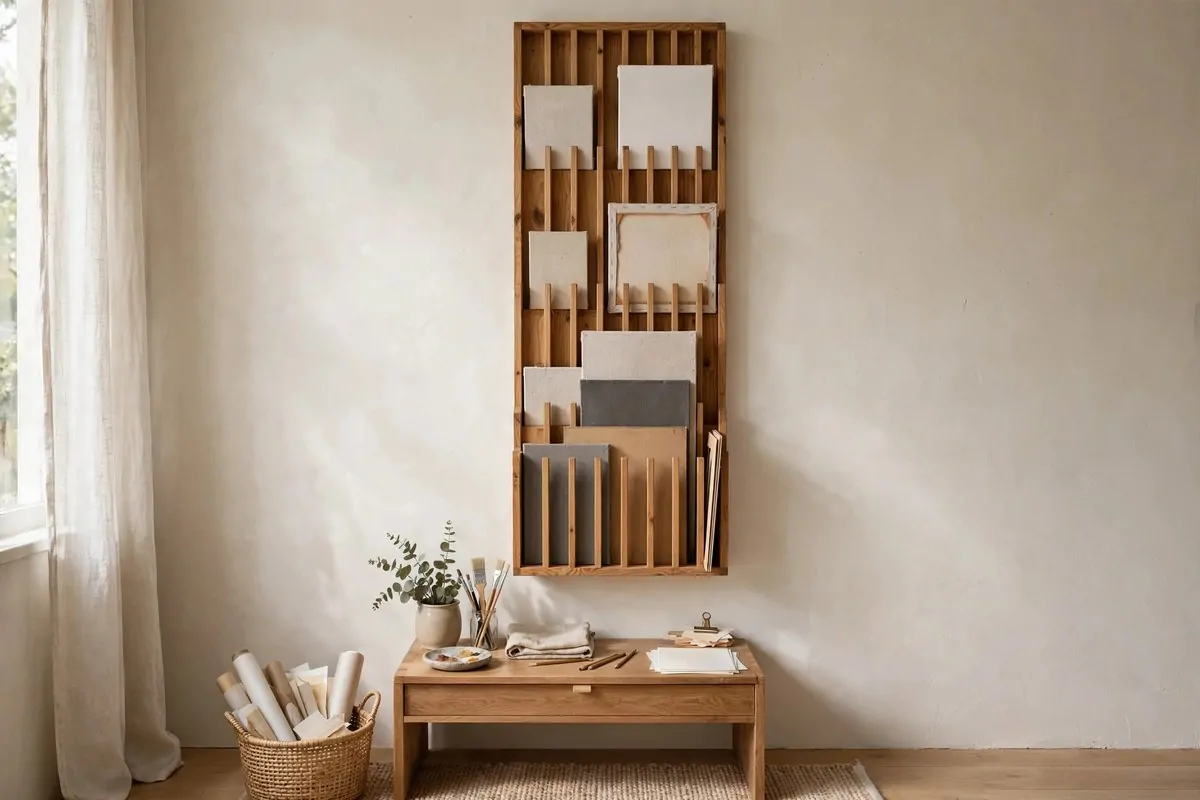
Big canvases are awkward. They lean, they slide, they fall behind the dresser. A wall rack ends the drama.
A vertical wall-mounted rack is a simple wooden frame with slots. You slide canvases in upright, like records in a crate. Different sizes fit side by side. Everything is visible, nothing is stacked, and no canvas touches another.
Mount it on a wall you can reach. Above the desk works well. So does the wall beside the door, which is usually dead space anyway.
Space the slots wide enough for thick stretched canvases. Thin boards can share slots. Chunky gallery-wrapped canvases need their own room. Measure your fattest canvas before you build or buy.
The rack also becomes a display. A wall of your own canvases looks like a studio, even when you are not painting. Visitors always stare at it. Let them.
Label the back of each canvas with the date you started it. When the rack fills up, the dates tell you which pieces have waited longest. Finish the oldest one first. Your future self says thanks.
Dust the tops monthly. Canvases collect a gray line of dust along the top edge. A soft brush keeps them clean.
If you rent and cannot drill, lean a slotted floor rack against the wall instead. Same idea, no holes. It holds fewer canvases, but it holds them well.
18. Go Light and Scandi for a Calm Corner
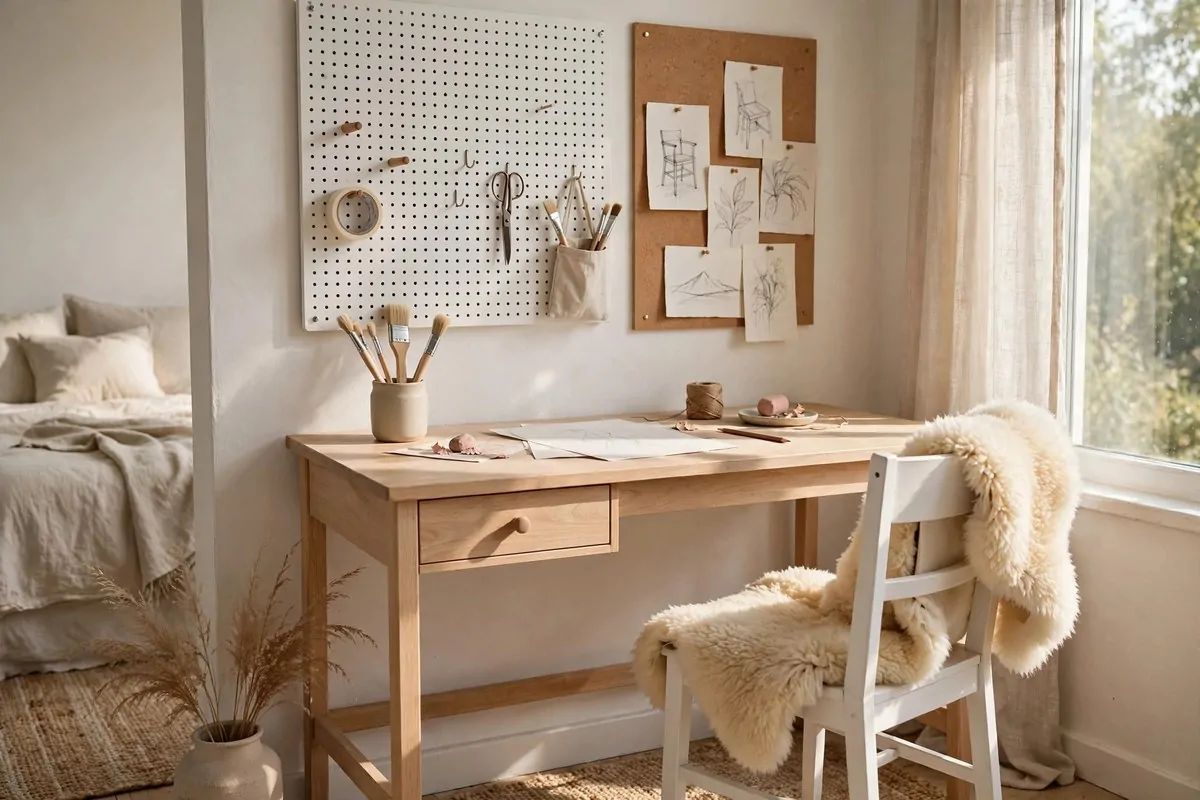
A bedroom studio should feel calm. Scandi style does calm better than anything.
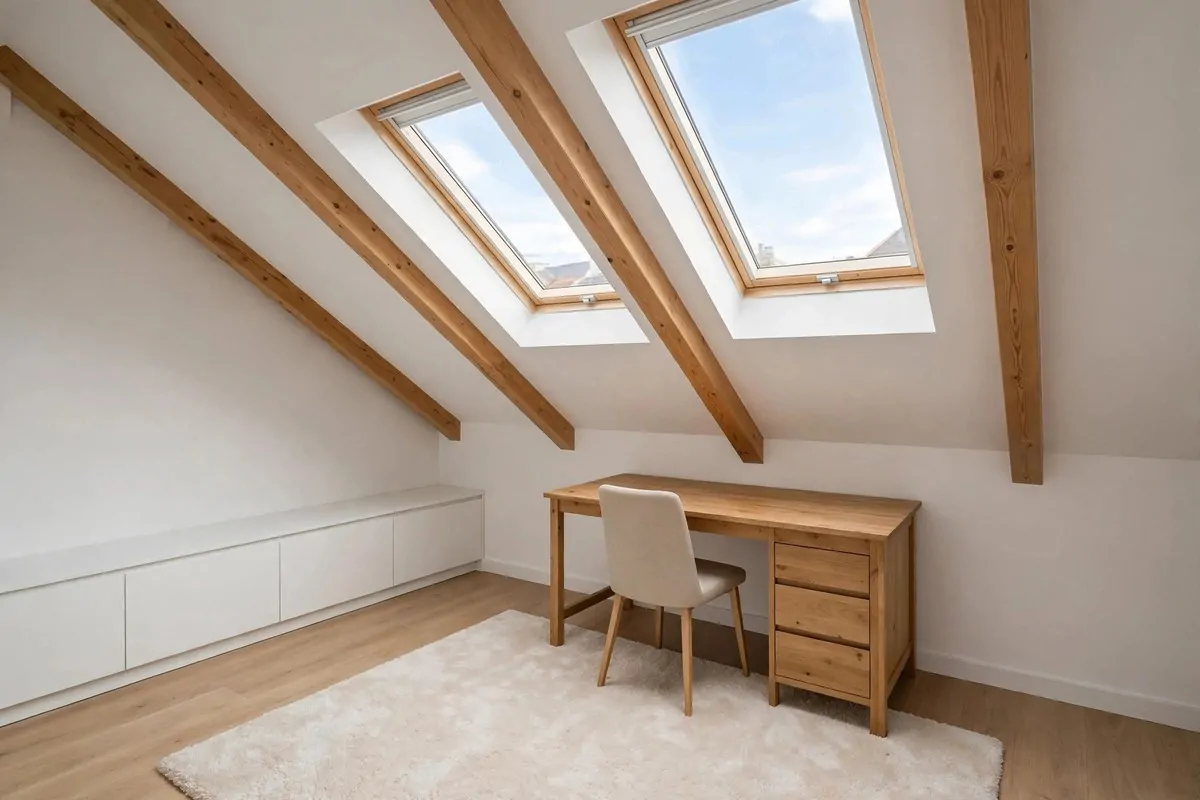
The recipe is simple. Light oak desk. White chair. White walls or the palest gray. Natural textures like a sheepskin on the chair and a cork board on the wall. Nothing loud, nothing heavy.
Light colors do real work in small bedrooms. They bounce daylight around and make the corner feel bigger than it is. A white desk in a small room disappears. A dark desk in a small room anchors everything down.
Keep the palette to whites, soft grays, and light wood tones. When your supplies add color, and they will, those pops of paint look intentional against the calm background. A rainbow of tubes on a white desk is its own kind of beautiful.
Add one soft texture. A sheepskin throw on the chair. A small woven rug underfoot. Soft things make you want to sit down and stay. Hard plastic chairs make you want to leave.
Hide the messy supplies in white boxes. Same color as the room, so they vanish. Label the boxes so you still know what is inside. Calm outside, organized inside.
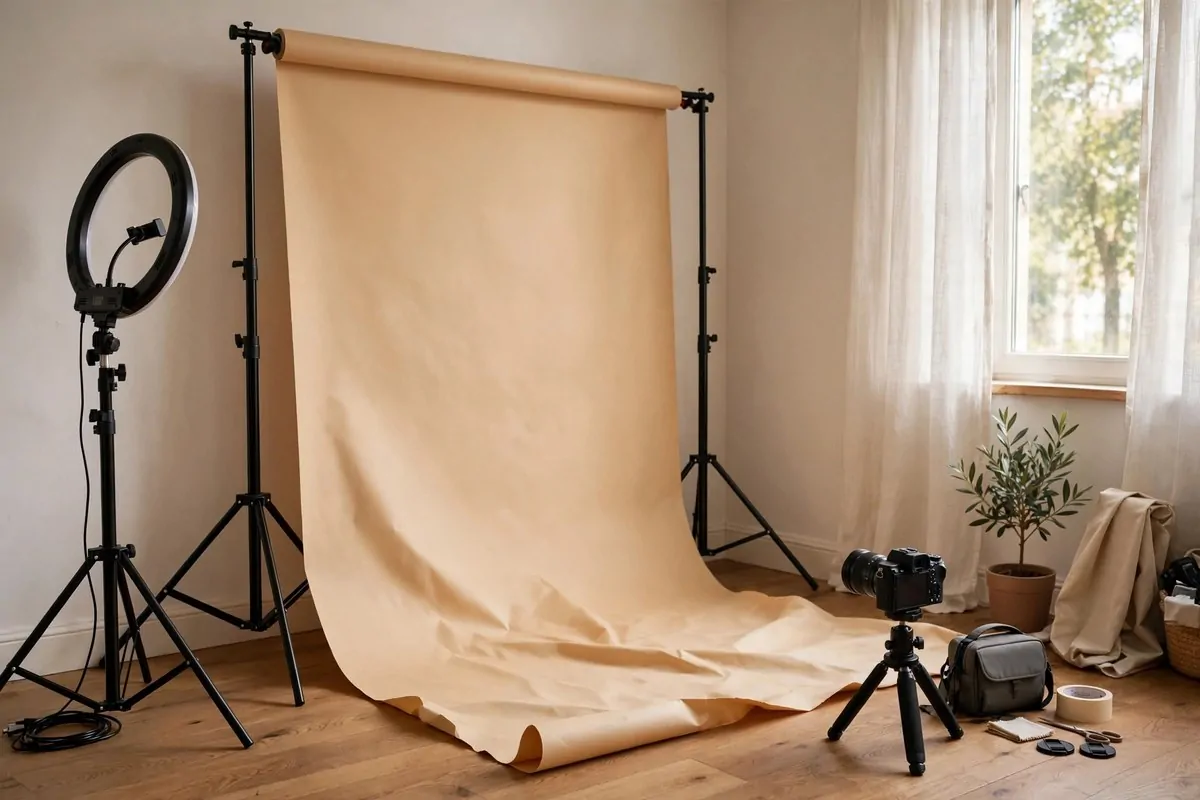
This style is also the easiest to photograph. Clean backgrounds, soft light, one color story. If you share your art online, a Scandi corner makes every photo look good.
Calm rooms make calm art. Or at least, that is what I tell myself when the rest of my house is chaos.
19. Split the Desk Into Wet and Dry Zones
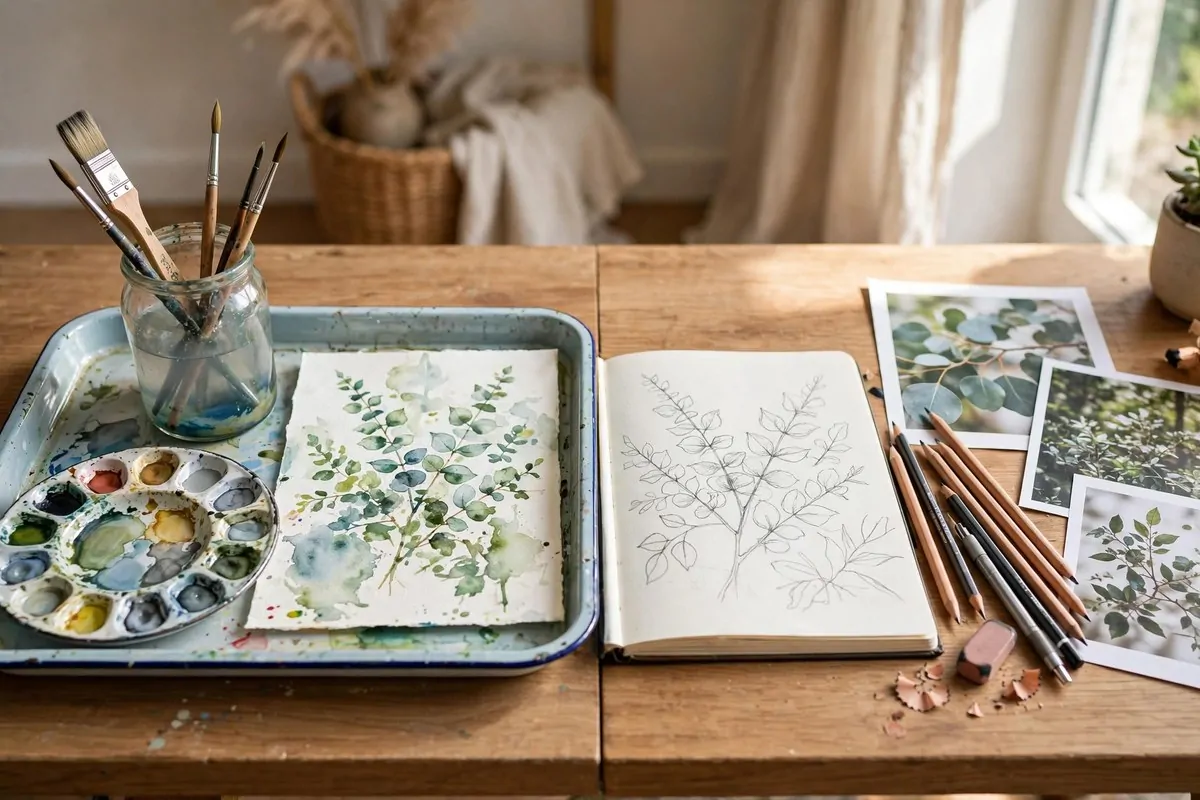
One desk, two jobs. Wet work and dry work do not mix well.
Set up a wet zone on one side of your desk for painting. Palette, water jar, wet brushes, the painting in progress. Set up a dry zone on the other side for drawing and planning. Sketchbook, pencils, reference photos, your phone.
The line between them can be a tray. A simple rimmed tray under the wet supplies catches drips and tells your hand where the painting zone ends. Water stays in the tray. Pencils stay dry. Everybody is happy.
| Zone | Lives there |
| Wet zone | Palette, water jar, wet brushes, painting in progress |
| Dry zone | Sketchbook, pencils, erasers, reference photos |
This stops the classic accident. A wet brush rolling onto your sketchbook. A water jar tipping toward your phone. The tray and the zones keep wet things with wet things.
Work the zones in order. Sketch in the dry zone first. Then move to the wet zone to paint. Then come back to the dry zone to plan the next piece. The rhythm keeps your desk clean without thinking.
At the end of a session, the dry zone resets in seconds. Pencils back in the cup, sketchbook closed. The wet zone takes two minutes. Rinse the brushes, dump the water jar, wipe the tray.
Teach yourself the zones and they become habit. Left is wet, right is dry, or the other way around. Pick one and stick with it. Your hands will learn faster than your brain.
A small desk feels twice as big when every tool has a zone. That is the whole trick. Not more space. Better space.
Keep Reading
If your bedroom studio sparked ideas for the rest of your home, these posts are a good next stop.