17 Basement Art Studio Ideas for a Cozy, Creative Hideaway

Somewhere under your feet, there is a room that has been unemployed for years. It holds boxes you never open. An old treadmill. The bags of winter coats you keep meaning to take to the donation bin.
That room is your basement. And honestly, it is wasting its talent.
Here is the thing nobody tells you about basements. They make the best art studios in the whole house. Nobody walks through them to get somewhere else. The temperature stays steady all year. The floor does not mind a paint spill. And when you shut the door, the whole noisy house stays upstairs.
I gathered these 17 Basement Art Studio Ideas for you after digging through real basement studios that artists actually use. Each one solves a real basement problem, like bad light or damp smells, and turns it into something good. So grab your brush, your pencil, or just your daydreaming brain, and let us walk downstairs together.
1. Borrow Daylight From the Window Wells
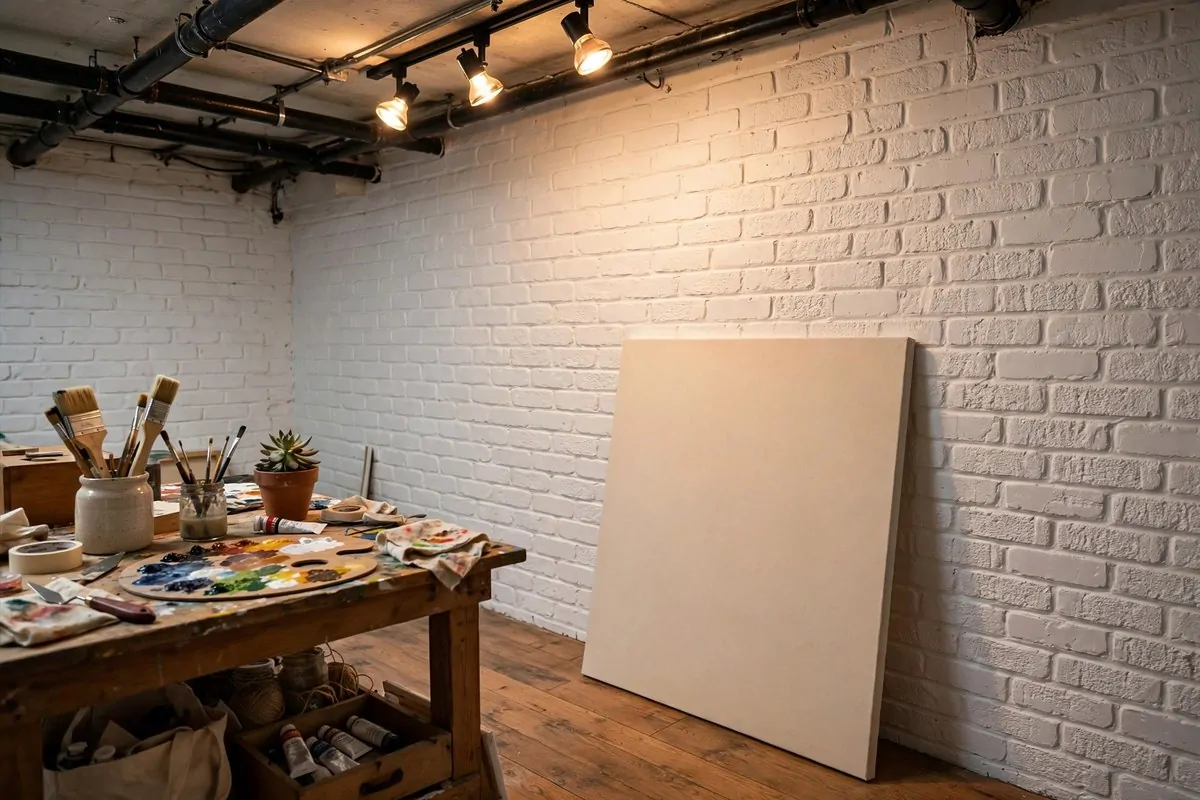
The biggest complaint about basement art studios is the light. Everyone says the same thing. It is too dark down there to see true colors.
So here is the first move. Steal every bit of daylight you can. If your basement has window wells, clear them out and scrub the glass. You would not believe how much dust sits on those little windows.
Then paint the inside of the well a bright white. That white bounces the daylight down like a funnel. It sounds too simple to matter. It matters a lot.
If your basement has no real windows, fake it. Day-light LED panels are flat light panels that look like skylights. You hang them on the ceiling. They glow like a cloudy bright day.
Put the panels right over your main work spot. Artists in real basement studios swear by this. Your paint colors will look right, and your eyes will not get so tired.
One more trick. Hang a mirror across from the window or the panel. It doubles the light you get. An old mirror from a thrift store works fine.
Bulb color matters too. Look for bulbs marked 5000K or “daylight” on the box. Warm bulbs make everything look yellow. Daylight bulbs show true color.
Cost wise, this is one of the cheapest wins on this list. A scrubbed window well costs nothing. A daylight panel costs less than most lamps.
- Scrub window well glass and repaint the well white
- Hang flat daylight LED panels over the work table
- Place a mirror opposite the light source to double it
- Use 5000K “daylight” bulbs, never warm yellow ones
2. Keep the Concrete Floor Just the Way It Is
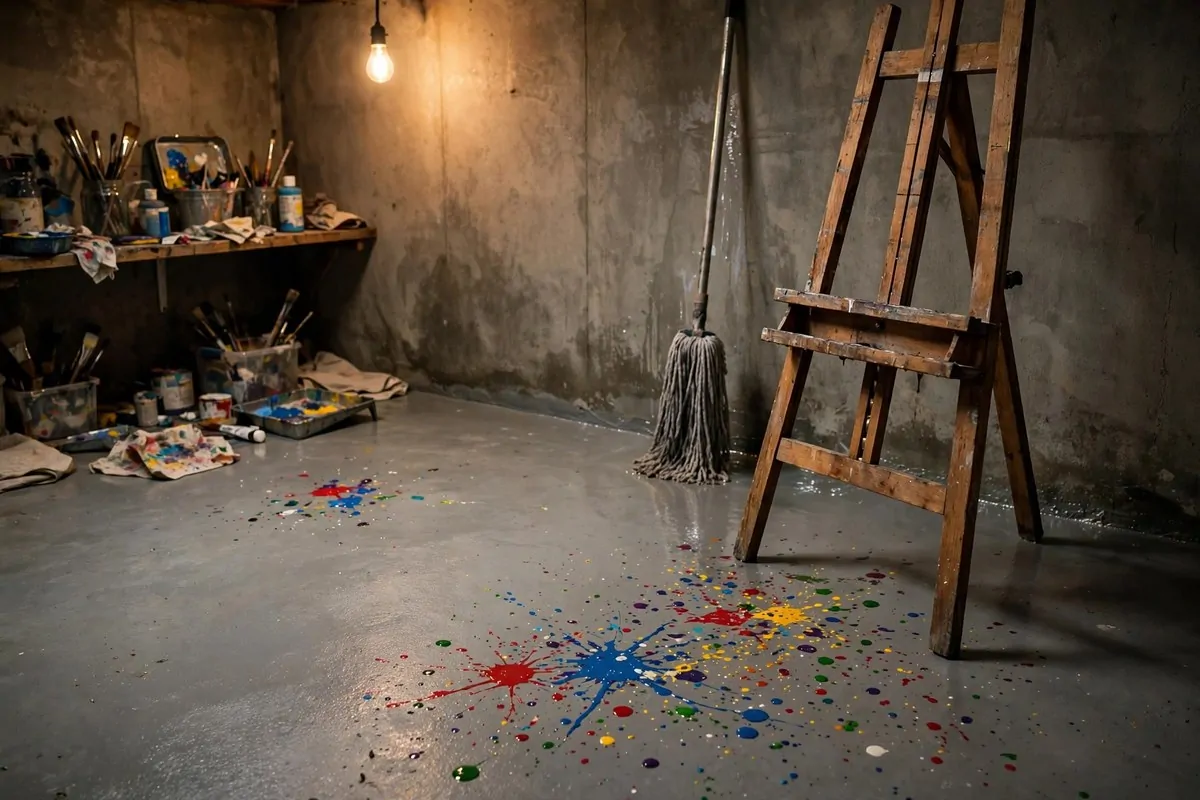
Most people look at a gray concrete basement floor and think it looks unfinished. For an art studio, that floor is perfect exactly as it is.
Paint will spill. Clay will drop. Glue will drip. On concrete, you just wipe it up. On carpet, you cry. On wood, you panic. See why concrete wins?
You only need to do one thing to it. Seal it. A concrete sealer is a clear liquid you roll on with a paint roller. It stops dust from rising and keeps stains from sinking in.
Sealed concrete cleans up with a damp mop. Even dried paint scrapes off with a plastic scraper. Your floor stays fine for years.
Some artists leave their floor raw for the first month to learn where they spill most. Then they seal it. That is smart. Do what fits your work.
The splatters that do stay become part of the story. My studio floor has blue dots near the easel and a gray swirl by the sink. I kind of love them.
One warning. Bare concrete is cold and hard on your feet. We will fix that in idea 6 with a softer layer in the spots where you stand most.
But the base stays concrete. It is the hardest working floor in your house. Let it work.
3. Paint the Walls Bright White
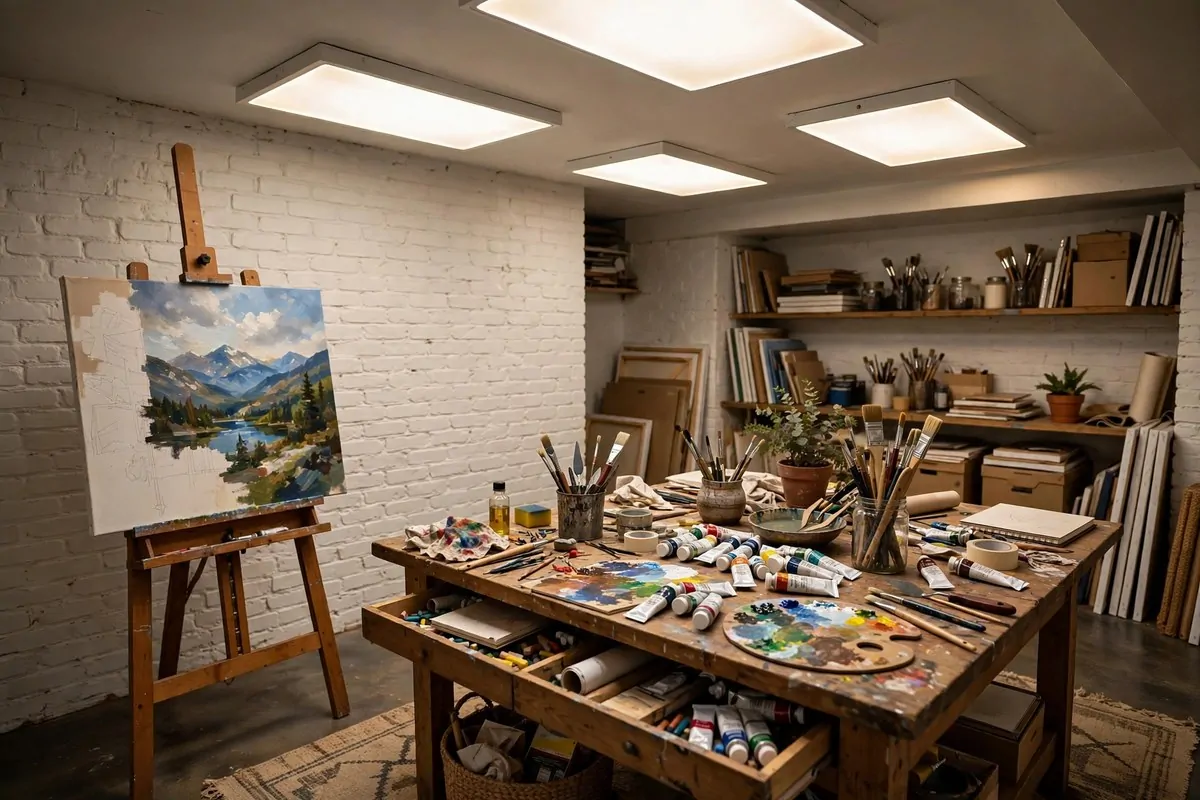
If your basement walls are gray concrete or old brick, this one change will shock you. Paint them white. Bright, plain, flat white.
White walls bounce light around the room. In a basement, that is everything. The same room can feel twice as bright just from the paint.
It also helps you judge your art. Gray walls make colors look muddy. White walls show you the truth. What you see on white is what your painting really looks like.
Use flat or matte paint, not shiny. Shiny paint glares under lamps and distracts you. Flat white soaks up the glare and stays calm.
Brick walls look lovely painted white too. The texture stays. You still see the brick shape, but the color is clean and bright. It feels cozy, not cave like.
Leave one wall alone if you want a little character. Some artists keep one brick wall bare for looks. That is fine. The other three walls do the light work.
Cheap tip. Ask the paint store for their mistinted whites. Those are cans mixed the wrong color that they sell cheap. A gallon of bright white costs very little.
You will walk down the stairs the next day and think someone swapped your basement. Same room, new light.
4. Install a Deep Utility Sink Just for Art
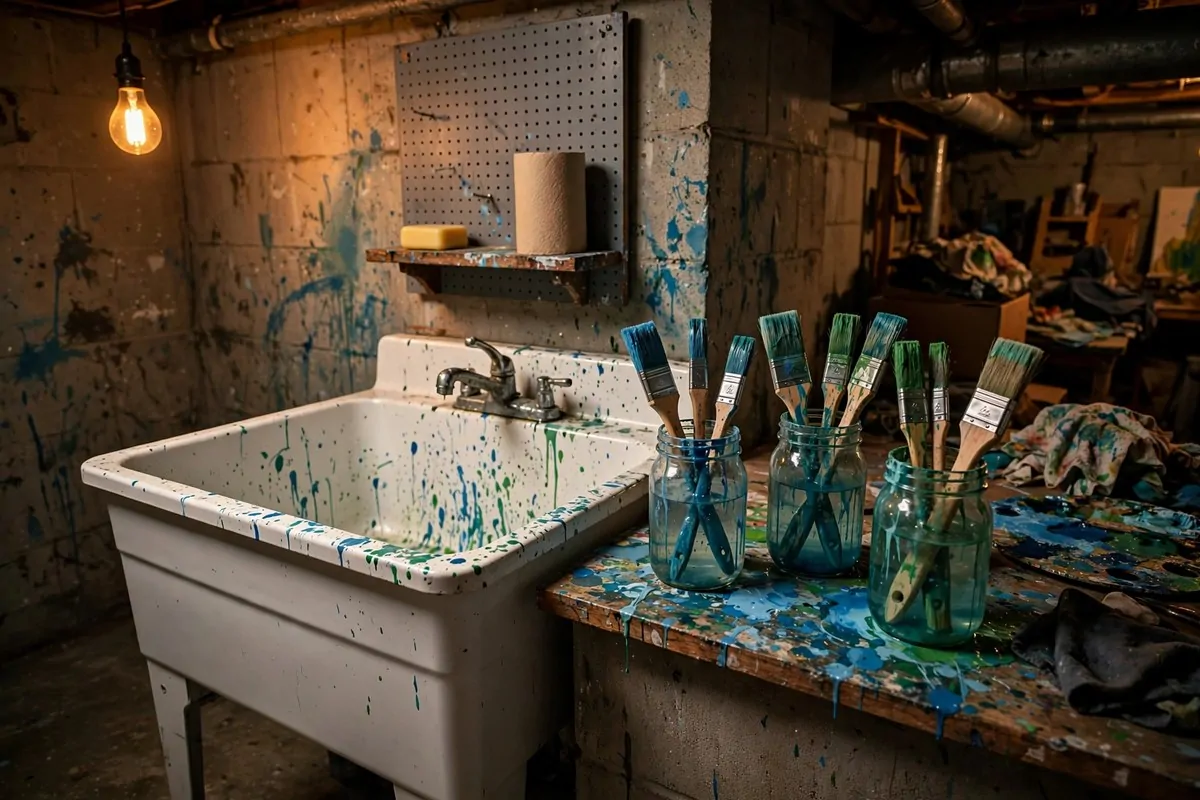
Ask any artist with a basement studio what they would never give up. Many will say the sink. A deep laundry style sink changes everything.
You wash brushes in it. You rinse jars. You dump dirty paint water without a trip upstairs. It sounds small. It saves you an hour a week.
Deep matters. Kitchen sinks splash. A deep utility sink swallows the splash. You can dunk a whole palette or a big brush jar.
Put a little shelf or pegboard right above it. That holds your soap, your brush holders, and a roll of paper towels. Everything wet stays in one zone.
Under the sink, keep a small trash bin and a bucket. Dried paint scraps go in the bin. Muddy water goes in the bucket and then down the sink.
If your basement already has rough plumbing, adding a sink is a weekend job for a handy person. If not, a portable wash station works too. Some artists use a big basin on a stand with a hose.
One rule to live by. Never pour paint thinner or turps down the drain. Keep a sealed jar for that stuff and take it to the hazardous waste point. Your pipes and your planet say thanks.
A sink also keeps the mess out of the kitchen. Your family will thank you too. No more blue rings in the bathroom sink.
5. Park Your Easel Near the Biggest Window
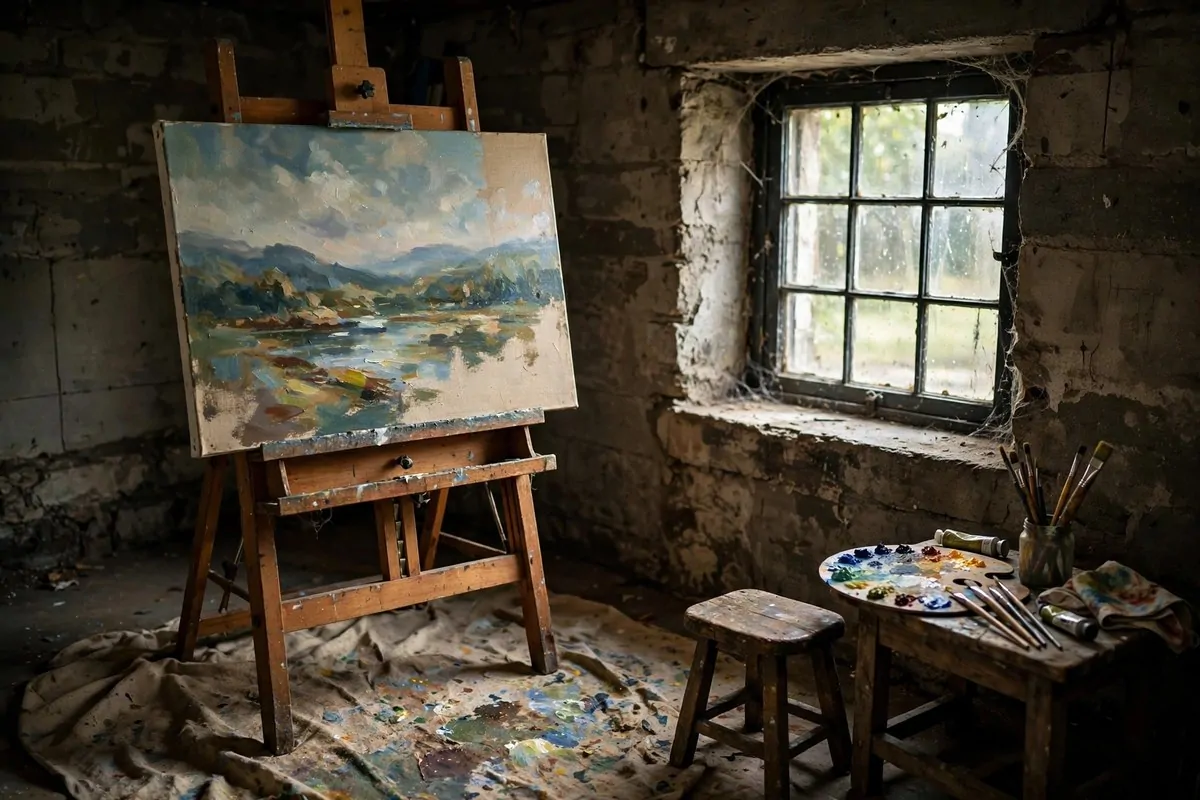
This tip is so old that every art teacher gives it. Put your easel by the window. In a basement studio, it matters even more because windows are rare.
Walk downstairs with a chair and test it. Sit where you think the easel goes. Look at the light. Move a few feet. Look again. Pick the spot with the most even light.
Even light beats bright light. A window that blasts sun on your canvas will blind you by noon. A window with soft, steady light all day is the prize.
If the window is small, that is okay. Pull the easel close and angle it a little. Side light is actually great for seeing texture in paint.
Keep the floor under the easel protected with a drop cloth or an old rug. Drips fall straight down. Plan for it.
A foldable easel is smart for basements. You can fold it flat when you need the floor for a big canvas or a sculpture.
Add a small stool and a side table for your palette and water. You want everything within arm’s reach so you never have to get up mid painting.
| Window type | Best easel spot | Watch out for |
| Big egress window | 2 to 3 feet away, angled | Midday glare, use a sheer curtain |
| Small high window | Right under it, facing away | Light falls behind you, mind your shadow |
| No window at all | Under your daylight LED panel | Check color with a 5000K bulb only |
6. Lay Cork Tiles Where Your Feet Live
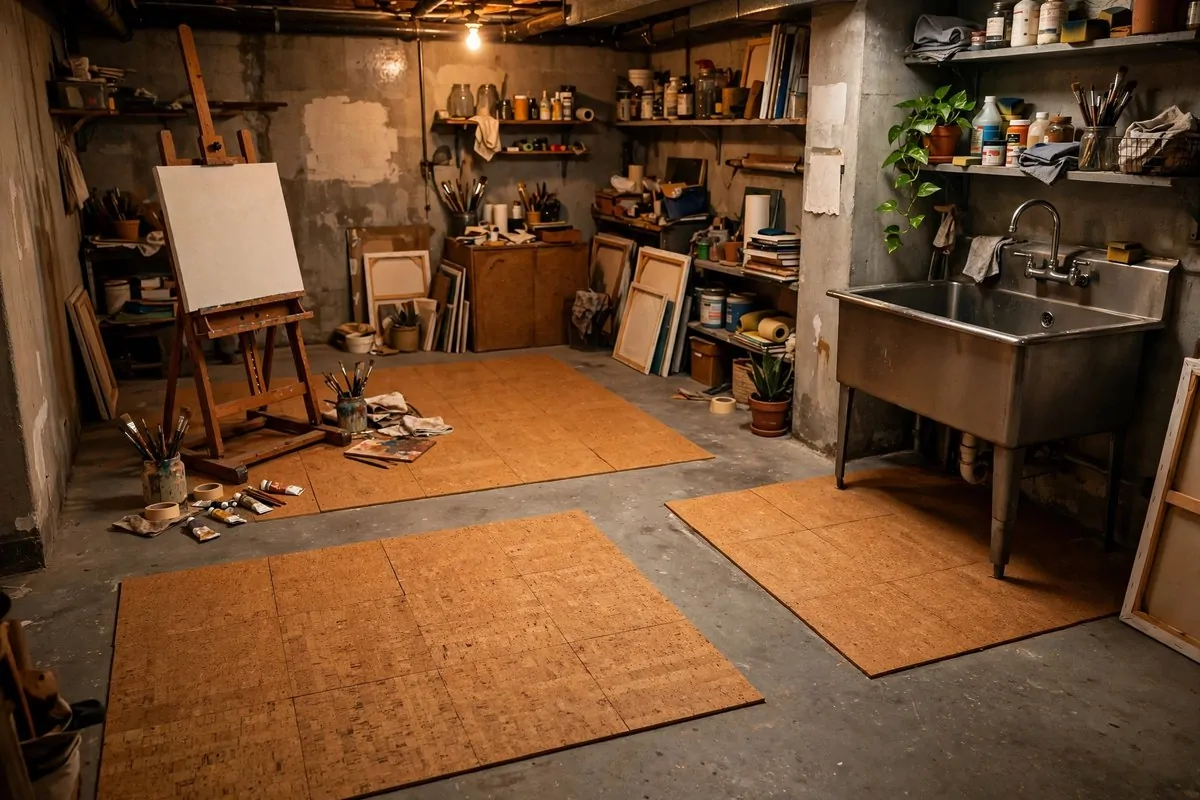
Remember idea 2? The concrete floor stays. But standing on cold concrete for three hours hurts your feet and your back. Cork tiles fix that.
Cork is warm, soft, and a little springy. It feels good under bare feet. Artists in real basement studios lay it in the spots where they stand the most.
You do not need to cover the whole floor. Lay cork tiles in front of the easel, in front of the sink, and under your work table. Those three zones are where you live.
Cork tiles are easy to install. The peel and stick kind press right down. You can cut them with a utility knife to fit around pipes or posts.
They also warm the room up visually. Concrete gray plus cork honey color is a cozy pair. It takes the basement edge off.
Spills wipe off sealed cork fine. Put two coats of polyurethane over the tiles if you work with lots of paint. Then nothing soaks in.
One more bonus. Cork is quiet. Dropped brush handles do not clang. Chairs do not scrape. Your upstairs family hears less.
It is one of those little comforts that keeps you downstairs longer. And longer sessions make better art.
7. Build an Inspiration Wall With Pegboard
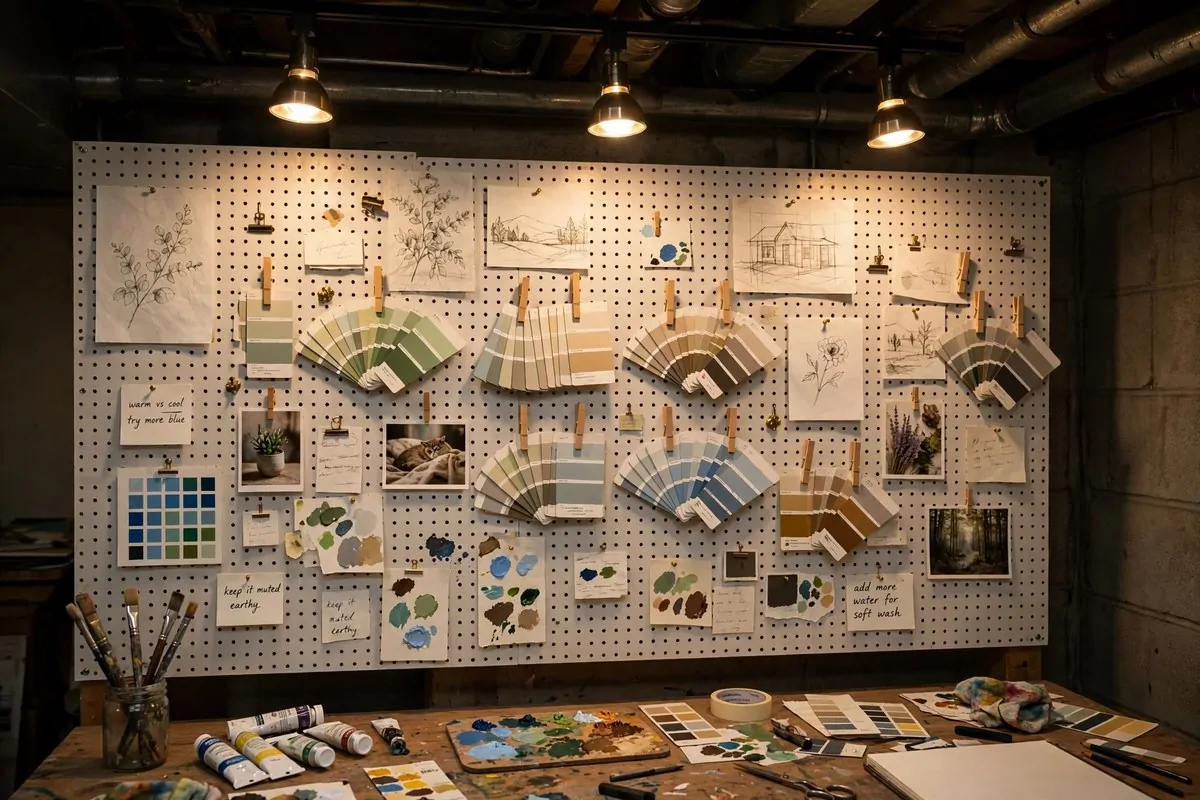
Every artist needs a wall that thinks out loud. A pegboard inspiration wall is just a board with holes where you pin up everything in your head.
Hang sketches, color swatches, photos, fabric scraps, and little notes. The stuff that feeds your work. When you get stuck, you look at the wall. Ideas come back.
Pegboard is cheap and light. You screw it to the wall with little spacers behind it so the hooks fit. A whole wall costs less than a dinner out.
Wire grids work too. Those black metal grids look modern and hold clips well. Cork boards are the softest option, just pin right in.
The trick is to keep it alive. Swap things out every month. Take down the dead ideas. Pin up the new ones. A stale inspiration wall is just wallpaper.
Put it where you see it while you work. Across from the easel is best. Or right beside your desk so your eyes land on it when you pause.
Some artists keep a second small board for the current project only. Everything for this one painting lives there. When the painting is done, the board clears.
Your wall will look messy to other people. That is fine. It is not for them. It is your brain, pinned where you can see it.
- Pegboard: cheapest, hooks hold tools and jars too
- Wire grid: modern look, great with metal clips
- Cork board: softest, pin straight in, warm color
- Magnetic panel: easy swaps, no holes in your pins
8. Get One Big Table for Every Medium
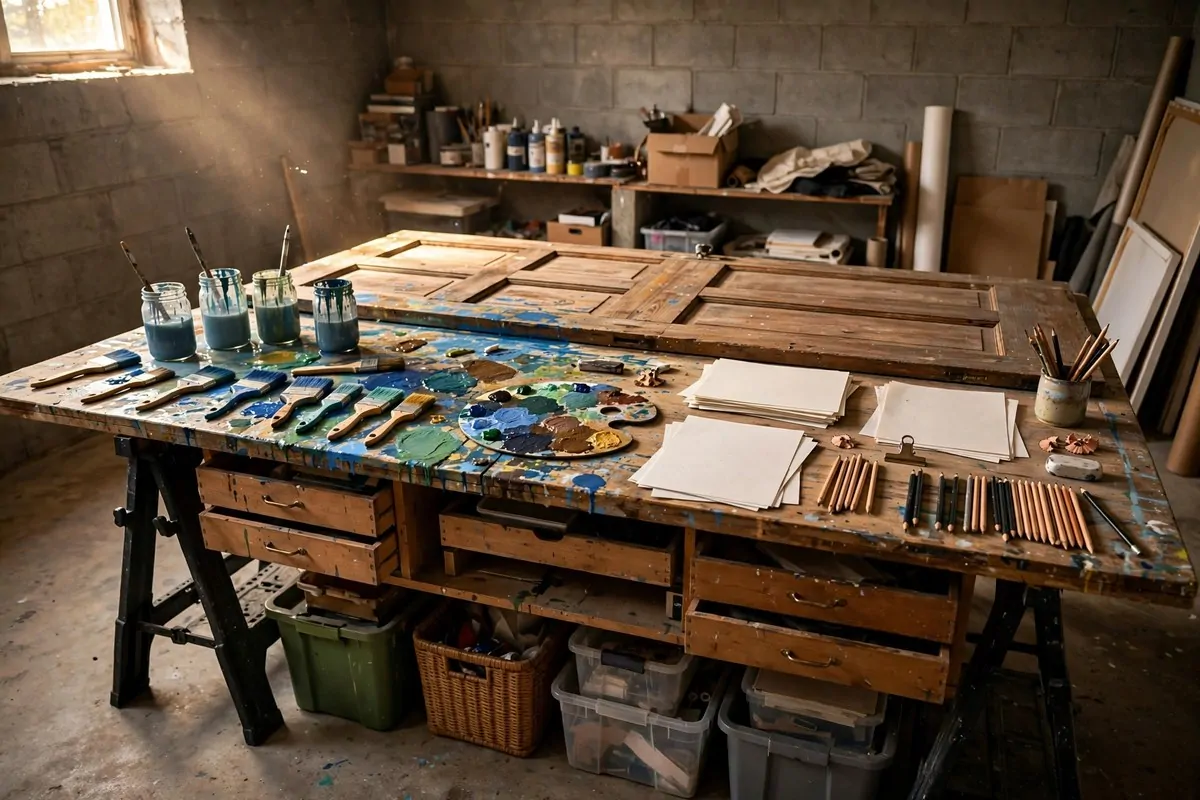
Small desks kill big ideas. A tiny table forces you to work small and put everything away between sessions. A big table lets you spread out and leave things mid way.
Get the biggest table that fits your basement. A solid core door laid across two sawhorses is the classic artist trick. Cheap, huge, and strong.
Divide the table into zones. Wet side for painting. Dry side for drawing and cutting. Middle for the project you are in right now.
Cover it with a replaceable top. A sheet of hardboard or a vinyl tablecloth takes the abuse. When it gets too scarred, you swap it for a new one.
Height matters. For drawing and detail work, a table around waist height saves your back. For standing painting, higher is better. Adjustable legs solve both.
Put drawers or bins under the table. That dead space under a big table is gold. Shallow drawers hold paper flat. Bins hold bulk supplies.
One table beats three small ones. You walk less. You lose less. And you can see the whole project at once, which is how good ideas happen.
9. Add Track Lighting That Follows Your Work
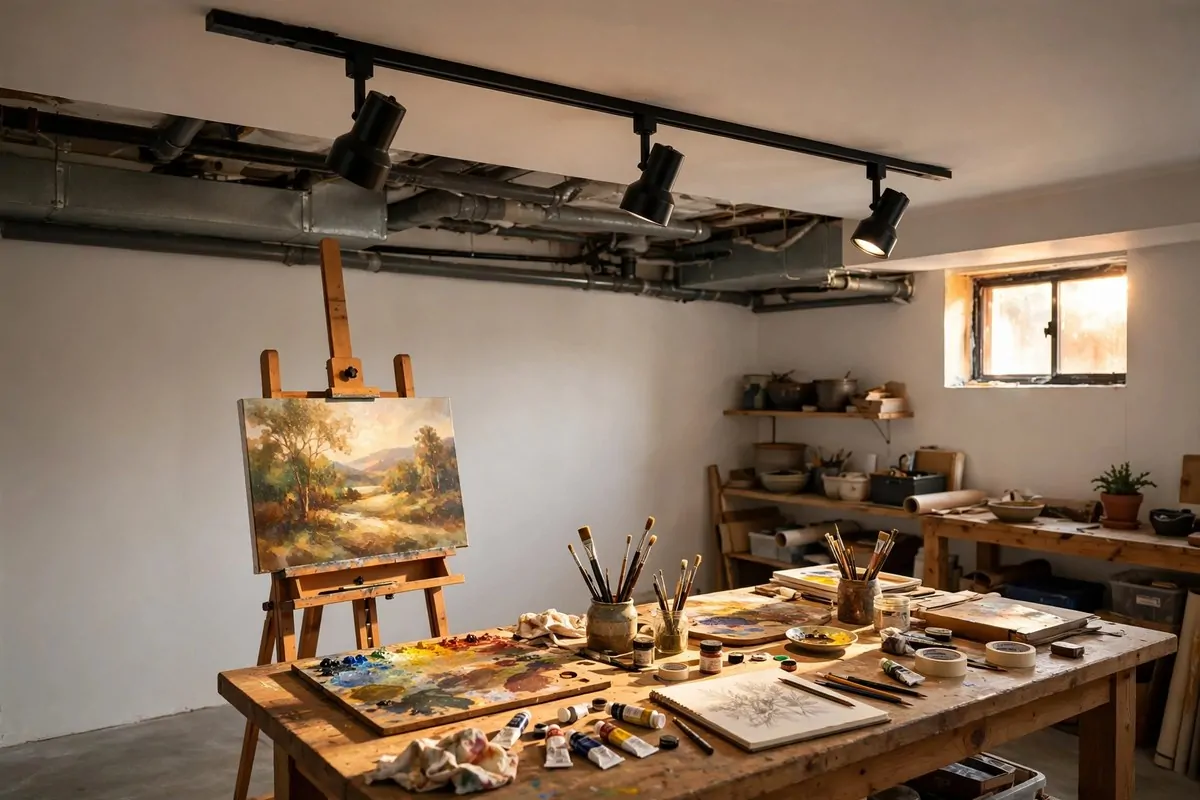
Basements often have one sad ceiling bulb in the middle of the room. That is the worst light for art. You need light that goes where the work is.
Track lighting is a bar on the ceiling with little lights you can aim. You point each head at a different spot. Easel. Table. Sink. All covered.
Each head moves on its own. When you rearrange the studio, you just re aim the heads. No rewiring. No new holes.
Pick adjustable heads with daylight bulbs. The same 5000K rule from idea 1 applies. True color needs true light.
Put the track on a dimmer switch. Full bright for painting. Low and warm for sketching or just sitting with your work. One switch, two moods.
If tracks feel too much, clip on lamps work too. Those metal clamp lamps grip shelves, tables, and easels. Cheap and movable.
Light placement rule of thumb. Aim light at the work, never at your eyes. You should see the art glow, not the bulb.
| Spot | How many heads | Aim tip |
| Easel | 2 heads | One each side to kill shadows |
| Work table | 2 to 3 heads | Even row down the middle |
| Display wall | 1 head per 3 feet | Angle 30 degrees from the wall |
| Sink zone | 1 head | Straight down, bright enough to see rinses |
10. Roll a Cart for Wet, Messy Projects
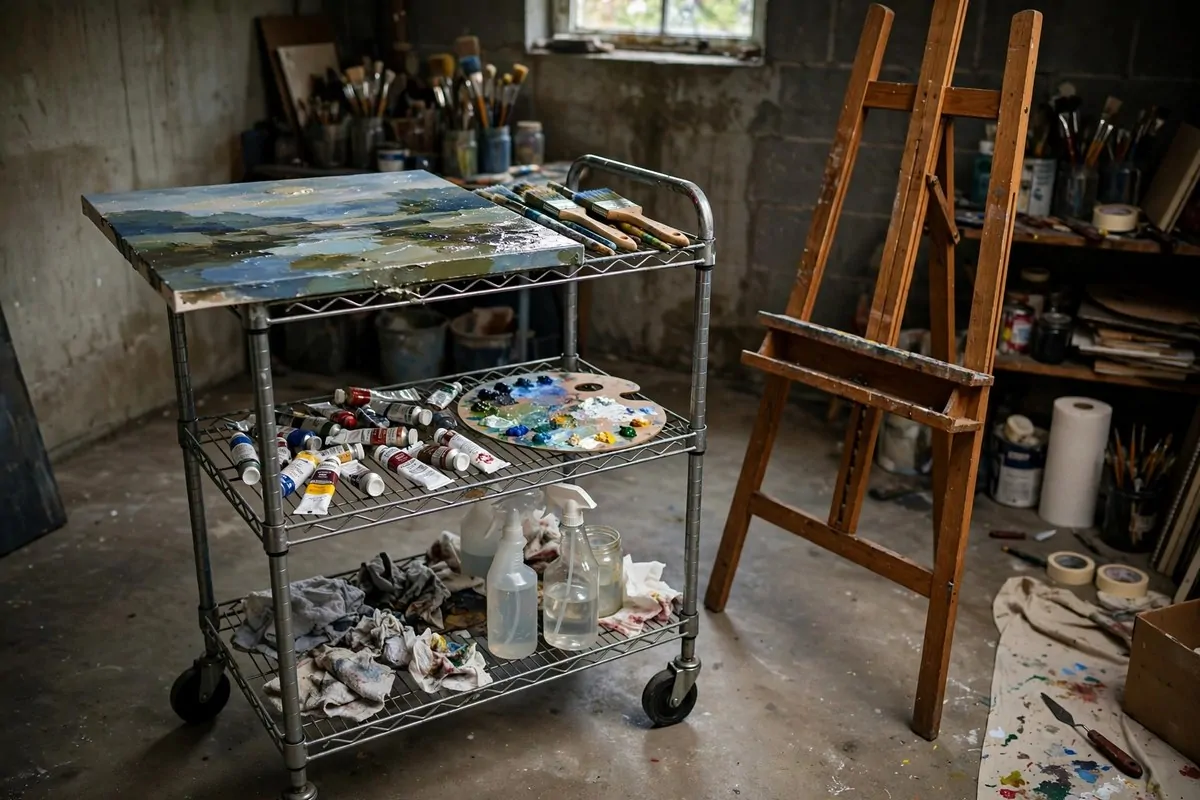
Some projects are too wet to carry across the room. Fresh paint, wet clay, glued collage. You need a cart that rolls the project, not your arms.
A simple rolling cart with three tiers does the job. Top tier holds the wet work. Middle holds the tools. Bottom holds the rags and cleaners.
When the project dries, you roll the cart to the wall. The floor stays clear. Small basements need this trick more than big ones.
Line the top tier with a silicone mat or wax paper. Wet paint peels right off. You never scrub the cart.
Keep one cart per medium if you can. A paint cart. A clay cart. That way you never mix wet oil paint with your watercolor brushes.
The cart also doubles as a side table. Roll it next to the easel and it holds your palette at the perfect height.
Cheap carts work fine. Metal ones wipe clean. Wooden ones look nicer but stain. Pick what matches your studio style.
This is the idea that makes a basement studio feel pro. Real studios have rolling things. Yours will too.
11. Give Every Supply Its Own Drawer
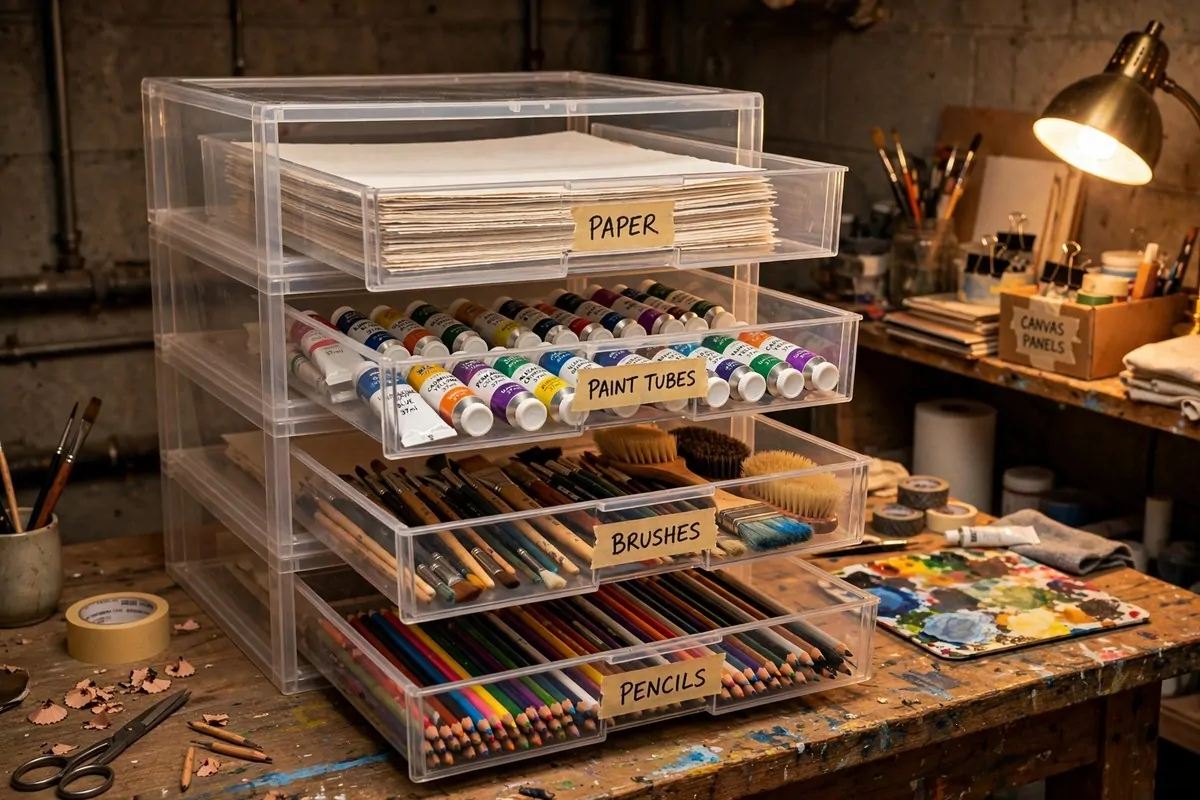
Basement studios fail when supplies pile up in boxes you never open. You forget what you own. You buy doubles. The clutter eats your mood.
The fix is boring and wonderful. Every supply gets a home. A drawer, a bin, or a shelf spot with a label.
Start with clear drawers. You can see what is inside without opening them. Paints in one. Brushes in another. Paper in the flat one.
Label everything. A label maker or plain masking tape and a marker. When you are mid painting and need a tube of burnt umber, you should find it in ten seconds.
Flat storage matters for paper and canvas boards. They warp if they lean. A flat drawer or a shelf keeps them straight.
Keep the everyday stuff at arm level. The rare stuff goes high or low. You use your reds daily, so reds live where your hand lands.
One shelf for works in progress. Not the table. A shelf. Finished pieces go to the gallery wall from idea 12. Everything has a flow.
This system takes one weekend to build and pays you back forever. Organized supplies mean you start creating in minutes, not after a treasure hunt.
- Clear drawers for paints, brushes, and small tools
- Flat drawers or shelves for paper and canvas boards
- Labels on everything, even the obvious stuff
- Everyday supplies at arm level, rare ones high or low
12. Hang a Little Gallery Wall for Finished Work
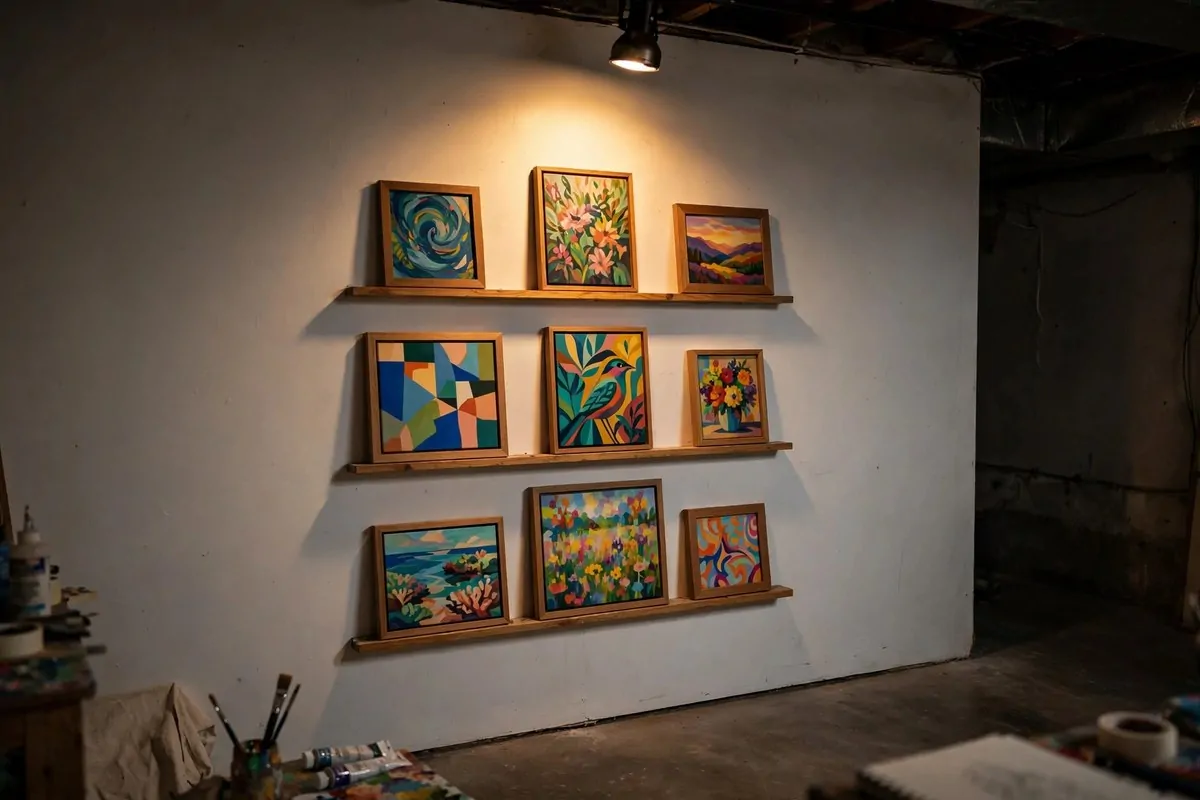
You need a spot where finished work gets to shine. A little gallery wall reminds you that you actually finish things. That feeling keeps you going.
Pick one wall. Hang picture ledges, those thin shelves that hold frames without nails everywhere. You can swap art in seconds.
Or hang a wire with clips. Clip up the new pieces. Take down the old ones. It looks like a real gallery and costs almost nothing.
Aim one of your track lights at this wall. Art under a spotlight feels important. Your brain believes what the light tells it.
This wall is also your progress tracker. Stand back once a month and look. See how far you have come. Artists forget to do this.
Rotate the work. When a piece sells or moves upstairs, a new one takes its place. The wall should always have something fresh.
Keep the frames simple. Thin black or natural wood. Matching frames make different art look like a collection. That is the gallery trick.
Guests who come downstairs will stop at this wall first. It is your studio’s hello. Make it a good one.
13. Ventilate So Fumes Never Build Up
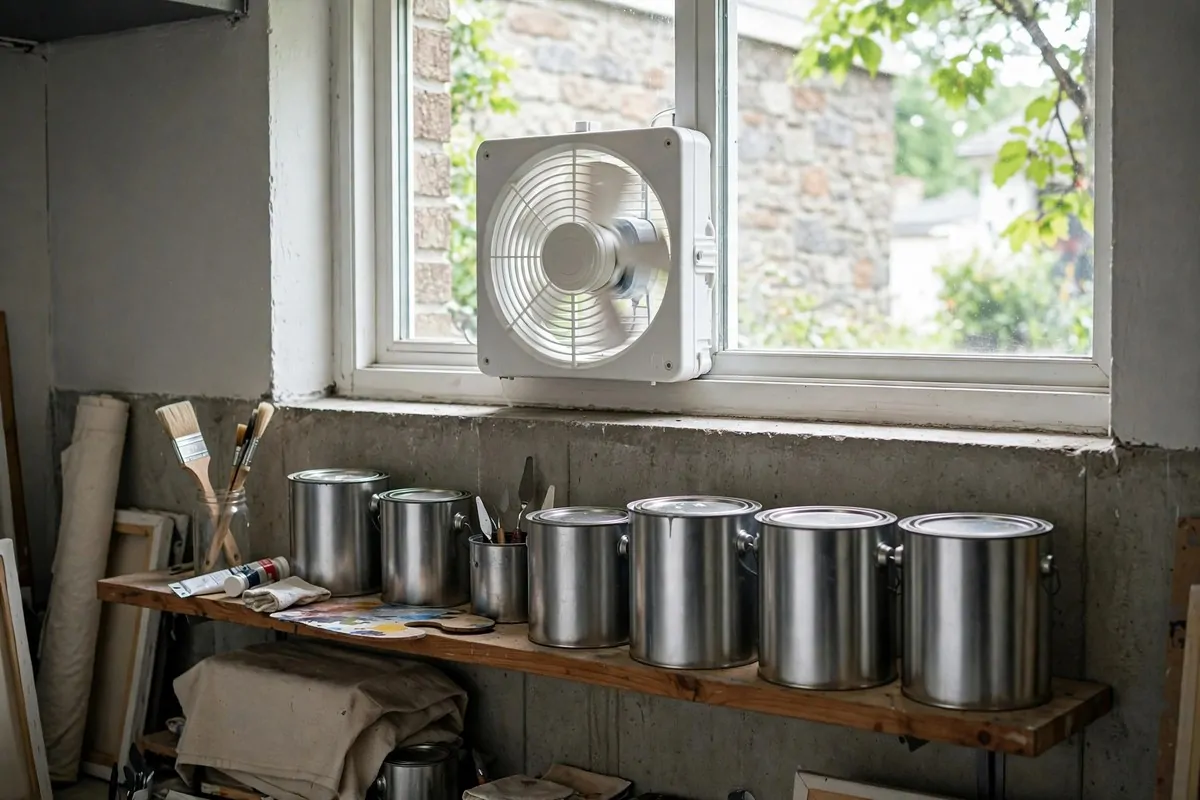
This is the safety idea, and it matters most if you use oil paints, spray paint, or anything with strong fumes. Basements trap air. You have to move it.
A small window fan is the simplest fix. Put it in the window blowing OUT. That pulls fresh air down the stairs and pushes fumes outside.
Crack the basement door at the top of the stairs when you work. That gives the fan air to pull. A two inch gap is enough.
If you have no window, a bathroom style exhaust fan vented outside works. It is a bigger job, but worth it for oil painters.
Keep a carbon monoxide detector downstairs too. Basements share air with furnaces and water heaters. The detector is cheap insurance.
Watch for warning signs. Headache, dizzy feeling, or a smell that gets stronger as you work. Stop and air out the room. Your lungs come first.
Store solvents in sealed metal cans, not open jars. Less evaporation means less fumes in the first place.
Ventilation is not glamorous. Nobody pins it on an inspiration board. But it is the idea that lets you paint downstairs for decades.
14. String Warm Lights for Instant Cozy
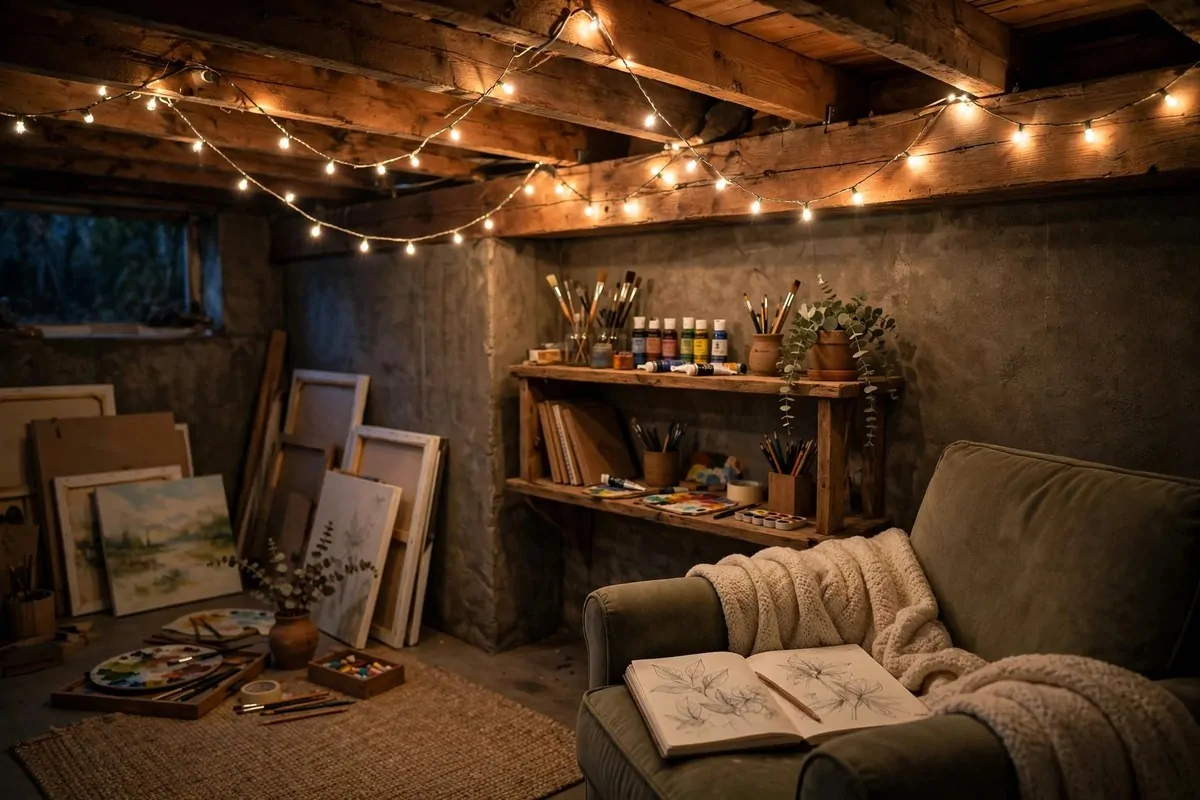
Basements can feel like a cave. Cold, echoey, a little lonely. Warm string lights fix the feeling faster than anything else.
Drape them along the ceiling beams. Zigzag them over the sitting corner. Wrap them around a shelf. Every strand makes the room feel smaller in a good way.
Pick warm white, not cool blue. Cool light feels like an office. Warm light feels like a hideaway. The box will say 2700K. That is the cozy number.
String lights also give you a low light mode. When you just want to sit with your sketchbook or stare at a finished painting, turn off the tracks and let the strings glow.
They are cheap to run. LED strings use almost no power. You can leave them on all evening without thinking about the bill.
Battery ones work where there is no outlet. The little fairy light strings with a battery pack fit inside jars on shelves. Cute and easy.
This is the idea that makes people say your studio feels magical. All it is is warm light at eye level instead of a bare bulb overhead.
15. Keep a Quiet Chair Corner for Sketchbooks
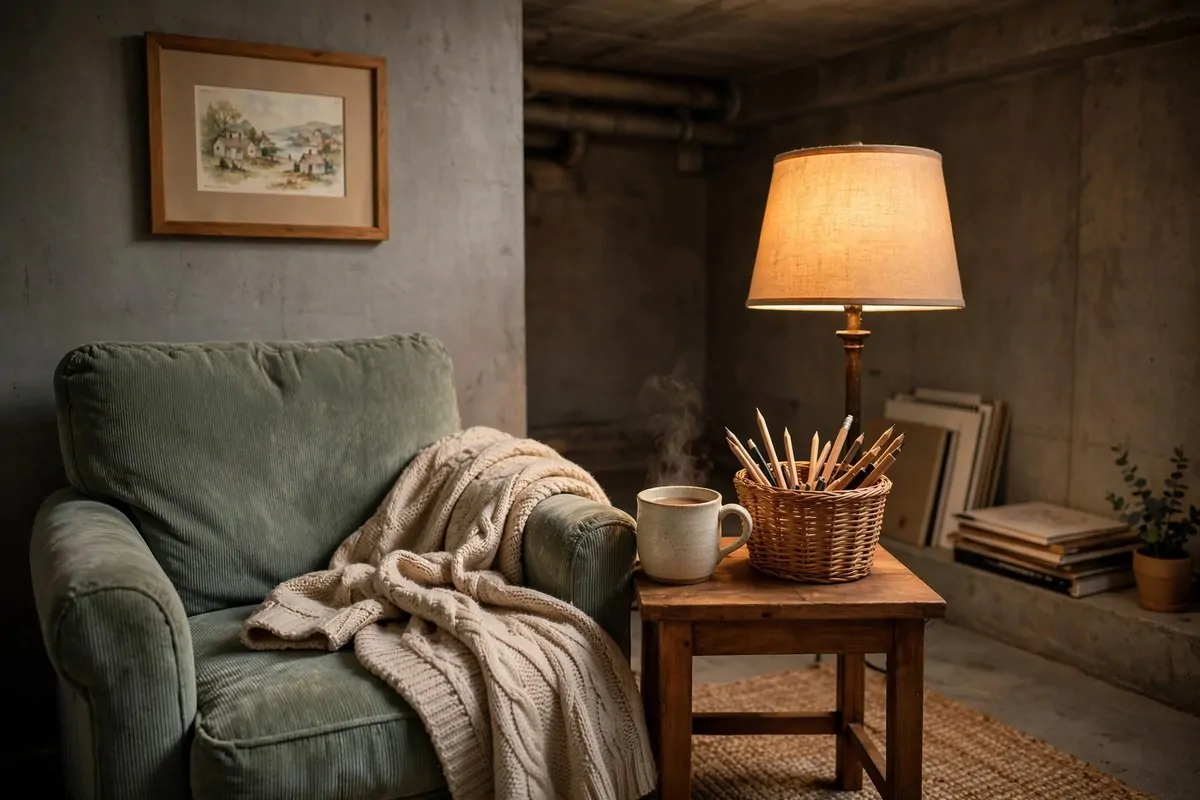
Not all art happens at a table. Some of the best thinking happens in a chair with a sketchbook on your knees. Give that moment a corner.
Pick the warmest corner of the basement. Drop in a comfy armchair or even a big floor cushion. Add a small side table for tea.
A floor lamp with a warm shade is the key piece. It pools light right where your sketchbook sits. Your eyes stay happy for hours.
Keep a basket beside the chair with your sketching stuff. A few pencils, a pen, one sketchbook, an eraser. Nothing else. Simple means you actually use it.
This corner is also your rest stop. Paint for an hour, sit for ten minutes, look at the work from far away. Distance shows you things the close view hides.
Hang one piece of art you love above the chair. Not yours. Someone else’s. A postcard, a print, a page torn from a book. It keeps you inspired.
No screens in this corner. That is the rule. The chair is for eyes on paper and thoughts in your head.
Every cozy studio needs one spot that is just for sitting. This is yours.
16. Store Canvases in Vertical Slots
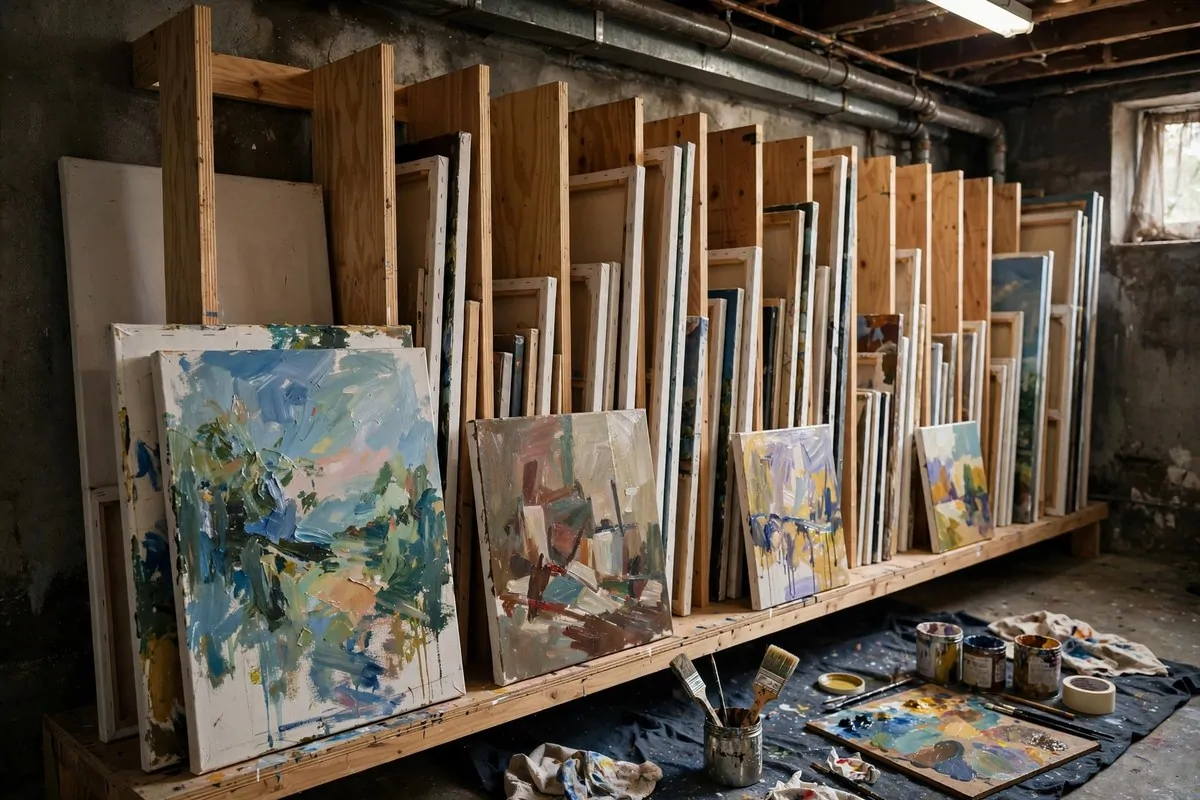
Canvases are awkward. They are big, flat, and they hate leaning against walls. Leaning warps them. Stacking flat buries the bottom ones. Vertical slots solve it.
Build or buy a simple rack. Think of a bookshelf turned on its side, with dividers every few inches. Each canvas slides in like a book.
You can see every canvas at a glance. No digging. No unstacking. You pull the one you want and slide it back when you are done.
Place the rack against a wall that stays dry. Basements can be damp near outside walls. An inside wall or a wall with a dehumidifier nearby is safer.
Put the works in progress at the front. Finished pieces toward the back. New canvases in the middle. Your own little filing system.
Measure your biggest canvas before you build. The slots need to fit it with room to spare. A little extra width never hurt.
Cardboard dividers work in a pinch. Cut slots in a sturdy box. It is not pretty, but it protects the canvases until you build the real rack.
This one idea can double your usable space. Canvases stop eating the floor and start behaving like books on a shelf.
17. Warm It Up With Wood and Soft Rugs
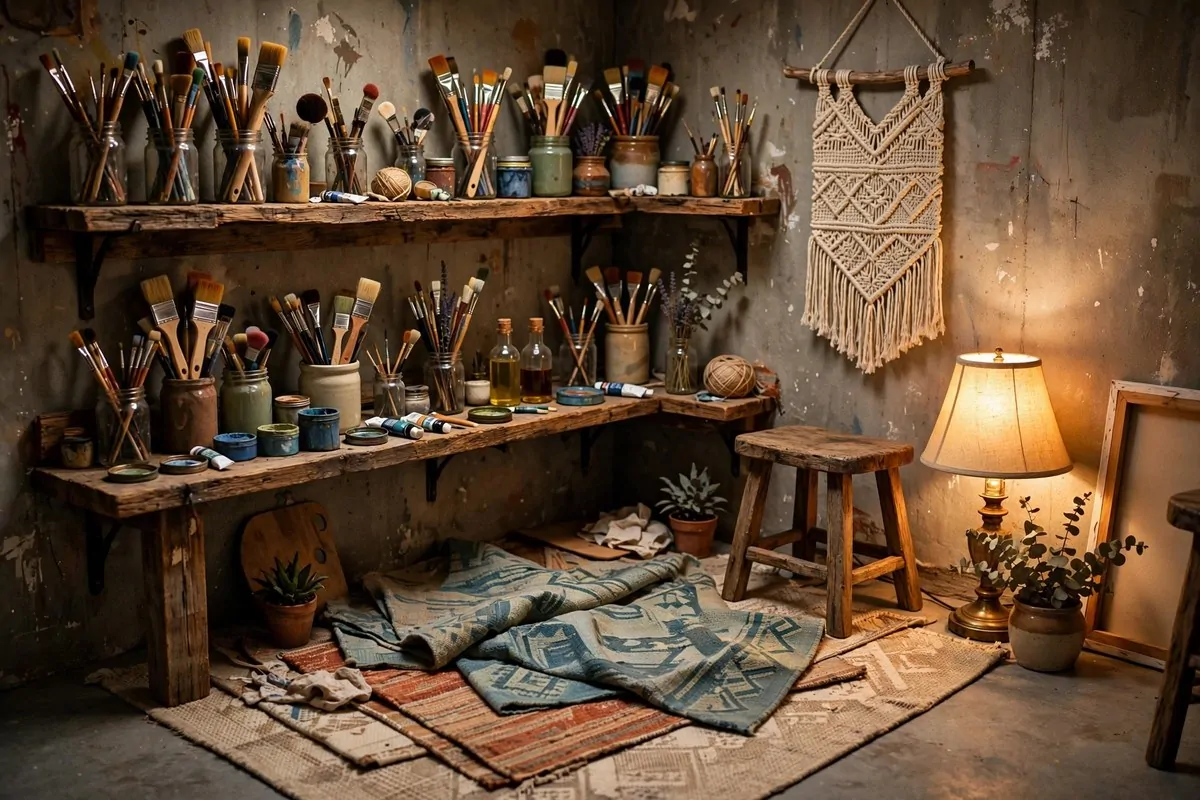
The last idea is the one that pulls everything together. Wood and soft textiles take a basement from workshop to hideaway.
Add warm wood where you can. A reclaimed wood shelf. A wooden stool. A simple pine frame around the mirror. Wood fights the cold concrete feeling.
Layer rugs over the concrete in the sitting areas. Not wall to wall, just soft islands. One under the chair corner. One by the table where you stand.
Rugs do three jobs. They warm your feet. They soften the echo. And they make the studio look finished, like a real room instead of a storage zone.
Pick rugs you do not love too much. Art studios are messy. A washable rug or a cheap flat weave is perfect. Save the fancy rug for upstairs.
Throw a soft blanket over the chair. Hang a fabric wall hanging on the bare wall. These little soft things tell your brain this room is for lingering.
Mix textures. Rough wood with soft wool. Smooth concrete with a nubby rug. The contrast is what makes a room feel designed instead of accidental.
When you walk down the stairs now, the room should feel like a hug. Cool air, warm light, wood under your hand, soft rug under your feet. That is a creative hideaway.