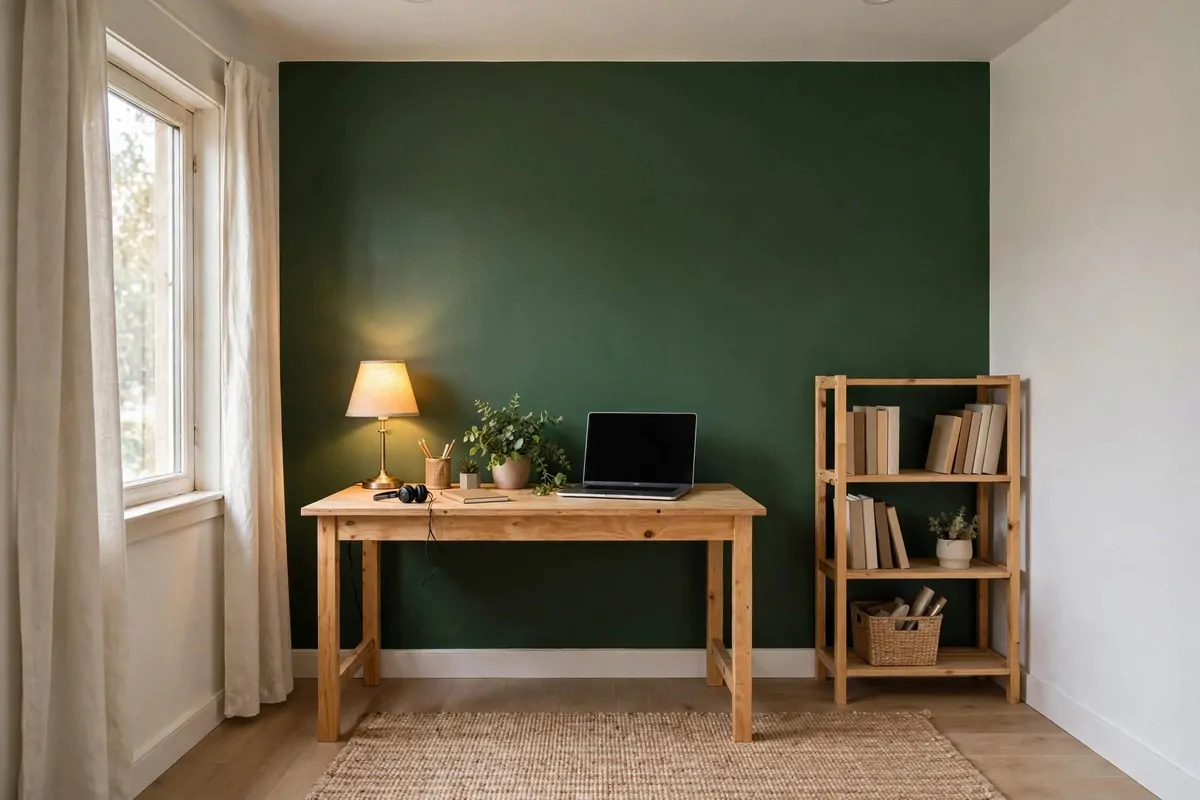
20 Home Art Studio Setups Any Creative Can Copy

When I was nine, my whole art studio fit under the dining table. A tin of coloured pencils. A stack of scrap paper my dad brought home from the office. The dark patch of floor where I sat every afternoon, legs crossed, because the chairs were too tall and the table was always busy.
That patch of floor taught me something I still believe. You do not need a big room to be an artist. You need one corner that is yours. A Home Art Studio is not about square feet. It is about light that stays on, tools within reach, and a setup that lets you start in two minutes. Here are twenty real setups people actually use, from a rolling cart to a full garden shed. Copy the one that fits your home and your budget, and change the rest to suit your own mess and habits.
1. The North-Window Corner Studio
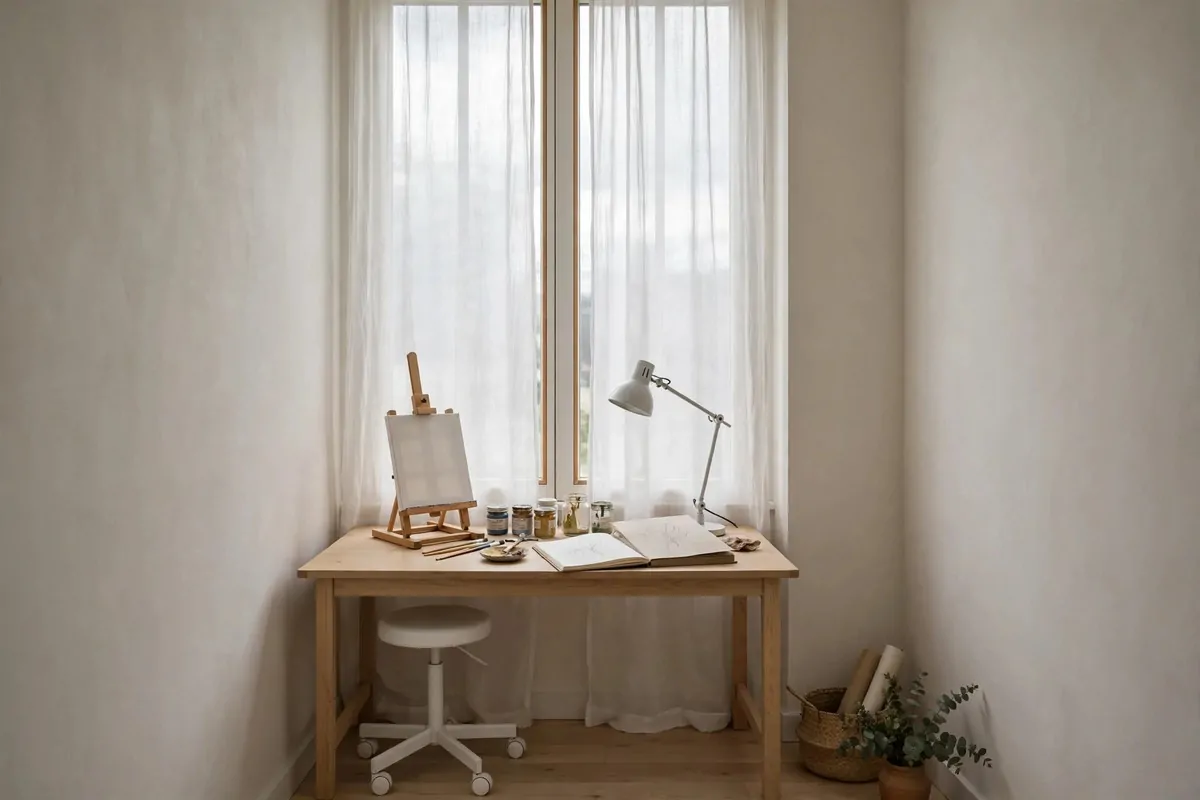
This is the setup real painters talk about the most. A desk pushed up near a window that never gets harsh direct sun. North-facing windows are the favourite because the light stays soft and steady all day.
Direct sun changes every hour. It throws strong shadows and tricks your eyes about colour. North light just sits there, calm and even, from morning to evening.
You do not need a perfect north window. Any window works if you hang a sheer curtain. The sheer cloth softens the glare, and you still get lovely bright light to work by.
Put your easel at a small angle to the glass, not flat against it. About thirty-five degrees works well. The light then falls across your canvas instead of bouncing straight back into your eyes.
Keep the wall beside the window free. You will want it for a drying shelf or a small bookcase later. Light first, storage second, that is the rule I follow.
If your corner has no window at all, buy one daylight lamp before anything else. Get a 5000K bulb, which means cool white light. It costs little and changes everything.
A small stool that slides under the desk finishes this corner. It keeps the floor clear when you are not working. This whole setup fits in a space about four by six feet, which is smaller than most people guess.
2. The Rolling Cart Core
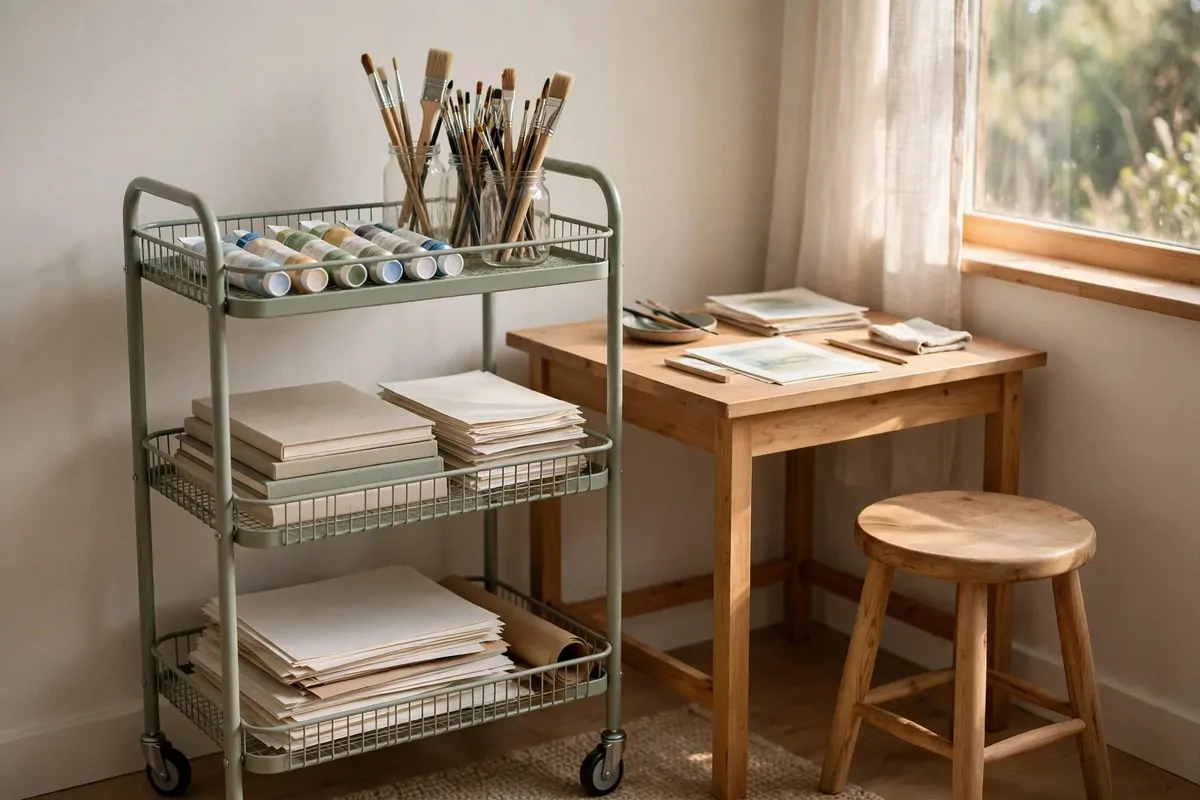
If you buy one thing for your studio, make it a three-tier rolling cart. I have seen artists build a whole studio around this one piece. It holds your daily tools on top, paints and paper in the middle, and the bulky stuff at the bottom.
The magic word here is rolling. You wheel it to the table when you start. You wheel it to the sink when you rinse brushes. Then you park it in a corner and it looks almost tidy.
Most people use the cart wrong at first. They fill all three tiers with random supplies. Then nothing is in reach when they need it. The trick is to keep only this week’s supplies on the top tier. Everything else can live on a shelf.
A wooden cart looks like furniture. A metal wire one looks like a dorm room. If your studio sits in your living room or bedroom, pick the wooden one. It costs a bit more but your room will thank you.
Add small cups or jars to the top tier for brushes and pens. Standing them up saves you from digging through a drawer. Clear jars are best because you can see what is inside.
Lid the cart at night with a tray on top and it becomes a side table. That is the whole point of a rolling cart studio. Nothing is ever fully put away, but nothing is ever truly in the way either.
Label the three tiers with little tags if you share your home. Top for daily, middle for paints, bottom for big things. Then anyone can find what they need without asking you. It takes two minutes and saves a lot of small questions.
3. The Closet Art Studio
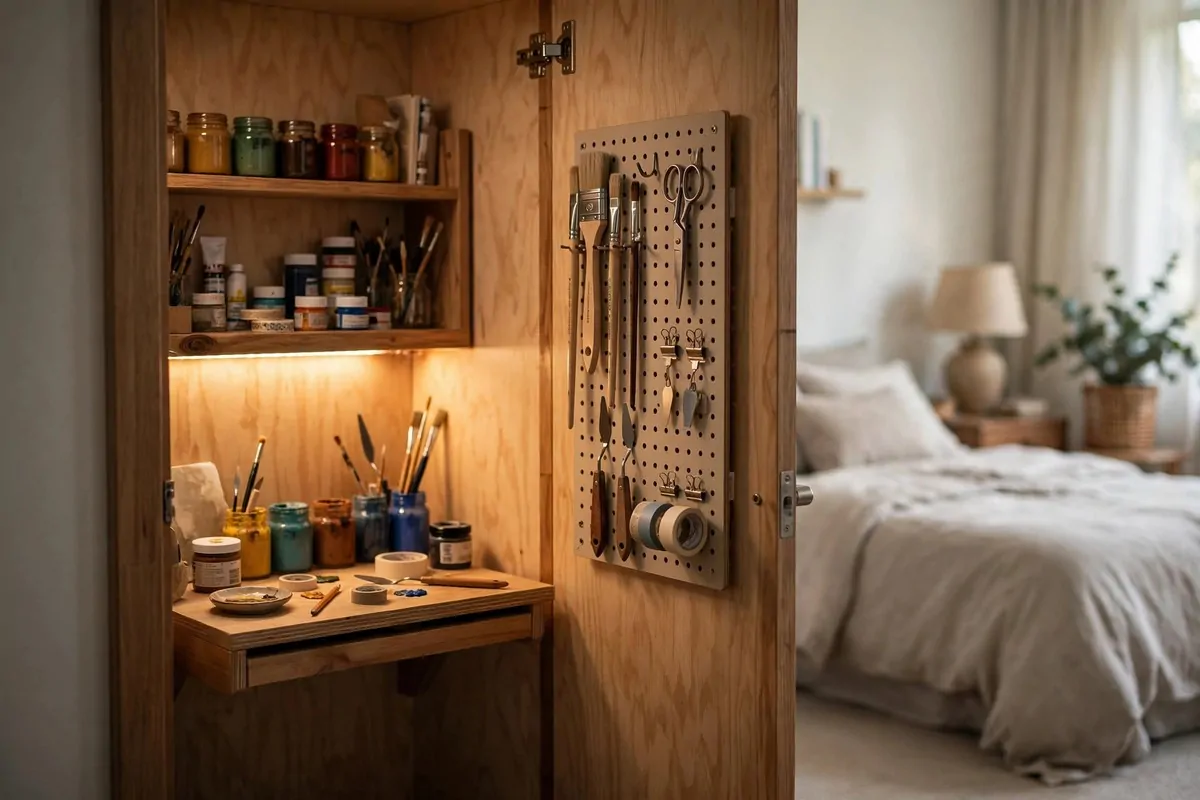
A spare closet is one of the best art studios I know, and it sounds like a joke until you try it. A small desk fits inside. A pegboard hangs on the inside of the door. When you close the doors, the mess disappears. Honestly, that is half the battle.
The first thing to fix is light. Closets are dark by design. Screw in a bright daylight LED bulb, or stick a battery lamp under the top shelf. You cannot paint what you cannot see.
Mount the desk to the wall instead of using legs. A floating shelf board works fine. It leaves the floor clear underneath for your rolling cart or a box of canvas.
Use the inside of the doors. Hang a small pegboard on one door for brushes and scissors. Hang a wire basket on the other for sketchbooks. Doors are free wall space that most people waste.
Keep only dry media or water-based paints in a closet studio. No turps, no strong solvents. A closet is a small sealed box, and you breathe that air all night if it is in your bedroom.
A small fan helps a lot. Even a cheap clip fan pointed at the door gap moves the air. It also dries wet paintings faster, which matters when your studio is this compact.
The best part of a closet studio is the ritual. Open the doors, and you are an artist. Close them, and you are a person with a tidy house. I love that feeling more than any fancy room.
Measure the inside of your closet before you buy the desk board. Most reach-in closets are about twenty-four inches deep. A board cut to fit sits on two small brackets, and you have a desk that never wobbles.
4. The Single-Wall Pegboard Studio
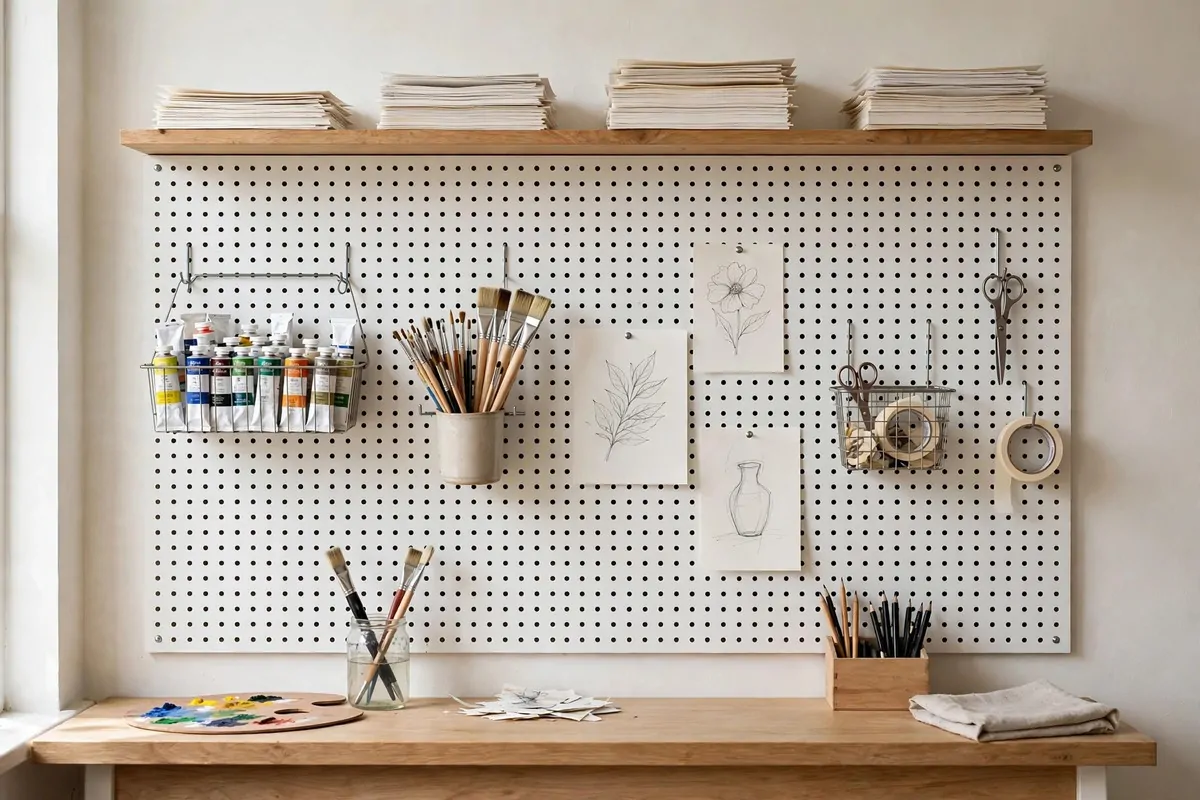
Sometimes your whole studio is one wall. I mean that literally. A pegboard, one shelf, and a hook for your apron. That is a working Home Art Studio for a lot of people, and it costs almost nothing.
Pegboards beat open shelves for one reason. You can rearrange them in two minutes. Hooks move, cups move, baskets move. Your studio changes as your habits change.
Start with the top row for pretty things. Finished small works, a favourite print, a photo that makes you happy. Then fill the middle rows with tools you grab every day. Brushes, scissors, tape. Bottom rows hold the heavy stuff like paint bottles.
Hang cups instead of using drawers for brushes. Bristles up, grouped by size. You will find the right brush in one second instead of digging. That saves real time over a year.
Wire baskets clipped to the pegboard hold tubes and tins. Keep them sorted by colour family. Warm colours in one, cool colours in another. Your eyes learn where things are, and your hands follow.
Put a slim shelf above the pegboard for paper stacks and sketchbooks. Paper lies flat up there and stays clean. Nothing ruins a fresh sheet like dust or a coffee ring.
A single wall studio grows with you. Add a second panel when the first fills up. Move the whole thing to a bigger room when you get one. The pegboard system travels with you, which is why artists love it.
Paint the pegboard a soft colour to match your room. White, sage, or warm grey all look calm. A painted pegboard reads as wall art, not a workshop wall.
5. The Window-Front Easel Setup
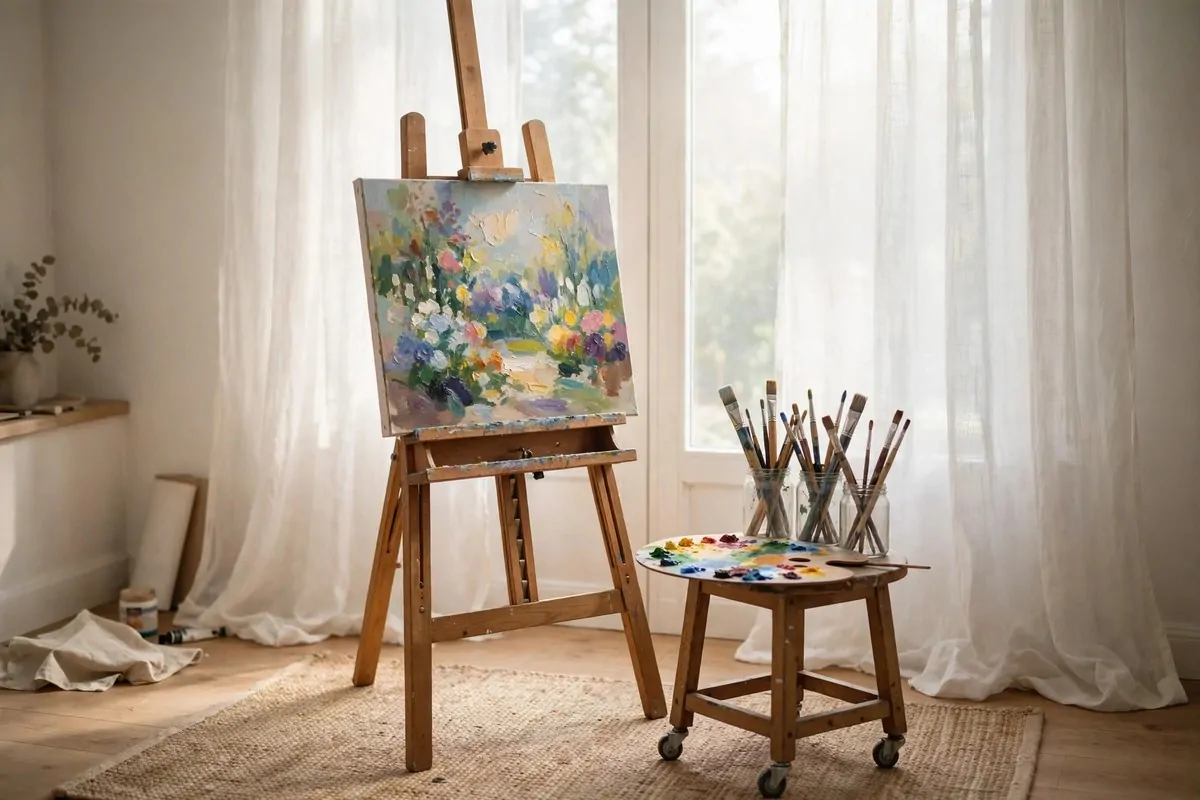
This is the dream photo setup, and it actually works if you do it right. Put your easel directly in front of a tall window. You face the light while you paint. Your canvas glows softly, and the world outside becomes your background music.
Sheer curtains are a must here. Without them, the sun will blind you by midday and bleach out your colours. With them, the light turns soft and dreamy, and your eyes stay relaxed for hours.
Use a small taboret or rolling stool beside the easel for your palette and brushes. Do not put wet paint on the windowsill. One bump and you will be scraping paint off glass for a week. I learned that the hard way.
Stand up when you paint here. Window easels suit standing work best. Your body moves, your brush strokes get looser, and you can step back any time to check the whole canvas from a distance.
Add a rug under your feet. Standing on hard floors for two hours hurts more than people expect. A cheap flat-weave rug also catches drips and keeps your floor clean.
At night this corner goes quiet, so give it one warm lamp. It turns the window easel into a cosy night spot for sketching. The same corner then works for you morning and evening, which doubles your studio hours.
Keep a spare drop cloth folded behind the easel. It doubles as a curtain for the window when the sun gets too strong. Simple things that do two jobs are the backbone of a good studio.
6. The Wheeled Table Workshop
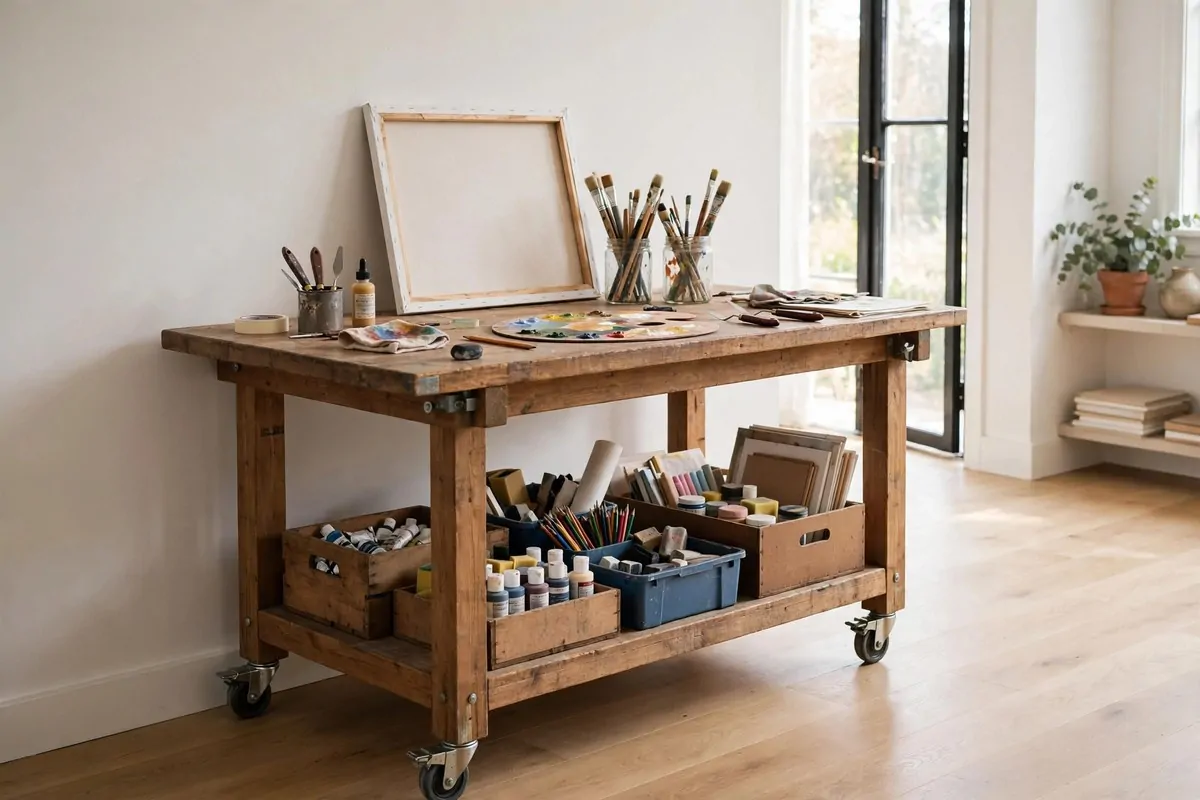
A table on locking wheels is the studio version of a food truck. You roll it to the light when you paint. You roll it to the sink when you wash up. You roll it against the wall when guests come over. Everything else in the studio stays put.
Get casters that lock, not cheap wheels that drift. You want the table dead still while you work, and mobile the rest of the time. Four locking casters cost a little extra. They are worth every penny.
Keep the supplies under the table in open crates or bins. When you roll the table, the supplies travel with it. Nothing gets left behind on a shelf across the room.
This setup shines in a garage or a big open room. Pull the table two feet away from the wall instead of pushing it flush. You get reach space behind it for cables, canvases, and the stuff you always forget is back there.
Height matters more than people think. A table at counter height lets you stand or perch on a tall stool. Standard desk height forces you to sit. Standing artists work bigger and move more, which is good for your back.
When the table is parked, lock all four wheels. I say this because someone always forgets. A table that rolls mid-brushstroke will teach you that lesson once. Once is enough.
Stick a strip of painter’s tape on the floor where the table lives. It marks the home spot, so you always park it in the same place. Small marks like this keep a shared room feeling tidy.
7. The Fold-Down Wall Table
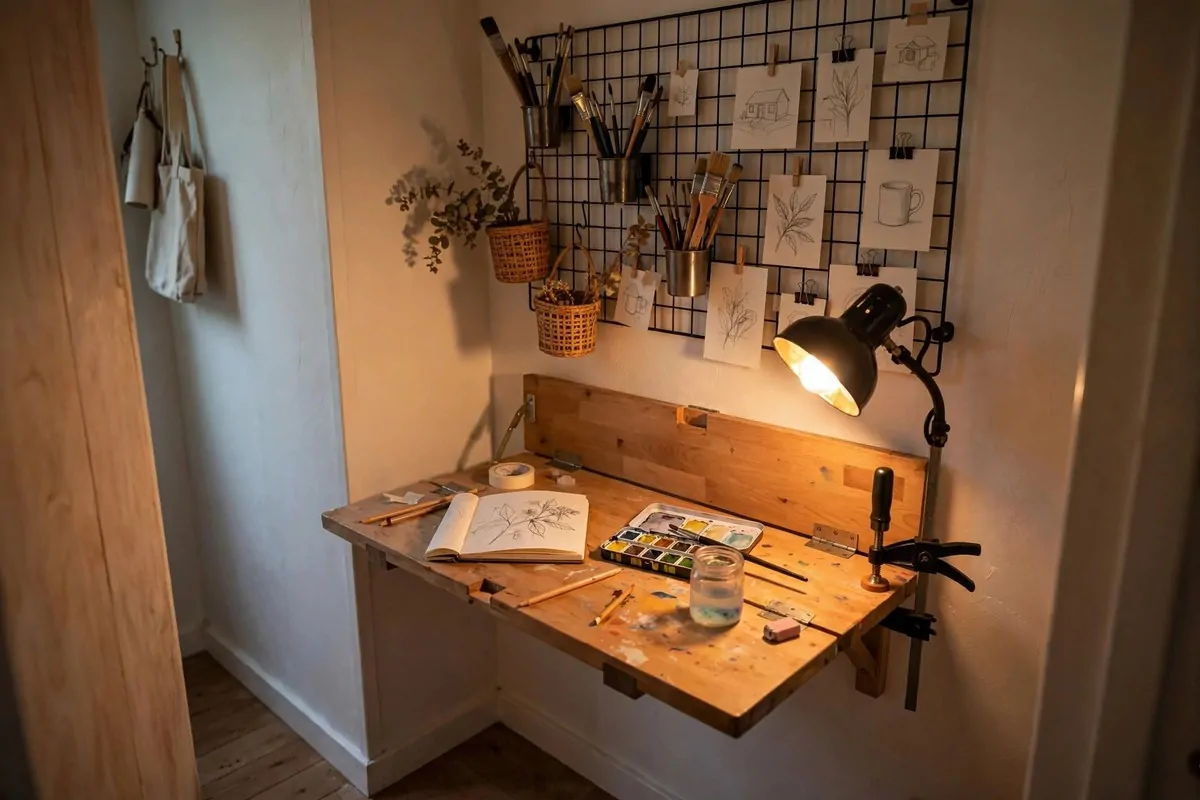
A wall-mounted folding table is the studio for people who say they have no room. About thirty by twenty-four inches when open. Flat against the wall when closed. The corner turns back into a regular room in three seconds.
Mount it at proper desk height. Sitting height is around twenty-nine inches. Standing height is more like thirty-eight. Measure your own comfortable height with a book and a tape measure before you drill anything.
Pairs of small brackets lock it flat when it is up. Check the weight rating before you buy. Watercolour and sketching are light. A full oil palette with a wet canvas is heavier than it looks.
Put a wall grid panel above the folded table. Clip cups for brushes, hang small baskets for tubes, and pin up sketches in between. When the table folds down, your tools are already waiting on the wall.
Add a clamp lamp that also folds or swings away. It should sit low and to your left if you are right-handed. That way your own hand never throws a shadow across your work. Two light sources are even better.
This is also a great setup for shared rooms like a dining area. Open it, create, fold it up, eat dinner. Nobody knows you were an artist there ten minutes ago. I think that is kind of brilliant.
Check the wall studs before you mount anything. A folding table holds real weight, and drywall alone will not carry it. A cheap stud finder costs little and prevents a very sad Saturday.
8. The Bedroom Corner With Fresh Air
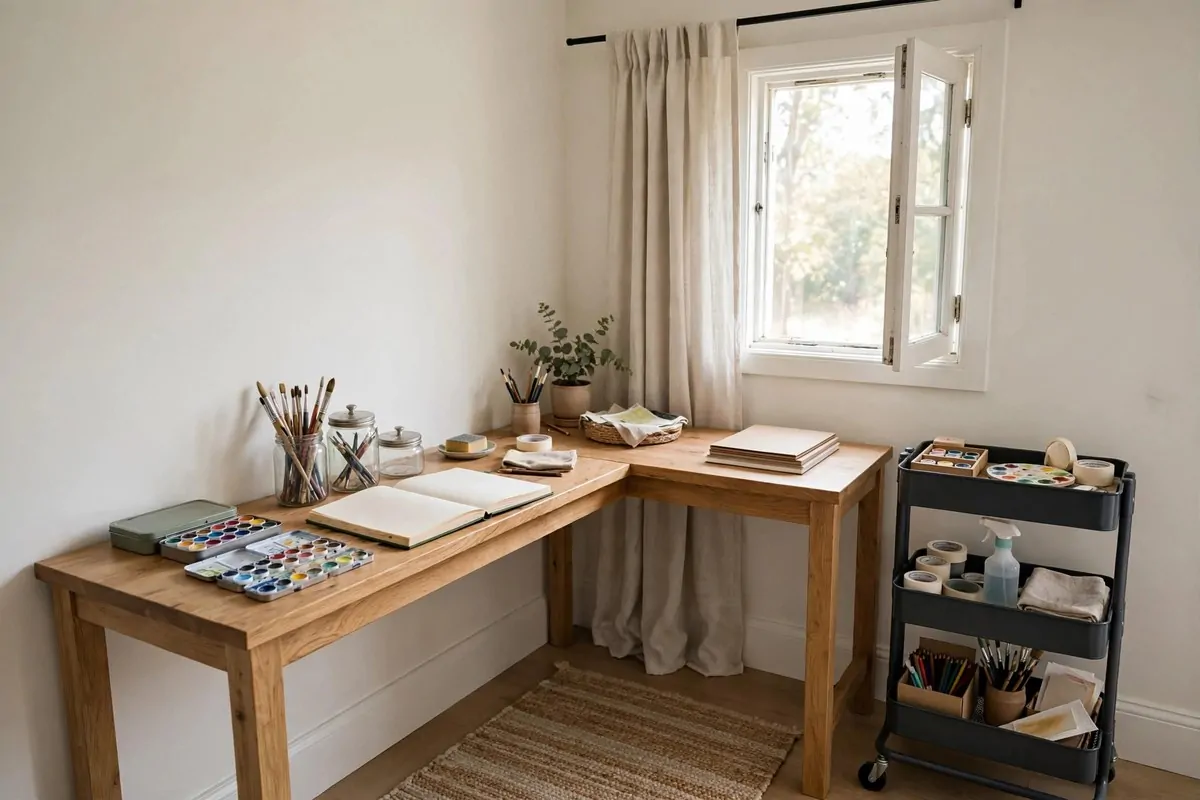
A bedroom corner is a popular studio, and it works, but it comes with one honest warning. You sleep in that room for seven or eight hours. So keep the fumes out. Stick to water-based paints, pencils, and markers here. Treat solvents like a hard no.
An L-shape fits best. Desk along one wall, rolling cart along the other. You spin between them instead of standing up. The whole thing fits in a four by six foot patch, which most bedrooms can spare.
Crack the window while you work, even in cold weather. A tiny gap moves enough air to keep things fresh. If the window does not open, point a small fan at the door and leave the door open.
Keep your brushes and palettes in lidded containers. Watercolour pans close with a snap. Acrylic tubes get their caps back on right away. Closed containers mean no smells drifting around while you sleep.
Separate the corner visually if you can. A curtain on a tension rod, a low bookshelf, or even a rug under the desk. Your brain rests better when work has a border. Sleep researchers agree on this one, and so do I.
The big win here is convenience. Your studio is three steps from your bed. Morning pages, late-night sketches, rainy Sunday afternoons. You will use this corner more than any other setup on this list, simply because it is right there.
Keep a laundry basket near the corner, not across the room. Paint-stained rags and aprons go straight in. Your bedroom stays fresh, and you never have an excuse to leave a wet towel on the bed.
9. The Attic Skylight Studio
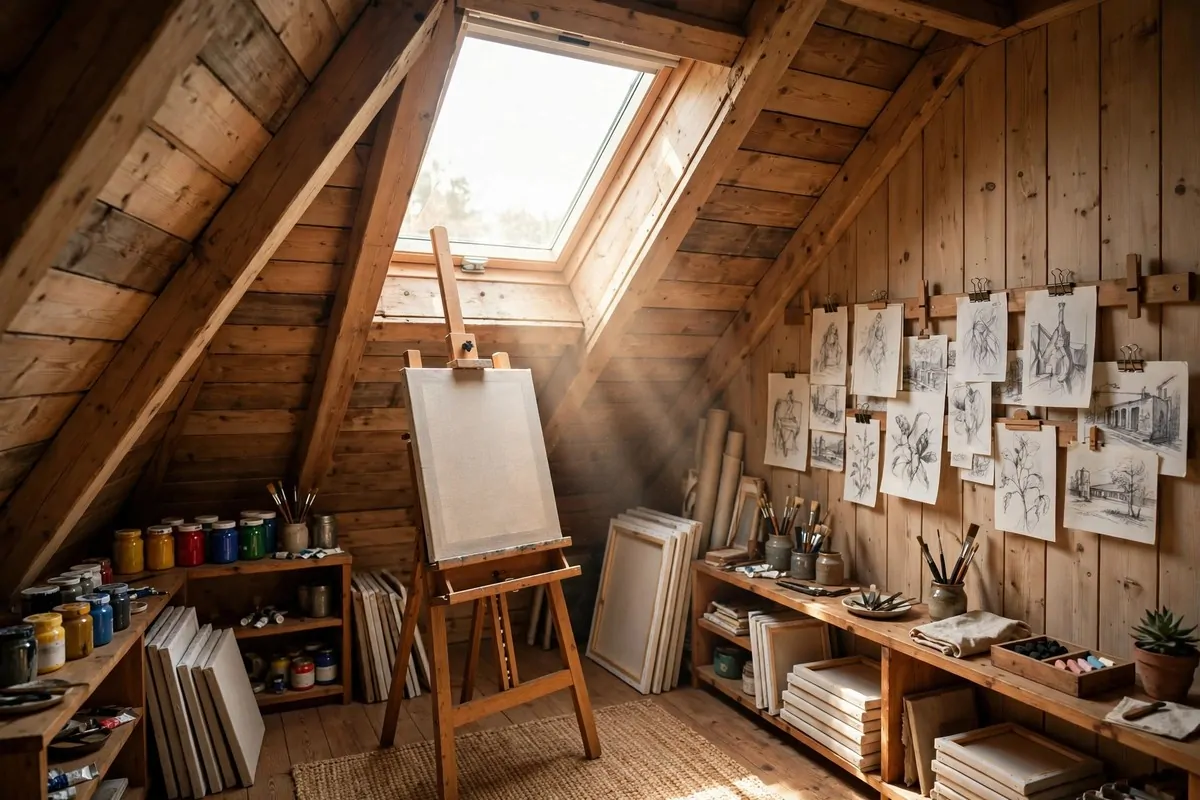
Attics smell like dust and old wood, and they hide the best light in the house. Roof windows throw sunlight across sloped ceilings all day. No foot traffic. No telly noise. Just you and the quiet.
The sloped ceiling is your friend, not your problem. Low walls under the eaves are perfect for low shelving and flat storage. Keep the tall centre of the room open for your easel and your big moves.
Mind the temperature. Attics bake in summer and freeze in winter. A small oil heater and a fan solve most of it. Check the insulation before you move anything precious up there. Wet paint hates damp air.
Ventilation matters more up here than anywhere. Hot air rises and stays. Any solvent fumes rise and stay too. Open the gable vent or a skylight while you work, and use water-based paints when you can.
Use the long wall for a pin-up rail. Attic walls are odd shapes, but a simple rail with clips works on any of them. Pin works in progress along it so you can see a whole series at once. That view feeds new ideas.
This is my favourite setup for painters who want to disappear. Nobody climbs the ladder unless they mean it. You get hours of deep focus, and your studio doubles as a tiny private gallery when friends visit.
Pad the low spots under the eaves with a rug or a cushion. You will bump your head once, everyone does. After that, the soft landing spots remind you to duck.
10. The Converted Garden Shed Studio
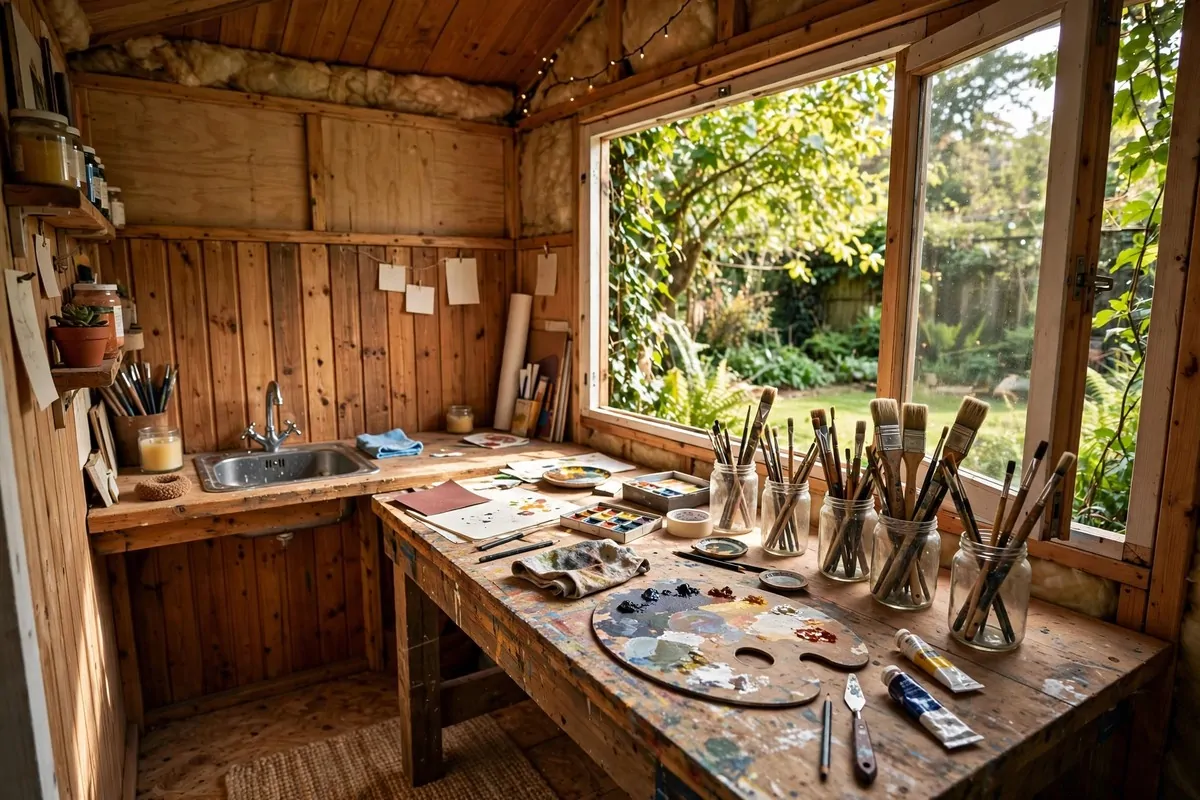
A garden shed studio is the ultimate upgrade. You walk out of the house, and you are in your studio. You walk back, and the mess stays behind. For artists with strong-smelling materials, that distance is worth everything.
Insulation comes first. An uninsulated shed swings from freezing to boiling with the weather. Line the walls, add a small heater, and you have a year-round room. It costs less than people expect.
Water is the second upgrade. Even a small garden tap outside the door helps. If you can run a cold feed inside to a little sink, do it. Rinsing brushes at an outdoor tap in winter gets old fast.
Fit at least one window that opens. Sheds trap air. A window that opens gives you breeze and a view of the garden while you work. Both are good for your mood and your lungs.
Security is boring but real. Lock the door, and do not leave expensive tools in plain sight through the windows. A simple curtain solves the window problem and makes the inside feel cosier.
Walk to your studio each morning and something changes in your head. The short journey tells your brain that work is starting. Commuters get this for free. Shed artists get it for the price of a path across the lawn.
Lay stepping stones or a simple path from the house to the shed door. You will walk it in the rain and the dark, and a muddy patch gets old fast. Dry feet make for a happier studio.
11. The Mood Board Gallery Wall
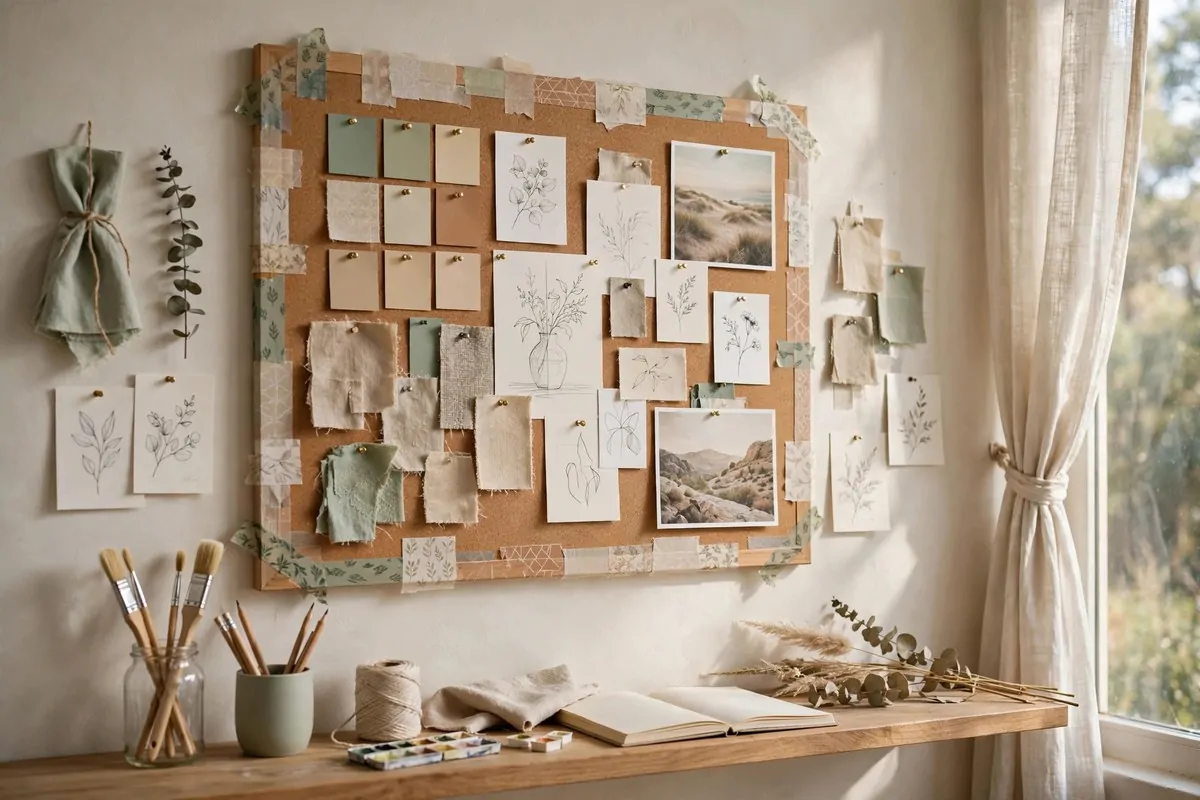
Every studio needs one wall that feeds your eyes. Not storage, not tools, just ideas. A mood board wall is where you pin colour swatches, sketches you love, postcards, fabric scraps, and anything that sparks something in you.
Keep it small on purpose. About two by three feet is the sweet spot. Bigger than that and it turns into visual noise. You want a feature, not a mess. Frame it with washi tape so it reads as one deliberate thing.
Stick to three or four colours that repeat across your room. Your mood board should echo your studio palette. That is what makes a corner look designed instead of cluttered, even when it is busy.
Swap pieces out with the seasons. Pull down winter greys and pin up spring greens. A mood board that never changes goes invisible after a month. Your eyes stop seeing it. Fresh pieces keep it alive.
Include your own work in progress. A half-finished sketch next to a master’s painting tells you where you are going. It is humbling and motivating at the same time. Artists who display their own work finish more pieces, I am sure of it.
This wall costs almost nothing. Cork board or foam board, pins, and things you already own. Yet visitors always point at it first. It is the most personal square footage in your whole studio.
Take a photo of the board each season before you change it. The photos become a little diary of your taste changing. Looking back at old boards is oddly moving, I promise.
12. The Two-Lamp Night Studio
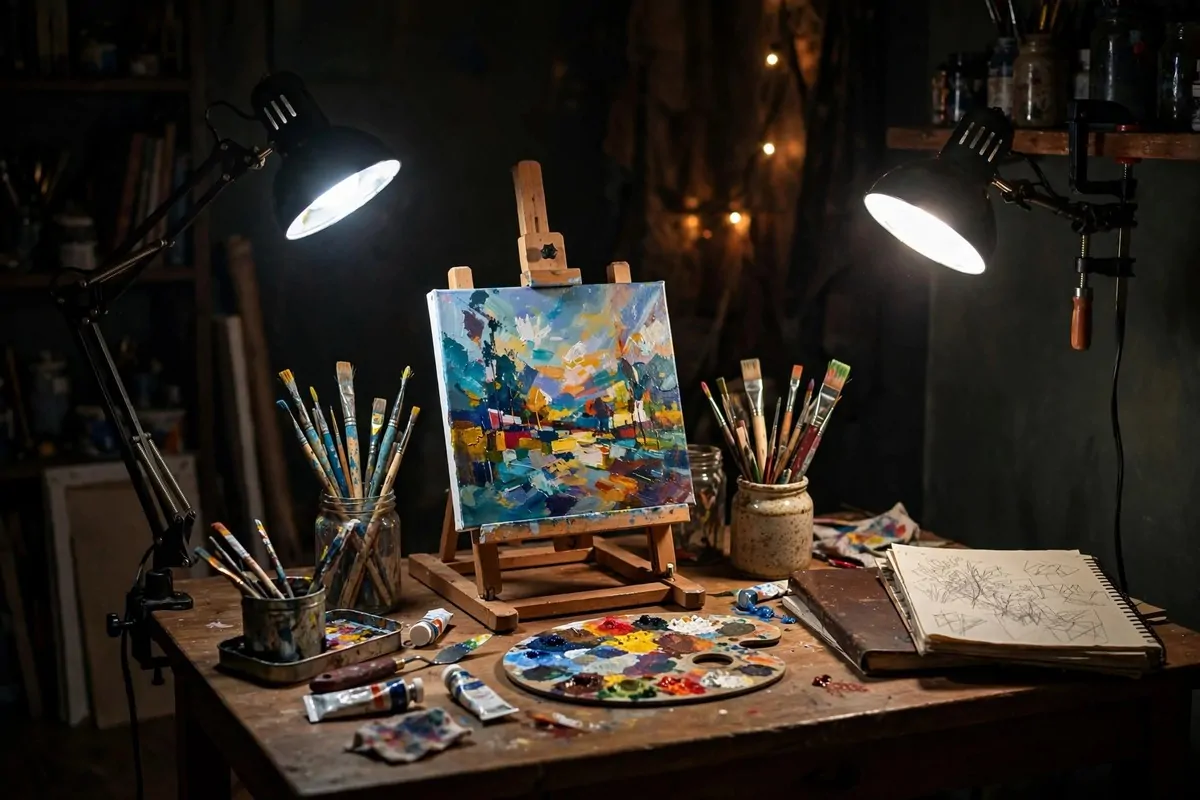
A studio that only works in daylight closes at sunset. For anyone with a day job, that is a problem. The fix is simple. Two lamps, not one, both with daylight bulbs, placed so your hand never casts a shadow.
One lamp alone throws the shadow of your own hand across the canvas. You will spend the evening leaning and squinting. Two lamps from different angles cancel each other’s shadows. The difference is bigger than it sounds.
Use 5000K daylight bulbs for colour work. Warm bulbs lie to you about reds and blues. You will wake up to a painting that looks different from the one you went to bed with. Daylight bulbs keep the colours honest.
Clamp lamps save desk space. They grip the shelf or table edge and swing where you need them. Look for ones with a few colour modes. Warm light for late sketching, cool daylight for colour mixing.
Overhead room light should stay soft or off. One bright ceiling light fights with your lamps and flattens everything. Two warm dim lamps in the corners plus your two task lamps make the room feel like a cocoon.
Night studios have their own charm. The house is quiet. Nobody knocks. Your world shrinks to the lit circle on the desk, and that focus produces some of my best work. Try it for one week and see.
Keep spare daylight bulbs in the drawer. When one dies mid-evening, you swap it in a minute and keep going. Nothing kills a creative night like a hardware store trip.
13. The Kitchen Table Art Box
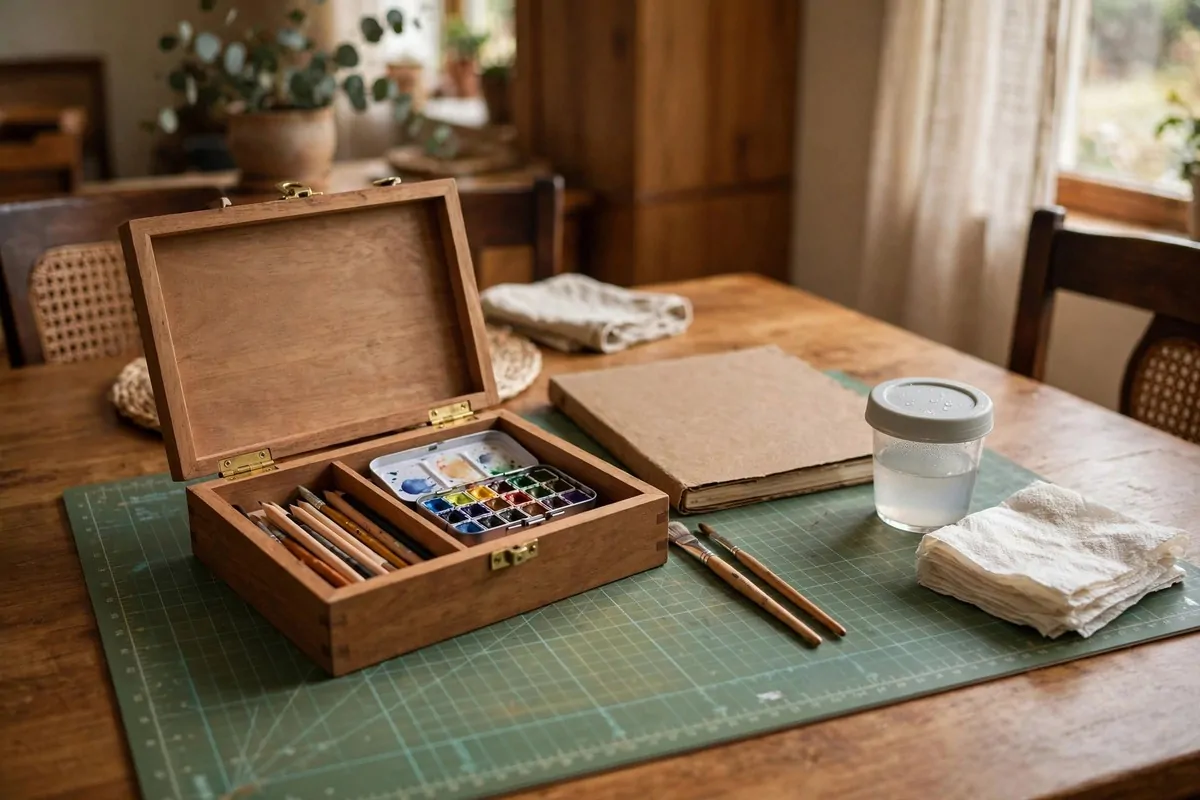
Not everyone gets a permanent corner. For shared tables, build a portable studio box. One lidded container with your essential tools. You set up in five minutes and pack down in five more. That is a real studio, just a folding one.
Pick a box with a flat lid. The lid becomes your palette or your paper rest. A shallow craft box or a small tool chest works. Deep boxes swallow small things and waste time.
Pack only what you use every session. Pencils, one pen, an eraser, a small paint set, two brushes, a sketchbook. Everything else stays in a cupboard. A portable studio that needs ten trips is not portable.
Lay a tablecloth or a big cutting mat first. It protects the table and marks your zone. When family sees the mat, they know art is happening. When the mat goes away, dinner happens. Simple rules, no fights.
Keep cleanup supplies in the box too. A few paper towels, a small water cup with a lid, a trash bag. Cleanup designed into the box means you actually clean up. A five-minute reset keeps the habit alive.
Some of the most consistent artists I know work exactly like this. No dedicated room. No fancy desk. Just a box that opens the same way every day. The ritual matters more than the real estate.
Weigh the box once it is packed. If it is too heavy to carry in one hand, take something out. A portable studio you dread lifting is a studio you will stop using.
14. The Canvas Lean and Dry Corner
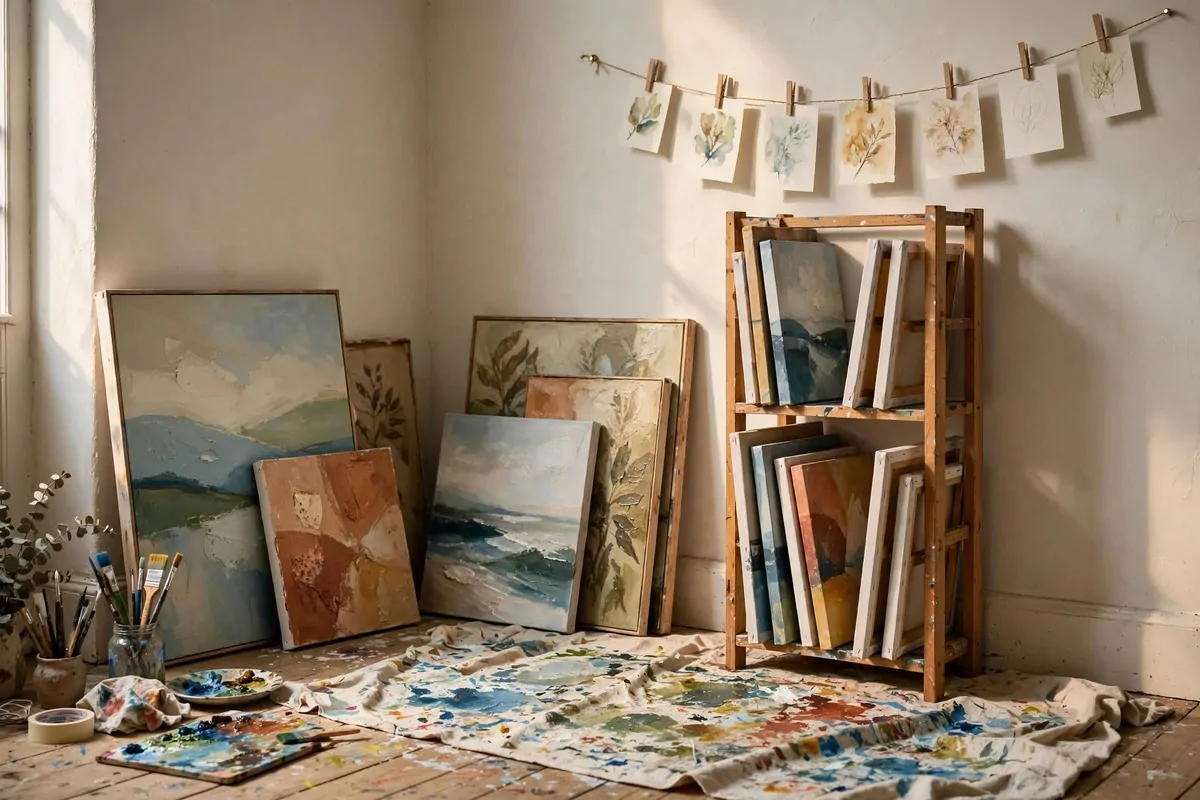
Wet paintings are the part of a studio nobody plans for. You finish a piece, and now where does it go? Stack it flat and you risk smudges. Lean finished canvases against the wall instead. They dry safe, and the corner starts to look like a gallery.
Give canvases a real corner, not a crack behind the door. Two walls meeting at an angle hold canvases upright without clips. Lay a sheet underneath for drips. That is all the infrastructure you need.
A vertical drying shelf is the next level. Narrow shelves spaced a few inches apart hold canvases upright like books on a shelf. Clothespins on a line work for paper pieces. Both beat stacking flat every time.
Keep wet work away from your clean supplies. One corner for wet, one for dry. A wet canvas leaning over your paper stack will ruin a week of sketchbooks in one slow drip.
Face the leaning canvases into the room, not the wall. Seeing your finished work while you paint the next piece is quietly motivating. It reminds you that you finish things. Your brain needs that evidence.
This corner also photographs beautifully. A stack of your own canvases leaning in a corner looks like an artist lives here, because an artist does. It is the cheapest gallery wall you will ever build.
Date the back of each canvas with a marker when it dries. Years later, those little dates tell the story of your progress. It is a small habit that pays off forever.
15. The Divided Room Studio
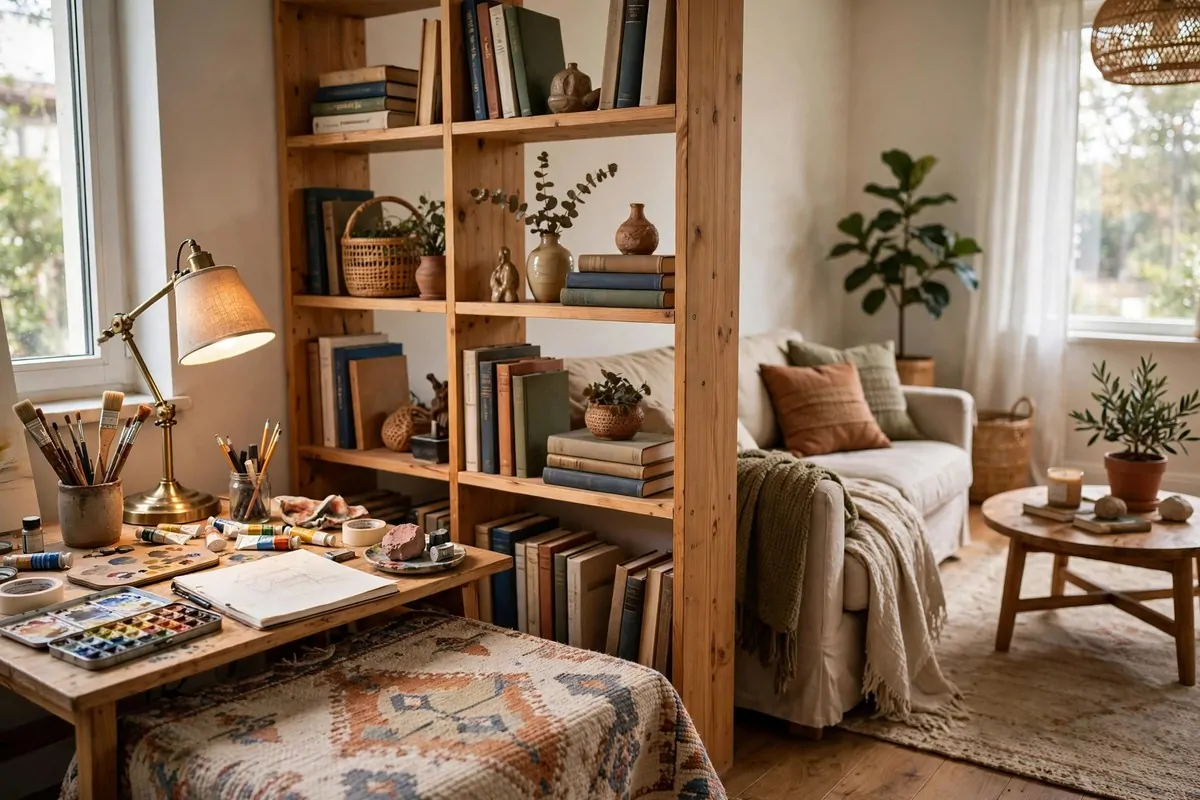
No spare room? Divide the room you have. A low bookshelf, a folding screen, or a tall plant stand splits one room into two zones. Living space on one side, Home Art Studio on the other. Guests see a styled room, not a mess.
A bookshelf divider is the best of the bunch. It divides the space and holds supplies at the same time. Face the pretty books toward the living side. Face the paint jars and paper stacks toward the studio side. Both sides win.
Keep the divider lower than your eye line if you can. Waist to chest height divides the room without chopping the light. You still feel the big room, but your eyes stop seeing the art supplies when you relax.
Run a rug under your studio zone only. The rug edge becomes the border. Step on the rug and you are working. Step off and you are home. It sounds silly, but this tiny ritual really does help your brain switch modes.
Hang a curtain on a tension rod behind the screen for extra hiding power. Pull it across when guests visit or when you want the studio to feel private. Ten seconds of work, instant tidy room.
This setup suits renters perfectly. Nothing is drilled, nothing is fixed. When you move, the bookshelf and the rug come with you. Your studio is a layout, not a renovation.
Face the art side toward the window when you choose the layout. The living side does fine with a lamp, but your painting side needs the good light. Always give the studio the best seat in the room.
16. The Shared Partner Studio
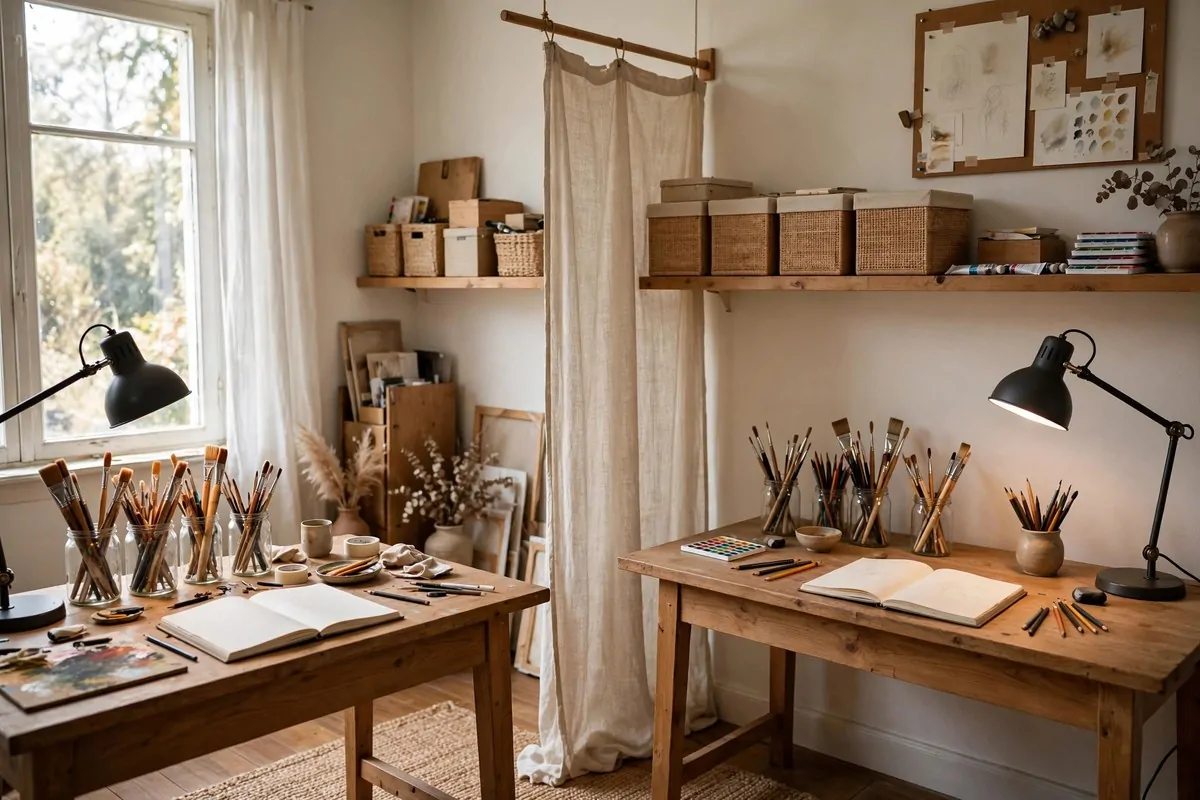
Two artists, one room. It sounds lovely until both of you reach for the same table. The trick is simple. Give each person their own defined zone. One room, two studios. The same logic that makes a shared bedroom work.
Split the room with something physical. A bookshelf, a curtain on a rail, even a tall plant. The divider does not need to be fancy. It just needs to say: this side is mine, that side is yours.
Mirror the setups if you can. Same desk size, same lamp type, same chair style. Matching setups stop the quiet envy that builds when one side looks better. I have seen real arguments start over a nicer lamp.
Agree on the shared rules early. Who buys the shared paper. When loud music is okay. What time the studio closes at night. Write them down and stick them on the wall. It feels formal, but it prevents most fights.
Keep personal supplies in labelled boxes. Shared supplies live on the middle shelf. When something runs out, whoever used it last replaces it. That one rule keeps peace better than any other.
Two people creating side by side is actually wonderful. You push each other. You learn tricks by watching. The room hums with energy that a solo studio never has. Just give it structure and it works.
Buy two identical pencil cups, one per side. It sounds silly, but matching small things keep a shared room feeling fair. Fairness is what makes two artists happy in one room.
17. The All-Wood Warm Studio
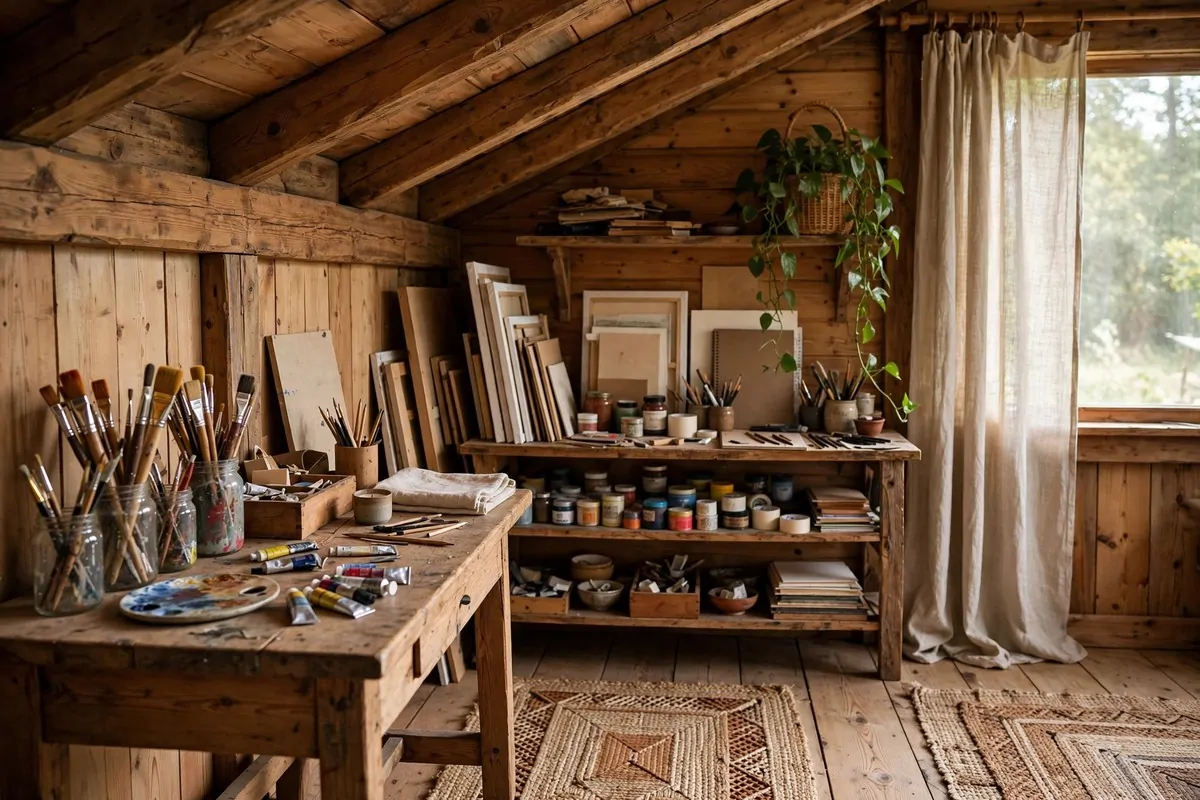
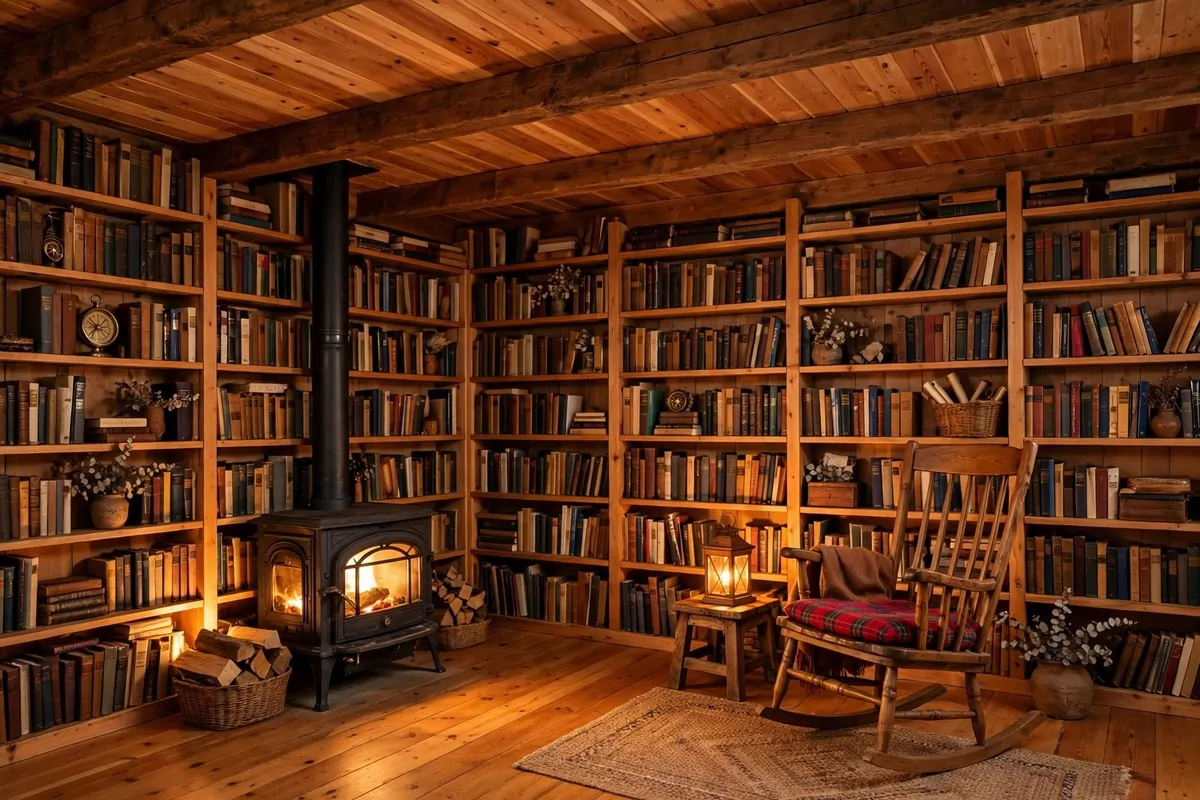
Some studios are built from wood, and they feel different from the moment you walk in. Wood desk. Wood shelves. Maybe exposed beams overhead. The room feels warm and grounding, like a cabin, and artists settle into work faster there.
Choose unfinished or lightly oiled wood if you can. Heavy varnish smells for weeks after you set up, and you do not want chemical fumes in your creative space. Natural oil finishes smell faint and fade fast.
Wood hides paint stains better than white surfaces. A drop of colour on a pine desk looks like character. The same drop on a white laminate looks like a disaster. Your studio will stay calmer if the furniture forgives you.
Mix wood tones on purpose, not by accident. One warm oak desk, one darker walnut shelf, and one light pine crate can look collected and rich. Five random wood shades look messy. Pick two or three and repeat them.
Add a woven rug and a linen curtain. Wood plus soft textiles is the classic artist loft look for a reason. Hard surfaces bounce sound around. Textiles soak it up. Your studio will feel quieter the moment the rug goes down.
Plants thrive in wood studios. The greens pop against the warm tones, and plants clean the air a little while you work. A trailing plant on the top shelf and a big leafy one by the window finish the room.
Sand any rough second-hand wood before you bring it in. Splinters and art supplies do not mix. Ten minutes with sandpaper turns a rough crate into a perfect little shelf.
18. The Plant-Filled Journal Corner
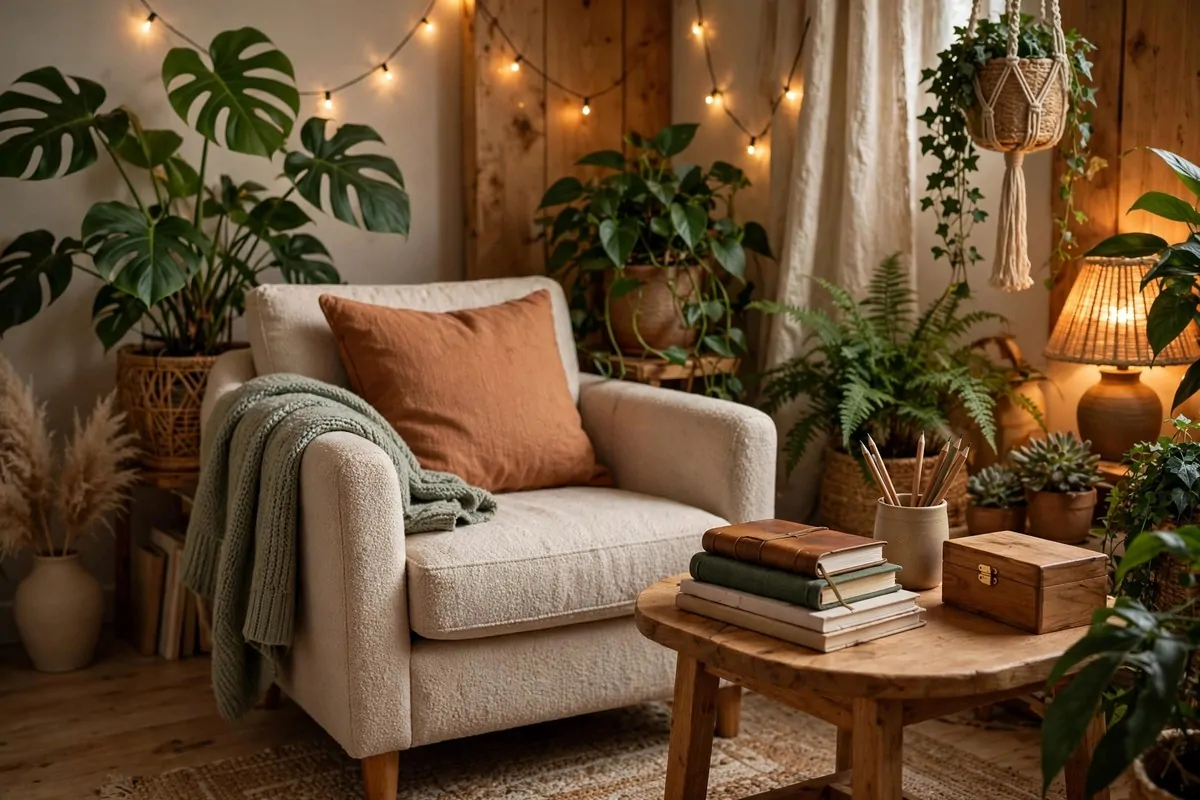
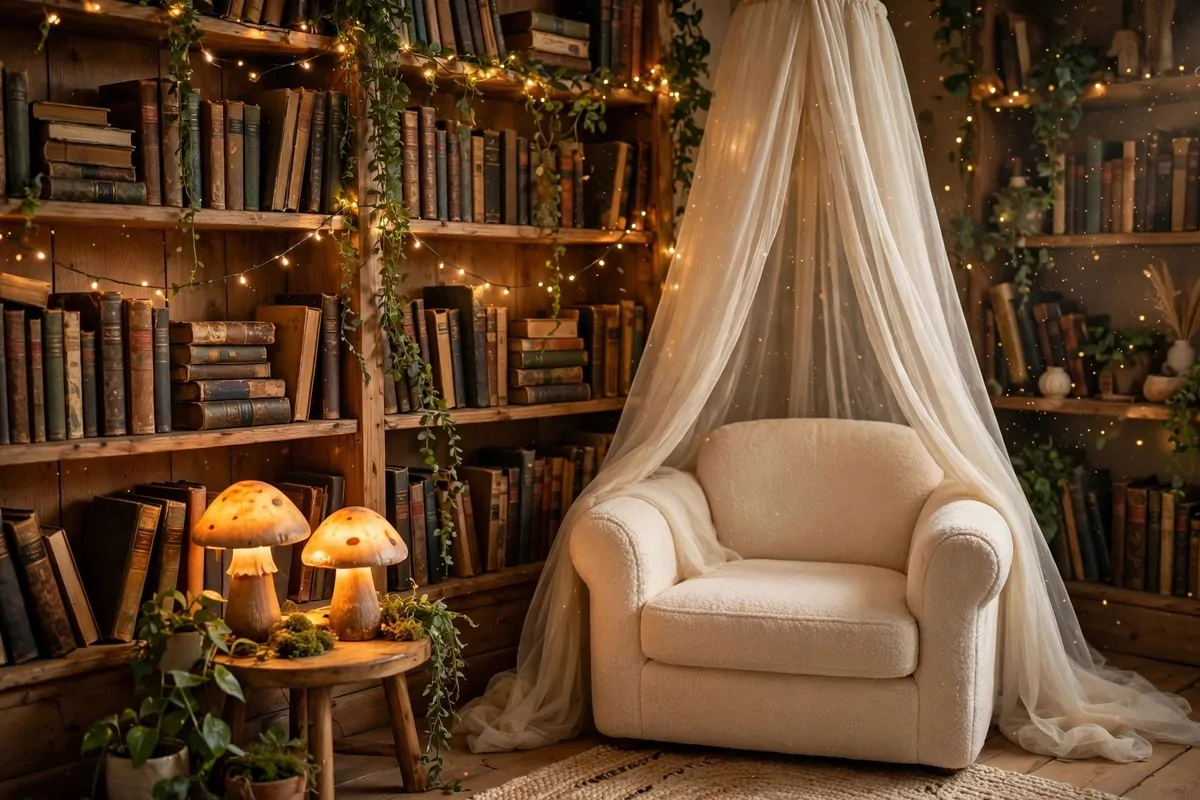
Not every studio is about big canvases. Some artists need a quiet corner for a journal, a sketchbook, and slow thinking. This setup is a comfortable chair, a small table, good light, and plants. Lots of plants.
Start with the chair you actually like sitting in. Not the spare chair nobody wants. Your real favourite. A studio you sit in daily should hold your body kindly. Add a small cushion and a throw for the colder months.
Plants do more than decorate here. Studies show they lift mood and focus, and honestly you can feel it. A trailing plant above you and a leafy one beside the chair make the corner feel alive. Water them on studio days and they become part of the ritual.
String lights or a small warm lamp give this corner its glow. Avoid the big cold ceiling light. Warm, low light tells your nervous system to slow down. That is when the good ideas show up, in my experience.
Keep a stack of journals on the small table, not in a drawer. Visible journals get opened. Hidden ones gather dust. Add a pencil cup and a little box of washi tape or stickers if that is your thing.
This corner works for writers and illustrators too. Any creative work that needs a calm head benefits from plants and soft light. It is the gentlest studio on this list, and some days it is the one you need most.
Keep a small blanket within reach of the chair. Quiet corners invite long sits, and long sits get cold. A warm body thinks better thoughts, at least in my case.
19. The Washable Wet Zone
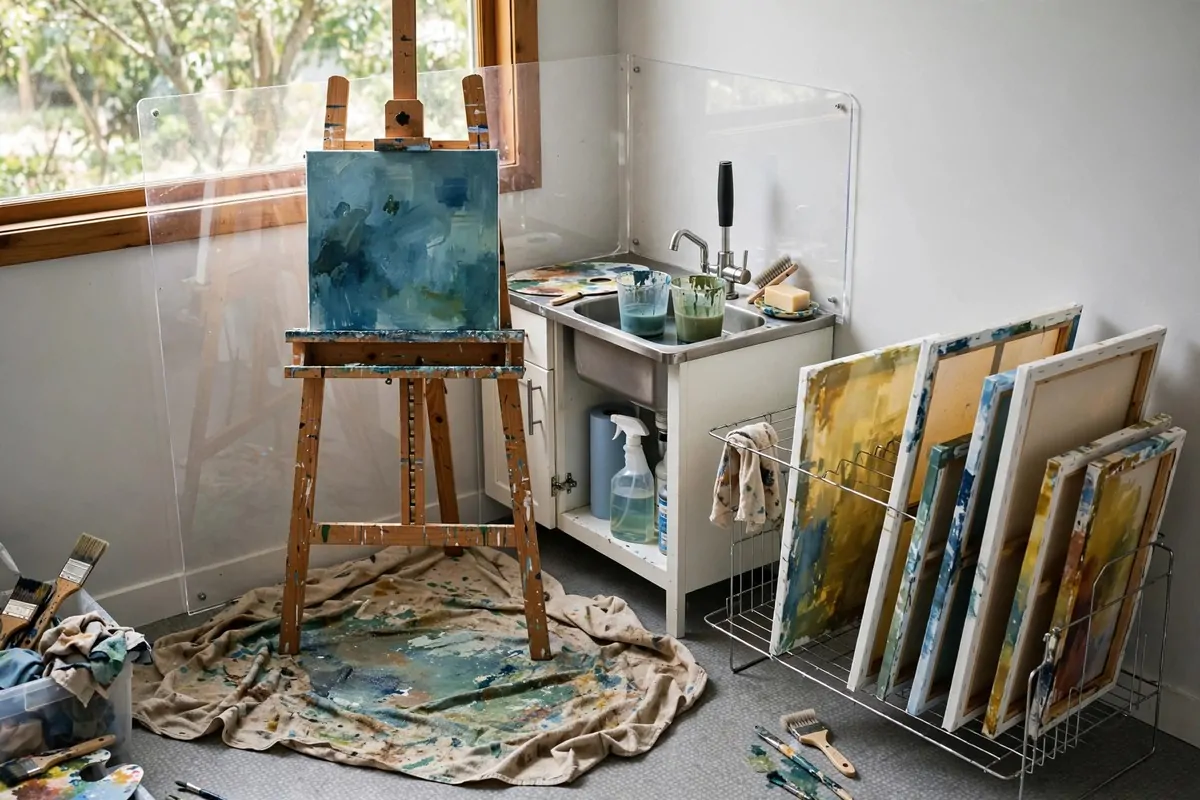
Painters who work big and messy need one thing above all. A floor they can ruin. The washable wet zone is a corner with a wipeable floor, a nearby sink, and a drying rack. Spills stop being scary when the floor forgives them.
Cover the floor with a washable mat or peel-and-stick vinyl tiles. A painter’s drop cloth works too, and it costs almost nothing. Whatever you choose, make sure it goes under and around your work area, not just under the easel. Paint travels.
Put the wet zone near water. A laundry room corner, a kitchen wall, or a garage with a utility sink. Hauling wet brushes across the house spreads drips everywhere. Two steps to the tap changes the whole workflow.
Set up the classic two-cup system. One cup for the first rinse, one for the cleaner rinse. Your colours stay bright instead of turning muddy. Keep a bar of brush soap and a drying cup nearby so brushes keep their shape.
A small drying rack finishes the zone. Wire racks for paper, a narrow shelf with clothespins for small canvases. Wet work dries safe, off the table, and out of the cat’s reach. Yes, the cat will find it otherwise.
Walls deserve protection too. A sheet of clear acrylic or a wipeable splashback behind the easel catches the splatter you do not notice until later. Future you will be grateful every single time you wipe it clean.
Keep a pair of studio shoes by the wet zone. Paint on the floor ends up on your socks, and then on the carpet. Shoes that never leave the zone keep the whole house clean.
20. The Hidden Armoire Studio
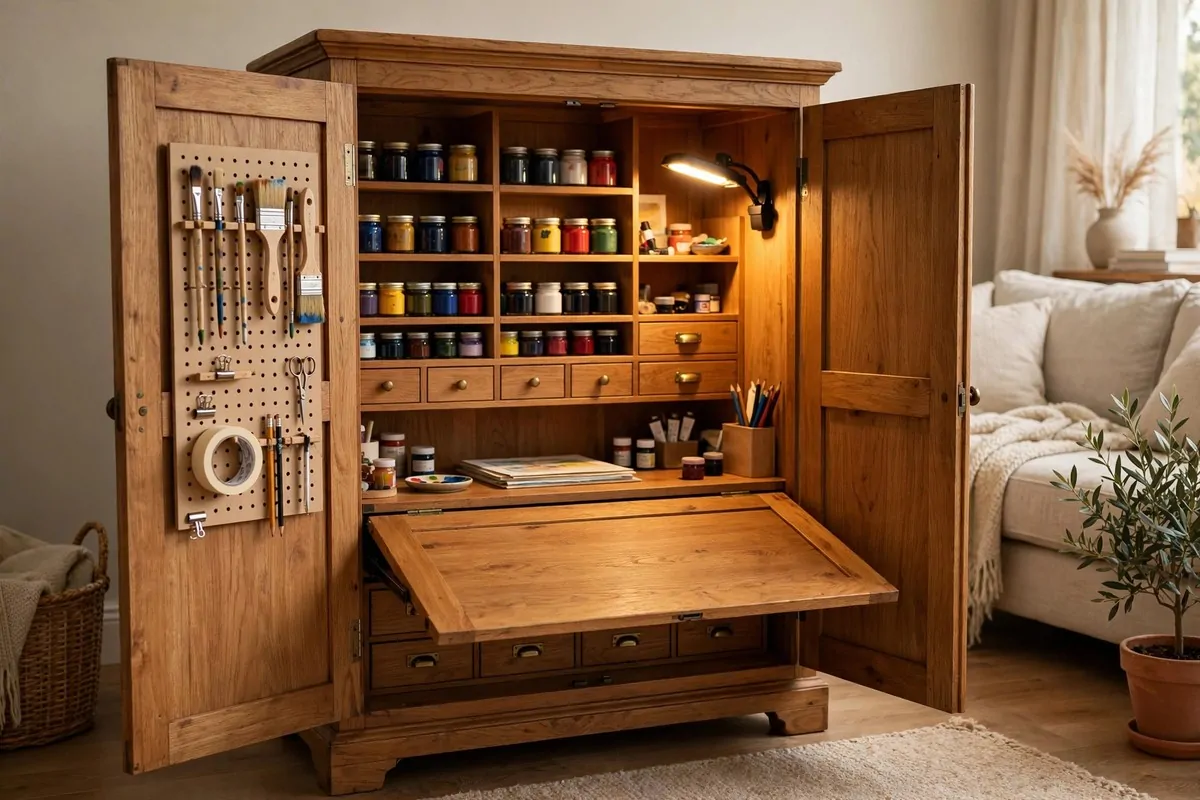
This is the magician’s studio. A craft armoire that looks like a plain wardrobe. Open the doors and it unfolds into a full workspace. Fold-out table, shelves, drawers, pegboard on the inside of the doors. Close it and the room looks untouched.
The fold-down table is the heart of it. It locks flat when open and lifts back up when you finish. Measure your sitting height before you buy, because armoire tables sit a little higher than normal desks. A tall stool usually pairs best.
Organise the inside by reach. Top shelves for the rarely used stuff. Middle shelves and drawers for daily tools. The fold-out surface stays clear for actual work. Every item gets a marked spot, because a small space has no room for mystery piles.
Add a clip-on light inside. Armoires swallow light. One warm LED clip lamp on the top shelf, pointed down at the work surface, turns the dark box into a usable studio. Battery ones work fine if there is no socket nearby.
This setup is perfect for shared living rooms and small flats. Guests arrive, you close two doors, and your studio becomes furniture. Nobody knows you were mixing paints there twenty minutes ago. That is the whole joy of it.
It also teaches you a good habit. You must put things back to close the doors. The studio forces a five-minute tidy every session. My own studio would be neater if it had doors I could not ignore.
Quick Comparison
Before you pick, here is a simple way to match a setup to your home. Think about your messiest habit, then choose the setup that forgives it.
| Your situation | Best setups | Why it works |
|---|---|---|
| Tiny flat, no spare room | Rolling cart, fold-down table, art box | Everything folds, rolls or packs away |
| Shared living room | Divided room, hidden armoire | Mess disappears when guests arrive |
| You paint big and messy | Wheeled table, washable wet zone, shed | Floors forgive you, water is close |
| You work after dark | Two-lamp night studio | True colours at any hour, no hand shadows |
| You crave quiet and space | Attic, shed, north-window corner | Distance and steady light, pure focus |
And here is a quick budget view, because cost matters as much as space.
| Setup | Rough cost | Space needed |
|---|---|---|
| Kitchen table art box | Very low | A table you already own |
| Single-wall pegboard | Low | One wall |
| Rolling cart studio | Low to medium | A corner |
| Hidden armoire | Medium | A wardrobe footprint |
| Garden shed studio | Highest | A whole shed |
Whatever you pick, remember the three things every good Home Art Studio shares. Light that stays honest. Tools within arm’s reach. A setup you can start in two minutes. Get those right and the rest is decoration.