15 Ikea Built in Desk Hack Projects That Look Custom

Here is the whole secret of a built-in desk. It touches the wall.
That is it. That is the whole trick. A desk that runs from one wall to the other, with no gaps and no wobble, reads as custom even when every piece came in a flat brown box. Your eyes see a wall of wood and drawers, and your brain says, somebody built that just for this room.
I know this because I have stood in rooms like that and asked the owner what it cost. More than once the answer made me laugh. Two drawer units. One long top. Some trim and paint. That was the whole build.
Every idea in this list is an Ikea Built in Desk Hack that real people actually did. No made-up pieces. No fantasy rooms. Just clever combos of drawers, tops and cabinets, finished with small moves that make them look like a carpenter made them.
Pick one this weekend. Start with the size of your wall. Measure twice. The rest is easier than you think.
1. The ALEX and LAGKAPTEN Combo That Started It All
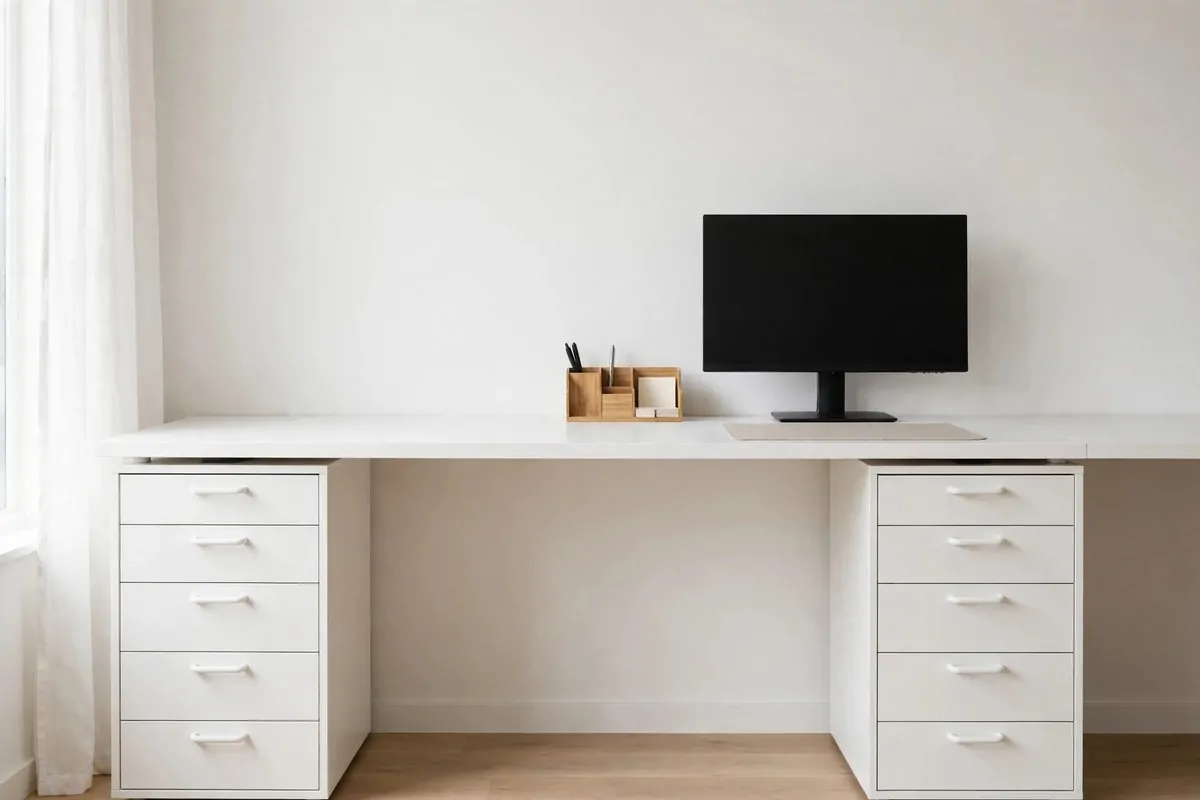
This is the most famous Ikea Built in Desk Hack for a reason. Two ALEX drawer units hold up a long LAGKAPTEN top. It is simple, cheap, and it works in almost any room.
The built-in part comes from the width. Pick a top that runs past the drawers on both sides, almost touching the walls. That long unbroken surface is what your eyes read as custom.
Measure your wall before you buy. Leave about a finger’s width of gap on each end. You will fill it later.
Slide the drawer units into place first. Then set the top down. Do not screw anything yet.
Push the whole desk hard against the back wall. The back edge should sit flat with no gap.
Cut two small filler strips from cheap wood. Glue them into the side gaps so the top looks like it was cut for the room.
Screw the drawer units to the wall studs with L brackets. Now nothing wobbles when you type.
Add a thin baseboard across the front bottom of each drawer unit. Paint it to match the drawers. It hides the plastic feet and makes the units look built in.
Last, drill a small grommet hole in the back of the top for cables. Feed the wires through. A clean top sells the custom look more than anything else.
2. A KARLBY Countertop on Two ALEX Units for a Rich Wood Look
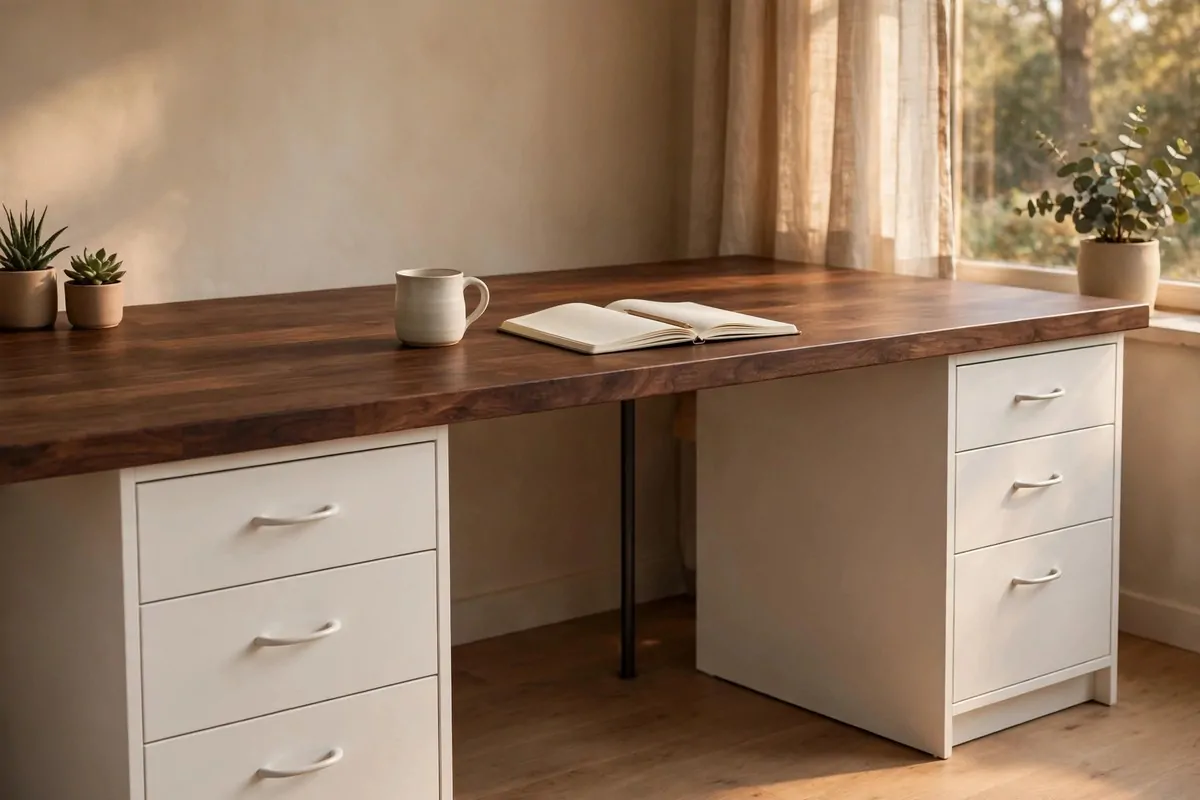
The KARLBY is a kitchen countertop. It is thick, heavy, and the walnut veneer looks like real wood from across the room.
Pair it with two white ALEX units and you get a desk that looks far more expensive than it was. The dark top and white drawers make a strong pair.
Countertops come long. That is good news and bad news. Long tops want to sag in the middle over time.
Fix it with one support leg in the center. An ADILS leg costs very little. Put it at the back so you do not kick it.
Some people use two legs. One in the middle is enough for most desks. Two is safer for a very long span.
Sand the top lightly with fine paper before you set anything on it. Wipe it clean. This helps the finish last.
Rub a coat of wood oil into the KARLBY once a year. It keeps the walnut colour deep and warm.
White drawers under a dark top need one warm thing on top. A small lamp or a wood tray does the job.
This is the desk I recommend most for video calls. It reads as serious and expensive on camera.
3. A Floating Desk Squeezed Between Two PAX Wardrobes
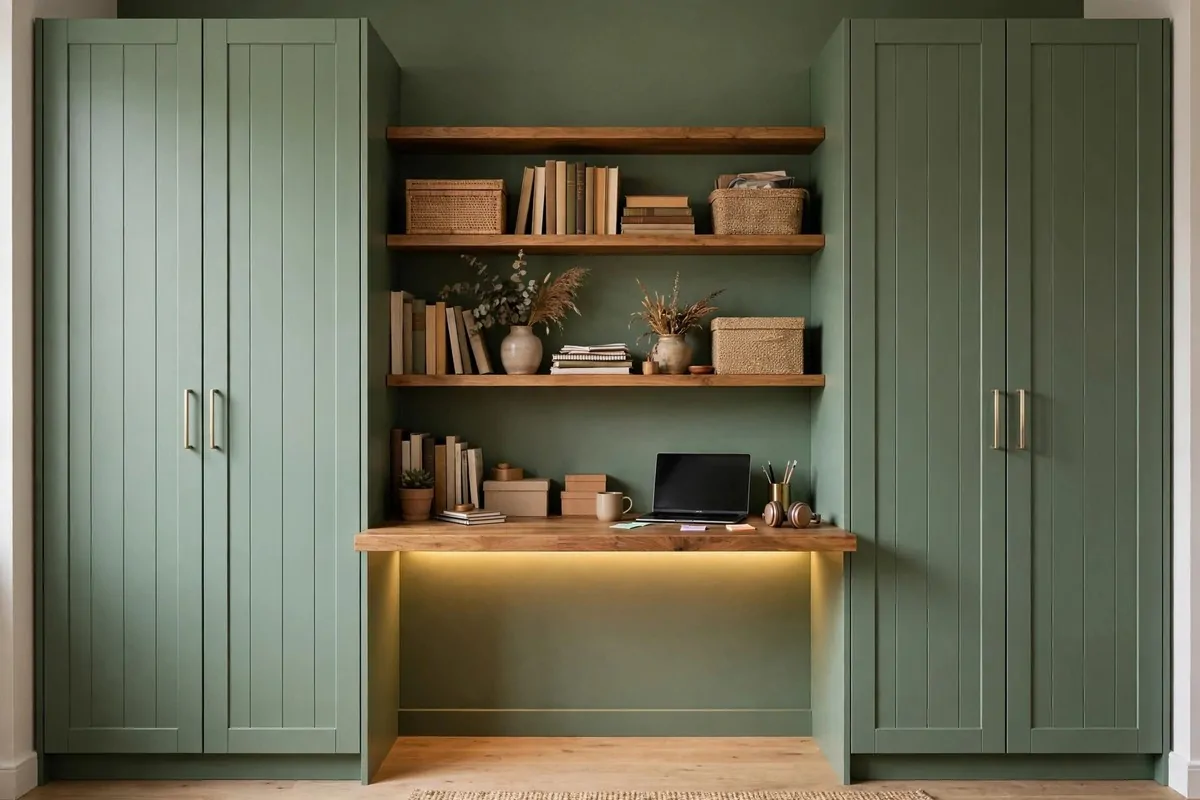
This one looks like a wall of built-in cabinets. It is actually two PAX wardrobes with a desk floating between them.
Paint the PAX frames the same colour as your wall. When the cabinets and the wall match, they stop looking like boxes and start looking like architecture.
Screw the PAX units to the wall. They are tall and they must not tip. This step is not optional.
Cut two wood rails and screw them into the inner sides of the wardrobes at desk height. These rails are the secret. The desk top just rests on them.
Lay a countertop across the rails. It should span the full gap between the wardrobes with no overhang.
Add a strip of crown trim along the top of the PAX units. It is a tiny detail. It makes the whole wall look finished.
Run an LED strip under the countertop. It gives soft light over the desk and hides the rails underneath.
Style the shelves above the desk with books and boxes. A built-in wall with empty shelves looks sad.
This hack is perfect for renters too. The PAX units just stand there. The desk lifts out. Nothing is cut into the wall.
4. Shaker-Style Fronts on Plain ALEX Drawers
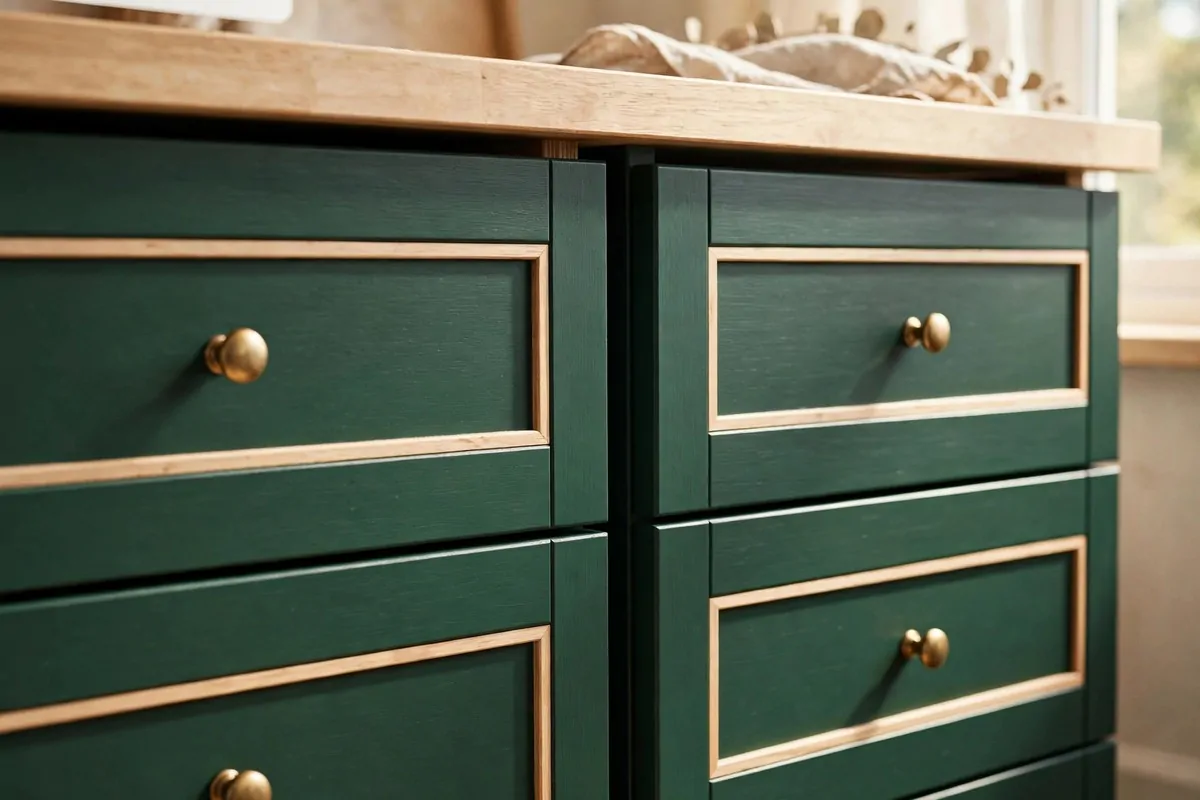
Plain ALEX drawers are great storage. They are also plain. This hack fixes that with thin wood trim and paint.
Buy narrow hobby boards from a craft store. Cut four small pieces per drawer front. Glue them into a rectangle shape. That rectangle is the shaker look.
Use wood glue and a few small brads. Fill the tiny holes with wood filler. Sand everything smooth when it dries.
IKEA laminate is slippery. Paint will slide right off it. You need a bonding primer first. Zinsser BIN is the one most people swear by.
Roll on two thin coats of primer. Let each coat dry fully. Patience matters more than skill here.
Paint with any good interior paint. Deep green, navy, or soft black all look rich. Two coats is usually enough.
Swap the pulls. Gold knobs or wood pulls change the whole feel. Cheap knobs look cheap. Spend a little here.
Put the finished units under your desk top. Step back. They look like drawers from a real cabinet shop now.
Nobody will believe you made them in an afternoon with glue and paint.
5. BESTA Cabinets as a Hidden-Storage Base
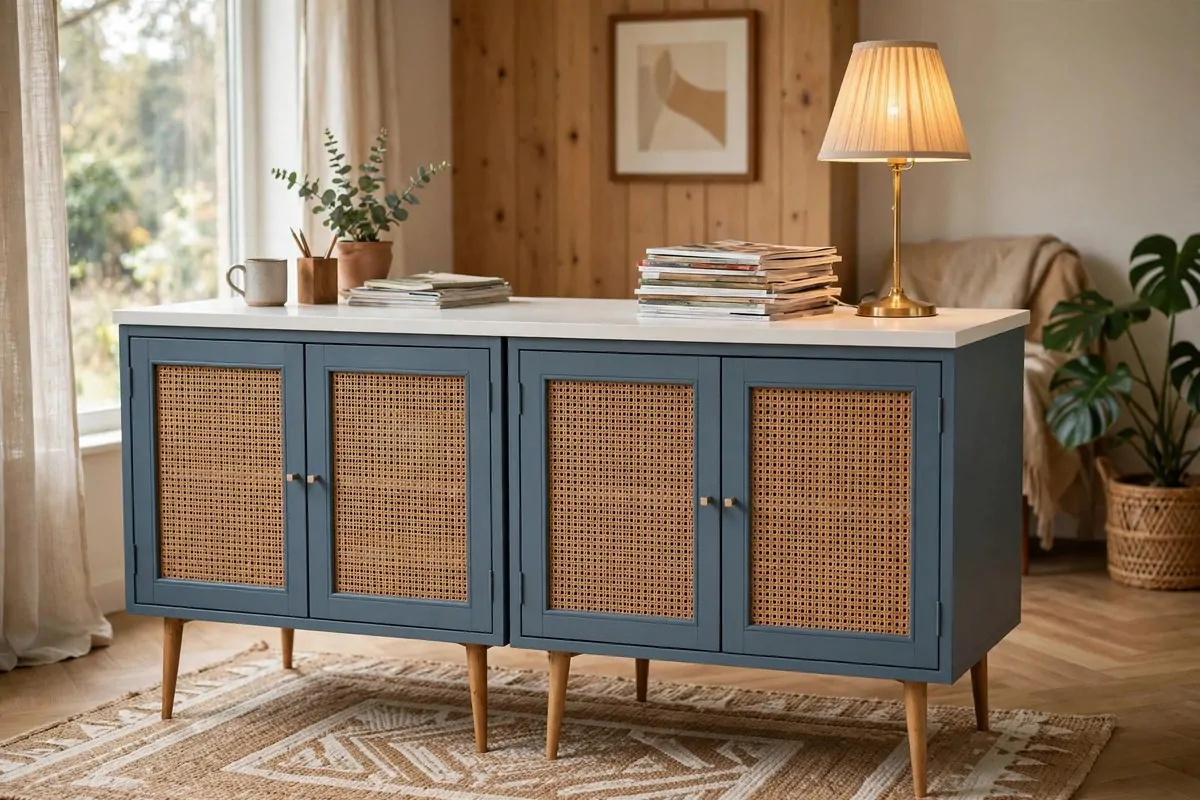
ALEX drawers show their drawers. BESTA cabinets hide everything behind doors. If you want a clean desk with no visual clutter, BESTA is your base.
Use two low BESTA units under a long top. The doors keep papers and chargers out of sight. Your desk looks calm even when it is not.
The magic is in the doors. Swap plain white doors for textured or rattan ones. Suddenly the base looks like mid-century furniture.
Paint the frames to match your wall colour. Same trick as the PAX hack. Matching paint turns boxes into built-ins.
Raise the units on small legs. Four little legs lift the whole desk. It looks lighter and airier this way.
Add a slab of wood as the top, painted white or left natural. White tops with coloured bases look fresh and modern.
One warning. BESTA doors need straight, level bases. Shim the units until they are perfect, or the doors will gap.
This is the desk for people who hate drawers full of junk. Close the doors and the mess is gone.
6. A Waterfall Edge from One Extra Countertop Piece
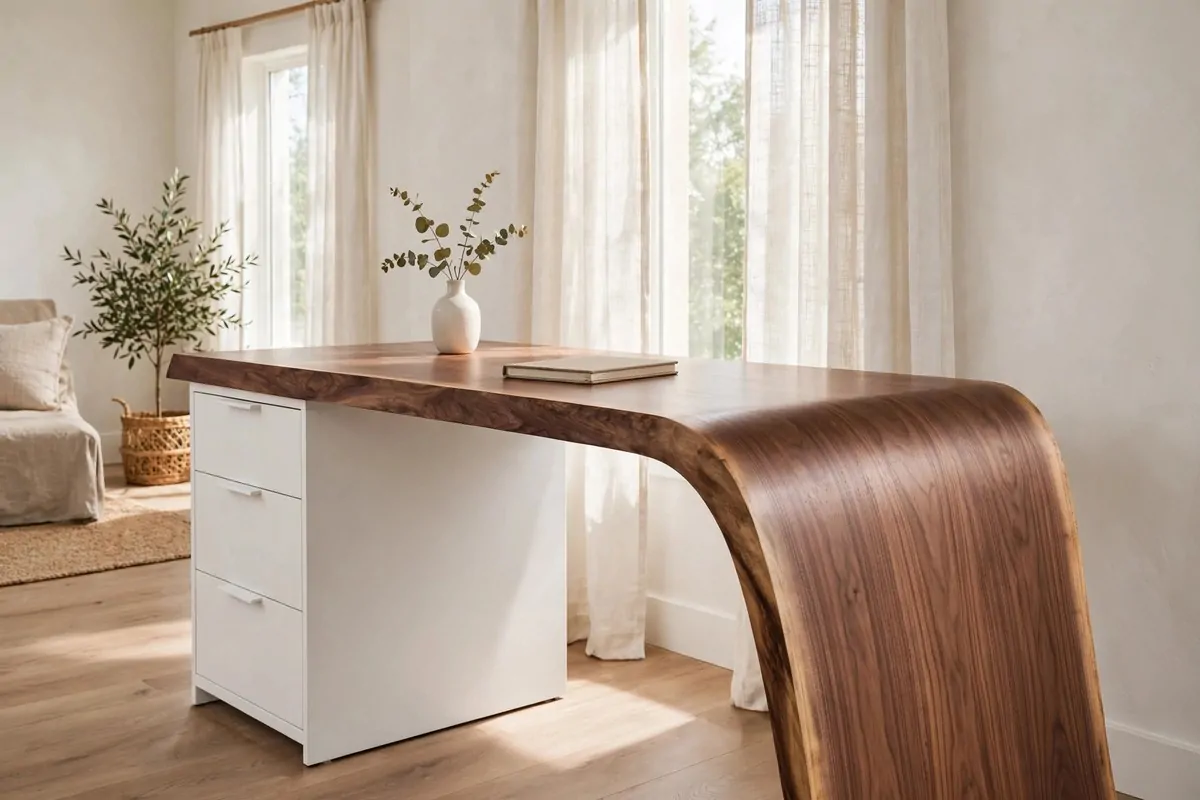
A waterfall edge is when the top bends down the side of the desk like a waterfall. It looks fancy. It is just two pieces of countertop joined at a right angle.
Buy one extra piece of the same countertop. Cut it to desk height. Join it to the end of the top with brackets and glue.
The joint must be tight. Clamp it hard while the glue dries. A visible seam ruins the effect.
Sand the outside corner smooth with fine paper. Round it just a little. Sharp corners look machine made.
Oil the whole top and the waterfall piece together. Same oil, same day. The colour will match perfectly.
Put ALEX drawers under the other end of the top. One side is drawers. One side is the waterfall. It is a beautiful mix.
Keep the waterfall side clear of stuff. The whole point is that smooth sweep of wood. A lamp or one book is enough.
People will ask who built it. Tell them you did. It is true.
7. A Wall-to-Wall Desk from ALEX Filing Cabinets
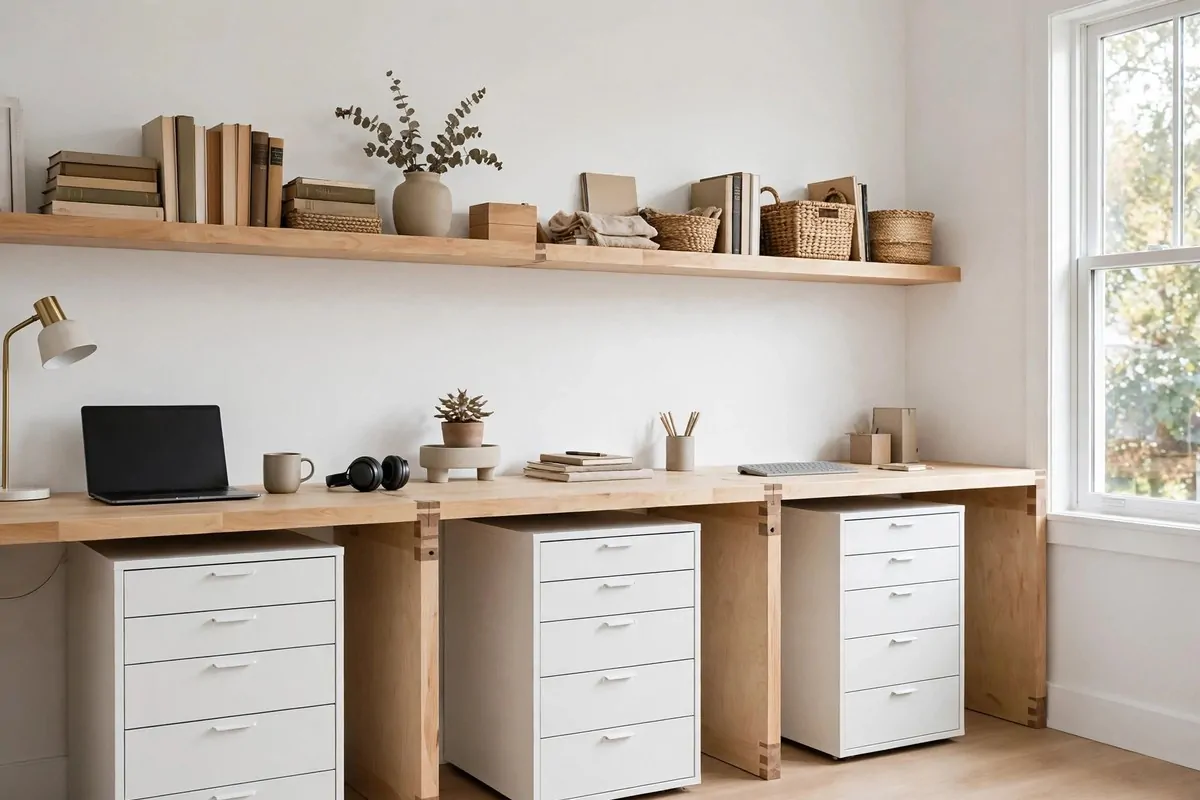
Filing-cabinet ALEX units are deeper than the normal ones. They hold a lot. They also make a desk feel more like real office furniture.
Line up two or three of them along the wall. Set a long top across all of them. Now you have a desk that runs the full width of the room.
This table shows the pieces you need for different wall widths.
| Wall width | Base units | Top |
|---|---|---|
| Up to 2 metres | 2 ALEX units | 200 cm LAGKAPTEN |
| 2 to 3 metres | 3 ALEX units | KARLBY countertop |
| 2 to 3 metres | 3 ALEX units | KARLBY countertop |
Fill the side gaps with filler strips. Caulk the back edge where the top meets the wall. Paint the caulk line if it shows.
Mount a long shelf above the desk on the wall. It gives you storage and makes the desk zone feel like one built-in unit.
The filing drawers swallow printers, reams of paper, and cables. Everything vanishes. The top stays clear.
This is the heaviest desk in the list. Screw every unit to the wall. A full wall of drawers must never tip.
8. An L-Shaped Corner Built-In with EKET Cubes
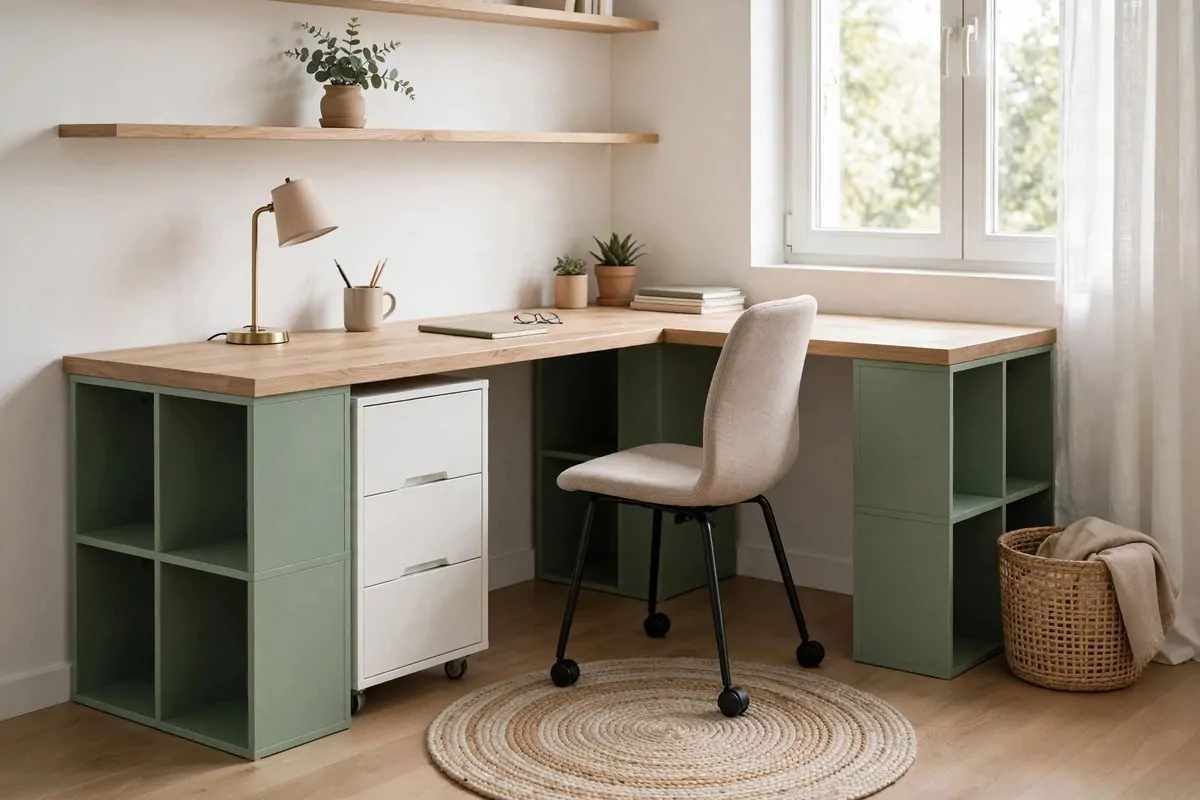
Corners are wasted space in most rooms. An L-shaped desk turns a dead corner into the best seat in the house.
Use two desk tops that meet in the corner. Put ALEX drawers under one arm. Put EKET cubes under the other.
EKET cubes are the turn piece. They sit right in the corner and hold the two tops together. They give you open storage too.
Bracket the two tops together underneath with flat metal plates. The seam should sit flat with no lip.
Screw a corner bracket into the wall behind the joint. Corners are strong. The wall holds the heaviest part.
Paint the EKET cubes a soft colour. Sage green or dusty blue both look calm. White cubes vanish. Colour makes them a feature.
Leave one cube open for your printer or baskets. Close the rest with doors. It looks neat and works hard.
Here is what one corner build needs:
- Two LAGKAPTEN tops in matching finish
- One or two ALEX drawer units
- Two EKET cubes with feet
- Flat brackets and screws
- A tube of paintable caulk
Caulk the back edges where the tops meet the walls. That one step makes a corner desk look fitted.
9. Stained RAST Dressers as Chunky Wood Legs
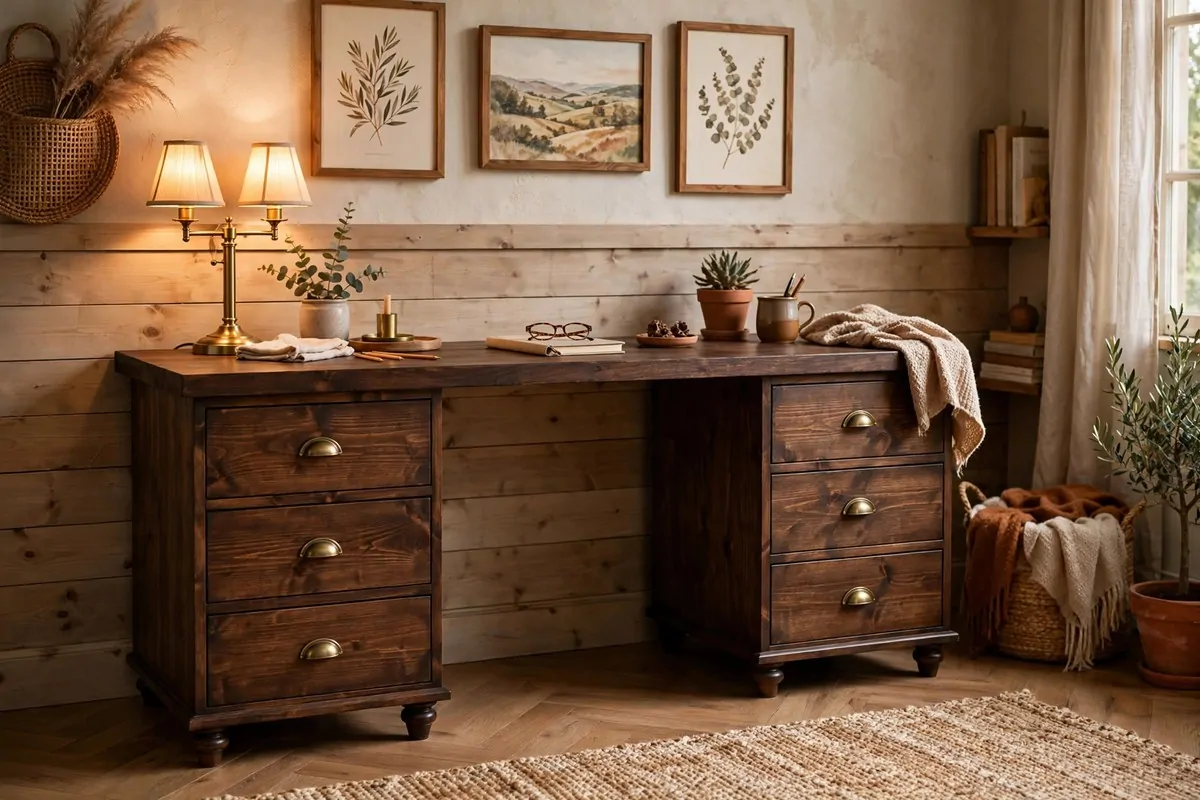
The RAST is a tiny pine dresser. It costs very little. Stained and finished, it looks like solid wood furniture.
Flip each RAST upside down. The plain top becomes the plain bottom. It looks better this way. Nobody knows why, but it does.
Sand the pine lightly. Pine is soft. Go easy or you will dent it.
Stain it to match your desk top. Dark walnut stain on pine looks rich. Wipe the stain on, wait a few minutes, wipe it off.
Add small wood feet to the bottom. Four per dresser. They lift it off the floor and make it look like real furniture.
Swap the pulls for simple wood or brass ones. The stock pulls are fine. New ones are better.
Set a countertop across the two stained dressers. The whole desk is wood now. Top, legs, everything.
Wood-on-wood desks age well. Small scratches just add character. They do not show like scratches on white paint.
This hack costs less than the ALEX version. It looks warmer too. Pick it if you love wood grain.
10. HEMNES Dressers with Brass Pulls as the Base
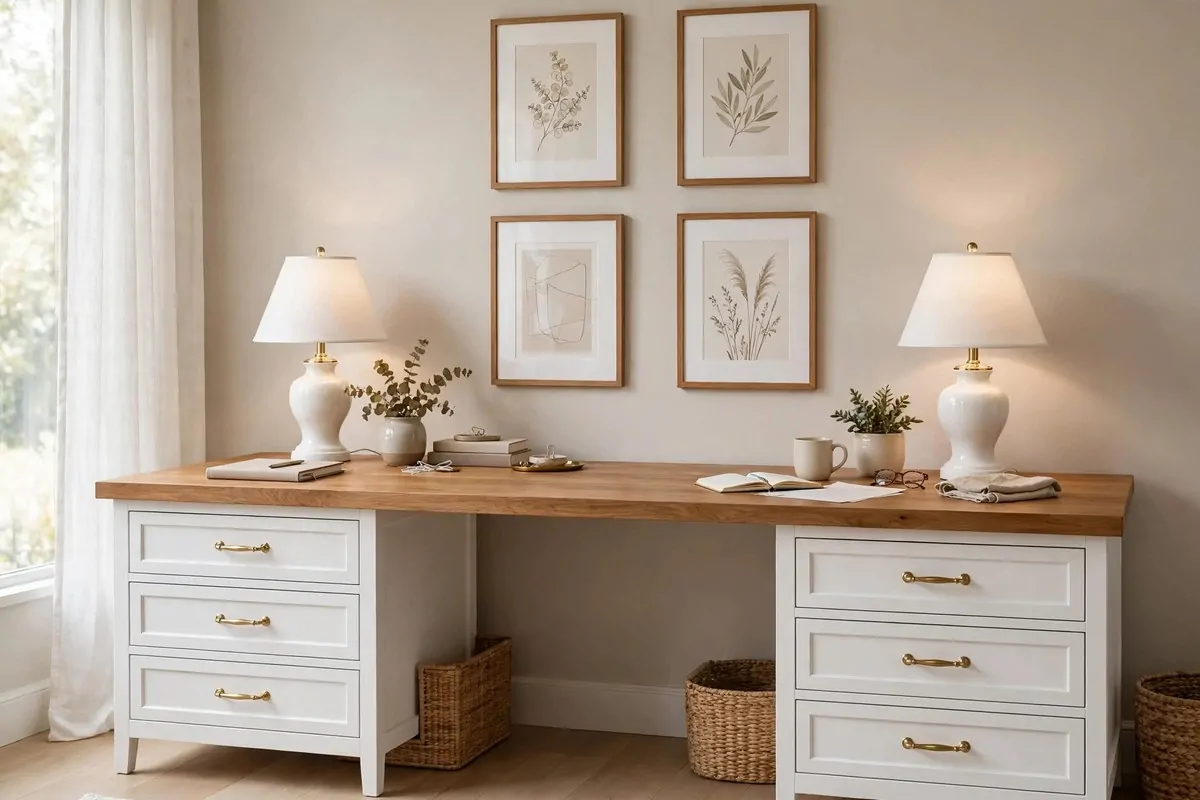
HEMNES dressers are deeper and dressier than ALEX. They already look a little bit like real furniture. That makes them perfect desk bases.
Use two HEMNES dressers, one at each end. Set a wood countertop across them. You now have a long desk for one or two people.
White dressers with a wood top is the classic look. It is calm, bright, and it suits almost any room.
Brass pulls are the upgrade that matters most. They catch the light. They make cheap dressers look expensive. It is a small spend with a big payoff.
Screw the pulls on straight. Measure each one. Crooked pulls ruin the effect faster than anything.
Fill the gap between the dressers with a middle EKET cube if the span is long. It stops the top from bowing and adds storage.
Anchor the dressers to the wall. HEMNES units are tall and top heavy when full. Safety first.
This build suits a shared desk for two. Each person gets their own dresser. Nobody fights over drawers.
Style the top with two matching lamps. Symmetry makes a double desk look planned, not crowded.
11. Paint It All the Same Colour as the Wall
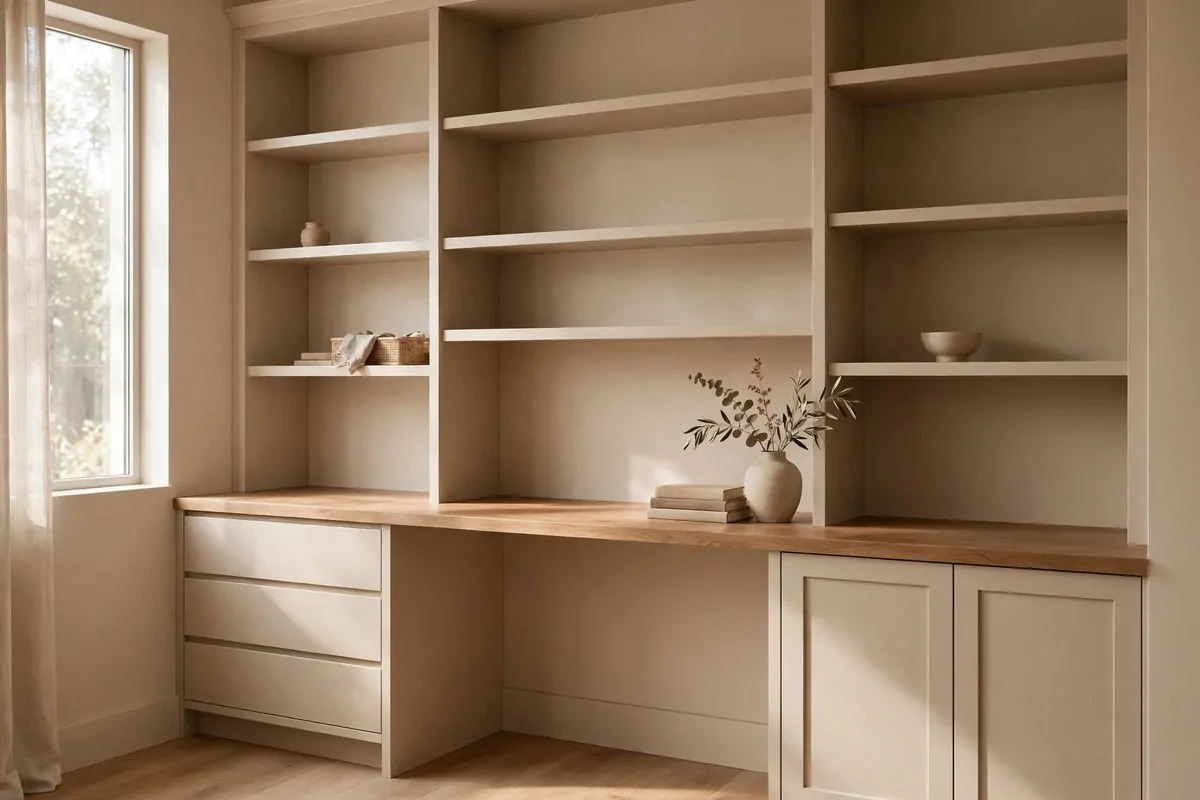
This is the cheapest built-in trick in the whole list. You do not buy new furniture. You paint what you have to match the wall.
When the desk, the drawers and the wall are all one colour, your eye reads them as one thing. One thing looks built in. Many colours look like furniture.
Pick a calm colour. Warm grey, soft sage, or dusty blue all work. Avoid bright colours. They shout.
Prime the IKEA pieces with bonding primer first. Laminate needs it. Skip this and the paint will peel.
Roll the wall and the furniture with the same tin of paint. Same paint, same finish. Matte or eggshell both look good.
Match the drawer pulls to the paint or go one shade darker. Mixed metals look messy on a monochrome desk.
Paint the back panel of any open shelves the same colour too. It is a small job. It makes shelves look recessed.
This trick works on any of the hacks in this list. ALEX, BESTA, PAX. Paint unites them all.
Photograph it when you finish. The before and after will shock you.
12. A Live-Edge Wood Slab on Two ALEX Units
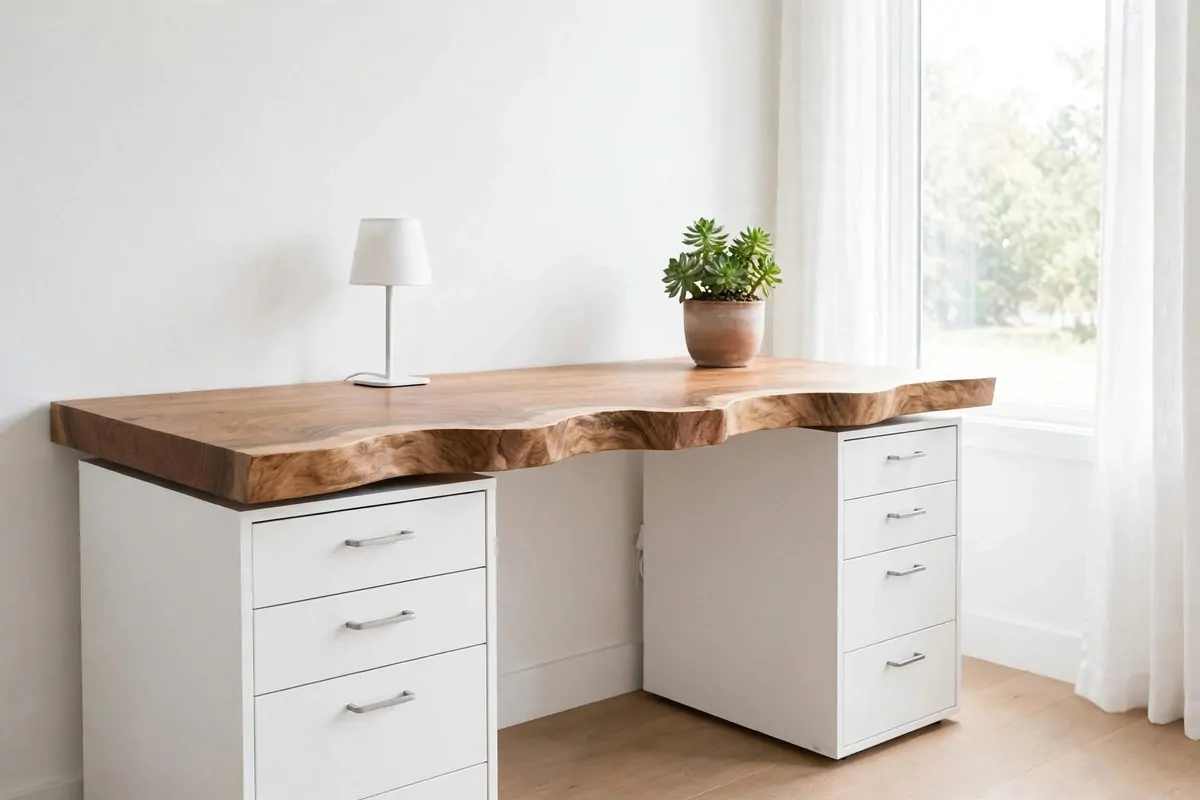
A live-edge slab is a piece of wood with one natural wavy edge. No two slabs are alike. That is the whole point.
Set a sealed slab across two white ALEX units. The flat modern drawers and the wild wood edge make a striking pair.
Sand the slab smooth with fine paper. The top must feel silky. Rough wood snags sleeves and paper.
Seal it with hardwax oil. Two thin coats. It protects against coffee rings and keeps the wood looking alive.
White ALEX units keep the look calm. The slab is the star. Let it be the star.
Turn the live edge toward the room, not the wall. You want to see that wavy line every time you walk in.
Keep the top styling simple. A slab desk with clutter looks messy fast. One lamp, one plant, done.
This is the most one-of-a-kind desk in the list. Nobody else on earth has your slab. That is real custom.
13. A Standing-Height Built-In on IVAR Cabinets
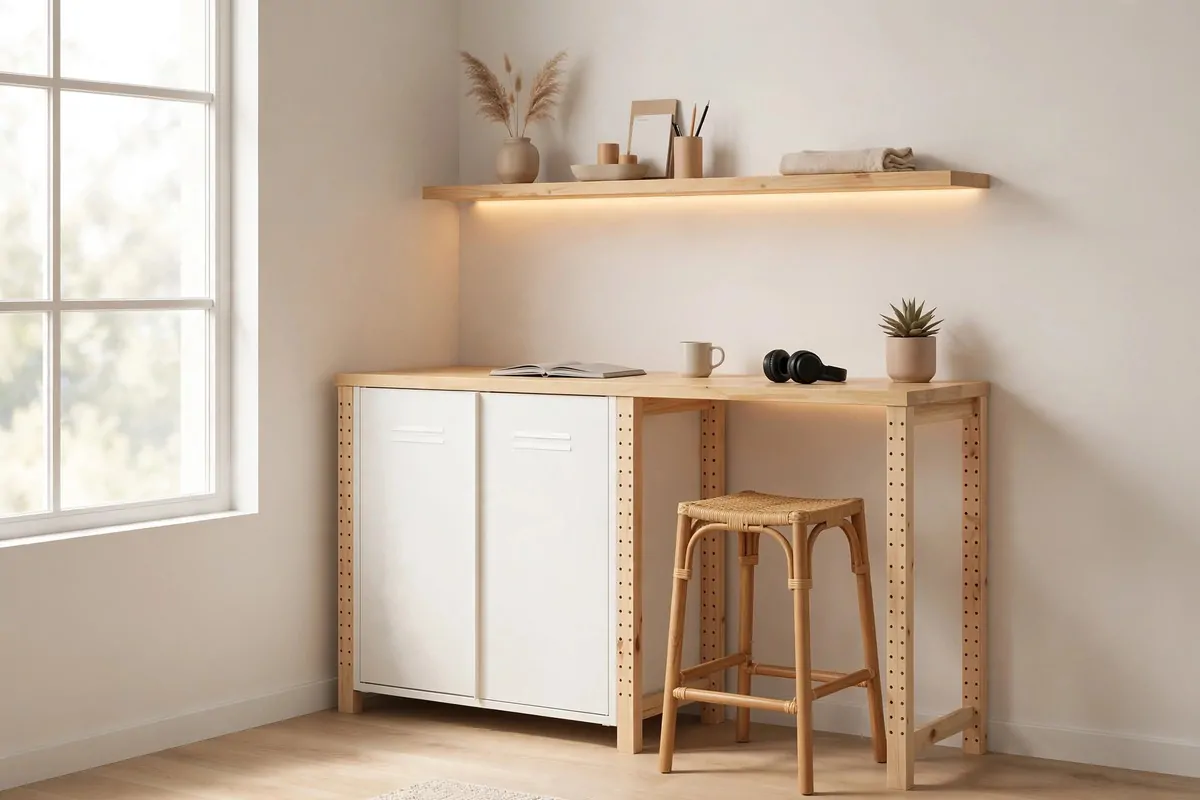
A standing desk does not have to be a motorised frame. Tall cabinets plus a long top make a standing built-in that never needs charging.
IVAR cabinets are taller than ALEX. Top them with a LINNMON or LAGKAPTEN and you get a desk at standing height.
Add an upper shelf at eye level. It holds the monitor. Your neck will thank you every single day.
Run an LED strip under the upper shelf. It lights the desk surface without glare. It looks like a fitted study nook.
Bolt the cabinets to the wall. A tall standing desk must not rock. This is the most important step in the build.
Keep a tall stool tucked under the desk. Some hours you will want to sit. A stool that fits under keeps the look clean.
Here is what people love about this build:
- No motors, no wires, no fuss
- Deep cabinet storage at standing height
- The shelf wall looks like a real built-in
- It costs far less than a sit-stand frame
Put an anti-fatigue mat on the floor. Standing all day is hard on feet. The mat makes it easy.
14. One Long Desk for Two People
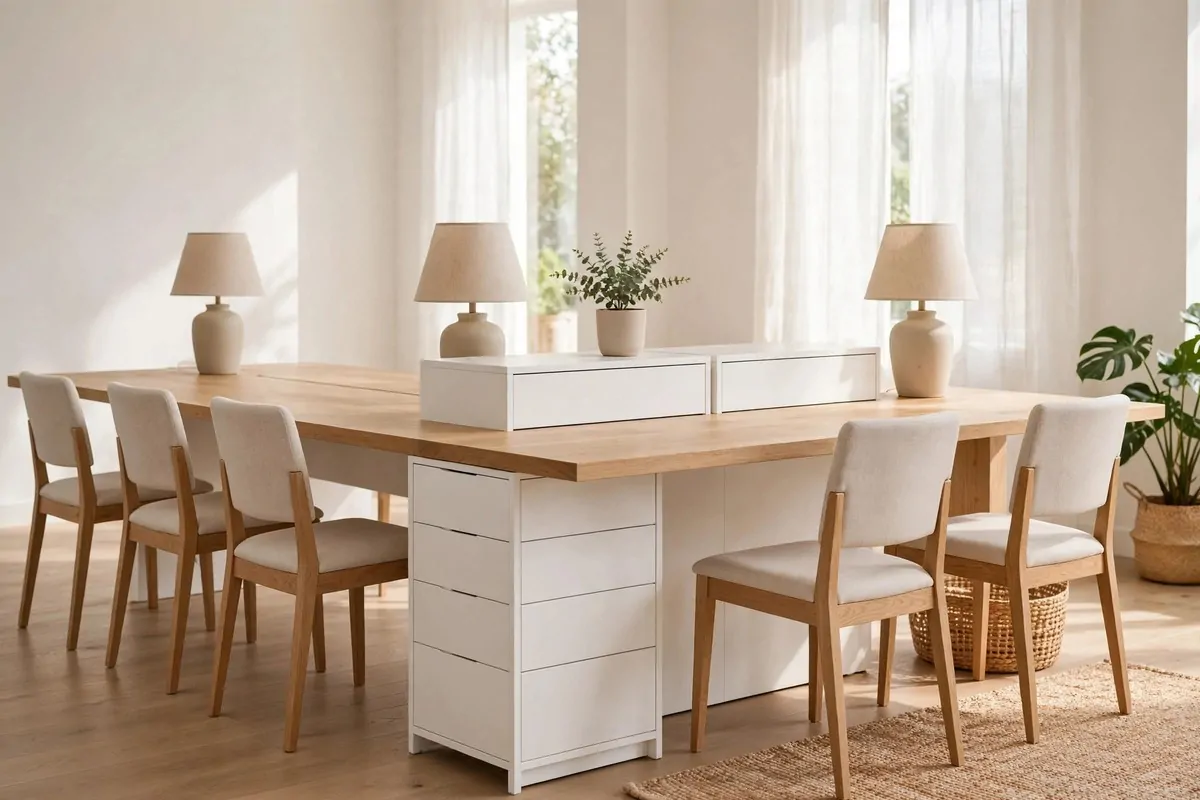
Two people, one room, one desk. This hack gives each person their own zone without buying two desks.
Use one very long top. Put an ALEX unit in the middle as a divider. Put slim legs or small cabinets at each end.
The middle unit is the star. Both people get drawers facing their own side. Nobody shares. Nobody fights.
Each end gets support. A leg or a small cabinet at each end stops the long top from sagging.
Give each person their own lamp. Same lamp, twice. Matching lamps make a shared desk look planned.
A low EKET cube in the middle works as a divider too. It holds shared stuff like the printer. Top it with a plant.
Agree on the middle line before you build. Mark it with tape. Each person styles their own half.
This build shines as a homework station for two kids. Or a couples office. One long calm surface, twice the peace.
15. Small Finishing Moves That Sell the Built-In Look
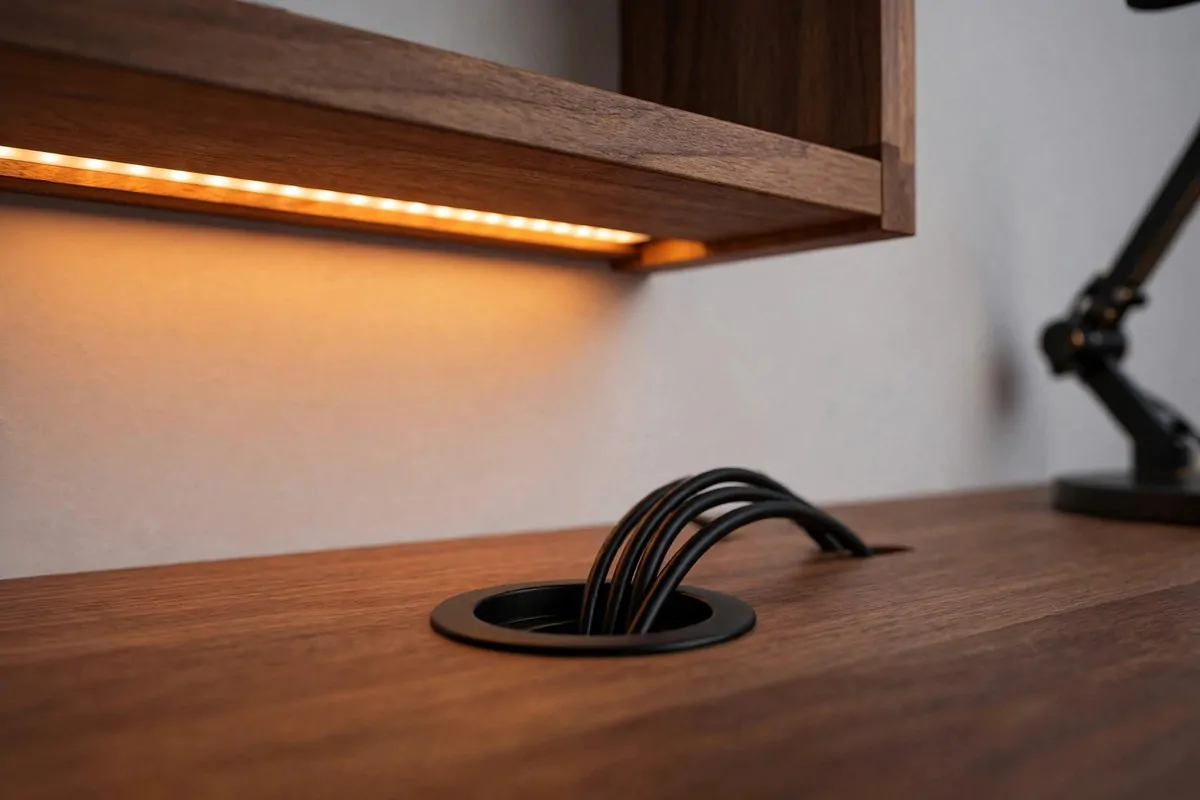
The hacks above build the desk. These finishing moves make it look built in. Skip them and even a good build looks like furniture.
Cut a grommet hole in the back of the top. Feed every cable through it. One hole hides a dozen wires.
Caulk the line where the desk top meets the wall. Paint the caulk the wall colour. The desk now grows out of the wall.
Run a baseboard across the front bottom of the drawer units. It hides plastic feet and grounds the desk.
Add an LED strip under any upper shelf. Warm light, not cool. Cool light looks like an office. Warm light looks like home.
Paint the insides of open cubes the wall colour. It is a small job with a big effect. Shelves look recessed and planned.
This table shows which finish does what.
| Finishing move | What you do | Why it works |
|---|---|---|
| Grommet hole | Drill and fit a cable ring | Hides all wires at once |
| Caulk line | Seal top to wall, paint over | Erases the gap shadow |
| Baseboard front | Add trim across the bottom | Hides feet, adds weight |
| LED under shelf | Stick warm strip underneath | Glows like fitted joinery |
Hide the power strip in a cable box behind a drawer unit. Out of sight is out of mind.
Step back when you finish. The desk should look like it was always there. That is the test.