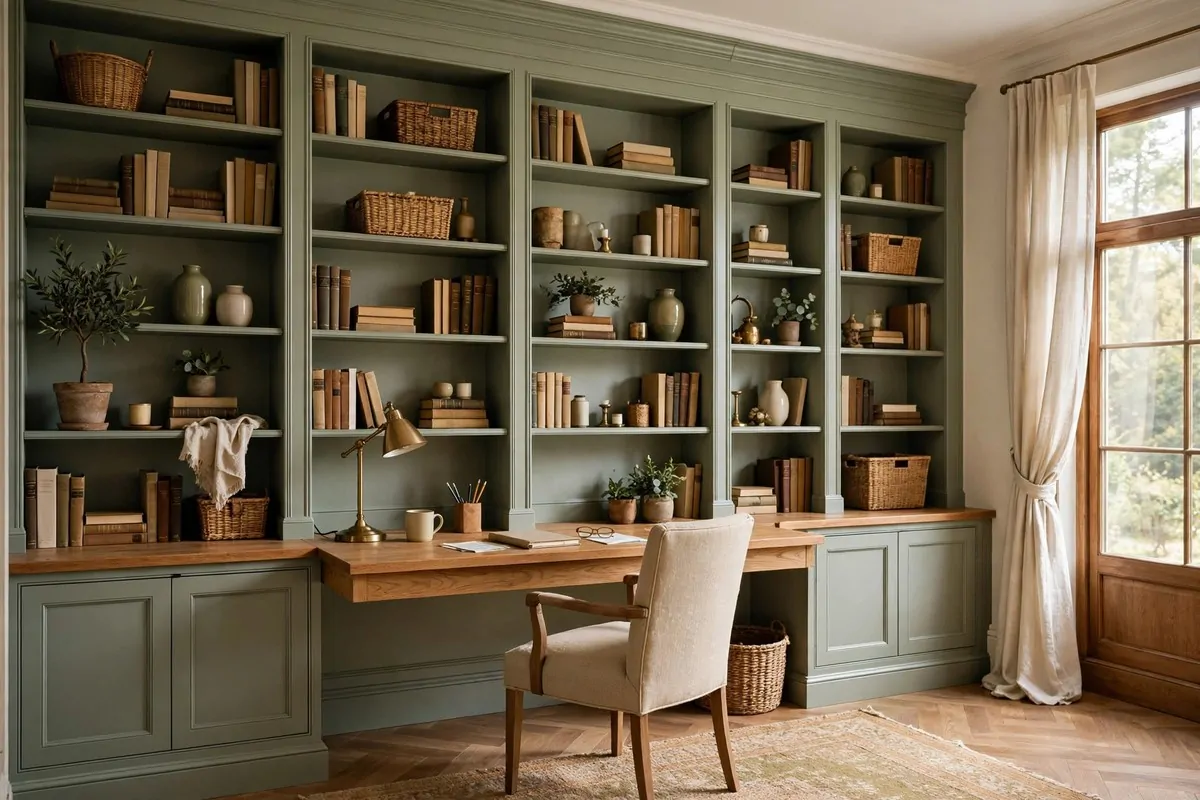
36 Basement Storage Room Ideas for Beautiful Organized Homes

I went down to my basement last spring to find one thing. A spare light bulb. I came back up an hour later with dusty hands and no bulb.
I found boxes I forgot I owned. I found a lamp with no shade and a bag of old cables. I found three half used rolls of tape and a chair with one wobbly leg. The bulb was in there somewhere, but I could not see it for all the stuff in the way.
That trip taught me something simple. A basement is not a place to hide things and hope for the best. It works best when every box has a home and you can walk to it without tripping. You do not need a big budget or a perfect room. You just need a plan that fits your real life.
So I made one for my own basement, and I am sharing it with you here. These 36 ideas cover the heavy boxes, the keepsakes, the tools, the clothes, and the small habits that keep it all tidy. Start with the one that bugs you most, and go from there.
Start With Zones, Not Boxes
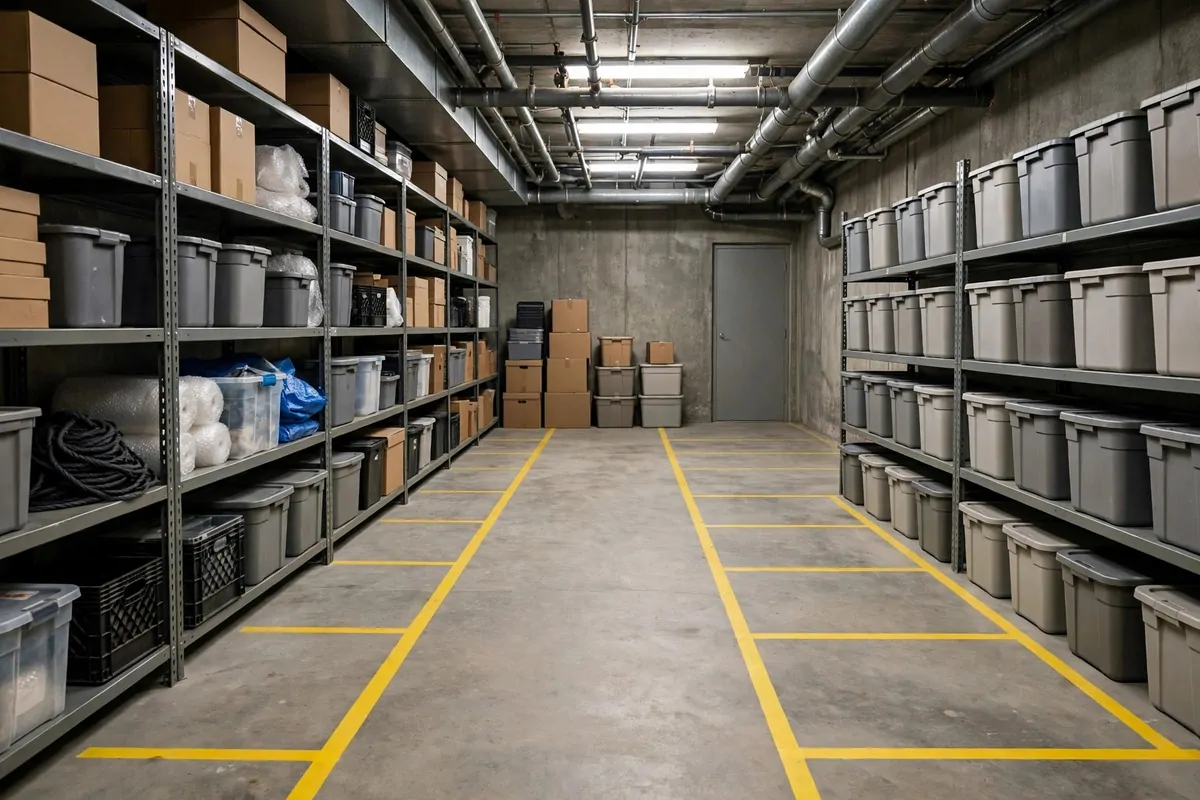
I used to walk down to my basement and just drop boxes wherever there was space.
That habit made a mess fast, and I could never find a thing when I needed it.
So I started over with zones, and it changed everything for me.
A zone is just one small area with one job, and each zone holds only the things that belong there.
I put the tools near the workbench, the holiday boxes in one corner, and the spare bedding on one shelf.
Now I know where to walk before I even go down the stairs.
You can start with just three zones if you want, and that is enough for a first try.
Pick your three busiest groups of stuff and give each one a home.
Tall Metal Shelves Along the Long Wall
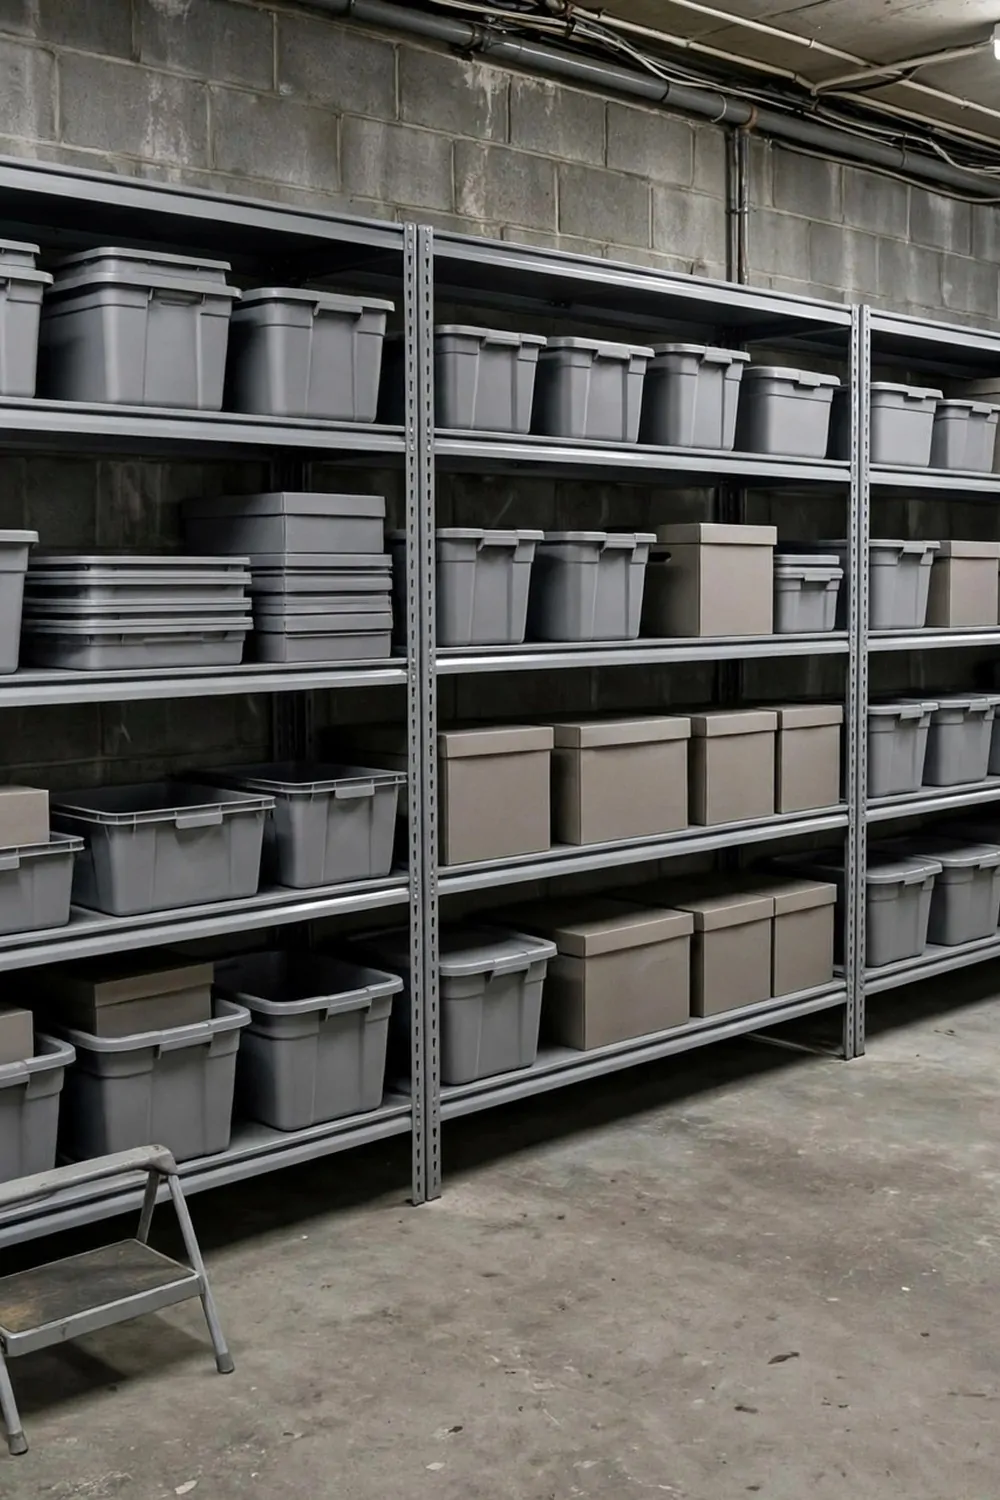
My basement has one long wall that used to hold nothing but cobwebs.
I put tall metal shelves along it, and suddenly I had room for almost everything.
The shelves go up high, so I use the wall space that was just sitting empty.
I keep the heavy boxes on the bottom shelf where I can lift them with my legs.
The lighter stuff goes up top, and I use a small step stool to reach it.
I leave a little gap between the shelves and the wall so air can move behind them.
That small gap helps keep things dry, and dry matters a lot down here.
You do not need fancy shelves, just strong ones that do not wobble when you load them.
Matching Bins With Labels You Can Read
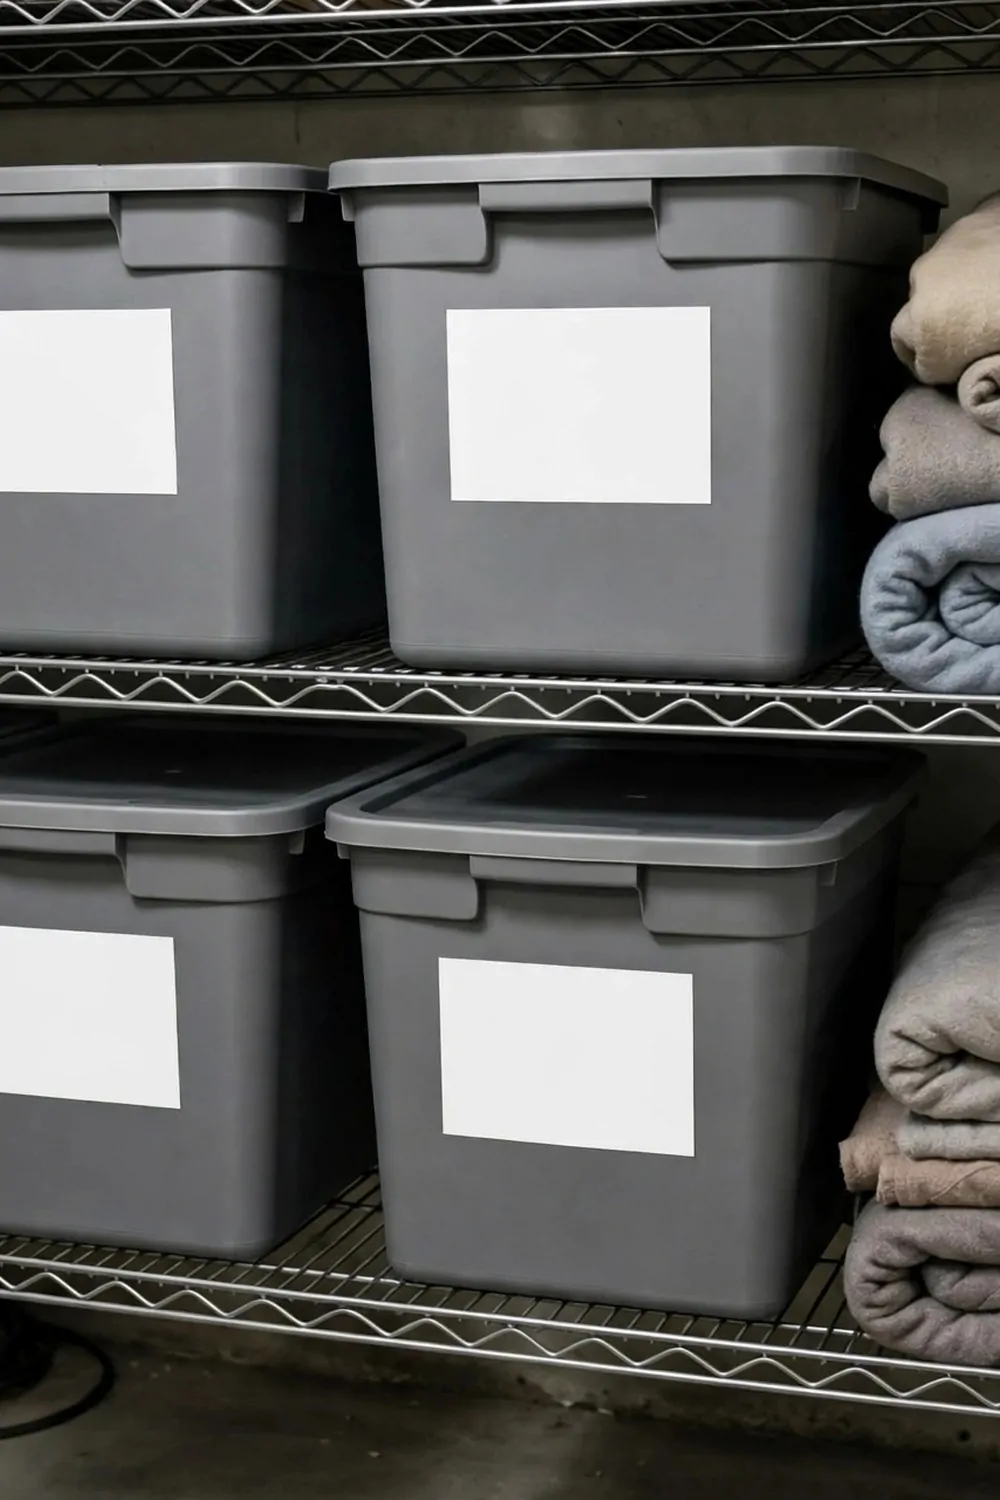
I bought matching bins one year, and I still think it was one of my best basement choices.
They all look the same from the front, so the whole wall looks calm instead of messy.
I put a big label on the front of each bin, and I write in large clear letters.
The label says what is inside in plain words, like “winter coats” or “board games.”
I do not write cute codes or numbers, because nobody in my house would remember what they mean.
When my kids want a game, they can find the right bin without asking me.
I also keep a marker near the shelves, so I can fix a label the moment something changes.
Matching bins cost a bit more than random boxes, but the calm look is worth it to me.
Clear Boxes for the Things You Forget
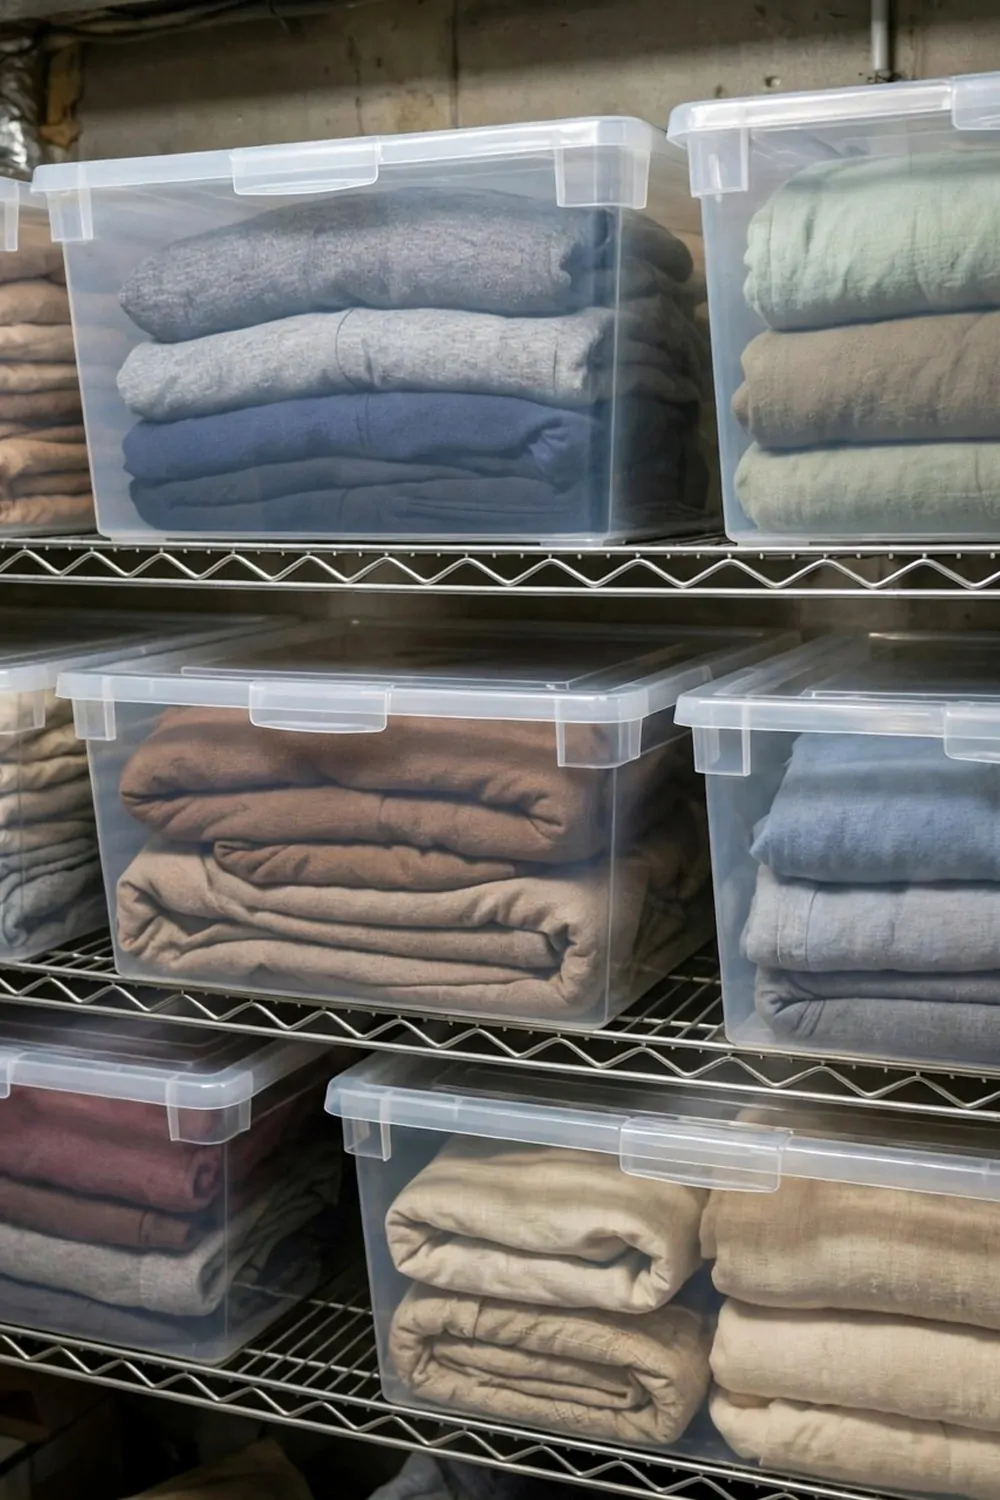
Some things I only touch once or twice a year, and I always forget where I put them.
Clear boxes fixed that problem for me in a very simple way.
I can see what is inside without opening the lid or reading a label.
My spare light bulbs, my extra batteries, and my odd cables all live in clear boxes now.
I stack them two high at most, because a taller stack gets wobbly and hard to move.
Each box has a lid that snaps shut, so dust stays out and nothing spills if I bump it.
I keep the clear boxes at eye level when I can, since that is where seeing inside helps the most.
You will be surprised how fast you find things when you can just look through the box.
A Seasonal Swap Shelf Near the Stairs
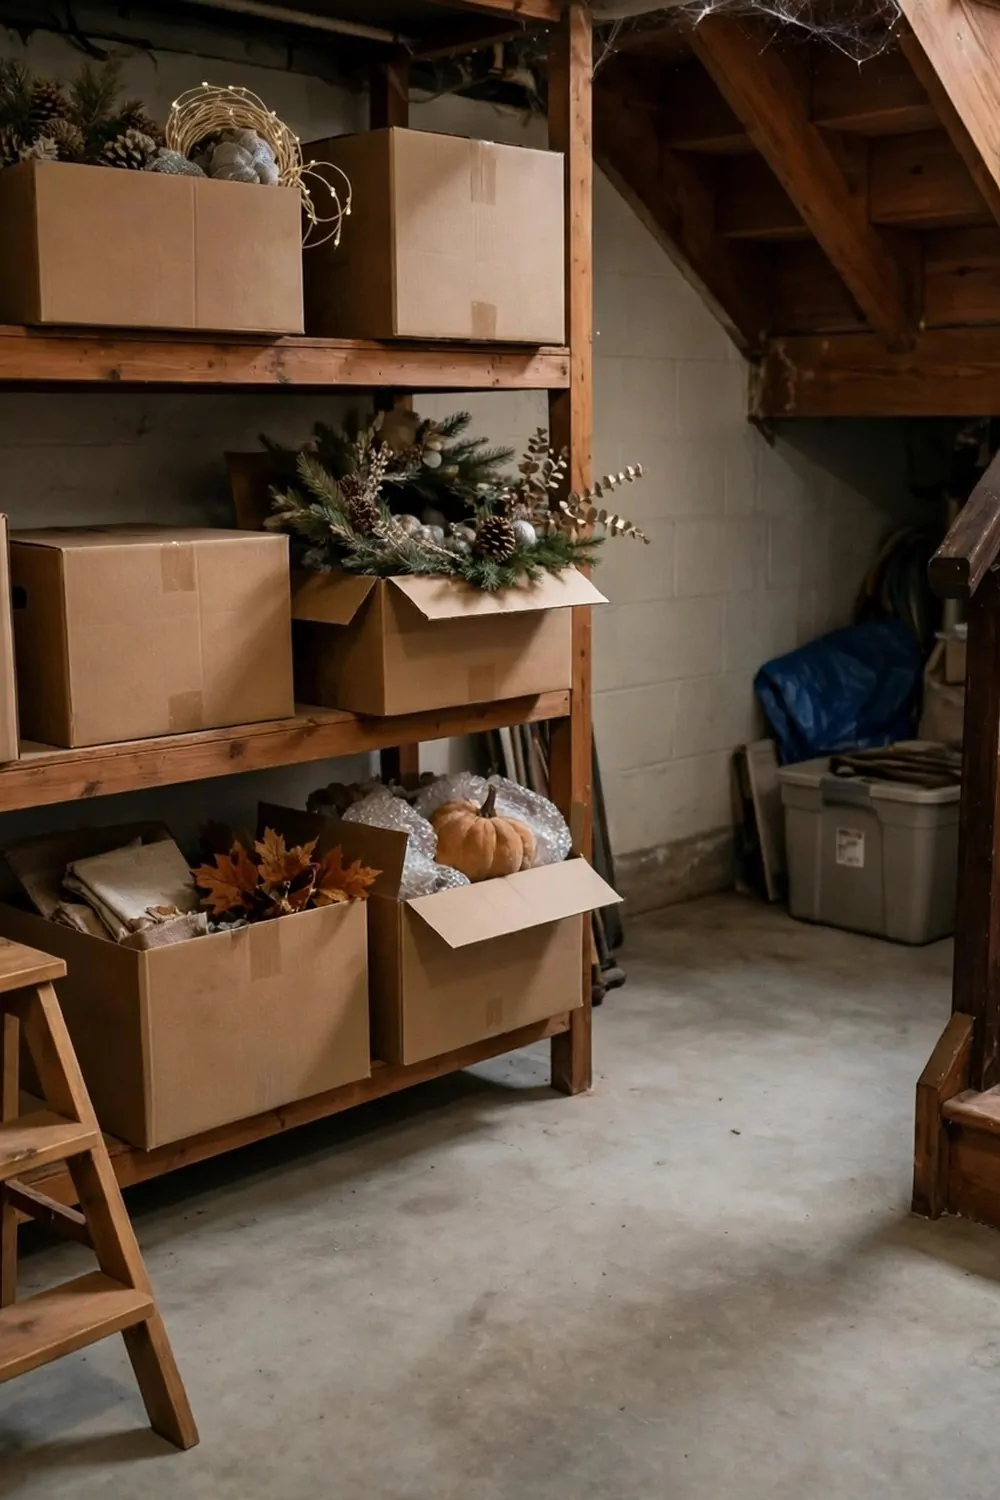
The stairs are the busiest spot in my basement, so I put a swap shelf right next to them.
This shelf holds the things I change with the seasons, like light blankets and warm scarves.
When the weather turns, I walk down, grab the new box, and carry the old one back up.
I never have to walk to the far corner for a seasonal swap anymore.
The shelf is low and wide, so I can set a box down on it with both hands free.
I keep only one season on this shelf at a time, and the rest stays tucked away.
That rule keeps the shelf from turning into another pile of random stuff.
It takes me about ten minutes to do a swap now, and I used to dread the whole job.
Keep the Floor Clear With Pallets
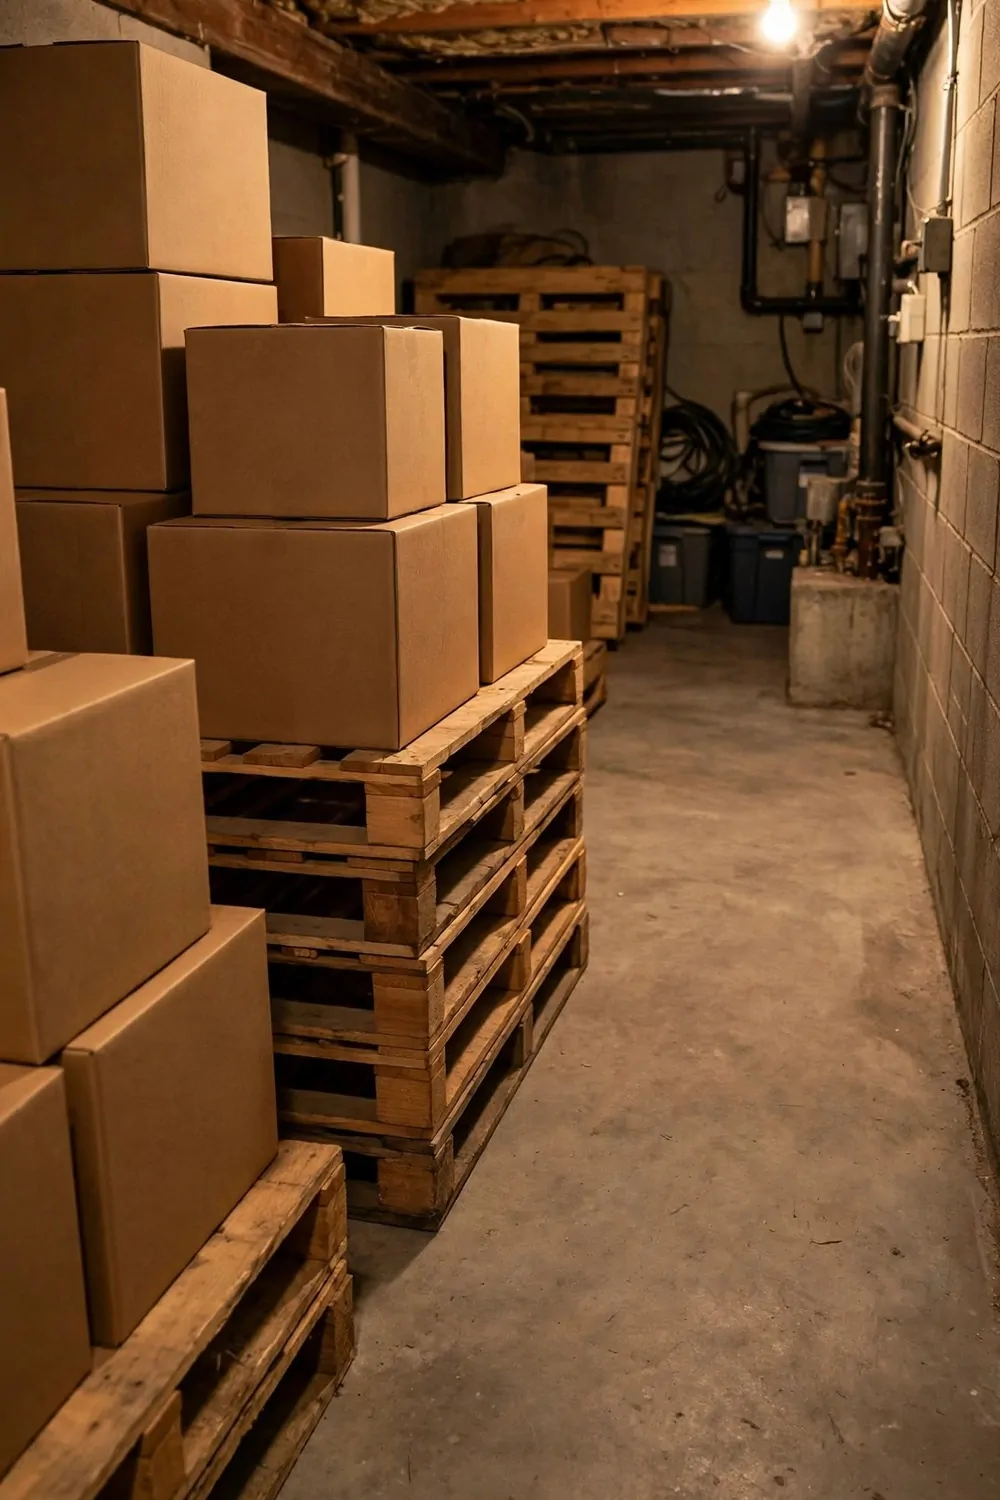
Water is the one thing I worry about most in a basement, even a dry one.
I put wooden pallets on the floor and set my boxes on top of them.
The pallets lift everything a few inches off the ground, and that small lift makes a big difference.
If a little water ever comes in, my boxes stay dry instead of sitting in a puddle.
I can also slide a hand under a pallet to check for dampness, which I do every few weeks.
The gaps between the pallet slats let air flow under the boxes too.
I scrubbed my pallets clean before I used them, and I let them dry in the sun first.
You can often find pallets for free, so this is a cheap fix that protects a lot of stuff.
| Basement zone | What goes there | Why it works |
|---|---|---|
| Near the stairs | Things you grab often | You reach them without walking far |
| Long back wall | Tall shelves and big bins | It uses the wall and keeps the floor clear |
| Far corner | Seasonal boxes you rarely touch | They stay out of your daily path |
A Tool Wall With a Pegboard
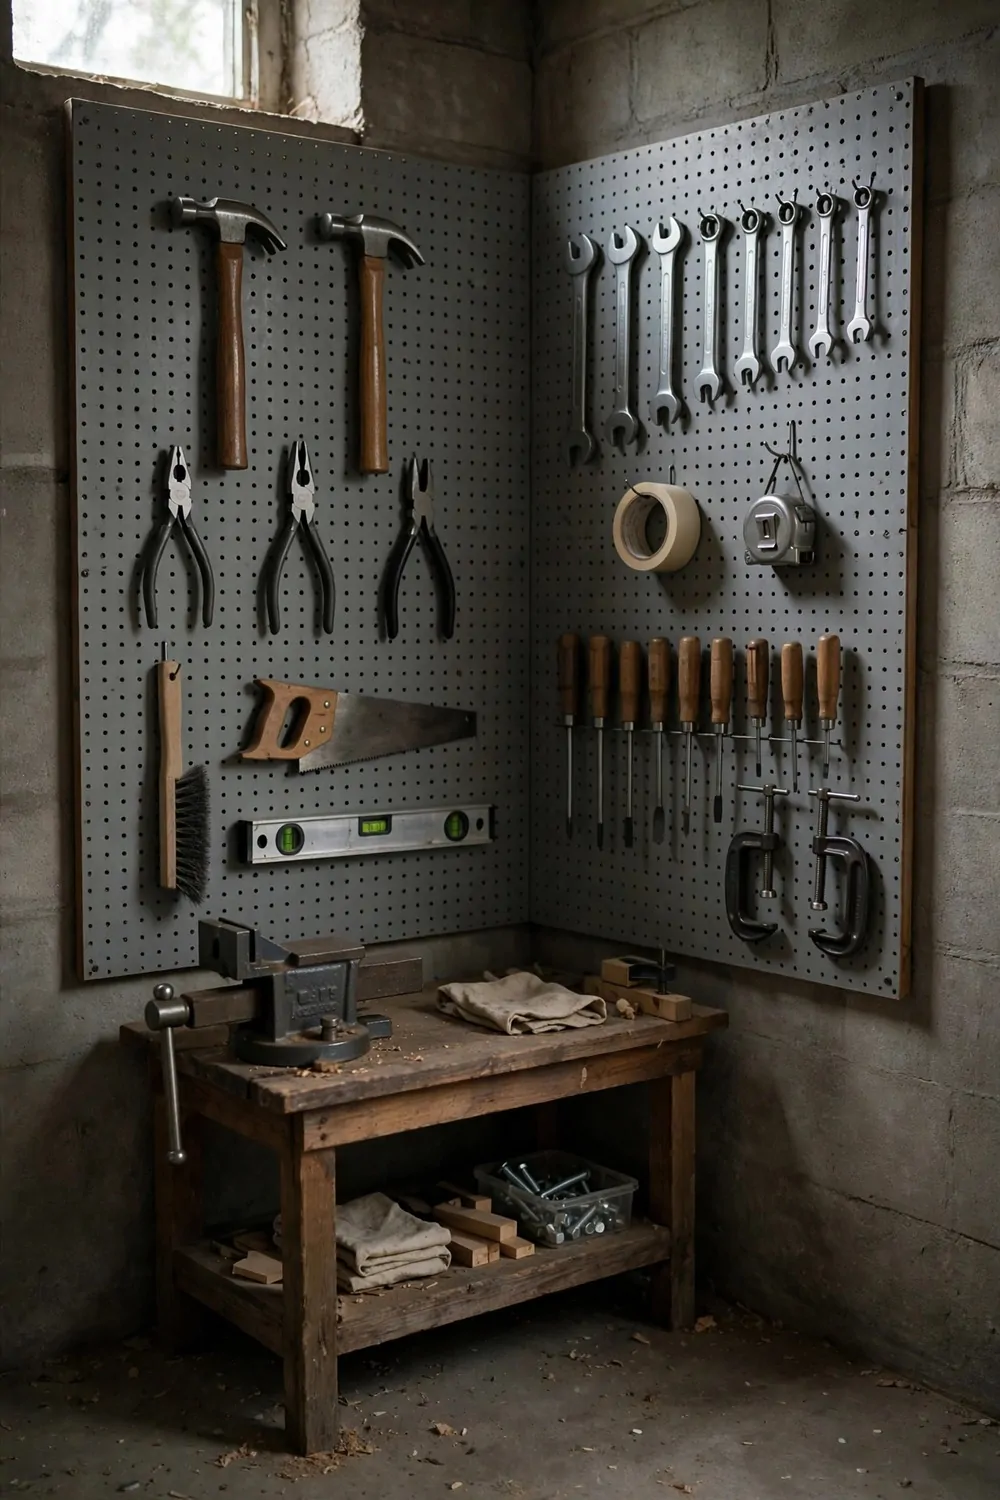
I used to keep my tools in a big bucket, and I spent half my time digging through it.
A pegboard on the wall fixed that, and now I can see every tool at a glance.
I hung the tools I use most at arm height, right where my hands fall.
The tools I rarely touch went up higher, and the heavy ones went on strong hooks low down.
I drew a small outline around each tool on the board, so I can see at once if one is missing.
My kids know the rule now, which is that every tool goes back on its own outline.
The pegboard also holds a small shelf for screws, nails, and tape.
It feels good to walk down, grab one tool, and get straight to work.
Under-Stair Drawers That Slide Out
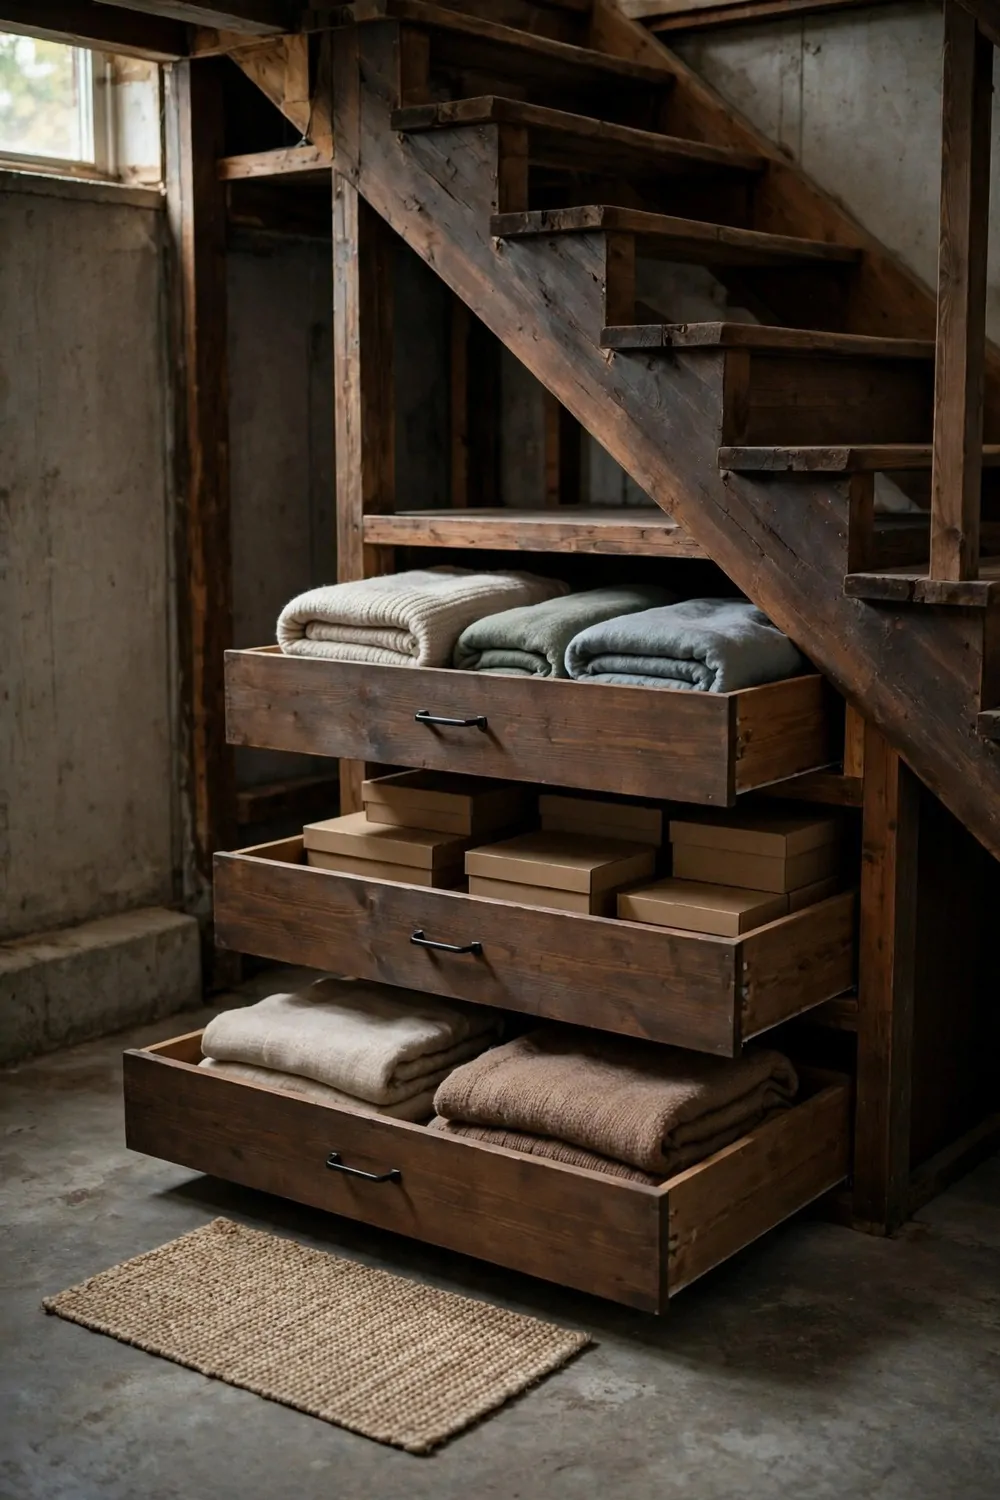
The space under my stairs sat empty for years, and it bugged me every time I walked past it.
I had deep drawers built into that space, and they slide out smooth on runners.
Now that dead space holds wrapping paper, spare batteries, and my small cleaning tools.
The drawers are deep, so I put small boxes inside them to keep things from sliding around.
I labeled the front of each drawer, because once it is shut you cannot see inside.
The top drawer holds the things I grab most, and the bottom one holds the heavier stuff.
I open them with one pull, and they close with a soft push, which my kids love.
If you have stairs in your basement, look under them, because that space is free storage.
A Linen Shelf for Spare Bedding
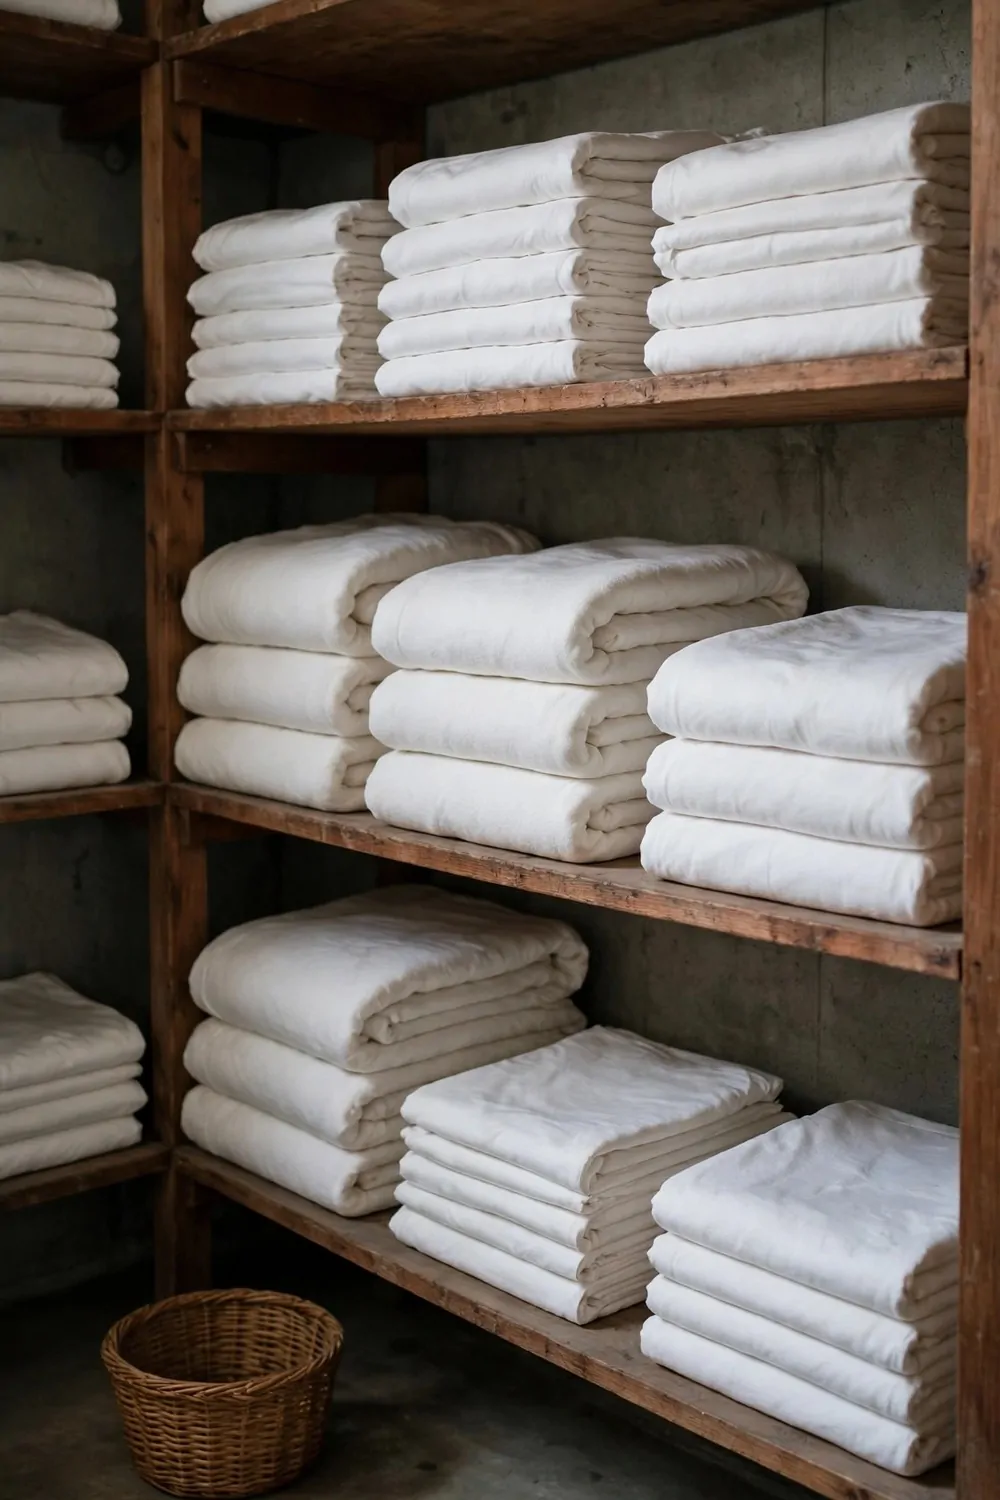
I keep spare sheets, blankets, and pillowcases on one shelf in the basement.
It is the shelf I run to when a guest stays over or a bed needs fresh bedding fast.
I fold each set together, so the sheet, the pillowcase, and the blanket stay as one bundle.
I tie a bit of ribbon round each bundle, which sounds fussy but it keeps them neat.
The shelf sits away from the damp wall, and I check it each month for any musty smell.
I also keep a small bag of lavender on the shelf, and it keeps the linen smelling fresh.
When I wash bedding, the clean set goes straight back to this shelf.
You will thank yourself the next time a guest arrives and you are ready in two minutes.
Holiday Decor in One Corner
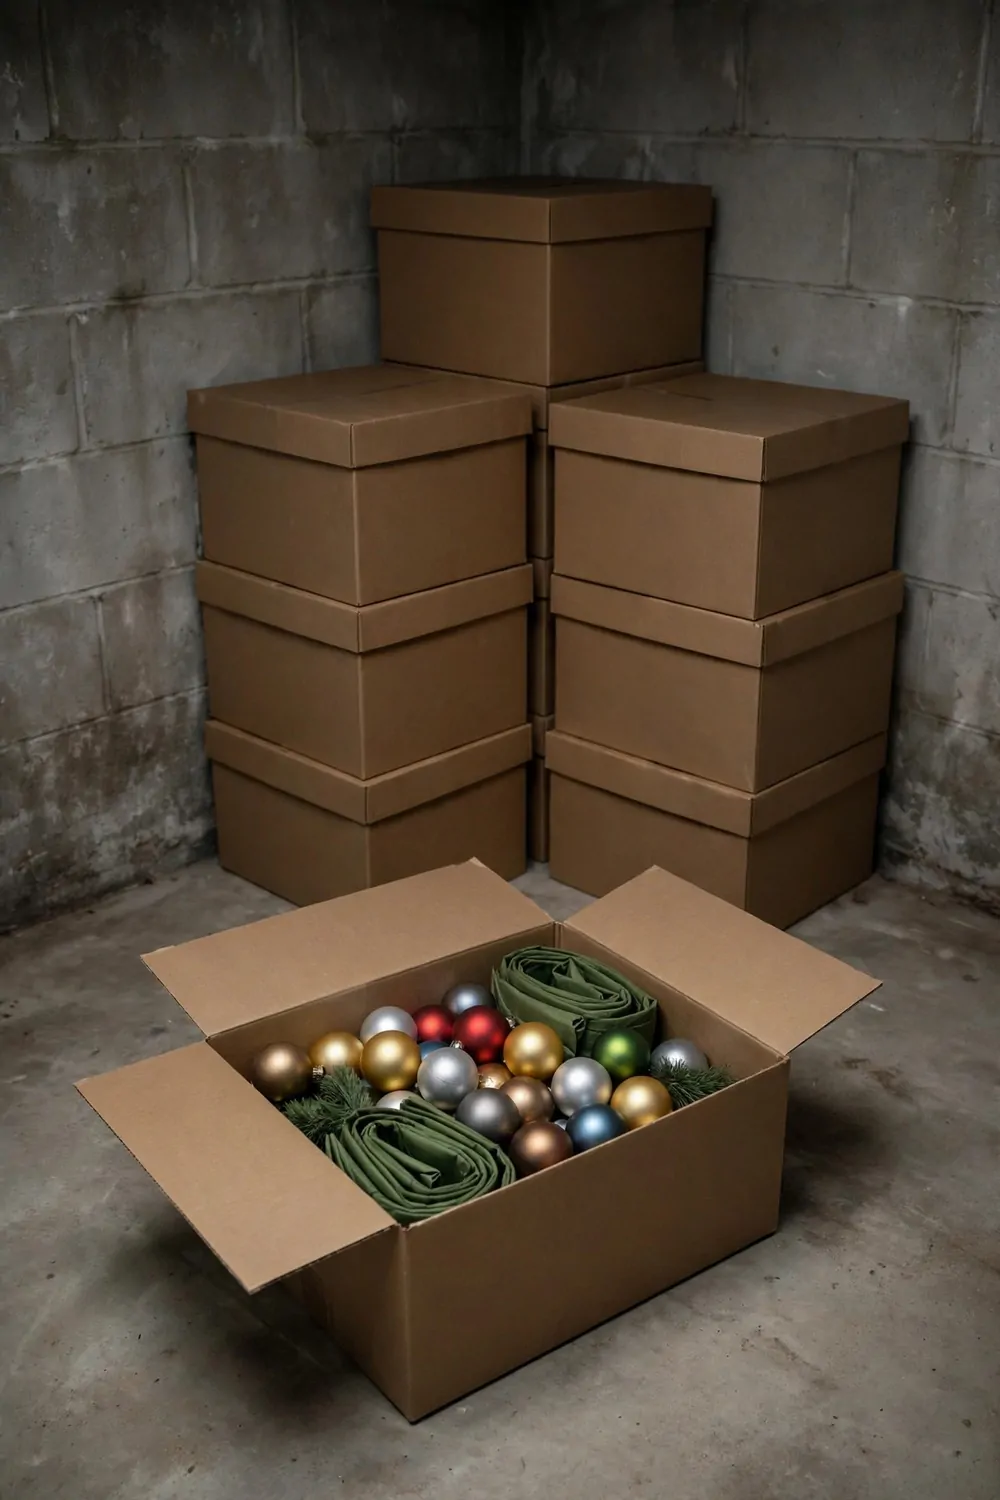
All my holiday decor lives in one corner of the basement, and it never moves from there.
I keep each holiday in its own box, so I only open the box I need for that season.
The boxes are stacked with the next holiday on top, so I never dig through the pile.
I wrap fragile pieces in old towels, which works just as well as bubble wrap for me.
I write the holiday name on two sides of each box, so I can read it from any angle.
When the season ends, the decor goes straight back in its box the same day.
That same day rule is what keeps the corner tidy all year long.
It feels nice to open one box and find everything I need for a holiday in one place.
Sports Gear on a Wall Rack
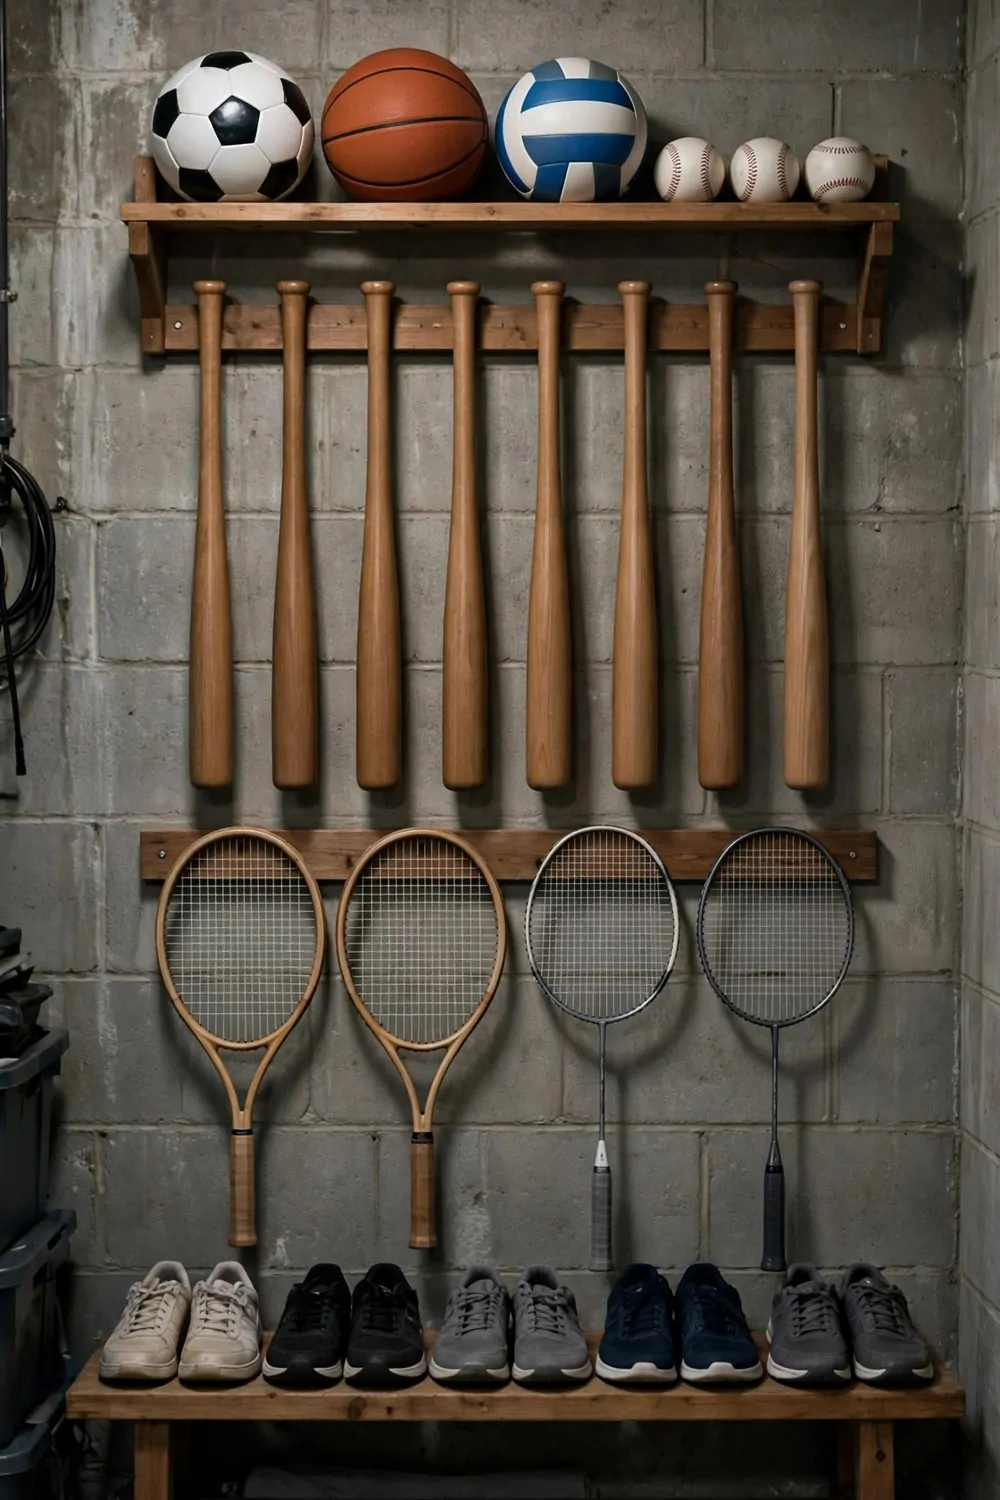
Sports gear used to live in a heap by the basement door, and it drove me a bit mad.
I put a wall rack up, and now every ball, bat, and glove has its own hook or slot.
The rack keeps the gear off the floor, so nobody trips over it on the way to the laundry.
I put the kids gear low, so they can hang it up themselves after practice.
My own gear goes higher up, where it stays out of their reach.
Balls sit in a mesh bag on the rack, which lets air in and keeps them from rolling away.
I wipe the gear down before it goes back on the rack, and it lasts longer that way.
A tidy rack means we leave for practice on time, and that alone is worth it.
A Craft Corner With Small Drawers
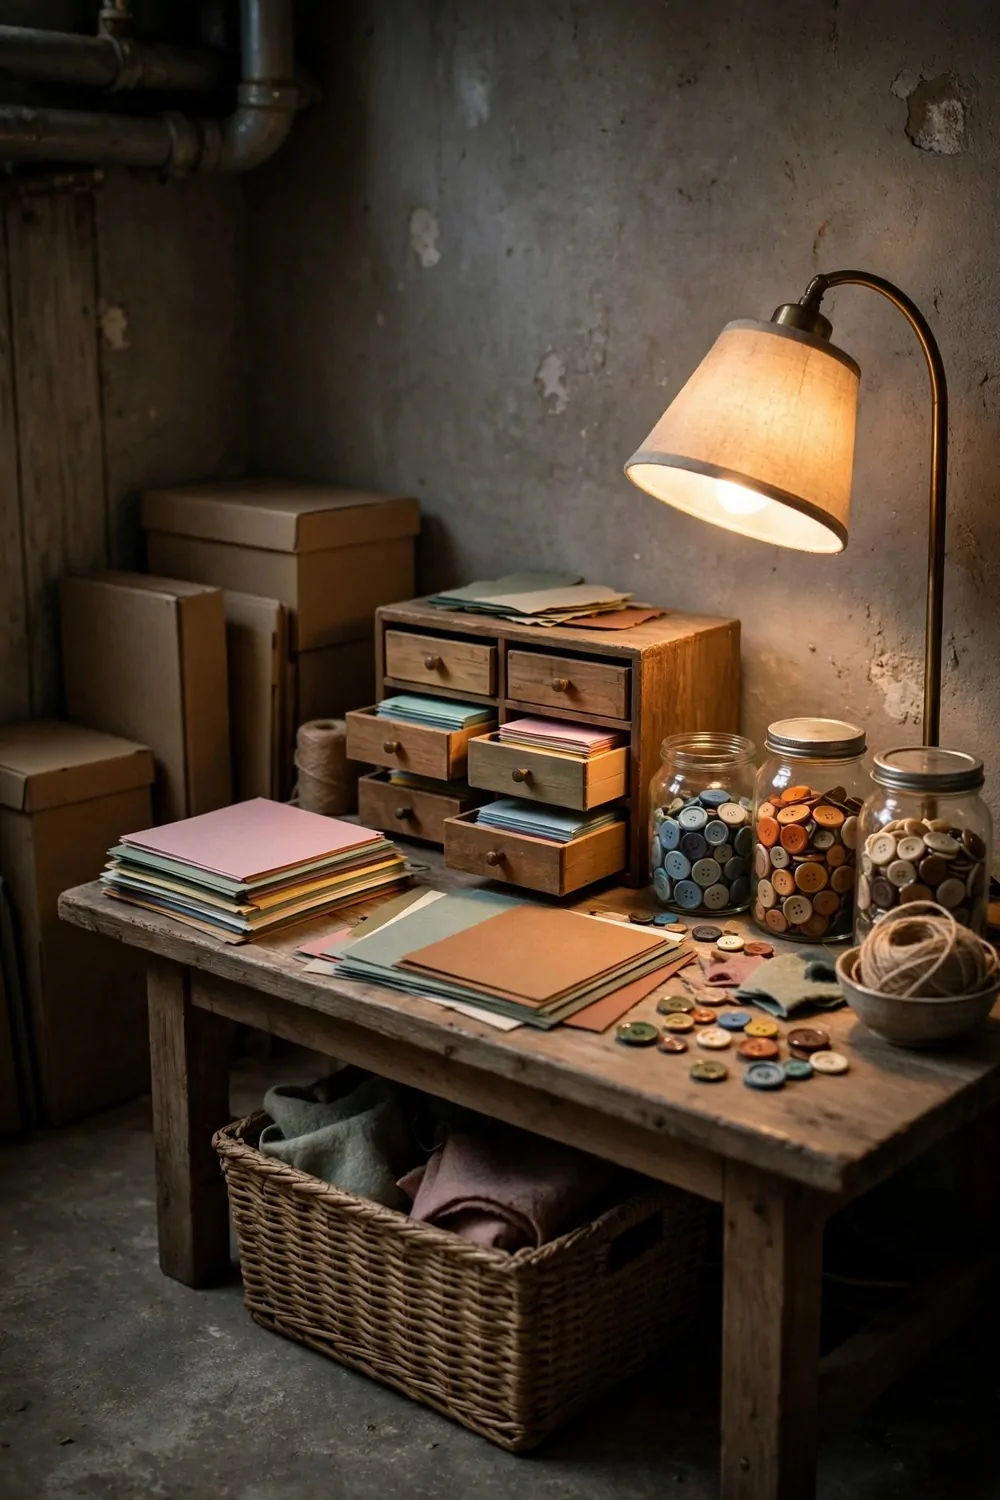
I love to make things, but my craft supplies used to live in bags all over the basement.
I set up a small craft corner with a table and a stack of small drawers.
Each drawer holds one kind of supply, like beads in one and ribbons in another.
The drawers are clear on the front, so I can spot the color I need without opening five of them.
I keep my scissors and glue on the table in a jar, always in the same spot.
When I finish a project, I put every leftover bit back before I start something new.
That habit keeps the corner usable, and I can sit down and start making in a minute.
You do not need a big space for a craft corner, just a table and drawers that suit your hobby.
Books on Low Shelves That Stay Dry
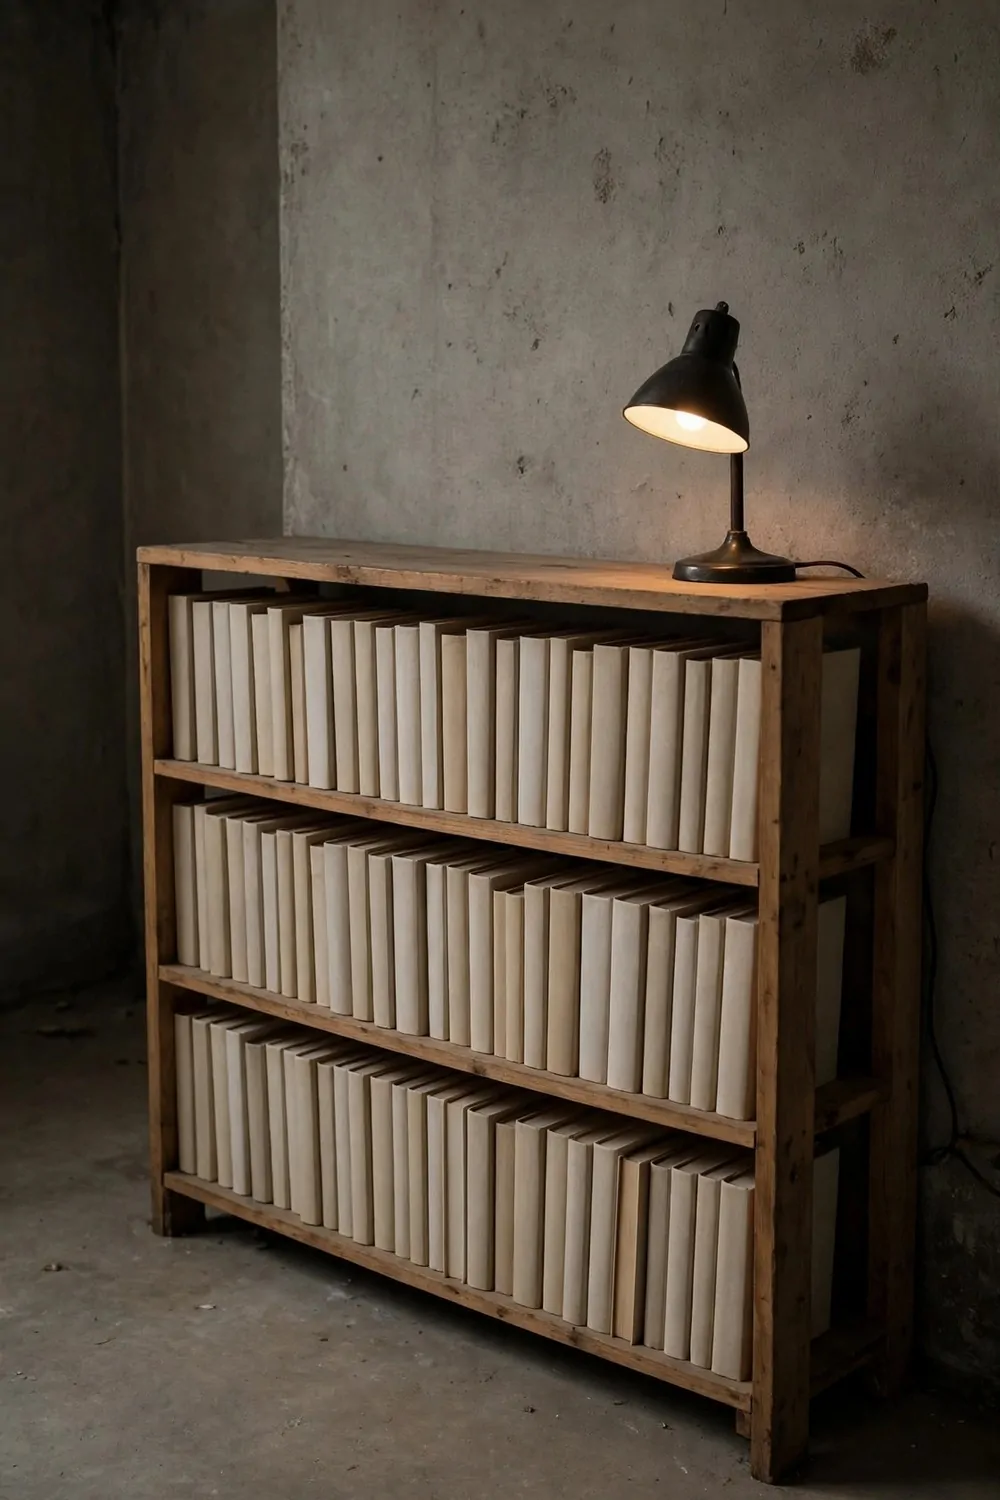
I keep my extra books in the basement on low shelves, and I learned the hard way to keep them dry.
Books and damp air do not mix, so I picked the driest wall in the room for them.
The shelves sit on small feet, which lift them off the floor by a few inches.
I leave a gap behind the books too, so air can move and the pages stay fresh.
I sort the books by type, with cookbooks on one shelf and novels on another.
My kids have their own low shelf, and they can reach their books without help.
I check the shelves after heavy rain, just to be sure no damp has crept in.
A basement can be a fine home for books if you keep them up, dry, and aired.
A Laundry Zone With a Folding Shelf
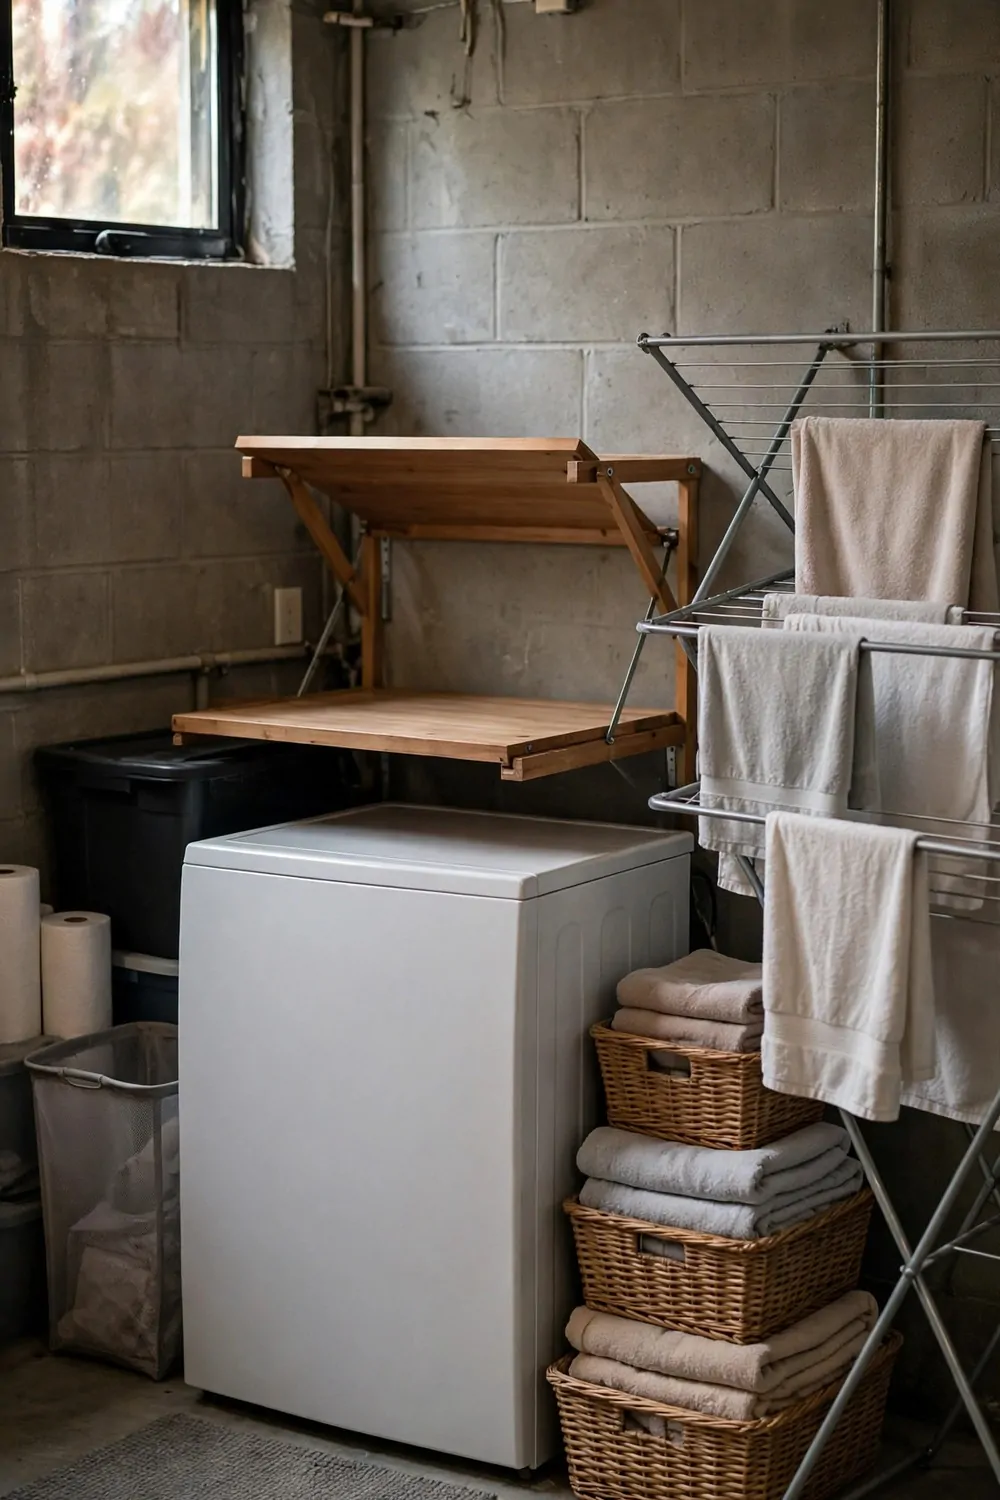
My washer and dryer sit in the basement, so I built a small laundry zone around them.
I put a wide folding shelf right above the machines, at a height that suits my arms.
Clean clothes land on the shelf, and I fold them there instead of carrying a pile upstairs.
I hung a drying rail on the wall next to the shelf for things that should not go in the dryer.
A basket for dirty clothes sits under the shelf, and a basket for clean ones sits beside it.
I keep soap and stain spray on a small shelf above, so they are always in reach.
The zone is small, but it holds everything I need to wash, dry, and fold in one spot.
Laundry feels less like a chore when the whole job happens in one tidy place.
Suitcases Stacked Up High
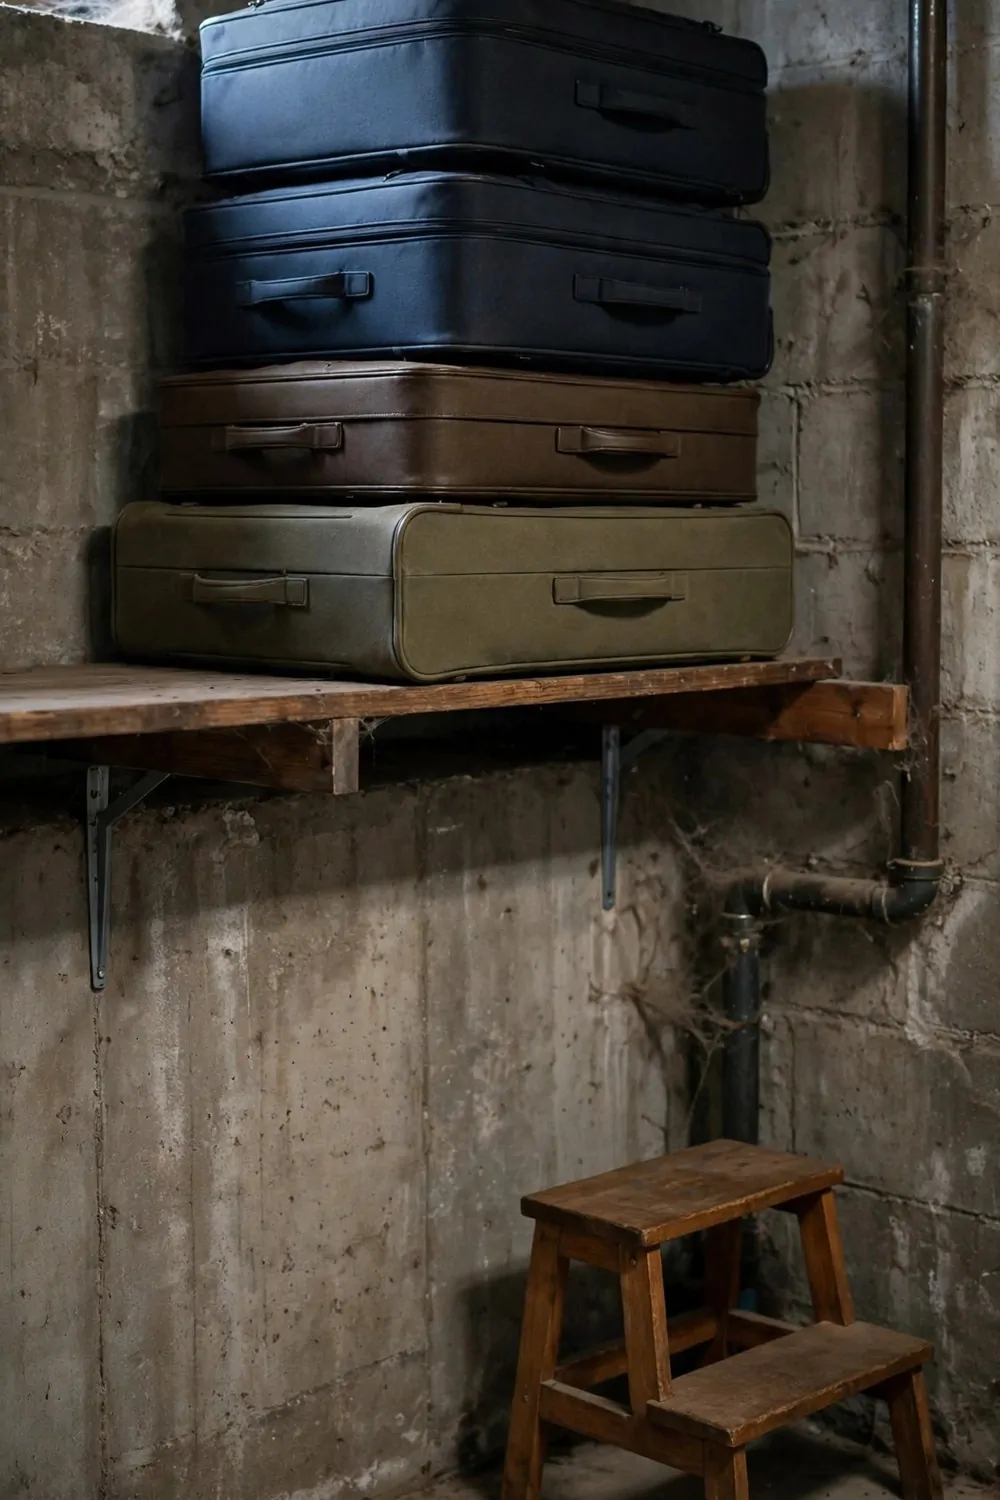
Suitcases are big and awkward, and they used to eat up half my basement floor.
I stack them up high on a top shelf now, where they stay out of the daily path.
I nest the small ones inside the big ones when I can, which saves a lot of room.
I put the suitcase we use most on top of the stack, so it is the first one I grab.
The handles all face out, so I can pull one down without dragging the whole pile.
I wipe the suitcases down before they go back up, since basement dust settles fast.
I also tuck travel bits like neck pillows inside the suitcases, so they do not float around loose.
High shelves are perfect for suitcases, because you only need them a few times a year.
A Pantry Shelf for Extra Food
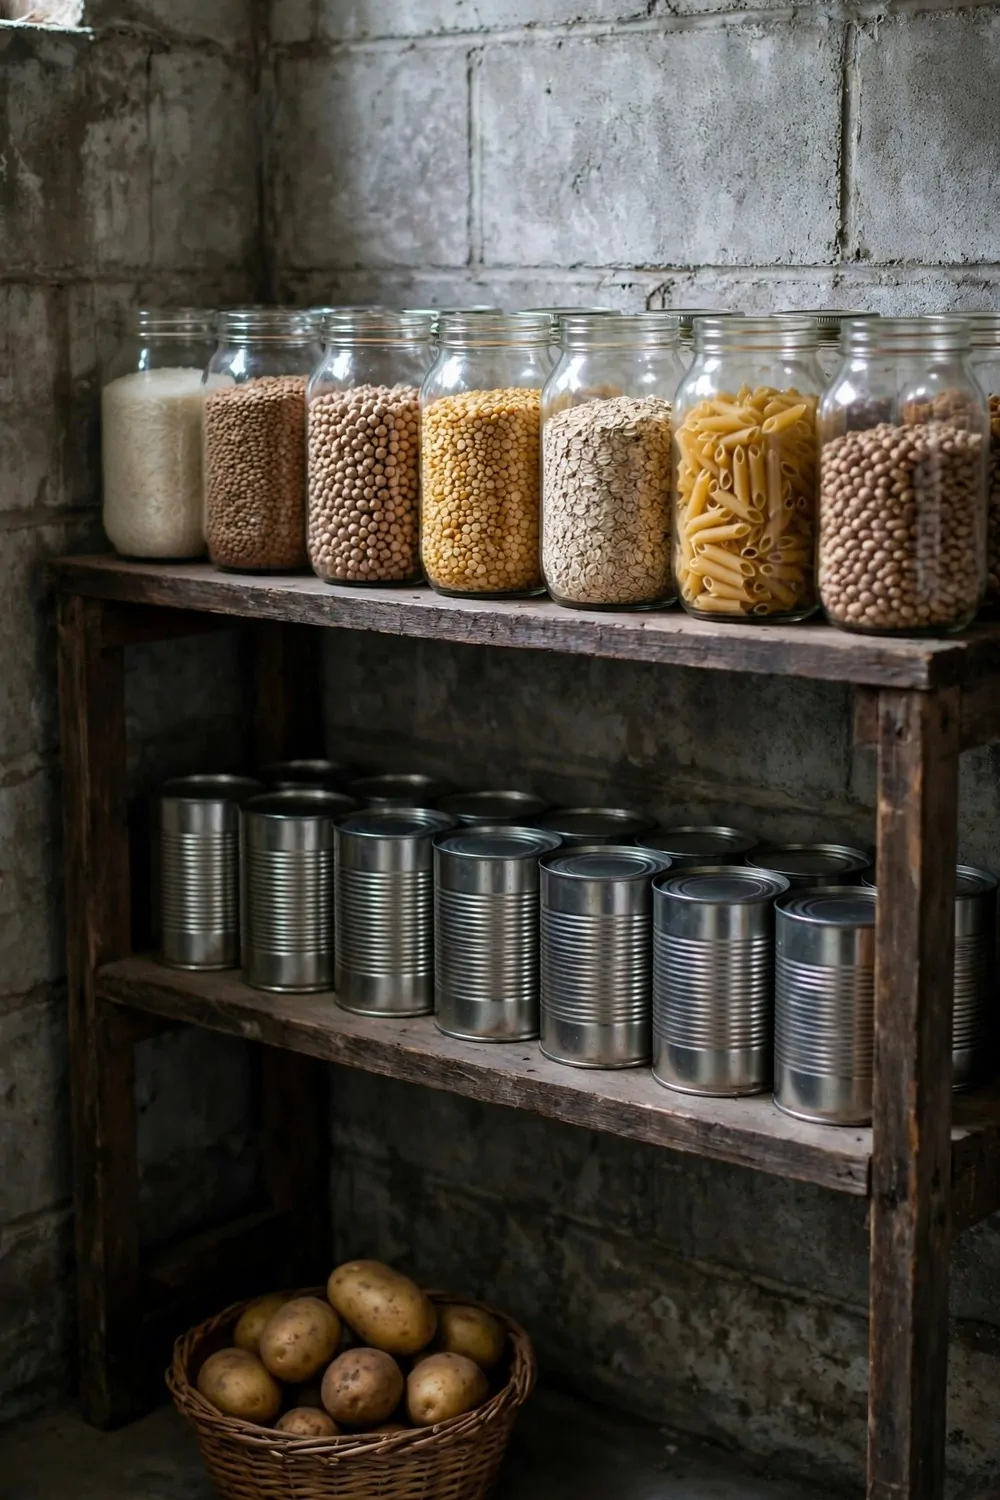
I buy extra food when it is on offer, and my basement holds the overflow pantry shelf.
Canned goods sit on the lowest shelf, since they are heavy and I do not want them falling.
Dry goods like pasta and rice go in sealed tubs on the middle shelf.
I write the date on each tub with a marker, so I use the oldest food first.
The top shelf holds paper goods and cleaning supplies that do not mind the cool air.
I keep the shelf away from the furnace, because heat is not kind to stored food.
Once a month I check the dates and move anything close to expiring up to the kitchen.
A basement pantry saves me trips to the shop, and it saves money too.
Kids Toys in Cubbies With Pictures
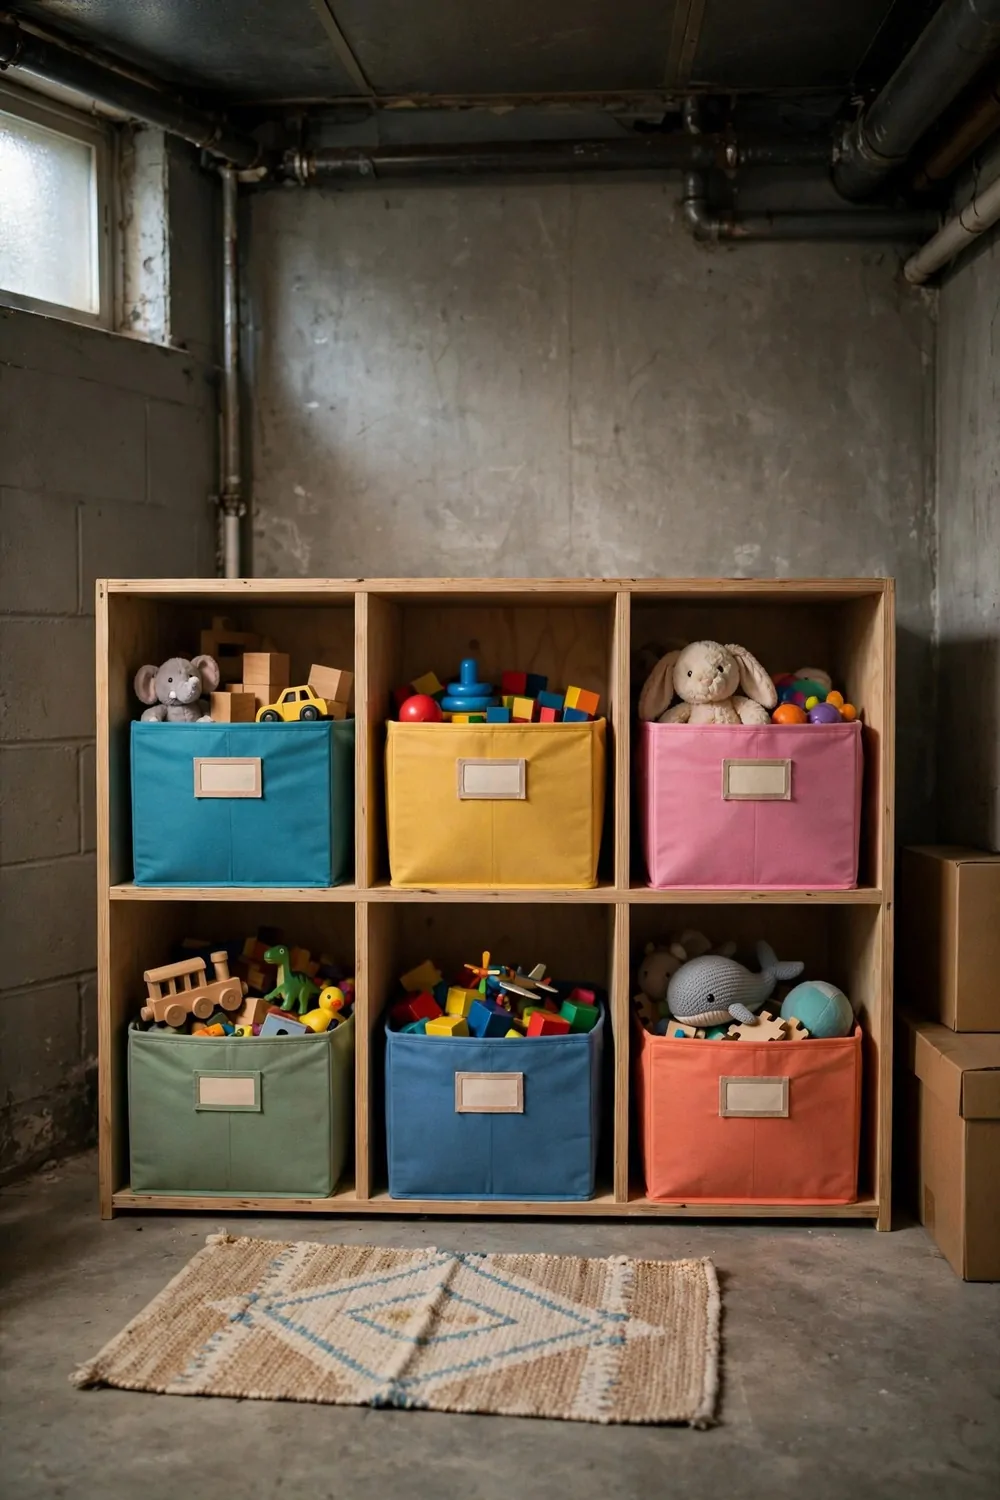
My kids could never read labels when they were small, so I used pictures instead.
Each cubby has a picture on the front showing what belongs inside it.
Blocks go in the cubby with the block picture, and dolls go in the one with the doll picture.
The cubbies are low, so the kids can reach every one without climbing or asking for help.
I keep the cubbies near the play area, so tidy up time is short and simple.
We play a quick game at clean up time, and the kids race to match toys to pictures.
The pictures also help friends who come to play, since they can see where things go.
Toys stay in their cubbies now, and the basement floor stays clear enough to walk across.
A Workbench With Tool Drawers
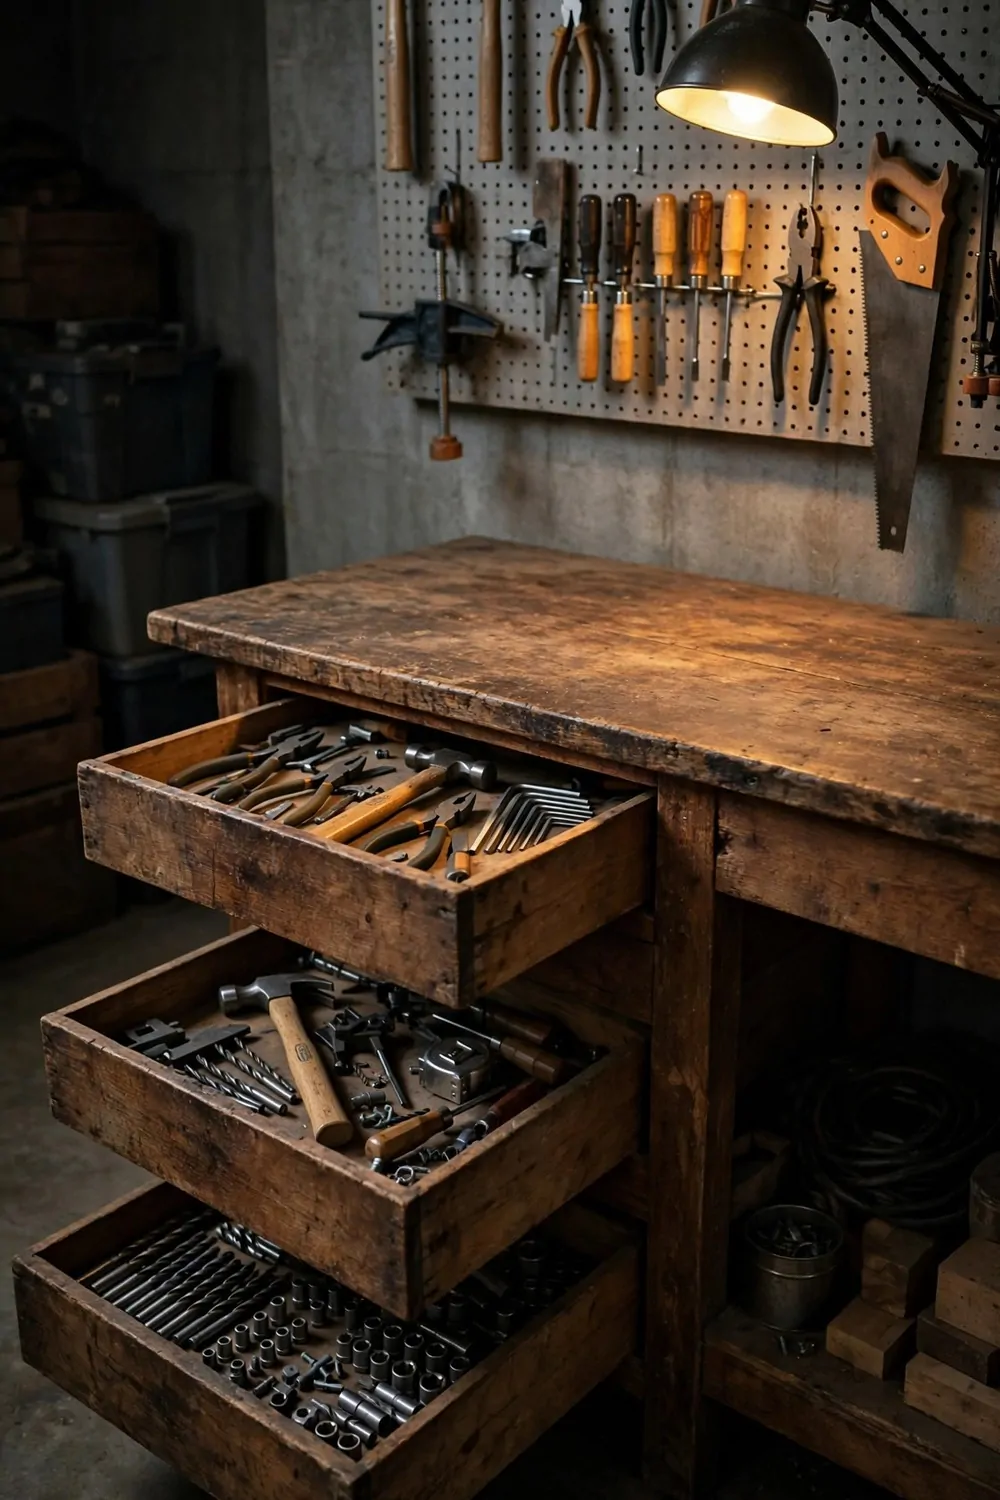
My workbench is the heart of my basement, and I built my storage around it.
The bench has drawers underneath, and each drawer holds one kind of tool.
Screwdrivers live in the top drawer, and wrenches live in the one below it.
I lined the drawers with old shelf paper, so the tools do not slide and scratch.
The bench top stays clear except for the job I am working on right now.
A small lamp clamps to the back of the bench, and it lights up the whole work area.
I sweep the bench at the end of each job, which takes a minute and keeps it ready.
A good workbench with drawers means I can start and stop a project without a big mess.
Rolling Carts for Heavy Boxes
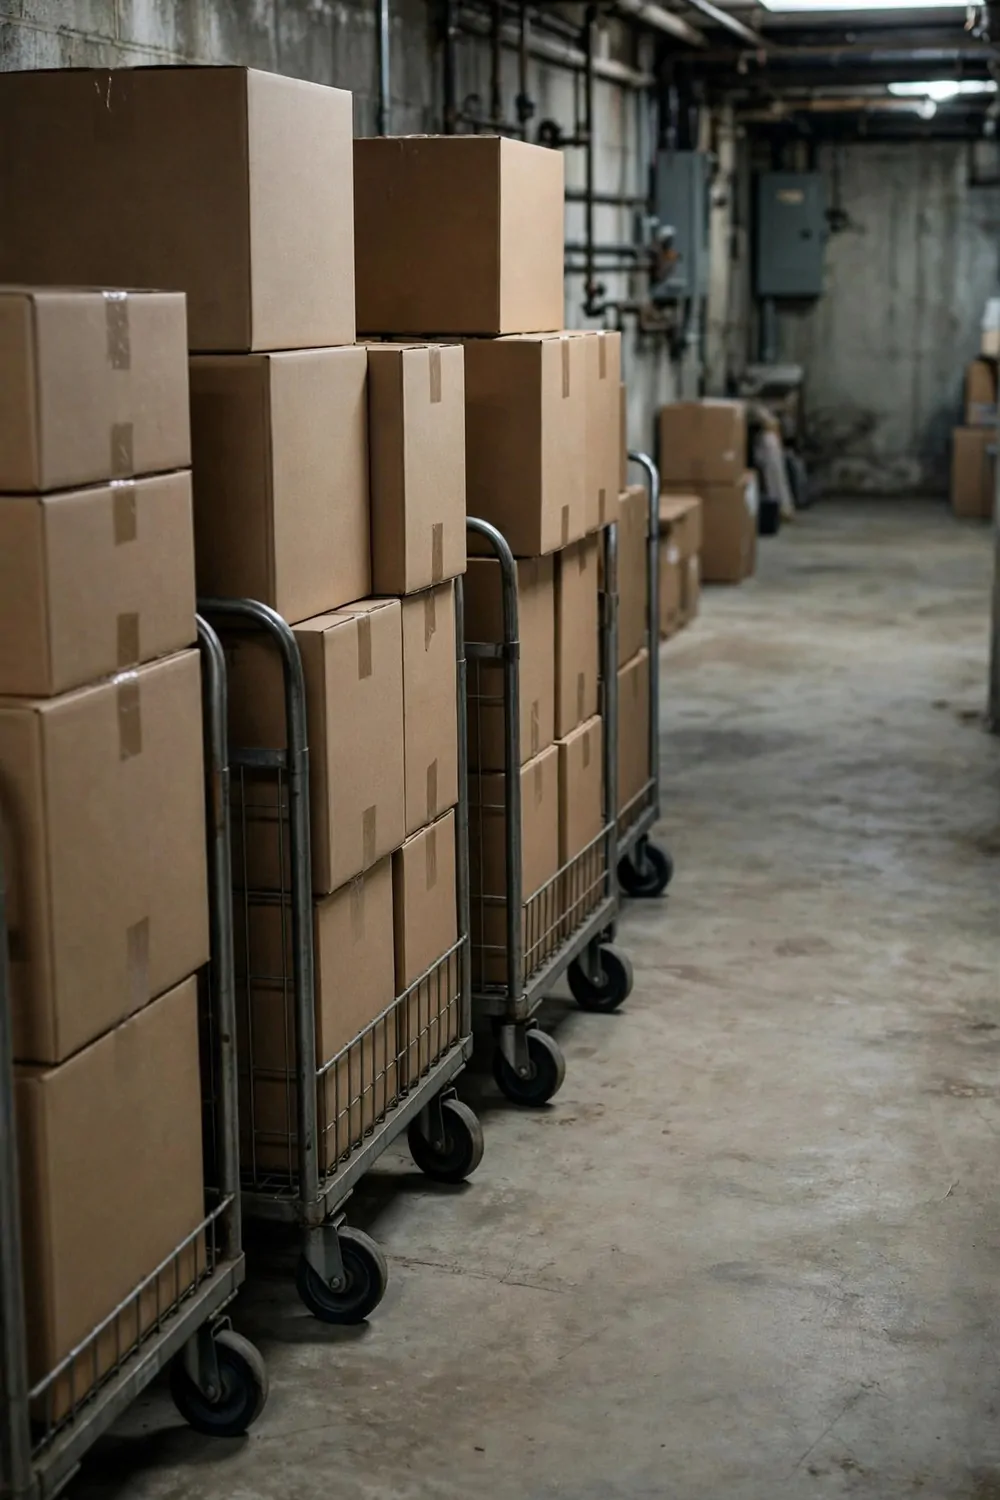
Heavy boxes are the worst part of a basement. You drag them, you lift them wrong, and your back hurts for days after.
A rolling cart fixes most of that pain. You load the box once, and then you just push it where it needs to go. Your arms stay free and your back stays straight.
Pick a cart with strong wheels that can turn in a small space. The cheap thin ones bend when you load them up, so look for a frame that feels solid when you shake it.
I keep my heaviest box on the bottom shelf of the cart. That keeps the weight low, and the cart does not tip when I roll it around a corner.
Label the front of each box in big clear letters. I use a thick marker and I write what is inside in plain words. It saves me from opening five boxes to find one thing.
Park the cart against a wall when you are done. It stays out of the walkway, and you always know where to find it next time.
If you have more than one cart, give each one a job. One can hold tools, one can hold old books, and one can hold the stuff you use most. That way you never mix them up.
Clean the wheels now and then. Dust and little bits of dirt can make them stick, and a quick wipe keeps them rolling smooth.
A Memory Box Shelf for Keepsakes
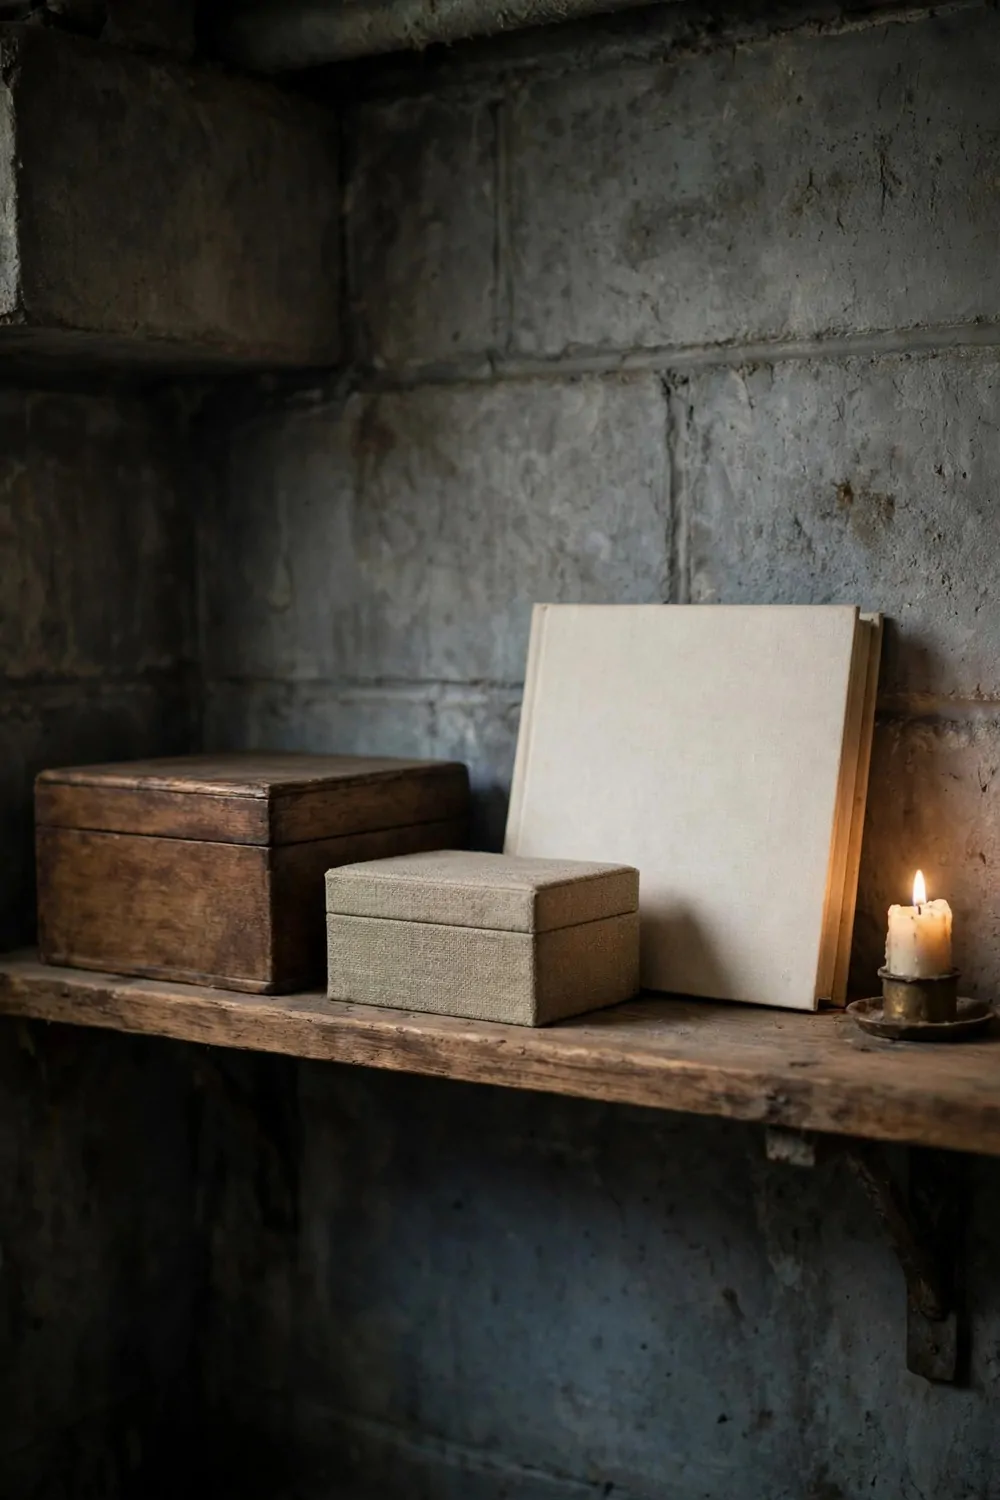
Some things are too dear to toss in a plain box. Old photos, baby shoes, and letters from family need a spot of their own.
I put a small shelf just for those keepsakes. It sits at eye level, so I can see the boxes without climbing or bending down low.
Each box on that shelf holds one kind of memory. One box has photos, one has school papers, and one has little gifts from trips. It feels calm to look at them this way.
Use boxes with lids that close tight. Basements can get damp, and a good lid keeps dust and damp air away from the things you love most.
I wrote a small note on the inside lid of each box. It says when the things are from and who they belong to. Years from now, that note will matter more than I think.
Do not pack the shelf too full. Leave a little space at each end, so you can pull a box out without knocking the next one over.
Sit down with the shelf once a year. Open one box, look through it, and smile a bit. Then close it up and put it back in its place.
If your kids want to add something, let them pick one small thing. A memory shelf grows best when the whole family adds to it a little at a time.
Shoe Racks by the Basement Door
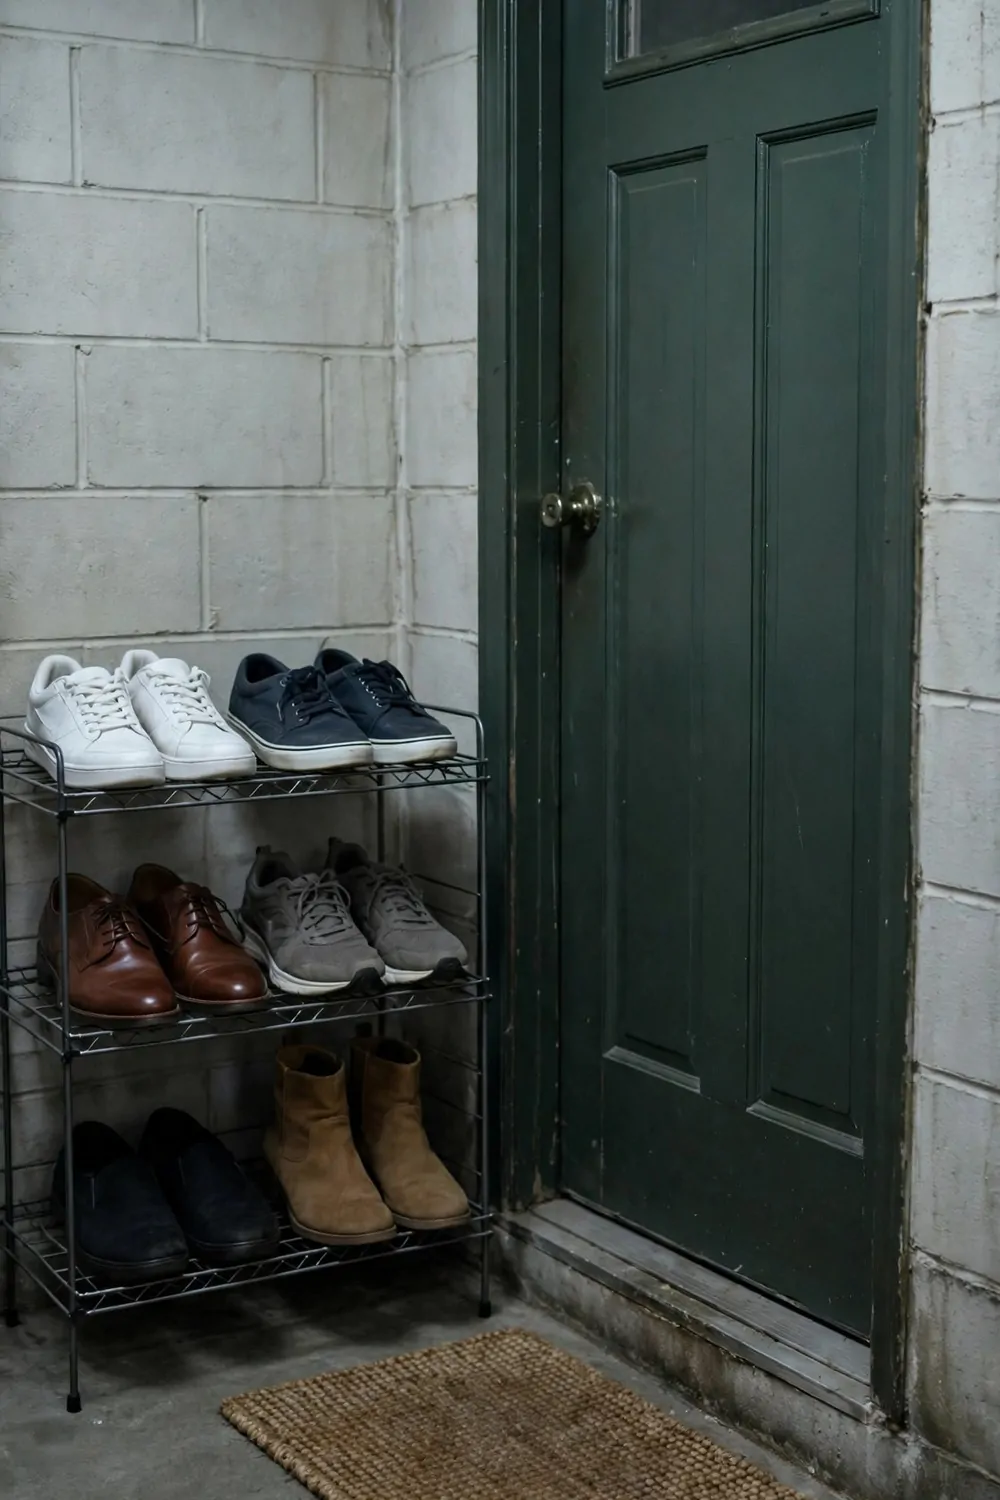
Shoes pile up fast by a basement door. One pair becomes four, and soon you are stepping over them every time you walk in.
A simple rack by the door ends that mess in one day. You kick your shoes off, you slide them onto the rack, and the floor stays clear.
Pick a rack that fits the space you really have. Measure the wall first, and leave room for the door to swing open all the way.
I put the shoes we wear most on the middle row. The boots and the odd pairs go on the bottom, and the top row stays for guests.
A small tray under the rack catches mud and rain. You can pull it out and rinse it in the sink, and the floor under it stays clean.
Tell everyone in the house the new rule. Shoes live on the rack, not on the floor. It takes a week for the habit to stick, but it does stick.
If you have kids, give each child one row or one spot. They like having their own place, and they are more likely to use it.
Wipe the rack down once a month. It takes two minutes, and it keeps the whole entry feeling fresh instead of dusty and old.
A Gift Wrap Station on the Wall
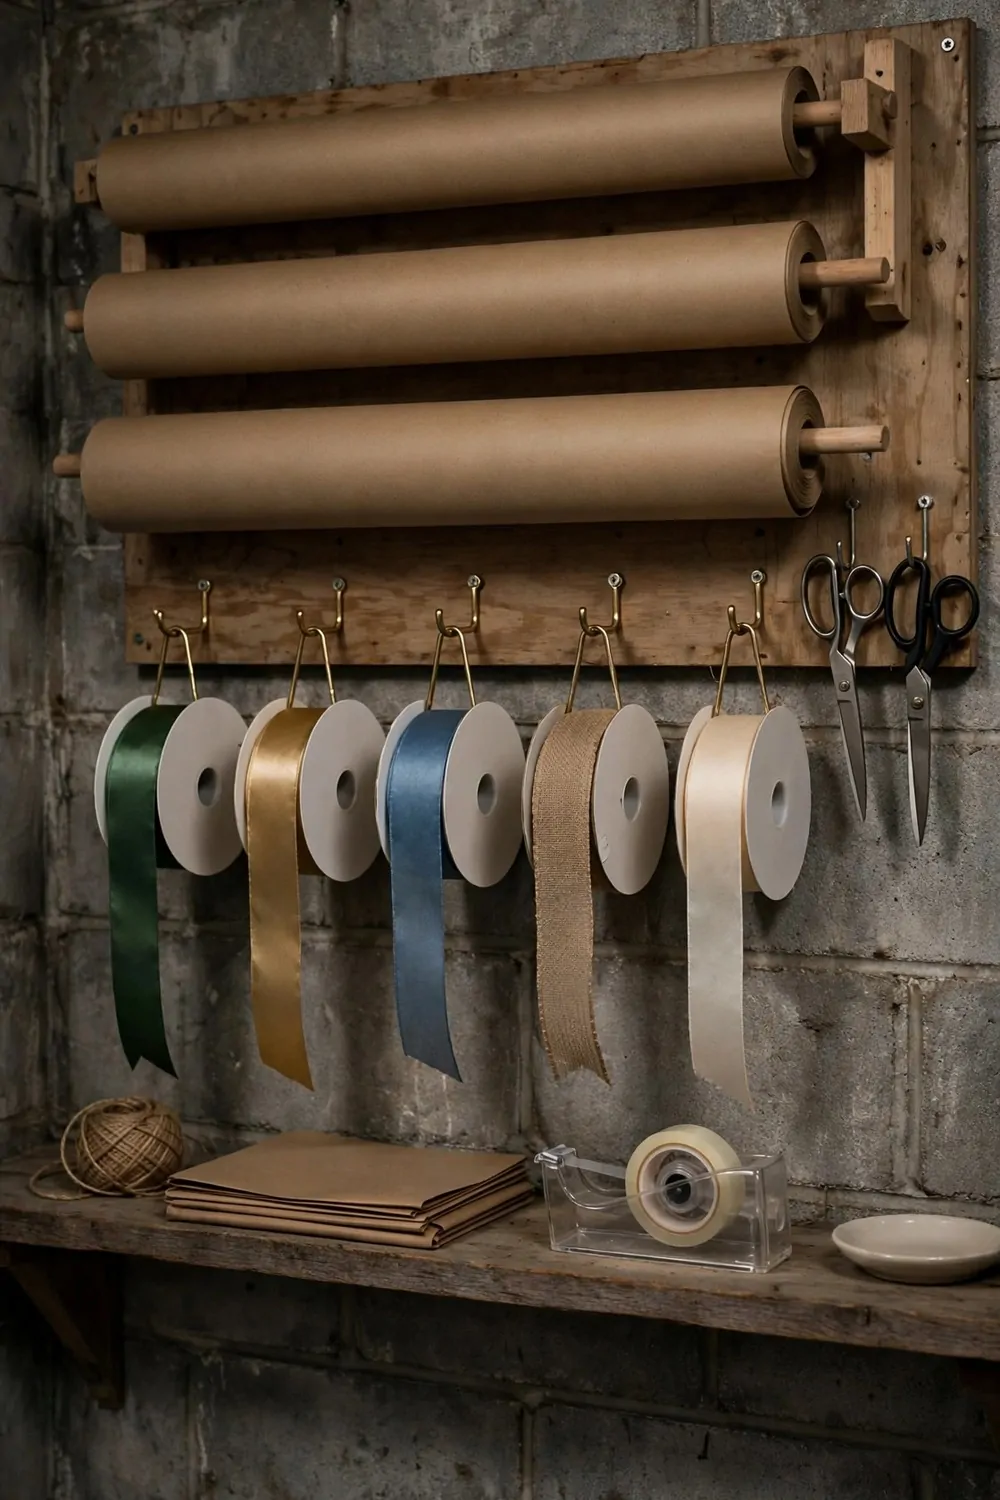
Gift wrap rolls end up bent and torn when they live in a corner. I used to lose the tape and the scissors every single time.
A wall station changed all that for me. I hung a few hooks and a small shelf, and now the paper, the tape, and the ribbons all live in one spot.
Hang the rolls upright in a tall holder or a long tube. They stay straight, they do not roll away, and you can see each colour at a glance.
Put the scissors and tape in a small basket on the shelf. When everything is in reach, wrapping a gift takes ten minutes instead of half an hour.
I keep a few plain bags and tags in a box under the shelf. They are not fancy, but they look nice and they work for almost any gift.
Use the station when you have a spare few minutes. Wrap one gift early, and you will not be rushing on the night before a birthday.
Keep the paper out of damp spots. A dry wall away from the floor is best, and your rolls will last a lot longer there.
Let the kids help pick the paper sometimes. They love choosing, and it makes the whole station feel like part of the family, not just storage.
Garden Tools on Hooks by the Door
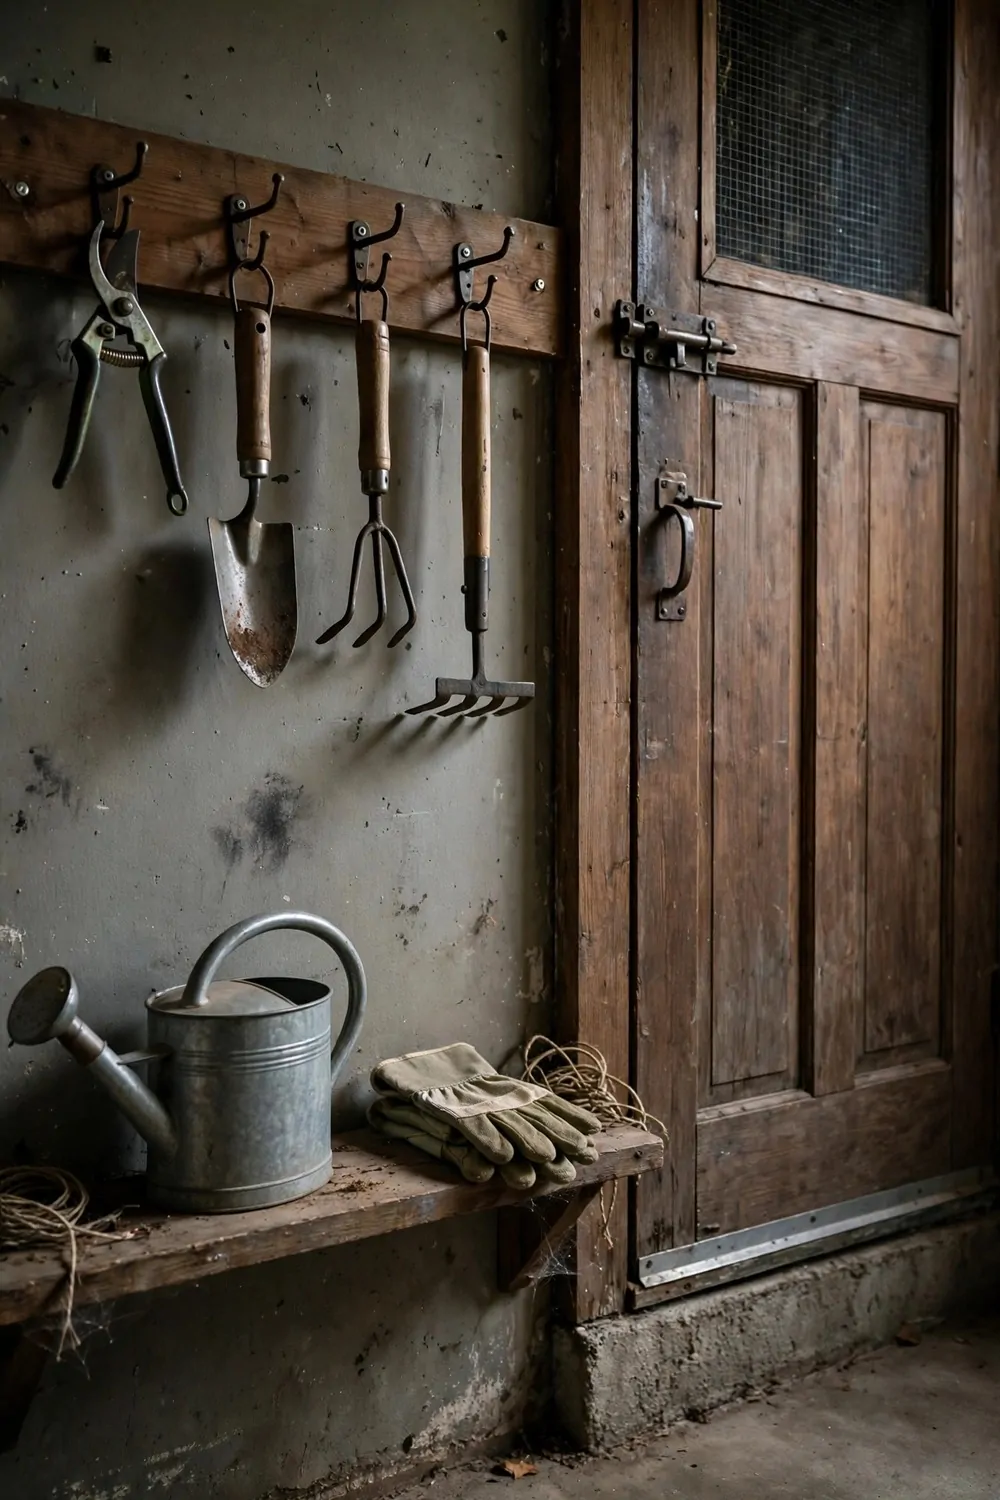
Garden tools are long and awkward. They fall over, they lean on the wall, and they always seem to be in the way.
Hooks by the door fix that in an afternoon. You hang each tool up, and the floor under it stays clear for walking.
Space the hooks far enough apart so the handles do not bang together. A little gap makes it easy to grab one tool without pulling down three more.
I hang the tools I use most at arm height. The rake and the spade are right there, and the ones I use less often go a bit higher up.
Wipe the metal parts before you hang them back. A quick wipe keeps rust away, and the tools last years longer than they would in a damp pile.
Put a small bucket near the hooks for gloves and twine. Those little bits need a home too, or they end up lost in a drawer somewhere.
Label the hooks if your family shares the tools. It sounds fussy, but it stops the same tool ending up in three different spots.
Check the hooks once a season. Tighten any that feel loose, and your tools will stay safe on the wall all year.
Out of Season Clothes in Vacuum Bags
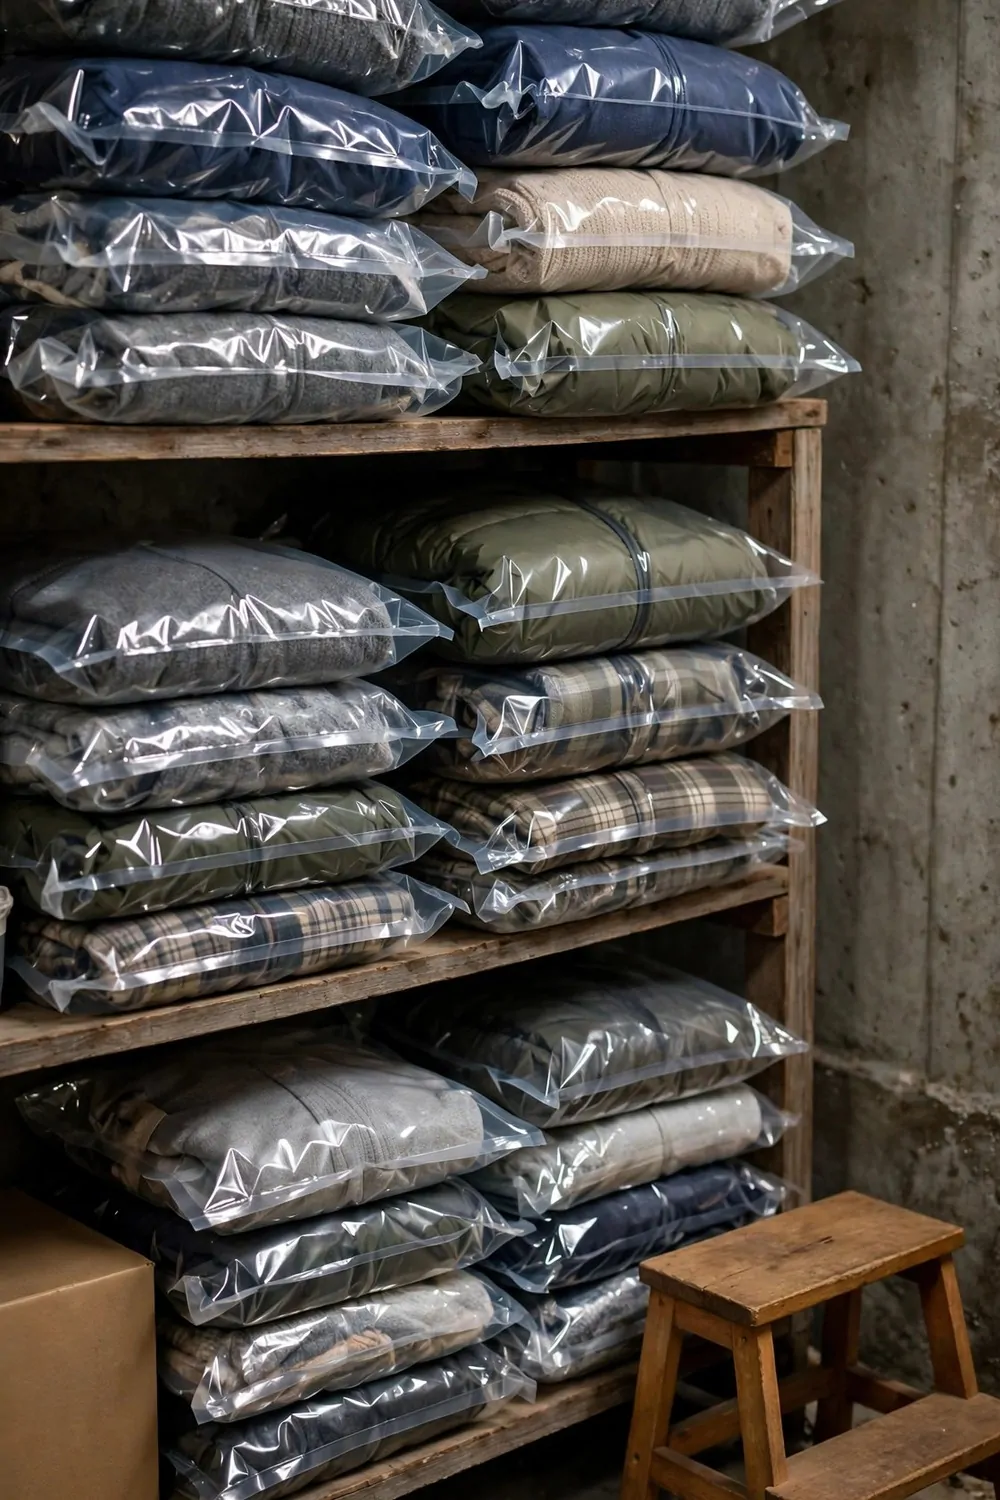
Out of season clothes take up so much room. Thick coats and warm jumpers fill a whole shelf when you do not need them for months.
Vacuum bags shrink all that bulk down flat. You put the clothes in, you press the air out, and the bag turns thin enough to slide under a bed or onto a high shelf.
Wash and dry the clothes first. Clean clothes store better, and they smell fresh when you open the bag again in a few months.
Fold each item flat before it goes in the bag. Neat folds mean you can fit more in, and the clothes come out with fewer deep creases.
Write on the bag with a marker. I write what is inside and whose clothes they are, so I do not have to open three bags to find one coat.
Stack the flat bags on a shelf like books. They stay neat, they do not slide around, and you can pull one out without the whole pile falling.
Check the seal before you put the bag away. Press the edge all the way round, and make sure no air is sneaking back in.
When the season turns, open the bags a day early. Let the clothes breathe overnight, and they will feel soft and ready to wear again.
| What you store | Best spot | Why it works |
|---|---|---|
| Heavy boxes | Low shelf or rolling cart | You lift less and your back stays safe |
| Things you grab weekly | Near the stairs at waist height | You reach them fast without climbing |
| Seasonal boxes | Top shelf or far corner | They stay out of your daily path |
A File Shelf for Old Papers
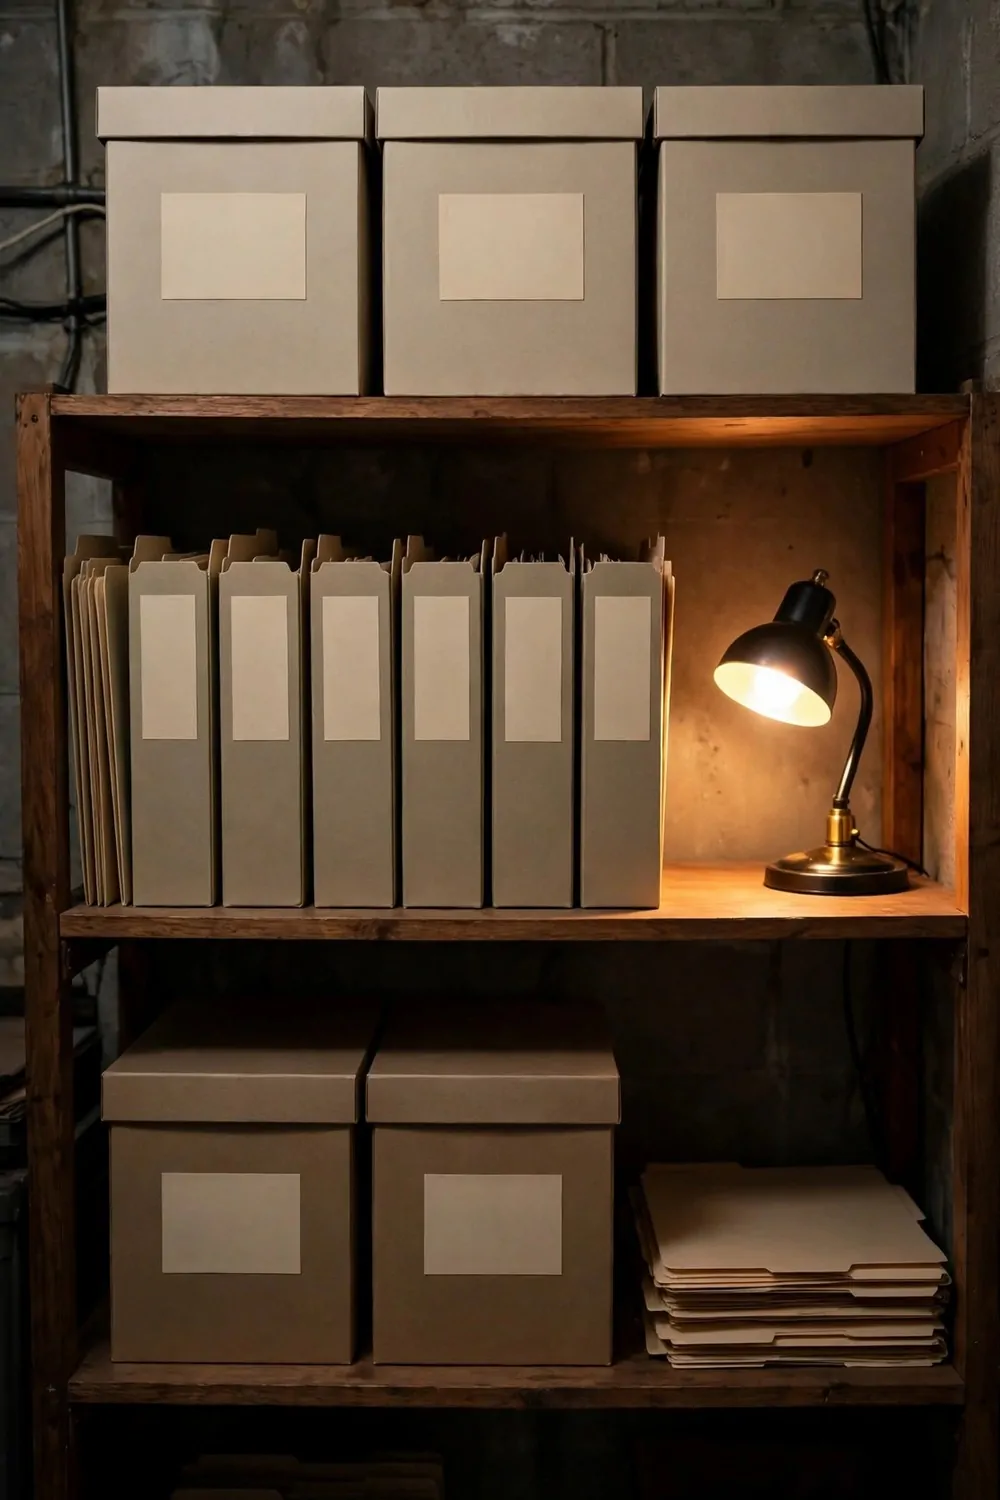
Old papers seem small until you try to find one. Then you are digging through piles and wondering where that one letter went.
A file shelf gives every paper a place. I use simple folders, one for each kind of paper, and they all stand in a row on the shelf.
Label each folder in big plain words. Bills, school, house, and health are easy to read at a glance, even when you are in a hurry.
Keep the papers you need most at the front. The ones you rarely touch can go to the back or up a little higher.
Put new papers in the right folder the same day they arrive. It takes one minute now, and it saves you an hour of hunting later.
I keep a small shredder bag next to the shelf. Old papers I no longer need go straight in, so the shelf never gets too full.
Check the shelf once a year. Pull out what you do not need, keep what matters, and enjoy how light the shelf feels after.
A dry spot matters most for paper. Keep the shelf away from damp walls and off the floor, and your papers will stay clean and flat.
Board Games on a Low Shelf
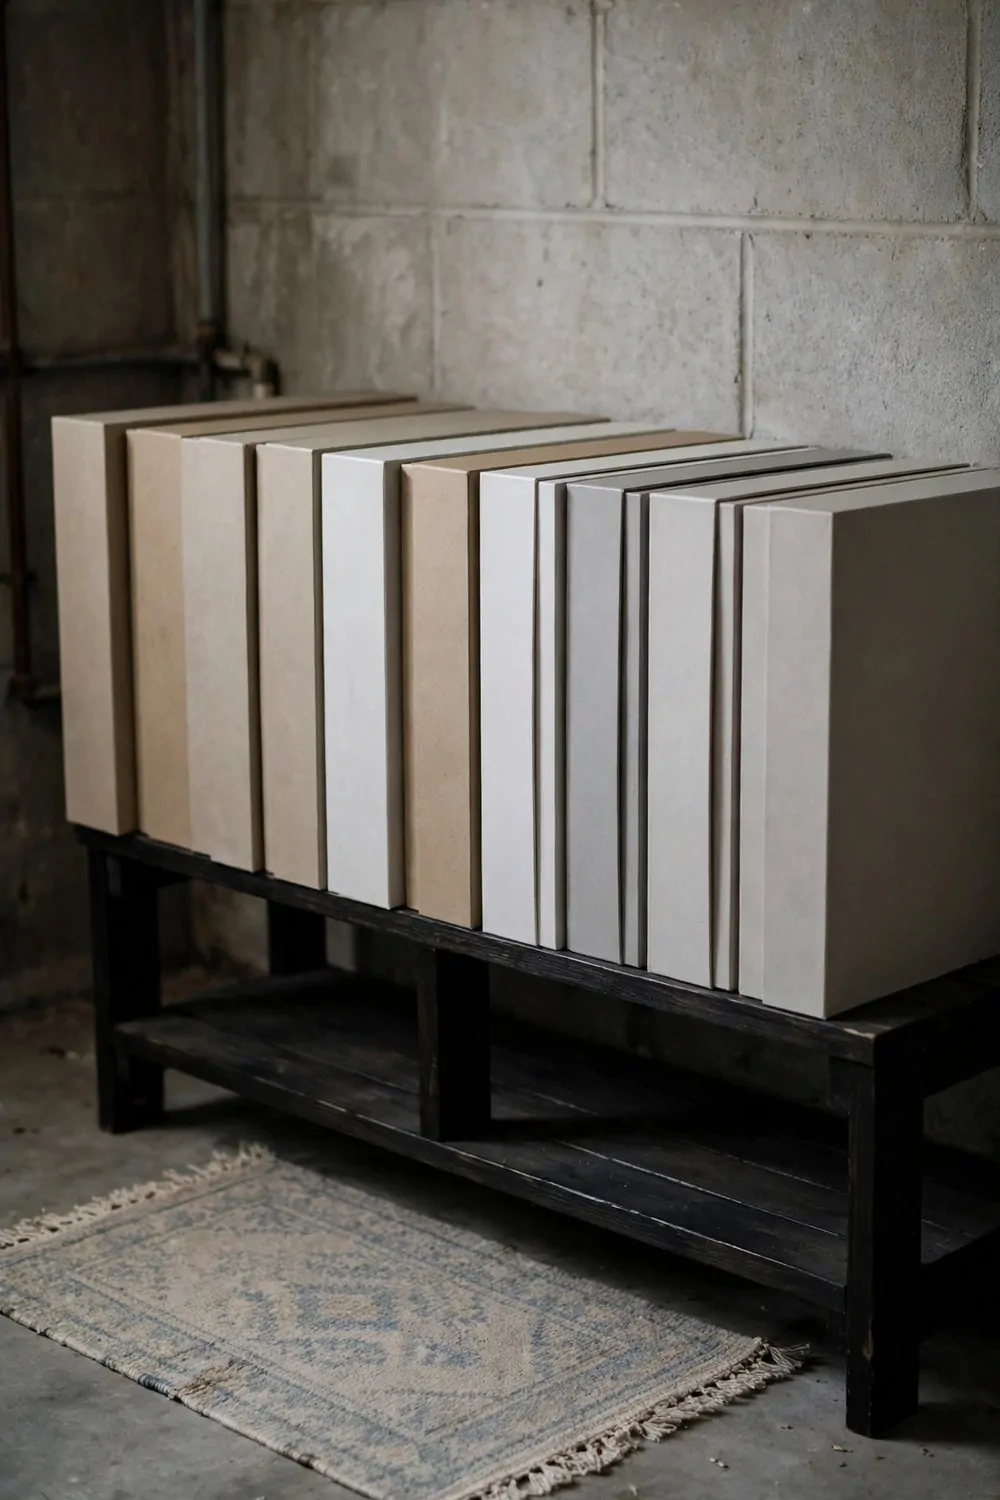
Board games are fun until you have to find one. They end up stacked in a tall pile, and the one at the bottom never gets played.
A low shelf makes games easy to reach. You can see all the boxes, you can pull one out, and the rest stay right where they were.
Stack the boxes flat, not on their sides. Flat boxes stay shut, the pieces stay inside, and the lids do not bend over time.
Put the family favourites at the front. The games you play every week should be the easiest to grab on a rainy evening.
Keep the small piece bags inside each box. A little bag for cards and a little bag for tokens stops the bits getting mixed up between games.
I put a small basket on the end of the shelf for dice and timers. Those tiny things vanish fast if they have no home of their own.
Let the kids put the games back after they play. It is part of the game night habit, and the shelf stays tidy without you doing it all.
Wipe the shelf now and then. Dust builds up fast in a basement, and a clean shelf makes the games look inviting again.
A Pet Supply Corner
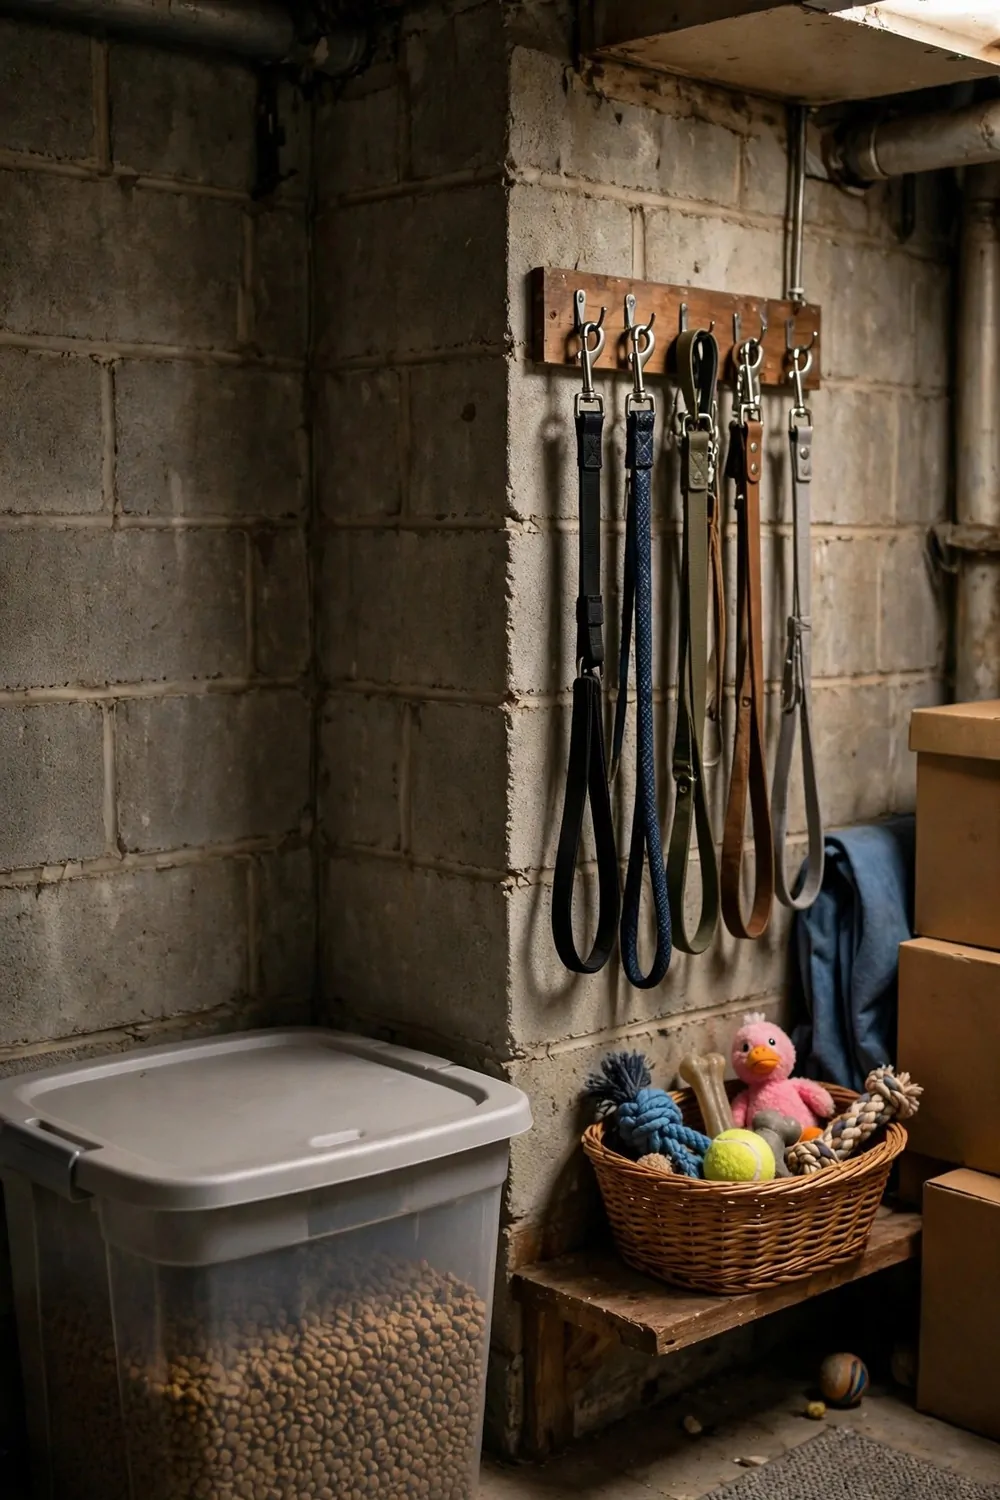
Pet food, leads, and toys spread all over the house if you let them. A small corner in the basement can hold it all in one place.
I picked a dry corner near the stairs. It is easy to reach when I am heading out, and the food stays away from damp spots.
A tall bin holds the big bag of food. I scoop from the top, and the lid keeps the food fresh and keeps any smells in.
Hooks on the wall hold the leads and the coats. They are ready to grab, and they do not end up tangled in a drawer.
Toys go in a low basket the dog can see. He knows where his toys live now, and he even drops them back in sometimes.
Keep a small towel in the corner too. Muddy paws need a quick wipe before they come back up the stairs, and the towel is right there.
Check the food dates once a month. Old treats go out, fresh ones go in, and you never find a stale biscuit at the bottom of the bin.
A pet corner is not fancy, but it works. Everything your pet needs is in one spot, and the rest of the house stays a lot tidier.
Camping Gear in One Big Bin
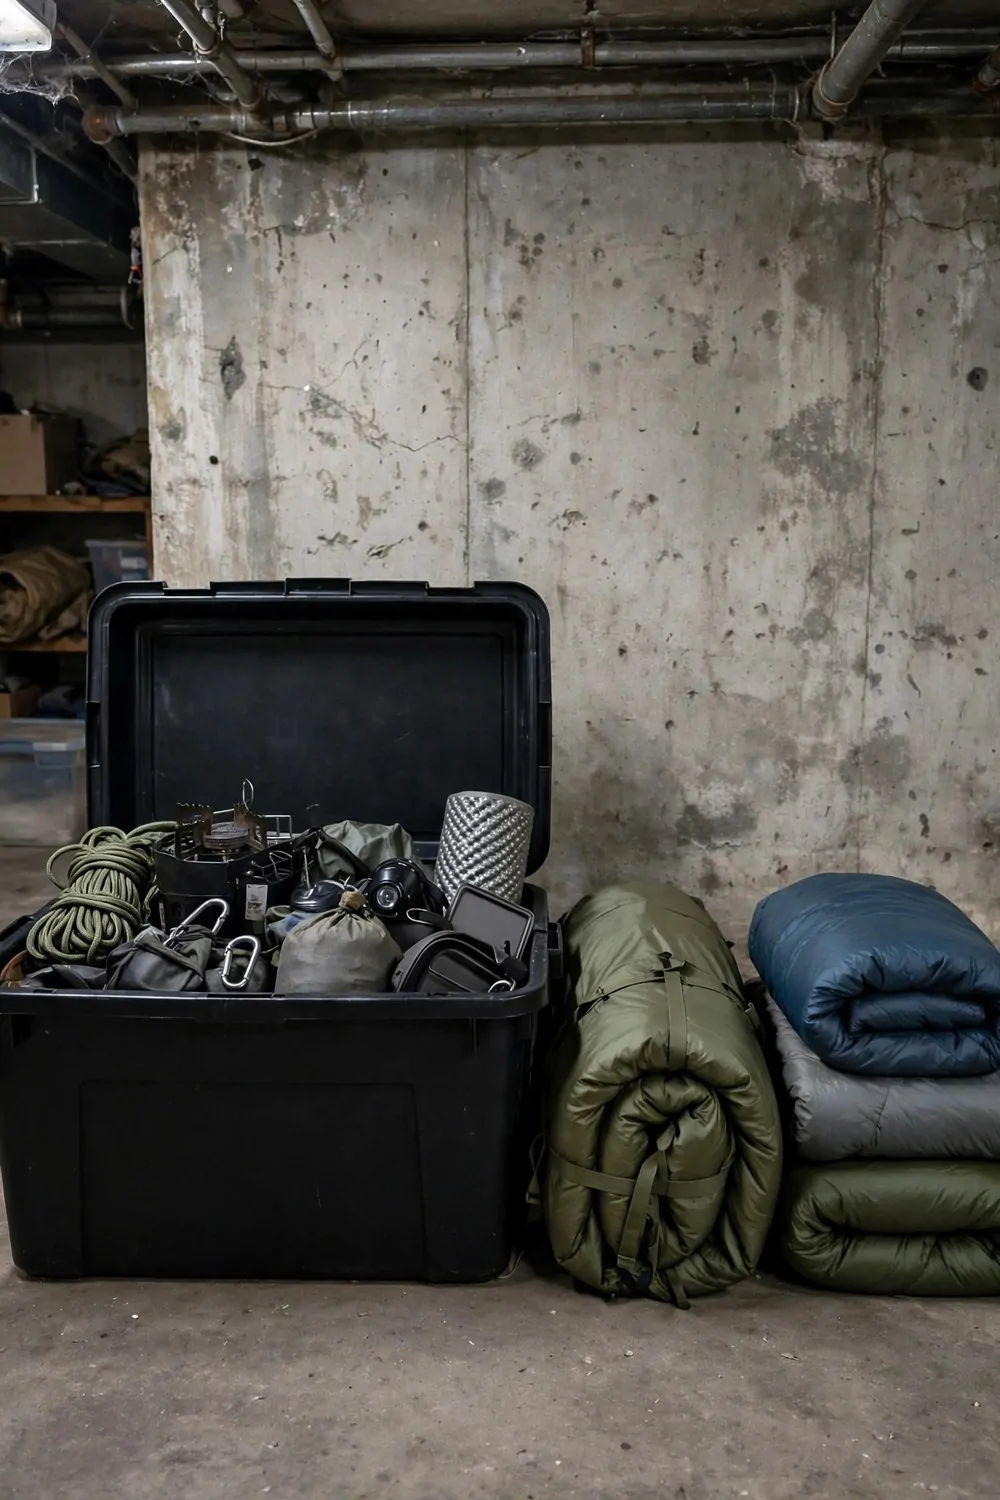
Camping gear lives in a dozen small bags if you are not careful. The tent is here, the torch is there, and the poles are lost somewhere else.
One big bin changed that for me. Everything for a trip goes in the same bin, and I can carry it to the car in one go.
Pick a bin with a lid that snaps shut tight. It keeps dust out, and it keeps the gear dry if the basement gets a little damp.
Put the small bits in a bag inside the bin. Torches, matches, and little tools stay together, and you do not have to dig for them in the dark.
I keep a list taped to the inside of the lid. It says what is in the bin and what I need to add before the next trip.
Pack the bin right after you come home from a trip. Clean gear goes back in while you still remember where it all goes.
Store the bin where you can reach it without moving five other boxes. Camping should feel easy, not like a workout before you even leave.
Check the bin at the start of the season. Air out the tent, test the torch, and you will be ready when a sunny weekend comes along.
A Small Freezer Zone With a Landing Spot
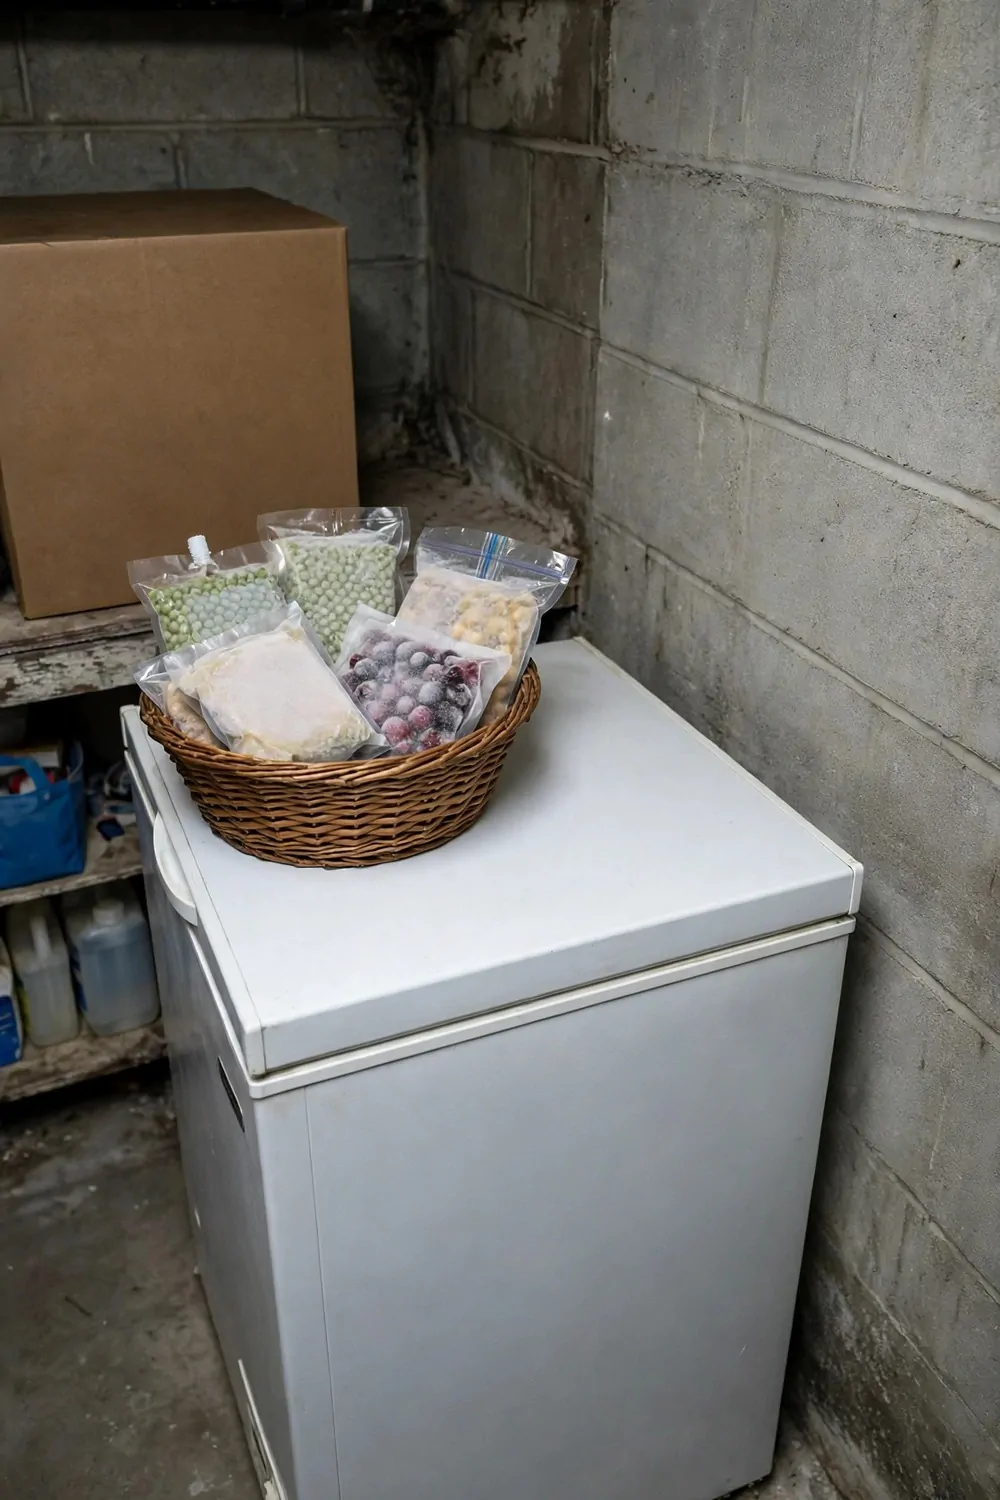
A basement freezer is handy, but it gets messy fast. Bags pile on top, you cannot find the peas, and the door will not shut right.
A landing spot next to the freezer fixes that. I use a small table, and it holds the bags while I sort them into the freezer in order.
Keep the foods you use most near the top. The ones you use less often can go deeper, where they stay cold and out of the way.
Label every bag with what is inside and the date you put it in. A marker and a bit of tape is all you need, and it saves so much guessing later.
I keep a small basket on the landing spot for the bags I am about to use. They thaw a little there while I get the rest of dinner ready.
Wipe the landing spot clean each week. Spills happen, and a quick wipe stops them turning sticky or smelly in a warm basement.
Leave space around the freezer for air to move. Do not push boxes right up against the sides, or the freezer has to work too hard.
A tidy freezer zone saves money too. When you can see what you have, you buy less twice and you waste less food.
| Weekly job | Takes | What it fixes |
|---|---|---|
| Put one thing back in its home | Two minutes | Stops the slow pile-up on the floor |
| Sweep the walkway clear | Five minutes | You can walk through without tripping |
| Check the top shelf labels | Five minutes | You remember what you stored up there |
Paint Cans on a Sturdy Shelf
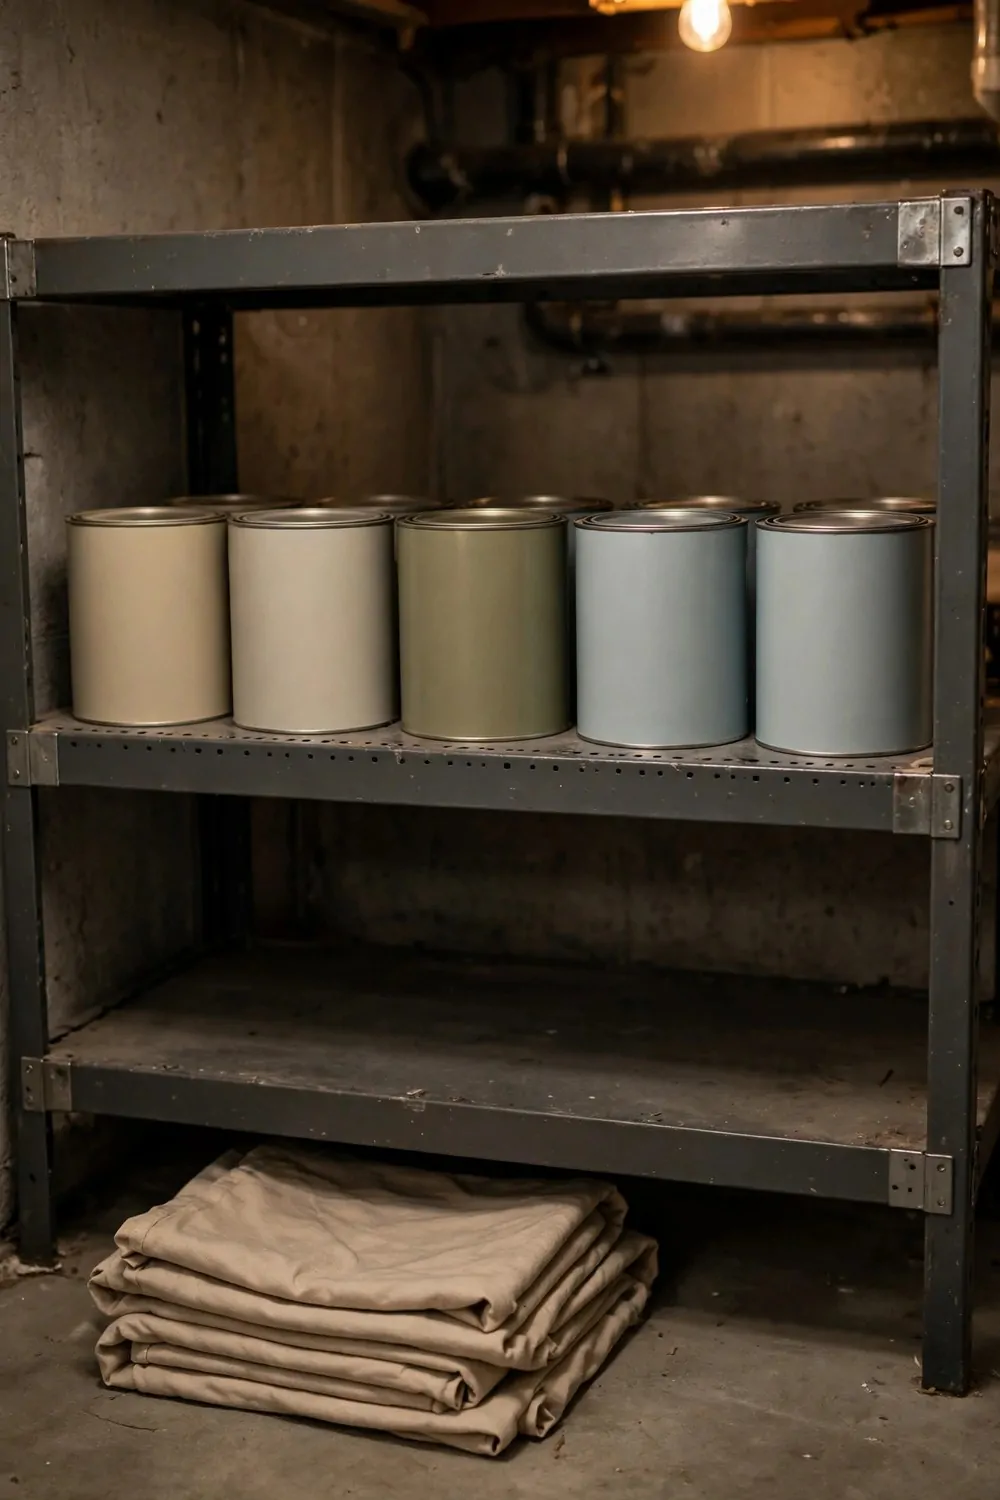
Paint cans are heavy and they leak if they tip over. A wobbly shelf is the last place they should live.
Use a sturdy shelf that does not bend when you load it. Metal or thick wood works well, and it should sit flat against the wall.
Store the cans with the lids on tight. Tap the lid all the way round, and wipe the rim clean so it seals well.
I write the room name and the colour on the side of each can. A strip of tape and a marker is enough, and it saves me opening five cans to find one shade.
Keep the cans off the floor. A low shelf keeps them away from damp, and it stops rust from forming on the bottom of the can.
Put the small tins and brushes in a tray on the same shelf. Everything for a paint job stays together, and you are not hunting for a brush later.
Check the cans once a year. If a lid is loose or a can is rusty, deal with it then instead of finding a mess later.
Keep paint away from heat and away from little hands. A high shelf or a locked cupboard is best if you have kids in the house.
A Donation Bin by the Stairs
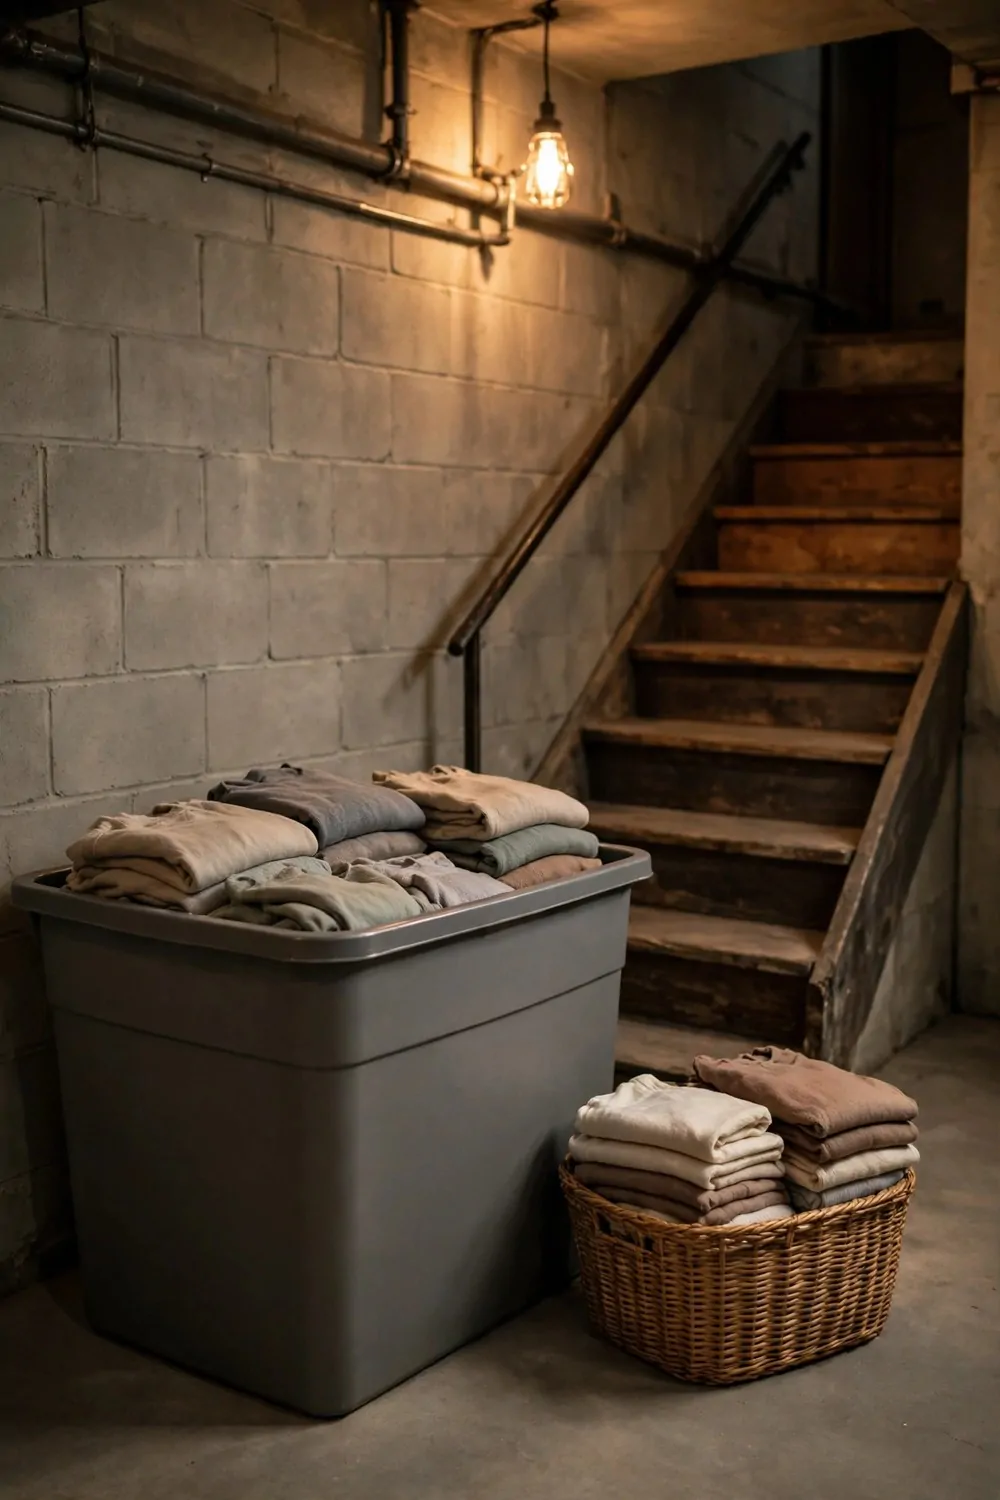
Things you no longer need tend to sit around for months. You mean to give them away, but they never make it out the door.
A donation bin by the stairs makes it easy. You drop the item in as soon as you decide you do not need it, and the bin does the waiting for you.
Pick a bin big enough to hold a few bags but small enough to carry. When it gets full, you know it is time for a trip to drop it off.
I keep a few empty bags inside the bin. When I find a toy or a coat to give away, I put it straight in a bag and into the bin.
Label the bin in big letters. Everyone in the house should know what it is for, or it just becomes another box of clutter.
Check the bin once a month. If it is half full, plan a drop off that week, and enjoy the empty space it leaves behind.
Only put clean things in the bin. Wash the clothes, wipe the toys, and make sure nothing is broken before you pass it on.
A donation bin is a kind habit. It keeps your home lighter, and it gives your old things a new life with someone else.
Ceiling Hooks for Bikes and Ladders
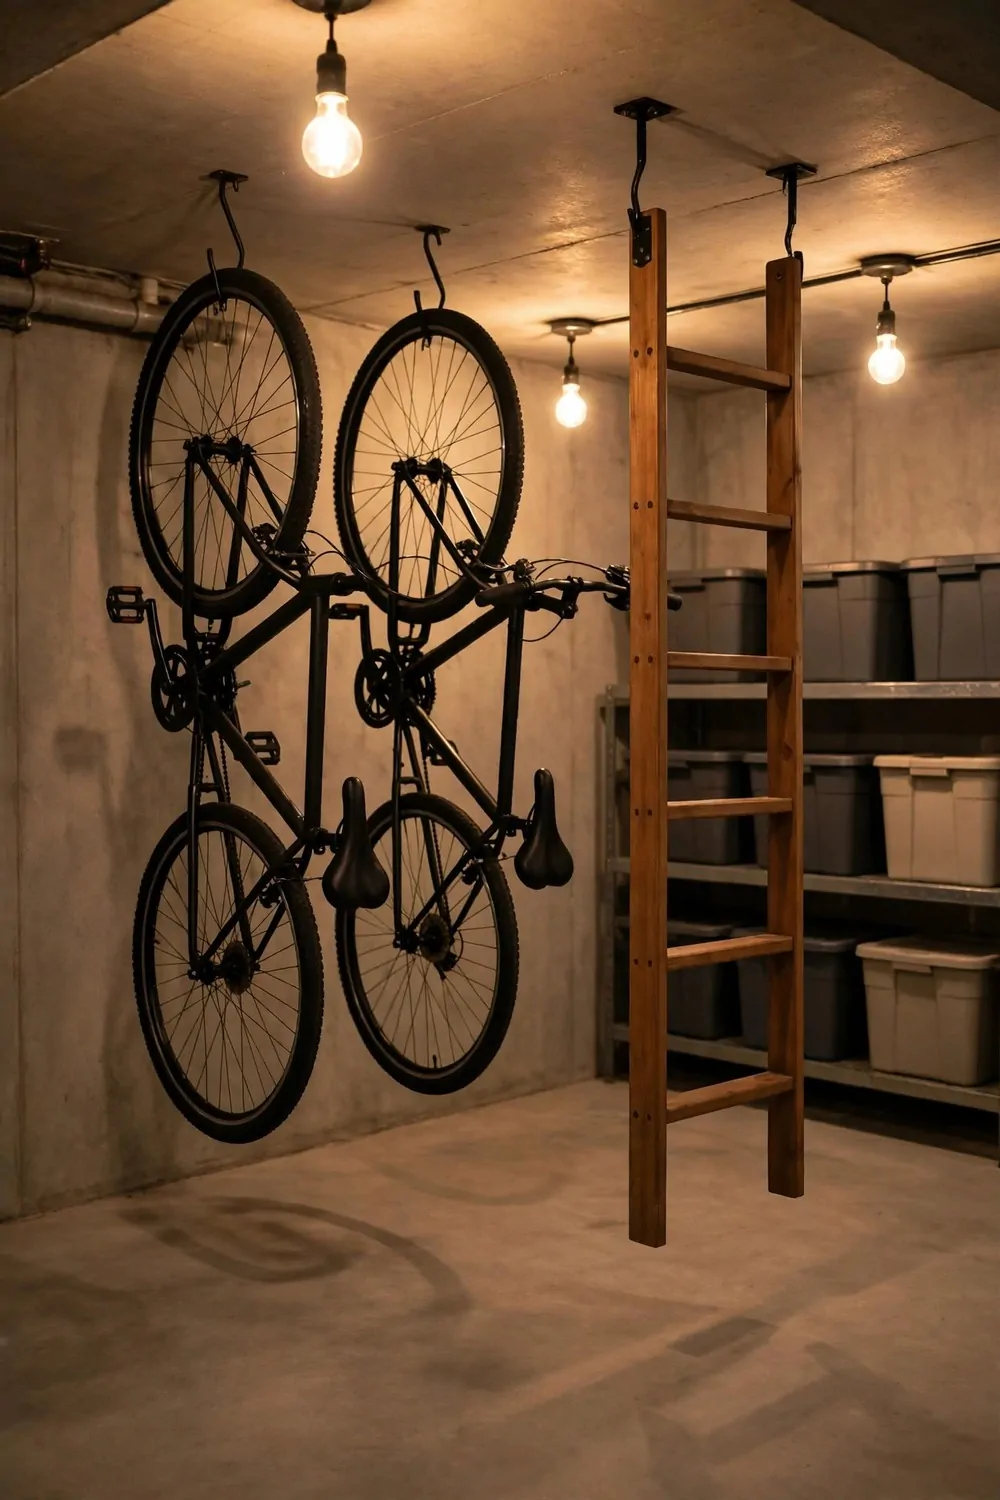
Bikes and ladders eat up floor space. They lean against the wall, they fall over, and they block the path every time.
Ceiling hooks lift them right out of the way. The floor stays clear, and you can walk through the basement without dodging a wheel.
Make sure the hooks go into a strong beam, not just the thin ceiling board. A solid fixing holds the weight safe, and you can trust it.
Hang the bikes by their wheels or their frames, whichever feels steady. Test it with a gentle pull before you let go and walk away.
I hang the ladder flat against the ceiling on two hooks. It stays level, it does not swing, and I can reach it when I need it.
Keep the hooks at a height you can reach with a small step. Too high and you will never use them, too low and you will bump your head.
Label which hook is for which bike if you have more than one. It stops the bikes getting tangled up when you take one down.
Check the hooks twice a year. A quick look and a tighten is all it takes to keep everything safe up there.
A Dehumidifier Spot That Stays Open
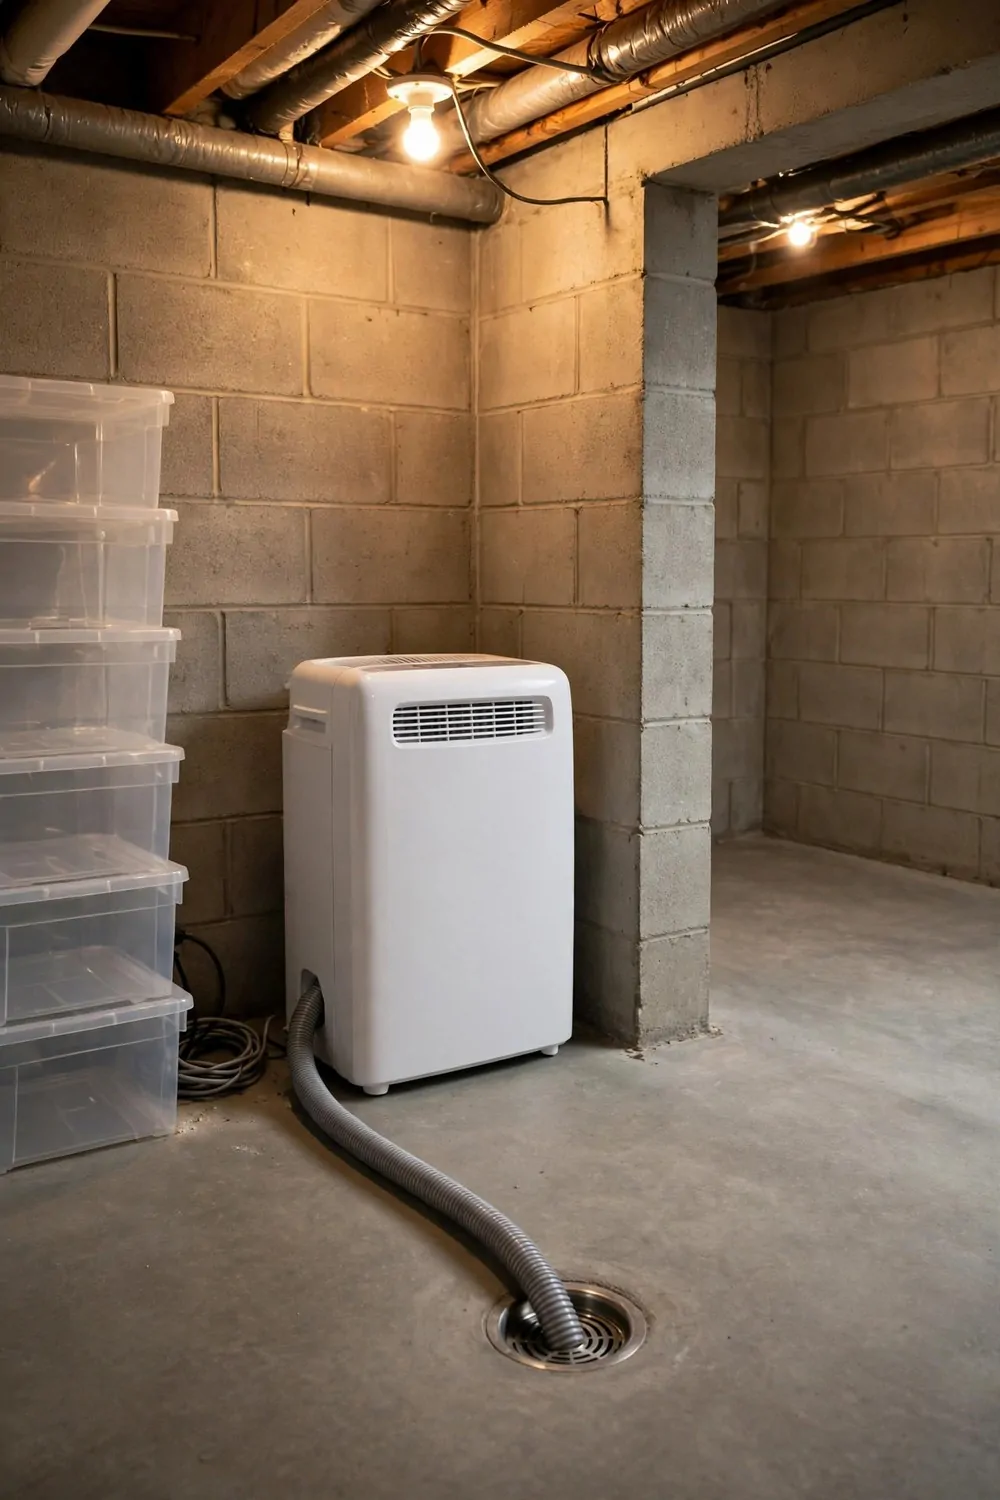
Basements get damp, and damp air makes everything smell musty. A dehumidifier helps a lot, but only if it has room to work.
Give it a spot that stays open on all sides. Do not push boxes right up against it, or the air cannot flow in and out the way it should.
I keep mine near the dampest corner, but not right against the wall. A little gap lets the air move, and the machine runs better.
Empty the water tank often. If it fills up, the machine stops, and the damp creeps back in before you notice.
Put a small mat under it to catch any drips. The floor stays dry, and you can see at a glance if the tank needs emptying.
Keep the cord tidy and out of the walkway. A loose cord is a trip hazard, and it is too easy to knock the machine over.
Clean the filter now and then. A dusty filter makes the machine work harder, and a quick rinse keeps it running smooth.
A clear spot for the dehumidifier is a small thing, but it keeps the whole basement feeling fresh instead of damp and stale.
Battery Lights in Dark Corners
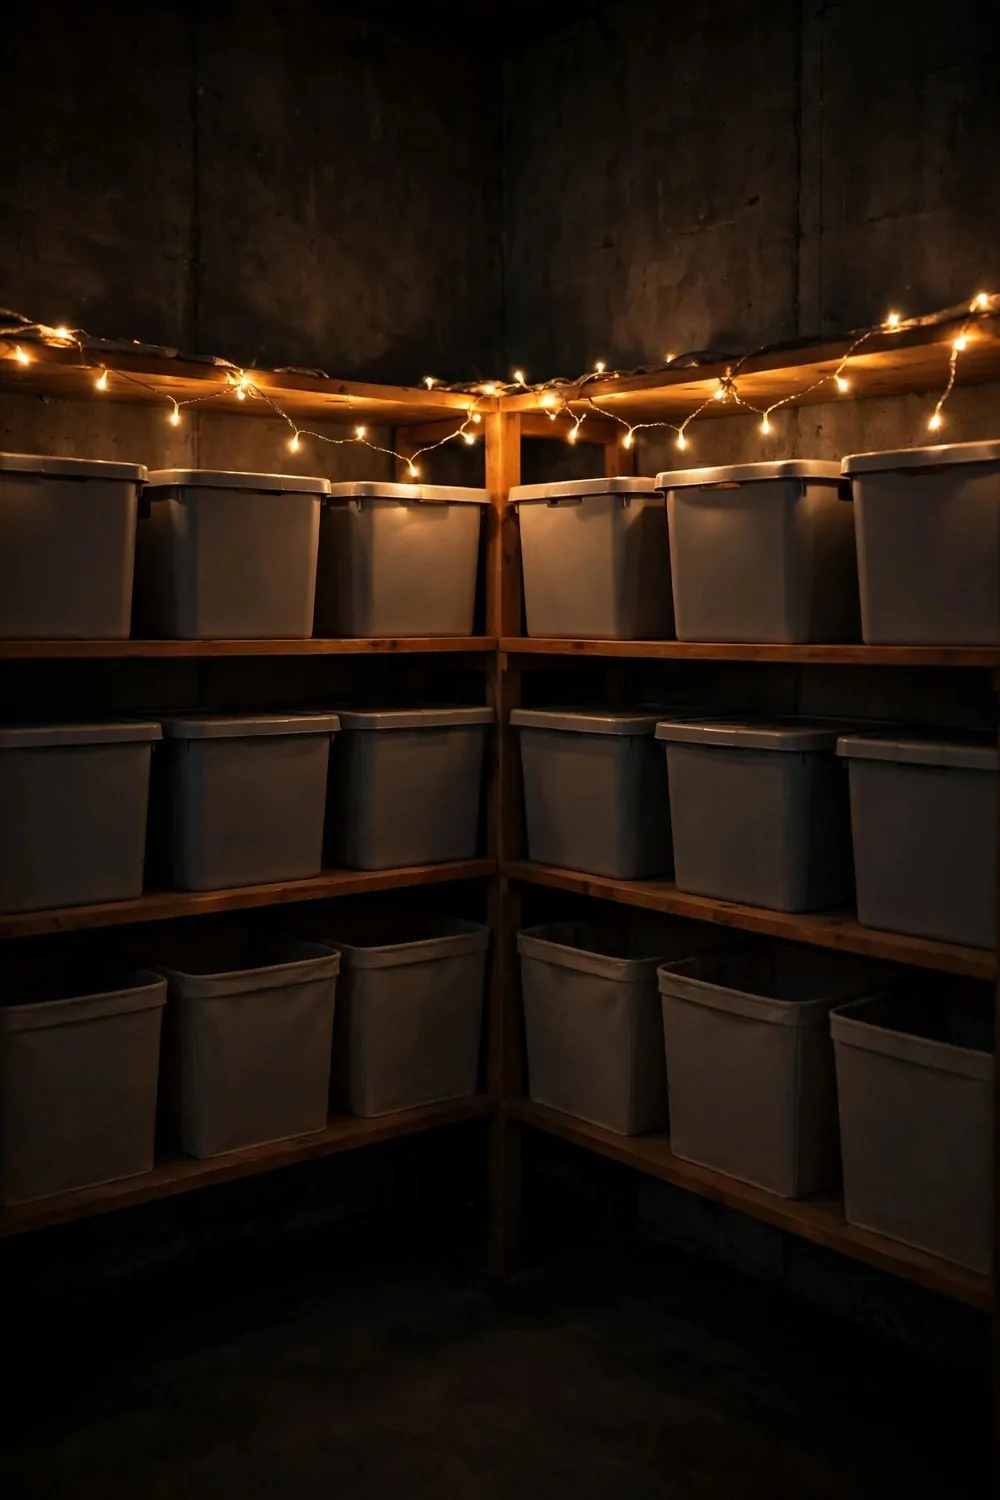
Every basement has a dark corner. The main light does not reach it, and you end up feeling your way around with your hands.
Battery lights fix that without any wiring. You stick one up, you press it on, and the dark corner turns bright in a second.
Put one in each dark spot you use often. The shelf corner, the back wall, and the space behind the stairs are good places to start.
Pick lights that are easy to turn on and off. A simple press or a tap is best, because you often have your hands full down there.
I keep spare batteries in a small box near the stairs. When a light starts to dim, I can swap the batteries right away.
Stick the lights at eye level where you can reach them. Too high and you will need a chair just to turn them on.
Check the lights once a month. Press each one, make sure it still shines bright, and swap any that look weak.
Good light makes a basement feel safer. You can see what you are doing, you trip less, and the whole room feels more welcoming.
A Weekly Ten Minute Tidy Habit
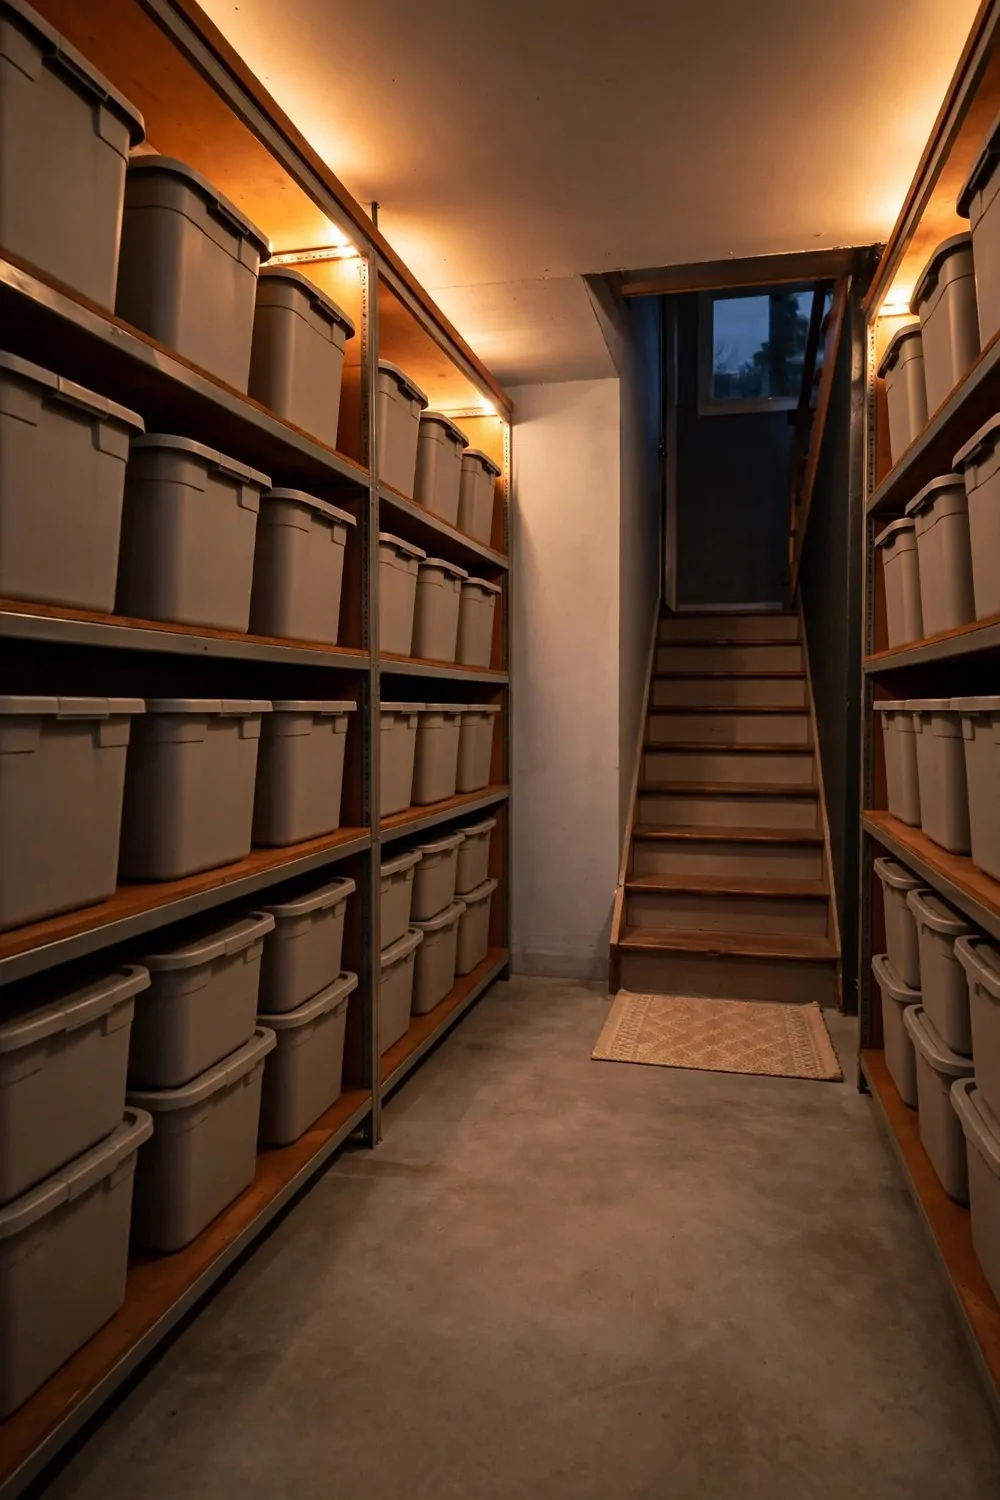
A basement does not get messy in one day. It gets messy a little at a time, one box left out, one bag dropped on the floor.
Ten minutes a week stops that slow mess. You go down, you put a few things back, and you come up before the time is even gone.
Pick the same day each week. I do mine on a Sunday evening, and it has become a habit I do not even have to think about.
Set a timer on your phone. Ten minutes feels short, and you will be surprised how much you can fix in that little window.
Start with the floor. Clear the walkway first, then put one or two things back on their shelves, and the room already looks better.
Do not try to fix the whole basement in ten minutes. Just do a little, and let the small wins add up week after week.
Ask the family to help if they are free. Two people can tidy a lot in ten minutes, and it feels less like a chore when you do it together.
When the timer rings, stop. You are done for the week, and your basement will thank you for the little bit of care.
One Last Walk Through Before Winter
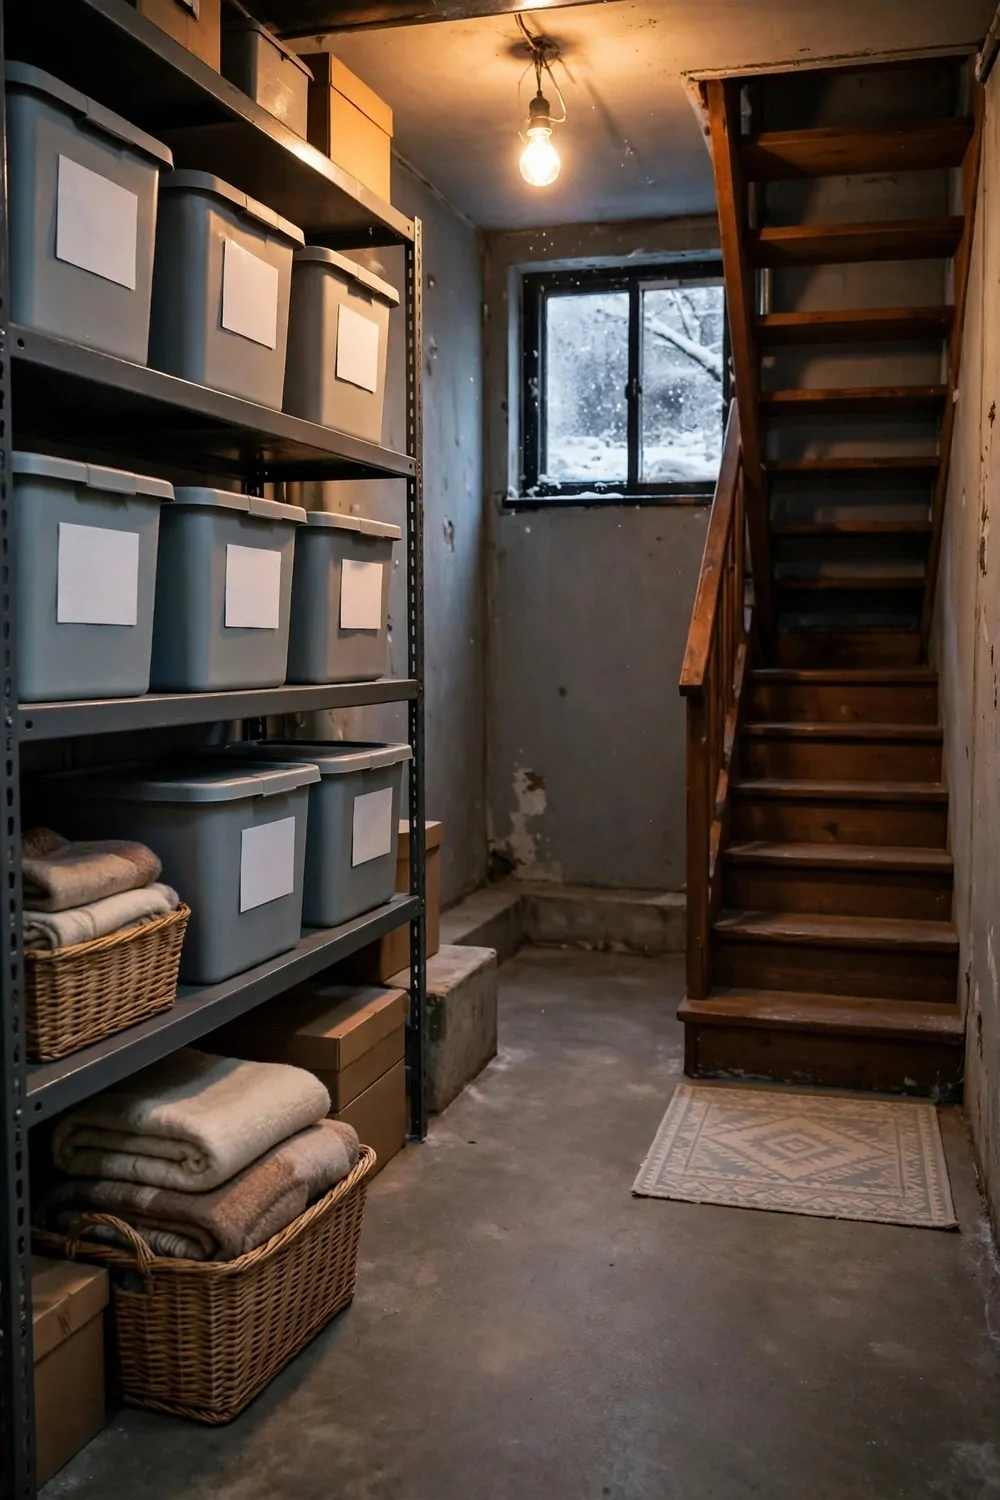
Before the cold months come, take one last slow walk through your basement. Look at every shelf, every corner, and every box with fresh eyes.
Check for damp spots on the walls and the floor. If you see a wet patch, deal with it now, before the cold makes it worse.
Make sure the things you need in the cold months are easy to reach. Warm blankets, extra coats, and boots should be near the stairs, not buried at the back.
Move the summer things to the far corner. Garden tools and light clothes can wait there until the warm days come back again.
Test the lights one more time. Press each battery light, check the main bulb, and swap anything that looks dim before the dark evenings set in.
Look at the labels on your boxes. If a label has faded or fallen off, write a new one now while you still remember what is inside.
Sweep the walkway clear and take one bag of clutter up with you. A clear path feels good, and it makes the whole basement feel ready.
Then close the door and smile a little. Your basement is tidy, your things are safe, and you are ready for the months ahead.
Keep Reading
If you liked these basement ideas, you will love the rest of the house too. The same simple habits work in the kitchen, the laundry room, and the mudroom, and they make every room feel calmer.
I keep learning new ways to store things well, and I share the best ones here. Pick one room next, try one idea from it, and see how much lighter your home feels after.
- 41 Custom Kitchen Cabinet Organization Ideas Worth Stealing
- 34 Luxury Laundry Room Ideas With Beautiful Built-In Cabinets
- 39 Laundry Room Cabinet Ideas That Make Storage Look Beautiful
- 32 Mudroom Locker Ideas That Keep Busy Families Organized
Your basement does not need to be perfect to feel good. It just needs a little care, one small step at a time, and a home for every single thing you keep.