22 Home Youtube Studio Ideas That Look Professional

Every new viewer runs a quiet test on your video. It takes about three seconds. They look at the space behind you and decide if you look like someone worth listening to.
That sounds harsh. I know it does. But think about the last new channel you clicked. Did you notice the background? The messy shelf. The bare wall. The strange shadow across the face. You noticed. We all notice, even when we do not mean to.
Here is the good news. You do not need a big room or a big budget to pass that test. You need a short list of smart moves. Light in the right spot. A background with a little depth. A few small things that show who you are.
I gathered 22 Home Youtube Studio Ideas that I have seen work in real homes. Bedrooms. Corners. Even closets. Pick the ones that fit your space and your wallet. Your viewers will feel the difference before you say a single word.
1. The Window Light Desk
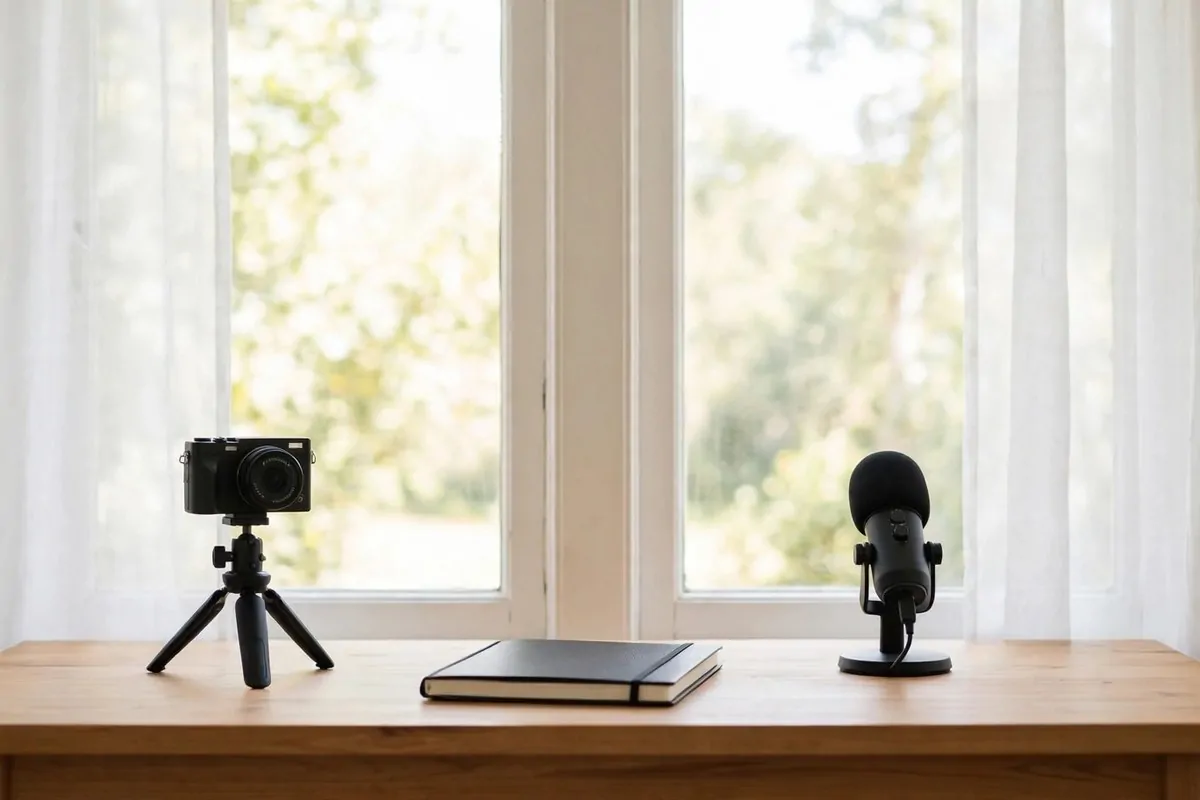
The best light for your face is free. It comes through your window every single morning.
Turn your desk so it faces the window. Sit down. Now look at your phone camera.
See how soft your face looks? That is window light doing its job. It is the kindest light you will ever own.
It smooths your skin. It fills in the shadows. It costs zero dollars, and it never needs charging.
Morning light is the gentlest. It is soft and a little warm. Afternoon sun can be harsh, so a thin white curtain helps a lot on bright days.
I filmed my first forty videos facing a window. My setup was a chair, a desk, and a phone balanced on a stack of books.
Nobody ever said my lighting looked cheap. A few people even asked which softbox I used. I laughed every time.
Keep the window glass clean. Dust on glass eats light faster than you think. And sit close to the window, not across the room from it.
If the sun moves and your face goes dark at noon, just shift your filming time. Work with the light instead of fighting it.
2. The Deep Blue Accent Wall
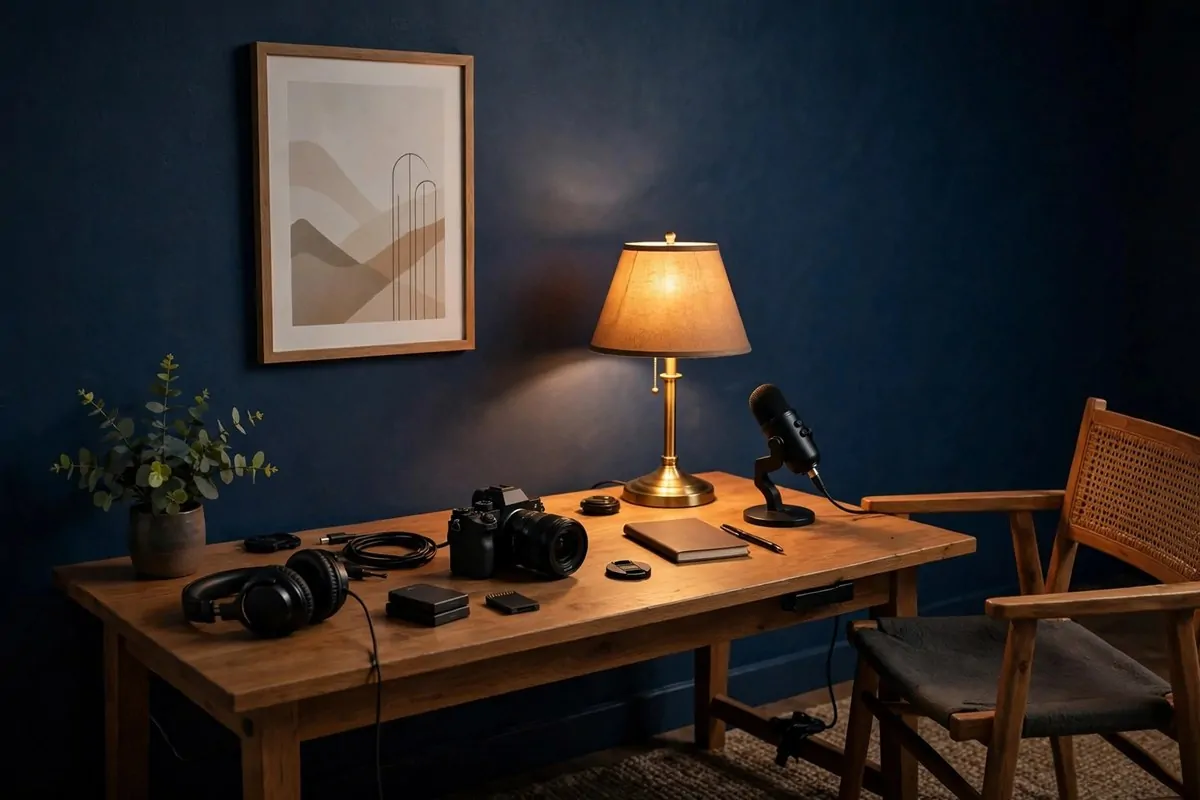
One painted wall can change your whole channel. I am serious about this.
Pick a deep color. Navy blue. Dark teal. Even a rich forest green. Paint only the wall behind your desk, nothing else.
Dark walls do two lovely things at once. They hide small messes. And they make your face pop on camera.
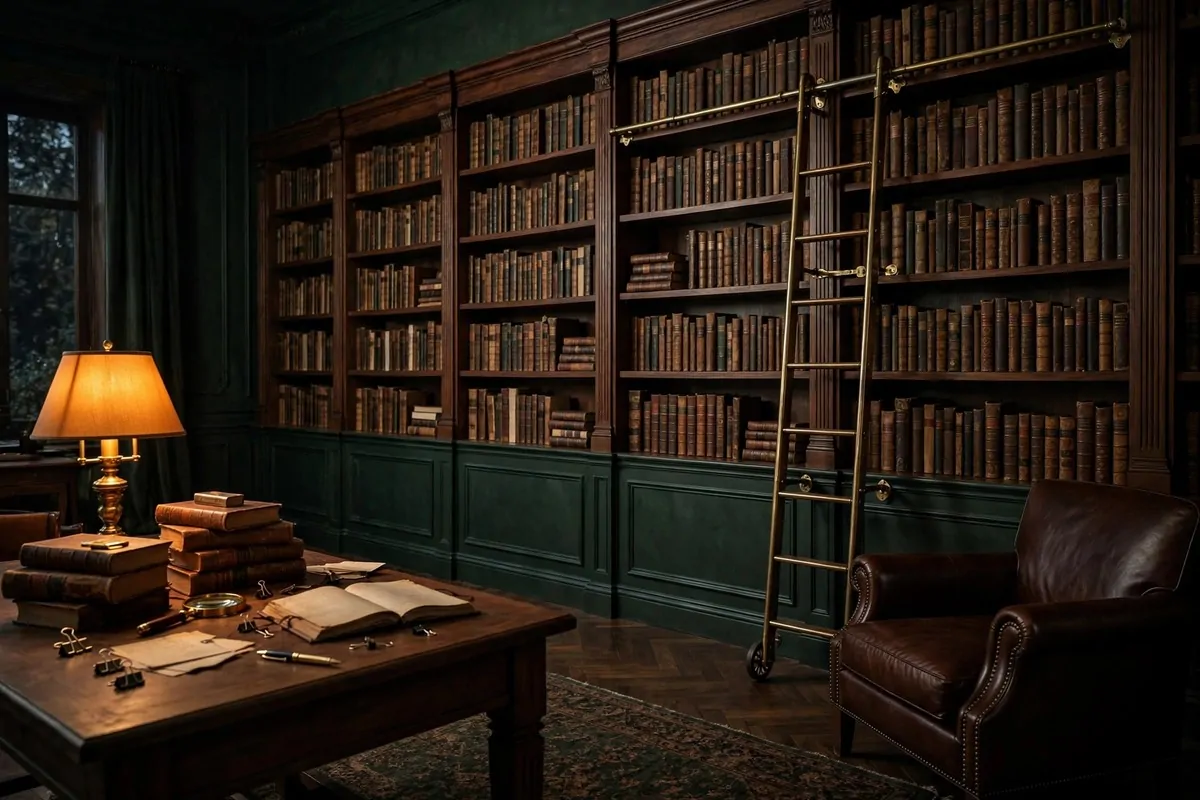
Your viewers see contrast. You stand out from the background. That looks expensive, even when the paint cost very little.
I painted my filming wall on a Saturday. One tin of paint. Two coats. Three hours including drying time.
The next video I filmed looked like a different channel. Same camera. Same me. Just a darker wall behind me.
Choose a flat or matte paint. Shiny paint catches the light and makes bright spots. Matte stays calm and even.
If paint feels too permanent, try peel and stick wallpaper. It comes off clean when you move out.
Add one warm lamp in front of the dark wall. Warm light on a dark wall looks rich and cozy. Your viewers will feel it right away.
3. The KALLAX Bookshelf Backdrop
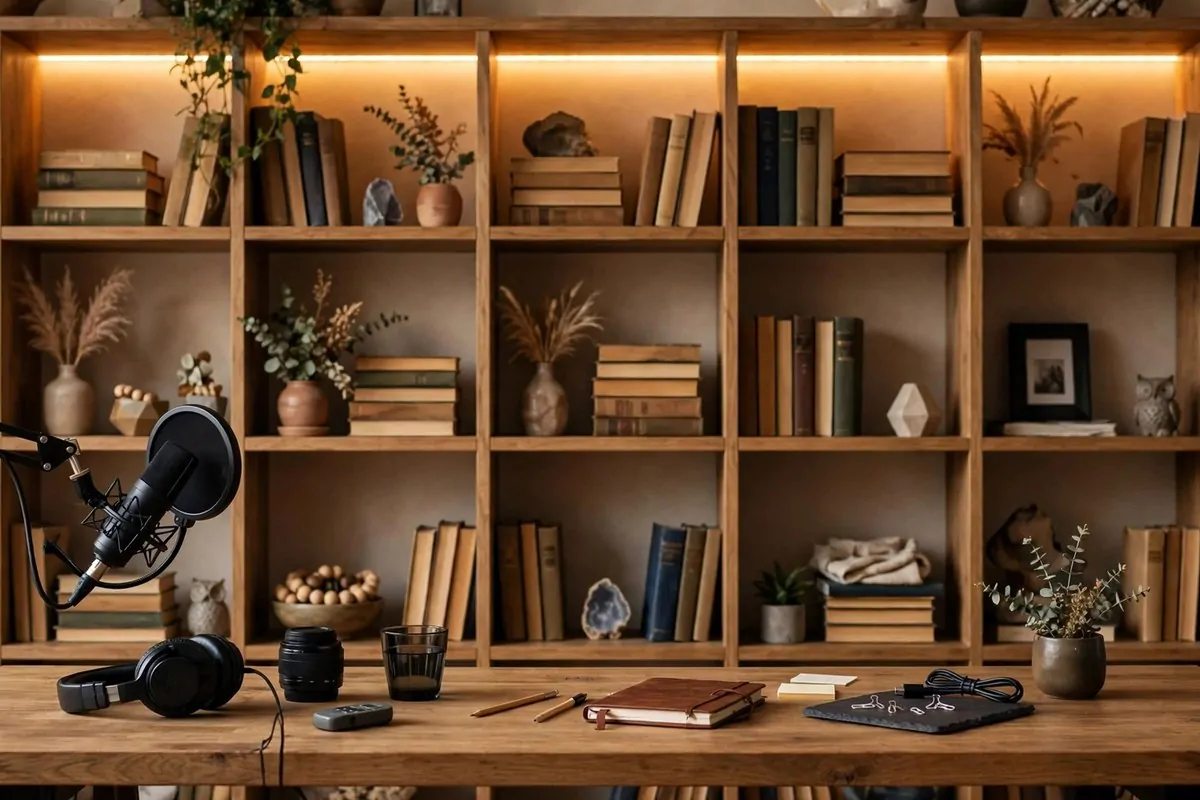
Some of the biggest channels film in front of a simple cube shelf. There is a good reason for that.
A bookshelf gives your background depth. It has layers. Books, boxes, a small plant. The camera loves layers.
Fill the cubes with things that say who you are. Books you love. A small trophy. A plant that is still alive, hopefully.
Add a warm light strip along the top edge. It makes the whole shelf glow softly. That glow reads as professional on camera.
Keep it a little bit lived in. A shelf that is too perfect looks like a store display. A shelf with real things looks like a real person.
But not too messy. If viewers can read every book spine and spot the dust, it pulls their eyes away from you. Tidy, not sterile.
Put the shelf three or four feet behind you. The camera blurs it just a little. That soft blur looks like something from a film.
I once grouped my books by color. All the blue ones together. It took ten minutes and looked so much better.
Change one cube each month. A new plant. A new photo. Small changes keep your background fresh without a full redo.
4. The LED Strip Glow Behind the Desk
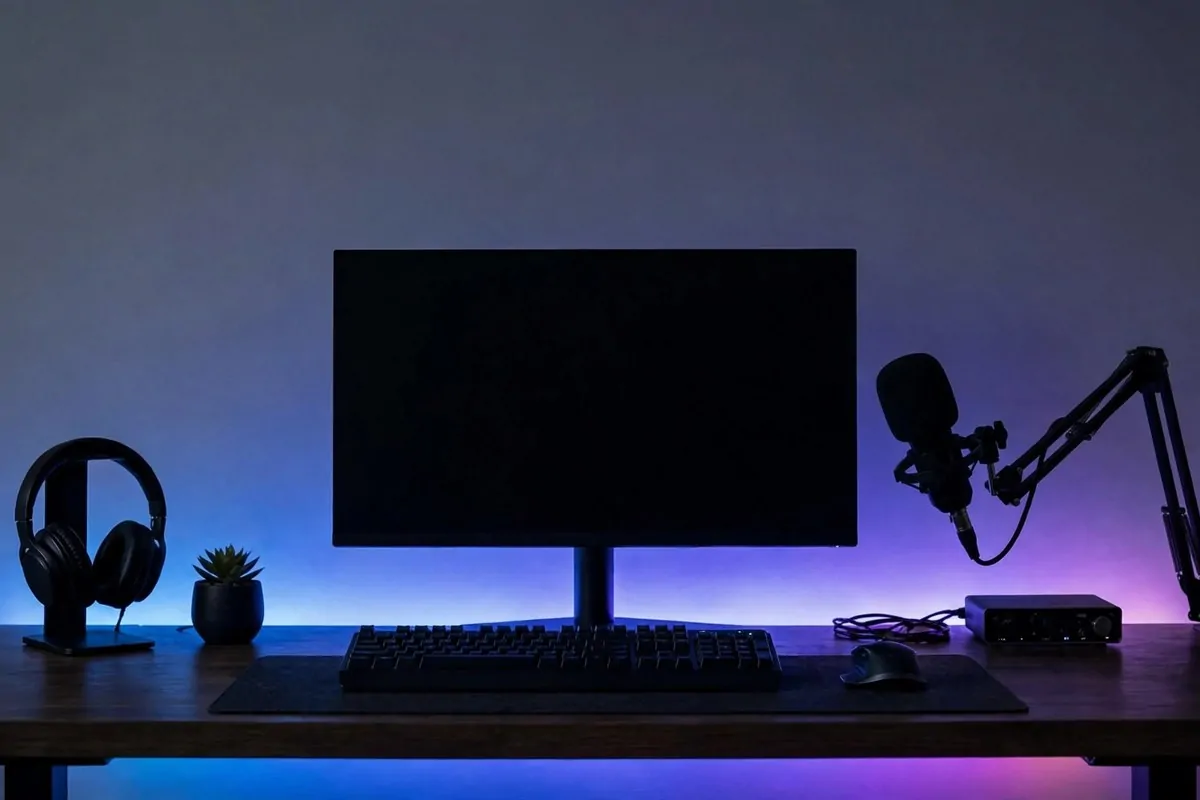
A fifteen dollar light strip can make a plain wall look like a real studio. This is one of my favorite cheap tricks.
Stick the strip along the back edge of your desk. Or run it along the floor behind you. Turn it on and watch the wall come alive.
The color wash adds mood. Blue feels calm and techy. Warm orange feels cozy. Purple feels fun and creative.
You can change the color for different videos. Serious topic? Go cool blue. Fun vlog? Go warm pink. One strip, many moods.
Hide the strip itself from the camera. Viewers should see the glow, not the little plastic strip. That is the whole secret.
Put it on a smart plug if you can. Then one tap turns your studio on. No crawling behind the desk every time.
I keep mine on a soft warm white most days. It is flattering and it never distracts. Save the wild colors for special videos.
The glow also separates you from the wall. Your outline gets a little halo. That depth makes everything look more professional.
Cheap, fast, and it takes five minutes to install. If you only buy one thing for your studio, make it this.
5. The Cinema Lightbox Sign
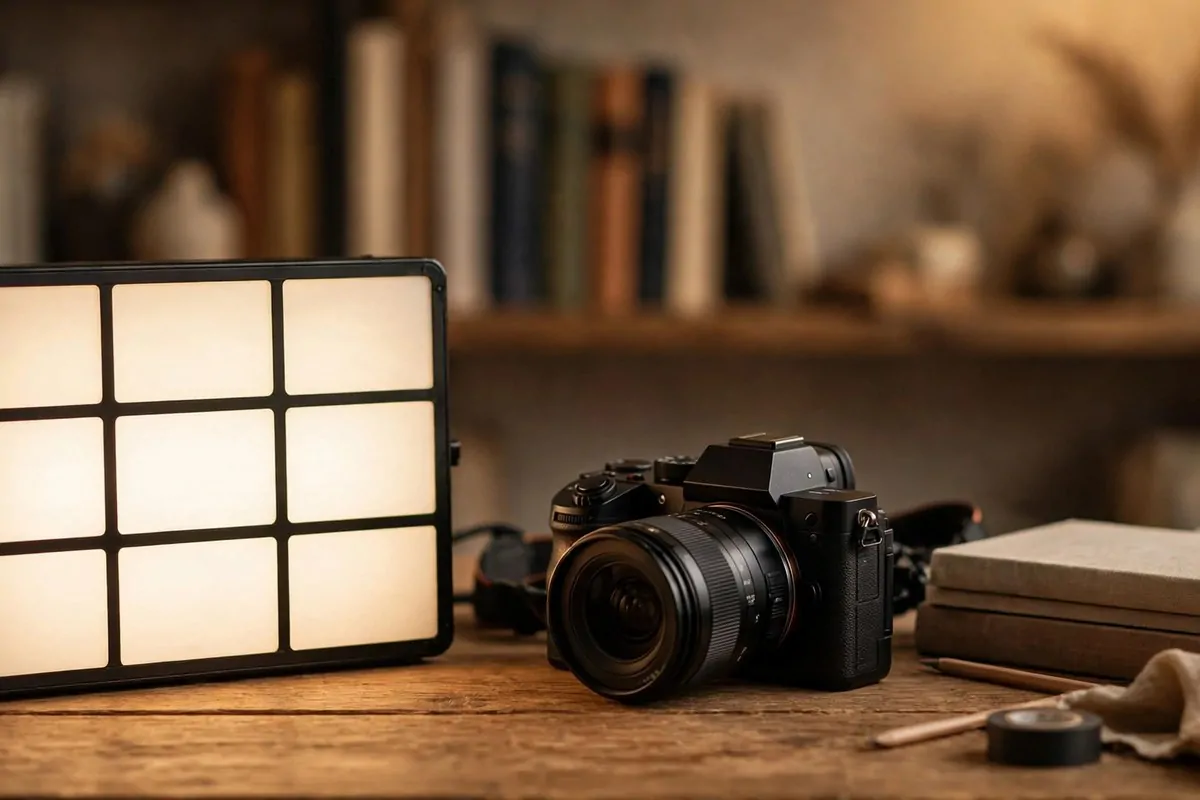
You have seen these in coffee shops. A little box with glowing letters. On camera, they look wonderful.
Put your channel name on it. Or one short word that fits your vibe. Keep it to a few letters so it reads clearly.
Place it on the desk behind you, slightly to one side. It becomes a soft glowing prop. Not too bright, not too dim.
The warm glow flatters your background. It adds a little pocket of light exactly where the frame needs it most.
Change the message sometimes. A new video series. A holiday word in winter. It keeps repeat viewers noticing details.
Keep the letters simple. Fancy fonts blur on camera. Big clear letters read best, even on a phone screen.
I dim mine with a small piece of baking paper over the front. It softens the glare. Sounds silly, works great.
Do not put it right behind your head. It will look like the letters are growing out of you. Off to the side is perfect.
It is small, cheap, and personal. Three things every good studio prop should be.
6. The Plant and Print Pair
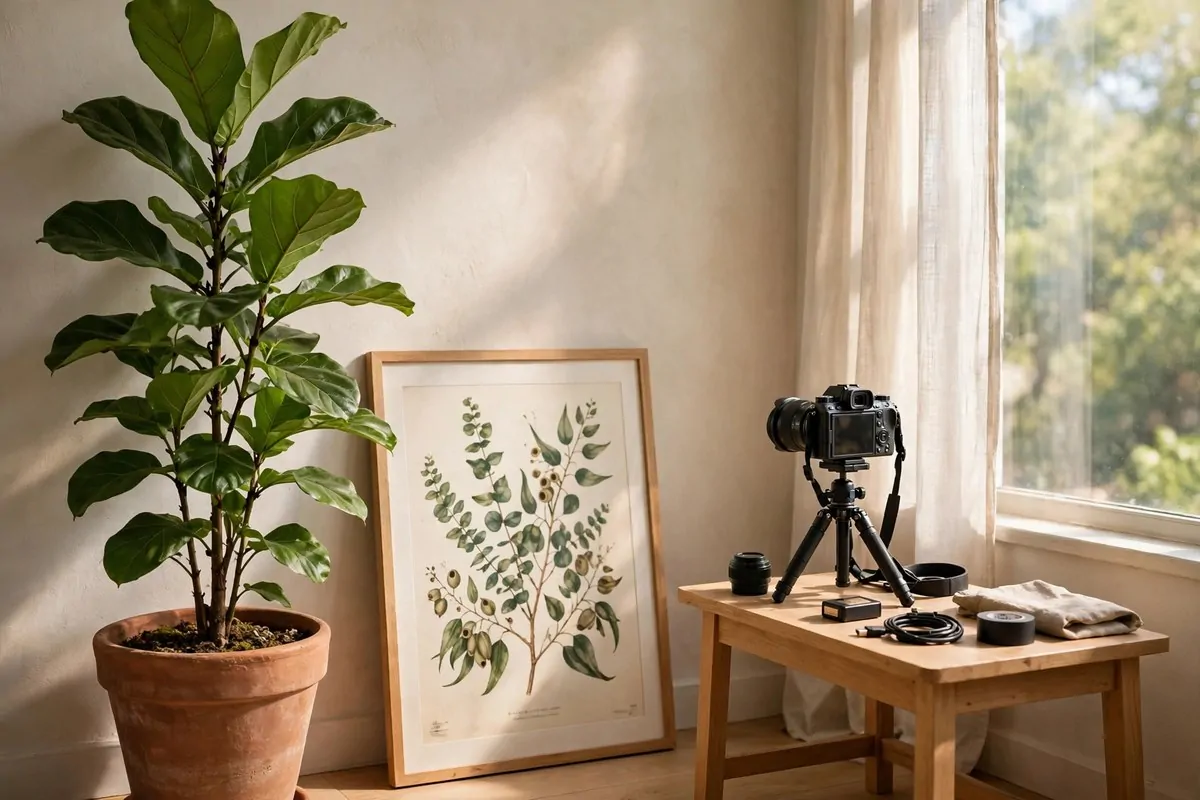
This is the simplest styling trick I know. One tall plant. One framed print. Done.
Put the plant on the floor beside your desk. Lean the framed print on the wall next to it. Step back and look.
It instantly looks designed. Like you hired someone. You did not. You just paired two things that belong together.
Pick a plant with big leaves. It fills the frame nicely. A tall snake plant or a leafy pothos both work well.
Fake plants are fine too. I will not tell anyone. Just dust it now and then, because the camera sees dust.
The print can be anything you love. A travel photo. A simple art print. Something with colors that match your room.
Keep the frame simple. Thin black or natural wood. Loud frames fight with the art inside them.
Water the real plant on filming day. Fresh leaves look brighter. It is a tiny thing, but the camera picks it up.
Two items. Five minutes. A background that looks like you planned it for weeks.
7. The Plain Wall Clean Look
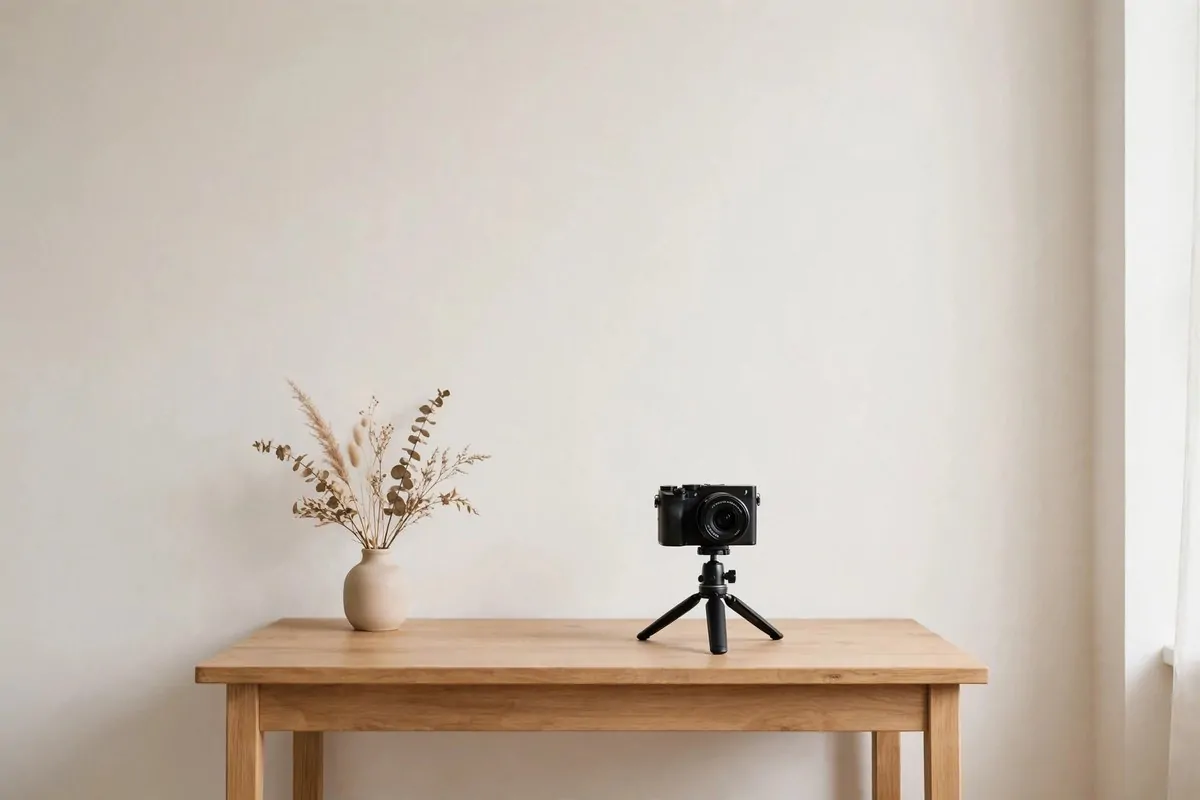
Sometimes the bravest choice is nothing at all. A plain wall can look incredibly professional.
The trick is that the wall must be truly clean. No marks. No peeling paint. No lonely nail hole from 2019.
Paint it a warm white if it needs help. Warm white feels soft on camera. Cold white can look a little harsh.
Keep the desk tidy too. A plain background shows every cluttered corner. Less stuff on the desk means more calm in the frame.
This look works best with great lighting. A soft key light on your face. Maybe a small lamp glowing off to the side.
Many news style channels use this exact look. It says serious and trustworthy. Your words carry the video, not the decor.
The big win is speed. No styling before each video. Sit down, turn on the light, and press record.
If the plain wall ever feels boring, add one thing. A small vase. A single shelf. Just one, and stop there.
Simple is not lazy. Simple is a choice, and on camera it reads as confidence.
8. The Ring Light Corner
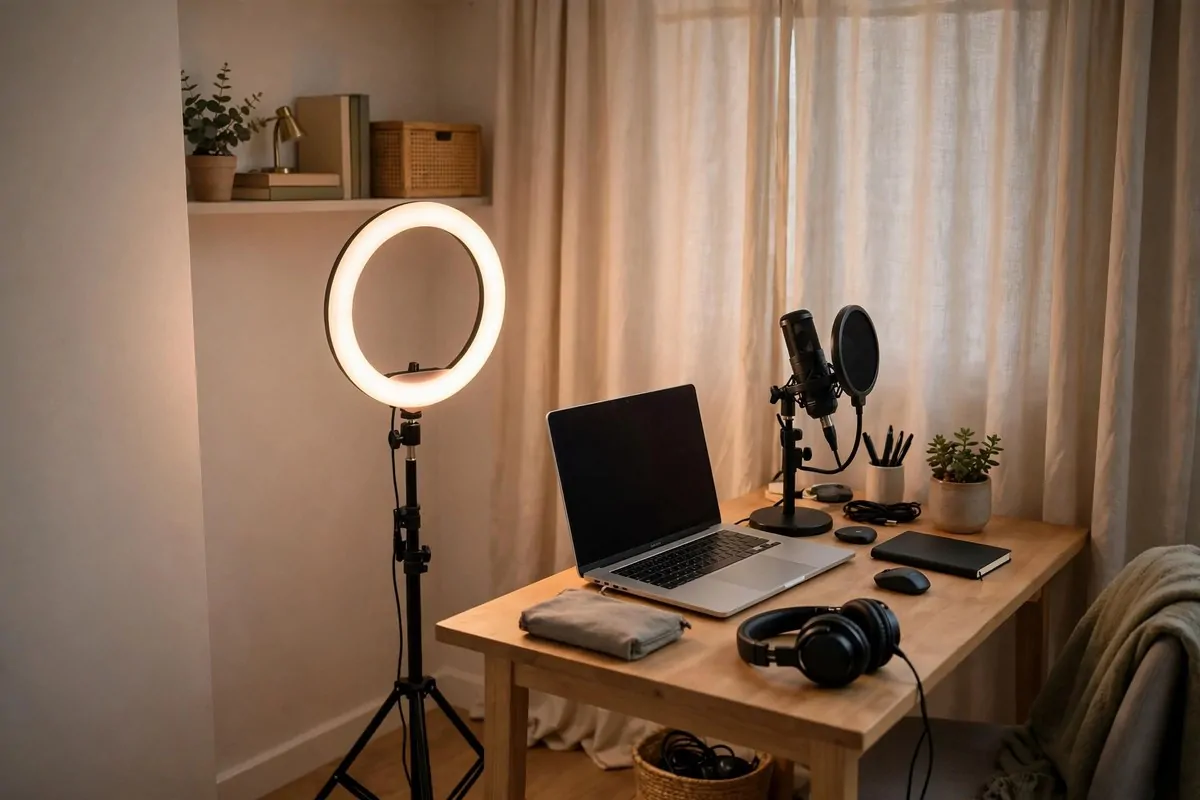
The ring light gets teased a lot. But it earned its fame. It is cheap, simple, and it flatters almost every face.
Put the ring light in front of you, with your camera shooting through the middle. That is the classic setup.
Your eyes get a lovely catchlight. That little circle of light in your eyes makes you look awake and alive.
It gives very even light. Almost no harsh shadows. Great for makeup videos, talking videos, and tutorials.
The downside is flatness. Ring light alone can look a bit plain. Fix it by adding a small warm lamp behind you.
Get one with adjustable warmth. Cool white for daytime energy. Warm for cozy evening videos. One light, two moods.
It folds up small. If your studio is also your bedroom, this matters a lot. Set up in two minutes, pack away in one.
Start with a medium size. Too small and it only lights your nose. Too big and it blinds you. Eighteen inches is a sweet spot.
It will not win awards for cinema lighting. But for clear, friendly, professional video, it is hard to beat.
9. The Background Lamp Layers
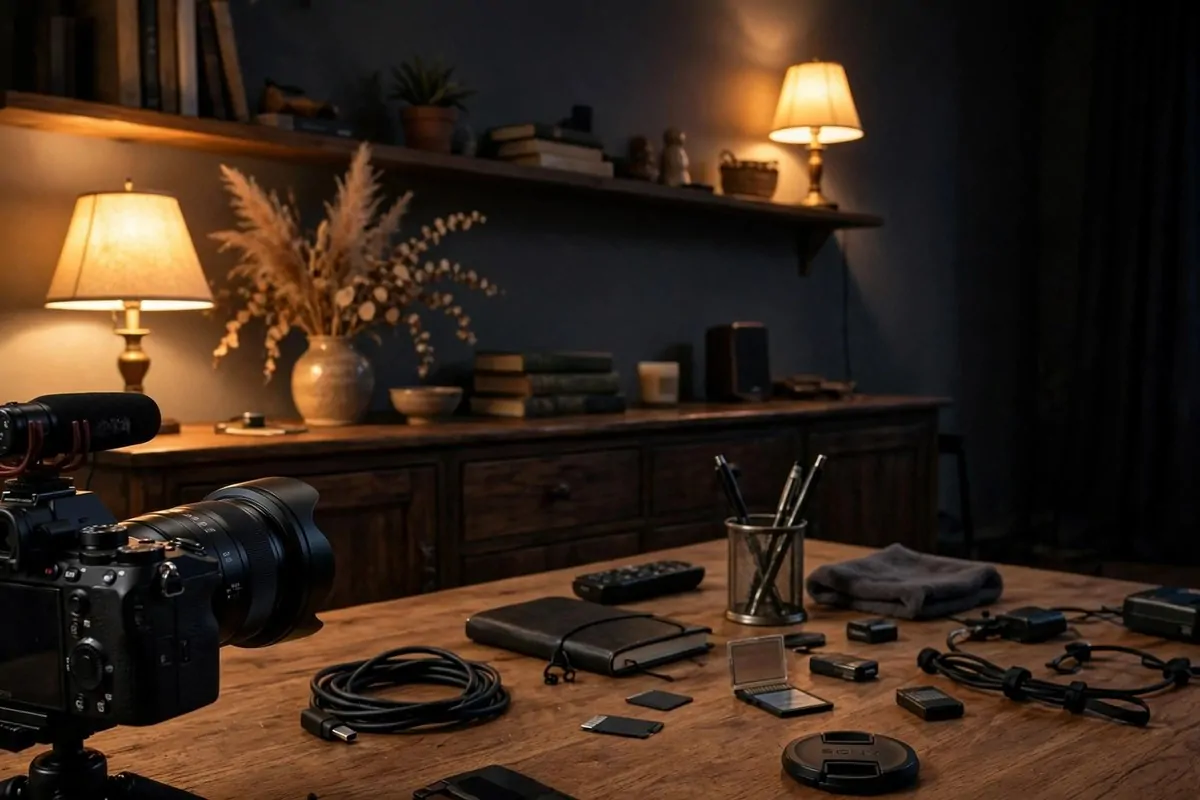
Here is a secret from film sets. Depth comes from lights at different distances, not from expensive gear.
Put one lamp close behind you. Put another one further back. Maybe a third near the back wall.
Each lamp makes its own little pool of warm light. Together they build layers. Your background stops looking flat.
Use warm bulbs everywhere back there. Warm light feels cozy and rich. Cool light in the background can feel cold.
Vary the heights too. A floor lamp. A table lamp. A small shelf lamp. Different heights feel natural, like a real home.
Turn off the big ceiling light. Overhead light flattens everything. Lamps at different depths do the opposite.
This works beautifully in the evening. Film after sunset and let the lamps do all the talking.
I use three cheap lamps I already owned. Total new cost was zero. The videos looked twice as good.
Your viewers will not know why it looks better. They will just feel it. That is the magic of layered light.
10. The Award Plaque Wall
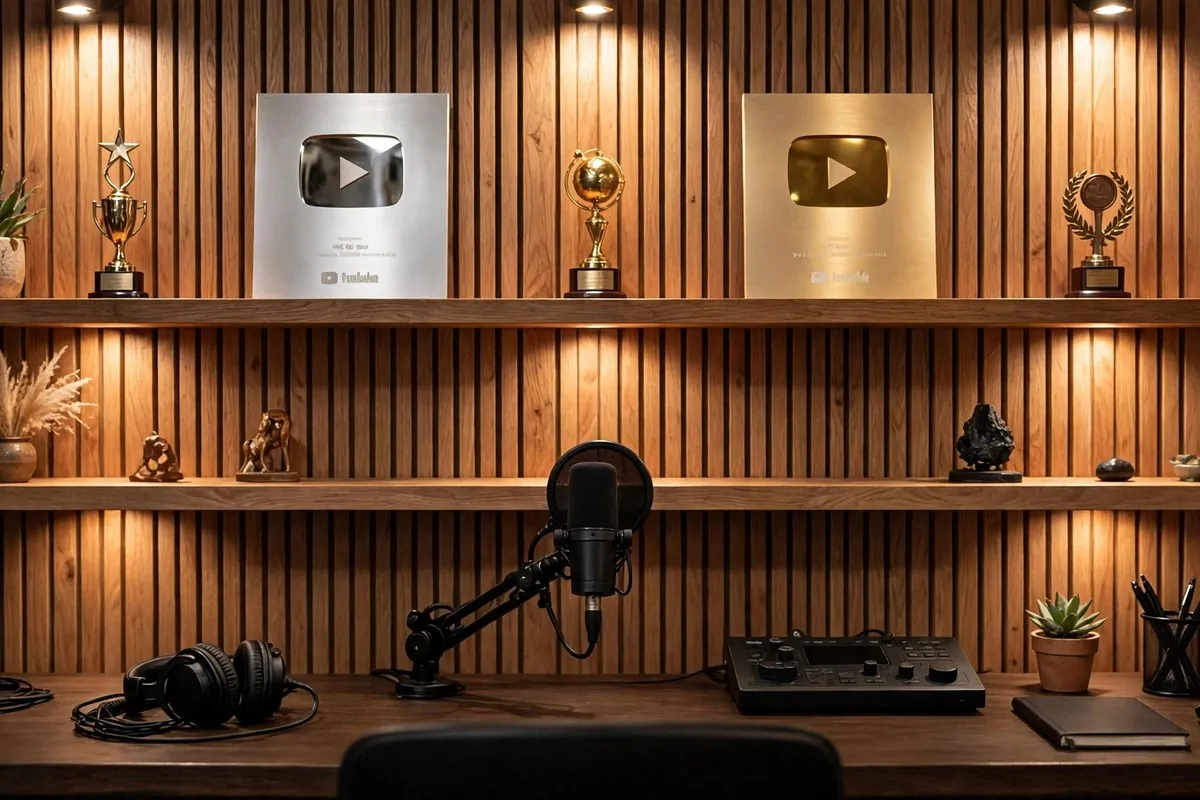
Nothing says serious creator like awards on the wall. And you do not need a million subscribers to start.
YouTube sends play button plaques at big milestones. Until then, make your own wall of wins.
Frame your first nice comment. Print your channel logo nicely. Hang a small trophy from a local event.
Put them on floating shelves behind your desk. Two or three shelves. Spaced out, not crowded.
It tells new viewers something fast. This person takes this seriously. That builds trust in seconds.
Keep the frames matching. Same color, same style. Matching frames look intentional. Mixed frames look messy.
Add a small spotlight or picture light above the shelves. A little glow makes the wall feel important.
Update it as you grow. New milestone, new frame. Your wall becomes a timeline of your channel.
Even small wins count. Your first hundred subscribers is a big deal. Put it on the wall and be proud.
11. The Two Softbox Setup
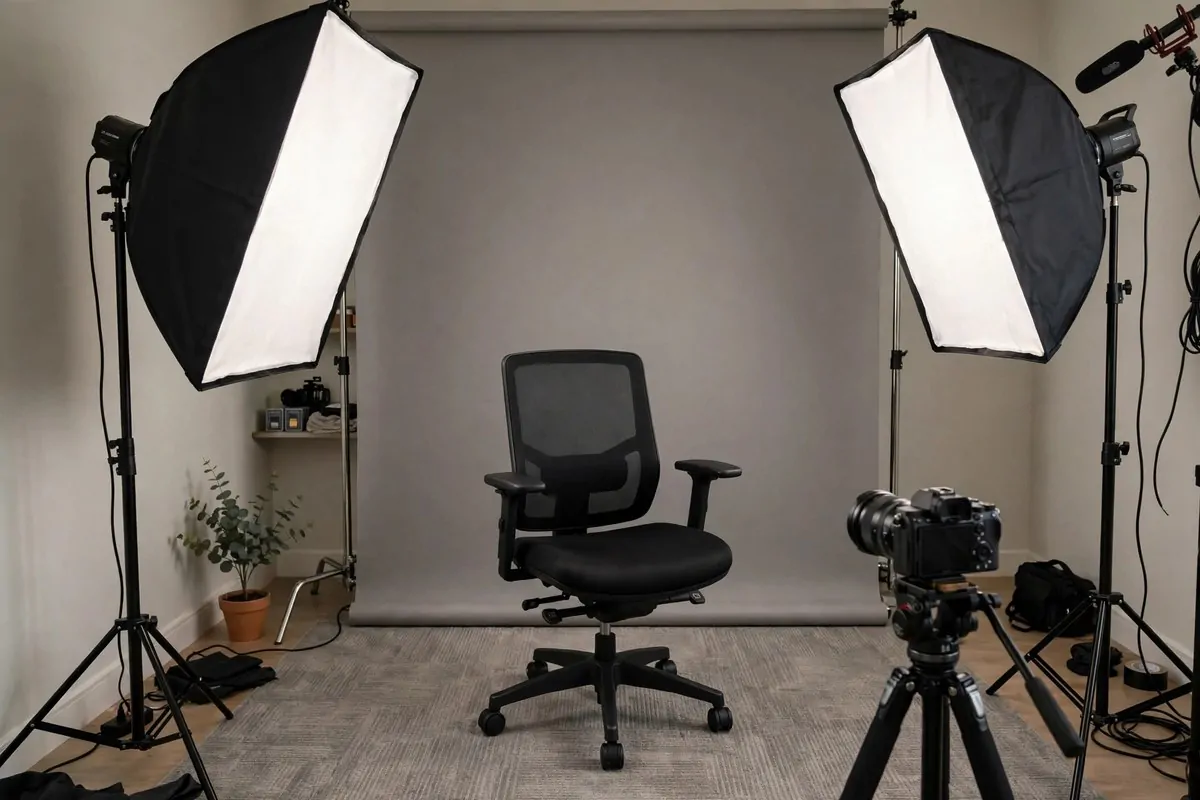
If you want truly even, shadow free light, two softboxes are the classic answer.
A softbox is a light inside a big fabric box. The fabric spreads the light out. No harsh spots, no sharp shadows.
Place one on each side of your camera, angled toward your face. About forty five degrees works well.
Keep them at the same height as your face, or a little above. Light from below makes spooky shadows. Nobody wants that.
They fold flat when you are done. Big light when open, thin package when closed. Good for small rooms.
This setup flatters everyone. Young, old, glasses, no glasses. Soft light is kind to all faces.
The room will look bright on camera. That is fine. Bright and even reads as clean and professional.
You do not need the biggest ones. Medium softboxes are plenty for one person at a desk.
Two lights, one look: smooth, clear, and easy to watch for a long time.
12. The Foam Panel Feature Wall
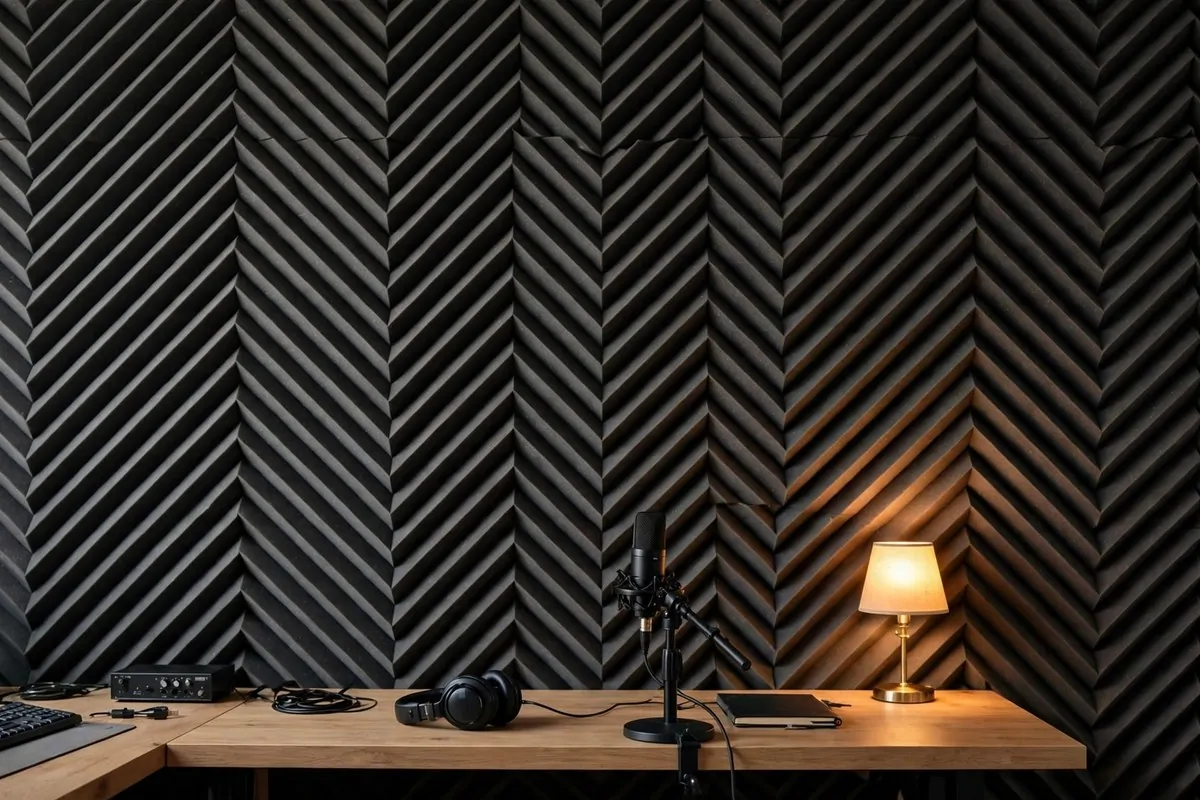
Acoustic foam panels fix echo. But arranged well, they also look like modern art.
Buy a pack of dark gray or black panels. Arrange them in a pattern on the wall behind you. A chevron or a simple grid both look sharp.
They soak up sound reflections. Your voice gets clearer and warmer. Viewers stay longer when audio is clean.
On camera they read as texture. Flat walls are boring. A foam wall has shape and rhythm.
You do not need to cover the whole wall. A focused section behind your desk is enough for both sound and looks.
Stick them up with removable strips. No damage to the wall. Your landlord will never know.
Mix in a few colored panels if you like. A dark wall with three or four deep blue panels looks designed, not random.
Film a quick test with and without them. Listen to the difference. Your ears will convince you faster than I can.
Sound treatment that doubles as decor. That is what I call a smart buy.
13. The Smart Bulb Color Wash
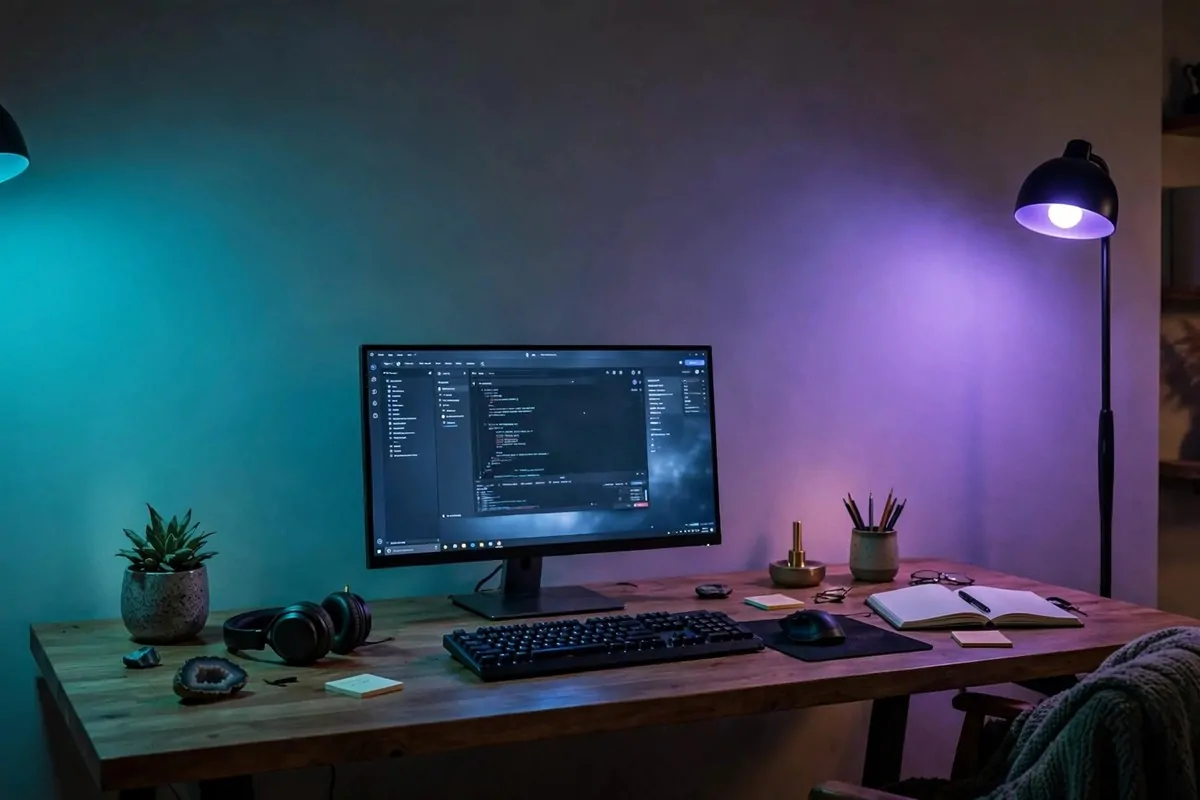
Color changing bulbs are the fastest way to repaint your room without paint.
Screw them into two lamps behind you. Open the app. Wash the back wall in any color you want.
Teal and blue feel calm and modern. Warm amber feels cozy. Pink and purple feel fun and creative.
Match the color to your brand. If your channel art is blue, wash the wall blue. Consistency builds recognition.
Change colors with the seasons. Cool tones in summer. Warm tones in winter. It keeps your set feeling fresh.
Dim them a little. A soft wash looks classy. Full brightness can look like a nightclub, which is rarely the goal.
You can even set scenes. One tap for filming mode. One tap for normal room mode. It feels a little bit like magic.
Two bulbs cost less than one tin of paint. And you can change your mind every single day.
14. The Floating Shelf Props
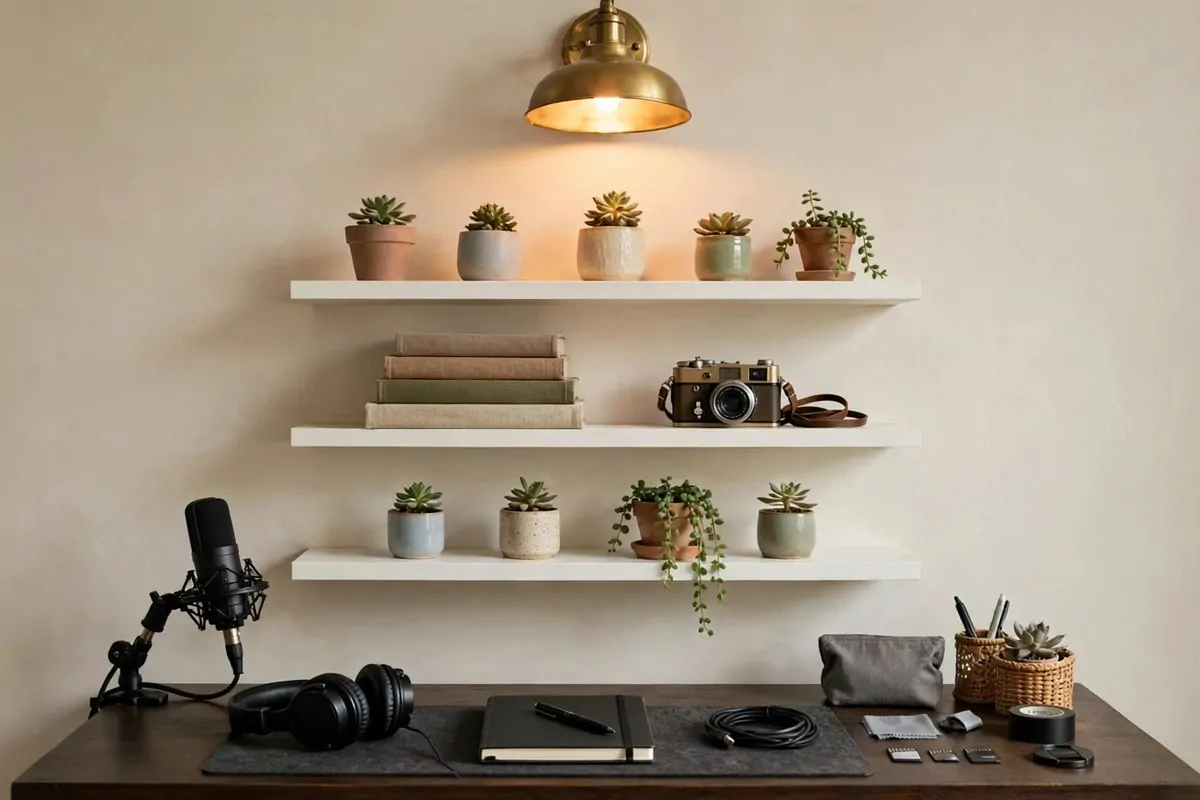
Floating shelves are the jewelry of a studio wall. Small, but they catch the eye.
Hang two or three shelves behind your desk. Keep them in the upper part of the frame, not too low.
Style each shelf with three things. A small plant. A stack of books. One personal item. That is the magic number.
Odd numbers look better than even ones. I do not know why. Designers just say it works, and they are right.
Leave some empty space. Crowded shelves look cluttered on camera. Breathing room looks calm and confident.
Add a tiny picture light above the top shelf. It makes the whole wall glow softly. Very classy.
Change the props with your content. Filming a travel video? Add the little globe. Tech review? Add the tiny vintage camera.
They are cheap to hang and easy to restyle. A shelf you can update beats a wall you cannot.
15. The Fabric Curtain Backdrop
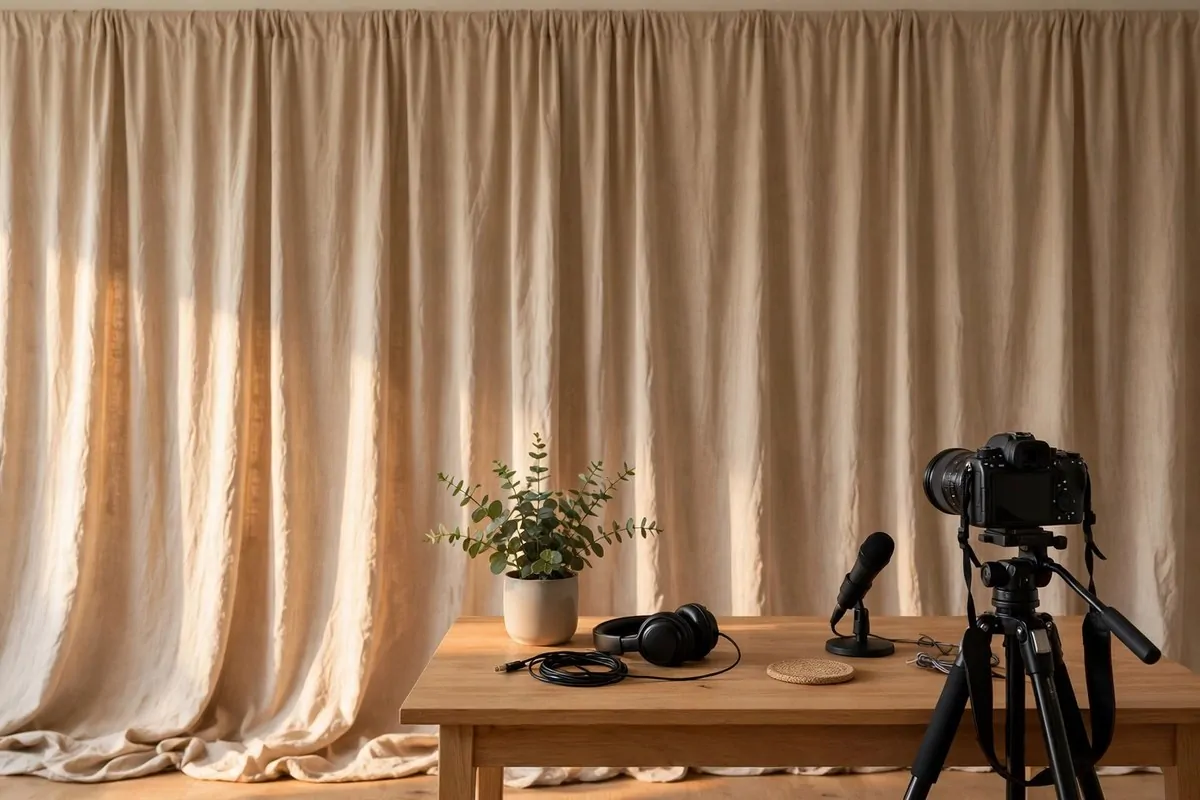
A long curtain is the fastest backdrop you can buy. Hang it, and your wall disappears.
Choose a heavy fabric. Linen or velvet. Heavy fabric hangs in soft folds. Thin fabric looks cheap and wrinkly.
Go floor to ceiling. Short curtains cut the wall in half and look awkward. Tall curtains make the room feel bigger.
Neutral colors work best. Beige, warm gray, soft white. They flatter every skin tone and match every outfit.
Steam out the wrinkles before filming. A wrinkled curtain reads as messy. A smooth one reads as elegant.
You can pull it closed for filming and open it after. Your room stays a normal room the rest of the day.
It also softens sound a little. Fabric eats echo. Not as well as foam, but every bit helps.
One curtain rod. One curtain. A whole new background in twenty minutes.
16. The Three-Point Light Triangle
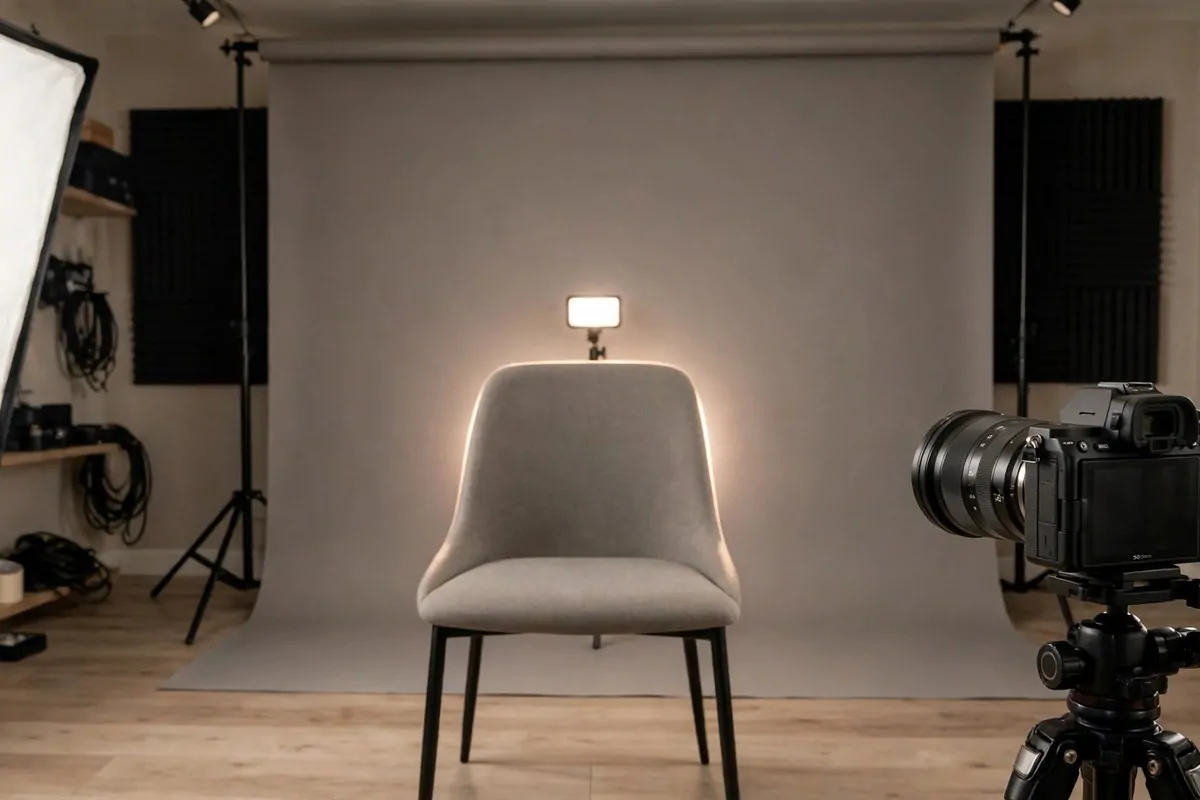
This is the lighting setup film schools teach first. Three lights. Each one has a job.
Once you learn it, you will see it in every professional video. And you can build it at home.
| Light | Where it goes | What it does |
|---|---|---|
| Key light | Front left or right, 45 degrees | Main light on your face |
| Fill light | Opposite side, dimmer | Softens the shadows |
| Back light | Behind you, aimed at shoulders | Separates you from the wall |
The key light is the boss. Make it the brightest. A softbox or a strong lamp works well.
The fill light is the helper. Keep it dimmer. Its only job is to soften the shadows the key light makes.
The back light is the secret weapon. It puts a little glow on your hair and shoulders. That glow lifts you off the background.
You can build this with lamps you own. A desk lamp as key. A floor lamp as fill. A small clip light as back.
Start with just the key light. Add the fill. Then add the back. Watch each step improve the picture.
It sounds technical. It takes ten minutes to learn. And your videos will look like you hired a crew.
17. The Standing Desk Studio
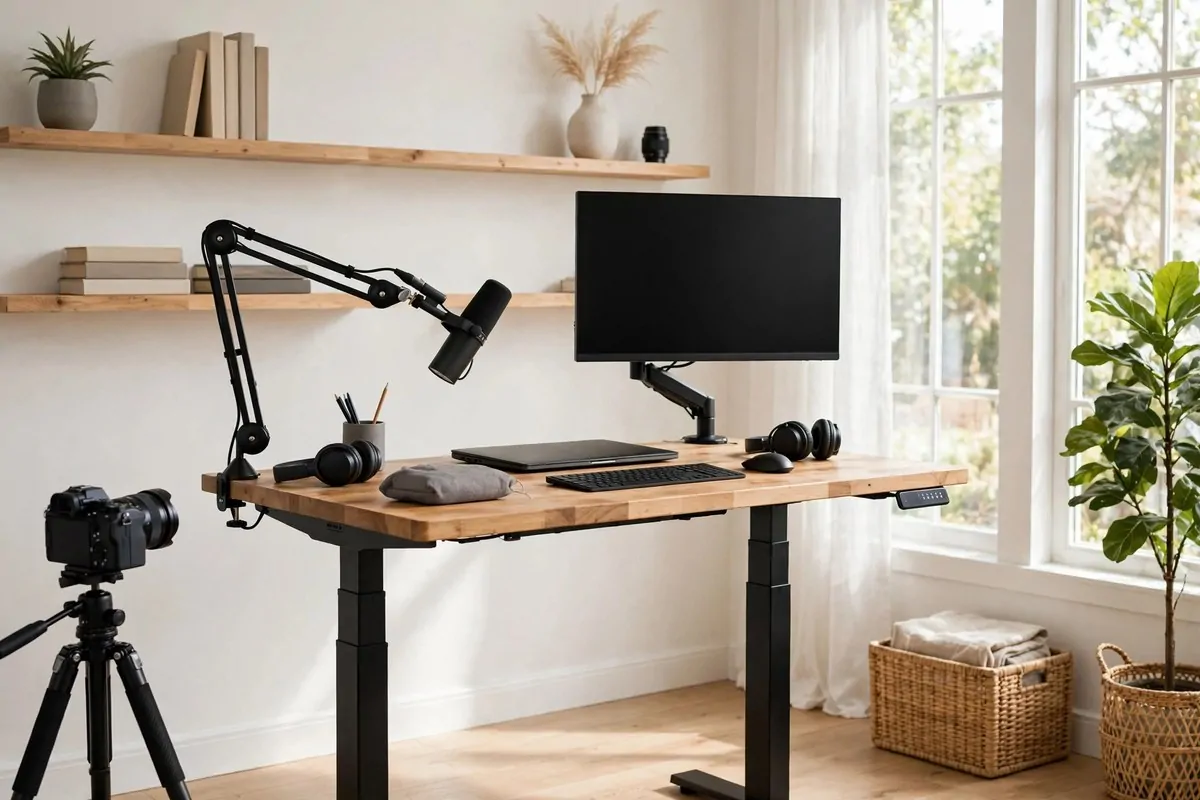
Standing videos have more energy. You gesture more. You breathe better. Viewers can feel it.
A height adjustable desk lets you film standing and edit sitting. One desk, two modes.
Raise it to elbow height for standing. Your camera should sit at eye level. Looking down at a camera is never flattering.
Put your microphone on a boom arm. It swings to your mouth whether you sit or stand. Very handy.
Keep the floor clear around the desk. You will shift your weight and step a little. Give yourself room.
Wear shoes or good socks. Standing on a hard floor in bare feet gets old fast. A small anti fatigue mat helps a lot.
Film a test standing and sitting. Watch both. Most people are surprised how much livelier they look on their feet.
It is also healthier. Less sitting, better posture, more energy at the end of a filming day.
One desk upgrade. Better videos and a happier back.
18. The Closet Mini Studio
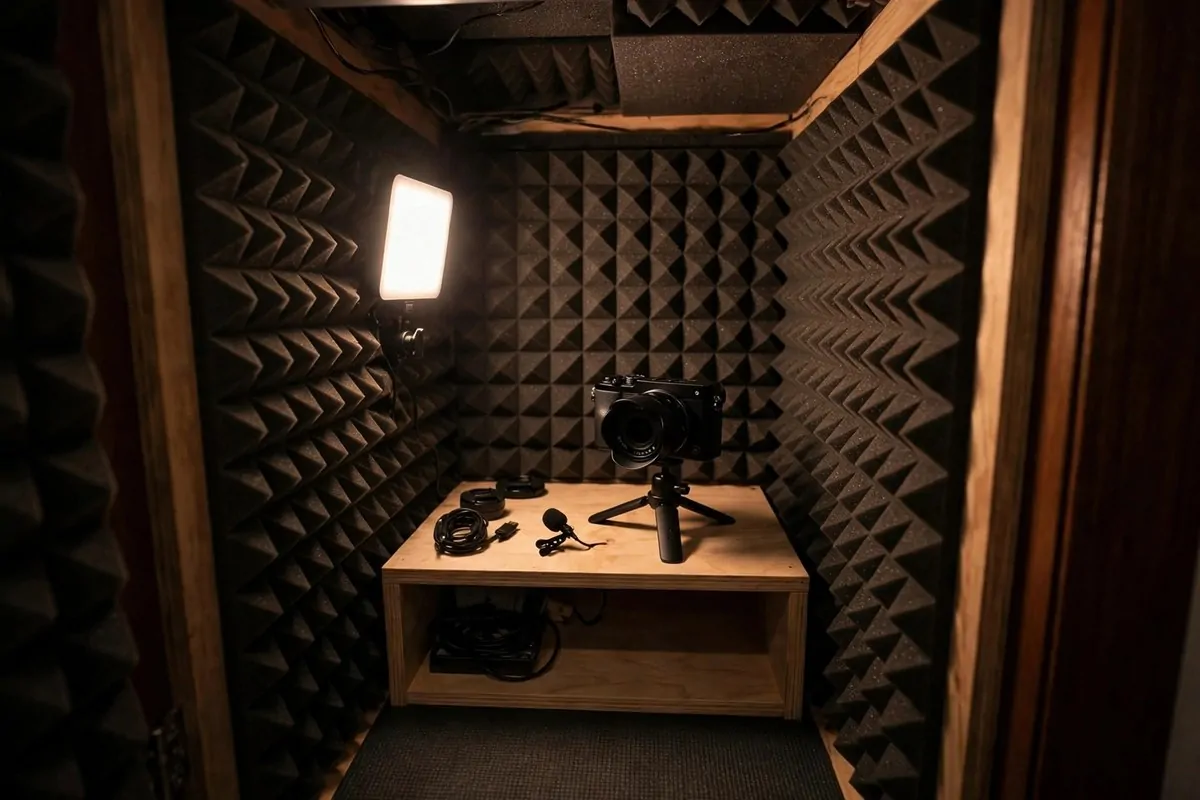
No spare room? No problem. A closet can become a tiny studio that sounds amazing.
Closets are small and full of clothes. Clothes eat echo. That means your audio will be clean with zero effort.
Clear one side of the closet. Put a small desk or shelf inside. Mount your camera on a mini tripod.
Add a small LED panel for light. Closets are dark, so you need your own sun in there.
Stick foam panels on the closet walls if you want even cleaner sound. It takes an afternoon.
The tight space is actually a plus. Everything is within reach. Camera, mic, notes, water. No getting up mid take.
Close the doors and the world disappears. No street noise. No dog barking. Just you and the camera.
It feels a little funny at first. Filming in a closet. Then you hear the audio and you stop laughing.
Some of the cleanest sounding channels started exactly this way. Small space, big sound.
19. The Dark and Moody Setup
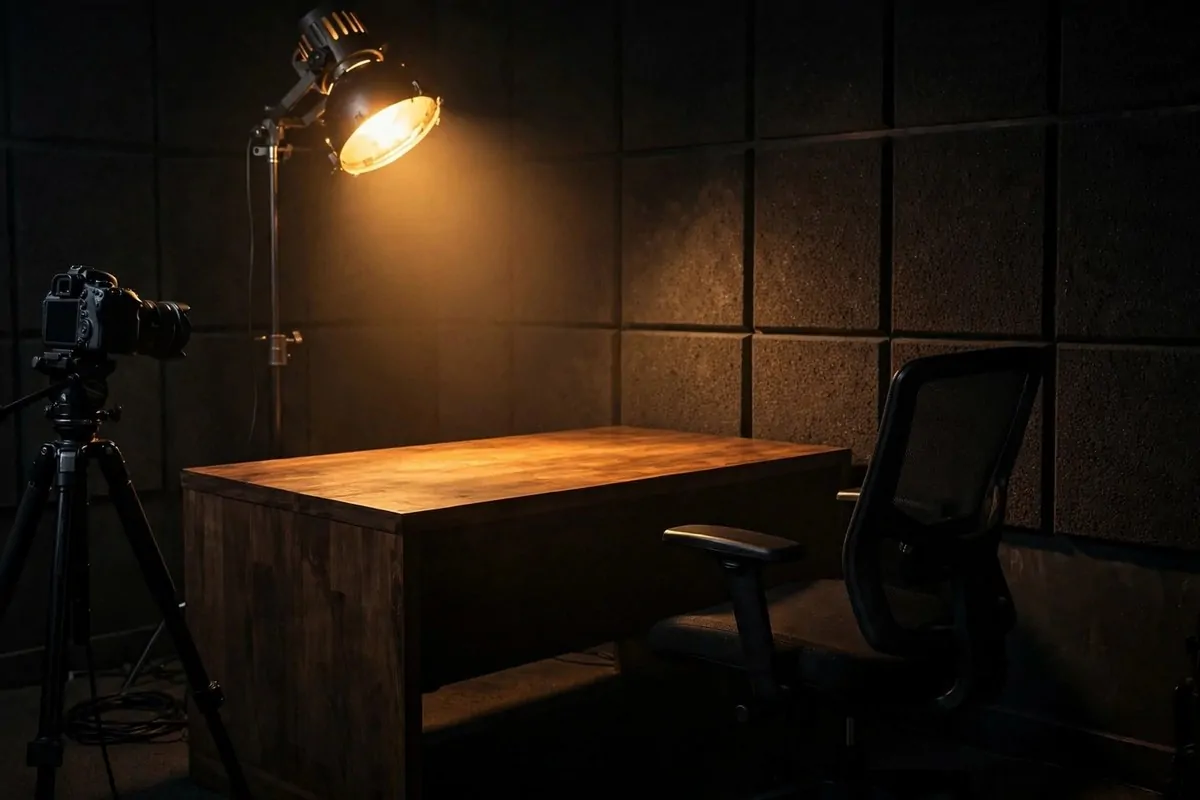
Dark studios look serious. Think finance channels. Think film reviews. Think late night talk shows.
Paint the walls a deep charcoal or near black. It sounds scary. On camera it looks rich and focused.
Use one strong warm key light on your face. Let the background fall into soft shadow.
The darkness hides everything. Cables, clutter, the laundry chair. All gone. The camera only sees you.
Add one tiny accent light deep in the background. A small lamp or LED strip. It stops the black from looking empty.
This look suits serious topics. Money, tech, true stories. It tells viewers to lean in and listen.
Wear something with a little contrast. A dark shirt on a dark wall makes you vanish. A mid tone shirt keeps you visible.
Film a test first. Moody lighting is less forgiving than bright lighting. Small moves make big differences here.
Bold, dramatic, and unforgettable. Not every channel needs sunshine.
20. The Greenery Wall Corner
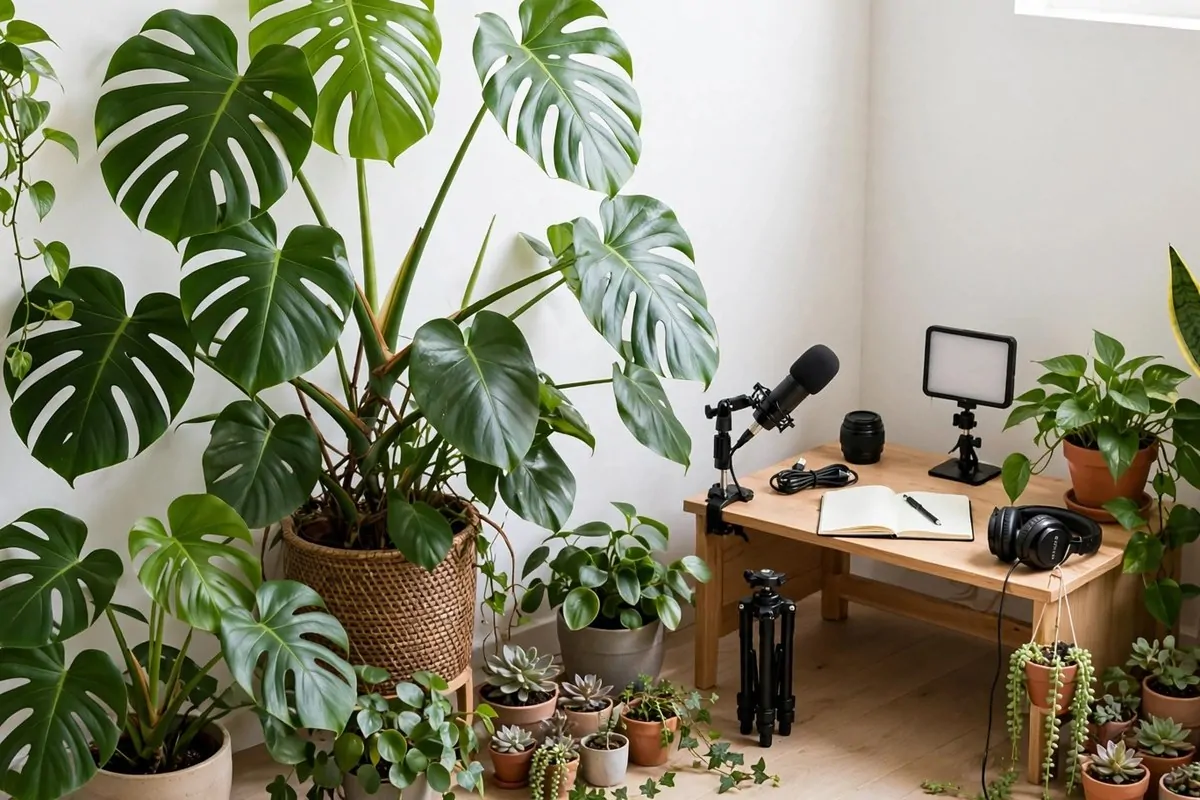
Plants make every background softer. They add life, color, and a calm feeling.
Group several plants together in one corner. Different heights. Different leaf shapes. A little jungle.
Put the tall ones at the back. Medium ones in the middle. Small ones in front. Layers again, always layers.
A white or light wall behind the plants makes the green pop. The contrast looks fresh and clean on camera.
Water them before filming. Dust the big leaves. A shiny healthy leaf catches the light beautifully.
Mix real and fake if you must. Put the real ones closest to the camera. Nobody will know the rest.
Hanging plants are wonderful too. A trailing pothos from a high shelf adds movement to the frame.
Plants also tell viewers something about you. Patient. Calm. Someone who keeps living things alive.
A green corner is never boring. It grows and changes, just like your channel.
21. The Hidden Cables Desk
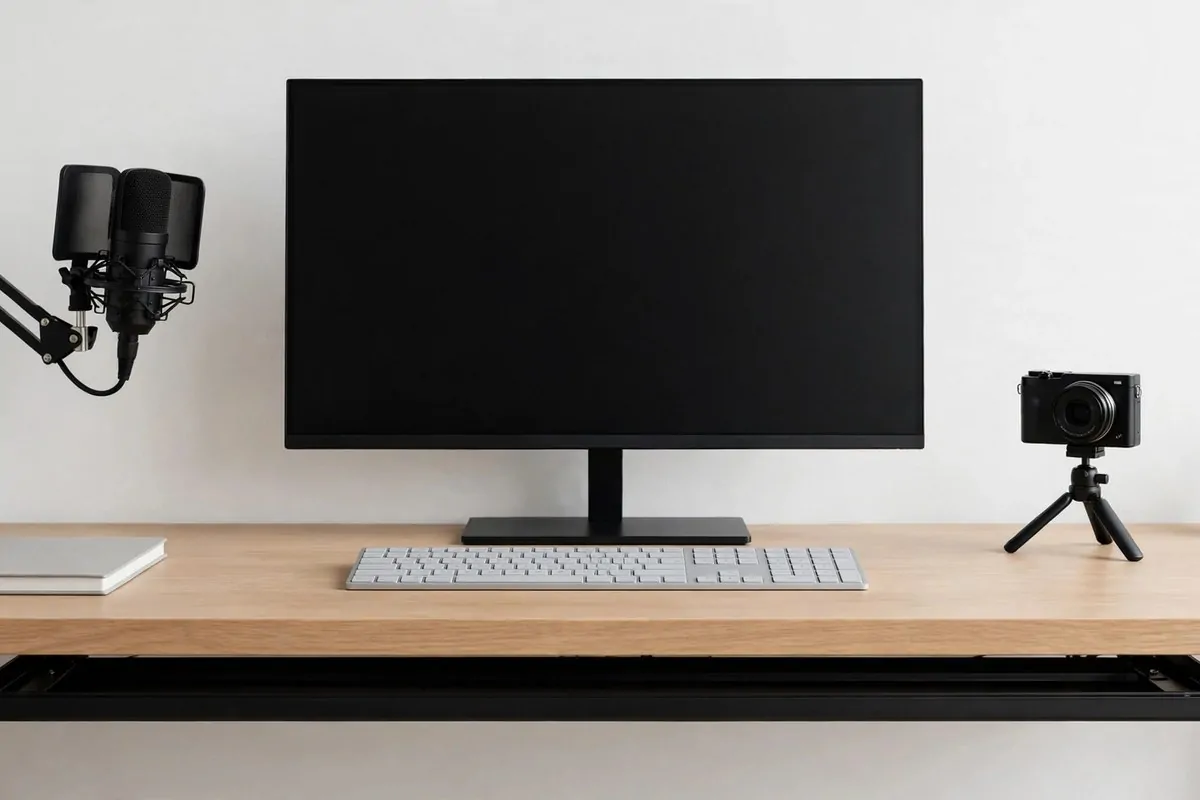
Nothing ruins a professional look faster than a nest of cables. The camera sees them all.
Get a cable tray that screws under your desk. Drop every cable into it. Power bricks too.
Use short cables where you can. Long cables make loops and tangles. Short ones stay neat.
Bundle the rest with velcro ties. Not zip ties. Velcro lets you change things later without cutting.
Run one cable down the desk leg to the floor. Tape it to the back of the leg. Invisible from the front.
Charge everything the night before. Fewer chargers on the desk means fewer cables in the shot.
A wireless mouse and keyboard help a lot. Two fewer cables is two fewer problems.
Step back and look at your desk on camera. If you see a cable, trace it and hide it. Be ruthless.
A clean desk looks like a clear mind. Viewers trust a creator whose space looks under control.
22. The Always-Ready Filming Spot
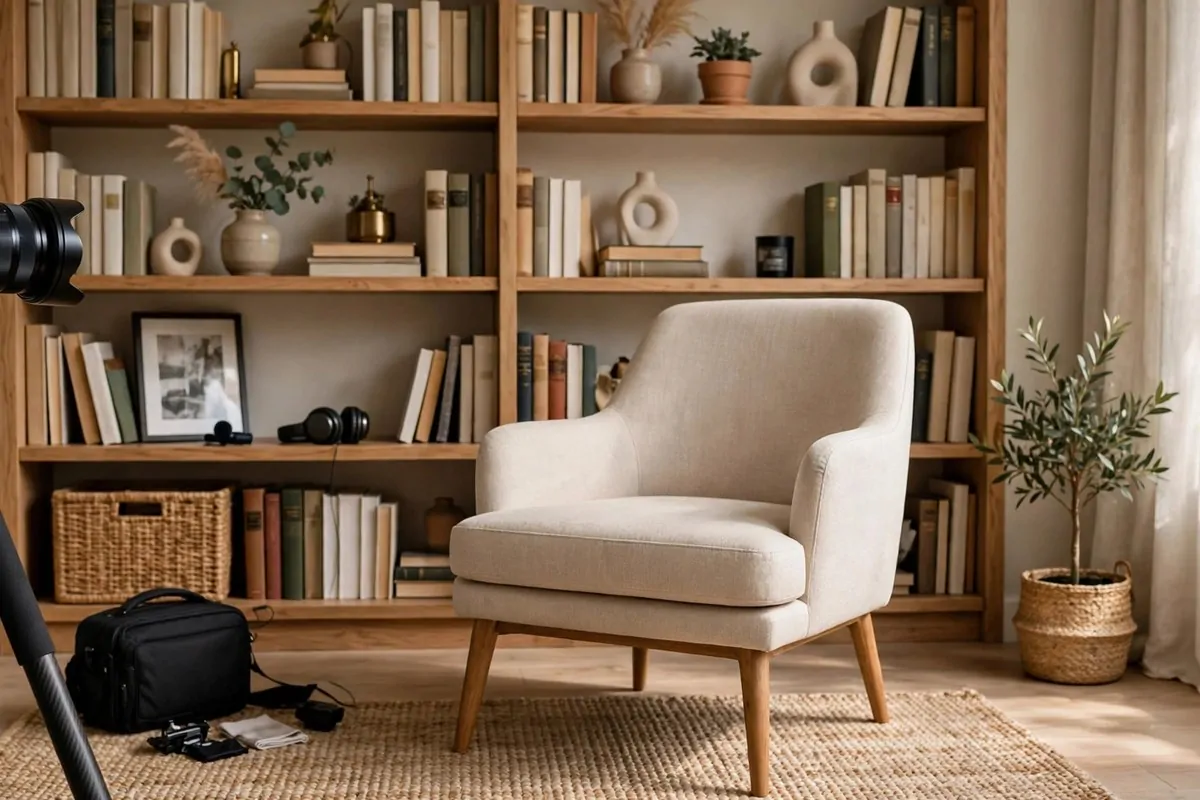
The most professional studios share one trait. They are always ready to record.
Leave your camera on the tripod. Leave the lights where they are. Leave the chair in its mark.
When inspiration hits, you sit down and press record. No twenty minute setup. No lost ideas.
Put a small piece of tape on the floor where your chair goes. Same spot every time. Consistent framing, every video.
Keep your desk three or four feet from the wall. That gap lets the camera blur the background softly.
Cover the gear with a cloth when you are done. It keeps dust off and the room looking normal.
This only works with a dedicated corner. Even a tiny one. A corner that is always a studio beats a room that sometimes is.
The biggest reason people stop posting is setup friction. Remove the friction and the videos keep coming.
Build it once. Film forever. That is the real pro move.