23 Content Creator Room Ideas for Filming at Home

My first videos were filmed with my phone leaning on a stack of cookbooks. The stack kept sliding. I kept fixing it between takes, and my neck hurt from bending down to the camera.
Nobody told me that a filming room is mostly about small choices. Light from the right side. A background that does not fight for attention. A chair that lets you sit still for an hour.
Most big creators started in a bedroom, a corner, even a closet. The room does not need to be big or fancy. It needs to look good in a small rectangle on a screen.
These 23 Content Creator Room Ideas will help you build a space that films well every time. Some cost nothing. Some need one trip to the store. All of them make filming easier, and your videos will look better for it.
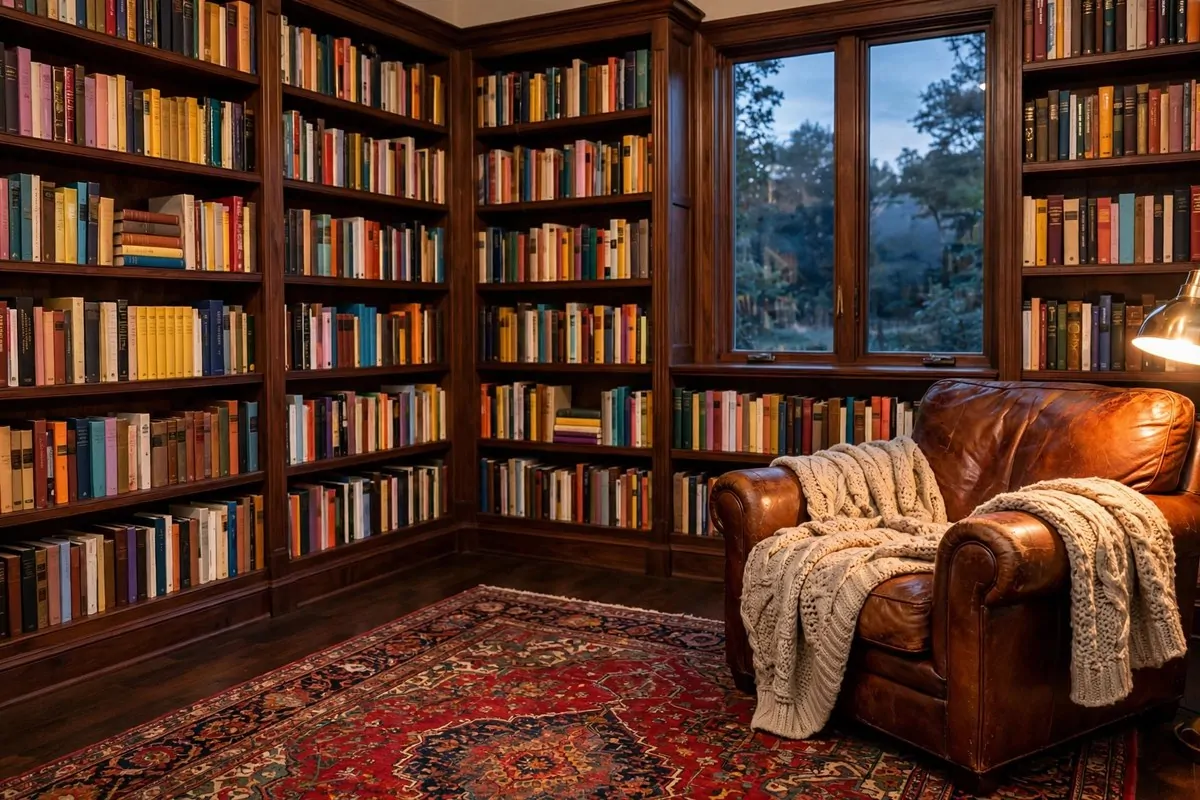
1. The Plant, Lamp and Bookshelf Corner
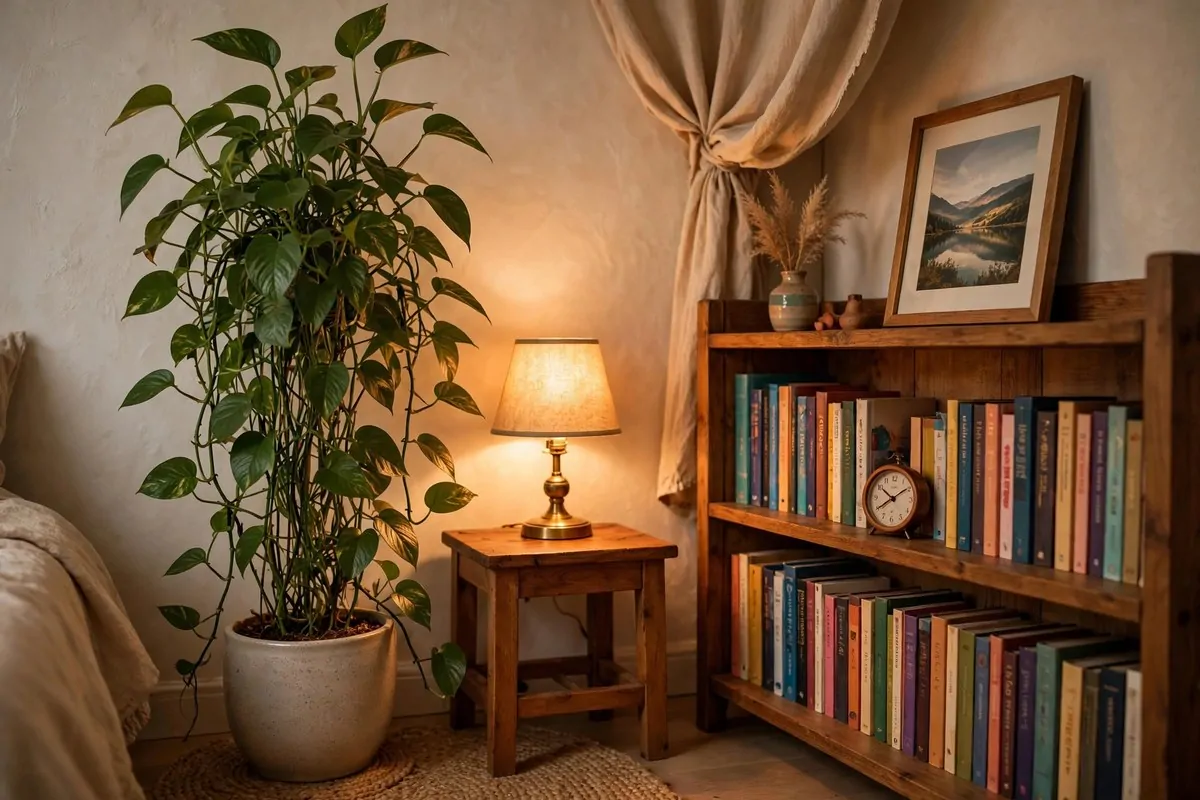
A plant, a lamp and a bookshelf. That is the classic trio for a reason.
Viewers see it in the background and relax. It looks lived in, not staged.
Pick one corner of your room and make it your filming corner. Face your camera toward it. That is the whole setup.
The plant adds life. Pick something leafy and full, like a pothos or a small fiddle leaf fig. Faux plants work fine too, and they never die on you.
The lamp adds warmth. A table lamp with a warm bulb gives your background a soft glow. It makes the whole frame feel cozy.
The bookshelf adds depth. Fill it with books you actually like. Add a few small items like a candle, a framed photo or a small clock.
Keep your colors to three. Too many colors in the frame looks messy. Three keeps it calm.
Sit about four feet away from this corner when you film. That gap blurs the background a little, and blur looks professional.
This corner costs almost nothing if you shop your own home. Move a plant, move a lamp, restyle a shelf. Done in an afternoon.
- One leafy plant, real or faux
- One table lamp with a warm bulb
- One bookshelf or crate styled with books and small decor
- Max three colors in the whole corner
2. The LED Strip Accent Wall
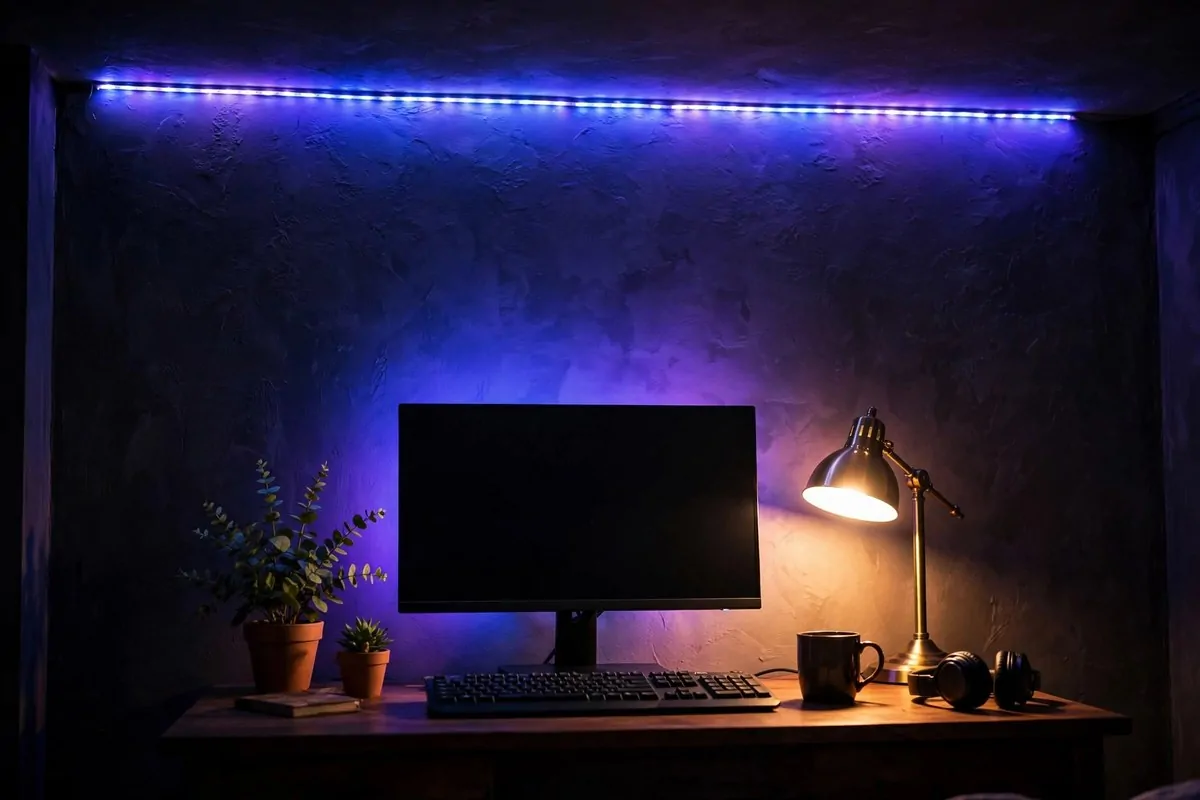
LED strips are the cheapest way to make a room look like a real studio. One strip, one wall, huge change.
Run the strip along the top edge of the wall behind you. Or tuck it behind your desk or shelves. The colored glow reads on camera even in a small room.
Pick one color and stick with it. Purple, blue, warm orange, whatever fits your style. Switching colors in every video looks messy.
Warm colors feel cozy. Cool colors feel modern. Pick the mood you want your viewers to feel.
The strip itself is almost invisible. What viewers see is the glow on the wall. That glow adds depth that a flat wall never has.
You can also run strips behind your monitor. It makes your whole desk glow softly from behind, and your silhouette pops against it.
Dim the main room light when the LED is on. The color shows up much stronger against a darker room.
This is one of the most popular content creator room ideas for teens and gaming creators. It works for anyone who wants a bold, fun look.
If the light is too bright, point the strip toward the wall, not toward the camera. Bounced light is always softer.
3. The Floating Shelf Studio
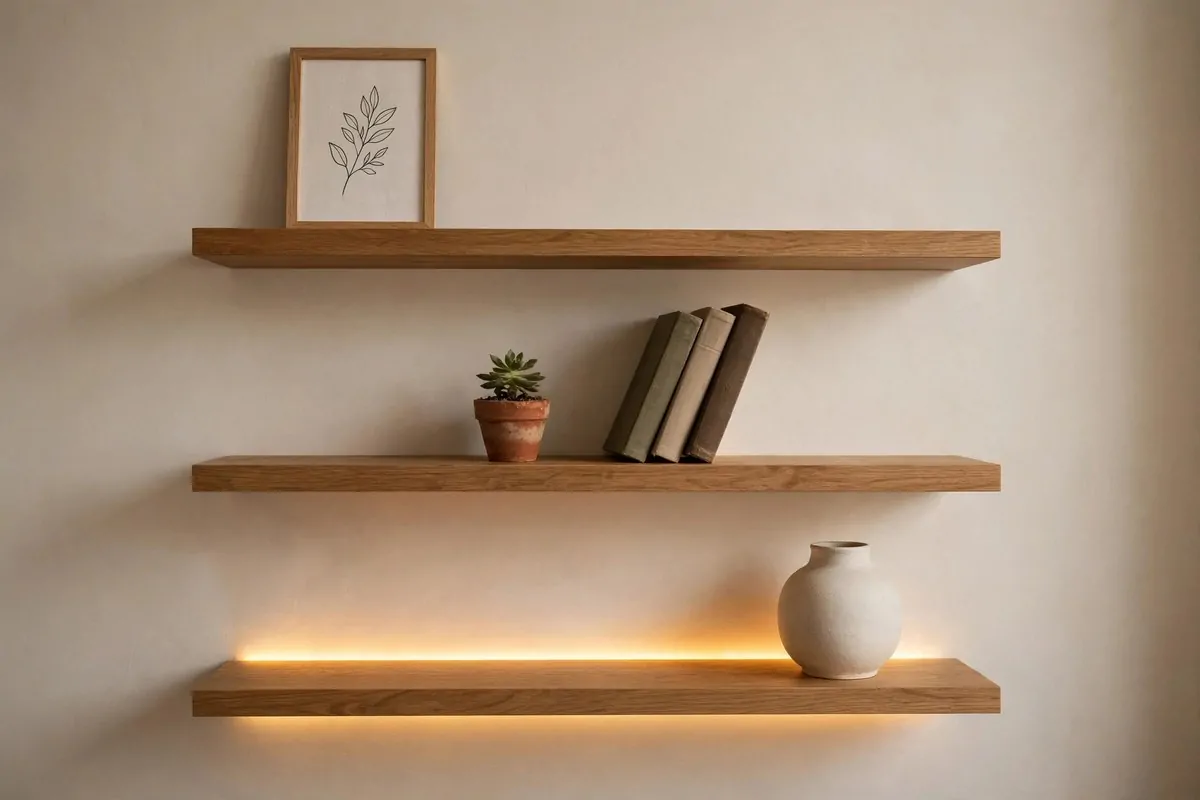
When floor space is tight, build upward. Floating shelves turn a plain wall into a filming background.
Mount two or three shelves on the wall behind your chair. Style them like a little shop display. That is your background sorted.
Add a small plant to one shelf. Stack books at an angle on another. Tuck a short LED strip along the back edge of one shelf for glow.
Clip your phone mount to the top shelf. Or put a small tripod on the lowest shelf. Your filming rig hangs on the wall, not the floor.
This uses zero floor space. That matters in a small bedroom where every foot counts.
Mix textures on the shelves. Wood, ceramic, glass, leaves. Texture reads on camera better than plain flat objects.
Leave some empty space on each shelf. Full shelves look cluttered. Breathing room looks expensive.
Dust them once a week. Cameras see dust that your eyes skip right over.
You can restyle the shelves for holidays or seasons. Swap one plant or one picture, and the whole background feels fresh.
If you rent, use shelves that mount with damage-free strips. Landlords stay happy.
4. The Green Screen Corner
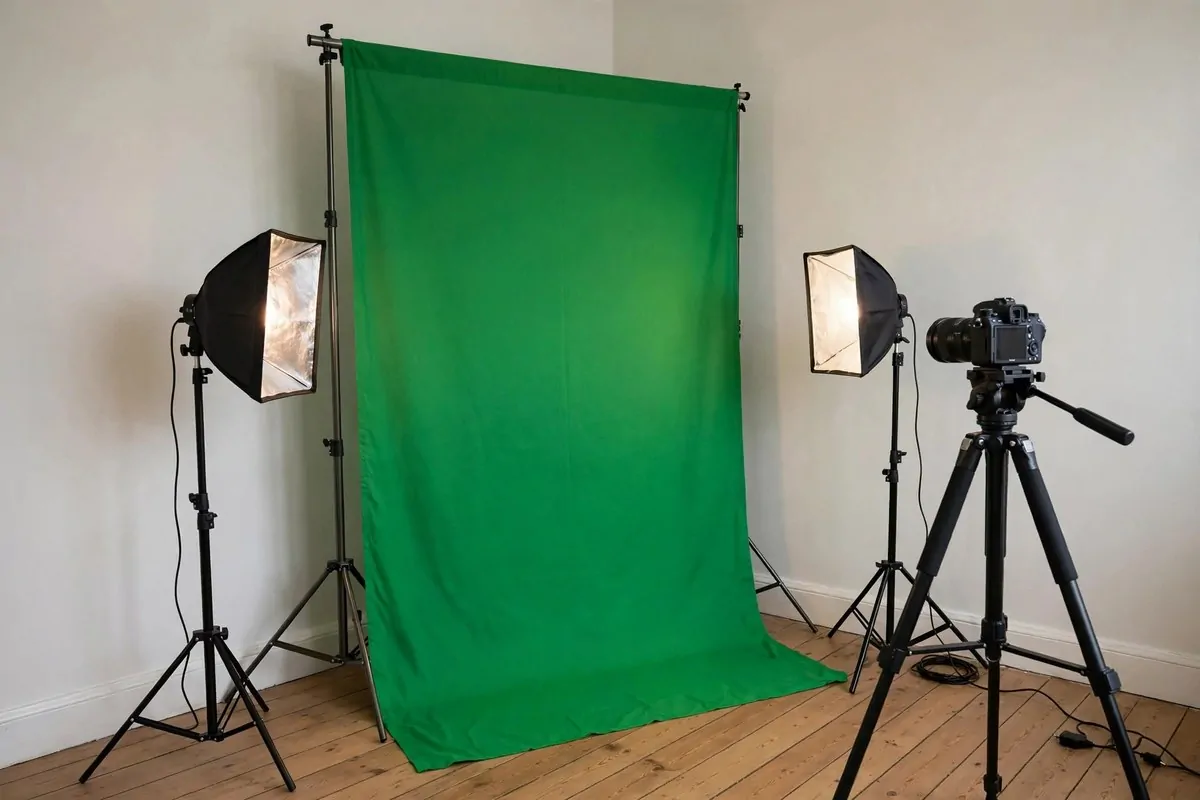
A green screen gives you endless backgrounds from one corner. Film here, then swap the background in editing.
A basic green screen fabric is cheap. Hang it on a stand or tape it to the wall. Keep it smooth and wrinkle free.
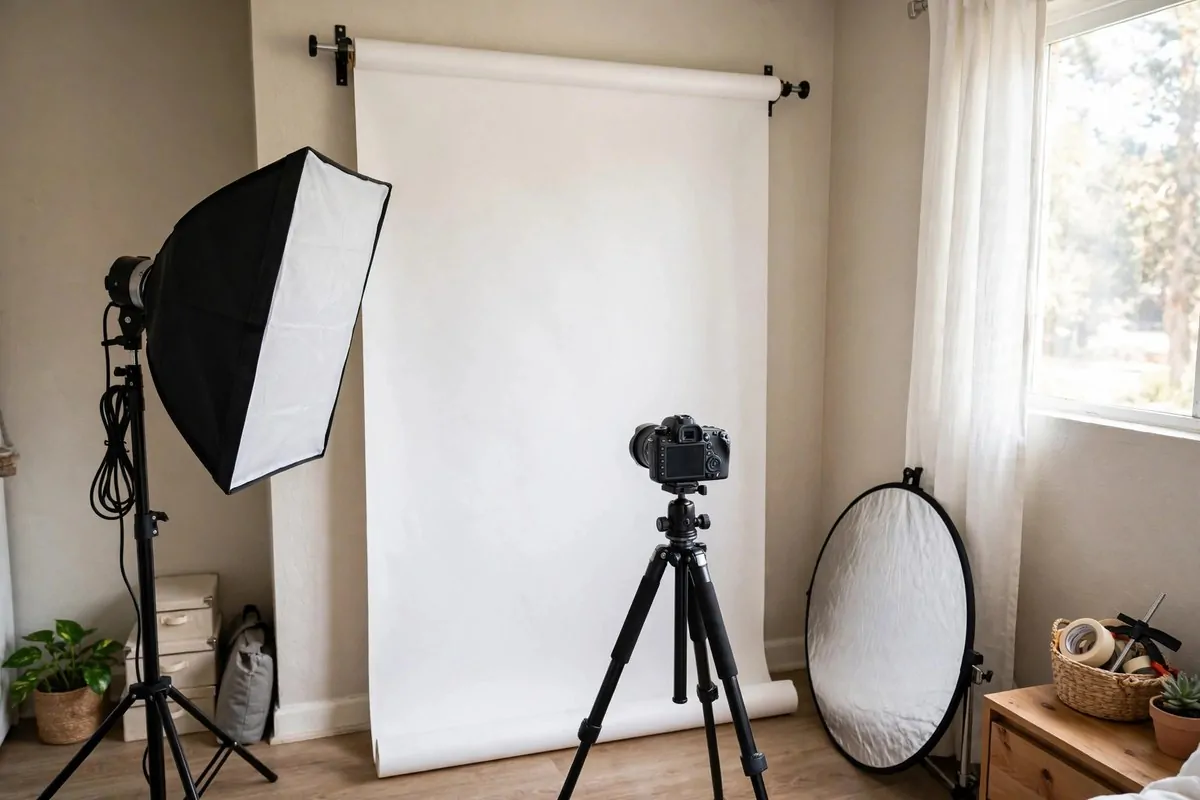
Light the green screen evenly. Shadows and folds confuse the keying software. Two small lights aimed at the fabric do the job.
Stand at least three feet in front of it. This gap stops your shadow from hitting the screen.
Wear nothing green. This sounds funny until you lose your shirt in the edit.
Use it for gaming videos, tutorials, reaction videos, anything where the background changes per video. One corner becomes a hundred rooms.
Free software like OBS handles green screen removal well now. You do not need expensive programs.
Fold the fabric when you are done. It takes up no space folded, and your corner is a normal corner again.
If the fabric keeps falling, clamps from a hardware store hold it tight. Cheap and strong.
Some creators skip the green screen and use virtual backgrounds in software. Those work, but they glitch around hair and glasses. A real green screen is still cleaner.
5. The Printed Vinyl Backdrop
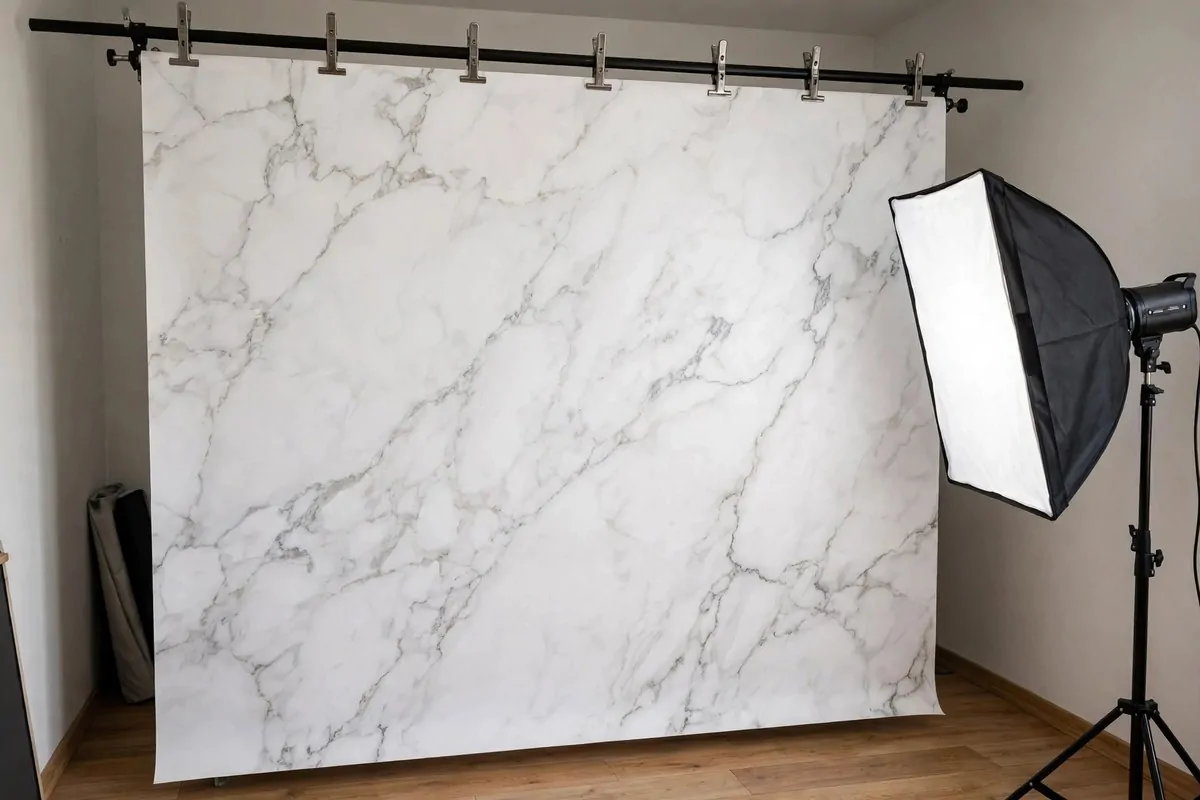
No time to decorate? Print your background. Vinyl backdrops turn a corner into anything you want.
You can print a marble wall, a brick wall, a grass wall, wooden panels, or your own logo design. Your options are almost endless.
Hang it with heavy-duty velcro or tape. Use clamps on a crossbar to keep it smooth and wrinkle free. Wrinkles show up on camera.
Ask the printer for a matte finish. Glossy vinyl glares under lights and ruins the shot.
This is great for product videos and brand content. Your backdrop can carry your name, your colors, your whole brand.
It rolls up for storage. One tube in the closet holds five different backgrounds.
Small backdrops work for talking head videos. Bigger ones fill the whole frame for full body shots.
Pair it with a soft light in front and the print looks real. Viewers will not know it is fabric.
Swap backdrops by mood or season. Winter wall in cold months, bright wall in summer.
- Matte finish, never glossy
- Keep it smooth and wrinkle free with clamps
- Roll up for storage when done
6. The Neon Sign Desk
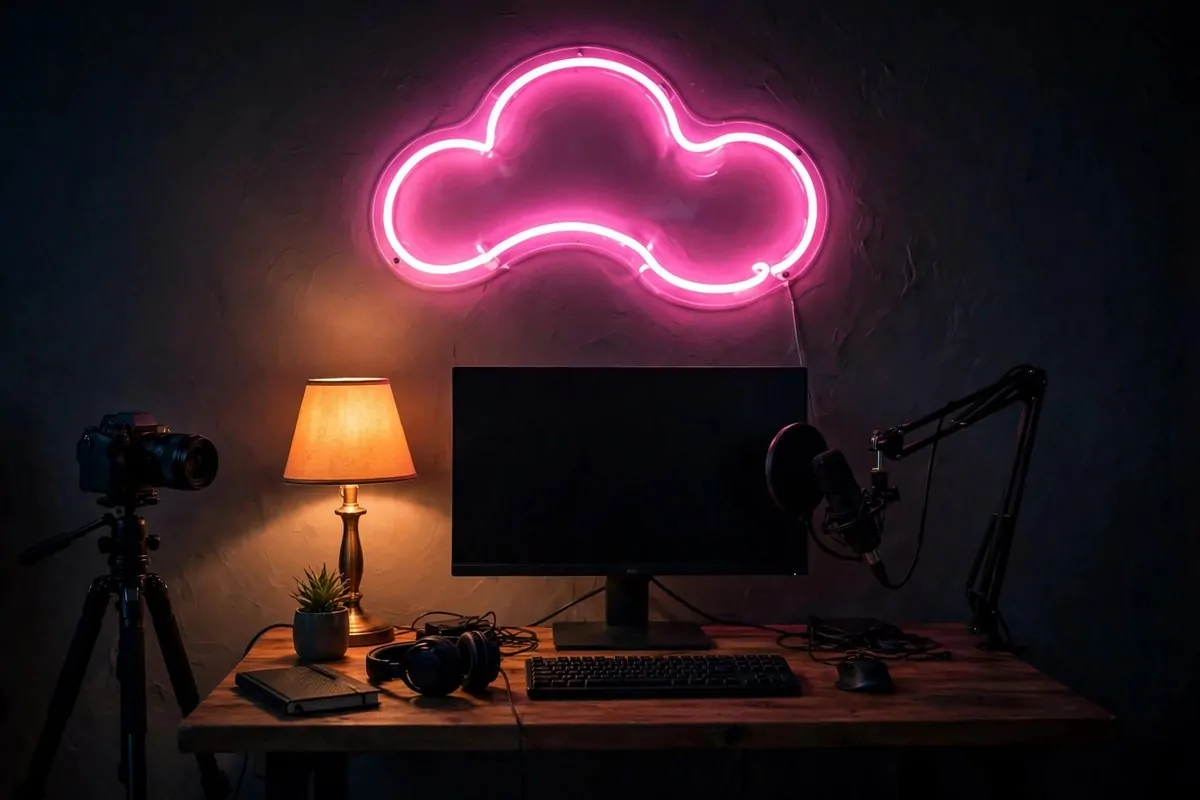
A neon sign makes your background yours. One line of glowing text, and everyone knows whose channel it is.
Hang your channel name, a short phrase, or a simple shape above your desk. The glow becomes your brand mark.
LED neon signs run cool and use little power. They are also light, so they hang with small hooks or strips.
Put your desk against the wall and sit facing the camera. The sign sits right behind you in the frame.
Keep the room light low so the sign pops. A glowing sign in a bright room looks washed out.
Pick a color that matches your brand. Warm pink feels playful. Cool blue feels calm. White feels clean.
Do not add too much else behind you. The sign is the star. A busy background fights it.
Film at night for the best look. The dark room plus the glow looks like a real studio.
This setup photographs well for thumbnails too. The sign is easy to spot in a tiny thumbnail image.
Check the sign on camera before you buy. Some cheap signs flicker on video. Test it or read reviews first.
7. The Acoustic Panel Feature Wall
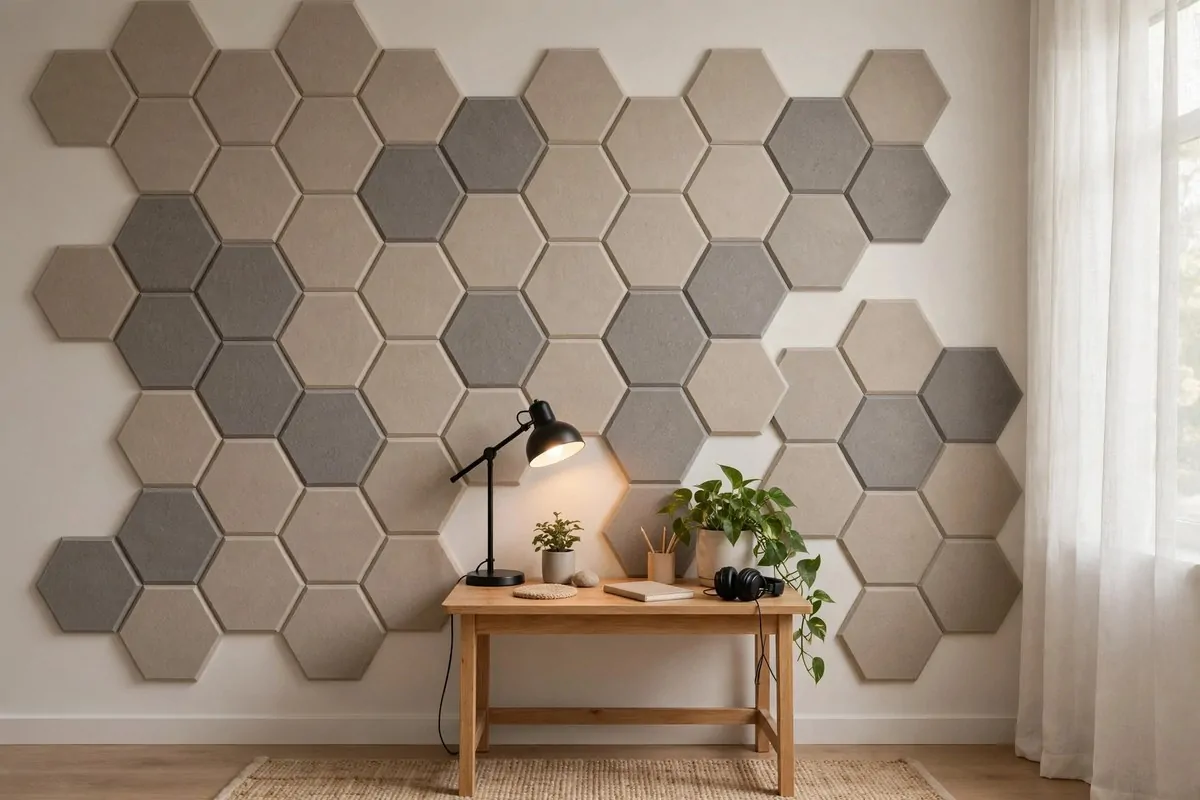
Echo ruins good videos. Acoustic panels fix the echo, and the right ones look like art.
Foam panels absorb sound reflections. Your voice sounds clearer and closer. Viewers stay longer when the audio is clean.
Arrange them in a pattern on the wall behind you. Hexagons, waves, or stripes all look intentional and stylish.
Pick colors that match your room. Gray, beige, black, or your brand color. Mixed tones look more designed than one flat color.
Place them at reflection points. That is where sound bounces from your mouth to the walls. The wall right behind you matters most.
A pack of twelve panels is cheap and covers a good area. Start with one wall and add more if you still hear echo.
They mount with adhesive strips. No drilling, no damage, renter friendly.
Test with a clap. Clap in the room before and after. The after-clap should sound dull and short.
This wall does two jobs at once. Better sound and a better background. That is rare in home decor.
If foam feels too plain, fabric-covered panels look softer and warmer. They cost more but feel like real furniture.
8. The Soft Rug Sound Corner
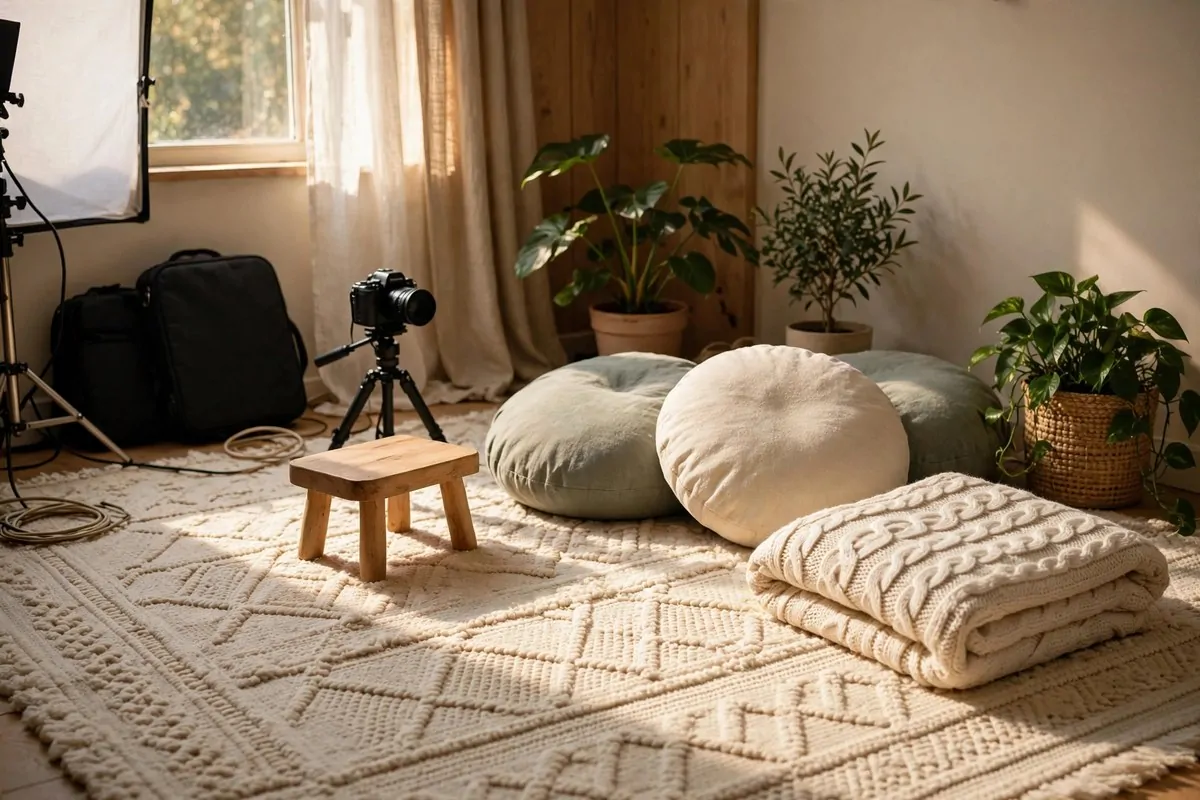
Hard floors bounce sound around like a gym. A thick rug calms the room down fast.
Lay a large rug under your filming spot. The thicker the better. Shag and wool rugs absorb the most sound.
Add soft things in the corners. Floor cushions, folded blankets, a bean bag. Each one eats a little more echo.
This works great for talking head videos where you sit on the floor or a low chair. The whole scene looks soft and cozy.
Rugs also define your filming zone. When the rug is down, you are in work mode. When it is rolled up, the room is normal.
Pick a rug with a simple pattern. Busy patterns distract in the background. Solid colors or gentle patterns film best.
Layer a small rug over a big one for extra softness. It also looks styled and intentional.
Vacuum it often. Lint shows up in close ups more than you think.
This is one of the cheapest content creator room ideas here. One rug changes the sound of the whole room.
9. The 45-Degree Key Light Setup
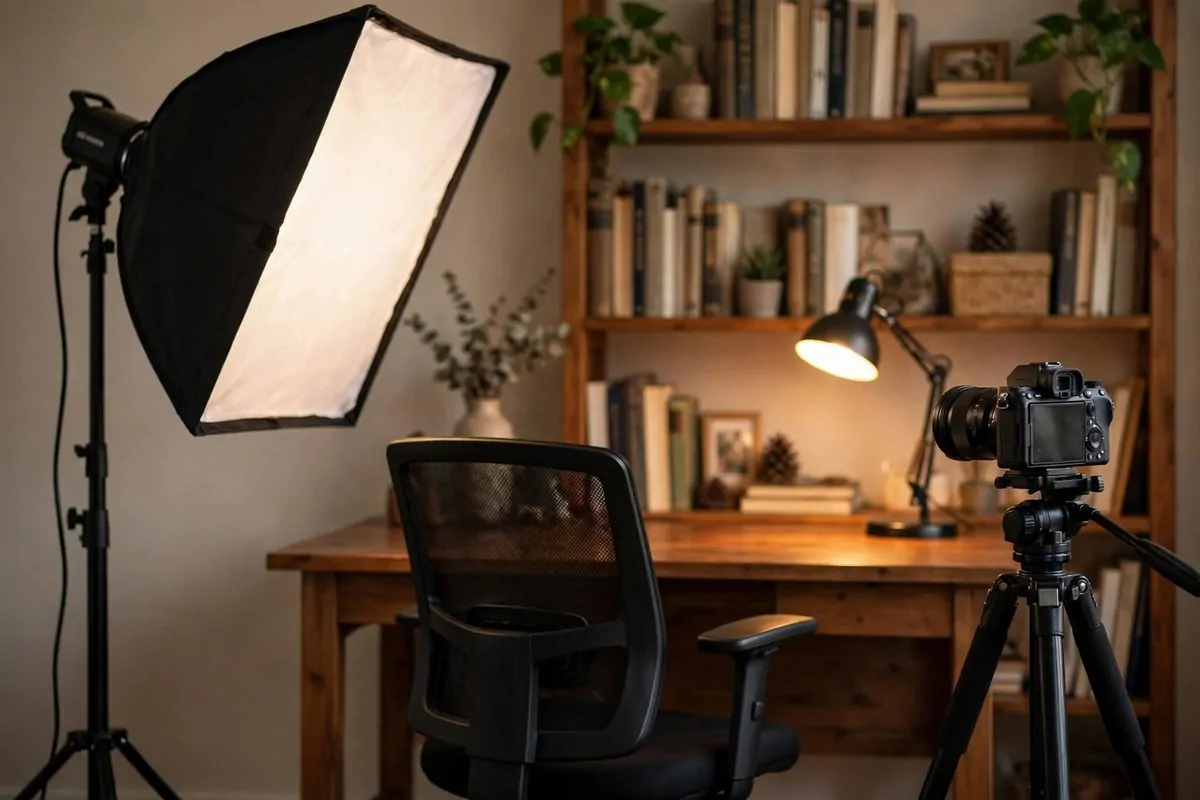
Bad lighting makes good cameras look bad. One light in the right spot fixes most of it.
Place your key light at a 45-degree angle to your face, slightly above eye level. This gives your face soft shape and gentle shadow.
Never put the light straight in front of you. It flattens your face and looks like an interrogation.
A softbox or a ring light with a diffuser works. Soft light is flattering. Hard bare bulbs make harsh shadows.
Match your light to your window light if you film in the day. Mixed warm and cool light looks strange on skin.
Lock your exposure on the camera. Auto exposure keeps shifting while you talk, and the video looks jumpy.
Film a short test clip before the real one. Check your face, the background, the shadows. Fix it now, not in editing.
A window can be your key light for free. Sit facing it at a slight angle. Soft daylight is the best light there is.
At night, a daylight-balanced LED panel does the same job. Set it once and leave it. Your lighting stays the same in every video.
| Light Position | Effect on Camera |
|---|---|
| 45 degrees, above eye level | Soft, flattering, natural shape |
| Straight in front | Flat face, harsh, boring |
| Directly overhead | Dark eye shadows, tired look |
| Behind you | You become a dark silhouette |
10. The Ring Light Beauty Station
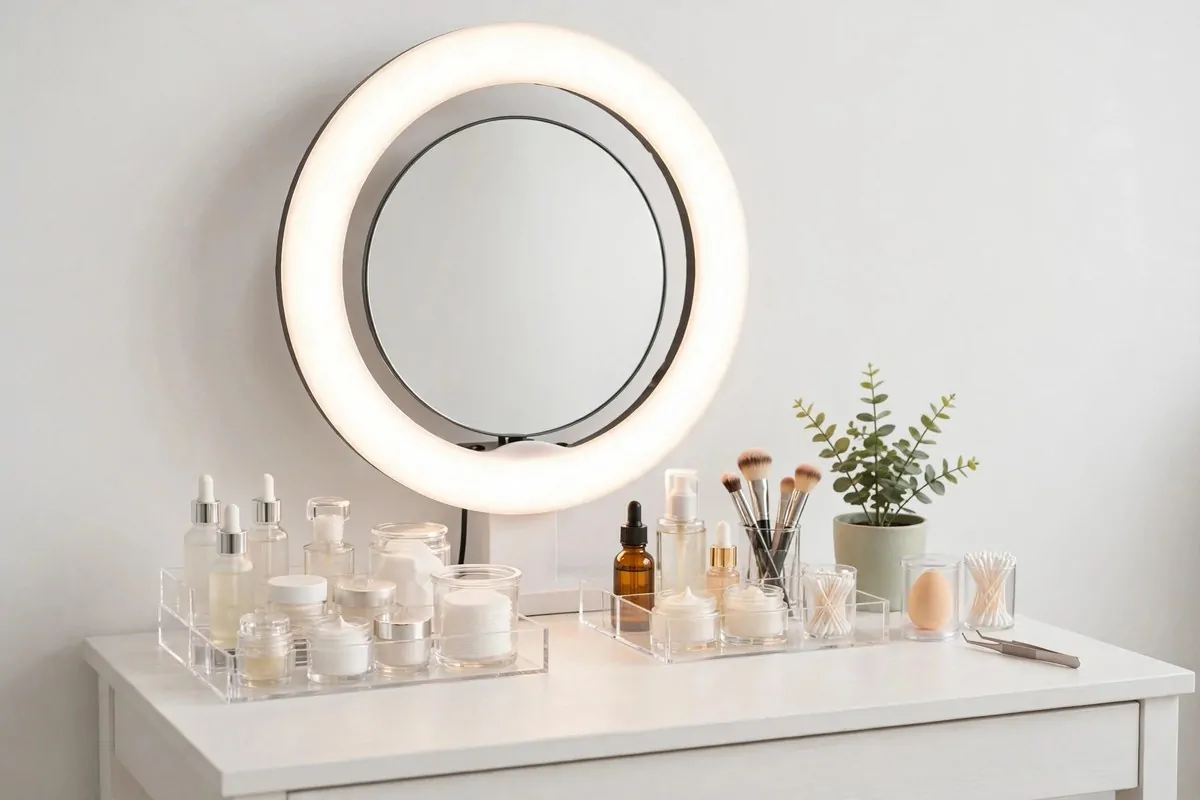
Beauty and fashion creators live at the ring light. It is almost made for this niche.
A ring light gives even, shadowless light on your face. It also makes a pretty circle of light in your eyes.
Set up a small vanity table as your filming station. Mirror, light, your products lined up neatly. Everything within reach.
Face a window if you can. Ring light plus daylight is a beautiful mix for makeup videos.
Keep the table tidy. Viewers judge beauty creators by their setup. A messy vanity breaks the trust.
Use a chair with a back that does not show. A plain chair keeps the focus on you and the products.
Filming makeup needs close light. Move the ring light close to your face. The closer it is, the softer it gets.
Turn off overhead room lights. They fight the ring light and make weird double shadows.
Store products in clear trays on the table. They look good on camera and you find things fast.
A phone holder clipped to the ring light keeps your shot steady. No shaky hands, no sliding phone stacks.
11. The Window Light Talking-Head Spot
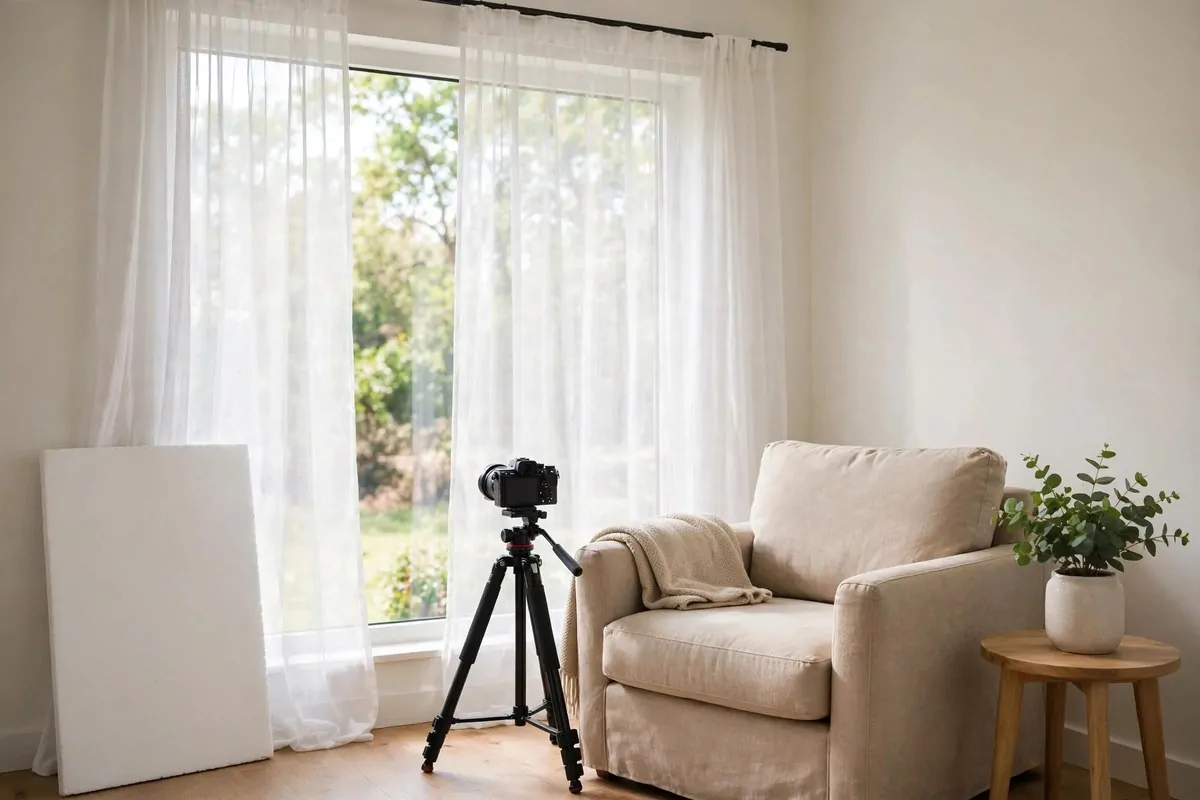
Free light beats bought light most days. A big window with sheer curtains is a studio.
Set your chair facing the window, slightly to one side. The soft light wraps your face gently.
Sheer curtains turn harsh sun into soft glow. They are the cheapest diffuser you will ever buy.
Never put the window behind you. Backlit shots turn you into a dark shape with no face.
Film at the same time of day for steady videos. Morning light changes fast, so pick your hour and keep it.
On cloudy days the light is even softer. Some creators pray for clouds. Flat light needs no fixing.
Add a white poster board on the shadow side of your face. It bounces light back and fills dark shadows. Costs almost nothing.
Keep the window frame out of the shot. Point the camera so viewers see you, not the glass.
This spot works for podcasts, advice videos, story times, any talking head content.
When the sun moves, you move. Chase the light around the room and note your favorite hours.
12. The Rolling Gear Cart Station
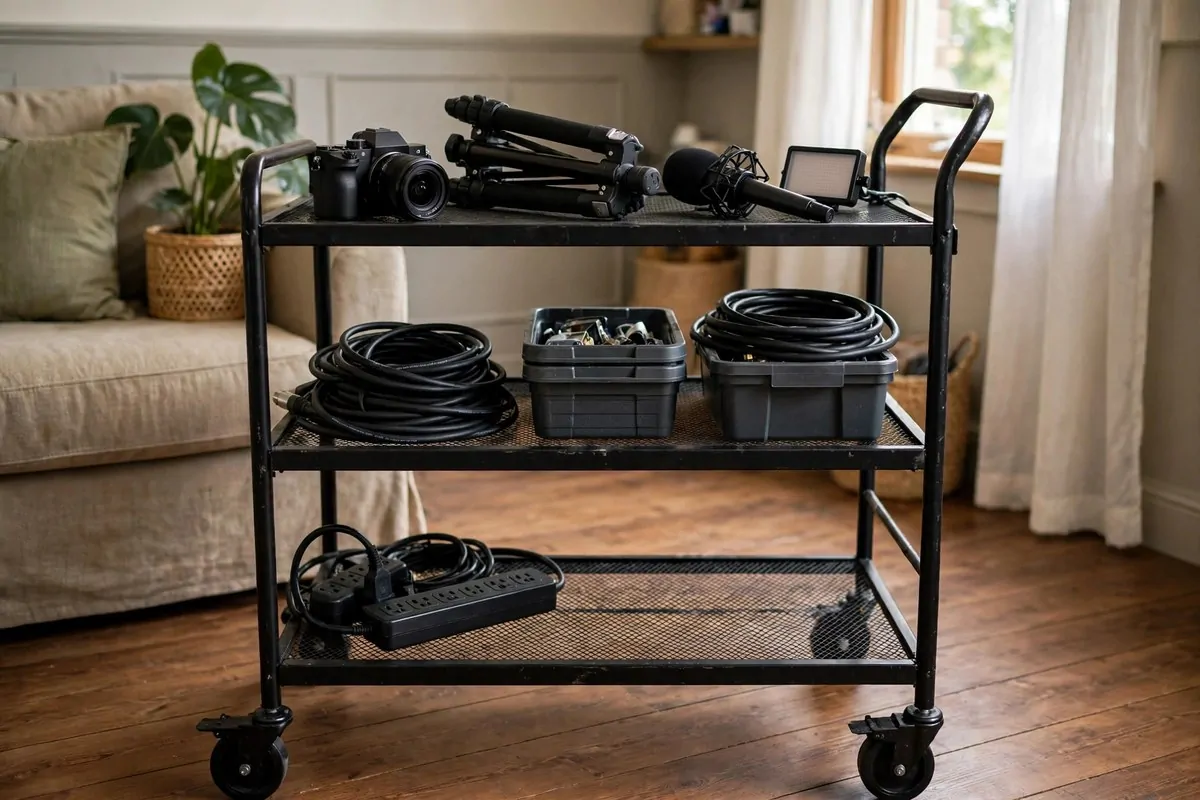
Everything you film with should live in one rolling cart. Then filming takes two minutes, not twenty.
Load the cart with your camera, tripod, mic, lights, batteries, cables, and memory cards. It is your whole studio on wheels.
Roll it to wherever you film. Corner today, window tomorrow, kitchen for a cooking video. The cart goes with you.
Use labeled bins on each shelf. Mic stuff in one, cables in another, batteries in a third. No digging.
Charge everything on the cart. A small power strip on the bottom shelf means gear is always ready.
A cart keeps gear off your desk. Your filming space stays clean because the mess has a home.
Pick a cart with locking wheels. It should not roll away mid take. That is a blooper nobody wants.
Small rooms love carts. One cart replaces a shelf, a bag, and a drawer of tangled cables.
At the end of the day, roll it into a closet. Your room is a normal room again in ten seconds.
This is how creators with tiny rooms film like they have a big studio. The studio is just on wheels.
13. The White Fluffy Rug Backdrop
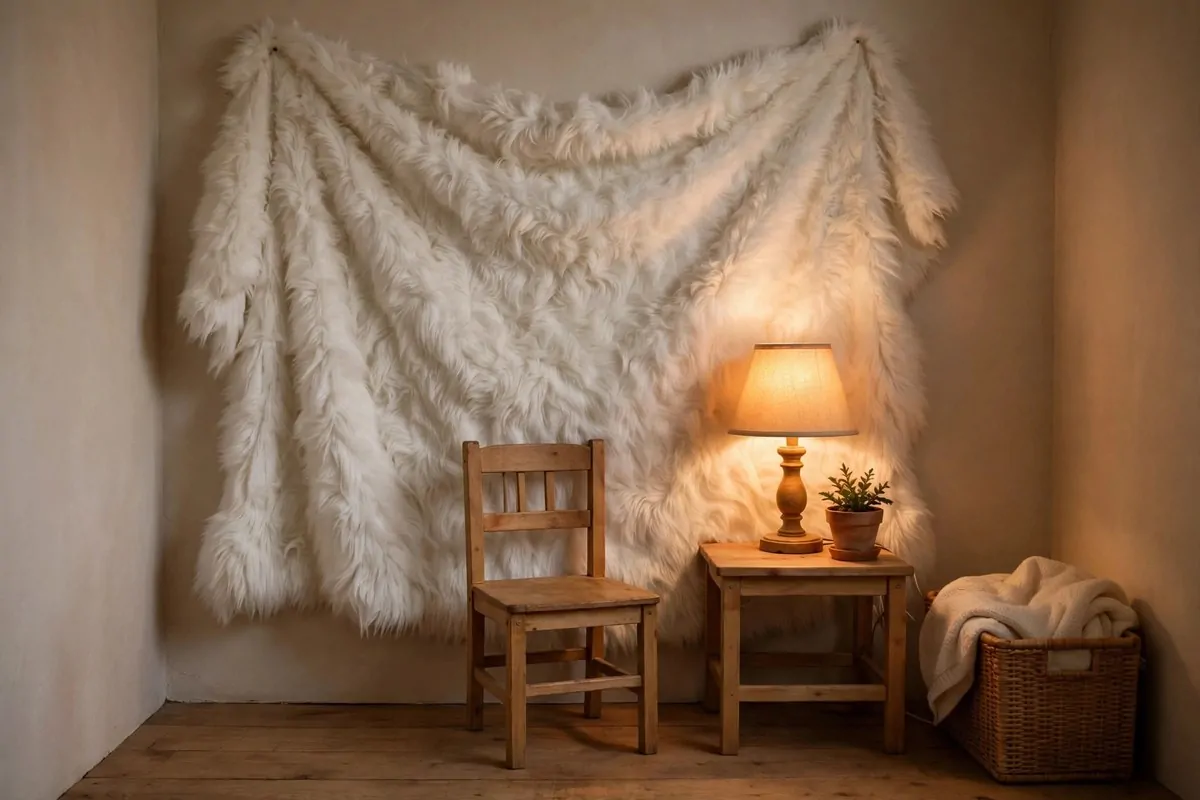
A fluffy white rug is not just for floors. Hung on a wall, it becomes a dreamy textured backdrop.
Faux fur rugs look soft and expensive on camera. They catch light beautifully and add instant texture.
Drape one over a stand or pin it to the wall behind your chair. Steam out any fold lines first.
This backdrop suits lifestyle, beauty, and cozy content. It reads warm and gentle.
It also doubles as a floor rug when you are not filming. One purchase, two jobs.
Keep it clean. White fur shows everything. Shake it out and brush it with a pet brush to keep it fluffy.
Pair it with warm lighting. The fur glows golden under a warm lamp, and the whole frame feels like a hug.
Small rugs work for head shots. Bigger ones fill the frame for sitting videos.
If white feels risky, cream or blush works too. Lighter colors bounce light back onto your face.
This is a portable backdrop. Roll it up and it disappears. Perfect for renters and shared rooms.
14. The Closet Mini Studio
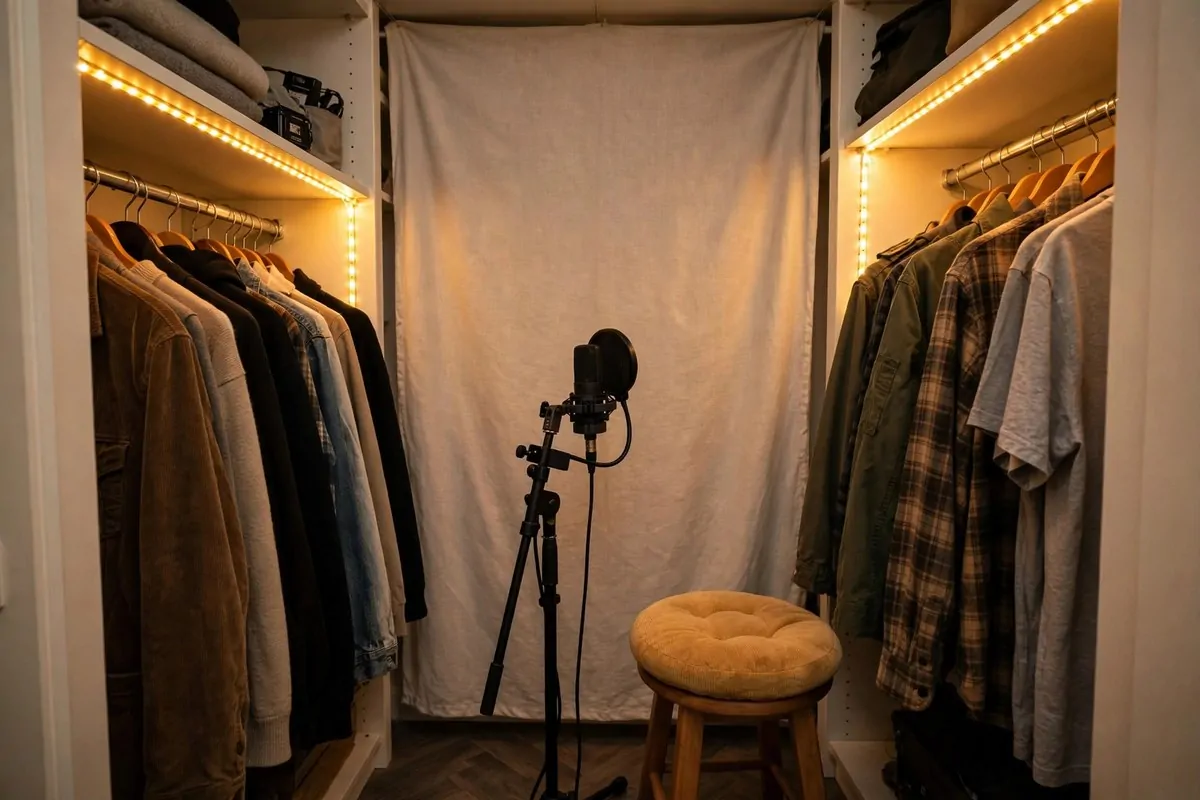
Your closet is the most underused studio space in your home. Small, dark, and quiet is exactly what you want.
Clear the floor and hang clothes to the sides. You now have a tiny room with built in sound dampening. Clothes absorb echo.
Add one or two LED strips for light. A small ring light or desk lamp finishes the job.
Put a small stool or cushion inside. Face outward toward the room for talking videos.
The small space keeps your voice tight and clear. Podcasters love closets for this reason.
Hang a piece of fabric behind you as a backdrop. It takes one pushpin.
Ventilation matters. Leave the door cracked or film in short takes. Closets get warm fast.
This is the cheapest studio in this whole list. You already own the closet.
It also hides all your mess. Close the door and the studio is gone.
Faceless creators love this setup. Voice only, no background to decorate, total privacy.
15. The Headboard Backdrop with Fairy Lights
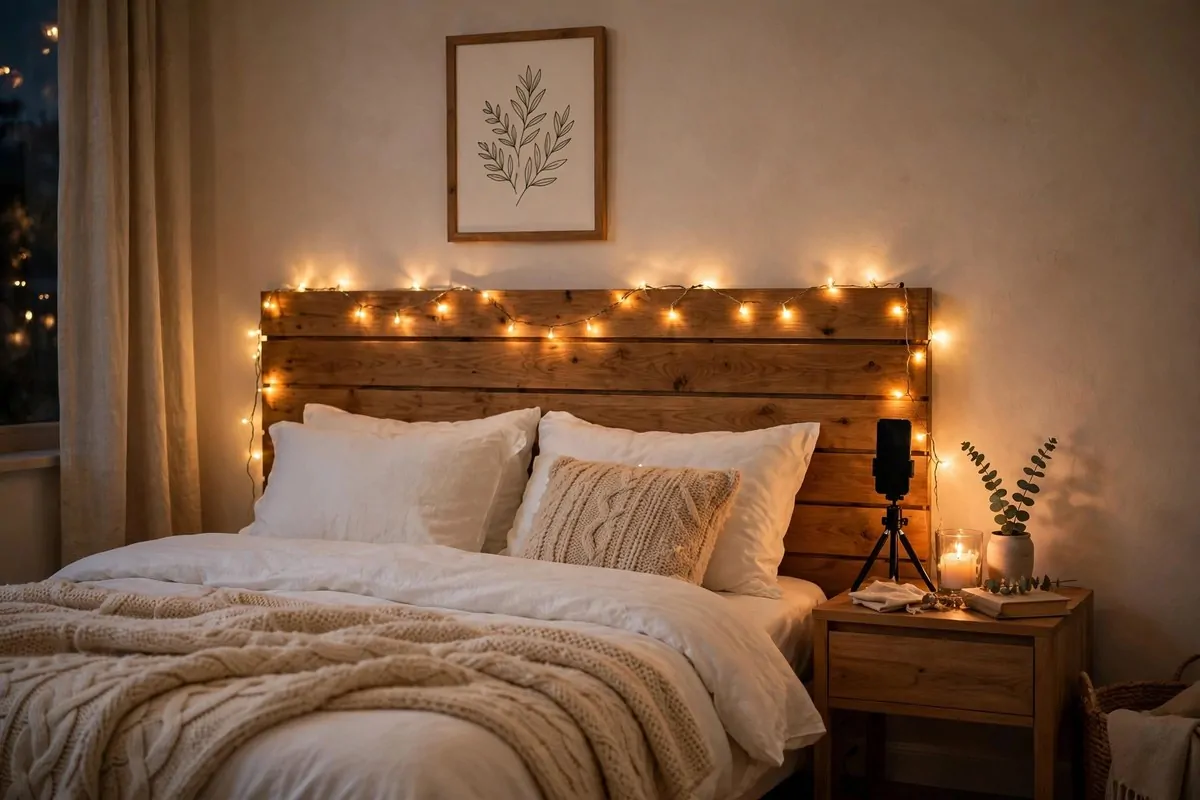
Your bed is already the coziest spot in the room. Film there.
Hang string lights above and around your headboard. Add a framed print or a small tapestry. Your bedroom becomes a set.
Sit on the bed facing a phone on a bedside tripod. Or clamp the phone to the bed frame. You are already in position.
This works for story times, advice videos, journal chats, anything personal and relaxed.
Warm fairy lights at 2700 to 3000 Kelvin flatter skin. They also make the background glow softly.
Keep your pillows neat. Fluff them before filming. A messy bed reads messy on camera.
Tidy the nightstand. One book, one candle, done. Clutter behind you steals attention.
Film in the evening for the coziest feel. The lights pop against the dark room.
This setup costs almost nothing. You own the bed. Fairy lights are cheap.
Your bedroom stays your bedroom. Nothing here screams studio to anyone who walks in.
16. The Marked Tripod Zones
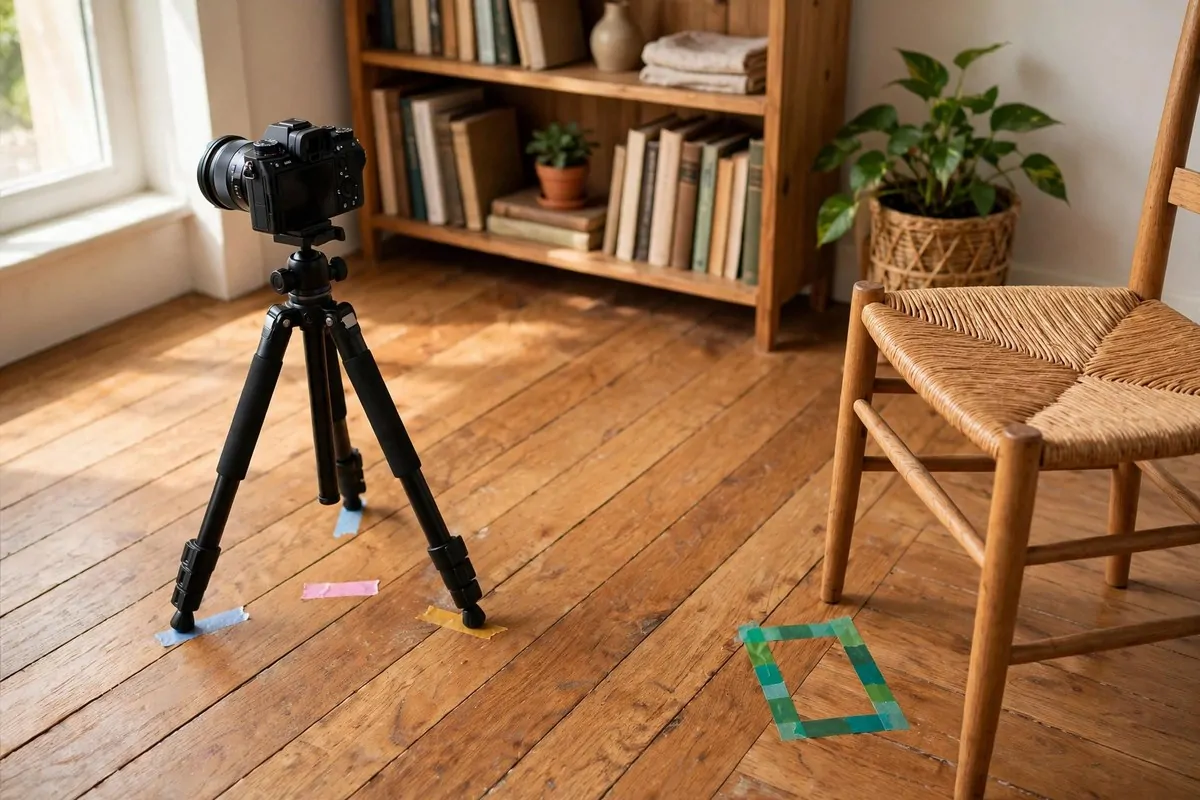
Pros mark their floor. You should too. Tape marks make your framing the same every single time.
Put small pieces of colored tape where your tripod legs go. Mark your chair spot too. Next time, everything drops into place.
This kills setup time. No more nudging the tripod for ten minutes. The marks remember for you.
Use painter’s tape or washi tape. They peel off clean and come in fun colors.
Mark spots for different videos. Blue tape for talking head, green for standing, pink for overhead. A tiny floor map.
Also mark your light positions. Lights drift over days. Tape keeps them honest.
This is boring and it works. Consistency is what makes a channel look professional.
Clean the tape once a month. Old tape collects dust and curls at the edges.
If tape on the floor bothers you, mark under the rug or behind furniture. The marks just need to be where you can find them.
Your future self will thank you. Every video starts framed and ready.
17. The Hidden Cable Charging Corner
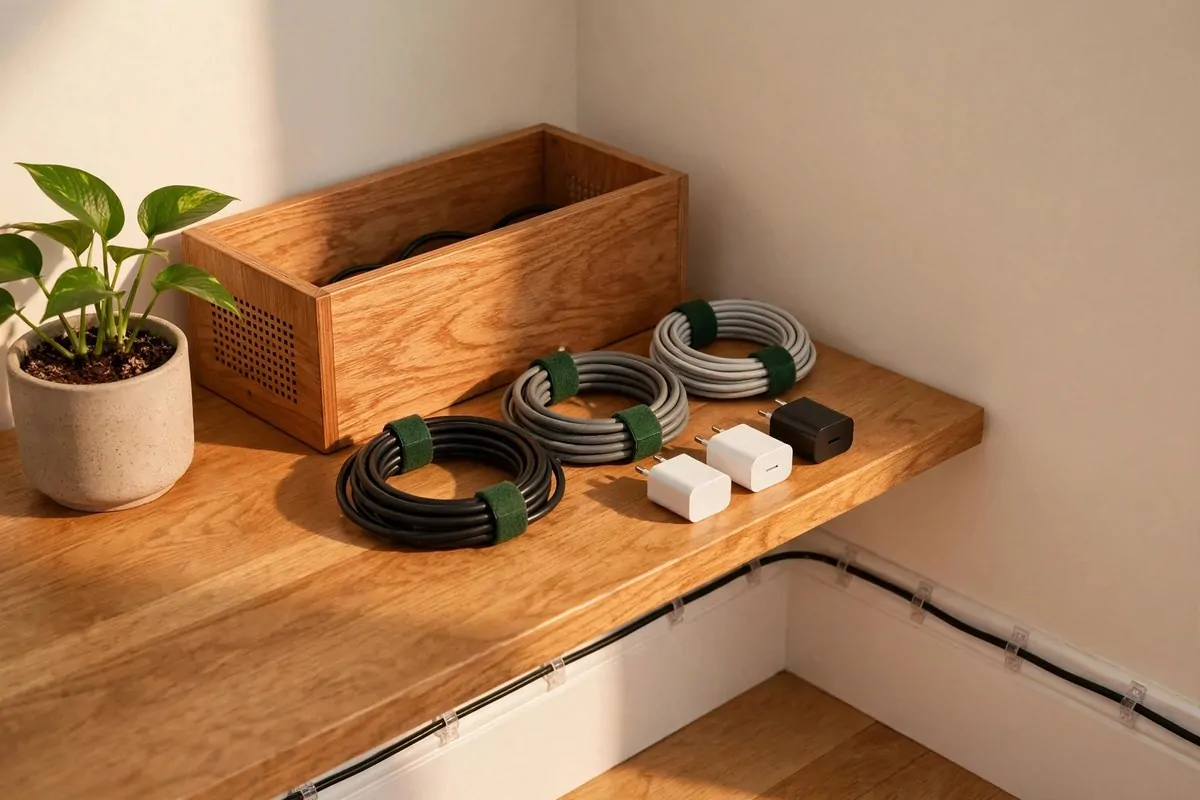
Cables ruin more shots than bad cameras do. Hide them and your room looks twice as clean.
Put a power strip inside a cable management box. All your chargers live inside. One neat box, no spaghetti.
Coil spare cables with velcro ties. Hang them on hooks inside a cabinet or behind the desk.
Label your chargers. Camera, phone, mic, lights. When a battery dies mid session, you grab the right cable fast.
Keep a power bank on your desk. It saves shoots when the wall outlet is too far.
Run cables along the wall with adhesive clips. They vanish against the baseboard.
Charge everything the night before filming. Dead gear kills filming days. Make it a habit.
A tidy corner also films well. This corner can sit in the background of wide shots.
Cable boxes come in wood and fabric finishes. Pick one that matches your room and it looks like decor.
Once you hide your cables, you will wonder how you filmed with them everywhere.
18. The Prop Shelf Wall
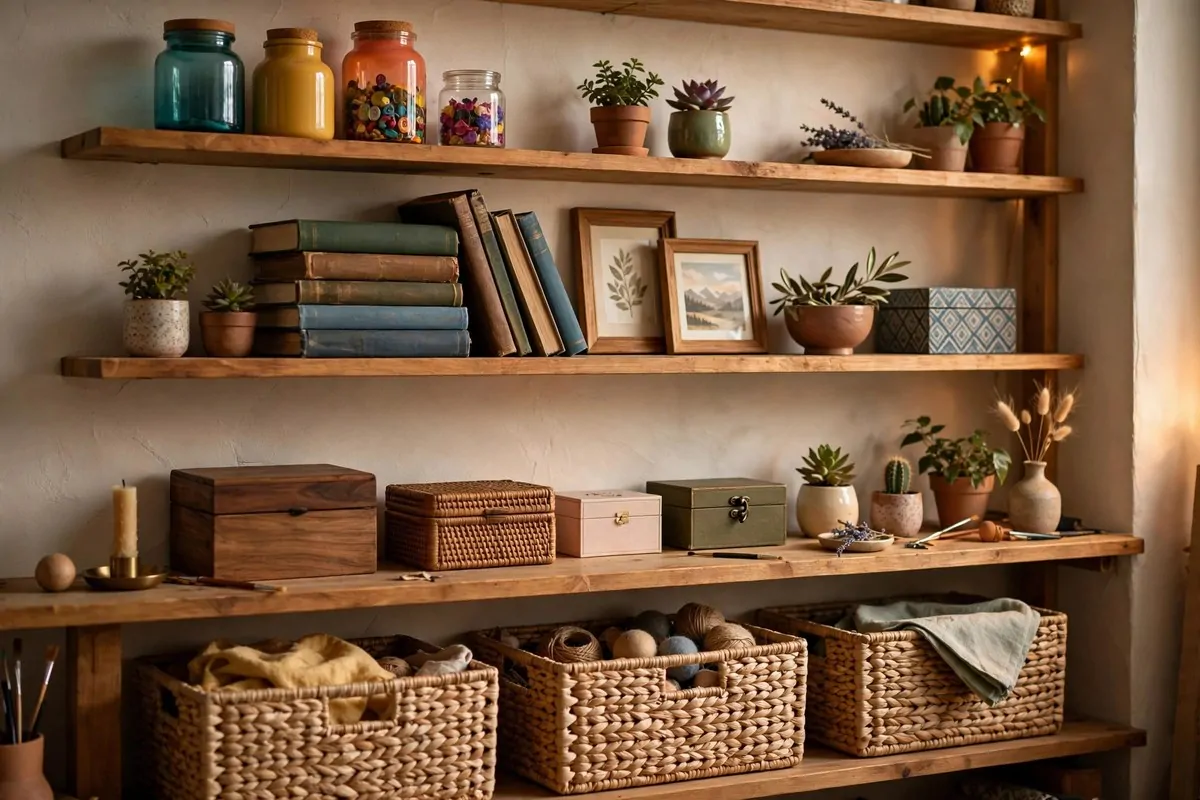
Props make your niche visible. A cooking creator shows jars and spices. A book creator shows books. Your shelf tells your story.
Dedicate one wall shelf to props for your niche. Arrange them like a little store display.
Group props in odd numbers. Three or five items look better than two or four. It is a weird design rule that works.
Rotate props by video topic. Baking video? Swap in the flour jar and rolling pin. The background changes with the content.
Use risers and boxes to vary height. Flat rows of same height objects look dull. Steps and stacks look styled.
Keep daily props and filming props separate. Filming props stay clean and camera ready. No sticky jars.
Label bins on lower shelves for the overflow. Props you use monthly live in bins. Weekly ones stay on display.
This wall becomes your brand signature. Viewers will spot your shelf before they spot your face.
Dust weekly. Cameras zoom in on dust like detectives.
Thrift stores are prop gold. Weird jars, old books, small frames. Cheap and full of character.
19. The Vision Board Wall
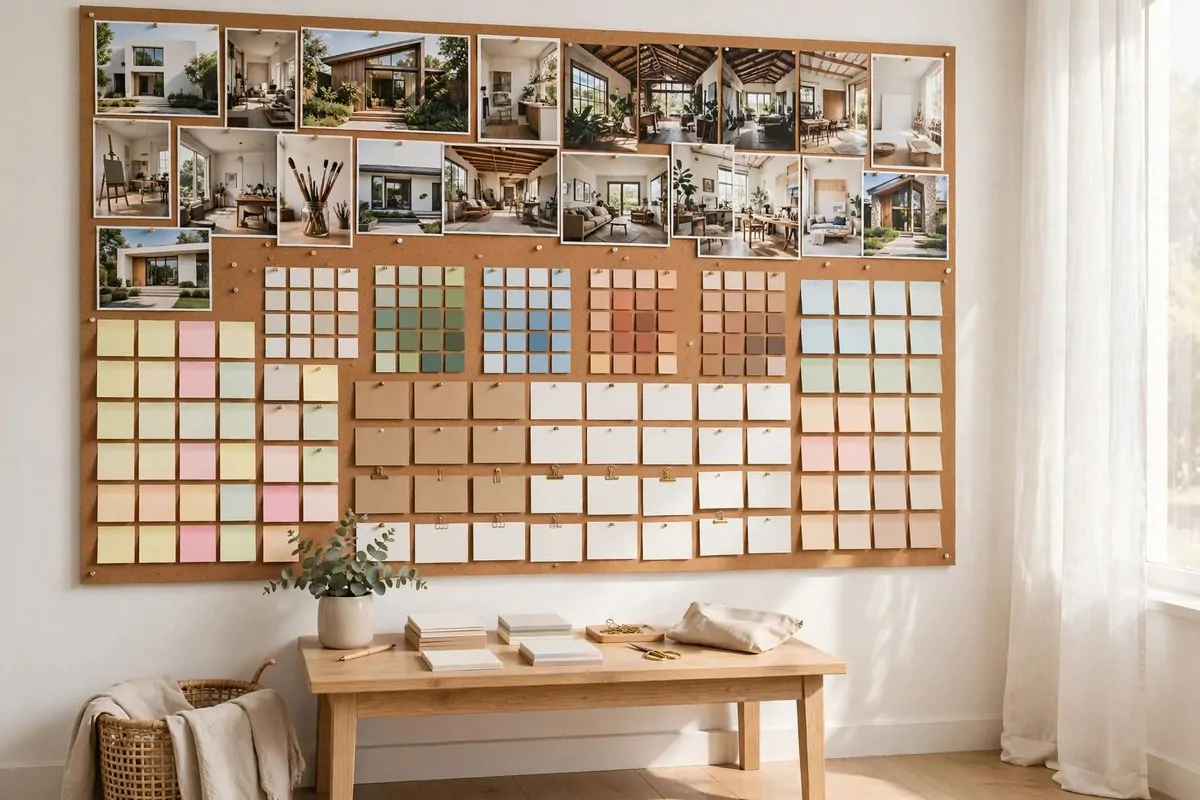
Your filming room should push you forward. A vision board wall does that every day.
Pin up your goals, dream brand deals, and photos of the style you want. Seeing them daily keeps you moving.
Use a corkboard or a wire grid. Pin things you can swap easily. This wall should grow with you.
It also films well as a background. It looks personal and real, which viewers love.
Mix words and images. A quote card next to a photo of your dream studio. Both remind you why you film.
Keep it neat, not chaotic. Group pins by theme. Messy boards look stressful on camera.
Add your content calendar to the board. Sticky notes for filming days. Your wall becomes your planner.
Update it every few months. Old goals come down, new ones go up. The wall stays alive.
This is also great for motivation videos. Film a board refresh as content. Your audience gets to dream with you.
Put it where you see it while editing. Those long editing hours need a reason on the wall.
20. The Overhead Desk Camera Mount
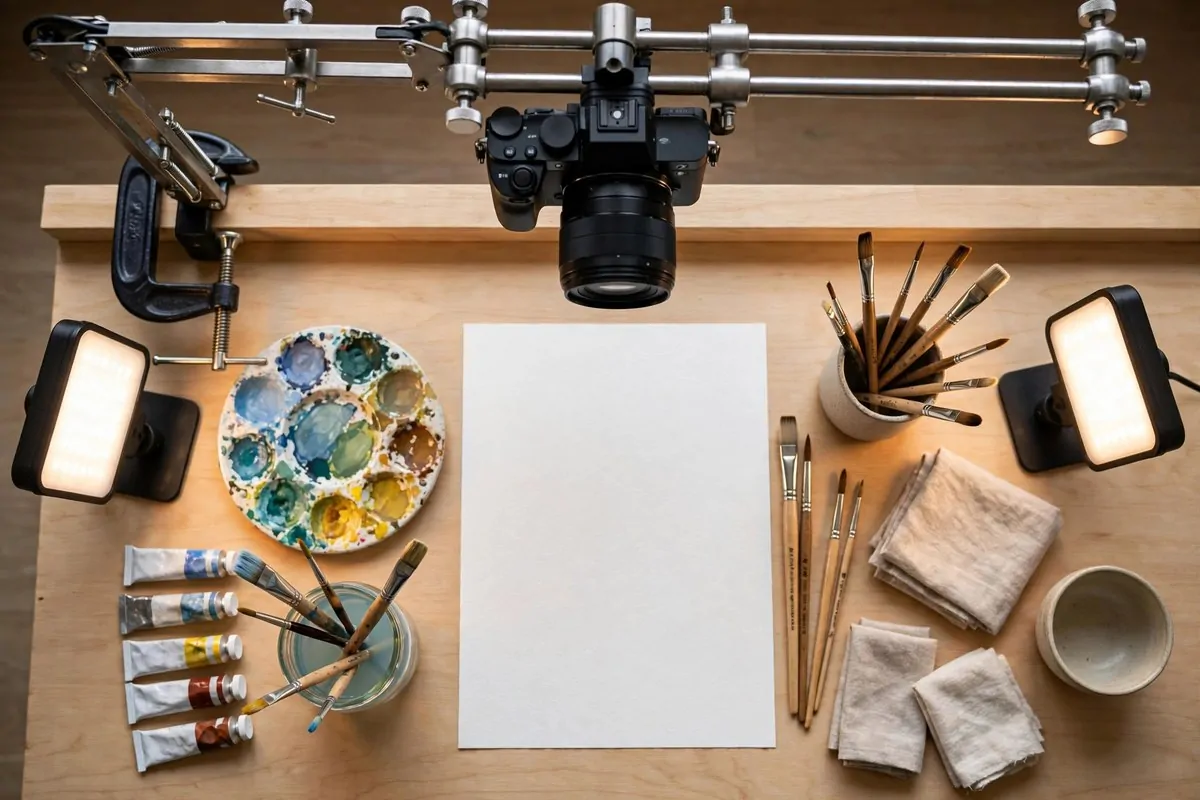
Top down videos need a special rig. An overhead arm holds your camera over your desk, hands free.
This is perfect for art, cooking prep, journaling, crafts, unboxings, anything you do with your hands on a table.
Use an articulated arm clamped to the desk. It holds the camera steady right above your work surface.
Keep the desk surface clean and pretty. It is the whole background. A nice mat or wooden board helps a lot.
Light the desk evenly from both sides. One sided light makes harsh hand shadows across your work.
Mark your filming area on the desk with tape. Keep hands and items inside the frame lines.
Film in 4K if you can. Top down videos get cropped and zoomed a lot in editing. Extra pixels save you.
Test the arm weight with your camera before filming. A slipping arm ruins a take and can hurt your gear.
Pair overhead shots with talking head clips. Cut between the hands and the face. That rhythm keeps viewers watching.
This rig also works for flat lay photos. Your thumbnails and product shots get a big upgrade.
21. The Standing Video Zone
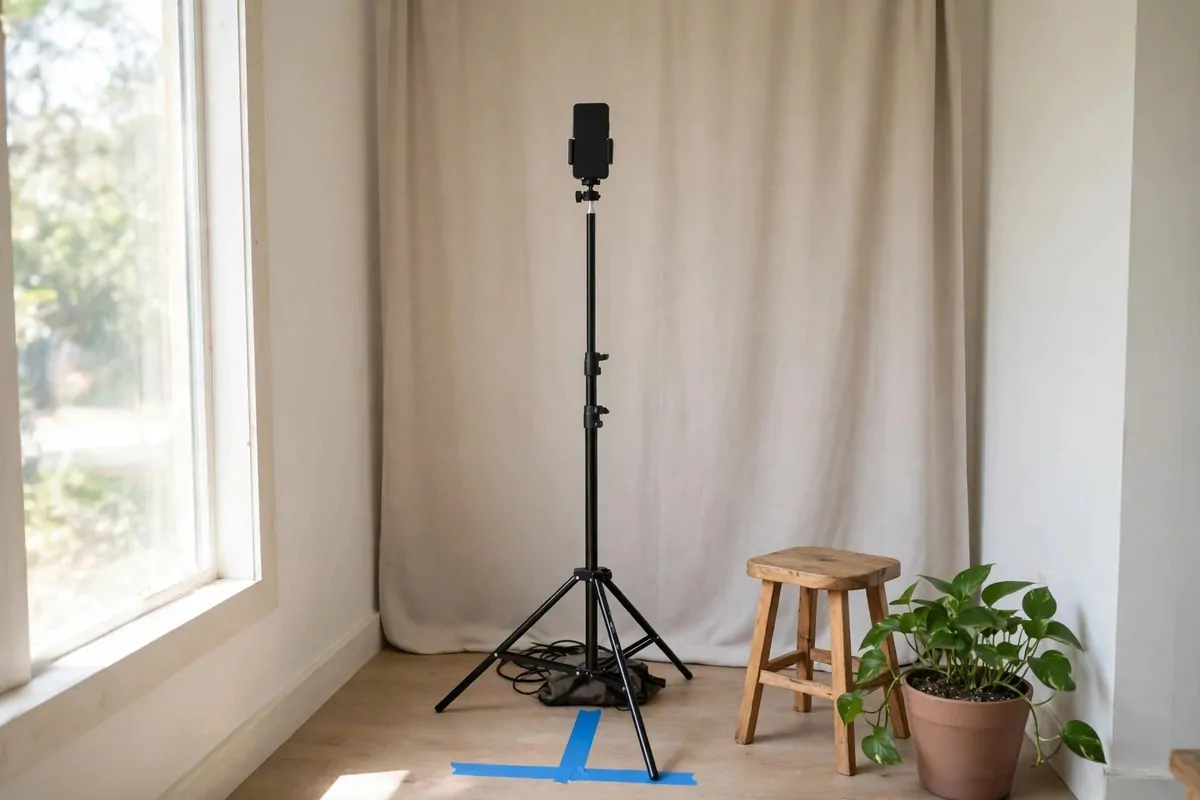
Some videos need you on your feet. Dances, outfits, demos, full body shots. Give them a zone.
Clear one patch of floor and keep it clear. This is your standing area. No furniture creeping in.
Use a tall tripod or a vertical phone mount. Frame from head to toe with a little space above your head.
A plain wall or curtain behind you keeps the focus on you. Busy backgrounds fight movement.
Good light matters even more standing up. A window to one side plus a soft fill light works well.
Wear shoes that are quiet on your floor. Clicky heels echo in videos. Soft soles keep audio clean.
Mark your spot with tape. Standing videos drift. The mark keeps you in frame.
This zone doubles for live streams. Stand, move, show products. Energy reads better on your feet.
Keep a small stool nearby for breaks. Long filming days need rest between takes.
If space is tight, film standing videos in a hallway or against a closet door. The zone is a habit, not a room.
22. The Warm 2700K Cozy Corner
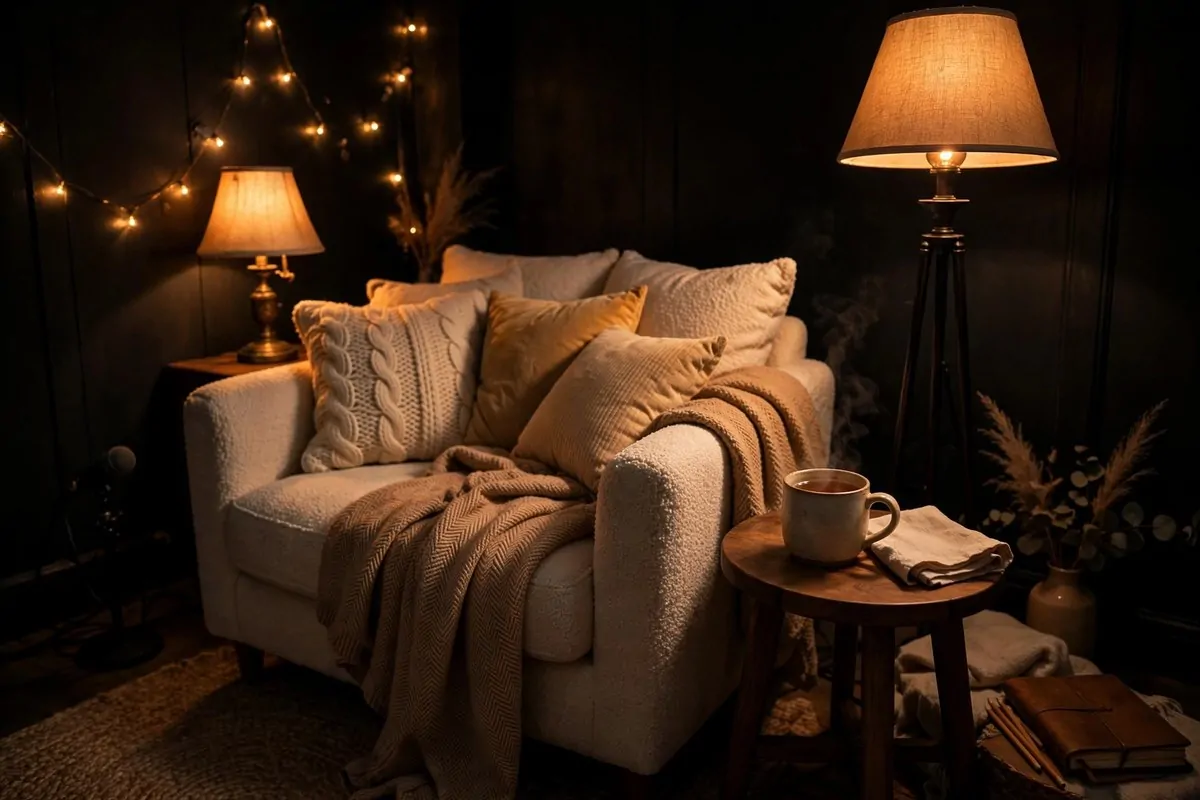
Color temperature changes mood. Warm 2700 Kelvin light feels like evening, candles, and calm.
Build one corner around warm light only. A table lamp, a floor lamp, string lights. All warm bulbs.
This corner is perfect for night filming, cozy chats, book content, journal videos, slow living topics.
Cool daylight feels like morning and energy. Warm light feels like night and comfort. Pick per video mood.
Turn off all cool white lights when filming here. Mixed temperatures look wrong on skin.
Add soft textures. Blankets, cushions, a knit throw on the chair. Warm light plus soft fabric is pure cozy.
A small side table holds tea or coffee as a prop. It completes the scene.
Film with the room dark except this corner. The pool of warm light looks like a movie set.
This is also where you edit. A cozy editing corner makes long nights easier.
Warm bulbs are cheap. Swapping your bulbs is the fastest mood change in this whole list.
23. The One-Touch Recording Desk
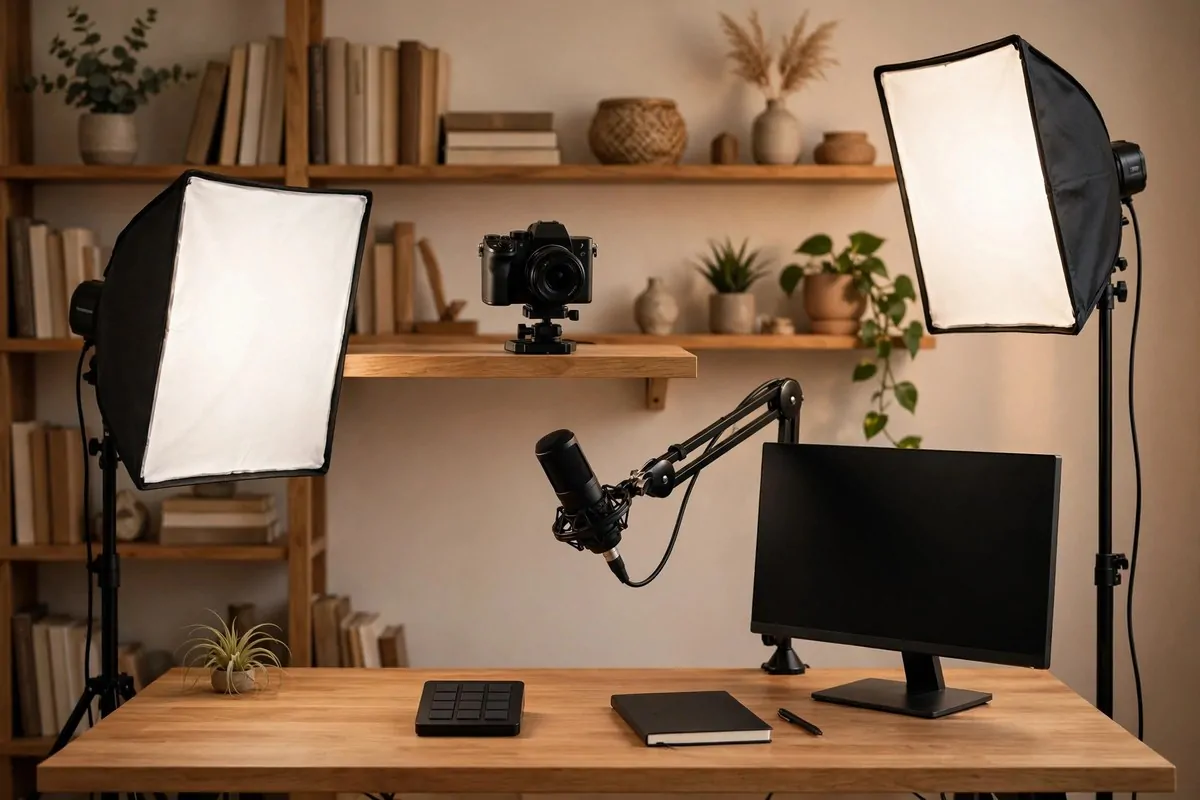
The best filming room is one where you press one button and start. Build toward that.
Mount everything to the desk or a shelf. Camera mount, mic arm, lights. No tripods on the floor. Nothing to set up.
Use a control pad or smart plugs. One button turns on both key lights and the background light strip.
Keep your framing locked. The camera never moves, so every video starts perfectly framed.
Face the camera toward your styled background. Design the background for the camera frame, not for the room.
Keep your most used items within arm’s reach. Camera, mic, laptop, water. Filming should feel easy.
A tidy desk films well and feels good. Clear it at the end of each day so tomorrow starts clean.
This setup removes excuses. When recording takes ten seconds, you record more often.
Start small and add one mount at a time. Camera arm first, then mic arm, then lights. It grows with you.
Consistency is the quiet secret of big channels. Same light, same angle, same sound, every video.
| Setup Stage | What to Mount First | Time Saved Daily |
|---|---|---|
| Stage 1 | Camera on a shelf mount | 5 minutes |
| Stage 2 | Mic on a desk arm | 3 minutes |
| Stage 3 | Lights on smart plugs | 7 minutes |