30 Office Ideas That Look Expensive but Cost Almost Nothing

The most expensive-looking office I know has a desk that cost less than a pair of trainers.
No, really. It is a plain wood top sitting on two white drawer units. The whole thing was built in one weekend. And when people see it on video calls, they ask where she had it made. Custom, they think.
Here is the secret I learned from that office, and from a hundred photos I have saved since. An expensive look is not about money. It is about a short list of cheap moves that tell your eyes one story: this room was planned.
These 30 office ideas are that list. Every one costs almost nothing. Try the ones that make you smile first.
1. Paint One Wall a Rich Colour
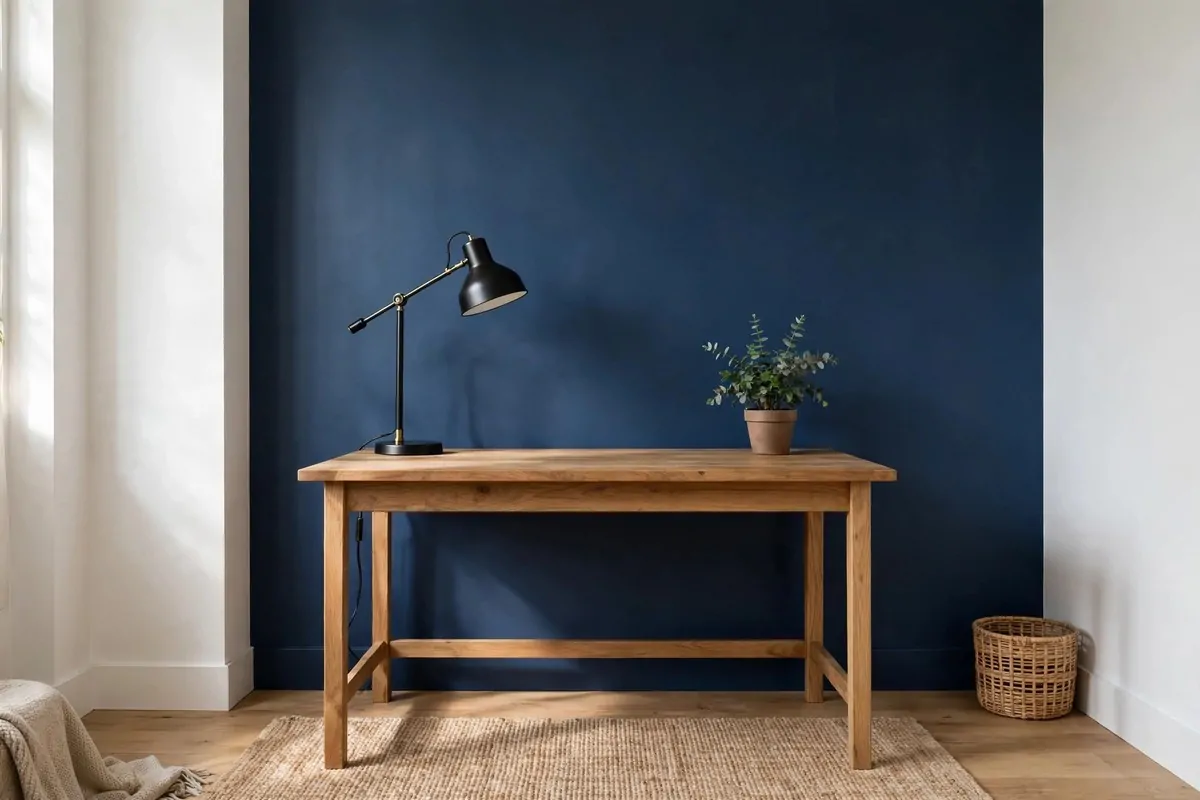
One tin of paint is the cheapest designer trick I know. It costs less than dinner out. And it changes a room more than almost anything else.
Painters will tell you to start with the wall behind your desk. That is the wall your camera sees. It is also the wall you face all day.
Pick a colour with depth. Deep navy. Forest green. A warm charcoal. These shades read as rich and calm at the same time.
Here are colours that always look expensive in an office:
- Deep navy, for a calm and focused feel
- Forest green, for a rich and natural look
- Warm charcoal, for a modern and cosy mood
- Deep plum, for a bold and creative touch
You do not need to paint the whole room. One wall is enough. Honestly, one wall often looks better than four, because it looks like a choice.
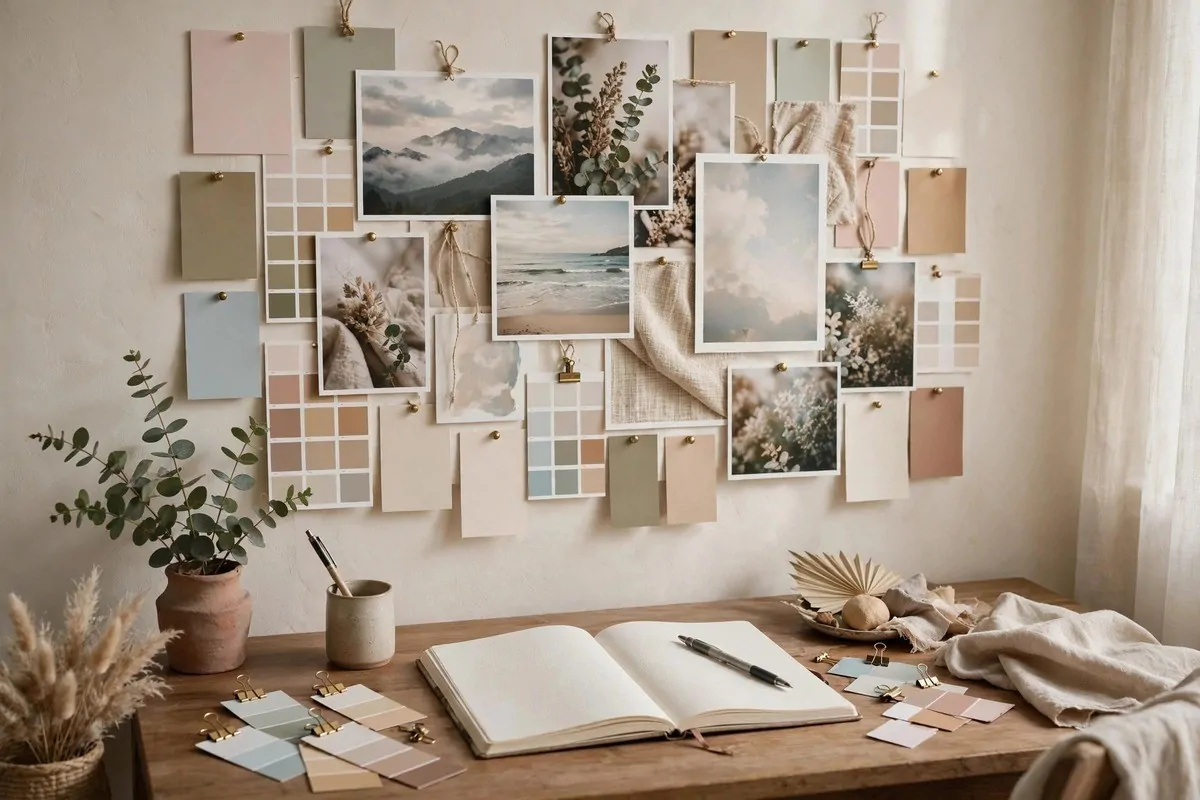
Sample pots help a lot here. Paint a big square of each colour you like. Then look at it in the morning and again at night.
The light changes everything. A green that looks perfect at noon can look muddy at six. Live with the square for two days before you decide.
Once it is up, keep the other walls simple. White or soft cream lets the dark wall do the talking. And your desk pops against it like it costs three times more.
2. Build a Cheap Wood Slat Wall
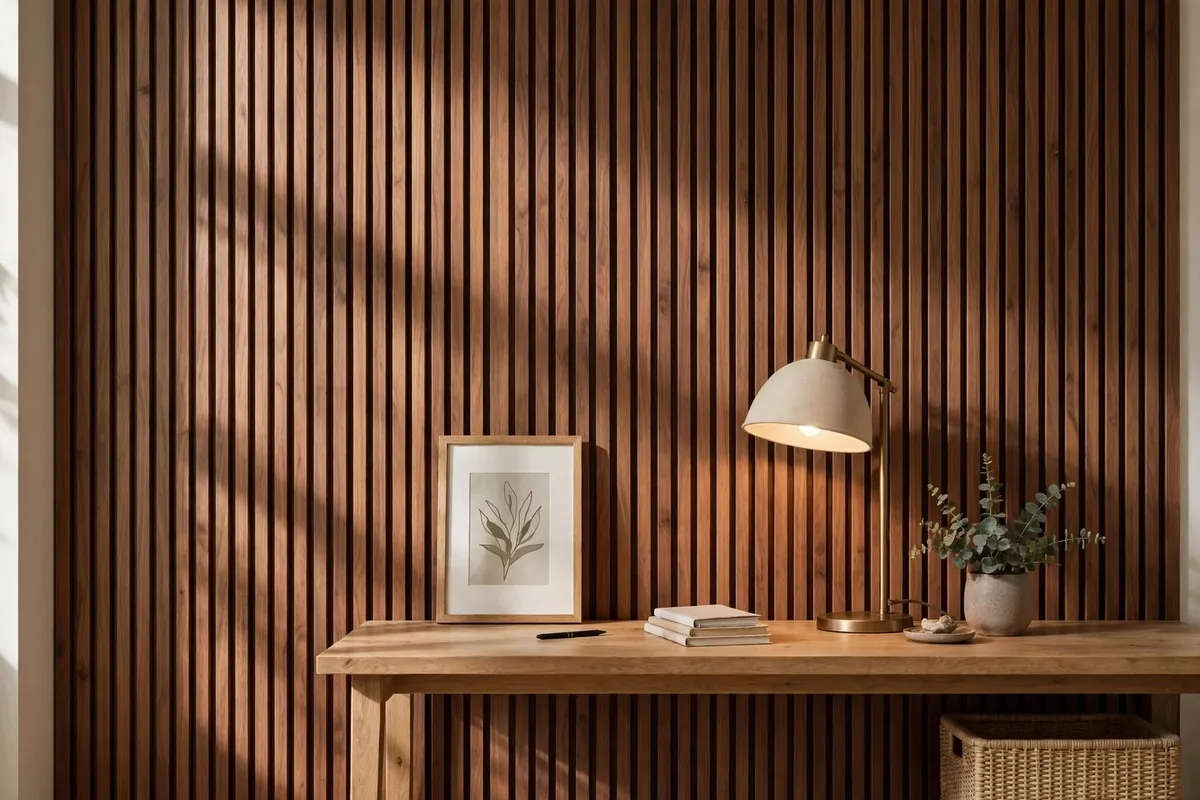
Wood slat walls look like they came from a fancy restaurant. They also cost a lot less than you think. I have seen them built from simple timber strips.
You buy thin strips of wood from a hardware shop. You fix them to the wall in a straight line, with small gaps. That is the whole project.
Stain them a warm walnut colour. Or paint them the same shade as your wall for a softer look. Both look expensive in photos.
This works best behind the desk. It gives your video background instant texture. Flat walls look plain. Slats look planned.
Measure twice before you cut anything. Slats that wander off straight look homemade in a bad way. A level is your best friend here.
You can do one panel section instead of the full wall. A rectangle of slats behind the desk is enough. It reads as art.
And here is a trick nobody tells you. Leave a small gap between each slat. The shadows in the gaps are what make it look rich. Tight and flat looks cheap. Spaced and deep looks like a designer did it.
And once it is up, step back and look at it from the doorway. That is the view that matters most, because it is the first thing anyone sees.
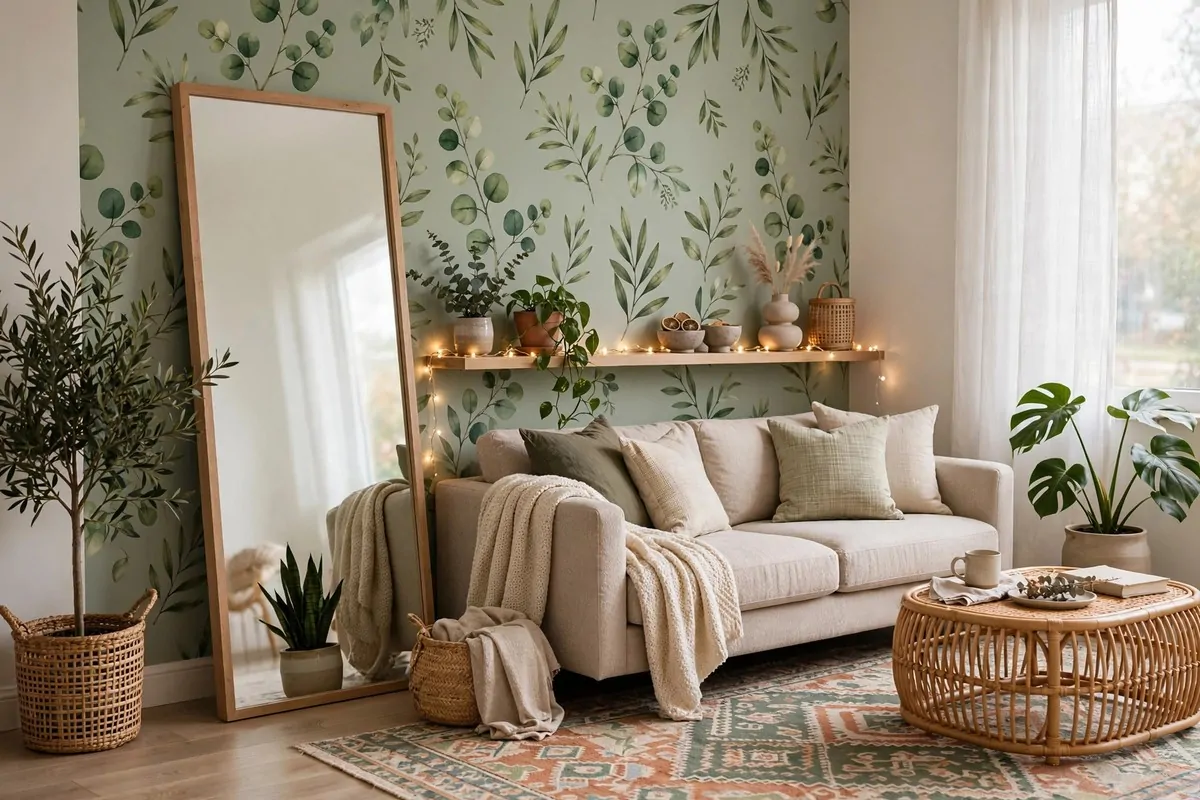
3. Try Peel-and-Stick Wallpaper Behind Your Desk
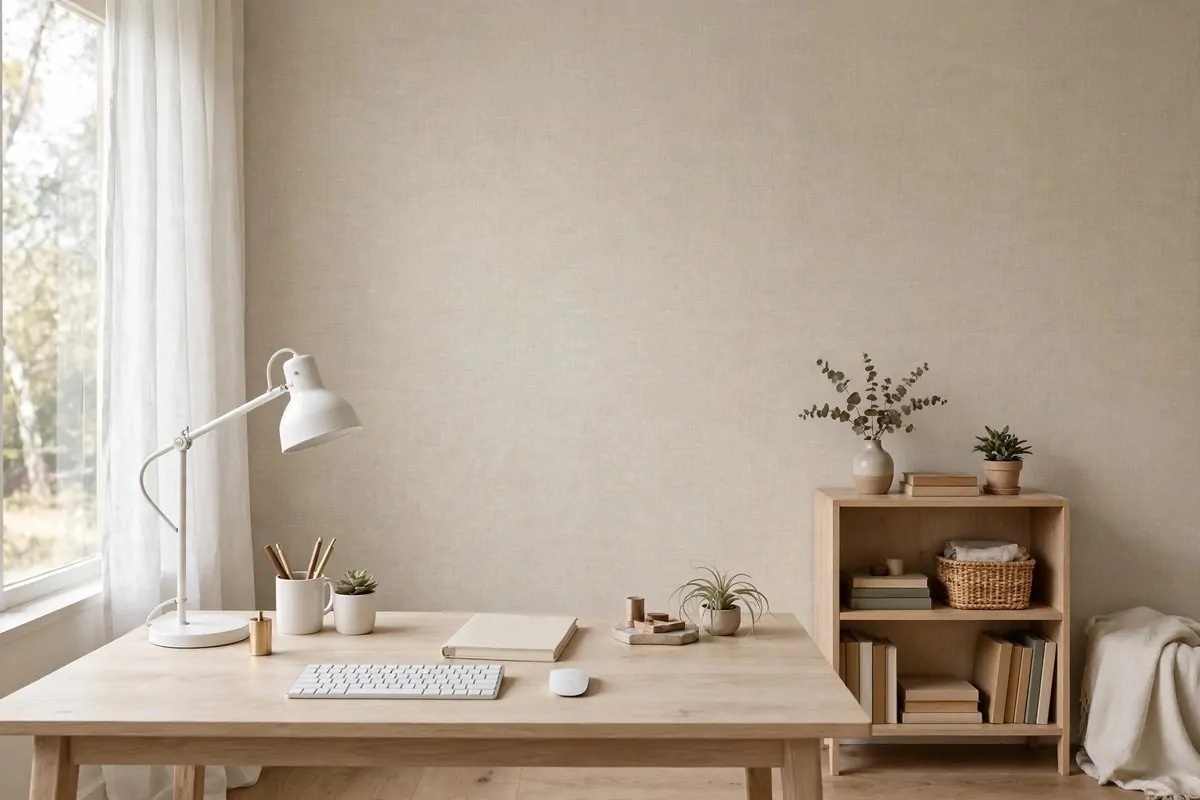
Peel-and-stick wallpaper is made for people like us. It goes up fast. It comes down clean. And some of the patterns look properly high-end.
Renters, this one is yours. Landlords hate paint but they cannot argue with wallpaper that peels off. Check your lease first, but most of these are safe.
Look for patterns that copy expensive looks. Linen texture. Subtle grasscloth. Soft geometric prints. These read as wallpaper from far away, which is the point.
Put it on one wall only. The wall behind your desk is the star. Covering every wall in pattern can make a small office feel busy.
Start at the top and smooth down slowly. Air bubbles are the enemy. A plastic card or even a book cover pushes them out as you go.
Match the pattern at each seam if you can. It takes an extra minute per strip. It makes the whole wall look like one real wall, not pieces.
When friends ask how much the decorator cost, just smile. Let them guess. The fun of this trick is that nobody ever guesses right.
If a strip starts to peel at the edge later, press it back down with a warm cloth. Heat wakes the glue back up.
4. Swap the Overhead Light for a Warm Pendant
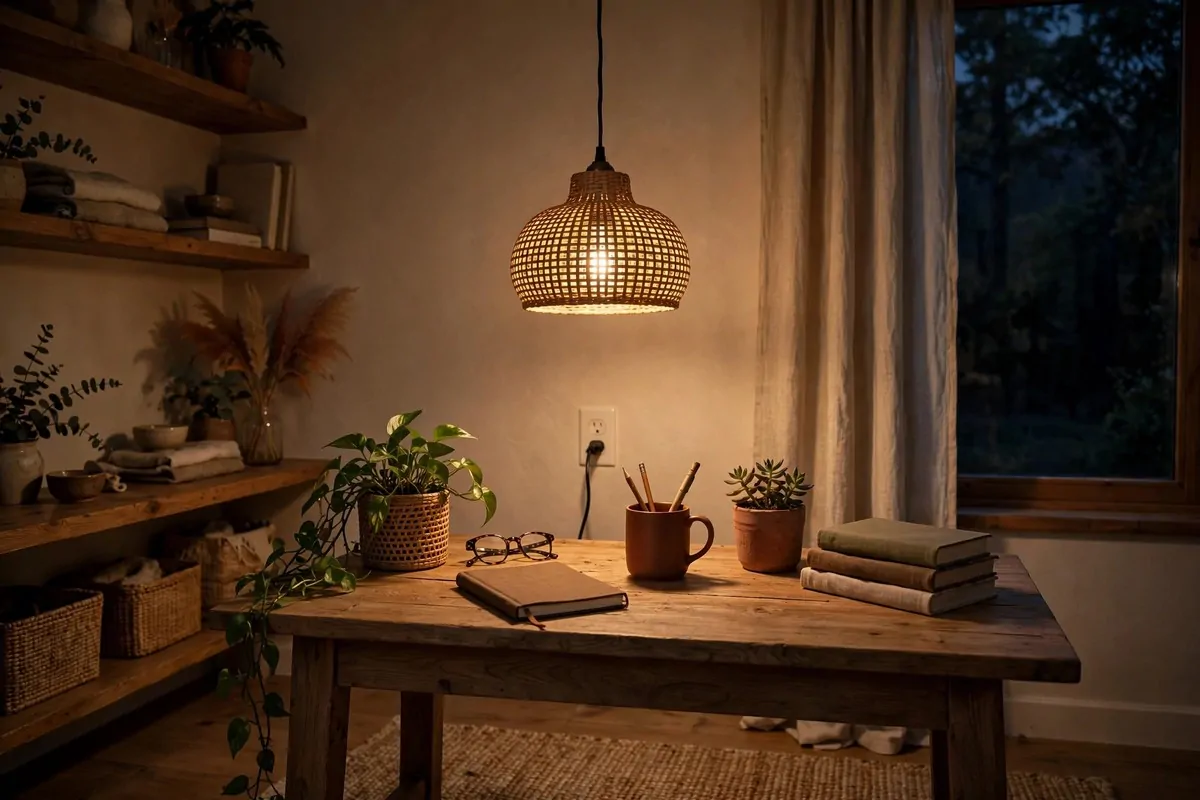
Harsh ceiling light is the number one thing that makes offices look cheap. It flattens everything. It makes faces look tired on camera.
A warm pendant lamp fixes this fast. You do not need an electrician. Plug-in pendants hang from a hook and plug into a wall socket. Done.
Pick a shade with a nice shape. A simple dome. A woven basket shade. A paper globe. The shade is what your eye sees, so make it pretty.
Hang it low over the desk, but not so low you bang your head. About a metre above the desk is a good start. Move it until it feels right.
Use a warm bulb. Look for 2700K on the box. That number means warm and cosy, like lamplight. Cool white bulbs make rooms feel like a dentist’s office.
This one change does two jobs at once. It gives you better light to work by. And it looks like a design choice instead of a landlord’s ceiling fixture.
Honestly, if you only try one idea from this whole list, make it this one. Light changes everything else in the room.
Thrift shops often have pretty pendant shades for very little. The shade is the part you see, so hunt for a good one.
5. Layer Your Light Like a Designer
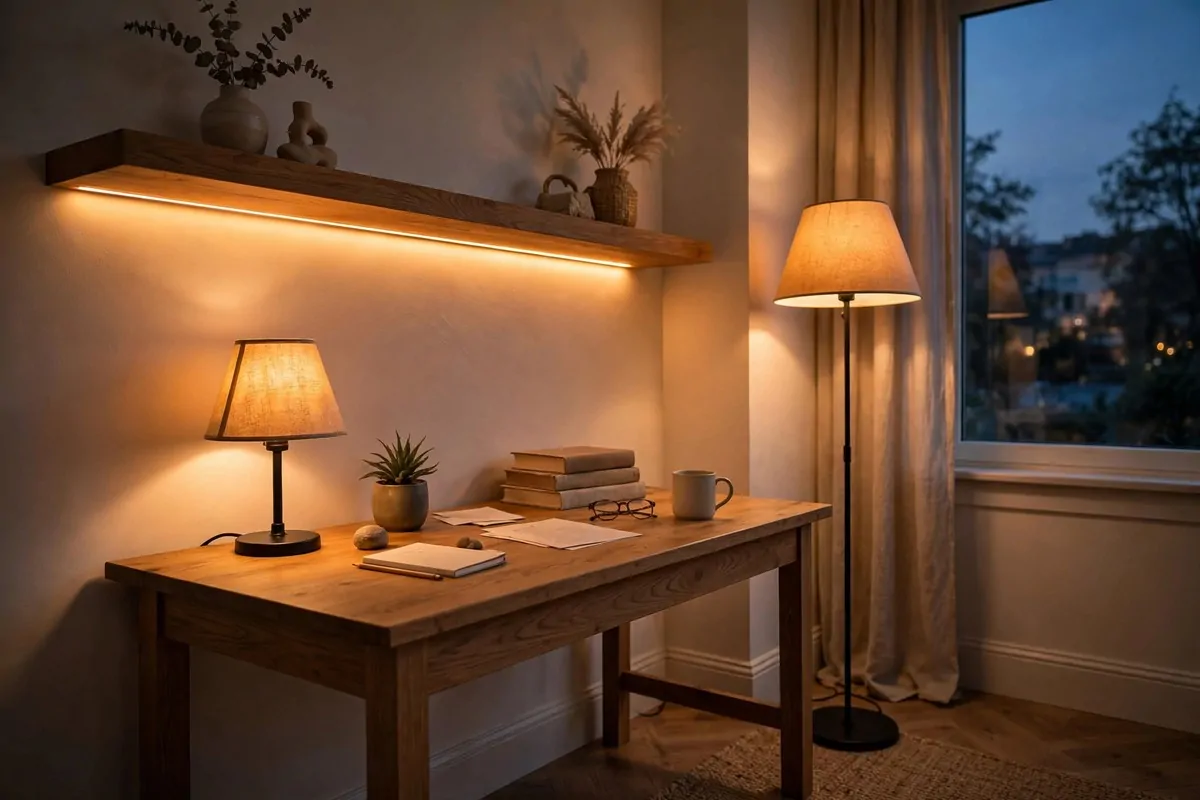
Designers never use one light. They use three. And you can copy them with cheap lamps.
Think of it like this. You need task light for work. That is a desk lamp. You need ambient light for the room. That is a floor lamp or pendant. And you need a little glow for mood. That is an LED strip or a candle.
Start with what you have. Then add one layer at a time. Even a small LED strip under a shelf counts. It costs very little and it glows like a custom build.
Put the LED strip where it hides. Under a floating shelf. Behind the monitor. The light should show, not the strip. Hidden light always looks fancier.
Match the warmth of all your bulbs. Mixing warm and cool light looks messy. Check the boxes and keep them all around 2700K.
Turn off the ceiling light when you can. Two warm lamps beat one bright ceiling every time. Your office will feel like a study in a nice hotel.
And one more thing. A small lamp with a fabric shade on a shelf adds height to your light. Tall light makes a room feel taller. It is a silly little trick that really works.
Try the room with just the layered lamps one evening. You will not want the ceiling light back on.
6. Build a Countertop Desk on Two Drawer Units
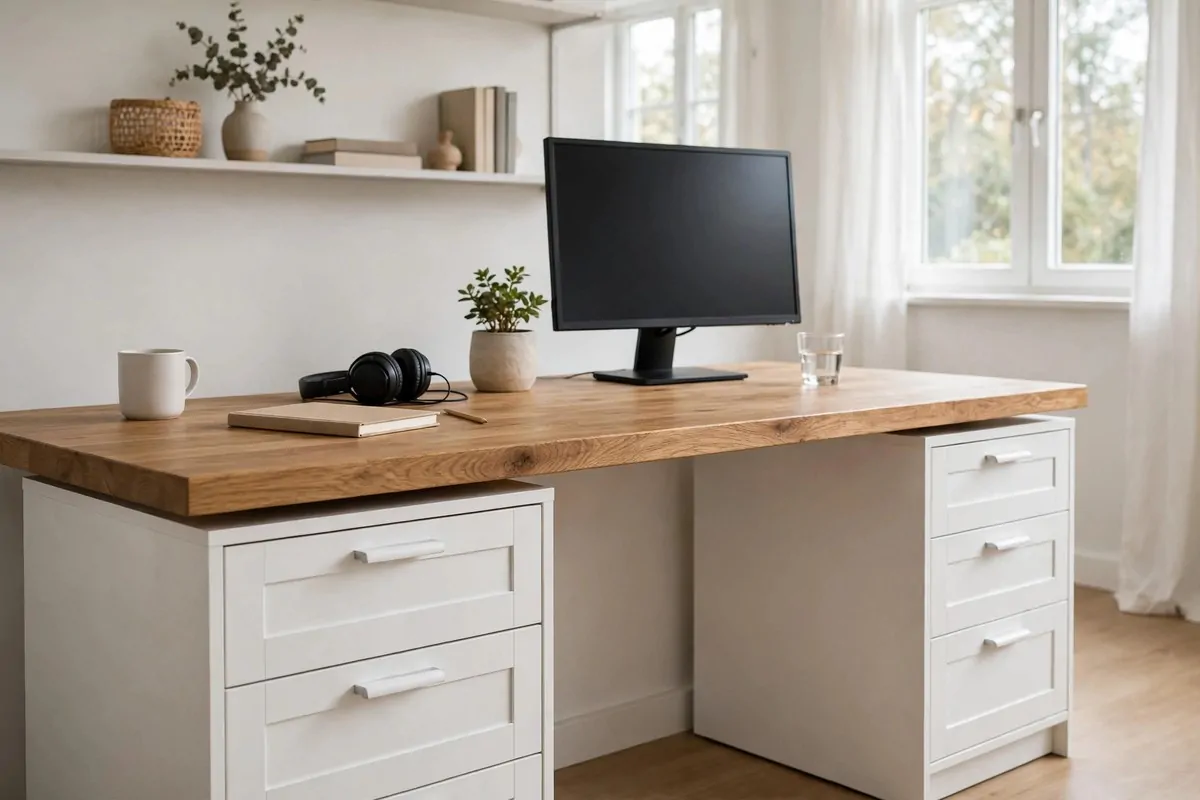
This is the desk hack from my intro. A long countertop. Two drawer units. That is a desk.
Hardware shops sell laminate and wood countertops in long lengths. They are made for kitchens, but they make brilliant desks. Strong, smooth, and cheap for the size.
The drawer units go underneath, one at each end. They hold the top up and they swallow all your supplies. Two birds, one desk.
Pick units in white or light grey. They fade into the background. Then the wood top gets all the attention.
Leave a gap in the middle for your legs. If the top is long enough, you get a big stretch of legroom. Comfort matters when you work here all day.
You can make this as wide as your wall. Six feet of desk sounds like a dream, and it costs less than most small desks from a furniture shop.
People will assume it is custom. Let them. The secret stays between us.
And if you ever move, it comes apart in two minutes. The top lifts off. The units roll away. Try doing that with a real custom desk.
7. Raise Your Screen with a DIY Monitor Riser
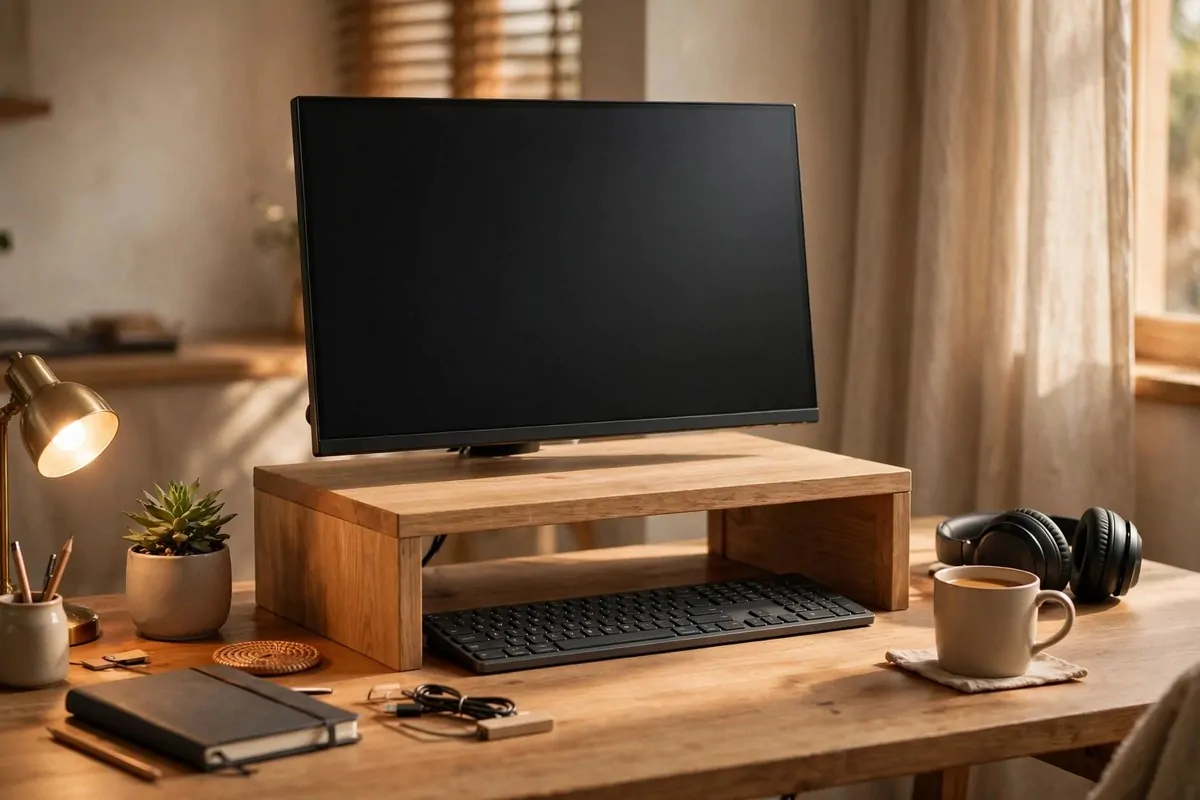
A screen sitting flat on a desk looks basic. A screen raised on a neat shelf looks styled. Funny how such a small thing changes the whole desk.
You can buy a riser, but you can also make one from a shelf board and two small blocks. Paint it white or stain it to match your desk.
The riser does two jobs. It lifts your screen to eye level, which your neck will thank you for. And it makes a cubby underneath for your keyboard and bits.
Slide your notebook under there when you are done. Slide the keyboard in too. Suddenly the desk is clear. Clear desks always look expensive.
If you buy instead of build, look for one with a drawer. The drawer eats the small stuff that clutters a desk. Pens, chargers, sticky notes, all gone.
Match the riser to your desk colour if you can. Matching looks built-in. Clashing looks like an afterthought.
Keep the top of the riser tidy. One small plant or one framed photo is enough. The screen is the star here.
And wipe the riser when you dust the desk. A dusty riser under a clean screen looks odd.
8. Hang a Pegboard for Your Supplies
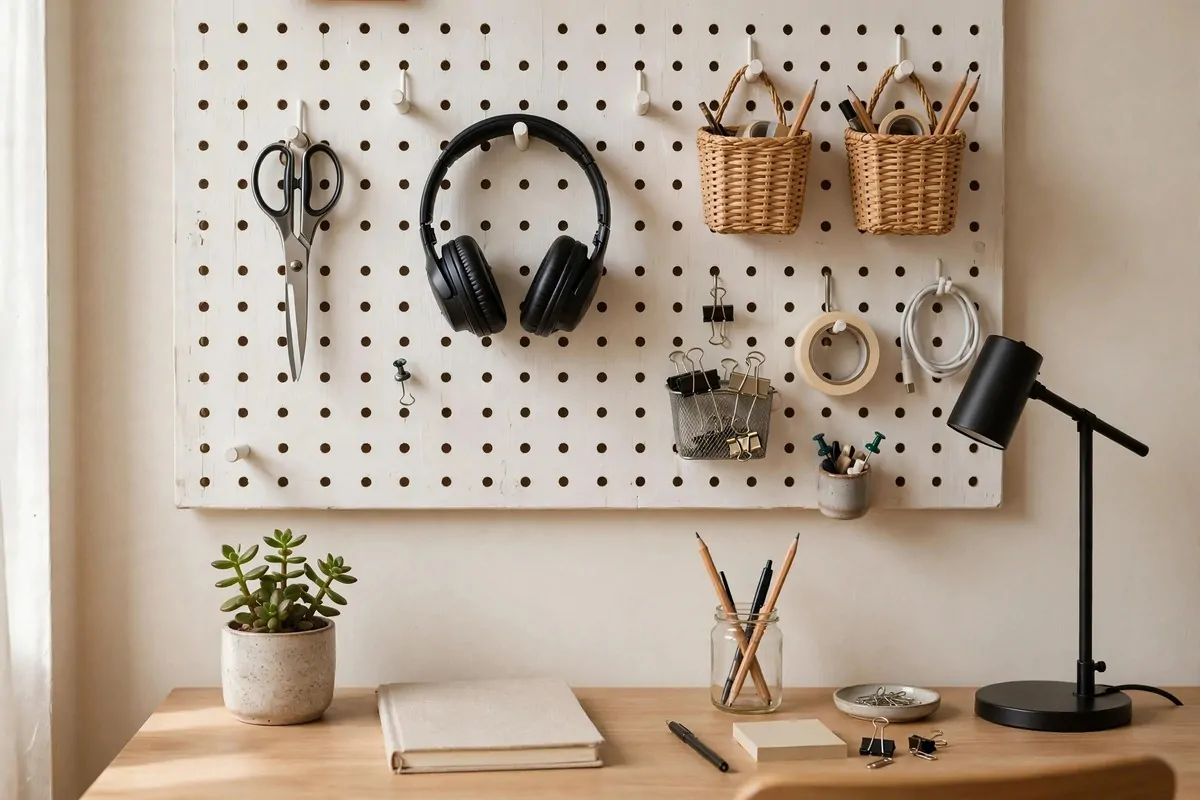
Pegboards used to live in garages. Now they live in pretty offices. Funny how things change.
A pegboard turns a blank wall into storage. Hooks hold scissors, headphones, cables, and little baskets. Everything hangs neat and visible.
Paint it before you hang it. White looks clean. A soft colour like sage looks designed. Raw brown board looks fine too if your style is rustic.
Plan your layout on the floor first. Lay the board down and arrange the hooks. It is much easier than guessing on the wall.
Leave some empty space on purpose. A pegboard crammed full looks like a shop. One with breathing room looks like a studio.
This is one of the cheapest wall upgrades there is. The board itself costs little. Hooks come in big packs.
And it keeps your desk clear, which is the real win. Every item on the pegboard is one item off your desk. Clear desk, expensive look.
Hooks come loose over time, so check them once a month. A quick push back on keeps everything neat.
9. Mount Floating Shelves and Style Them Well
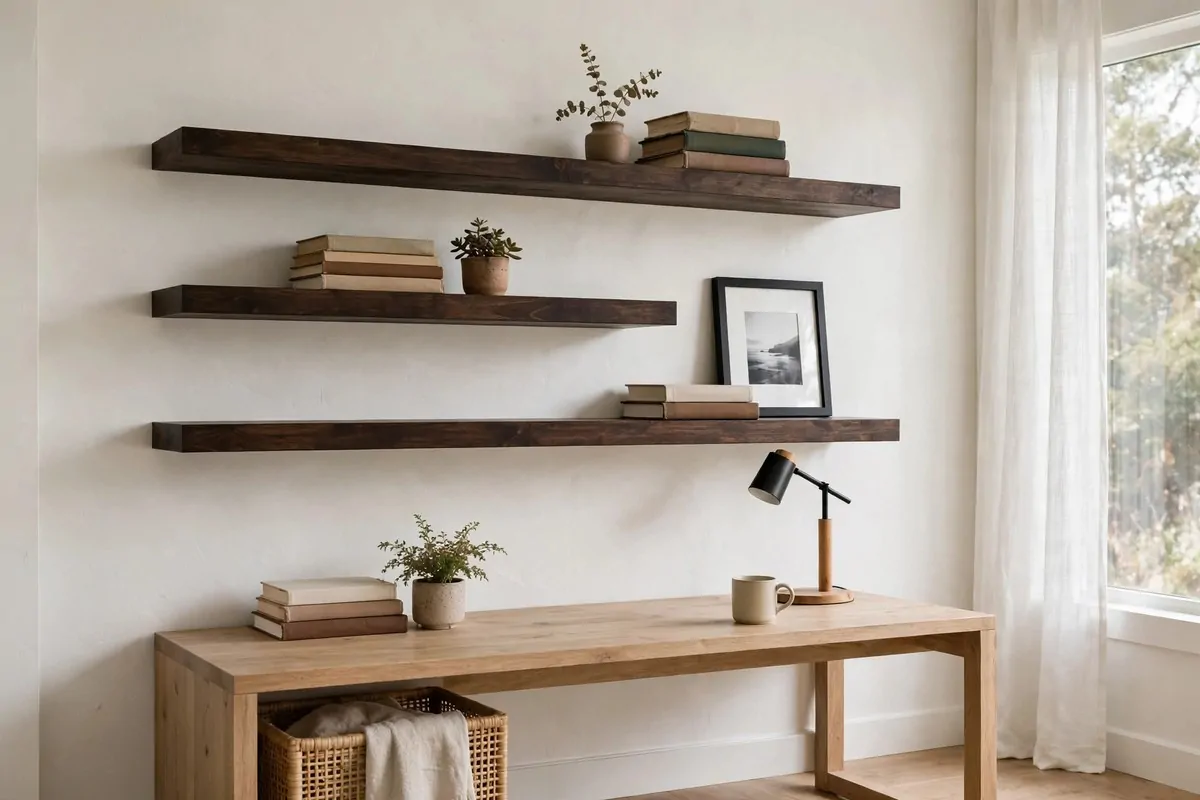
Floating shelves are magic in small offices. They hold books and pretty things. They take zero floor space. And they look custom.
Buy plain wood shelves and stain them dark. Dark wood on a light wall looks rich. It is the contrast that does the work.
Hang two or three in a row above your desk. Keep them level or the whole thing looks wrong. A level costs little and saves tears.
Now the important part. Style them like a shop window. Books stacked sideways. A small plant. One framed photo. Leave gaps.
Shelves packed edge to edge look like storage. Shelves with air between things look like decor. Aim for decor.
Put heavy books on the lower shelf. Light decor up top. It feels balanced to the eye. Nobody knows why, but it works.
Dust them now and then. Dusty shelves give the game away fast. A quick wipe keeps the illusion going.
If a shelf starts to sag, add a small bracket in the middle. Nobody sees it, and it keeps the line straight.
10. Refinish a Thrifted Wooden Desk
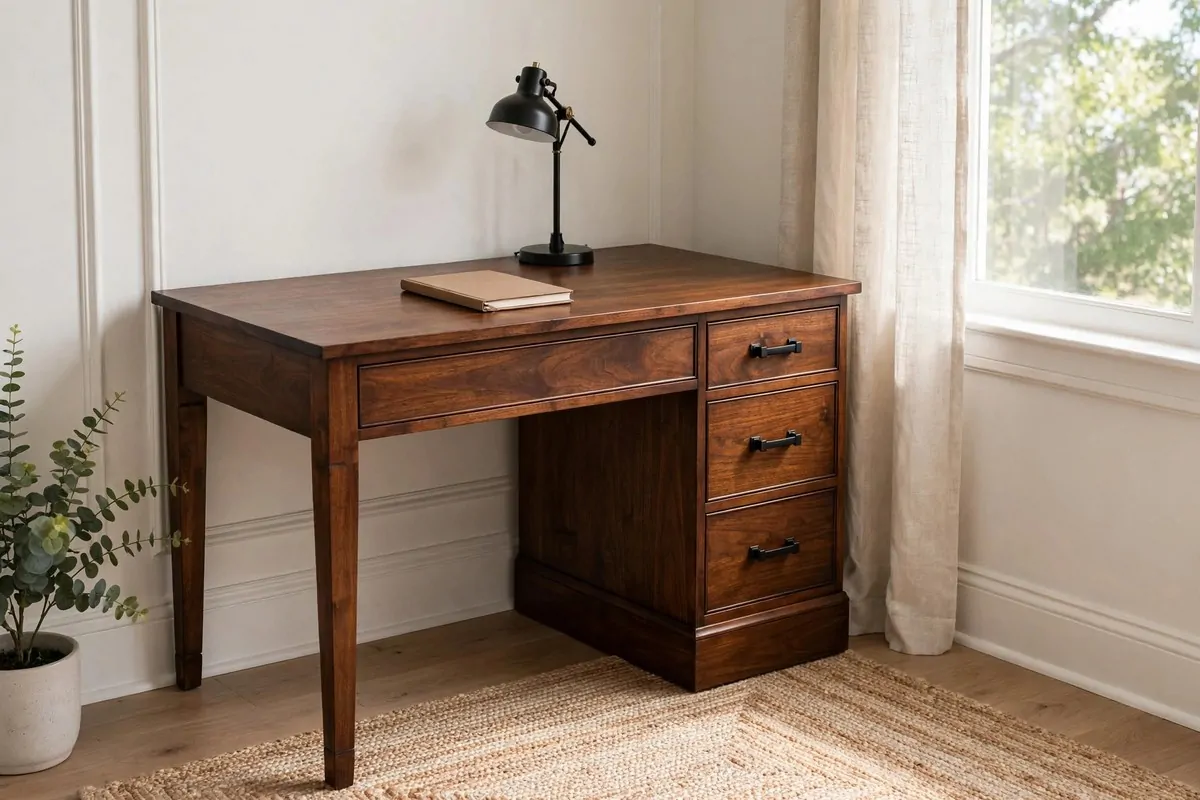
Thrift shops are full of solid wood desks. Heavy, strong, and built to last. They just look tired.
That is your opportunity. A tired desk plus one weekend of work equals a desk that looks like it cost a fortune.
Sand it lightly first. You do not need to strip it to bare wood. Just rough the surface so new paint or stain can grip.
Paint it a rich colour if the wood is rough. Deep green or navy hides a lot of sins. Stain it if the grain is pretty.
New handles are the finishing touch. Swap old knobs for matte black or brass pulls. It is the fastest way to make old furniture look new.
This desk will outlast most new desks too. Real wood beats flat-pack board every time. You get the look and the quality.
Honestly, thrifted wood is my favourite expensive-look trick. It has weight and grain that new cheap furniture cannot copy. Your office will feel solid.
Check the drawers before you buy. Smooth drawers mean a well-made desk. Sticky ones mean a project.
11. Paint a Plain Bookshelf
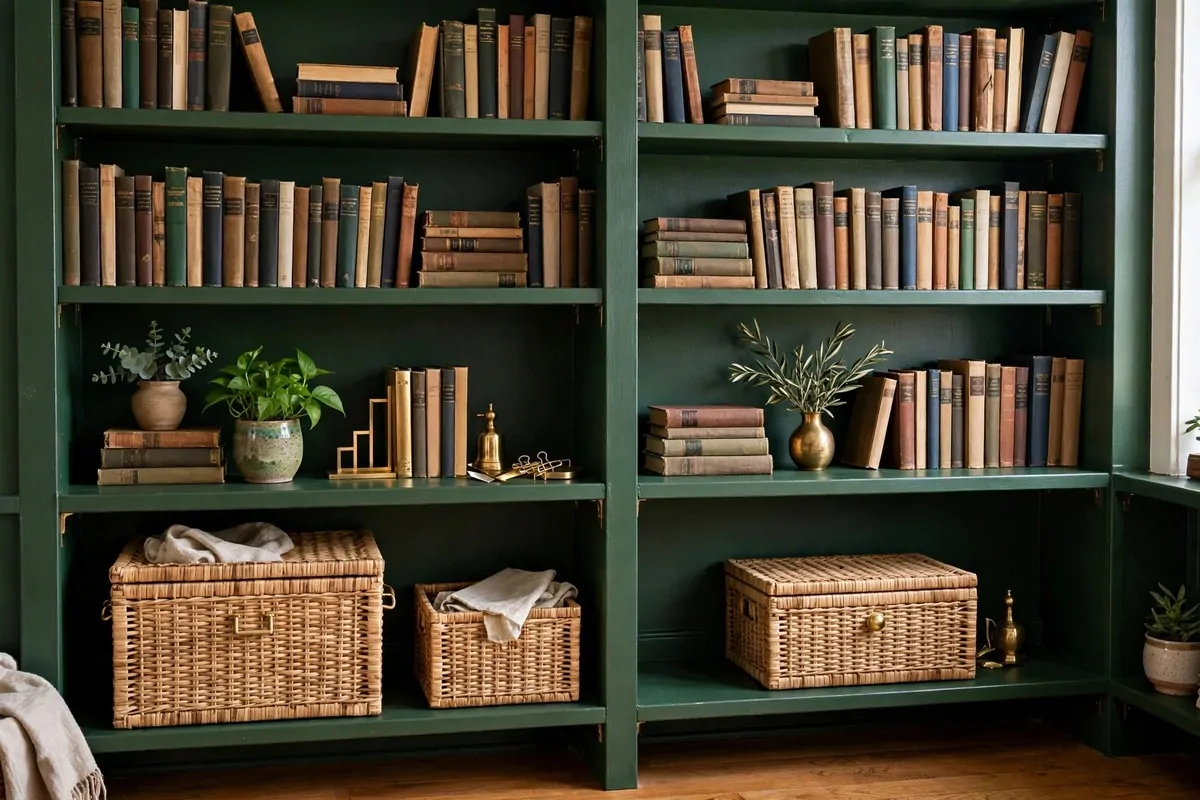
Everyone owns a plain bookshelf. White, a bit wobbly, a bit boring. Paint changes that in one afternoon.
Pick a bold colour. The same deep shades work here. Green, navy, black. A dark bookshelf against a light wall looks like a library piece.
Take the shelves out before you paint. Paint the frame first, then the shelves. Put it all back when it is dry.
Here is a designer trick. Paint the back panel a different shade. Dark back, lighter frame. It makes the books pop forward.
Fill it with intention after. Some shelves with books. Some with a plant or a box. Not every shelf needs to be full.
Matching storage boxes on the bottom shelves hide the ugly stuff. Cables, papers, chargers. Out of sight, out of mind.
Step back when you are done. That flat-pack shelf you ignored for years now looks like furniture. Paint is powerful stuff.
Touch up chips when they happen. A dab of paint keeps it looking fresh for years.
12. Give a File Cabinet a Makeover
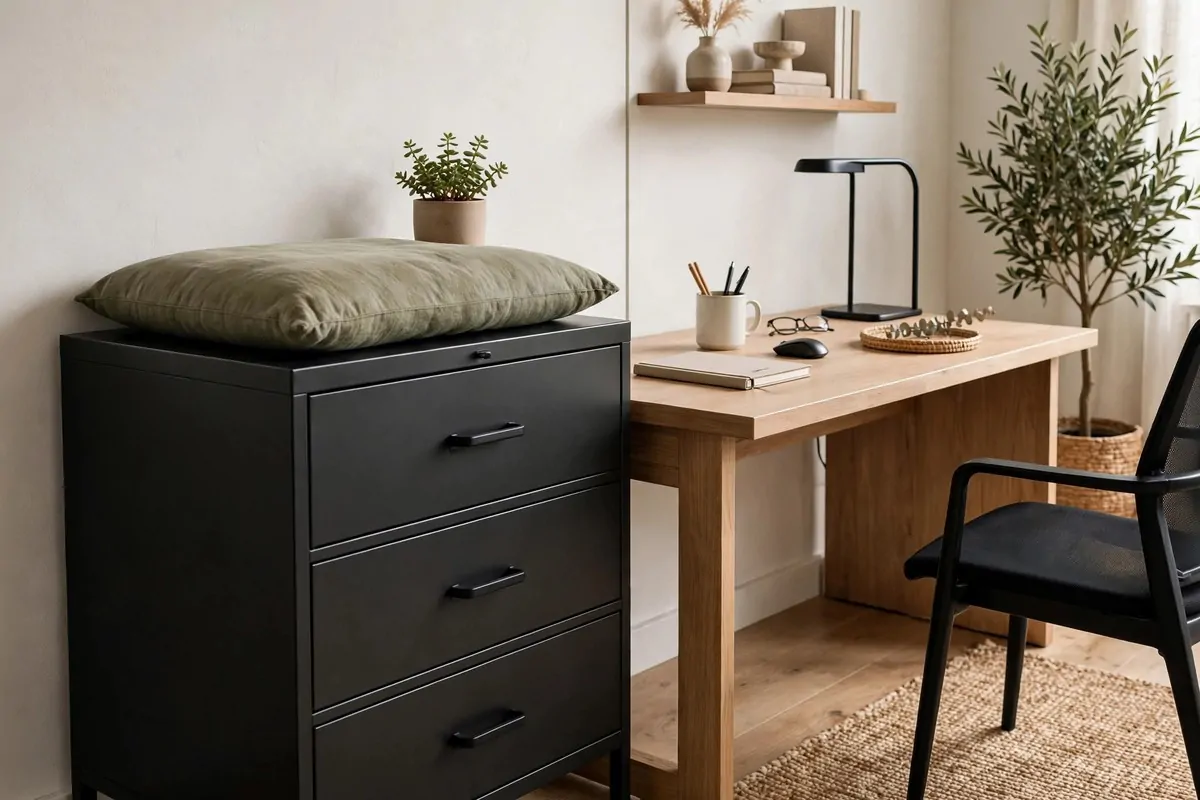
Metal file cabinets are the ugliest useful thing in any office. Grey, dented, and loud. But they are cheap and they hold everything.
Paint fixes the ugly part. Sand it lightly. Spray paint works well on metal. Two thin coats beat one thick coat every time.
Try matte black for a modern look. Or a soft cream for a calmer feel. Either one hides the office-supply vibe.
Swap the little label holders if they are bent. New ones cost almost nothing. Straight labels make the whole cabinet look cared for.
Now the clever bit. Put a cushion on top. A flat cushion in a nice fabric turns the cabinet into a seat or a side table.
Add a plant or a tray on the cushion. Suddenly it is not a file cabinet. It is furniture with a secret job.
Nobody will believe it started grey and sad. That is the whole point of this list.
Use the top as a printer stand if you need one. It holds the weight, and the cushion just lifts off.
13. Print Free Art in Matching Frames
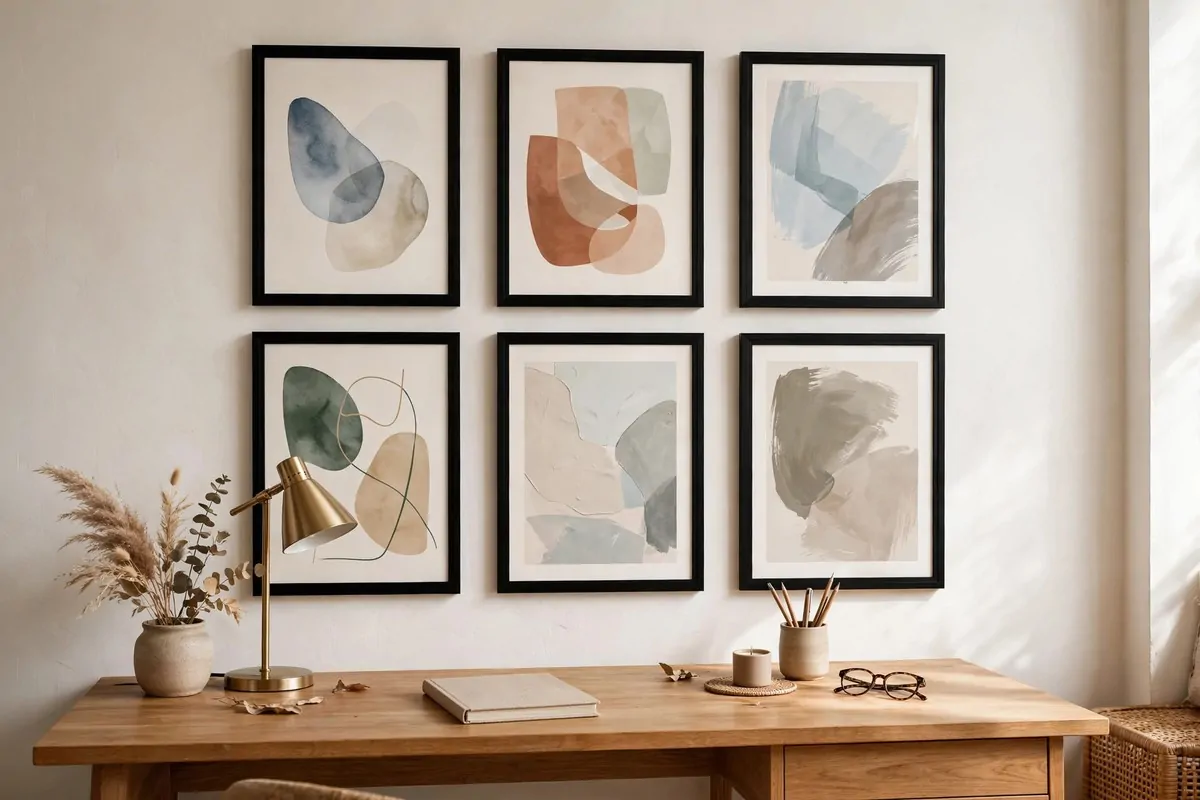
Gallery walls look expensive because they look collected. You can fake collected with free downloads and cheap frames.
The internet is full of free printable art. Abstract shapes. Line drawings. Old botanical prints. Download the ones that match your colours.
Here is the trick. The frames must all match. Same colour, same style. Matching frames make random prints look like a real collection.
Black frames with white mounts look classic. Light wood frames look soft and modern. Pick one and commit.
Print at a copy shop for bigger sizes. Home printers are fine for small prints. Bigger art has more impact, so go as big as your frames allow.
Hang them in a neat grid. Measure the gaps between frames. Even gaps look professional. Wobbly gaps look like a dorm room.
Paper templates help. Cut paper to each frame size. Tape them to the wall first. Move them around until the layout feels right. Then hang the real frames on the marks.
Straighten them once a week. Frames drift, and straight frames look far more expensive than tilted ones.
14. Paint Your Own Abstract Canvas
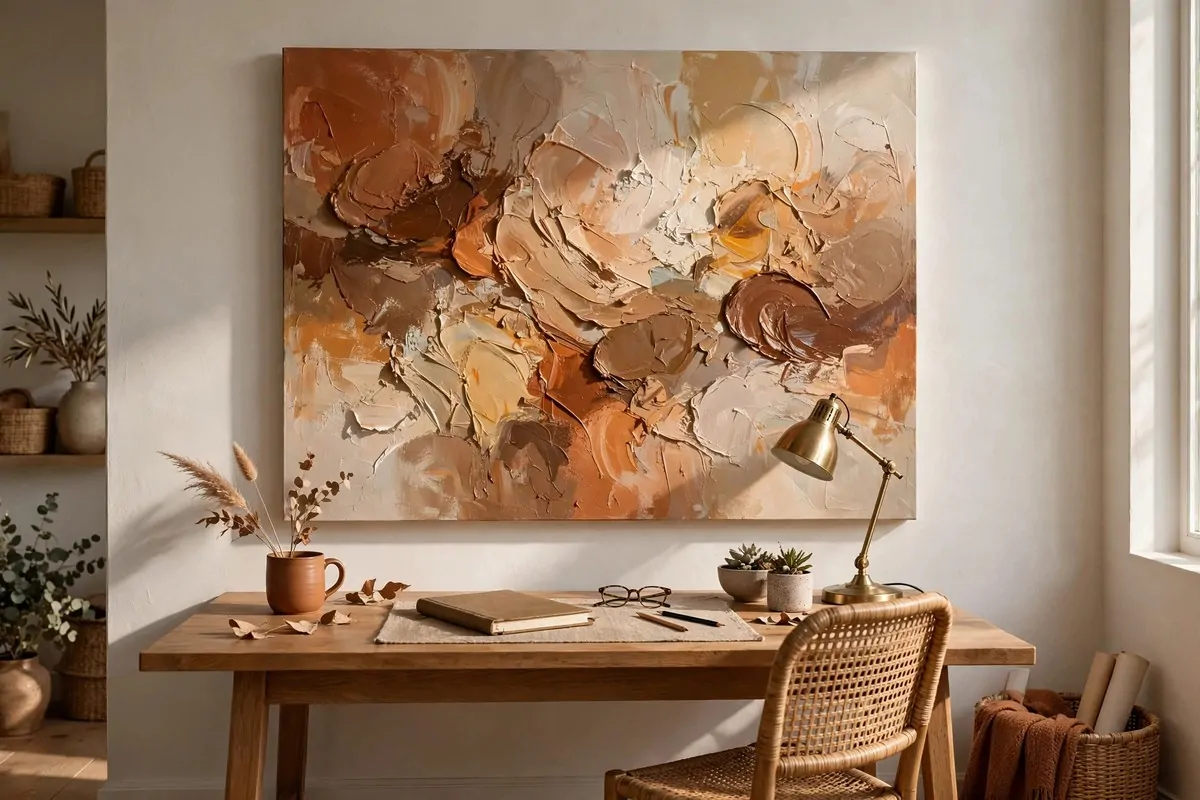
You do not need to be an artist. Abstract art forgives everything. That is the beauty of it.
Buy a big canvas when they are on sale. Big matters here. One large canvas looks braver and richer than four small ones.
Pick three colours that match your room. Then just make shapes. Big brush strokes. Arcs. Blobs. There is no wrong answer.
Step back often. What looks messy up close looks interesting from the door. Distance is kind to abstract art.
Hang it where the light hits it. A canvas with texture catches light in a way prints cannot. It looks like real art because it is real art.
Sign the corner if you feel bold. It makes you smile every time you see it. And visitors always ask who painted it.
The story is the best part. “I made that” beats “I bought that” every time. Your office gets a story, not just a decoration.
And if you hate it, paint over it. The canvas is reusable, and the second try is always better.
15. Hang One Big Mirror
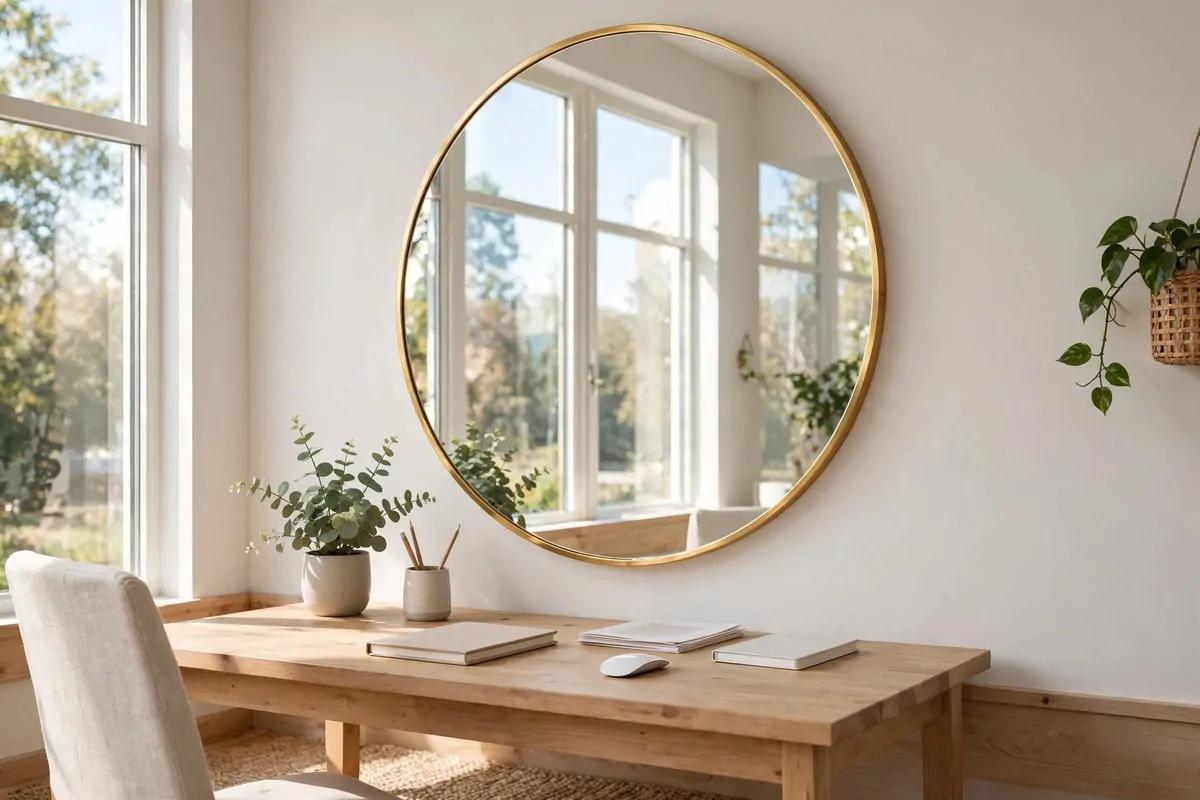
Mirrors are the oldest designer trick in the book. They double your light. They double your space. And big ones look expensive.
Hang the biggest mirror you can find, thrifted if possible. Old mirrors with simple frames are everywhere in second-hand shops.
Face it toward a window if you can. It throws daylight across the room. A bright office always feels richer than a dark one.
Lean a tall mirror against the wall if hanging feels risky. Leaning looks casual and modern. It also makes the ceiling feel higher.
Keep the frame simple. Thin black, thin gold, or plain wood. The mirror is the point, not the frame.
Wipe it clean. A smeared mirror ruins the trick. Glass cleaner and a cloth take two minutes.
Check what it reflects before you hang it for good. A mirror showing a messy corner doubles the mess. Point it at your prettiest wall instead.
A mirror near the desk also helps on video calls. It bounces soft light onto your face.
16. Swap the Handles and Knobs
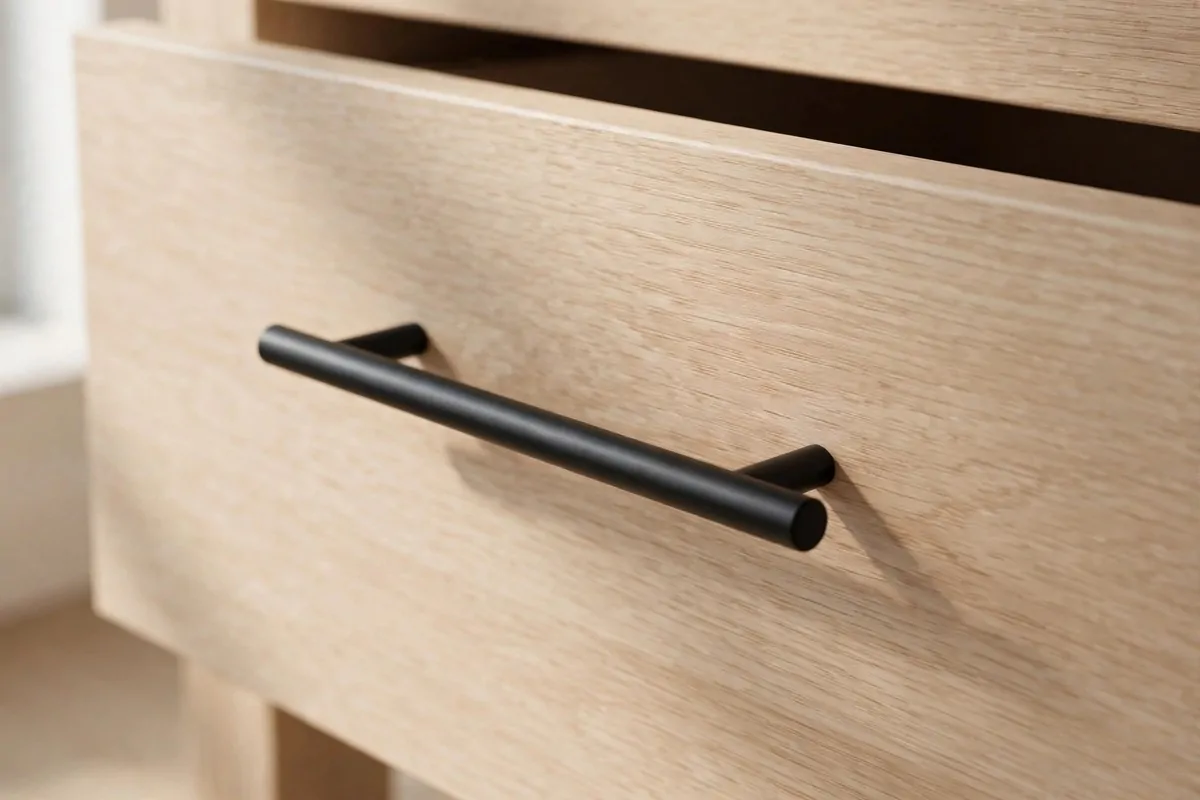
This is a five-minute job with a silly big payoff. Old handles make furniture look old. New handles make it look new.
Unscrew the old ones. Take one to the shop so the new ones fit. Then screw the new ones on. That is the whole tutorial.
Matte black handles look modern and calm. Brushed brass looks warm and rich. Both beat the shiny silver ones that came with the furniture.
Do every drawer and door in the office. Matching hardware ties mismatched furniture together. It is like they were always a set.
Keep the old screws if they are the right length. New handles sometimes come with screws that are too long. The old ones usually fit fine.
While you are at it, wipe the drawer fronts. New handles on dirty fronts look odd. Clean plus new reads as cared for.
Guests will touch the handles and notice. Small details get touched. That is why they matter so much.
Keep one spare handle in a drawer. If one ever loosens, you can swap it in seconds.
17. Fake a Marble Desk with Contact Paper
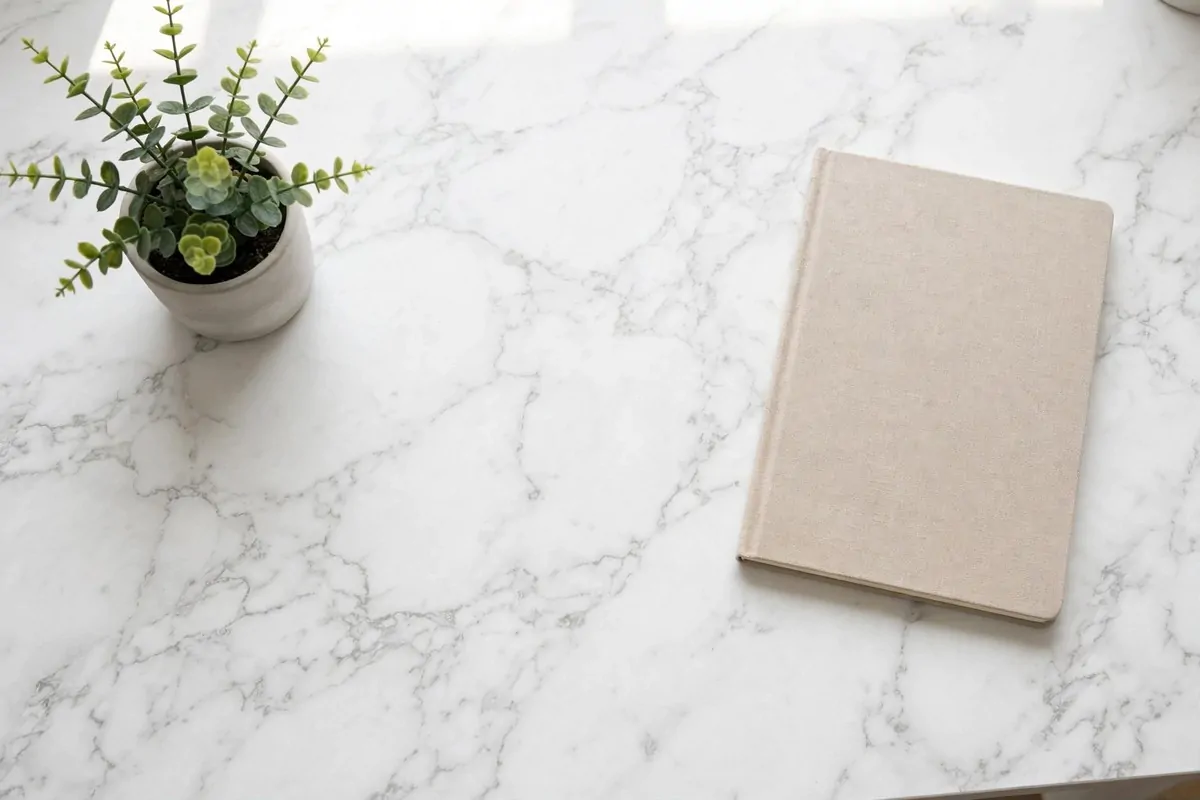
Real marble costs a fortune. Marble contact paper costs almost nothing. From two steps away, nobody can tell.
Pick a paper with soft grey veins, not harsh black lines. Soft looks like real stone. Harsh looks like plastic.
Clean the desk top first. Dust and crumbs become bumps under the paper. Wipe it down and let it dry.
Peel and stick slowly. Smooth with a cloth as you go. A credit card pushes out bubbles nicely.
Wrap the edges under the desk top. Tucked edges look finished. Cut edges that stop at the rim look like a sticker.
If you mess up a corner, peel it back and try again. The paper forgives one or two re-dos. After that it loses its stick.
This works on shelves and drawer fronts too. One roll goes a long way. Your whole desk setup can get the marble treatment in an afternoon.
Peel it off when you move or change your mind. It comes away clean and leaves the desk underneath untouched.
18. Hide Every Single Cable
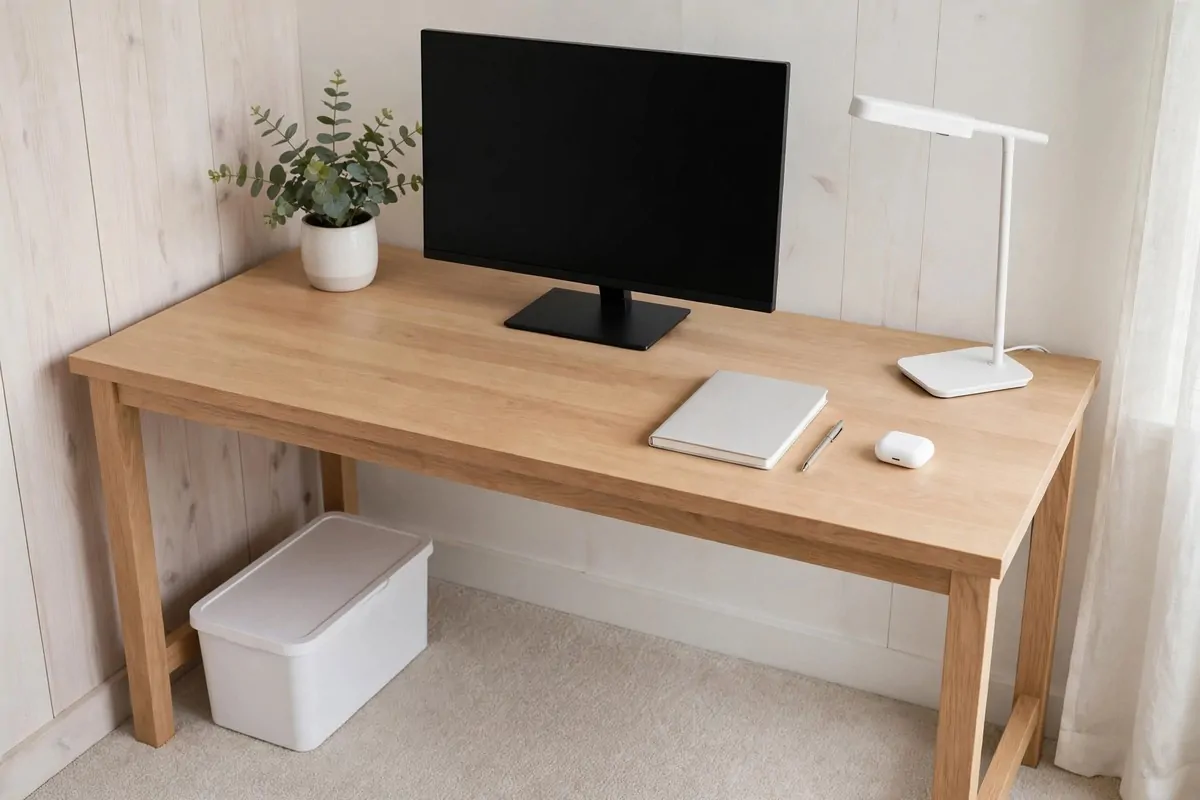
Nothing ruins an expensive look faster than cables. A nest of wires under a desk screams cheap, even if the desk was not.
Get a cable box for the power strip. It is a simple box with holes. The strip hides inside. The cables come out neat.
Use sticky cable clips under the desk. They hold each cable along the desk edge. No more dangling.
Bundle the long ones with reusable ties. Loop the extra length. Tuck it behind the monitor or the desk leg.
Label both ends of each cable if you have many. A strip of tape and a pen. Future you will be grateful.
Charge devices in a drawer if you can. Drill one small hole in the back of the drawer for the cable. Phones charge out of sight.
Stand back when you are done. The desk floats clean. That clear space underneath is what expensive offices all have in common.
Honestly, cable tidying is free if you already own ties and tape. It is the highest value-per-minute job on this list.
19. Lay a Rug Under Your Desk
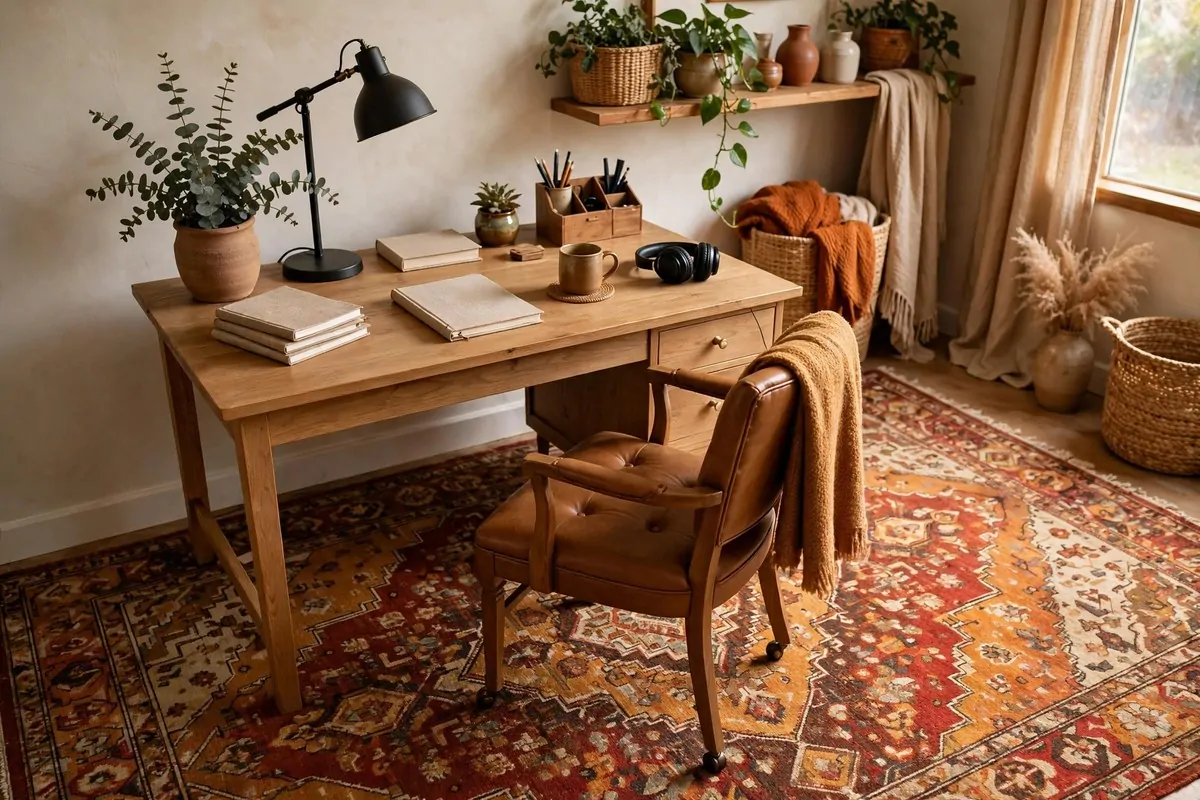
A rug under your desk does three things at once. It defines your work zone. It softens the room. And it looks like you hired someone.
Pick a rug big enough for the desk and the chair. The chair should roll on it, not off the edge. Measure before you buy.
Flat weaves and low piles work best under chairs. Thick shaggy rugs fight with chair wheels. You will hate it by Tuesday.
Patterns hide wear. A patterned rug forgives coffee drips and chair marks. Plain light rugs show everything.
Thrift shops and sales are full of good rugs. Nobody knows a rug is second-hand once it is under a desk. They just see a nice rug.
Layer a small rug over a big plain one if you want the styled look. Designers do this all the time. It adds depth for very little money.
Your feet will thank you too. Cold hard floors make long work days harder. A rug is comfort that looks like decor.
Vacuum it weekly. A clean rug looks new for years, while a dusty one looks old in months.
20. Hang Cheap Curtains Tall and Wide
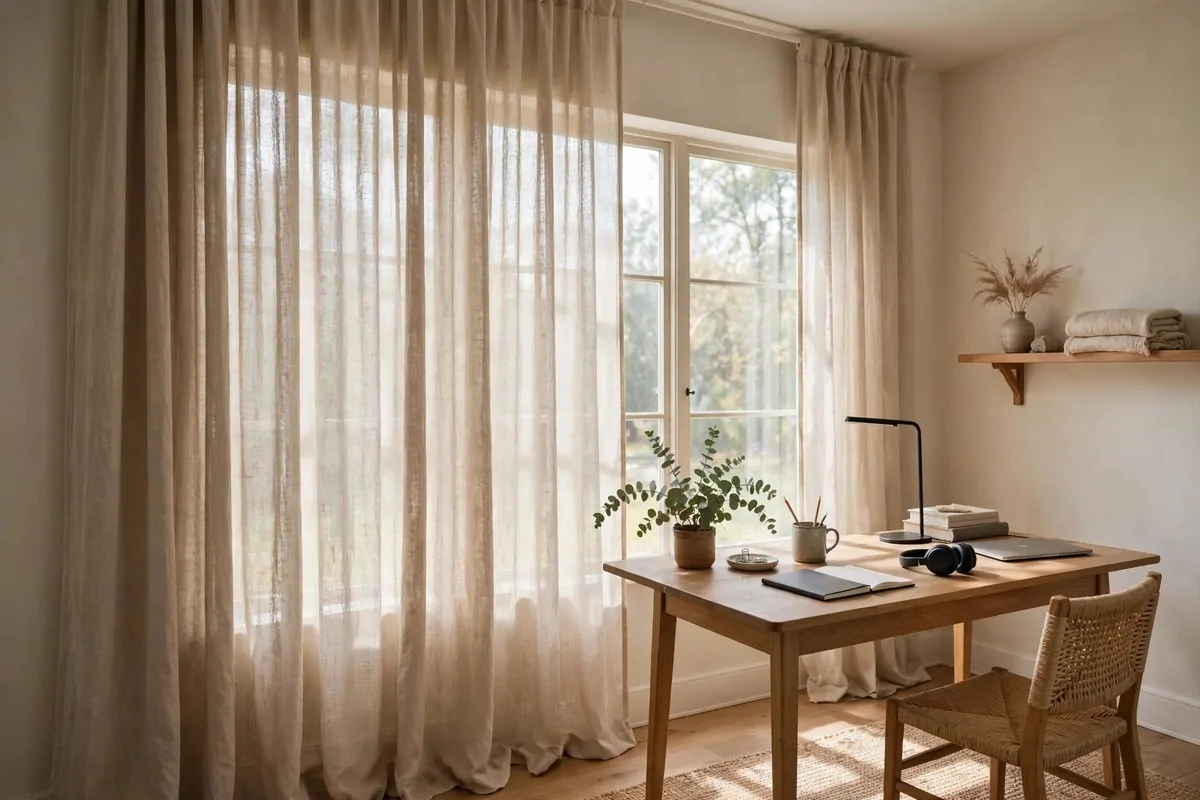
Curtains are one of the easiest ways to fake a tall, grand room. The trick is where you hang them, not what they cost.
Mount the rod close to the ceiling. Not at the window frame. High rods make the window look huge and the ceiling look taller.
Go wide too. The rod should stick out past the window on both sides. When the curtains open, they sit on the wall, not over the glass.
Let the curtains kiss the floor. Short curtains look like a mistake. Floor-length looks finished and calm.
Cheap curtains in a solid colour work fine. Linen-look fabric reads as expensive even when it is not. Avoid shiny fabric, which looks cheap fast.
Iron or steam them once. Wrinkled curtains ruin the trick. Crisp folds catch the light and look tailored.
Two panels beat one panel for fullness. Even thin cheap fabric looks rich when it is gathered full. Fullness is the secret ingredient.
Close them at night if the window faces the street. Privacy plus pretty is a good deal.
21. Add a Leather Desk Pad
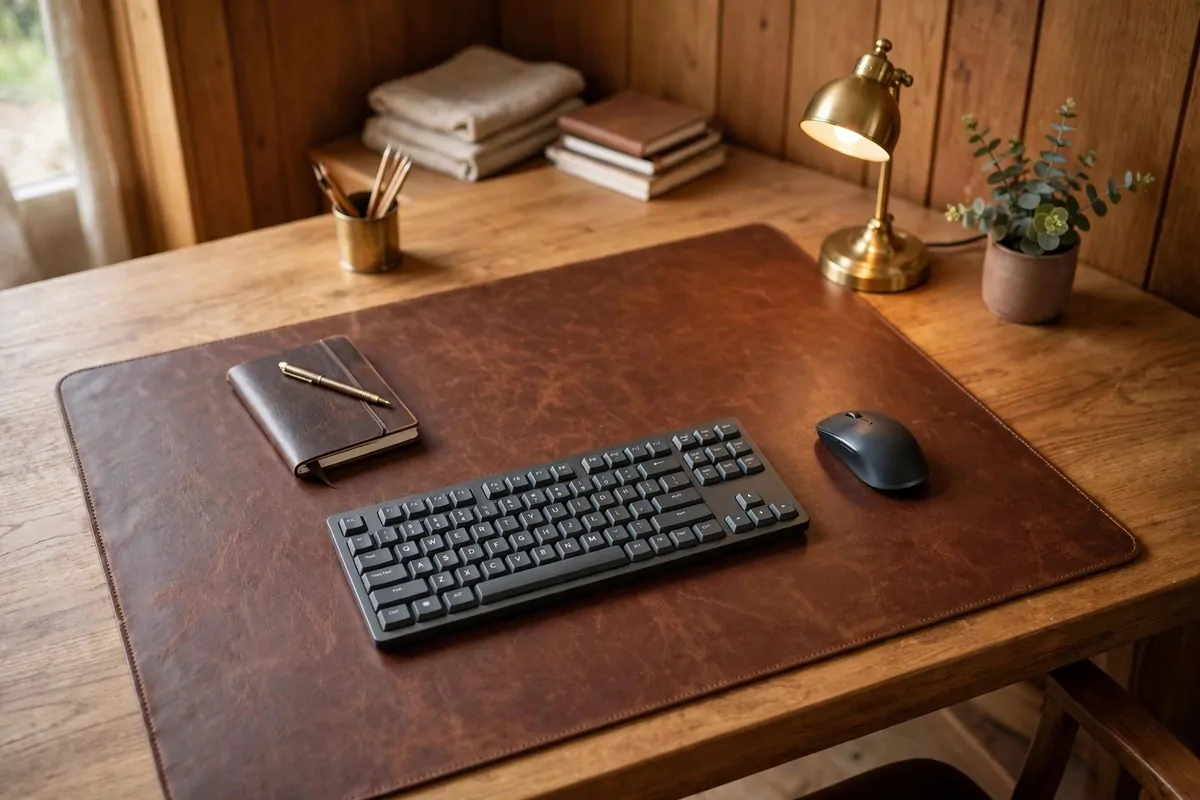
A desk pad is a small thing that changes the whole desk. It is the first thing your hands touch. Make it feel good.
Leather, or good fake leather, looks rich under a keyboard. It adds a layer of texture that a bare desk top cannot.
Pick a size that holds your keyboard and mouse. Bigger pads that sit under the monitor look even more styled. Measure your desk first.
Brown leather warms up a cool room. Black looks sharp and modern. Both beat a bare wood top for the executive feel.
It also protects the desk. Pens, mugs, and scratches land on the pad, not the wood. Your desk stays new underneath.
Wipe it down now and then. A quick wipe keeps leather looking cared for. Dry and dusty leather looks old fast.
This is a small spend with a big daily payoff. You see it and touch it every single work day. Few decor items earn their keep like this one.
If the pad slides, put a thin non-slip mat under it. It stays put and nobody sees the mat.
22. Style with Matching Storage Boxes
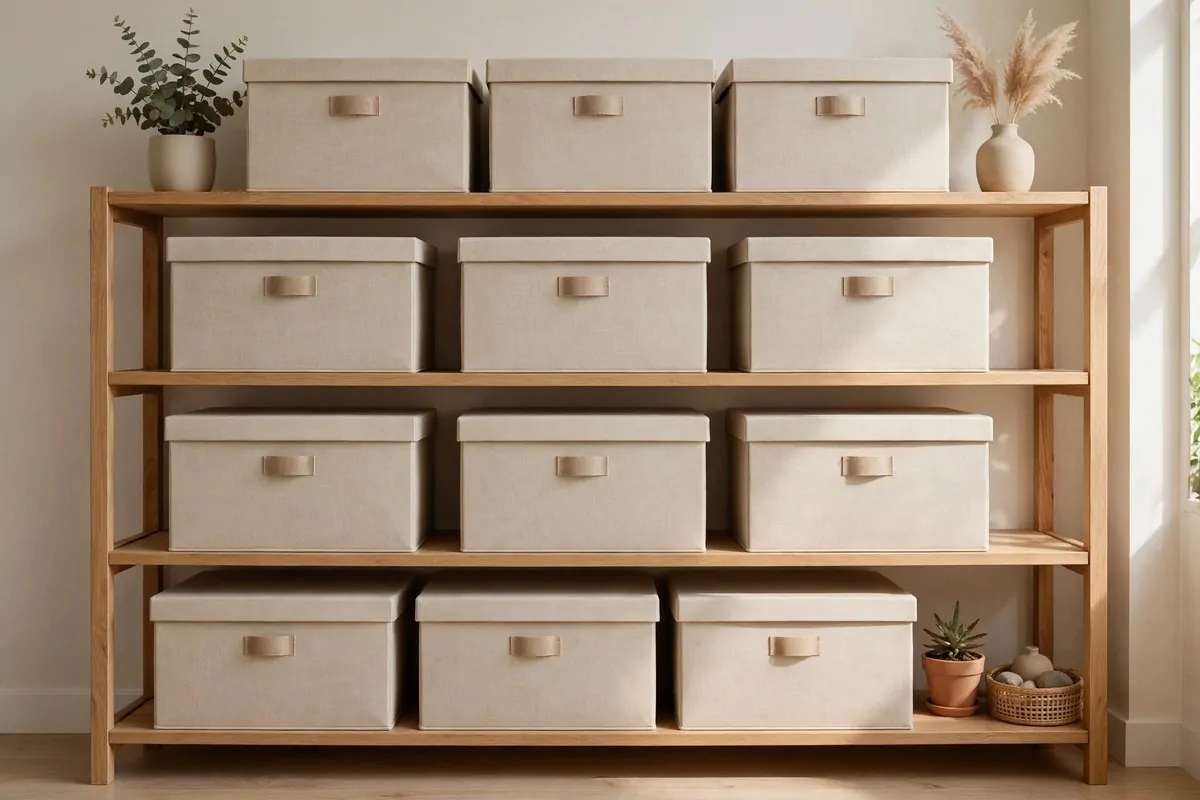
Clutter is the enemy of expensive. Matching boxes are the weapon. They turn mess into a set.
Buy a set of identical boxes. Same size, same colour, same style. Uniformity is what makes them look designed.
Use them for the ugly stuff. Cables, chargers, papers, spare pens. Everything boring goes in a box. The shelf shows only boxes.
Label them if you like. Small neat labels look organised and calm. Or leave them plain for a cleaner look.
Stack them in even rows. Even spacing matters. Boxes lined up like soldiers look intentional. Boxes scattered look like storage.
Put the prettiest ones at eye level. The plain ones go low or high. Your eye lands on the good stuff first.
One set of matching boxes can rescue a whole messy shelf. It is the fastest tidy-up trick I know. And it photographs beautifully.
Buy one size bigger than you think you need. Boxes always fill up faster than expected.
23. Use Woven Baskets for Warmth
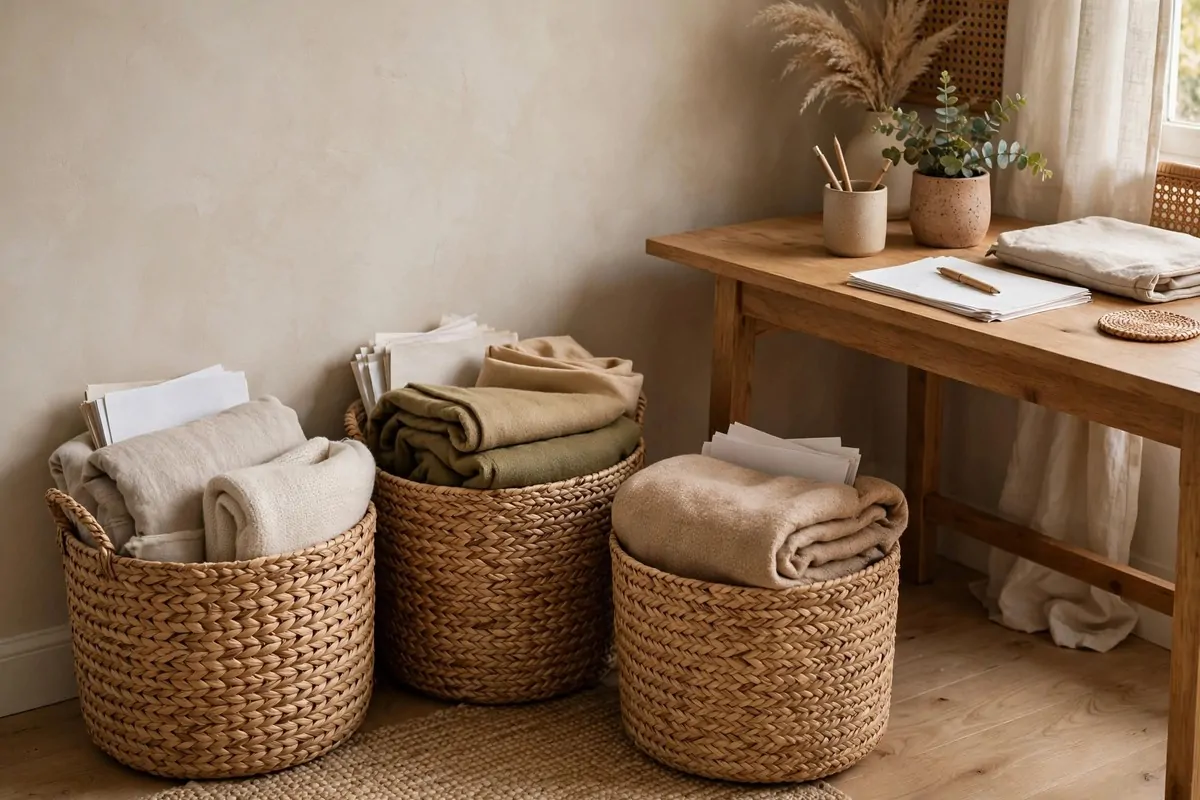
Offices can feel cold. Wood, metal, screens. Baskets fix that. They add warmth and texture in one move.
Woven baskets hold everything. Blankets, papers, cables, spare cushions. They swallow clutter and look good doing it.
Mix sizes but keep the material similar. All seagrass or all wicker. Same family, different sizes. It looks collected, not random.
Tuck one under the desk for a footrest. A basket with a folded blanket on top is a footrest and storage at once.
Put a tall one in an empty corner with a plant inside. The basket becomes the plant pot. Instant styled corner.
Line them on a shelf for the papers you actually use. Open baskets mean you can see what is inside. No more lost bills.
Texture is what makes cheap rooms look rich. Smooth everywhere feels flat. One woven basket breaks the flatness. Two is even better.
Dust them with a dry cloth now and then. Dust settles in the weave, and a quick wipe keeps them looking fresh.
24. Put One Tall Plant in the Corner
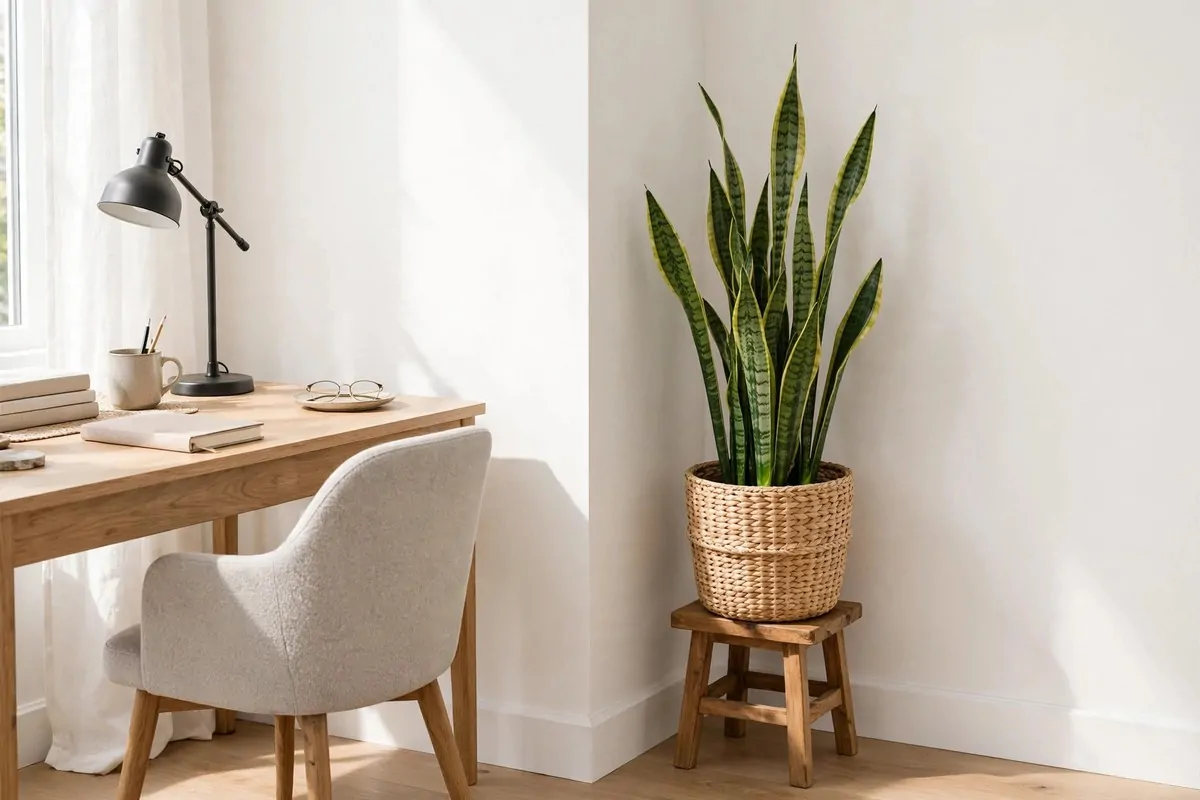
Every empty corner is a missed chance. One tall plant fills it. And tall plants look like you meant it.
Snake plants are the classic choice. They survive low light. They survive forgetful watering. They look sculptural and modern.
Fiddle leaf figs look amazing but they are fussy. Start with something easy. A happy cheap plant beats a dead fancy one.
Put it in a nice pot. The pot matters as much as the plant. A plain nursery pot looks temporary. A ceramic or woven pot looks permanent.
Raise it on a small stool if it is short. Height is the goal. Tall draws the eye up and makes the room feel bigger.
Water it on a schedule. Pick a day and stick to it. A thriving plant says this person has their life together. A dying one says the opposite.
One big plant beats five small ones. Small plants scattered around look like an afterthought. One tall plant looks like a decision.
Rotate the pot a quarter turn every few weeks. It grows evenly instead of leaning toward the window.
25. Group Plants in Matching Pots
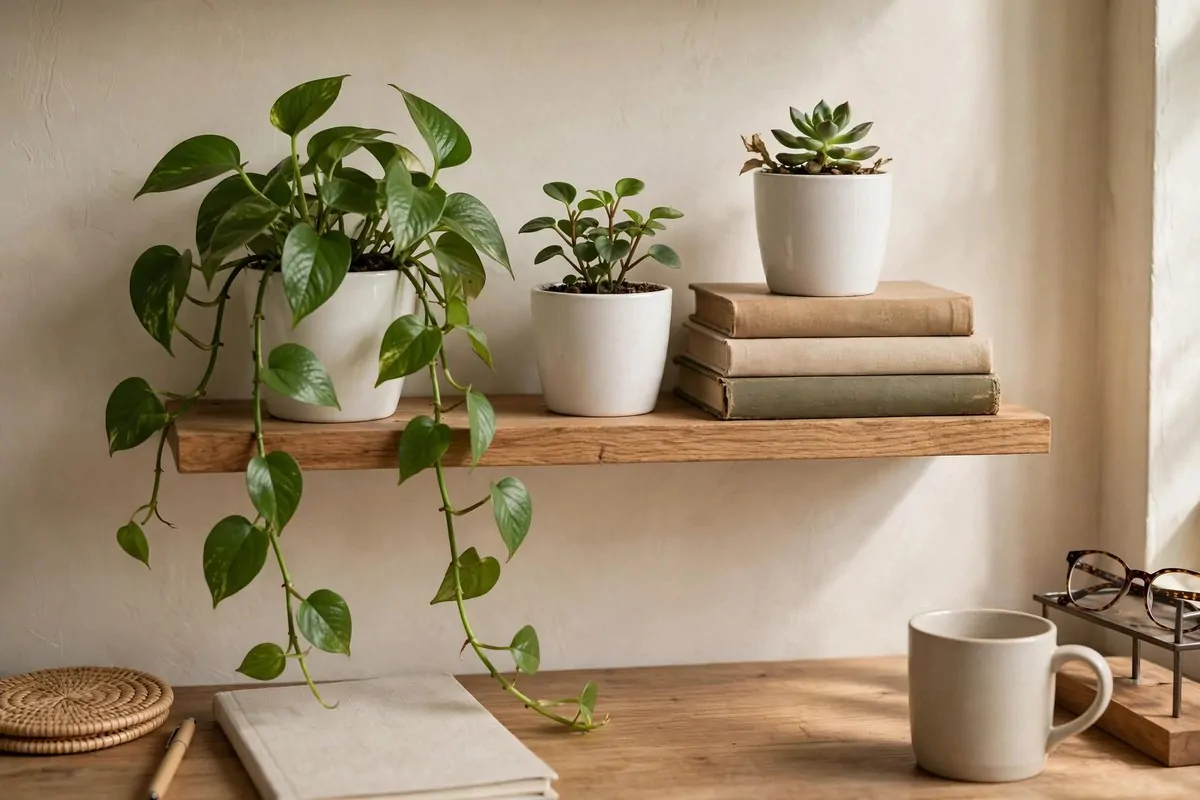
One plant is good. Three plants in matching pots is a display. Matching is the whole trick.
Buy the cheapest small plants you can find. Pothos, spider plants, little succulents. They cost very little and they grow fast.
Then put them in identical pots. White ceramic. Terracotta. Matte black. The pots match, so the plants look like a collection.
Group them in odd numbers. Three or five. Odd groups look natural to the eye. Even groups look like soldiers.
Vary the heights. Put one pot on a stack of books. Let one plant trail down. Height differences make the group interesting.
Place the group where you see it often. On a shelf. In the window. Next to the monitor. Green near your work calms the eyes.
Water them together on the same day. Same schedule, same care. It takes five minutes and it keeps the whole group happy.
This costs less than one big plant. And honestly, it looks more styled. Collections always look more expensive than singletons.
26. Dress Up Your Chair
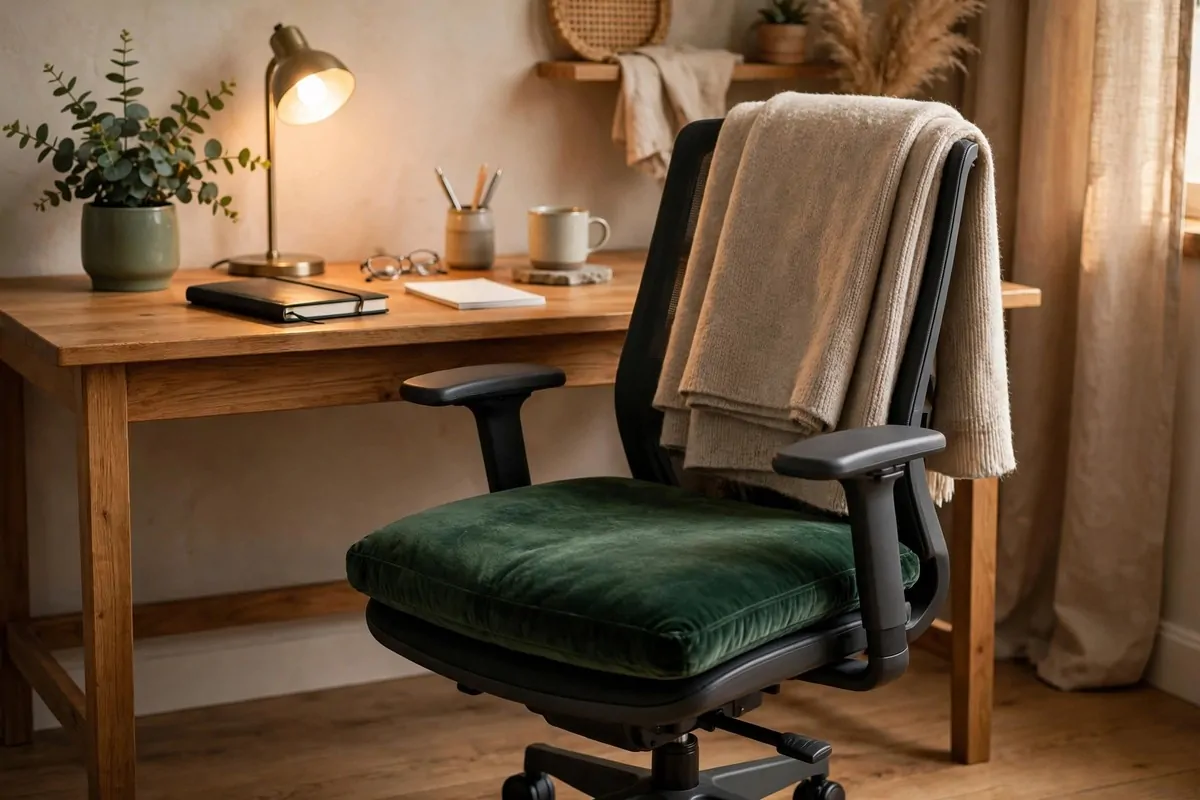
Your chair is in every photo of your office. It shows on every video call. It deserves better than sad and grey.
A cushion changes everything. A velvet cushion in a rich colour turns a plain chair into a proper seat. It takes ten seconds.
Drape a throw over the back. Folded neat, not tossed. A throw adds colour and texture. It looks like a styling choice.
If the chair is truly ugly, try a chair cover. Stretch covers in neutral colours hide a multitude of sins. They wash well too.
Clean the wheels and base. Dusty chair bases give the game away. A wipe makes even an old chair look cared for.
Match the cushion to your room colours. One colour repeated looks designed. Random colours look accidental.
Sit in it before you commit. Pretty means nothing if it hurts your back. Comfort first, style second, but you can have both.
A dressed chair looks like it belongs in a styled room. An undressed one looks like it wandered in from a conference room.
27. Upgrade the Tiny Desk Details
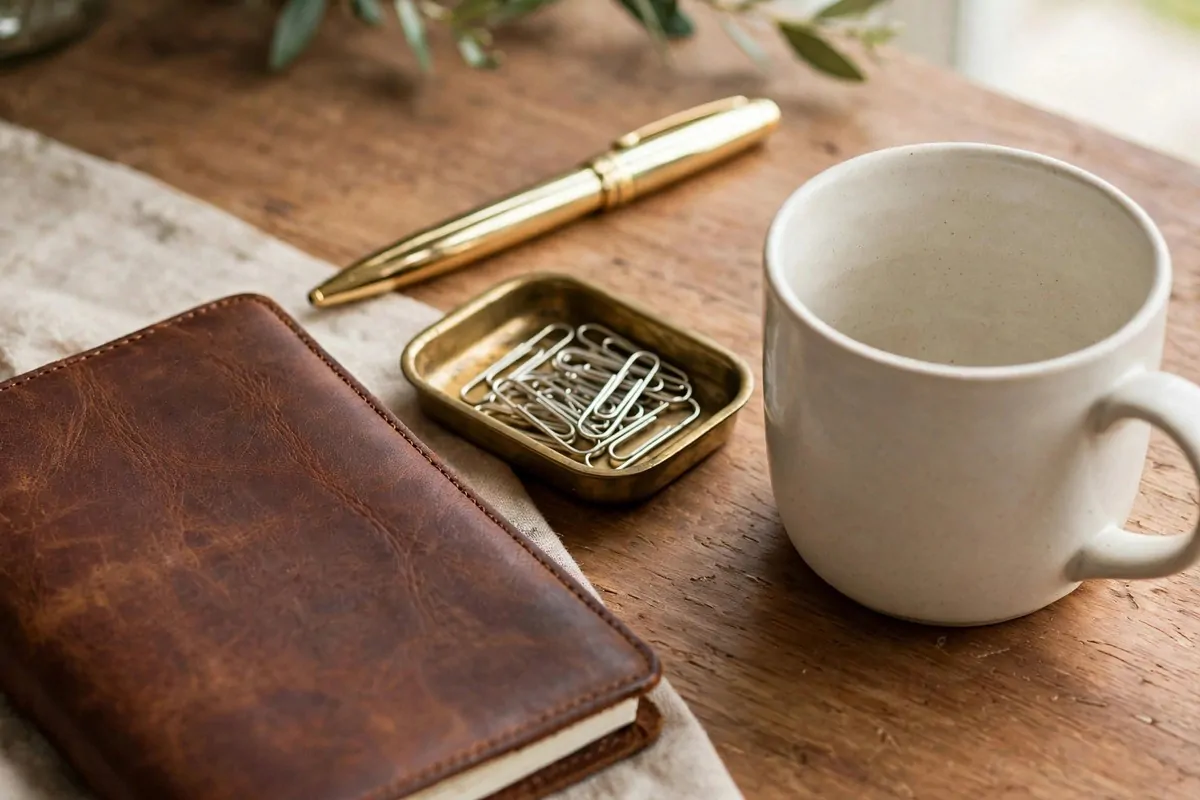
Expensive is in the details. The little things on your desk get seen up close. Make them pretty.
Swap plastic pens for metal ones. One nice pen in matte black or gold changes the whole desk vibe. It is a tiny spend.
Use a proper notebook, not a torn pad. A notebook with a clean cover looks like you mean business. Keep it closed when not in use.
Add a small tray for the bits. Paper clips, a USB stick, your keys. A tray turns scattered into arranged. Brass or wood looks best.
Pick a mug you love. Not a chipped freebie. A nice mug on a desk is like jewellery on an outfit. Small, but it shows.
Keep a small clock or a pretty paperweight. One object with weight on a desk looks grounded. It says this desk is a real place.
The rule is simple. If it sits on your desk every day, it should look good. Upgrade one detail a week. In a month, the desk is transformed.
Here is a quick comparison of small swaps and what they do:
| Old detail | Cheap upgrade | The effect |
|---|---|---|
| Plastic pen | Metal pen | Looks sharp and lasting |
| Loose paper clips | Small brass tray | Scattered becomes arranged |
| Loose paper clips | Small brass tray | Scattered becomes arranged |
| Torn notepad | Clean notebook | Looks purposeful |
| Chipped mug | A mug you love | Adds personality |
28. Style Shelves with the Rule of Three
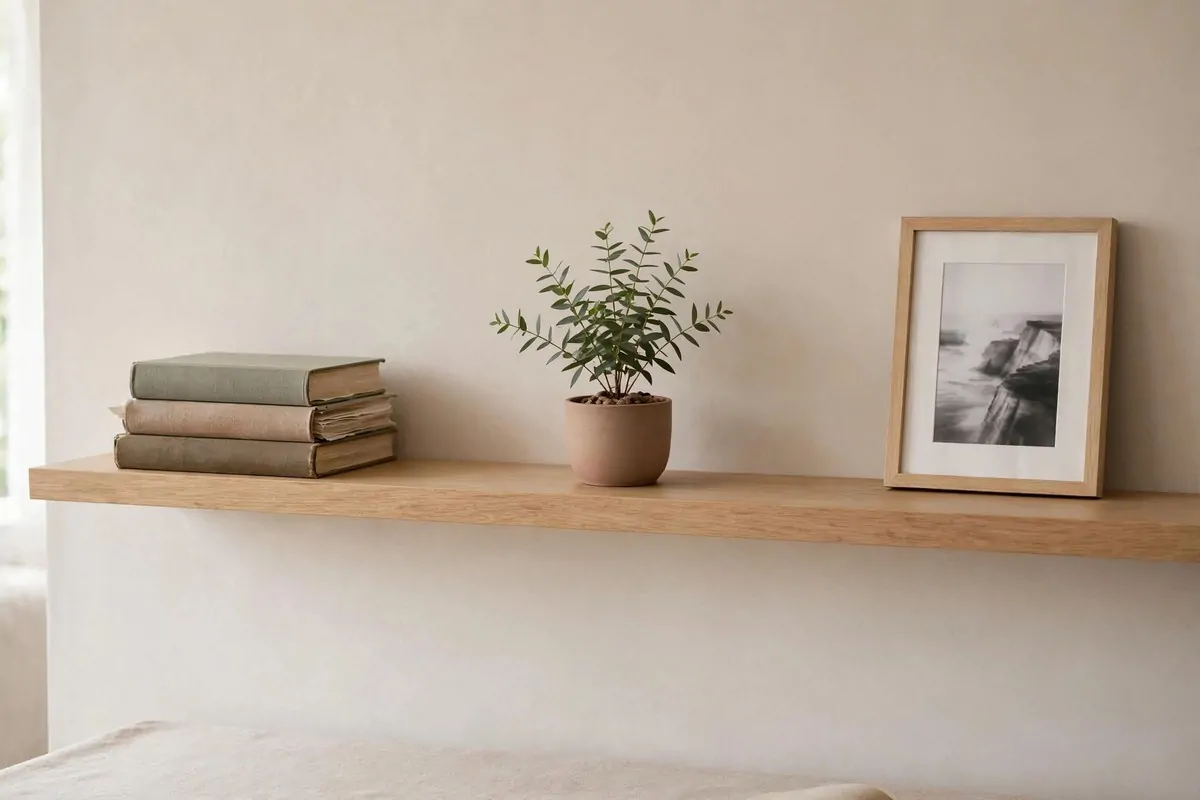
Designers have a quiet rule. Group things in threes. It works every time, and it costs nothing.
Three books stacked sideways. A plant. A framed photo. That is a styled shelf. Two things look sparse. Four looks crowded. Three looks right.
Vary the heights in each group. Tall, medium, short. The eye moves between them and the shelf feels alive.
Leave empty space around each group. Air is part of the design. Crowded shelves look like storage. Spaced shelves look like a shop.
Repeat one colour across the groups. A green plant here, a green book spine there. Repeats tie the shelf together.
Step back and squint. If the shelf looks balanced blurry, it is balanced. This sounds silly but it works. Blurry eyes see shapes, not stuff.
Edit hard. Take one thing away from every shelf. Less stuff with more space always looks richer than more stuff crammed in.
This rule works on desks too. Three items on a desk corner. Lamp, plant, tray. Done. Your desk looks styled in thirty seconds.
29. Keep Surfaces Clear and Clean
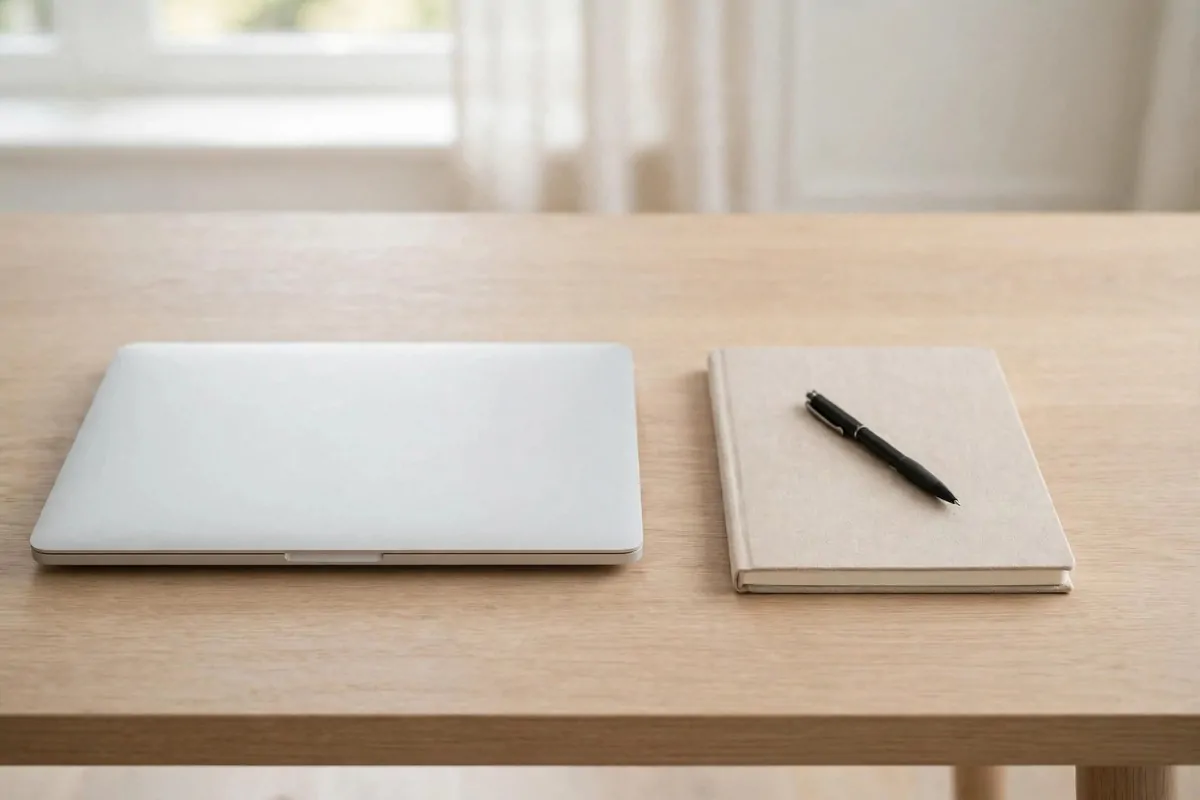
Here is the free one. Clear surfaces look expensive. Cluttered surfaces look cheap. It is that simple.
Expensive offices have empty space on the desk. Not empty like unused. Empty like chosen. Every item left out earned its place.
Do a nightly reset. Five minutes before you stop work. Papers filed. Mugs to the kitchen. Pens in the tray. Tomorrow starts clean.
Give everything a home. If it has no home, it lives on the desk. And a desk full of homeless things looks messy fast.
Use the drawers you built into that countertop desk. That is what they are for. Out of sight is out of mind.
Wipe the desk once a week. Dust dulls wood and makes everything look tired. A quick wipe brings back the shine.
Keep only the daily tools out. Laptop, notebook, pen, water. Everything else gets stored. Four items. That is the whole desk.
People walk into tidy offices and assume money. They are wrong, but let them think it. Tidy is free.
30. Give Everything a Weekly Shine
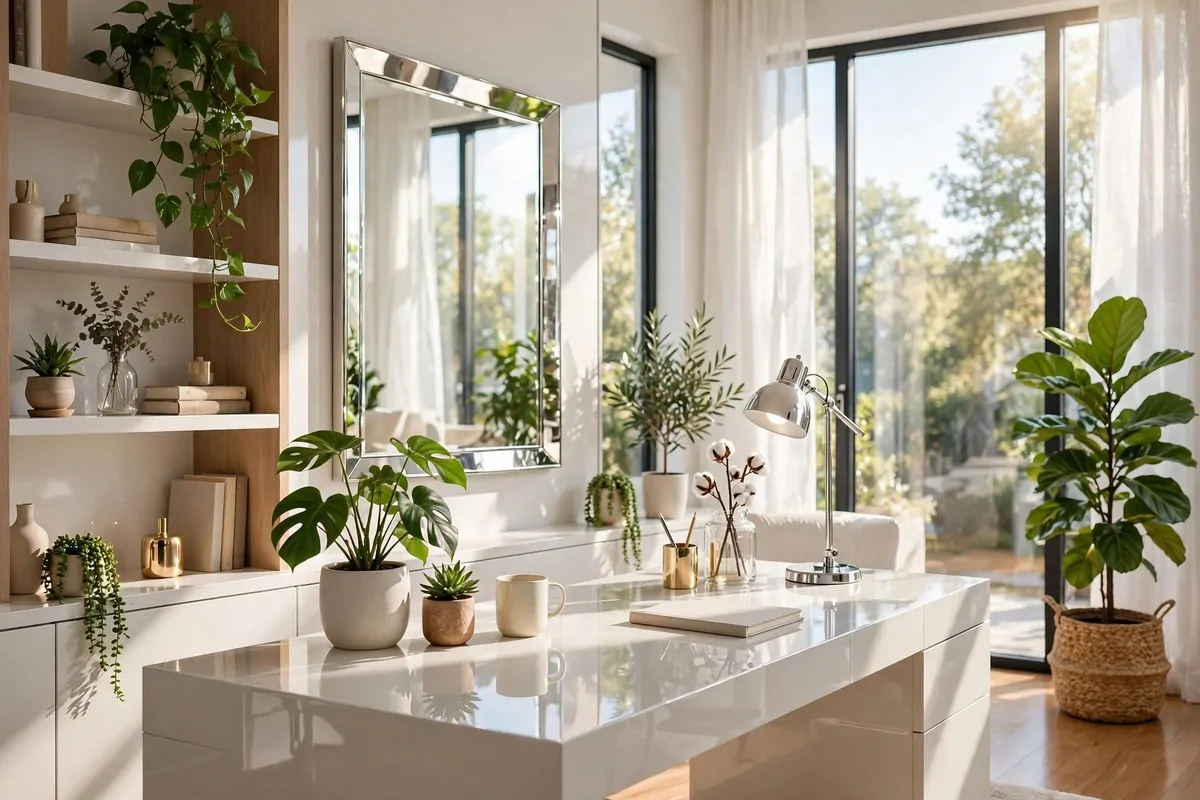
The last idea is the one nobody wants to hear. Maintenance. But it is what separates expensive-looking from actually tired.
Dust settles on everything. Shelves, frames, plants, lamps. A dusty room looks old no matter how nice the furniture is.
Pick one day a week. Fifteen minutes. Wipe the desk. Dust the shelves. Shake out the rug. Water the plants. Done.
Polish wood with a damp cloth. Dry dust just moves around. A slightly damp cloth lifts it off. Wood glows after.
Clean the glass. Mirror, frames, window. Smudged glass catches the eye in a bad way. Clear glass disappears and lets the room shine.
Straighten what drifted. Books lean. Frames tilt. Baskets wander. Put them back. Straight lines look cared for.
This habit costs nothing and it protects every other idea on this list. Paint, plants, and pretty things all need a wipe now and then.
An office that gleams looks expensive because gleam means care. And care is the real luxury. Anyone can buy things. Not everyone keeps them beautiful.