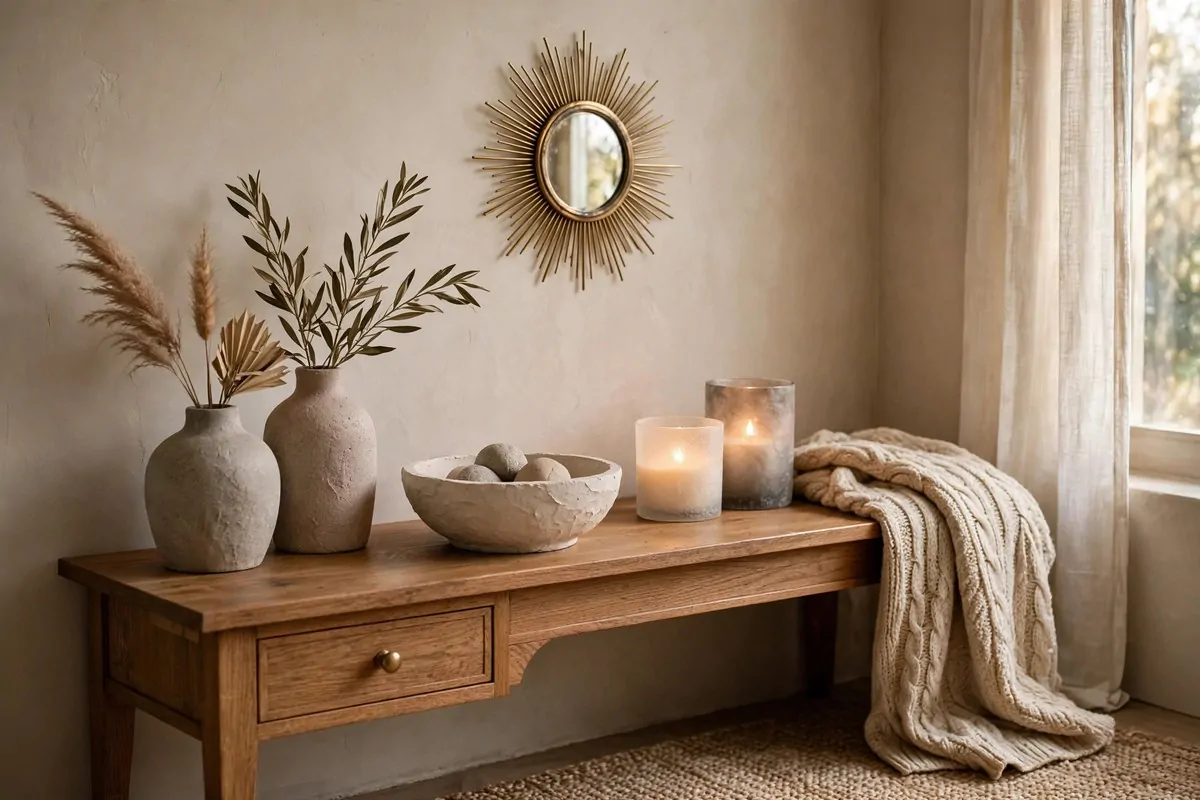
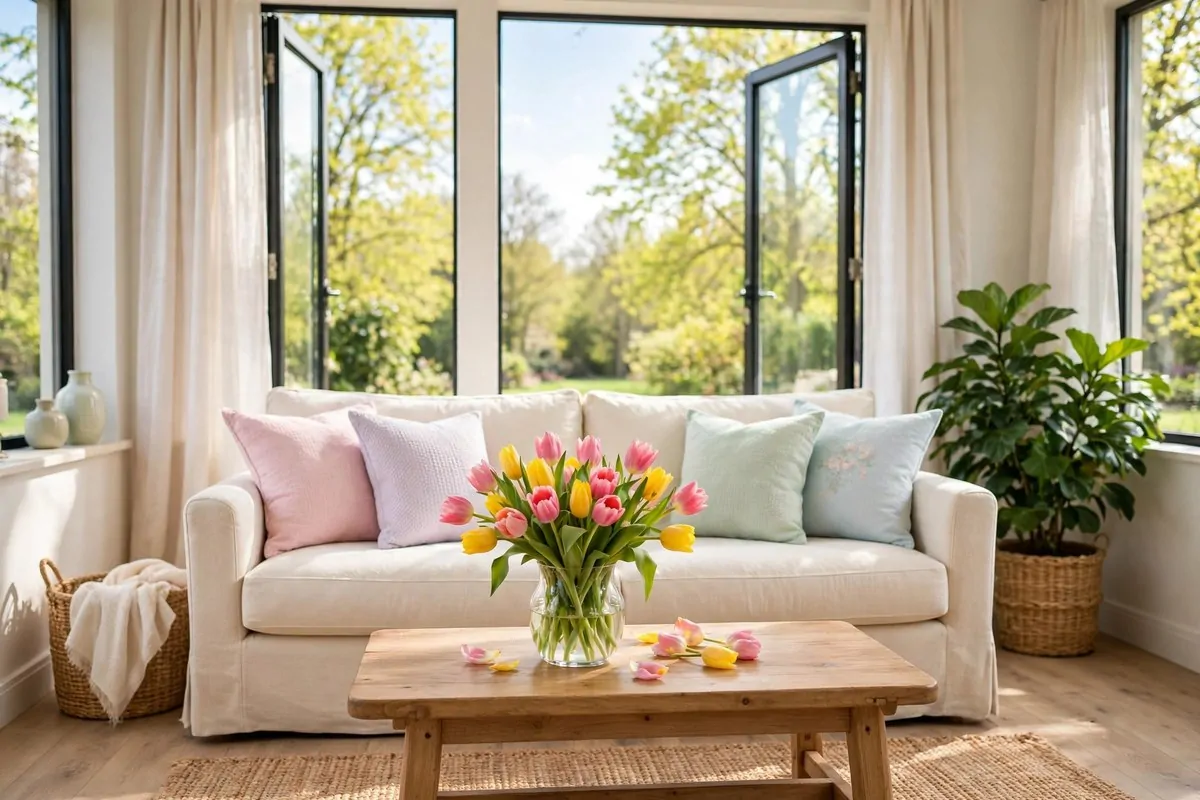
29 Home Decor Ideas Apartment Renters Can Do With No Drilling

Decorating a rented apartment comes with a rulebook. Nobody hands it to you when you sign the lease, so I wrote my own. Here it is.
Rule one. The drill stays in the box. Rule two. Everything I put up must come back down clean when I leave. Rule three. My home still gets to look pretty.
These 29 home decor ideas for your apartment follow all three rules. No holes. No angry letters from your landlord. No lost deposit. Just simple changes that make a rental feel like yours, from the day you move in to the day you hand back the keys.
Let us start with the walls, because they are the biggest empty canvas in your home.
Give One Wall a Peel-and-Stick Wallpaper Makeover
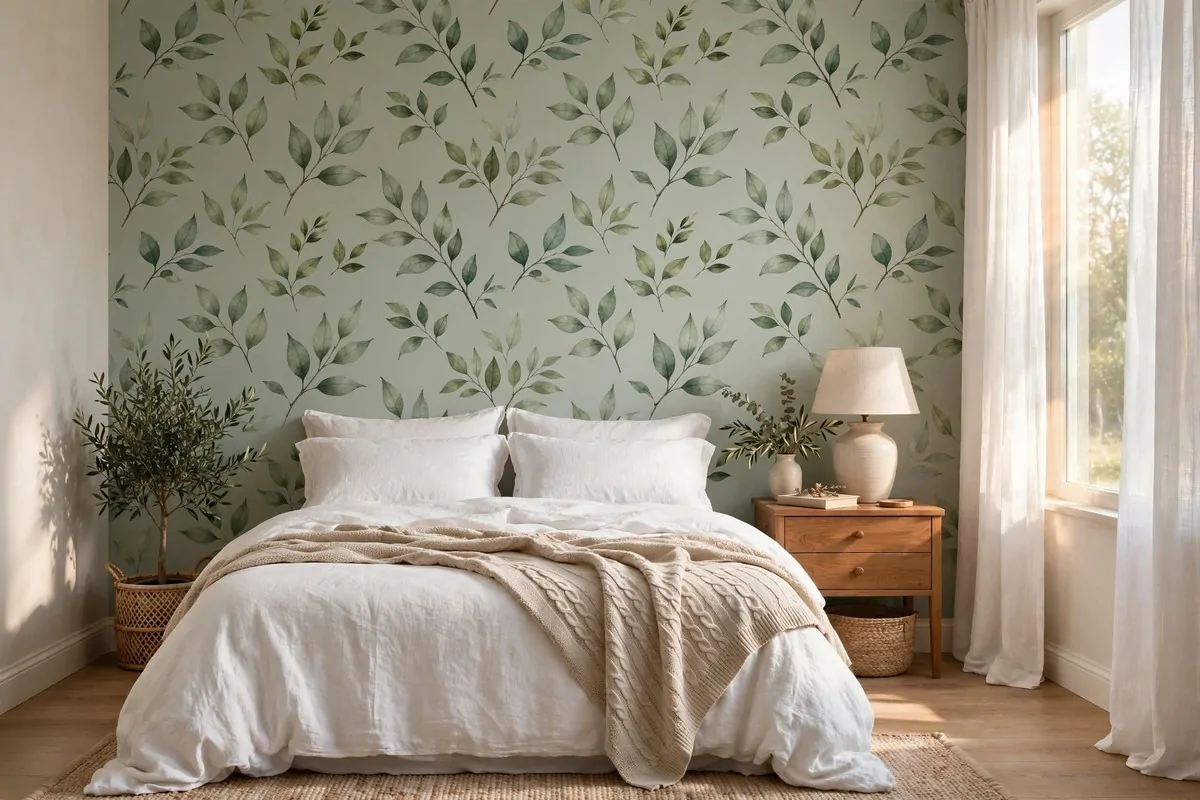
A plain white wall can feel a bit sad. I learned that in my first apartment, where every room looked like a waiting room.
Peel-and-stick wallpaper fixes that in one afternoon. It goes on like a giant sticker, and it peels back off when you move.
Pick just one wall for the biggest effect. Behind the bed or behind the sofa works best. One bold wall looks planned. Four patterned walls can feel busy.
Start with a clean wall. Wipe it down with a damp cloth and let it dry fully. Dust is the enemy here, because the sticky side needs a smooth grip.
- A tape measure and a pencil
- Sharp scissors or a craft knife
- A plastic card, like an old bank card, to smooth bubbles
- A step stool for the high corners
Hang the first strip slowly. Line it up straight, because every other strip follows the first one. I use the plastic card to push out air bubbles as I go.
Do not pull the whole backing off at once. Peel a little, stick a little. That is the trick. It keeps the paper from sticking to itself in a sad crumpled mess.
Test a small hidden patch first if your walls are old. On most normal painted walls it comes off clean. On rough or flaky paint, be more careful. Better safe than sorry with your deposit.
When moving day comes, warm the paper with a hair dryer on low. It softens the glue. Then peel slowly downward. Your wall will look untouched, and your landlord will never know.
Lean a Big Mirror Against the Wall
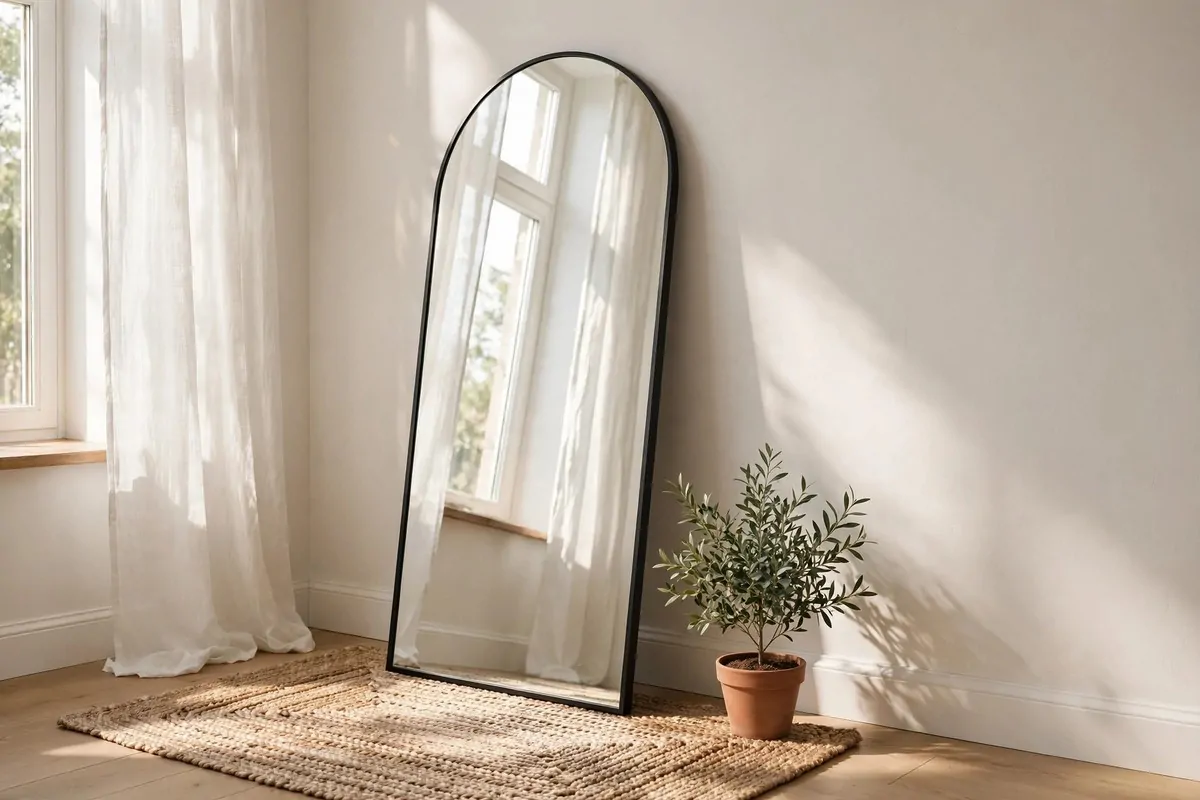
Not everything needs to hang. Some of the best decor in my home just leans.
A full-length mirror leaning against the wall looks smart and modern. It fills an empty corner without a single hole. You just tilt it back and let gravity do the work.
Put it across from a window if you can. The mirror catches the daylight and throws it back into the room. A dark corner suddenly feels twice as bright.
It also makes small rooms feel bigger. Your eye travels into the reflection, and the room seems to stretch. I wish someone had told me this trick years ago.
- Choose a mirror with a sturdy frame so it sits steady
- Tilt the top back so it rests flat on the wall
- Keep the base a few inches out from the skirting board
- Add a small plant or basket beside it for balance
Safety first, though. If you have kids or big dogs, anchor the top with a removable adhesive strip. Leaning is stable, but a curious toddler can change that fast.
Big art prints work the same way. Lean a framed poster on a dresser or on the floor against the wall. Layer two or three at different heights. It looks like a gallery without any nails at all.
The best part is moving day. You pick it up and walk out. No patching, no painting, no stress. Try doing that with a wall-mounted mirror.
One more tip. Clean the mirror with a microfibre cloth and a little vinegar water. Streak-free glass reflects more light. Your leaning mirror will shine like new.
Build a Gallery Wall With Removable Strips
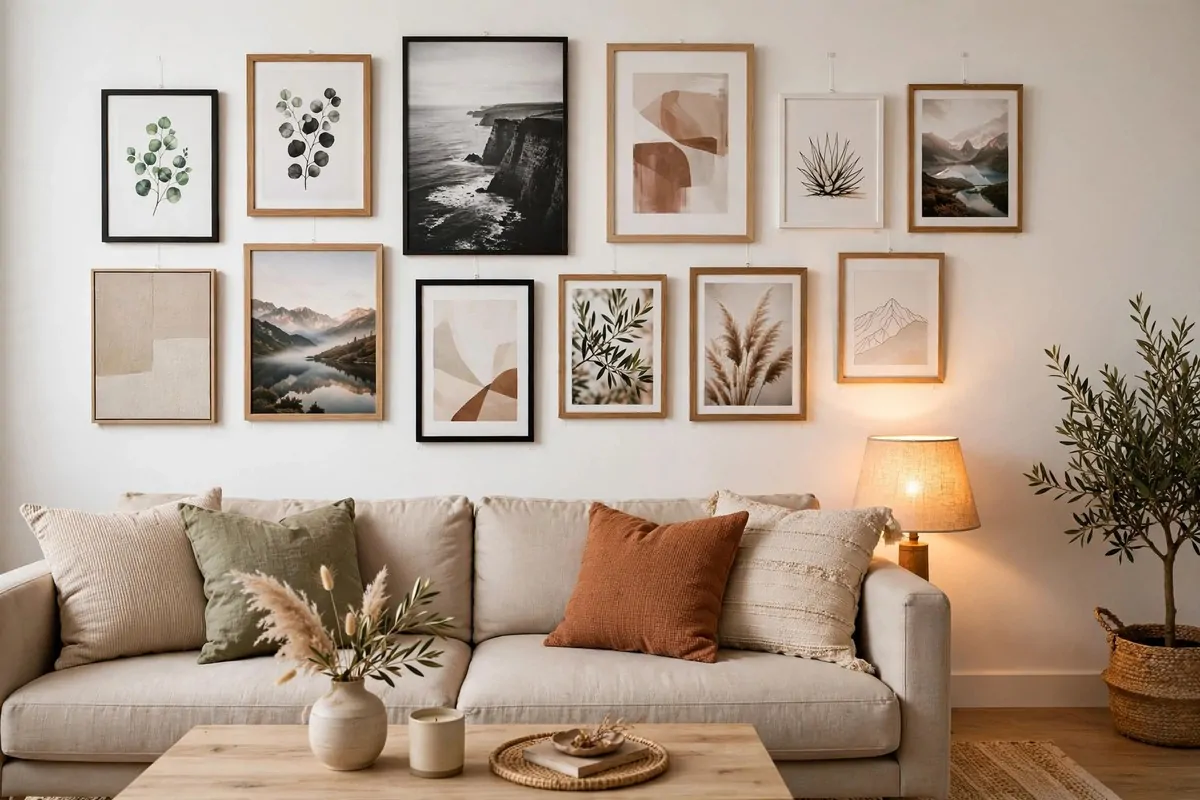
I used to think gallery walls were only for homeowners. Drills, anchors, measuring twice. No thanks.
Removable hanging strips changed my mind completely. They hold frames on the wall with strong sticky pads, and they pull off clean later. My whole hallway is covered in them.
Start by laying your frames on the floor. Play with the layout until you love it. This is the fun part, so take your time with it. A good layout makes all the difference.
Mix sizes for a collected look. Big frame in the middle, small ones around it. Or keep it simple with a neat grid. Both styles look great in a rental.
- Lightweight frames work best and need fewer strips
- Check the weight rating on the strip packet
- Wipe the wall spot with rubbing alcohol first
- Press each strip hard for 30 seconds
Wait a full hour before you hang the frame. I know, waiting is hard. But the glue needs time to set, and a fallen frame is no fun.
Plan your theme before you start. Family photos, travel prints, or one colour story. When the frames share something, the wall feels calm. When they share nothing, it can feel noisy.
Small extras make it richer. Tuck in a tiny mirror, a woven piece, or a postcard. Odd shapes break up the rectangles. My favourite corner has a small round mirror right in the middle.
To remove, pull the tab straight down slowly. The strip stretches and lets go. If a tab snaps, warm it with a hair dryer and try again. Patience keeps your paint perfect.
Hang a Tapestry From a Tension Rod
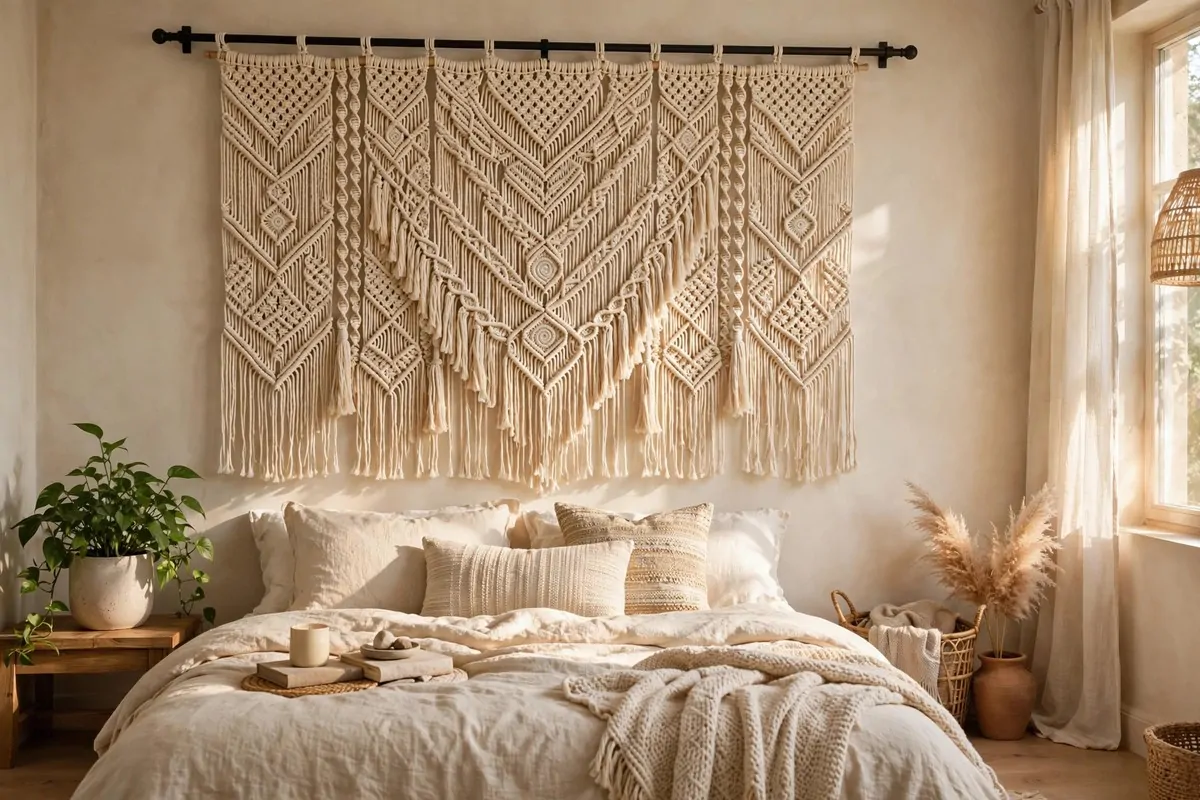
One big piece of fabric can change a whole room. It sounds too simple, but I promise it works.
A tapestry covers a huge wall for very little money. It adds colour, texture, and warmth all at once. Most rental walls are missing exactly that.
A tension rod is your secret tool here. It wedges between two walls or inside a window frame. No screws, no brackets, no holes at all.
Slide the rod through the top pocket of the tapestry. Most wall hangings have one sewn in. If yours does not, fold the top over and clip it with curtain rings.
- Measure the wall width before you buy the rod
- Twist the rod to lock it tight in place
- Hang it a few inches above eye level
- Let the fabric fall straight and smooth
The bedroom is my favourite spot for this. A soft woven piece above the bed feels like a headboard. It makes the bed the star of the room.
You can also use scarves or quilts you already own. A pretty throw works just as well as a bought tapestry. Personal pieces make the room feel more like you.
Swap it with the seasons if you like. Light linen in summer, heavy weave in winter. It takes two minutes to change, and the room feels brand new.
Iron or steam the fabric before you hang it. Creases from the packet look messy. Smooth fabric hangs straighter and looks far more expensive.
Upgrade Your Curtains With Tension Rods
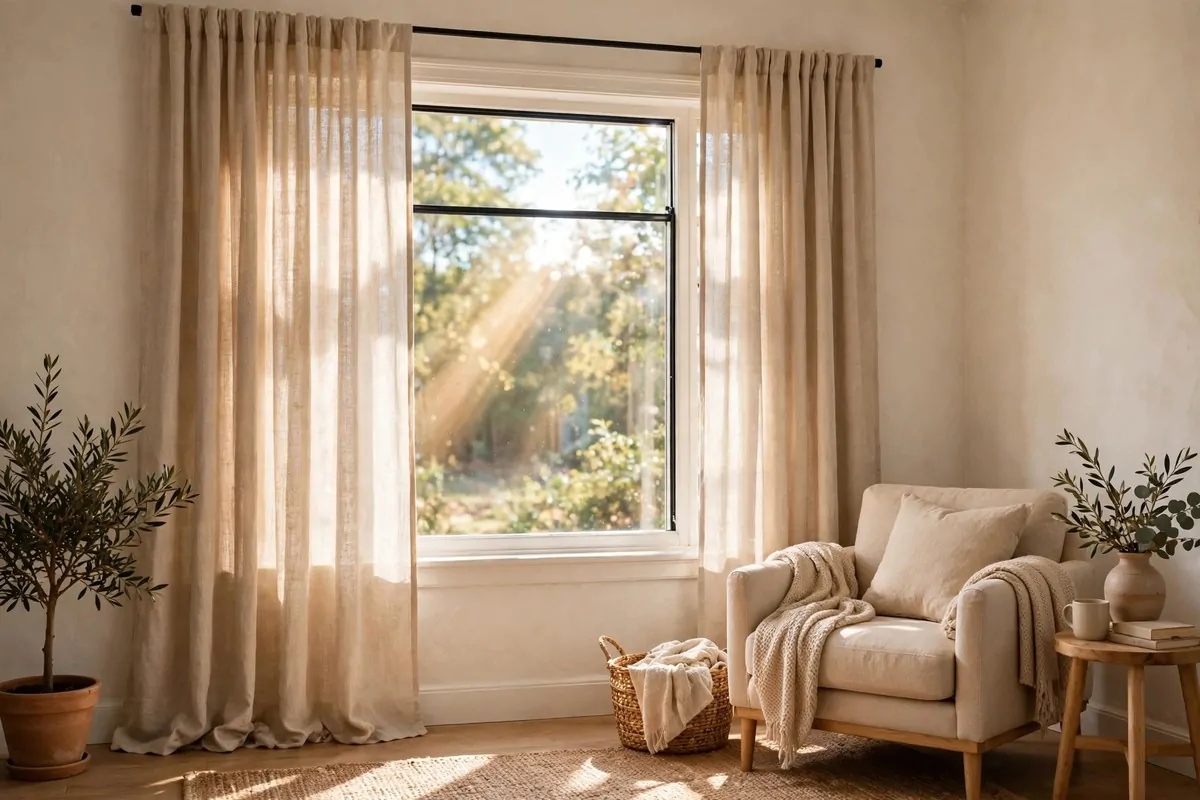
Most rentals come with sad blinds or nothing at all. Curtains fix that fast, and you do not need a drill to hang them.
A tension rod fits right inside the window frame. You twist it until it grips both sides. It holds light and medium curtains with no trouble.
Floor-length curtains make windows look taller. Hang the rod as high inside the frame as it will go. Let the fabric just kiss the floor. The room feels grander right away.
Choose light fabric for small rooms. Linen and cotton let daylight glow through. The room stays bright while still feeling private. Heavy dark curtains can shrink a small space.
- Measure the inside of the frame, not the window glass
- Get a rod that adjusts to your exact width
- Two slim panels look softer than one wide panel
- Clip rings make the curtains easy to open and close
I love cafe curtains for kitchens. They cover only the bottom half of the window. You get privacy and light at the same time. They look so cute, honestly.
Try layering too. Sheers on one rod, heavier drapes behind. It gives that rich hotel look. And it still comes down in seconds on moving day.
Rinse the rods now and then. Dust collects on them. A quick wipe keeps them gripping well. A slipping rod is usually just a dusty rod.
If the rod still slips, add a small rubber pad at each end. The extra grip holds firm. Cheap fix, big difference.
Add Peel-and-Stick Backsplash Tiles in the Kitchen
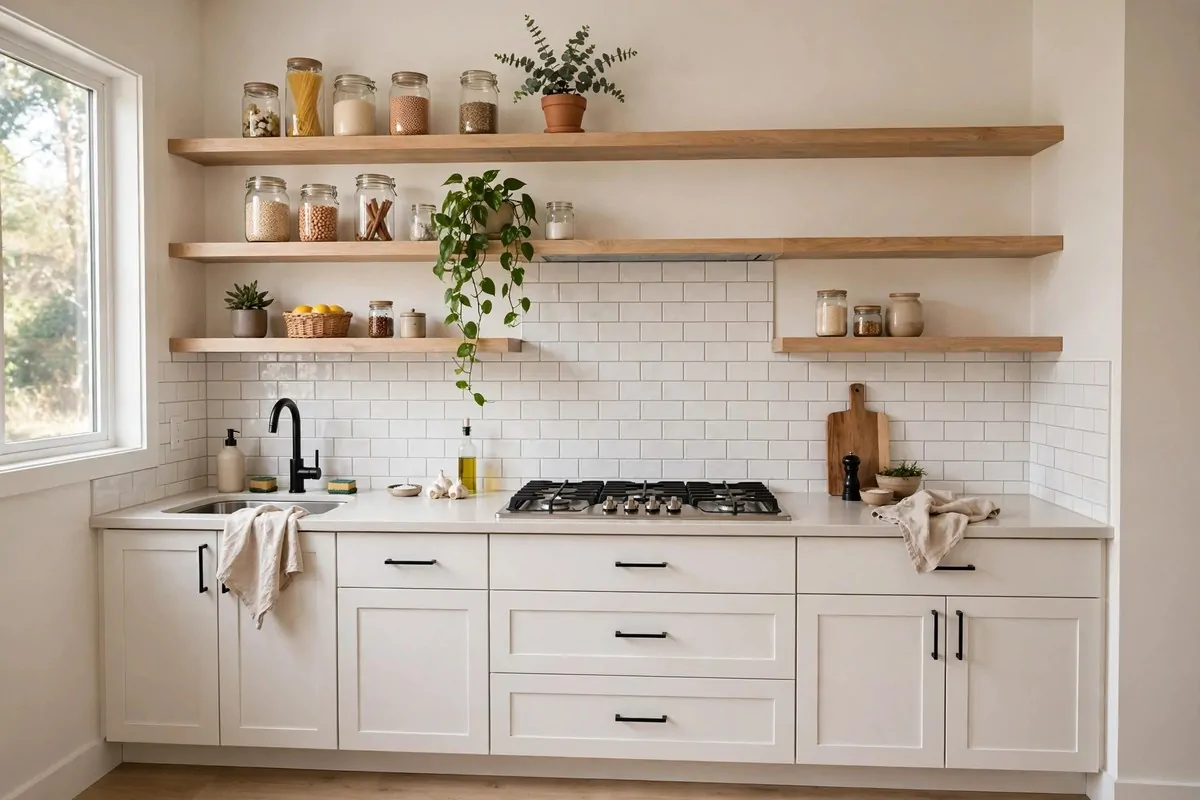
Rental kitchens can be so boring. Plain walls, plain tiles, zero personality. I feel you.
Peel-and-stick backsplash tiles are made for this exact problem. They look like real tile, but they are just thick stickers. You press them on, and they stay put.
The area behind the stove makes the biggest impact. That is the wall you stare at while cooking. A pretty backsplash makes cooking feel less like a chore.
Clean the wall well first. Kitchen walls hold grease you cannot even see. A degreasing wipe makes the tiles stick properly. This step really matters.
| Tile style | Best for |
|---|---|
| White subway | Clean, classic look in any kitchen |
| Moroccan pattern | Bold colour in a plain rental kitchen |
| Marble look | A touch of luxury on a budget |
| Hexagon shape | Modern feel behind the sink |
Cut tiles with sharp scissors to fit around sockets. Measure twice, cut once. Small gaps at the edges are fine, and nobody will notice them.
Overlap the edges slightly where tiles meet. It stops water sneaking behind. Kitchens get steamy, so sealed edges last longer.
When you move out, peel them off slowly. A little warm air from a hair dryer helps. Wipe any sticky spots with warm soapy water. Good as new.
My landlord walked through after my last move and said nothing. Nothing! That is the dream. A kitchen that looked custom, and a wall that looked untouched.
Wrap Counters in Marble Contact Paper
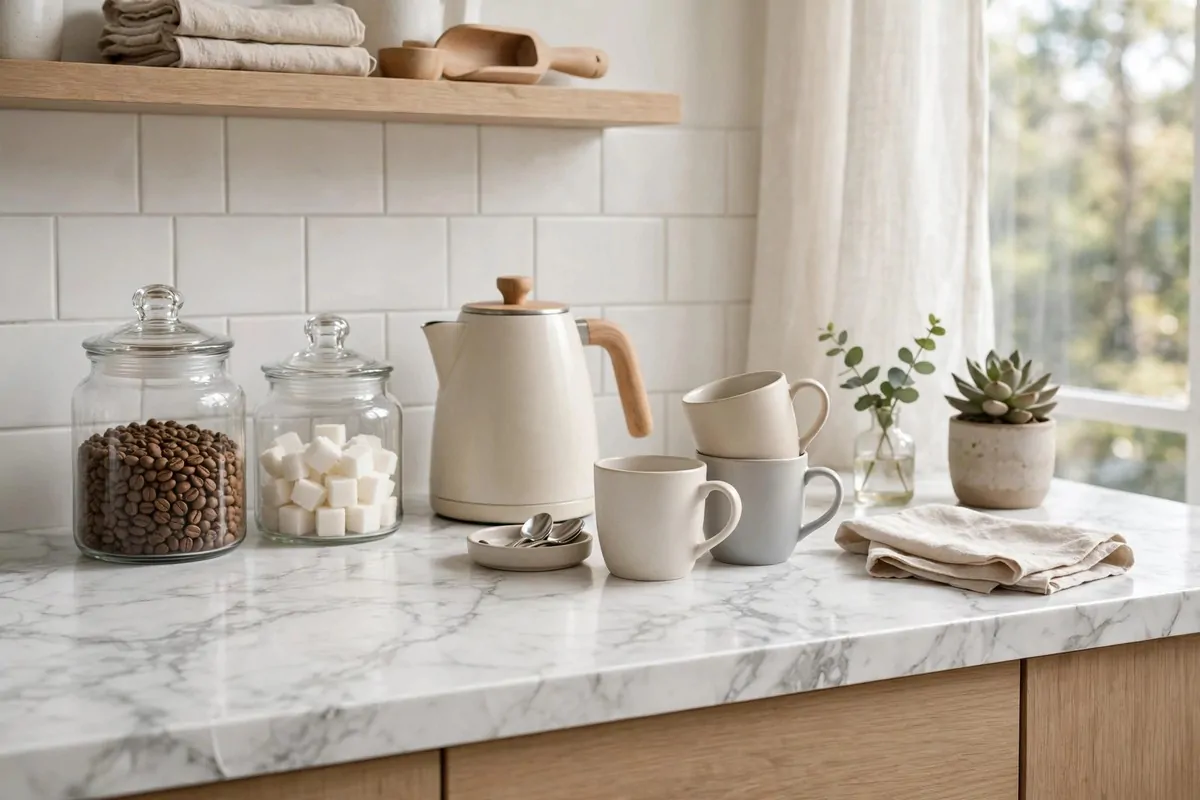
Laminate counters tell the age of a rental. You know the look. Faded beige, little chips, not your taste at all.
Marble contact paper hides all of that. It is a sticky film that rolls over your counters. From a few steps back, it honestly looks like stone.
This is one of the cheapest upgrades on this whole list. One roll covers a good stretch of counter. The change feels huge for the money.
Clean and dry the surface first. Any crumb under the film becomes a bump. Take your time with this part. Smooth counters give smooth results.
Peel the backing a little at a time. Lay the film down slowly and smooth as you go. A credit card wrapped in a soft cloth pushes out bubbles nicely.
- Cut the film a bit bigger than the counter, then trim
- Wrap the edges down over the front lip for a clean line
- Use a hair dryer on corners to help the film bend
- Poke tiny bubbles with a pin and smooth them flat
Corners are the tricky bit. Warm the film so it stretches. Fold it like wrapping a present. It takes a try or two, but you will get the hang of it.
Keep it away from very hot pans. Contact paper is not heat proof. Always use a trivet. A melted spot is hard to fix, and it is not worth the risk.
It peels off when you leave. Warm it, lift a corner, and pull slowly. Any sticky bits come off with oil and a cloth. Your old counters will be waiting underneath, just as boring as before.
Use a Big Rug to Zone an Open Room
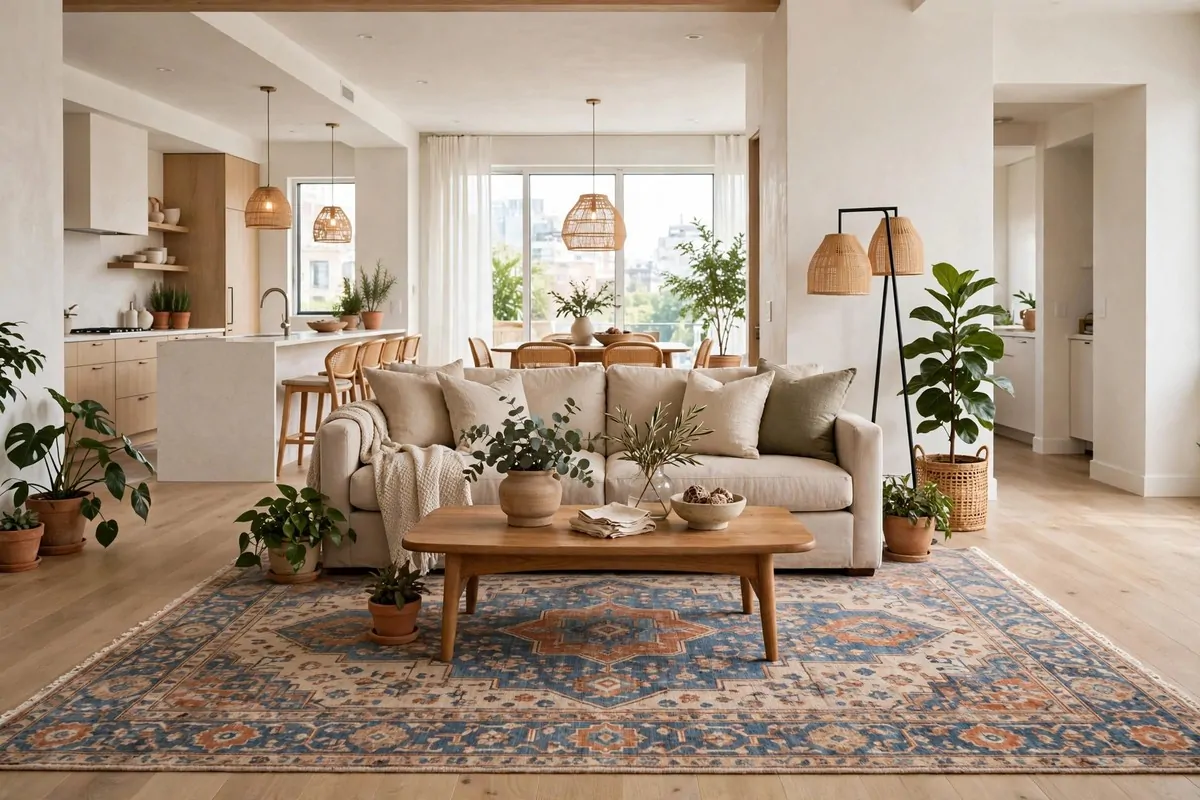
Open-plan rentals can feel like one big empty box. Where does the living room end and the dining area begin? Nobody knows.
A big rug draws that line for you. Put it under the sofa and coffee table. Suddenly you have a living room. The rest of the floor can be something else.
Size matters more than pattern here. A rug that is too small makes the room feel smaller. Let the front legs of the sofa sit on the rug at least. Bigger is nearly always better.
The rug also softens noise. Hard floors echo, and neighbours hear everything. A thick rug keeps things quieter. Your downstairs neighbour will thank you silently.
- Measure your seating area before you shop
- Leave 15 to 20 cm of bare floor around the rug edge
- Choose a low pile if you have a robot vacuum
- Darker patterns hide crumbs between cleans
Wool and cotton rugs feel best underfoot. They cost more, but they last for years. Cheap thin rugs slide around and curl at the edges. Not worth the saving, in my view.
Add a rug pad underneath. It stops slipping and adds softness. Pads also protect the floor from the rug backing. Your landlord's floors stay safe, and your rug stays put.
I use rugs to fake a hallway too. A runner by the front door says entryway, even in a studio. One rug can give a tiny flat three different zones.
Vacuum both sides of the rug now and then. Dust settles underneath over time. A clean rug lasts longer and smells fresher.
Layer Two Rugs for Extra Texture
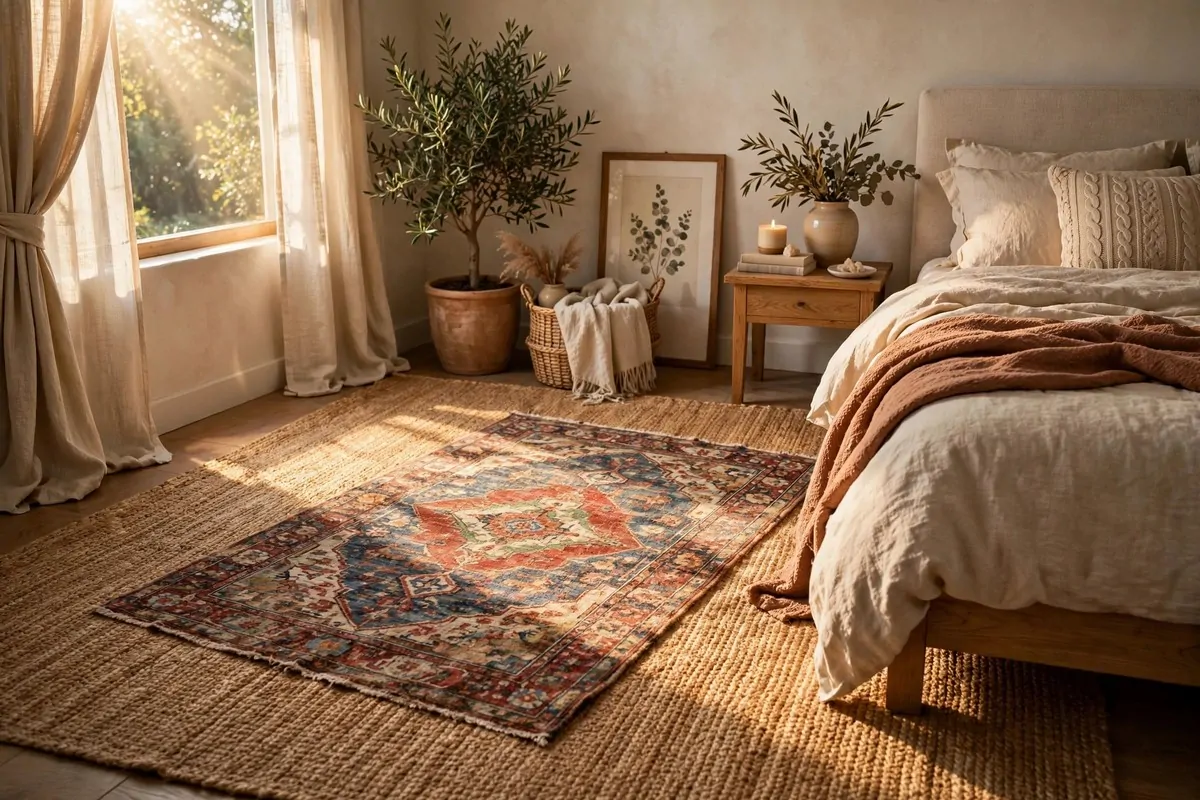
If one rug is good, two can be even better. Layering rugs is a designer trick, and renters can steal it easily.
Start with a big flat rug on the bottom. Jute or sisal works perfectly. It is cheap, tough, and neutral. It gives you size without a big price tag.
Then add a smaller patterned rug on top. Put it at an angle for a relaxed look. The two textures together feel rich and cosy.
- Bottom rug: flat, neutral, larger
- Top rug: patterned, softer, smaller
- Offset the top rug so both layers show
- Keep both rugs in the same colour family
Bedrooms love this trick. The bottom rug runs under the bed. The top rug sits where your feet land in the morning. Soft landing, every single day.
Watch the thickness, though. Too much pile under a door and the door will not open. Check the clearance before you commit. Learned that one the hard way.
Wash the top rug more often than the bottom one. It takes all the foot traffic. The bottom layer mostly just sits there looking good. Easy.
It also hides boring rental carpet. Ugly beige carpet disappears under two layers. You forget it is even there. That is the whole point, really.
Drape String Lights Along a Wall
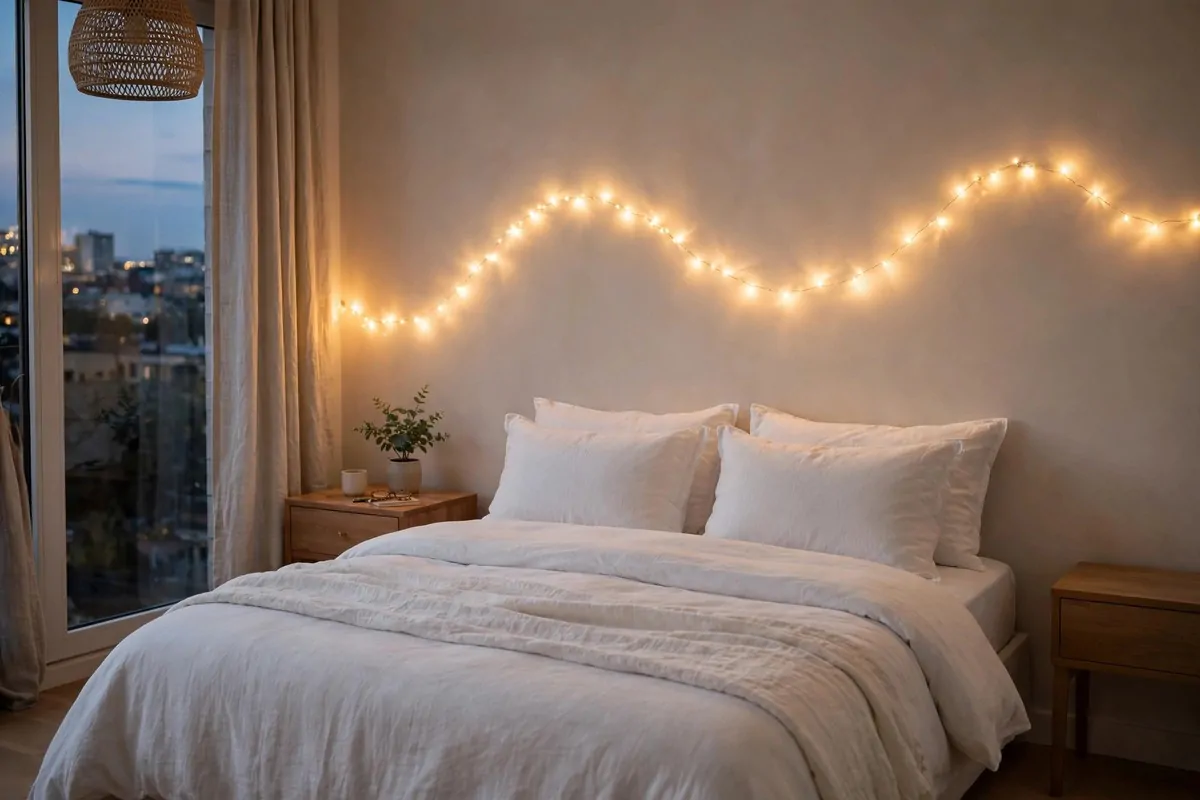
Overhead lights in rentals are usually harsh. One bright bulb in the middle of the ceiling. It feels like an office, not a home.
String lights fix the mood instantly. A warm glow along the wall turns a plain room soft and cosy. It is the cheapest atmosphere money can buy.
Drape them in a loose wave above the bed or sofa. Use small removable hooks to hold the wire. No nails, no damage, no problem.
Warm white bulbs look best. Cool white can feel a bit cold and clinical. Warm light feels like candlelight. It flatters everything in the room.
- Choose battery or USB lights to avoid cord clutter
- Test the timer function so they switch off at night
- Keep lights away from curtains and bedding
- Replace batteries before they fade and flicker
Copper wire fairy lights are my favourite. The wire nearly disappears, so you just see tiny stars of light. They look magical in photos too.
Shape them into something fun. A heart, a wave, or just a casual swag. Keep it loose and natural. Tight straight lines look less dreamy somehow.
Safety matters with any lights. Check the packet says indoor use. Turn them off when you leave the house. Pretty is good, but safe is better.
I run mine on a timer plug. They glow on at sunset and off at bedtime. Coming home to a softly lit room never gets old. It feels like the house missed you.
Tuck LED Strips Behind Your TV or Furniture
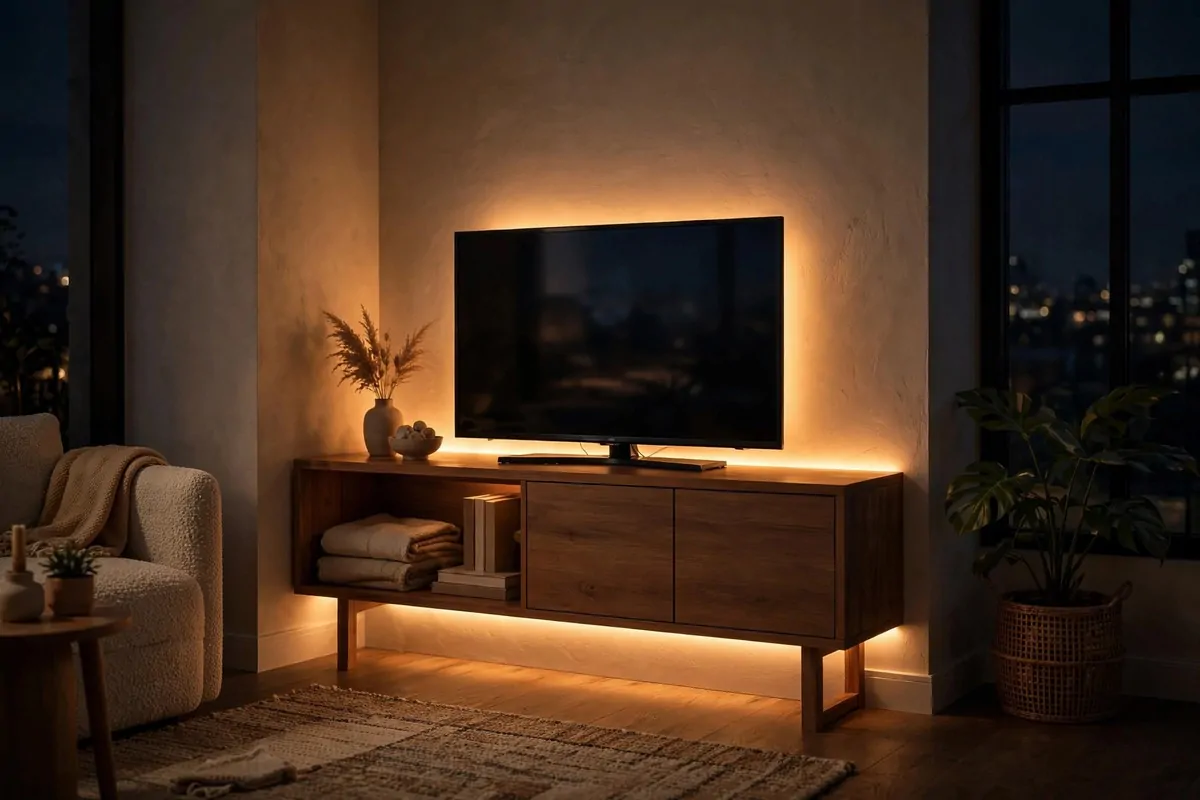
You know that soft glow behind TVs in fancy homes? That is just an LED strip. You can have it too, with zero drilling.
Stick the strip to the back of your TV or console. The light bounces off the wall behind it. The whole corner glows. It looks expensive, but it costs very little.
This trick works behind beds and bookshelves too. Any furniture with a gap behind it becomes a light source. The room gains depth at night.
Warm white is the cosy choice. Colour-changing strips are fun for parties. I keep mine on warm white most nights. It feels calmer that way.
- Clean the surface with alcohol before sticking
- Press the strip firmly along its whole length
- Hide the plug behind the furniture
- Use a remote or app to dim it low
Under kitchen cabinets is another great spot. The strip lights up the counter below. Cooking at night feels much nicer. And renters can do it with no wiring at all.
Behind a headboard gives the prettiest bedroom glow. You read by it, you wake up by it. It is like a sunrise you control. I love mine more than I expected.
Cut strips only at the marked lines. Most strips show little scissor marks. Cut anywhere else and that section dies. Read the instructions once before you snip.
Peel them off gently when you move. Warm the adhesive first. The strips are cheap to replace, so do not cry if one tears. The glow was worth it.
Switch to Plug-In Wall Sconces
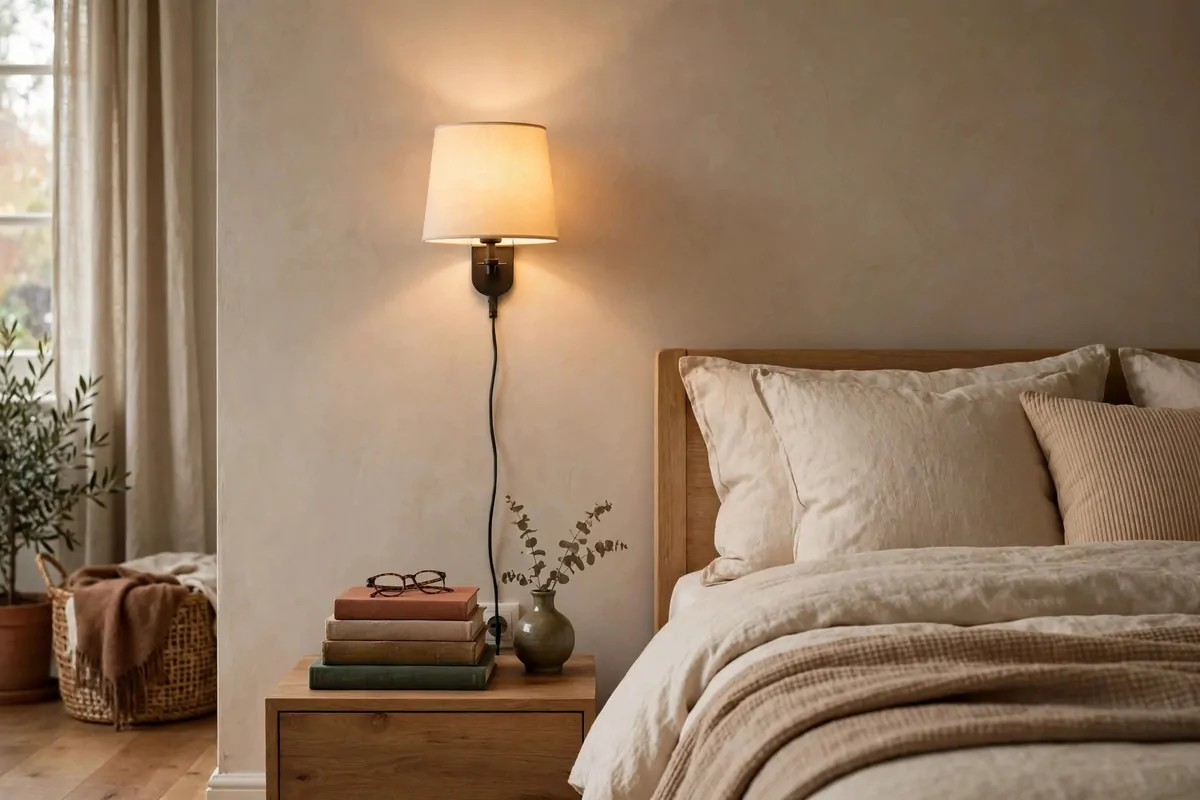
Good bedside lighting changes how a bedroom feels. But renters cannot wire new lights into the wall. Or can they, sort of?
Plug-in sconces are the answer. They mount with adhesive or tiny brackets, and the cord plugs into a normal socket. You get wall light with no electrician.
Hang one on each side of the bed. It frees up the nightstand for books and water. The room looks pulled together, like a boutique hotel.
Run the cord neatly down the wall. Cord covers stick on with adhesive and paint over the wire. Or let the cord show as part of the look. Fabric-covered cords look quite chic.
- Check the shade is not too close to bedding
- Use LED bulbs so the shade stays cool
- Pick a style that matches your room
- Measure twice so both sides sit level
Reading in bed gets so much better. The light lands right on your book. No more harsh ceiling light blasting your eyes. Your evenings will thank you.
They work in dark hallways too. One sconce near the door, one near the turn. The hallway feels safe and warm. Guests notice it right away.
Unplug and peel them off when you leave. Fill any tiny marks with a dab of filler if needed. Most times there is nothing to fix at all. Landlord approved, reader approved.
Dust the shades every month. Dust dulls the glow more than you would think. A quick wipe brings the warmth right back.
Stick Battery Puck Lights in Dark Shelves
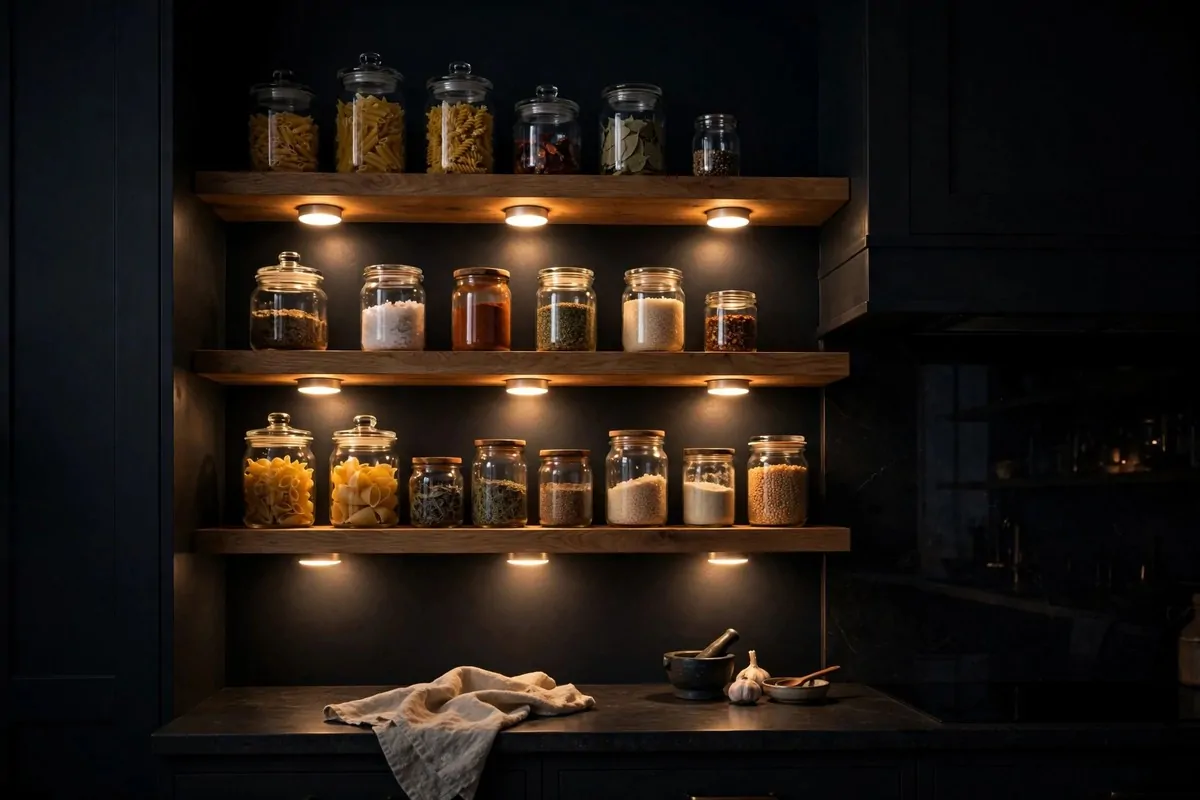
Every rental has that one dark shelf. You cannot see what is in the back. You just reach in and hope.
Battery puck lights solve it. They are small round lights that stick on with adhesive. Tap them and they glow. No wires, no holes, no fuss.
Put them under kitchen shelves first. The counter below lights up softly. Chopping vegetables at night feels safer. You can actually see what you are doing.
Closets love them too. Stick one to the top of the wardrobe. Finding the right shirt in the morning gets easier. No more guessing colours in the dark.
- Most have a simple tap on and off
- Some come with a tiny remote control
- Stick them where fingers can reach easily
- Keep spare batteries in a drawer
Motion sensor ones are even better for hallways. They glow when you walk past. No switch needed. Guests think you have fancy smart lighting.
Bookcases look amazing with a puck on each shelf. Your books and little objects get their own spotlight. The shelf becomes a display, not just storage.
They also help in rentals with bad wiring. That one socket that never worked? Forget it. Pucks do not need sockets at all. Freedom from the fuse box.
Change batteries once or twice a year. That is the only upkeep. When you move, pop them off and take them along. They will light up your next dark shelf too.
Frame Posters With Colorful Washi Tape
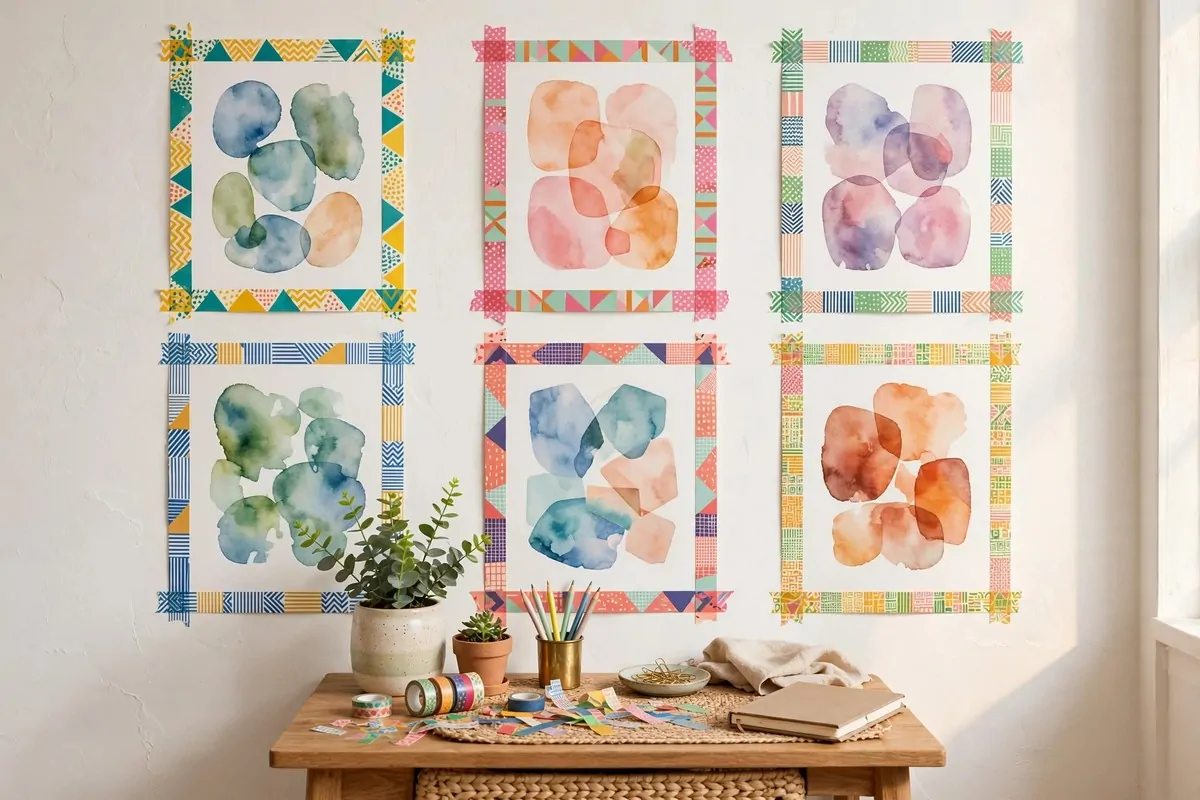
Plain tape is boring. Washi tape is not. It is the pretty Japanese paper tape that peels off clean.
You can frame a whole poster with it. Pick a colour, run strips around the edges. The poster stays put, and the wall stays safe. It looks handmade in the best way.
Make geometric shapes too. Triangles, zigzags, or a simple grid. Washi tape turns a blank wall into art. Kids love helping with this one.
It is perfect for students and first flats. Cheap, cheerful, and totally removable. When the lease ends, it peels away in seconds. No marks left behind.
- Press the tape down firmly so edges do not curl
- Overlap corners for a neat frame look
- Mix two or three colours, not ten
- Replace tape yearly if the sun fades it
Washi also labels everything. Wrap a strip around chargers and cords. Write on it with a marker. No more unplugging the wrong thing. Small trick, big relief.
Use it to mark heights on a door frame. Kids grow, and renters cannot carve notches. A little tape flag each birthday works just as well. Sweet memories, zero damage.
It can edge a mirror or a plain frame. A stripe of pattern around a boring frame makes it new. I did this to three charity shop frames. They look like a set now.
Buy the good stuff, not the cheapest rolls. Cheap tape tears and leaves sticky bits. Quality washi peels off like a dream. Your walls will thank you.
Hang Over-the-Door Hooks in Every Room
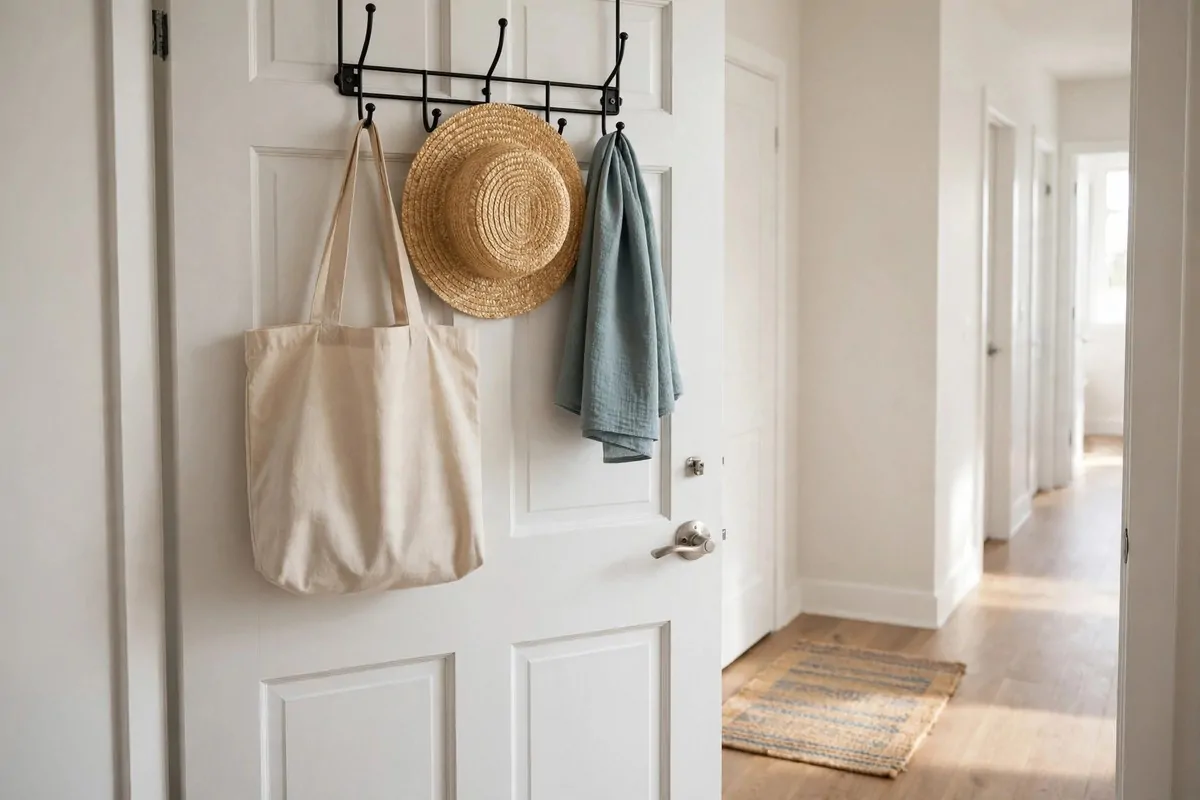
Doors are wasted space in most rentals. They just stand there, doing nothing. That is a shame, because they can hold so much.
Over-the-door hooks slide right over the top of any door. No screws, no stickers, no marks. They just hang there, ready to work.
The bedroom door holds tomorrow's outfit. The bathroom door holds towels and a robe. The front door holds bags and keys. Every door gets a job.
Check the gap above your door first. Most hooks fit standard doors. Very thick or very tight doors need slim hooks. Measure the gap before you buy.
- Felt pads on the back stop rattling
- Spread weight across several hooks
- Keep heavy coats on the sturdiest doors
- Do not slam doors with hooks on them
The back of a pantry door is pure gold. Hang spices, wraps, and small tools there. It frees up whole shelves. My tiny kitchen feels twice as big now.
Kids' rooms love them too. Backpacks, dress-up clothes, and towels all find a home. Mornings run smoother when everything hangs in one spot. Less shouting, more smiling.
They cost almost nothing. A few pounds per hook rack. For the storage they add, it is the best value in this whole list. I have them on five doors now.
Move day is simple. Lift them off and pack them flat. They fit in any box. Your next flat has doors too, so they come along.
Use a Freestanding Bookshelf as a Room Divider
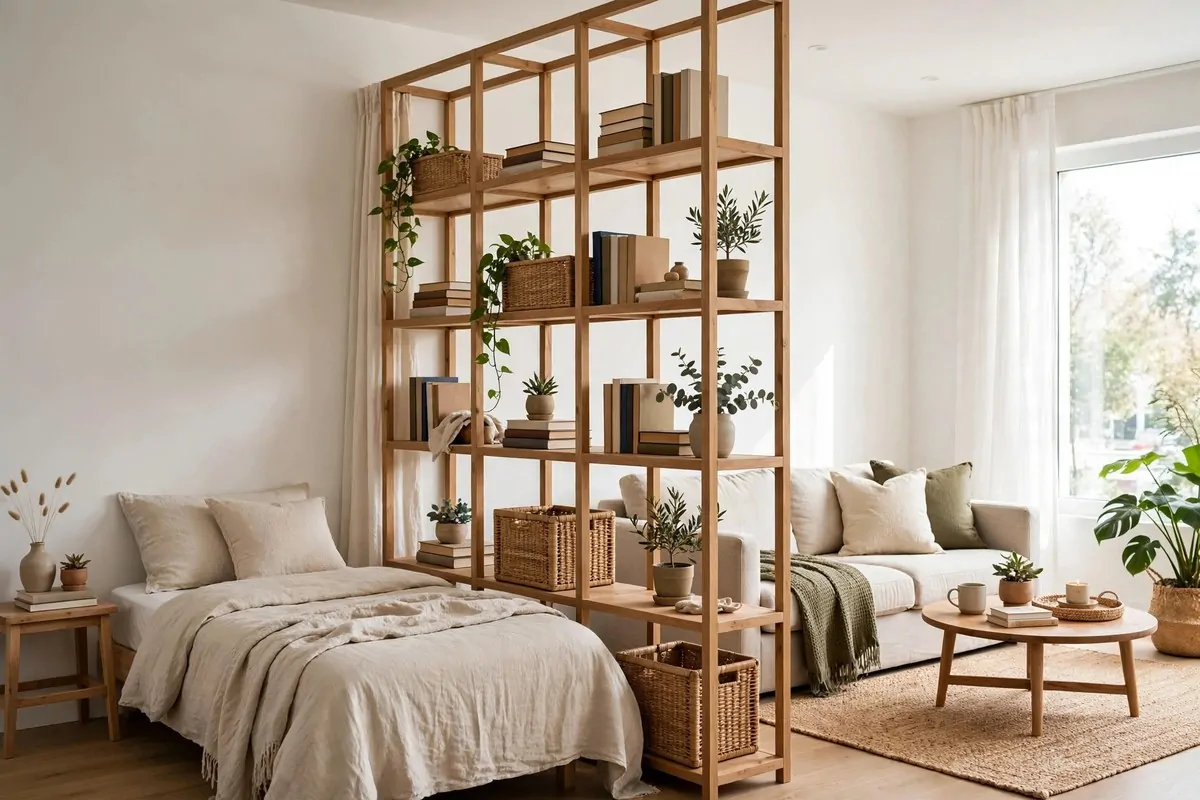
Studio flats have one big problem. Everything happens in one room. Sleep, work, eat, relax. It all blurs together.
A freestanding bookshelf fixes that. Stand it across the room. Now you have two zones. Bed on one side, sofa on the other. No building work needed.
Open shelves work best for this. Light passes through, so both sides stay bright. Closed bookcases can make one side dark. Airy is better.
Style both sides of the shelf. Books facing the bed, pretty objects facing the sofa. It looks good from every angle. Your divider becomes decor too.
- Anchor tall shelves to the wall with removable straps
- Put heavy books on the bottom for stability
- Leave some gaps so light flows through
- Keep the top shelf light, not crowded
It also hides the messy side. Bed unmade? The shelf blocks the view from the door. Guests see the pretty side only. Clever, right?
Use it in big bedrooms too. One corner becomes a reading nook. The shelf marks the edge of it. Small rooms feel bigger with clear zones.
Pick a shelf you will love for years. It moves with you to the next flat. Good furniture is an investment, not an expense. This one earns its keep daily.
I styled mine with plants trailing over the edges. Green leaves soften the straight lines. The whole flat feels calmer. Plants really do change a room.
Bring In One Tall Floor Plant
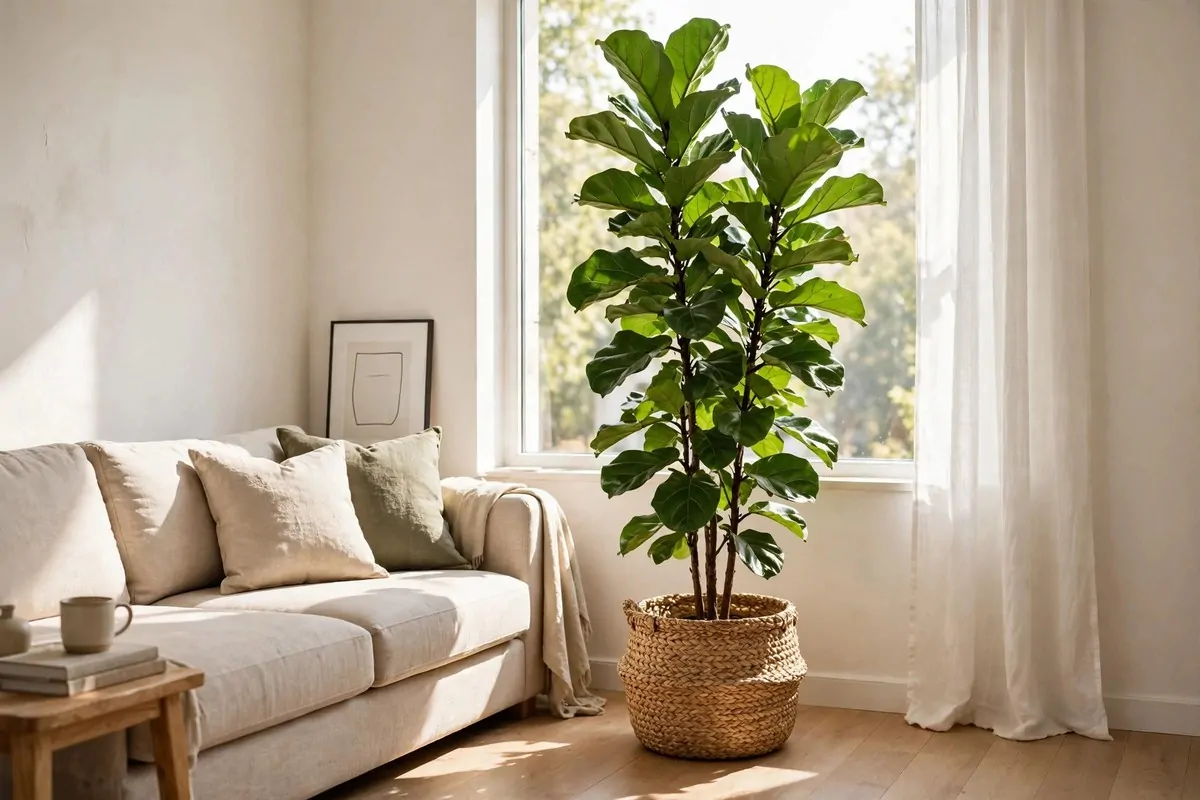
Empty corners are the saddest spots in a rental. Nothing fits there, so nothing goes there. The room feels unfinished.
One tall plant fills the corner perfectly. It adds height, life, and colour. The whole room feels more alive. It is almost unfair how well this works.
Fiddle leaf figs are the classic choice. Big bold leaves, great height. Snake plants are tougher if you forget watering. Pick the plant that matches your habits, not your dreams.
Put it in a pretty basket or pot. The container is half the look. A woven basket warms up any corner. A white ceramic pot looks clean and modern.
- Check the light needs before you buy
- Turn the pot a quarter turn each month
- Wipe dusty leaves with a damp cloth
- Water less in winter than summer
Big plants also clean the air a little. They will not purify a whole flat, despite what some posts claim. But they do add fresh oxygen and calm. That counts for something.
Group small plants with the tall one. Three pots at different heights look styled. Odd numbers always look better than even ones. Designers swear by this rule.
If real plants scare you, start with one tough one. A snake plant survives almost anything. Low light, missed waterings, still standing. Build your confidence slowly.
No drilling, no hanging, no holes. Just a pot on the floor. It moves with you easily. The simplest idea on this list might be the best one.
Hang Small Planters With Adhesive Hooks
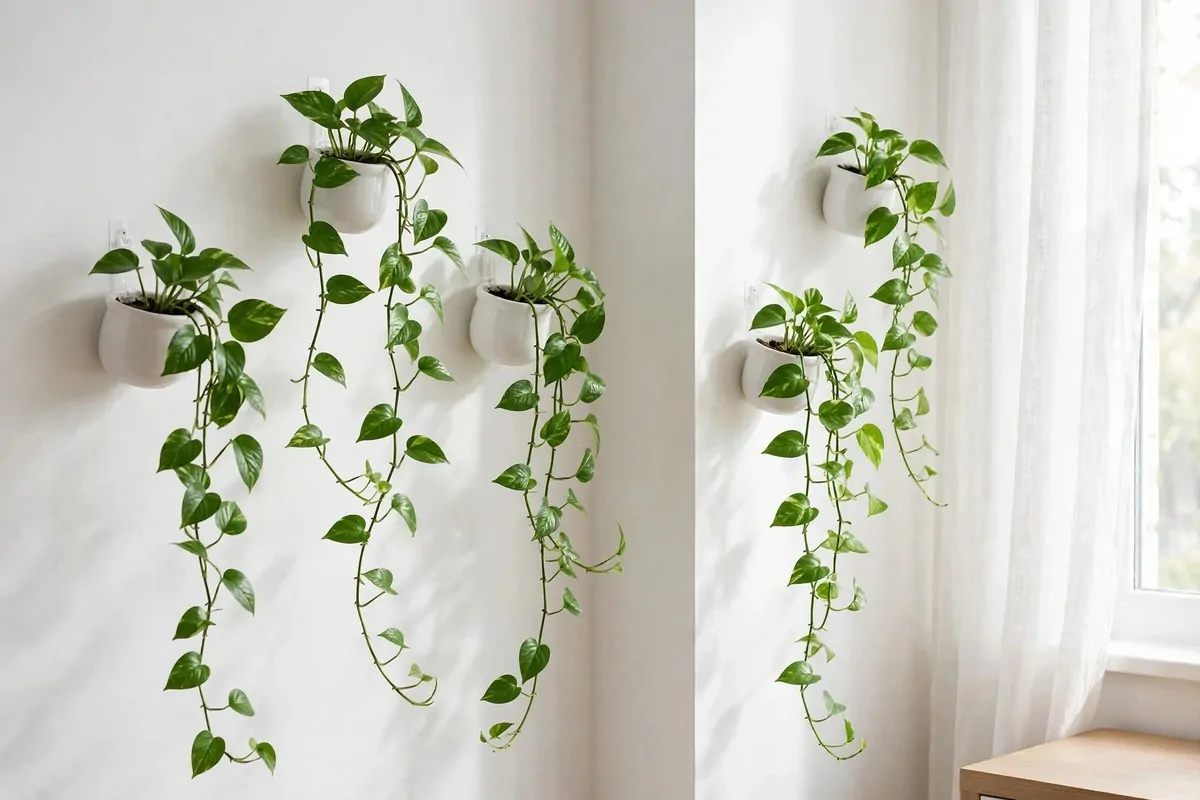
Floor space is precious in small flats. But walls? Walls are free real estate. Use them for plants.
Small planters hang beautifully from adhesive hooks. Pick light pots and trailing plants. Pothos and spider plants are perfect. Their leaves spill down like green curtains.
A row of three planters makes a lovely display. Same pots, different plants. Or same plant, different pots. Either way it looks planned and pretty.
Check the hook weight rating first. Wet soil is heavier than you think. Water the plant, then weigh the whole pot. Stay well under the hook's limit.
- Use plastic pots to keep weight down
- Add a saucer so drips do not mark the wall
- Hang at a height you can reach to water
- Rotate pots so plants grow evenly
Macrame hangers work with hooks too. They cradle the pot in rope. The boho look is still going strong. One hanger by a window looks lovely.
Herbs do well in kitchen planters. Basil, mint, and thyme near the stove. Snip fresh leaves while you cook. It feels a bit like a fancy restaurant.
Fake trailing plants are fine too. No shame in it. Good fakes look real from across the room. They are perfect for dark corners where real plants suffer.
When you move, lift the planters off the hooks. Pull the hook tabs to release them. The wall stays clean. Your green wall comes with you.
Refresh Your Sofa With Throws and Cushions
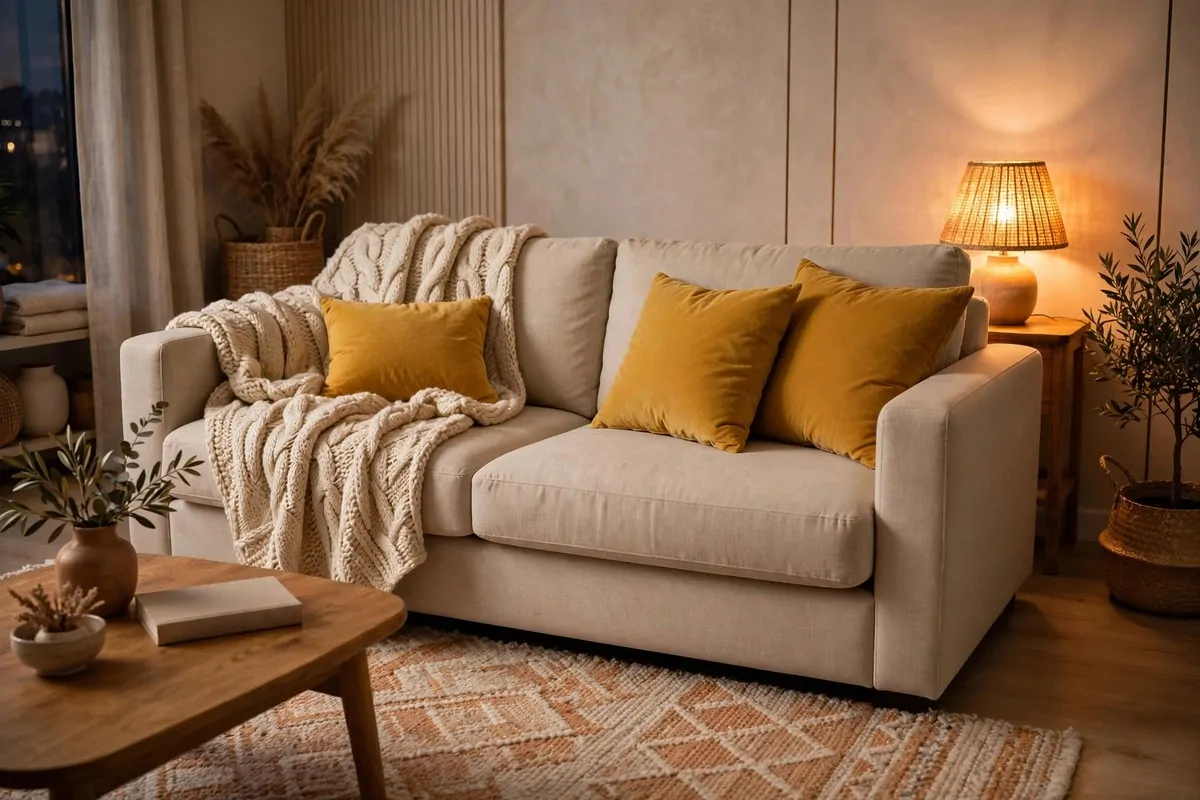
The sofa is usually the biggest thing in the living room. It sets the mood. And in rentals, it is often beige, grey, or just plain tired.
Throws and cushions change all of that. Drape a throw over one arm. Add cushions in colours you love. The sofa looks new without costing much.
Odd numbers work best for cushions. Three or five, not two or four. Mix sizes too. Big squares at the back, small ones in front. It looks relaxed, not stiff.
Texture matters as much as colour. Chunky knit, soft velvet, rough linen. Different fabrics catch the light differently. The sofa gains depth and interest.
- Pick one main colour and two accents
- Wash covers regularly so they stay fresh
- Fluff cushions daily to keep their shape
- Store spare covers for a quick seasonal swap
Seasonal swaps keep things fun. Warm rust tones in autumn, fresh greens in spring. Two sets of covers give you two sofas. It feels like redecorating for the price of lunch.
Throws are useful, not just pretty. Cold evening? Pull the throw over your knees. Spill something? The throw takes the hit, not the sofa. Practical and pretty.
Fold the throw neatly or drape it casually. Both look good. Neat folds feel calm and tidy. Casual drapes feel relaxed and lived in. Match it to your mood.
This is the fastest makeover on the list. Ten minutes, no tools, no mess. Sit back and admire your new sofa. It was there all along, just waiting for cushions.
Style a Simple Tray on Your Coffee Table
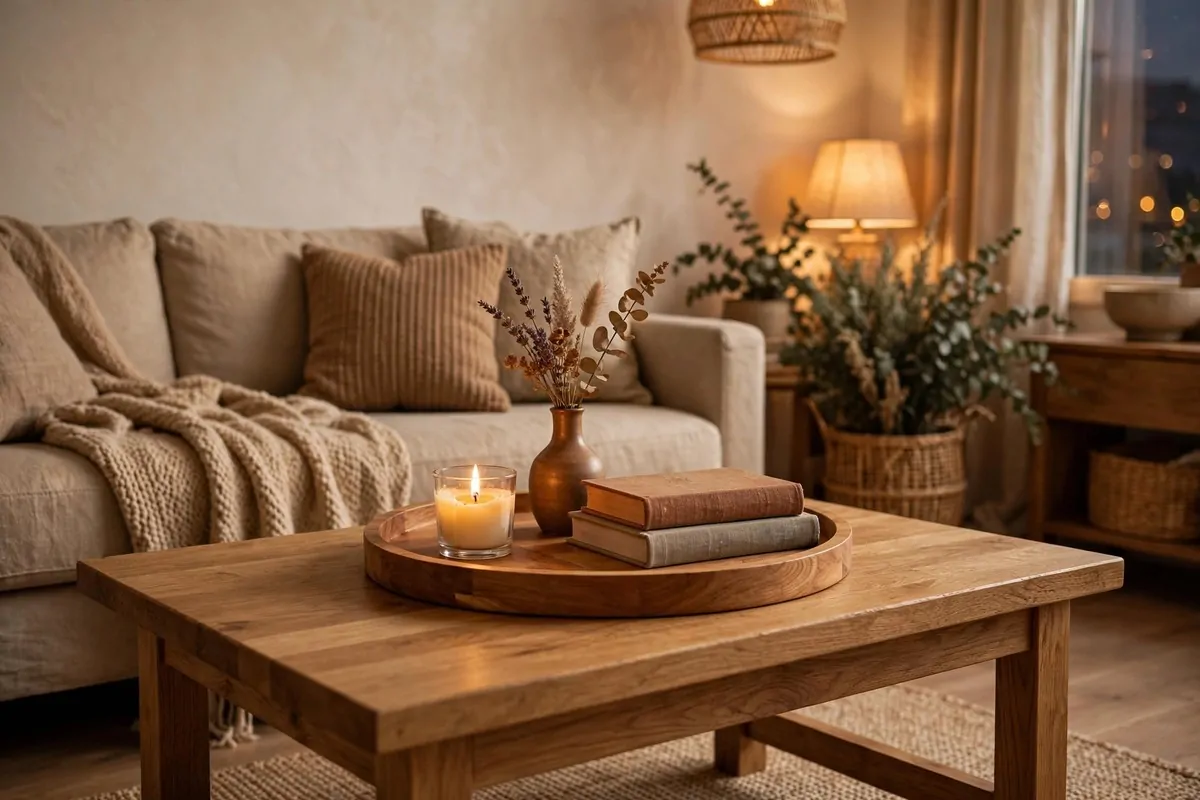
Coffee tables collect clutter. Remote controls, old magazines, random keys. It happens to everyone.
A tray fixes it. It gives everything a home. Items on the tray look styled. Items off the tray look like mess. Funny how that works.
Start with a tray you love. Wood, rattan, or metal all work. Round trays soften square tables. The tray is the frame for your little display.
Add three things. A candle, something green, and something to read. That is the classic formula. Odd numbers please the eye. Three is the magic number.
- Keep the tray to one third of the table
- Leave space for cups and feet
- Change one item with the seasons
- Corral remotes in a small dish on the tray
Height makes it interesting. A tall vase next to a low candle. A stack of books under a small plant. Vary the levels. Flat displays look dull.
The tray also makes cleaning easy. Lift the whole tray to wipe the table. Put it back when done. Two seconds, no rearranging. I wish everything cleaned this fast.
Try it on an ottoman too. A tray turns a soft ottoman into a firm table. Drinks stay steady. It is a clever trick for small living rooms.
Guests always comment on a styled tray. It looks like you hired someone. You did not. It took five minutes and things you already owned.
Raise Your Shower Curtain With a Tension Rod
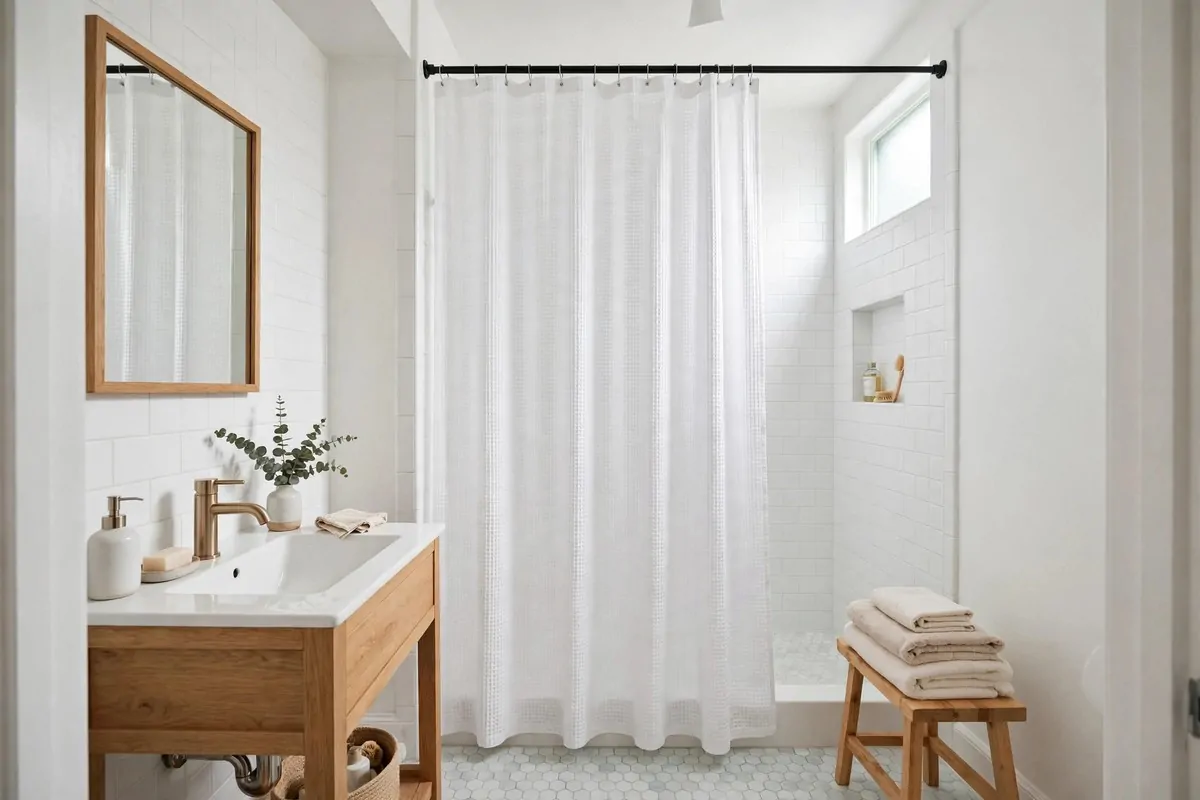
Small bathrooms feel cramped. Low shower curtains make it worse. They chop the wall in half and the room feels tiny.
Hang your curtain higher with a tension rod. Place it near the ceiling instead of at the old marks. The wall looks taller. The whole bathroom breathes.
Use an extra-long curtain to match. Standard curtains will hover above the floor and look silly. Measure from your new high rod to the floor, then buy that length.
A light coloured curtain keeps things airy. White waffle weave is my favourite. It looks like a spa. Dark curtains in a small bathroom can feel like a cave.
- Twist the rod tight so it never slips
- Choose rust-proof rings for damp air
- Wash the curtain monthly to stop mildew
- Keep the curtain inside the tub when showering
This trick costs almost nothing. One rod, one curtain. The bathroom looks renovated. Visitors will think you hired someone. You just reached higher.
Fabric curtains beat plastic ones. They hang nicer and feel softer. They also wash well in the machine. Plastic liners can go behind the fabric one.
Add a second tension rod inside for the liner. Two rods, no holes. The liner keeps water in, the curtain looks pretty. Best of both worlds.
When you move, twist the rods out. No marks, no repairs. The next tenant gets a boring low curtain again. Their loss.
Add Frosted Window Film for Privacy
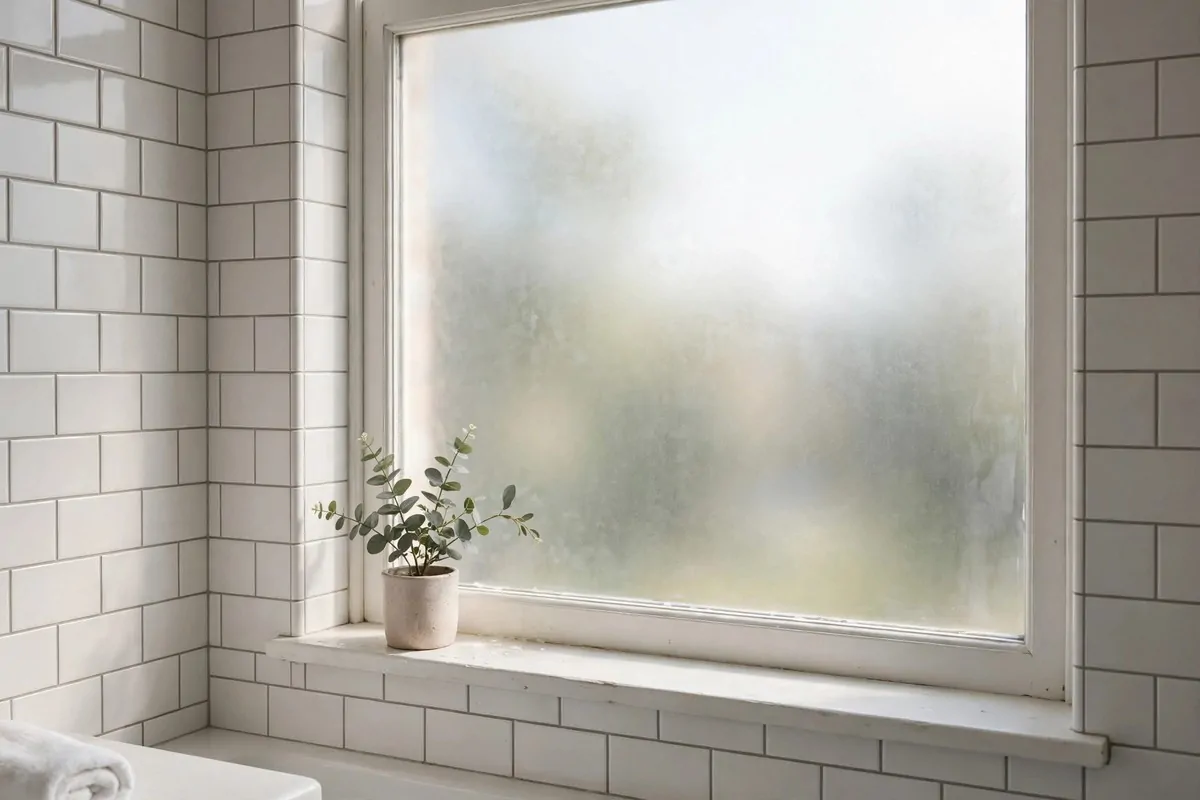
Bathroom windows are a problem in rentals. You want daylight, but you do not want the neighbours watching.
Frosted window film solves it perfectly. It sticks to the glass with water. Light comes through, views do not. Privacy and brightness together.
It also works on front doors with glass panels. And on windows facing the street. Anywhere you feel a bit exposed. One roll covers a lot of glass.
Application is simple. Spray the glass with soapy water. Lay the film on. Smooth out bubbles with a card. Trim the edges. Done in twenty minutes.
| Film type | Effect |
|---|---|
| Plain frosted | Soft blur, maximum light |
| Stained glass pattern | Colourful light, pretty look |
| Rain texture | Elegant blur, hides everything |
| Mirror one-way | Daytime privacy, keeps the view |
The stained glass styles are so pretty. They throw little rainbows around the room. My kitchen window has one. Sunny mornings are my favourite now.
It peels off with no residue. Just lift a corner and pull. Any sticky edge wipes away with glass cleaner. Landlords never even notice it was there.
Cut the film slightly smaller than the glass. A tiny gap at the edges stops peeling. Measure carefully. A ruler and a sharp blade give the cleanest cut.
It also stops sun fading your furniture. UV rays bleach sofas and rugs over time. The film blocks much of it. Your furniture keeps its colour longer.
Create an Entryway Drop Zone on a Console Table
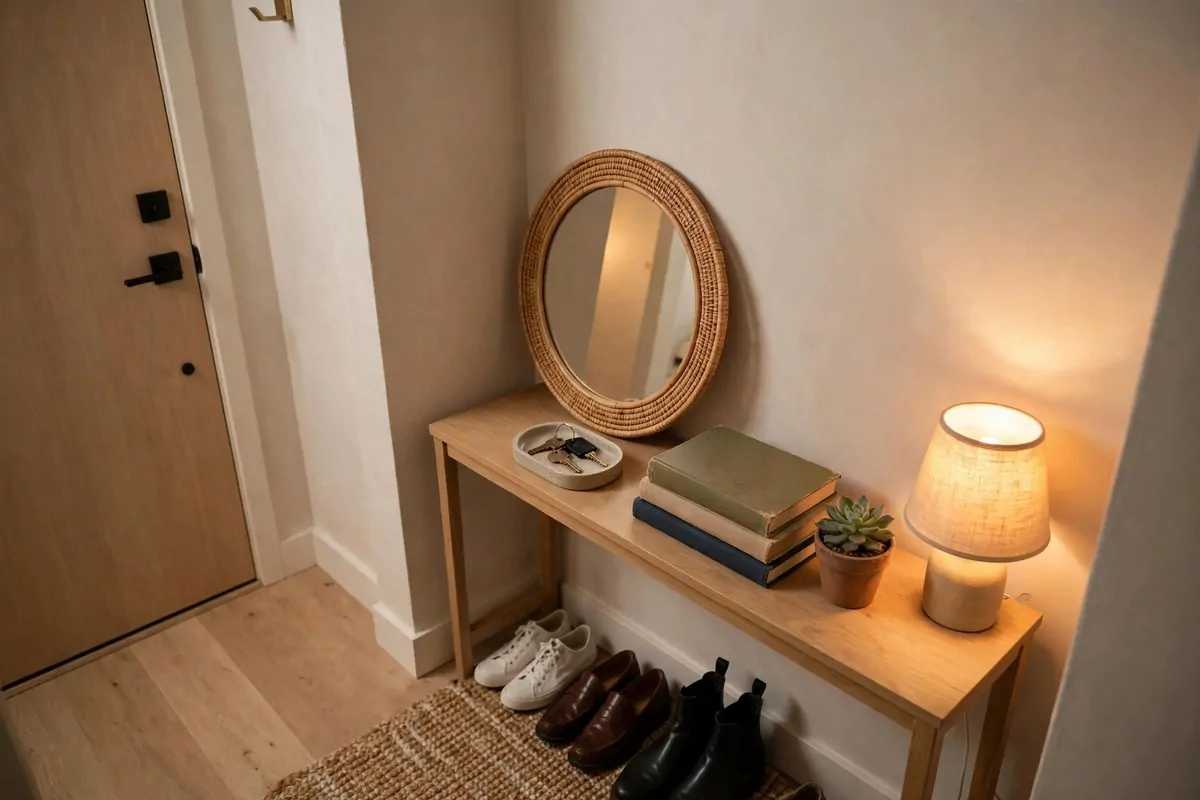
You walk in the door. Keys land somewhere. Bag lands somewhere else. Shoes scatter. Sound familiar?
A small console table by the door ends the chaos. It becomes your drop zone. Keys in the tray, bag on the hook, shoes below. Everything has a place.
You do not need a big hallway for this. A slim table fits most walls. Even a narrow shelf works. The idea matters more than the size.
Add a small tray for keys and coins. A dish or a bowl does the job. Empty your pockets the second you walk in. You will never lose your keys again.
- A tray for keys and small bits
- A hook or two for bags and coats
- A basket below for shoes
- A mirror above to check yourself
Lean a mirror on the table against the wall. No hanging needed. A quick check before you leave saves bad hair days. It also bounces light into dark hallways.
A little plant or a framed photo makes it welcoming. This is the first thing you see coming home. Make it say welcome, not chaos. First impressions count at home too.
Mail needs a spot as well. A small basket or a wall file on adhesive hooks. Sort it weekly. Junk goes straight to recycling. Bills go in one pile.
This one change calms the whole flat. Coming home feels good. Leaving feels smooth. All from a little table by the door.
Put Adhesive Hooks Inside Cabinet Doors
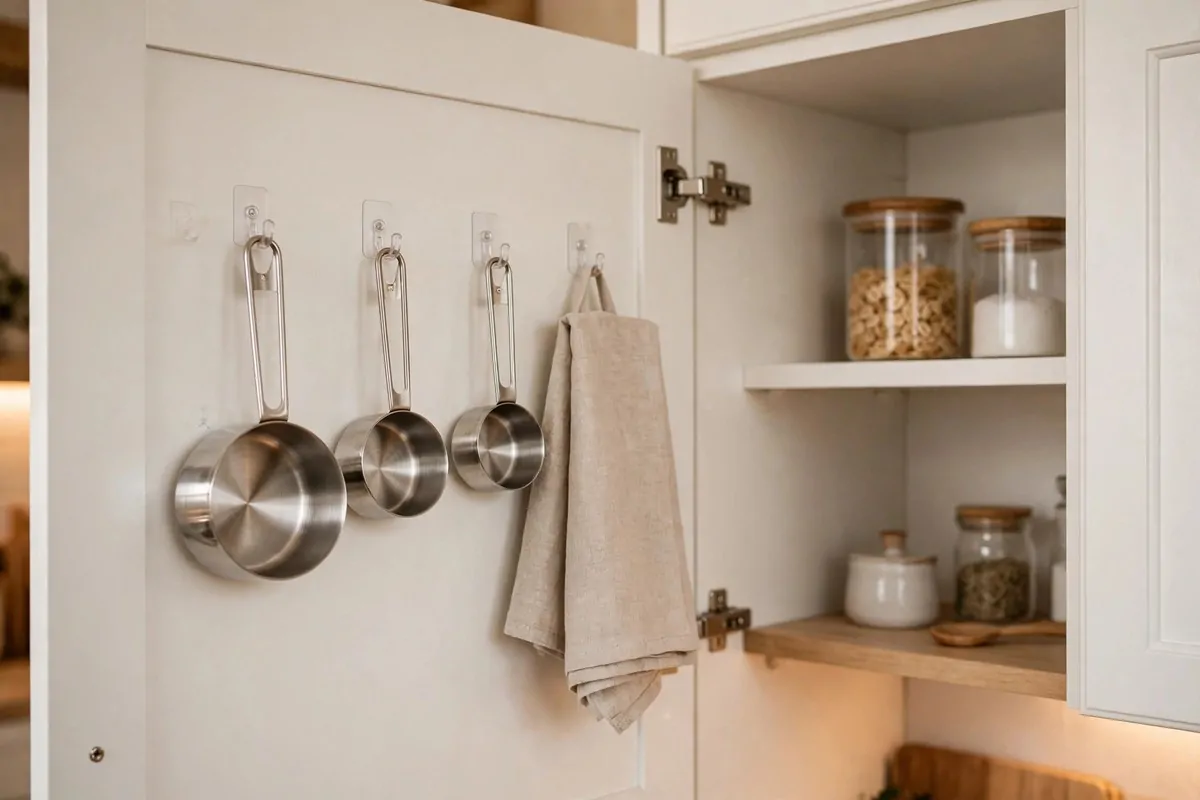
Cabinet doors are secret storage. The inside face is empty in most kitchens. That is space going to waste.
Small adhesive hooks stick right onto the inside. Hang measuring cups, oven mitts, or a towel. Things you grab daily, now within reach.
The bathroom cabinet works too. Hang hair tools or a small mirror inside the door. Everything hides away when you close it. Clean counters, calm mind.
Under the sink is another goldmine. Hooks hold spray bottles by their triggers. They hang instead of crowding the floor of the cabinet. You can actually see what you have.
- Use small clear hooks so they blend in
- Let the adhesive set for an hour first
- Do not overload, two items per hook max
- Keep hooks away from hinges that swing
Pantry doors hold wraps and bags. Clip them up with little hooks. No more tangled cling film rolls. Cooking feels organised. It really does.
This trick costs pennies. A pack of small hooks is cheap. The storage they unlock is huge. Best value per pound in the whole kitchen.
Check hooks every few months. Steam and heat can weaken glue over time. Press them back down if they loosen. A quick check keeps everything safe.
Nobody sees them but you. Guests open cabinets and say wow. It feels like a secret upgrade. Your kitchen works harder, and the walls stay untouched.
Lay Peel-and-Stick Floor Tiles in the Entryway
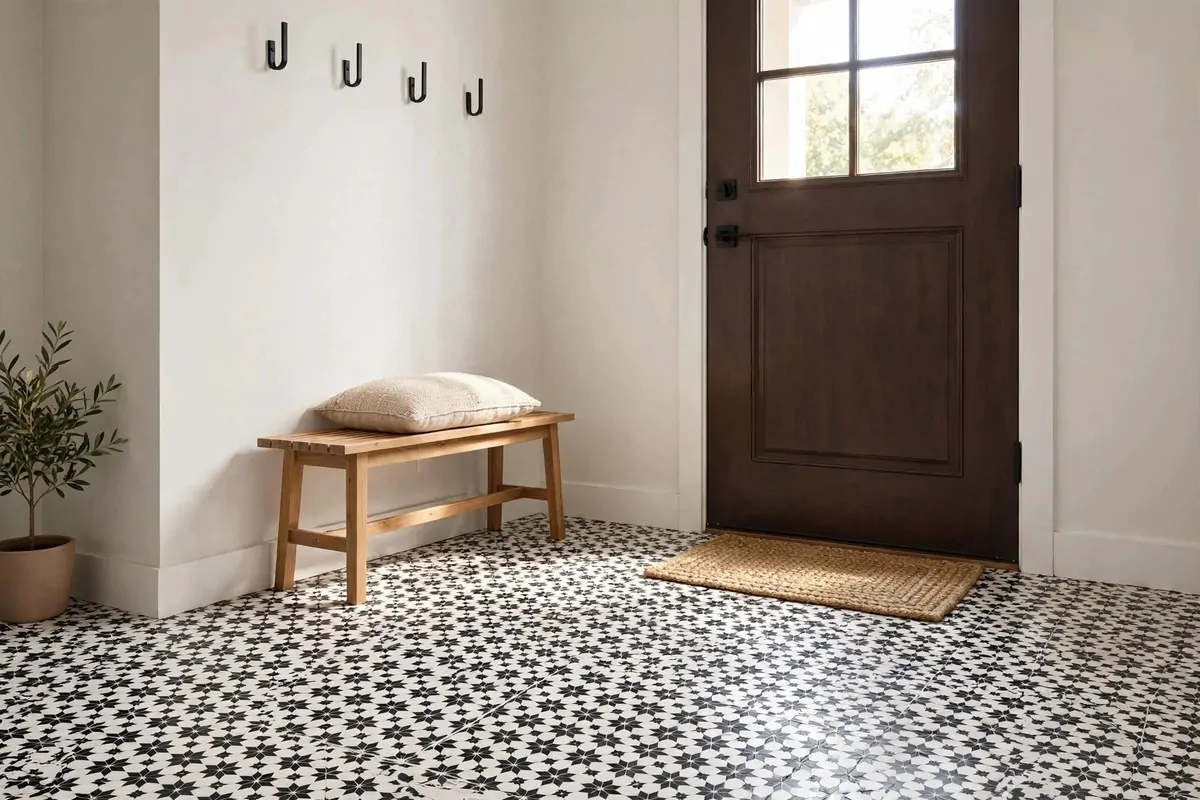
Rental floors near the door take a beating. Muddy shoes, wet umbrellas, daily traffic. They look tired fast.
Peel-and-stick floor tiles give the entryway a fresh face. They go right over the old floor. No glue, no grout, no mess.
Patterned tiles look amazing here. Black and white geometric, or soft terracotta. The entryway becomes a feature, not an afterthought.
Clean the floor well first. Sweep, mop, and let it dry fully. The tiles need a clean grip. Dirt underneath means loose tiles later.
- Start from the centre and work outward
- Cut edge tiles with a sharp craft knife
- Press each tile down firmly, corner to corner
- Leave tiny gaps at the walls for expansion
They handle daily wear well. Most are made for busy floors. A quick mop keeps them fresh. They wipe clean much easier than old lino.
If one tile gets damaged, peel it up and stick a new one. Keep a few spares in a cupboard. Repairs take two minutes. Try that with real tiles.
They lift off when you leave. Warm them gently and peel slowly. The old floor waits underneath. A little cleaning and it looks as it did.
My entryway went from dull to delightful in one evening. Guests notice it first thing. First impressions start at the floor, apparently.
Drape a Throw Over an Armchair
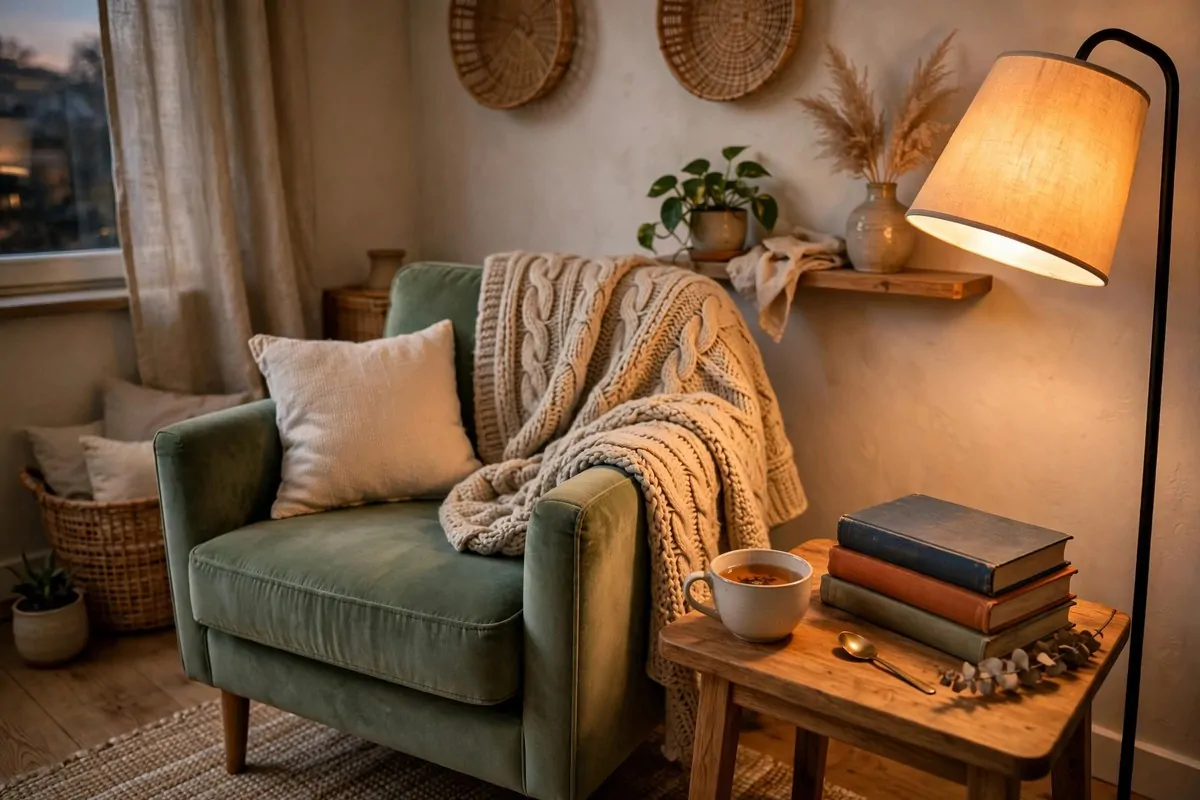
That one chair in the corner. You know the one. Comfy but plain. It fades into the background.
A throw blanket wakes it right up. Drape it over the back or one arm. The chair gets colour, texture, and personality. All in ten seconds.
Chunky knits look the cosiest. They add that handmade feel. Faux fur throws feel a bit fancy. Pick the mood you want for the corner.
Match the throw to your cushions. Same colour family ties the room together. Or go bold with a contrast colour. A bright throw on a grey chair pops beautifully.
- Fold it in thirds for a neat tailored look
- Drape it loose for a relaxed feel
- Switch throws with the seasons
- Wash it monthly, chairs collect dust
Reading corners love this trick. Chair, throw, small lamp, done. It becomes the favourite seat in the house. Everyone fights over it, trust me.
Throws protect the chair too. Pets, kids, and snacks all leave marks. The throw takes the wear. Wash it, and the chair stays fresh underneath.
Layer two throws for extra cosiness. Different textures together look rich. A knit plus a faux fur is my favourite combo. Winter evenings feel luxurious.
It is the smallest change with the biggest comfort payoff. A chair you sit in more is a chair worth styling. Go drape something soft on it today.
Add a Statement Arc Floor Lamp
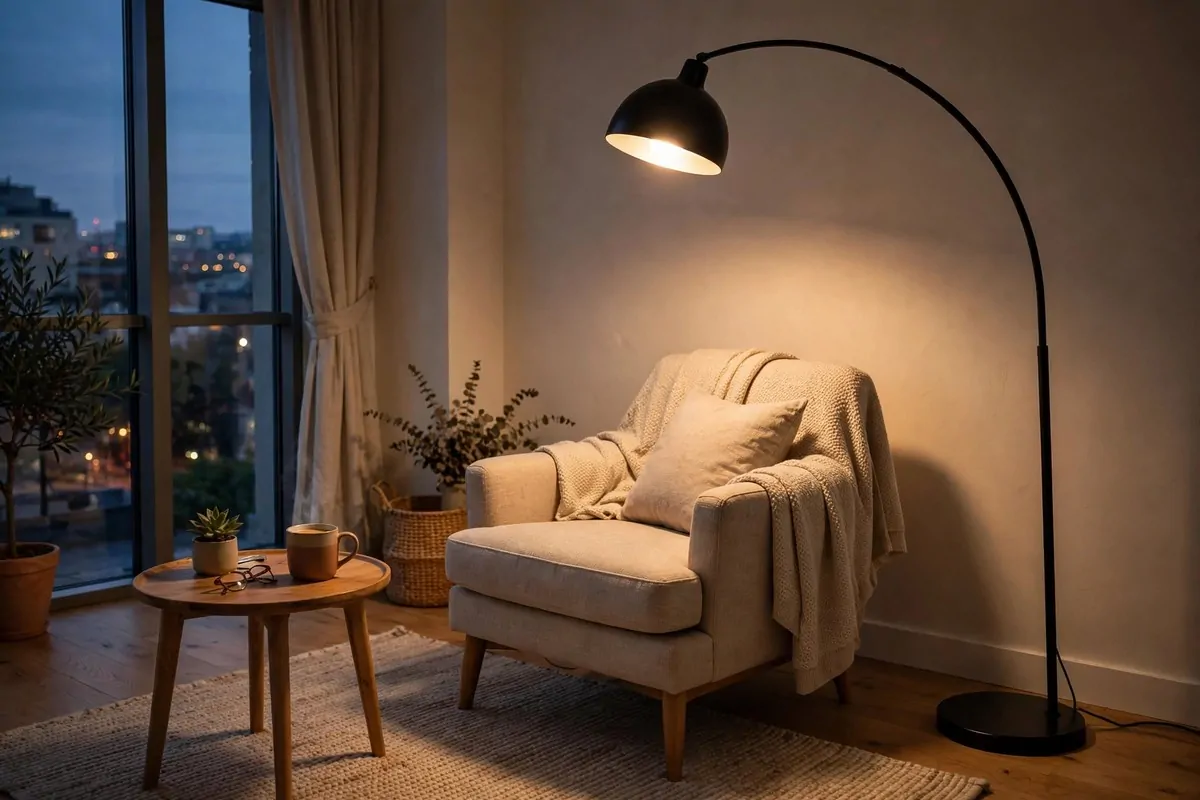
Lighting makes or breaks a room. One ceiling bulb rarely does the job. Corners stay dark and sad.
An arc floor lamp fixes that with style. Its long arm curves over a chair or sofa. Light lands exactly where you read. It looks like modern art too.
No wiring, no holes, no fuss. It plugs into the wall and stands on the floor. Move it anywhere. Renters could not ask for an easier upgrade.
The curved shape adds drama. Straight furniture everywhere, then one bold curve. The room gains interest. Designers use this trick in expensive homes.
- Check the arc reach matches your chair position
- Choose a heavy base so it stands steady
- Dimmer switches give you mood control
- Warm bulbs keep the glow cosy
It also zones a reading corner. Lamp plus chair equals library. No walls needed. The light marks the spot. Your brain learns that this corner means relax.
Marble or black finishes look smartest. They suit most decor styles. Brass adds a touch of glam. Pick the finish that matches your other metals.
Evening light from an arc lamp is beautiful. It pools warmly over the chair. The rest of the room stays soft and dim. Movie nights feel cinematic.
When you move, it folds down and travels well. One lamp, many flats. Good lighting is worth carrying with you. Your next living room will thank you.
Group Candles and Lanterns on a Shelf
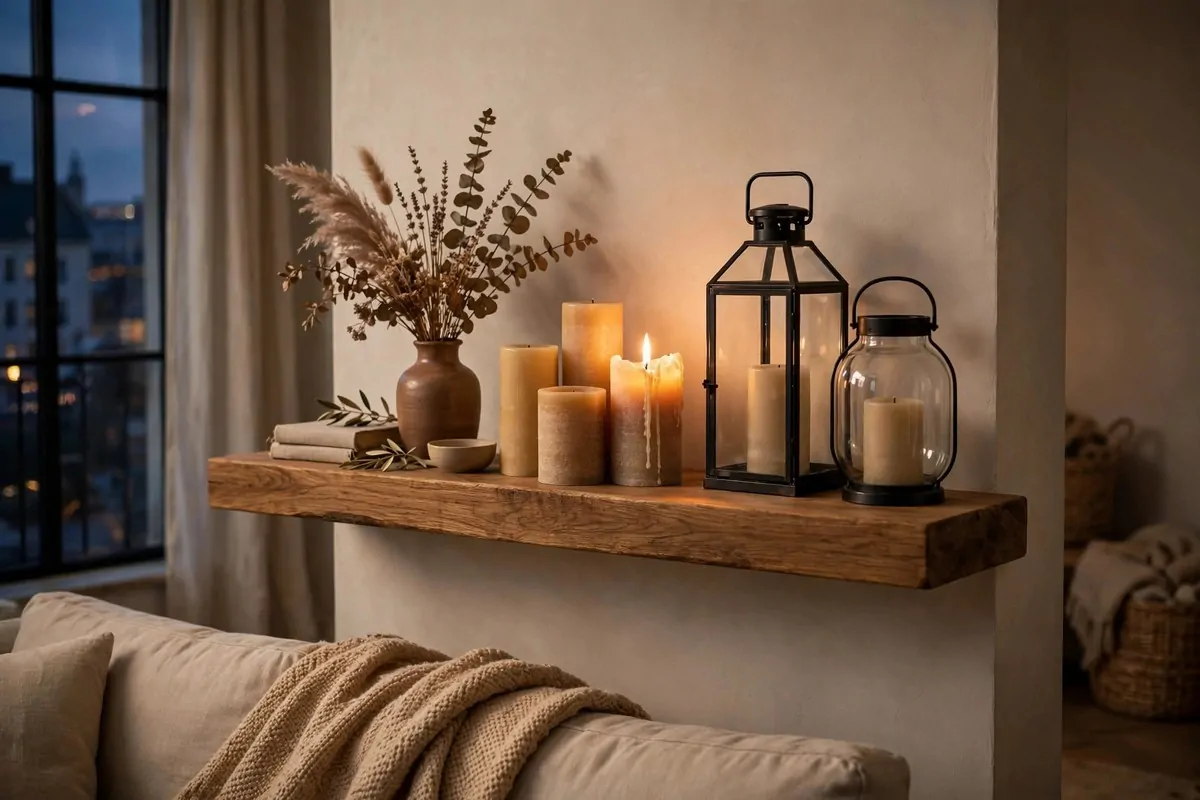
Nothing says cosy like candlelight. It softens everything. Wrinkles, worries, and plain walls all fade a little.
Group candles on a shelf or mantel. Different heights look best. Tall pillars, short tea lights, a lantern or two. The cluster glows like a little village.
Battery candles are the safe choice. They flicker like real flames. No fire risk, no wax drips. Great with kids and pets around. I use them in the hallway.
Real candles need care. Never leave them burning alone. Keep them away from curtains and shelves above. Pretty is not worth a fire. Safety first, always.
- Group in odd numbers for the best look
- Mix heights for visual interest
- Use a tray to catch any wax drips
- Trim wicks to stop smoking
Lanterns add shape to the group. Glass and metal ones catch the light beautifully. They look good lit or unlit. Day and night, they earn their shelf space.
Scented candles do double duty. Light plus lovely smell. Vanilla in winter, citrus in summer. The room smells as good as it looks. Guests always ask what it is.
This display moves in seconds. Gather the candles onto a tray. Carry the tray to the next room. Instant atmosphere anywhere. Try that with a chandelier.
Start with three and build slowly. Charity shops have lovely candle holders. Your shelf will grow into a glowing collection. Cosy corners are built, not bought.
Hang a Wreath on Your Front Door
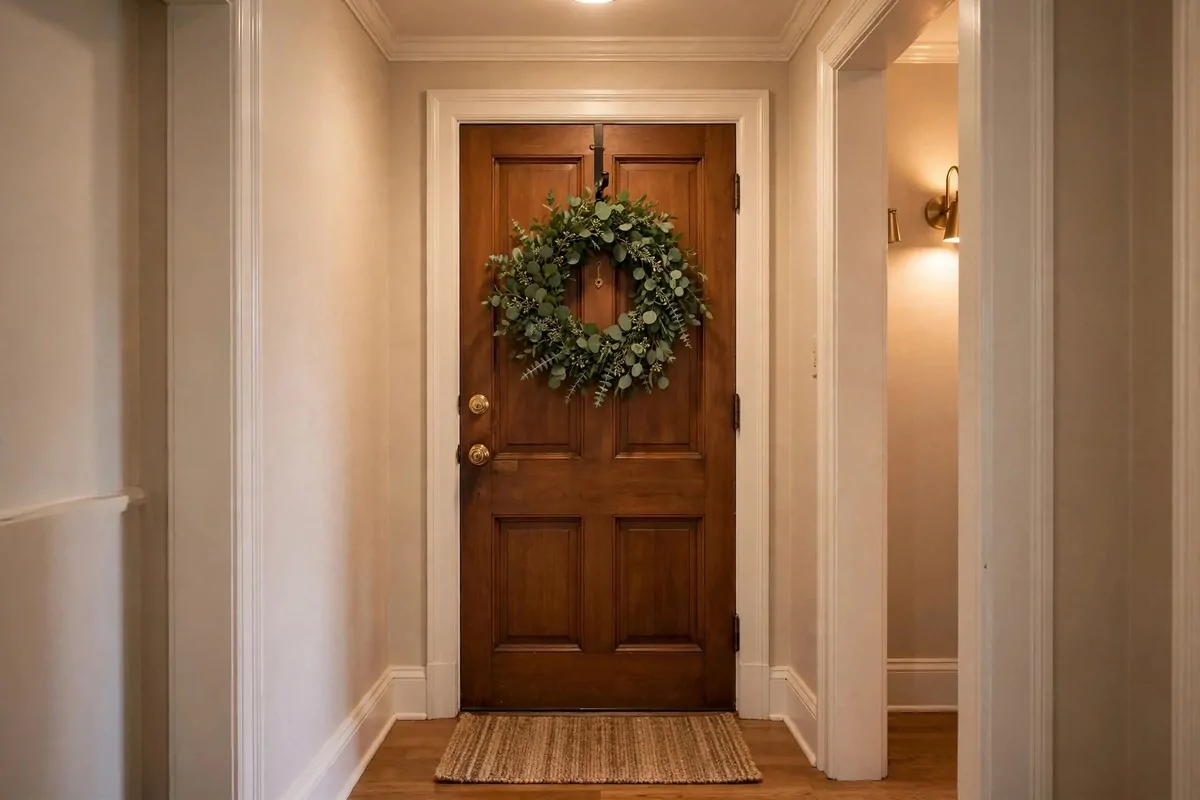
Your front door is the first thing you see coming home. It deserves a little love. Most rental doors get none.
A wreath changes that instantly. Green leaves, dried flowers, or simple eucalyptus. It says someone happy lives here. Coming home feels warmer.
An over-the-door hook holds it with no nails. The hook slides over the top of the door. The wreath hangs on the other side. Done in one minute.
Faux wreaths last for years. Real ones smell amazing but fade fast. I keep one faux wreath and refresh it with seasonal bits. Best of both.
- Measure your door thickness for the right hook
- Felt pads stop the hook scratching paint
- Keep the wreath light so the door closes well
- Store it flat in a box between seasons
Change it with the seasons if you like. Spring blossoms, summer greens, autumn berries, winter pine. Four wreaths, one hook. Your door never gets boring.
It also makes your flat easy to find. Friends spot the wreath from down the hall. Delivery drivers find you faster. Small win, but a real one.
Neighbours notice too. A pretty door lifts the whole hallway. Someone always knocks to ask where it is from. Instant community builder, apparently.
Take it down and pack it flat when you move. It fits in any box. Your new door gets an instant welcome. Home is where the wreath hangs.
There you have it. Twenty nine ways to decorate your apartment without touching a drill. Every single one comes off clean when you leave.
Start with just one idea this weekend. The rug, the mirror, or the string lights. Small starts lead to big changes. Your rental is about to feel a lot more like home.