22 Science Experiments for Kids at Home

The kitchen table looked like a small lab the day my son poured vinegar on baking soda and the whole cup fizzed up like a tiny volcano.
Here are 22 science experiments for kids that you can try at home with things you already own.
You do not need fancy tools for this kind of play. Most of the things you need sit in your kitchen cupboard right now. A spoon, a cup, some water, and a bit of time can teach your child a lot.
I like to keep each test short and calm. We clear the table first, we put down an old towel, and we talk about what we think will happen. That small chat before we start makes the result feel like a real find.
Your child can pour, stir, watch, and ask why. You can help with the parts that need a steady hand or warm water. We go slow, we laugh when it goes wrong, and we try again.
Every idea in this list uses plain things from home. Nothing here needs a shop trip for odd tools or strong stuff from a bottle with a warning mark. If a step feels tricky, you can skip it and pick a new one.
Put your phone away for a bit and sit with your child at the table. Watch their face when the colours change or the bubbles rise. That look is the best part of a home science day.
1. Make a Rainbow in a Glass
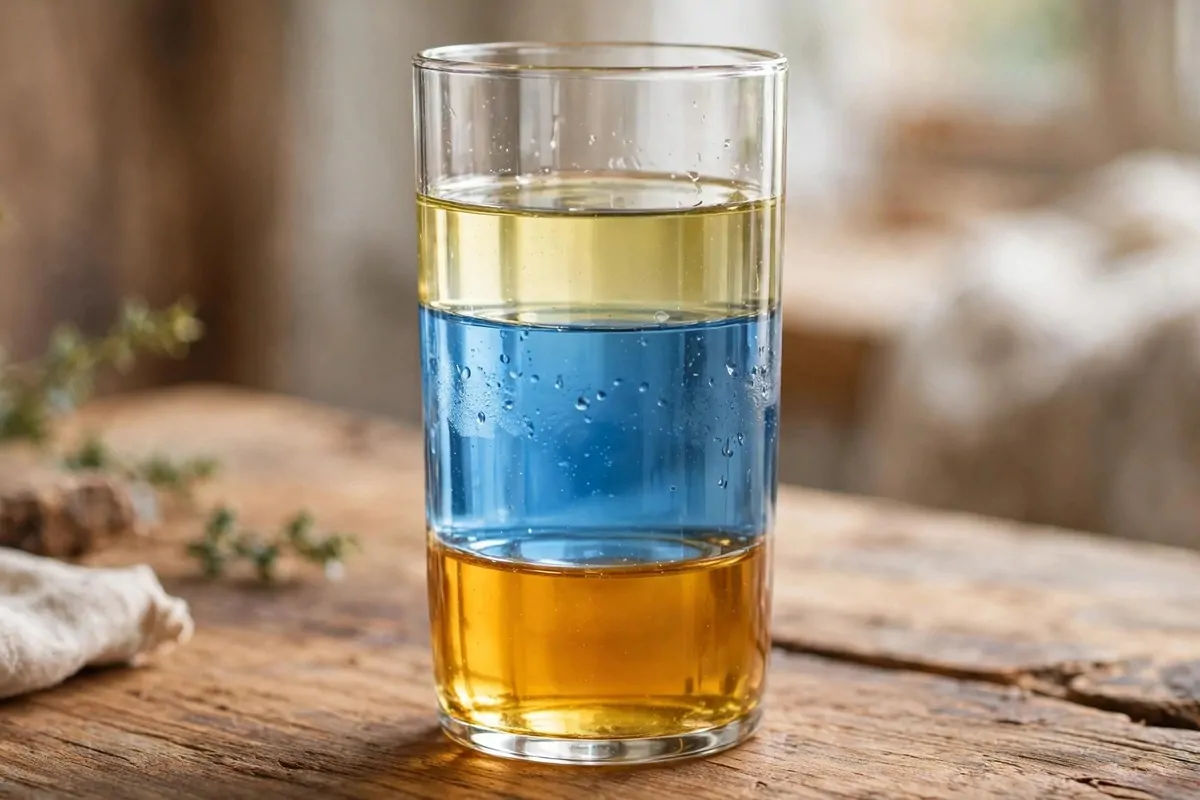
I pour golden honey into a tall clear glass first. It sinks right to the bottom and sits there like a thick gold layer.
Next I pour blue water in very slow down the side of the glass.
The blue water sits on top of the honey and does not mix in fast. You can see a clear line where the gold ends and the blue starts. My son loves to watch that line form.
Last I pour pale oil on top, slow and soft. The oil floats up high and makes the third layer.
Now you have a rainbow in a glass with gold at the bottom, blue in the middle, and pale oil on top.
Hold the glass up near the window and look through it. The layers stay apart for a bit, so you can count them one by one. Ask your child which layer they think is the thickest one.
If the layers mix a bit, that is fine too. Pour slow next time and the lines will show up clear again.
You can try it again with a new glass and see if your pour gets steadier each time.
Typical cost $2 to $4.
2. Fizz a Baking Soda Volcano
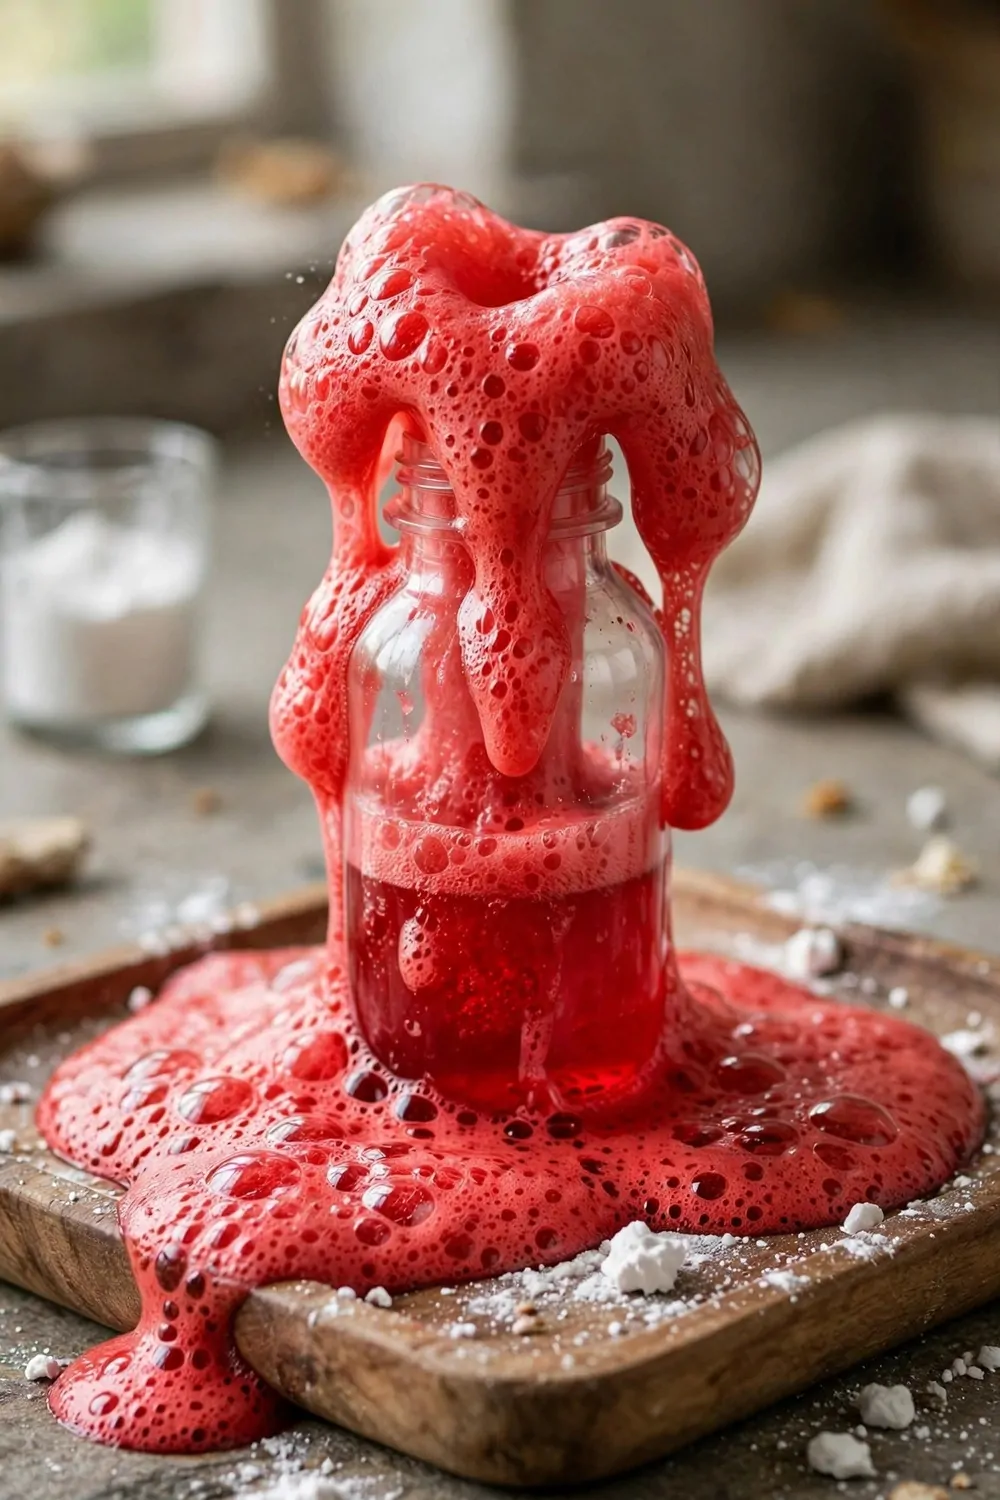
I set a small bottle on a tray and call it my volcano. A tray keeps the mess in one place when the lava flows out.
I spoon some baking soda into the bottle first. The soda goes in before anything else.
Then I add a drop of red food colouring to a small cup of vinegar. I stir it soft till the vinegar turns red. That red mix is what will bubble up like lava.
I pour the red vinegar into the bottle and step back fast. Red fizzy lava bubbles up and spills over the top of the bottle.
My son shouts with joy each time the red foam rises and runs down the side.
You can add the vinegar a bit at a time and watch the fizz start and stop. Each pour gives you a new burst of red foam. We count the bursts out loud and see how many we get before the soda runs out.
The tray makes clean up quick. You just lift the bottle, wipe the tray, and you are done.
Try it outside on a warm day if you want more room for the foam to flow.
Typical cost $1 to $3.
3. Grow Salt Crystals on a String
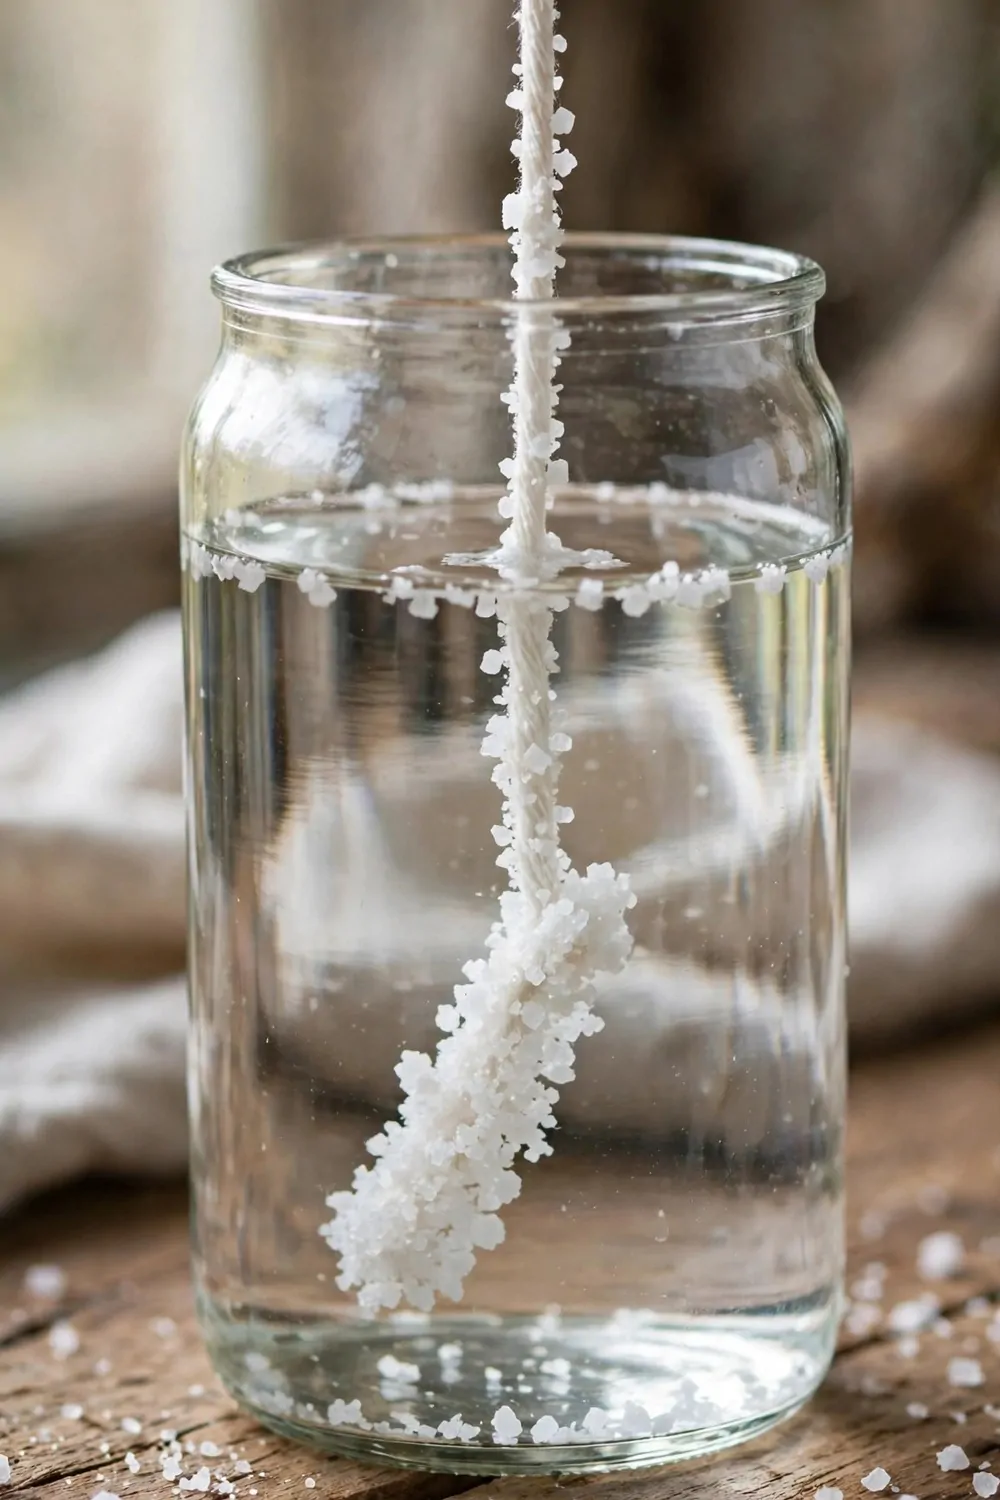
I fill a glass jar with warm water from the tap and a grown-up helps me with it. Warm water holds more salt than cold water does.
I stir in spoon after spoon of salt till no more will mix in.
Then I tie a string to a pencil and lay the pencil across the top of the jar. The string hangs down into the salty water. That string is where the crystals will grow.
I put the jar in a safe spot where no one will knock it over. Then we wait, and that wait is the hard part.
Each morning we check the string. We look for white bits on it.
After some days the string is covered in white crystals. They look like tiny bright rocks stuck all along the string. My son likes to hold the jar up and count the big ones near the top.
The crystals grow slow, so do not move the jar while you wait. A still jar gives the salt time to settle on the string.
You can lift the string out at the end and let it dry on a plate.
Typical cost $1 to $2.
4. Write Secret Messages with White Crayon
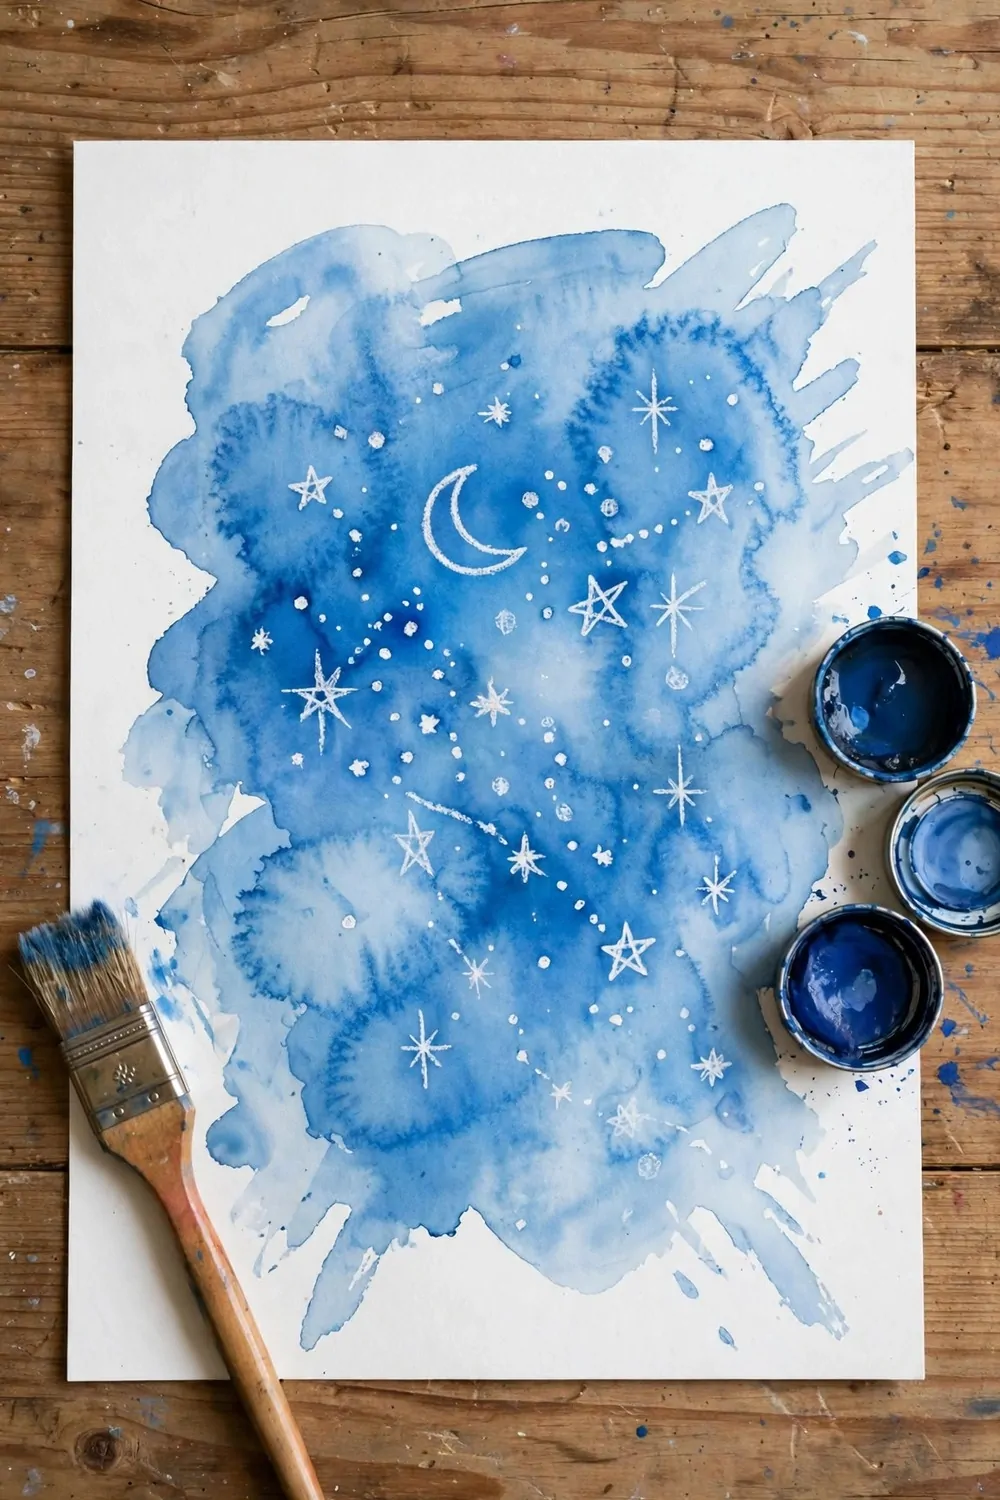
I take a sheet of white paper and a white crayon. I draw a star and write a short word that only I can see.
The marks are so pale that they seem to hide on the page.
Then I brush blue watercolour paint right over the whole page. The paint sticks to the paper but not to the crayon wax. My secret word shows up in white against the blue paint.
My son gasps each time the hidden word pops out. He wants to make a new secret note right away.
You can write a name, a joke, or a short note for a friend.
Use a soft brush and a bit of water so the paint spreads smooth. If the paint is too thick, it can hide the white marks. A thin wash of blue works best for this trick.
Let the page dry flat on the table before you show it to anyone. Wet paint can smear if you pick the page up too soon.
This one is a fine way to send a hidden hello to someone you love. A hidden note feels special to get.
Typical cost $2 to $4.
5. Sort Things That Float and Sink
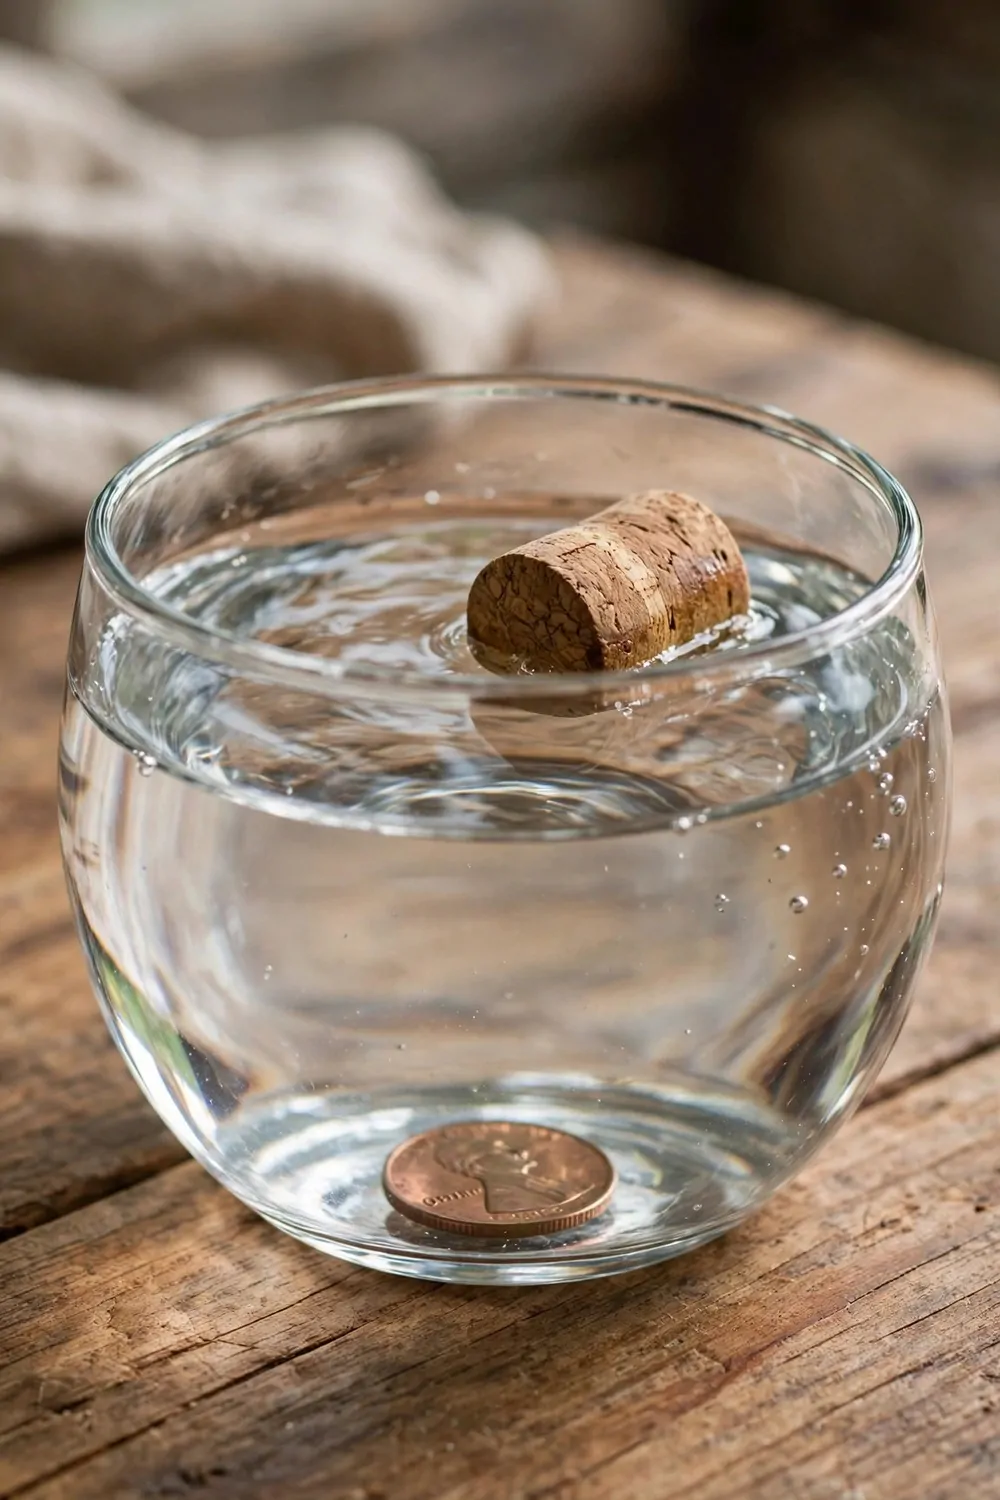
I fill a clear bowl with water and set it on the table. Then I gather bits from round the house to test in the water.
A cork, a metal coin, a spoon, a leaf, and a small rock are good test bits.
I drop the cork in first and it floats on top. It bobs there high in the water, and then I drop the metal coin in and it sinks right to the bottom.
That is the game: guess first, then test. Will it float like the cork, or will it sink like the coin?
My son loves to guess before each drop, and he cheers when he gets one right.
We sort each bit into two piles as we go. Floaters go in one pile, and sinkers go in the other pile. At the end we can see which pile is bigger.
Some bits may surprise you and float when you thought they would sink. Talk with your child about why each bit acts the way it does.
Dry each bit with a towel when you finish so nothing stays wet on the table.
Typical cost $0 to $0.
6. Spin a Tornado in a Bottle
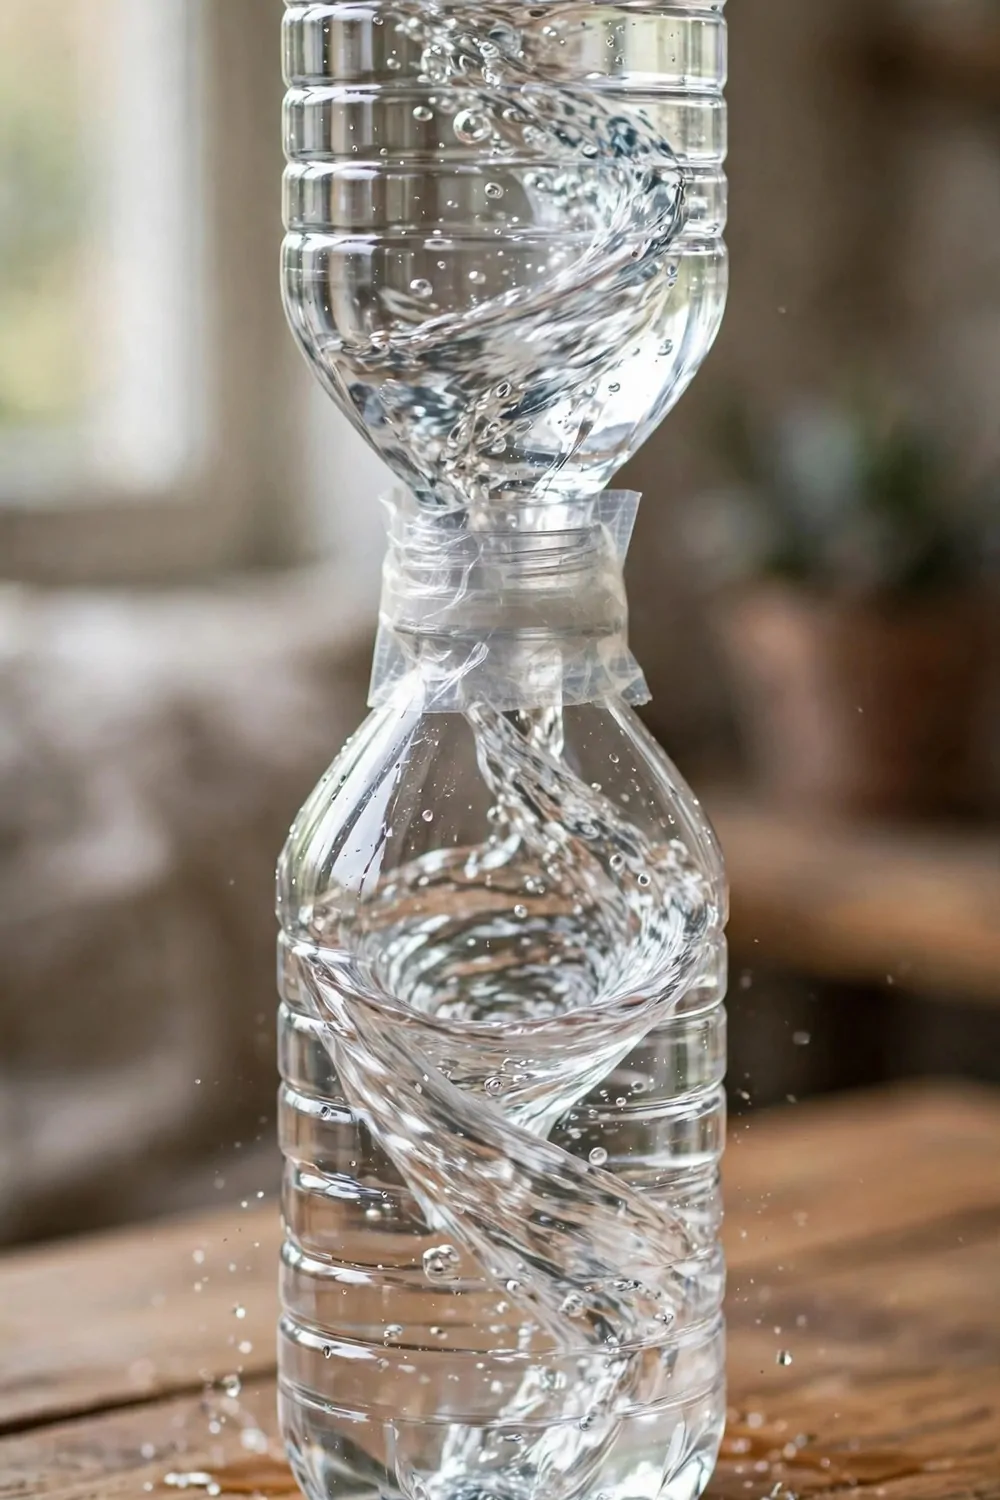
I take two clear plastic bottles and tape them mouth to mouth. One bottle holds water, and the other one is empty at the start.
I tape the join tight. No water can leak out when we spin it.
Then I flip the pair over so the full bottle sits on top. I swirl the bottles round in a small circle. The water starts to spin and a funnel shape forms in the middle.
It looks like a small tornado made of water. My son watches the twist turn round and round till the top bottle runs dry.
You can flip it back. Then the tornado can spin again.
Swirl fast for a wide twist, or swirl slow for a thin twist. Each swirl makes a new shape in the water. Ask your child to tell you what the twist looks like each time.
Hold the bottles firm in both hands while you swirl. A firm grip keeps the join tight and the water inside.
This is a calm test to do after lunch when you want a quiet bit of play.
Typical cost $1 to $2.
7. Watch Raisins Dance in Fizzy Water
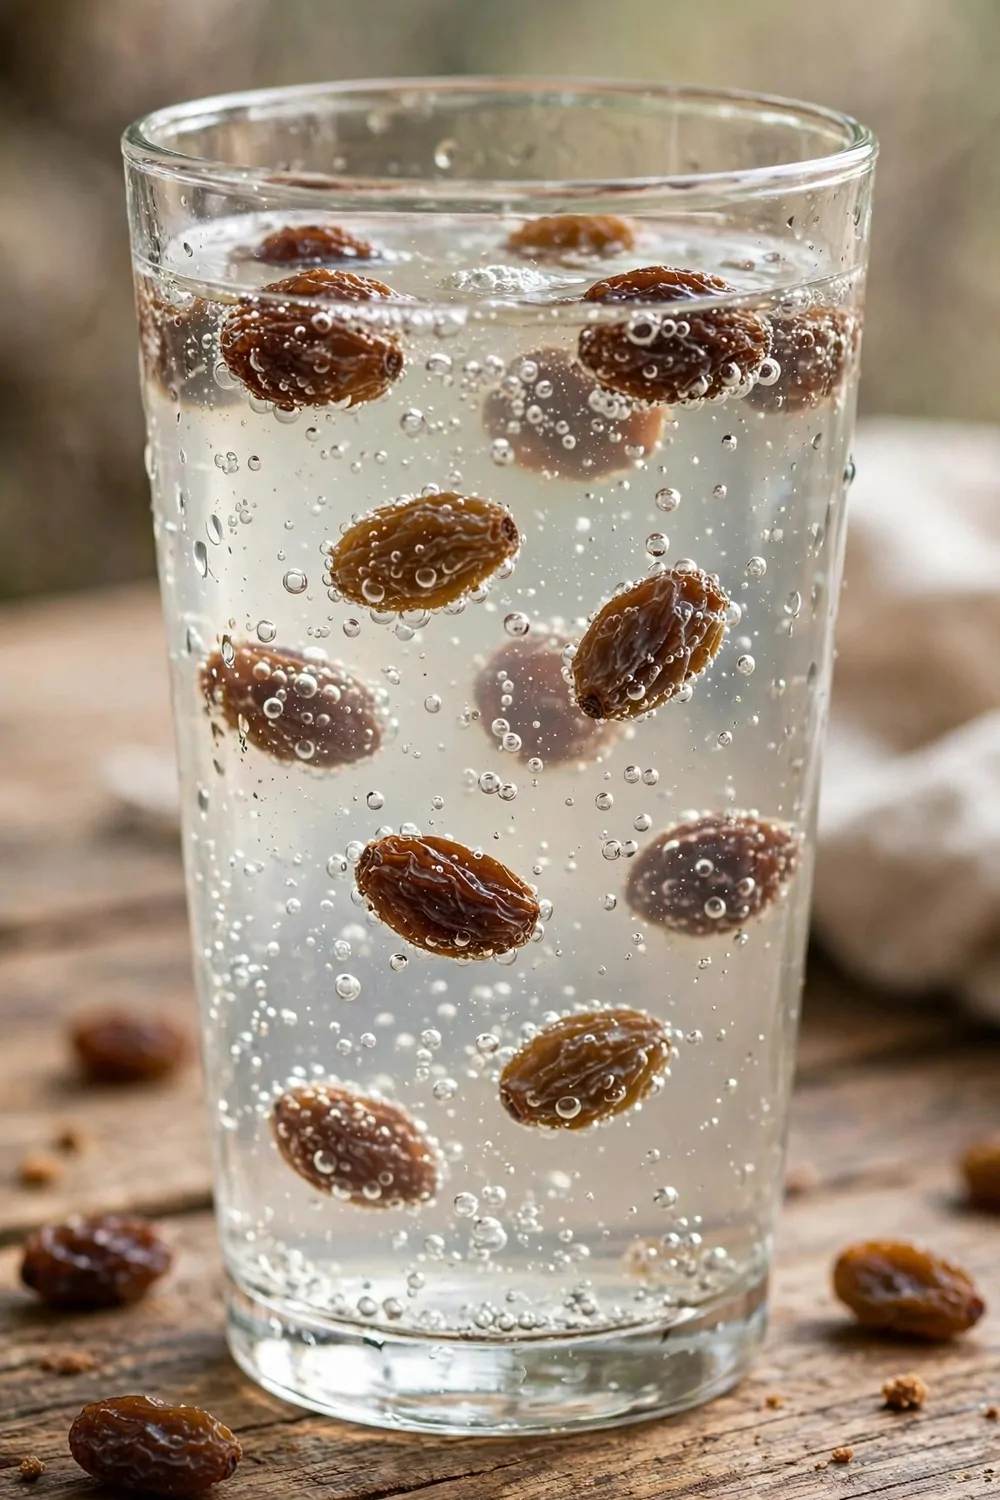
I drop a small handful of brown raisins into a clear glass of pale fizzy water and I watch them right away.
At first they sink straight to the bottom and sit there for a moment. Then tiny bubbles stick to them and lift them up. They bob up and down in the glass while I watch.
You can try this with your own glass at home and it takes only a minute to set up.
I use a clear glass so I can see the brown raisins move from every side. The pale fizzy water makes lots of little bubbles that cling to the raisins.
When a raisin reaches the top, the bubbles pop off and it sinks back down again. Then new bubbles grab it and lift it up one more time.
My kids love to count how many trips each raisin makes before it stops. You can pick one raisin and follow it with your eyes.
I pour the water first and then I add the raisins one by one. If I add too many at once, they crowd each other and I can not see them move so well.
You can leave the glass on the table and check it again after a short rest. The raisins keep bobbing for a while before they slow down.
Typical cost $1 to $3.
8. Blow Up a Balloon Without Blowing
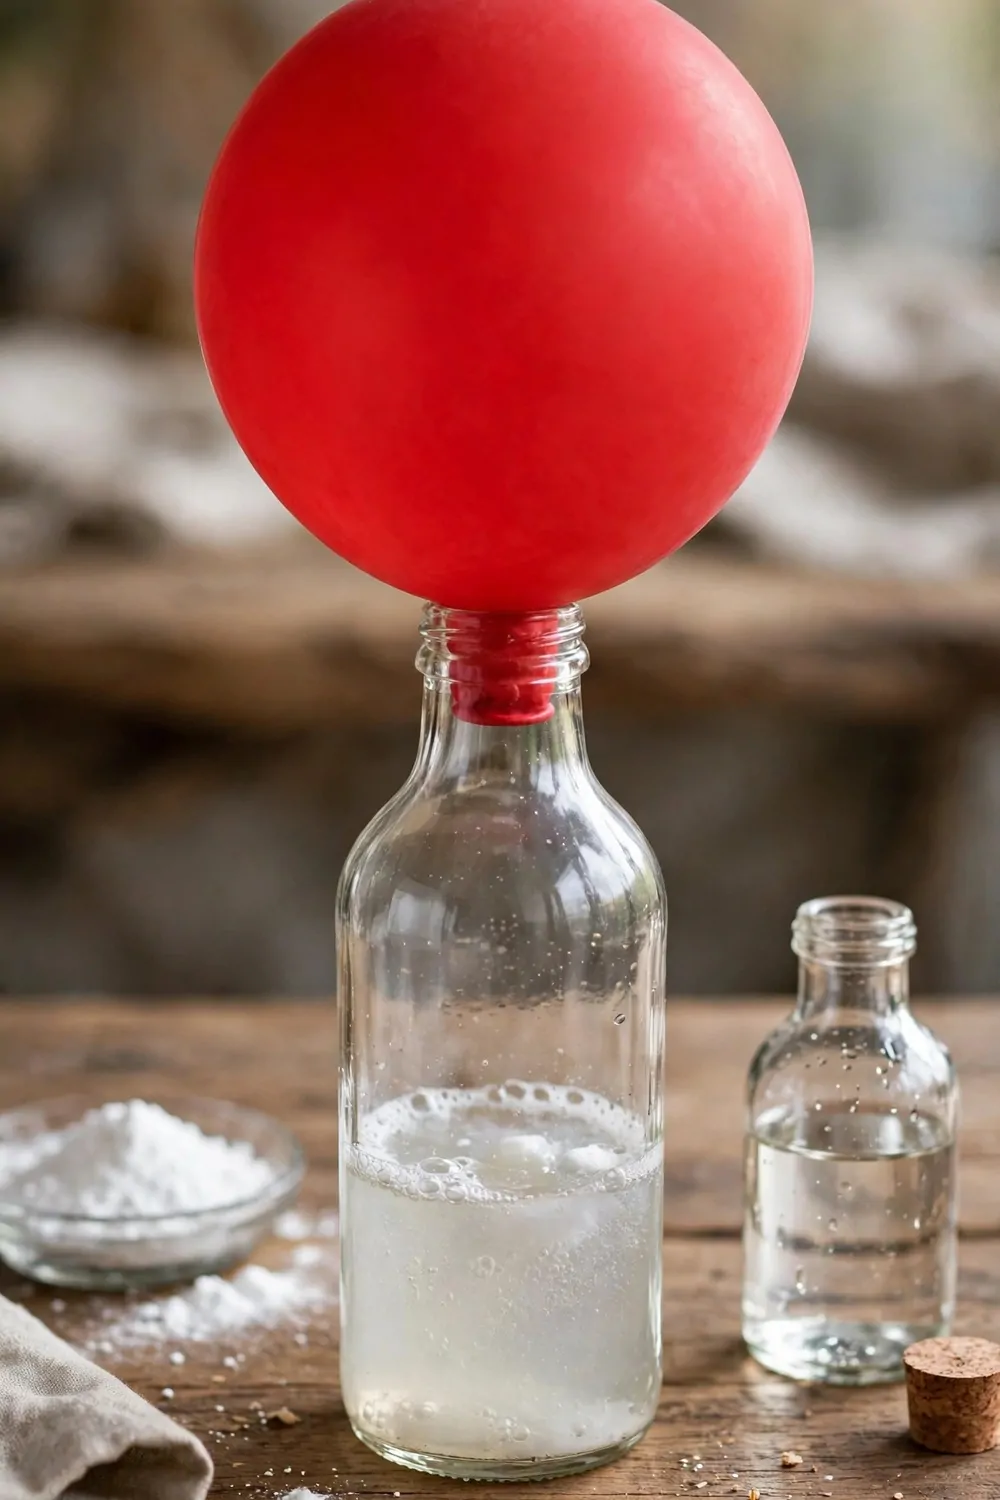
I pour a little vinegar into a bottle and I keep the bottle on the table.
Then I spoon some baking soda into a red balloon and I stretch the balloon over the neck of the bottle. I make sure it sits tight so no gas can slip out at the sides.
When I lift the balloon up, the baking soda falls into the vinegar and the mix starts to fizz at once.
The gas from the mix fills the red balloon and it puffs up big right in front of me. I stand back a little while it fills and I watch it grow.
You do not need to blow at all, and that is the best part for my kids. The balloon grows on its own while we watch it. It feels like a little bit of magic, but it is just the gas doing the work.
I hold the bottle steady with one hand so it does not tip over on the table. If the balloon feels tight, I leave it alone and let it sit.
You can try it again with a fresh balloon and a fresh bottle when the first one is done. Each try looks a little different, and that keeps it fun.
I like to do this one on a tray so any spills stay in one place. It is easy to wipe up and set up again.
Typical cost $1 to $3.
9. Grow a Bean in a Jar
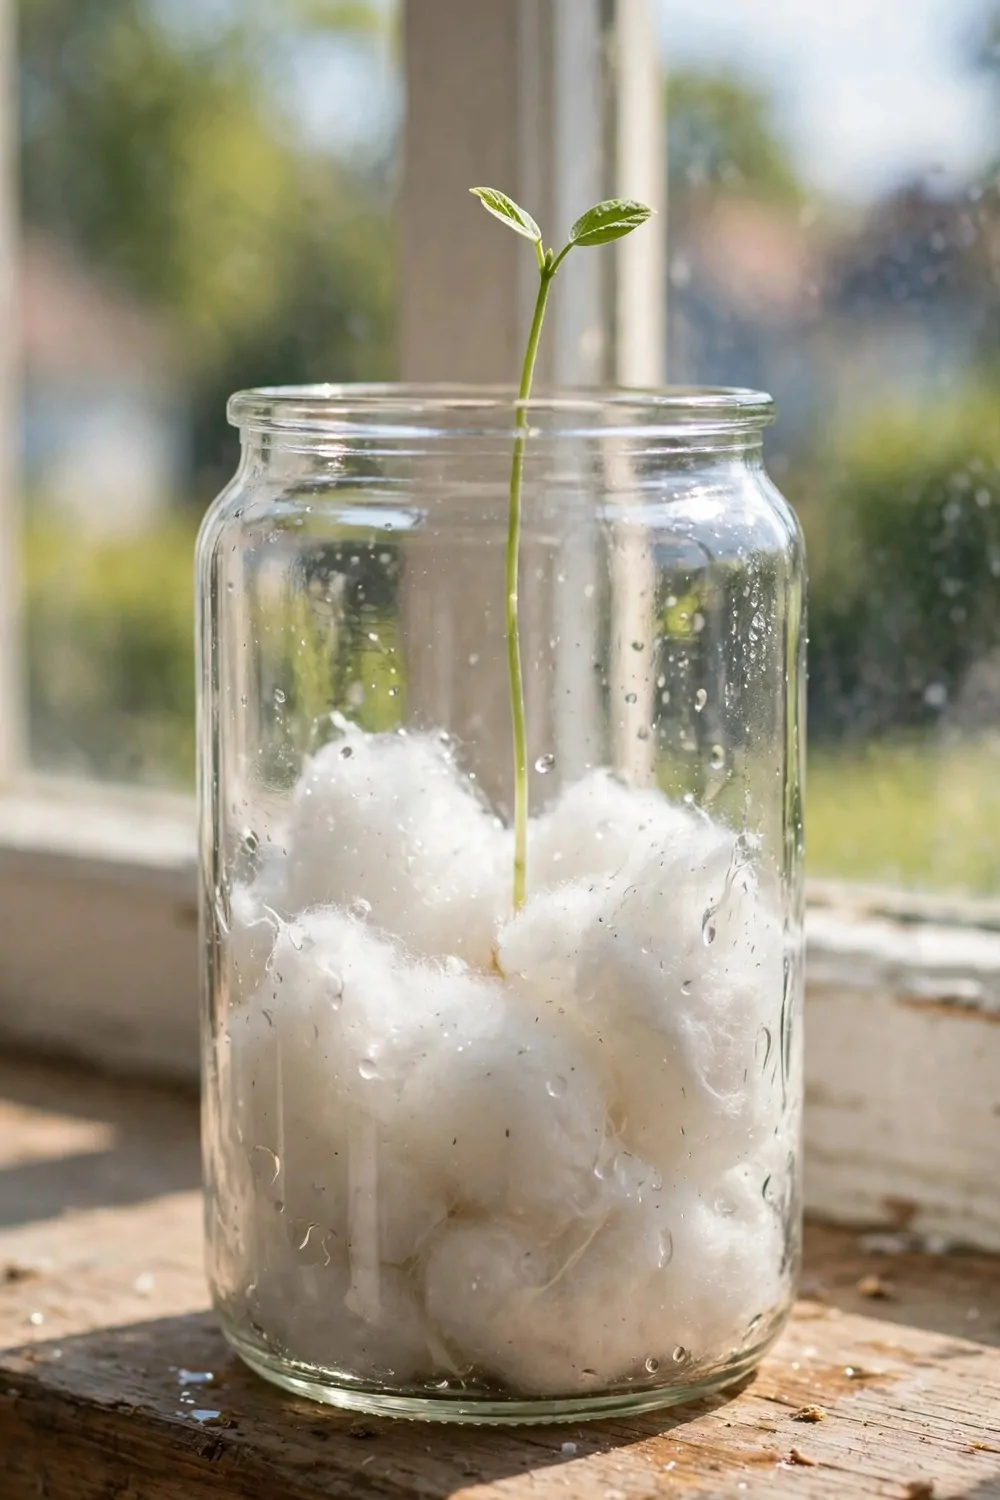
I put damp white cotton in a glass jar and I press a bean into the side where I can see it.
Then I set the jar on a bright windowsill and I check it every morning. The bean needs light and a little water to start growing.
After a short time a small green bean sprout pushes up from the bean. It grows taller each day while I watch it. I smile every time I see it a bit taller.
I add a little water when the cotton feels dry, and I do not soak it. Damp cotton is enough for the bean to keep growing.
You can watch the roots reach down into the white cotton while the sprout reaches up. It is like a tiny garden in a jar on your sill.
My kids like to draw what they see each day in a notebook. The sprout changes a little every time they look.
I keep the jar where it gets light but where it will not get knocked over. A bright windowsill works well for us.
When the green sprout gets tall, you can move it into a pot with soil if you want. Or you can keep watching it in the jar for a bit longer.
Typical cost $0 to $1.
10. Make a Rainbow with Water and Sunlight
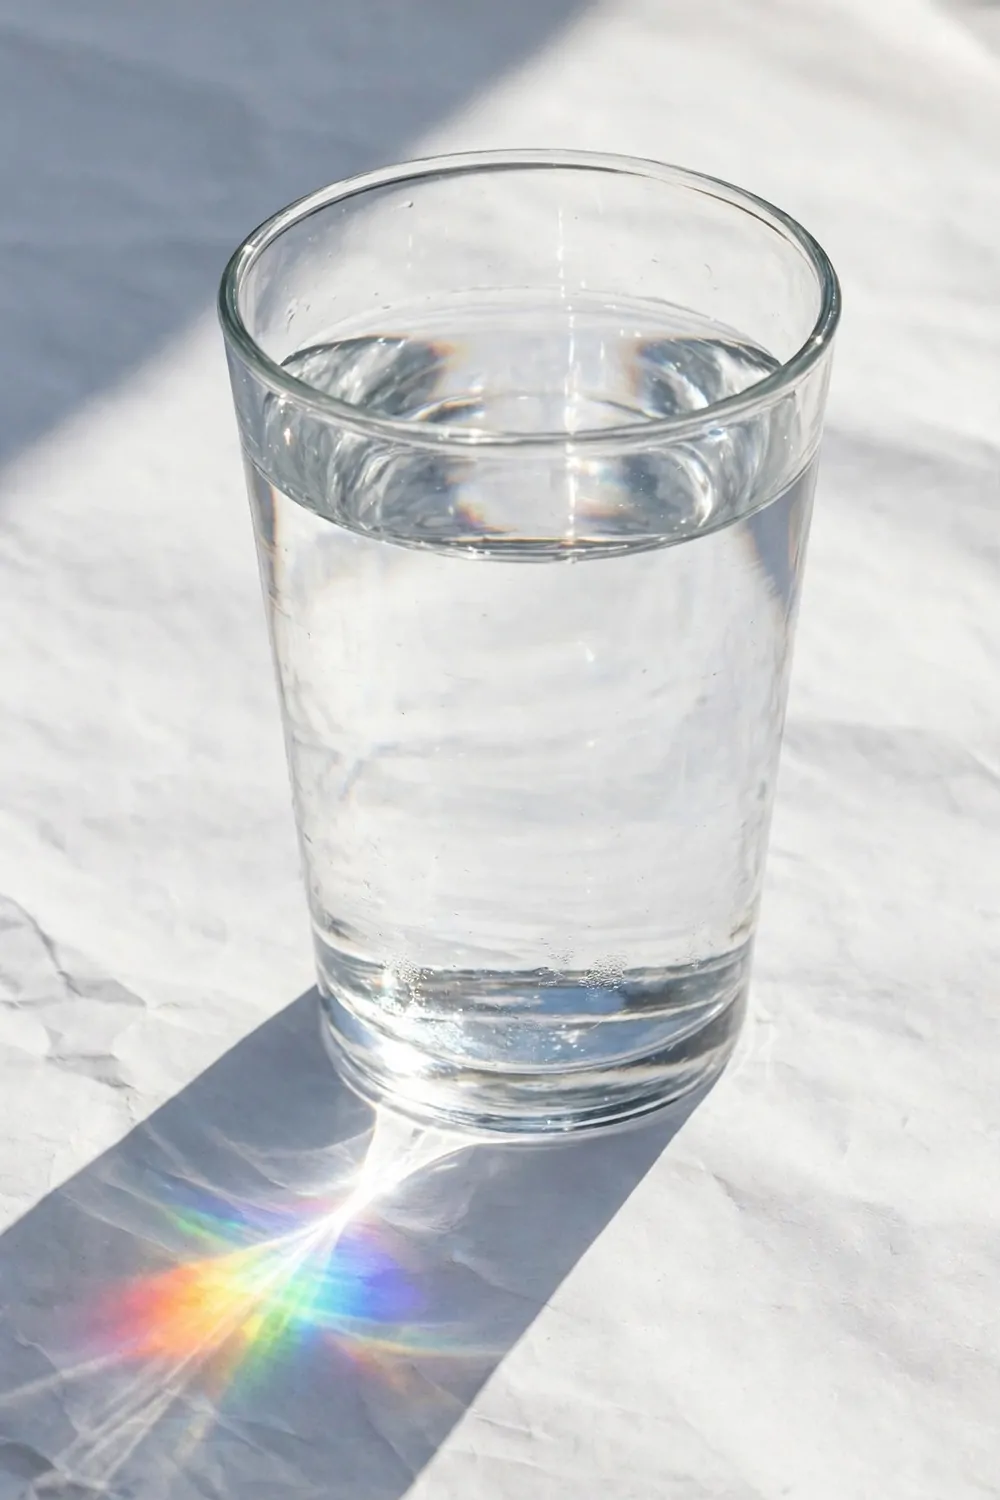
I fill a clear glass with water and I set it on white paper in bright sunlight.
Then I move the glass a little until a small rainbow shows up on the paper. It takes a bit of moving to find the right spot.
You need strong sunlight for this one, so I try it near a sunny window. The light shines through the water and makes the rainbow.
I like to watch the small rainbow move when I shift the glass. It slides across the white paper and then it settles in a new place. It is soft and bright at the same time.
You can try the glass in different spots until the rainbow looks clear. Each spot gives you a slightly different look on the paper.
My kids love to trace around the rainbow with a pencil while it sits still. Then they can keep the drawing after the sun moves.
I set the glass down with care so the water does not spill on the paper. A steady table helps a lot here.
You can do this one again on any sunny day and it feels new each time. The small rainbow never looks quite the same twice.
Typical cost $0 to $0.
| Idea | Main change | Typical cost |
|---|---|---|
| Make a Rainbow in a Glass | make a rainbow in a glass | $2 to $4 |
| Fizz a Baking Soda Volcano | fizz a baking soda volcano | $1 to $3 |
| Grow Salt Crystals on a String | grow salt crystals on a string | $1 to $2 |
| Write Secret Messages with White Crayon | write secret messages with white crayon | $2 to $4 |
| Sort Things That Float and Sink | sort things that float and sink | $0 to $0 |
| Spin a Tornado in a Bottle | spin a tornado in a bottle | $1 to $2 |
| Watch Raisins Dance in Fizzy Water | watch raisins dance in fizzy water | $1 to $3 |
| Blow Up a Balloon Without Blowing | blow up a balloon without blowing | $1 to $3 |
| Grow a Bean in a Jar | grow a bean in a jar | $0 to $1 |
| Make a Rainbow with Water and Sunlight | make a rainbow with water and sunlight | $0 to $0 |
| Total | $9 to $22 |
11. Swirl Colours in a Bowl of Milk
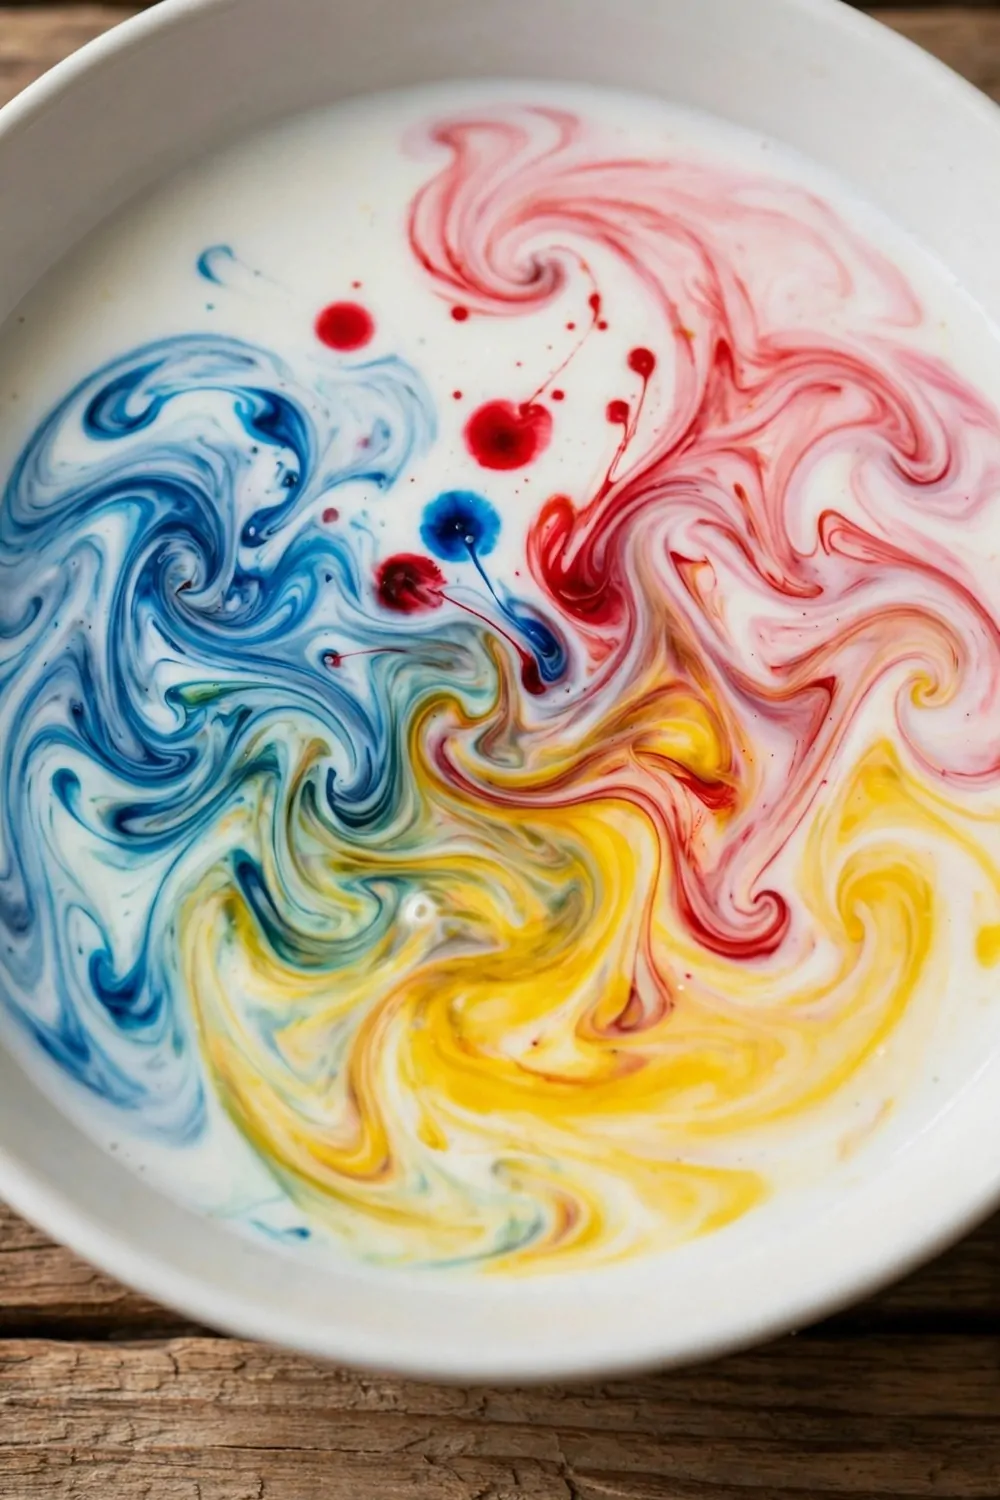
I pour white milk into a shallow bowl and I set it on the table.
Then I add drops of red, blue and yellow food colouring to the milk. I put each drop in a different spot so they stay apart at first.
Next I dip a cotton bud in a little soapy water and I touch it to the middle of the milk. The colours swirl and spread out in soft waves at once. I watch the swirl until it slows down.
You can touch a new spot each time and watch the colours move again. The swirl looks different with every touch.
I like to use just a little soap on the cotton bud so the milk stays calm, and too much soap makes the colours rush and fade fast.
My kids take turns touching the milk and they pick which colour to chase. It is fun to see the red and yellow meet and mix.
I keep the bowl still while we work so the milk does not spill. A flat tray under the bowl helps a lot.
When the colours slow down, you can add one more drop and touch it again. The swirl starts up fresh and we watch it all over again.
Typical cost $1 to $3.
12. Build a Paper Bridge That Holds Coins
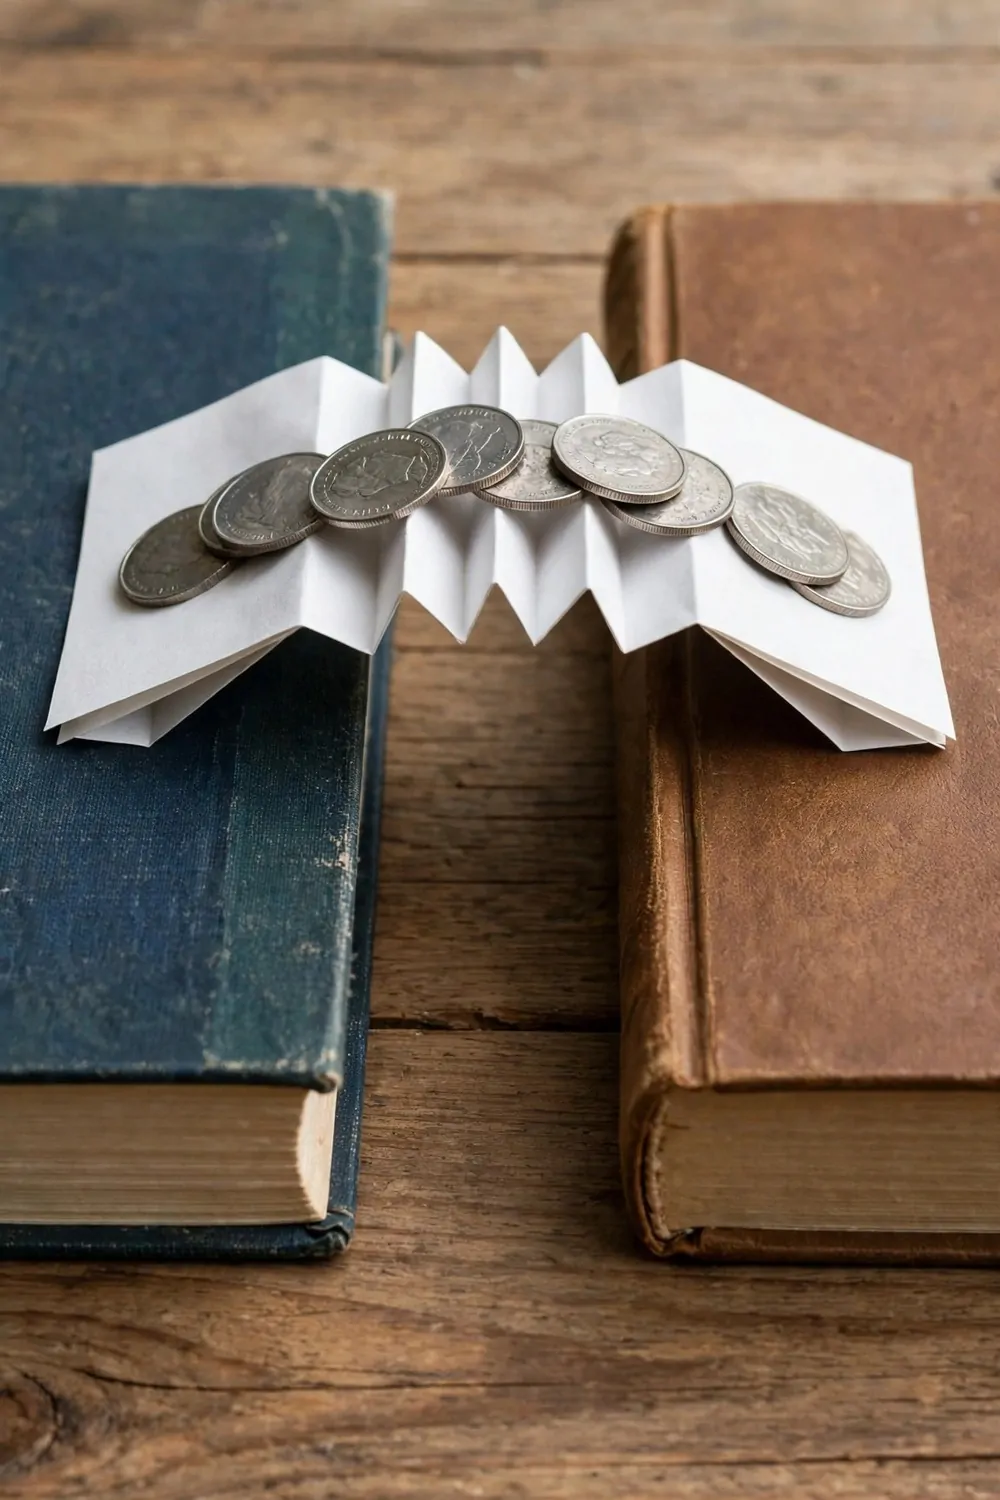
I fold a sheet of white paper back and forth to make it strong, and the folds help it hold weight.
Then I stretch the folded white paper bridge between two books on the table, and I leave a gap in the middle so the bridge has to hold itself up.
Next I set silver coins on top of the bridge one at a time. I put each coin in the middle and I watch to see if the bridge stays up.
You can test how many coins your bridge can hold before it dips down. My kids love to guess first and then count as we add them. We cheer a little when it holds one more.
If the bridge bends, I fold the paper one more time and try again. A tighter fold makes the bridge much stronger.
I like to use books of the same height so the bridge sits flat. If one book is higher, the bridge tips to one side.
You can try a flat sheet first and then try the folded one to see the change. The folded bridge holds far more coins than the flat sheet.
When you are done, you can lift the silver coins off and fold the paper flat again. It is a quick test you can repeat with a fresh sheet.
Typical cost $0 to $0.
13. Make Gooey Oobleck with Cornflour
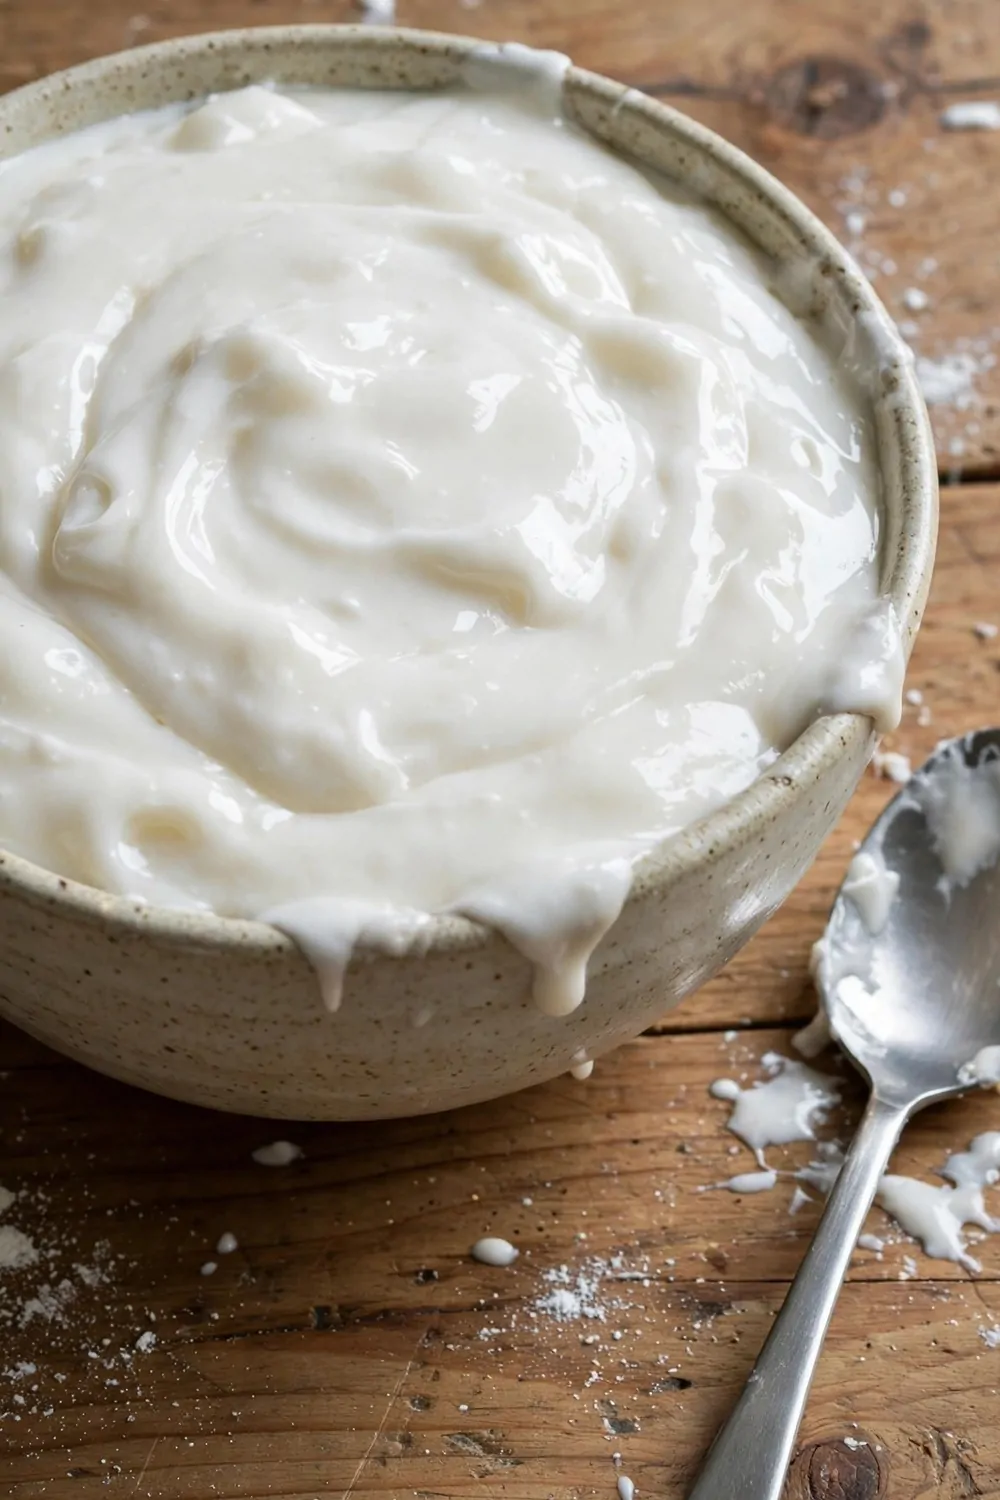
I pour white cornflour into a bowl. I add cold water from the tap a little at a time.
I stir it with a spoon until it turns into a thick white goo.
When I poke it fast with my finger, it feels hard. It feels like a solid lump.
When I move my finger slow, the goo runs. It drips off my hand. I watch it slide down.
You can pick up a lump and watch it melt back into the bowl in your palm.
I love how it changes from hard to runny. Then it changes back again.
Try squeezing a ball of it tight, then open your hand and see it turn to liquid.
It makes a mess. So I do this one on a tray or over the sink. That keeps the mess in one place.
Typical cost $1 to $2.
14. Race Sugar and Salt to Dissolve
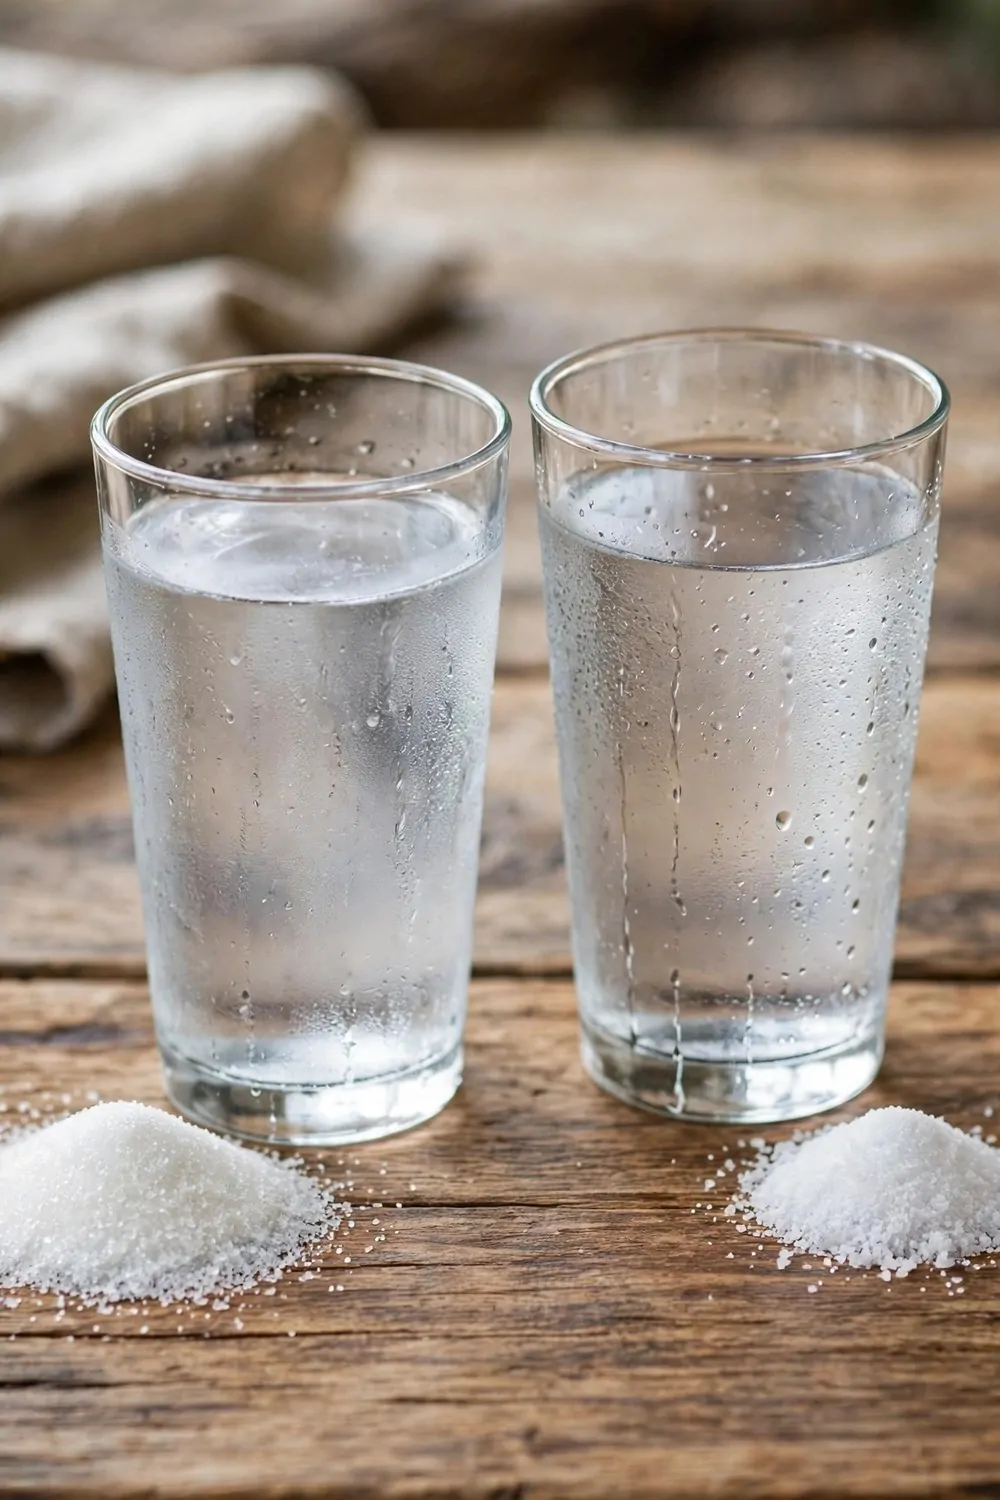
I fill two clear glasses with cold water from the tap.
I put a spoon of sugar in one glass. I put a spoon of salt in the other glass.
Both glasses still look clear. You cannot tell them apart by looking at them. They look just the same.
I stir each glass with its own spoon and watch what happens.
One of them melts away first. The other takes a bit longer to vanish.
You can count slowly in your head while you stir to see which one wins the race.
I try it again with a second spoon to check. I want to see if I get the same winner. I stir it the same way again.
My brother bets on salt, and I bet on sugar. We laugh about who guessed right.
Typical cost $1 to $2.
15. Guide a Paperclip Through a Magnet Maze
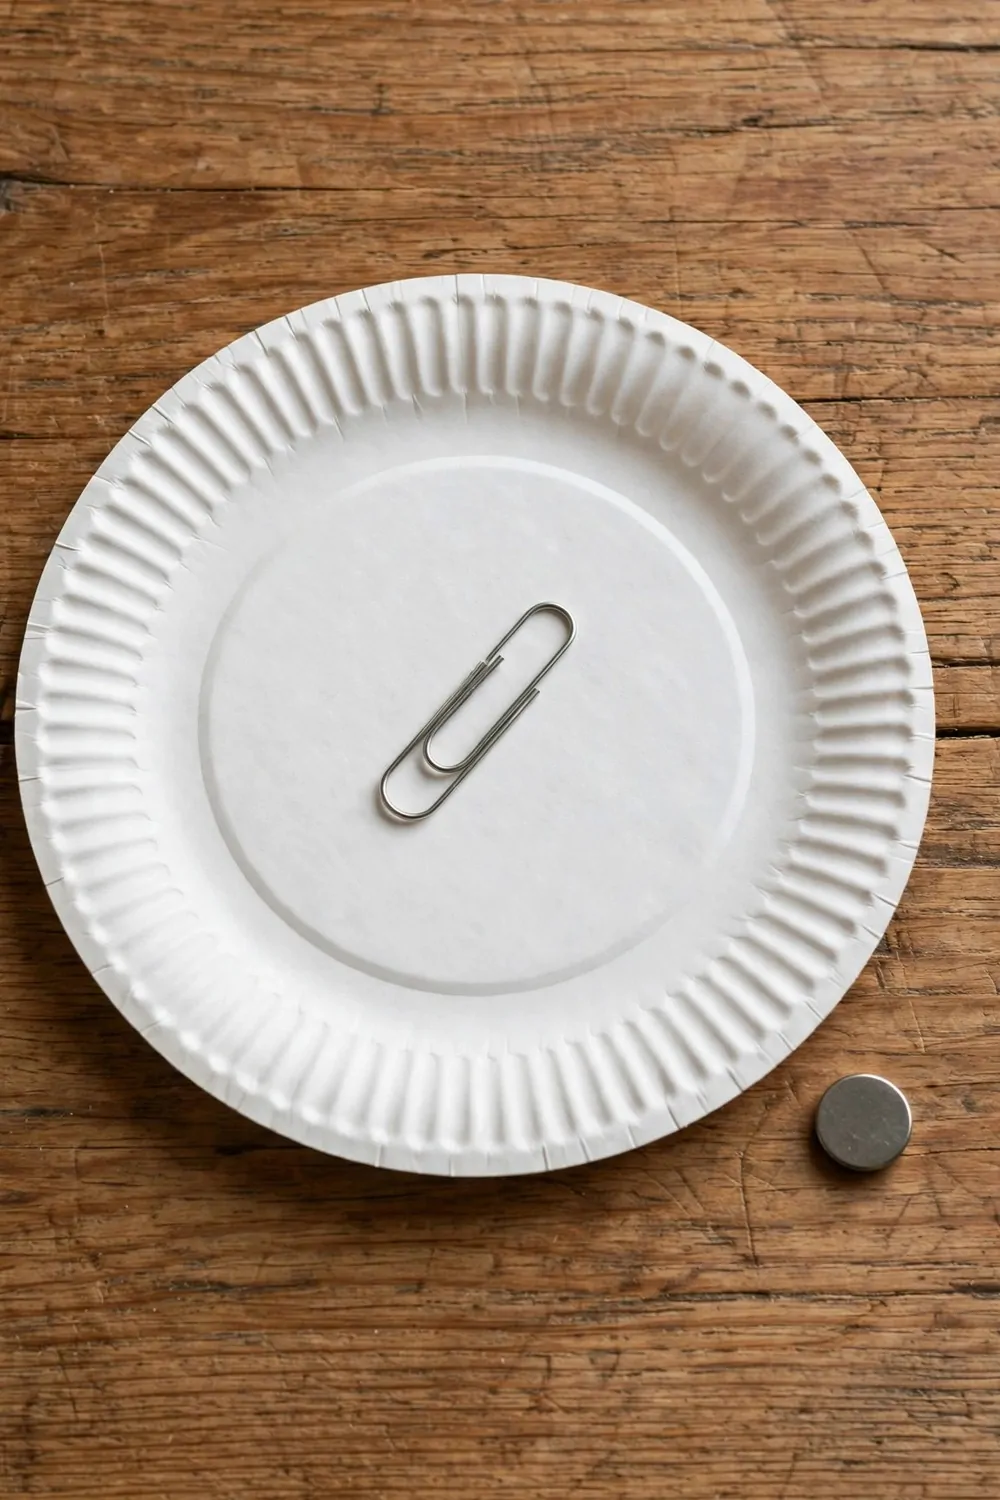
I put a silver paperclip on a plain paper plate. The paperclip sits on top. I am ready to start.
I draw a wiggly path on the plate with a pen so I know where to go.
I hold a small round magnet under the plate. I slide it round in a slow circle.
The paperclip starts to follow the magnet as I slide it along.
I move the magnet slow. The paperclip stays on the path. It does not fall off.
You can make the path twist and turn. The paperclip will still chase the magnet.
My sister tries it too, and her paperclip zooms round the plate.
It feels like magic. But it is just the magnet pulling the metal through the paper.
Typical cost $2 to $4.
16. Freeze Water Balloons into Ice Balls
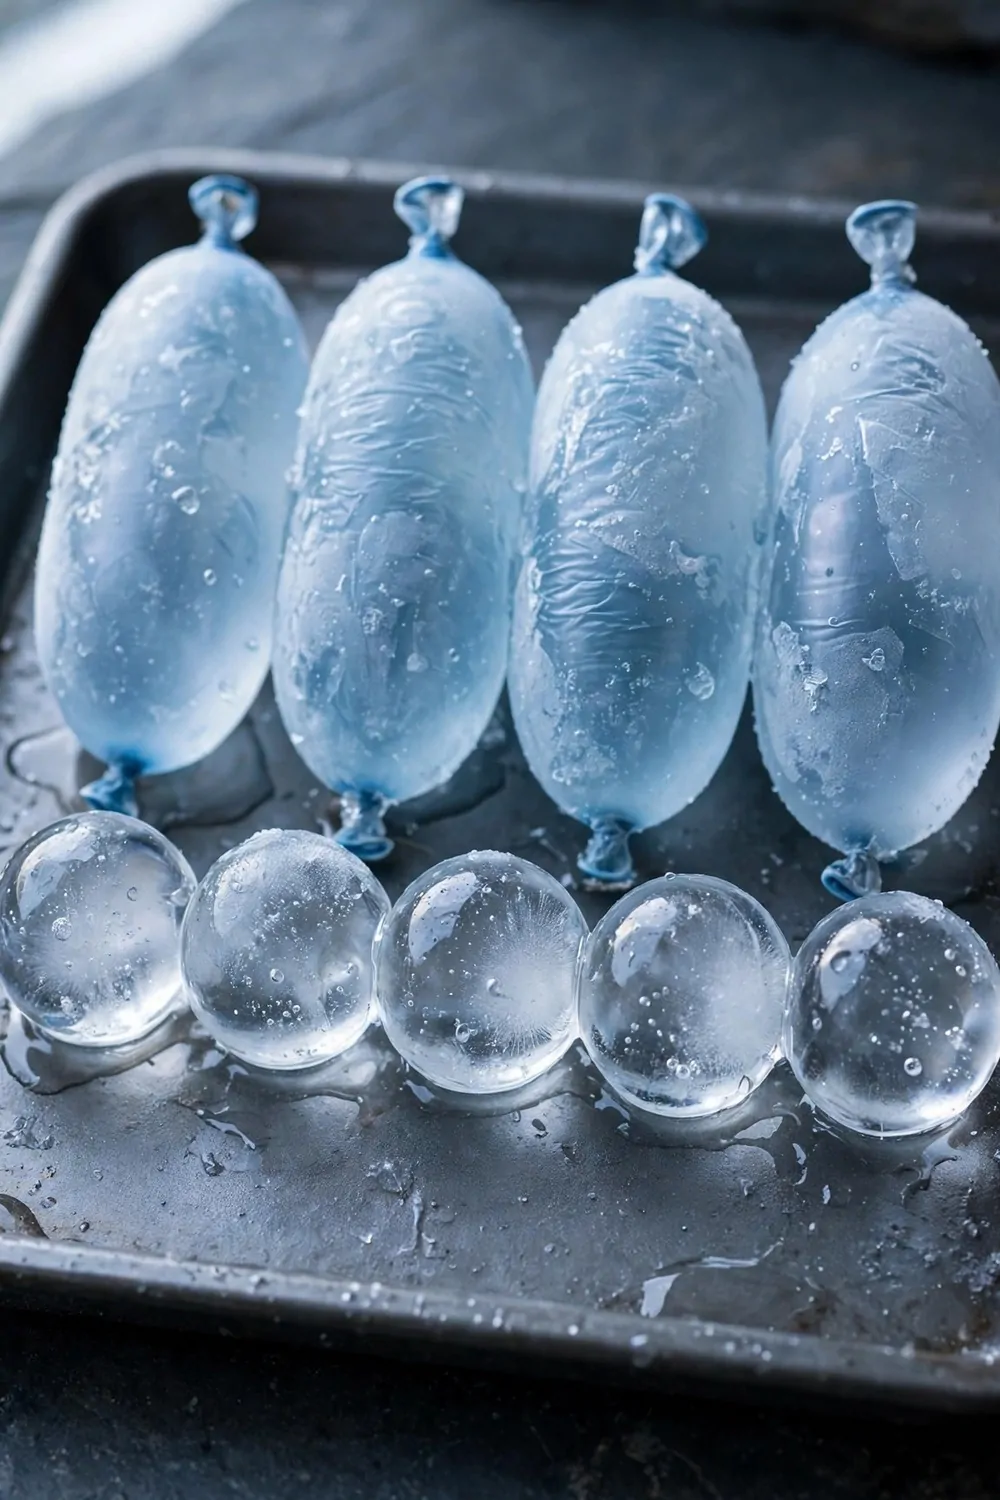
I fill water balloons with cold tap water. I tie the ends shut.
I put them in the freezer on a tray. I leave them overnight. I wait for them to turn hard.
In the morning they feel hard and round like big marbles.
I peel the balloon skin off. A clear round ice ball sits in my hand.
You can set the ice balls on a tray and watch them shine in the sun.
They melt slow. So you have lots of time to look at them. You can watch them for a long while.
I like to hold one. I feel how cold and smooth it is.
We line them up on the tray and see which one melts first.
Typical cost $1 to $2.
17. Make a Cloud in a Jar
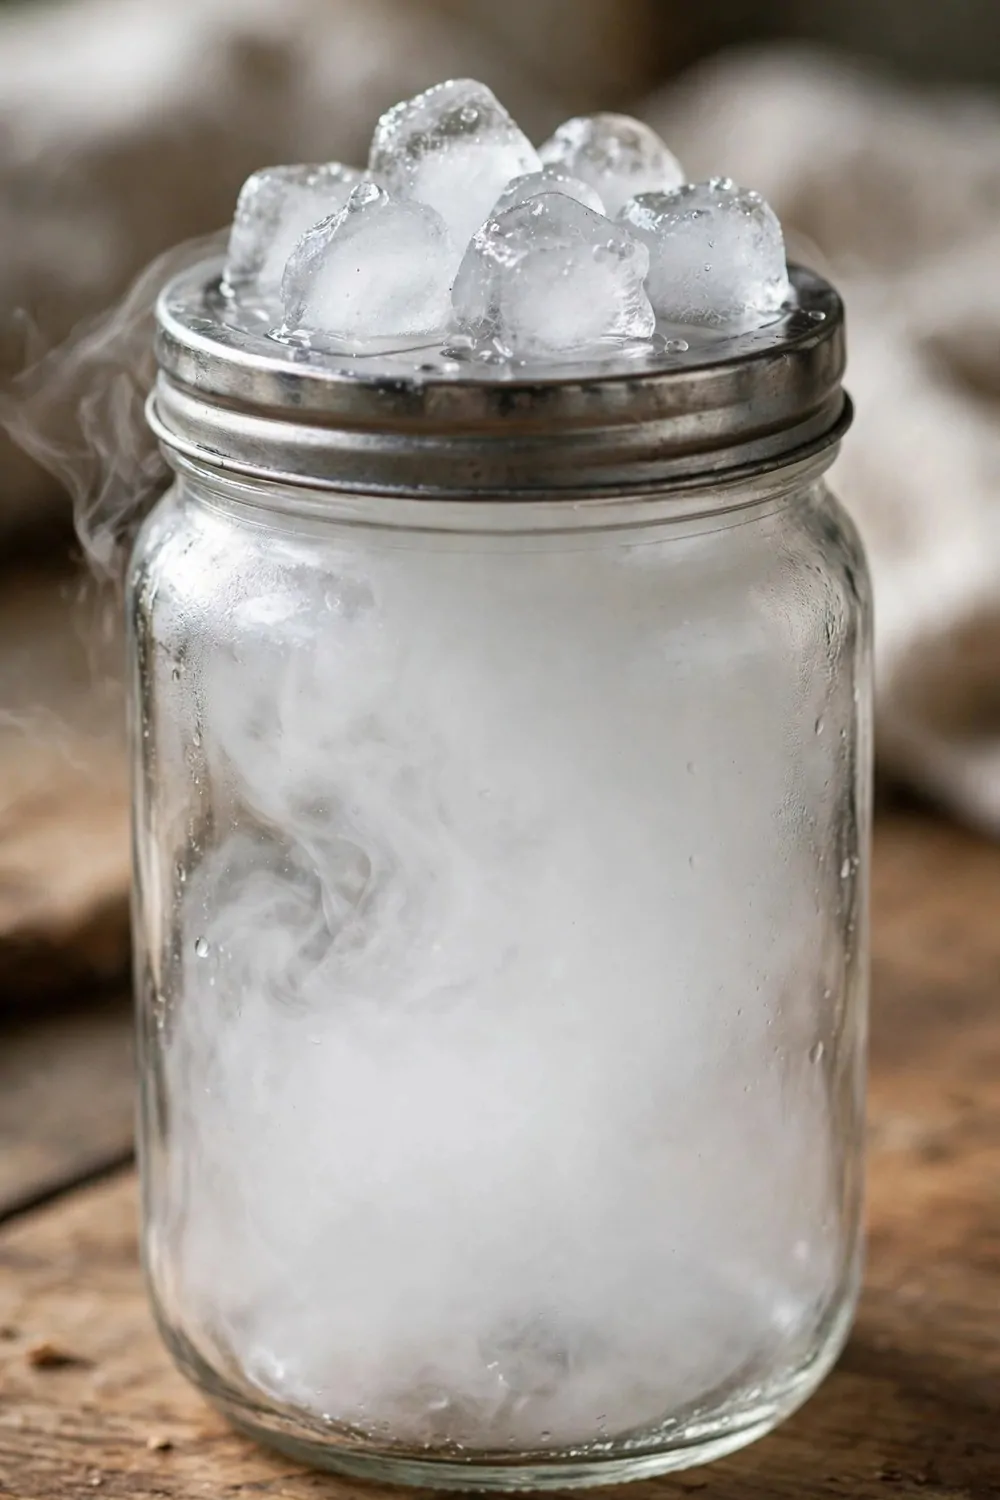
I get a jar and a metal lid that fits on top of it.
A grown-up helps me with the warm water from the tap. We pour a little into the jar. We are careful with the warm water.
We put the metal lid on top of the jar. We place ice cubes on the lid.
Soon white mist starts to fill the jar, and it looks like a tiny cloud.
You can watch the mist swirl round inside. You do not need to touch it.
I lift the lid for one second. The cloud puffs out. Then I put it back.
My mum says the cold lid makes the warm water turn into mist.
It is my favourite one to show my friends. The cloud looks so real.
Typical cost $0 to $1.
18. Paint with Melting Colour Ice Cubes
I mix water with food colouring in an ice tray. I put one colour in each hole.
I use red in some holes, blue in others, and yellow in the rest.
I put the tray in the freezer. I wait until the cubes are hard. I check them after a while.
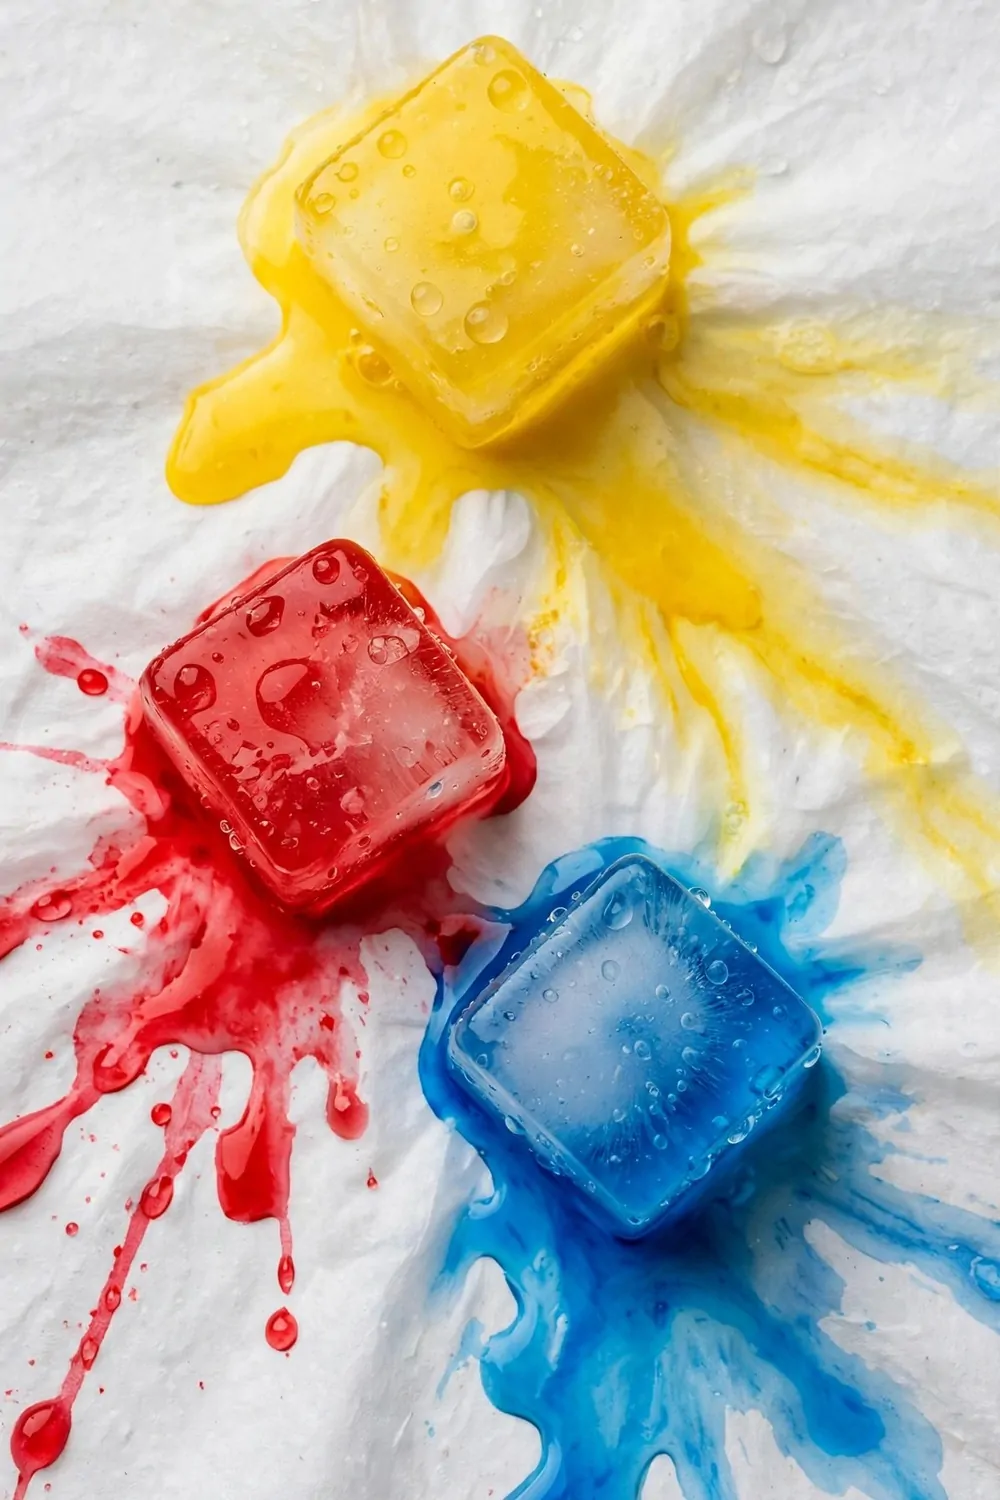
Then I take the red, blue and yellow ice cubes out and set them on white paper.
As they melt, they leave bright trails of colour. The trails run across the paper.
You can drag a cube slow to make a long line, or hold it still to make a bright spot.
I watch the colours run together where they meet. They make new shades.
When the paper dries, I have a bright picture. It is made only from melting ice. The colours stay bright on the paper.
Typical cost $1 to $3.
19. Drop a Paper Helicopter
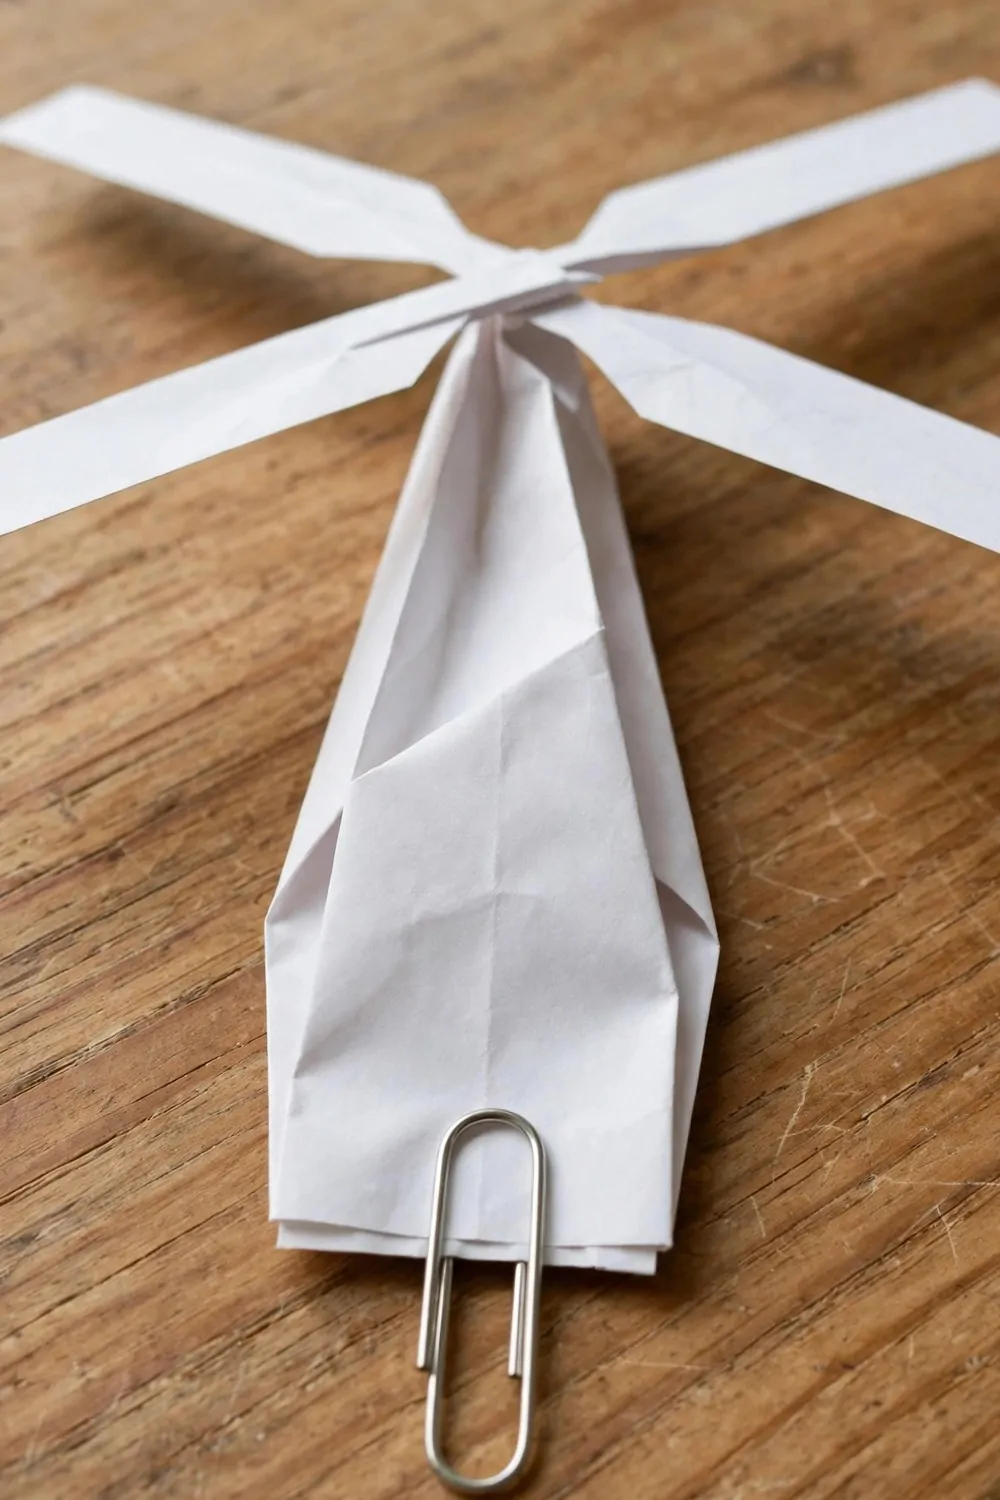
You can fold a plain sheet of white paper into a small helicopter shape with your kids. I show mine how to press the folds flat with their hands.
I clip a silver paperclip at the bottom to give it a bit of weight.
We hold the helicopter up high over the table. I let go and we watch it spin down to the floor. My kids laugh each time it turns in a slow circle.
The white paper wings turn fast as it falls. You can see the silver paperclip at the bottom while it spins.
My kids ask to drop it again and again to see if it lands in the same spot.
After the first drop, I ask my kids why it does not fall straight down like a stone. We talk about how the wings push the air and slow it down. You can try it near a window and watch the air move it a bit.
Then we make a second helicopter with wider wings to compare the two. The wide one spins slower and takes more time to reach the floor.
At night I keep our helicopters in a box so we can play again tomorrow. My kids ask to drop them from the top of the stairs. We drop them one at a time and cheer for the slowest one.
Typical cost $0 to $1.
20. Test Which Paper Towel Soaks Up Most
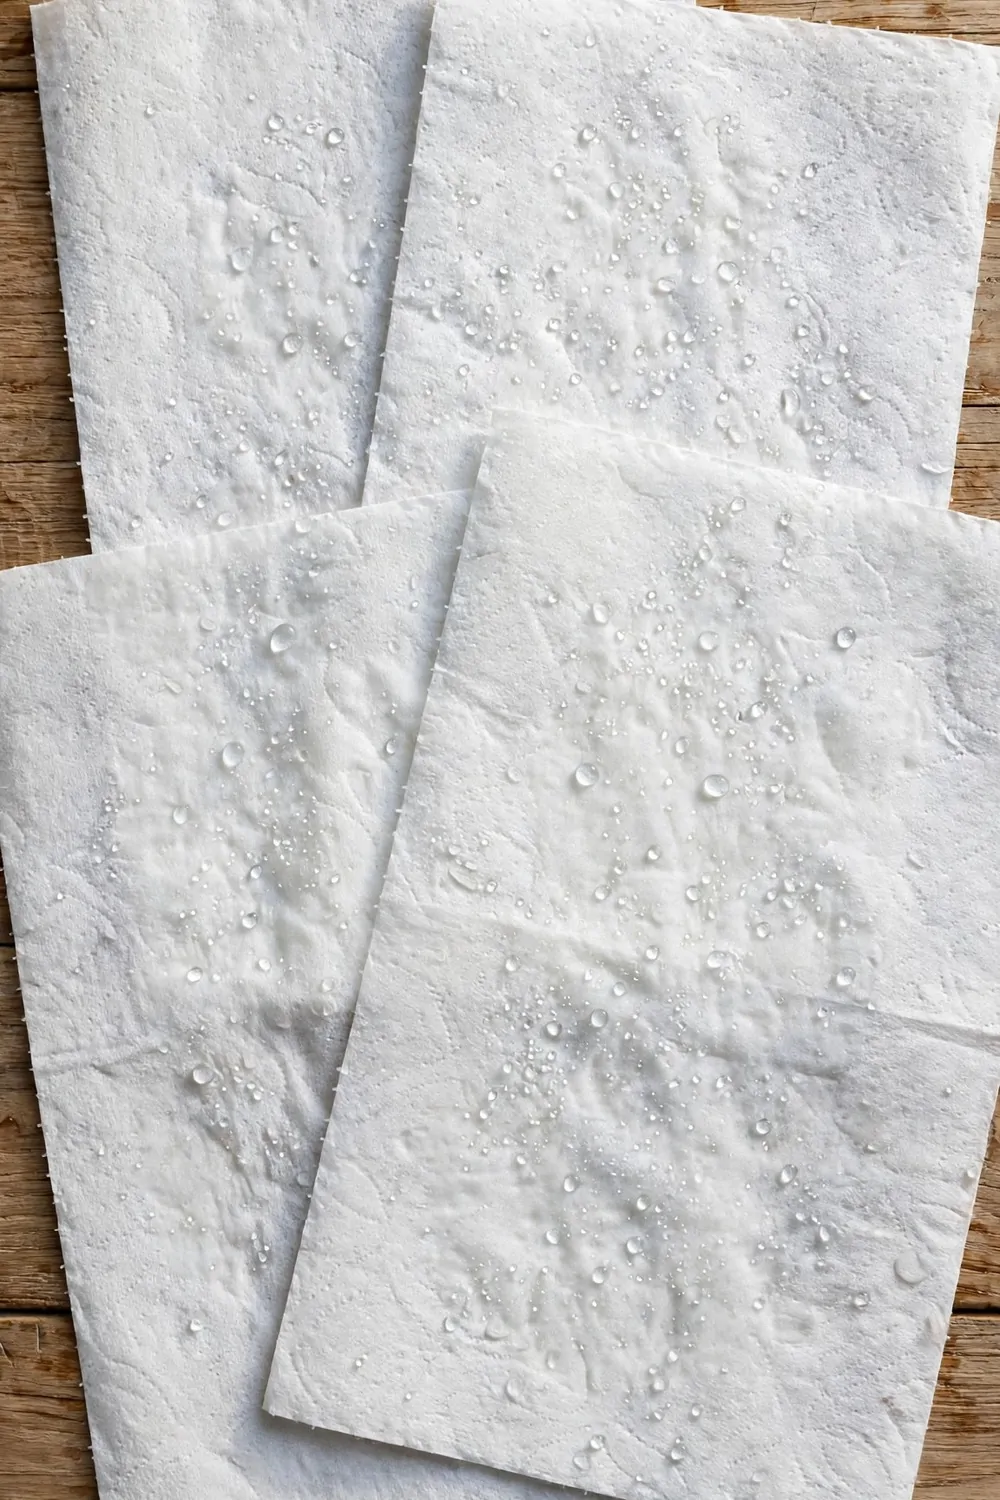
White paper towels go on the table for this test. I smooth each one flat so the drops stay in one place.
You can fill a small cup with plain water from the tap. We use a spoon to drop water on each towel. I put one drop at a time on the first towel.
We count each drop out loud as it lands on the white paper.
Each drop sits on top of the towel for a short moment. Then it sinks in and leaves a wet spot.
Soon the water leaks through to the table below. I write the number down on a scrap of paper. You can do the same for each towel you test.
One towel holds more drops than the rest before it leaks through.
Before we start, my kids guess which towel will win. We are often wrong and that makes it more fun.
Holding each white towel, we feel how thick it is in our hands. I ask them why one towel soaks up more water than the next one. You can try a thin towel and a thick towel to see the change for yourself.
Typical cost $1 to $2.
| Idea | Main change | Typical cost |
|---|---|---|
| Swirl Colours in a Bowl of Milk | swirl colours in a bowl of milk | $1 to $3 |
| Build a Paper Bridge That Holds Coins | build a paper bridge that holds coins | $0 to $0 |
| Make Gooey Oobleck with Cornflour | make gooey oobleck with cornflour | $1 to $2 |
| Race Sugar and Salt to Dissolve | race sugar and salt to dissolve | $1 to $2 |
| Guide a Paperclip Through a Magnet Maze | guide a paperclip through a magnet maze | $2 to $4 |
| Freeze Water Balloons into Ice Balls | freeze water balloons into ice balls | $1 to $2 |
| Make a Cloud in a Jar | make a cloud in a jar | $0 to $1 |
| Paint with Melting Colour Ice Cubes | paint with melting colour ice cubes | $1 to $3 |
| Drop a Paper Helicopter | drop a paper helicopter | $0 to $1 |
| Test Which Paper Towel Soaks Up Most | test which paper towel soaks up most | $1 to $2 |
| Total | $8 to $20 |
21. Make a Sundial with a Paper Plate
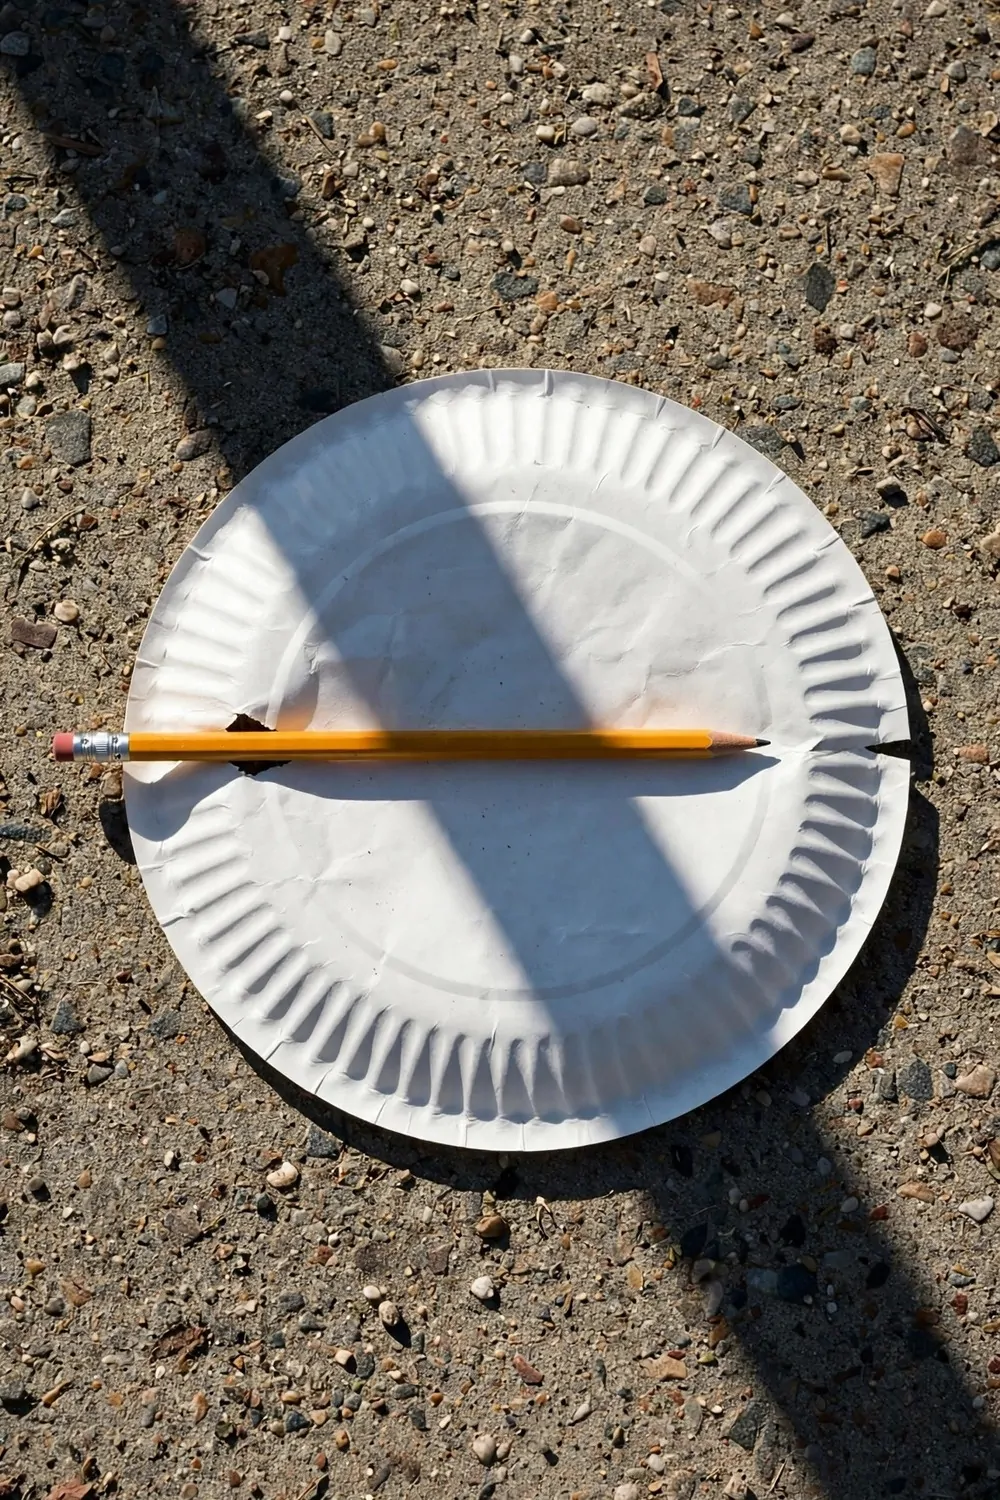
A yellow pencil goes through the middle of a plain paper plate. I push it in from the top so it stays straight.
In the morning we set the plate in a sunny spot in the yard. The pencil stands up in the middle of the plate. You can see its shadow fall across the plate.
With a crayon I mark where the shadow falls at the edge of the plate. My kids help me draw a short line there.
Later we come back after lunch and look at the plate again.
By then the shadow has moved to a new spot on the plate. I mark the new place with a second line. You can see how the sun moves across the sky by the marks.
Near dinner time we check the plate one more time. The shadow sits in a third spot now and the line is longer.
Your kids can guess where the shadow will fall next.
Long ago people used the sun to tell the time. You can use your plate all day to watch the light move.
Typical cost $0 to $1.
22. Lay Out Your Science Kit the Night Before
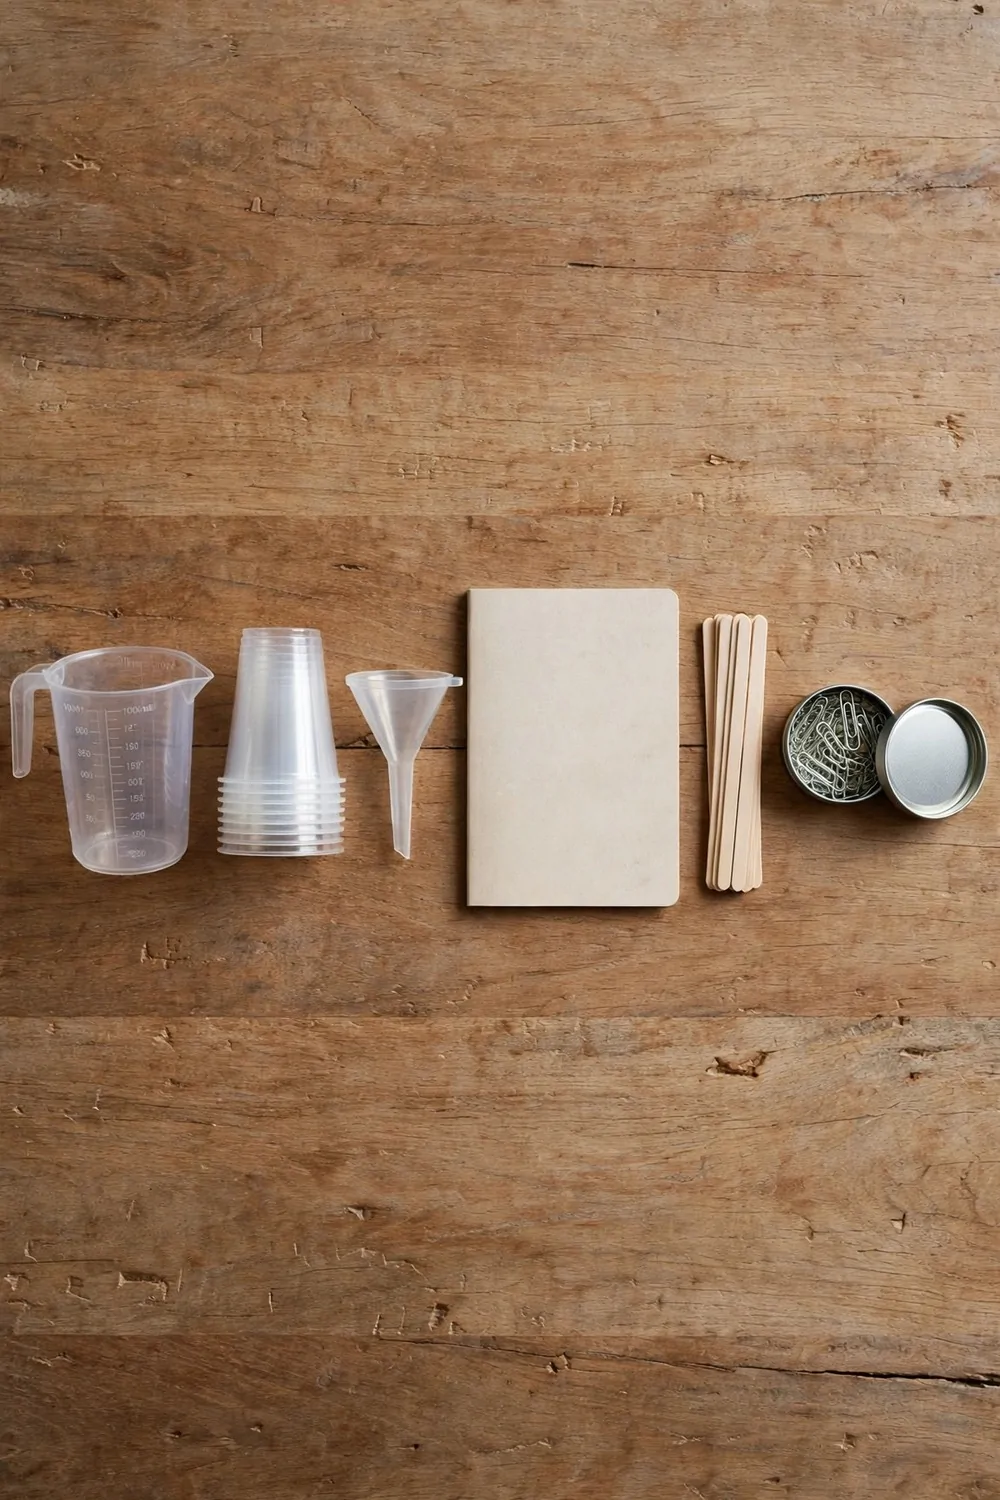
Once dinner is done, I clear a spot on the wooden table and wipe it clean. Then I lay our science kit out in a neat row so the morning starts calm.
First I set the small plastic measuring jug at the start of the row. The jug is empty and sits ready for the morning.
Next I line up the set of plain plastic cups beside the jug. They stand in a neat row on the wooden table. They sit ready for the morning too.
Third I put the small plastic funnel next to the cups. It sits ready for the morning beside the cups.
Fourth I lay the plain paper science notebook after the funnel. The notebook is closed and blank on the outside. It sits ready for the morning so we can write in it.
Fifth I lay the set of plain wooden stirring sticks in a neat line. They sit ready for the morning next to the notebook.
Last I set the small tin of plain paper clips at the end of the row. The tin sits open with its lid beside it on the table. It sits ready for the morning so we can grab a clip when we need one.
A small plastic measuring jug costs $2 to $4, a set of plain plastic cups costs $2 to $3, a small plastic funnel costs $1 to $3, a plain paper science notebook costs $2 to $4, a set of plain wooden stirring sticks costs $1 to $2, and a small tin of plain paper clips costs $1 to $2, for a total of $9 to $18.
My kids run to the table in the morning and pick up the first test with bright eyes. We try each idea together and learn a new thing about the world each day.
| Idea | Main change | Typical cost |
|---|---|---|
| Make a Sundial with a Paper Plate | make a sundial with a paper plate | $0 to $1 |
| Lay Out Your Science Kit the Night Before | lay out a science kit the night before | $9 to $18 |
| Total | $9 to $19 |
| Idea | Main change | Typical cost |
|---|---|---|
| small plastic measuring jug | measure liquids in a small plastic measuring jug | $2 to $4 |
| set of plain plastic cups | mix potions in a set of plain plastic cups | $2 to $3 |
| small plastic funnel | pour liquids with a small plastic funnel | $1 to $3 |
| plain paper science notebook | write notes in a plain paper science notebook | $2 to $4 |
| set of plain wooden stirring sticks | stir mixtures with a set of plain wooden stirring sticks | $1 to $2 |
| small tin of plain paper clips | hold papers with a small tin of plain paper clips | $1 to $2 |
| Total | $9 to $18 |
Keep Reading
If you liked these ideas, you will love these posts too
Each post has more simple ideas you can try at home this weekend.