23 Studio Living Tricks for Making One Room Feel Like Many

My apartment has one room and four names. In the morning it is the bedroom. At nine it is the office. At seven it is the dining room. The rest of the time it is the living room. It has never once complained about the arrangement.
Here is the thing about Studio Living. One room has to do the work of four rooms. It has to be your bedroom and your living room and your office and your dining room, all at once. When everything happens everywhere, the whole place feels messy even right after you clean it.
The fix is not more space. You cannot buy more space. The fix is giving every activity its own little territory, so your eye reads one room as several small rooms instead of one crowded one.
That is the whole idea. Each job needs a home base. A spot on the floor that belongs to it. Once every job has a home base, the stuff for that job stops spreading all over the room.
These 23 Studio Living tricks do exactly that. They use rugs, furniture, curtains, light and storage to carve one room into many. None of them need a builder. Most of them cost very little. All of them work in a rented place.
Start with one trick. Just one. Move one rug or turn one sofa around and sit down. You will feel the room change before you spend a single dollar.
1. Start With a Rug for Every Job
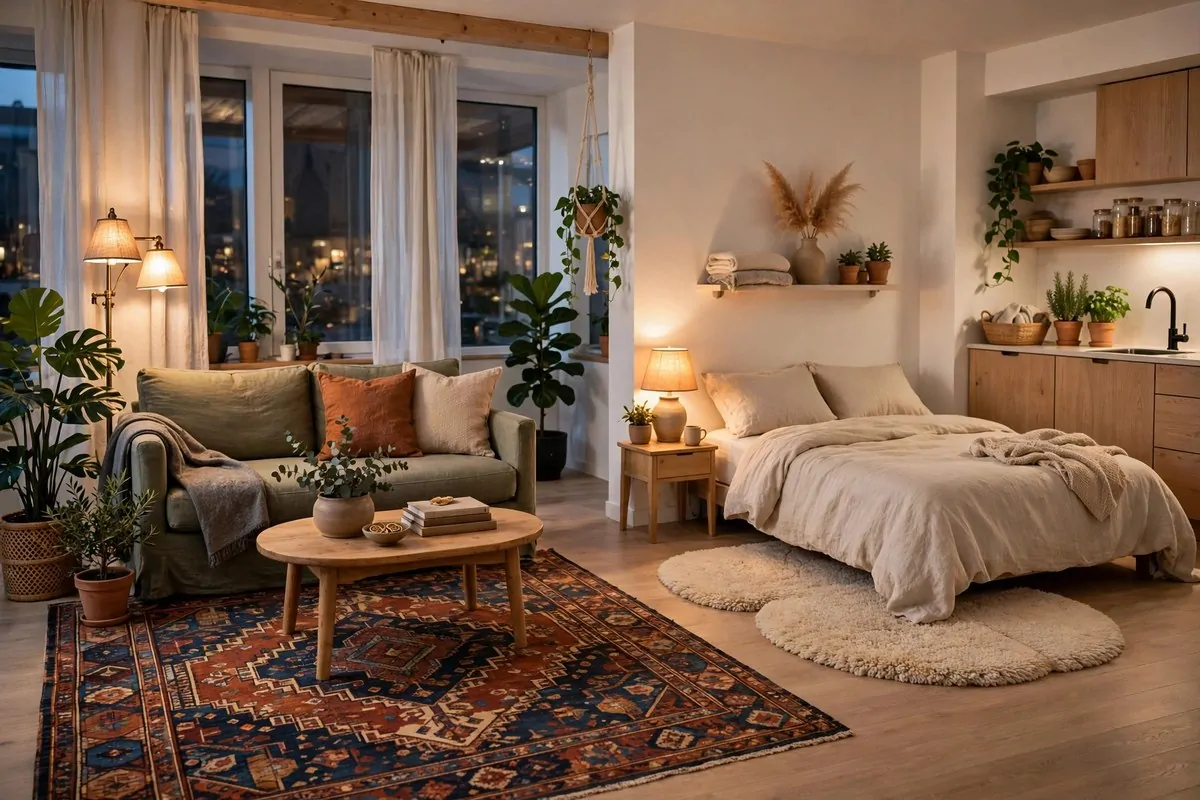
A rug is the cheapest wall you can buy. One rug under the seating area and a different rug under the bed, and your eye instantly reads two rooms instead of one.
The trick is size. The rug should sit under at least the front legs of the furniture in its zone. A tiny rug floating in the middle of a zone does the opposite of what you want. It makes the area look smaller, not more defined.
Pick rugs that feel different under your feet. A soft thick rug says this is where you relax. A flat woven rug by the bed says this is a quiet corner. Your feet learn the zones before your eyes do.
You do not need expensive rugs for this. A plain flat weave does the job just as well as a fancy one. What matters is the edge. The edge is the wall.
Leave a strip of bare floor between the rugs. That strip becomes the hallway. It sounds silly, but a little walkway between zones makes the room feel planned instead of crammed.
I started with one rug and added the second a month later. The change was instant. My sofa area finally felt like a living room, even though my bed was ten steps away.
Washable rugs are your friend in a studio. Everything is close together, so spills travel fast. A rug you can throw in the wash saves you a lot of worry.
Measure before you buy. Walk the zone with your feet and count the steps. Then buy the rug that fits the steps, not the one that looks pretty in the shop photo.
This one move fixes more studio problems than any other trick on this list. Start here.
2. Turn the Sofa Around
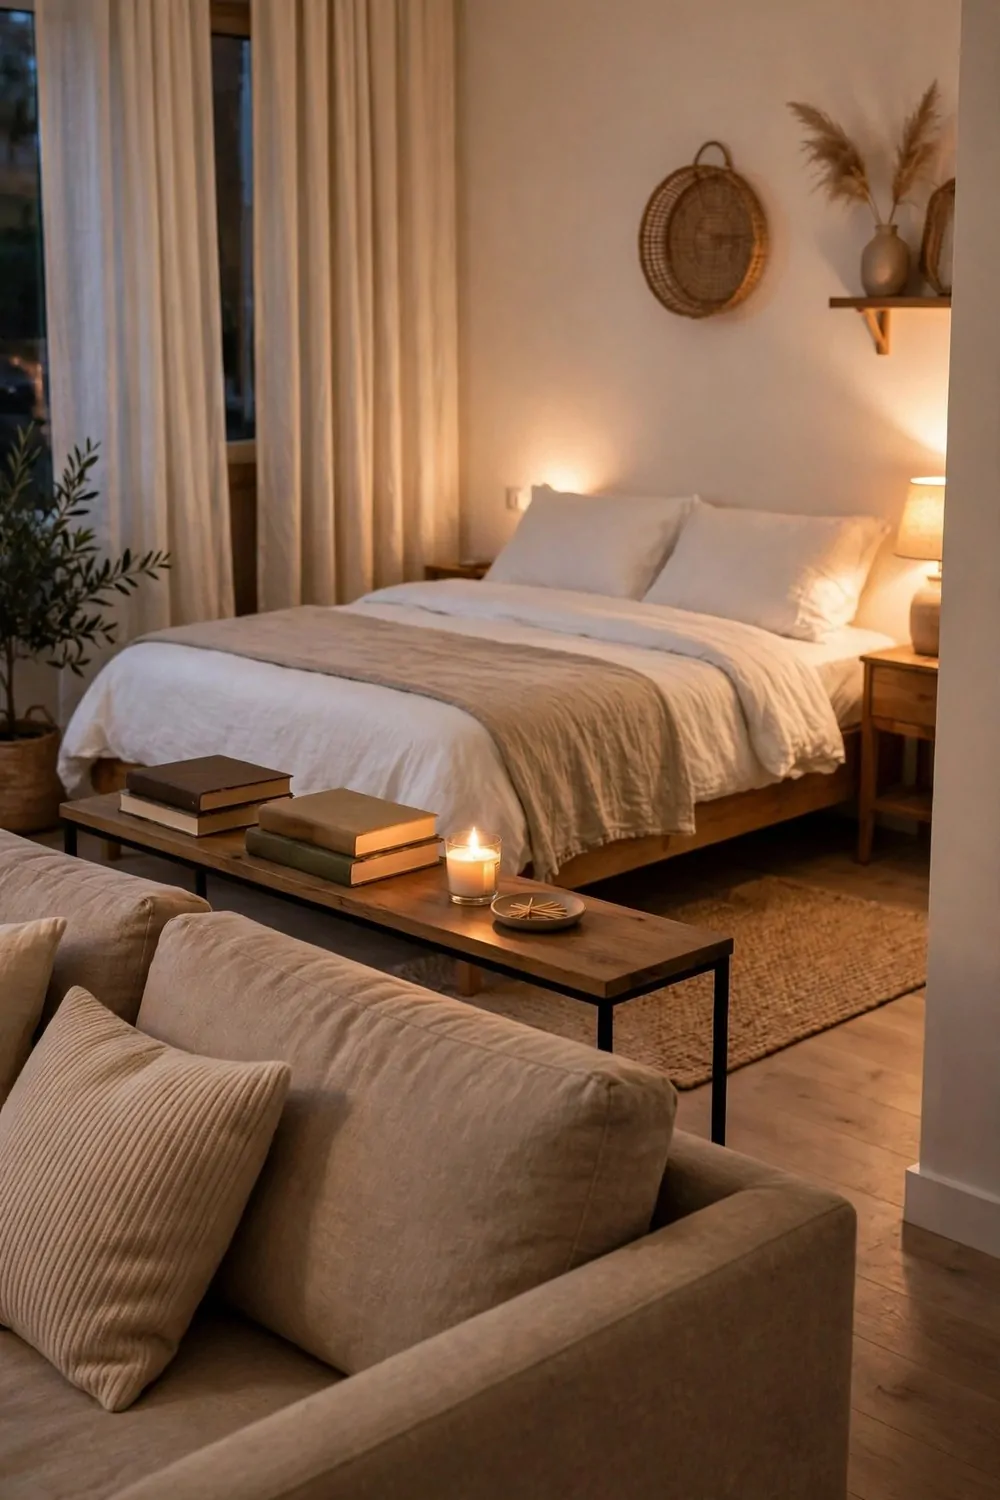
Turn your sofa so its back faces the bed. Sit down on it. Now look at what happened.
Your sofa just became a wall. From the sofa, you see a living room. From the bed, you see the back of a sofa, not a whole living room staring at you. Both sides win.
This is the single fastest Studio Living trick I know. It costs nothing. It takes two minutes. And it changes how the whole room reads the second you do it.
Slide a rug under the front legs of the sofa to lock the living zone in place. The rug plus the sofa back is a room boundary your brain accepts right away.
Put a slim console table behind the sofa if you have the space. It gives you a spot for a lamp, a book and a candle. It also stops the sofa from feeling like a barrier and starts making it feel like furniture with a purpose.
Tuck a couple of poufs under the console. They are extra seats when friends come over, and they disappear when nobody needs them. That is the studio way. Everything earns its floor space twice.
Keep the walkway behind the sofa clear. If you have to climb over things to get to bed, the trick turns into an obstacle course. A clear path keeps both zones friendly.
I did this in my first studio and my sleep got better within a week. My brain stopped treating bedtime like sitting in the living room. The sofa back told it the day was done.
Try it tonight. Turn the sofa, sit down, and see how the room feels from both sides.
3. Curtain Off the Bed
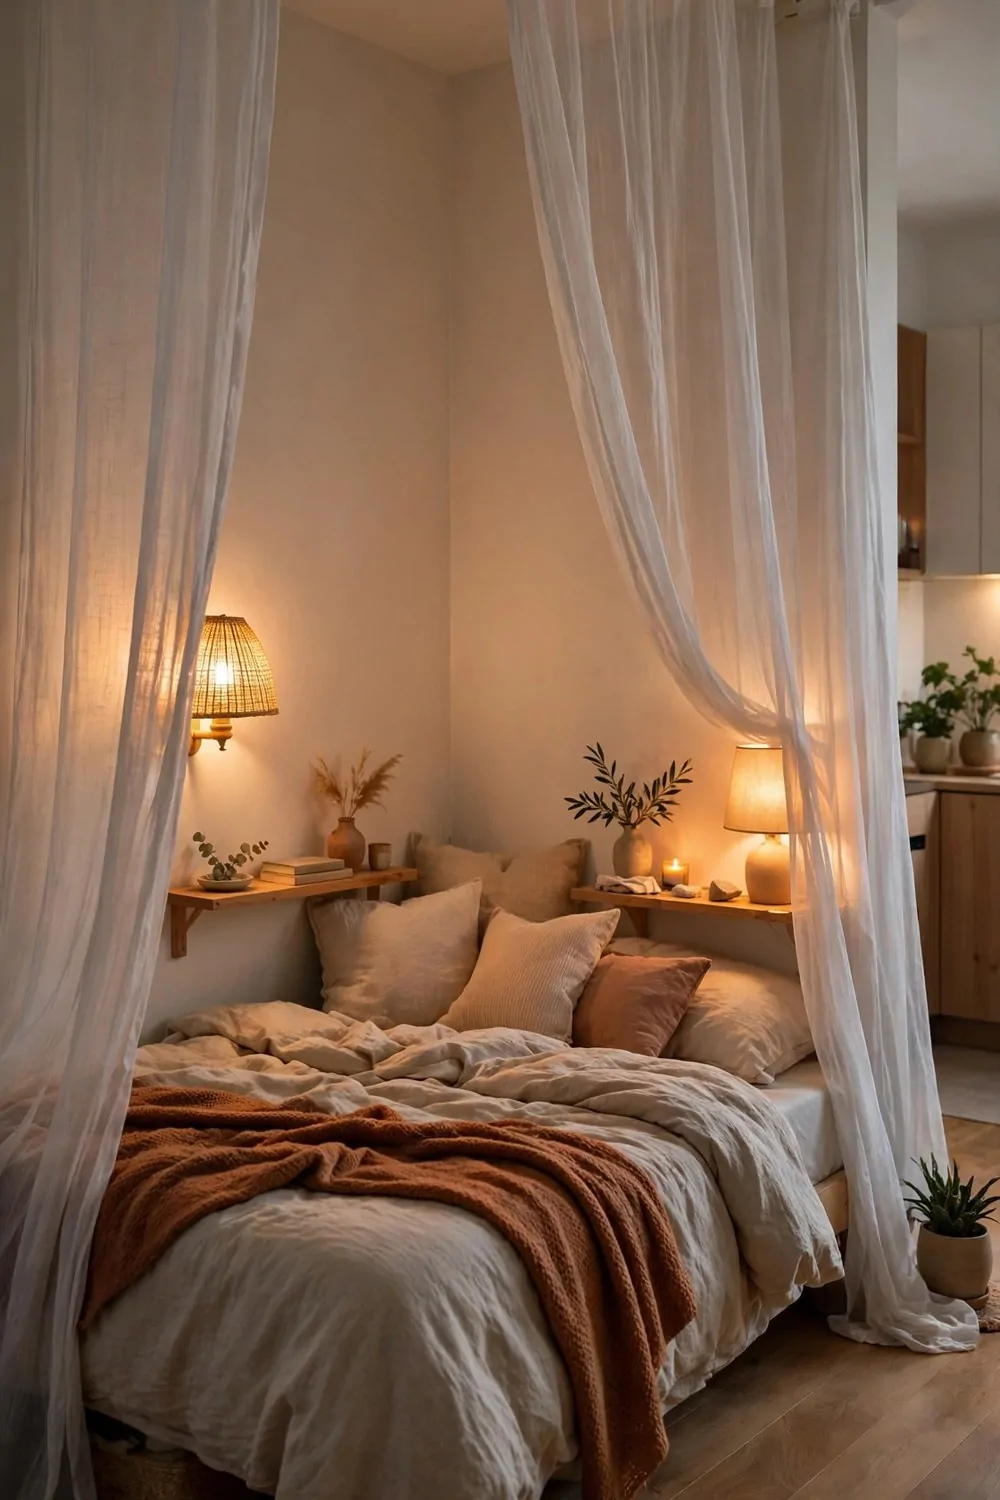
A bed tucked behind curtains feels like its own little room. Close the curtains at night and the bedroom disappears. Open them in the morning and the whole studio breathes again.
Hang the curtains from the ceiling, not from the wall. A ceiling track or a simple curtain rod mounted high makes the bed corner feel tall and intentional, like a little canopy nook instead of a hidden bed.
Sheer curtains are the best starting point. They soften the sight of the bed without blocking the light. Your living area still feels bright, and the bed still feels private.
If you need real darkness for sleep, use a double layer. Sheer on the inside, heavier fabric on the outside. Daytime gets the sheer layer. Nighttime gets both.
Warm lamps on both sides of the bed make the whole corner glow at night. It feels cozy, not closed in. That glow is what makes guests say your studio feels like a real home.
Keep the curtain hem just off the floor. A hem that drags collects dust and trips you in the dark. A finger-width gap is perfect.
This trick is renter friendly. A tension rod or a ceiling track with small hooks comes down clean when you move. No big holes, no lost deposit.
I love the little ritual of it too. Pulling the curtains closed at night tells my brain the day is over. It is the smallest bedtime routine, and it works.
Your bed does not need a wall around it. It just needs a curtain and a little ceremony.
4. Let a Bookshelf Do the Dividing
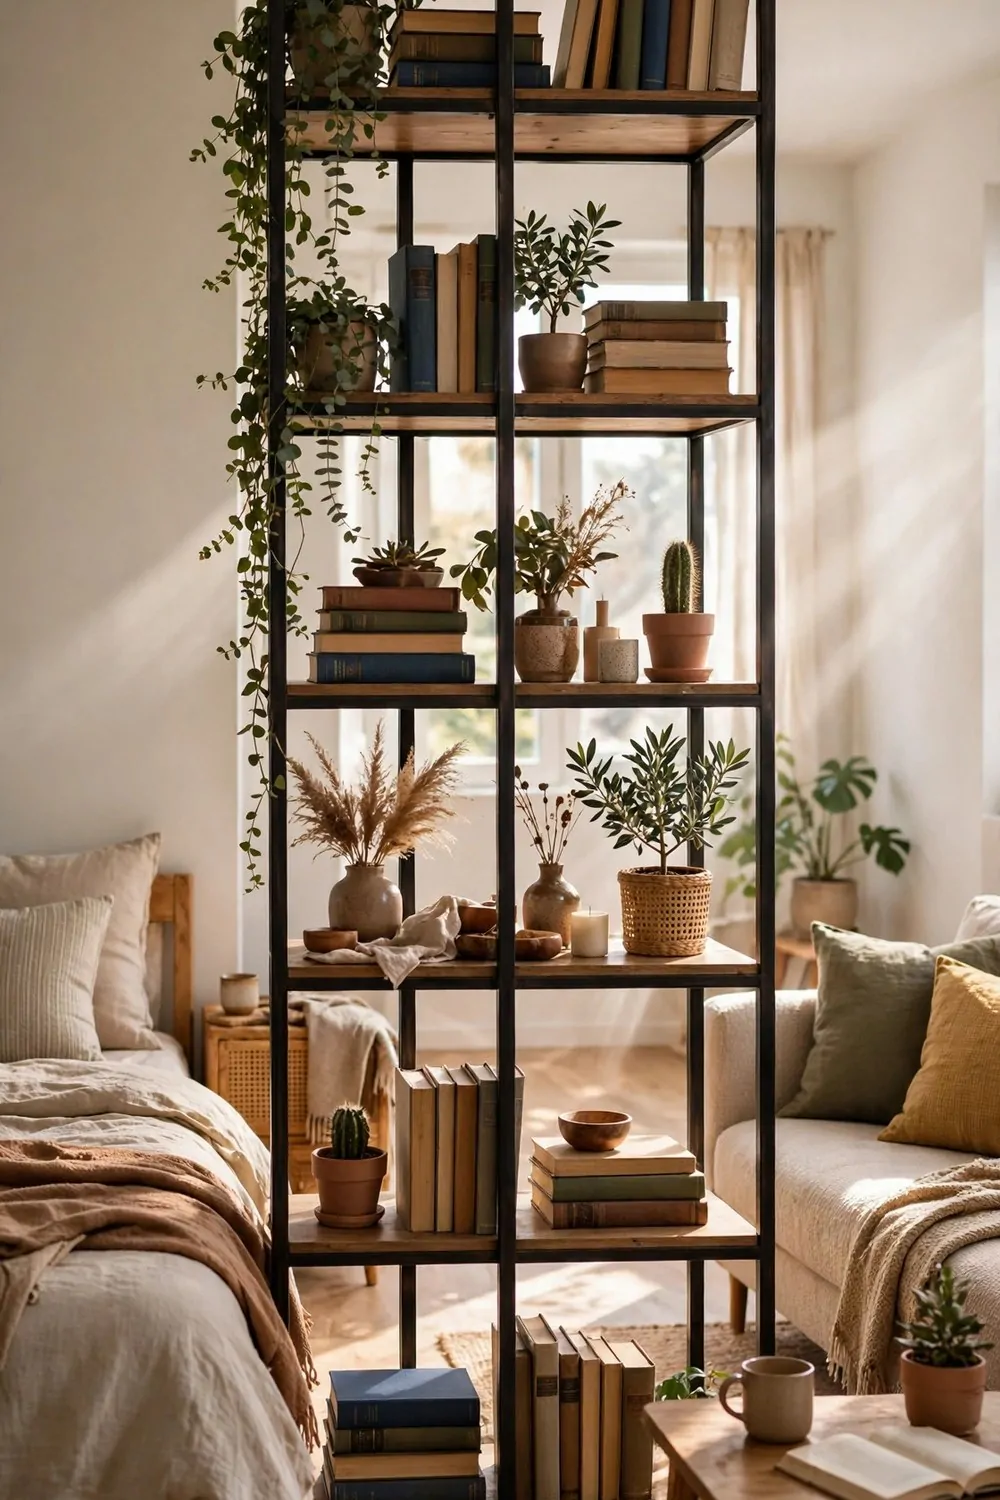
An open-back bookshelf is the hardest working divider in a studio. It splits the room, stores your stuff, and still lets light through. Three jobs, one piece of furniture.
Place it perpendicular to the wall, not flat against it. That is what turns a shelf into a divider. The shelf becomes a soft boundary line between the sleeping side and the living side.
Open backs matter here. A solid bookcase blocks light and makes the far side feel dark. An open shelf keeps both zones bright, and you can reach things from either side.
Fill the lower shelves with heavy things. Books, baskets, storage boxes. Heavy low and light high keeps the shelf steady and stops it feeling top heavy.
Leave some shelves a little empty. A shelf packed to the brim reads as a wall. A shelf with breathing room reads as a divider. Air is part of the design.
Style both sides of the shelf. You will see the back of it from the other zone, so make the back pretty too. A plant trailing down one side and a photo frame on the other does the job.
Anchor it to the wall if you can. A tall shelf in a small room needs to be steady. A small bracket at the top is cheap insurance and keeps the whole thing safe.
This divider also solves the storage problem at the same time. Every shelf is a home for something that used to live on your floor. That is two studio problems fixed with one purchase.
5. Lift the Bed and Win a Whole Room
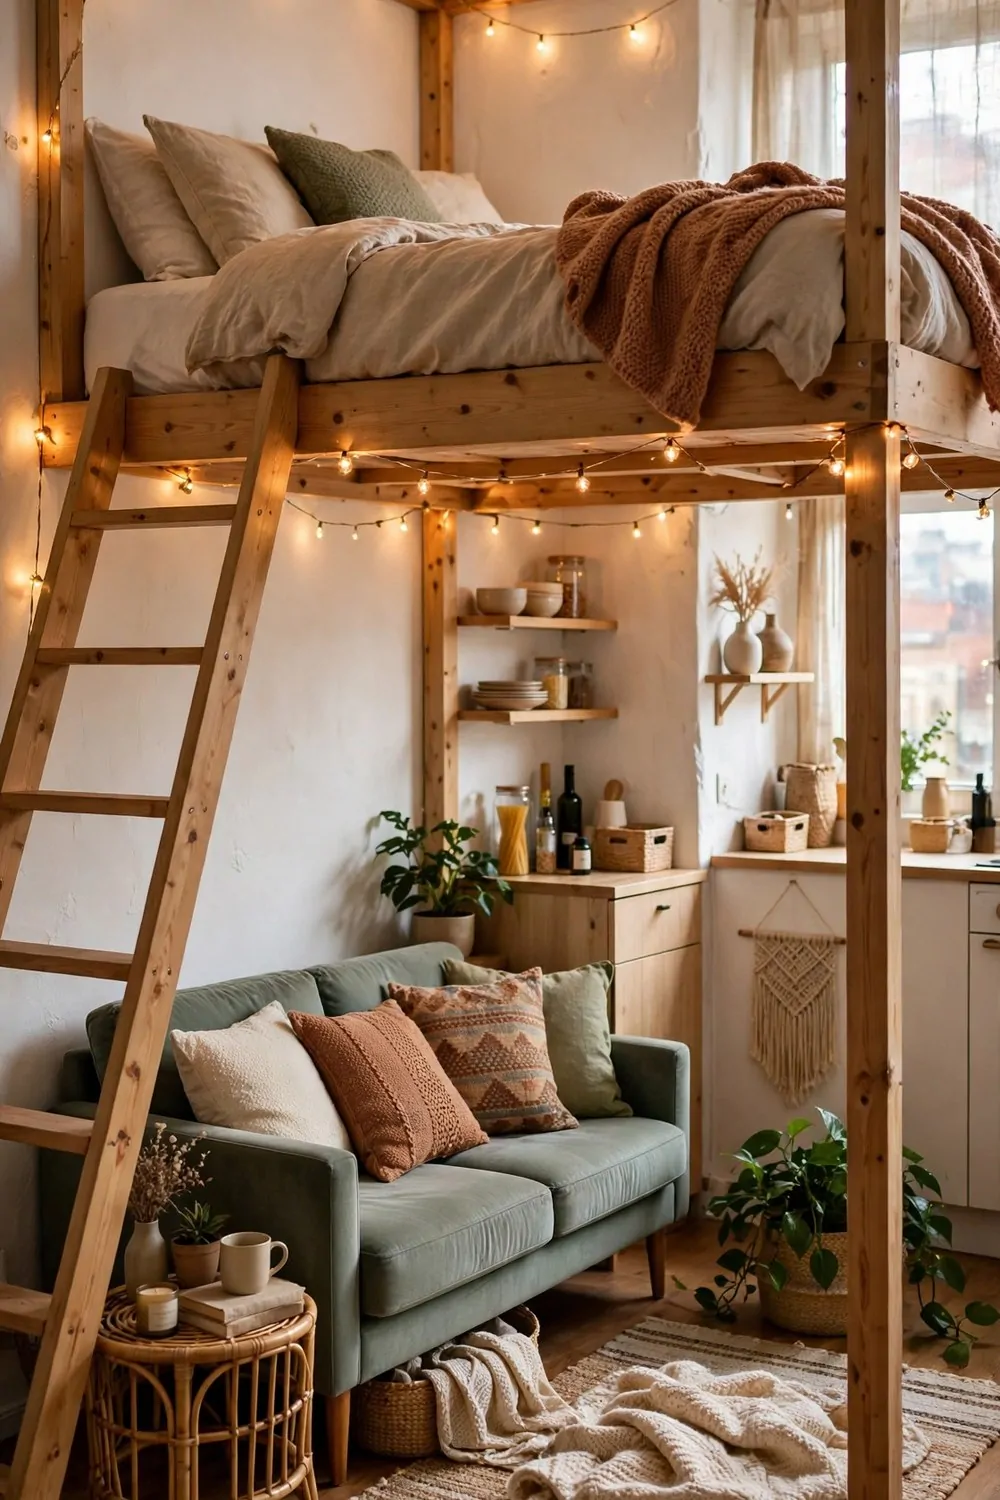
If your ceiling is high enough, lifting the bed gives you a whole second room underneath. A sofa, a reading corner, a desk. All on floor space you already own.
The space under a loft bed is the most underused square footage in a small home. Most people leave it empty or fill it with boxes. Both are a waste of a perfectly good room.
Check your ceiling height first. You need to sit up in bed without bumping your head, and stand under it without ducking. If you cannot do both, a lower platform bed with drawers is the safer pick.
Make the space underneath a real zone, not a storage cave. A small sofa, a rug and a lamp turn it into a lounge. String lights along the frame make it feel cozy instead of cramped.
A ladder that feels solid matters more than a ladder that looks clever. You will climb it half asleep every single night. Wide steps and a good handhold beat a skinny ship ladder every time.
Keep the bedding simple up top. Fewer pillows means less stuff falling off the edge. A fitted sheet, a duvet and one good pillow is plenty when the bed is up high.
Guard rails are not optional. Even adults roll in their sleep. A rail on the open side is the difference between a loft bed and a trip to the emergency room.
If a full loft feels too high, try a mid sleeper. The bed sits a little lower, the space underneath holds a desk or drawers, and the climb is much friendlier. You still win the floor back.
Measure twice, climb once. And enjoy your brand new downstairs.
6. Fold the Bed Away Each Morning
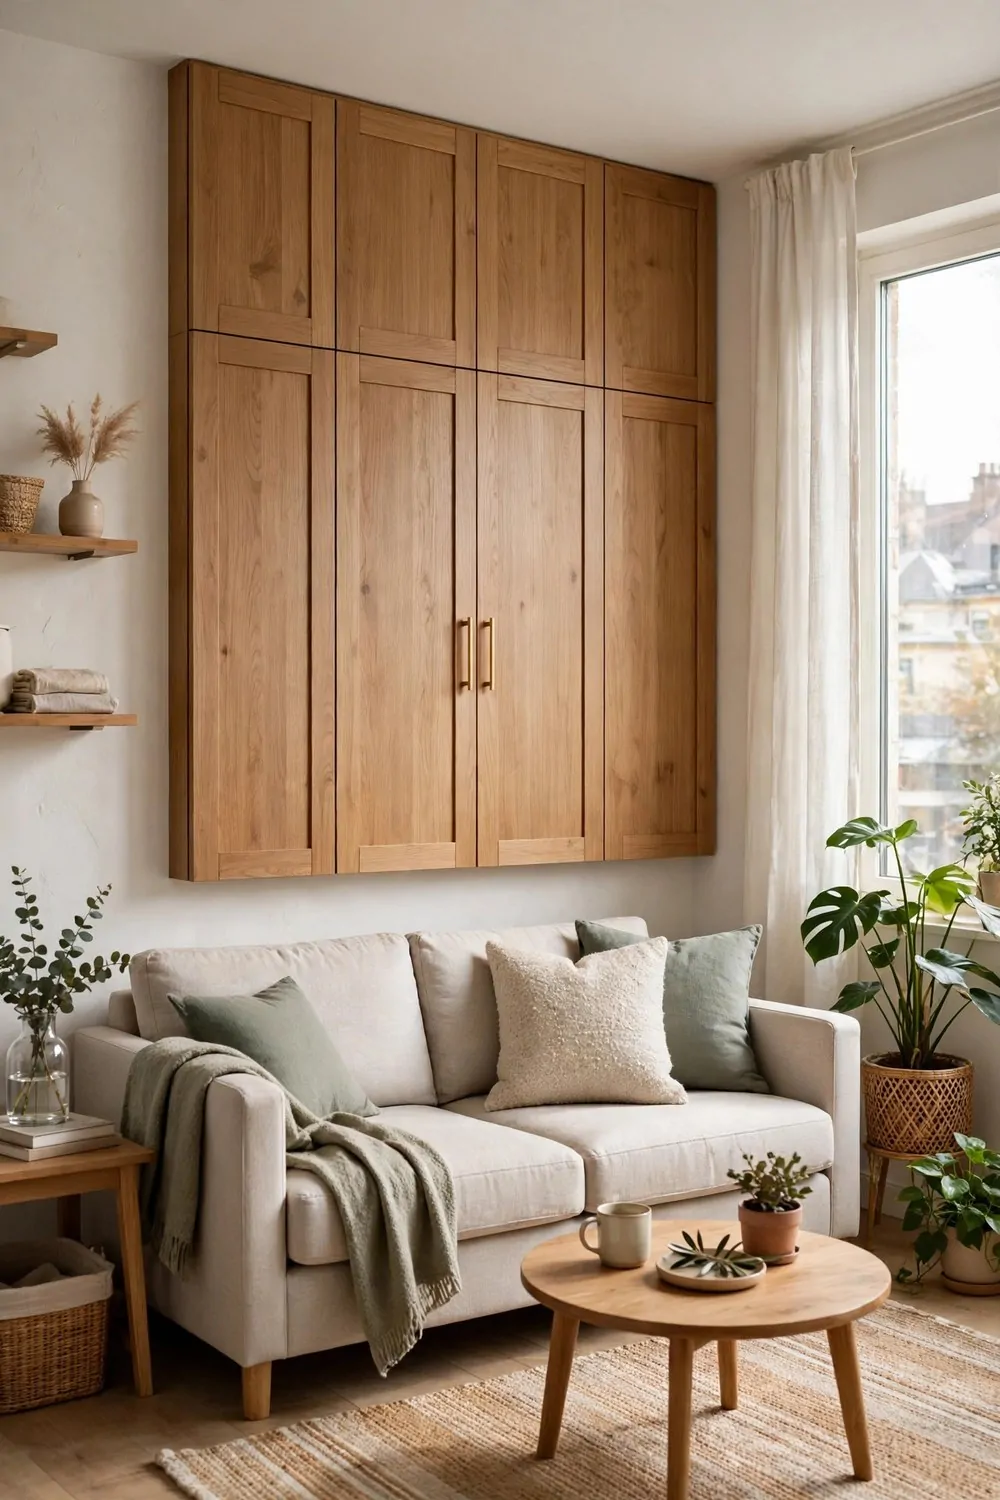
A fold-down wall bed turns your bedroom into a living room in about ten seconds. Pull it down at night, fold it up in the morning. The floor belongs to the day again.
This is the trick for people who want a real bed and a real living room in the same spot. No sofa bed compromise. No sleeping on cushions that never quite lie flat.
Modern wall beds are nothing like the squeaky ones from old cartoons. Good ones fold smoothly, lock safely, and look like a handsome cabinet when they are closed. Some even have a little sofa built into the front.
Put a sofa in front of the closed cabinet. During the day the room reads as a normal living room. At night the sofa slides aside and the bed comes down. Two rooms, same floor.
Keep the bedding on the bed when you fold it up. Straps hold the pillows and duvet in place. That is the whole point. No making the bed from scratch every night.
You need a solid wall for this one. A wall bed pulls on its fixings every time you fold it. Brick or stud walls work. A thin partition wall does not.
It costs more than a rug or a curtain. I will not pretend otherwise. But it buys back the most floor space of any trick on this list, and for some studios that is worth every dollar.
If you fold it up every morning, make it part of the routine. Bed up, curtains open, kettle on. Ten seconds, and the studio is a living room again.
7. Give Every Zone Its Own Lamp
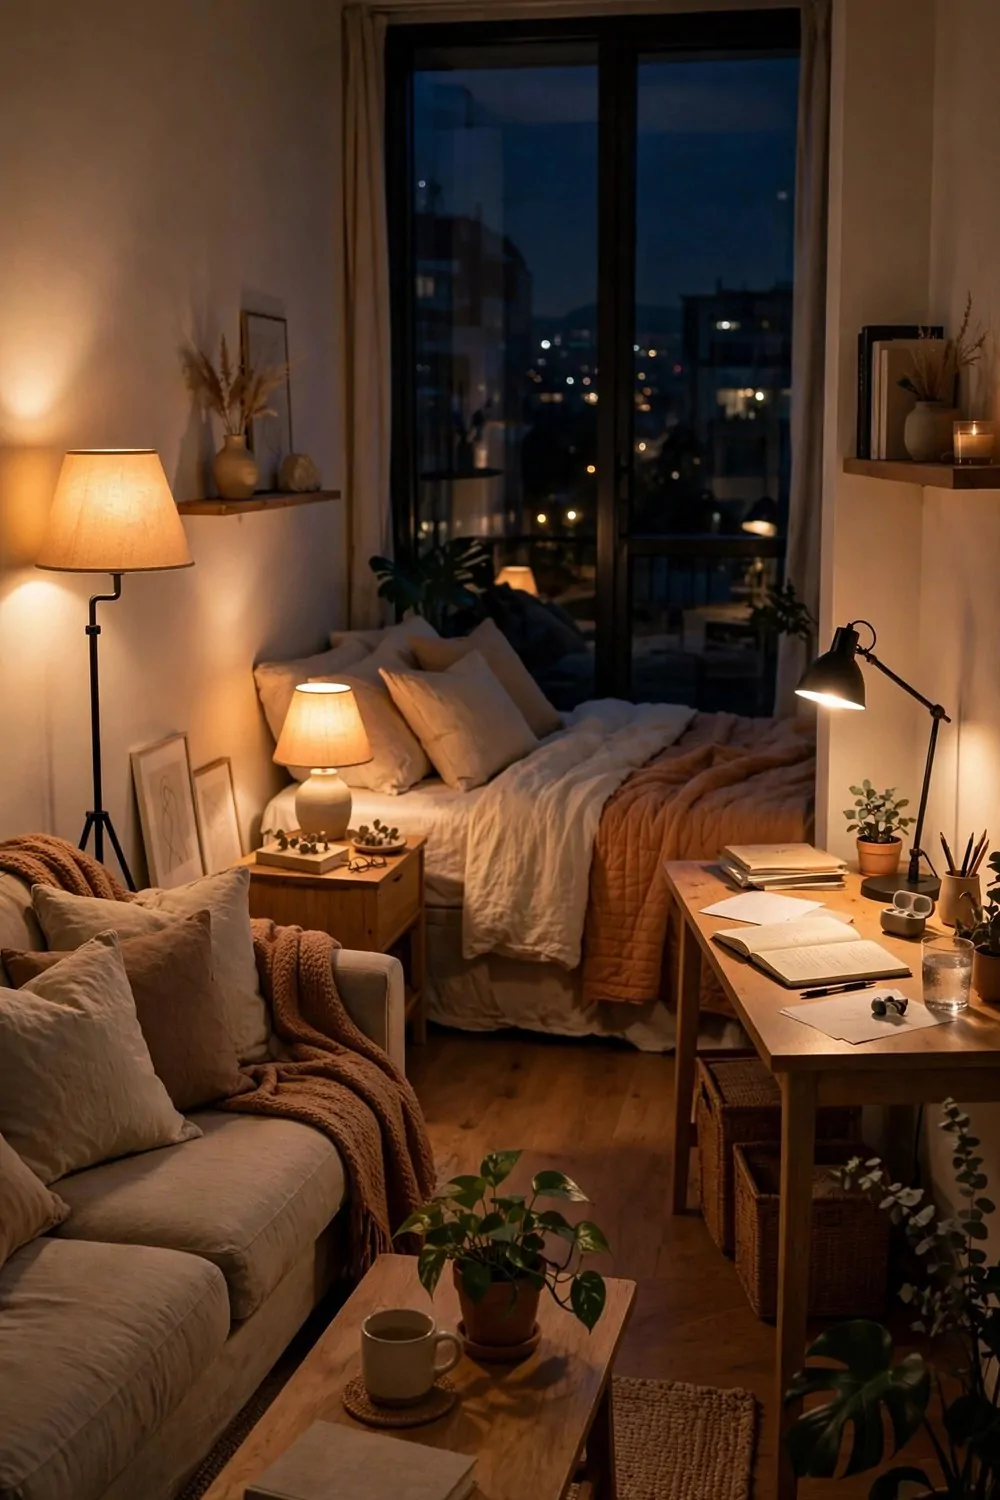
One ceiling light makes a studio feel like one flat room. A lamp in each zone makes it feel like four rooms. Light is the cheapest zoning tool you own.
Put a floor lamp by the sofa for reading. A small table lamp by the bed for winding down. A task lamp at the desk for work. Each zone gets its own pool of warm light and its own mood.
Use warm bulbs everywhere. Cool white light makes a studio feel like an office after dark. Warm light makes the same room feel like home. The bulb color matters more than the lamp style.
Here is a simple lamp plan that works in most studios:
| Zone | Lamp to use | The mood it makes |
|---|---|---|
| Sofa and living | Floor lamp with a big shade | Soft and social |
| Bed corner | Small warm table lamp | Calm and sleepy |
| Desk and work | Adjustable task lamp | Bright and focused |
| Dining spot | Plug-in pendant or candle lamp | Cozy and intimate |
Dimmers make the trick even better. A cheap plug-in dimmer turns one lamp into three moods. Bright for work, medium for dinner, low for a film.
Turn off the ceiling light in the evening and live by lamp light alone. The room will feel smaller in the best way. Cozy, not cramped. Each zone glows on its own.
Keep spare bulbs in the same spot. When a zone goes dark, the whole balance tips. A little box of warm bulbs by the door saves the evening.
Light tells your brain where one room ends and the next begins. Use it on purpose.
8. Hang a Mirror Across From the Window
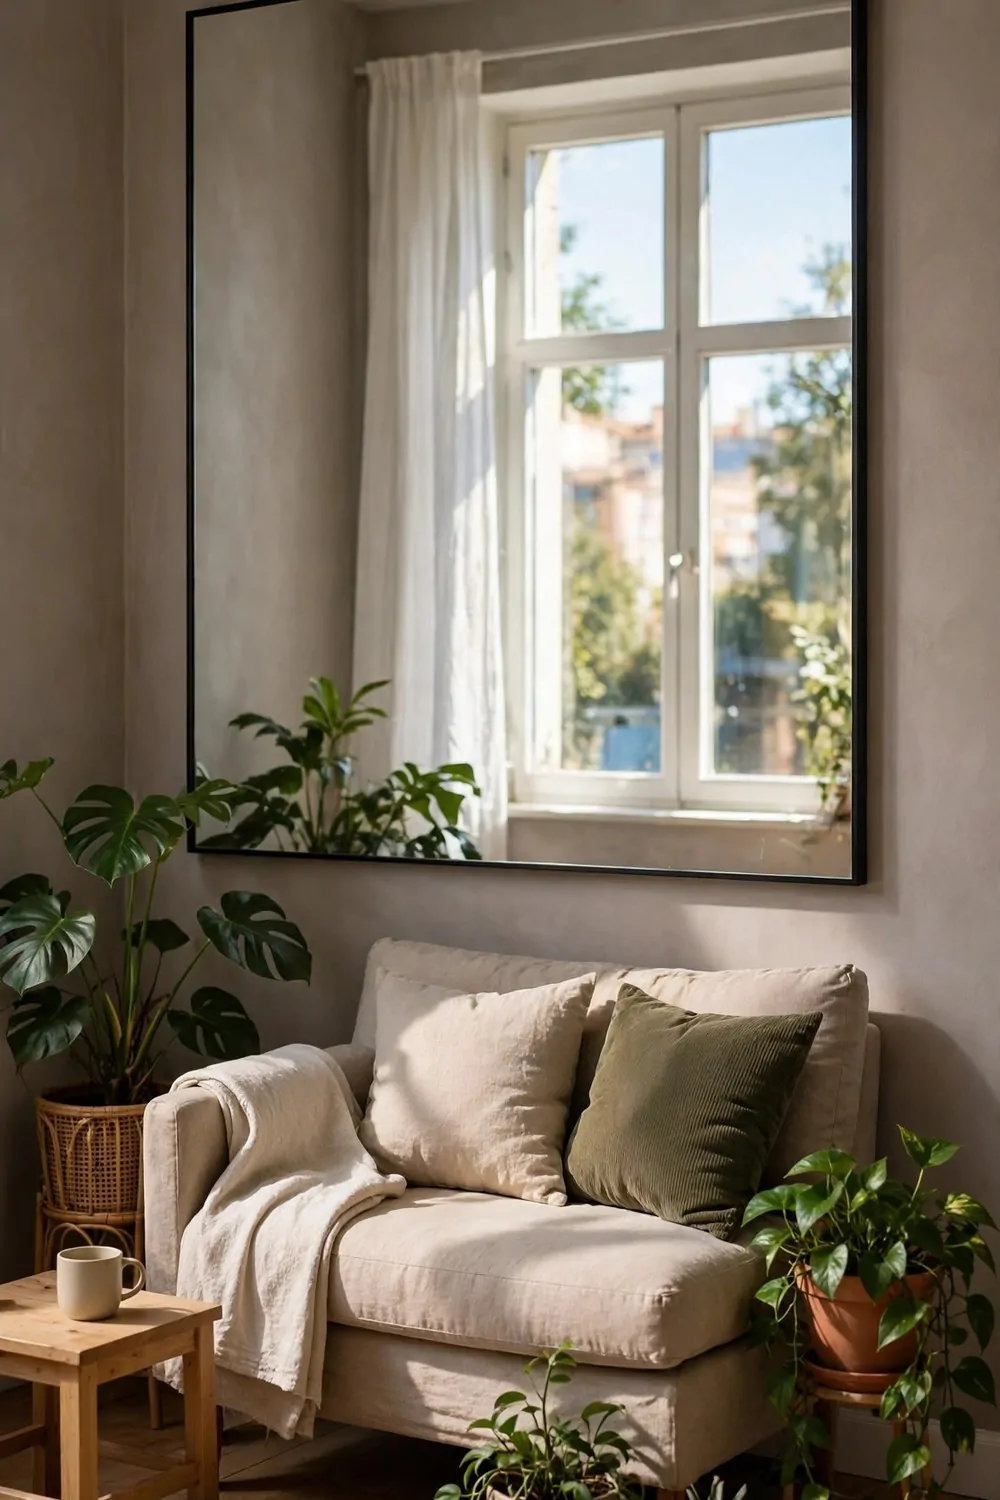
A big mirror across from the window does two jobs at once. It bounces daylight deep into the room, and it doubles what your eye sees. The studio looks twice as big.
Placement is everything here. A mirror on the same wall as the window just shows you the opposite wall. A mirror on the wall facing the window catches the sky and throws it back across the room.
Go as big as you can manage. One large mirror beats three small ones. Small mirrors chop the room up. One big mirror opens it up.
Lean it if you cannot hang it. A large leaning mirror on the floor is renter friendly and looks relaxed and intentional. Just make sure the bottom sits flat and steady.
Keep the mirror clean. A dusty mirror in a small room reads as a gray wall. A quick wipe once a week keeps the light bouncing the way it should.
Angle it slightly if the window view is mostly brick wall. Tilt the top a touch toward the room and the mirror catches more sky. Tiny tilt, big difference.
Do not put a mirror where it reflects clutter. It doubles the mess too. Point it at the window, the plants, or the prettiest corner you own.
This trick costs one mirror and one afternoon. The daylight it adds is free forever after that.
9. Store Things Up High
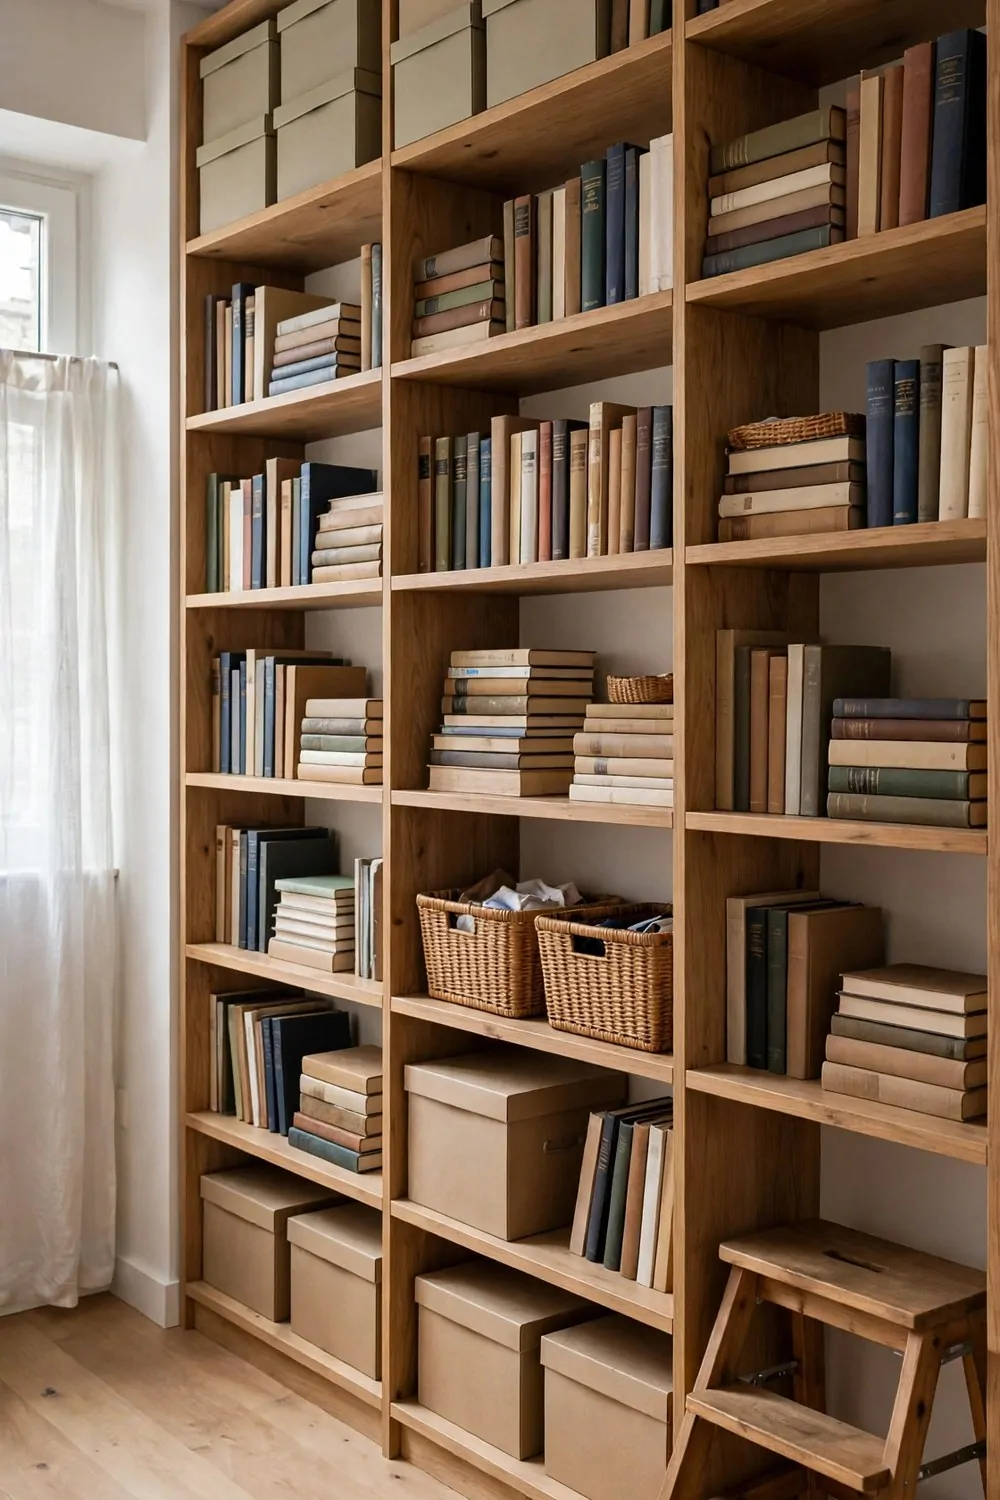
The walls of a studio are free real estate. Shelves that run to the ceiling turn dead wall space into storage, and they pull the eye upward, which makes the room feel taller.
Start with one wall and go all the way up. A shelf that stops halfway looks unfinished. A shelf that reaches the ceiling looks like it was built for the room.
Put the things you rarely use up top. Seasonal clothes, spare bedding, photo albums. The stuff you touch once a season lives at the top. Daily things live at arm height.
Use matching boxes on the top shelves. Uniform boxes read as tidy even when the stuff inside is not. Mixed bags and open piles up high read as clutter from below.
A small step stool lives in the studio now. A folding one that tucks behind the door is perfect. If getting to the top shelf is a big production, you will never use it.
Keep the shelves shallow. Deep shelves swallow things and turn into caves. A shelf about as deep as a book is deep enough for most studio storage and keeps everything visible.
Leave one shelf mostly empty near the top. It gives the eye a resting place and stops the wall from feeling like a warehouse. Air is storage too, in a way.
Anchor every tall shelf to the wall. This is not optional in a small room you move around in. A bracket or two keeps the whole wall safe.
Look up more often. The ceiling is the one direction in a studio that is never crowded.
10. Keep the Floor Visible
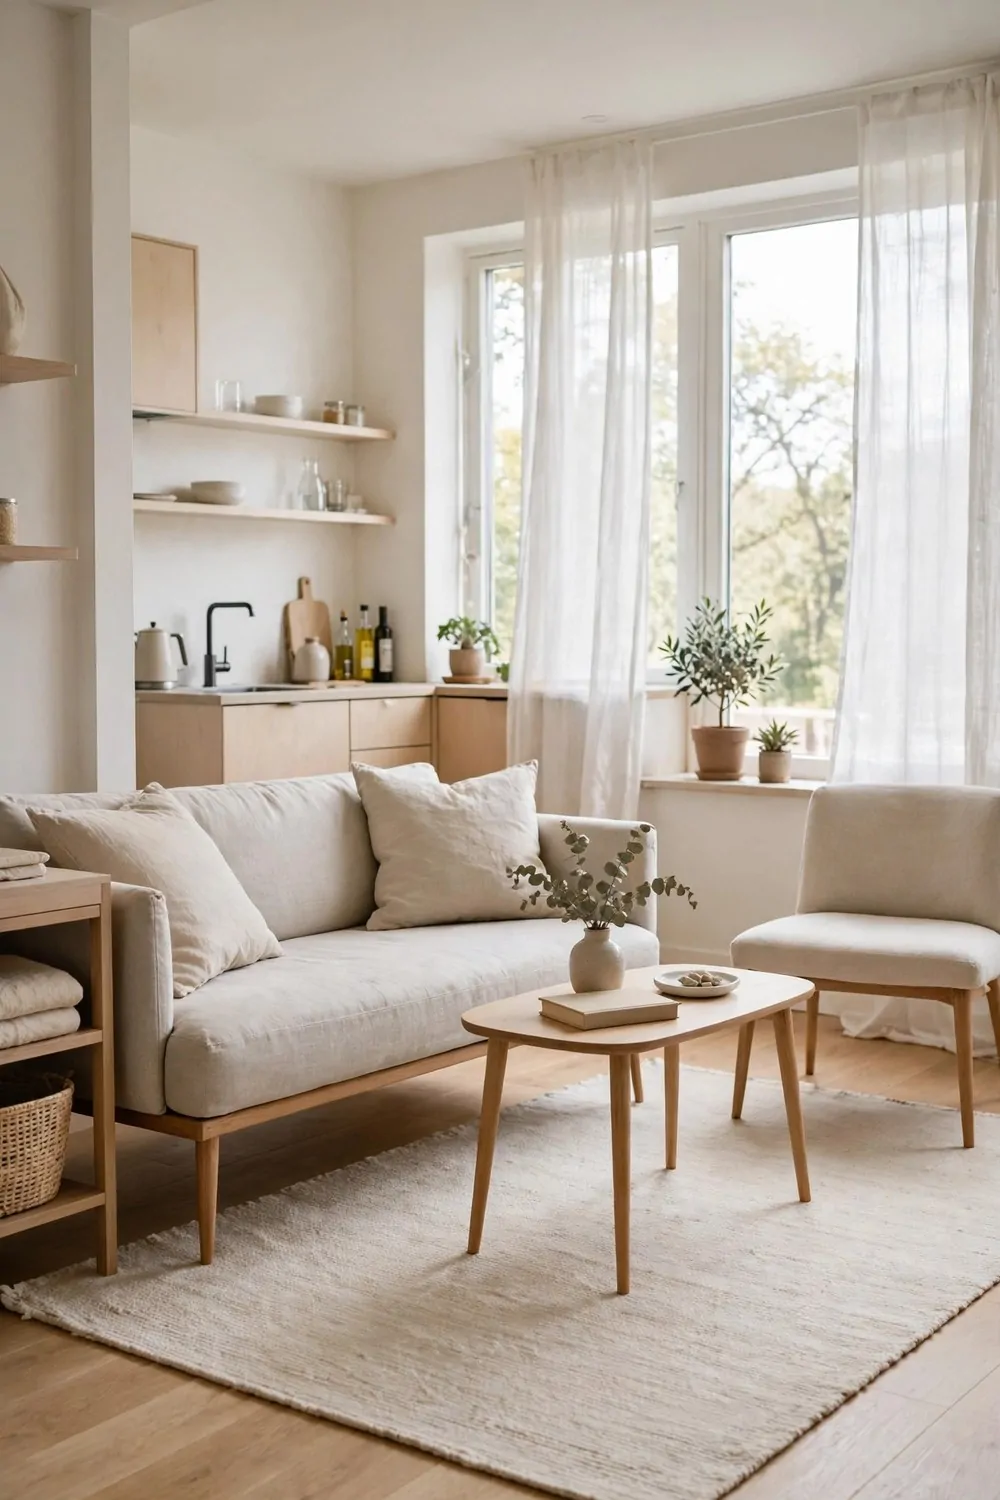
Visible floor makes a room feel bigger. It is that simple. The more floor your eye can see, the larger the studio reads, even though the square footage never changes.
Furniture on legs is the easiest way to win floor back. A sofa on thin legs shows the floor underneath. A table on slim legs does the same. Your eye travels under the furniture and the room feels deeper.
Heavy furniture that sits flat on the floor does the opposite. A big blocky sofa reads as a wall of furniture. It eats the floor visually, and the room shrinks around it.
This is why slim furniture works so well in studios. Not because it is smaller, but because it shows more floor. The room breathes underneath it.
Clear the middle of the room first. If you can see a path of floor from the door to the window, the studio feels open the second you walk in. That path is worth more than any one piece of furniture.
Push furniture to the edges and let the center stay open. Studios that work best almost always have an empty middle. It feels wasteful at first. It is not. The empty middle is the room.
Rugs help here too, but keep them flat and low. A thick shaggy rug hides the floor edge. A flat weave shows the floor line and keeps the zones crisp.
Vacuum the visible floor often. When the floor is part of the look, dust shows. A quick sweep every couple of days keeps the whole trick working.
Show your floor off. It is the biggest surface in the room, and it is free.
11. Fold the Desk Down by the Window
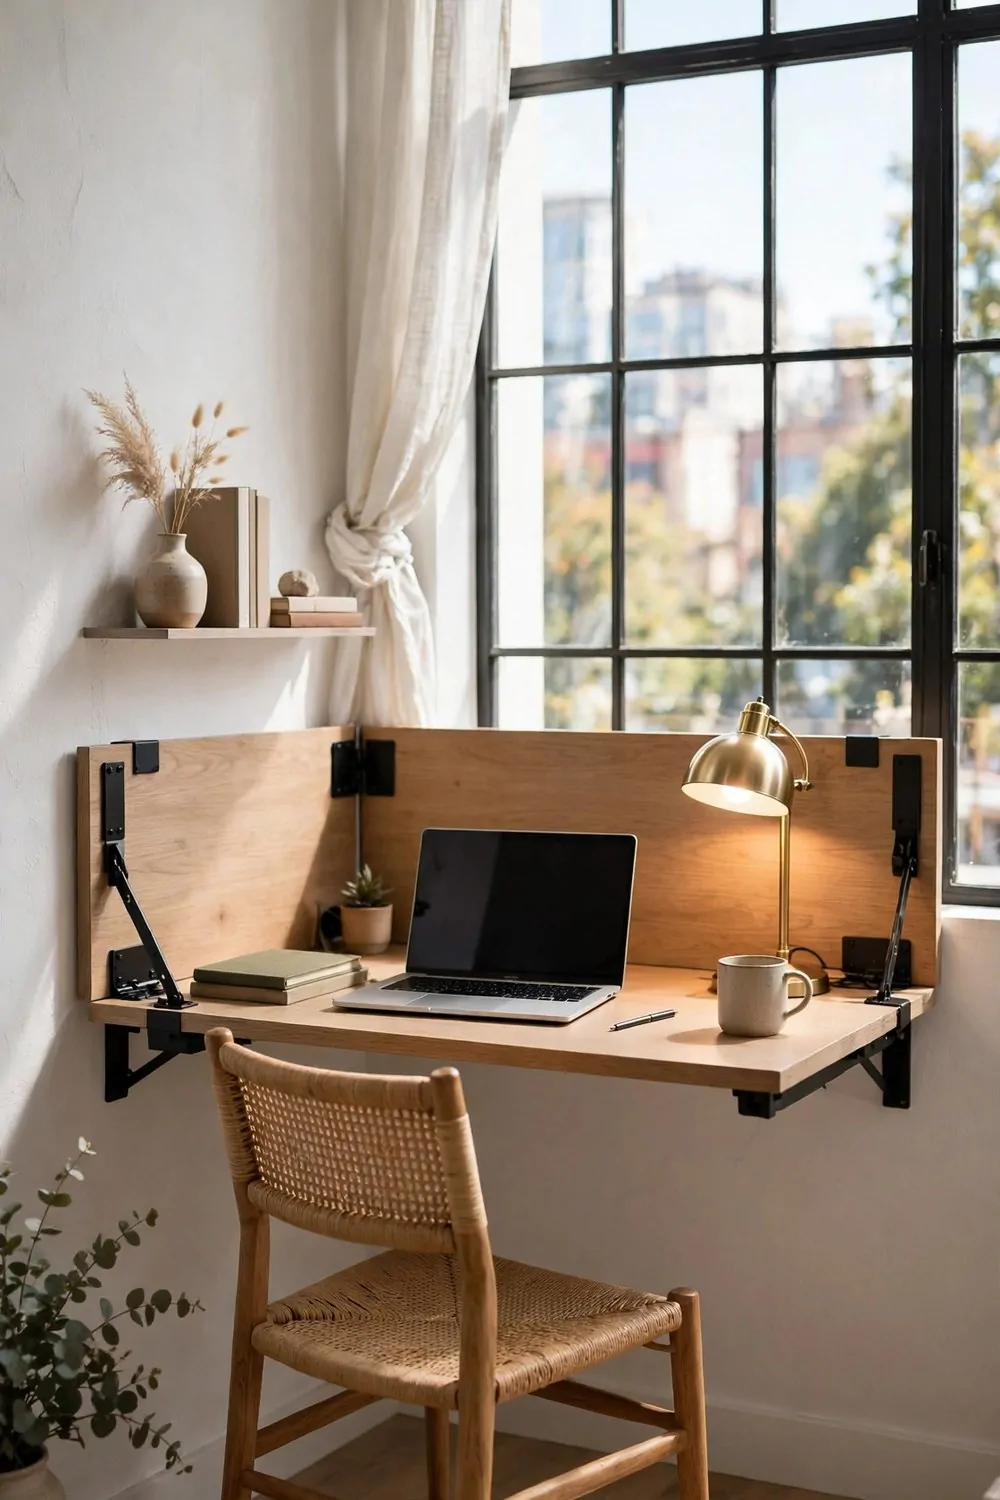
A wall-mounted fold-down desk gives you an office that disappears. Work hours, the desk is down and the laptop is out. After work, it folds up flat and the wall is just a wall again.
The window is the best spot for it. Daylight is free, and looking out a window beats looking at a wall when you work all day. Your brain gets a break every time your eyes lift.
Keep only work things on the desk when it is down. Laptop, lamp, notebook, mug. When work ends, everything goes in one box on the shelf and the desk folds up empty.
A small shelf above the desk holds the work box and a plant. The plant stays. The work box goes up at the end of the day. That little ritual is what keeps work from leaking into your evening.
Choose a desk that locks flat against the wall. A desk that sags or wobbles will annoy you every single day. Solid hinges and a good latch are worth paying a little extra for.
The chair matters too. A folding chair that hangs on a hook by the desk keeps the floor clear when work is done. No chair sitting around reminding you of emails all evening.
This setup is perfect for renters. A few screws, a small patch of wall, and it comes down clean when you move. Much kinder to a deposit than a full desk.
Close the desk at the end of every workday. That click is the sound of work ending. Your studio becomes a home again.
12. Roll a Cart Where You Need It
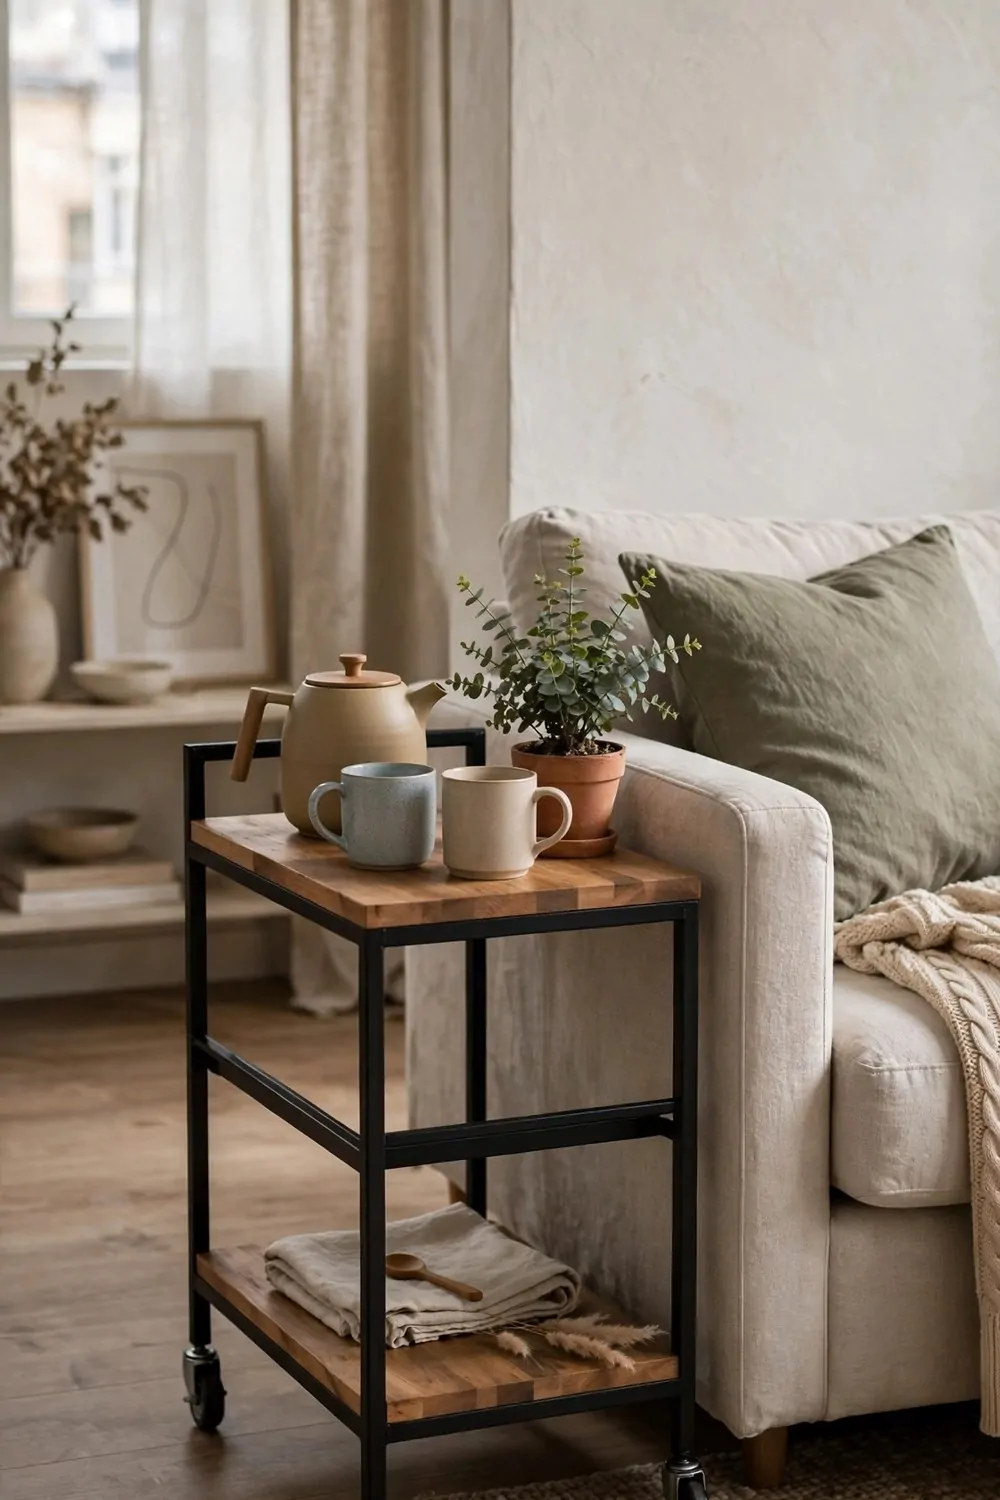
A rolling cart is a room that moves. Breakfast bar in the morning, side table in the afternoon, drinks cart when friends come over. One cart, many jobs.
Wheels are the whole trick. A cart without wheels is just a small table. A cart with good wheels goes where the need is, and parks out of the way when the need is gone.
Stock it for its main job first. If it is mostly a coffee cart, it holds the kettle, the mugs and the coffee. Everything else is a bonus. A cart with a clear job gets used. A cart with random stuff becomes a junk shelf on wheels.
Keep the top clear enough to actually use. A cart piled high with clutter cannot hold a mug. Leave half the top surface empty on purpose.
Lock the wheels when it is parked. A cart that rolls away when you lean on it is funny exactly once. Most good carts have a little brake on two of the wheels.
Use the lower shelves for the heavy things. Books, bottles, the heavy plant pot. Heavy low keeps the cart steady when you push it across the room.
At night, roll it against the wall by the door. It becomes the landing spot for keys and mail. Morning comes, and it rolls right back to the kitchen corner.
One cart replaces three small tables. That is the studio math that matters.
13. Let a Daybed Work Two Jobs
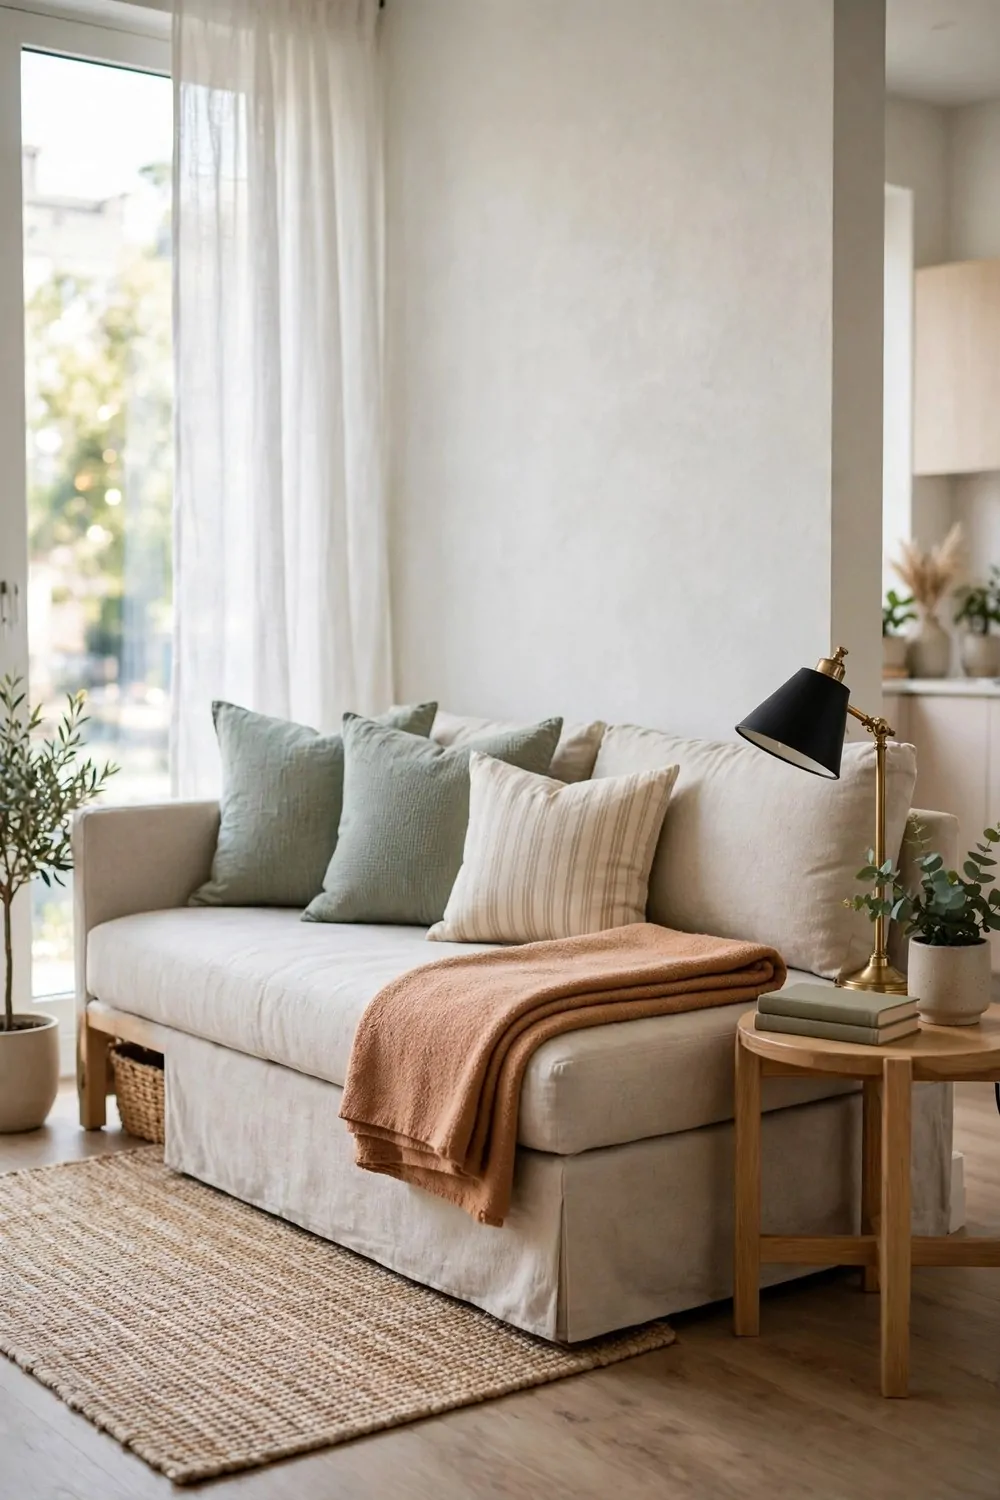
A daybed is a sofa by day and a bed by night, and it never pretends to be anything else. It does both jobs honestly, which is why it works so well in a studio.
Style it like a sofa during the day. Cushions along the back, a folded throw over one arm, a small side table beside it. Guests will sit on it and never guess it is your bed.
At night, move the cushions and pull the bedding out of its drawer or basket. The changeover takes two minutes once you have the routine down. Keep the bedding close by, or the routine falls apart.
A daybed with storage underneath is the best version of this trick. Drawers or a trundle hold the bedding, the spare pillows and the winter blankets. Everything for both jobs lives inside the one piece of furniture.
Pick a firm mattress for a daybed. A soft one sags when people sit on it all day and feels lumpy at night. Firm works for sitting and sleeping both.
Put the daybed against the longest wall you have. It reads as a sofa against a wall, not a bed in the middle of the room. The wall anchors it and keeps the floor open.
Add a reading lamp and a little shelf at one end. Now the daybed corner is a reading nook by day and a sleep nook by night. Same corner, two lives.
One piece of furniture, two jobs, zero compromise. That is studio furniture done right.
14. Repeat One Color Everywhere
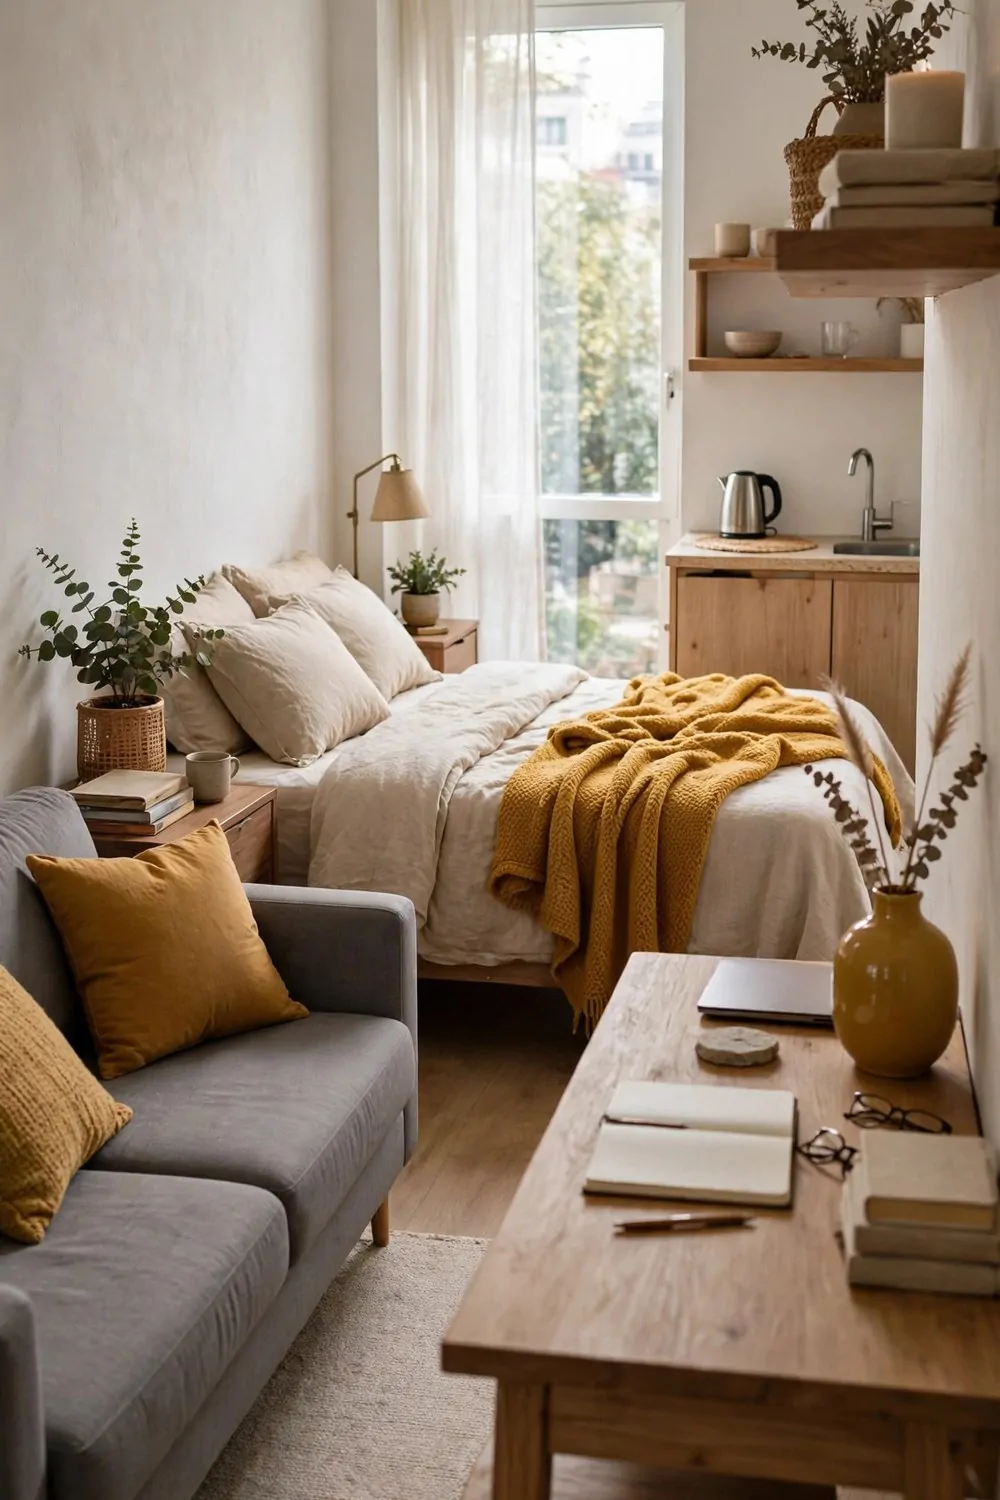
One accent color repeated in every zone ties a studio together. The eye follows the color from the sofa to the bed to the desk, and the room reads as one home instead of four camps.
Pick a color you love and use it in small doses. Cushions on the sofa, a throw on the bed, a vase on the desk, a towel in the kitchen corner. Small repeats, not big blocks.
Keep the big things neutral. Walls, sofa, bed frame, rug. When the big pieces are calm, the accent color gets to sing. When everything is colorful, nothing stands out and the room feels noisy.
Three to five repeats is the sweet spot. Fewer than three and the eye misses the pattern. More than five and it starts to feel like a theme park.
Let the color show up in things you can change cheaply. Cushion covers, throws, a plant pot, a picture frame. Seasons change, moods change, and a ten dollar swap refreshes the whole room.
Warm colors like mustard, terracotta or olive work beautifully in studios. They make the zones feel cozy and connected. Cool colors work too, but they can make a small room feel distant if you overdo them.
This trick also makes shopping easier. When you see something in your color, you know it belongs. When it is not in your color, you walk past it. Fewer random buys, calmer room.
One color, many small repeats. That is the thread that sews the zones together.
15. Leave One Wall Completely Blank
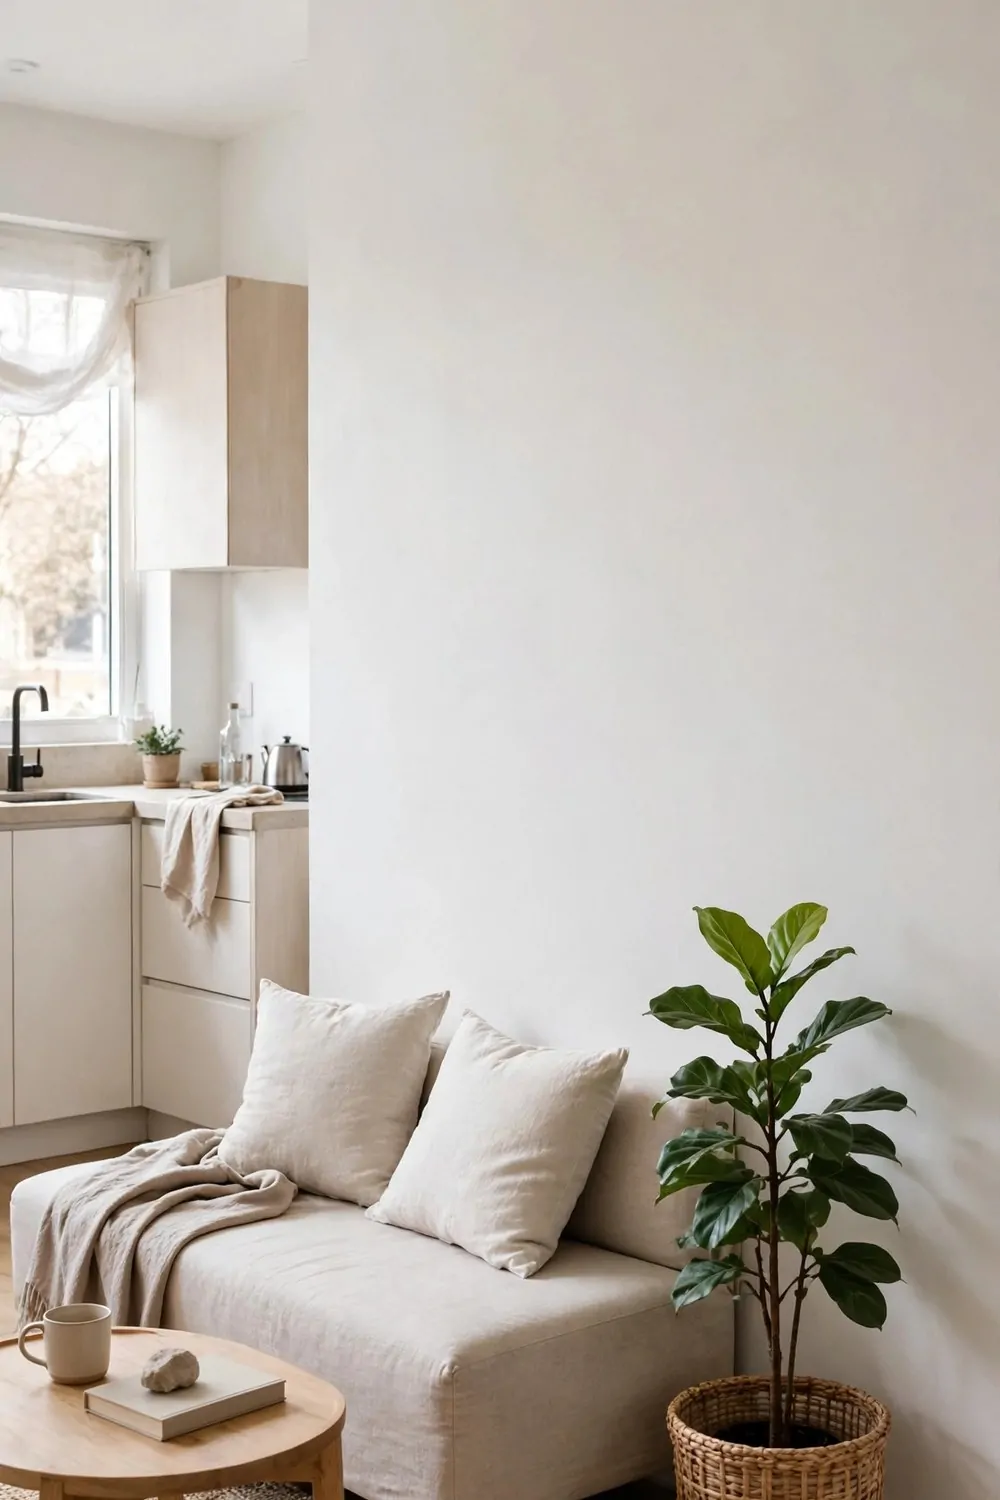
One totally blank wall makes a studio feel bigger. No shelves, no art, no hooks. Just paint and air. It sounds like a waste of a wall. It is actually a gift to the whole room.
Every other wall in a studio is working hard. Shelves, art, lamps, storage. The eye needs one place to rest. A blank wall is that resting place, and the whole room feels calmer because of it.
Pick the wall you see first when you walk in. That is the wall that sets the tone. A blank wall there says the room is calm and spacious before you have even taken your shoes off.
Keep it truly blank. One small frame ruins the effect. The power is in the emptiness. If you need art, put it on the other walls and let this one breathe.
A blank wall also makes the room feel taller. The eye travels up uninterrupted, and the ceiling feels higher than it is. Paint it the same soft color as the rest of the room so it blends in quietly.
This trick costs nothing and it is the hardest one to stick to. Every blank wall tempts you to hang something on it. Resist for a month and see how the room feels.
If the blankness starts to feel stark, add one plant on the floor in front of it. A single tall plant softens the wall without filling it. The wall stays blank, the corner stays alive.
Empty is not unfinished. In a studio, empty is a design choice, and a brave one.
16. Hide Storage Under the Bed
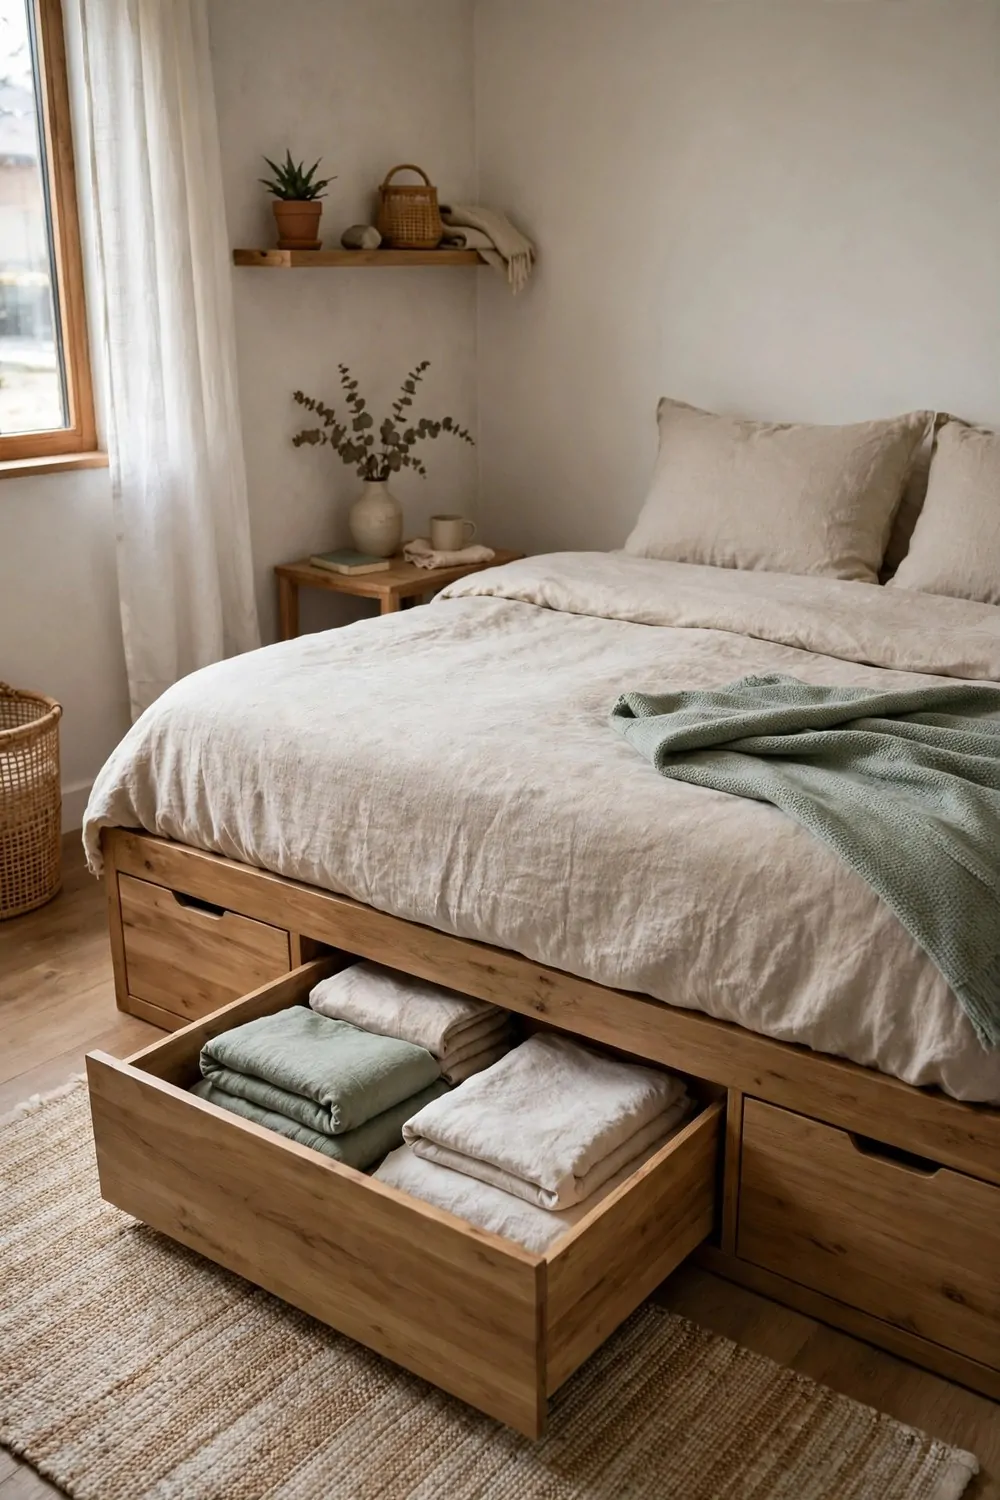
The space under the bed is the biggest hidden storage in a studio. Use it well and a whole closet worth of stuff disappears without a single box showing.
A bed with built-in drawers is the tidiest version. The drawers pull out smooth, the stuff stays dust free, and the bed looks like a normal bed. No boxes peeking out, no dust ruffles needed.
If your bed has no drawers, flat rolling boxes do the same job. Clear boxes let you see what is inside without pulling them all out. Label the ends so you can find things at a glance.
Store the seasonal stuff under there. Winter blankets in summer, summer clothes in winter, the spare bedding, the gift wrap. The things you need twice a year live under the bed. Daily things live where you can reach them.
Vacuum under the bed once a month. Dust loves that dark space, and a quick clean keeps the stored things fresh. It takes five minutes and saves a lot of sneezing.
Here is what fits best under a standard bed:
| What to store | How to store it | Why it works |
|---|---|---|
| Spare bedding and blankets | Flat vacuum bags or drawers | Close to where you use it |
| Out of season clothes | Clear labeled boxes | Easy to find, out of the way |
| Shoes you rarely wear | Slim under-bed shoe boxes | Frees the entry and the closet |
| Books and keepsakes | Shallow lidded boxes | Safe from dust and light |
Keep the boxes the same height as the bed frame or lower. Boxes that stick out past the frame catch your toes and ruin the clean line. Measure the gap before you buy anything.
The floor stays clear, the room stays calm, and a whole closet of stuff vanishes. That is the studio magic of under-bed storage.
17. Use the Back of Every Door
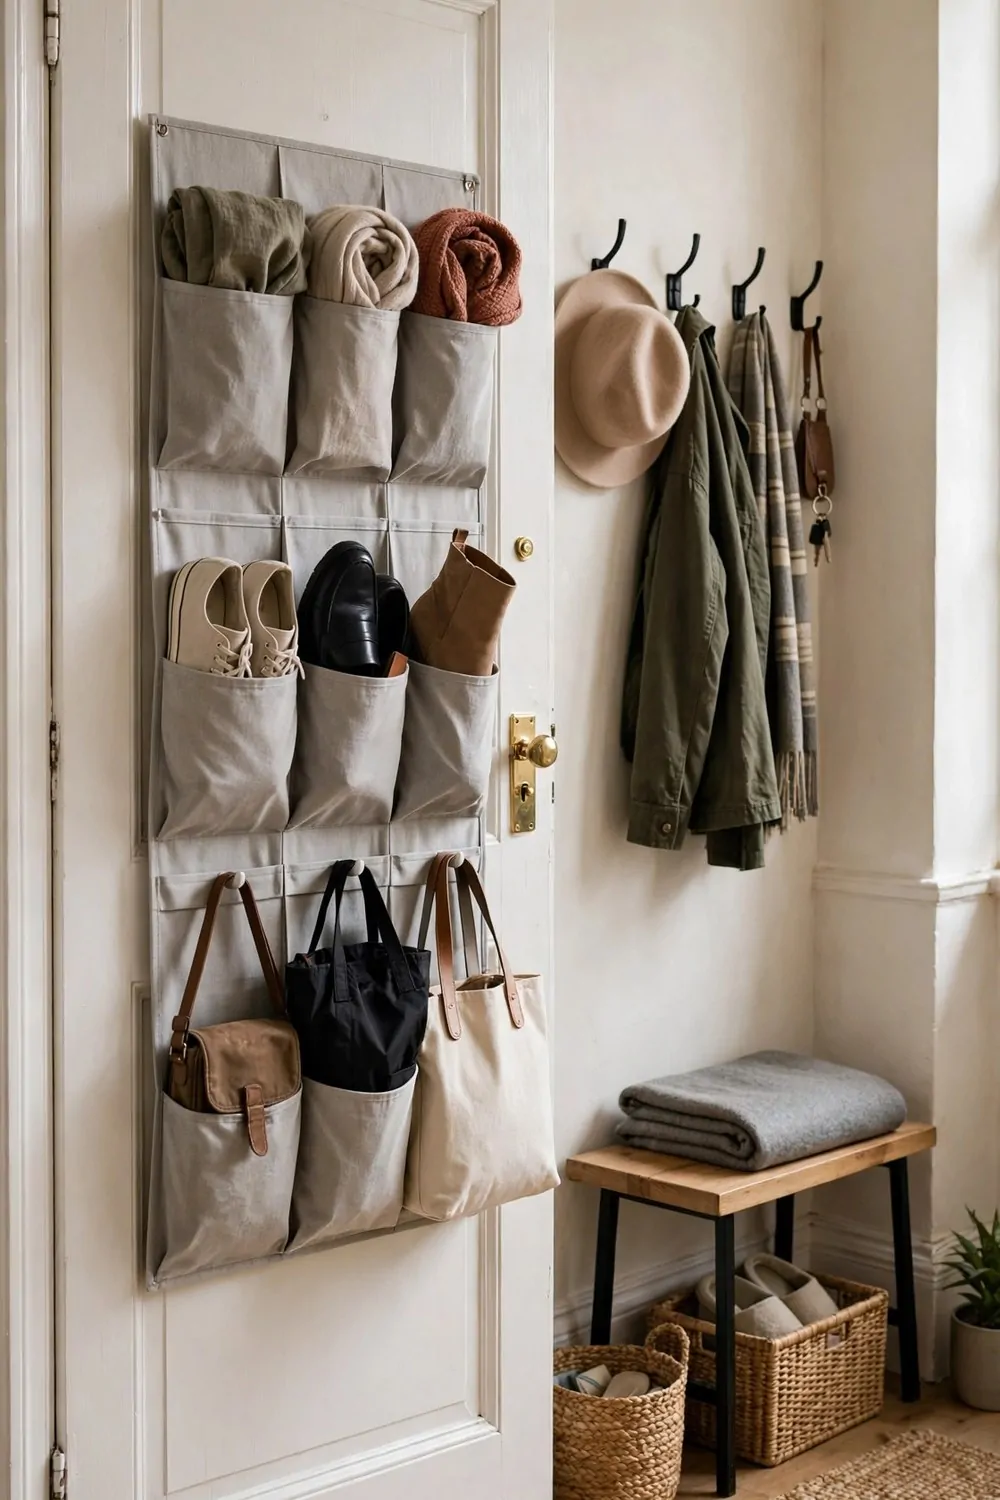
The back of a door is storage space you already own. Hooks, slim racks and hanging organizers turn it into a closet without taking a single inch of floor.
Start with the entry door. A row of hooks holds coats, bags and the dog leash. A slim shoe organizer on the same door holds the small things that used to live in a pile by the door.
The bathroom door takes the towels and the robes. The closet door takes scarves, belts and bags. Every door gets one job, and the floor stays clear.
Keep door storage slim. If it sticks out too far, the door will not close properly and the organizer will bang every time someone walks through. Flat is the rule here.
Over-door hooks that need no screws are perfect for renters. They lift off clean when you move. Just check the door still closes fully before you load them up.
Put the things you grab on the way out by the entry door. Keys, sunglasses, the reusable bags. A little pocket organizer at eye level stops the morning hunt for keys forever.
Do not overload one door. Spread the weight across all the doors you have. A door full of heavy coats sags on its hinges over time. Light things on doors, heavy things on shelves.
Look at the back of your doors today. That empty space is a free closet waiting to happen.
18. Shrink the Dining Table
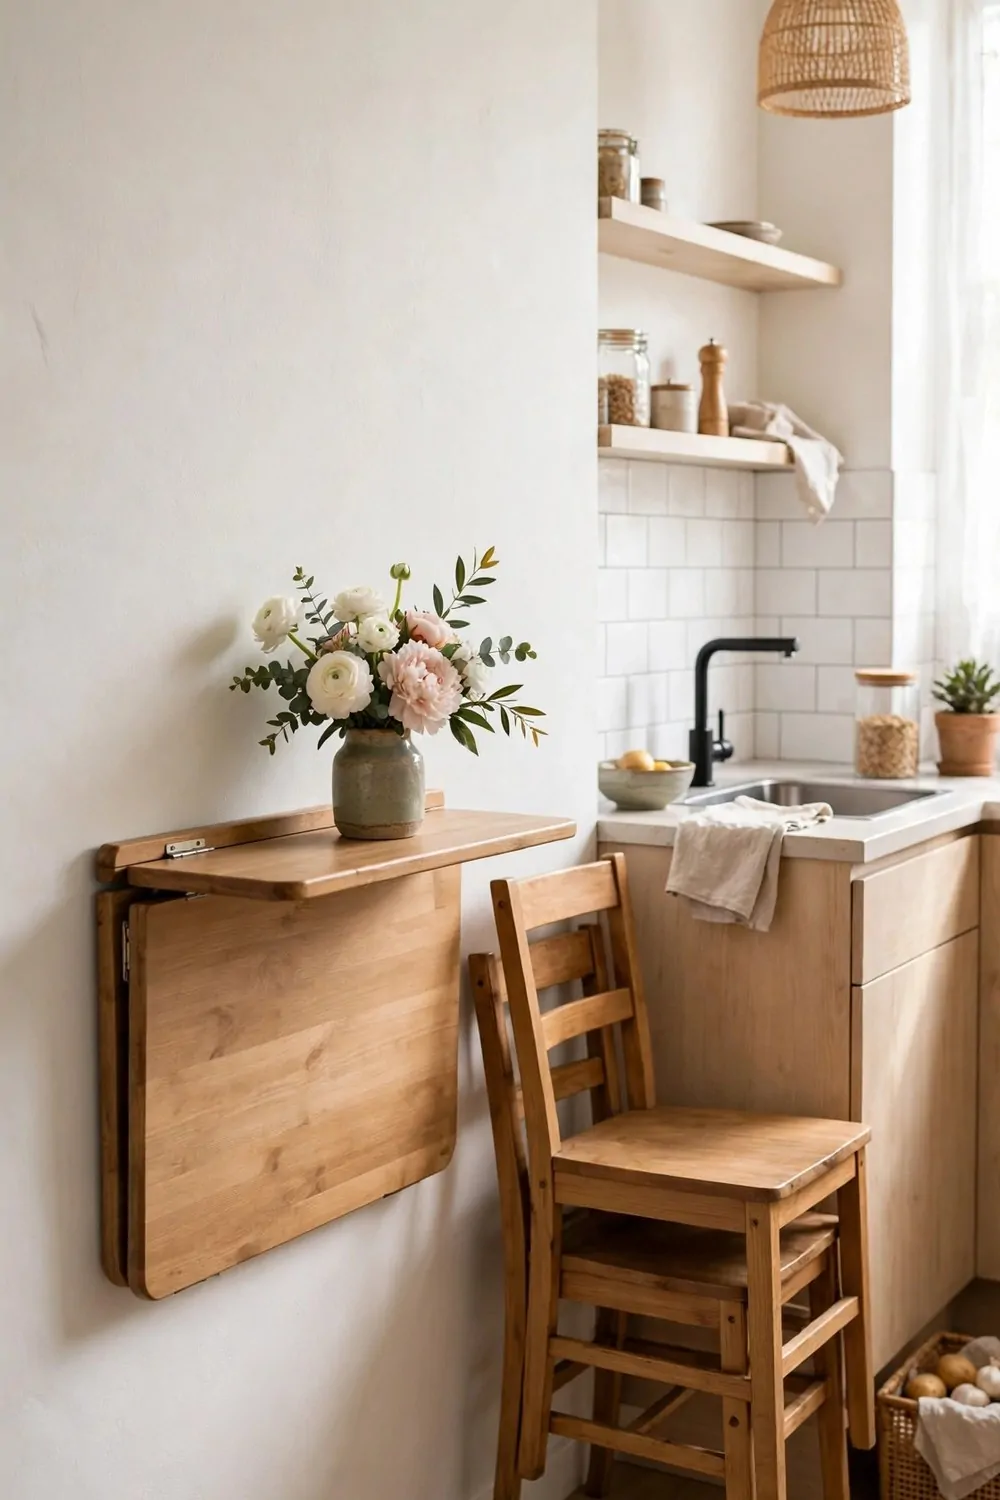
A dining table that is always set for four eats floor space all day for a meal that lasts thirty minutes. Shrink it, fold it, or make it disappear, and the room gets its floor back.
A drop-leaf table is the classic studio fix. Leaves up, it seats two or four for dinner. Leaves down, it is a slim console against the wall holding a vase and the mail. One table, two sizes.
Wall-mounted fold-down tables work the same way. Down for dinner, up for the rest of the day. The wall does the work and the floor stays open.
Stack the chairs instead of lining them up. Two stacking chairs in a corner take up less space than two chairs pulled up to a table nobody is using. Bring them out for dinner, stack them after.
If you eat alone most nights, a small bistro table is plenty. A tiny round table for one or two is charming, and it leaves room for everything else the studio needs to do.
Keep the dining zone near the kitchen corner. Short trips with hot food matter. A table on the far side of the room turns every meal into a hike.
A bench along the wall seats more people in less space than chairs do. A bench tucks right under the table when dinner is done. Extra guests, same small footprint.
Dinner ends, the table shrinks, and the room is a living room again. That is the rhythm of studio dining.
19. Stand Up a Screen That Lets Light Through
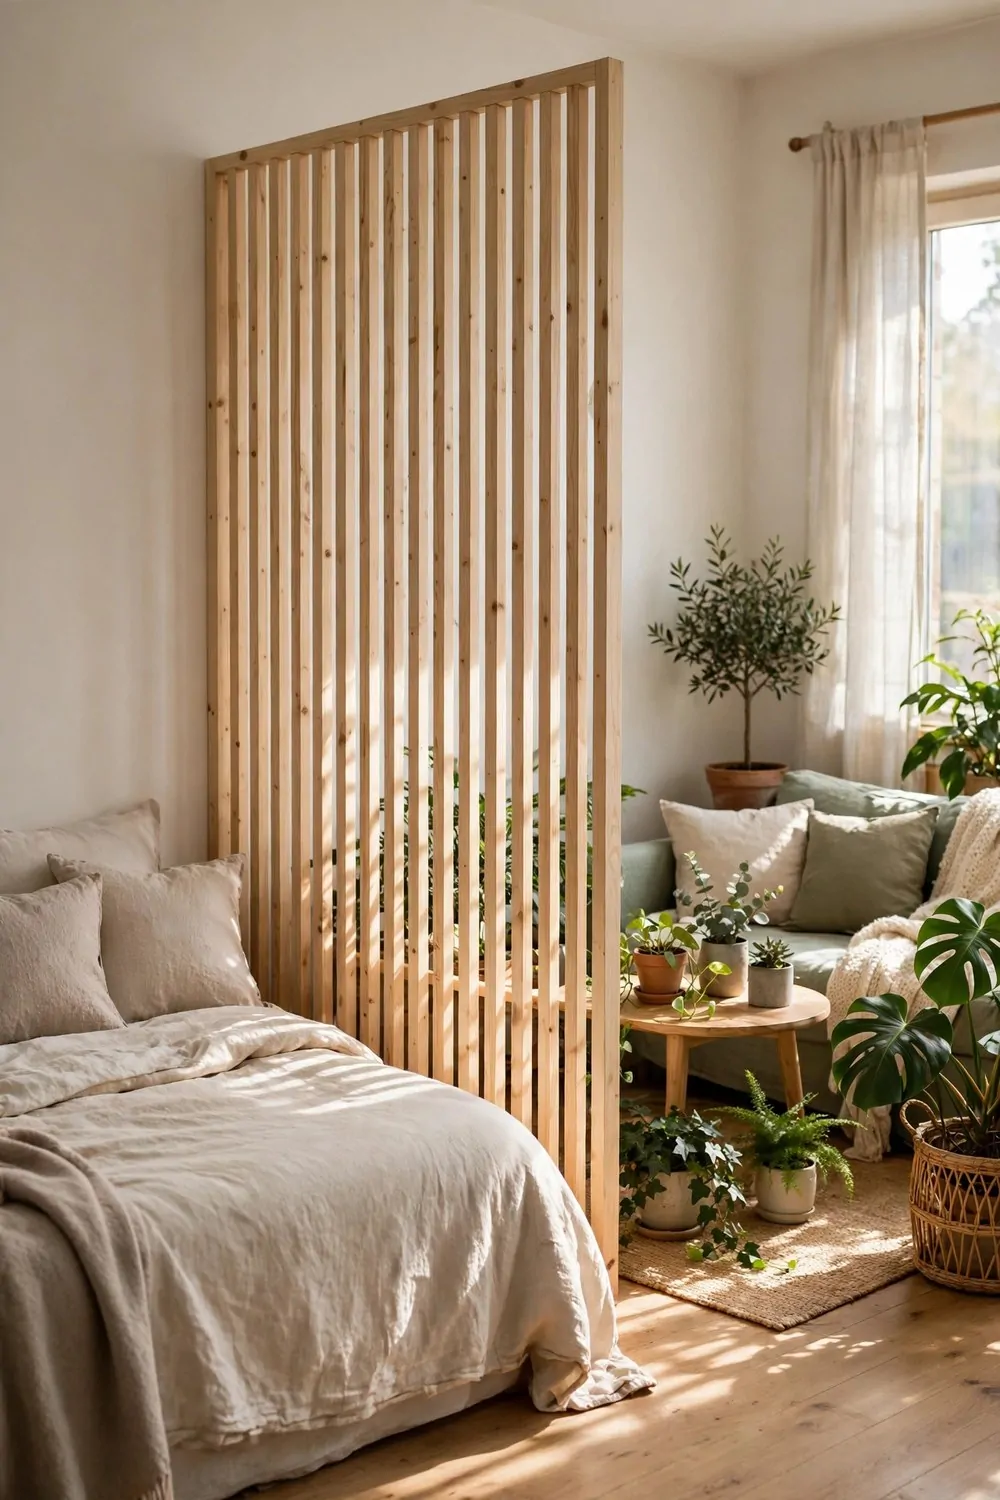
A folding screen divides a room without building a wall. The trick is picking one that lets light through, so the far side never feels dark or shut away.
Slatted wood screens are perfect for this. The gaps between the slats let light and air pass through. You get privacy and separation, and both zones stay bright.
A screen is also the most flexible divider on this list. Open it when you need a bedroom wall. Fold it flat when friends come over and the room needs to feel big. No screws, no tracks, no commitment.
Put the screen where the boundary needs to be, not where it looks prettiest. Behind the sofa, beside the bed, between the desk and the living zone. The boundary is the job. Pretty is a bonus.
Plants love living next to a screen. A tall plant beside it softens the hard lines and makes the divider feel like part of the room instead of a prop.
Choose a screen that is tall enough to matter. A screen that only reaches your waist divides nothing. Shoulder height or taller is what actually separates the zones.
Keep the screen light enough to move with one hand. If moving it is a chore, you will never fold it away, and it becomes permanent furniture instead of a flexible wall.
Screens are also great for hiding the messy corner. Laundry drying, the exercise bike, the pile of boxes waiting to be unpacked. One screen, instant tidy.
Fold it, move it, open it. The room changes shape with your day.
20. Build Soft Walls Out of Plants
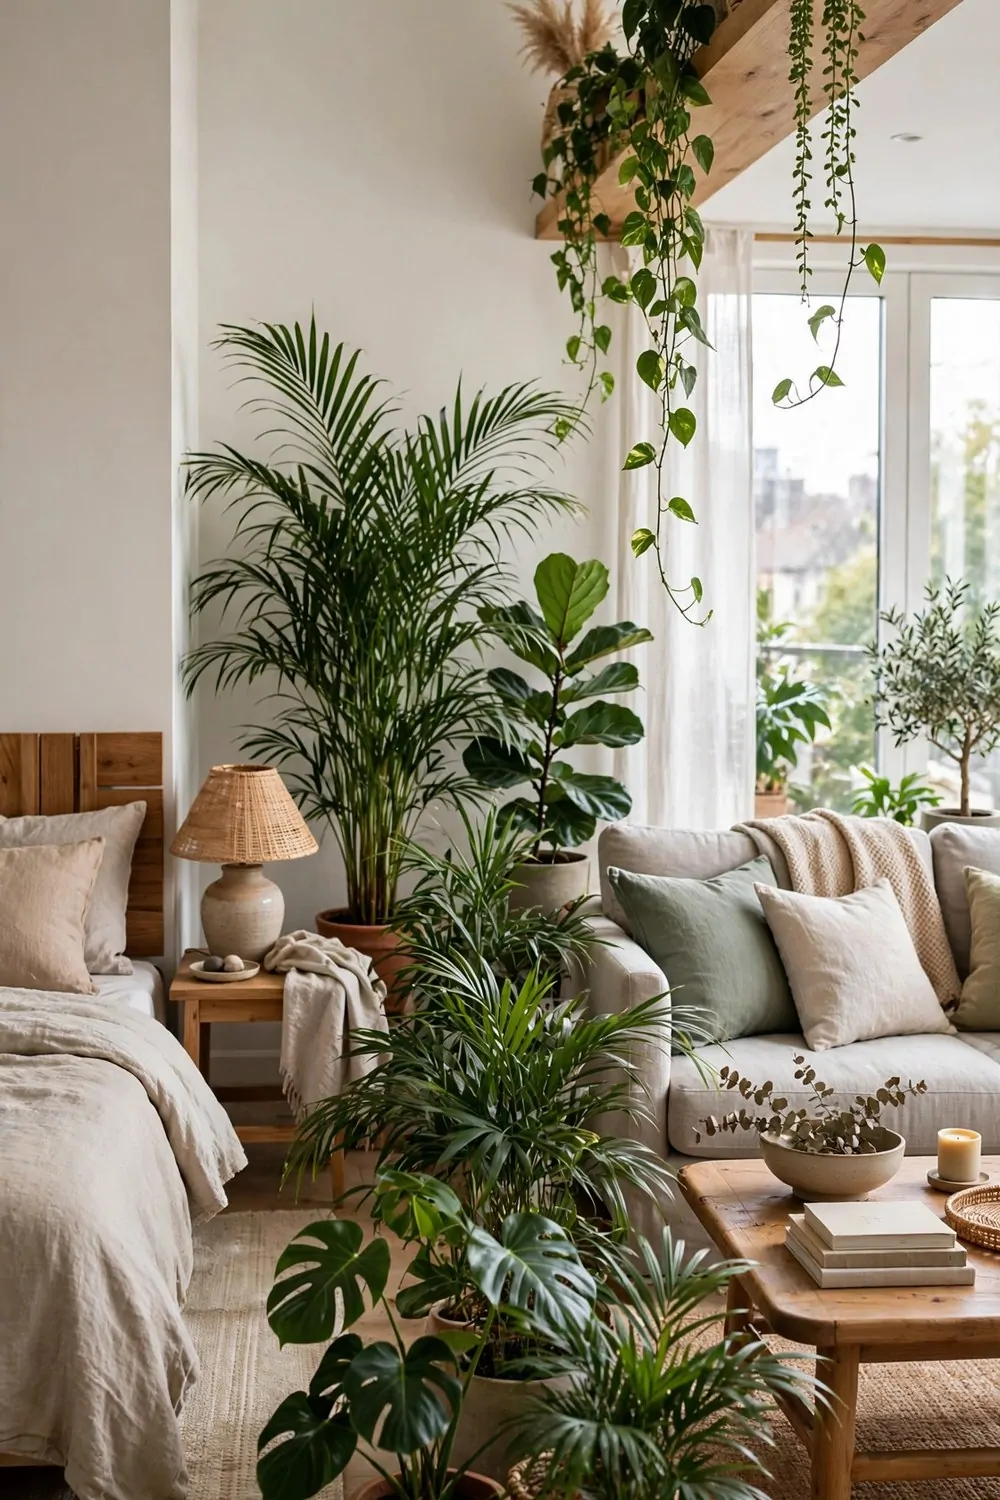
Plants make the softest room dividers there are. A row of tall leafy plants separates the bed from the sofa, cleans the air, and never blocks the light completely. The room stays green and alive.
Start with three tall plants in matching pots. Line them up where the boundary should be. That row is your wall. It is a wall you water, and it grows a little taller every month.
Trailing plants on a high shelf add a second layer. Leaves hanging down from above make the divider feel full without taking any floor space at all. The eye reads green from top to bottom.
Pick plants that forgive you. Pothos, snake plants and spider plants survive missed waterings and low light. A divider made of fussy plants becomes a row of brown sticks, and nobody wants that.
Keep the pots matching. Same color, same material, different sizes. Matching pots turn a random row of plants into an intentional divider. Mixed pots read as a plant sale.
Watering day becomes a little ritual. Walk the row with the can, check every leaf, wipe the dusty ones. Ten minutes a week keeps the green wall happy and the room feeling fresh.
Plants also soften sound a little. Leaves break up echoes in a hard bare room. The studio feels quieter with a green wall in it, not just prettier.
If your light is low, use fewer plants and add a grow light on a timer. A small clip-on light keeps them alive through the darkest corner of winter.
Green walls grow with you. That is more than any bookshelf can say.
21. Close the Bedroom at Night
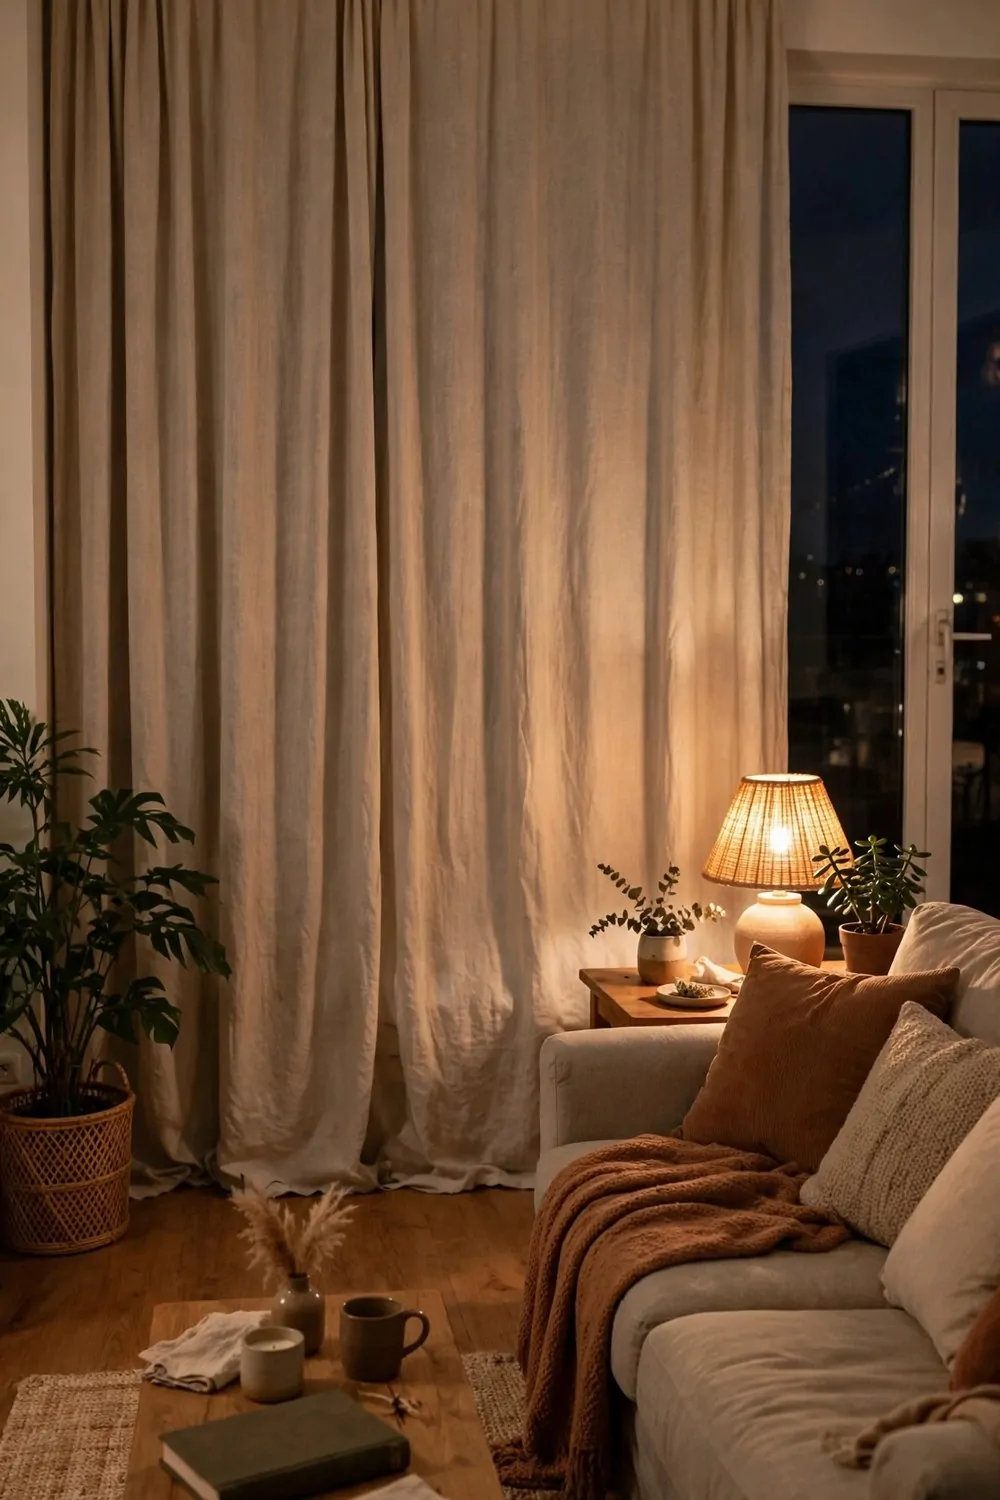
Studios need a bedtime routine for the room itself, not just for you. Close the bedroom at night and the whole apartment changes character. Living room by day, cozy den by night.
Pull the bed curtain closed. Fold the desk up. Turn off the work lamp. Turn on the sofa lamp. Four small moves, and the room tells your brain the workday is done.
Make the bed every morning, even if it is just pulling the duvet straight. A made bed behind an open curtain reads as tidy. An unmade bed reads as a mess from every corner of the room.
At night, the bed disappears behind the curtain and the living zone takes over. The room feels like it grew. You stop seeing the bed and start seeing a living room that happens to have a secret.
Keep evening things in the living zone. The book, the tea mug, the blanket. When everything for the evening lives on the sofa side, you never need to cross into the bedroom zone after dark.
This routine also helps guests. When someone visits in the evening, the closed curtain means they see a living room, not your bedroom. The studio feels grown up and intentional.
It takes about two minutes. Curtain, desk, lamps, done. Two minutes buys you a whole different home every evening.
Close the bedroom. Open the evening. That is the studio rhythm.
22. Own Less, Live Bigger
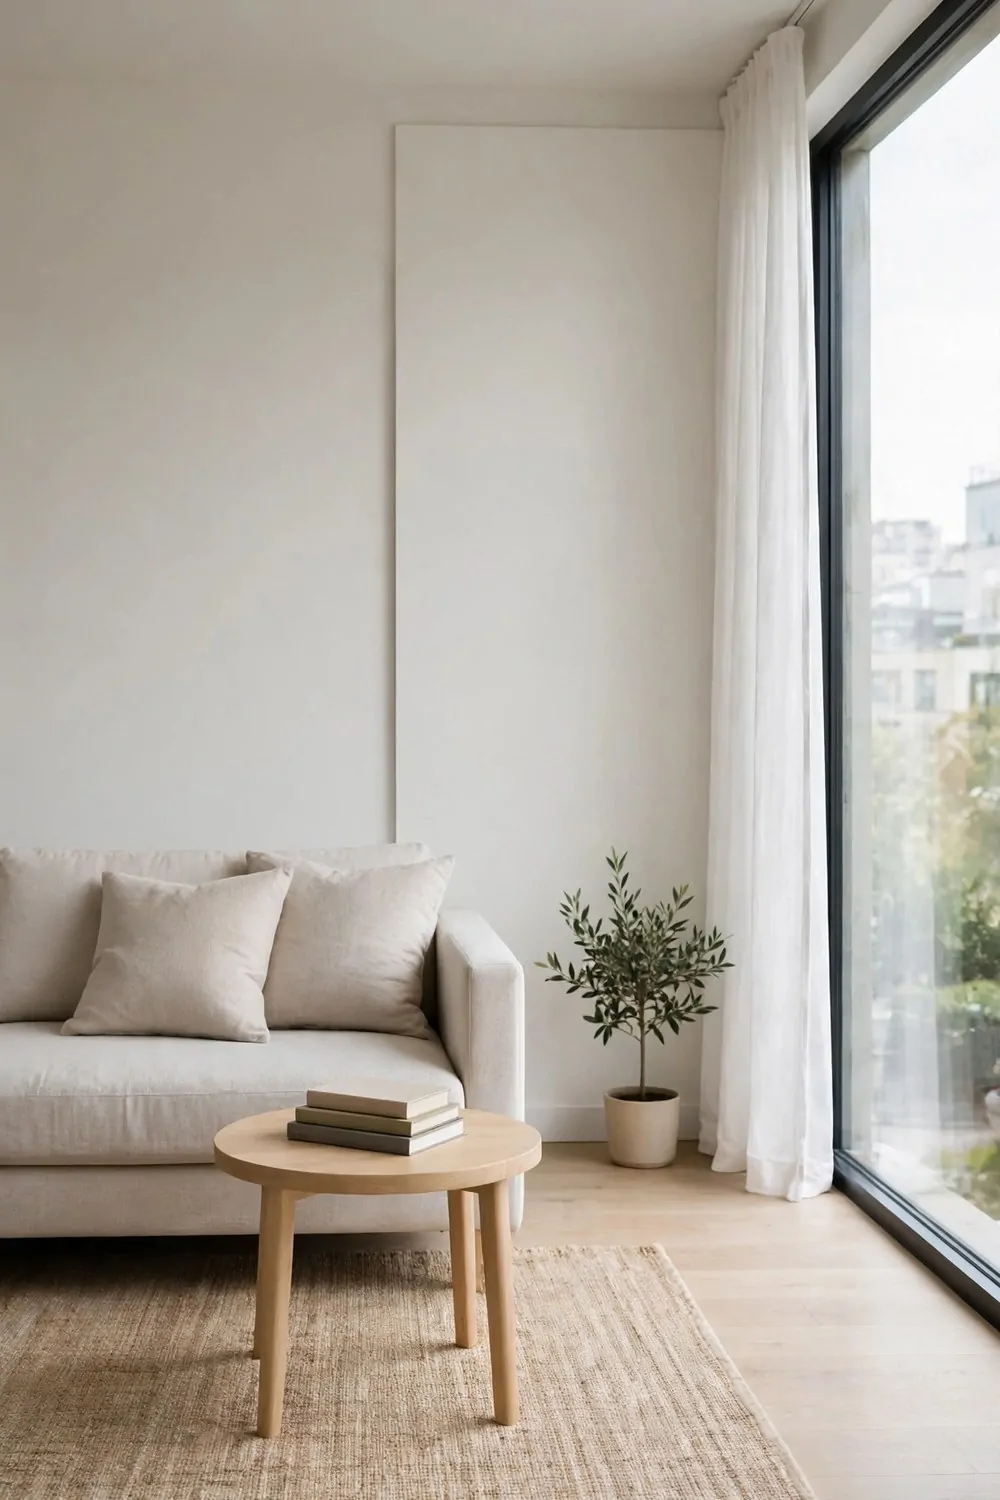
Every item you do not own is space you do not need to organize. In a studio, owning less is not a sacrifice. It is the fastest way to make the room feel bigger.
Try the capsule home idea. Two sets of bedding instead of six. One good frying pan instead of four average ones. One set of mugs you love instead of a shelf of chipped ones.
Start with one category. Mugs, towels, or t-shirts. Keep only what you would actually use in a normal week. The rest goes in a bag by the door for donation.
The one-in-one-out rule keeps it working. Something new comes in, something old goes out. The studio stays at the same level of full forever, instead of slowly filling up year by year.
Fewer things also means faster cleaning. A room with clear surfaces takes ten minutes to tidy. A room packed with stuff takes an hour and still looks busy. Time is the real saving here.
This is not about living with nothing. It is about living with the good stuff. The mug you love, the blanket that is actually warm, the chair that is actually comfortable. Keep the best, let the rest go.
Walk your studio with fresh eyes once a season. Open every drawer and ask one question. Would I buy this again today? If the answer is no, it is already on its way out.
Own less and the room gives back space, time and calm. That is a very good trade.
23. Do a Ten Minute Reset Every Night
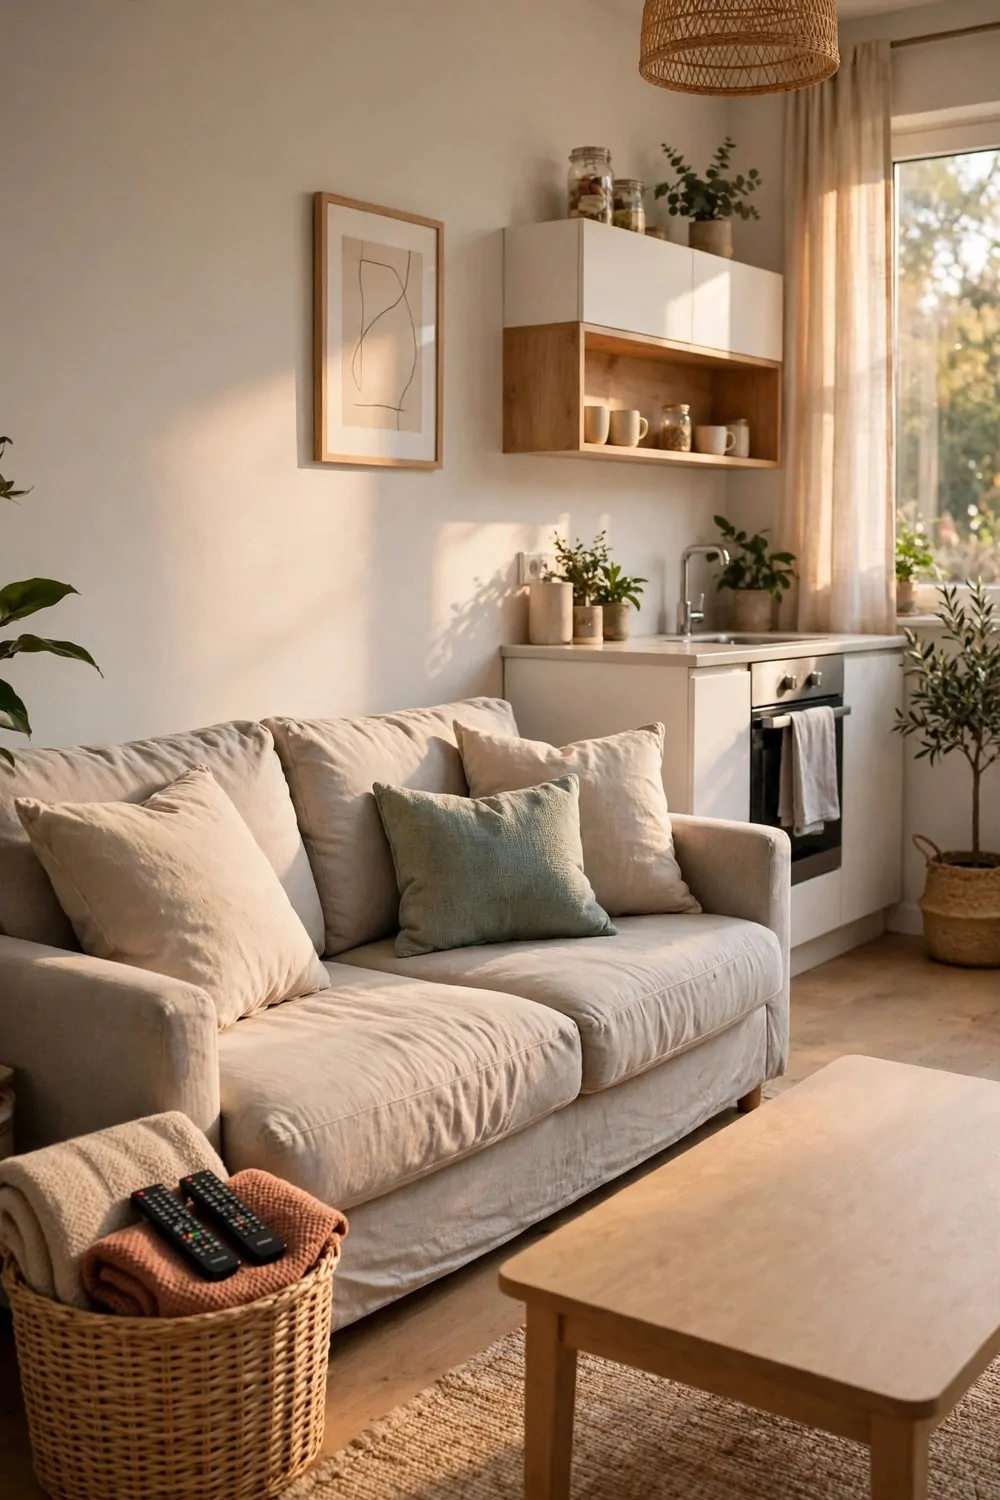
Zones only stay zones if you reset them. Ten minutes every night puts everything back in its home base, and the studio wakes up feeling like many rooms again instead of one messy one.
Set a timer. Ten minutes, no more. When the timer rings, you stop, even if one thing is still out of place. The limit is what makes the habit stick. A tidy routine that takes an hour never survives a busy week.
Work zone by zone, fast. Cushions back on the sofa. Dishes to the kitchen corner. Clothes to the basket. Desk folded up. Each zone gets two minutes, and the room comes back together.
Keep a catch-all basket by the sofa. The random things that have no home yet go in the basket. Once a week, empty the basket properly. The basket is a waiting room, not a final home.
Do the reset at the same time every night. Right after dinner works well. The room is tidy before you sit down for the evening, and you get to enjoy the calm you just made.
Morning you will thank night you. Waking up to a tidy studio feels like a gift. Waking up to yesterday’s mess feels like a chore before the day even starts.
This is the trick that holds all the other tricks together. Rugs, curtains and lamps only work if the zones stay clear. Ten minutes a night keeps them clear.
Ten minutes. Every night. The studio stays many rooms, and you stay sane.
Your studio does not need to be bigger. It needs to be clearer. One room, four jobs, and a little plan for each one.
Start with the rug trick or the sofa turn. Those two cost nothing and you can do them before lunch. Then add a lamp per zone and a curtain for the bed. Layer the tricks slowly, one a week, and let the room teach you what it needs next.
The four names stuck. My room is still one room, but it answers to all four of them now. The zones live in the rugs, in the lamps, in the little evening ritual of closing the curtains. The room knows its jobs, and so do I.
One room can feel like many. You just have to give each job a home. Start tonight, with ten minutes and a clear floor. Your studio is waiting to feel bigger than it is.