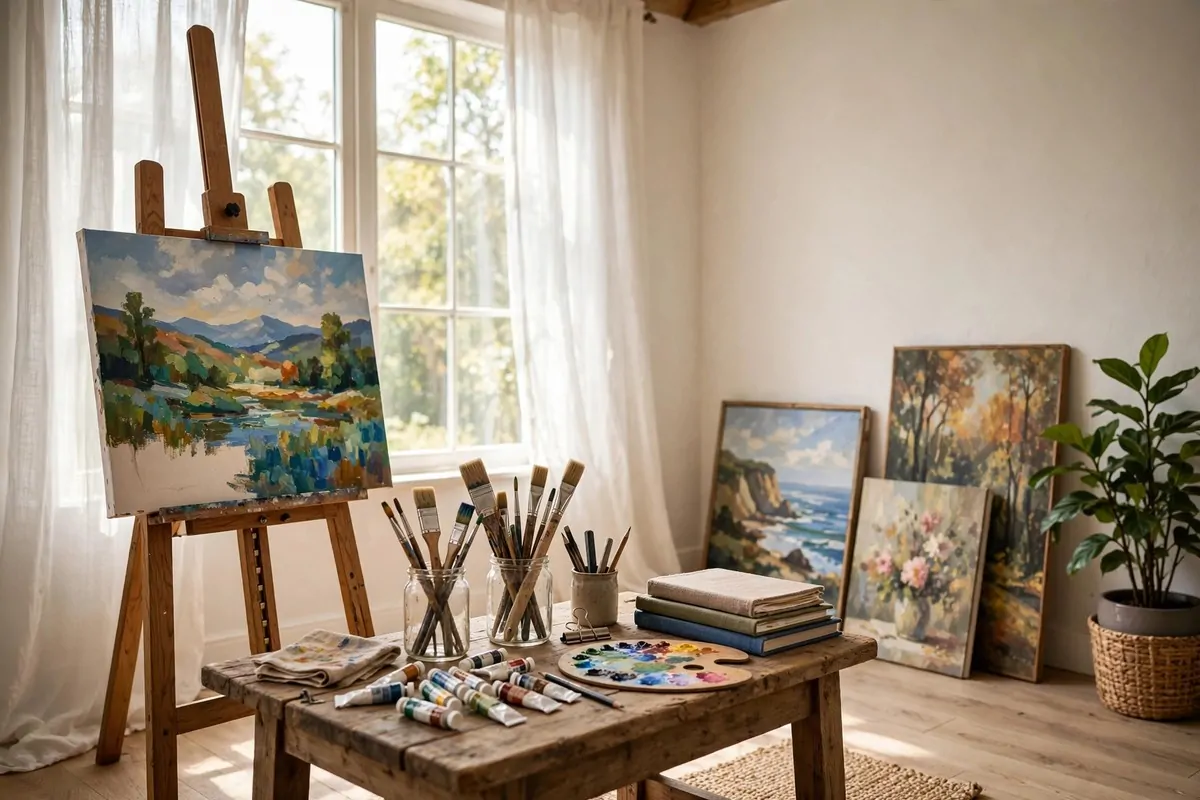
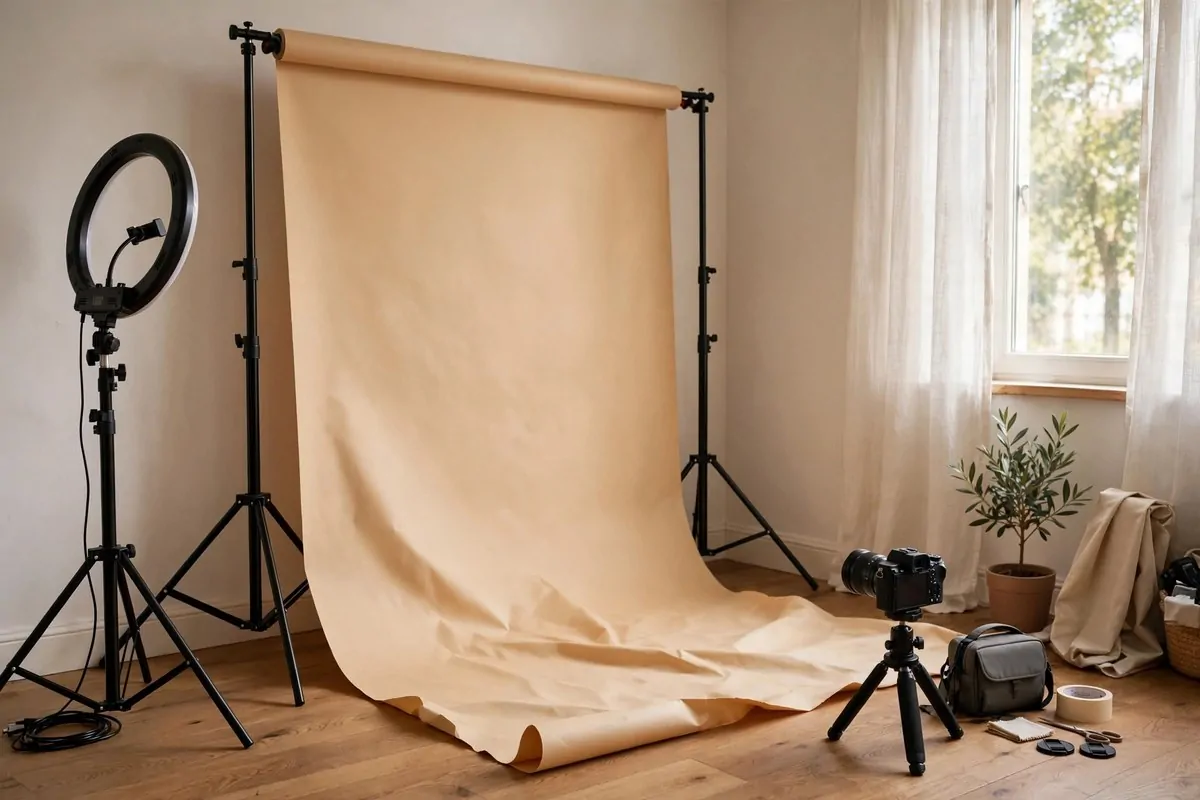
17 House Studio Conversions That Turn Spare Rooms Into Dream Spaces

The listing called it the fourth bedroom. Nobody has ever slept in it.
Not once. Not even when family visits. They take the couch instead, because the fourth bedroom is where the boxes live. The ironing board lives there too. So does the treadmill nobody uses and the bag of cables nobody can throw away.
Every house has a room like this. A room with no real job. It just holds things while the rest of the house does the living.
Here is what I think. That room is the best room in your whole house. It is the only one with nothing to lose. You can turn it into anything, and nobody will miss the boxes. That is what a House Studio is. A spare room with a real job at last. A place where you make things.
These 17 House Studio conversions turn spare rooms into dream spaces. Paint studios. Music rooms. Photo studios. Quiet writing dens. Pick the one that fits the thing you love to make. Your spare room is waiting for a job.
1. The Painter’s Studio
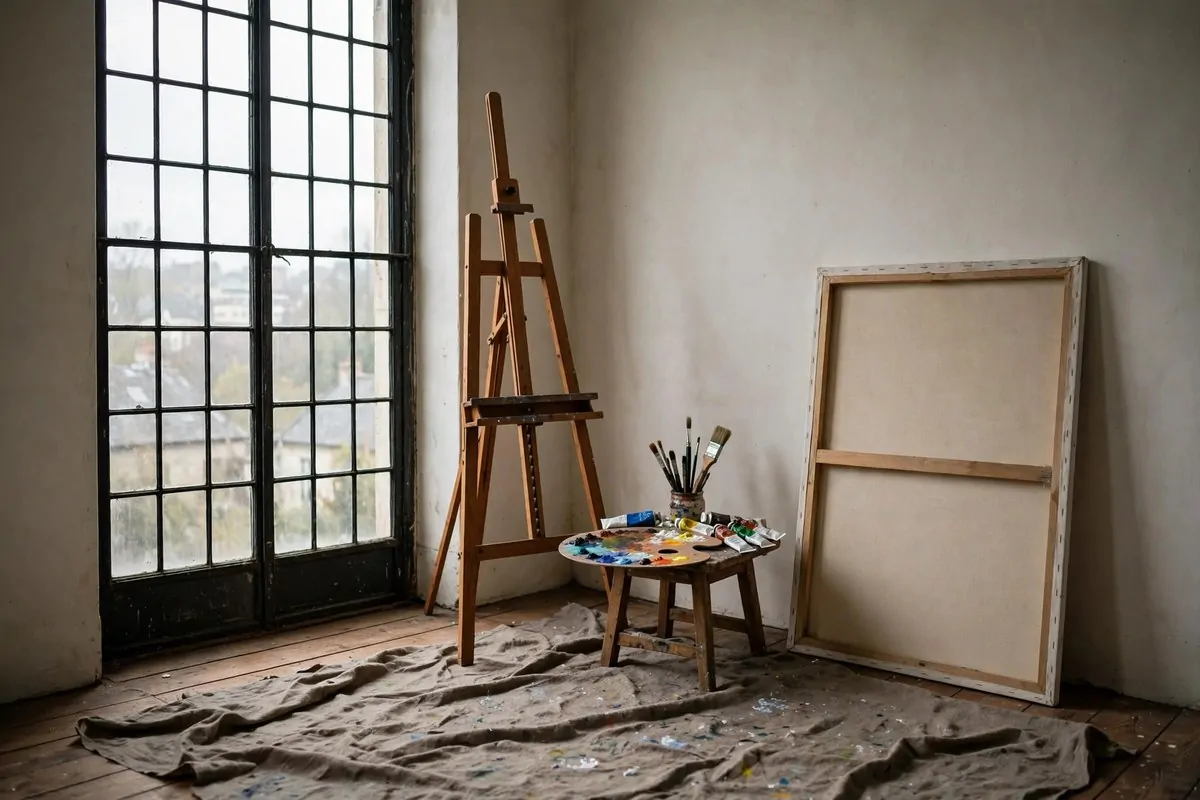
Every painter I know talks about light the way cooks talk about salt. It matters more than anything else you buy.
The best spot for a painter’s studio is beside a tall window. Not right in front of it. Beside it. That way the light slides across your canvas from the side and you can see every color true.
North-facing windows are the favorite for a simple reason. The light stays steady all day. It does not swing around and turn your painting a different color by late afternoon.
You do not need a whole big room for this. A corner holds an easel and a small table. That is honestly all a painter’s corner needs to be real.
Set the easel first. Then pull the table up close beside it. Close enough that you can reach your paints without standing up every two minutes.
Keep a drop cloth under everything. Paint finds the floor no matter how careful you are. A canvas cloth catches it and shakes out outside in ten seconds.
Here is a quick guide to the light in your room:
| Window direction | The light you get | Best for |
|---|---|---|
| North | Steady and soft all day | Painting true colors |
| East | Bright mornings, softer afternoons | Morning painting sessions |
| West | Warm golden evenings | Sketching and warm studies |
| South | Strong and changeable | Use a sheer curtain to soften it |
A sheer curtain is your best friend in a bright room. It turns hard sun into soft light you can actually work with.
Store your paints where you can see them. Jars on a shelf beat a box in a closet every time. When you can see a color, you use it.
Start simple. Easel, table, window, drop cloth. You can add shelves and fancy storage later, once you know how you really work in the space.
2. The Music Practice Studio
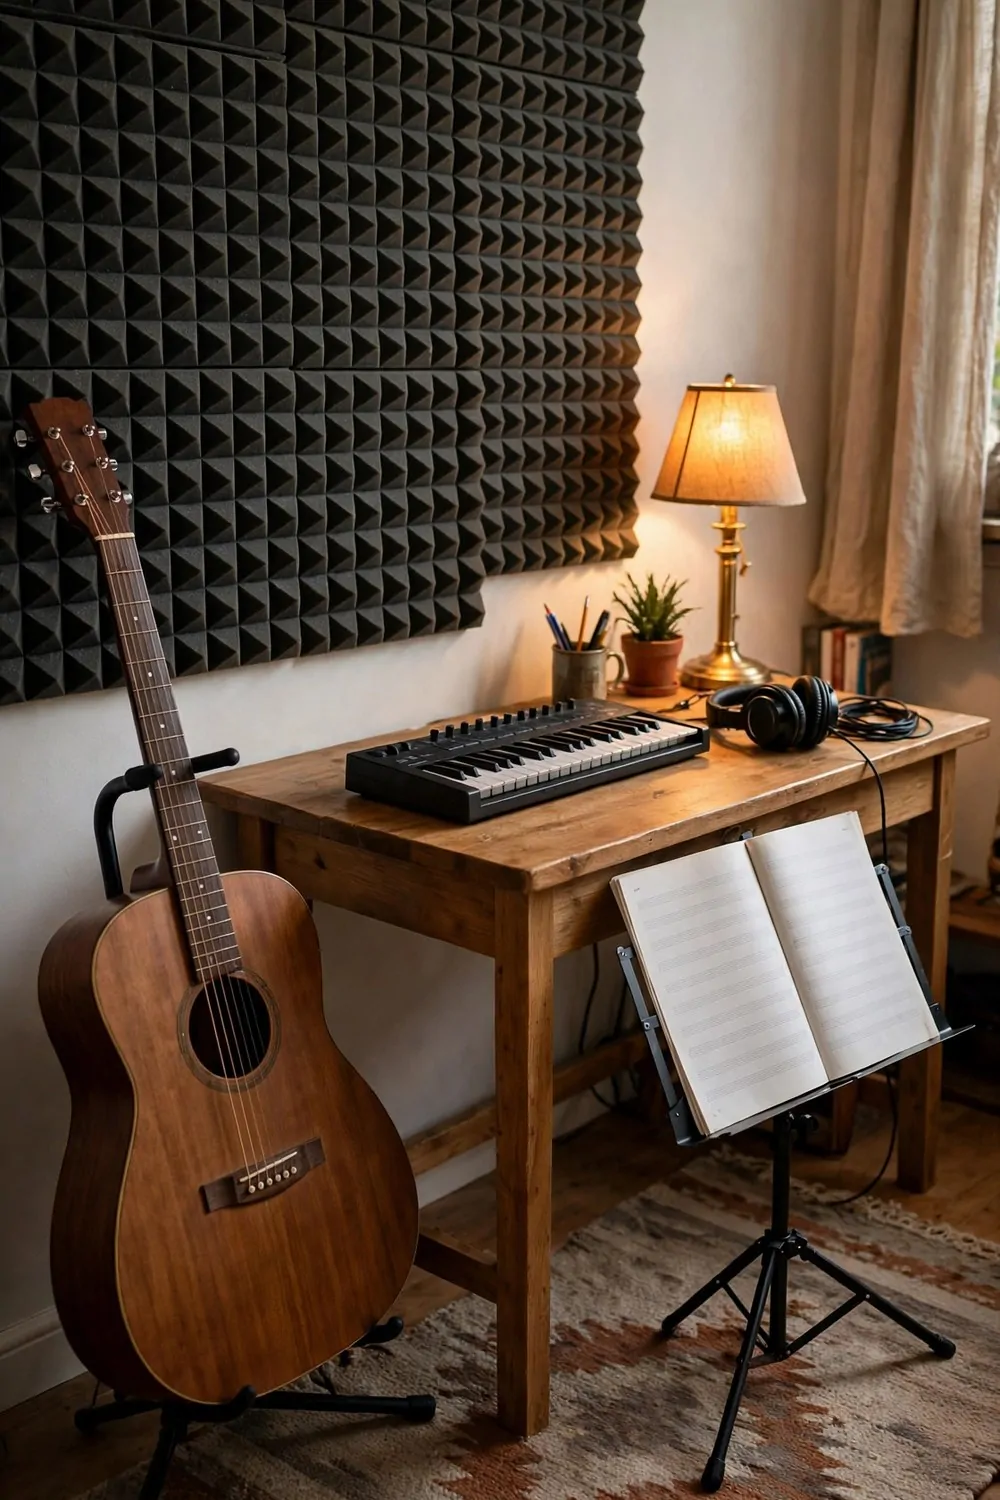
You do not need a soundproof room to practice music at home. You need a corner that is always ready, so playing takes ten seconds instead of ten minutes of setup.
My friend keeps her guitar on a stand in the corner of her spare room. It is always out. She picks it up for ten minutes while dinner cooks. That is more music than she made in years of big plans.
A thick rug under your playing spot does two jobs. It softens the sound for the rest of the house, and it marks the corner as its own little zone.
Foam panels on the wall help more than you would think. They do not need to cover the whole wall. A few panels behind your playing spot calm the echo a lot.
Heavy curtains help too. If your music corner has a window, thick curtains keep the sound in and the street noise out.
Keep a small lamp nearby. Music corners tend to be dim, and reading sheet music in the dark is a fast way to quit.
Headphones are the secret weapon for late practice. An electric keyboard with headphones is silent to everyone else. You can practice at midnight and nobody knows.
A spot for your water bottle goes right beside the stand. I am not joking. Musicians love having a drink within reach, and it keeps you in the corner longer.
Put a little shelf up for your books and tuners. When your tools have a home, you stop losing them. Lost tuners kill more practice sessions than laziness ever did.
Start with what you own. The corner comes first. The fancy gear comes later, if it ever needs to come at all.
3. The Photography Studio
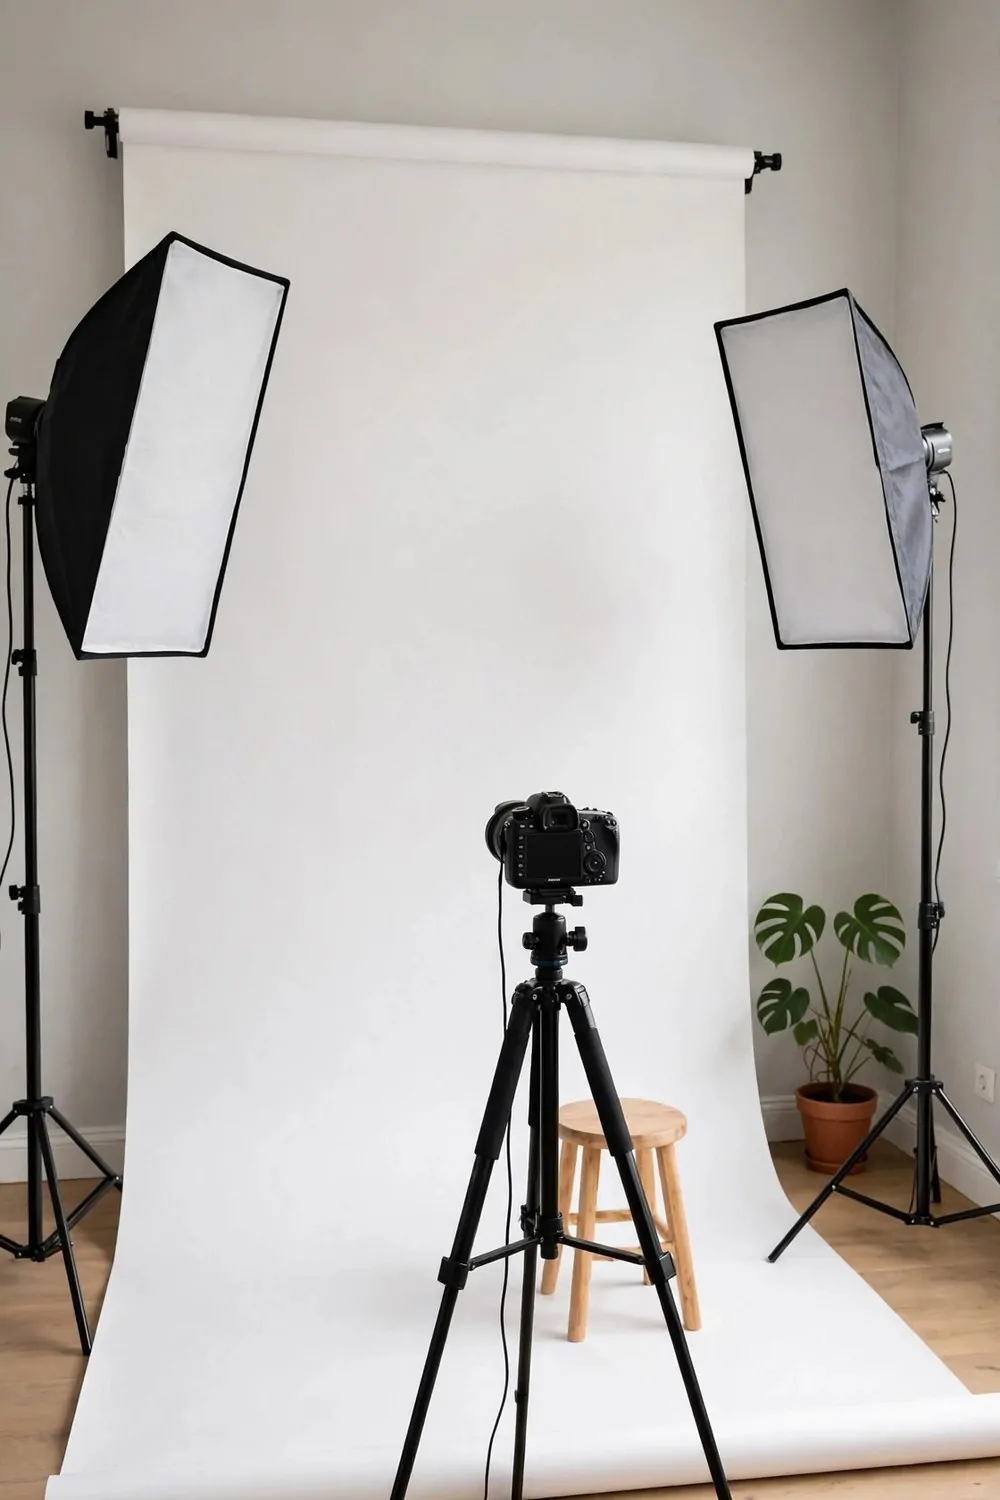
This is the setup behind those clean photos where the background just melts away. It looks expensive. It is basically a big roll of paper and two lights.
You hang the paper from a stand, then let it unroll down the wall and curve gently onto the floor. That curve is the magic part. With no hard corner where wall meets floor, there is no horizon line, so the background looks endless.
White is the most useful color to start with. It bounces light around and suits every subject. Light it brightly and it glows. Light it softly and it turns creamy.
Keep the paper clean by rolling it back up after every shoot. When the bottom gets scuffed, just unroll a fresh section and cut off the dirty bit. One roll lasts a very long time this way.
Two lights beat one expensive light here. Aim one at the backdrop and one at your subject. That keeps the background bright and even instead of gray and patchy.
A small stool is all the furniture you need. Portraits, product shots, pet photos. The stool plus the paper plus the lights covers most of it.
Clamps hold the paper to the stand so it does not slowly unroll on its own. Tape the bottom edge to the floor with painter’s tape so it stays put while you work.
Your starter kit fits in one small corner:
- A paper roll or a large sheet of seamless paper
- A backdrop stand, or two light stands and a crossbar
- Two softbox lights or one softbox and a bright window
- A small stool and a few clamps
Shoot a little wider than you think you need. You can always crop in later, but you cannot add space back. Leave room around your subject so the photo can breathe.
This corner is also great for video calls and online selling photos. One setup, many jobs. That is the whole point of a spare room studio.
4. The Writing Studio
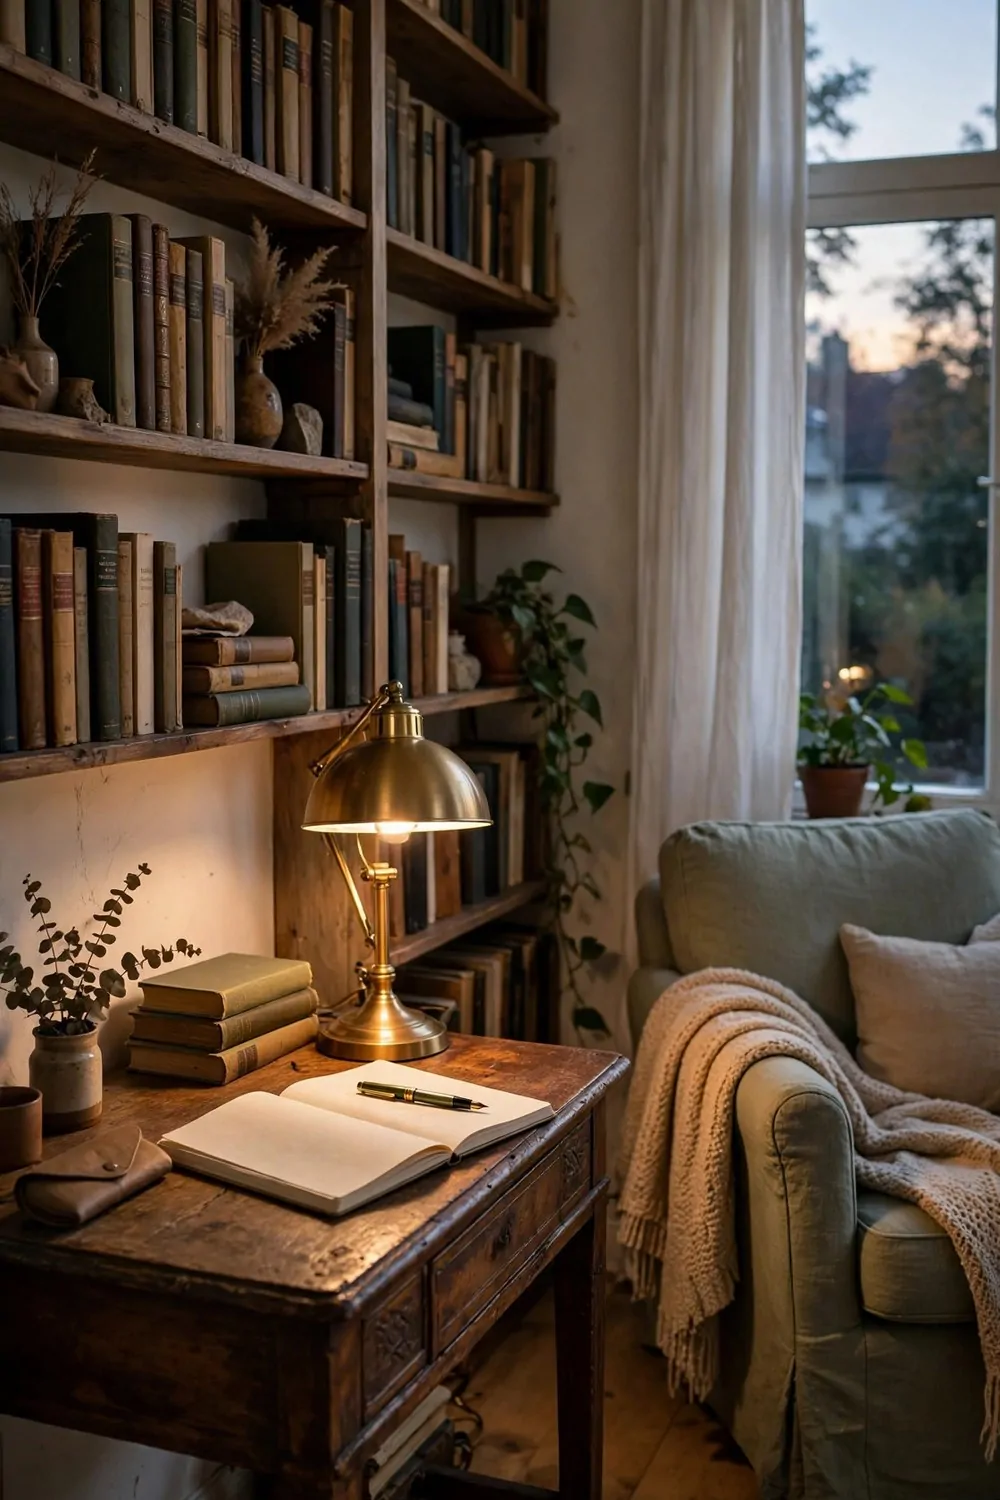
Writing needs almost nothing. A surface, a chair, and a little quiet. But the room around you still matters, because writing is really just thinking with a pen.
My writing studio is the smallest setup on this whole list. A little desk, a warm lamp, and a wall painted deep green. That is the whole room.
The lamp matters more than the desk. Warm light makes evening writing feel like a treat. Cold light makes it feel like overtime.
I keep one notebook open and one pen that I love. Fancy pens are a trap, by the way. The one you reach for is the right one.
Books sit within arm’s reach. Not for reading while I write. For stealing courage. When I get stuck, I open a favorite book and read one page. It reminds me what sentences can do.
The green wall was an accident. I had leftover paint. But dark walls hug a small room, and a writing studio should feel a little bit like a hug.
Close the door if you can. A writing studio with the door open is just a desk. With the door closed, it becomes a world.
No phone on the desk. That is the whole rule. The phone lives in another room while I write. My best pages all came from phone-free hours.
Keep a little kettle or a thermos nearby. Tea breaks are part of writing, not a distraction from it. The walk to the kettle clears your head between hard paragraphs.
Start with twenty minutes a day in your studio. The room will do the rest.
5. The Sewing and Craft Studio
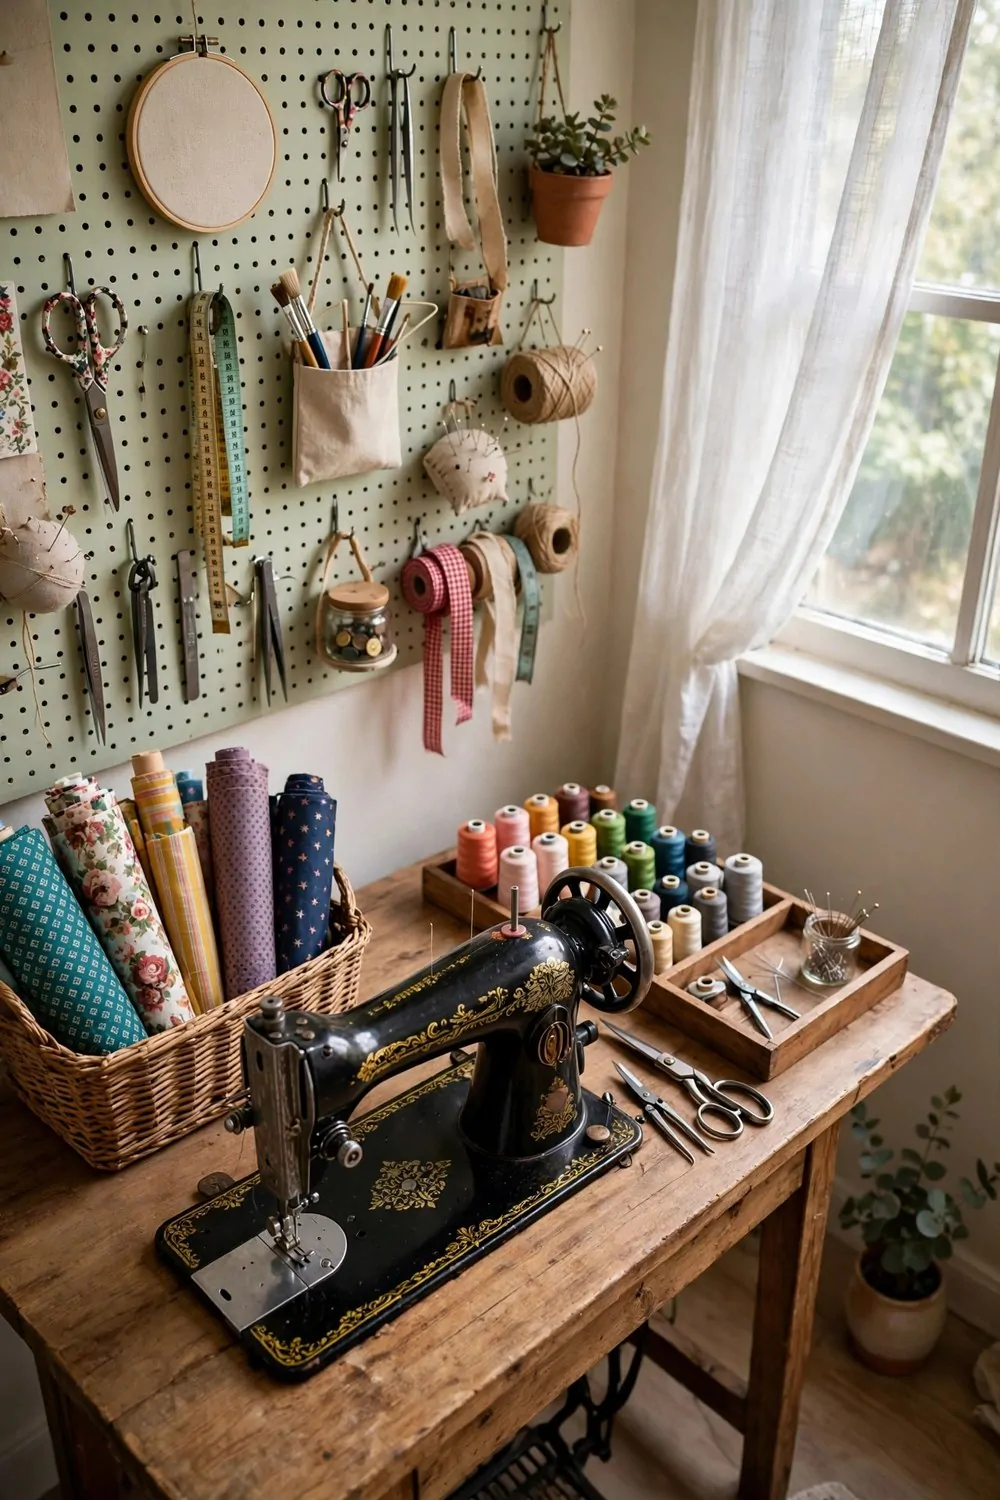
Sewing machines are heavy. Setting one up and putting it away every time is the number one reason people stop sewing. A studio that stays set up fixes that.
My sewing studio is a table by the window that never gets cleared. The machine sits there, threaded and ready. I can sit down and sew a seam in the time it takes the kettle to boil.
Good light is a must. You are threading tiny needles and matching tiny stitches. A window plus a small desk lamp covers you day and night.
Fabric rolls lean against the wall in a basket. Folded fabric stacks get messy fast, but rolls stay tidy and you can see every color at a glance.
Thread spools live in a basket on the table. Buy the colors you use most in bulk. White, black, and the three colors of your current project.
A pegboard above the table holds the scissors, the tape, the rulers, and the little tools that always roll away. Everything hangs at eye level. You grab what you need and put it back in one motion.
Keep a small trash bin right under the table. Snipped threads go everywhere if there is no bin. Ask me how I know.
An iron nearby changes everything. Pressed seams look professional. A tiny ironing board that folds flat fits behind the door.
A dress form in the corner looks fancy, but it is also useful. Draping fabric on it saves you from pinning things to yourself in the mirror.
Mend one thing this week in your studio. A hem, a button, a torn pocket. Small wins keep the room alive.
6. The Pottery Studio
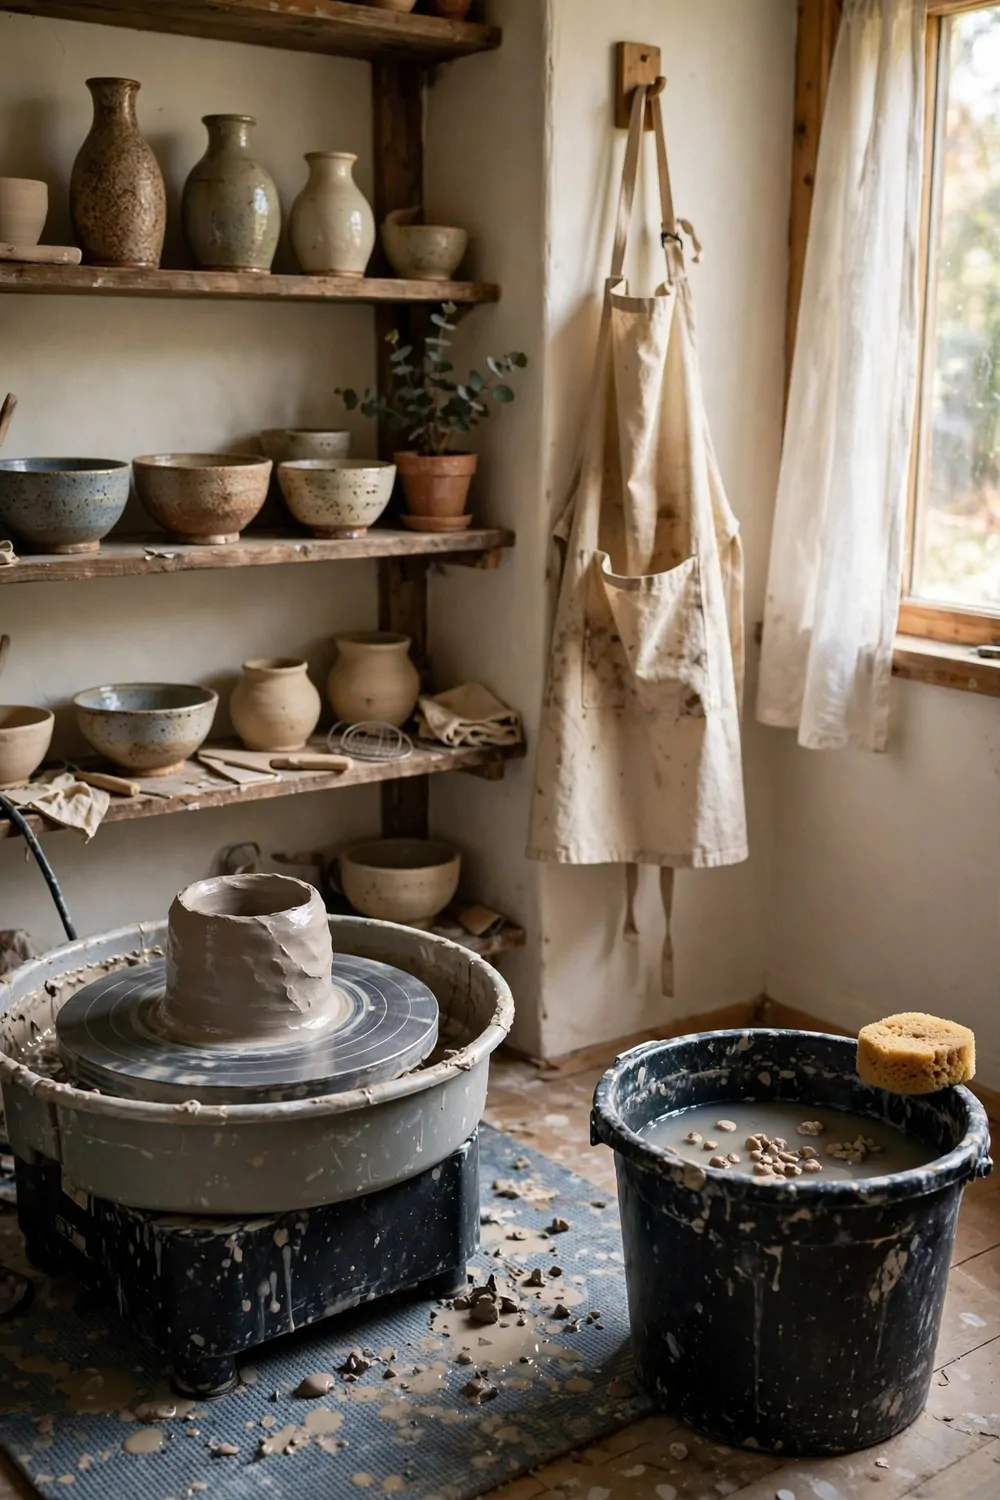
Clay is the messiest hobby on this list, and also one of the most calming. A pottery studio just needs to accept the mess instead of fighting it.
A splash mat on the floor is the first thing to buy. Clay water goes everywhere. The mat catches it, and you shake it out at the end of the day.
The wheel goes in the middle of the mat. You need elbow room on both sides. Clay work is physical, and cramped arms make lopsided pots.
Shelves hold the drying pieces. Bowls and vases need days to dry before they get fired, and they need air all around them. Do not stack them.
An apron hangs on a hook by the door. Put it on when you enter, take it off when you leave. Your clothes will thank you.
Keep a bucket of water nearby. You rinse your hands in it a hundred times per session. Change it when it gets thick.
Air-dry clay is a great start if you have no kiln. It hardens on the shelf in a day or two, and you can paint it after.
Ventilation matters more here than in a paint corner. Clay dust is fine and light. A window cracked open keeps the air moving.
Store your glazes and tools in closed boxes. Clay dust gets into everything left open. Lids are your friends in this room.
Your first ten pots will be wobbly. That is the rule. The eleventh one will make you grin like a kid.
7. The Podcast and Recording Studio
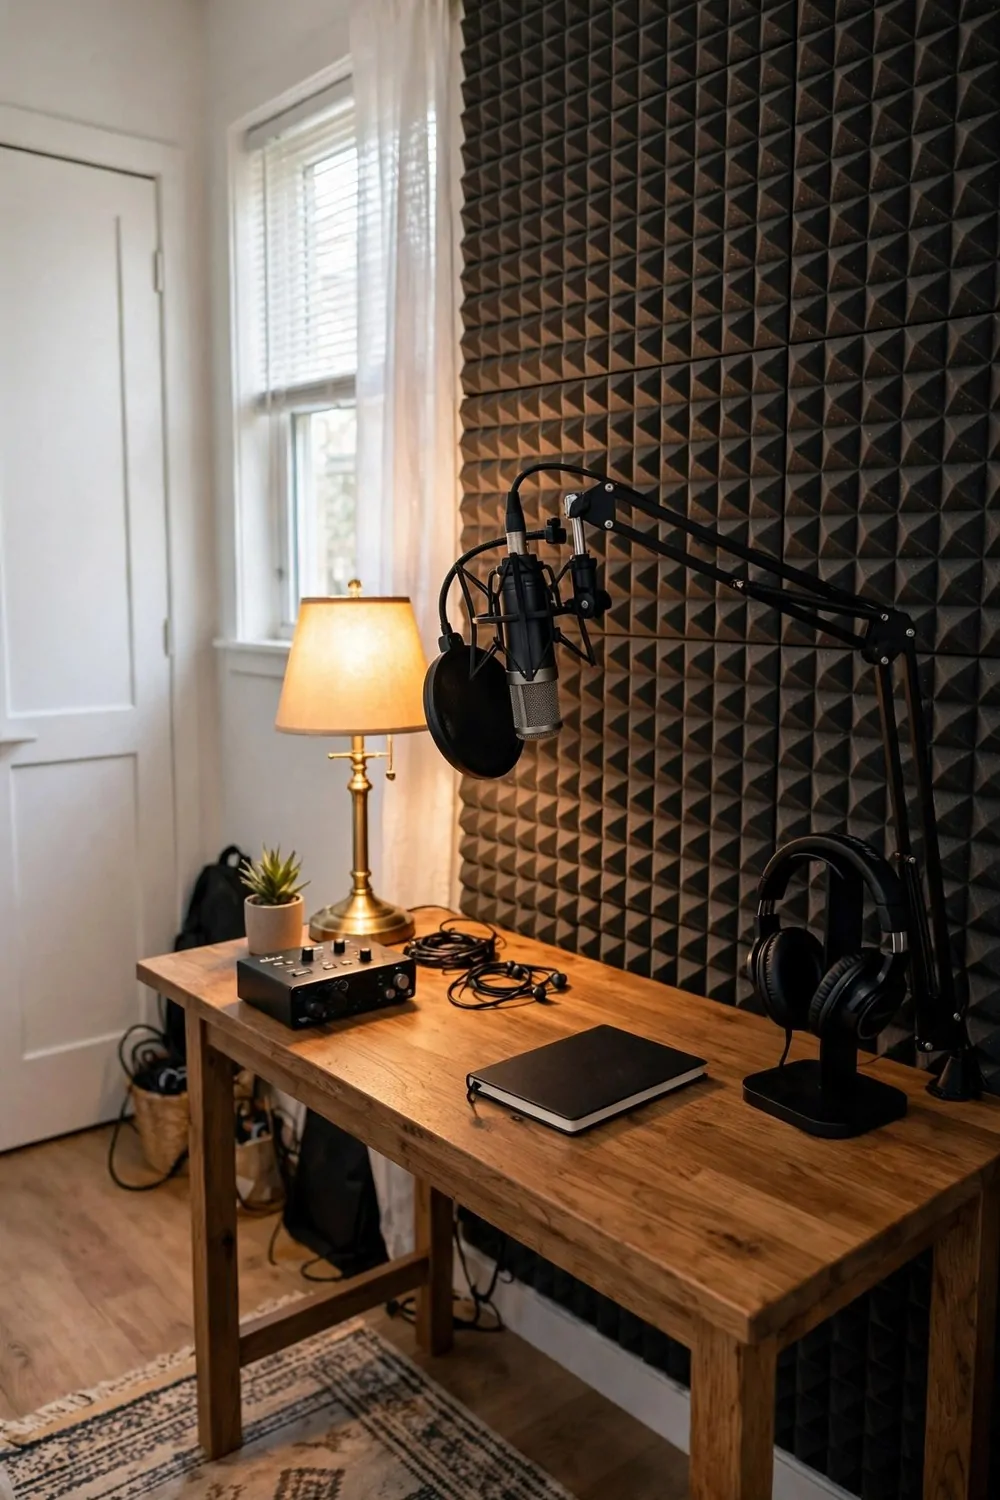
Bad audio ruins good video faster than anything. Viewers forgive a shaky shot. They click away from echoey, hollow sound. A recording studio fixes the sound and looks great doing it.
Foam panels on the wall behind and beside your mic soak up the reflections that cause echo. You do not need to cover the whole room. The wall your mic faces matters most.
Do the clap test before and after. Stand where you record, clap once hard, and listen. Before panels you will hear a fluttery ring. After panels it goes dull and short. That dull sound is what you want.
Mount your mic on a boom arm and pull it close, about a hand’s width from your mouth. Close mic plus treated walls equals that warm, clear podcast sound everyone loves.
Soft things help too. A rug under the desk, curtains on the window, a bookshelf nearby. Hard bare rooms echo. Cozy rooms do not.
Arrange the panels in a neat pattern. Squares, stripes, or a checkerboard of two shades. A tidy layout looks intentional on camera. Random stuck-up panels look like you panicked, even if they work fine.
Headphones hang on a stand when you are not using them. Monitoring your own sound is the fastest way to catch problems before your listeners do.
Your recording checklist:
- Foam panels for the wall behind and beside the mic
- A mic on a boom arm, kept close to your mouth
- Headphones for monitoring, hung on a stand when not in use
- A rug and curtains to kill extra reflections
- One warm lamp so the corner looks inviting on video
Add one warm lamp and your audio corner becomes a proper little studio that sounds as good as it looks.
This room doubles as a video podcast set. The panels look technical and professional behind you. One lamp, one mic, one quiet room. That is a whole show.
8. The Yoga and Movement Studio
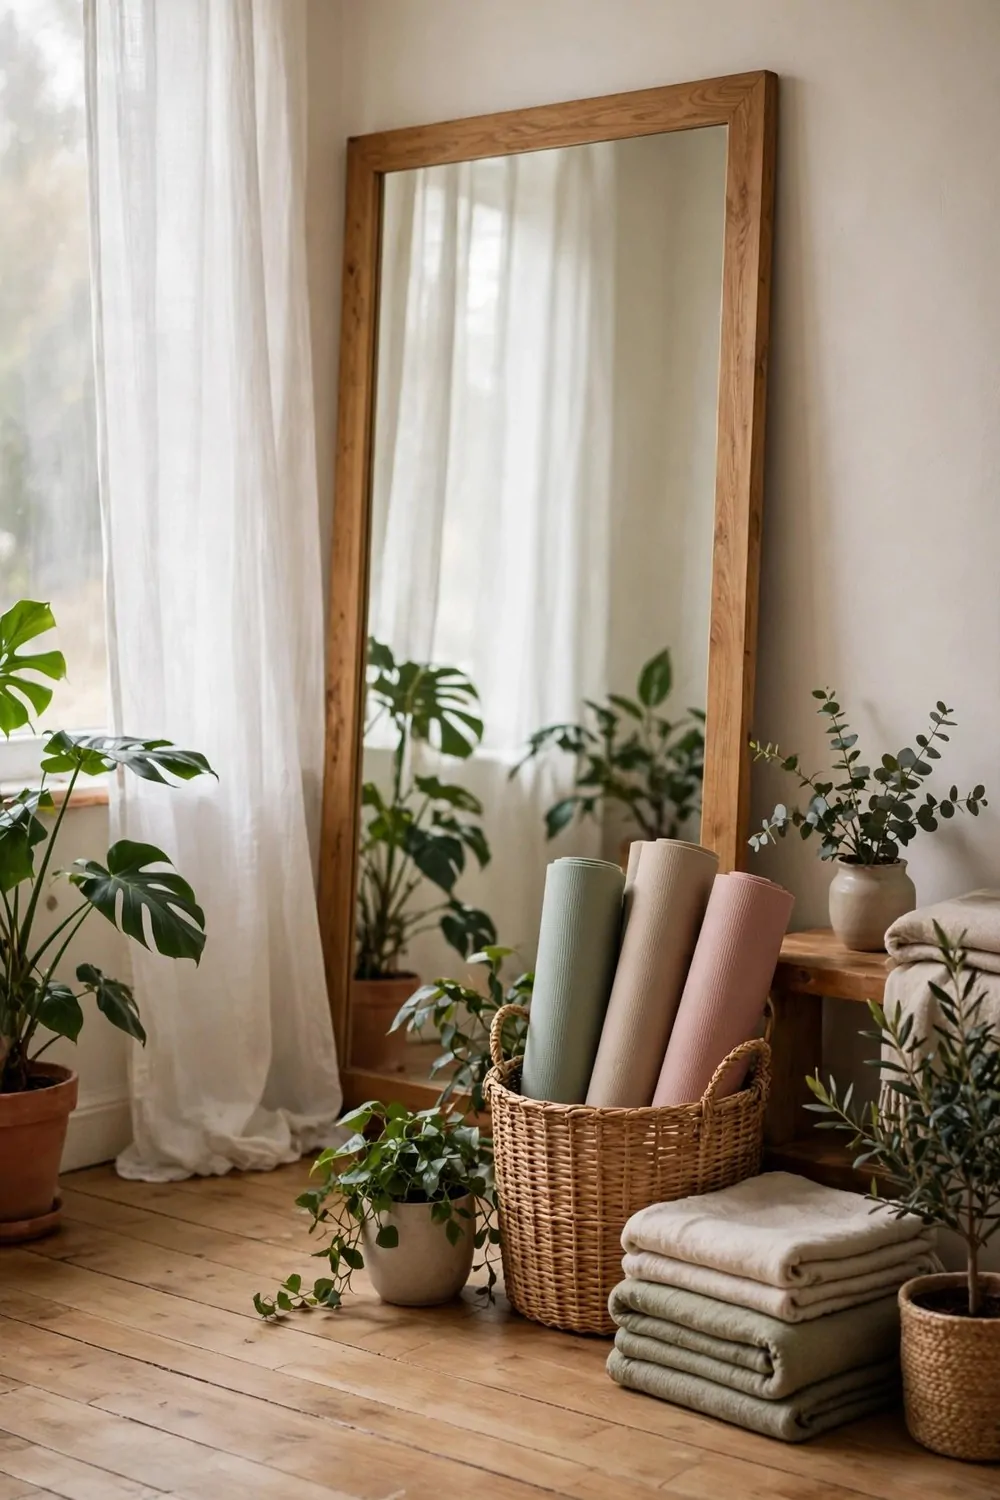
You do not need a gym membership to have a practice space. You need a clear floor, a little light, and a room nobody walks through mid-stretch.
Start by clearing the floor completely. Everything out. The empty floor is the whole point of this studio. If the floor is not clear, you will not use it.
A large mirror on one wall changes everything. You can check your form without craning your neck. Mirrors also bounce the light around and make a small room feel twice as big.
Roll your mats and stand them in a basket by the door. Mats left flat on the floor collect dust and trip you up. A basket keeps them tidy and ready.
Plants suit this room better than furniture. A tall leafy plant in the corner softens the space. A trailing plant on a high shelf adds life to the frame if you film your practice.
Sheer curtains are perfect here. They soften harsh sun into a gentle glow. Bright light is good. Glaring light is not.
Keep a small shelf for the extras. Blocks, straps, a folded blanket, a water bottle. Everything in one spot means your practice starts in seconds.
A speaker on a shelf plays your music or your class videos. Keep the volume low enough that the rest of the house forgets you are there.
Use this room at the same time most days if you can. Bodies love routine. A room you visit every morning becomes a habit faster than a room you visit whenever.
The best thing about a movement studio is how little it needs. Floor, light, mirror, mat. The rest is just you showing up.
9. The Kids’ Art Studio
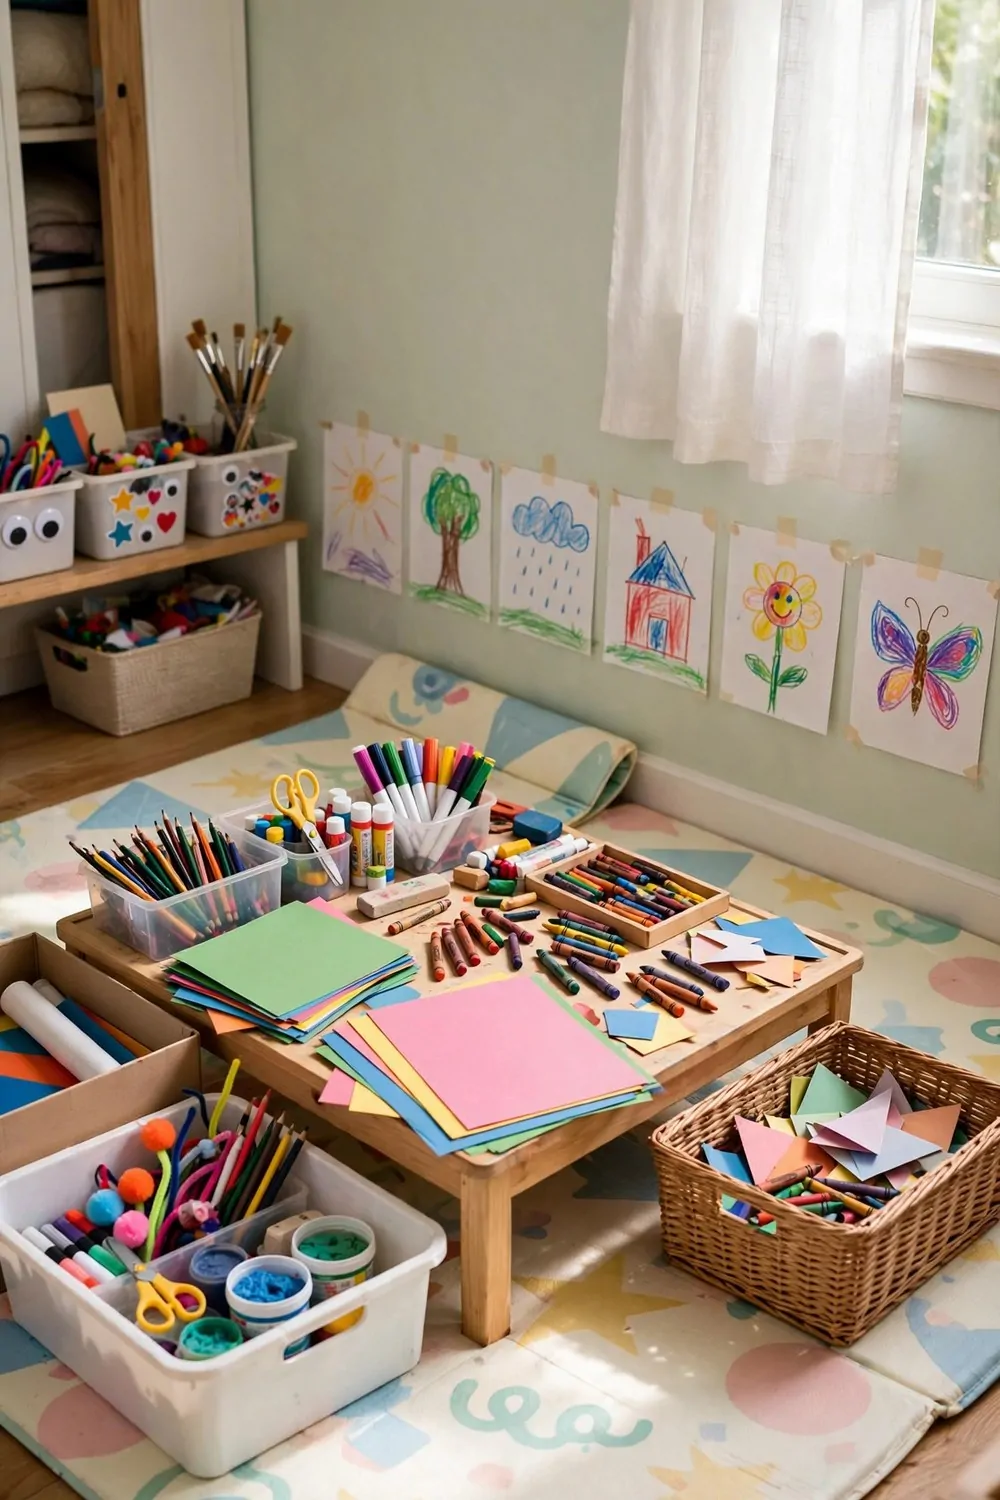
Kids do not need a perfect studio. They need a place where making a mess is fine and the supplies are always out. The rest takes care of itself.
A low table they can reach without climbing is the heart of it. Kid height, kid chairs. If they need help to sit down, they will not sit down.
Washable everything. Washable paints, washable markers, a washable mat under the table. You want to say yes to art, not worry about the floor.
Bins of supplies beat boxes every time. Open bins they can see into. Lids are just obstacles between a kid and an idea.
Tape their drawings to the wall at their eye level. Not yours. Theirs. A gallery they can actually see makes them so proud.
Keep smocks on hooks by the door. Make putting on the smock part of the ritual. It also saves every shirt you own.
A drying line is my favorite part. A string across one wall with fresh paintings hanging from little clips. It looks wonderful and it is completely practical.
Sit with them sometimes. Not to teach. Just to make your own thing beside them. Kids copy what they see, and a parent making art is the best lesson there is.
Clean up together at the end. Make it a game. Five minutes, everything in bins. Then the studio is ready for tomorrow’s ideas.
The drawings will pile up. Keep the best, photograph the rest, and let the pile teach you what your kid loves.
10. The Woodworking Workshop
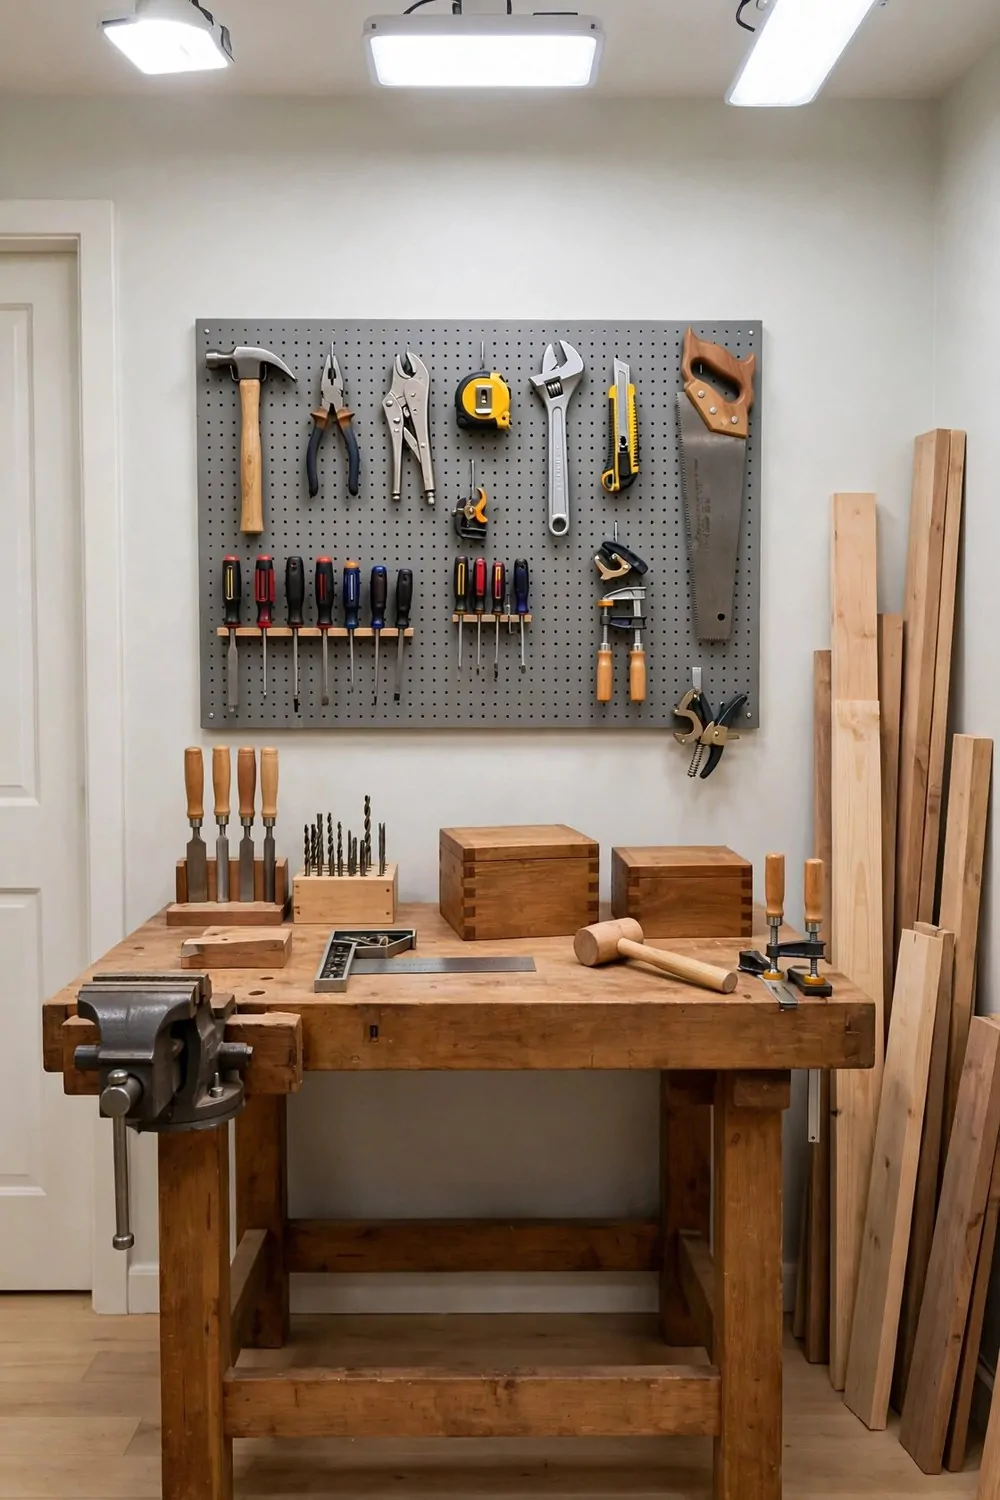
The spare room is the most underused workshop in most houses. It holds boxes and a lot of wasted potential. Take it back.
A sturdy workbench along one wall is the foundation. Deep and solid. This is where the real projects happen, the ones too big for a kitchen table.
Pegboard above the bench holds the tools. Hammers, saws, clamps, all visible and within reach. A workshop where you can see your tools is a workshop you actually use.
Good light matters more here than in any other studio. You are measuring and cutting. Bright overhead lights plus one task lamp over the bench keeps your fingers safe.
A small shop vacuum lives in the corner. Sawdust gets everywhere, and sweeping a whole room kills your momentum. Vacuum as you go and the room stays friendly.
Keep the floor clear. Offcuts and tools on the floor are a trip hazard. A bin for scraps under the bench keeps the good wood separate from the firewood pile.
Store finishes and glues in a closed cabinet. They smell strong and they spill. Lids on, doors shut, and the room stays pleasant.
Ear protection hangs on a hook by the door. Power tools are loud in a small room. Protect your ears the way you protect your eyes.
Start with small projects. A box. A shelf. A birdhouse. Small wins teach your hands before big furniture tests them.
Big projects need big patience. Measure twice, cut once, and enjoy the smell of fresh wood in a room that finally earns its keep.
11. The Video Creator Studio
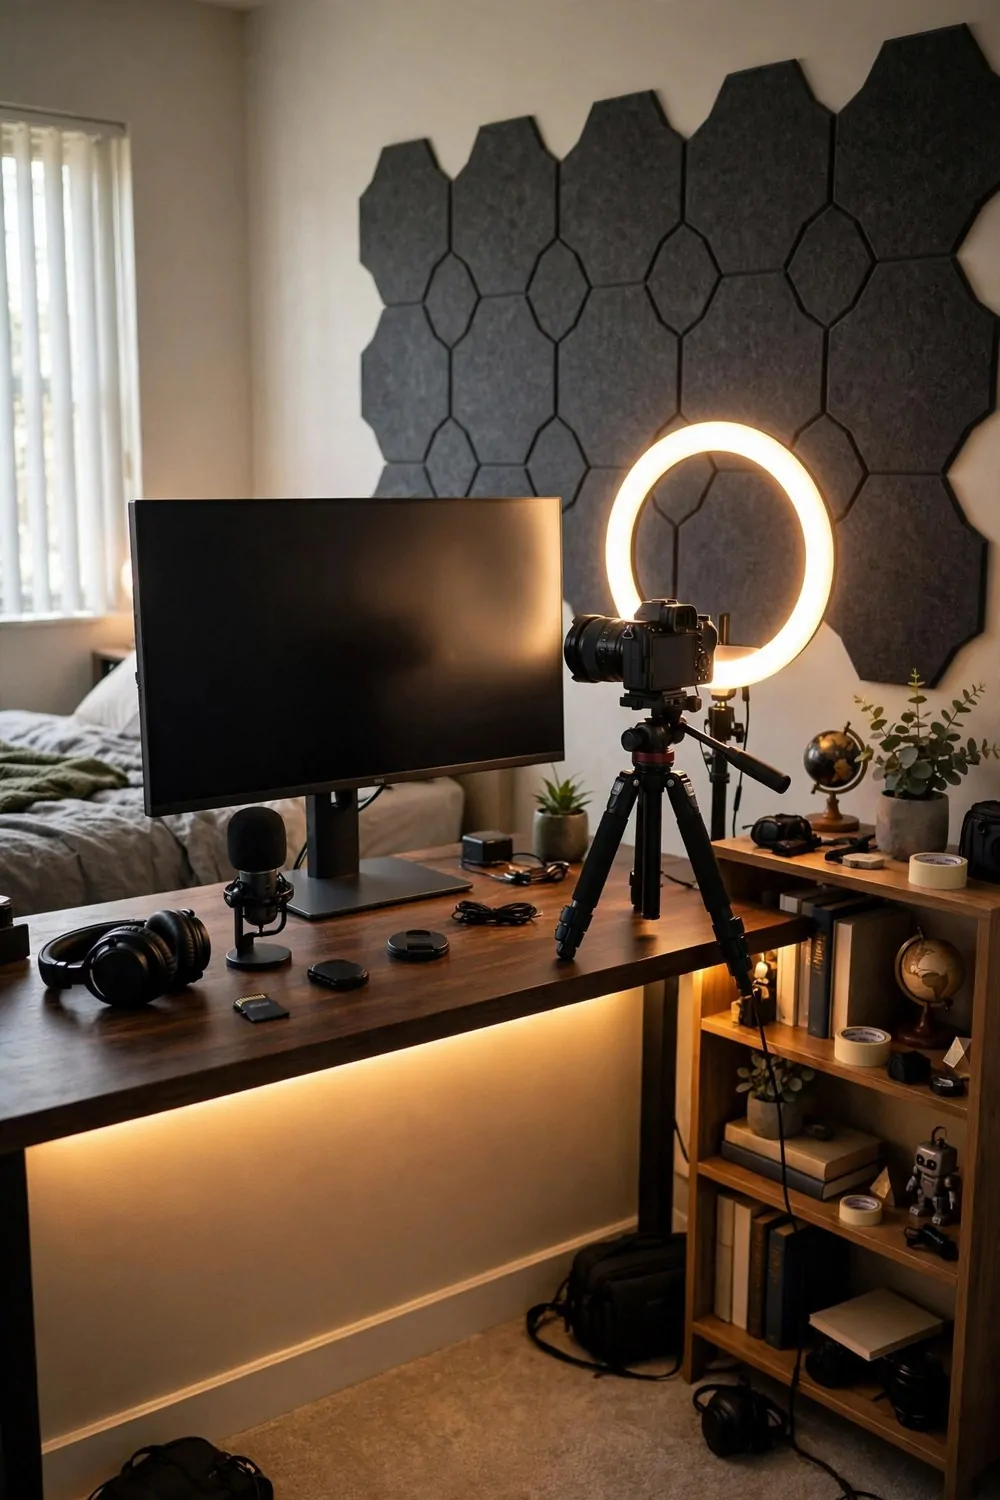
Not all studios smell like paint. Some hum quietly. A video creator studio is a real studio, and it fits in the smallest spare room in the house.
The camera is the heart of it. It sits on a tripod facing your desk or your backdrop, and after a week the setup feels as normal as a kettle on the stove.
A big monitor helps more than anything else. Editing on a tiny laptop screen is like painting through a keyhole. Go as big as your desk and budget allow.
Cable clips are the unglamorous hero of this setup. Camera cable, light cable, charger cable. Clip them all along the back edge and the desk stays clean.
A ring light or one good LED panel is your main light. A single panel on a small stand gives clean, adjustable light without a forest of equipment.
Here is how I think about the gear:
| Piece of gear | Budget level | What it does for you |
|---|---|---|
| Camera or phone on a tripod | Low | Steady shots with no shake |
| Ring light or LED panel | Low | Soft, flattering front light |
| Microphone on a small arm | Medium | Clear voice with no echo |
| Backdrop or tidy shelf wall | Low | A clean background that looks pro |
Keep a paper sketchbook on the desk too. Video ideas start analog and finish digital. A notebook full of scribbled ideas beats a blank screen every time.
Good posture saves you here. Long editing hours in one chair add up. A chair that supports your back is not a luxury, it is equipment.
Back up your work. An external drive or a cloud folder, whatever you prefer. Losing a month of videos to a dead laptop is a pain you only need once.
The undo button is the best thing about this studio. Be bold. Try the wild idea. You can always step back.
12. The Reading and Study Studio
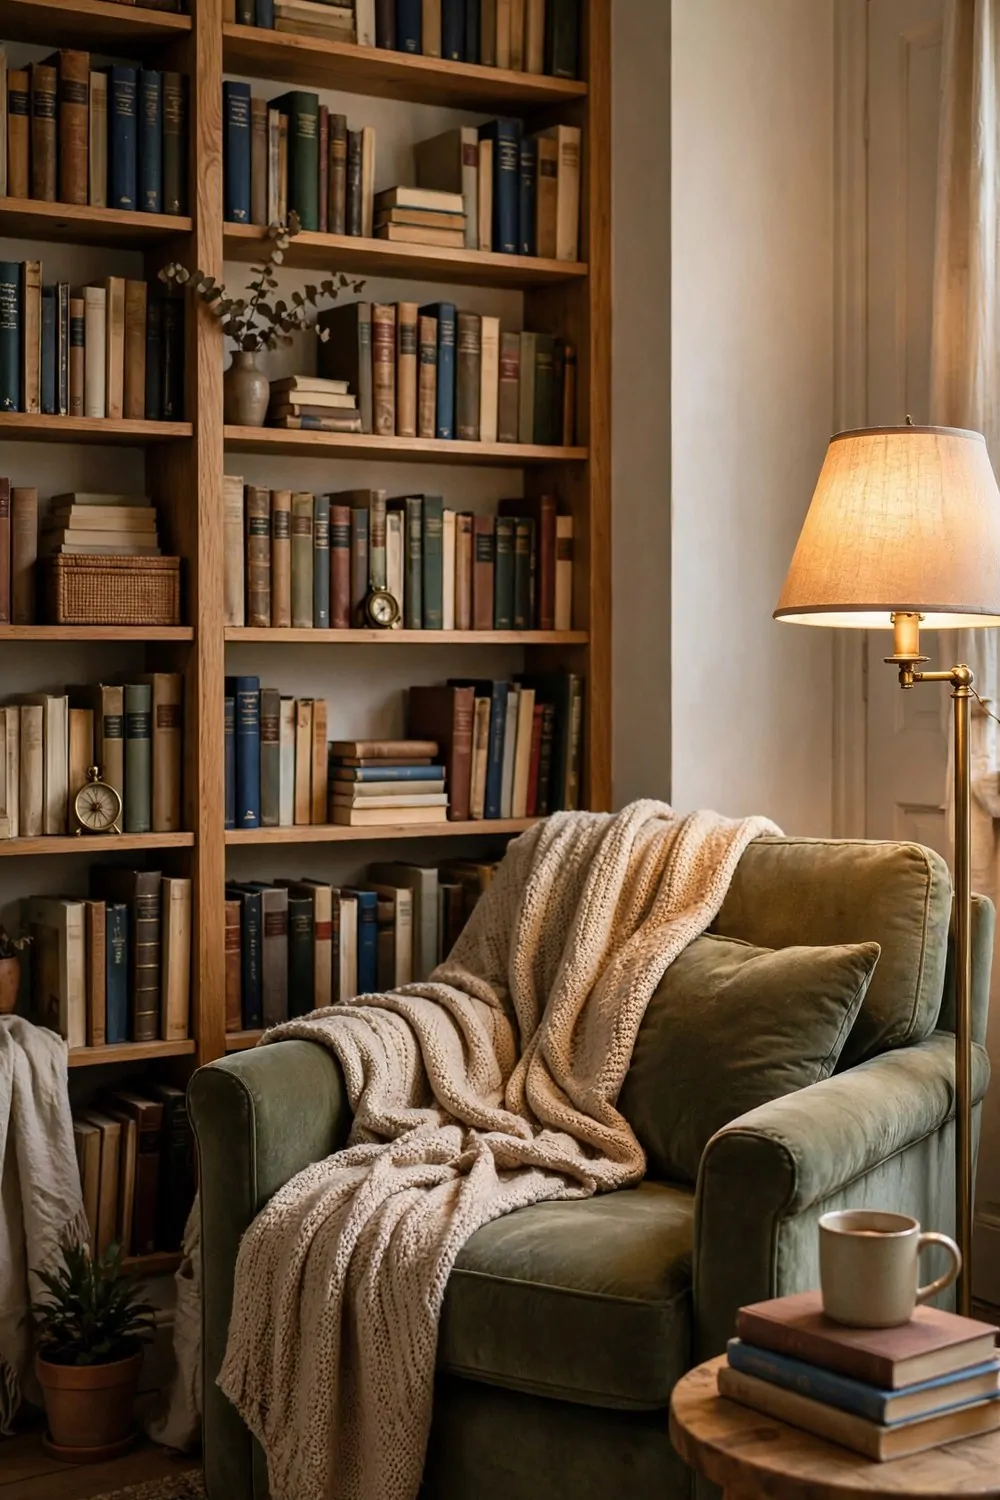
Every house needs a chair that is not for working. A chair for sitting back, opening a book, and letting ideas come to you instead of chasing them.
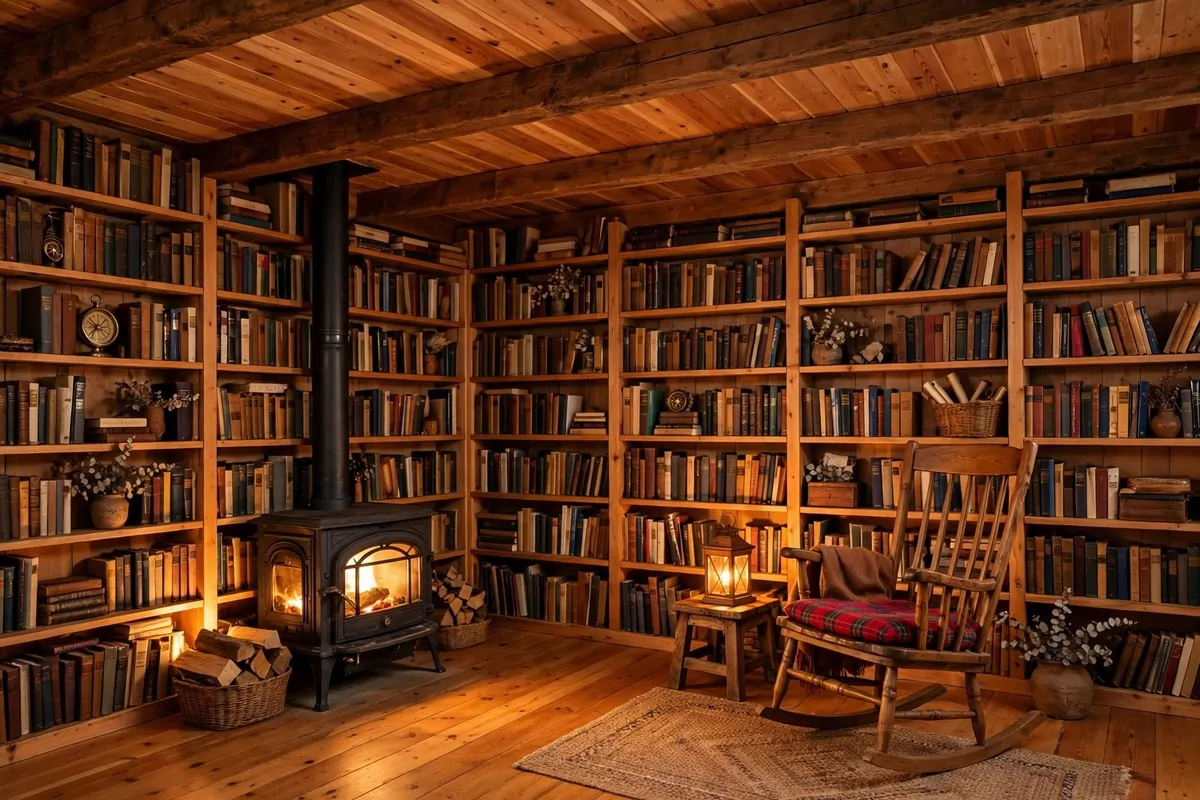
A bookshelf wall is the soul of this studio. Not a few books. A wall of them. The kind you open at random and lose an hour in.
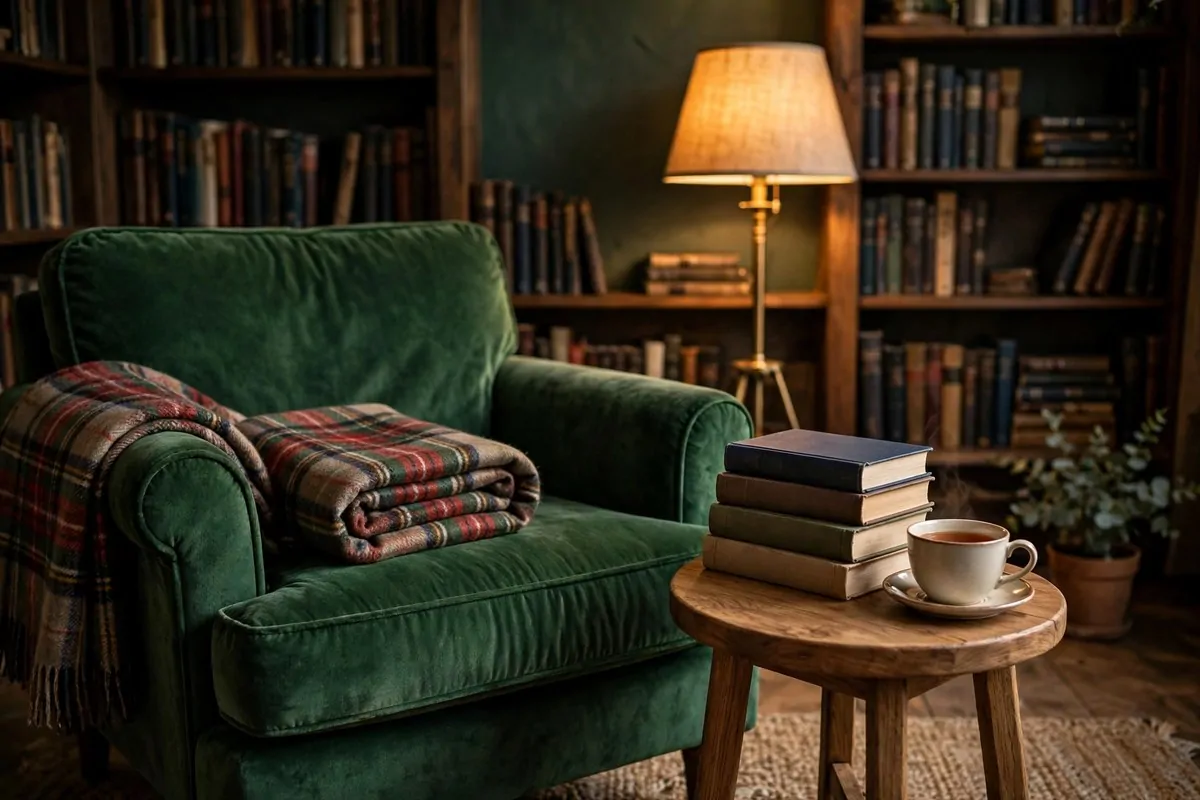
The chair should be the most comfortable one you own. Deep seat, soft back. This is where your brain rests, and resting brains make the best ideas.
A floor lamp arcs over the chair with warm light. Evening reading in this corner, with the house quiet around you, is one of life’s great small pleasures.
Keep a notebook on the side table. Ideas arrive while you read. You will want to catch them before they float away.
Tea belongs here. I keep a little tray with a mug on the side table. The ritual of making the tea is part of the slow-down.
Rotate the books. Every month, pull five new ones from the library or your shelves. Fresh pictures and fresh words feed fresh thinking.
This studio also works for studying. A small desk beside the chair holds the laptop and the notes. Reading chair for thinking, desk for doing.
Do not feel guilty sitting here. Looking at beautiful things and reading good words is studio work. It is just the quiet kind.
A reading studio asks so little of a spare room. Shelves, chair, lamp. And it gives back the most peaceful hours of your week.
13. The Dance Studio
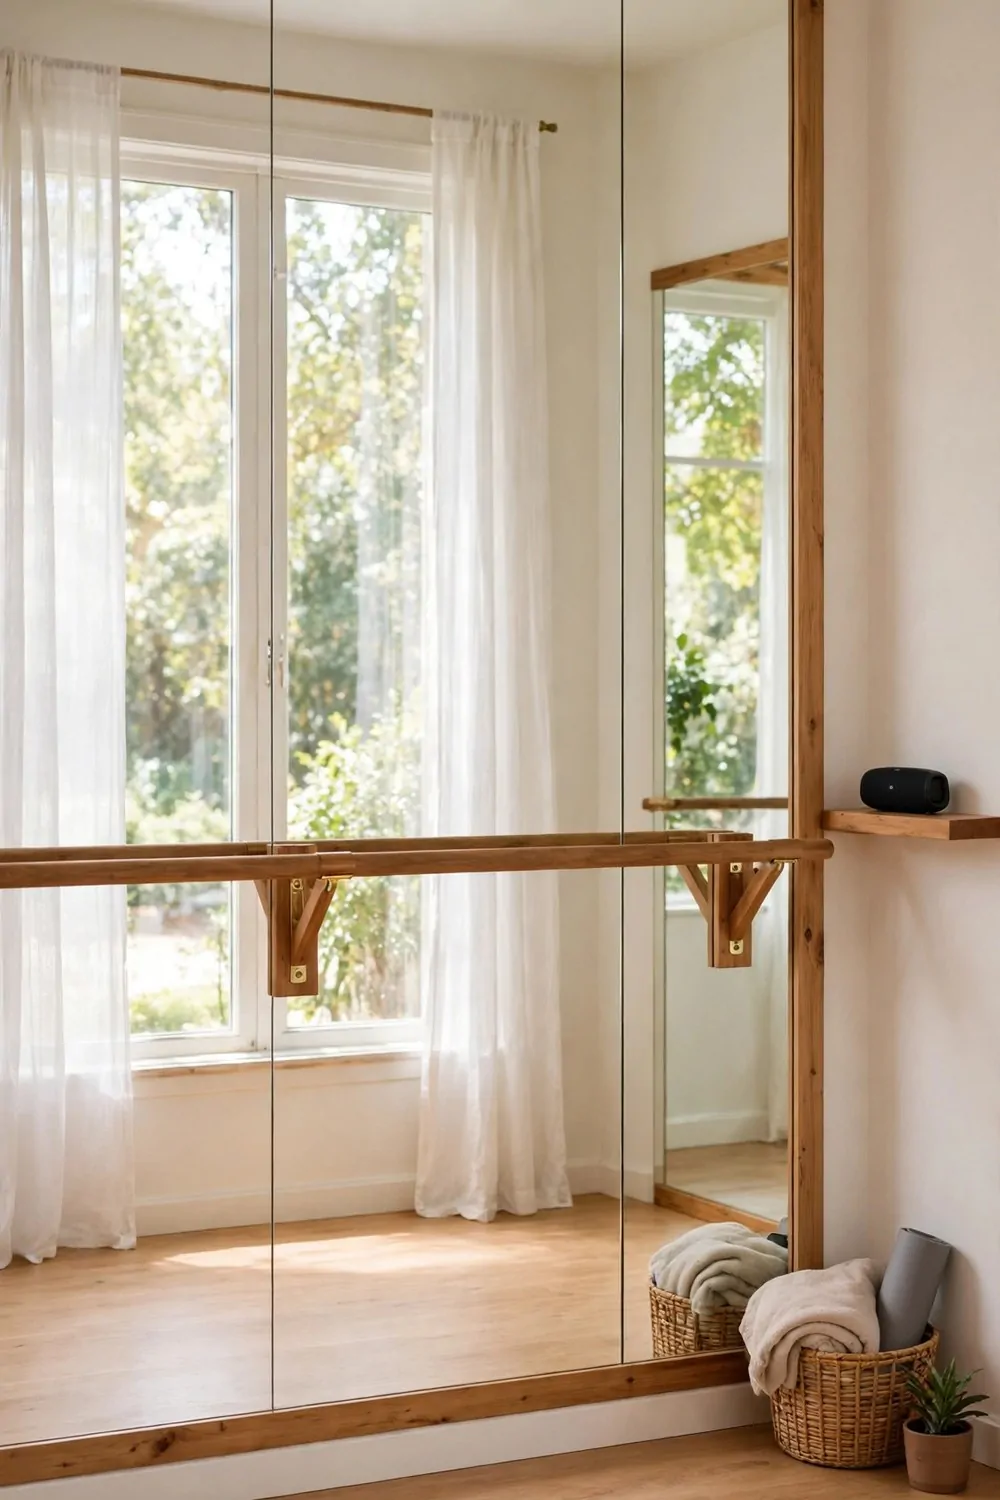
A dance studio needs three things. A clear floor, a mirror, and a barre to hold on to. Everything else is a bonus.
Clear the room completely first. The floor is the whole point. If the floor is not clear, nobody dances in it.
A full wall of mirrors changes everything. You can check your lines without turning your head. Mirrors also bounce the light around and make a small room feel twice as big.
A ballet barre mounts to the wall at hip height. A sturdy wooden rail works too. It needs to hold your weight when you lean on it, so fix it into the studs, not just the plaster.
Wooden floors are kindest to feet and knees. If your spare room has carpet, a few large dance floor panels over the top give you a smooth surface that still comes up when you move out.
Sheer curtains soften the light and the room. Bright light is good for practice. Glaring light makes the mirrors hard to use.
A small speaker on a shelf plays your music or your class videos. Keep the volume low enough that the rest of the house forgets you are there.
Keep a basket by the door for the extras. Water bottle, towel, spare shoes, hair ties. Everything in one spot means practice starts in seconds.
A clock on the wall helps more than you would think. Practice sessions drift without one. A simple wall clock keeps your warm-up honest.
Stretch at the barre, practice in the middle, cool down by the window. The room teaches you its own little routine, and your body learns it fast.
14. The Darkroom
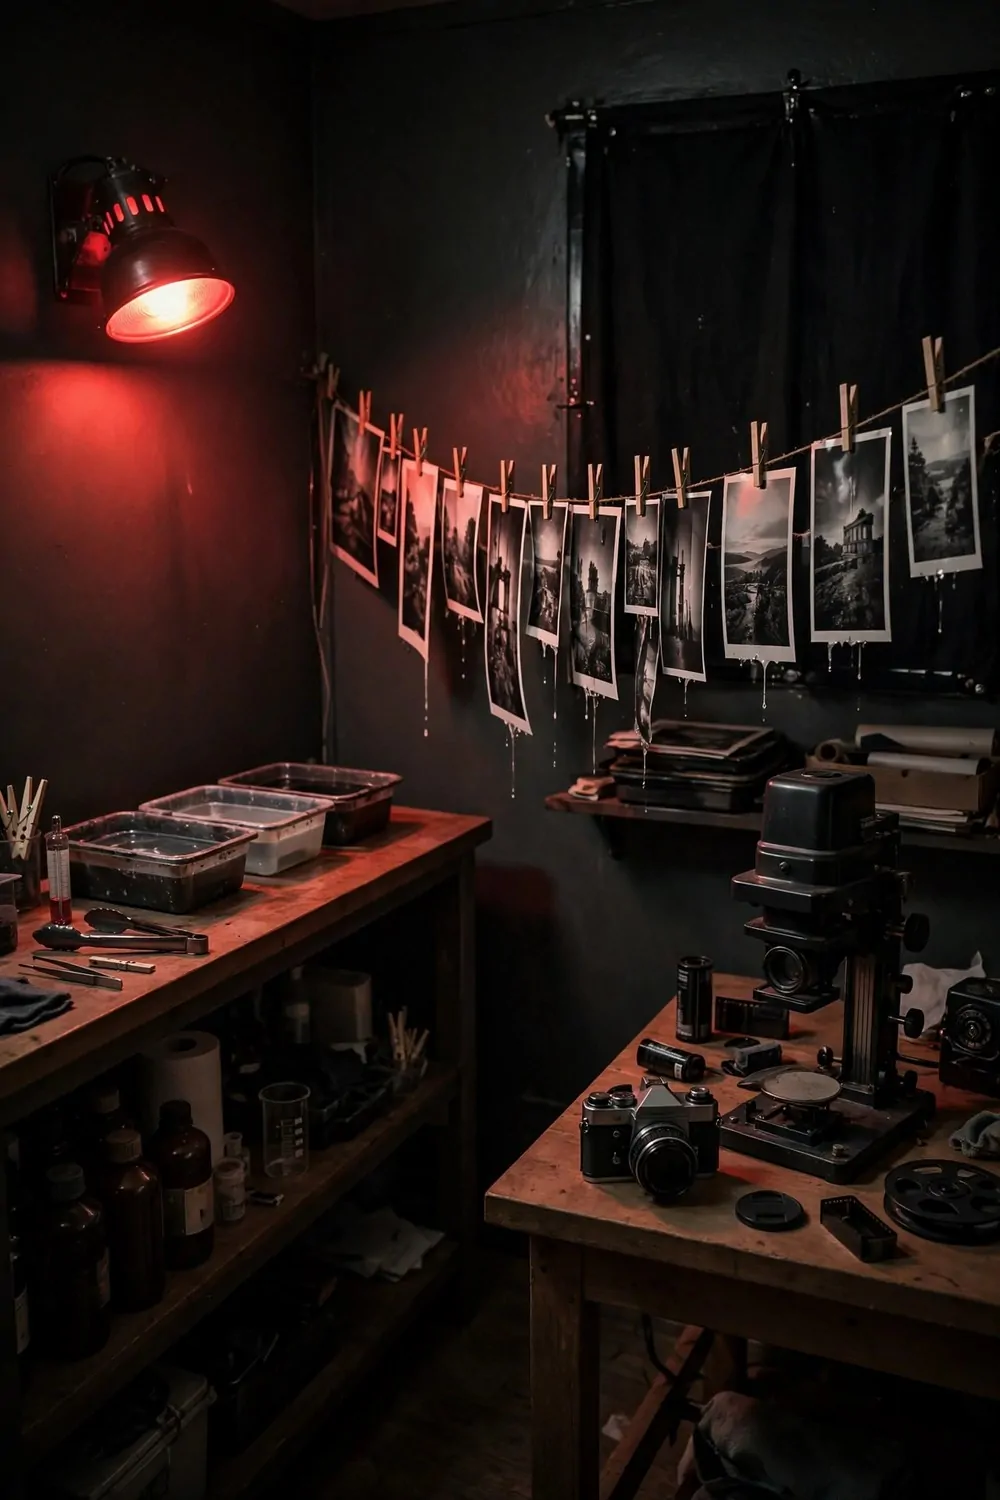
There is something magical about watching a print appear in a tray. You slide the paper in, rock the tray gently, and your image slowly stares back at you. Every print feels a little like a surprise.
A darkroom needs darkness first. That is the whole job of the room. Heavy blackout curtains over the window, a towel rolled under the door, and tape over any little light leaks.
The red safelight is the star. It glows warm and dim, just enough to see by, without fogging your paper. LED safelights stay cool, which matters in a small room.
A counter along one wall holds the trays. Developer, stop, fixer, wash. Four trays in a row, always in the same order. Your hands learn the order fast.
The enlarger goes on a sturdy table at the end of the counter. It needs to sit perfectly level. A wobbly enlarger makes soft prints no matter how good your negative is.
A drying line is my favorite part. A string across the room with fresh prints hanging from little clips. It looks wonderful and it is completely practical.
Ventilation matters here more than anywhere. The chemicals smell strong in a sealed room. A small fan in the window pulls fresh air through while you work.
Keep the chemicals in closed bottles on a high shelf. Label everything. Darkroom chemistry and kitchen supplies should never share a shelf, or a guessing game.
Start with simple prints. One negative, one size, one paper. Bold simple prints teach you the process faster than fancy ones.
Gift your early prints. People love handmade prints, and giving them away makes room for the next batch on the line.
15. The Garden-Facing Studio
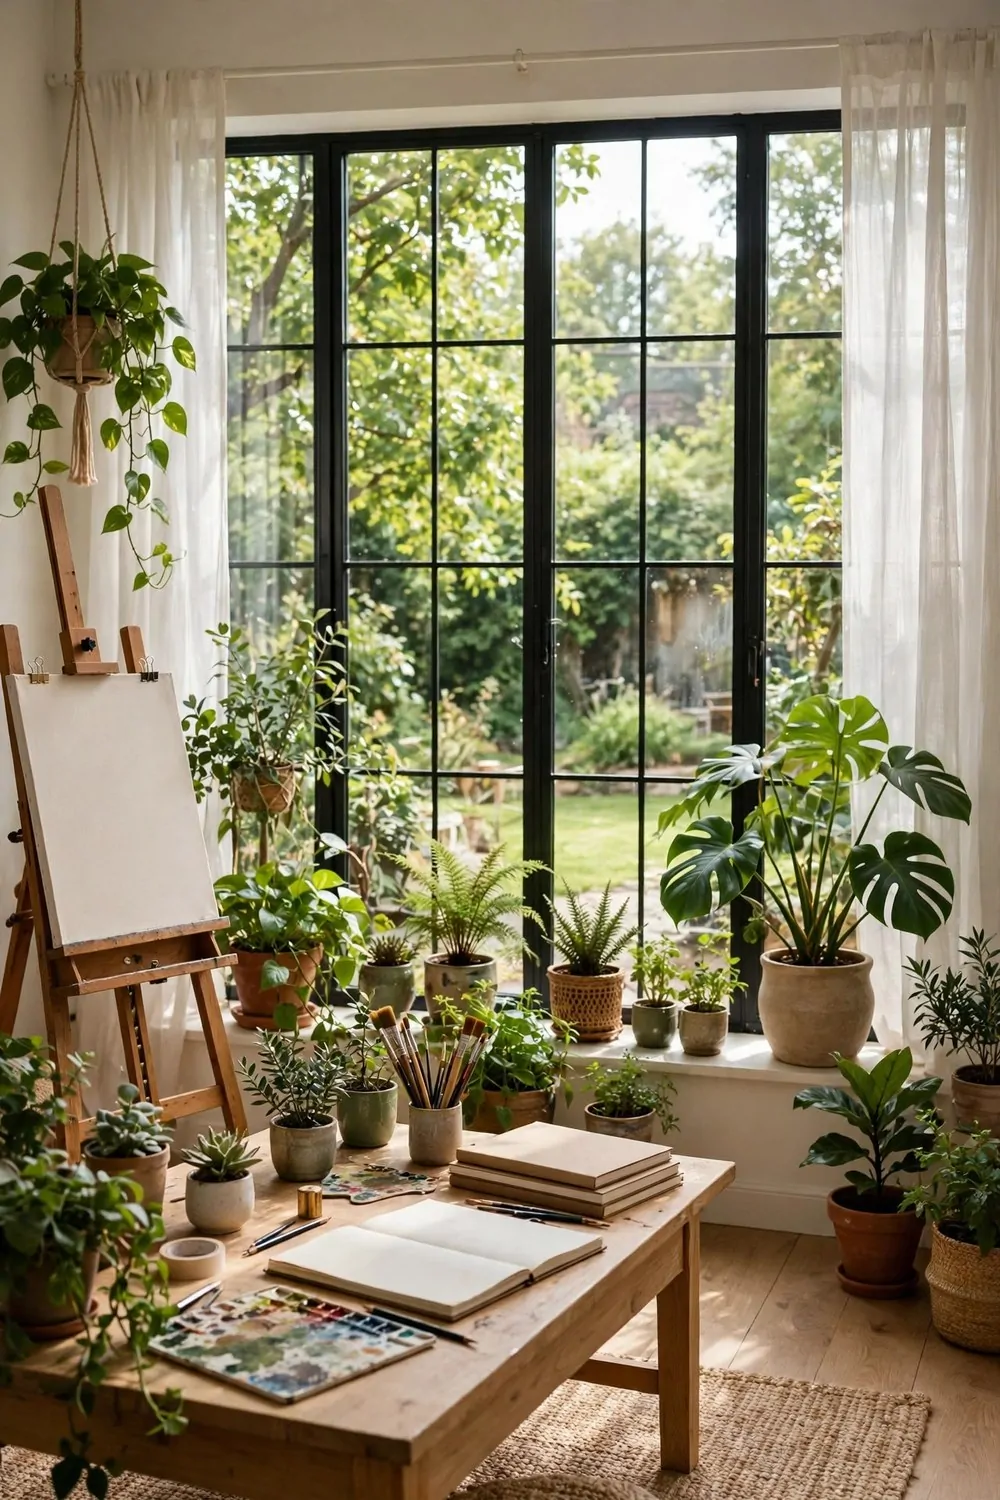
Plants and studios were made for each other. They want the same things. Good light, fresh air, and a person who shows up every day.
If your spare room has the big windows, or a door that opens to the garden, it is already halfway to a studio. The garden does half the decorating for you.
Start with the easy plants. Pothos, spider plants, snake plants. They survive missed waterings and low light, and they look great trailing off shelves.
Hang some plants above your work area. Trailing leaves overhead make the studio feel alive in a way nothing else does. It is like working in a greenhouse.
Big plants go in the corners. A tall plant in an empty corner fills the space better than any furniture. It also cleans the air while you work.
Put your work spot where the view is best. Face the garden if you can, not the wall. A view gives your eyes somewhere to rest between long focused stretches.
Watering day becomes studio ritual. Once a week, walk around with the watering can, check every plant, wipe the leaves. It is meditative.
Keep the thirsty ones near the door. Ferns drink a lot. Put them where watering is easy or you will resent them.
A small table by the window holds the current project. Paint, sketchbook, laptop, whatever your craft is. The garden light does the rest.
Open the windows when the weather allows it. Fresh air and birdsong beat any playlist. This studio costs almost nothing and gives back the most.
16. The Shared Two-Person Studio
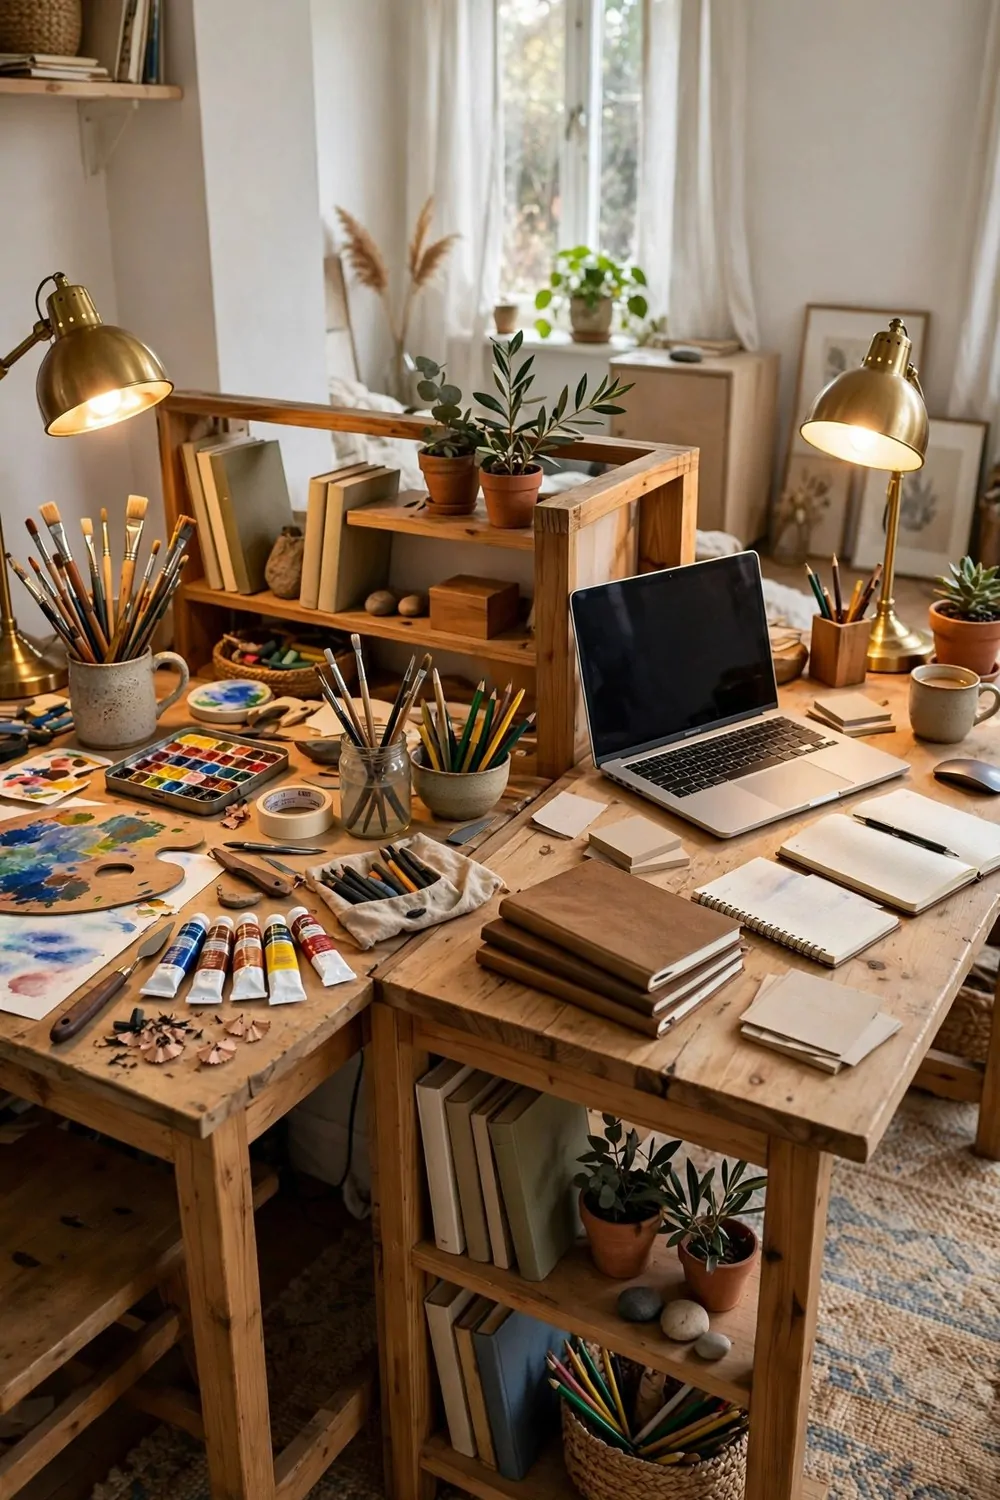
Two creative people, one spare room. It can be wonderful or it can be war. The difference is zones. Each person needs their own defined spot.
A low bookshelf makes the perfect divider. It splits the room without blocking the light, and both sides get storage. Everyone wins.
Face the desks away from each other if you can. Back to back or side by side works better than face to face. You need to forget the other person is there.
Each zone gets its own lamp. Sharing a lamp means negotiating every evening about who needs the light. Two lamps, zero arguments.
Agree on the noise rules early. Headphones for music. No speakerphone calls. These little rules save friendships.
Shared supplies live on the divider shelf. Things you both use, like scissors and tape, go in the middle. Personal tools stay in personal zones.
Clean your own zone. This is the big one. Nothing kills a shared studio faster than one person’s mess creeping into the other’s space.
It helps to have slightly different schedules. If one of you works mornings and the other works evenings, the room feels bigger than it is.
My favorite shared studios feel like two little worlds with a friendly border between them. Build that, and the room works.
17. The Night Studio
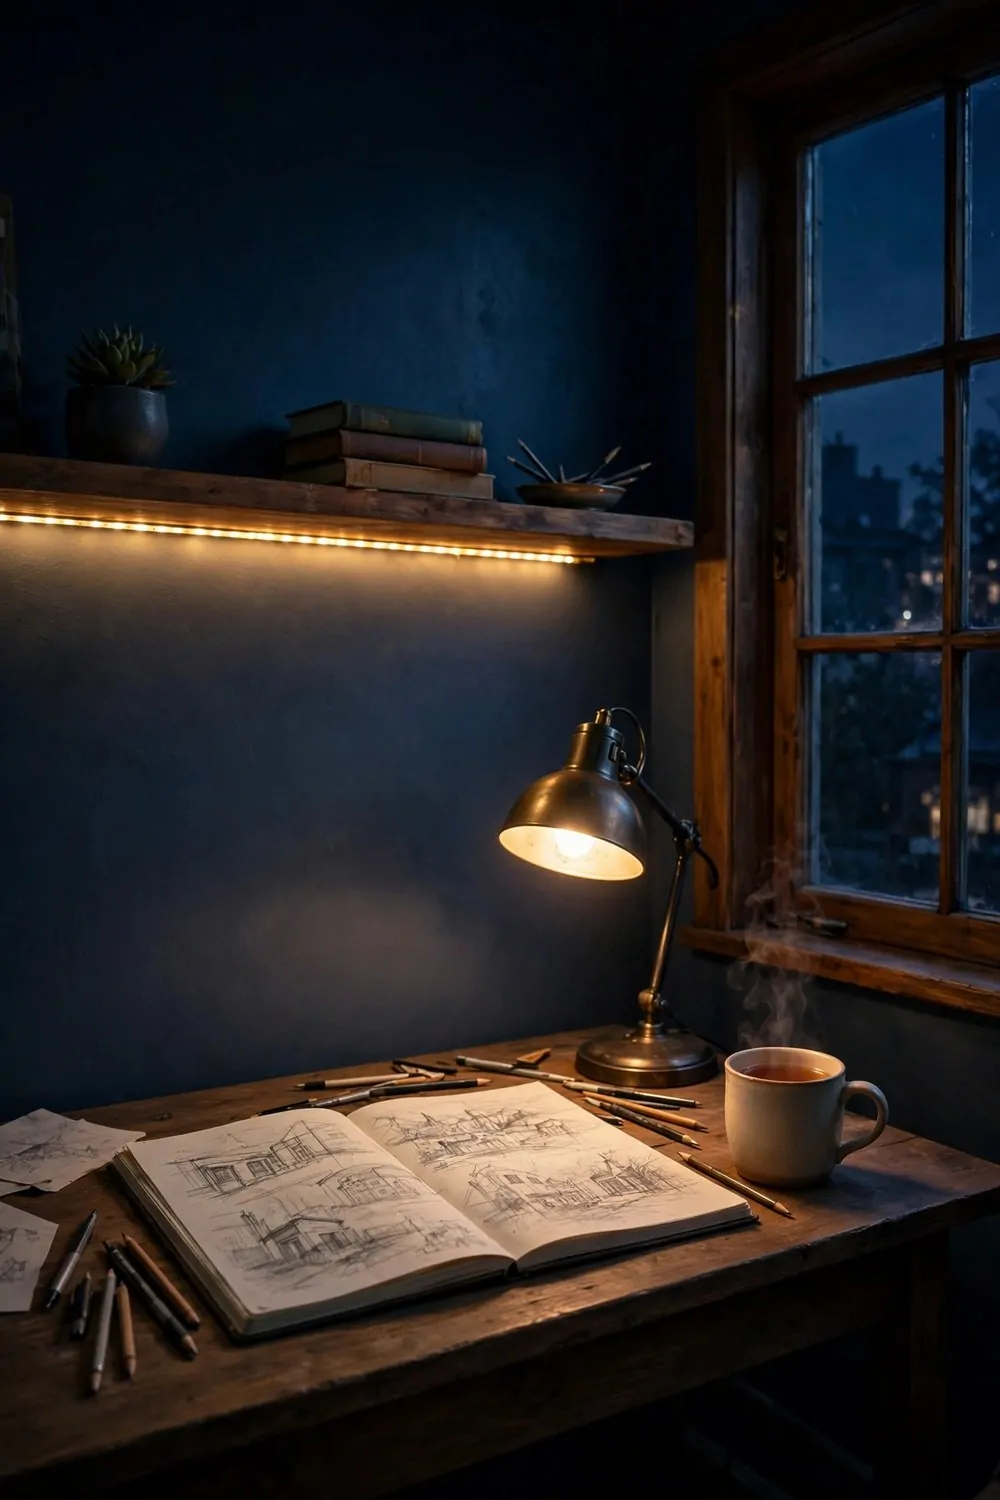
Some of us do our best work after dark. The house is quiet, the phone is silent, and the ideas finally have room to stretch. A night studio honors that.
LED strip lights are the star here. Run them along a shelf or behind the desk. They glow softly without the harshness of a ceiling light. Warm white is best for working.
A cozy lamp beside your work spot gives you focused light where you need it. The room stays dim and moody, but your work surface stays bright.
Deep wall colors suit a night studio. Dark blue, charcoal, forest green. In daylight they are rich. At night under warm light, they feel like a cocoon.
Keep the setup quiet-friendly. If others sleep nearby, soft tools only. Sketching, watercolor, writing. Save the hammering for daytime.
A warm drink station helps. Night sessions run long. Tea or hot chocolate within reach keeps you going without a trip to the kitchen.
Dim the screens. If you use a tablet or laptop, turn the brightness down. Bright screens in a dark room strain your eyes fast.
Set a gentle end time. Night studios are wonderful, but very late sessions steal from tomorrow. A small alarm keeps the habit healthy.
There is a special magic in making things while the world sleeps. This studio is built for it.
Your spare room does not need to be big. It does not need to be expensive. It needs one corner, one decent light, and a job you chose on purpose instead of by accident.
Start with the idea that fits your space today. The painter’s corner if you have good light. The writing den if you need quiet. The music corner if you already own the instrument. One setup, done well, beats five half-built ones.
Then grow slowly. Add a shelf next month. A plant the month after. Every small upgrade stacks, and in six months your spare room will look like a place you rented.
The listing called it the fourth bedroom. Give it a better name now. Call it your studio. The boxes can live in the garage. Your dream space is waiting behind that shut door.