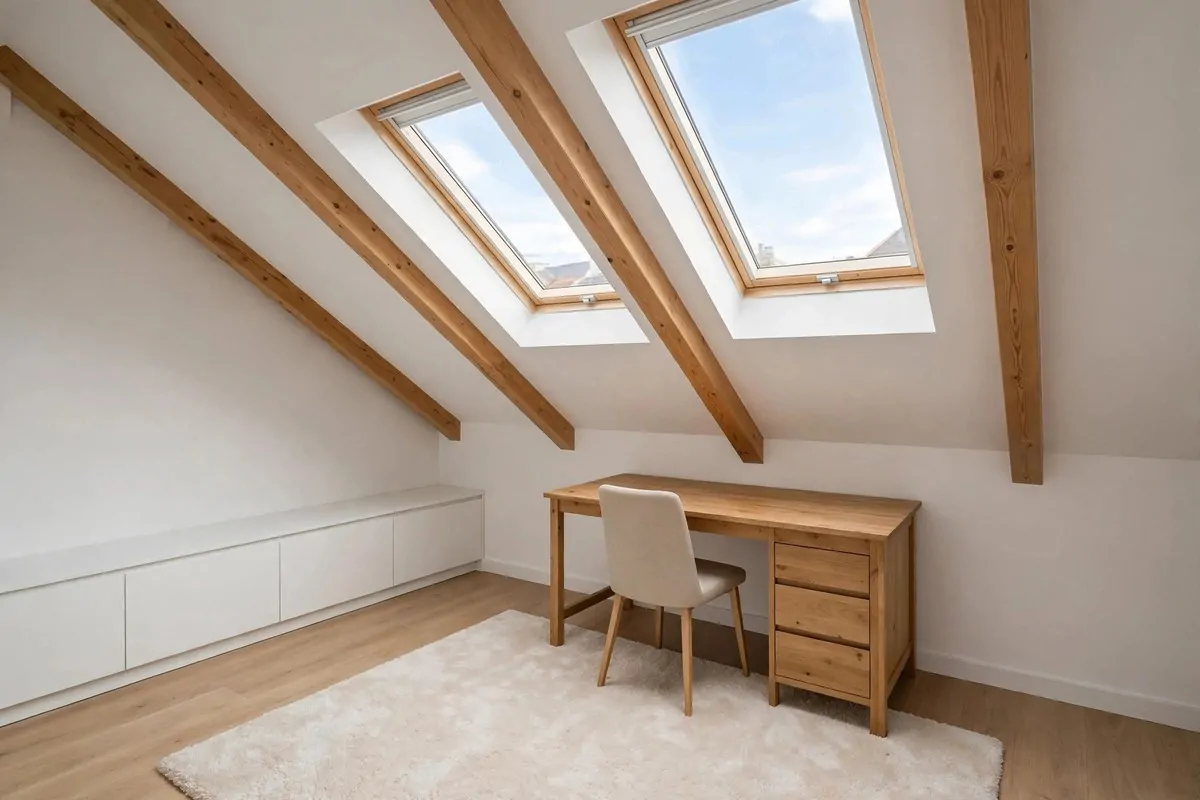
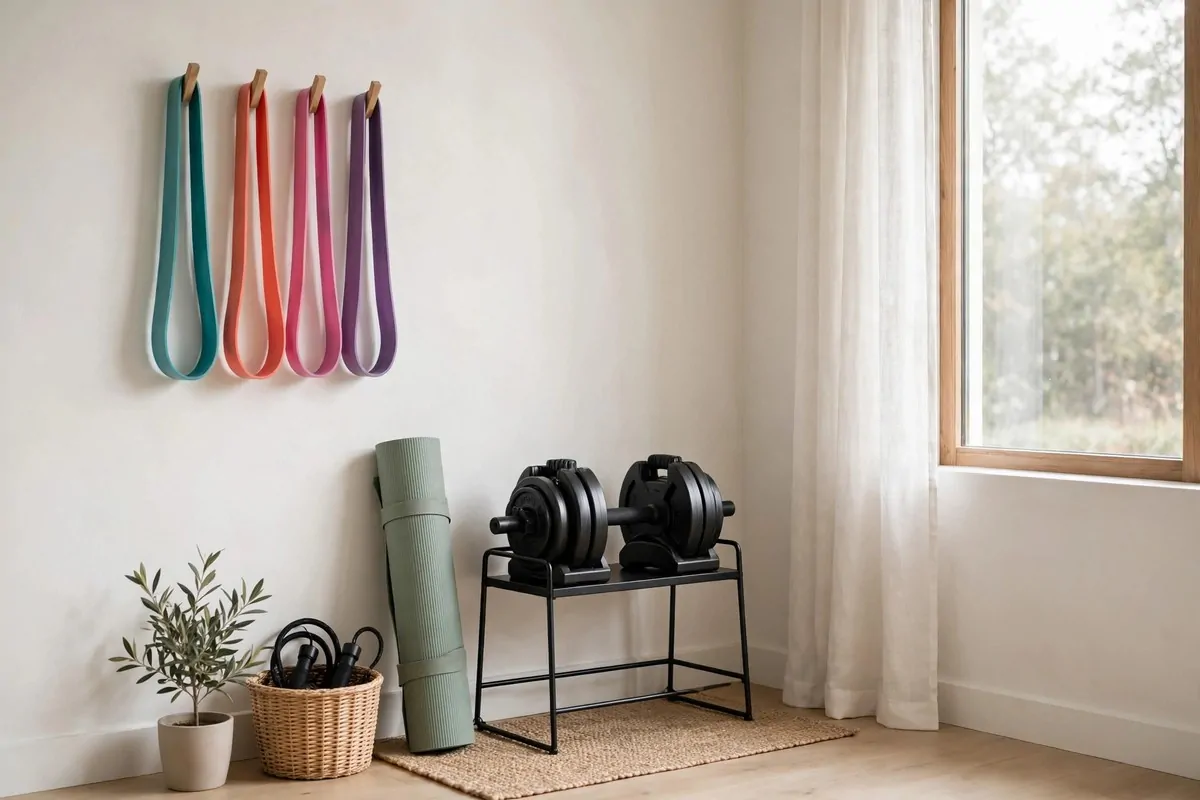
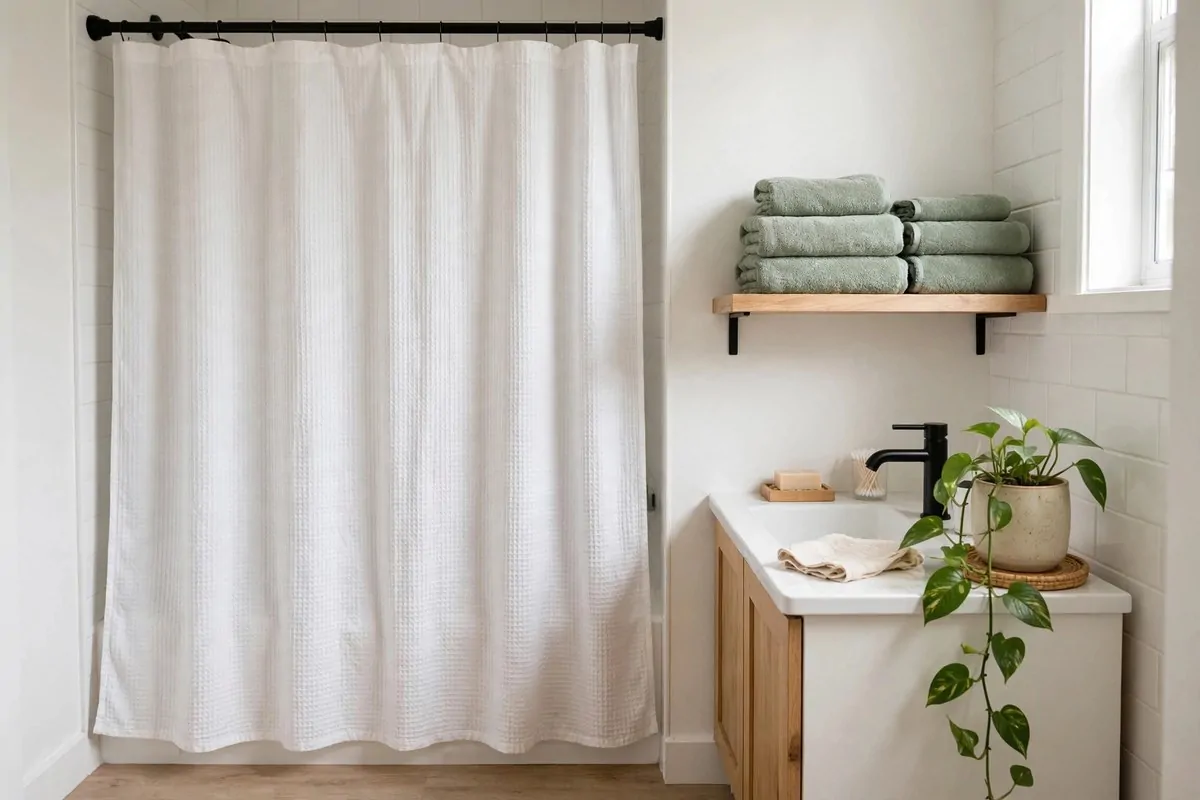
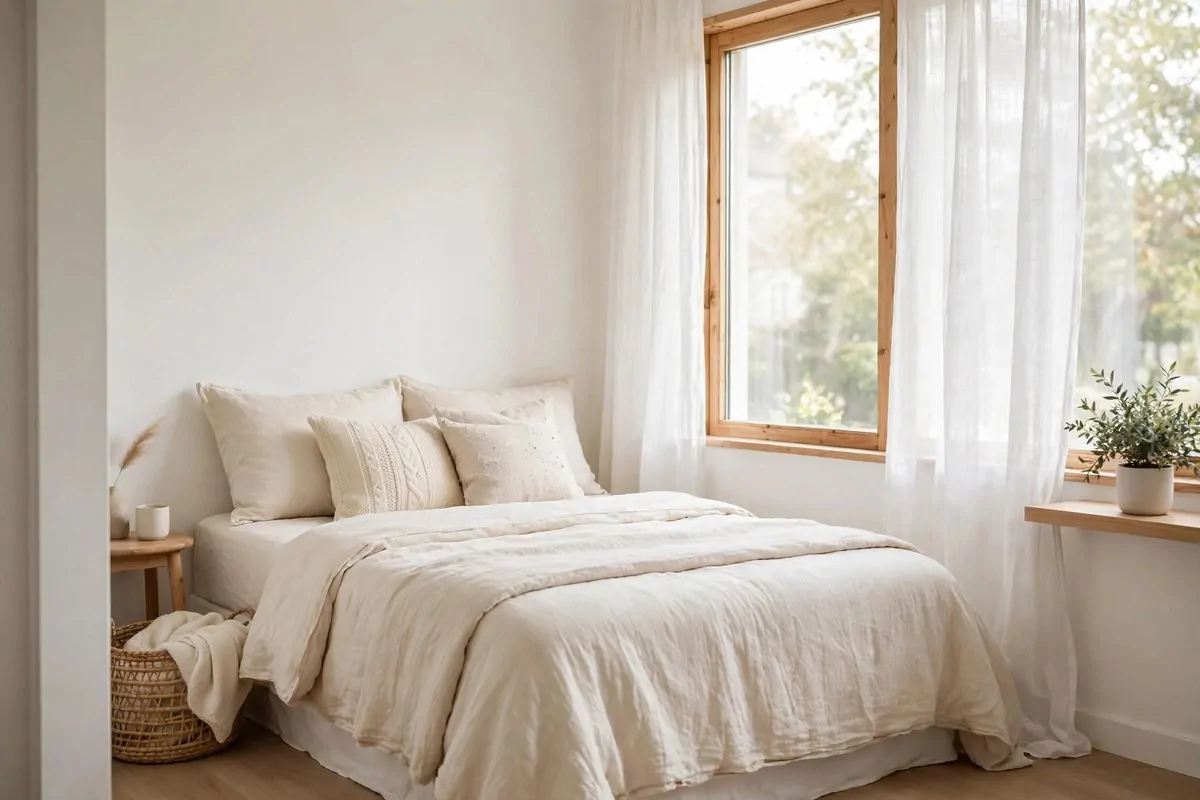
22 Content Studio Ideas for Scroll-Stopping Videos and Photos

The girl at the next table was giving up on her dream, one loud sip of coffee at a time.
She told her friend she would love to start a channel, but her apartment was, in her words, too ugly to film in. Her friend nodded along like that was a perfectly good reason. I sat there biting my tongue, because I wanted to lean across the tables and say something.
Here is what I wanted to tell her. Scroll-stopping videos and photos are almost never about a pretty home. They are about one small corner that looks good on camera, plus a little light that knows what it is doing.
I know this because I have filmed in tiny bedrooms, in a corner next to the laundry pile, and once in a closet with a shower curtain for a backdrop. Nobody could tell. The camera only sees what you point it at, and honestly, that is the whole secret.
These 22 Content Studio Ideas are built on that secret. Every one turns a real corner of your home into a set that makes people stop scrolling. No rented studio. No big budget. Just smart setups that real creators use every single day. Pick the one that fits your space and start this weekend.
1. The Ring Light Desk Studio
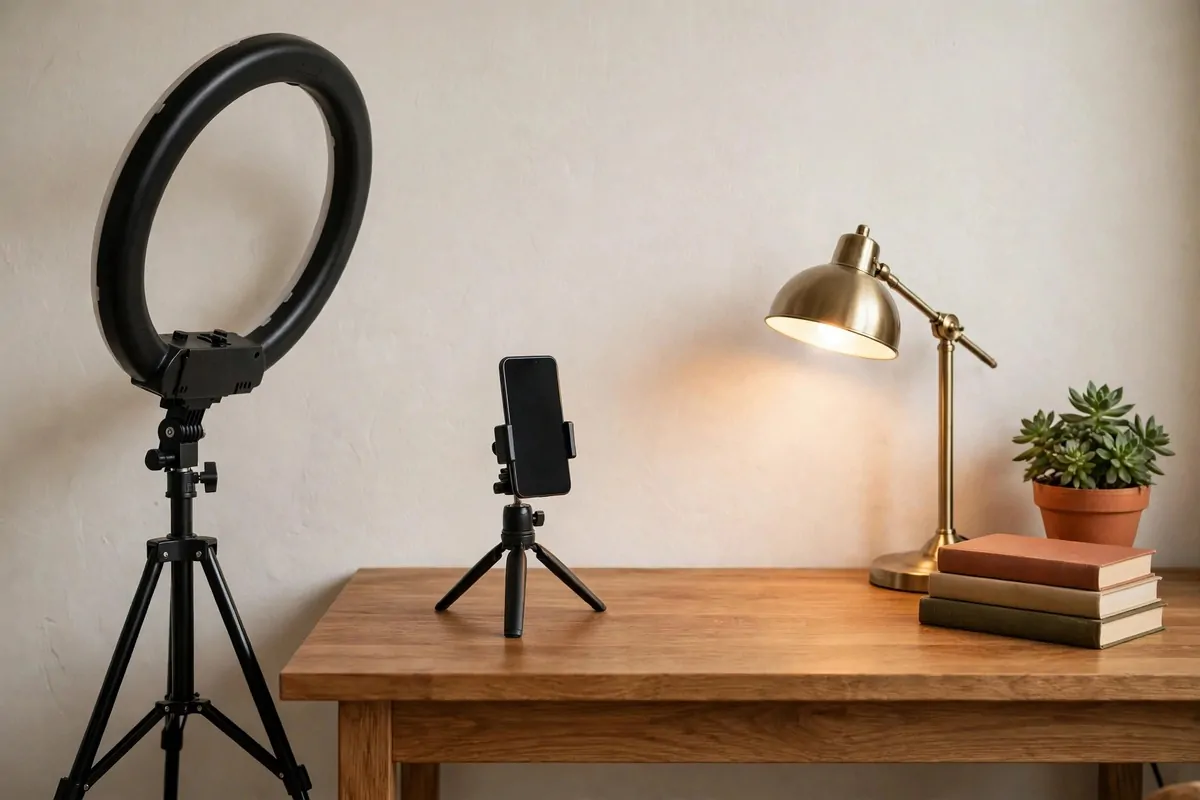
The ring light is the most famous piece of creator gear for a reason. It is cheap. It is simple. And it makes almost everything look better.
A ring light desk studio is just your desk, one ring light, and a phone mount. That is the whole setup. You sit down, you switch it on, and your face gets this soft, even glow with no harsh shadows.
Here is why it works so well on camera. The circle shape puts a bright ring of light right around the lens, so your face gets lit from the front while the light falls off softly behind you. Your background looks a little darker and dreamier by comparison, which pulls all the attention to you.
I started with a small one clipped to my shelf. It cost less than a pizza night, and honestly it changed my videos overnight. My room looked the same. The light made it look like a different room.
Set yours up like this. Put the ring light in front of you, a little above eye level, with your phone or camera sitting in the middle of the ring. Sit about an arm’s length away. That distance keeps the light soft instead of harsh.
Keep the desk behind the camera messy if you want, because the lens will never see it. But tidy the background the lens does see. A plant, a small shelf, a warm lamp. Three things is plenty.
Here is the basic kit that covers most creators:
- A ring light with a stand, medium size is fine for one person
- A phone tripod or a mount that holds your phone in the ring’s center
- A warm desk lamp or small lamp for the background, so it does not go flat black
- Two or three small props, like books, a plant, or a candle
One mistake I see a lot. People buy the biggest ring light they can find and sit two feet away from it. Then they look washed out and the background goes pitch black. A medium light at arm’s length beats a huge light up close, every single time.
If you film at night, this setup is your best friend. Close the curtains, switch off the overhead light, and let the ring do all the work. The room disappears. You glow.
Not sure which light to buy first? This quick guide covers the lights real home creators reach for most:
| Light type | Best for | Why creators love it |
|---|---|---|
| Ring light | Talking head videos, beauty tutorials | Soft front light with pretty round catchlights in the eyes |
| Softbox | Product shots, craft tutorials | Big, gentle glow that looks natural and flatters textures |
| LED panel | Small spaces, night filming | Dimmable with adjustable warmth, fits on a desk or shelf |
| Window light | Almost everything, when you have it | Free, soft, and beautiful, especially on cloudy days |
2. A Window Light Corner That Costs Nothing
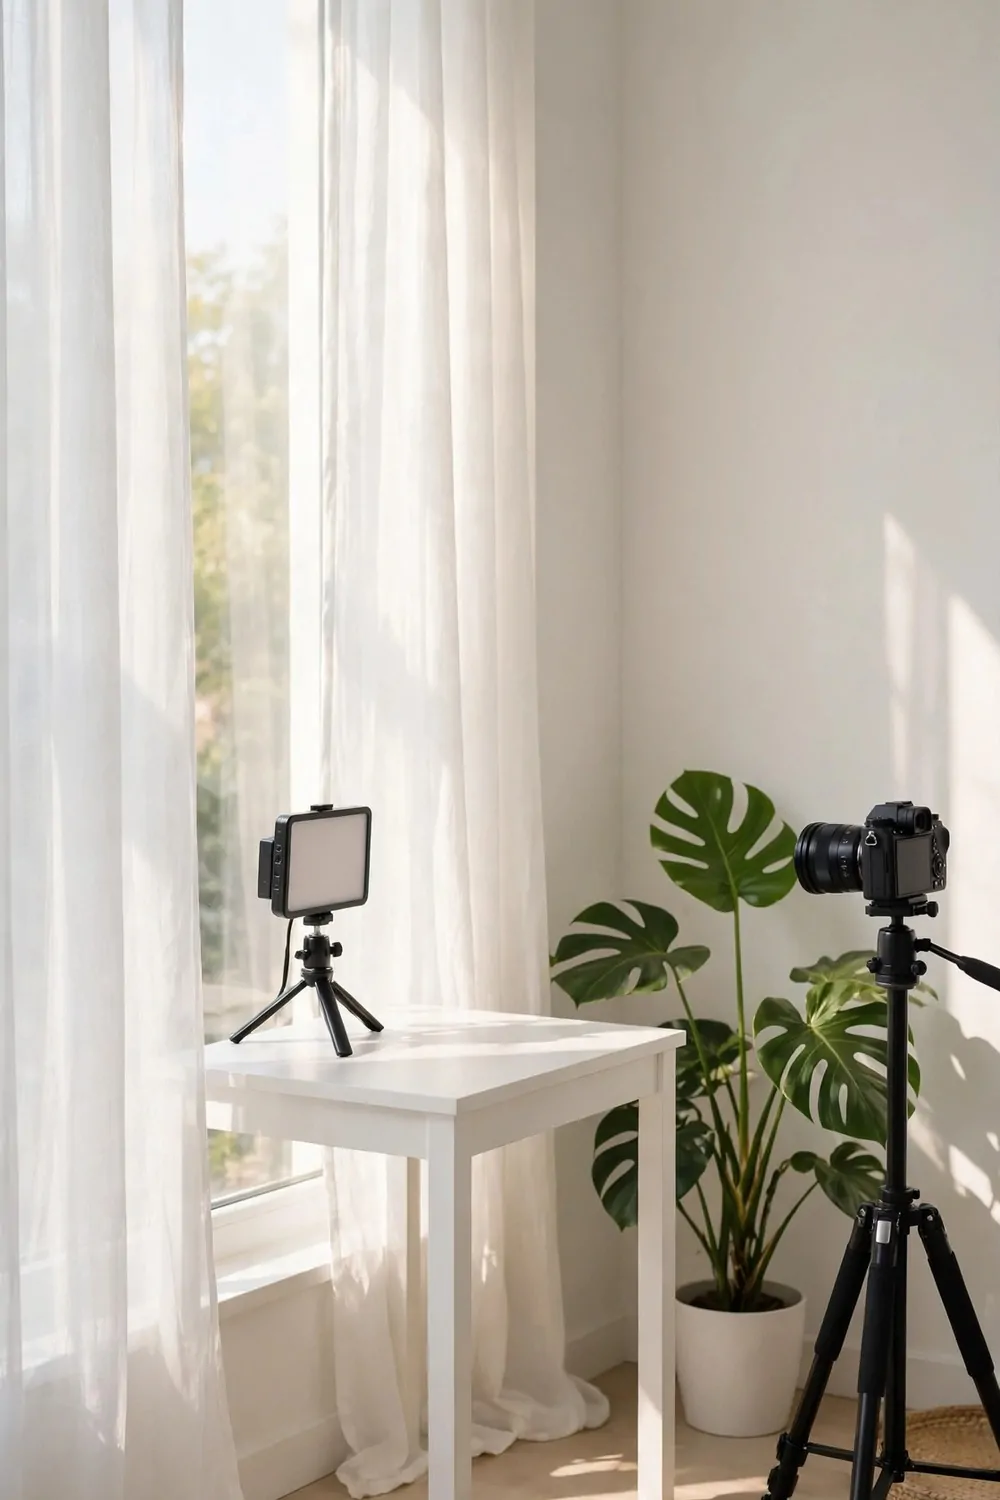
The best light for videos and photos is free, and it comes through your window every morning. Creators with expensive gear still chase window light. That tells you everything.
The rule is simple. Face the window. Never put the window behind you unless you want to look like a dark silhouette, which is only fun for about five seconds.
Sit close to the glass, about three to four feet away. The closer you are, the softer the light wraps around your face. Step back and it gets harsher and flatter. Small moves make a big difference here.
A sheer white curtain is the cheapest light diffuser on earth. It turns hard sun into a soft glow that flatters skin and products alike. If your window has no curtain, a white bedsheet taped up works the same way.
Morning light is soft and cool. Late afternoon light is warm and golden. Midday sun can be strong, so that is when the sheer curtain earns its keep. Try filming at different hours and save the ones that make you look best.
Cloudy days are a gift. Clouds are nature’s softbox. The light turns even and gentle, like the whole sky became one big lamp. Some of my favorite photos were taken on gray days.
For your camera, a tripod is ideal, but a stack of books works fine to start. Put your phone at eye level. Filming from below is unflattering for almost everyone, and it is the easiest thing in the world to fix.
Watch what sits behind you in the frame. A window corner usually has a wall, a plant, maybe a chair. That is already a fine background. Just move the laundry basket out of the shot. You know the one.
One more trick. Put a white pillow or a piece of white poster board on your lap or on the table in front of you. It bounces a little light back up into your face and softens the shadows under your eyes. Photographers call this fill. You can call it the pillow trick.
3. The Seamless Paper Backdrop Wall
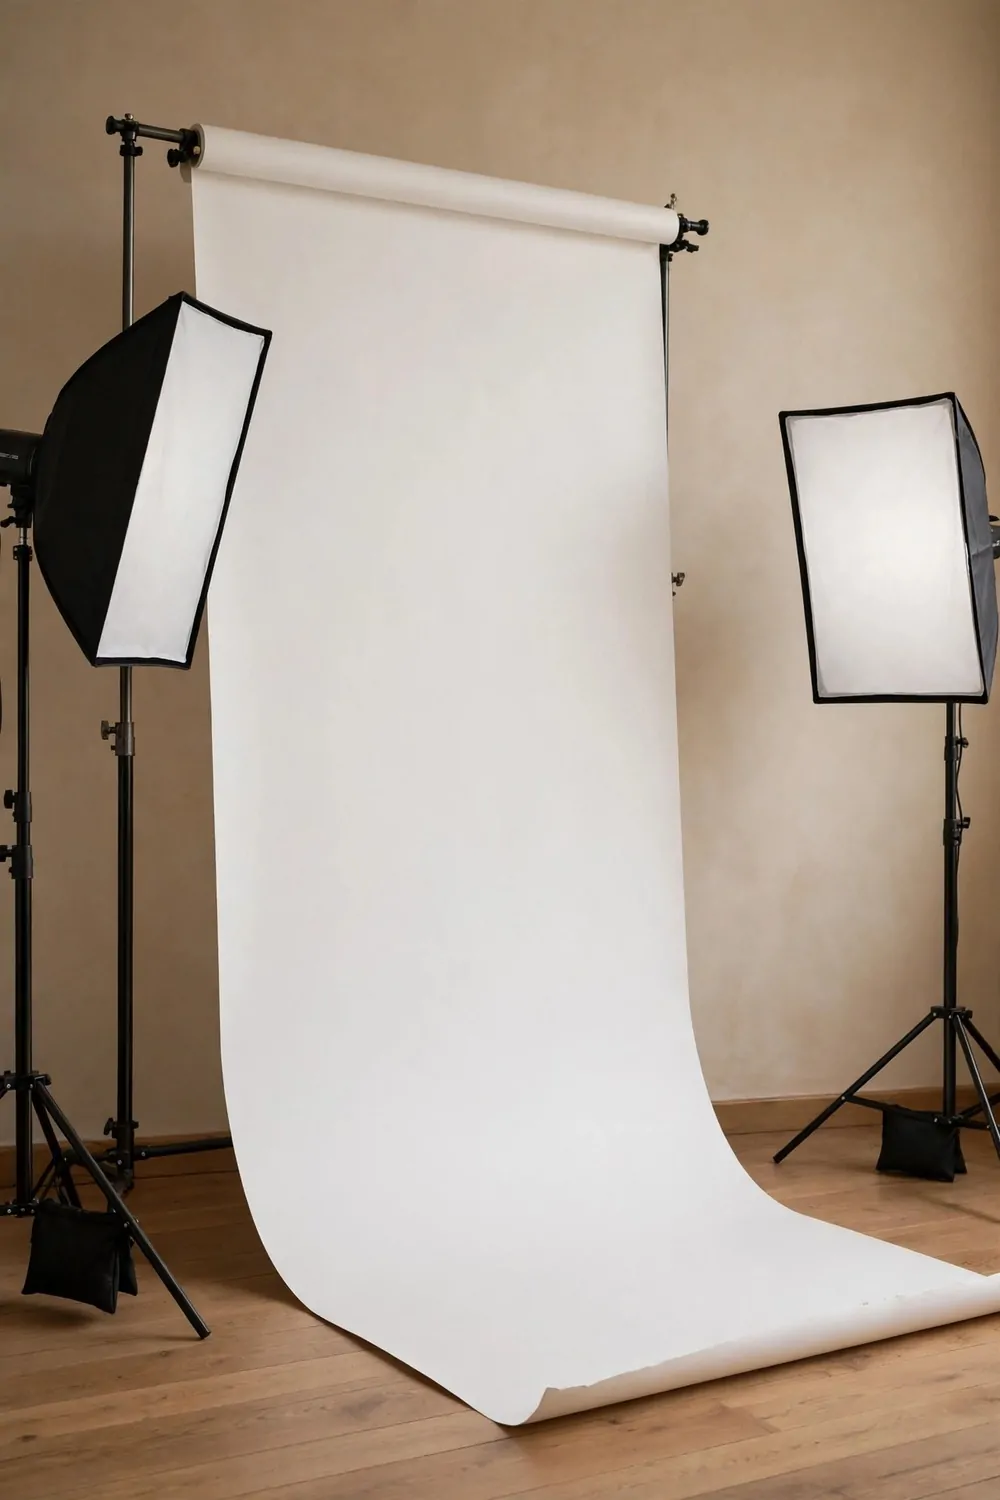
This is the setup behind those clean product photos and portraits where the background just melts away. It looks expensive. It is basically a big roll of paper.
You hang the paper from a stand or even two chairs, then let it unroll down the wall and curve gently onto the floor. That curve is the magic part. With no hard corner where wall meets floor, there is no horizon line, so the background looks endless.
White is the most useful color to start with. It bounces light around, it suits every product, and you can change its mood with lighting. Light it brightly and it glows. Light it softly and it turns creamy.
Gray and beige are the next best picks. Light gray looks classy behind portraits. Warm beige makes lifestyle shots feel cozy. Black is dramatic and gorgeous for jewelry or anything shiny, but it shows every speck of dust, so keep a lint roller nearby.
Keep the paper clean by rolling it back up after every shoot. When the bottom gets scuffed or marked, just unroll a fresh section and cut off the dirty bit. One roll lasts a very long time this way.
Clamps or even binder clips hold the paper to the stand so it does not slowly unroll on its own. Tape the bottom edge to the floor with painter’s tape so it stays put while you work. Small details, big difference.
Here is a quick cheat sheet for picking your paper color:
| Paper color | Best for | The feeling it gives |
|---|---|---|
| White | Products, headshots, food | Clean, bright, fresh |
| Light gray | Portraits, fashion flat lays | Calm, classy, modern |
| Beige or cream | Lifestyle, handmade goods | Warm, cozy, handmade |
| Black | Jewelry, glass, dramatic shots | Bold, moody, premium |
Light the backdrop on its own if you can, with one light aimed at the paper and one at your subject. That keeps the background bright and even instead of gray and patchy. Two cheap lights beat one expensive light here.
4. A Tabletop Product Photo Station
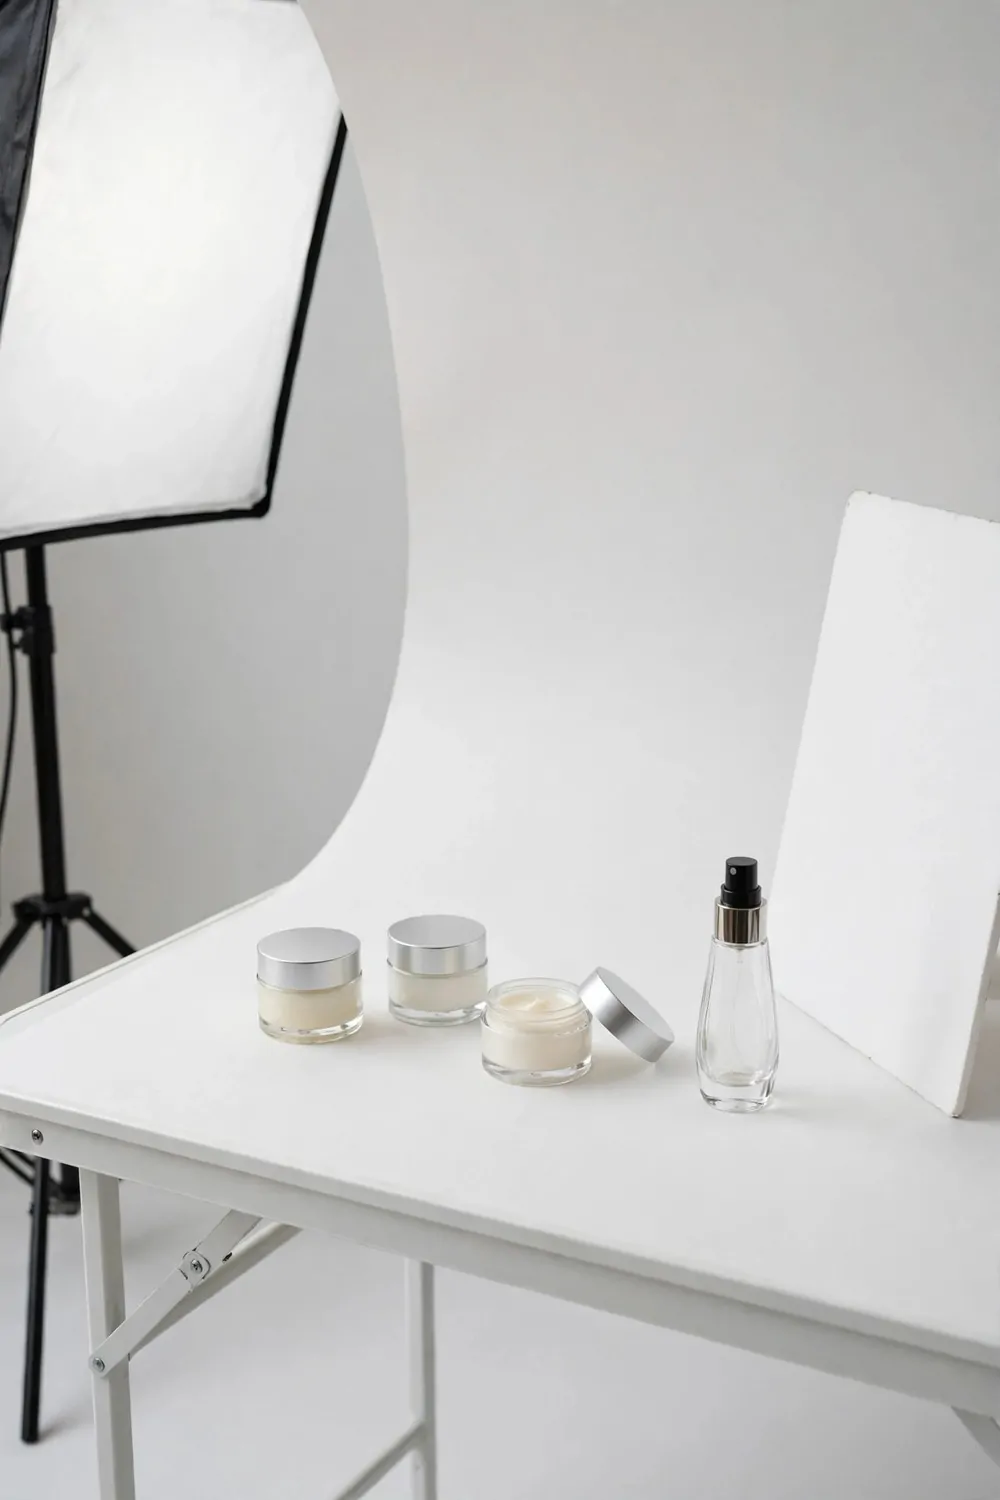
If you sell things online, or you just love photographing pretty objects, this little station will change your feed. It lives on a table, sets up in minutes, and makes products look store-worthy.
Start with a small folding table near a window or one softbox light. Cover it with your seamless paper or a large white poster board curved up behind. That is your stage.
Place your product in the middle and shoot from a slight angle, about 45 degrees. Straight-on shots look flat. From above looks nice for flat lays. That in-between angle shows the shape best.
Now add a reflector on the shadow side. A white foam board or even a baking tray covered in foil bounces light back into the dark side of your product. This one trick removes the harsh shadows that scream amateur.
Style the shot with props that tell a story. Selling candles? Add dried flowers and a matchbox. Photographing skincare? A small towel and a sprig of eucalyptus. Props should whisper, not shout.
Keep props to three or fewer. Every extra object fights your product for attention. When in doubt, take one thing away and look again.
Shoot a little wider than you think you need. You can always crop in, but you cannot add space back. Leave room around the product so it can breathe in the frame.
Wipe your products before every shot. The camera sees dust and fingerprints that your eyes miss completely. A microfiber cloth takes ten seconds and saves you from sad, smudgy close-ups.
Your starter kit fits in one small box:
- A folding table or any sturdy table you already own
- White paper, poster board, or a small paper roll for the background
- One softbox or a bright window for the main light
- A white foam board as a reflector
- A microfiber cloth and two or three small props
Take test shots and zoom in on your phone. Check the edges of the frame for stray cords, price tags, or your own reflection. Fix it now instead of editing later.
5. A DIY Light Tent for Tiny Products
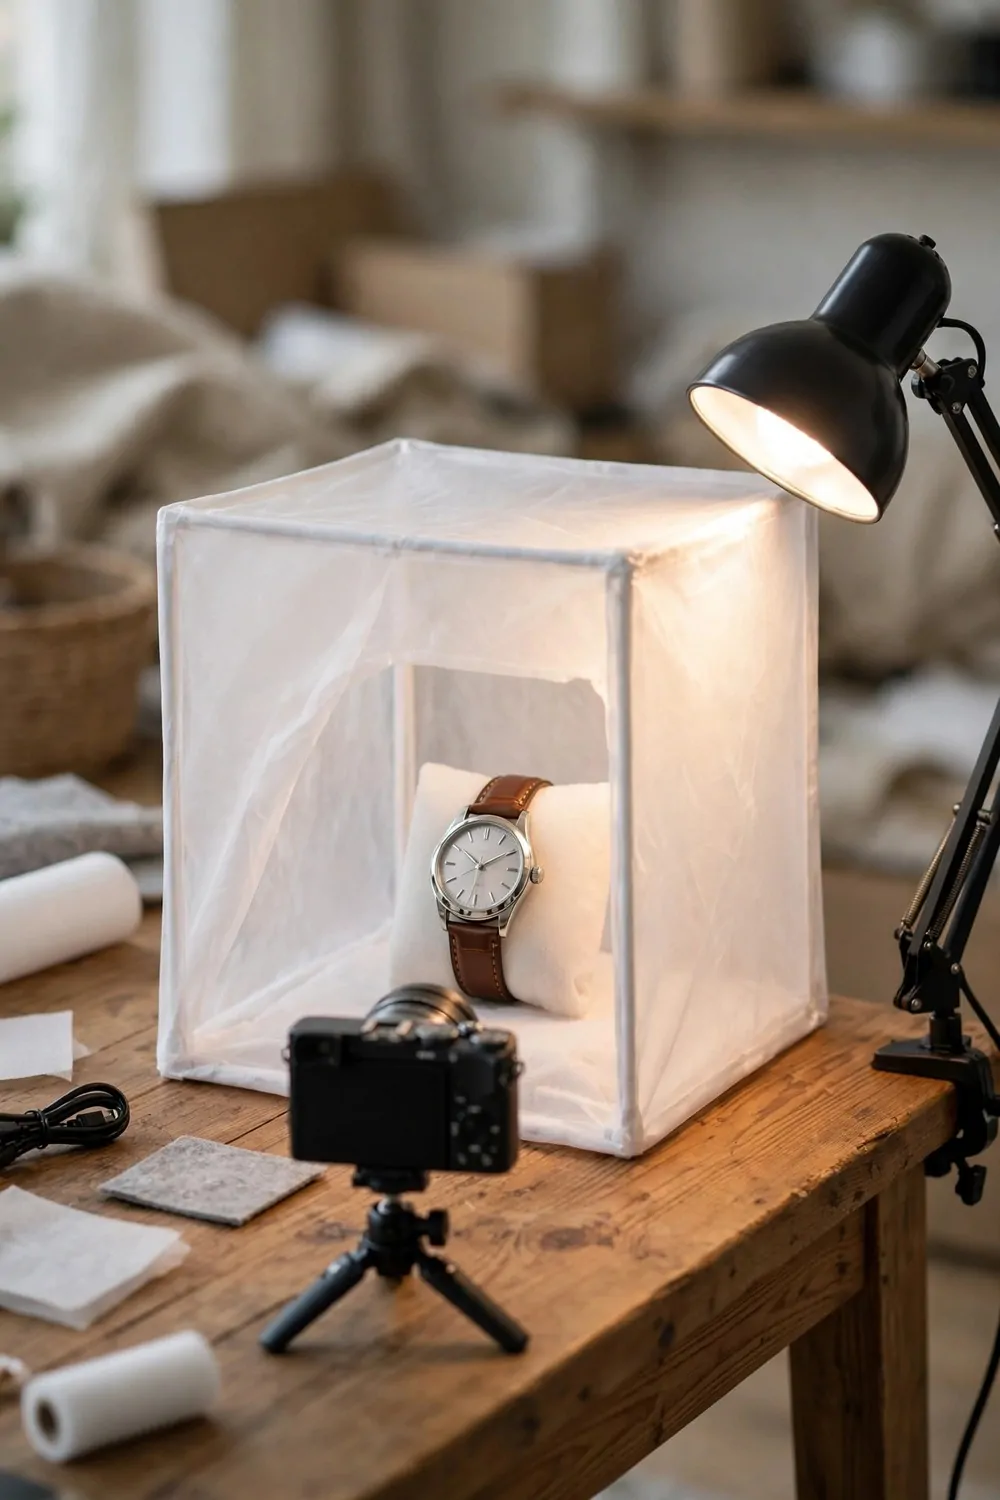
Small shiny things are the hardest to photograph. Jewelry, watches, little crafts. They pick up every reflection and every shadow. A light tent fixes both at once.
A light tent is a small box made of white translucent fabric. You put your product inside it, and you shine lights at the fabric from the outside. The fabric spreads the light out so it hits your product softly from every direction. Shadows almost disappear.
You can buy one, but making one is easy and kind of fun. Drape a white bedsheet or a shower curtain liner over a simple frame. Two chairs with a broom handle across them works. A big cardboard box with the sides cut out and tissue paper taped over the holes works too.
Put your lights outside the tent, aimed at the fabric, not directly at the product. Desk lamps are fine. One on each side gives the most even result. The fabric does all the softening work for you.
Leave one side of the tent open for your camera lens. Poke the lens just inside the opening. If you see the room reflected in your product, move the opening or hang a bit of fabric behind the camera too.
White poster board inside the tent makes a clean floor that curves up the back. No horizon line, no distractions. Your little product floats in soft white light like it is in a fancy catalog.
Here is the build in short steps:
- Make a frame from chairs, a box, or PVC pipes, about two feet wide
- Drape white translucent fabric over the top and sides, leaving the front open
- Place white poster board inside as the floor and back wall
- Set one lamp on each side, aimed at the fabric
- Put your product in the middle and shoot through the front opening
Watch out for color casts. A cream sheet will tint everything yellow. A blue curtain will cool it down. Stick to pure white fabric so your product’s true colors show.
This setup is perfect for handmade sellers. Earrings, soaps, candles, small pottery. Photos taken in a light tent look so clean that buyers assume you hired a photographer.
6. A Green Screen Streaming Corner
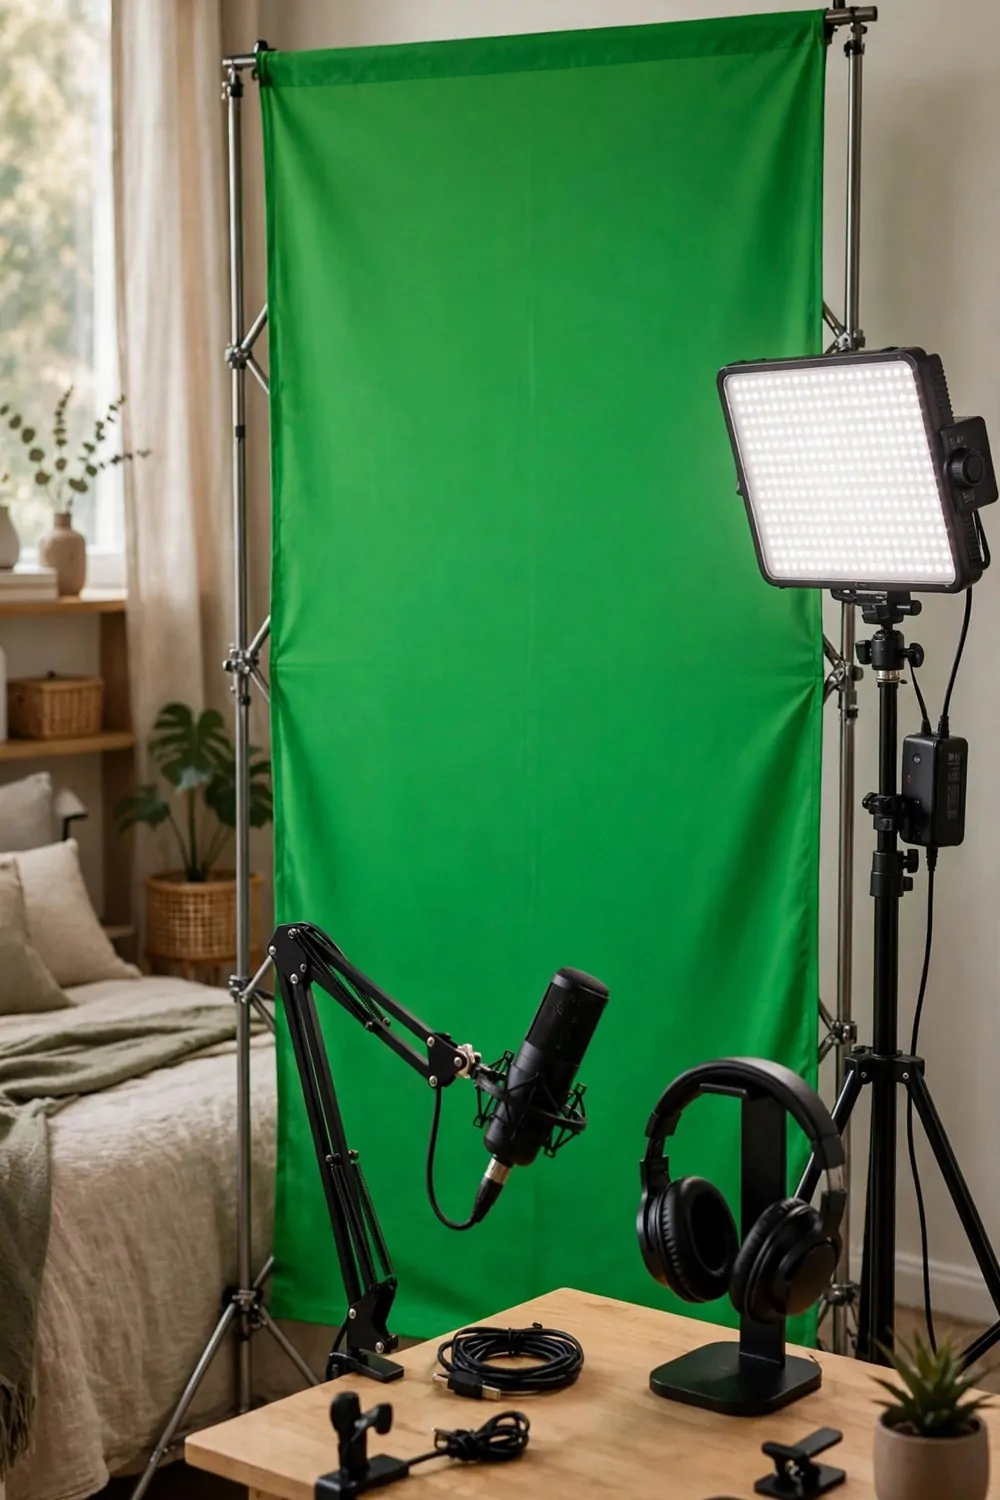
A green screen lets you put any background behind you without leaving your room. Beach, office, animated graphics. Streamers, teachers, and gamers use this trick every day, and it works in a regular bedroom corner.
The fabric matters more than anything. Get actual green screen fabric or a pop-up green screen, not a green bedsheet. The color needs to be even and bright, with no wrinkles catching shadows. Wrinkles are the number one reason green screens look bad.
Hang it flat and smooth. A collapsible stand holds it tight. If you use a wall-mounted one, pull it down firmly and clip the sides. Then step back and look at it through your camera before you film anything.
Light the green screen separately from yourself. Aim one light at the fabric so the green looks even edge to edge. Then light yourself with your ring light or softbox. Two jobs, two lights.
Stand or sit a few feet in front of the screen. If you get too close, green light bounces onto your hair and shoulders, and the software struggles to cut you out cleanly. Three to four feet of space fixes most spill problems.
Do not wear green. This sounds obvious, but a green logo on your shirt or green earrings will vanish into the background too. Check your outfit in the preview before you go live.
Most streaming and video apps have background removal built in now. You pick the green screen option, click on the green, and adjust the sensitivity until your edges look clean. Test it with hand movements, since fast motion shows flaws first.
This corner is also great without the green effect. A smooth green fabric reads as a clean, bold background in regular videos too. Some creators never key it out. They just like how the color pops in thumbnails.
7. The Pegboard Gear Wall
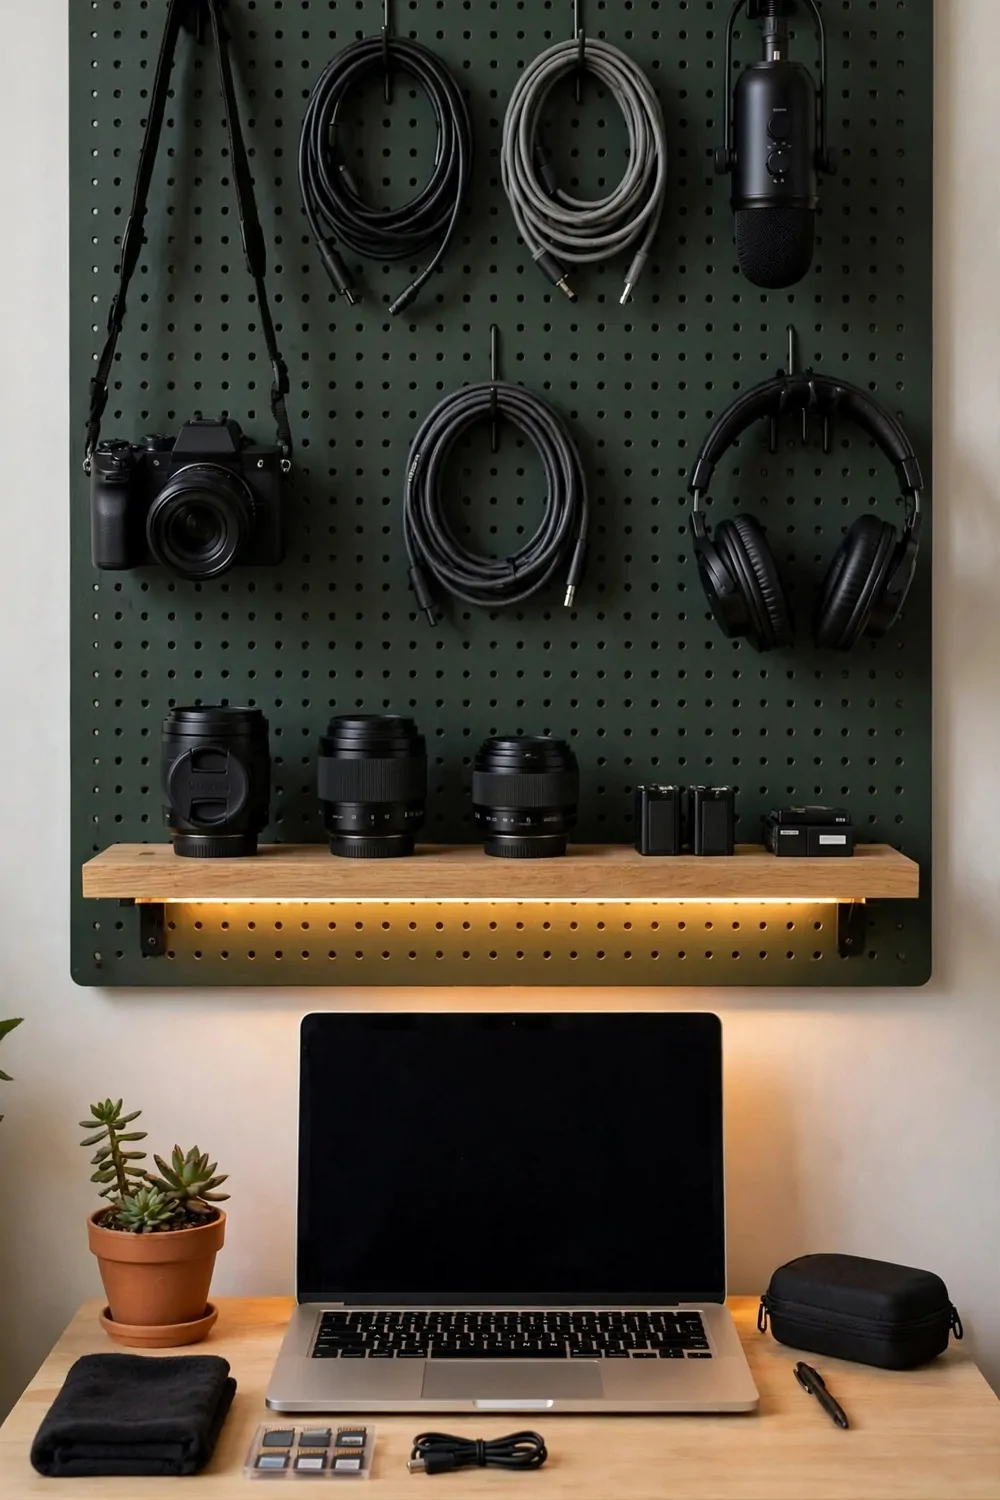
Every creator owns a growing pile of gear. Cables, mics, cameras, headphones. It ends up in a drawer, tangled and sad. A pegboard wall turns that pile into decor and keeps everything within reach.
Mount a pegboard on the wall above or beside your desk. Paint it first if you like. Dark green, warm beige, or classic white all look great on camera. The board itself becomes part of your background.
Hang everything on hooks. Cameras, coiled cables, headphones, your microphone. Small shelves made for pegboards hold lenses, batteries, and memory cards. When every item has a hook, cleanup takes about thirty seconds.
This wall does double duty. It organizes your gear, and it looks fantastic behind you in videos. Viewers read an organized gear wall as professional. It says you take this seriously, without you saying a word.
Add one warm LED strip under a shelf or along the bottom of the board. The glow adds depth and makes the wall look expensive at night. It is the cheapest upgrade with the biggest visual payoff.
Keep the arrangement a little loose, not museum-perfect. A wall that looks used feels real and relatable. Just avoid the dreaded tangled cable nest. Coil cables in loose loops and hang them on wide hooks.
Label nothing, but group things. All audio gear in one area, all camera bits in another. Your hands will learn where things live, and you will stop losing that one adapter right before filming.
If you rent, use strong adhesive strips or a freestanding pegboard panel that leans on the desk. No holes needed. Landlords never have to know your wall was a studio.
8. A Styled Bookshelf Backdrop
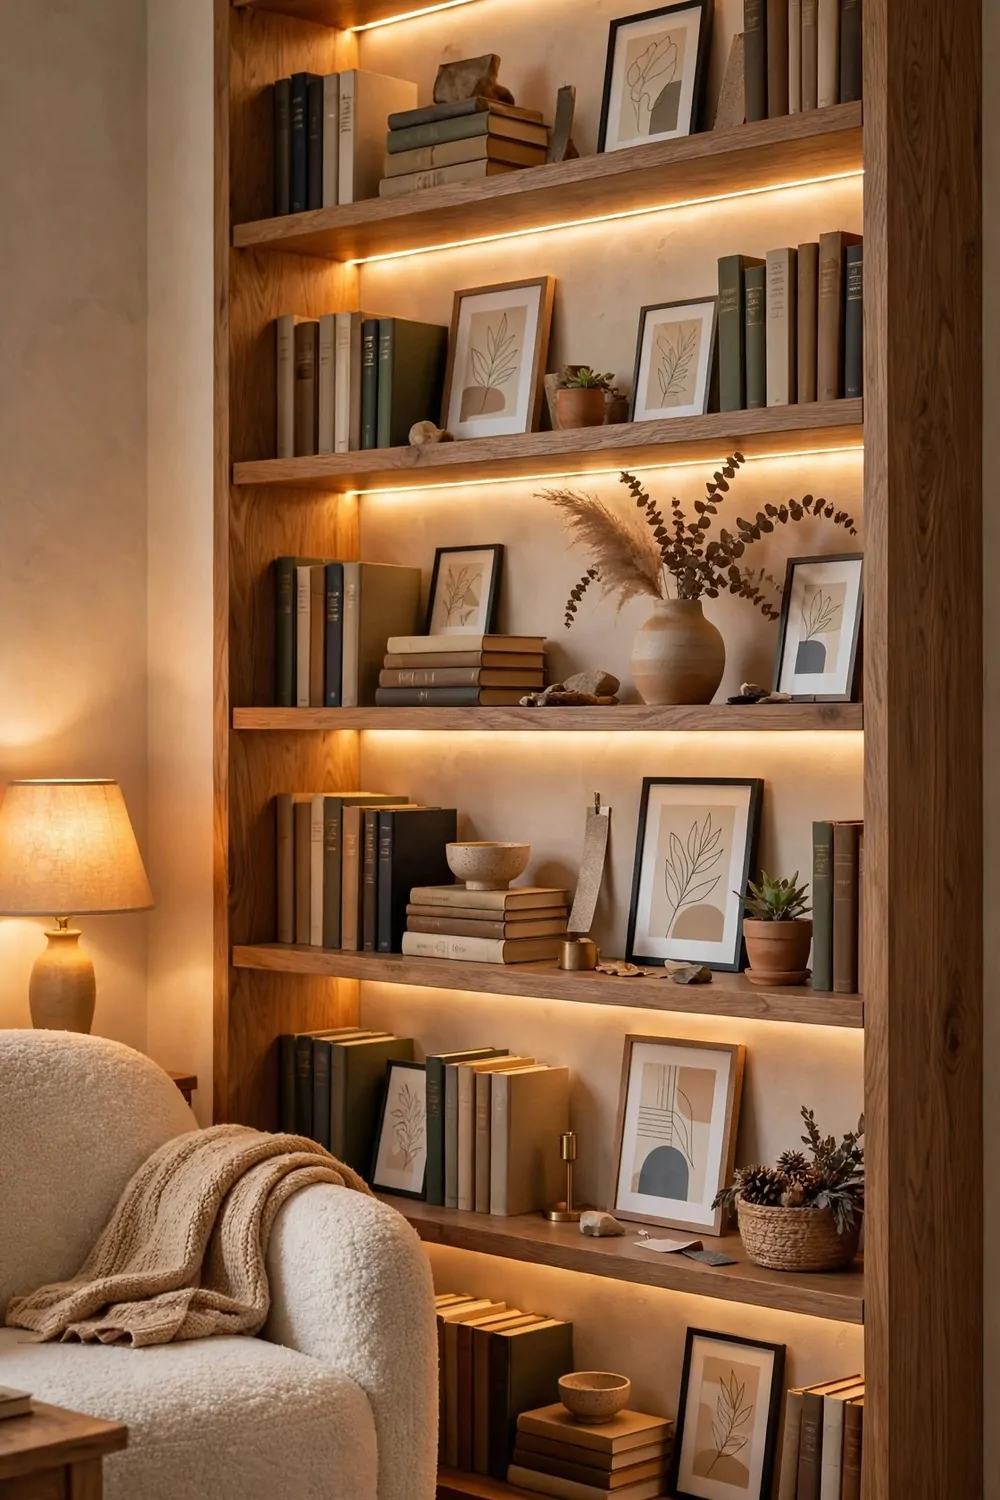
Some of the most-watched creators on the internet film in front of a bookshelf. It looks smart, warm, and personal. And you probably already own the main piece.
Start by editing the shelf. Take everything off, then put back only what looks good on camera. Books you love, a small plant, one framed print, a candle. Leave empty space between groups. Crowded shelves look messy on video.
Arrange books in a relaxed way. Some standing upright, one small stack lying flat. Mix in a vase or a little sculpture to break up the rows. The goal is collected, not cluttered.
Color matters more than titles. Nobody can read your book spines on camera, but everyone feels the color story. Group similar tones together for a calm look, or let the rainbow show if that fits your style.
Add one warm light source. A small lamp on the shelf or an LED strip along the edge makes the books glow and adds depth. Overhead room light alone makes shelves look flat and a bit sad.
Sit a few feet in front of the shelf, not right against it. Distance blurs the background softly and keeps you as the sharp focus. Your shelf becomes a beautiful wash of color and shape behind you.
Refresh it now and then. Swap in seasonal touches, a new print, fresh flowers. Returning viewers notice, and it keeps your background feeling alive instead of frozen in time.
This backdrop works for almost every niche. Book channels, obviously. But also finance, teaching, commentary, podcasts. A good bookshelf says thoughtful person, and that suits nearly everyone.
9. A Plant-Filled Filming Corner
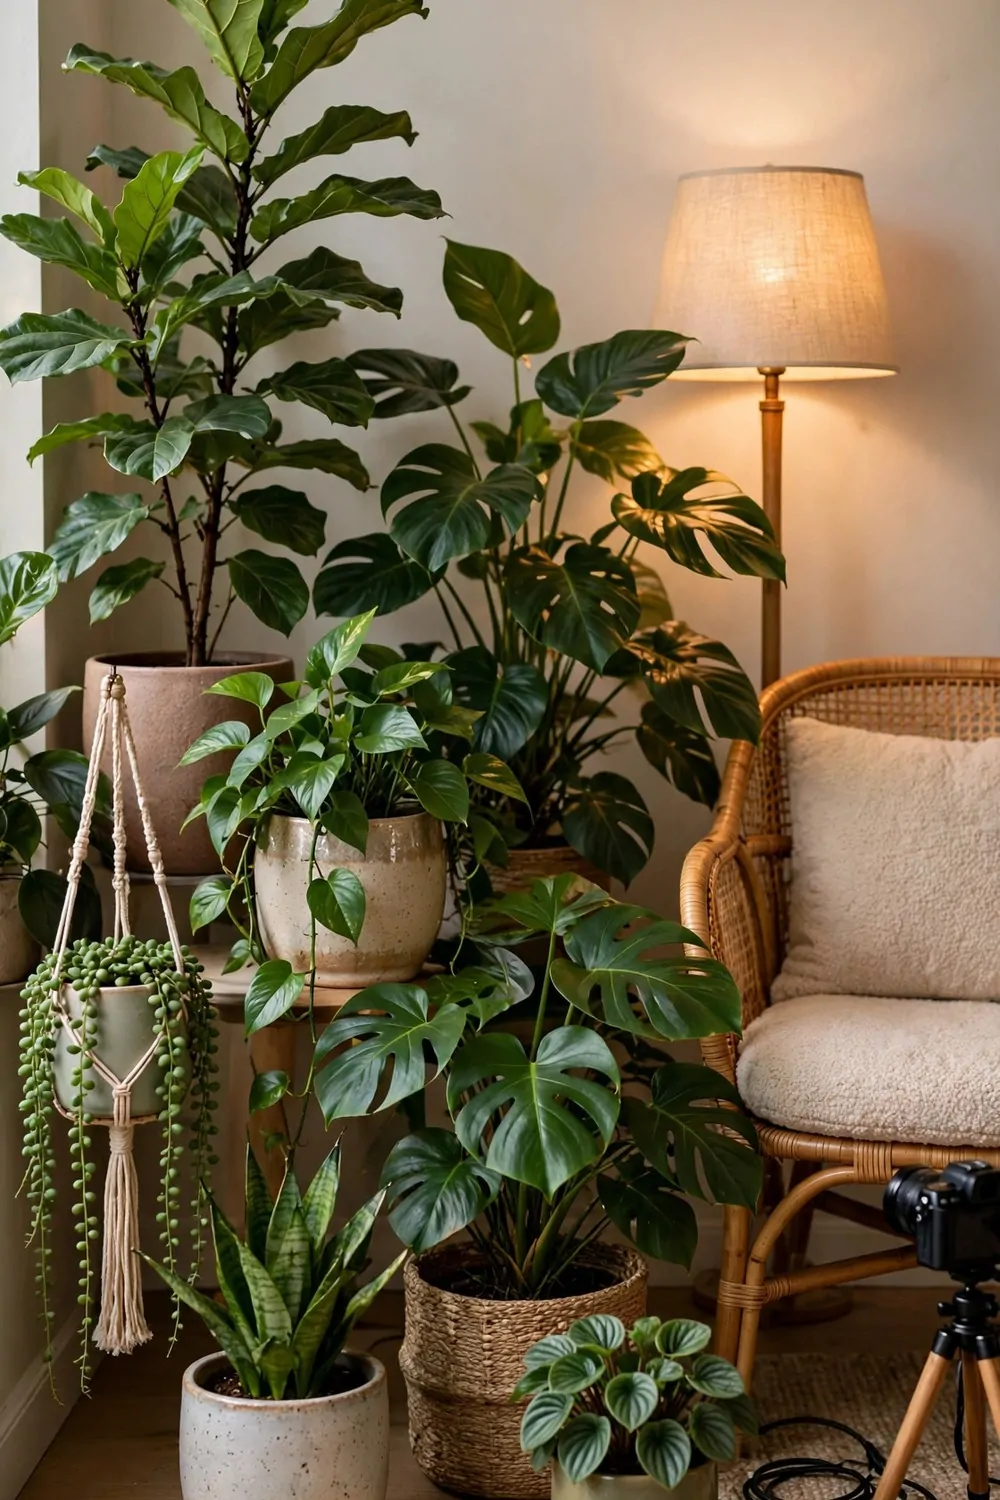
Plants are the easiest background upgrade in the world. They add life, color, and texture to any frame, and they ask for almost nothing in return.
Build your corner with plants at different heights. A tall leafy one in the back, medium ones in the middle, small pots up front on a stool or a stack of books. Layers make it look lush instead of random.
Put a warm lamp behind or beside the plants. Light glowing through leaves looks magical on camera. It creates little pockets of brightness and shadow that flat walls can never give you.
Pick easy plants if you are new to this. The leafy ones with big dramatic leaves photograph best. A trailing plant on a high shelf adds movement to the frame. Group odd numbers together, three or five, since that looks more natural than pairs.
Keep the pots simple. White, terracotta, or natural ceramic. Busy patterned pots fight for attention in the background. The plants are the stars here.
Water them on a schedule and wipe the big leaves now and then. Dusty leaves look dull on camera, and a quick wipe brings back the shine. Your plants are co-stars, so keep them camera-ready.
This corner suits lifestyle creators, wellness channels, home decor accounts, and anyone who wants a soft natural vibe. It also hides a multitude of sins. An ugly wall corner becomes a little jungle with about four plants and one lamp.
Rotate your plants toward the light every week or two so they grow evenly. A plant leaning hard to one side looks sad in photos. A little turn keeps everyone happy.
10. A Makeup Vanity That Doubles as a Set
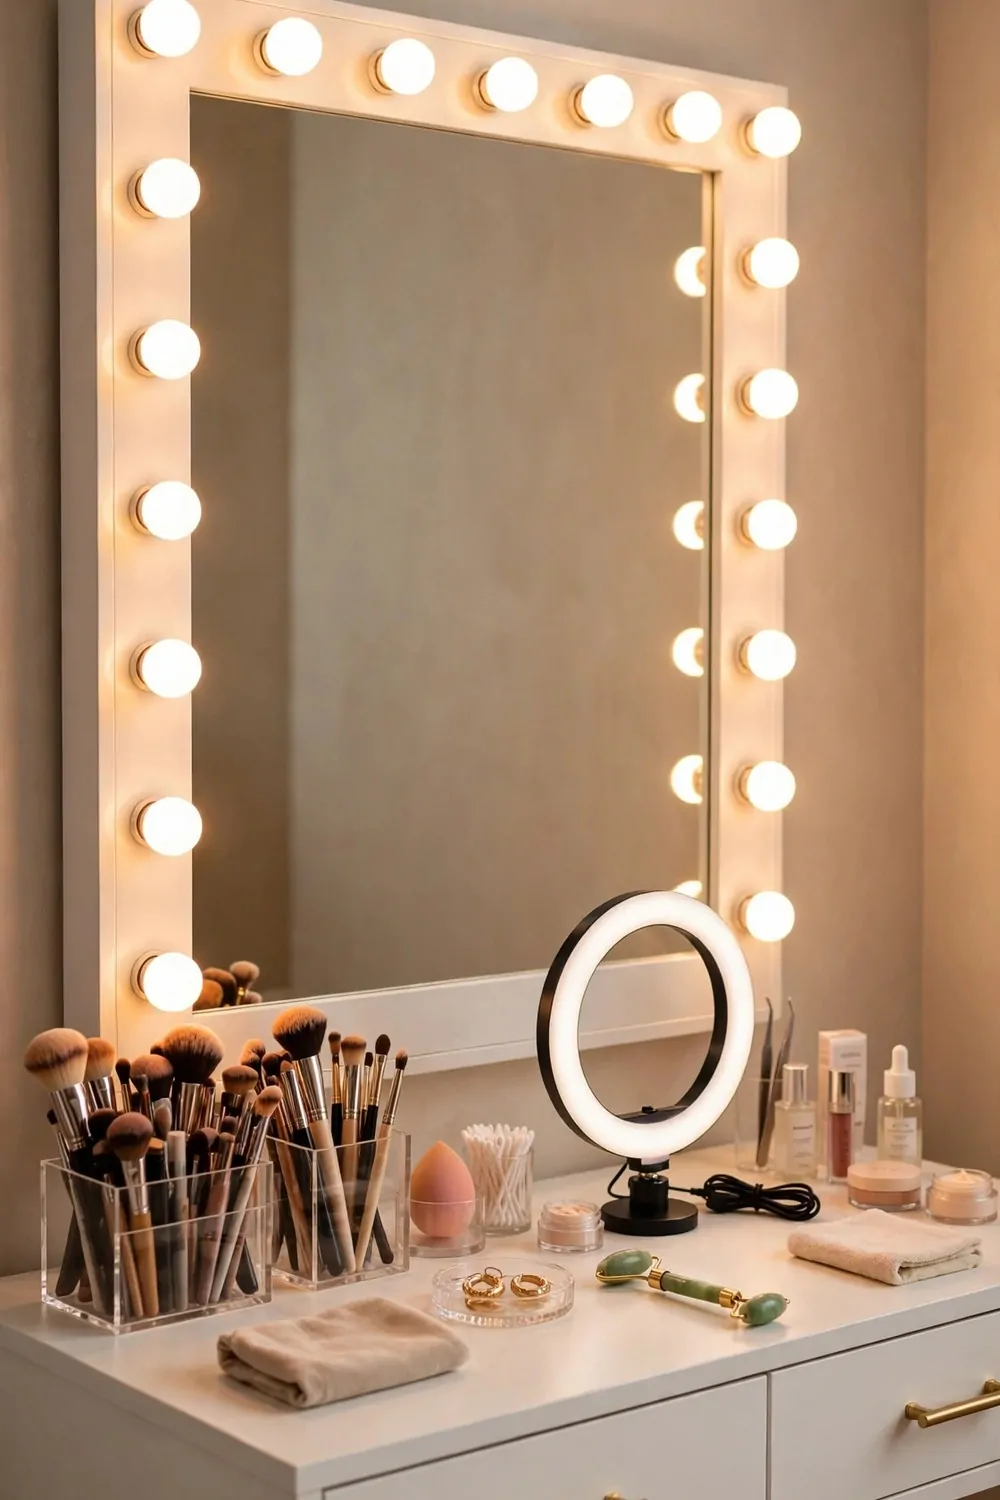
A makeup vanity is already halfway to a filming studio. It has a mirror, it has light, and it was built for close-ups. With a few tweaks it becomes a proper set.
The mirror bulbs are the star. Those little round lights around the mirror give the same flattering front light as a ring light. They soften shadows and make skin look smooth on camera.
Keep the wall behind you neutral. Warm white, soft beige, or light gray. A busy wall ruins the clean beauty look. If your wall is not cooperating, hang a simple fabric panel behind the chair.
Organization is everything here. Brushes in holders, palettes stacked neatly, products lined up. A messy vanity reads as chaos on camera. Drawer organizers and small trays keep it all tidy with almost no effort.
Add a small ring light or phone tripod on the vanity for filming. Angle it slightly down toward your face. The mirror bulbs plus one extra light is plenty. More than that and you start looking flat.
This setup is perfect for get-ready-with-me videos, tutorials, and product reviews. Your audience expects to see the vanity. It is part of the content, not just the background.
Film a little test and check the mirror for reflections. Make sure the camera does not catch your phone, a messy corner of the room, or you in your pajamas when you only meant to show the vanity. Mirrors tell the truth about the whole room.
Keep a small lint-free cloth in the drawer. Smudged mirrors show up badly on camera, and one quick wipe before filming keeps everything sparkling.
11. The Overhead Top-Down Filming Arm
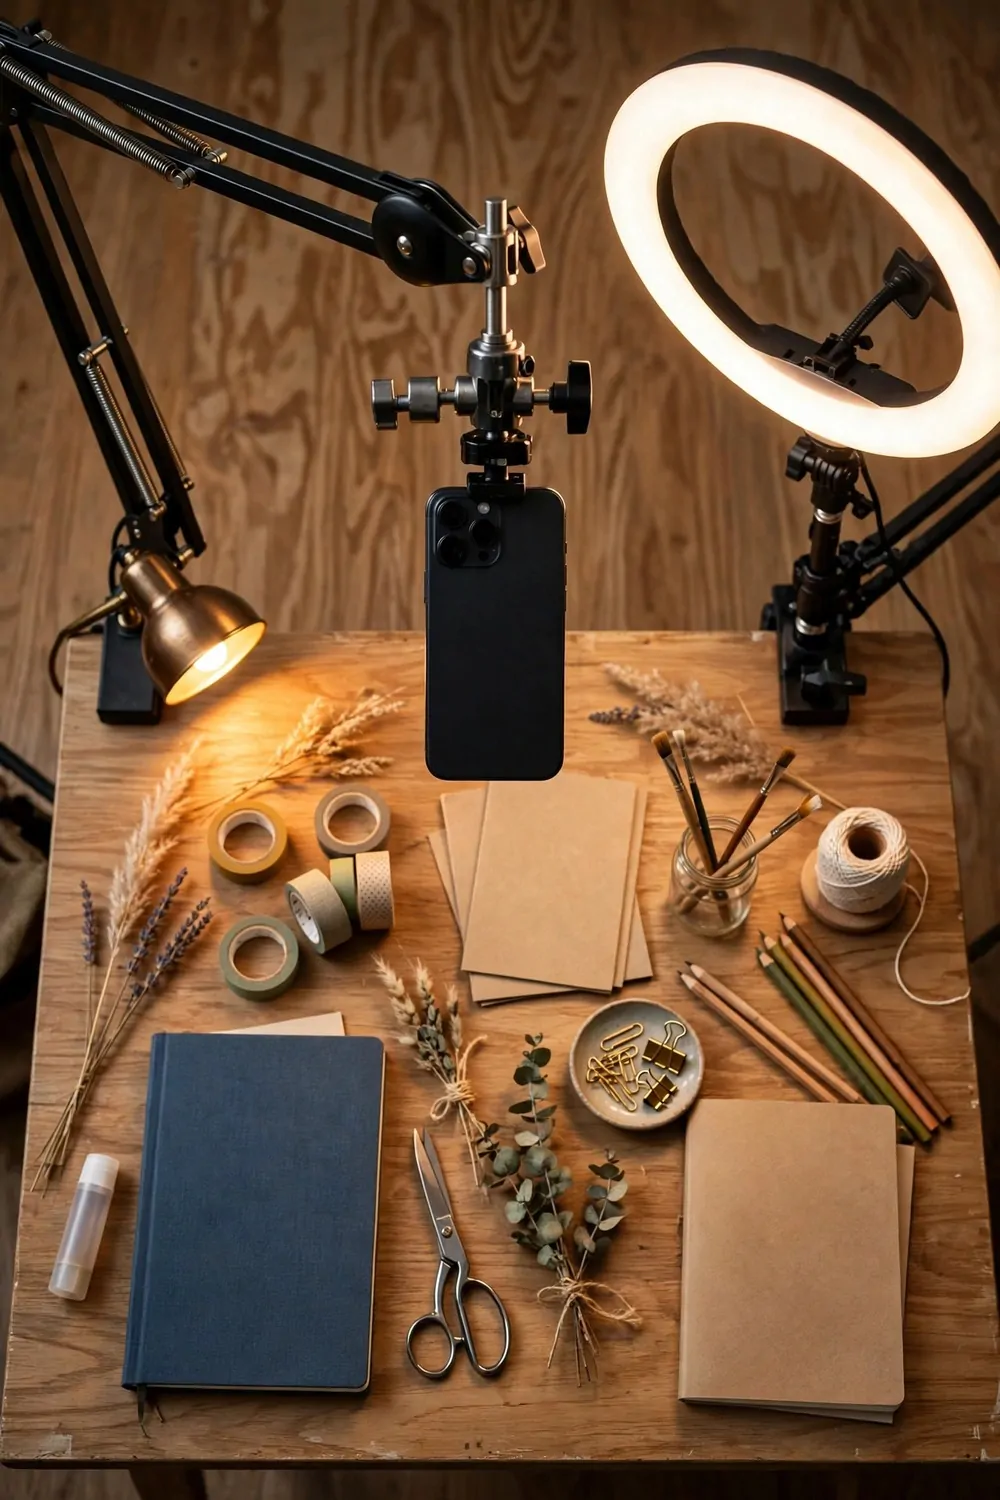
Cooking videos, craft tutorials, unboxings, and flat lays all need the same shot. Straight down from above. Holding your phone over the table gets shaky fast. An overhead arm fixes it forever.
Clamp an articulated arm to the edge of your desk or table. These arms bend into position and lock tight. Mount your phone face-down at the end, centered over your workspace. Now your hands are free and the shot never wobbles.
Add an overhead light. A ring light on a boom arm or a small LED panel above the table lights the whole surface evenly. Side light creates long shadows across your work, so top light is better here.
Mark your filming zone with small pieces of painter’s tape on the table. A little rectangle that matches your phone’s frame. Every time you set up, your hands and materials land in the same spot. Consistency makes editing so much easier.
Keep the table surface simple. A wooden board, a white sheet of craft paper, or a neutral tablecloth. Busy patterns distract from what your hands are doing. Swap the surface to match the mood of each video.
Shoot a quick test clip and watch your hands. Check that nothing important happens outside the frame. Adjust the arm height until the whole workspace fits with a little margin around the edges.
This rig also works for writing videos, drawing time-lapses, and packing orders. Anything where the action happens on a flat surface. Once it is set up, filming takes seconds instead of a whole production.
Store the arm folded against the wall when you are done. It takes up almost no space. Your desk goes back to being a desk, and your studio appears again whenever you need it.
12. A Colored Gel Light Backdrop
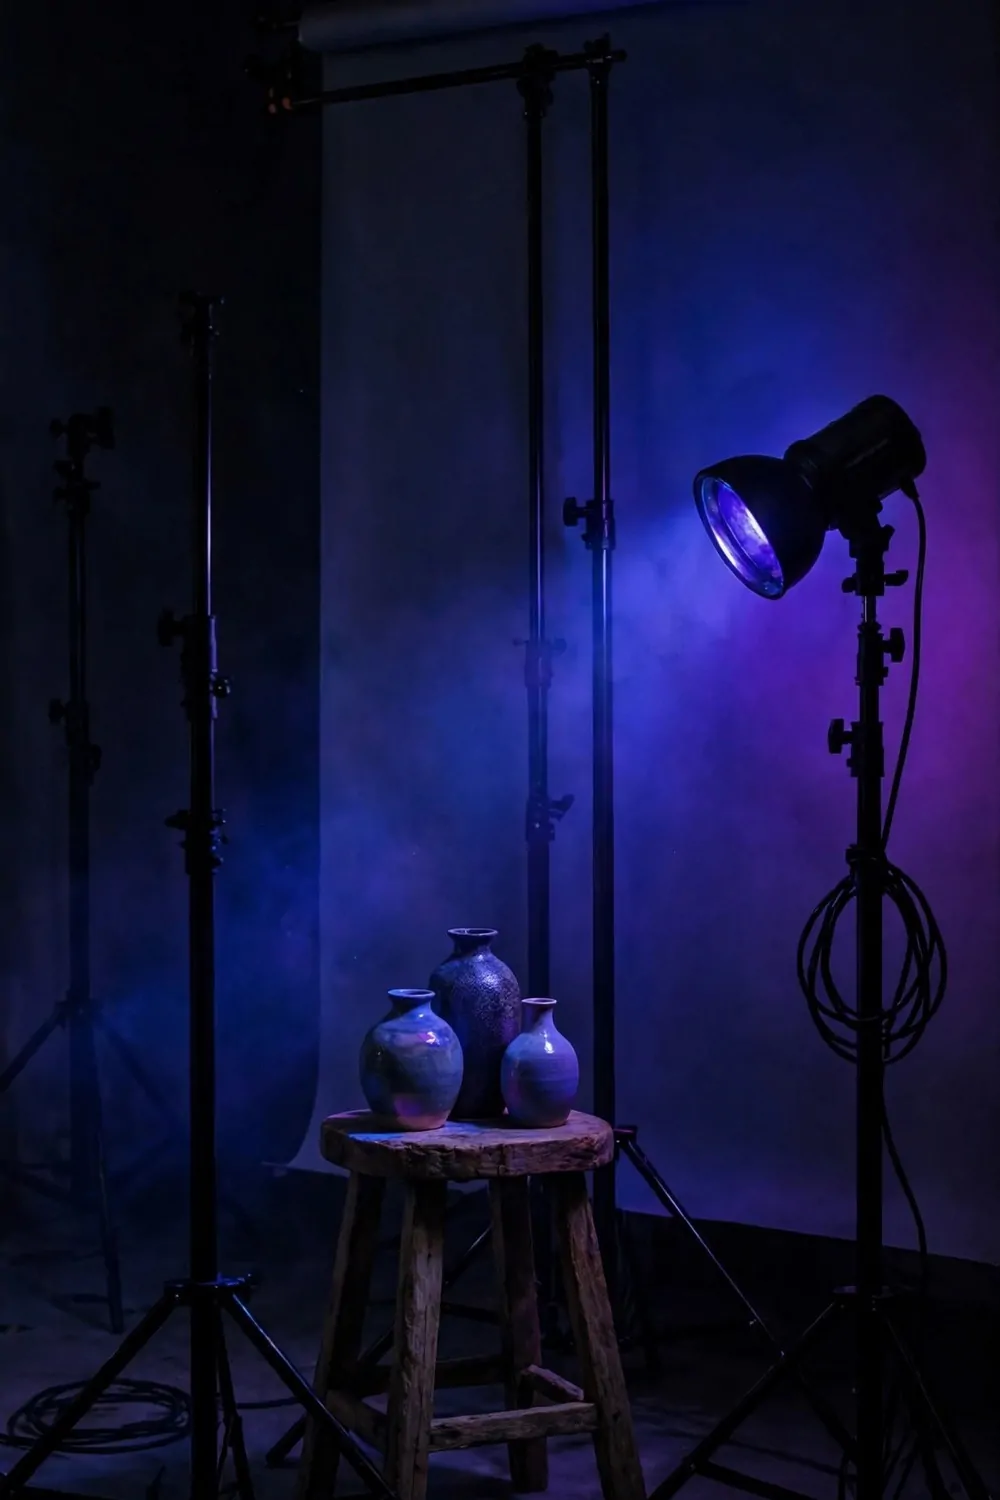
Want a purple background on Monday and a deep blue one on Tuesday, without buying twenty backdrops? Colored gels are the answer. They turn one plain backdrop into endless moods.
A gel is just a sheet of colored transparent film that goes over your light. The light shining through it paints your backdrop whatever color the gel is. White or light gray paper works best, since it takes the color cleanly.
Start with one light aimed at the backdrop with the gel on it. Light yourself separately with a plain white light. This separation is the whole trick. Colored light on you looks strange. Colored light behind you looks cinematic.
Blue and purple gels give a moody, evening feel that suits music, gaming, and commentary channels. Warm orange gels feel cozy and golden, great for autumn content or intimate talking videos. Red is dramatic, so use it sparingly.
You can layer two gels on two lights for gradient effects. Blue on one side, purple on the other, and the middle melts between them. It looks like an expensive music video setup.
Keep the room dark when you use gels. Any stray white light washes the color out and turns it muddy. Close the curtains, switch off the overheads, and let the colored lights own the room.
Try these popular moods to start:
- Deep blue for calm, thoughtful, nighttime talking videos
- Purple and pink for playful beauty or fashion content
- Warm amber for cozy storytelling and autumn vibes
- Teal for fresh, modern tech and gaming streams
- Red accents for bold announcements and dramatic reveals
Gels are cheap and last for ages if you keep them flat and away from hot lights. LED lights stay cool, so they are the safest pairing. One small pack of gels opens up a whole new look for your channel.
13. A Portable Backdrop Stand Corner
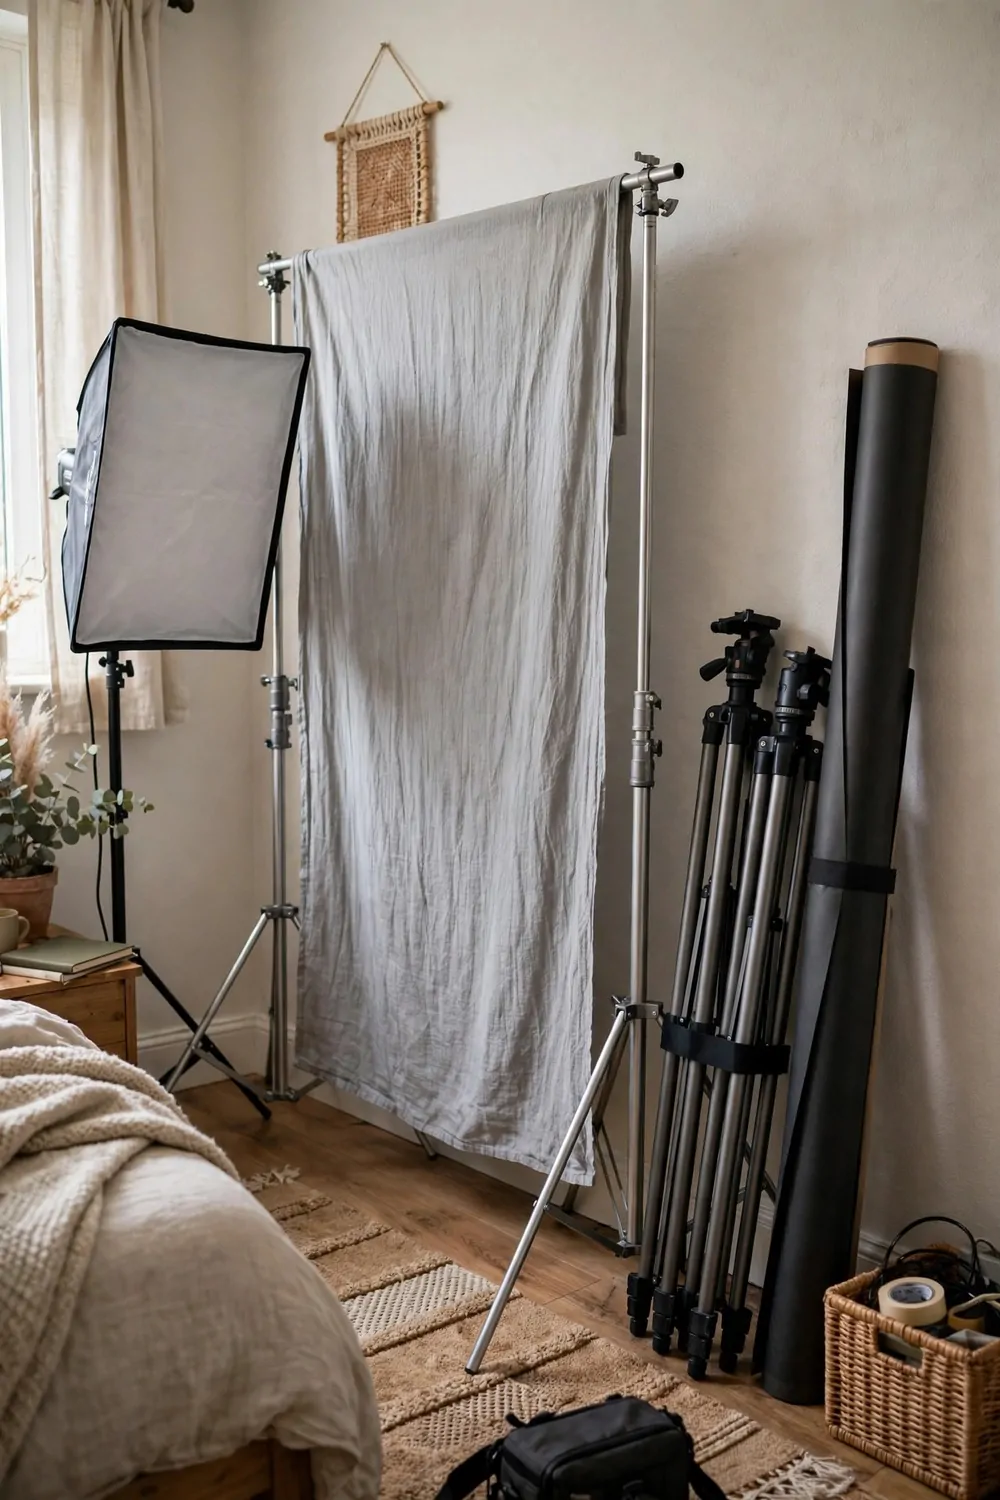
Not every creator has a spare room. Some of us film in the bedroom, the living room, wherever fits. A portable backdrop stand is made exactly for that life.
The stand is two light tripods with a crossbar between them. It folds down small enough to slide behind a door or into a closet. Setup takes about five minutes once you have done it twice.
Drape muslin fabric over the crossbar for a soft, textured background. Muslin comes in every color, it barely wrinkles, and it photographs beautifully. Gray, beige, and soft white are the most useful shades to own.
Own two or three fabrics and you own two or three studios. Swap the gray for beige and your whole channel gets a new look in ten minutes. It is the cheapest rebrand in content creation.
Weight the tripod legs if your fabric is heavy. A sandbag or even a bag of rice on each foot keeps everything steady. A falling backdrop stand mid-take is funny exactly once.
Store the folded stand in a corner with your tripods and rolled fabrics leaning beside it. It actually looks kind of cool, like a little gear station. Everything you need for filming lives in one spot.
This setup is a renter’s dream. No holes, no paint, no arguments with the landlord. When filming is done, the whole studio vanishes into the closet and your room is just a room again.
Film facing away from windows for the most even light on the fabric. Side light shows every fold and texture. Flat front light keeps muslin looking smooth and clean.
14. An Acoustic Panel Podcast Nook
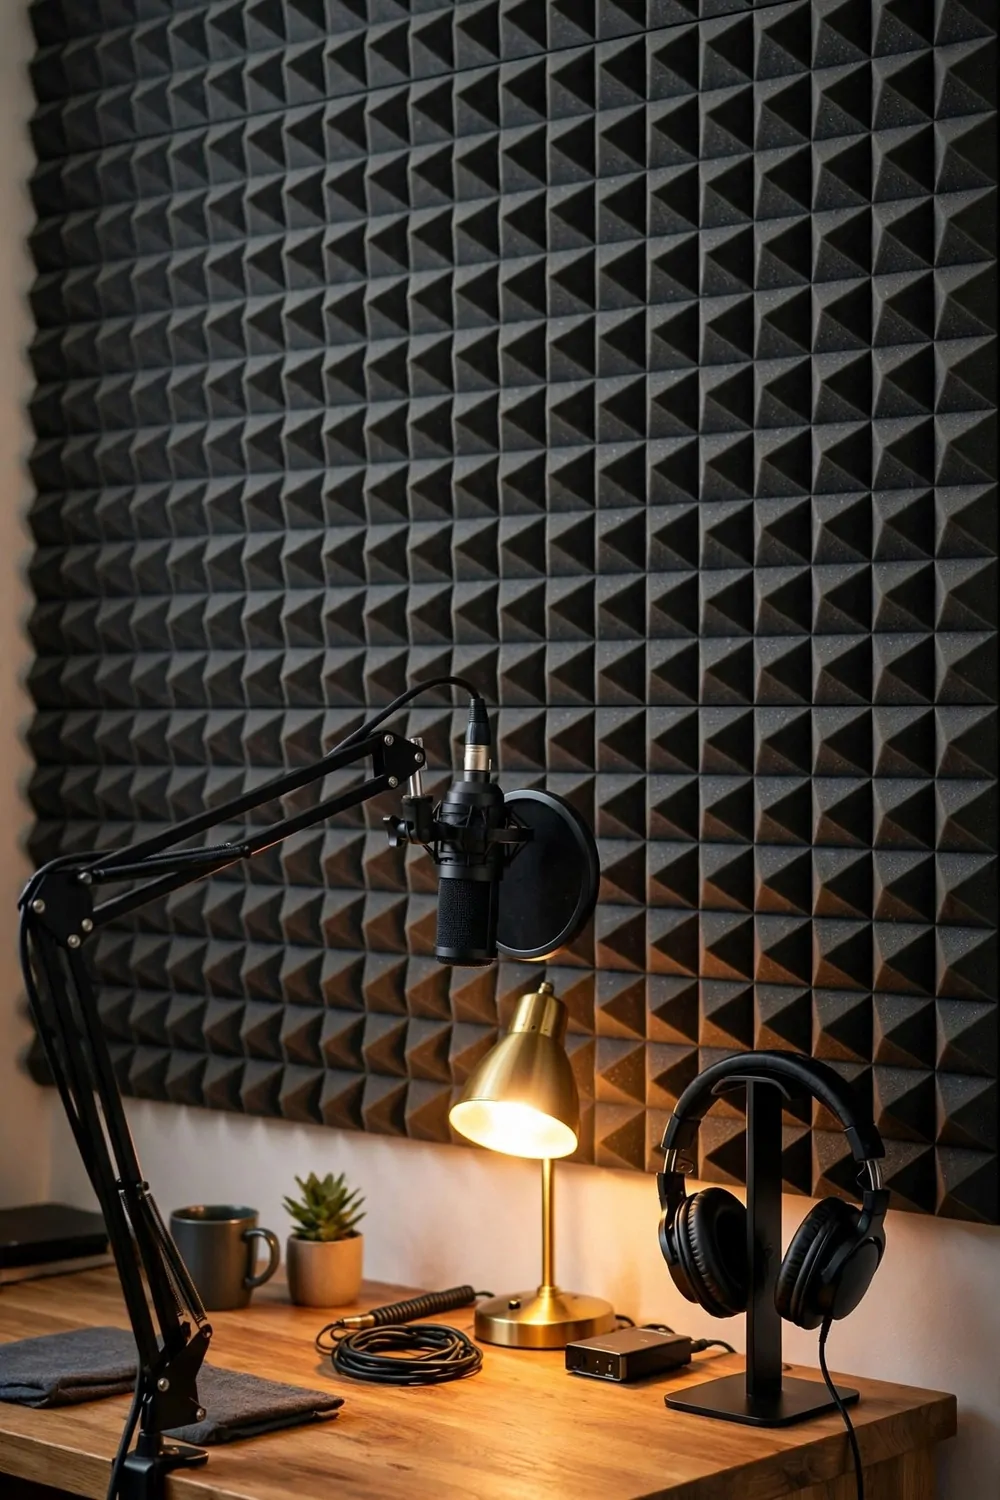
Bad audio ruins good video faster than anything. Viewers forgive a shaky shot. They click away from echoey, hollow sound. An acoustic nook fixes the sound and looks great doing it.
Foam panels on the wall behind and beside your mic soak up the reflections that cause echo. You do not need to cover the whole room. The wall your mic faces matters most, since that is where your voice bounces back from.
Do the clap test before and after. Stand where you record, clap once hard, and listen. Before panels you will hear a fluttery ring. After panels it goes dull and short. That dull sound is what you want.
Arrange the panels in a neat pattern. Squares, stripes, or a checkerboard of two shades. A tidy layout looks intentional on camera. Random stuck-up panels look like you panicked, even if they work fine.
Mount your mic on a boom arm and pull it close, about a hand’s width from your mouth. Close mic plus treated walls equals that warm, clear podcast sound everyone loves. Distance is the enemy of good audio.
Soft things help too. A rug under the desk, curtains on the window, a bookshelf nearby. Hard bare rooms echo. Cozy rooms do not. Every soft surface is working for your sound.
This nook doubles as a video podcast set. The panels look technical and professional behind you. Add one warm lamp and your audio corner becomes a proper little studio that sounds as good as it looks.
Your nook checklist:
- Foam panels for the wall behind and beside the mic
- A mic on a boom arm, kept close to your mouth
- Headphones for monitoring, hung on a stand when not in use
- A rug and curtains to kill extra reflections
- One warm lamp so the corner looks inviting on video
15. A Shelving Display Wall With LED Strips
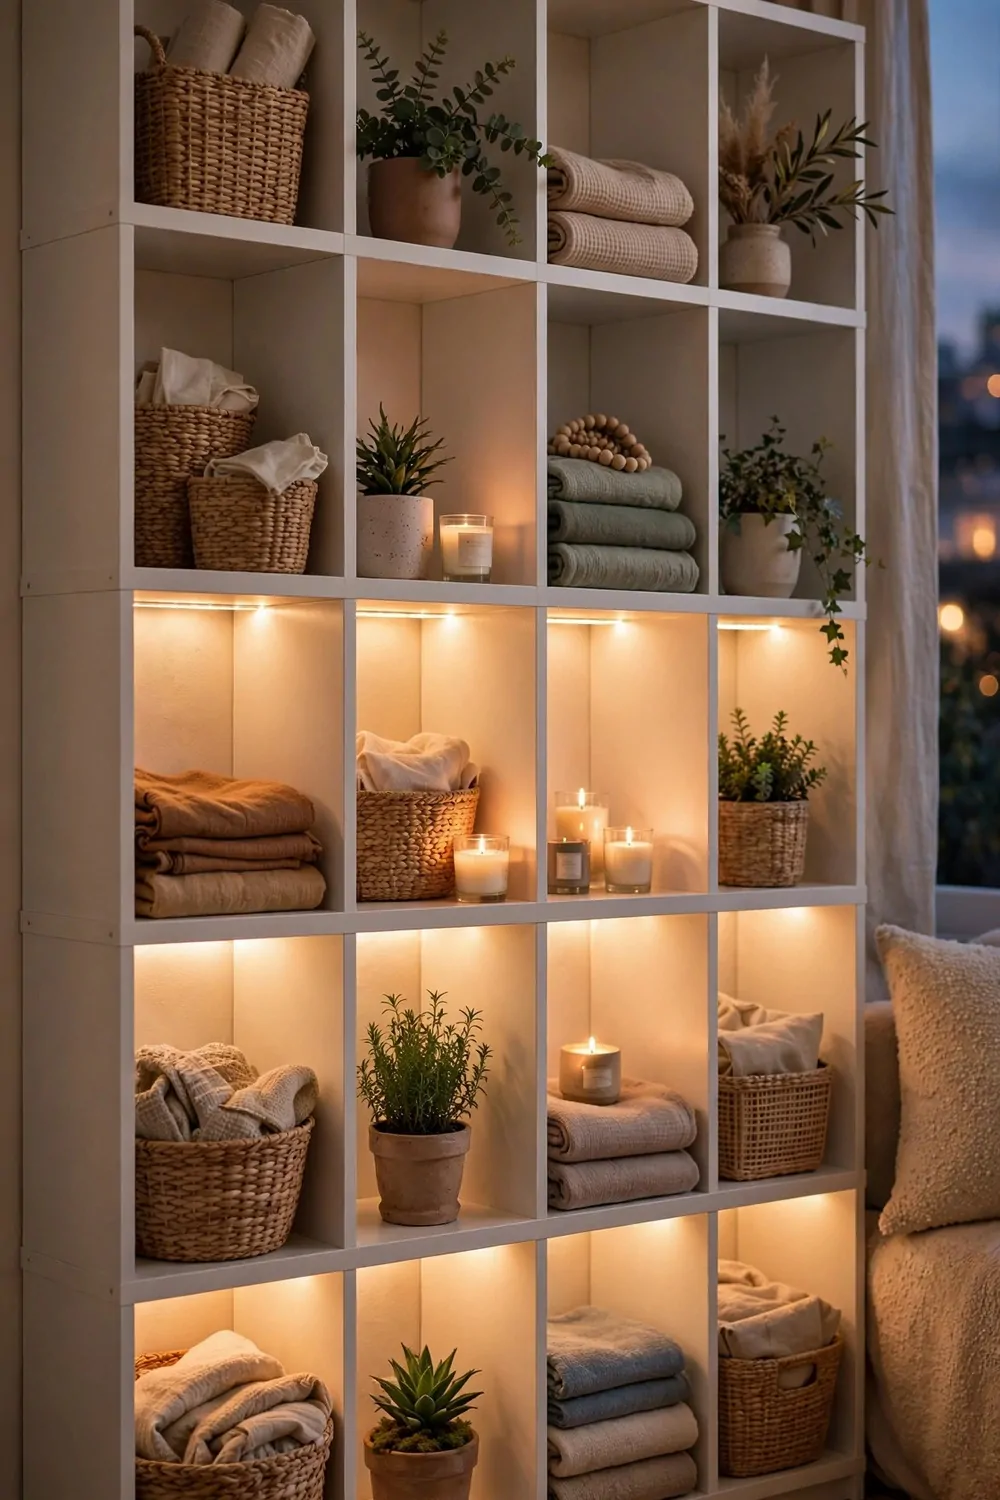
A cube shelf might be the hardest-working backdrop in home studios. It holds your stuff, hides your clutter, and with one addition it glows like a film set. That addition is LED strips.
Stick a warm white LED strip under each shelf, toward the front edge. The light washes down over whatever sits on the shelf below. Suddenly your baskets and books have depth and warmth. It looks expensive. It takes an hour.
Style each cube loosely. Baskets for the messy stuff, since they hide everything. Books stacked flat in one cube, standing in another. A small plant trailing down, a candle, folded textiles for color. Leave some cubes half empty so the wall can breathe.
Warm white light, around the cozy end of the scale, flatters almost every skin tone and room. Cool white can look a bit office-like. If your strips let you change color, try warm first and live with it for a week.
This wall is a brilliant background for talking videos. It says organized and creative without trying too hard. Sit a few feet in front of it and let the camera soften it into a warm, glowy backdrop.
Hide the strip’s power cord behind the shelf’s side panel. Nothing ruins the magic like a black cable dangling down the front. A little tape and planning keeps it invisible.
Dust the shelves now and then, because LED light shows dust clearly. A quick wipe every couple of weeks keeps the glow clean. Your backdrop is doing you a favor, so return it.
Swap a few items with the seasons to keep it fresh. Small pumpkins in fall, fresh greens in spring, nothing holiday-specific that dates your videos. Timeless styling means your old videos still look current next year.
16. A Floor-to-Ceiling Curtain Backdrop
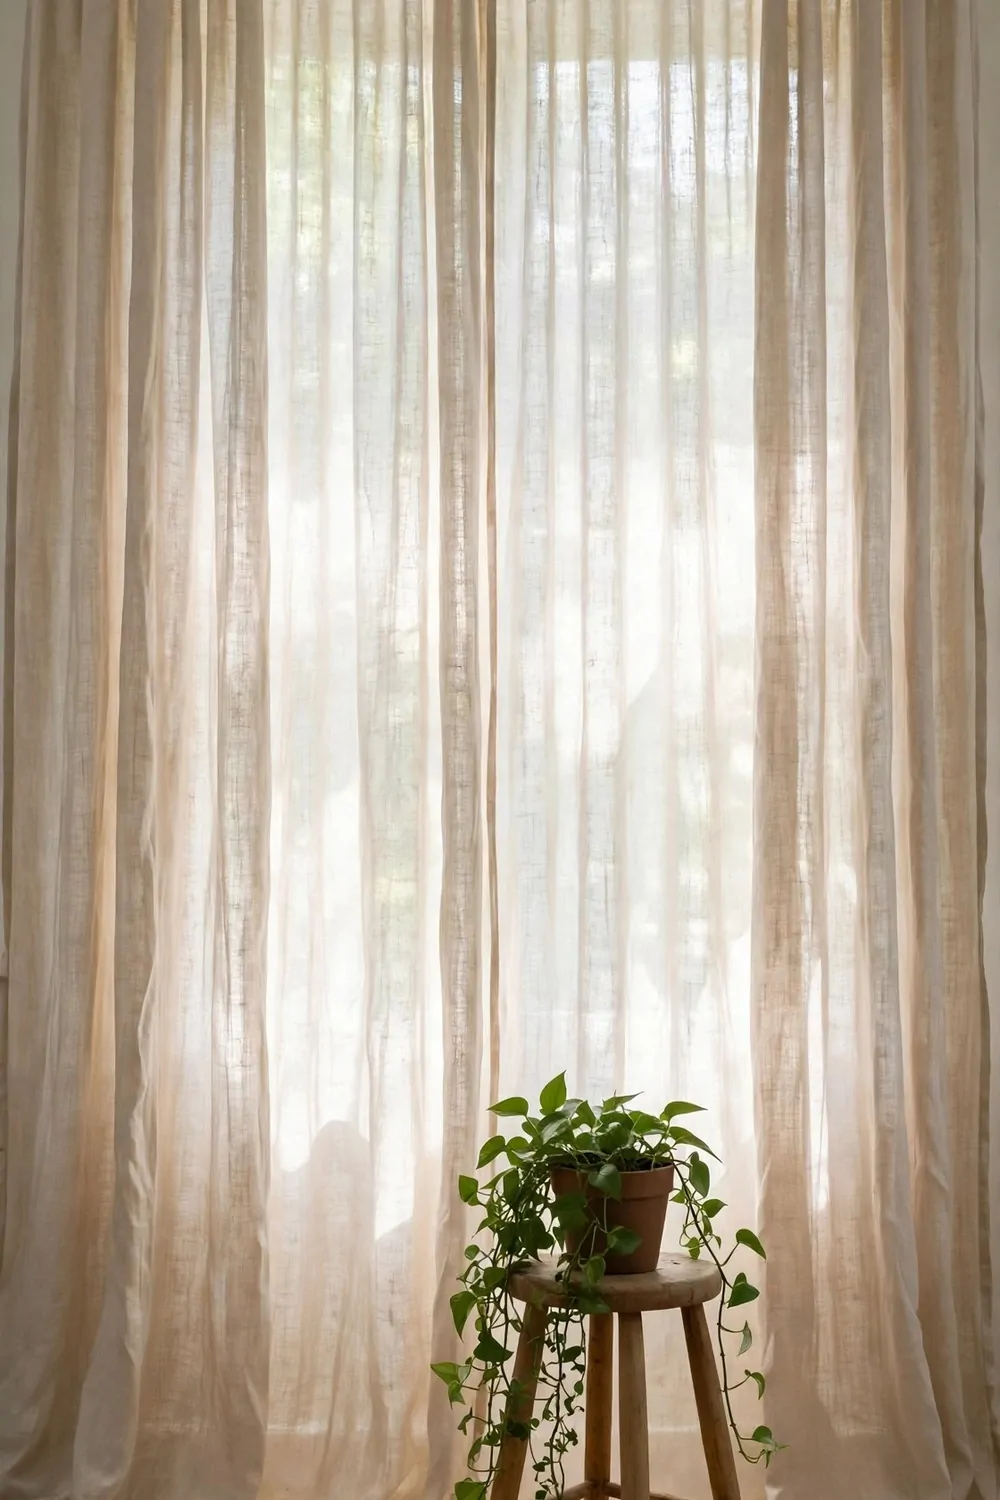
Curtains are the softest backdrop you can own. They add texture, movement, and warmth to any shot, and they hide whatever ugly wall is behind them.
Hang them floor to ceiling, as high as you can. High curtains make the wall look taller and the room feel grander. A tension rod works inside a window frame, or mount a simple rail on the wall for a full-wall look.
Natural linen is the fabric creators love most. It has a beautiful rough texture that catches light softly. It never looks cheap on camera. Cream, oatmeal, and soft white are the safest colors.
Layer a sheer curtain behind the linen if you want options. Sheers alone give an airy, dreamy look. Linen alone is richer and more formal. Two layers on one rod means two moods without changing anything.
Let the curtains puddle just slightly on the floor. That little pool of fabric looks soft and intentional in photos. Hem them to kiss the floor if puddling feels too much for your style.
Steam out the worst wrinkles, but do not chase perfection. Soft folds photograph better than stiff flat fabric. A little wrinkle is texture. A lot of wrinkle is laundry day.
Place a stool or a plant in front for depth. An empty curtain wall can feel a bit flat. One object in the foreground gives the camera something to layer, and your shots gain that professional three-dimensional feel.
This backdrop suits portrait photographers, lifestyle bloggers, and anyone filming soft feminine content. It is also wonderfully renter-friendly. When you move, the curtains come with you and the wall is untouched.
17. A Foldaway Studio for Small Rooms
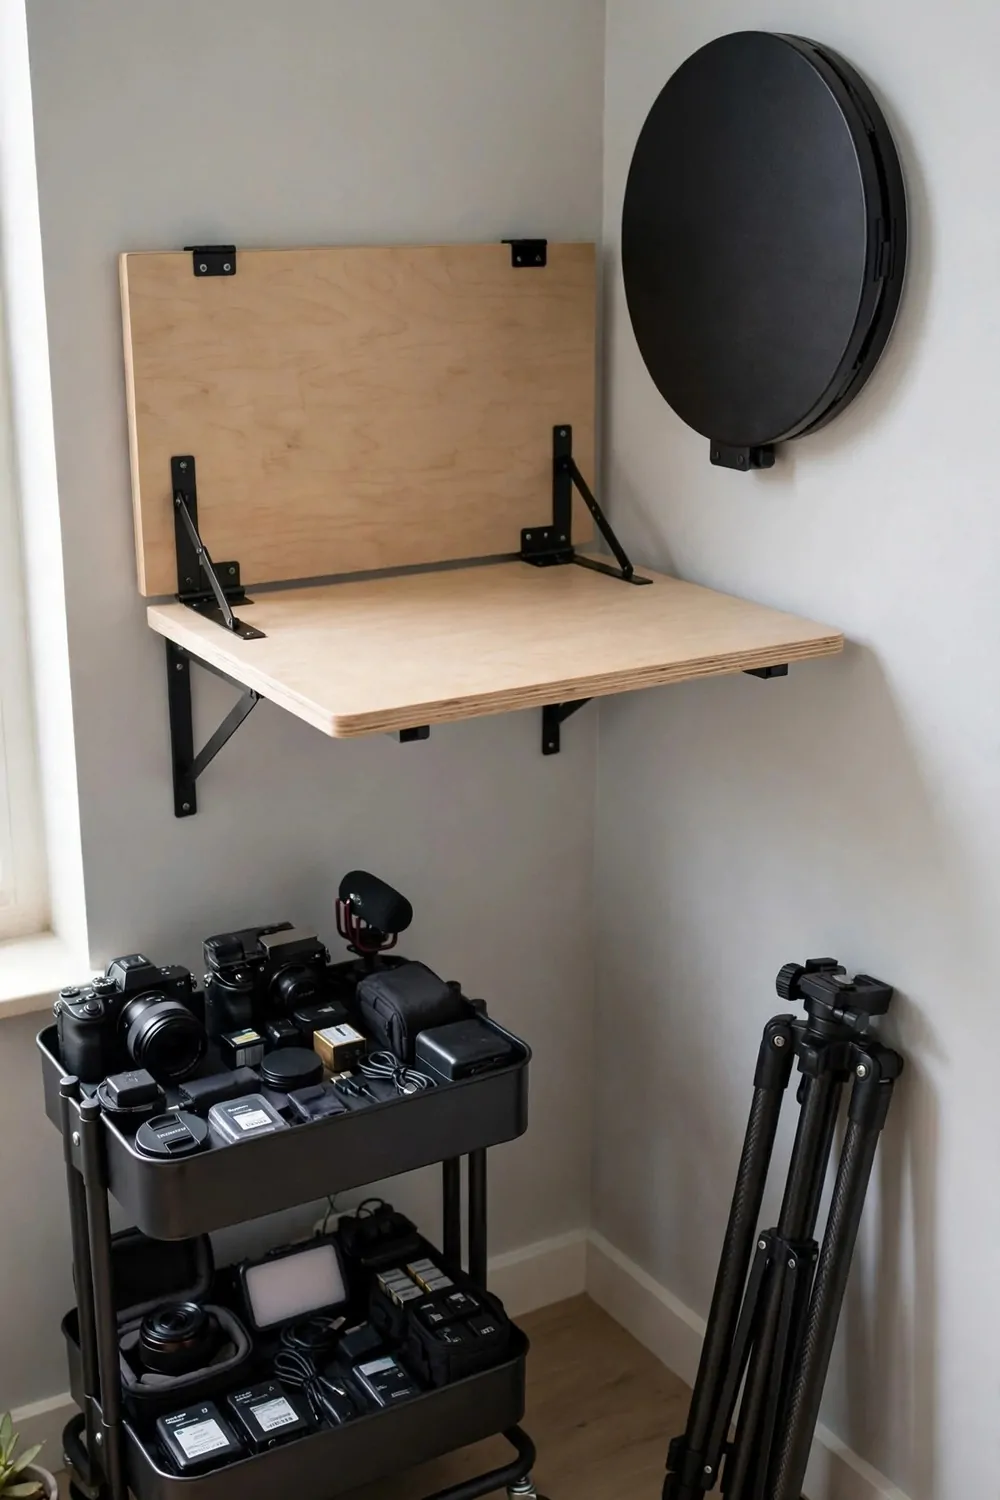
Small room, big dreams. A foldaway studio lets one room do two jobs. Bedroom by night, filming studio by day, with about two minutes of changeover.
The heart of it is a wall-mounted fold-down desk. It folds flat against the wall when you are done. Your filming surface appears and disappears on demand. No desk means no permanent studio footprint.
Keep your gear on a rolling cart. Camera, lights, mic, backdrops, all on one cart with wheels. Roll it out to film, roll it into the closet after. Everything lives together, so setup is just rolling, not hunting.
Use collapsible lights. Ring lights and softboxes that fold flat lean neatly against a wall or slide under a bed. Modern LED panels are thin enough to hang on a hook like a picture frame.
Mark your camera and light positions with small pieces of painter’s tape on the floor. Two little marks mean your framing is identical every time. You skip the whole fiddling phase and start filming in minutes.
The changeover routine matters. Write it down the first few times. Desk down, cart out, light up, backdrop hung, camera on. Five steps. Soon your hands do it without thinking, like making the bed.
This setup is perfect for students, renters, and anyone whose filming room is also their living room. Your space stays livable. Guests never guess it becomes a studio every morning.
One rule keeps it working. Everything must have a home on the cart or on the wall. The moment gear starts living on the floor, the system breaks. Tidy in, tidy out, and the foldaway studio stays effortless.
18. A Closet Turned Filming Nook
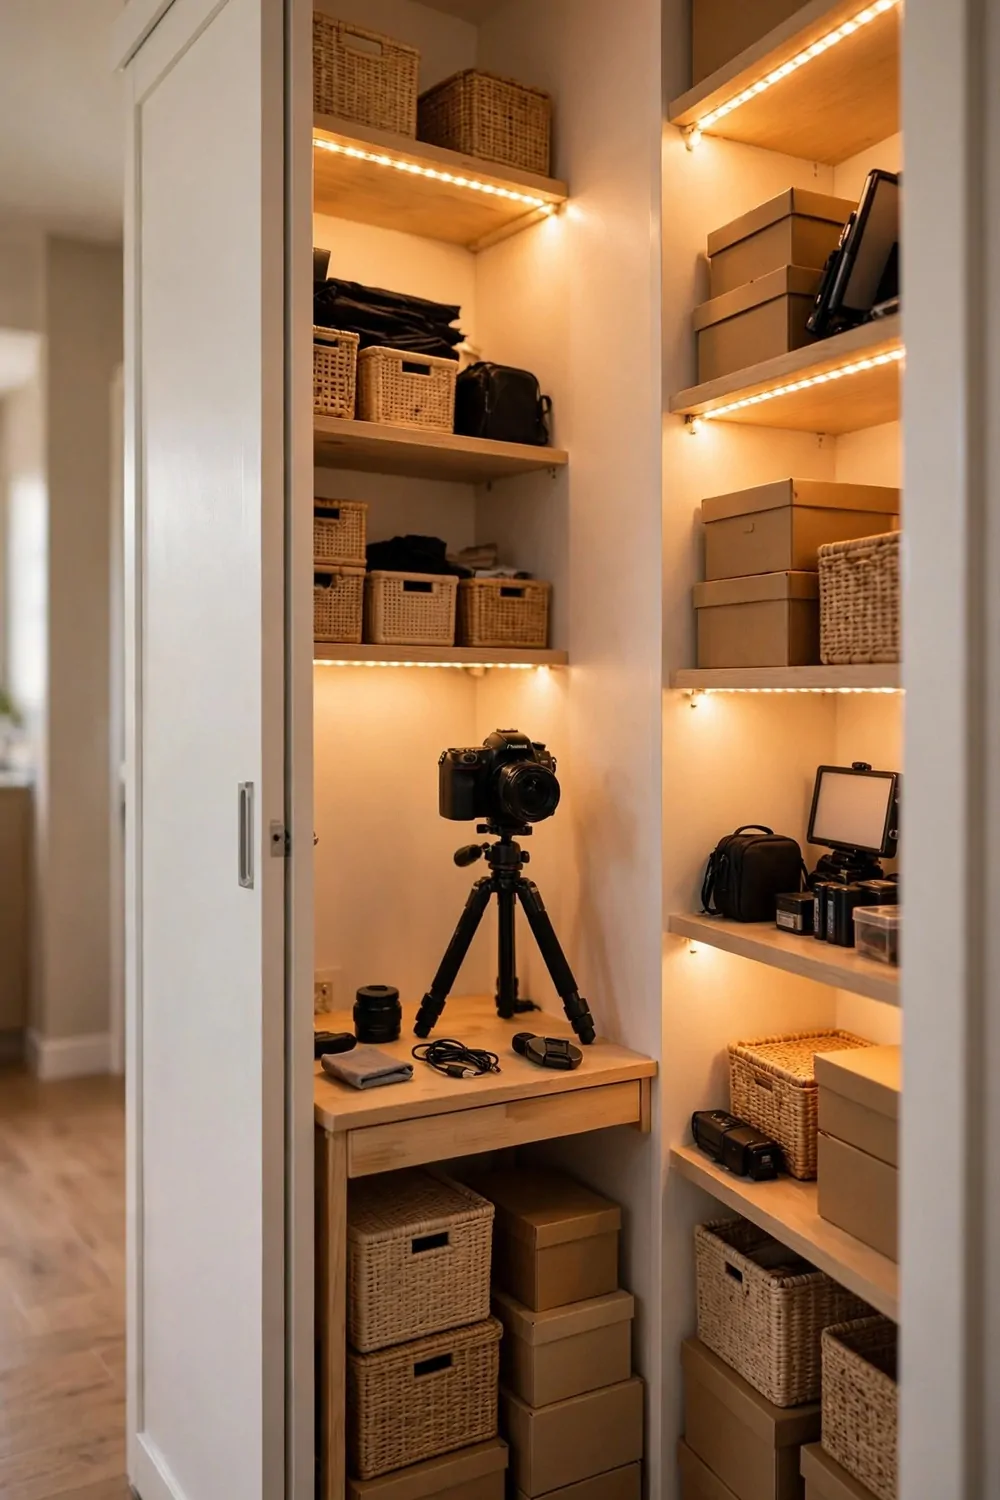
Your closet is a studio waiting to happen. It is small, it is enclosed, and it is full of clothes that absorb echo. Creators have filmed entire channels from closets, and viewers never knew.
Empty it out first, or at least clear one side. Paint the inside a light warm color if you can. White or cream bounces your light around and makes the tiny space feel bigger on camera.
Run LED strips along the shelves or the top edge. In a space this small, a little light goes a long way. The strips give an even glow with no harsh spots, and they stay cool in the tight space.
Set a small desk or even a sturdy shelf board at sitting height. Your camera goes on a tripod in front of it. Sit on a stool or a cushion. Cozy is fine. Nobody sees your legs anyway.
The sliding or open door frames your shot naturally. It is like a little stage. Hang a fabric panel across the opening if you want a cleaner background than the door frame.
Sound in a closet is surprisingly good. All those clothes and soft walls kill echo better than most treated rooms. Voice recordings from closet nooks sound warm and close, which is exactly what listeners love.
Ventilation matters, though. Small spaces get warm fast with lights on. Keep the door open between takes, and pick LED lights that run cool. Comfort keeps your energy up on long filming days.
This nook is ideal for voiceovers, talking videos, and anyone who feels shy filming in open rooms. There is something freeing about a tiny private space. Just you, the mic, and the camera.
19. A Product Turntable Photo Station
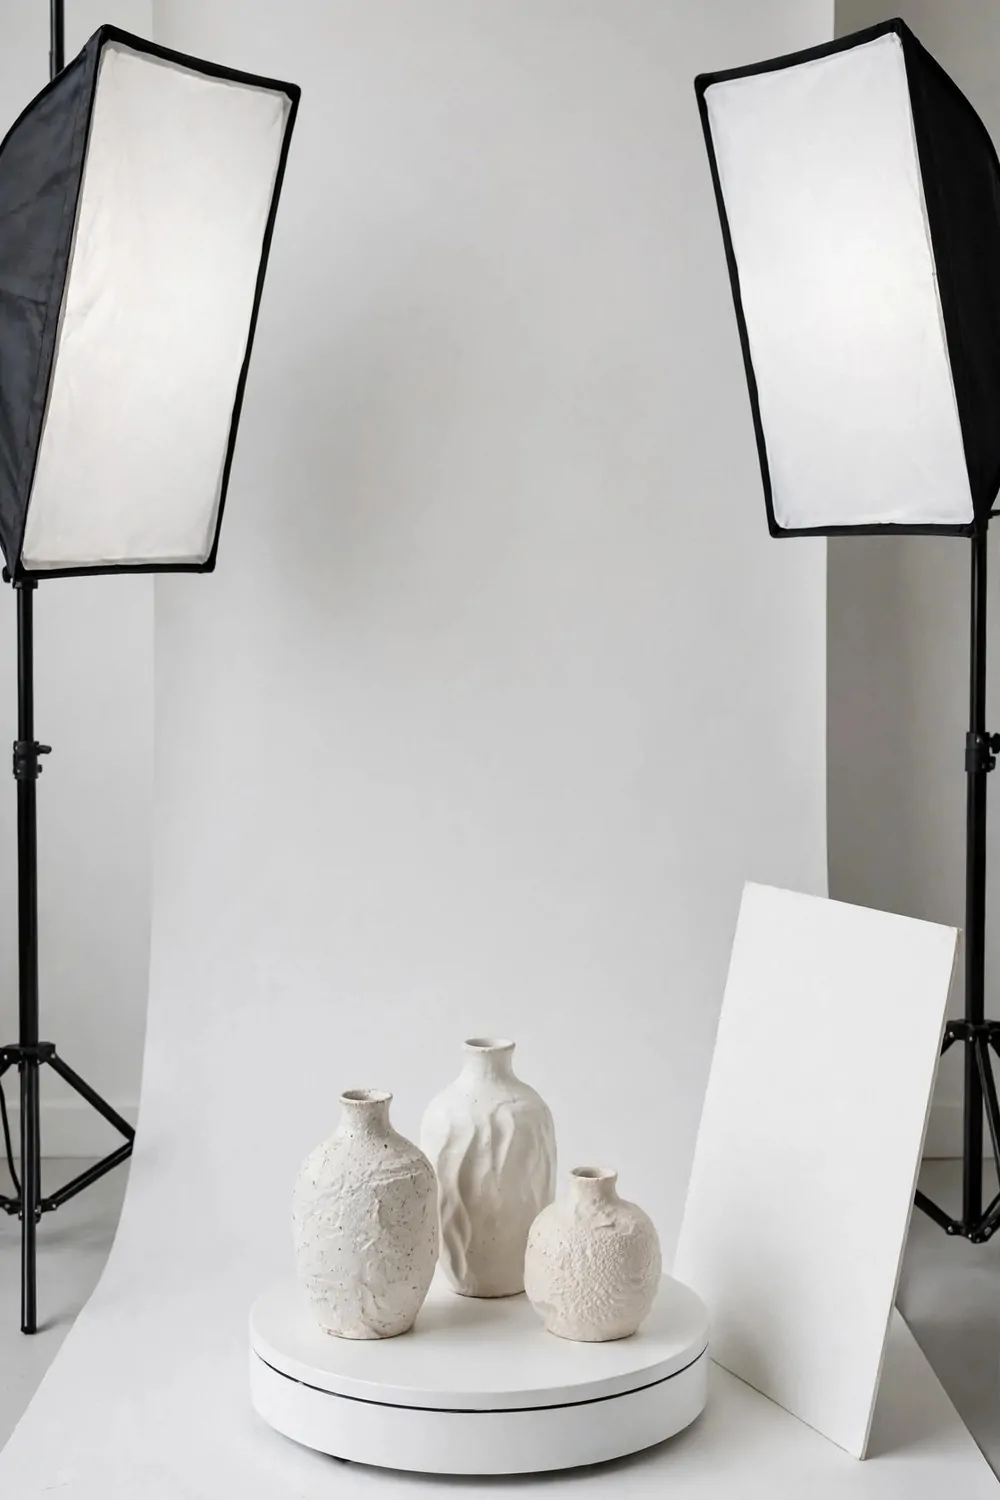
Spinning product videos stop thumbs. A slow rotation shows every angle of your product in a few seconds, and it looks far fancier than it is to make.
The star is a small rotating display table, the kind used for cake decorating or shop displays. Battery powered ones turn slowly and smoothly. Place your product in the center so it spins evenly without wobbling.
Set it against your seamless paper background with soft light on both sides. The even lighting matters more here, because every side of the product gets its turn facing the camera. No dark side allowed.
Film a full slow rotation, then trim the clip to the best few seconds. For photos, shoot in burst mode as it turns and pick the sharpest angles. One spin gives you a whole set of images.
This station is gold for handmade sellers. Pottery, candles, jewelry, crafts. Buyers feel like they held the item in their hands. That confidence shows up in sales.
Keep the turntable speed slow. Fast spinning looks dizzy and cheap. A lazy, graceful turn feels premium. If your turntable only has one speed and it feels fast, film it and slow the clip down in editing.
Clean the turntable surface before every shoot. It sits right under your product in every frame. Fingerprints and dust on the platform ruin the clean look you are going for.
Mark the center of the platform with a tiny dot of tape. Centering your product takes one second with a mark, and a centered spin looks professional while an off-center one wobbles like a bad carnival ride.
20. A Cable-Free Minimal Desk Studio
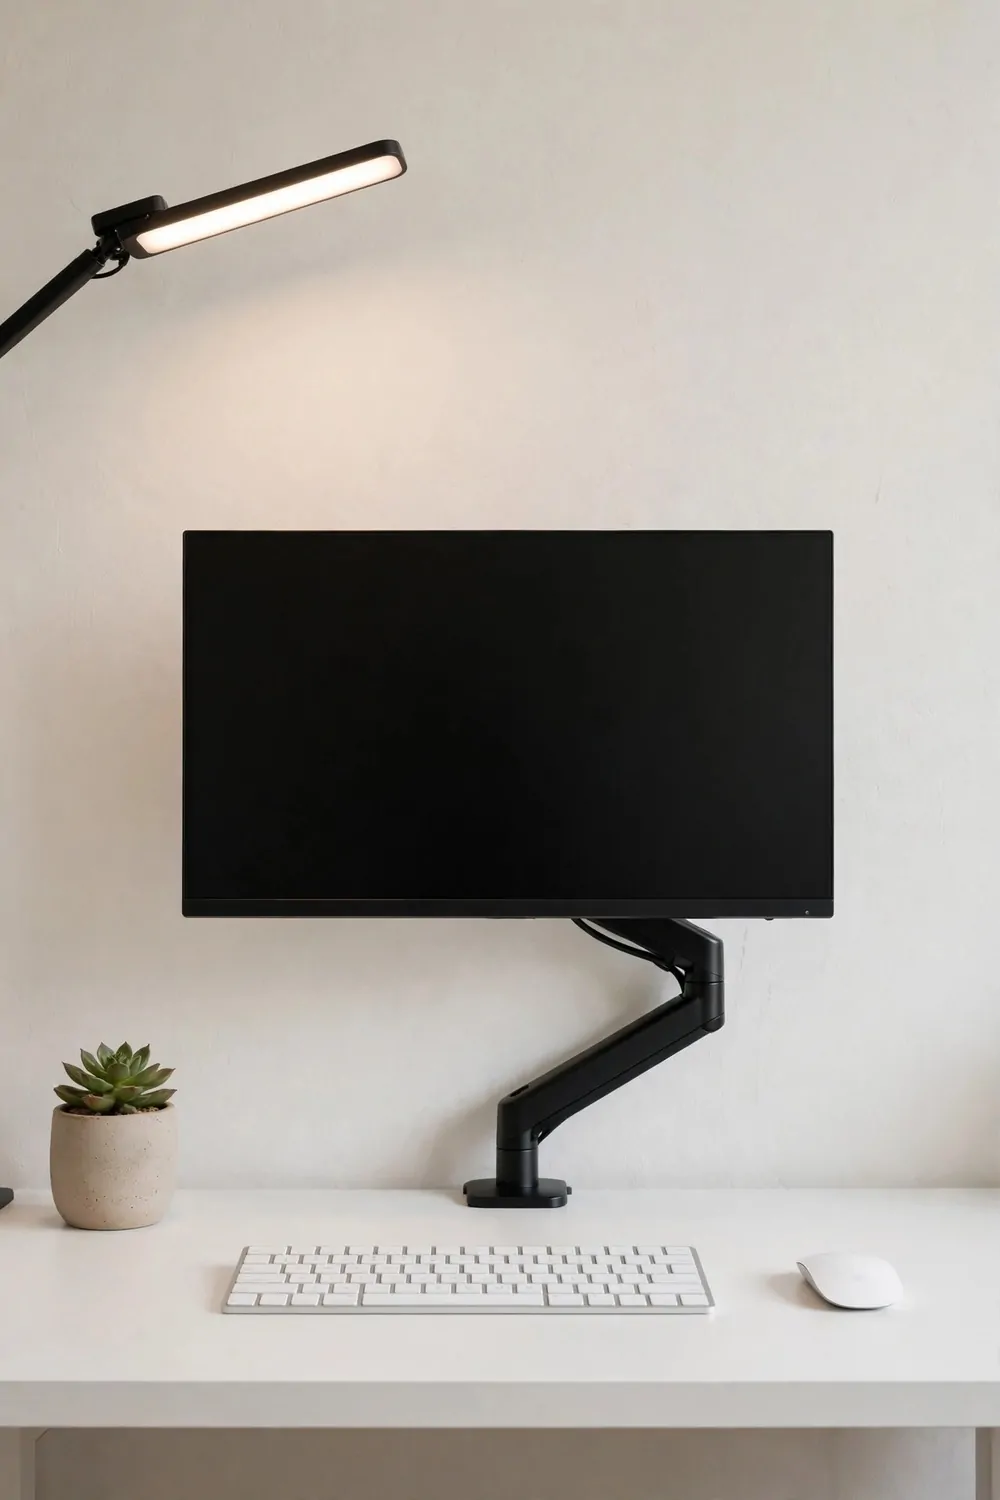
Cables are the enemy of a clean frame. One black cord snaking across your desk can ruin an otherwise perfect shot. A cable-free desk looks calm, expensive, and intentional.
Start with a cable management tray under the desk. Every charger, every cord, goes in the tray. What the camera cannot see does not exist. This one change transforms most desks instantly.
Mount your monitor on an arm instead of its stand. The arm lifts the screen to eye level and frees the whole desk surface. It also looks fantastic in behind-the-scenes photos, which your audience loves.
Go wireless where you can. Wireless keyboard, wireless mouse, wireless headphones on a stand. Each wireless swap removes one more cord from the frame. Your desk starts to look like a showroom.
Use one good LED panel as your main light. A single panel on a small stand gives clean, adjustable light without a forest of equipment. Minimal desk, minimal gear, maximum calm.
Keep exactly three things on the desk surface. Your work tools plus one small plant or object with personality. Three is the magic number. More than that and the minimal feeling slips away.
Wipe the desk before filming. A clean white or wood surface shows every speck of dust under bright lights. Ten seconds with a cloth keeps it flawless.
This studio suits tech reviewers, writers, designers, and anyone whose content is about focus and clarity. The desk says your mind is organized, and viewers believe it.
21. A Two-Zone Filming Corner
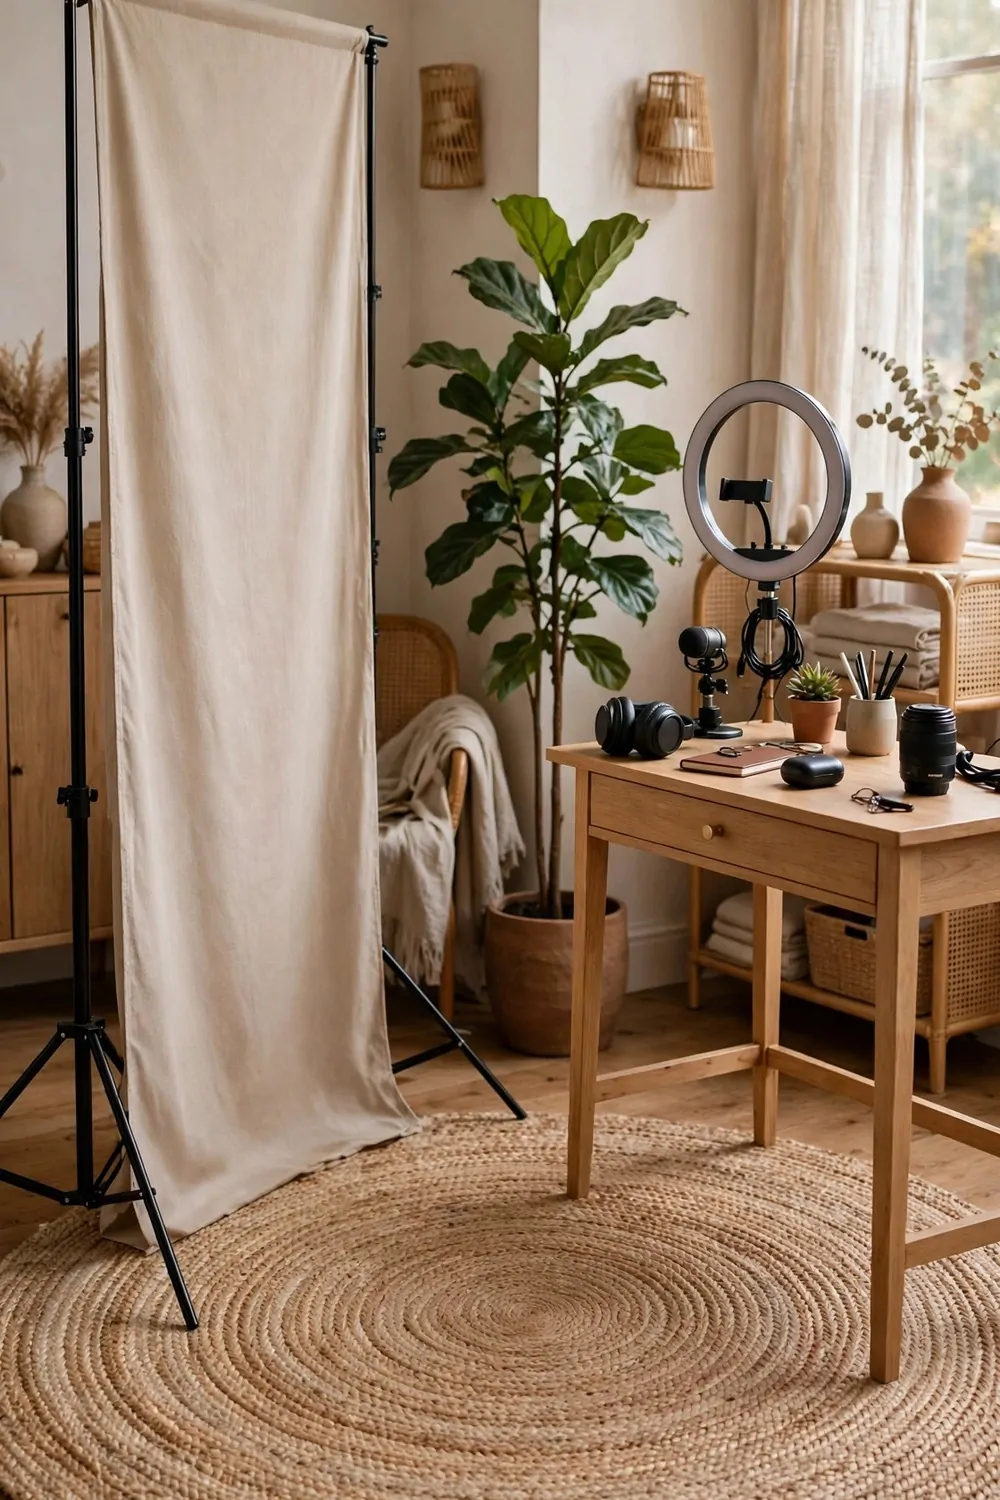
What if you film two kinds of content but only have one corner? Make the corner do both. A two-zone setup gives you two completely different looks without moving rooms.
Zone one is your talking spot. A backdrop stand with fabric, a stool or chair, your ring light. Clean, simple, focused on you. This is where the serious videos happen.
Zone two is your desk or demo spot. Your work table, your products, your hands doing things. Different light, different background, different feeling. Tutorials and unboxings live here.
Divide the zones visually. A round rug under zone one. A tall plant standing between them like a soft wall. Your camera only sees one zone at a time, so the division can be simple.
Keep both zones ready at all times. The power of this setup is switching in seconds. Finish a talking video, turn your chair, and film the demo. No rebuilding between takes.
Light each zone on its own. Zone one gets the flattering front light. Zone two gets the bright even work light. Two small lighting setups beat one big compromise.
This is ideal for creators who teach and talk. Beauty channels film reviews in one zone and tutorials in the other. Business creators do commentary here and screen demos there. One corner, two channels worth of looks.
Label nothing, but keep a little order. Zone one’s props stay in zone one. When zones share stuff, things wander and both looks suffer. A small basket per zone keeps props from migrating.
22. An Open Garage Door Daylight Studio
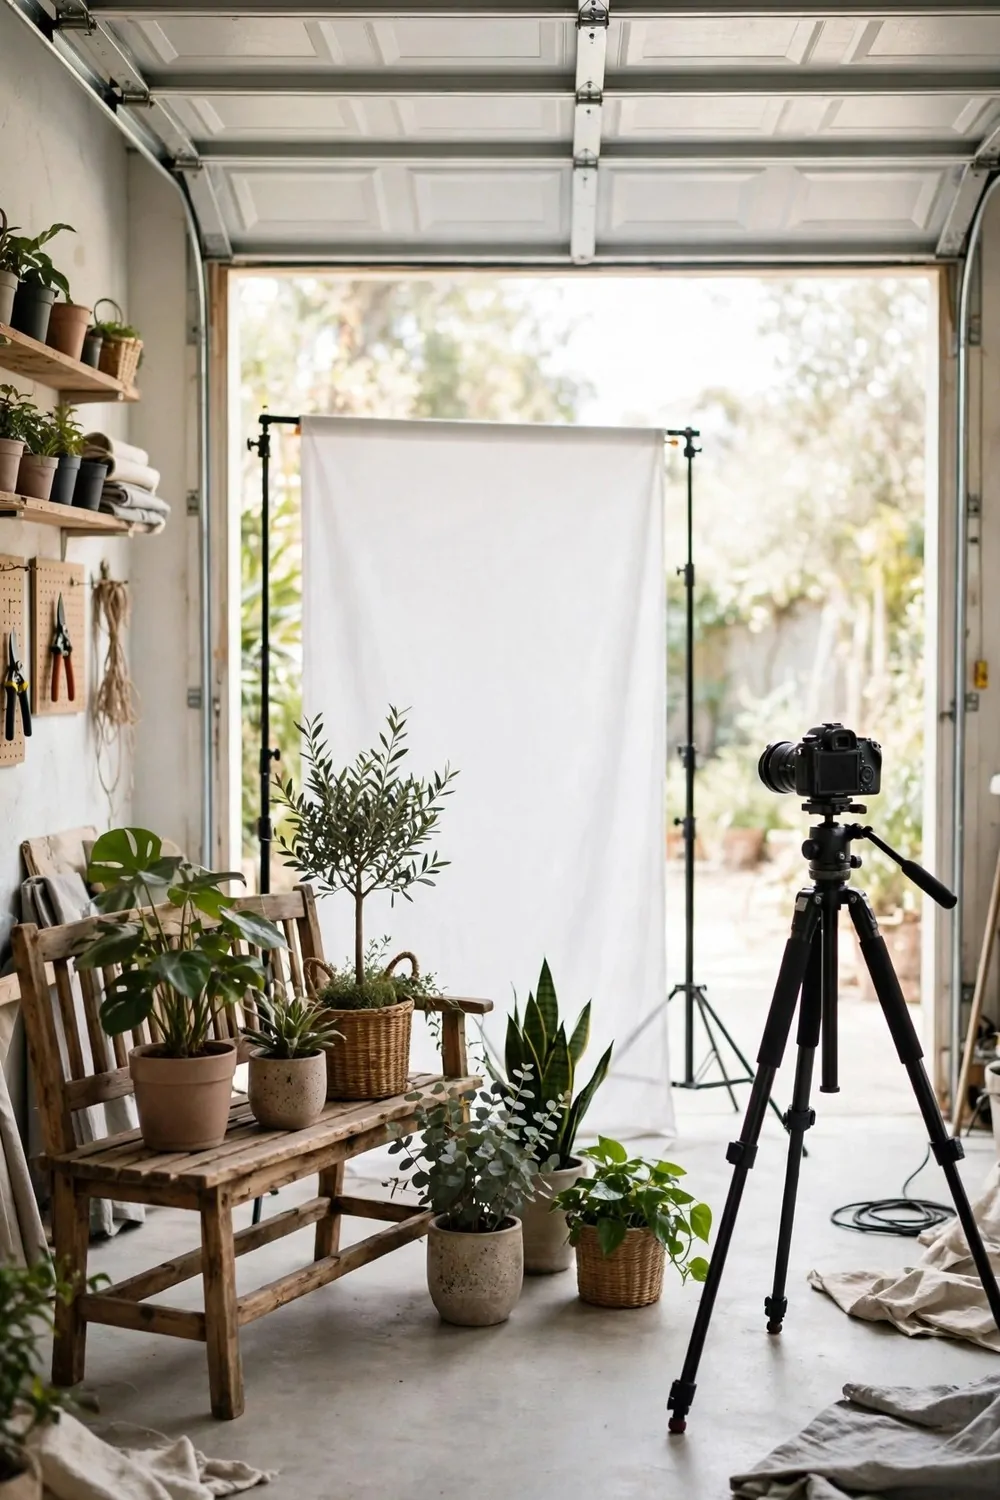
The biggest free softbox you own is your garage door. Roll it open and soft, diffused daylight pours in. Photographers pay good money for light like this. Yours comes with the house.
This works best on bright but cloudy days, or when the sun is not blasting straight in. Direct harsh sun creates hard shadows. Soft overcast light, or open shade, is the dream. Morning is usually gentlest.
Set your backdrop stand a few feet inside the garage, facing the open door. Your subject stands between the backdrop and the door. The daylight wraps around them softly and evenly. It is genuinely beautiful light.
Use the garage’s depth for bigger shoots. Full outfits, furniture pieces, wide craft projects. Indoor rooms cramp your style for large subjects. A garage gives you room to step back.
Add plants and simple props near the opening for lifestyle shots. A wooden bench, a few pots, a stool. The mix of soft daylight and homey props makes photos feel fresh and real.
Watch the background beyond your backdrop. Garages hold bikes, tools, and boxes. Keep your backdrop wide enough, or angle your shots so the clutter stays out of frame. The camera should see studio, not storage.
Close the door between shoots if dust or wind bothers your setup. Lightweight backdrops catch wind like sails. A calm day, or a half-open door, keeps everything steady.
This studio costs nothing, fits big projects, and gives you the prettiest natural light in the house. Some creators do all their filming here and never touch an artificial light.
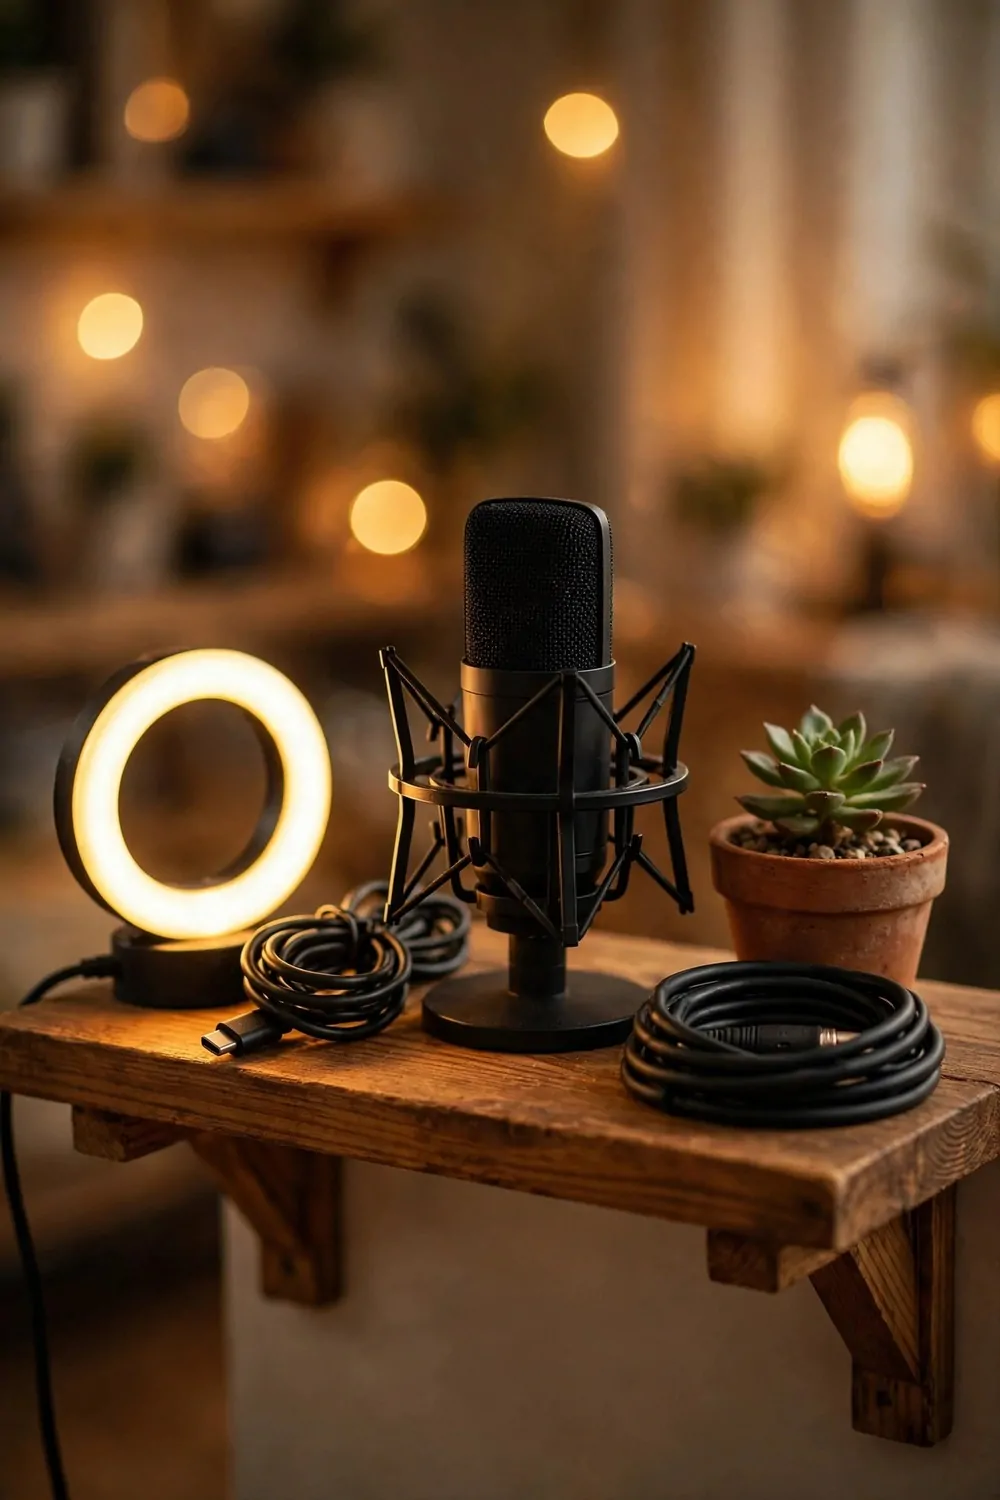
Your studio does not need to be big. It does not need to be expensive. It needs one corner, one decent light, and a background you chose on purpose instead of by accident.
Start with the idea that fits your space today. The window corner if you have good light. The ring light desk if you film at night. The paper backdrop if products are your thing. One setup, done well, beats five half-built ones.
Then grow slowly. Add a backdrop fabric next month. A plant the month after. Every small upgrade stacks, and in six months your little corner will look like a place you rented.
The girl from the coffee shop never did start her channel, as far as I know. I still think about her sometimes. I hope someone leaned over and told her what I wanted to say. Your apartment is fine. Your corner is waiting.