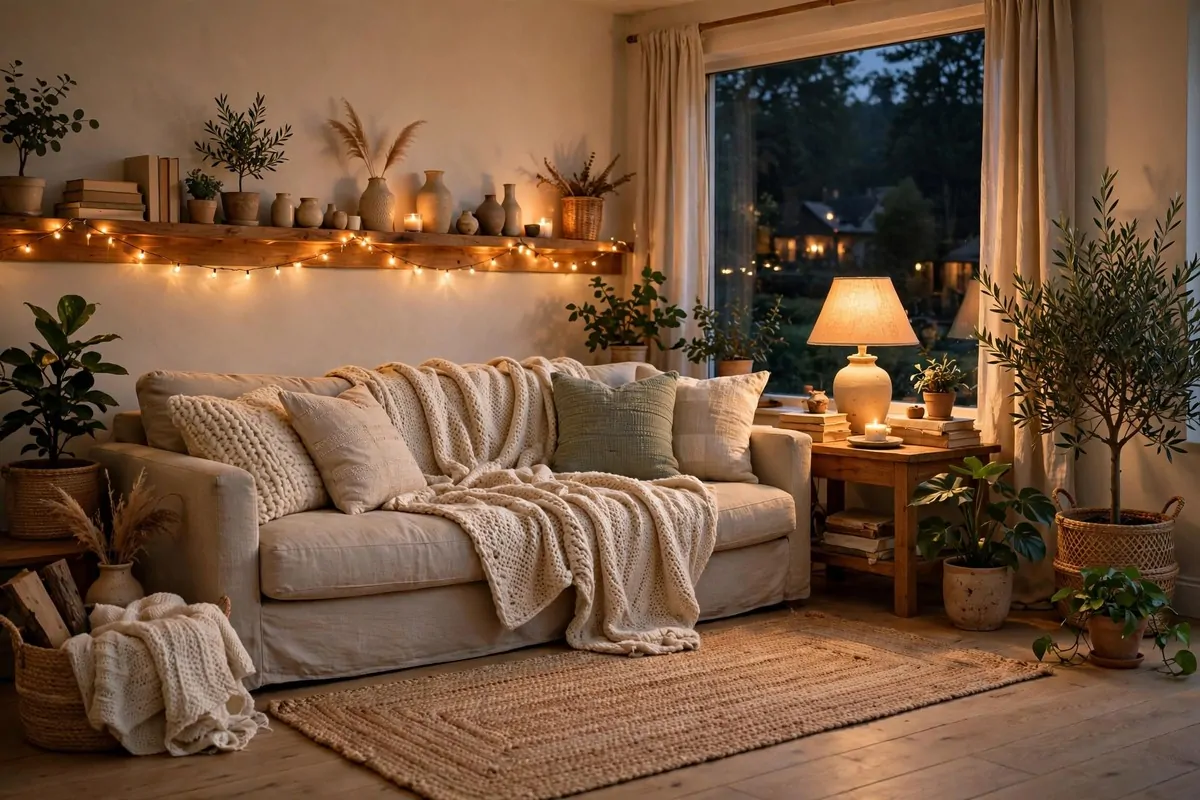
17 Rustic Home Library Inspiration Looks With Warm Wood Tones

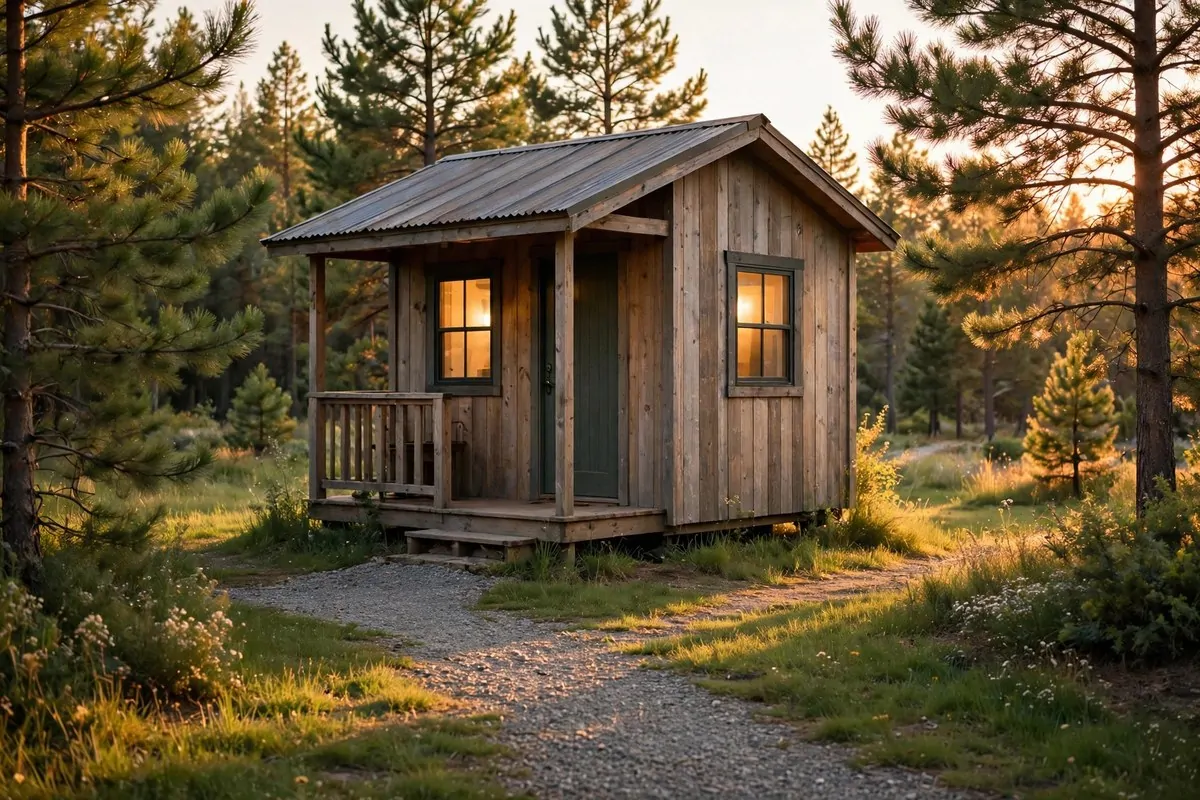
Last fall we rented a little cabin for a long weekend, and I barely left one room. It was the reading corner by the stairs, all warm pine and old books, with a tiny stove ticking away in the corner. I read two whole novels in three days and did not touch my phone once. I came home and gave my spare room the same treatment.
Here are 17 rustic home library inspiration looks built on warm wood tones. Every one is simple, cozy, and doable in a real house. Steal the ones you love.
1. Put a Cast-Iron Wood Stove in the Corner
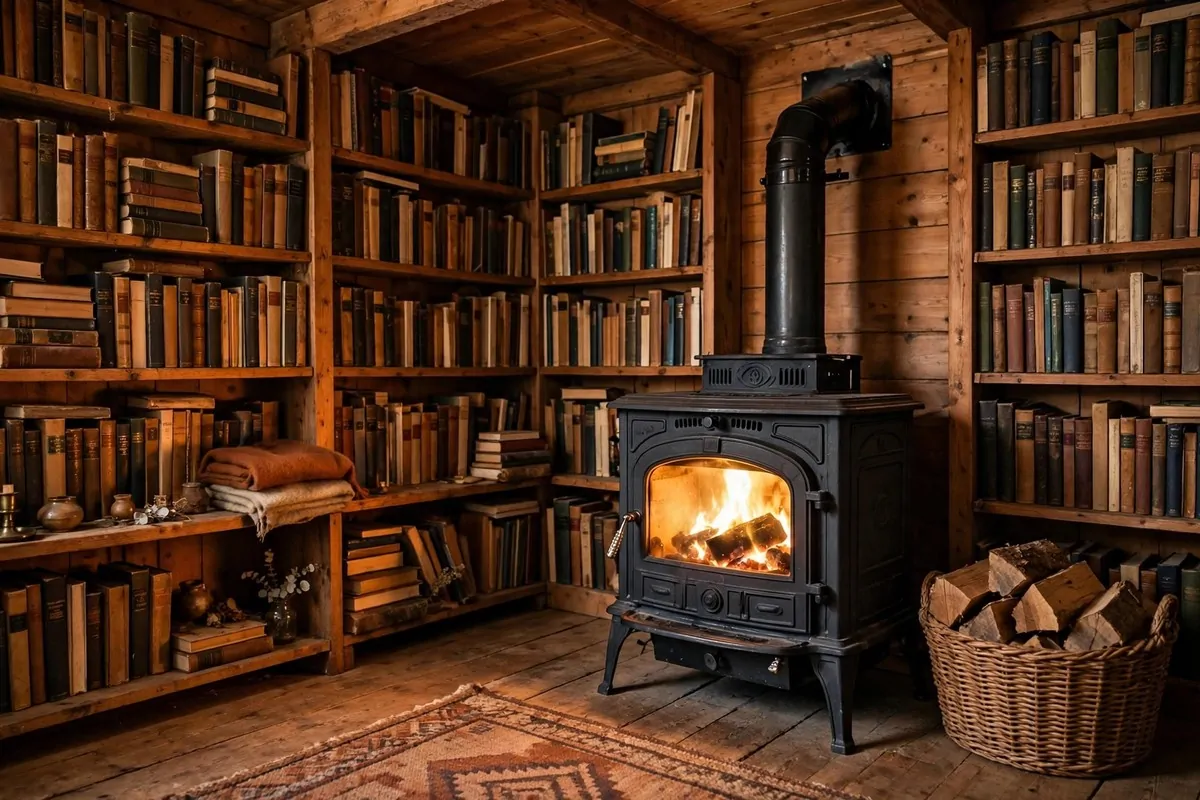
Nothing says rustic like a little black stove ticking as it cools down.
A cast-iron wood stove gives a reading room a heart. You do not need a full chimney rebuild either. Many models work with a simple vent pipe out the wall. I had a friend who put one in a corner of her converted garage library. She reads there all winter now.
The stove does more than heat. It makes a soft clicking sound when it cools, and that sound honestly makes a book ten times better. You just sit there and the room feels alive.
Place the stove a good distance from the shelves. Wood and fire need their space, you know. Most stoves have clearances printed right on the back plate. Follow them exactly, no guessing.
Set a small stack of logs next to it in a basket. I like the woven kind, but a metal bucket works too. It doubles as decor and it is always within reach when the fire needs one more log.
A heat shield behind the stove looks nice in rustic rooms. You can use simple cement board covered with stone tiles, or even corrugated metal. It keeps the wall safe and adds to the cabin look.
Keep a little kettle on top if your model allows it. The steam adds moisture to dry winter air, and you always have hot water for tea. That is the kind of detail that makes a library feel like home.
Maintenance is simpler than people think. Clean the ash out once a week in winter. Have the pipe checked once a year. That is about it, and the stove will last decades.
2. Use Wooden Bookends You Can Make in an Afternoon
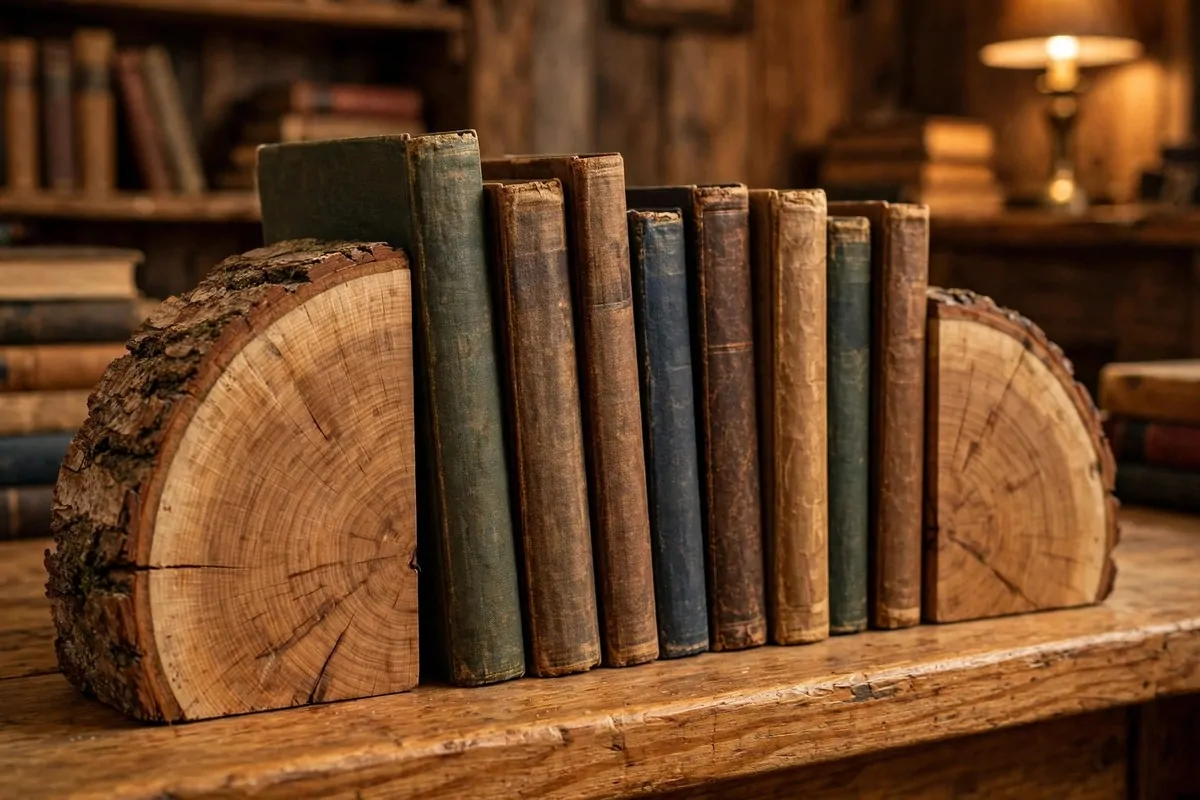
Store-bought bookends are fine, but wooden ones you make yourself have a story.
You can cut simple L-shaped bookends from a pine board in one afternoon. Sand them smooth, rub in some dark stain or just linseed oil, and they will glow against the warm wood of your shelves. I made a pair from a broken pallet board once. They are still holding up my cookbooks.
Log slices work too. Cut a thick slice from a branch, stand it upright, and it keeps a row of books in line. No hardware needed. Just make sure the slice is thick enough to stand on its own, maybe two or three inches.
If you have kids, let them help sand the wood. Mine rubbed beeswax into ours and it smelled amazing for weeks. It is a good rainy-day project that actually ends up on a shelf.
Carved bookends are the fanciest version. You can find them at craft fairs, little bears or owls or pine trees. They cost more, but one pair on a featured shelf is all you need to make the whole room feel hand-made.
Keep the wood tone close to your shelves for a calm look. Or go darker for contrast. Both work in rustic rooms, honestly. The grain is what matters, not a perfect match.
Secure heavy rows with an L-bracket hidden under the books. Thick history books will walk a simple wooden bookend right off the shelf. Ask me how I know. Two books fell at midnight and I about jumped out of my skin.
A basket of small offcuts near your reading chair invites visitors to carve or sand their own. It sounds odd, but my brother made a bookend while we talked and now it sits on my shelf with his initials on it.
3. Stack Wooden Crates Into a Bookcase
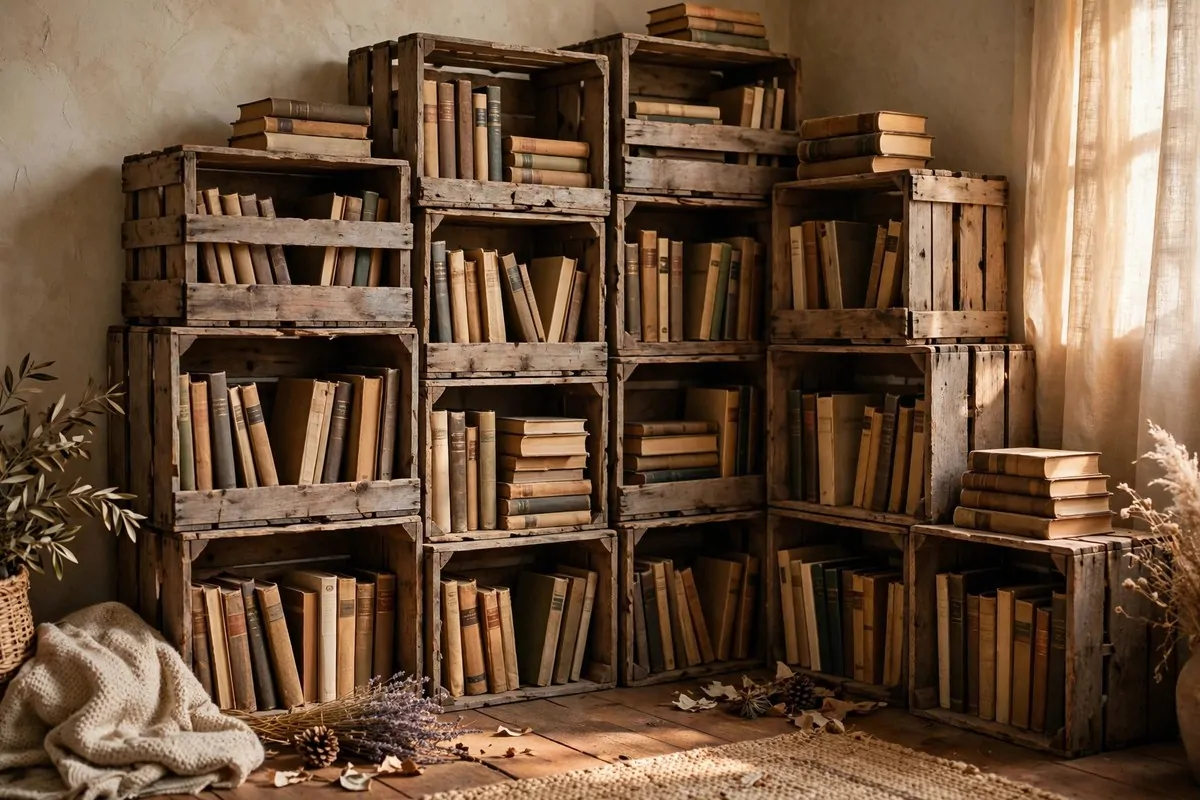
This is the cheapest rustic bookcase that exists, and it looks like a million bucks.
Old wooden crates, the kind apples and milk bottles came in, stack into a perfect bookshelf. Turn some sideways, stack others upright, and you get little cubbies of all sizes. The mix of sizes is what makes it look good. Too uniform and it looks like a store display.
Check flea markets, farm sales, and your grandparents’ barn. Seriously, ask your grandparents. Everyone over sixty has crates in a garage somewhere. I got six of mine for free from a neighbor who was cleaning out his shed.
Sand the rough edges so you do not snag a book spine or a sweater. You do not need to sand everything. Just the edges and the front lip. Keep the weathered outside, that is the charm.
Secure the crates to the wall with L-brackets on the back. A tall stack of crates full of books is heavy and can tip. This takes ten minutes and keeps everyone safe. Do not skip it.
Stain them all in the same warm tone if you want a calmer look. I used a honey oak stain on mine. It warmed up the old gray wood and made them match my floor. Or leave them raw for a real farmhouse feel.
Use the small cubbies for paperbacks and the big ones for art books. Tall art books need the deeper crates, so put those at the bottom where the stack is most stable. It is both practical and better looking.
Leave one crate empty for your current reading pile. I call mine the waiting room. Books go in, books come out, and it never looks messy because it is supposed to look lived in.
4. Read at a Live-Edge Wood Table
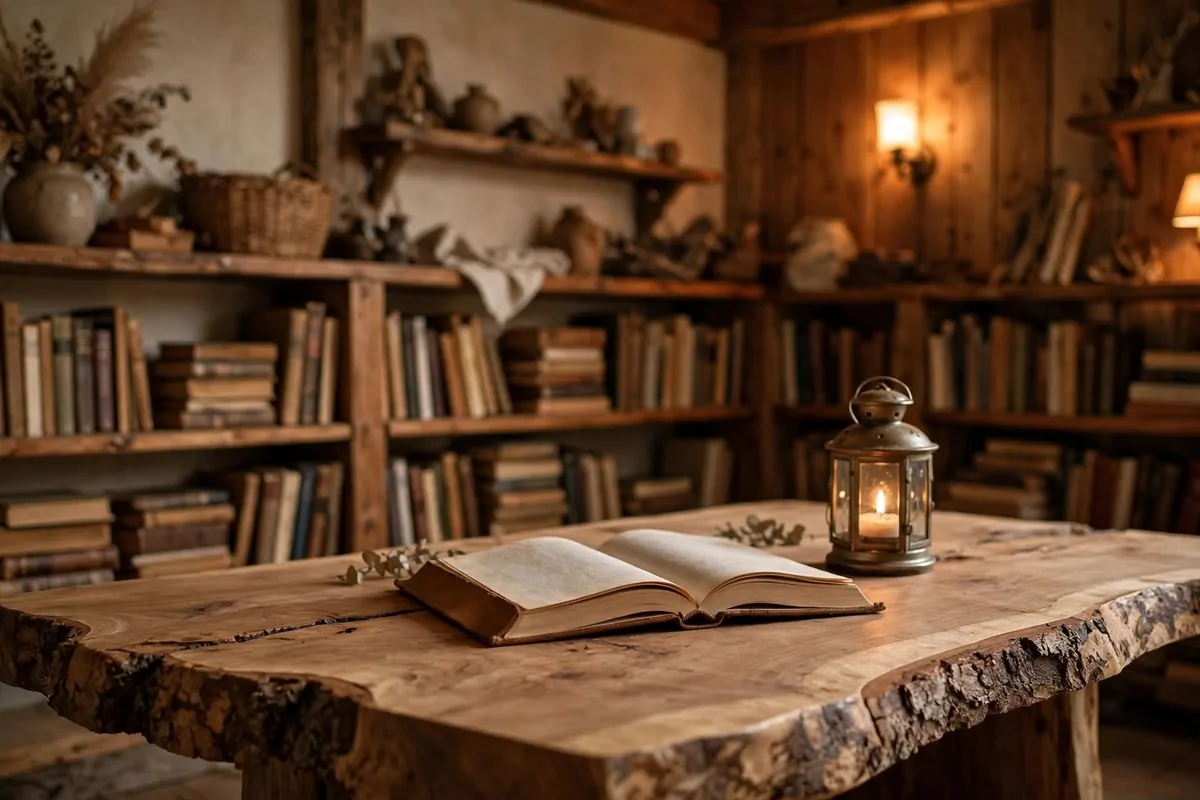
A live-edge table is a slab of wood with the bark edge still on it. It looks like it walked straight out of a forest.
Put one in your library as a reading table. It holds your tea, your stack of books, and your glasses, and it looks like art while doing it. The wavy edge catches the lamplight and glows. I run my hand along mine every time I sit down. I cannot help it.
You can buy live-edge slabs at lumber yards, and many will finish them for you. A simple coat of polyurethane or hardwax oil keeps coffee rings off. Get it finished. Unfinished wood soaks up every spill like a sponge.
Size it for your chair. A small round-ish slab works beside an armchair. A longer one works behind a sofa as a console. Measure your spot first, because these slabs are heavy and you will not want to move one twice.
The wood type changes the whole mood. Walnut is dark and rich. Maple is pale and soft. Oak sits in the middle and glows warm. For a rustic library, I think oak or hickory wins. The grain is bold and the color is pure warmth.
Pair it with a simple metal or wooden base. Hairpin legs look modern and let the wood be the star. A chunky wooden base looks more rustic. I went with black metal legs, and the contrast with the warm top is lovely.
Keep the top mostly clear. One book, one mug, one lamp. The wood is the decoration here. Clutter on a live-edge table looks like clutter. An empty live-edge table looks like a sculpture.
Wipe it down with a damp cloth and dry it right away. Every few months, rub in a little furniture oil. It takes five minutes and the wood drinks it up and looks brand new again.
5. Try a Tree-Stump Side Table
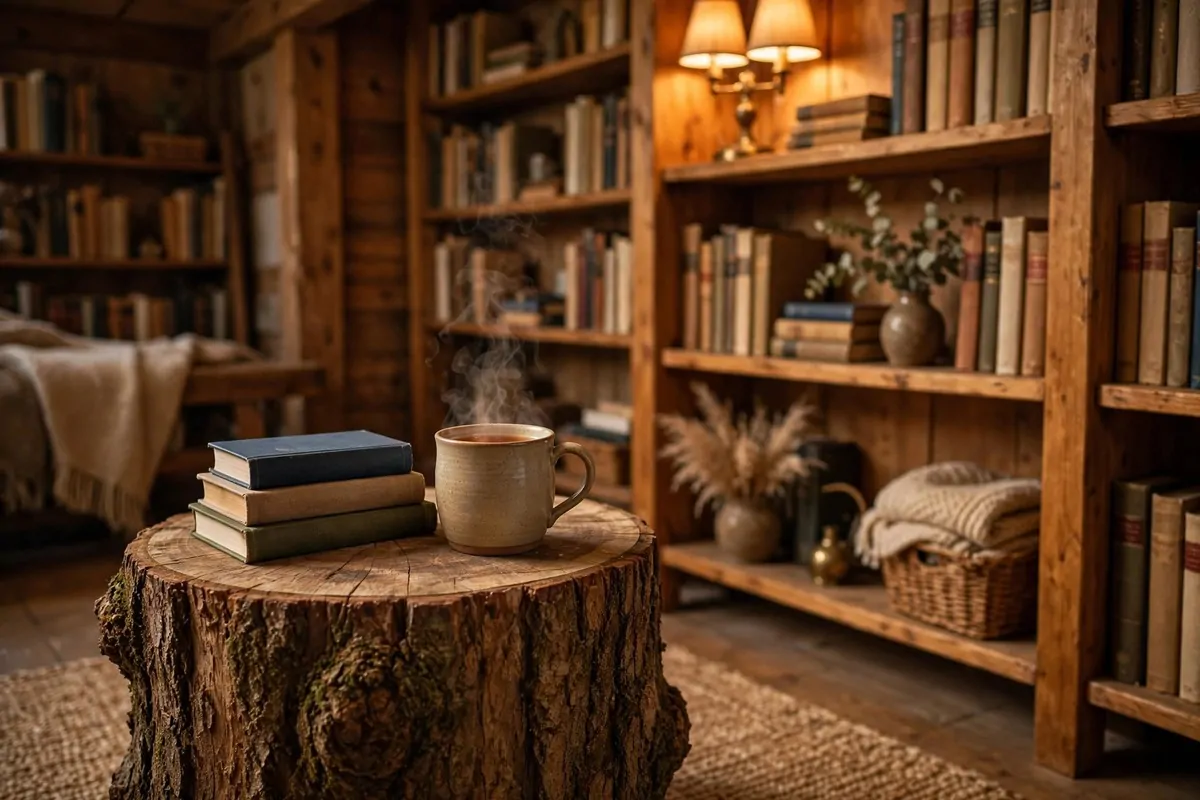
A tree stump next to your reading chair is the most rustic side table there is.
Find a stump about knee height and wide enough to hold a mug. Hardwood works best, oak or maple. Soft pine will dent over time, but honestly that just adds character. Let it dry for a few months before bringing it inside or it may crack as it shrinks.
Peel the bark off or leave it on. Bark looks wilder and more rustic. No bark looks cleaner and smoother to touch. I peeled half of mine and left the rest. It looks like it is growing right there in the room.
Sand the top flat enough to hold a mug without wobbling. You do not need it perfectly level. A slight wobble is part of the charm, but a full wobble spills tea on your book. Test it with a real mug before you commit.
Seal the top with clear polyurethane or hardwax oil. Rings from mugs will stain raw wood in a week. I learned this with a dark coffee ring that is still there, and I have made peace with it. But you can avoid my mistake.
Tuck a stump between two shelves for a little reading nook table. It fits in corners where square tables look clunky. Round stump, tight corner, perfect fit.
A taller stump can hold a stack of your tallest books. Big art books and atlases look great fanned out on a stump top. The round shape and the square books make a nice contrast.
Check the bottom is stable on your floor. Stumps are rarely flat on the bottom. A few stick-on felt pads fix most wobbles in seconds. They also protect your floor, which matters on hardwood.
6. Turn a Whiskey Barrel Into a Stool or Side Table
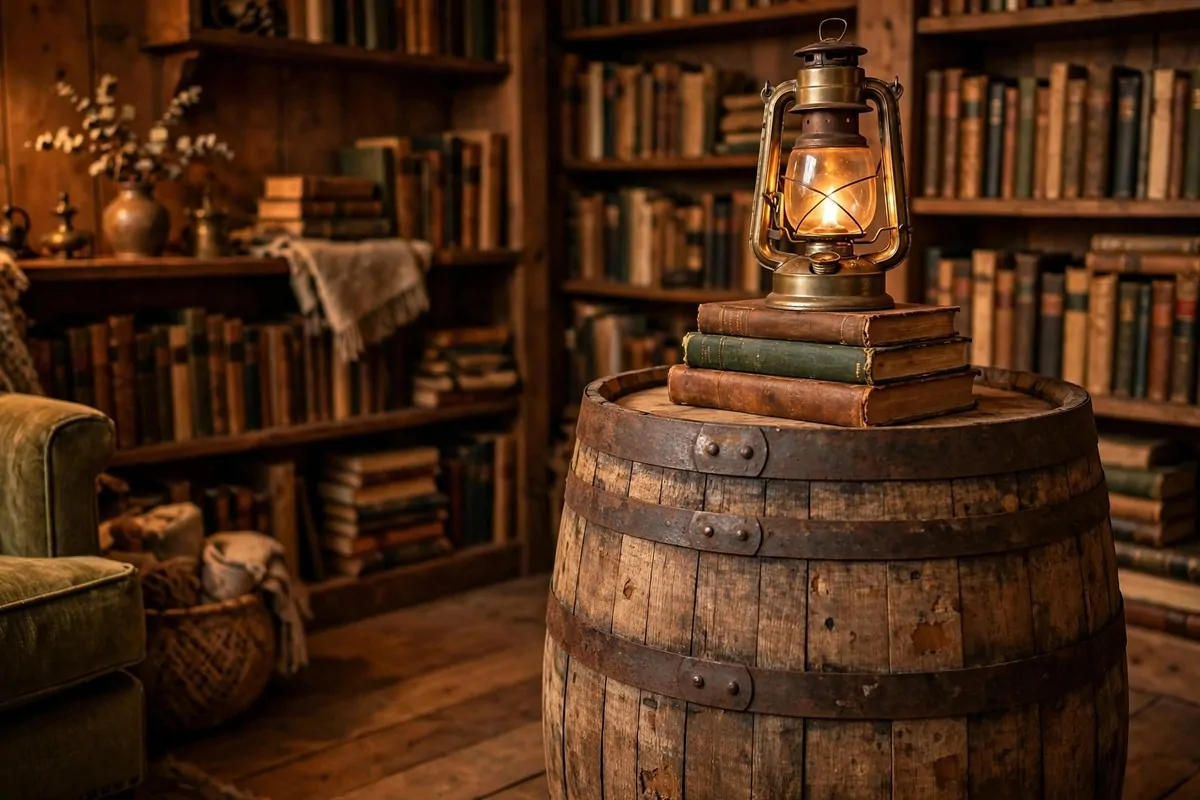
Old oak barrels are sold everywhere now, and they belong in a rustic library.
A full-size whiskey barrel makes a perfect side table. The round top holds a lamp and a stack of books. The curved sides catch the light in a way flat furniture never does. I found mine at a flea market for less than a cheap side table at a big store.
You can also cut a barrel in half for two stools. The halves are sturdy enough to sit on. Top them with a round cushion in a plaid or leather and you have the most charming extra seats in the house.
Keep the metal hoops. They are part of the look. A quick wipe with an oiled cloth stops rust and darkens them nicely. If a hoop is loose, tap it back down with a rubber mallet. Five minutes of work.
The oak already smells faintly of whiskey, and that smell fades into something warm and sweet over time. Guests always ask about it. It is a conversation piece that holds your coffee.
Set a barrel in a reading corner as a footstool. Put your feet up on an oak barrel with a book in your lap, and tell me that is not the best evening ever. I will wait.
Store rolled maps or newspapers inside an empty barrel. Take the top off, roll your maps, and stand them inside. It looks like an old cartographer’s shop, and it keeps everything tidy.
Sand any splinters on the outside edges. Old barrels lived hard lives. A quick pass with medium sandpaper makes them hand-safe. Then rub in some wood oil and the oak glows like honey.
7. Rock in a Wooden Rocking Chair
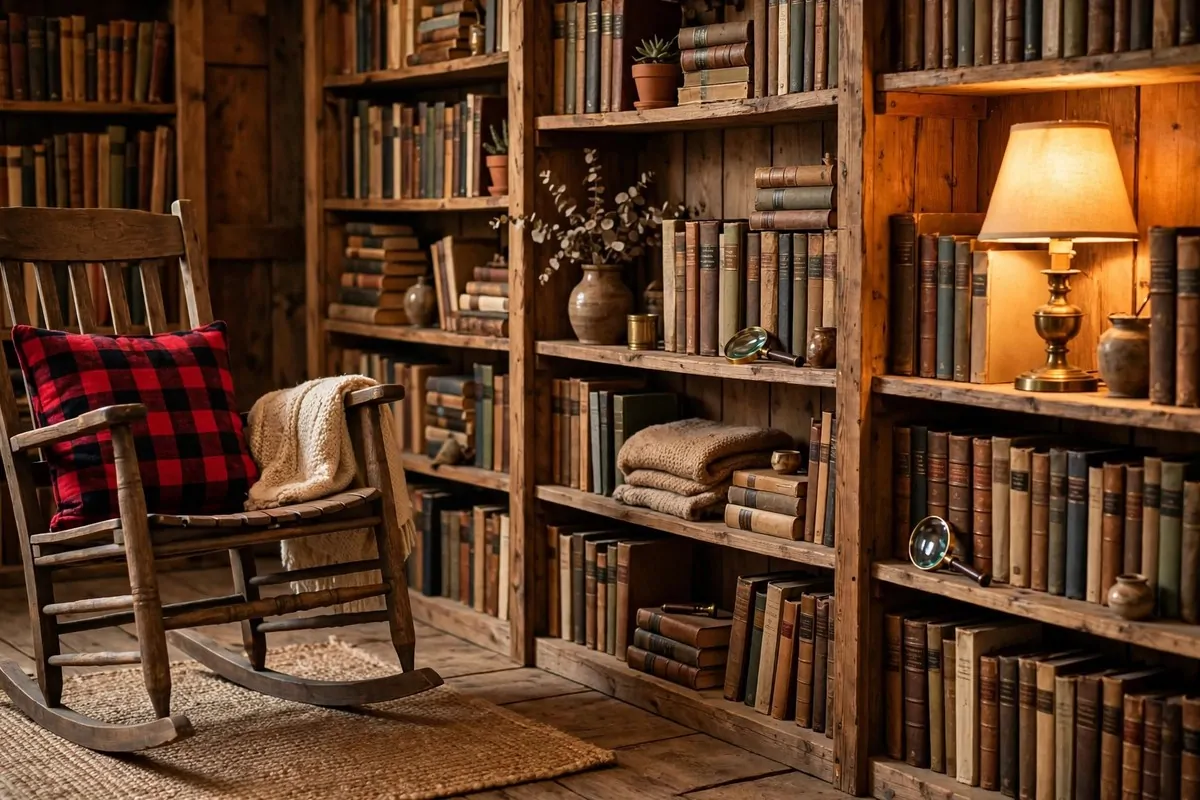
A rocking chair in a library is pure comfort. There is a rhythm to it that slows your whole evening down.
Look for a solid wood rocker, oak or hickory if you can find it. The runners should glide smooth and quiet. Test it in the store if you can. A creaky rocker is charming in theory and annoying in practice. A little candle wax on the runners fixes most squeaks though.
Add a cushion in red plaid or a simple sheepskin. The wood is hard, and you will read for hours. My cushion is a red and black buffalo check, and it is the first thing people notice when they walk in. It just screams cozy cabin.
Place it near a window or a lamp. Rockers belong in the light. Morning sun on the pages, evening lamplight on the wood. Either way, you want good light on your book and warm wood all around you.
Keep a small basket of current reads beside the chair. Paperbacks, a magazine, whatever you are in the middle of. The chair becomes your spot, and the basket becomes your queue. I love that word for it. My queue.
Rockers fit in corners that swallow armchairs. They have a smaller footprint than a big upholstered chair, and the open back lets light through. Small library, big comfort.
Oil the joints once a year. A dry joint is what starts the creaking. A drop of wood glue and a clamp fixes a wobble before it becomes a break. Old chairs deserve a little care.
Teach your kids that the rocker is the reading chair. Mine know that whoever sits in it gets to pick the bedtime story. It turned a piece of furniture into a family tradition, and honestly that is worth more than the chair.
8. Light It With Iron Lanterns and Edison Bulbs

Rustic libraries need warm light, not bright white ceiling glare. Iron lanterns and Edison bulbs do the job.
Hang a row of black iron lanterns with Edison bulbs inside from a wooden beam or along a shelf. The filament glows amber and the iron makes long soft shadows. It feels like candlelight without any flame to worry about.
Put small lanterns on the shelves themselves. One every few shelves breaks up the rows of book spines and gives the room little pools of light. I use battery-powered candles inside mine so I can leave them on all evening with no fuss.
Edison bulb string lights work if you keep them sparse. Drape one strand along the top of a bookcase, not all over the room. Too many strands and it looks like a patio. One strand looks like a cabin at dusk.
Use warm white bulbs, always. Look for 2200K or 2700K on the box. Anything cooler looks blue and kills the warm wood tones you worked so hard to build. This one detail changes everything. Trust me on this.
A big iron lantern on the floor beside your chair acts as a reading lamp. Put a bright warm bulb in it, close enough to read by. It lights your pages and leaves the rest of the room soft and dim. Perfect.
Mix lantern sizes for a collected-over-time look. One big, two small, different shapes. Matching sets look like a catalog. Mixed pieces look like a life. Rustic rooms should look like a life.
Dimmer switches are worth every penny. Full bright for cleaning, low glow for reading. I put my shelf lanterns on a dimmer and now the room has a sunset setting. Best money I spent on the whole room.
9. Build a Firewood Cubby Into the Wall
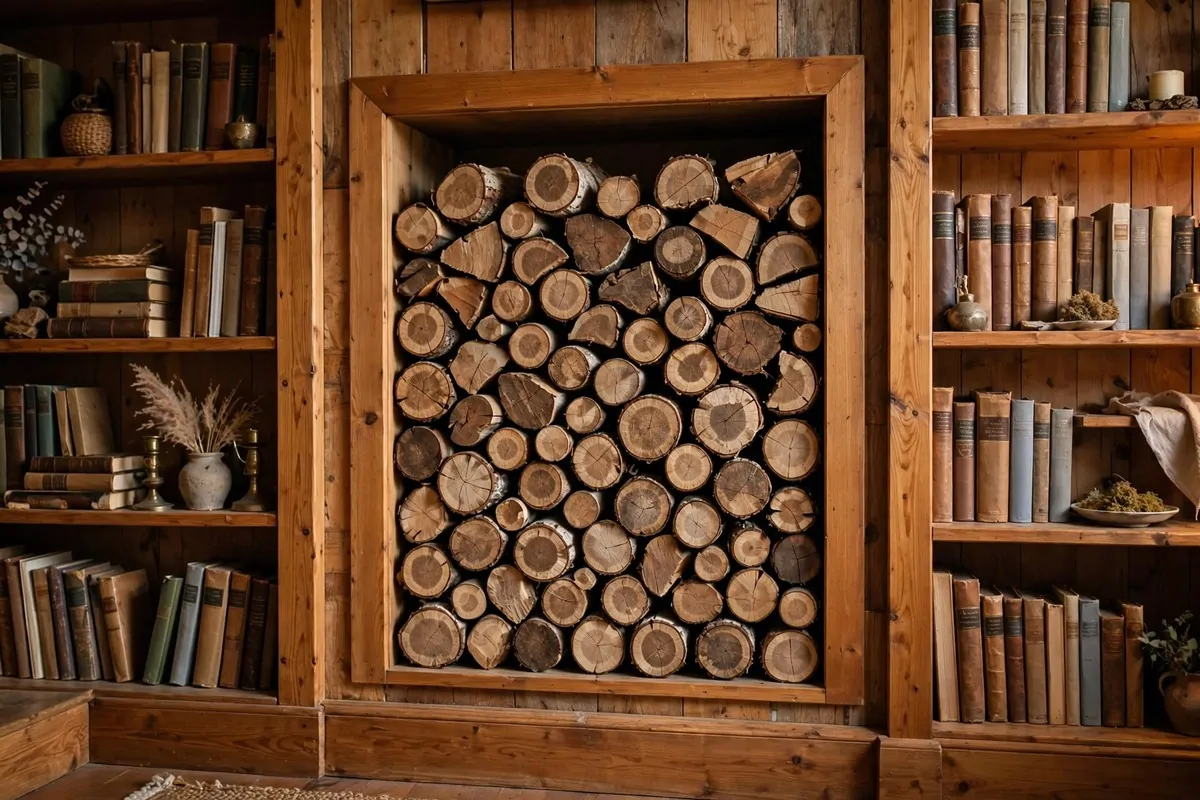
If you have the wood stove from idea one, you need a home for the wood. A built-in cubby is the rustic answer.
A firewood cubby is just an open box set into the wall or built between shelves. Stack the logs in with the cut ends facing out. The ends make a beautiful pattern, all circles and rings. It is free art.
You can frame one between two bookcases. Build a simple box from pine boards, slide it in, and fill it with wood. Stain it to match your shelves so it looks built in. Mine looks like it was always there.
Keep the logs you burn in the next day or two in the cubby. Store the main woodpile outside or in the garage. The cubby holds one evening’s worth, maybe two. That keeps bark and bugs mostly out of the room.
Line the bottom with a piece of sheet metal or an old tray. Bark sheds. You will sweep less if the cubby has a tray you can pull out and shake into the bin. Small detail, big difference.
A cubby also works without a stove. Fill it with rolled blankets or extra books. The warm wood and the pattern of the logs are the point. It reads as rustic even if you never light a fire.
Do not overstuff it. Leave a little air between the logs. They dry better and the pattern looks neater. A jammed cubby looks like a chore. A neatly stacked one looks like a magazine photo.
This is a good weekend project if you are handy. Two hours with a saw and a drill. If you are not handy, a carpenter can frame one in an afternoon. Either way, it is one of those details guests always ask about.
10. Throw Red Plaid Flannel Over Everything
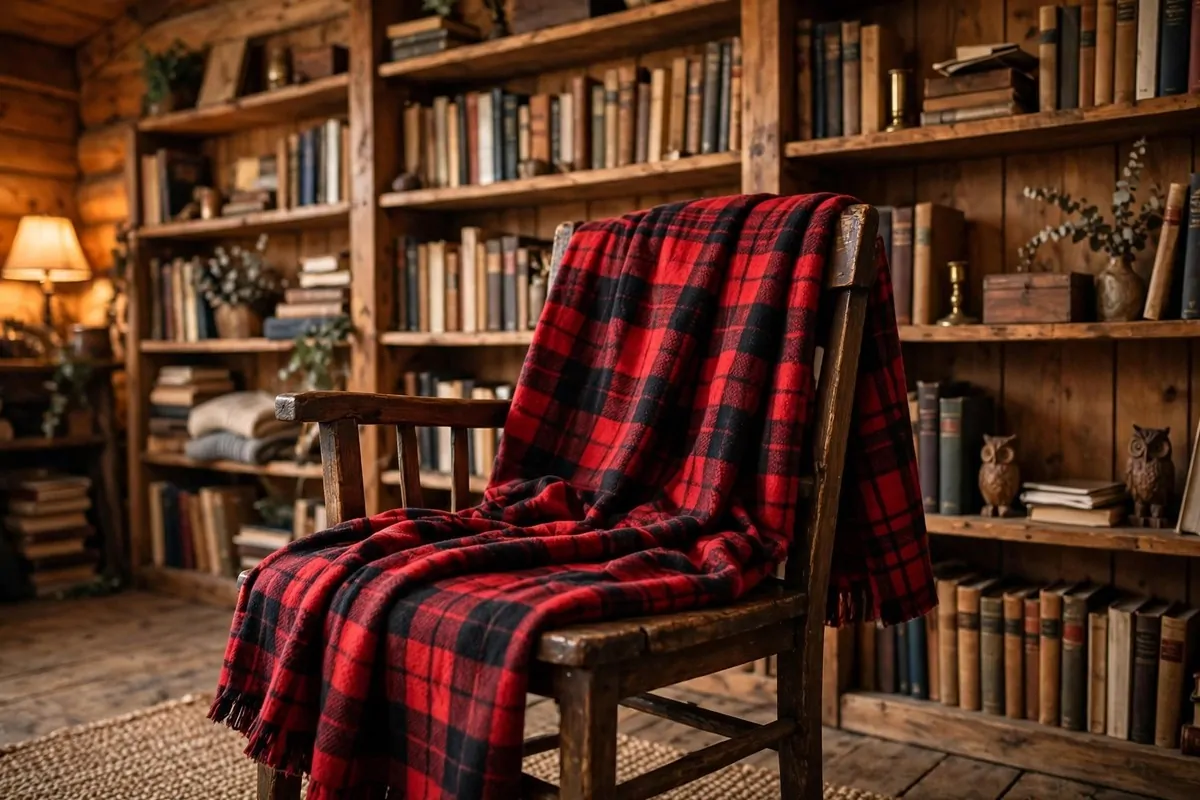
Red and black buffalo plaid is the unofficial flag of the rustic library. One throw changes the whole room.
Drape a plaid throw over your reading chair, your rocker, or the arm of a small sofa. Do not fold it neatly. The best look is tossed, like someone just got up to make tea. Neat folds look like a store. Tossed looks like home.
Flannel is cheap and everywhere in fall. Buy one size up from what you think you need. A throw that actually covers your legs while reading is a throw you will use every single night. Mine is basically a blanket with ambitions.
Mix plaid with solid colors. A red plaid throw plus a plain cream pillow plus a tan wool pillow. That mix looks collected and cozy. Too much plaid and the room starts to look like a hunting lodge gift shop.
Wash flannel before the first use. It softens up a lot after one wash. Dry it on low or hang it up. High heat shrinks it and makes it feel thin. I learned that one the hard way with my favorite.
Plaid cushions work on wooden chairs and benches. A flat wooden bench with two plaid cushions becomes a reading spot. A wooden stool with one cushion becomes the footrest. Plaid is the glue that ties plain wood together.
Keep a basket of extra throws by the door of the room. Guests grab one without asking, and that tells you the room is doing its job. My basket holds three, and on cold nights all three get used.
Here are the plaids that work best in warm wood rooms:
- Buffalo check in red and black, the classic cabin look
- Tartan in green and navy, a little softer and fancier
- Windowpane check in cream and brown, light and airy
- Simple two-tone flannel in rust and cream, warm without shouting
11. Lay Down a Cowhide Rug
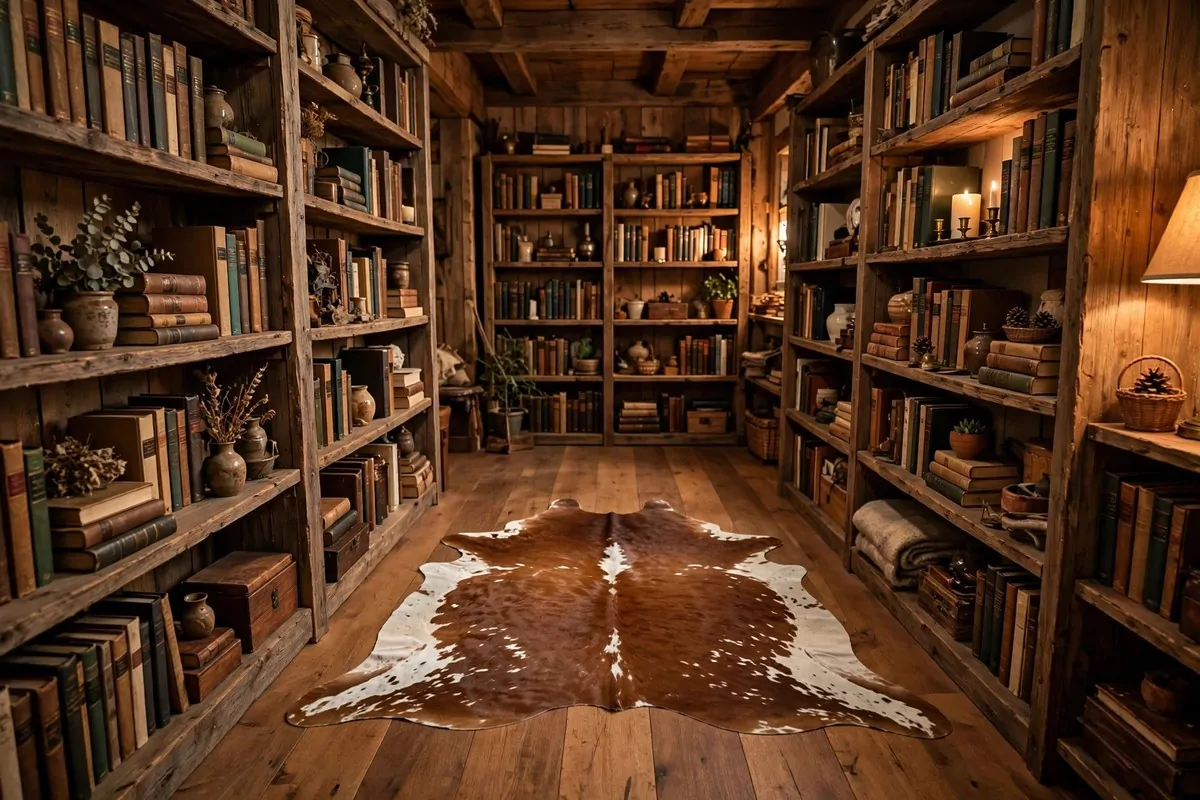
A cowhide rug on a wood floor is rustic perfection. No pattern to clash, just natural shape and tone.
Cowhides come in brown and white, solid brown, and black and white. For a warm wood library, the brown and white mix is the winner. It picks up the honey tones of the floor and the shelves without adding a new color.
The irregular shape is the point. Lay it at an angle under your reading chair. It softens the corner and breaks up all the straight lines of shelves and tables. Rooms full of rectangles need one wild shape.
They are tougher than they look. Cowhide handles foot traffic well and shakes out easily. Take it outside twice a year and give it a good shake. Vacuum it flat on the floor the rest of the time. No steam cleaners, no soaking.
Real hide or faux, both work. Faux versions are cheaper and nobody can tell from across the room. I have a real one I found secondhand and a faux one in another room. Honestly, sitting on them feels the same.
Size it to your chair zone. It should sit under the front legs of your chair at least. A tiny hide lost in the middle of a big floor looks like a postage stamp. Go bigger than you think.
Layer it over a flat jute rug for extra warmth. The jute covers more floor, the hide sits on top as the star. Two textures, one cozy corner. This trick works in big rooms that feel empty.
If the hide curls at the edges, flip it over for a day. Most curls relax on their own. For stubborn ones, a little double-sided rug tape underneath does the job. Keep it away from direct stove heat, since leather and heat do not mix.
12. Store Overflow Books in a Cedar Chest

Every library has more books than shelves. A cedar chest solves it beautifully.
Cedar chests are those long wooden boxes our grandparents used for blankets. They smell amazing, like a forest in a box. That smell also keeps moths away from your books. Practical and pretty at once.
Set one at the foot of a reading bench or against a wall under a window. Fill it with the books you are not reading right now, the ones you love but do not need daily. Seasonal books, old favorites, the series you finished.
The lid makes a perfect extra surface. Stack your current reads on top. Set a lantern on one end. I keep a little tray on mine with my tea things. It is a table that also hides a hundred books.
Look for old ones at estate sales and thrift stores. They are built like tanks and cost almost nothing secondhand. Check that the lid stays open on its own and the hinges are not rusted through. A little oil fixes most hinge problems.
Sand and oil the outside if it looks tired. Cedar glows when it is oiled. Use a natural wood oil, not a thick varnish. You want to keep that soft cedar feel, not turn it into a plastic box.
Keep the inside simple. No dividers needed. Stand books upright in rows like a deep drawer. You can flip through them like records in a crate. It is actually a fun way to browse your own collection.
One warning. Old chests can have a musty smell if they were stored damp. Air it out in the sun for a day before bringing it inside. Sunshine fixes most old-wood smells. Mine sat on my porch for a weekend and came in smelling like cedar again.
13. Set Out Hand-Carved Wooden Figures
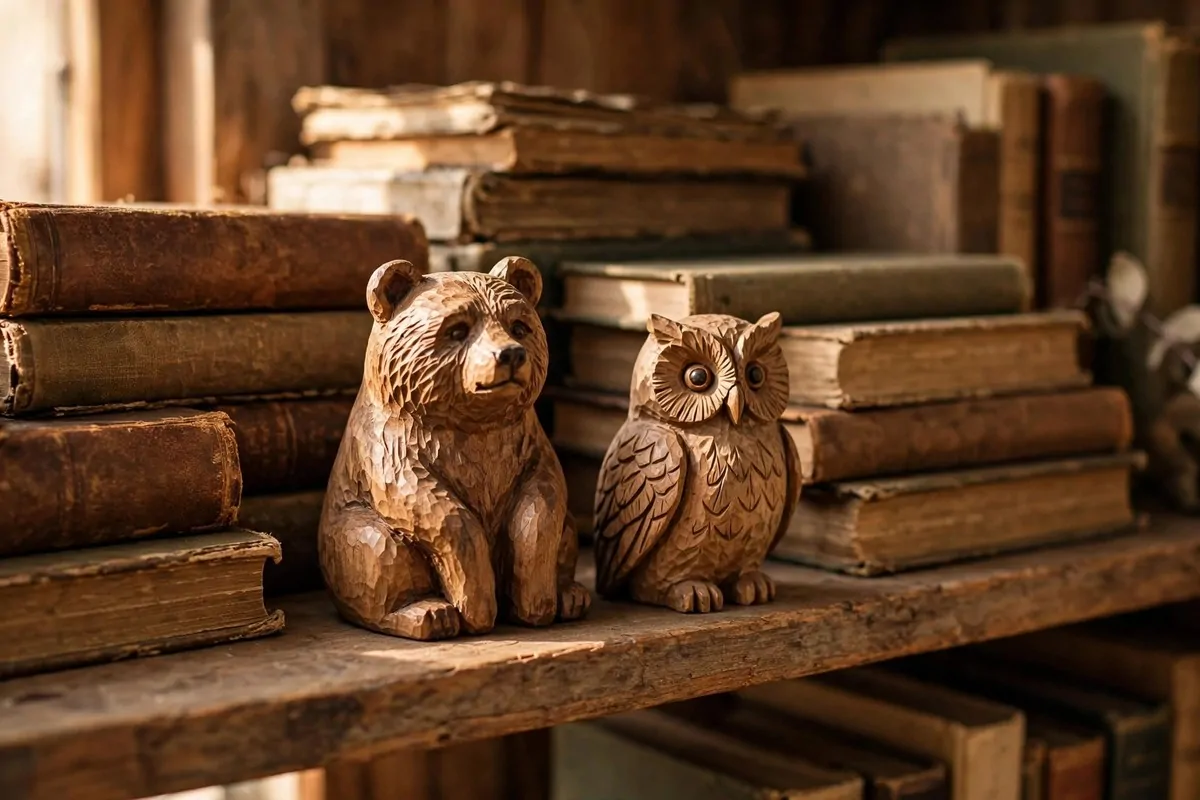
Little carved animals on a bookshelf make a rustic library feel hand-made and loved.
You can find carved bears, owls, foxes, and deer at craft fairs and mountain gift shops. They are usually cut from a single piece of pine or basswood. Each one is a little different, which is exactly the point. Perfect is boring.
Place them in the gaps between book rows. One bear leaning against the books. An owl on top of a short stack. They break up the straight lines of spines and give your eyes a place to rest. It is like punctuation for a shelf.
A folk-art carving does not need to be expensive. Mine cost less than a paperback. The cheap ones from roadside stands have the most charm, honestly. They look like someone whittled them on a porch, because they probably did.
Group three together for the best look. One alone can look lost. Three at different heights looks intentional. Put the tallest in back, smallest in front, like a little family.
Carve your own if you feel brave. A simple bird or fish shape is a good first project. You need one piece of soft wood and one sharp knife, plus a lot of patience. My first bird looked like a potato. My third one looks like a bird. Progress is fun.
Dust them with a soft brush, not a wet cloth. Water raises the grain on unfinished carvings. A dry paintbrush gets the dust out of all the little grooves. Once a year is plenty.
Keep them away from the stove side of the room. Dry heat cracks carvings over time. The cooler shelf wall is the safer home for your little wooden family.
14. Cover the Ceiling in Cedar Planks

Everyone does the walls and forgets the ceiling. A cedar plank ceiling wraps the whole room in warmth.
Cedar tongue-and-groove boards go up fast and smell incredible while you work. The whole house smells like a sauna for a week. I am not complaining. It is the best week.
The warm red-brown tone of cedar makes the room glow even with the lights off. Daylight bounces off it softly. Lamplight turns it golden. It is the single biggest warmth upgrade you can make, bigger than any paint color.
You can run the planks in one direction to make the room feel longer, or across to make it feel wider. Long rooms want planks running the long way. Square rooms can go either way. I ran mine toward the window to pull the light in.
Leave the beams exposed if you have them. Dark beams against cedar planks is the classic cabin ceiling. If you do not have beams, add two or three fake ones. Box beams made from pine boards look real from below and cost very little.
Finish the cedar with a clear matte sealer. It keeps the color from fading and makes dust wipe off easy. Do not use a glossy finish up there. Shiny ceilings look strange. Matte keeps it soft and natural.
This is a two-person weekend job if you are handy. One person holds, one person nails. Rent a finish nailer and it goes twice as fast. If heights scare you, hire it out. No shame in that.
The cost is less than most people expect. Cedar planks are cheaper than hardwood flooring, and a small library ceiling is not much area. Get quotes from two lumber yards. Prices vary a lot by region.
Here is a quick comparison of wood ceiling options for a rustic library:
| Wood | Tone | Cost | Best For |
|---|---|---|---|
| Cedar | Warm red-brown | Medium | Smell, warmth, classic cabin look |
| Pine | Pale honey | Low | Bright rooms, tight budgets |
| Reclaimed barn wood | Weathered gray-brown | High | Maximum character, story in every board |
15. Hold Shelves Up With Wrought-Iron Brackets

Black iron brackets under warm wood shelves. That contrast is rustic design in one picture.
Wrought-iron brackets are strong enough for real books. Books are heavy, heavier than most people guess. A shelf of hardcovers can weigh as much as a person. Iron brackets do not bend or sag the way cheap hardware does.
Pick brackets with a little scroll or curve in the design. Plain L-brackets work but look industrial. A scrolled bracket looks hand-forged and old. That is the look you want in a rustic room.
Mount them into wall studs, not just drywall. Find the studs with a magnet or a stud finder. Mark them with tape. Then your shelves will hold a hundred books without a wobble. This is the step people skip, and then the shelf sags.
Space brackets every two feet at most. Long shelves need three or four brackets. A sagging shelf ruins the whole look. When in doubt, add one more bracket. They are cheap and they look good anyway.
Use thick wood for the shelf boards. One and a half inches of pine or oak holds books without bowing. Thin boards from a craft store will sag in a year. Go thick. Your books deserve it.
Stain the boards warm before you mount them. It is easier to stain on the ground than on the wall. Two coats, light sanding between. Then mount the brackets and set the boards on top.
The iron also ties the room together. Match it to your lantern frames, your stove details, your curtain rods. Black iron repeated three or four times around the room makes everything look planned. It is a small trick with a big payoff.
16. Decorate Shelves With Pinecones and Dried Branches
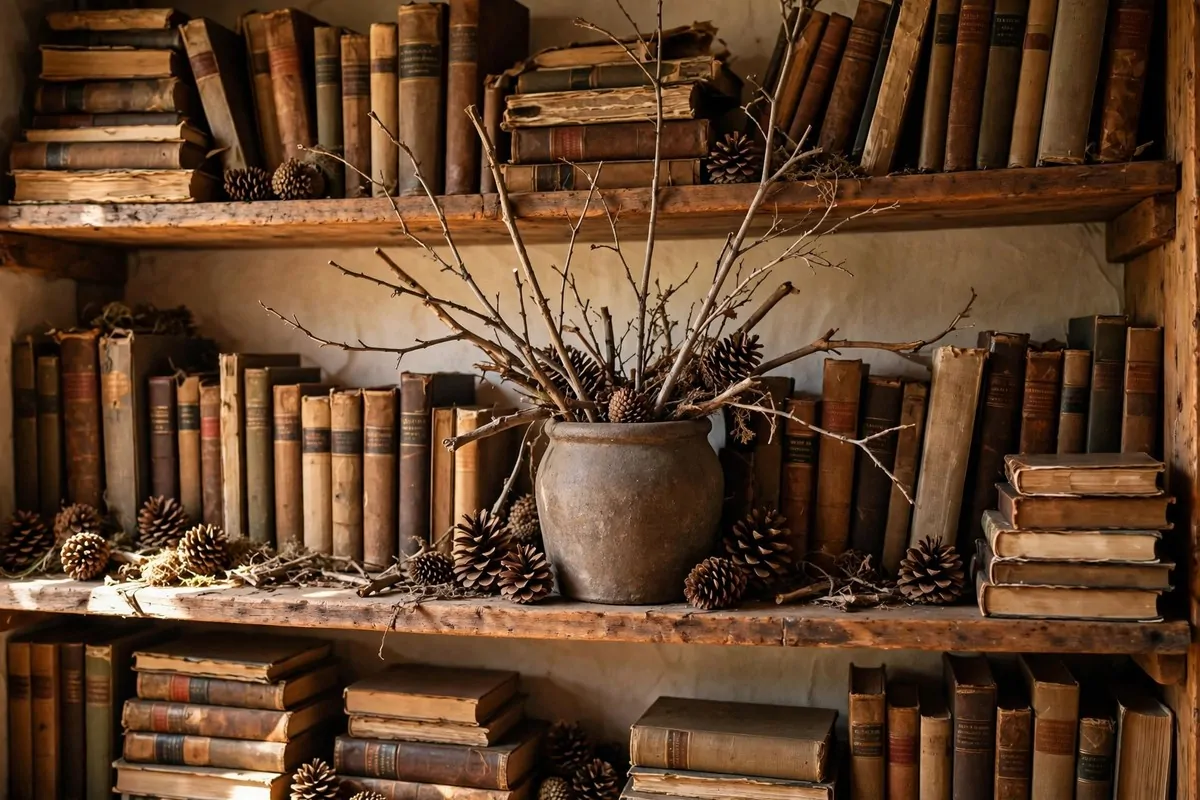
Free decor is the best decor. Pinecones and branches cost nothing and look like the forest came inside.
Collect pinecones on a walk and let them dry on newspaper for a week. They open up as they dry and get bigger and prettier. A bowl of them on a shelf is simple and perfect. I refill mine every fall like a ritual.
Stand tall dried branches in a heavy crock or an old milk can. They add height to a shelf that is all short books. The bare branches look sculptural, especially against warm wood. No leaves needed. Bare is better.
Tie a few small branches together with twine for a bundle. Lean the bundle against the books. It looks like kindling for the stove, and it is, if you ever need it. Decor that doubles as firewood is very rustic.
Mix in dried seed pods, acorns, and interesting stones. A shelf styled with only books can feel stiff. Natural bits soften it. They remind you that the room is about comfort, not showing off.
Spray nothing on them. No glitter, no paint. The whole point is that they are real. A pinecone painted gold belongs in a different kind of room. In a rustic library, brown and rough wins.
Check branches for bugs before bringing them in. A quick look-over is enough. Shake them outside first. I once brought in a branch with a sleepy ladybug colony, and honestly it was fine, but check anyway.
Change the natural decor with the seasons. Pinecones in fall, bare branches in winter, a jar of dried wildflowers in spring. The shelves stay fresh without buying a thing. It gives you a reason to walk in the woods too.
17. Hang Antler Hooks Between the Shelves
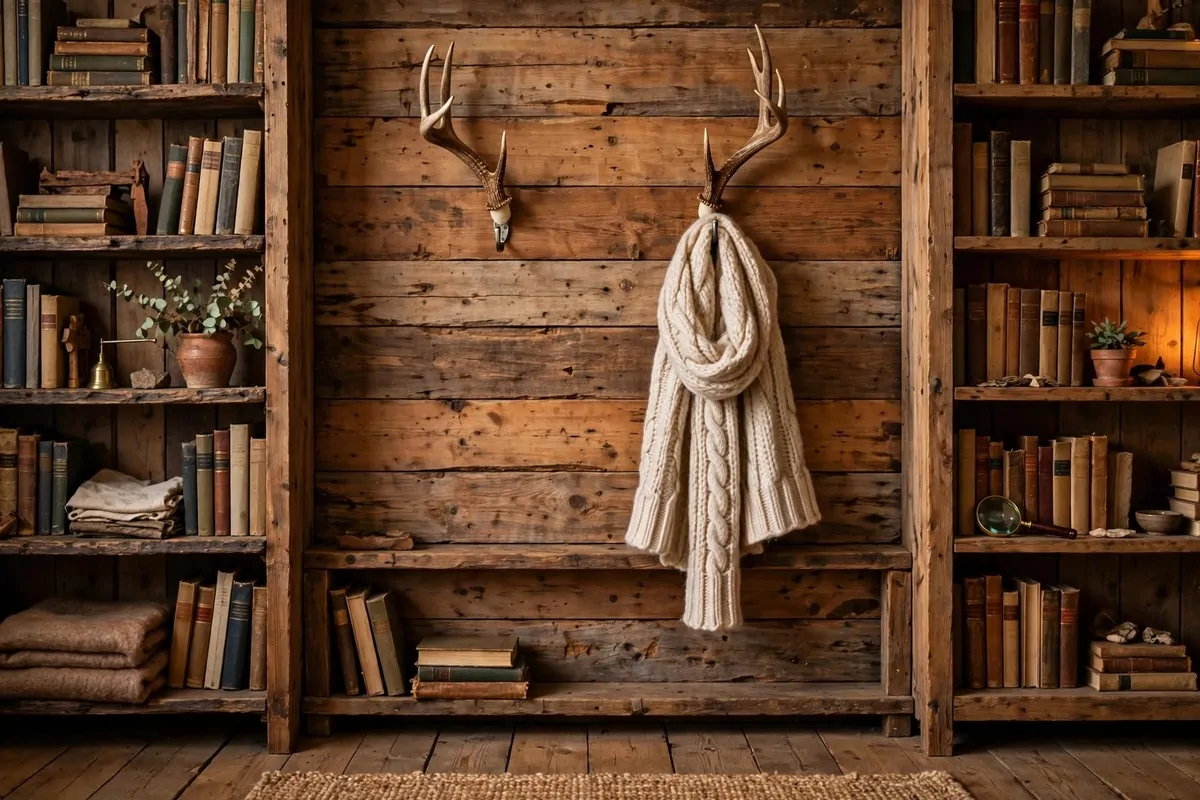
Antler hooks are the final touch that says this room belongs in a cabin.
Shed antlers are the ethical choice. Deer drop them every year, and people collect them in the woods each spring. No hunting needed. You can buy them at outdoor shops or find them on your own walks if you live near woods.
Mount a single antler point on a small wooden backplate and it becomes a hook. Hang your reading shawl, your tote bag of library books, or a set of headphones. It holds more weight than it looks like it should.
Place them in the gaps between bookcases. One antler hook between two shelves breaks up the wall and adds a wild, natural shape. Two or three spaced along a wall looks like a proper collection.
Pair them with the iron and wood already in the room. Antler, black iron, warm wood. Those three materials together are the whole rustic recipe. If your room has all three, it will look right no matter what else you do.
Seal the antler with a little mineral oil. It brings out the natural color and keeps it from drying out. Wipe off the extra. It takes two minutes and makes them look rich instead of dusty.
If real antler is not your thing, good resin copies exist. They look real on the wall and cost less. Nobody will touch them to check. Pick the option that feels right to you and enjoy it.
Keep them high enough that nobody bumps into them. Above shoulder height on the wall, or in a spot beside the door. They are sturdy but the points are real. A little planning keeps everyone safe and the hooks looking sharp.
Keep Reading
If these rustic looks got your imagination going, you will love these too: 28 Cozy Home Library Ideas You’ll Never Want to Leave, 24 Home Library Aesthetic Looks You’ll Want to Save, 19 Vintage Library Aesthetic Looks With Old-World Charm, and 23 Bedroom Library Ideas for a Dreamy Reading Retreat.