18 Garage Photo Studio Ideas That Cost Almost Nothing

The best light in my entire house comes from the room that smells like motor oil.
Sounds strange. But stand in your garage with the big door open on a cloudy morning and look at that light. It is soft. It is even. It falls off gently, the way expensive studio lights are designed to fall off. Photographers pay a fortune for light that looks like this, and yours is sitting behind a door you open every day.
That is the secret behind all Garage Photo Studio Ideas. A garage already has the two things a studio needs most. Space, and a huge opening you can turn into a light source. The concrete floor does not care if you spill coffee. The walls can take a screw. And when you are done shooting, you put the car back in.
These 18 ideas will show you how to build a real working photo studio in your garage for almost nothing. Backdrops, lights, reflectors, props. All of it. Let us open the door and start.
1. Open the Garage Door and Turn It Into a Giant Softbox
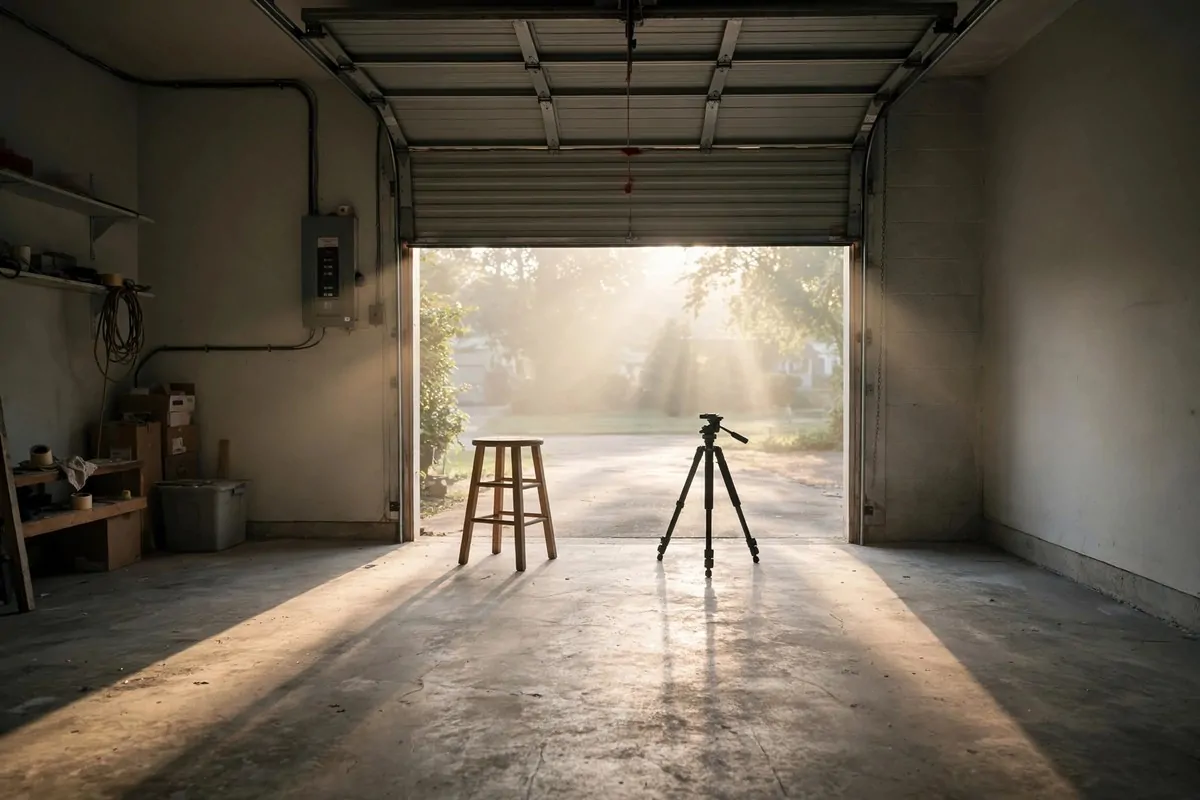
Walk into your garage, hit the button, and watch what happens.
That huge rectangle of daylight is the best free light you will ever own. Pro photographers talk about big softboxes the way chefs talk about knives. Your garage door is basically a softbox the size of a wall. It costs you nothing. It is already installed.
Set your subject a few feet inside, facing the open door. The light will wrap around their face softly. No hard shadows. No squinting, if the sun is not hitting them straight on.
Move the subject closer to the door for brighter shots. Move them deeper into the garage for darker, moodier ones. That is it. That is the whole trick.
The garage walls around you help too. Light bounces off them and fills in the shadows for free. White or light gray walls bounce more. Dark walls bounce less, which is also useful.
I know a photographer who shot a full portrait session in her garage this way. Nobody guessed where the photos were taken. The light just looked pro.
One warning. Do not shoot with the sun blasting straight through the door onto your subject. They will squint. Their eyes will water. You will see it in the photo.
Keep the direct sun off their face. Bright but indirect light is what you want. That soft glow just inside the door opening.
This one idea is the foundation for every other idea on this list. Master the door light and you are halfway there.
2. Pick the Right Time of Day to Shoot
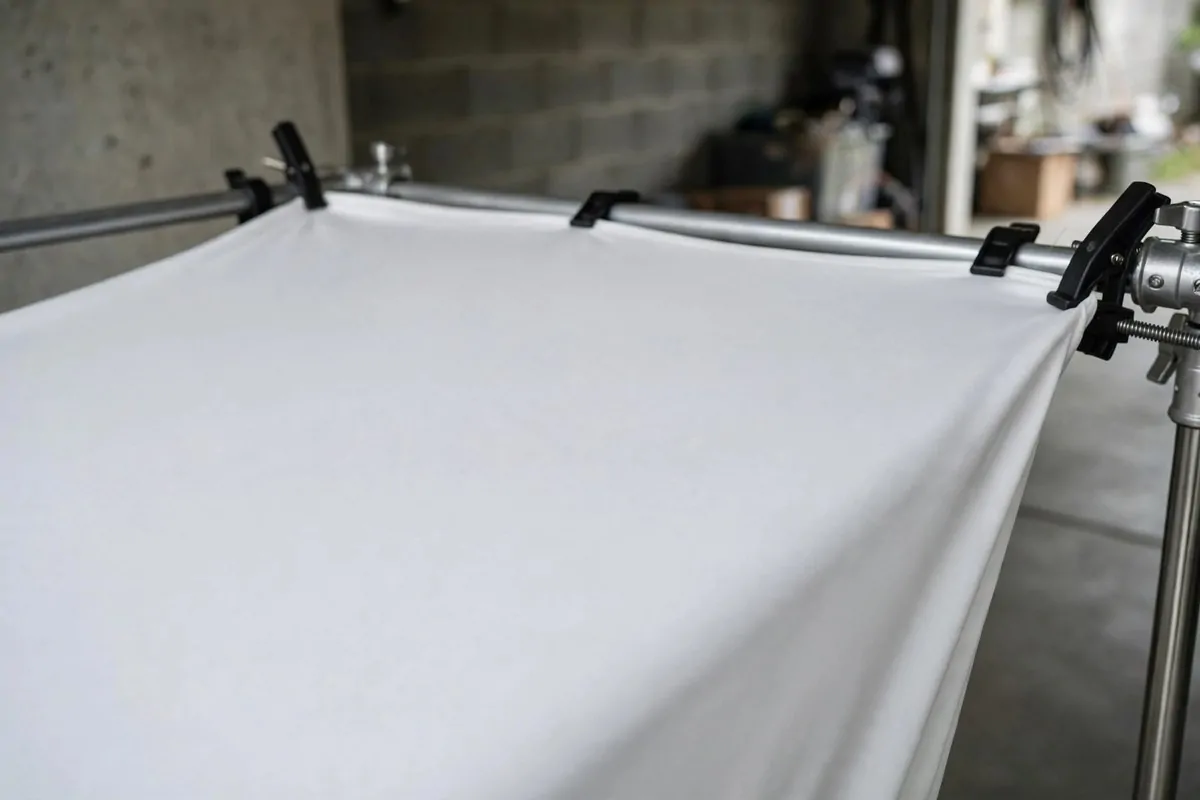
Not all daylight is good daylight. That is the lesson here.
Early morning and late afternoon are the sweet spots for Garage Photo Studio Ideas. The light is soft and warm and kind to faces. Midday sun is harsh and creates hard shadows under noses and chins.
Check which way your garage door faces. A door facing east gets soft morning light. A door facing west gets soft evening light. North-facing doors get soft, even light almost all day, which is honestly the dream.
South-facing doors get the strongest midday sun. Not useless, just trickier. Shoot early or late with a south door.
I keep a little note on my phone. Door faces east, best light between 8 and 10 in the morning. That is my window. Find yours.
Cloudy days are a gift. A cloudy sky is nature’s biggest diffuser. The light goes soft and even, almost like a studio flash with a softbox.
On sunny days, watch the light patch on your garage floor. You can see exactly where the hard sun stops. Keep your subject just inside that line, in the shade.
Time of day changes with the season too. Winter light comes in lower and warmer. Summer light is higher and brighter. Both work. You just adjust your schedule a bit.
This costs nothing. It just takes a few days of paying attention. Once you know your light hours, you can plan every shoot around them.
Here is a simple rhythm I use:
– Check the sun on the floor before every shoot
– Morning shoots for soft cool light
– Late afternoon shoots for warm golden light
– Cloudy days for the softest light of all
– Skip the harsh midday hours, or shoot deeper inside the garage
3. Iron a Bedsheet and Use It as a Free Backdrop
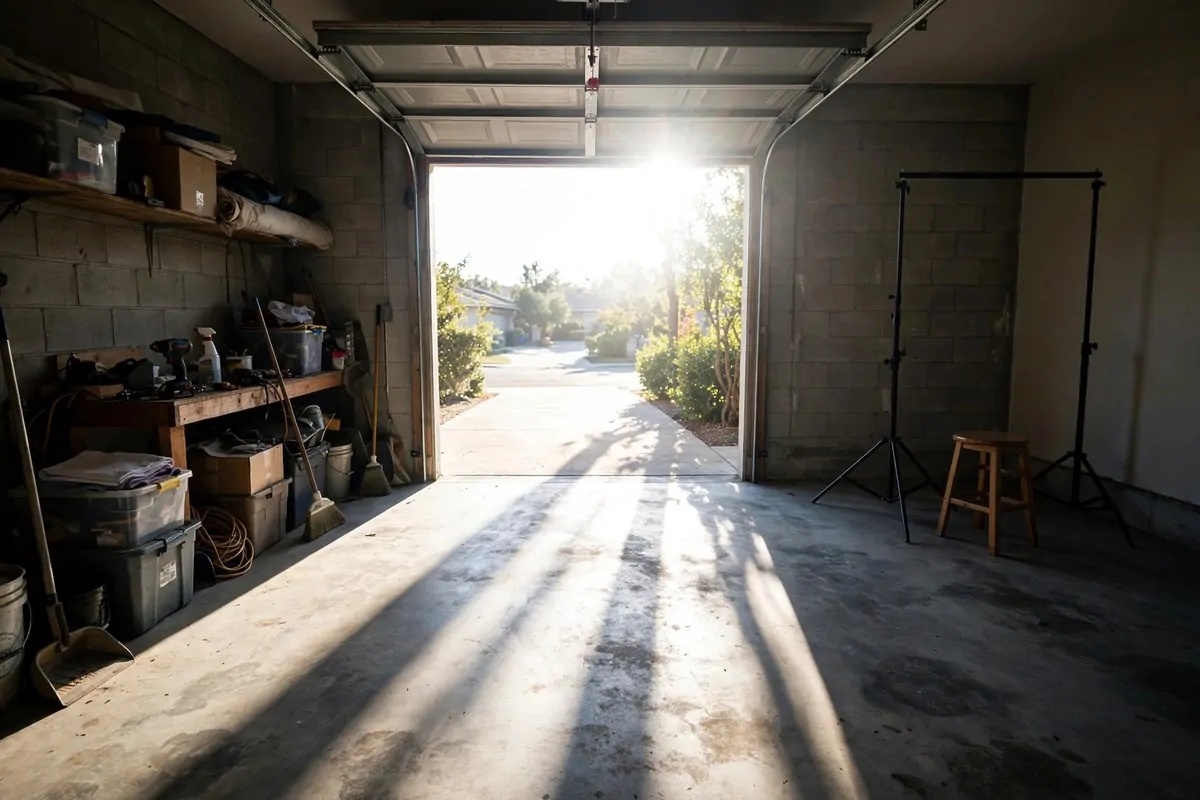
You already own a backdrop. It is in your linen closet.
A plain white or light gray bedsheet makes a fine photo backdrop. King size is best, because it is wide. But a queen works for head and shoulder shots. The trick is in the prep.
Wash it first. Then iron it. I know, ironing is boring. But wrinkles show up in photos like little mountains. Every fold will cast a tiny shadow.
Pull the sheet tight when you hang it. Clamp the edges with binder clips or clothespins. The tighter it is, the smoother it looks in the photo.
Hang it a few feet away from your subject if you can. Distance blurs the backdrop softly and hides any last wrinkles. This is one of my favorite tricks in all of these Garage Photo Studio Ideas.
Dark sheets work too. A black or navy sheet gives you a dark backdrop for moody portraits. Same rules. Iron it, pull it tight, give it space.
You can also dye a white sheet. One box of fabric dye turns a cheap sheet into any color you want. Sage green. Warm beige. Dusty rose. Whole new backdrop for the price of a coffee.
Store your sheet backdrops rolled, not folded. Wrap them around a cardboard tube from a paper roll. Rolled sheets stay smooth for months.
This idea alone replaces a backdrop you might pay good money for. Free, if you check your closet first.
4. Build a DIY Backdrop Stand From PVC Pipe
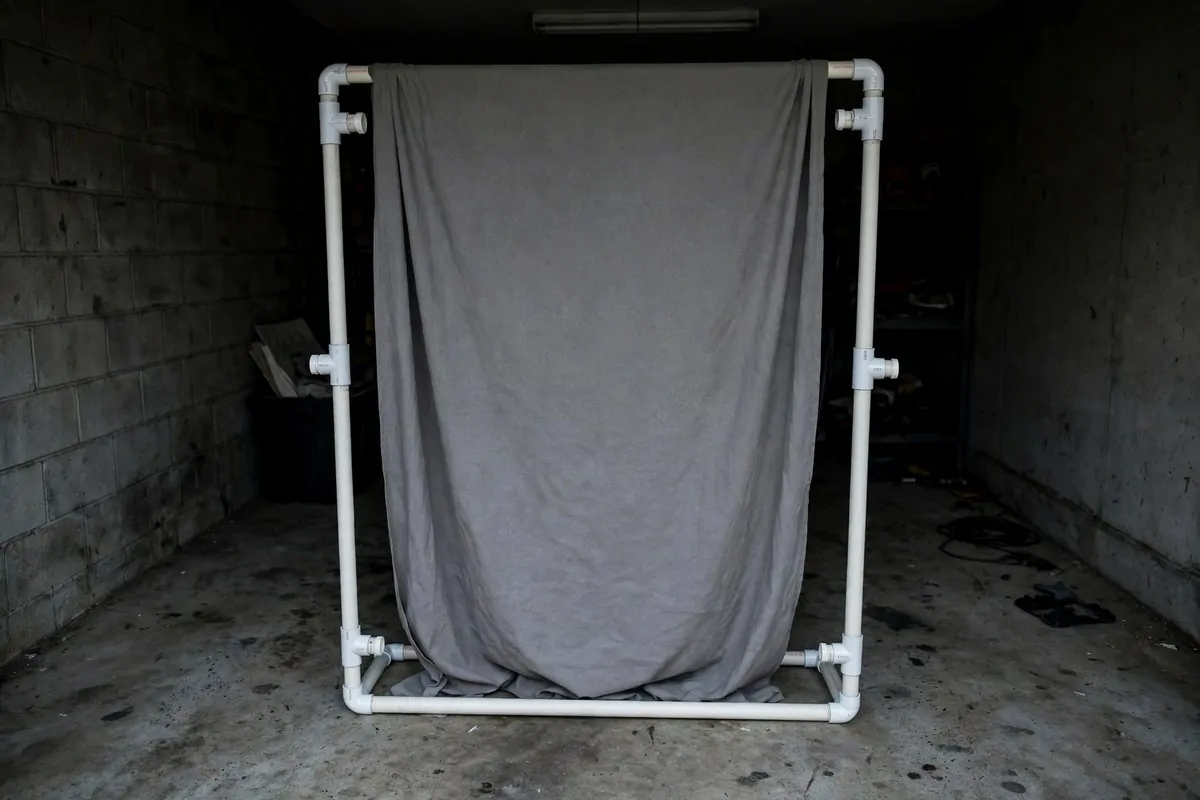
Now you need something to hang that sheet on. Meet the PVC pipe stand.
A backdrop stand from the store is two tripods and a crossbar. You can build the same thing from white PVC pipe from the hardware store. Two feet, two uprights, one crossbar. Connect them with T joints and elbow joints.
It comes apart in seconds for storage. That matters in a garage, because the car still needs its spot most days.
Make the crossbar at least six feet wide. That is wide enough for one person or a couple. Eight feet is better for groups.
Sand the cut ends of the pipe so they slide into the joints easily. Dry fit everything before you glue anything. Then glue only the joints you want permanent. Keep the feet removable.
If you glue nothing at all, the stand still works. It just comes apart more often. For a stand that lives in the corner of the garage, that is fine.
Hang your sheet, paper, or fabric over the crossbar. Weight the bottom with a couple of clamps so it hangs straight and smooth.
One more tip. Paint the PVC black with spray paint. It looks pro in behind the scenes photos. And it costs almost nothing extra.
This stand holds backdrops, fairy lights, and fabric drapes. It is the workhorse of cheap Garage Photo Studio Ideas.
5. Paint One Wall Gray and Light It Like a Chameleon
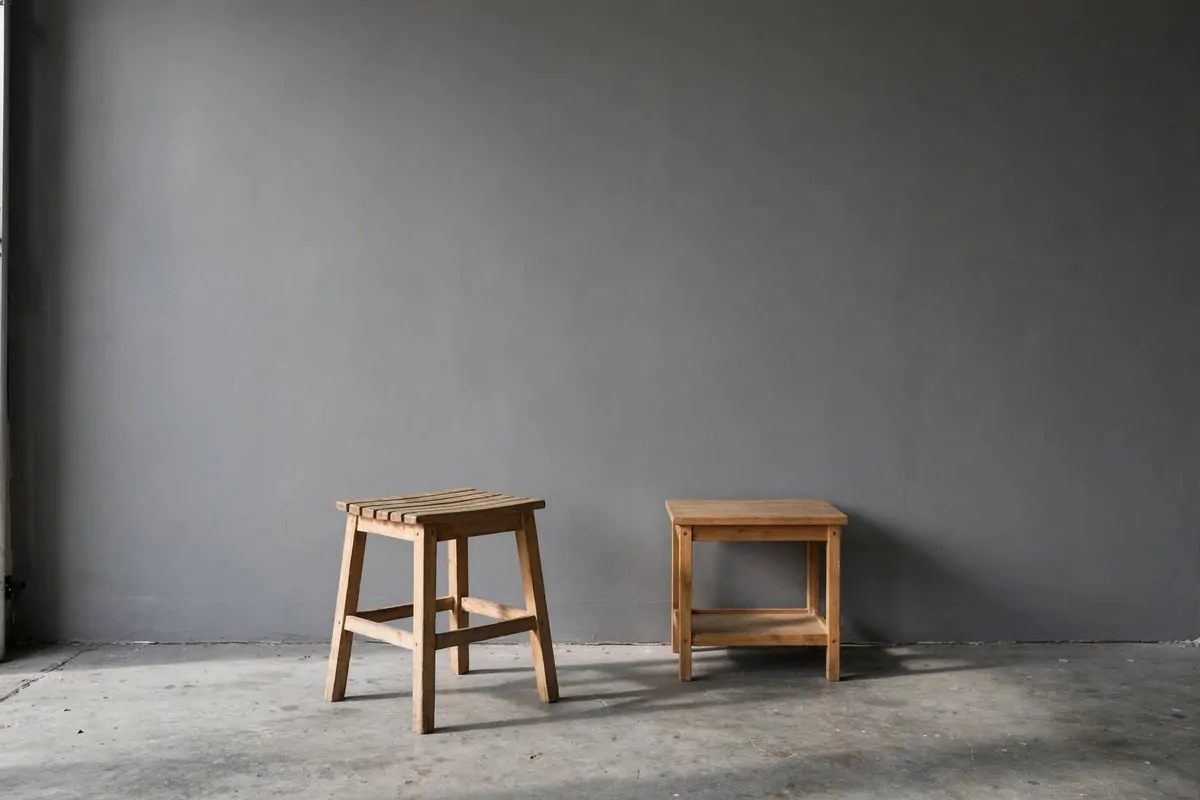
Here is my favorite backdrop trick, and it is permanent.
Paint one garage wall medium gray. Not white, not black. Gray. A flat gray with no shine. This one wall becomes four different backdrops depending on how you light it.
Light it brightly and it photographs almost white. Light it softly and it reads as a true gray. Turn the lights off it and let it fall dark, and it goes nearly black. One wall, three moods.
Keep your subject a few feet away from the wall. Then light only the subject. The gray wall behind them drops dark and moody. Now swing a light onto the wall instead. It glows soft and bright.
This is how working photographers stretch one small space. They do not own ten backdrops. They own one gray wall and a brain.
Use flat or matte paint. Glossy paint reflects light in weird hot spots. The matte finish eats light evenly.
Paint the wall during a free weekend. It takes an afternoon, two coats, and a radio playing something good. That is the whole project.
The wall never wrinkles. It never needs ironing. It never falls off a stand. It just sits there, ready.
Every time I use my gray wall, I am glad I did it. It is the closest thing to a studio superpower in this whole list of Garage Photo Studio Ideas.
6. Mount a Paper Backdrop Roller on the Ceiling
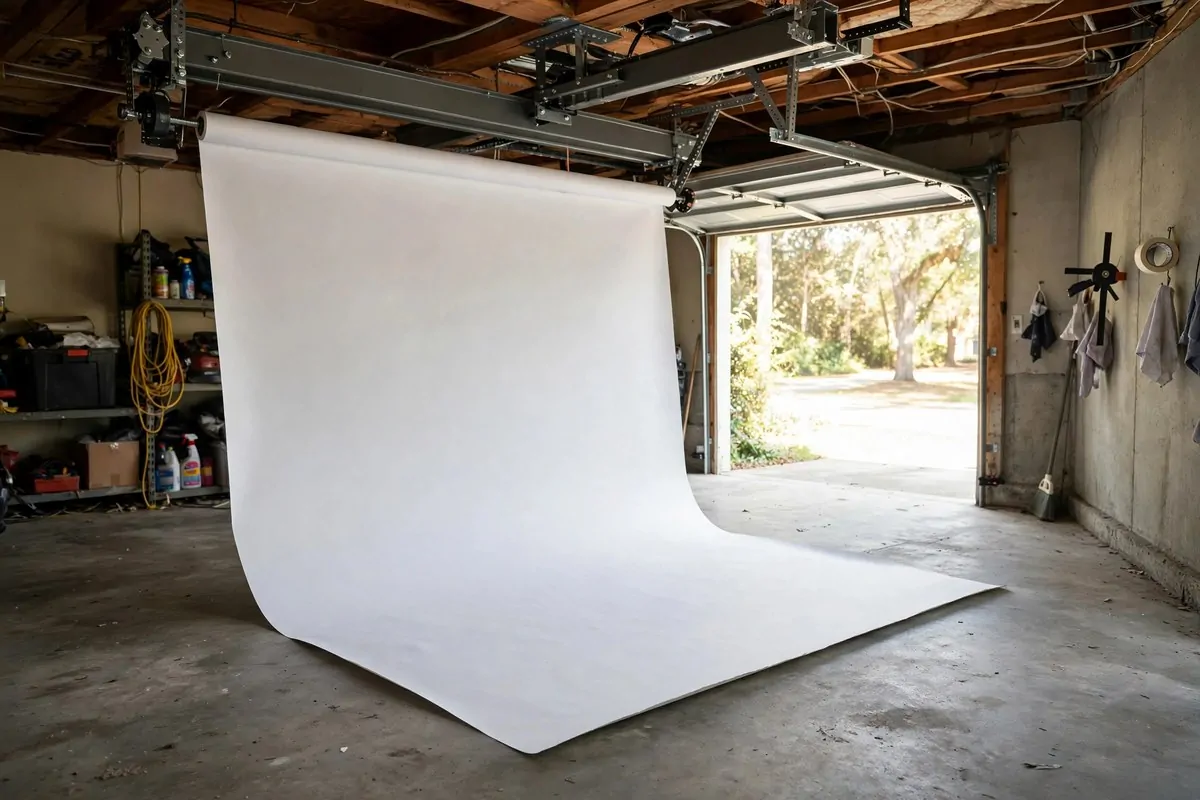
Seamless paper backdrops look amazing. The roll curves down the wall and onto the floor with no line or seam. That curve is what makes studio photos look so clean.
You can mount a simple roller to your garage ceiling with two brackets. The roll sits up high, out of the way. Pull the paper down when you shoot, roll it back up when you are done.
The garage never loses its parking spot. The backdrop system lives above your head, invisible, until you need it.
Start with one roll in white or light gray. A wide roll covers a full person sitting or standing. When the bottom edge gets dirty from shoes, just tear it off and roll down fresh paper. That is the beauty of paper.
Mount the brackets into a ceiling joist so they hold the weight. A full roll is heavier than it looks. Two solid screws per bracket is enough.
Keep the pull-down end clean. Tear, do not cut, the dirty edge. A torn edge rolls up tidier than a ragged cut.
Some photographers mount two or three rolls side by side in different colors. White, gray, black. That is a whole studio in one ceiling strip.
This is a little weekend project. But it turns a corner of your garage into a permanent photo studio that hides in plain sight.
7. Make V-Flats From Foam Boards to Shape the Light
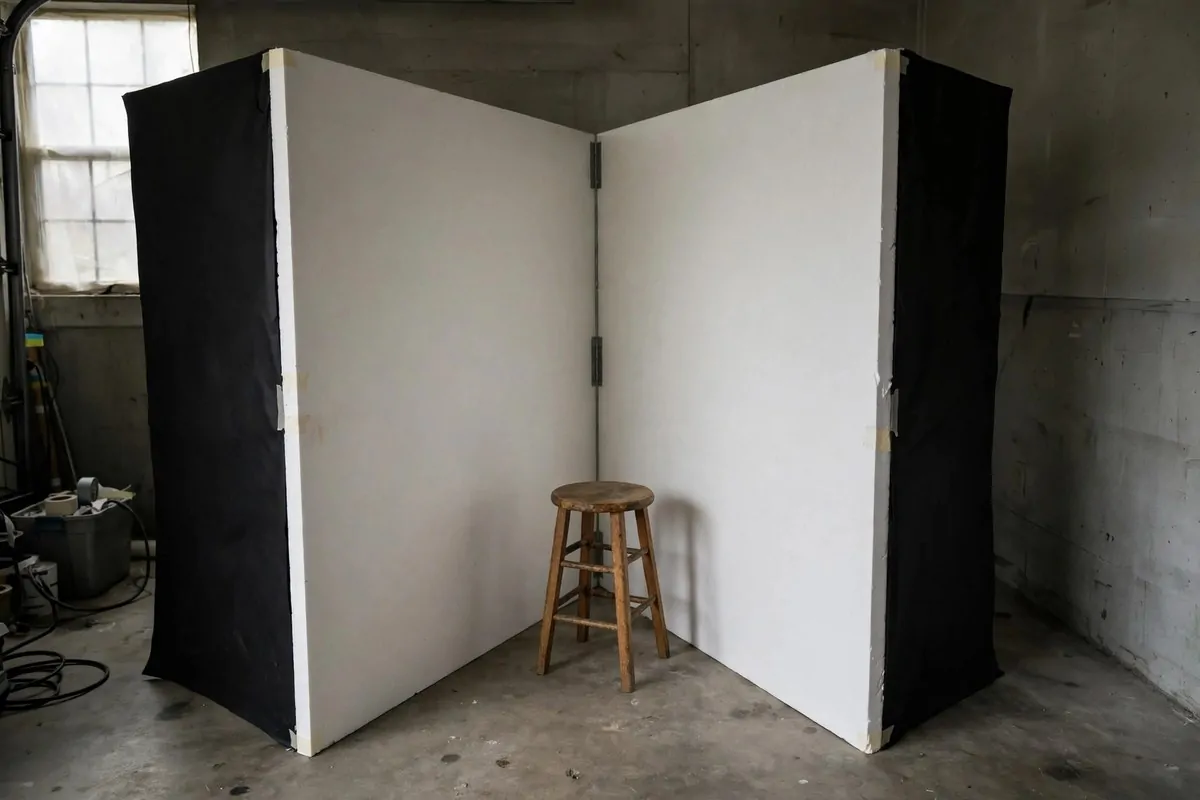
V-flats are the secret weapon of portrait photographers. They are just two big boards hinged together in a V shape. One side white, one side black. And they change your light completely.
The white side bounces soft light back onto your subject. Stand one next to your subject on the shadow side, and the shadows lift. Faces look bright and open.
The black side does the opposite. It eats light and adds shadow. Flip the flat around and your portrait gets dramatic and moody. Same room, same light, different feeling.
You can make V-flats from big foam boards from a craft store. Hinge two boards together with tape down the long edge. Paint one side black with matte paint.
They fold flat for storage. Lean them against the garage wall when you are done. They weigh almost nothing.
Place a white V-flat just outside the frame, on the side away from the window or door light. It fills the shadows like a second light source. A second light you did not have to buy.
Place a black V-flat behind the subject and your backdrop goes darker. Instant drama. No editing needed.
Professional studios own stacks of these. Yours cost a couple of boards and some tape. They fold away. And they make your garage portraits look like they were shot somewhere far fancier.
8. Bounce Light Back With a Cheap Foam Reflector
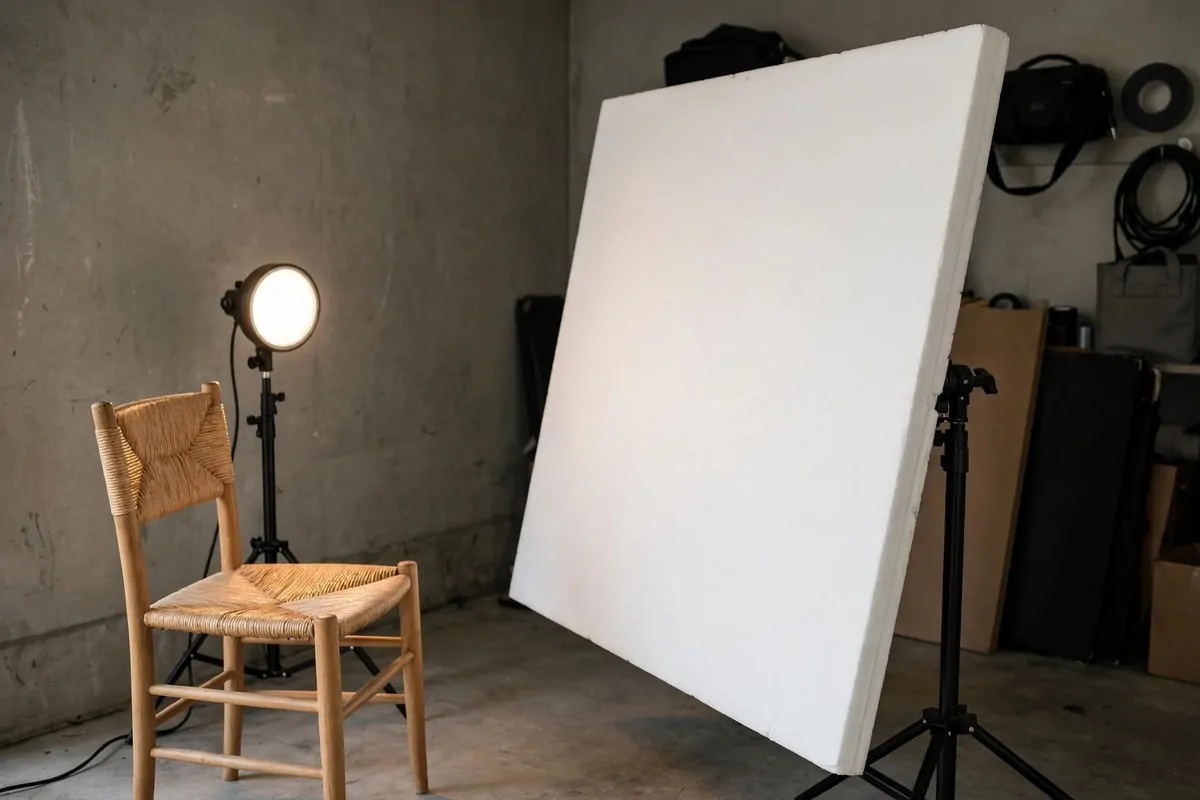
A reflector is the cheapest light you will ever own. It has no plug. It has no bulb. It just bounces the light you already have.
White foam core board from a craft store works perfectly. It is light, stiff, and bright white. Tape two sheets together for a bigger bounce. Lean it on a chair or a stand.
Hold it or prop it on the shadow side of your subject. The light from your garage door hits the board and bounces back onto their face. Shadows soften. Eyes get a little sparkle.
Silver reflectors bounce harder, brighter light. You can make one with a car sun shade. Those shiny folding shades are basically giant silver reflectors. Lean one against a box and you have pro level bounce.
Gold gives warm bounce. Wrap a board in gold wrapping paper and you get golden hour light any time of day. Fun for portraits.
The trick is distance. Closer board, stronger bounce. Farther board, softer bounce. Move it around and watch the shadows change. That is the whole game.
I keep my foam boards behind the garage door when I am not using them. They slide right in. Zero storage problem.
One board, endless portraits. This is one of the simplest Garage Photo Studio Ideas, and one of the most powerful.
9. Soften a Harsh Light With a Shower Curtain
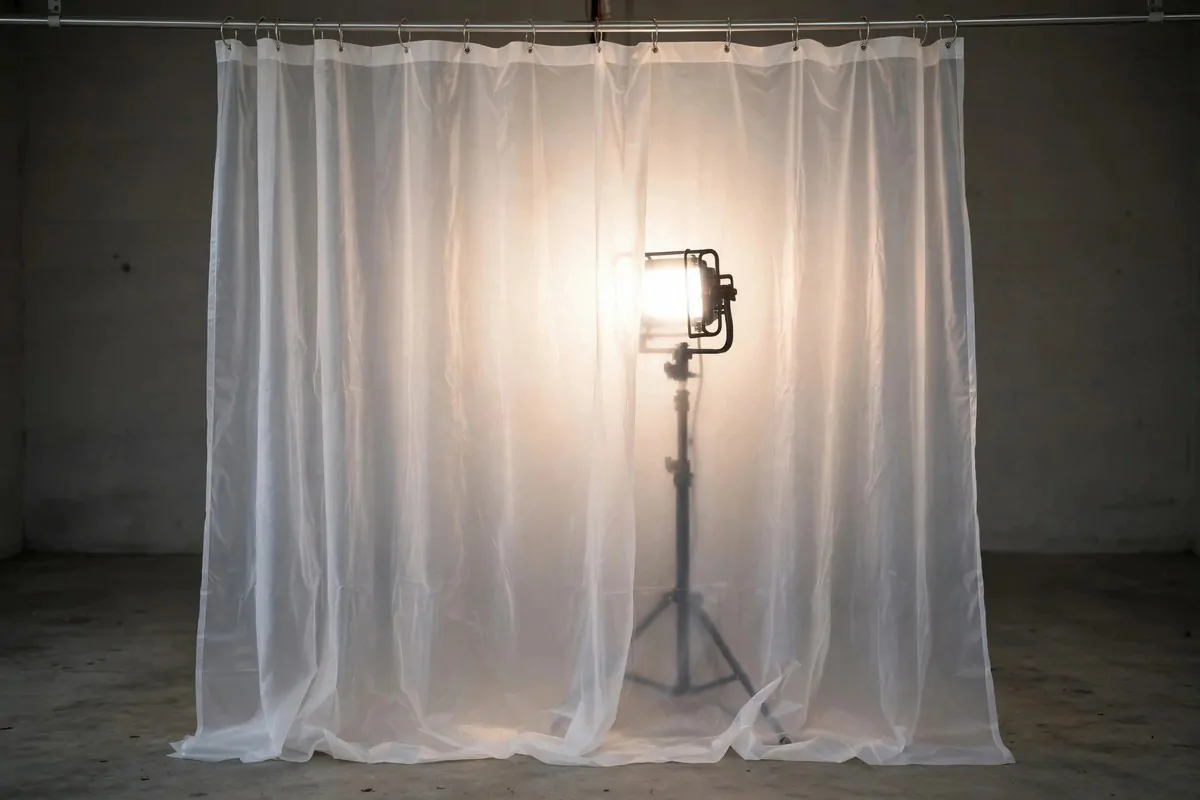
Cheap work lights are bright and harsh. They blast hard shadows everywhere. But a two dollar shower curtain fixes that.
Hang a plain white frosted shower curtain between the light and your subject. The curtain spreads the light out. Hard shadows melt into soft ones. The light gets bigger and gentler.
It works like a real studio diffuser, the big soft panels the pros use. Same idea. Different price tag.
Use a white or frosted curtain, not a patterned one. Patterns can show up in the light. Plain and simple is what you want.
Hang it on a tension rod, a backdrop stand, or even a couple of nails in the garage wall. Keep the curtain a few feet in front of the light for the softest effect.
The farther the curtain is from the light, the bigger and softer the light becomes. Play with the distance. You will see the difference right away.
Keep the hot light away from the plastic curtain. Cheap LED work lights stay cool and are perfect for this. Old halogen lights get dangerously hot. Stick with LED.
This little trick lets you shoot after dark too. The garage door light is gone at night, but a diffused work light steps in. Your studio works around the clock.
10. Sweep the Floor and Lay a Drop Cloth
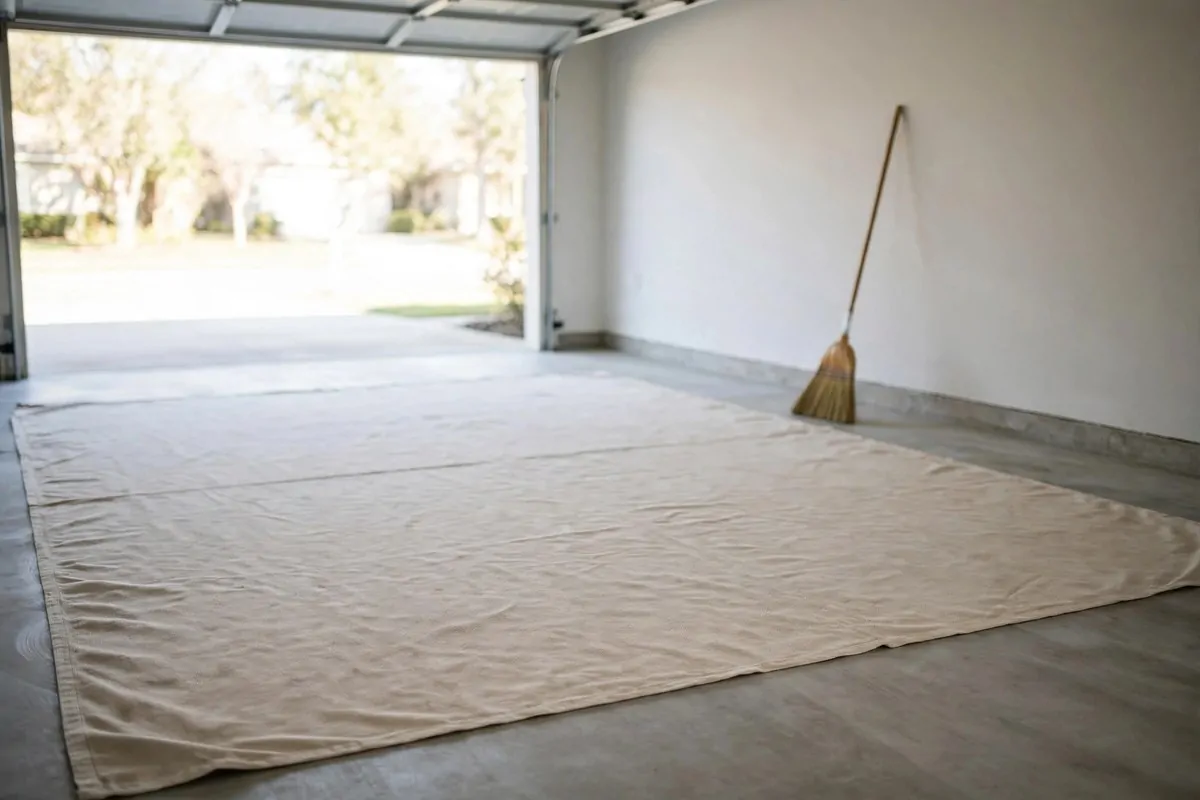
The most boring tip on this list might be the most important. Sweep the floor.
Garage floors collect dust, leaves, and little rocks. All of that shows up in photos. A quick sweep before every shoot takes five minutes and saves you editing time later.
Then lay down a canvas drop cloth. Painters use them. They are big, cheap, and they come in neutral beige that photographs beautifully.
A smooth drop cloth gives you a clean floor that matches your backdrop. Pull it under your subject and let it run up behind them into your backdrop. Seamless floor to wall, just like the paper roll trick.
You can also use a big area rug. Rugs add warmth and texture to lifestyle portraits. A flat weave rug photographs best, no thick shag that swallows feet.
Keep one drop cloth folded in the garage just for shoots. Shake it out, lay it flat, and your floor is studio ready in two minutes.
This is also about respect for your subject. Nobody wants to sit on a gritty floor in nice clothes. A clean cloth says you thought about them.
It sounds small. But scroll through pro garage studio photos and look at the floors. Clean. Smooth. Planned. Now yours will be too.
11. Set Up a Still Life Corner for Products
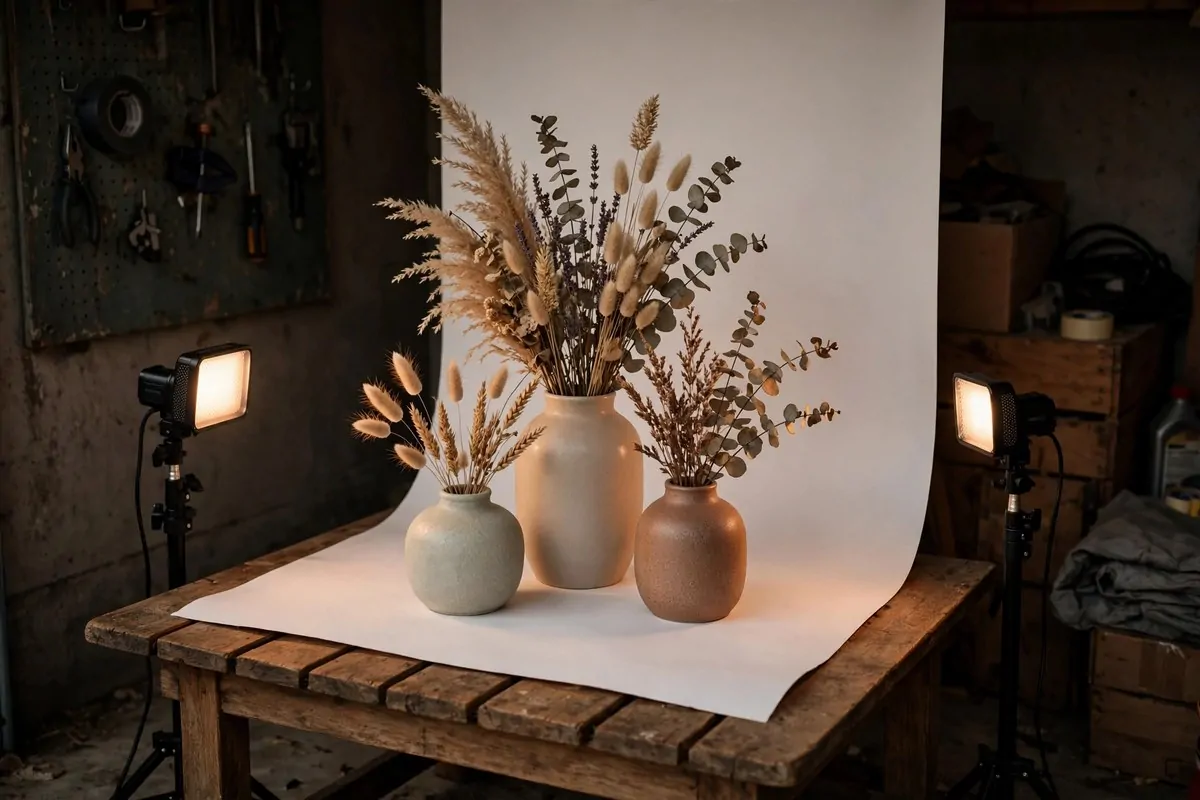
Not every photo has a person in it. Still life is where a garage studio really shines.
Flowers. Old cameras. Handmade crafts. Products you sell online. A still life corner needs almost nothing. A small table, a backdrop, and one good light.
Set a folding table against your gray wall or in front of your paper backdrop. Style your objects on it. Shoot from the side where the garage door light falls softly across them.
Side light is magic for still life. It shows texture. It makes ceramics glow. It turns a simple vase into a painting.
Use your foam reflector on the shadow side to keep the dark side from going too dark. A little fill keeps details visible.
This corner pays for itself if you sell anything online. Clean product photos raise prices and get more clicks. One afternoon of shooting can photograph a whole shop of items.
Keep a small kit in a box nearby. Cloth backdrops, a few props, your reflector. Pull it out, shoot, pack it away. The garage goes back to normal in ten minutes.
I shot a whole set of product photos on a rainy Saturday in my garage. Soft door light, one table, done. They looked like a studio rental. The rain never touched us.
12. Go Dark With a Black Backdrop for Moody Shots
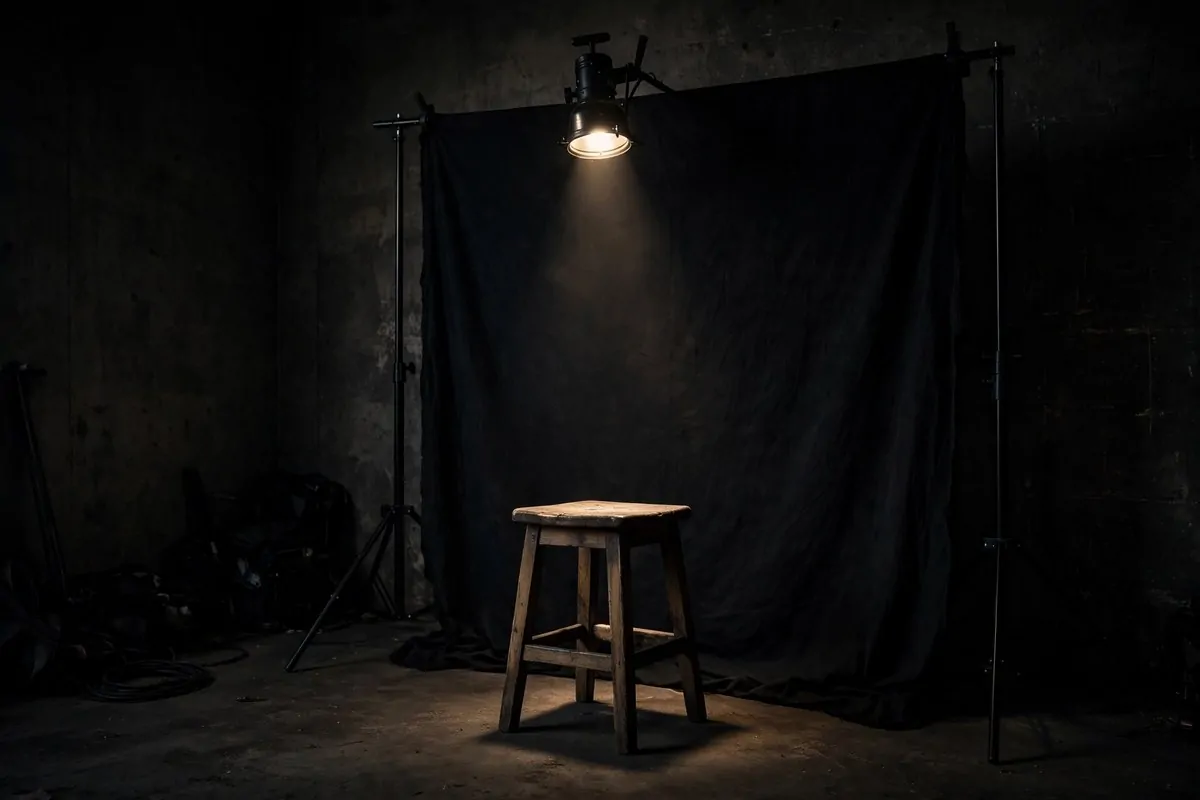
Sometimes you do not want bright and airy. You want dark and dramatic.
A black backdrop in a garage gives you low key portraits that look expensive. The trick is controlling the light so it only hits your subject.
Hang a black sheet or black paper behind your subject. Turn off every light except one. Place that one light to the side, close to your subject. The rest of the garage falls into darkness.
Black fabric eats light. That is why it works. Light hits your subject and stops. It does not bounce around the room and wash out the mood.
Keep your subject well away from the black backdrop. Distance keeps the backdrop pure black in the photo. If they lean on it, the fabric catches light and turns gray.
Use your black V-flat on the far side to eat any stray bounce. Two black surfaces and one small light is all you need for drama.
This setup is perfect for headshots, musician portraits, and moody product shots. The kind of photos that look like they took a whole studio to make.
And in a garage, it is easy. Close the big door. Kill the overhead lights. One lamp, one black cloth, one chair. Done.
13. Build a Tabletop Tent for Small Products
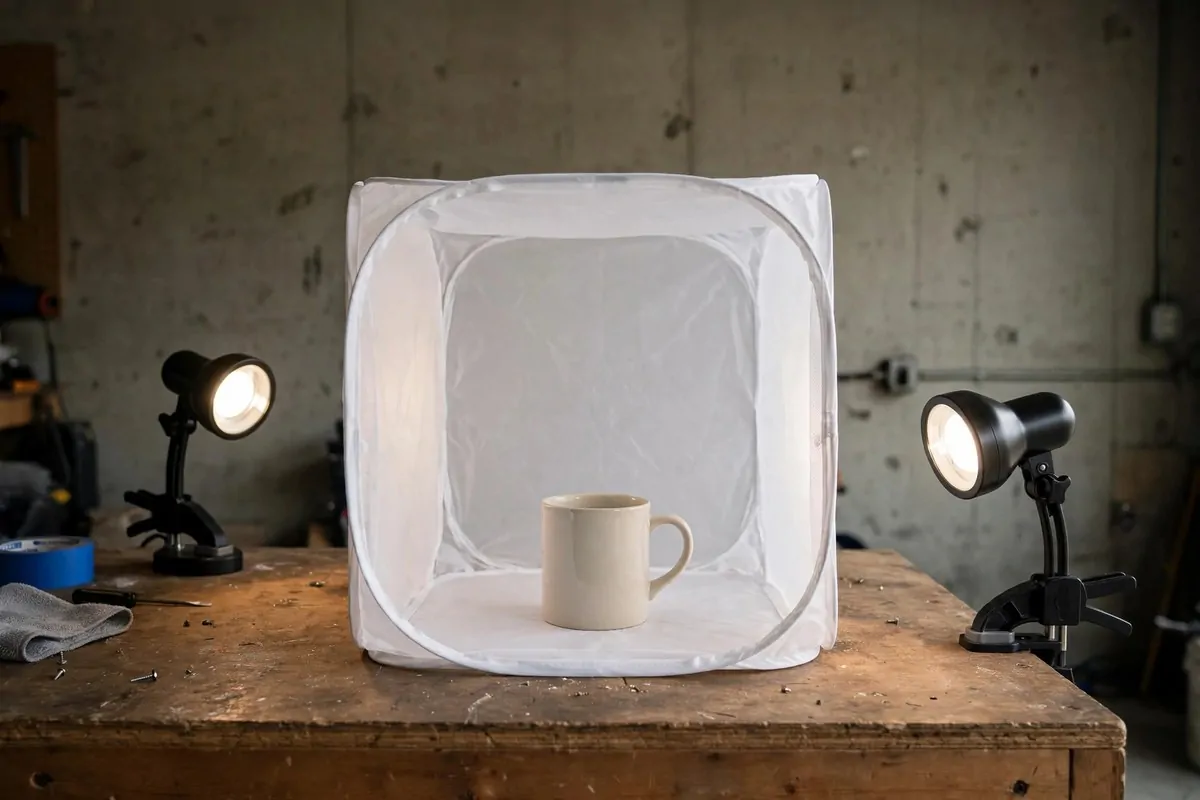
Jewelry. Cosmetics. Small handmade things. These need their own little world.
A tabletop light tent is a small white box that wraps your product in soft light from every side. No harsh shadows. No hot spots. Just clean, even light.
You can buy a small collapsible tent cheaply. Or make one from a cardboard box and white tissue paper. Cut the sides out of the box, cover the holes with tissue, and put a white paper sweep inside.
Set the tent on your workbench. Put one lamp on each side. Shoot through the open front. The tissue paper softens both lamps into gentle glow.
This is how sellers photograph small products that look big and bright online. That clean white background you see in listings. It comes from a tent like this.
Keep the tent folded flat against the garage wall when you are done. It takes up no space. But it turns your workbench into a product studio in one minute.
Try different inside papers. White for clean listings. Black for luxury. A colored paper for brand photos. One tent, many looks.
If you sell even a few things online, this little tent earns its spot. It is one of the most practical Garage Photo Studio Ideas for makers.
14. Keep Your Gear on a Rolling Cart
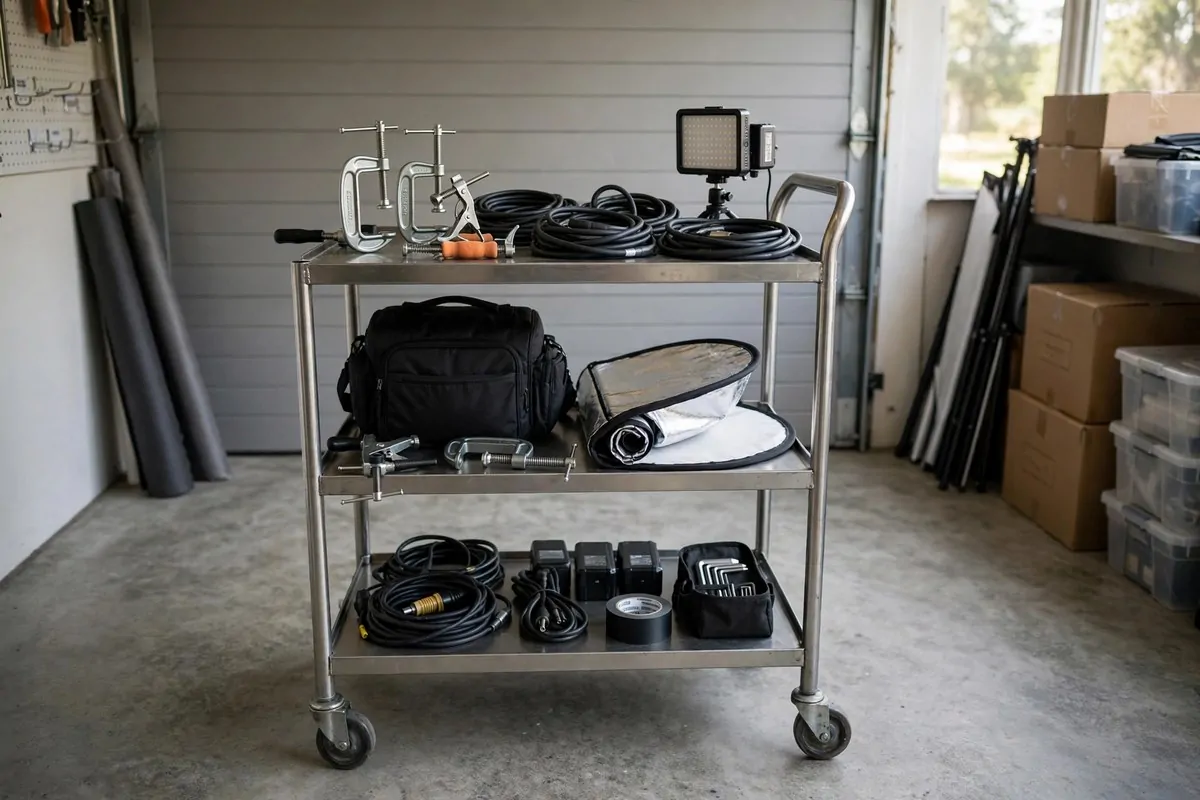
Studio gear has a way of spreading everywhere. Clamps on the workbench. Cables on the floor. The reflector leaning somewhere you cannot find.
A rolling cart fixes all of that. One cart, everything in its place, and it rolls to wherever you are shooting in the garage.
Use a simple metal utility cart with a few shelves. The kind with wheels. Top shelf for the camera and small lights. Middle for clamps, clips, and tape. Bottom for reflectors and rolled backdrops.
Roll it out when you shoot. Roll it into the corner when the car comes home. The whole studio packs down to one cart.
Add a power strip to the cart. Plug your lights in once and they travel with you. No more hunting for outlets mid shoot.
Label the shelves with tape if you share the garage. When everyone knows where the clamps live, nobody loses them.
This is the difference between a studio that gets used and a studio that stays packed in boxes. Easy setup means more shooting. More shooting means better photos.
The cart is the garage studio’s secret. Everything else is just stuff on shelves.
15. Mark Your Spots With Tape for a Fast Reset
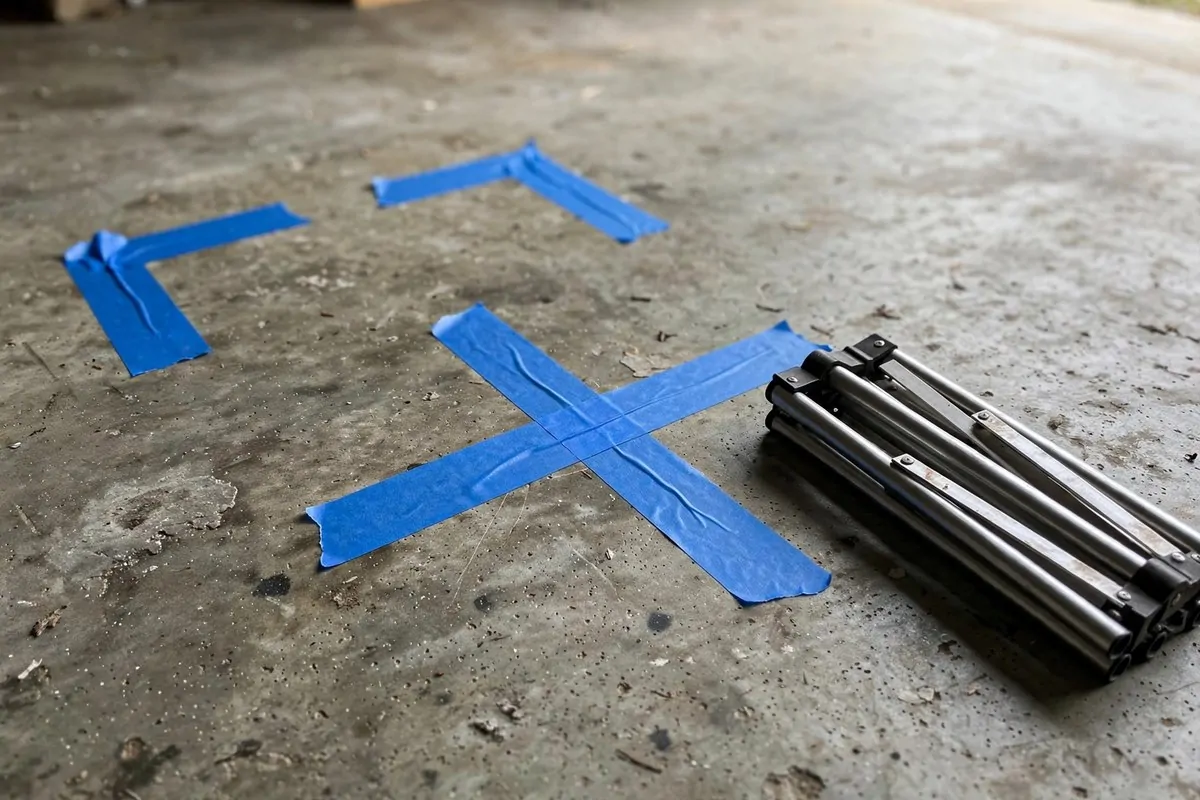
You finally get the perfect setup. The light is right. The backdrop is smooth. Then the car needs the garage back.
Two days later you set up again. And you spend twenty minutes guessing where everything was.
Tape marks fix this forever. When you find a setup you love, mark it. A strip of painter’s tape on the floor where each stand foot goes. An X where the stool sits. A line where the backdrop bottom lands.
Next time, you just match the tape. Five minute setup. Same perfect result. Every time.
Use blue painter’s tape. It sticks to concrete well and peels off clean when you change your mind. Write on it with a marker. Stand A. Stool. Light left.
Mark the good light spots too. That patch of floor where the door light is softest at 9 in the morning. Tape it. Now you never lose it.
Photographers in real studios do this. They tape the floor for every mark. Your garage studio deserves the same trick.
This costs pennies. But it turns your garage from a place you set up into a place that is always almost ready.
16. Turn the Garage Window Into a Light Source
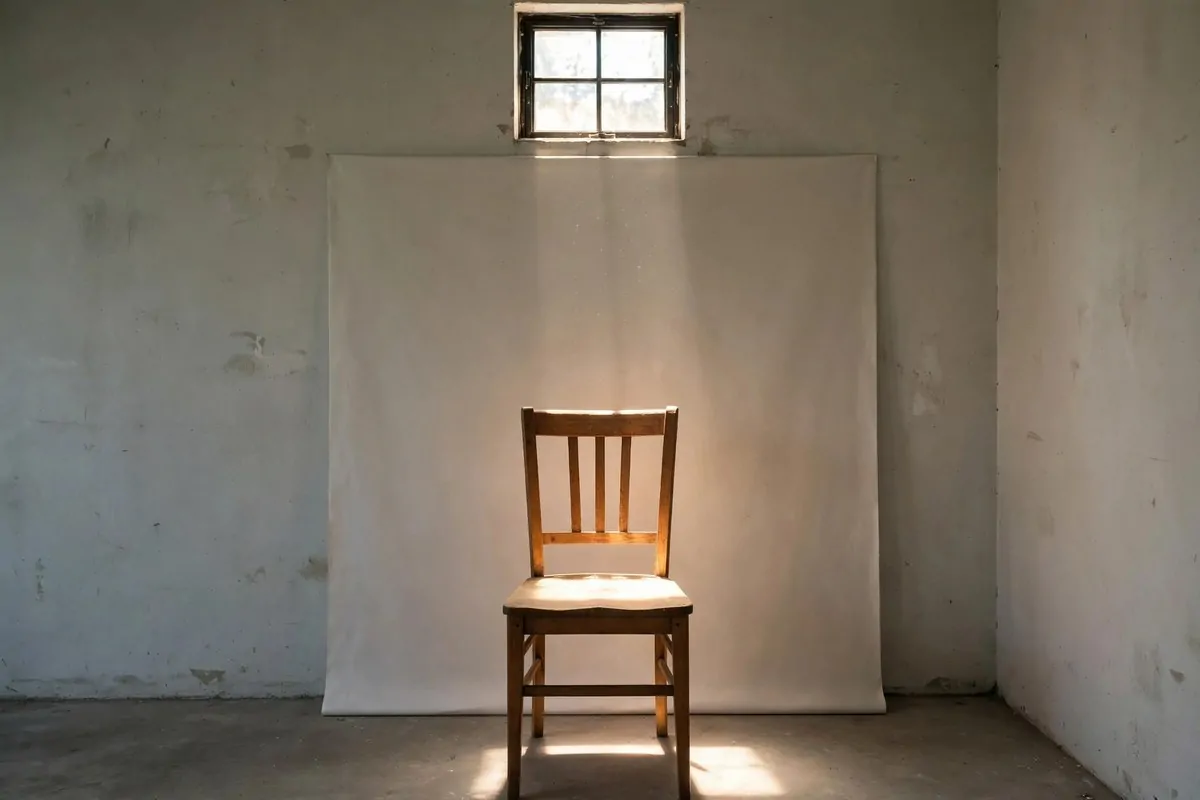
The big door gets all the glory. But do not forget the little window.
Most garages have a small window high on the wall. That window throws a soft, directional beam of light. It is perfect for quiet, simple portraits.
Place a chair in the window’s light patch. Sit your subject there. The light falls on one side of their face and fades softly on the other. That is classic portrait lighting, straight from a window.
This light is smaller than the door light, so it is more dramatic. Deeper shadows. More shape on the face. Great for artistic shots.
Frost the window with a piece of shower curtain or tracing paper if the light is too hard. Tape it right to the glass. Instant softbox, window sized.
Shoot on the days the sun hits that window. Note the hours, like you did for the door. Every light source in your garage gets its own schedule.
You can even hang a small backdrop behind the chair. Now you have a complete mini studio in one quiet corner, far from the big door’s drama.
Two light sources in one garage. The door and the window. That is more than some rented studios offer.
17. Add One Colored Gel for a Studio Glow
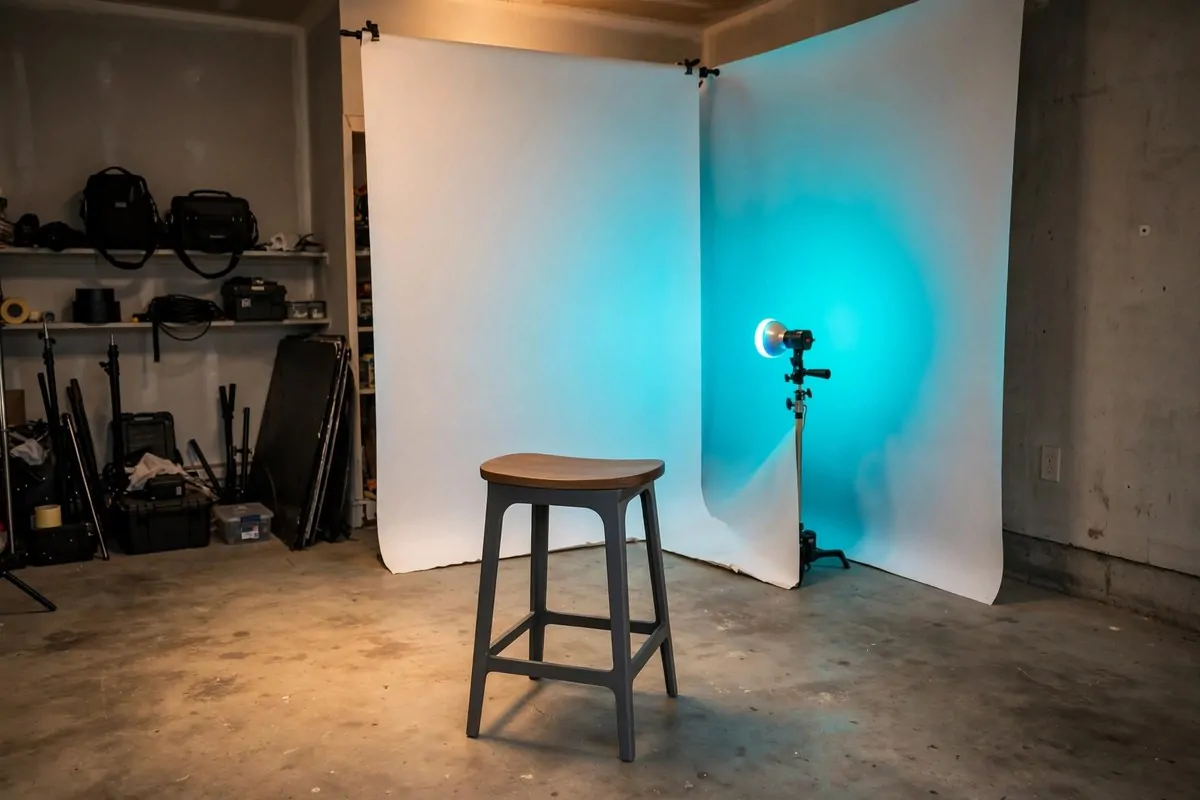
Want your garage photos to look like a music video. One colored gel does it.
A lighting gel is a sheet of colored plastic that goes over a light. It tints the light any color you want. Blue, pink, orange, green. A whole rainbow for the price of a snack.
Tape a blue gel over a small lamp and aim it at your white backdrop. The backdrop glows blue behind your subject. Light your subject with plain white light from the front. Now you have a two color portrait.
This is how club photos and creative portraits get that glow. One colored light on the background. One clean light on the face.
Try orange on the backdrop for warm energy. Try teal for cool calm. Try pink for fun portraits. Each gel is a whole new mood.
Keep the colored light off your subject’s face unless you want a wild look. Color on the backdrop, clean light on the face. That is the rule.
Gels fade slowly if you leave them on hot lights. Store them flat in an envelope in your cart. They will last you years this way.
Gels are tiny. They live in your rolling cart. They never expire. And they make people ask what studio you rented. Your garage, you will say. Your garage.
18. Keep a Prop Corner With Stools, Crates and Blankets
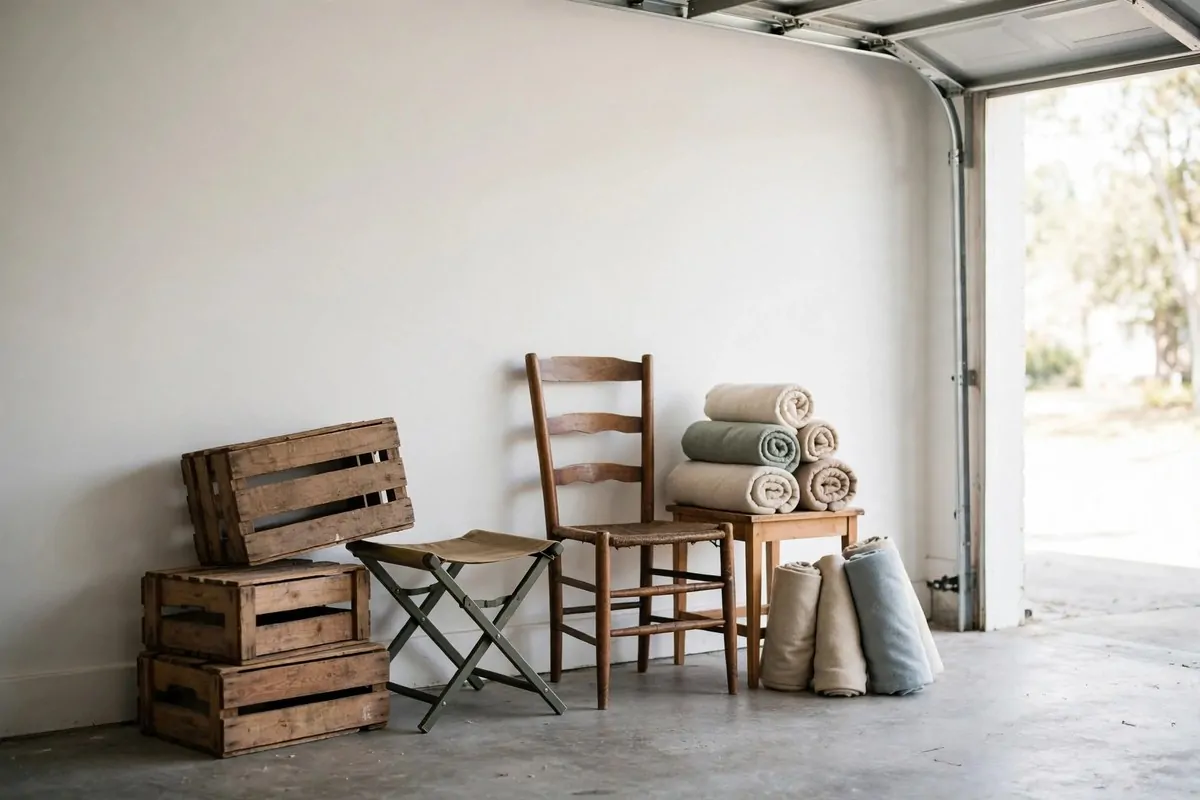
Props turn a photo from plain to personal. A stool to sit on. A crate to lean on. A blanket for texture.
Keep a small prop corner in your garage. A couple of wooden stools. A ladder-back chair from a thrift store. Two wooden crates. A stack of folded blankets in neutral colors.
Wooden crates are the best cheap prop. They stack into shelves. They flip into seats. They hold flowers. They look rustic and warm in photos. And they cost almost nothing secondhand.
Blankets add color and softness. Drape one over a stool. Fold one on a crate. Neutral colors work with everything. Cream, gray, warm brown.
A small side table holds coffee cups, books, or flowers for lifestyle shots. It gives your subject something to do with their hands, which is the secret to natural looking photos.
Keep props simple and sturdy. Garage life is dusty. Wipe them down before a shoot. A quick dust makes everything photograph better.
Rotate your props by season. Light linens in summer. Chunky knits in winter. Your prop corner stays fresh without buying anything new.
Eighteen ideas, and your garage is a studio. Open the door, pull the backdrop down, and start shooting. The best studio is the one you actually use.
Keep Reading
If you liked these Garage Photo Studio Ideas, you will love these posts too:
– 25 Tiny Home Ideas to Maximize Space and Style
– How to Organize Passwords and Important Information
– How to Create a Digital Second Brain
– 10 Best Apps to Organize My Life