21 New Home Ideas to Try Before You Even Unpack

The keys are in your hand at last, and they feel heavier than you thought they would. You push the front door open and your footsteps echo down a hallway lined with cardboard boxes.
You feel two things at the same time. A happy rush, because this place is really yours now, and a small quiet panic, because the list of things to do looks a mile long.
Here is what nobody tells you about that moment. Those empty rooms are a gift. For a very short window of time, you can clean, fix and set up without pushing a single piece of furniture out of the way. The New Home Ideas below are built for exactly that window.
So put the box cutter down for a while and work through this list first. Everything on it makes the rest of the move easier, safer and calmer. Your future self will thank you, I promise.
1. Walk the Whole House Before Anything Else
Before you touch a single box, walk through every room slowly. I mean every room, including the closets, the laundry nook, and that weird little pantry you forgot about.
Open every door and window. Flip every light switch. Look up at the ceilings and down at the floors. This is your one chance to see the house as it really is, before your stuff covers everything up.
Take your phone with you and snap photos of anything odd. A stain on the carpet, a cracked tile, a window that sticks. You want a record of the starting point.
Open the kitchen cabinets and the bathroom vanity too. You will want to know what shape they are in before you fill them with your things.
Check that the appliances are there and look right. Fridge, stove, dishwasher, washer and dryer if they came with the place. Just a quick look.
Notice how the light moves through the rooms. Morning light in the kitchen means something different than evening light in the bedroom. You will use this later when you arrange furniture.
Smell each room, seriously. Musty smells can point to damp spots. You want to catch that stuff early.
And make a quick note of anything that feels urgent. A broken lock, a loose stair rail, a faucet that drips nonstop. Write it on your phone so you do not forget.
This whole walk takes about twenty minutes. It gives you a map in your head of the whole house. That map makes every other task on this list ten times easier.
2. Change the Locks Right Away
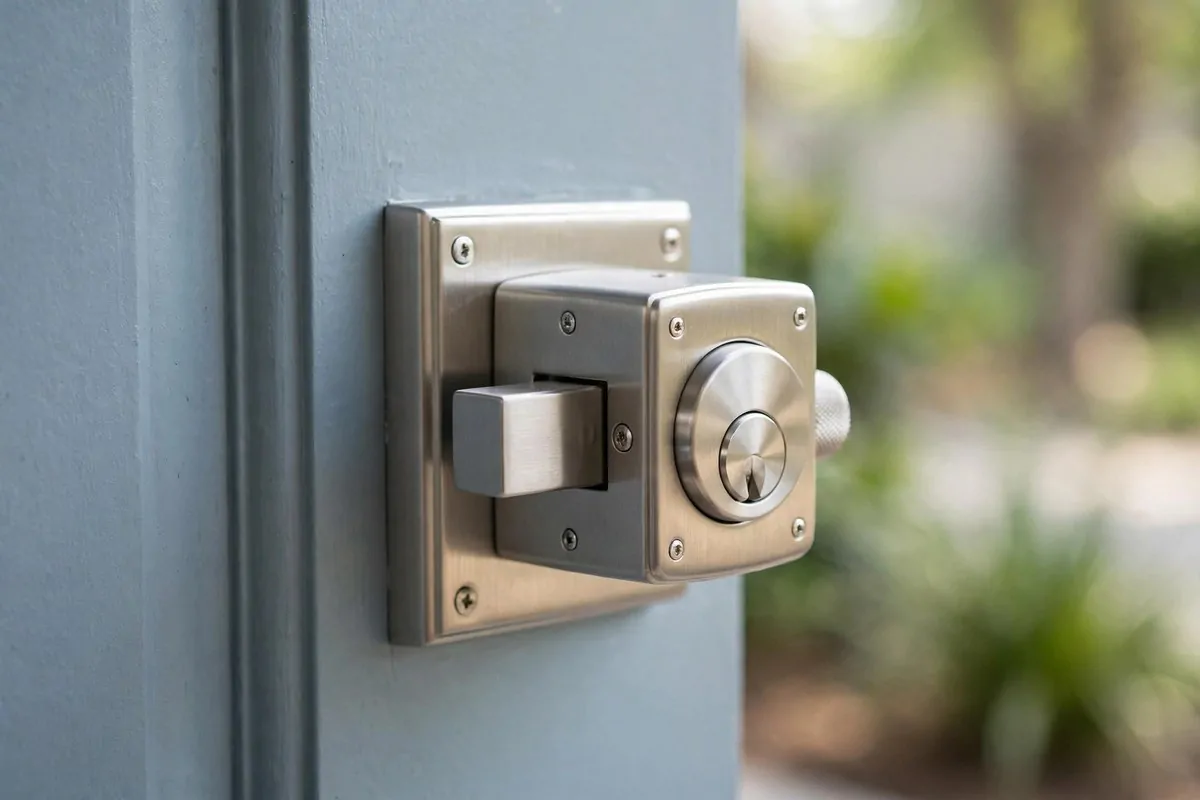
You do not know how many copies of the old keys are floating around. The last owners, their friends, a dog walker, a cleaner. Changing the locks is one of the smartest New Home Ideas on this list.
Do this before you unpack because movers and helpers are coming and going all day. You want to control who can get in from the very start.
You can call a locksmith and have it done in under an hour. It usually costs less than people think, and it buys real peace of mind.
Or you can rekey the locks yourself with a kit from the hardware store. The kits come with simple instructions. I watched a short video and managed it on my first try.
Do every exterior door, not just the front one. Back doors, side doors, and the door from the garage into the house. All of them.
While you are at it, check the windows. Push on each one and make sure the latches actually catch. A window that does not lock is basically an open door.
Test the garage door code too, if there is one. Change it to something only you know. Old codes get shared around more than you would think.
Make two spare keys once the new locks are in. Give one to someone you trust who lives nearby. Keep the other somewhere safe at home, not under the doormat.
I know it feels like a lot on move-in day. But sleeping that first night knowing the locks are truly yours is worth every minute.
3. Clean Every Room While They Are Empty
An empty house is the easiest house you will ever clean. No furniture to move, no shelves to empty. This is the golden moment, so grab it.
Start with the bathroom floors and the kitchen floor. Mop them well. You will be walking on these floors barefoot by tonight, so make them nice.
Wipe down the baseboards in every room. They collect dust that you will not see again until the next time you move a couch. A damp cloth does the trick.
Vacuum the closets from top to bottom. People forget closets, but they hold your clothes and shoes. You want them clean before your stuff goes in.
If the floors are hardwood or laminate, give them a good sweep and a damp mop. For carpet, run the vacuum slowly over every inch. Take your time here.
Wipe the light switch plates and the outlet covers. It sounds picky, but these get touched a hundred times a day. Start with them clean.
Clean the windows on the inside, at least the main ones. Light comes through so much better when the glass is clear. It changes how the whole room feels.
Do not forget the laundry area. Wipe out the washer if one came with the house, and sweep behind the dryer. Lint builds up in places you cannot see.
One deep clean now saves you months of living on top of someone else's dust. It honestly makes the new place feel brand new.
4. Wipe Inside All the Cabinets and Drawers
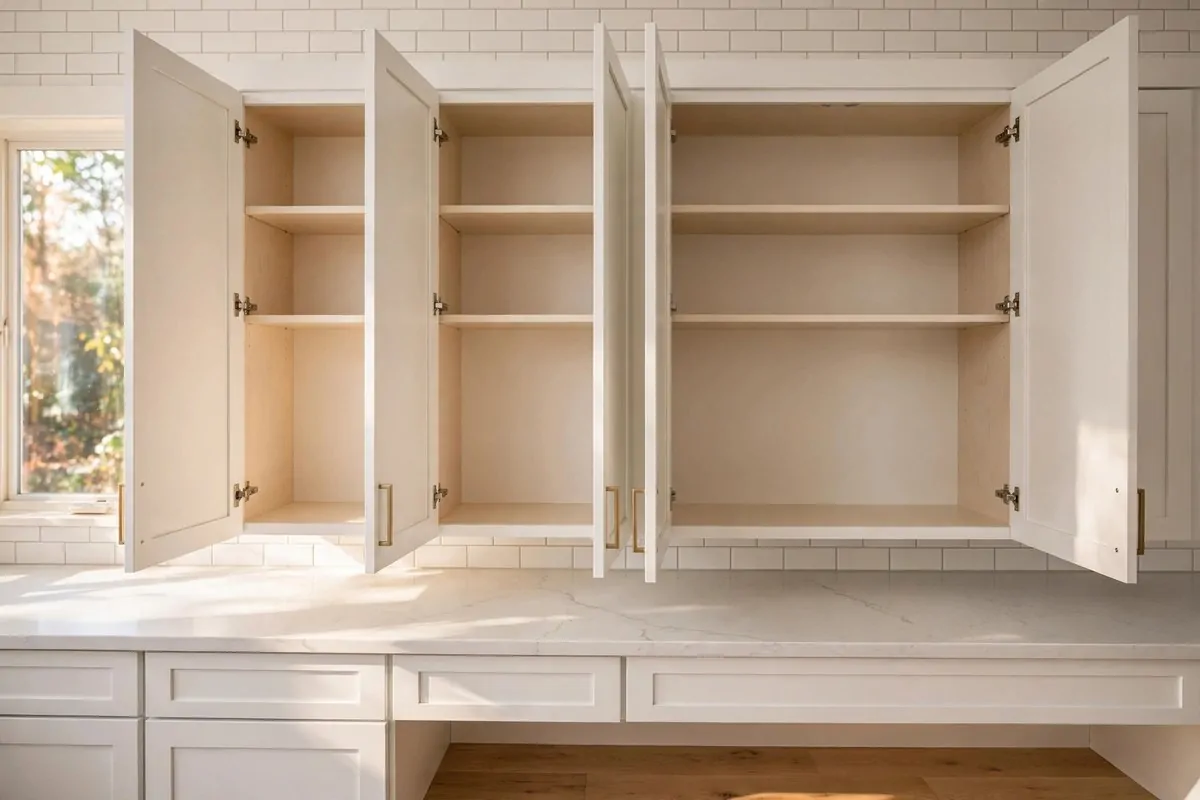
Kitchen cabinets look clean until you look closely. Then you find crumbs, dust, and mystery sticky spots. Wipe them all before your dishes go in.
Take a damp cloth and wipe every shelf, top and bottom. Get into the corners where crumbs hide. This takes way less time in an empty cabinet.
Do the bathroom vanities too. Old houses can have dust and even old product spills under the sink. You do not want your fresh towels sitting on that.
Bedroom closets need the same treatment. Wipe the shelves where your folded clothes will live. It is a small thing that feels really good later.
Do not skip the pantry shelves if you have them. Food will live there soon. You want those shelves spotless before the cereal boxes arrive.
Check the medicine cabinet in the bathroom. Wipe the little glass shelves and the inside of the door. It only takes a minute.
Use a simple mix of warm water and a little dish soap. You do not need fancy cleaners for this. Rinse the cloth and wipe once more for a clean finish.
Let everything air dry for a bit before you put anything inside. Open the cabinet doors wide and give them ten minutes. Fresh air helps.
Your dishes, food, and clothes will thank you. Everything you own deserves a clean shelf to sit on in your new home.
5. Line Your Kitchen Cabinets With Shelf Paper
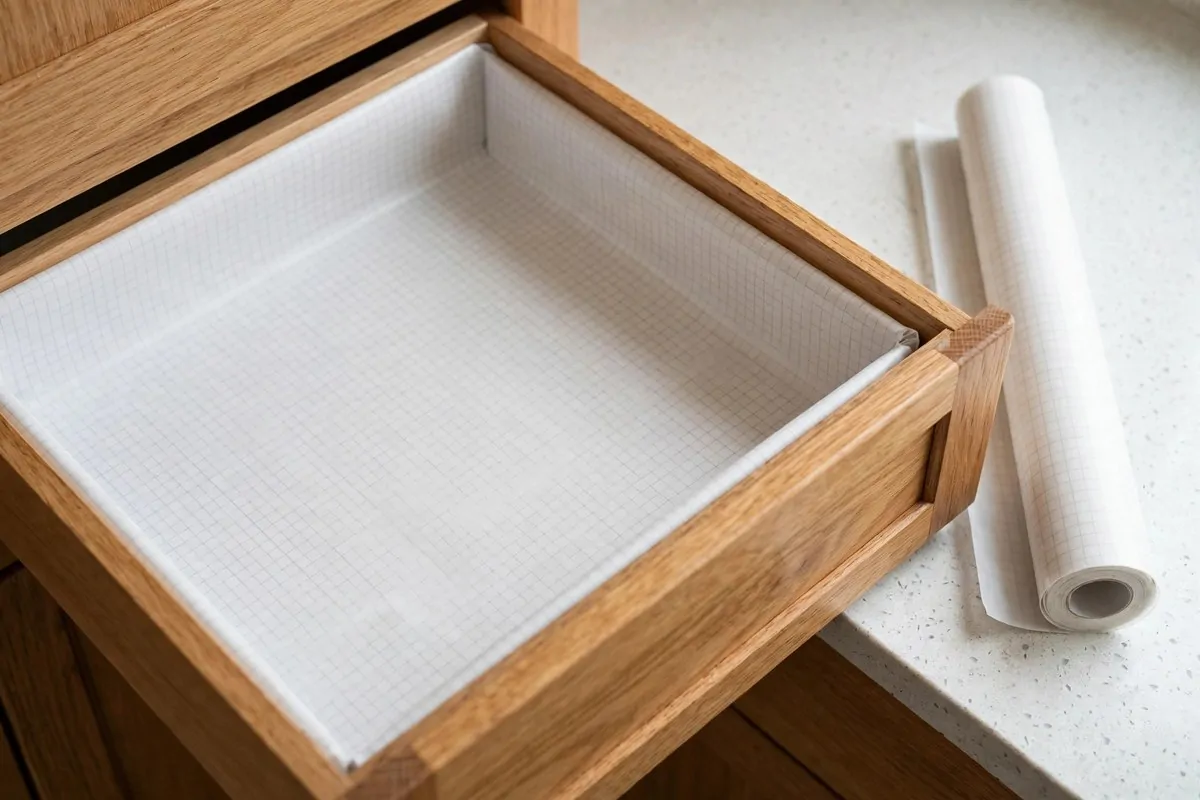
This is one of my favorite New Home Ideas because it is so satisfying. Fresh shelf liner makes old cabinets feel brand new in minutes.
Measure each shelf before you cut anything. Write the numbers down. Cutting twice because you guessed wrong is the fastest way to get annoyed.
Pick a liner that is easy to wipe clean. The smooth kind works best in the kitchen. Save the pretty patterned ones for the bathroom or bedroom drawers.
Start with the shelf you use most, usually the one at eye level by the stove. Getting one perfect shelf done first keeps you motivated for the rest.
Smooth out every bubble as you go. Use a credit card or a small squeegee to push the air out from the center to the edges. It does not have to be perfect.
Line the drawers too, not just the shelves. Your silverware drawer and your utensil drawer will stay cleaner for years because of this one job.
Under the sink is the most important spot of all. Pipes can drip a little, and the liner protects the wood underneath. This one really pays off.
It also just looks nice when you open a cabinet and see a fresh, clean surface. Small detail, big mood boost. You will smile every time you reach for a plate.
- Smooth wipeable liner: best for kitchen shelves and drawers
- Patterned paper liner: nice for bedroom and bathroom drawers
- Thick rubber liner: great under the sink and for heavy pots
Do the whole kitchen in one go while the cabinets are empty. Once the dishes move in, you will never want to empty them all again.
6. Test Every Smoke and Carbon Monoxide Detector
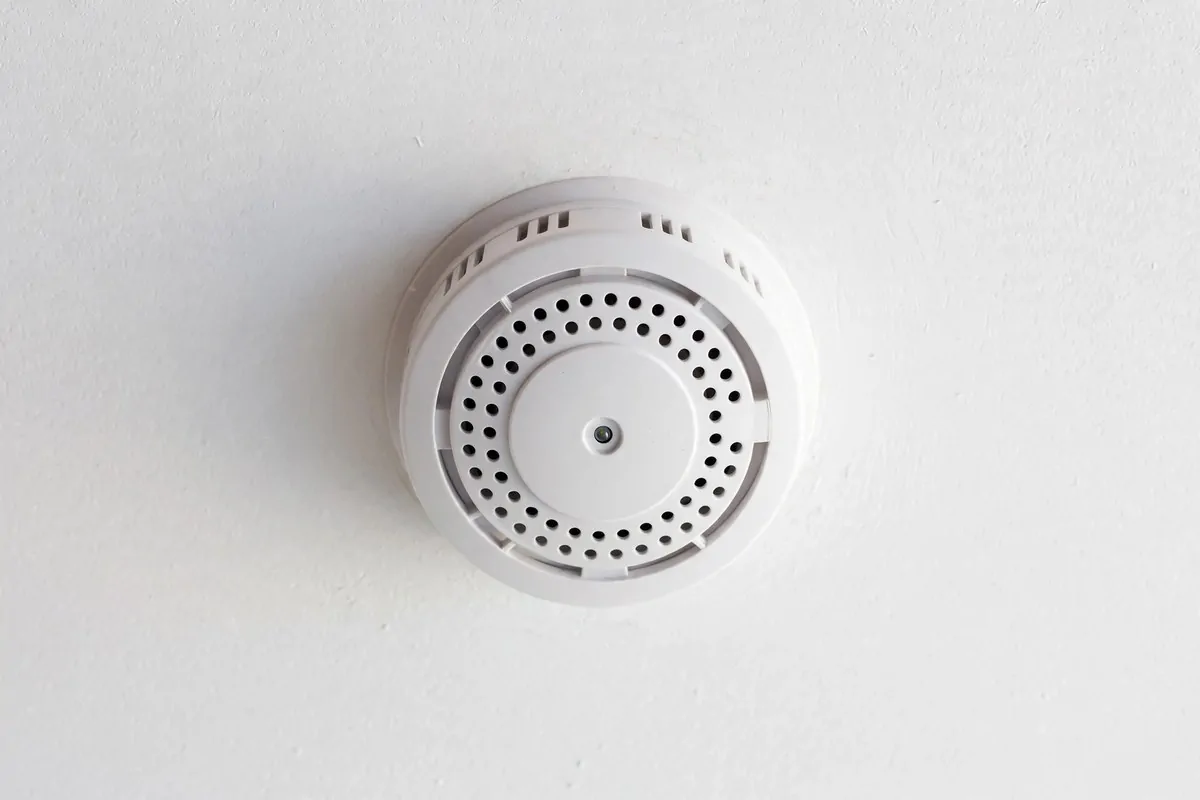
Safety first, always. Walk through the house and find every smoke detector and carbon monoxide alarm. You need to know they work before your first night.
Press the test button on each one. Hold it down for a few seconds. You should hear a loud beep that you can hear from every room.
If one stays silent, change the battery right away and test again. Keep a pack of fresh batteries in your pocket while you do this round.
Check the date printed on the back of each detector. Detectors get old and stop working well after about ten years. If they are ancient, plan to replace them this week.
Make sure there is one on every floor, at a minimum. Bedrooms need them nearby too. If a floor is missing one, add it to your shopping list.
Carbon monoxide detectors matter most near bedrooms and fuel-burning appliances. If you have gas heat or a gas stove, do not skip this step.
Write down how many detectors you have and where they are. It sounds silly, but you will be glad later when one starts chirping at 3 in the morning.
Test the ones in the garage and basement too, if they exist. Fires and gas problems do not care which room you sleep in.
This takes fifteen minutes and it is the most important fifteen minutes of your whole move. Do not put it off.
7. Find the Breaker Box and Water Shut Off
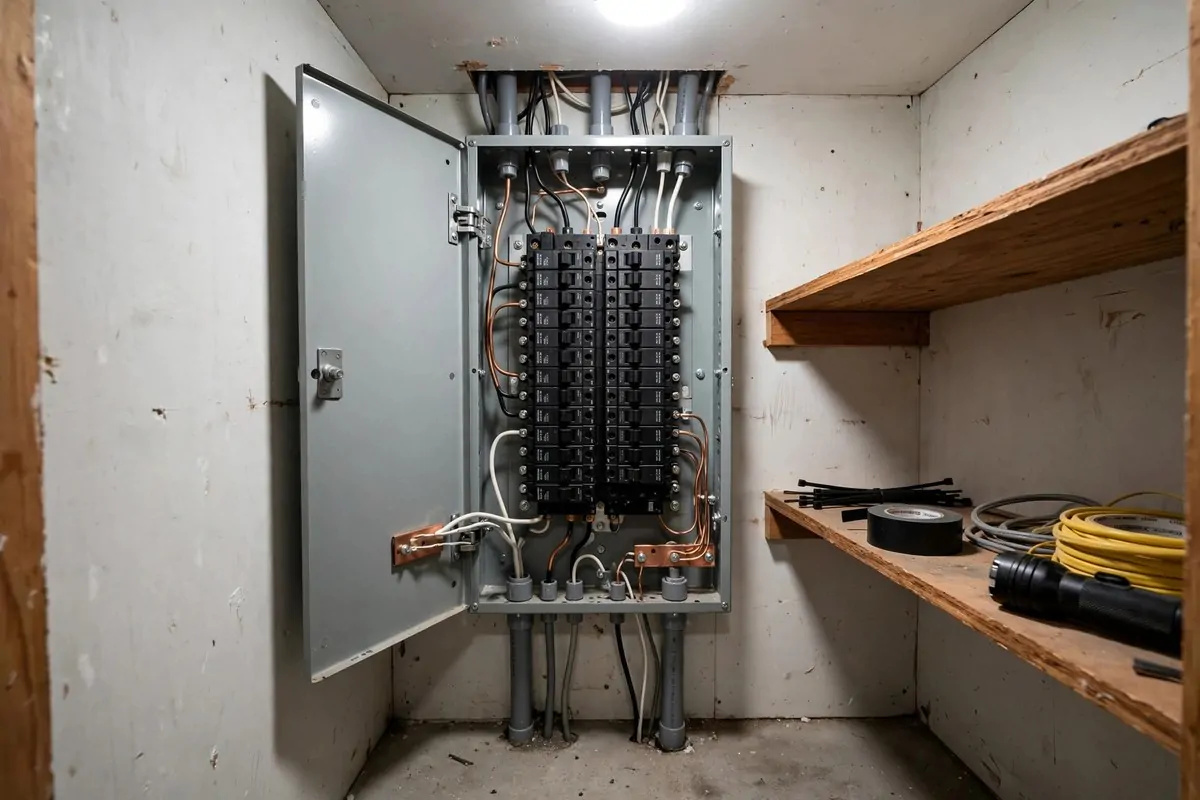
Here is a New Home Idea that feels boring until the day you really need it. Find your breaker box and your main water shut off valve on day one.
The breaker box is usually in the basement, the garage, or a closet. Open it and look at the labels. Half the time they say things like "bedroom?" with a question mark.
Make your own labels with a marker and some tape. Flip breakers one at a time and see which rooms go dark. It takes a while, but future you will be so grateful.
The main water shut off is often in the basement, a crawl space, or on an outside wall. Turn it until you know it moves freely. A stuck valve is useless in an emergency.
Show everyone in the house where both of these are. Kids old enough to understand should know too. In a real emergency, seconds matter.
While you are down there, look at the water heater. Check for any puddles or rust around the base. Note the model and the size so you can buy parts later if needed.
Snap a photo of the inside of the breaker box with your phone. Keep it in a folder with your other house photos. You will reference it more than you think.
Also find the gas shut off if your home uses gas. It is usually near the meter. Make sure you know which way is off, just in case.
Knowing where these live turns a panic moment into a calm five-minute fix. That is worth the whole walk-through.
8. Run Every Faucet and Flush Every Toilet

Turn on every faucet in the house, one by one. Kitchen, bathrooms, laundry, even the outside spigot. Let each one run for a minute.
Watch the color of the water. It might run a little brown at first if the pipes sat empty for a while. That usually clears up. If it does not clear up, that is worth a call.
Check the water pressure in each spot. A shower with a sad trickle is something you want to know about on day one, not day thirty.
Flush every toilet twice. Watch how the bowl refills. Listen for running water that does not stop, which usually means a worn flapper inside the tank.
Look under every sink while the water runs. Feel the pipes with your hand. Even a small drip will feel wet, and small drips become big problems.
Check around the base of each toilet for water on the floor. A wobbly toilet can leak at the seal. Tightening the bolts is often an easy fix.
Run the dishwasher empty on a short cycle. Run the washing machine empty too. Appliances that sat unused can have stale water or loose hoses.
This whole check takes about half an hour. It tells you the full story of your plumbing before you depend on it every single day.
| Spot to check | What to look for | Why it matters |
|---|---|---|
| Kitchen faucet | Water color, pressure, drips | You will use this one the most |
| Bathroom faucets | Hot and cold both work | Nobody likes a cold-only sink |
| Toilets | Full flush, no running water | Running toilets waste a lot of water |
| Under sinks | Damp pipes or puddles | Small leaks grow fast |
| Water heater | Rust, puddles, odd sounds | Big repairs start small |
Finding a leak now, while the house is empty, is so much easier than finding one behind a stack of boxes later.
9. Check the HVAC Filter and Set the Thermostat
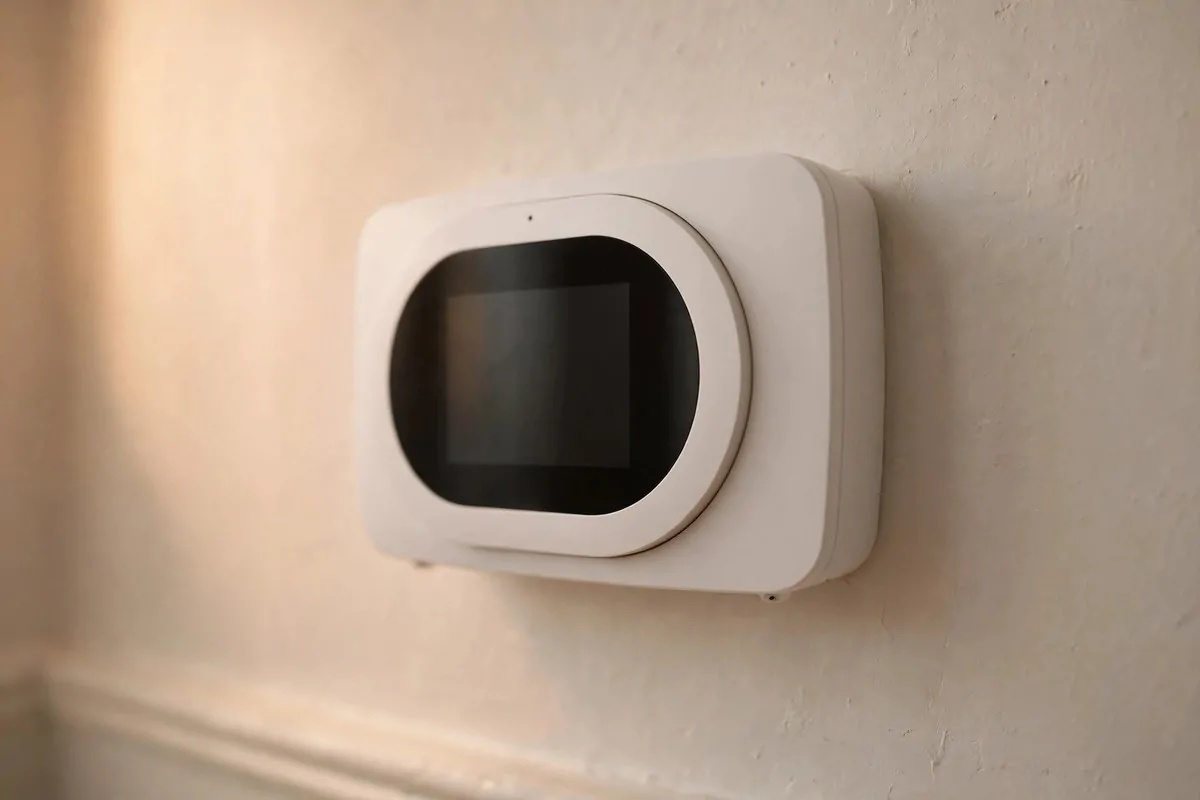
Find your thermostat and make sure it actually works. Turn the heat up a few degrees, wait, and listen for the system to kick on. Then try the cooling.
A thermostat that does nothing on day one is a problem you want solved before the first cold night. Trust me on this.
Next, find the HVAC filter. It is usually in a return vent or right at the air handler. Slide it out and take a good look at it.
If it is gray and clogged with dust, replace it right away. A dirty filter makes the whole system work harder and the air in your home worse.
Write down the filter size printed on the frame. Take a photo of it too. You will need that size every few months, and nobody remembers it.
Set the thermostat to a comfortable number and leave it there for the first day. Constant fiddling wastes energy and tells you nothing useful.
Walk to every vent and feel the air coming out. A vent with no airflow might just be closed, or it might mean a duct problem worth knowing about.
If the system makes grinding or banging sounds, note it. Some noise is normal on startup after sitting idle, but loud banging is not.
Clean air and steady temperature make the first week so much more comfortable. This is one of those New Home Ideas that pays you back every single day.
10. Make the Bed Before Anything Else Gets Unpacked
You will be exhausted tonight. The last thing you want is to hunt through boxes for sheets at 11 pm. So make the bed first, before anything else.
Assemble the bed frame if you have to, or just put the mattress on the floor for night one. There is no shame in a floor mattress on moving day.
Put on fresh sheets, the pillows, and a blanket. Make it properly, corners tucked. A made bed in a messy room still feels like an invitation to rest.
Keep the bedding box or bag marked clearly and load it last on the truck. That way it comes off first. Future you says thanks.
Set an alarm clock or charge your phone nearby. Movers' mornings come early, and you do not want to oversleep in the new place.
Put a glass of water and your phone charger by the bed. Small comforts make a strange room feel a little more normal on night one.
If the bedroom windows have no coverings yet, hang a sheet or a towel over them with tape. Privacy matters when you are trying to sleep.
Crack the window a little if the weather is nice. Fresh air in a new bedroom helps more than people expect.
- Sheets and pillowcases: the true first-night essentials
- A warm blanket: new homes can feel chilly at night
- Phone charger and water: keep them within arm's reach
- Pajamas and tomorrow's clothes: laid out and ready
A made bed is a promise to yourself that tonight will be okay. Everything else can wait until morning.
11. Set Up One Bathroom for the Night
Pick the bathroom closest to the bedrooms and make it fully work before the sun goes down. One working bathroom changes everything on night one.
Hang the shower curtain first if there is not a glass door. You cannot shower without it, and you will want that shower after a day of moving boxes.
Put out fresh towels, washcloths, and a bath mat. These are the things that make a bathroom feel usable instead of just a room with plumbing.
Stock the basics: toilet paper, hand soap, toothbrushes, toothpaste, shampoo. Pack these in one clear bag so you can find them in seconds.
Add a small trash can or at least a trash bag. Moving day creates weird little bits of trash everywhere. Having a spot for it keeps the bathroom tidy.
Put a nightlight in the hallway or in the bathroom itself. You do not know this house in the dark yet. A little glow prevents stubbed toes at 2 am.
Wipe down the toilet seat and the sink one more time, even if you already cleaned. Fresh and clean is the whole point of this room tonight.
Hang a hook or lay out tomorrow's clothes nearby. Mornings in a new place go smoother when you are not digging for socks.
One finished bathroom gives the whole family a sense of normal. It is a small island of order in a sea of boxes, and it feels wonderful.
12. Hang Something Over the Windows for Privacy
Your first night in a new home should not feel like a fishbowl. Before dark, cover the bedroom windows and the bathroom window at least.
You do not need real curtains yet. A flat sheet and some painter's tape work fine for night one. Nobody will see, and you will sleep so much better.
Tension rods are a great quick fix too. They pop into the window frame with no tools and no holes. Hang a cheap panel and you are done in five minutes.
Paper shades are another fast option. They stick right to the frame and cost almost nothing. They are not pretty, but they buy you privacy while you shop for the real thing.
Do the street-facing windows first. Bedrooms and bathrooms matter most. The living room can wait a day or two if you are tired.
Check how the morning sun hits each room while you are at it. That bright east window might need a darker shade later. Make a note of it.
Keep the receipt for any temporary shades you buy. Some stores take them back, and every little saving helps during a move.
This is not about decorating yet. It is about feeling safe and unseen while you settle in. Curtains can be beautiful later. Tonight they just need to work.
Once the windows are covered, the whole house feels more like yours. It is funny how such a small thing makes such a big difference.
13. Make a Charging Station for Your Phones
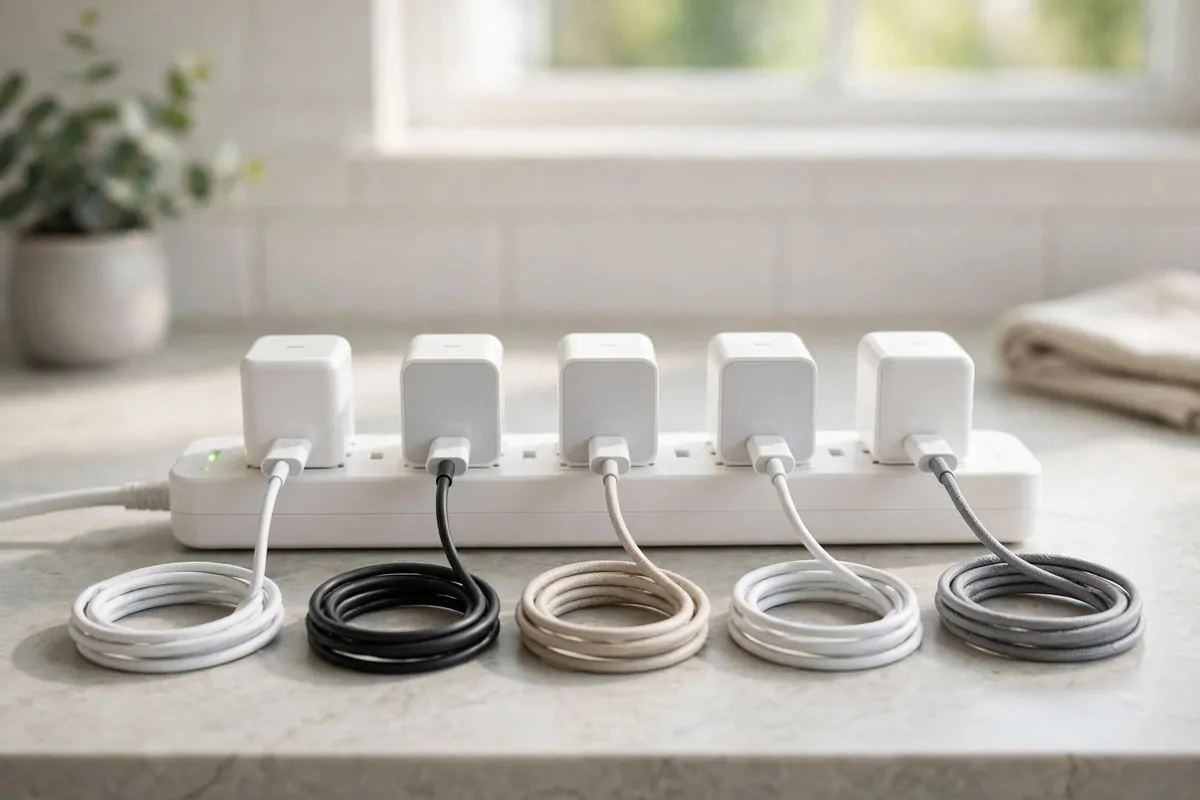
Moving day drains phone batteries fast. You are calling movers, checking maps, taking photos. Set up one charging spot and guard it with your life.
Pick a counter in the kitchen or a table near the living room. Plug in a power strip with all the chargers you own. Label nothing, just make it the spot.
Tell everyone in the house where the station is. Phones die, people panic, and then nobody can find the one working charger. One central spot solves all of that.
Use a small tray or basket under the chargers to keep the cords tidy. Tangled cords in a new house have a way of disappearing forever.
Charge a portable battery pack too, if you have one. Outlets might be scarce or awkwardly placed until you learn the room layouts. A charged pack is freedom.
Keep one charger by the bed as well. Night one means alarms, and a dead phone means no alarm. Do not learn this the hard way like I did once.
Unplug the power strip when you leave the house empty. It is a small safety habit that costs nothing and takes two seconds.
If the wifi is not set up yet, your phone is your internet, your map, and your entertainment. Keeping it alive is not a luxury, it is a survival tool.
A power strip, four chargers, one table. That is the whole project. Simple, fast, and you will use it every single day until the house is fully unpacked.
14. Do a Small Grocery Run for the Morning
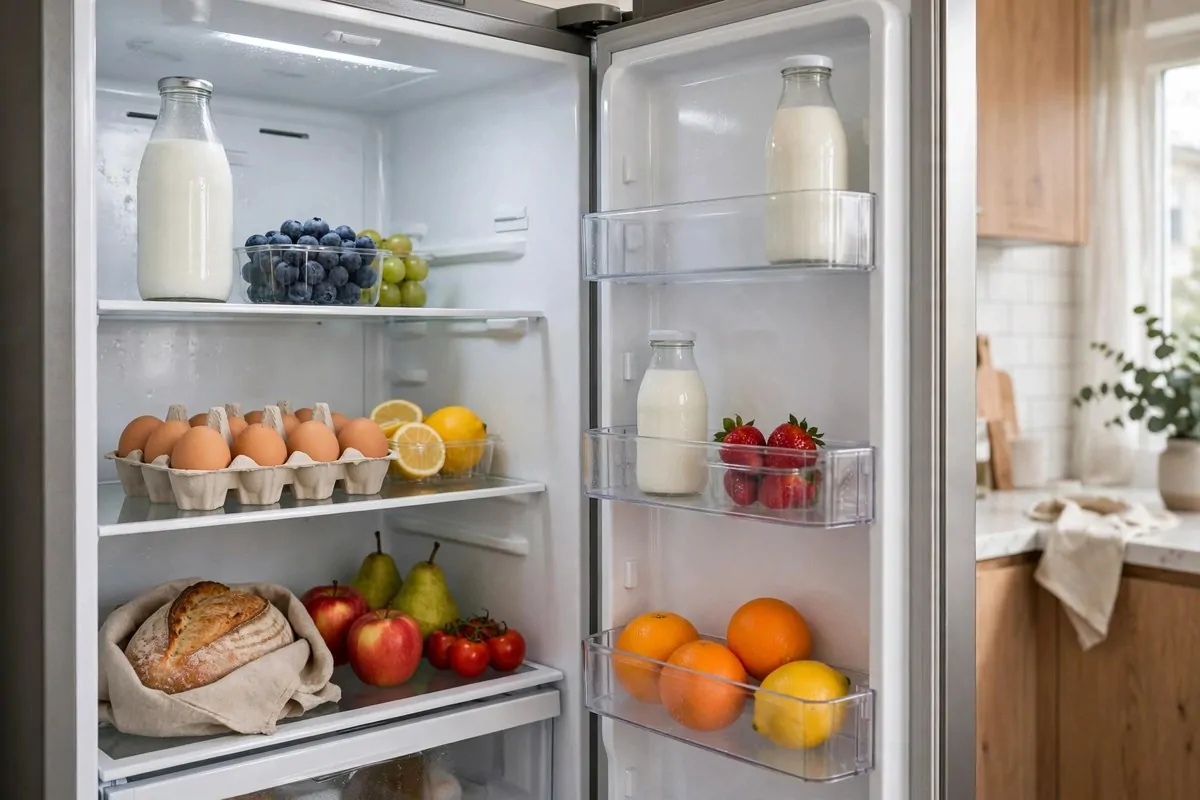
Before the stores close, make one quick trip for morning basics. Waking up in a new home with nothing to eat is a rough start to day two.
Grab the essentials: coffee or tea, milk, bread, eggs, butter, fruit. Nothing fancy. Just enough for breakfast and a few snacks.
Pick up paper plates, cups, and napkins too. You do not want to unpack the whole kitchen just to eat toast. Disposable works fine for the first day or two.
Do not forget trash bags. Moving creates trash faster than you would believe. Having bags ready keeps the kitchen from turning into a mess.
Bottled water is smart for night one. You do not know the tap water taste yet, and you will be thirsty from all that lifting.
While you are out, note where the nearest grocery store is. Also spot the pharmacy and the hardware store. You will visit all three this week, guaranteed.
Put the cold stuff in the fridge right away when you get home. Check that the fridge is actually cold first. A warm fridge on day one is a problem to solve now.
- Coffee or tea plus milk: mornings must go on
- Bread, eggs, butter, fruit: simple breakfasts for days
- Paper plates and cups: no dish unpacking needed
- Trash bags and bottled water: the unglamorous heroes
One small grocery run sets up the whole first week. Future mornings will be calm instead of chaotic, and that is worth the trip.
15. Plan the Furniture Layout With the Rooms Empty
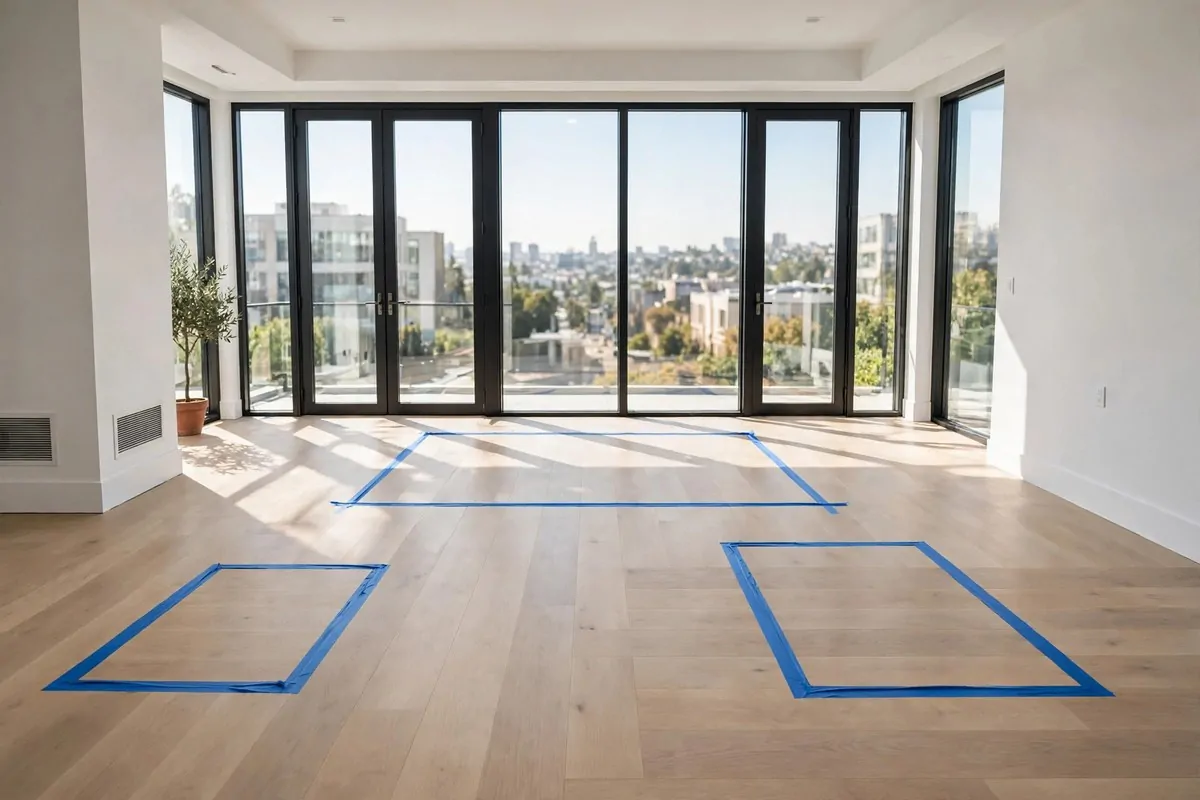
Empty rooms are a gift. Before a single heavy piece goes in, decide where everything will live. Moving a sofa twice is nobody's idea of fun.
Stand in the doorway of each room and picture it furnished. Where does the light fall? Where are the outlets? Where would you naturally walk?
Use painter's tape to mark big pieces on the floor. Tape out the sofa, the bed, the dining table. Walk around the tape shapes and see if the paths feel right.
Measure the doorways and the big furniture pieces. That beautiful bookshelf only fits through the door if the numbers agree. Check before the movers lift it.
Think about how you actually live, not how the catalog looks. Put the reading chair by the good window. Put the desk where the wifi signal is strongest.
Plan the kids' rooms around safety and sleep. Beds away from windows, nightlights near the door. Small choices that make nights easier.
Leave the tape on the floor until the furniture arrives. Movers love clear directions. "Put the blue tape sofa against the far wall" beats pointing and guessing.
Take a photo of each taped room. If plans change mid-move, you still have the original idea saved. It also helps when you shop for rugs and curtains later.
An hour of planning now saves a whole weekend of shoving furniture around later. Empty rooms tell you exactly what they want to be.
16. Open the Coffee Kit Box First
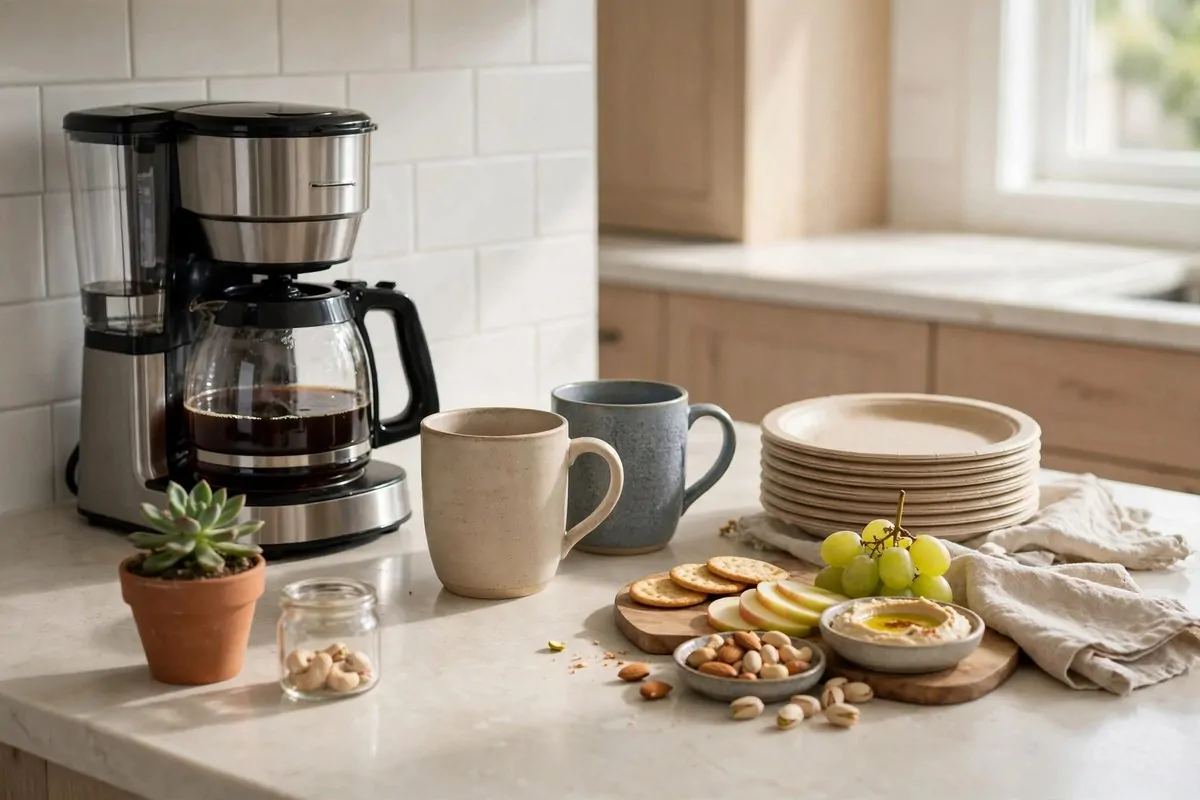
Pack one box with just morning things and mark it clearly: coffee maker, mugs, paper plates, a few snacks, dish soap, a sponge. Open this box before any other.
Moving mornings come early and hard. Having coffee ready without digging through ten boxes is the difference between a good day and a grumpy one.
Set up a tiny corner of the counter as your morning station. Coffee maker, mugs, sugar, done. It does not need to be pretty. It needs to work.
Add a trash bag nearby for the paper plates and cups. You will not be washing dishes properly for a day or two, and that is completely fine.
Keep the dish soap and sponge in this box too. Even paper-plate life needs a quick rinse now and then. A clean mug in the morning is a small joy.
Tuck a roll of paper towels into the kit as well. Spills happen on moving day, and you will be glad you thought ahead.
If you are not a coffee person, make it a tea kit or a breakfast kit instead. The idea is the same: one box that makes the first morning easy.
Tell everyone in the house about the kit. Nothing is worse than someone unpacking your coffee maker box and scattering it across three rooms.
This one box might be the most loved box of the whole move. Simple mornings keep everyone calm while the chaos of unpacking goes on around them.
17. Photograph the Meters and the Rooms
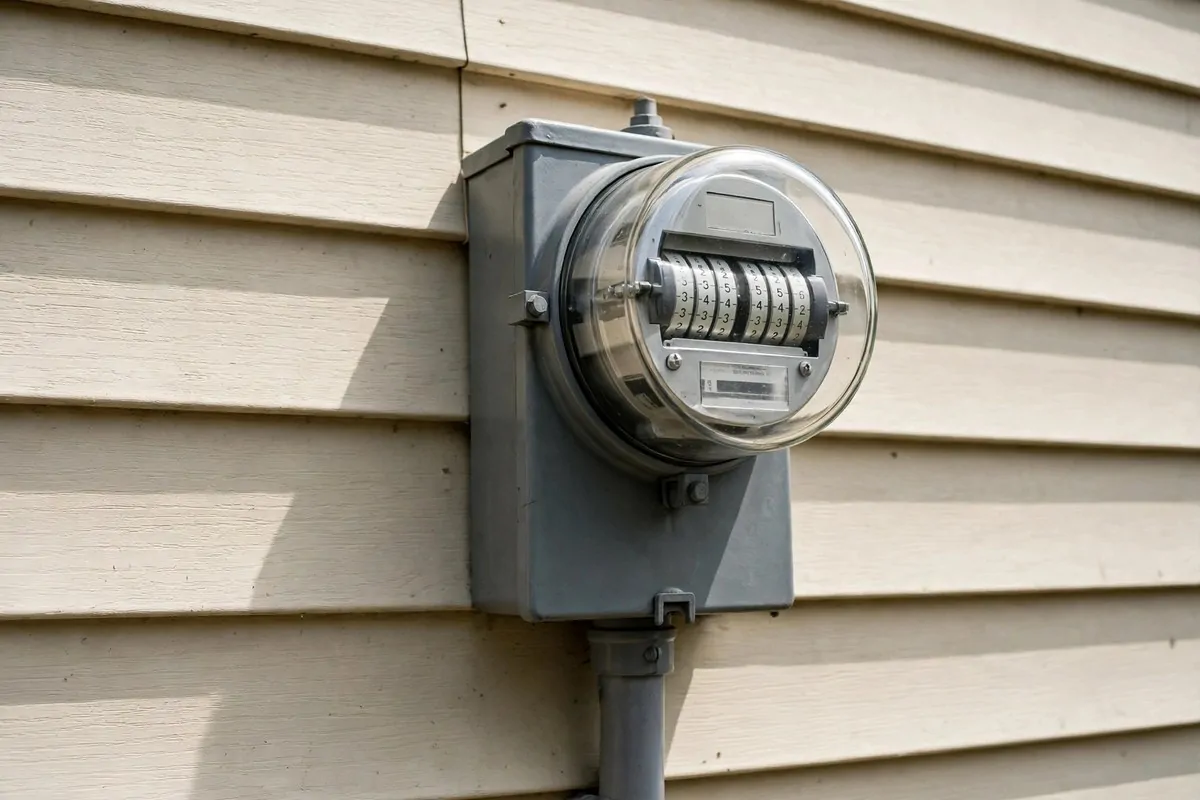
Grab your phone and photograph the electric meter, the gas meter, and the water meter on day one. These photos protect you from billing mix-ups later.
Meter readings prove where your usage started. If the power company says you used a month of electricity in your first week, you have proof otherwise.
Photograph each room too, before the boxes take over. These "before" pictures are useful for insurance and just plain fun to look back on later.
Open the closets and photograph inside them. Photograph the garage, the basement, the attic. Every space, empty and honest.
Save all these photos in one folder on your phone. Name it something clear like "new house day one." You will actually find them when you need them.
Email the meter photos to yourself as well. Phones get lost and broken. An email copy is a backup that costs nothing.
If you are renting, send the room photos to your landlord or agent. It documents the condition you received the place in. This can save your deposit later.
Also photograph any existing damage up close: the carpet stain, the chipped paint, the cracked tile. Date-stamped photos are the best proof there is.
| What to photograph | Why it matters |
|---|---|
| Electric, gas, water meters | Proves your usage start point |
| Every empty room | Insurance record and fun memories |
| Inside closets and garage | Shows the full starting condition |
| Existing damage close-ups | Protects deposits and claims |
Ten minutes with your phone camera buys you months of peace of mind. Do it while the house is still empty and honest.
18. Knock on One Neighbor's Door
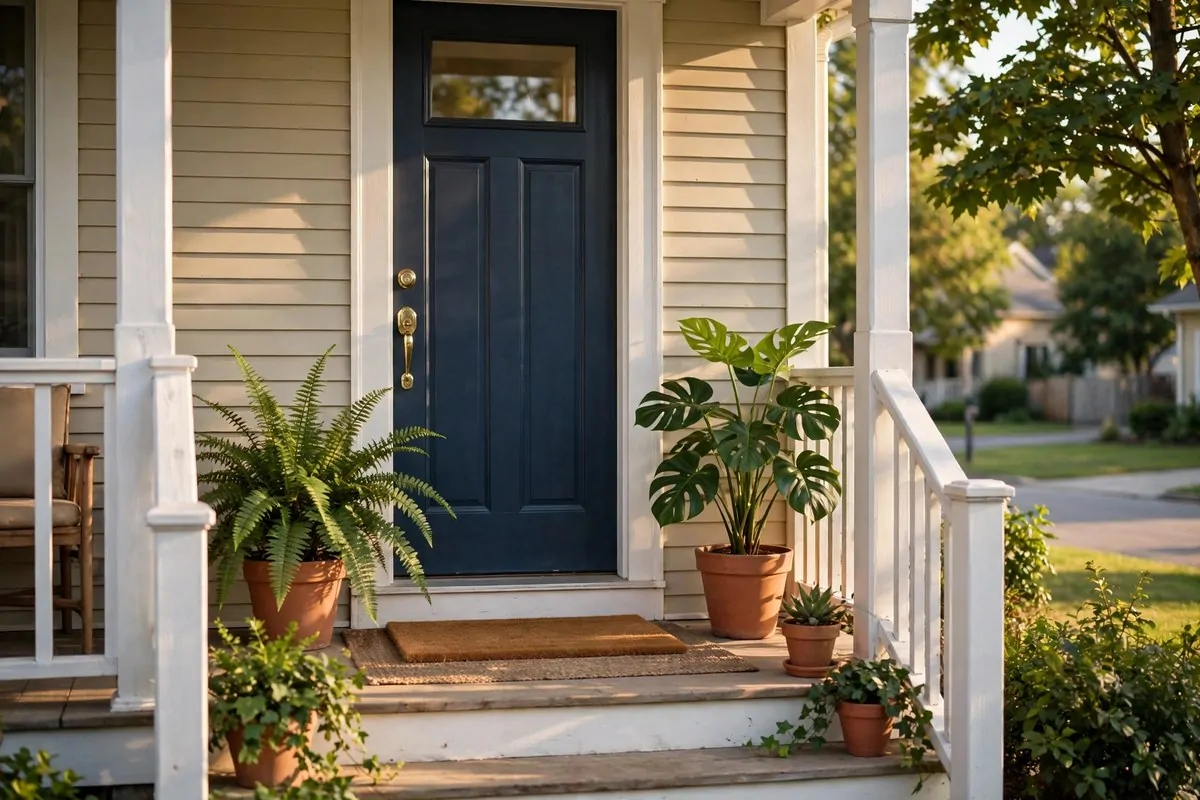
You do not have to meet the whole street on day one. Just knock on one door, introduce yourself, and say hi. That is enough to start.
Neighbors know everything you need to know. Trash day, the good pizza place, which plumber actually shows up. One friendly chat unlocks all of it.
Bring nothing fancy. A smile and your name is plenty. If you baked something, great, but nobody expects it on moving day.
Ask one simple question, like when trash pickup happens or where the nearest grocery store is. People love being helpful, and it gives the conversation an easy start.
Swap phone numbers if it feels natural. Having one neighbor's number in your phone is real security. They can tell you if something looks off at your place.
If you have kids or pets, mention them in passing. It opens the door to playdates and pet-sitting swaps down the road.
Note which houses look lived-in and cared for. Those are the neighbors worth knowing. A street where people care about their homes is a good sign.
If nobody answers, try again in a day or two. People work odd hours. A short friendly note in the mailbox works too.
This might feel awkward, and that is normal. But every lasting neighborhood friendship starts with one slightly awkward hello. Be the one who says it first.
19. Put a Fire Extinguisher in the Kitchen
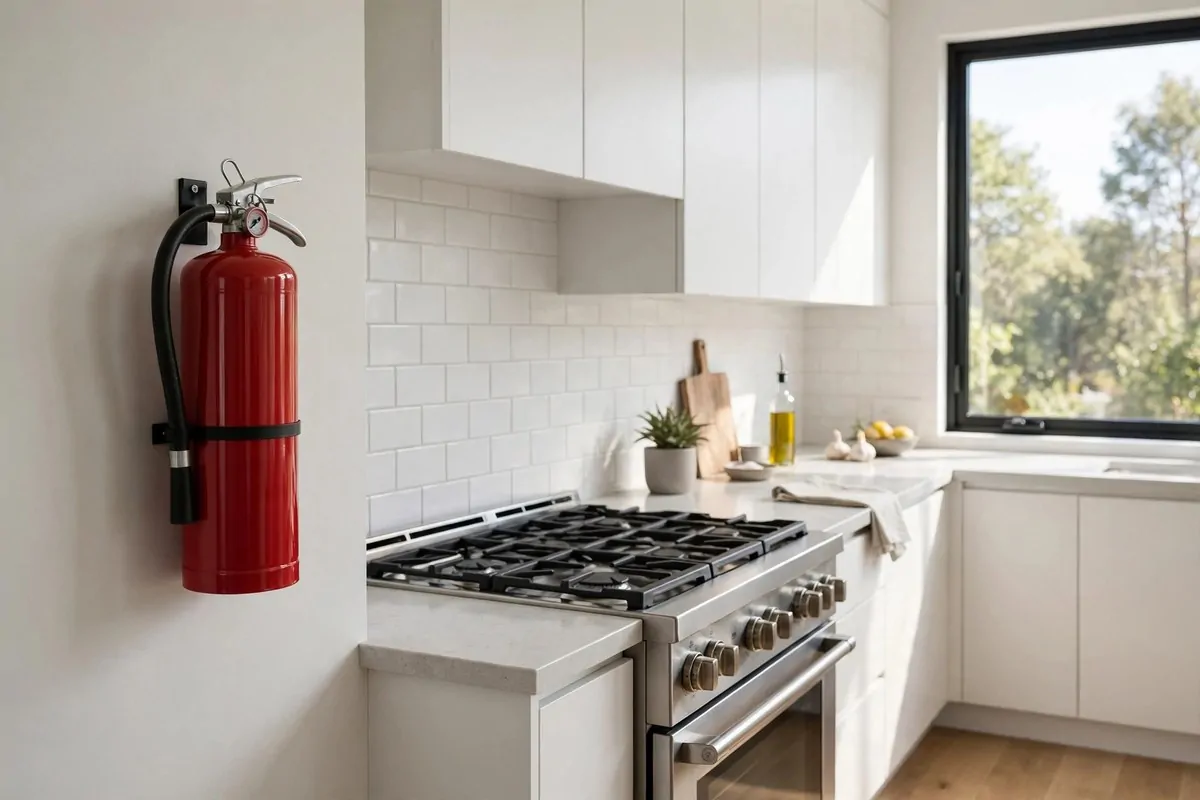
Kitchens cause more home fires than any other room. Before you cook your first real meal, put a fire extinguisher where you can grab it fast.
Mount it near the stove but not right over it. You need to reach it without walking through flames. By the kitchen door is usually the smart spot.
Make sure it is the right type for home use. The label should say it handles grease and electrical fires. The hardware store staff can point you to the right one.
Check the pressure gauge on the front. The needle should sit in the green zone. If it is in the red, take it back and get a fresh one.
Show everyone in the house where it is and how it works. Pull the pin, aim low, squeeze, sweep. Four words that are worth memorizing.
Add one for the garage too, if you have one. Garages hold paint, gas cans, and old rags. A second extinguisher there is cheap insurance.
Write the purchase date on a piece of tape on the side. Extinguishers need replacing every several years. Future you will want that date.
Give the extinguisher a quick lift once a year. A full one feels heavy and solid, while a light one may have leaked and needs replacing.
This is one of those New Home Ideas you hope you never use. But on the night you need it, you will be so glad it was there from day one.
20. Hang One Picture to Make It Feel Like Yours
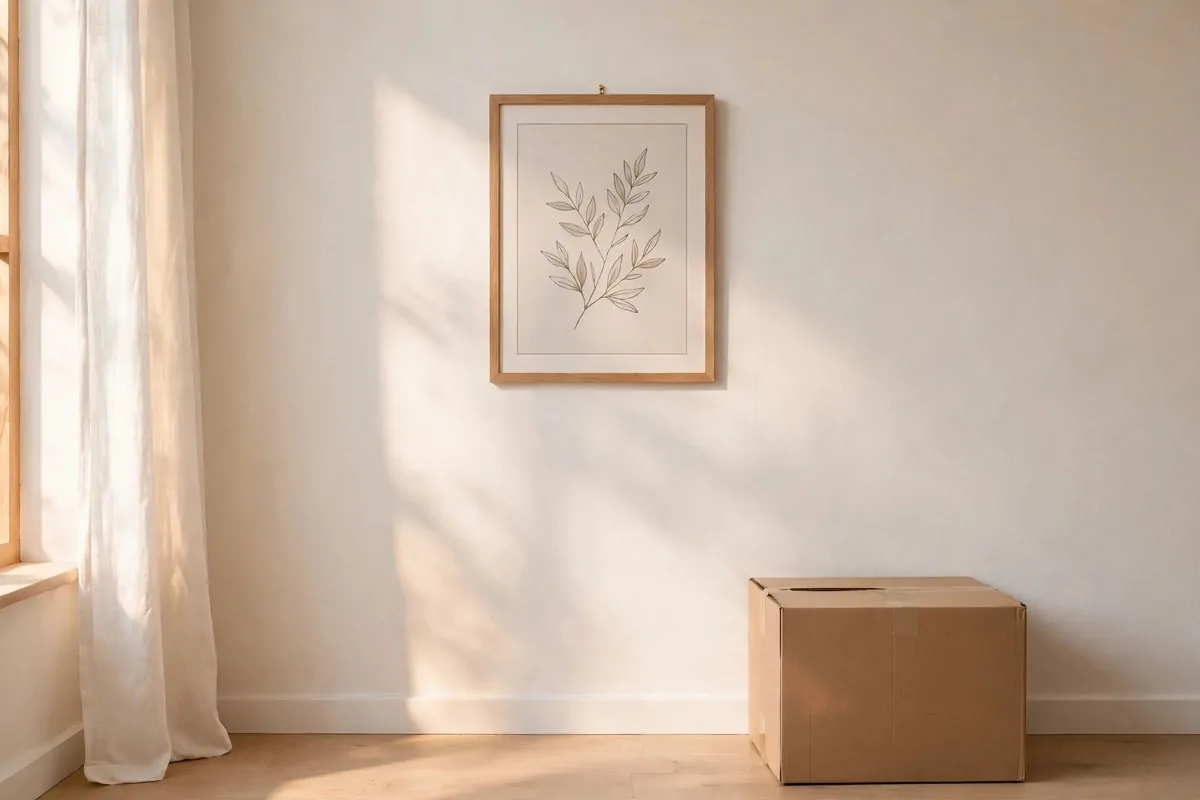
The house does not feel like home yet, and that is okay. But hanging just one picture changes the feeling faster than almost anything else.
Pick your favorite photo or piece of art. The one that makes you smile every time you see it. That one goes up first, before anything else is unpacked.
Choose the spot carefully. The living room wall you see from the kitchen, or the hallway you walk down every morning. Somewhere you will actually see it.
Use a proper hook or anchor, not just a nail in drywall if the frame is heavy. A fallen frame on night one is not the memory you want.
Step back and look at it once it is up. Just that one thing on the wall makes the whole room feel claimed. It is your space now, officially.
If you have kids, let them pick the second picture. Giving them a small piece of ownership helps a new place feel less strange and scary.
Do not try to hang everything tonight. One picture is the goal. The full gallery wall can wait until the boxes are gone and you can think straight.
- Pick the art that feels most like you
- Hang it where you will see it daily
- Use the right hook for the weight
- Let kids choose one thing too
One picture on the wall, and suddenly it is not just a house anymore. It is starting to become your home.
21. Flatten Boxes and Learn the Trash Schedule
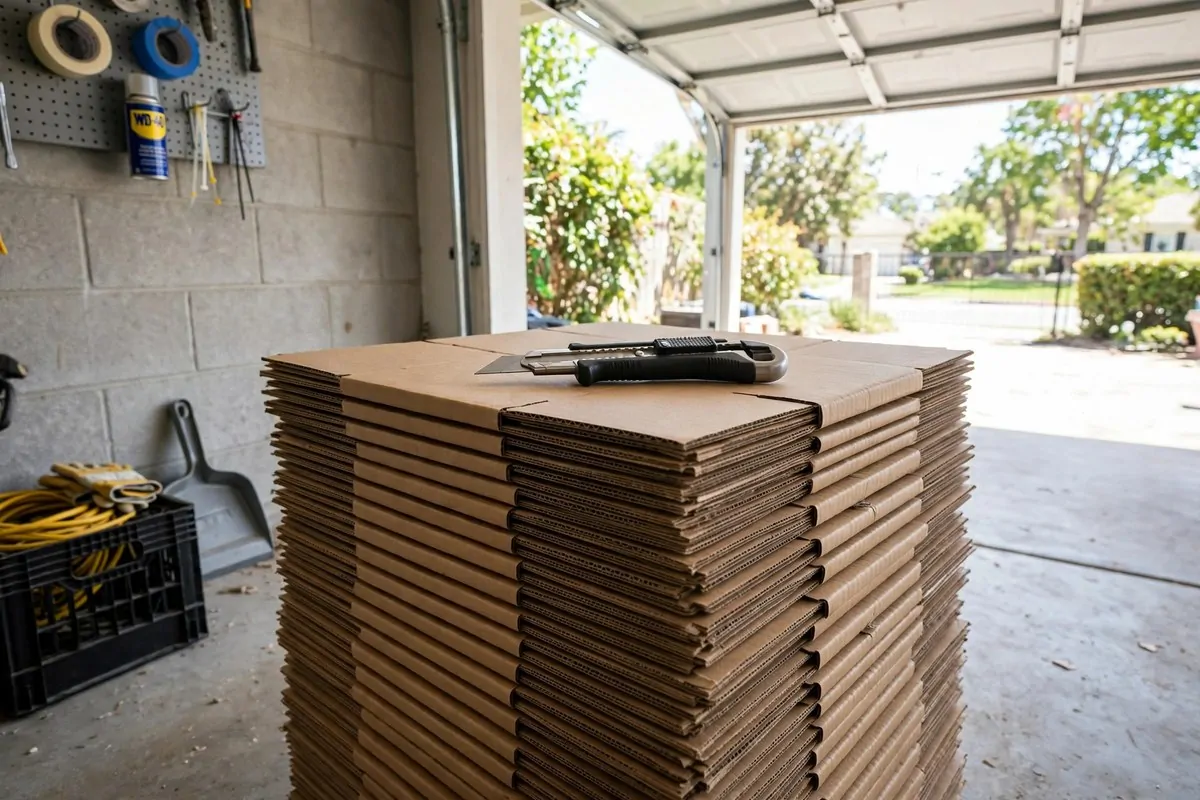
Boxes multiply like rabbits during a move. Before they take over your garage, set up a simple system: break down, flatten, stack.
Keep a box cutter in your pocket for the first week. Every empty box gets cut open, flattened, and stacked in one corner of the garage. Five minutes a day keeps the pile sane.
Ask your new neighbor or check the city website for trash and recycling days. Every town is different, and missing the first pickup means boxes pile up for another week.
Learn the rules too. Some places want cardboard bundled with string. Some want it in the bin, not beside it. Knowing the rules saves you a rejected pile on the curb.
Save a few good boxes for later. You might need them for returns, donations, or storing seasonal stuff. Keep the sturdy ones, recycle the flimsy ones.
Offer extra boxes to neighbors or post them online for free. Movers are always hunting for free boxes. Yours will disappear fast, and that is a good thing.
Keep the garage path clear while you stack. You still need to walk through there every day. A tidy stack in one corner beats a cardboard maze.
A clear garage and a known trash day might sound boring. But an organized home starts with the boring stuff handled, and you will feel the difference all week.
You made it through the list, and you have not even unpacked yet. That is the whole point. A safe, clean, working home is worth more than an unpacked one on day one.
Now pour yourself something nice, sit on the floor if you have to, and enjoy the quiet of your new place. The boxes will still be there tomorrow. Tonight, you are home.