29 Kitchen Herb Garden Ideas for Fresh Flavor All Year

My kitchen used to smell of nothing at all until I put a small pot of basil on the sill, and now it smells green every time I cook.
I did not plan a big garden. I just wanted fresh leaves near my hands while I cooked. That one pot changed how my kitchen felt.
You do not need a yard for this. A small sill, a shelf, or a spot by the sink can hold a few pots. You can start with one herb you use a lot.
I pick leaves right before I cook. They taste bright and fresh. Dried herbs from a jar are fine, but fresh leaves feel different in a simple meal.
Some herbs like a lot of sun. Some are happy with a little less. I learned to watch my plants and move them if they looked sad.
Water is the other big thing. I check the soil with my finger before I water. If it feels dry on top, I give the plant a drink.
All 29 ideas are right here in this one post for you, so you can read through them all now and pick the ones that fit your kitchen best.
1. A Sunny Windowsill Herb Row
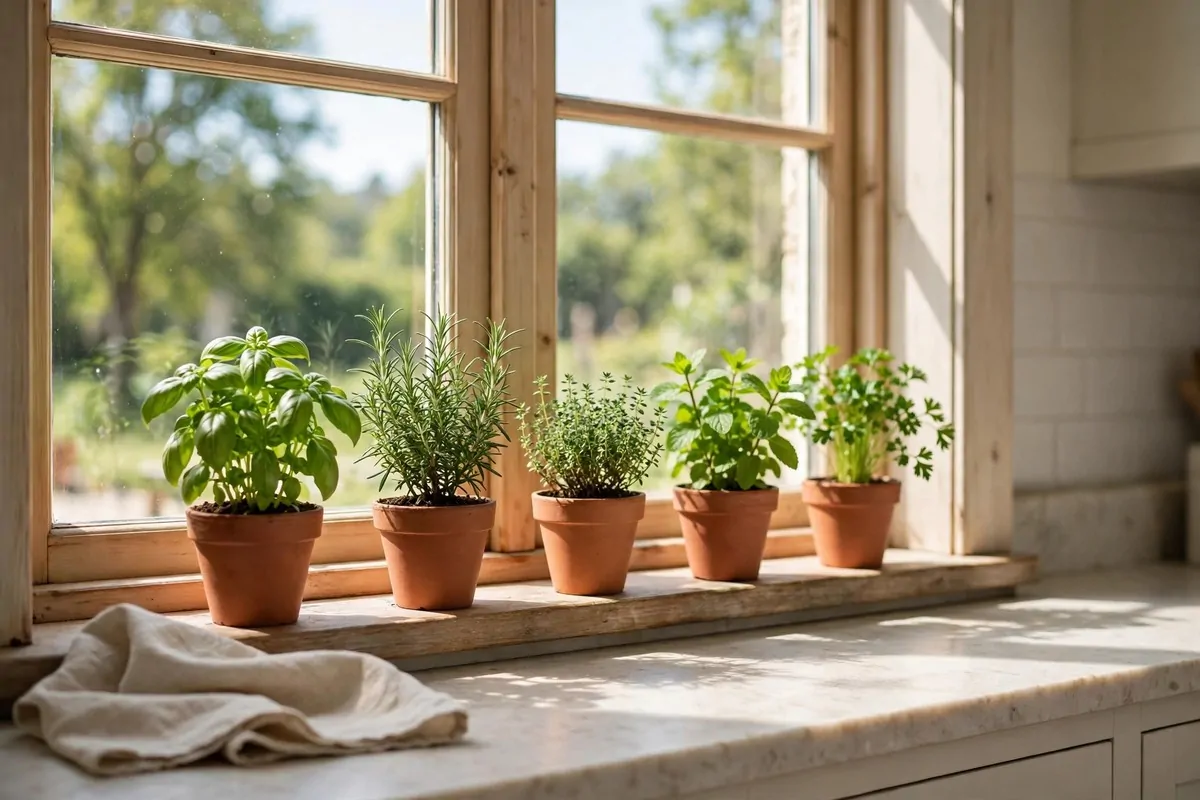
A row of small pots on a sunny sill is the easiest way to start. I line up three or four pots where the sun comes in most of the day.
Basil loves that warm spot. It grows fast when it gets sun and regular water. I pinch the top leaves often so it stays bushy.
Use small pots with holes at the bottom. Water can drain out that way. I put a small tray under each pot to keep the sill dry.
Pick leaves in the morning if you can. They feel fresh and smell strong then. I wash them gently and pat them dry.
This setup works well in a small kitchen. It takes up almost no counter space. You can still see out of the window past the pots.
I keep a pair of small scissors nearby. Snipping is quicker than pulling leaves off by hand. It also keeps the plant neat.
If a plant looks pale, it may need more sun. I move it to the brightest part of the sill. A day or two often makes a big change.
Fresh basil is lovely torn over pasta. It is also nice with bread and vegetables. I use it most on pasta nights.
A sill row like this runs about $18 to $36 for pots, soil, and a few small plants.
2. Countertop Pots by the Sink
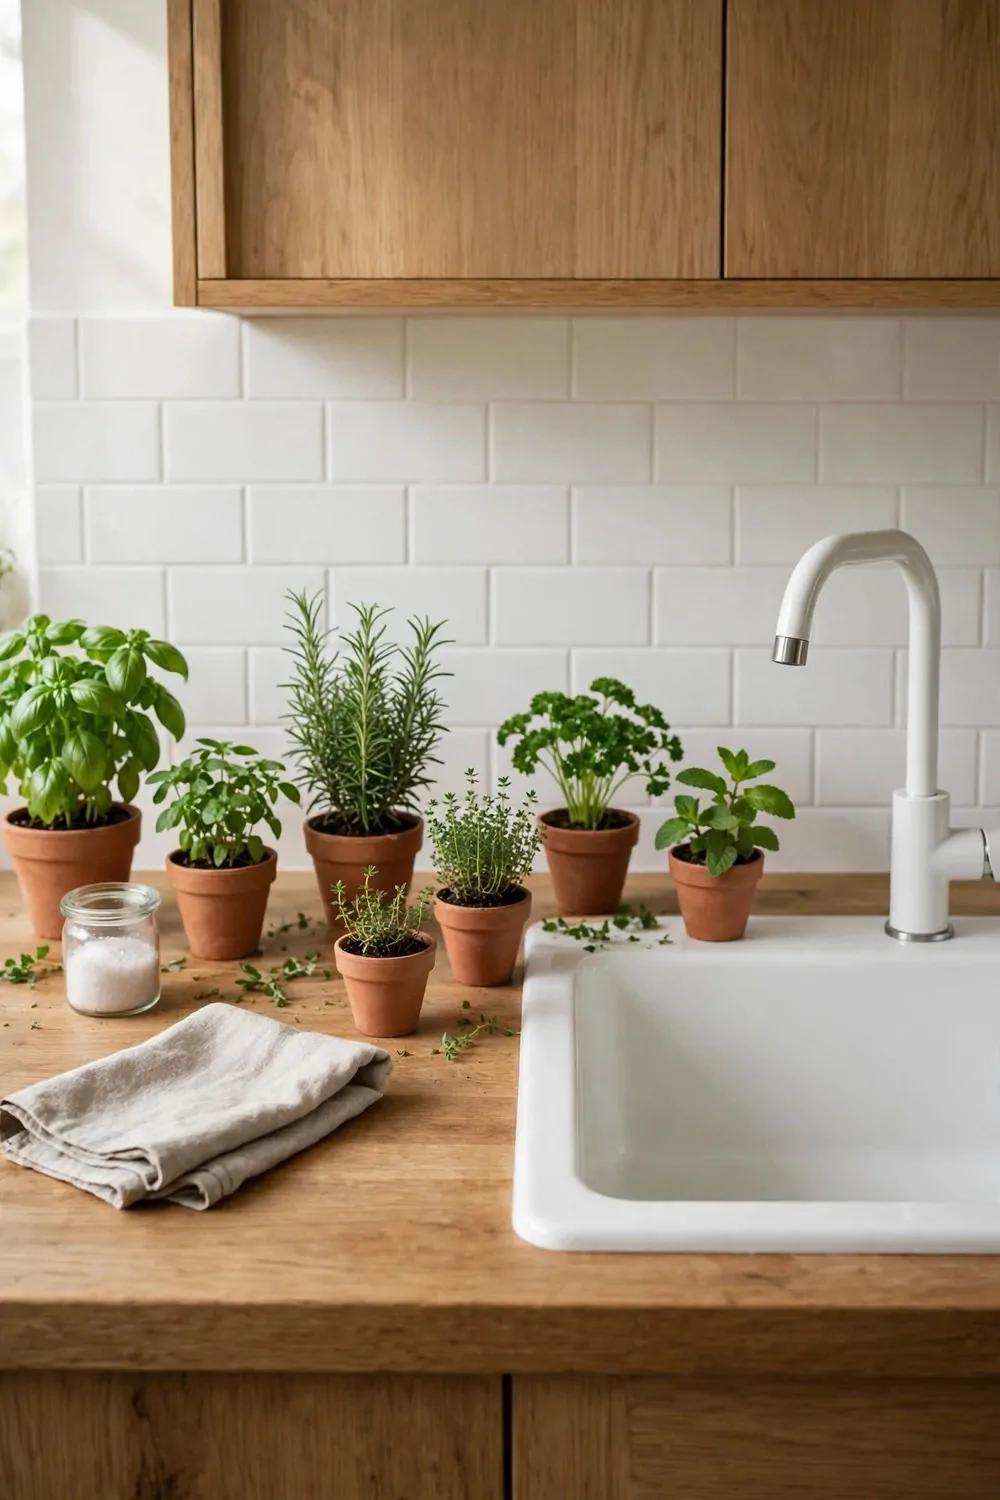
Pots by the sink are easy to water. I fill a small jug while I wash vegetables. Then I water the herbs in the same trip.
Parsley does well here. It likes steady water and light from a nearby window. I keep it close, but not right in a splash zone.
Choose pots that are wide and steady. A narrow pot can tip over when it is wet. I learned that after one fell into the sink.
Keep the leaves dry when you water. Pour water at the soil, not over the top. Wet leaves can turn soft and spotty.
This spot is handy when you cook. You can snip parsley straight into a soup pot. It saves a walk across the kitchen.
I wipe the counter under the pots once a week. Soil can spill a little when I water. A quick wipe keeps it tidy.
If your sink area is dark, pick herbs that cope with less sun. Mint and parsley are good first tries. Basil needs more light.
Fresh parsley adds a clean green taste to rice and beans. I chop it fine and stir it in at the end. The heat stays low so the flavour stays bright.
Setting up two or three pots by the sink should cost you $15 to $32 in total.
3. A Wall Rack Near the Stove
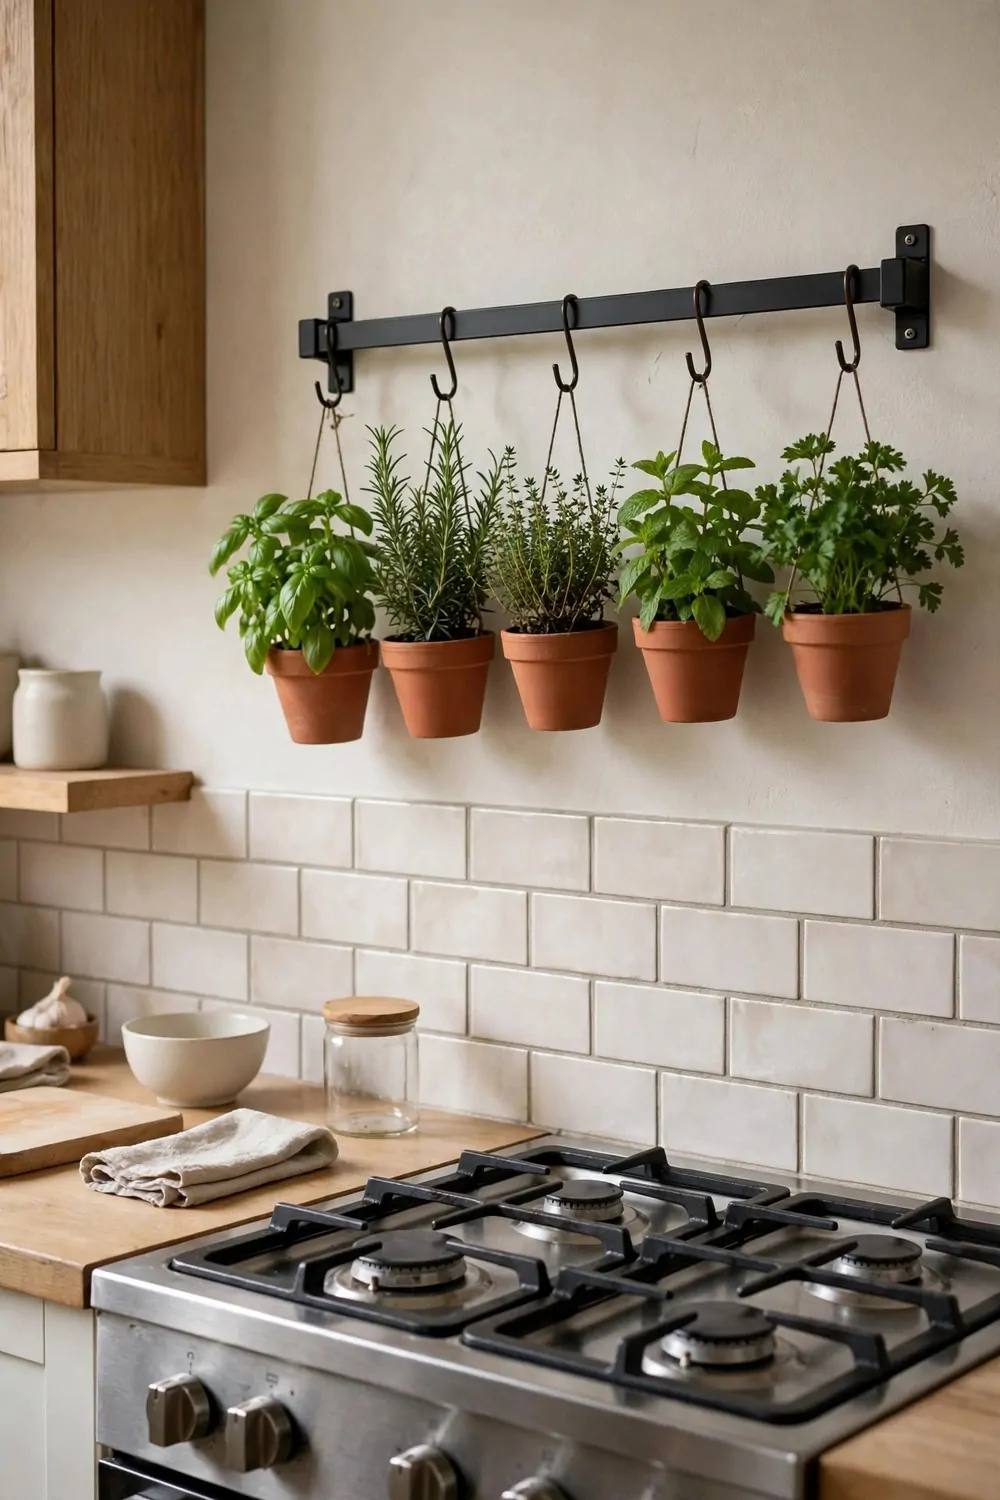
A wall rack keeps herbs close to the stove without taking counter space. I hung mine on a clear stretch of wall by the cooker.
Small pots sit in rings on the rack. Each one is easy to lift out for watering. I water them at the sink, then put them back.
Heat from the stove can dry the soil fast. I check these pots more often than my sill pots. A quick finger test tells me if they need water.
Rosemary is a good pick for a rack. It likes a sunny wall and does not mind a warm kitchen. Its leaves smell lovely when you brush past them.
Keep the rack out of the way of steam if you can. A lot of steam can make leaves damp for too long. A spot a little to the side works best.
I label each pot with a small tag. It helps me remember what is what when the plants are young. My family can find the right herb too.
Snip what you need while you cook. Rosemary goes well with roast chicken. A little goes a long way, so I use a small sprig.
This rack also looks neat and tidy. The green leaves brighten a plain wall. It feels like a small garden inside the kitchen.
You can expect to pay $22 to $48 for a rack, pots, soil, and plants.
4. A Hanging Herb Rail
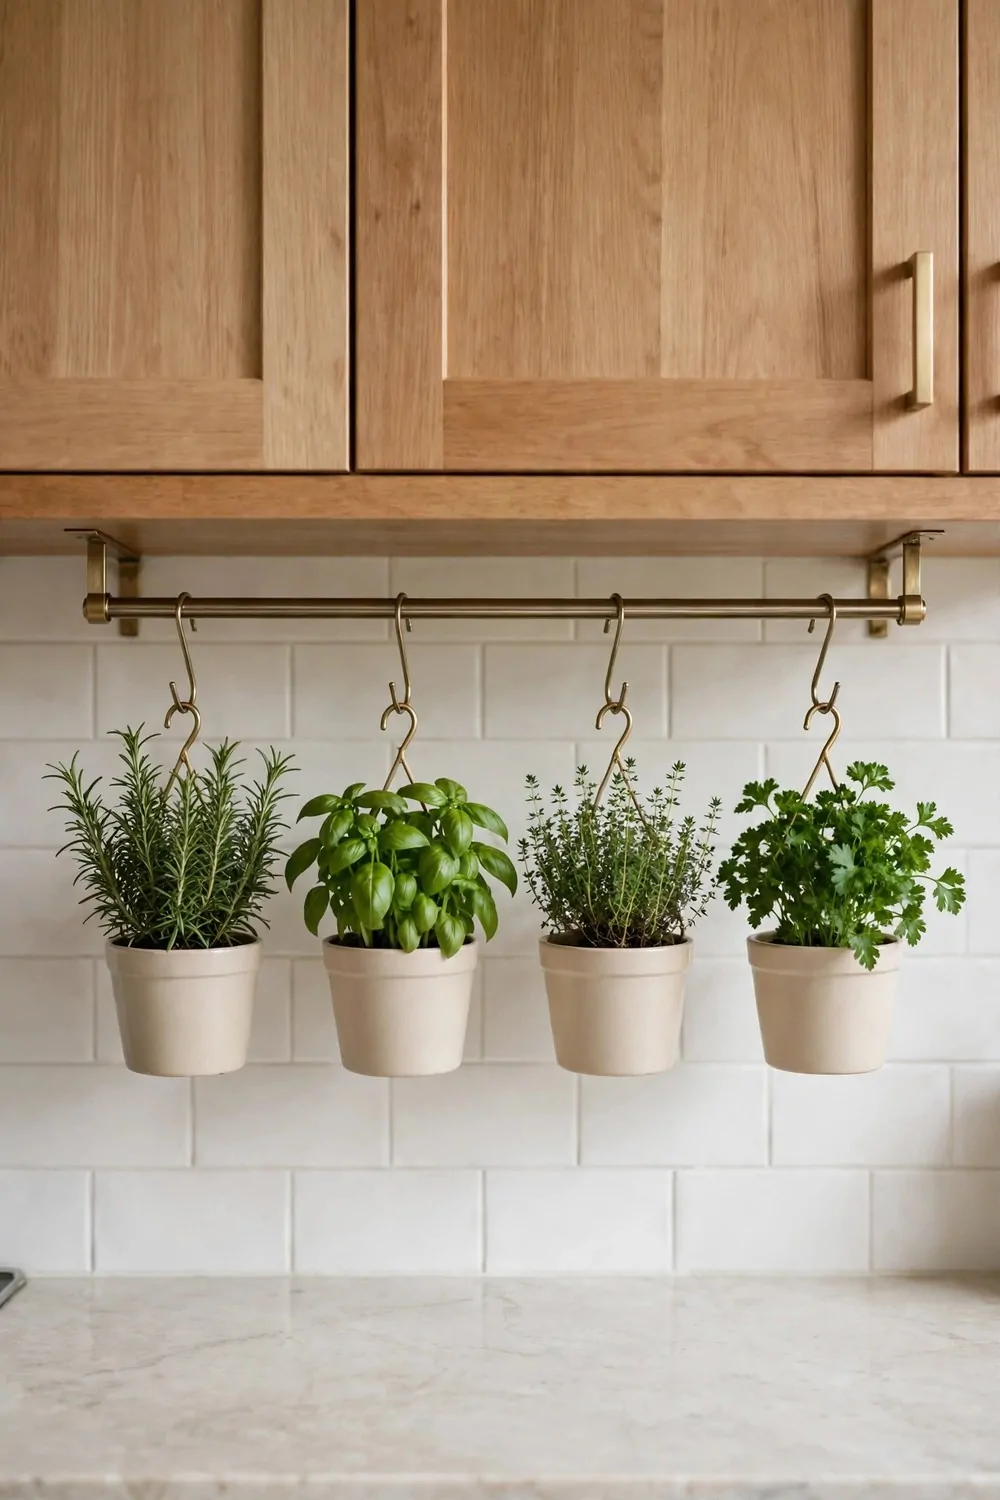
A hanging rail uses the space above a counter. I fixed a short rail to the wall and hung small pots from hooks. It frees up the worktop.
Light pots work best here. Heavy pots can pull on the hooks. I use small plastic pots inside plain outer pots so they look neat.
Water these pots at the sink. Take each one down, water it, and let it drain. Then hang it back up when it stops dripping.
Mint is happy on a rail if it gets light. It grows fast and fills its pot. I trim it often so it does not crowd the other pots.
Keep the rail at a height you can reach with ease. If it is too high, watering turns into a chore. I hung mine just above eye level.
A rail is a good fit for a narrow kitchen. It adds green without taking floor or counter space. The pots hang in a neat row.
I use mint from the rail for tea and summer drinks. I add a few fresh leaves to a glass of cold water. It tastes cool and fresh.
Check the hooks now and then. Make sure they are still tight in the wall. A loose hook is easy to fix before a pot falls.
All in, a rail with hooks, pots, and plants comes to around $25 to $52.
5. Small Pots on a Kitchen Shelf
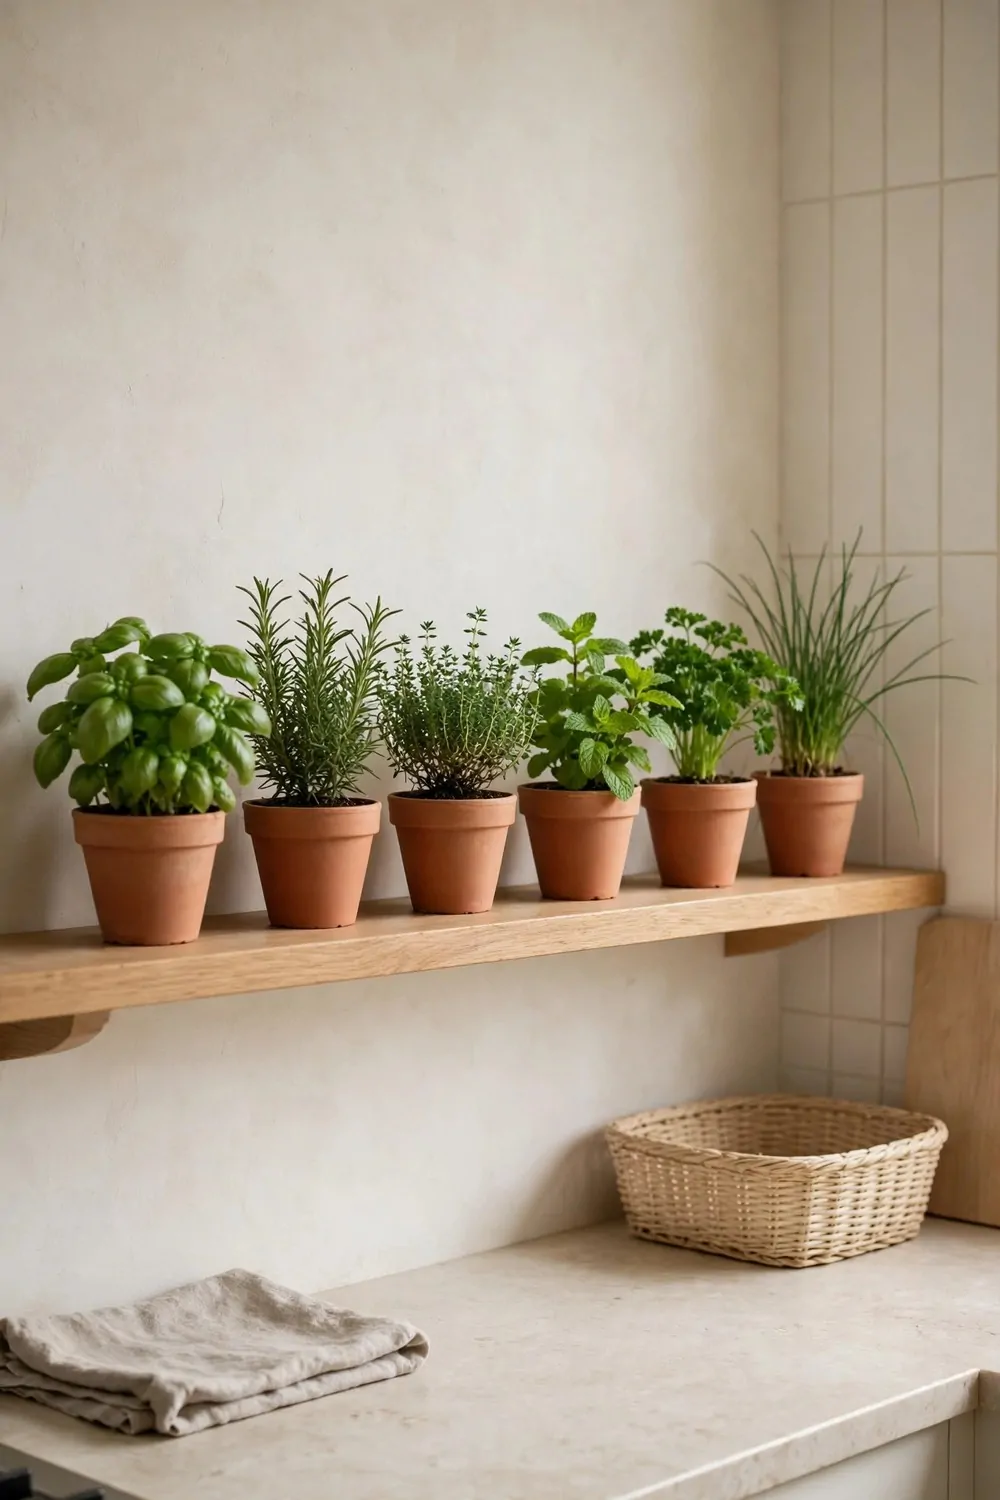
A shelf can hold a whole row of small herb pots. I use a shelf near a window so the plants get light through the day. It keeps them off the counter.
Group herbs that like the same amount of water. That way I do not overwater one while I look after another. It makes watering simple.
Small pots dry out faster than big ones. I check the soil every two or three days. In warm weather I check every day.
Parsley, basil, and coriander can share a shelf if they all get enough light. I turn the pots once a week. That helps them grow straight.
Use a tray under the pots to guard the shelf. Water can leave marks on wood if it sits there. A tray takes two seconds to wipe.
I keep the tallest herbs at the back. Short ones go at the front where I can see them. It makes the shelf look tidy and full.
Fresh leaves from the shelf go into salads and soups. I snip a little parsley and coriander before lunch. They add colour and fresh flavour.
If a plant gets leggy, I trim the long stems back. New leaves often grow from the cut point. The plant looks fuller after a week or so.
For a shelf setup with pots, trays, soil, and plants, plan on $20 to $44.
6. Basil for Pasta Nights
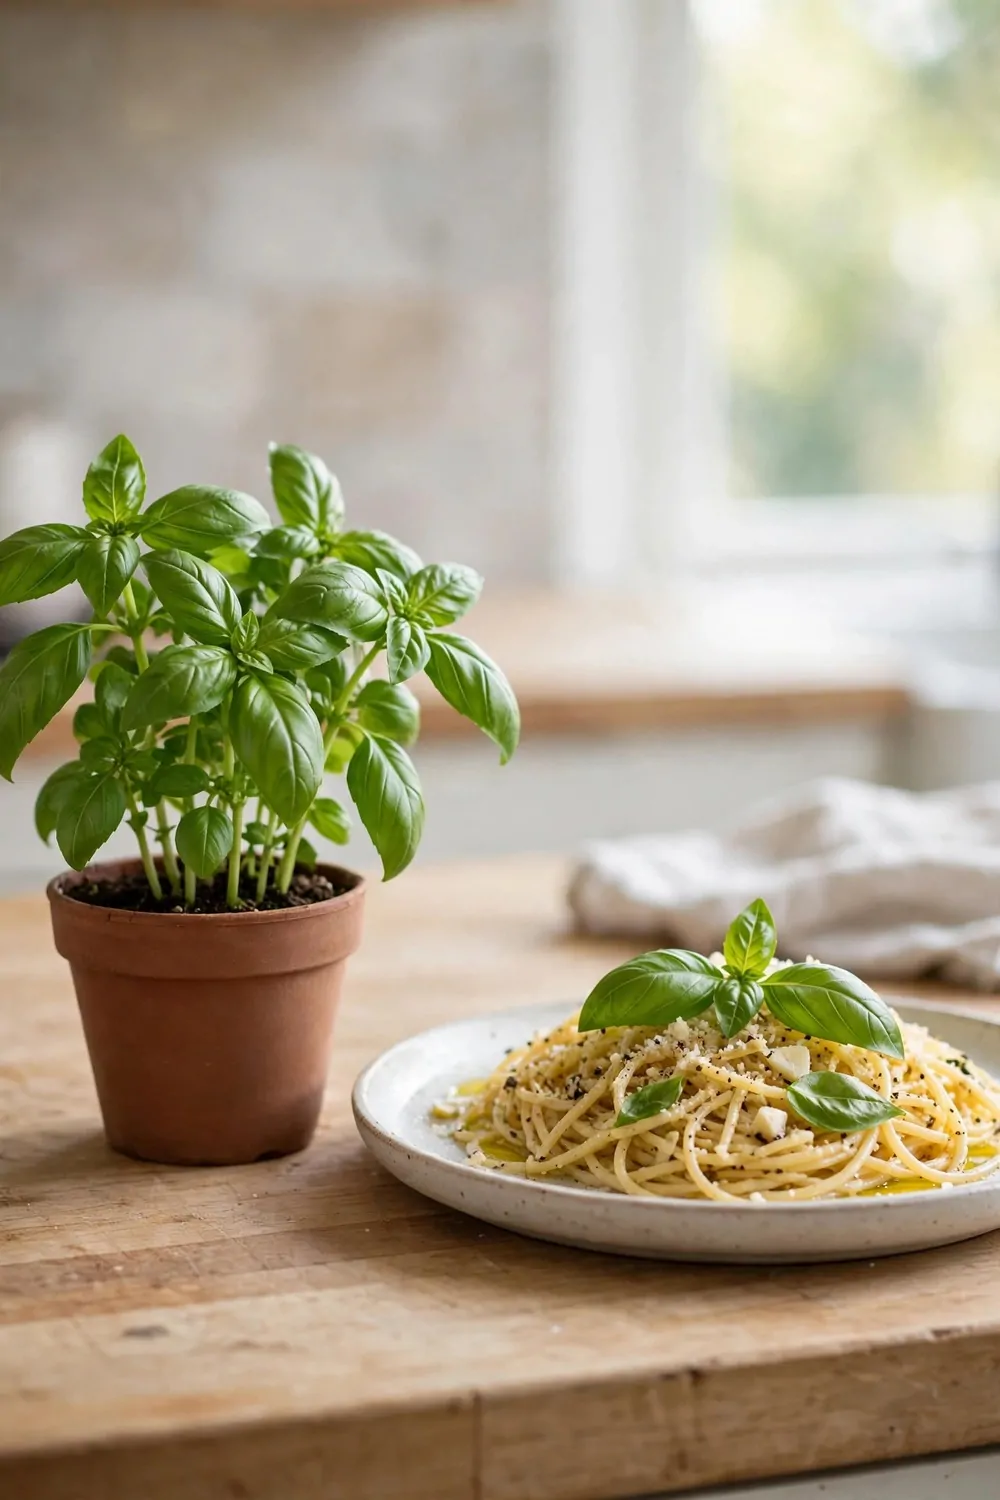
Basil is the herb I reach for most on pasta nights. Its fresh green taste lifts a simple tomato sauce. I tear the leaves by hand just before I serve.
Grow basil in a warm, sunny spot. It hates cold draughts and soggy soil. I keep mine on the sill where the sun stays longest.
Water basil at the base of the plant. Wet leaves can spot and droop. I water in the morning so the soil is damp for the day.
Pinch the top of the plant often. This makes it branch out and grow more leaves. If you let it grow tall and thin, you get fewer leaves.
Pick leaves from the top first. The plant will keep making new ones below the cut. I can pick a few handfuls across the summer this way.
Do not pick all the leaves at once. Leave at least half the plant to grow back. It needs leaves to make more leaves.
Basil is lovely with pasta, bread, and vegetables. I also add it to a simple rice dish when I want a fresh note. A few leaves are enough.
If your basil starts to flower, pinch the flowers off. Flowering can make the leaves taste less fresh. Pinching keeps the plant focused on leaves.
Growing basil for pasta nights costs about $12 to $26 for a pot, soil, and a plant or seeds.
7. Mint for Tea and Summer Drinks
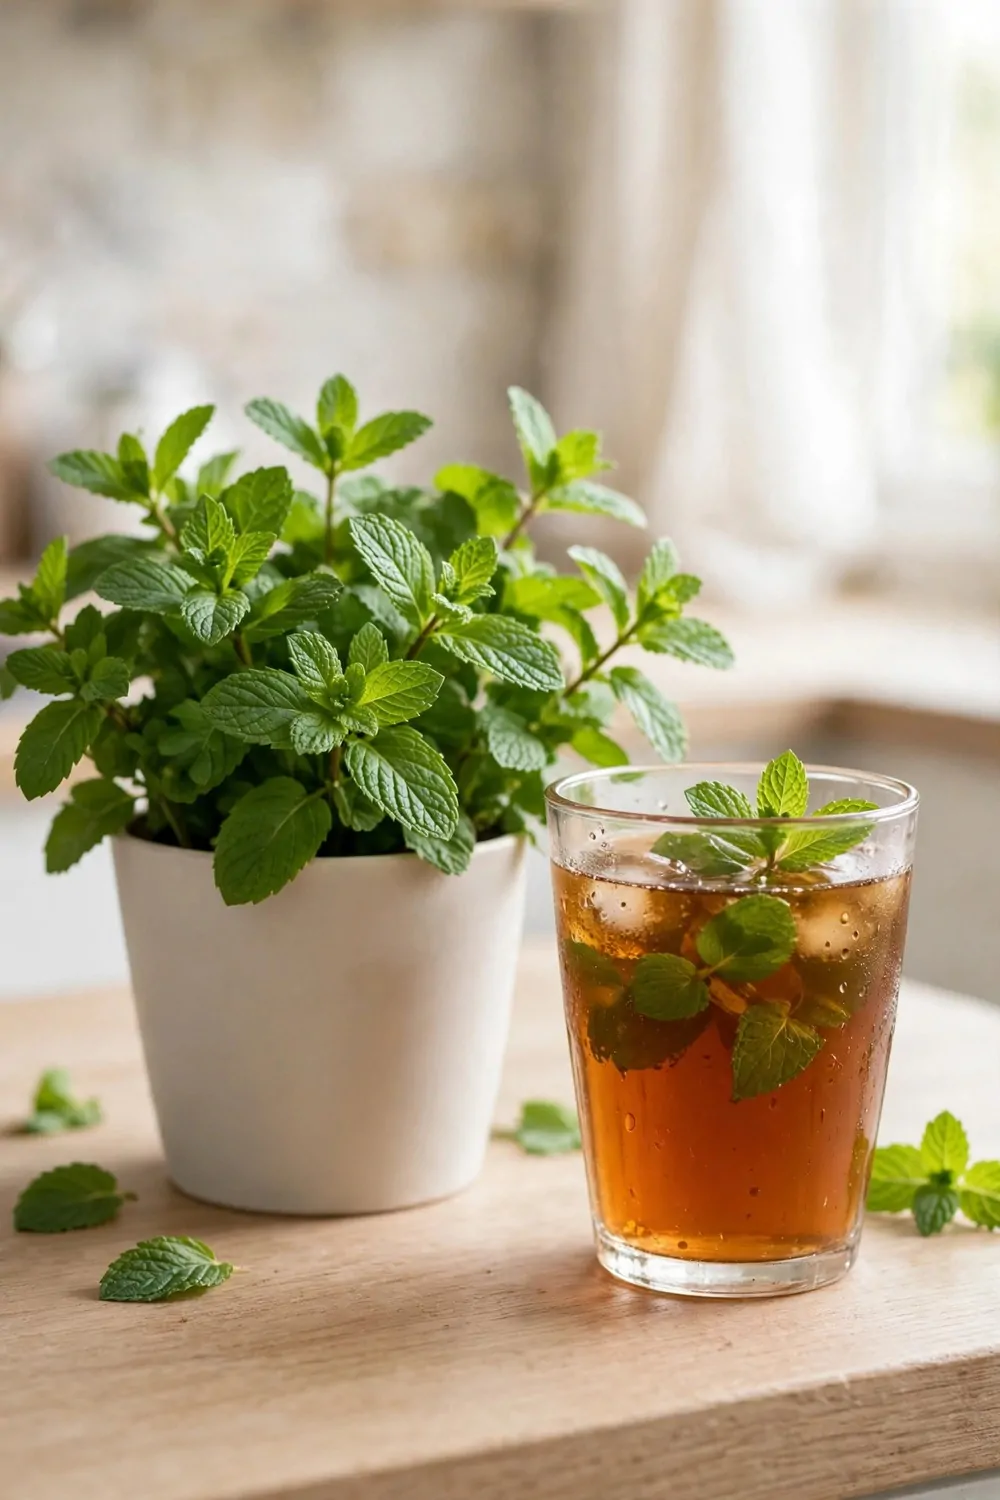
Mint is a fun herb for drinks. I add fresh leaves to tea, cold water, and fruit drinks. It gives a cool, clean taste.
Grow mint in its own pot. It spreads fast and can crowd out other herbs. A pot of its own keeps it under control.
Mint likes steady water and some sun. I keep mine where it gets morning light. It wilts fast if the soil dries out.
Pick mint leaves often to keep the plant bushy. I snip the top stems and new shoots grow below. It bounces back fast.
For tea, I add a small bunch of leaves to hot water. I let it sit for a few minutes. Then I take the leaves out and sip.
For a summer drink, I add mint to cold water with fruit. I let it sit in the fridge for an hour. The water tastes fresh and light.
Mint can take over a bed, so a pot is the safe choice. I never plant it in the ground near other herbs. A pot keeps the roots in one place.
If the leaves look pale, try a brighter spot. A little more sun often helps. I move the pot and watch it for a few days.
A mint pot with soil and a plant will set you back $10 to $22.
8. Parsley for Salads and Soups
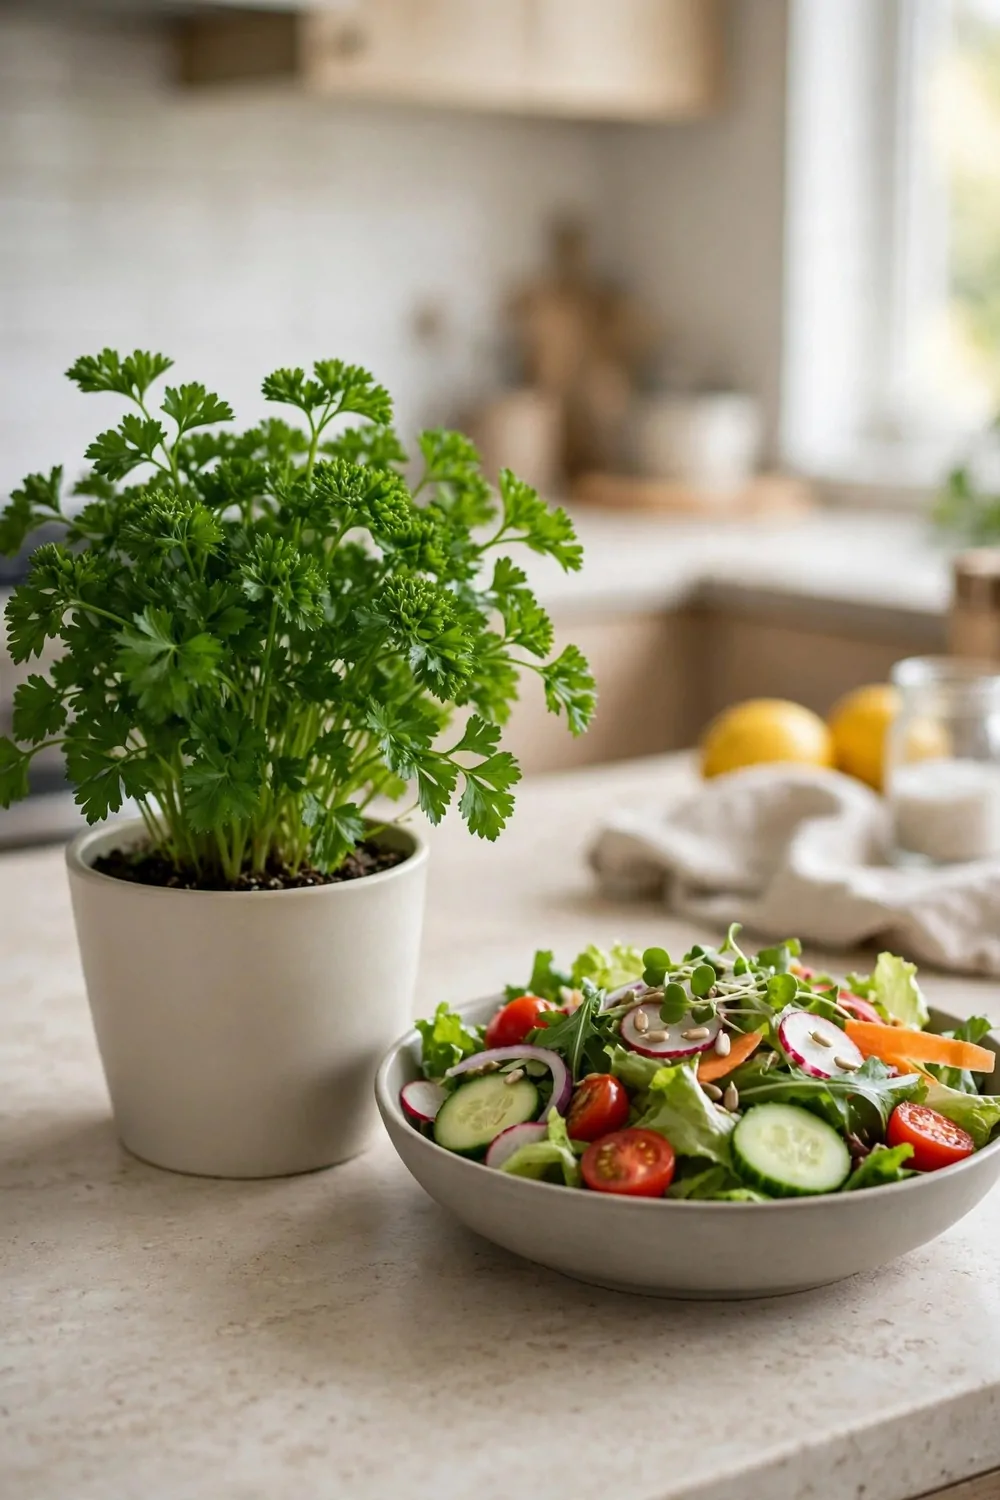
Parsley is a workhorse herb in my kitchen. I use it in salads, soups, rice, and beans. It adds fresh green flavour without taking over.
Grow parsley in a pot with good drainage. It likes regular water but not wet feet. I let the top of the soil dry a little between waterings.
Parsley grows slower than basil at first. Be patient with it. Once it gets going, it gives you leaves for a long time.
Pick the outer leaves first. New leaves grow from the centre. This keeps the plant going for months.
Chop parsley fine for salads. I toss it through just before I serve. It stays bright and fresh that way.
For soups, I add parsley near the end of cooking. Long cooking can dull its taste. A late stir keeps the flavour fresh.
Parsley likes a spot with light but not harsh midday sun. A sill with morning sun works well. I move it back if the leaves look scorched.
I wash parsley well before I use it. Soil can hide in the curly leaves. A quick rinse and a shake are enough.
One parsley pot, with soil and a plant, works out at $11 to $24.
9. Coriander for Rice Dishes
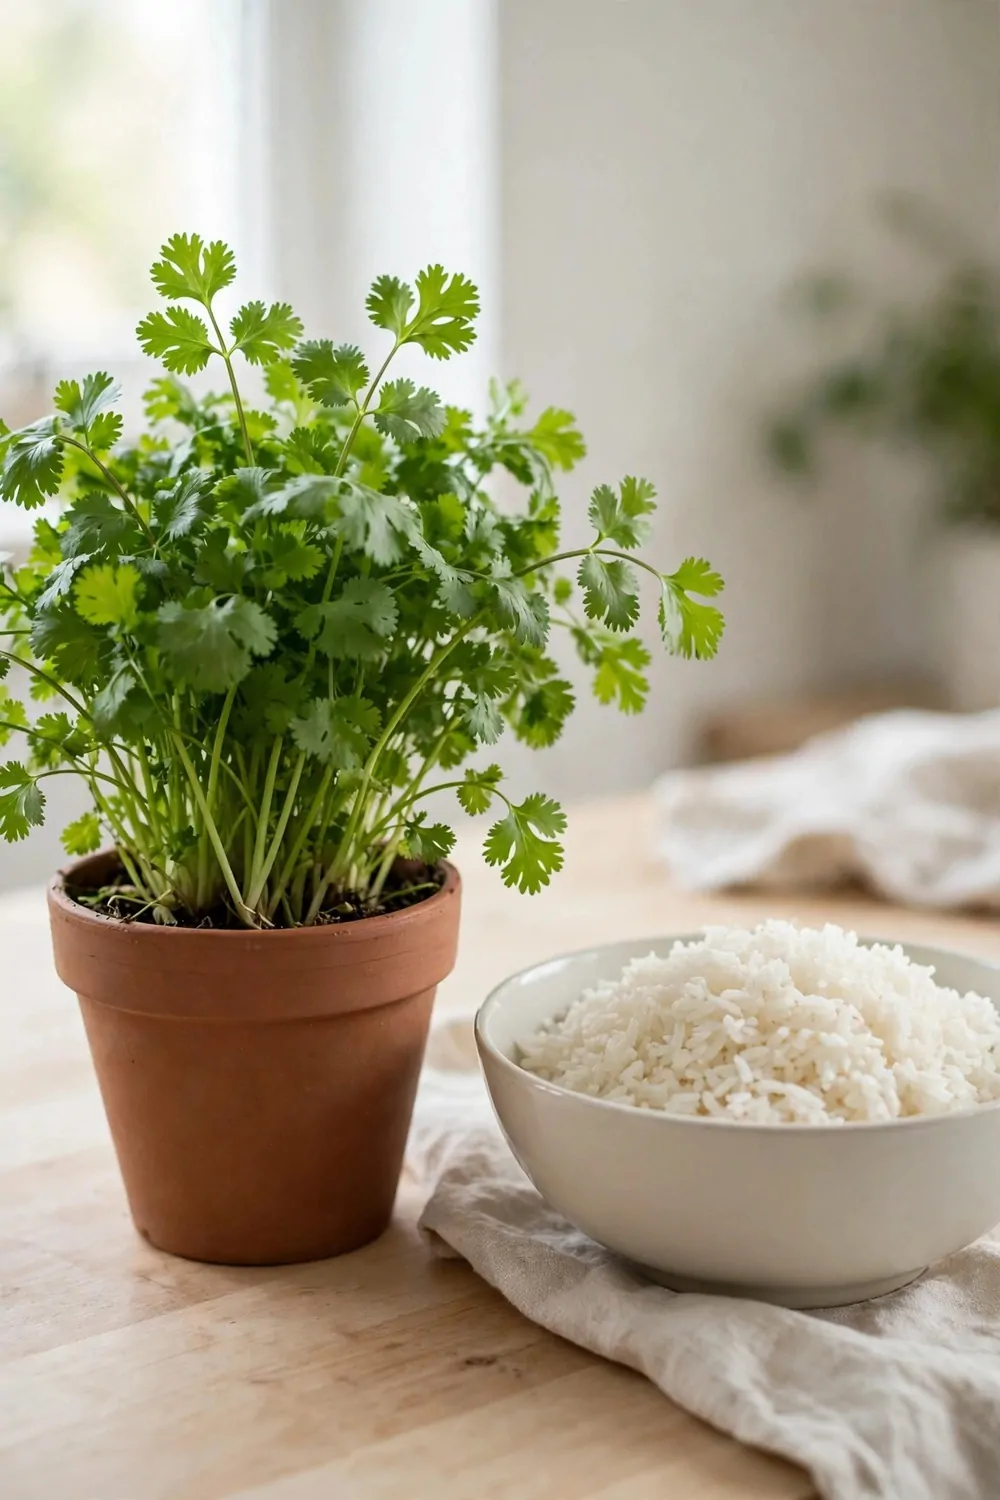
Coriander is my go-to herb for rice dishes. Its fresh taste pairs well with beans and vegetables too. I sprinkle chopped leaves over the top just before serving.
Coriander likes a cool, bright spot. Too much heat can make it run to seed fast. I keep mine where it gets morning sun and shade later.
Sow coriander seeds in a pot if you can. It does not like being moved much. I sow a few seeds and thin them to the strongest plants.
Water coriander often but lightly. The soil should stay damp, not wet. I check it with my finger each morning.
Pick the leaves when the plant is young and leafy. Older plants can taste stronger and less fresh. I pick a few handfuls at a time.
If your coriander bolts, let it finish and save the seeds. You can sow them again for a new plant. I keep a small jar of seeds for the next round.
Coriander is lovely stirred through warm rice. I also add it to bean dishes and salads. A little adds a lot of fresh flavour.
Grow more than one pot if you use it a lot. I sow a new pot every few weeks. That way I always have young leaves ready.
Starting coriander from seed in a pot costs roughly $9 to $20 for seeds, a pot, and soil.
10. Rosemary for Roast Chicken
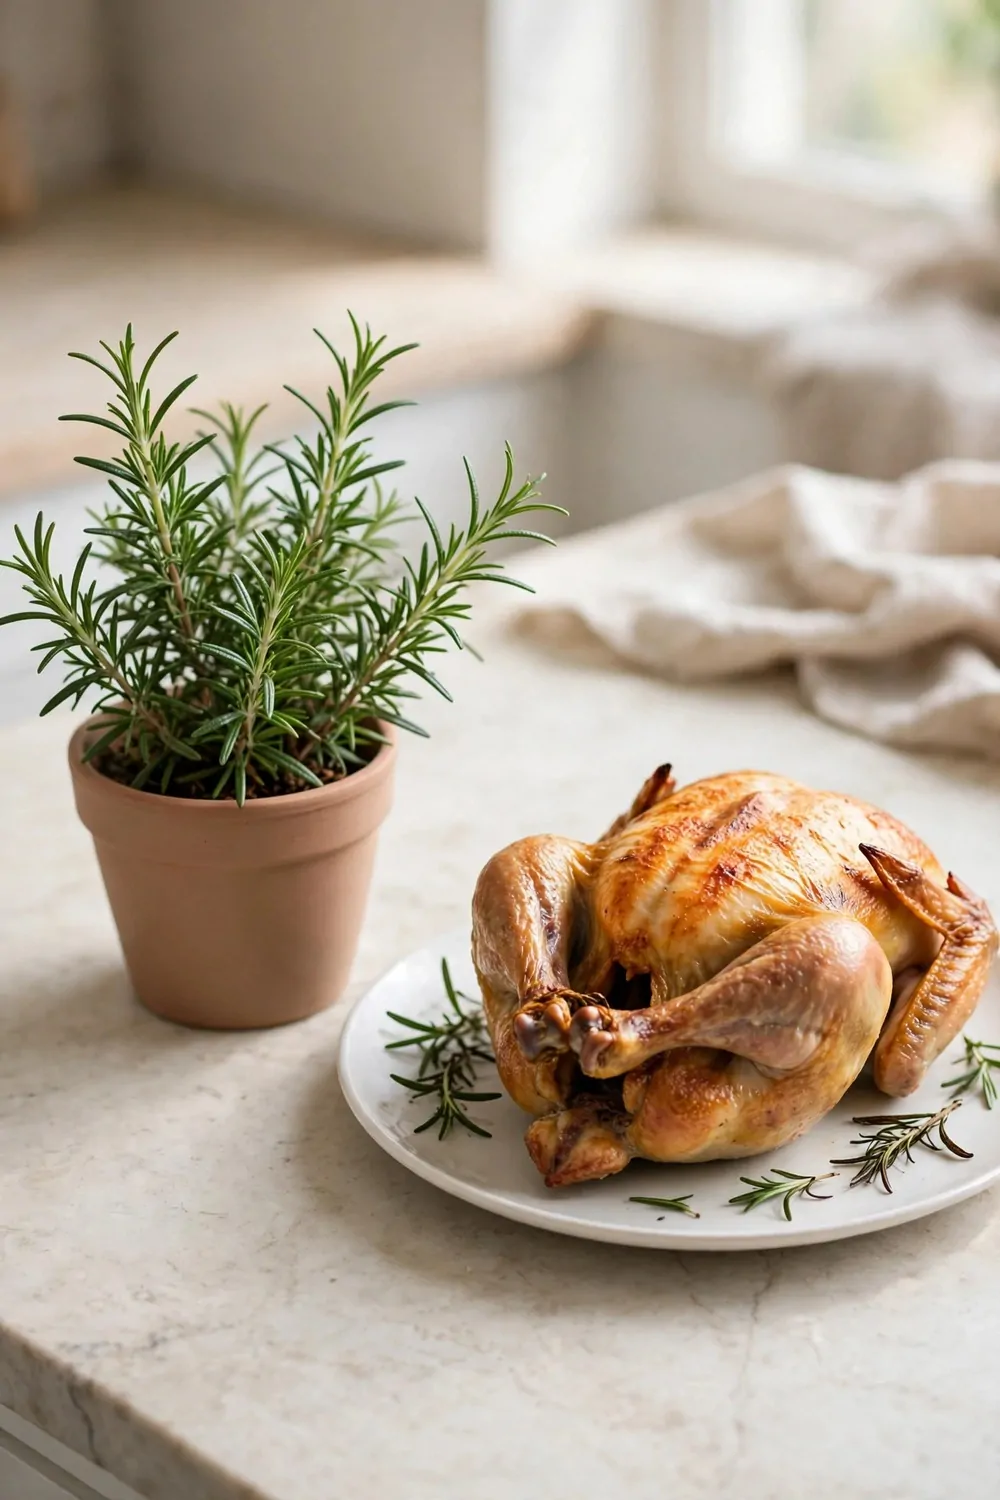
Rosemary is the herb I think of first for roast chicken. Its strong piney scent fills the kitchen while the chicken cooks. A small sprig is enough.
Rosemary likes sun and soil that drains well. It does not like wet feet. I use a pot with holes and mix a little grit into the soil.
Water rosemary less often than basil. Let the soil dry out between waterings. Too much water can make the roots soft.
Grow rosemary in a sunny spot if you can. A sill or a bright shelf works well. It grows slow and steady through the year.
To use it, I strip the small leaves from a sprig. I chop them fine and rub them over the chicken with a little oil. It tastes warm and savoury.
You can also tuck a whole sprig under the chicken while it roasts. The heat brings out the scent. I take the sprig out before I serve.
Rosemary keeps well in a pot for a long time. Mine has lasted through more than one year. I trim it in spring to keep its shape neat.
Do not pick too much at once from a young plant. Take one small sprig and let it grow back. A little patience gives you a strong plant.
A rosemary plant in a pot with soil should run $13 to $28.
| Idea | Typical Cost |
|---|---|
| A Sunny Windowsill Herb Row | $18 to $36 |
| Countertop Pots by the Sink | $15 to $32 |
| A Wall Rack Near the Stove | $22 to $48 |
| A Hanging Herb Rail | $25 to $52 |
| Small Pots on a Kitchen Shelf | $20 to $44 |
| Basil for Pasta Nights | $12 to $26 |
| Mint for Tea and Summer Drinks | $10 to $22 |
| Parsley for Salads and Soups | $11 to $24 |
| Coriander for Rice Dishes | $9 to $20 |
| Rosemary for Roast Chicken | $13 to $28 |
11. Thyme for Soups and Stews
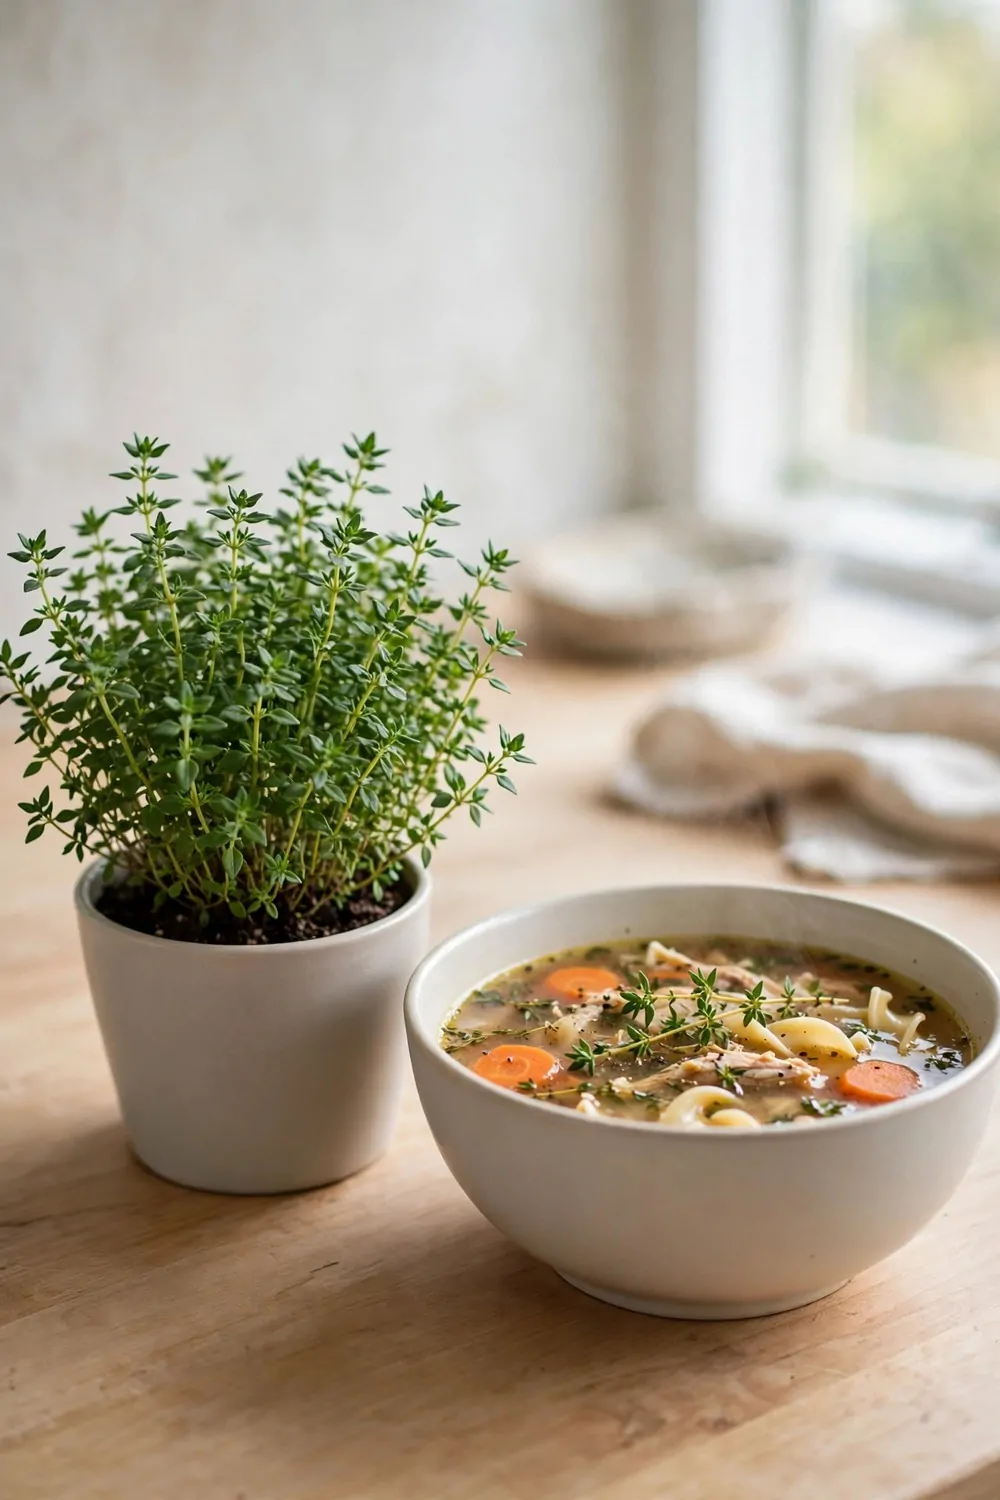
I keep thyme close to my stove because it goes into so many pots I cook each week.
A small bunch adds a warm taste to chicken soup without taking over the pot. I pull the leaves off the stem and drop them right in.
You can add it early so the taste has time to spread through the broth.
I use it in bean soup too, and it works well with carrots and onions. A little goes a long way, so I start with a small pinch of leaves. You can always add more near the end if you want a stronger taste.
Fresh thyme is soft and easy to use, and dried thyme from my own plant works too. I dry a few stems when the plant grows fast in warm weeks.
A pot of thyme by a bright window gives me fresh leaves all year.
I water it only when the top of the soil feels dry to my finger. Too much water makes the roots weak and the leaves lose their taste.
I trim the tops often so new shoots grow thick and full. A short trim after I pick leaves helps the plant stay neat. I never take more than a third of the plant at one time.
I started my thyme plant from a small pot that cost about $8 to $15, and it has lasted me through many pots of soup.
12. Oregano for Pizza Nights
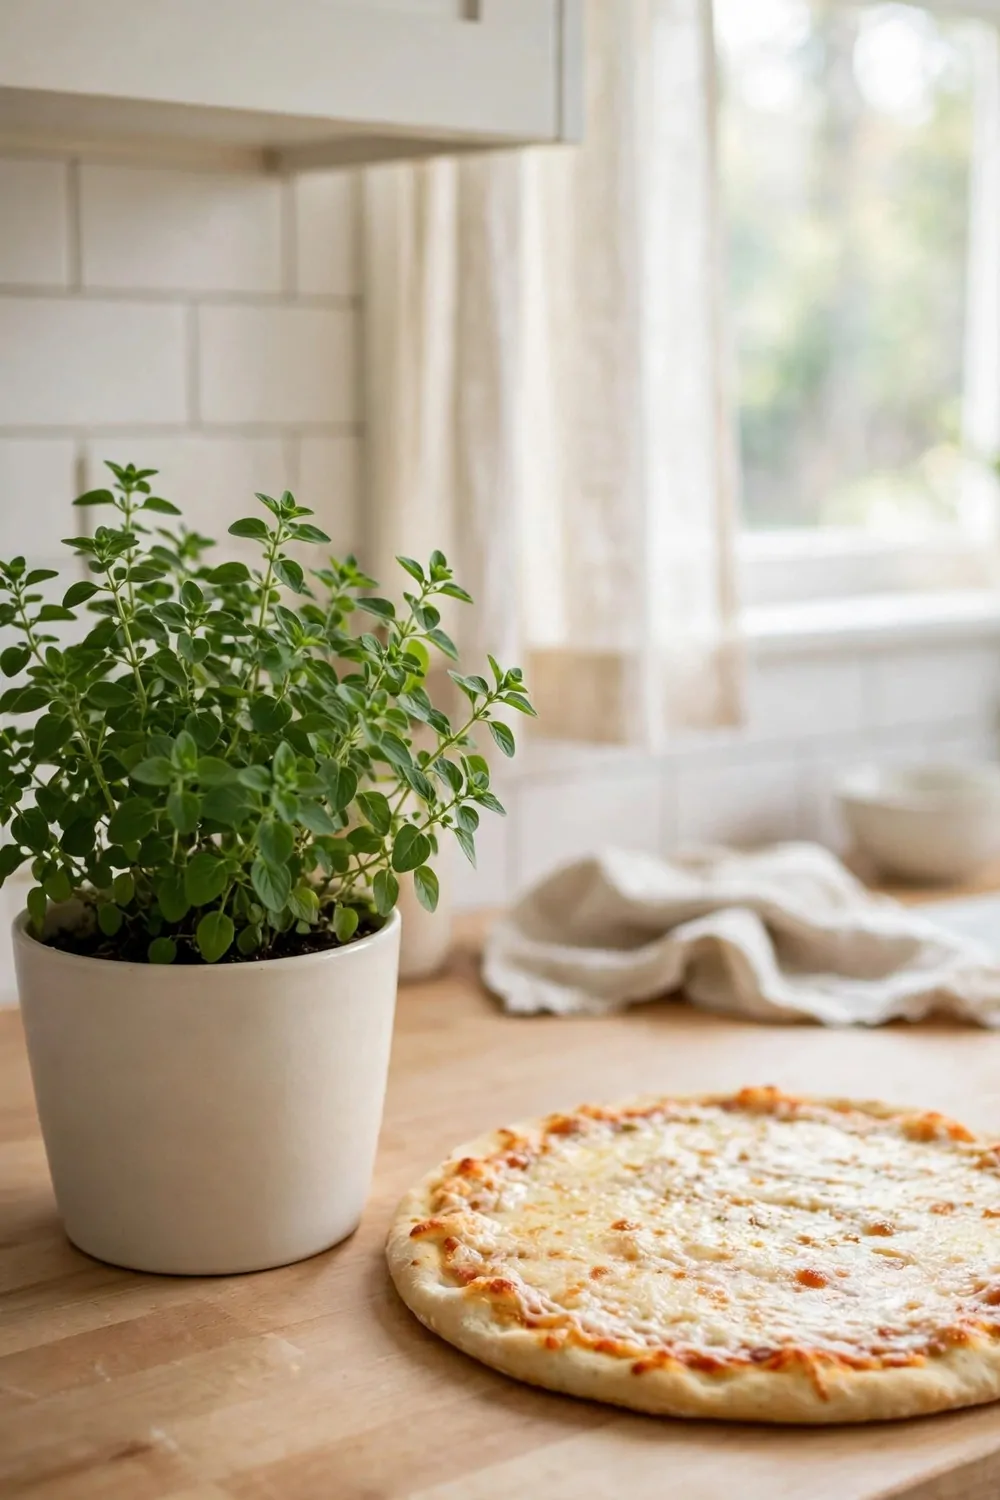
Oregano is the herb I reach for first on pizza night. It gives the sauce a warm, rich taste that my family knows right away.
I sprinkle fresh leaves over the top just before the pizza goes in the oven.
Dried oregano works well too, and I crush it between my fingers before I add it. That helps the taste come out more. I use it on pasta sauce as well when we want a quick dinner.
A little oregano on bread with oil makes a simple snack we all like.
I grow my oregano in a wide pot because it likes to spread out. I give it sun for most of the day and let the soil dry a bit between waterings.
When the stems get long, I cut them back and use the leaves that same night. Fresh leaves are soft and easy to tear by hand. I keep the rest in a small jar for later in the week.
You can mix oregano with other herbs, but I like it on its own for pizza.
If the plant looks thin, I move it to a brighter spot and feed it less water. It soon grows new leaves from the base.
Setting up one oregano pot with soil and a small plant came to around $10 to $18 for me.
13. Chives for Eggs and Potatoes
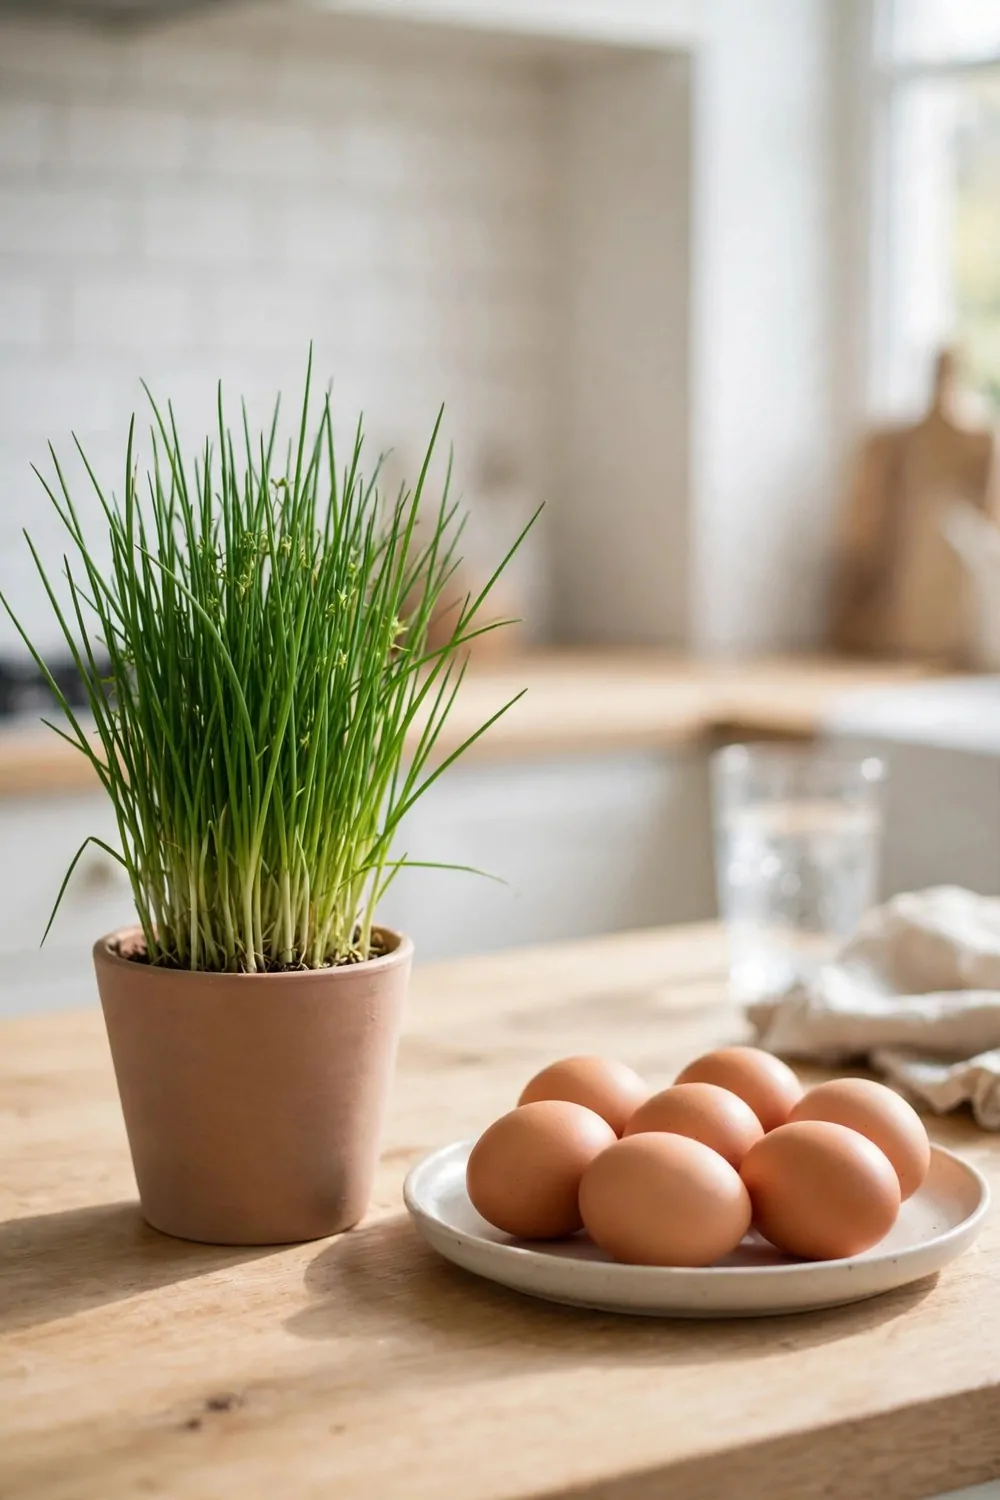
Chives are my fast herb for breakfast because I can snip them in seconds.
I cut a few thin stems over eggs and they add a light onion taste. My kids like the green colour on top of their plates too.
They are also good on potatoes, and I add them after the potatoes are cooked. Hot potatoes soften the chives just enough. I stir them in right before I serve the dish.
You do not need a lot, just a small snip from the pot.
Chives grow back fast after I cut them, so I can use them again in a few days. I cut near the base and leave about an inch of stem to grow back.
I keep the pot on the kitchen sill where I can reach it while I cook. It likes sun and a drink of water when the soil feels dry. In warm months I move it outside for a few hours each day.
Fresh chives taste much better than the ones that sit in the fridge for a week.
I also mix them into rice with a little oil for a quick side dish. They add colour and a fresh taste without much work.
A small chive plant and a plain pot set me back $9 to $16, and I have used it almost every week since.
14. Dill for Fish Dinners
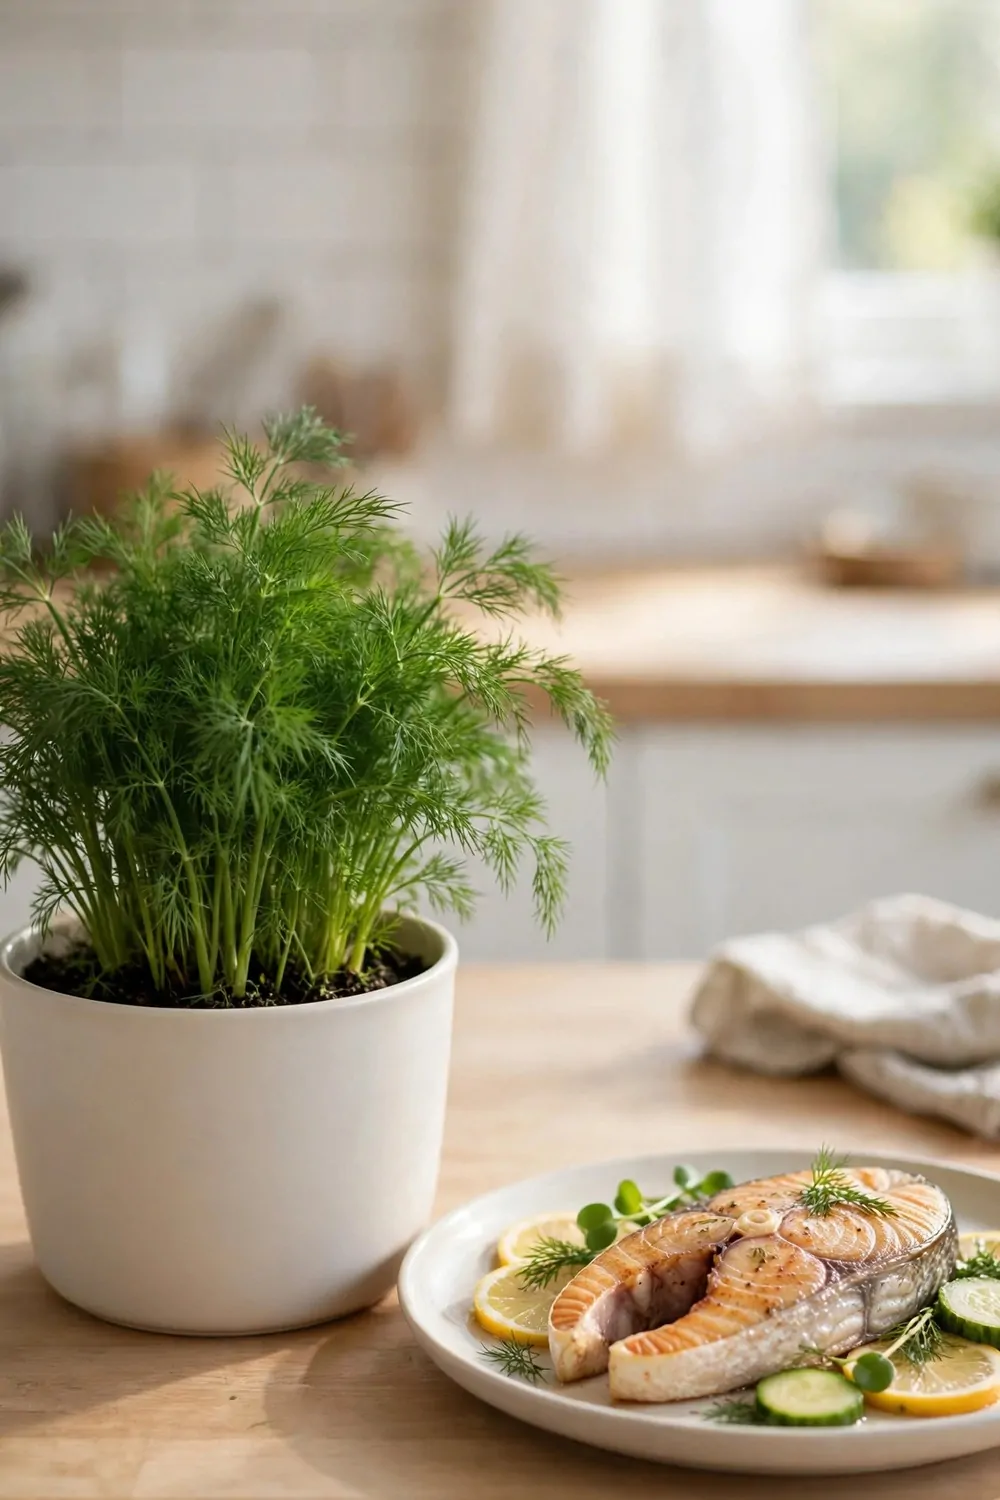
Dill has a soft, fresh taste that I like with fish dinners. I add it at the end so the taste stays bright.
A few soft fronds on top make the plate look fresh and ready to eat.
I also use dill with vegetables and rice when I want a light side dish. It mixes well with a little lemon and oil. You can tear the fronds by hand and sprinkle them over the food.
Dill grows tall fast, so I give it a pot with room to grow up.
I pick the soft top parts first and leave the thick stem to keep growing. That way I get a few handfuls over the season from one plant.
If I leave some fronds to grow, they turn into seeds I can use later. I let one stem go to seed each year and save a few for next spring. The rest I use fresh while the plant is young.
You can dry dill too, but I think fresh dill tastes best.
I water dill in the morning so the leaves dry by night. Wet leaves at night can turn soft and lose their taste.
I paid $7 to $14 for a dill plant, soil, and a tall pot, which was enough to start my fish-night routine.
15. A Herb Cutting Routine That Keeps Plants Bushy
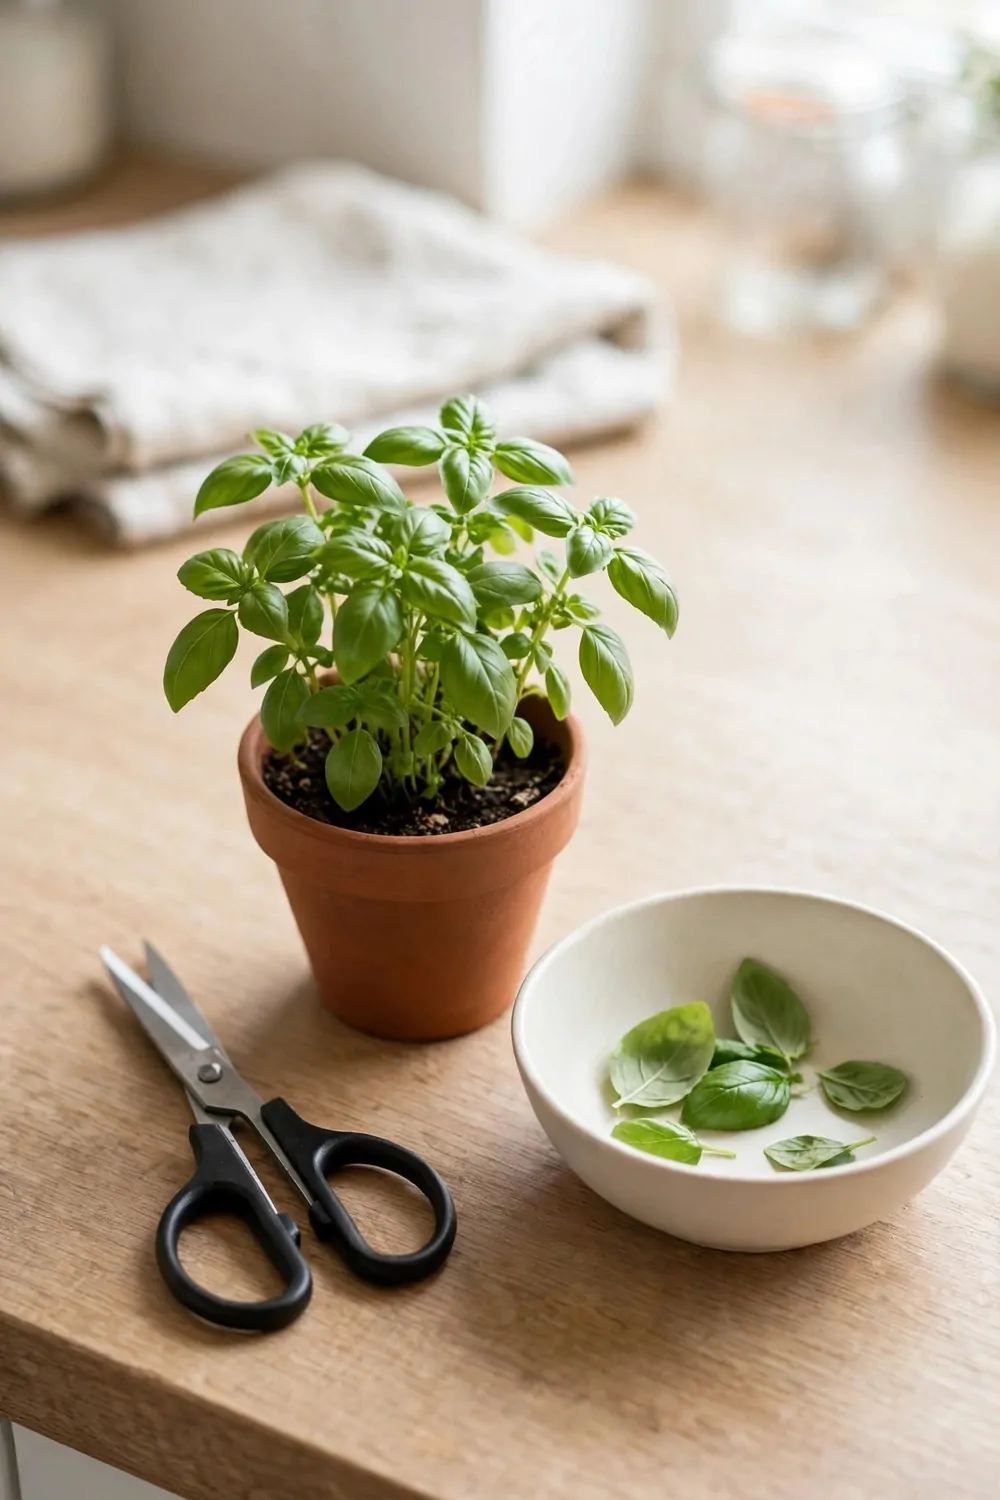
I cut my herbs on a set day each week so they stay thick and full.
I use clean kitchen scissors and cut just above a pair of leaves. New shoots grow from that spot in a few days.
I never take all the leaves at once, because the plant needs some leaves to grow. I take a few stems from each side so the shape stays even. That keeps the plant bushy instead of tall and thin.
Morning is my best time to cut, when the leaves are fresh and firm.
I put the cut stems in water if I will not use them right away. They stay fresh for a few hours on the counter that way.
A regular cut also stops the plant from getting woody and bare at the base. I learned this after one plant grew long stems with few leaves. Now I trim it little by little each week.
You can use the cut leaves that same day in chicken, rice, or pasta.
I keep a small basket by the door for the leaves I pick. It makes the routine easy and I do not forget a plant.
My cutting routine needs only clean scissors and a small basket, and together they cost me $11 to $20.
16. Watering Herbs Without Drowning Them
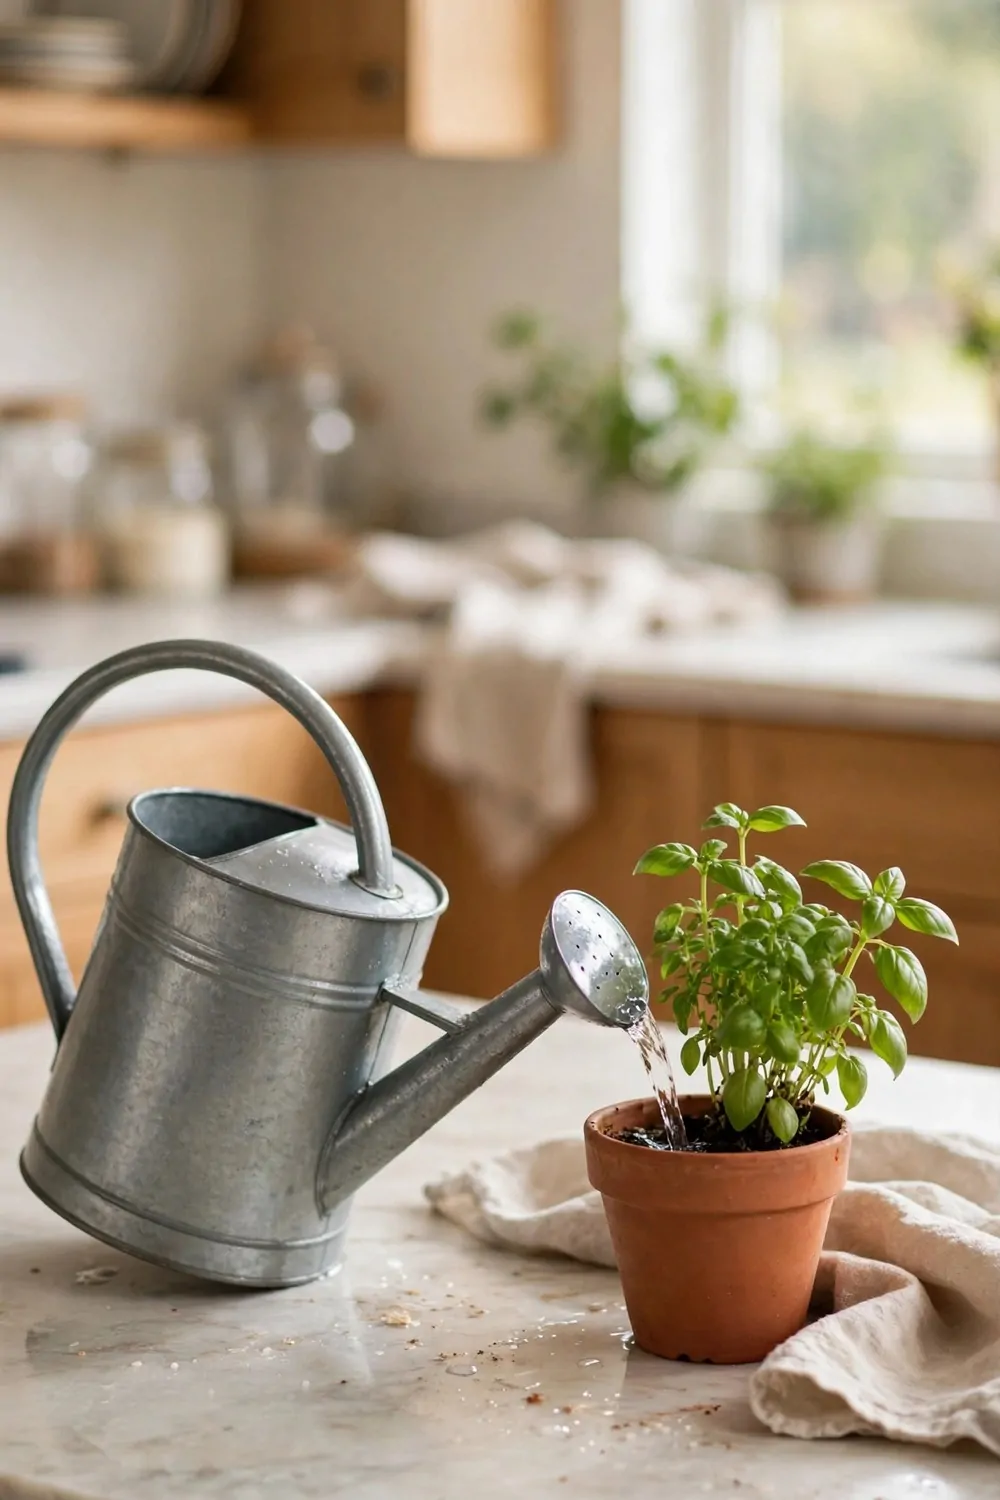
Too much water is the fastest way I have hurt a herb plant. I learned to check the soil first before I reach for the watering can.
I push my finger about an inch into the soil to feel if it is dry.
If the top feels dry, I water a little and let it drain out the bottom. If it still feels damp, I wait one more day. Most of my herbs like a short dry spell between drinks.
I water in the morning so the leaves are dry by night.
A pot with holes in the bottom helps a lot, because extra water can leave the pot. I always empty the saucer under the pot after I water.
In hot weeks I water a bit more, but I still check the soil first. Small pots dry out faster than big ones. I move small pots to a cooler spot on very hot days.
You can tell a plant has too much water when the leaves turn soft and yellow.
I let the soil dry out for a few days when that happens. The plant often perks up once the roots get air again.
A watering can with a rose head and a tray for the pot ran me $12 to $22, and both help me water less.
17. Snipping Without Killing the Plant
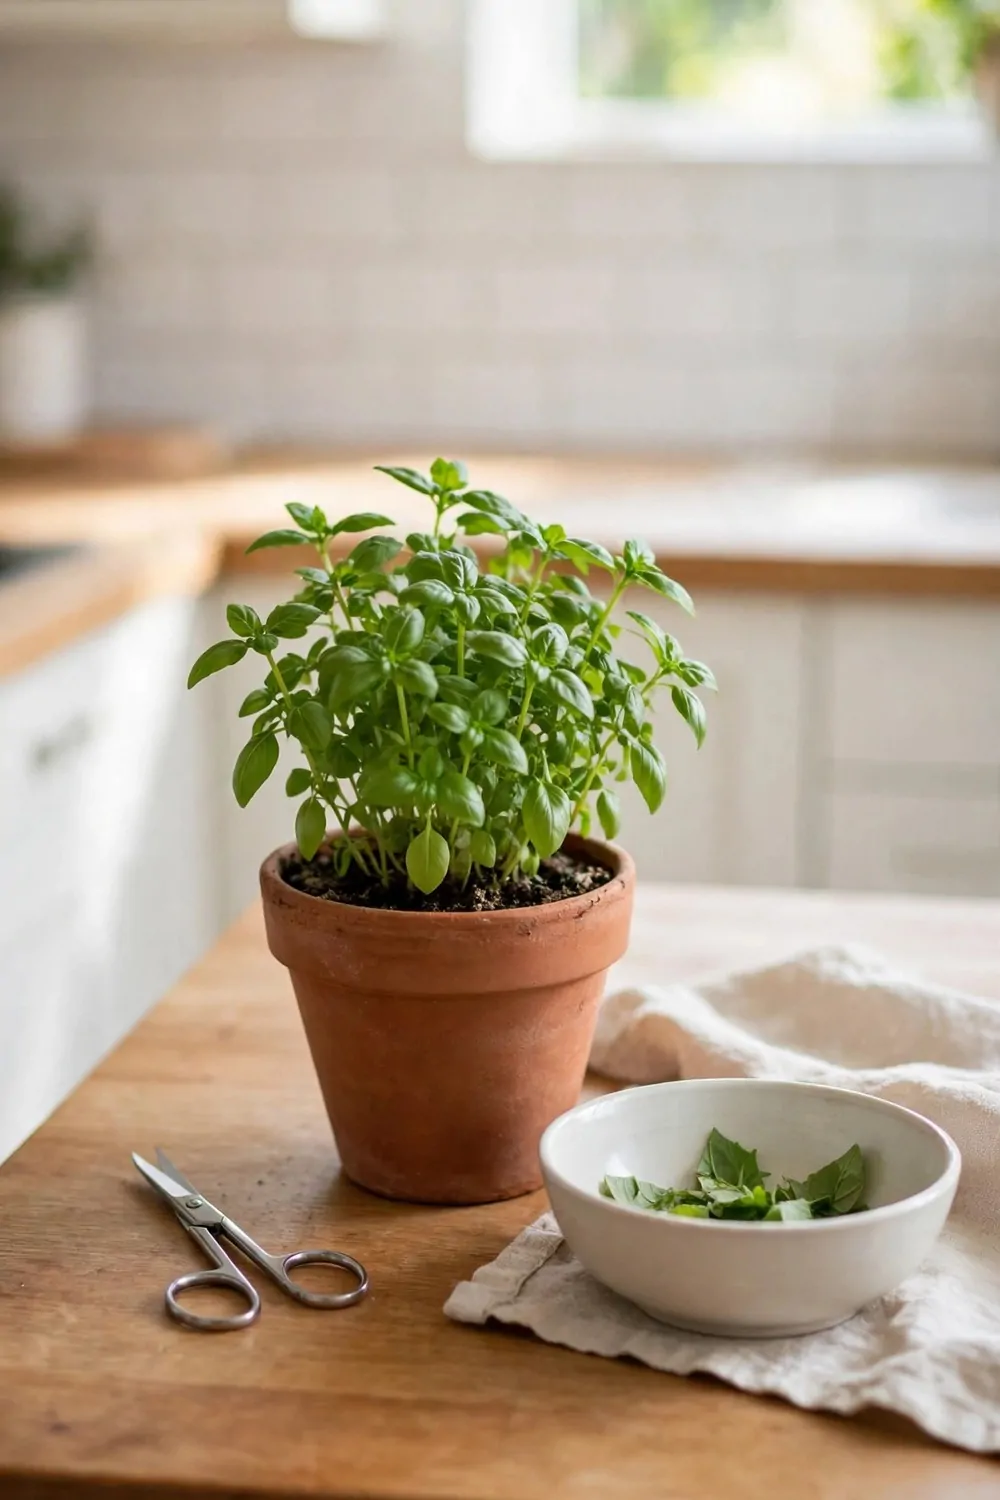
I used to cut too much at once and my plants took weeks to grow back.
Now I take only a third of the plant at a time and leave plenty of green leaves behind. Those leaves help the plant make food and grow new shoots.
I cut above a leaf joint, not down at the base of the stem. A new shoot grows from that joint in a few days. I use sharp scissors so the cut is clean and the stem heals fast.
I never pull leaves off with a hard tug, because that can tear the stem.
I snip from different sides so the plant keeps a round shape. If I cut from one side only, the plant leans and looks thin.
After a big snip, I give the plant sun and a light drink of water. I do not feed it a lot right after I cut it. I wait a week and then use it again for cooking.
A few handfuls is enough for most meals I cook at home.
I keep my scissors clean and dry between uses. Clean cuts keep the plant healthy and free from weak spots.
A good pair of small garden scissors cost $13 to $24, and mine have lasted through many seasons of snipping.
18. Drying Herbs for Winter
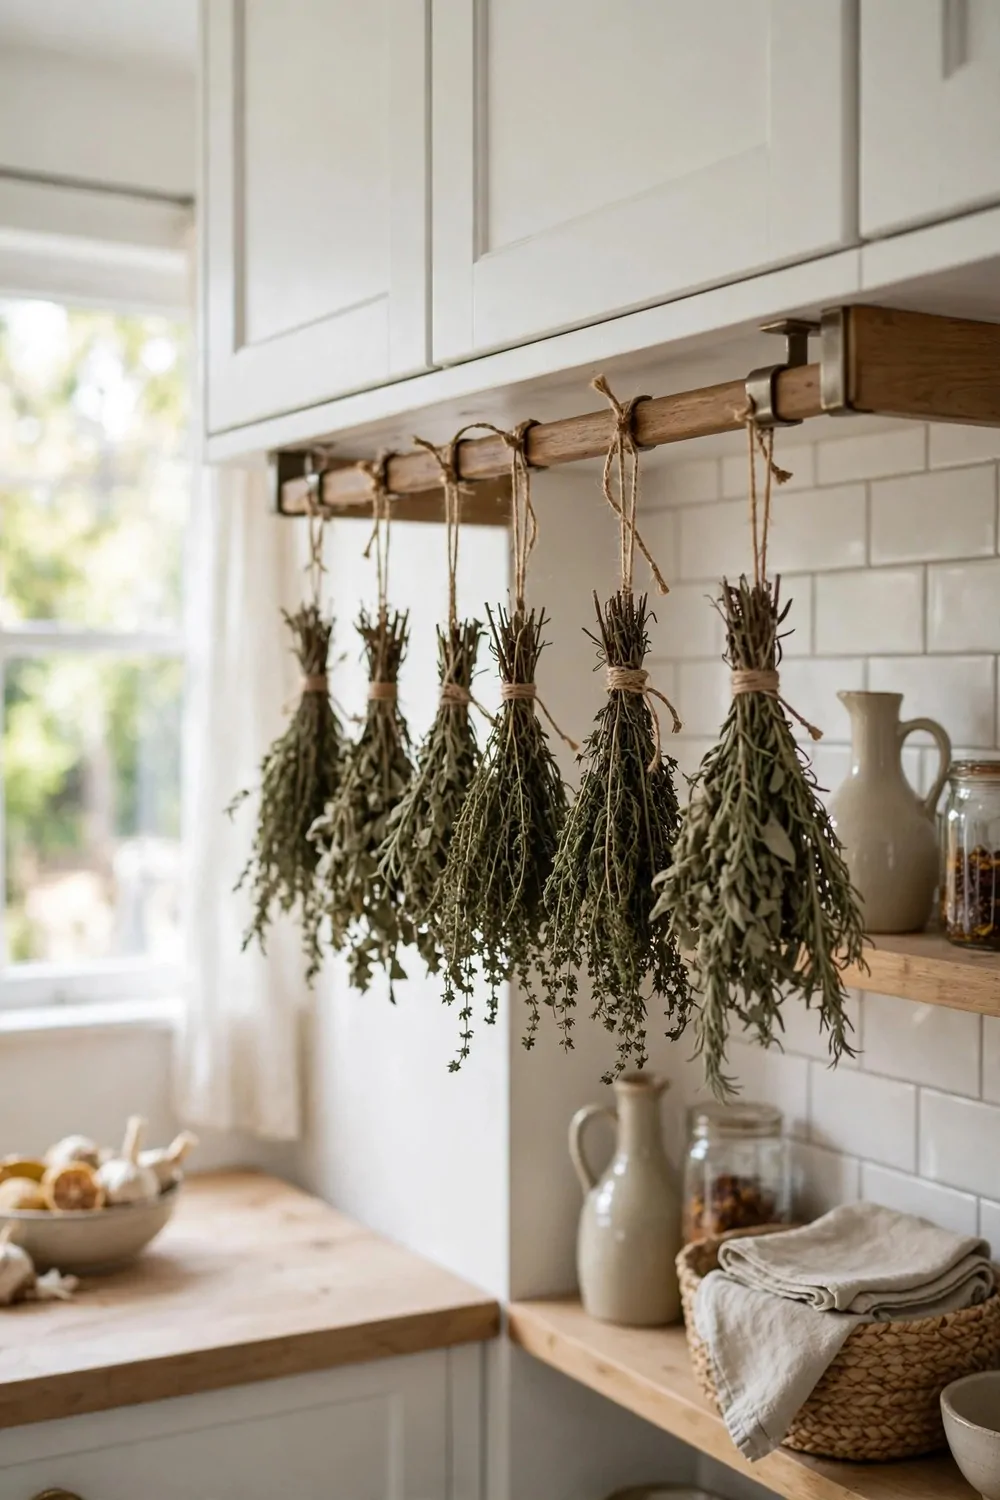
Drying herbs lets me use my summer plants all winter long. I pick a few handfuls on a dry morning when the leaves are at their best.
I tie a few stems together with string and hang the bunch upside down where the room stays warm.
I keep them out of direct sun so the colour and taste stay strong. The bunches need air around them to dry well. I check them after a week to see if the leaves feel crisp.
When the leaves crumble between my fingers, they are ready to store.
I strip the dry leaves into clean jars and label each jar by hand. I keep the jars in a dark cupboard away from heat.
Dried herbs work well in soups, beans, and pasta sauces through the cold months. I use a little less than I would use fresh, because the taste is more packed in. A small pinch is often enough for a whole pot.
You can dry thyme, oregano, and other leafy herbs the same way.
I do not dry herbs that look wet or soft, because they can turn dark in the jar. I pick only firm, healthy leaves for drying.
String, small jars, and labels for my drying setup came to $10 to $19 in total.
19. Freezing Herbs in Ice Trays
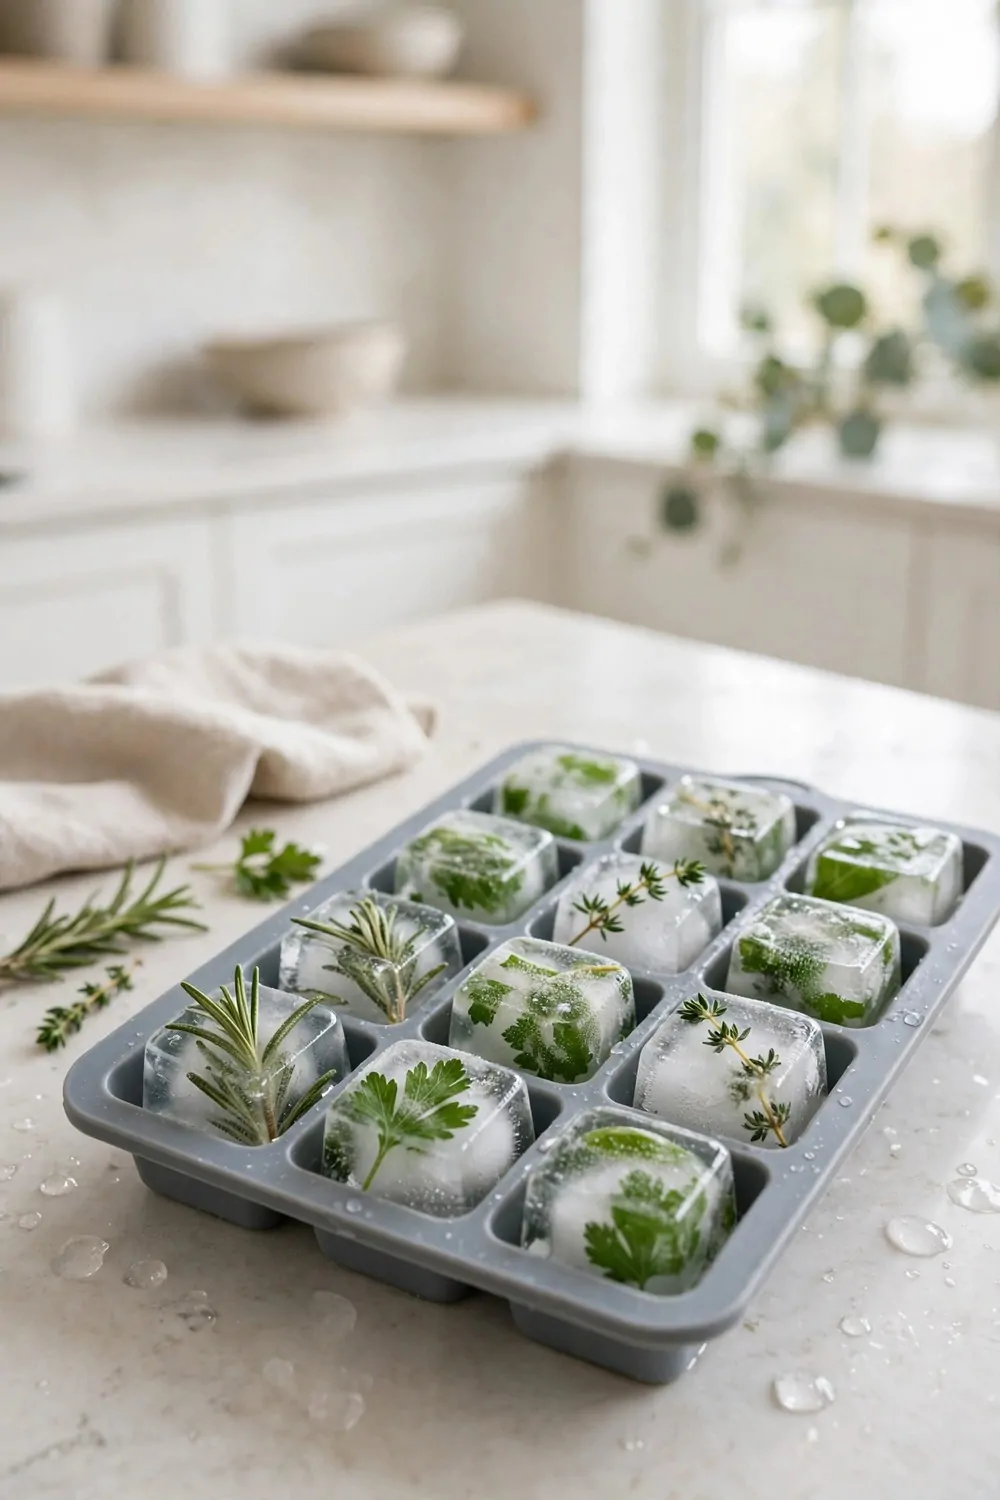
Freezing herbs is my fastest way to save them for later.
I chop fresh leaves and pack them into ice trays with a little water. The cubes keep the taste fresh for months.
I pop one cube into a hot pan when I cook chicken or vegetables. It melts fast and adds fresh herb taste to the dish. I also drop a cube into soup near the end of cooking.
You can use oil in the tray instead of water for a richer cube.
I label each tray so I know which herb is inside. Once the cubes are hard, I move them to a bag in the freezer.
This method works well for soft herbs that do not dry as well. I freeze a few handfuls at the end of summer when my plants are full. That gives me enough for a few meals each month in winter.
A cube is easy to use, and I do not need to thaw it first.
I keep the trays flat in the freezer so the cubes freeze even. I use them within a few months for the best taste.
Two ice trays and a few freezer bags set me back about $8 to $17, and I reuse the trays all year.
20. Herb Butter and Herb Salt
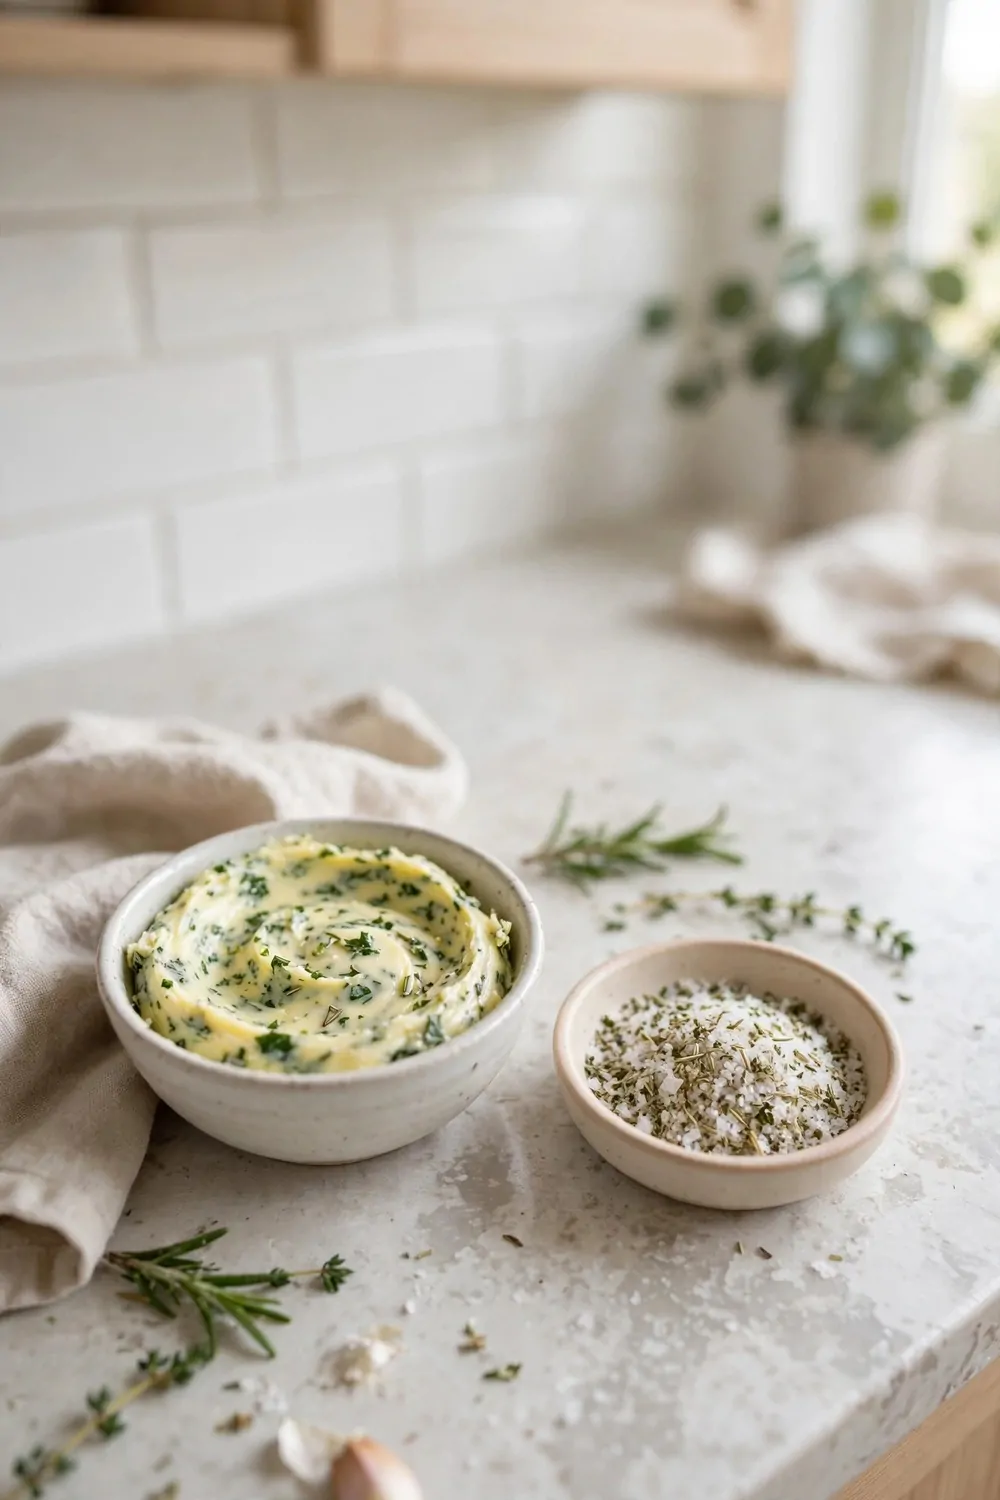
Herb butter is one of my favourite ways to use fresh leaves. I mix soft butter with chopped herbs and spread it on warm bread.
It melts into rice and vegetables too, and it adds a fresh taste in seconds.
I use a mix of herbs from my pots, and I chop them fine before I stir them in. A little lemon zest makes the butter taste bright. I roll the butter into a log and chill it in the fridge.
Herb salt is just as easy, and I use it on chicken, pasta, and beans.
I mix fine salt with dry herbs and store it in a small jar. A pinch on top of a dish adds taste without much work.
I make small batches so the herbs stay fresh and the taste stays strong. A big batch can lose its taste if it sits for too long. I use up each batch in a few weeks.
You can share a small jar of herb salt with a friend, and it makes a nice crafted gift.
I keep herb butter in the fridge and herb salt in a dry cupboard. Both are ready when I need a quick boost of taste.
Butter, salt, and a couple of small jars for this project cost around $14 to $25 for me.
| Idea | Typical Cost |
|---|---|
| Thyme for Soups and Stews | $8 to $15 |
| Oregano for Pizza Nights | $10 to $18 |
| Chives for Eggs and Potatoes | $9 to $16 |
| Dill for Fish Dinners | $7 to $14 |
| A Herb Cutting Routine That Keeps Plants Bushy | $11 to $20 |
| Watering Herbs Without Drowning Them | $12 to $22 |
| Snipping Without Killing the Plant | $13 to $24 |
| Drying Herbs for Winter | $10 to $19 |
| Freezing Herbs in Ice Trays | $8 to $17 |
| Herb Butter and Herb Salt | $14 to $25 |
21. Growing Herbs from Seed vs Young Plants
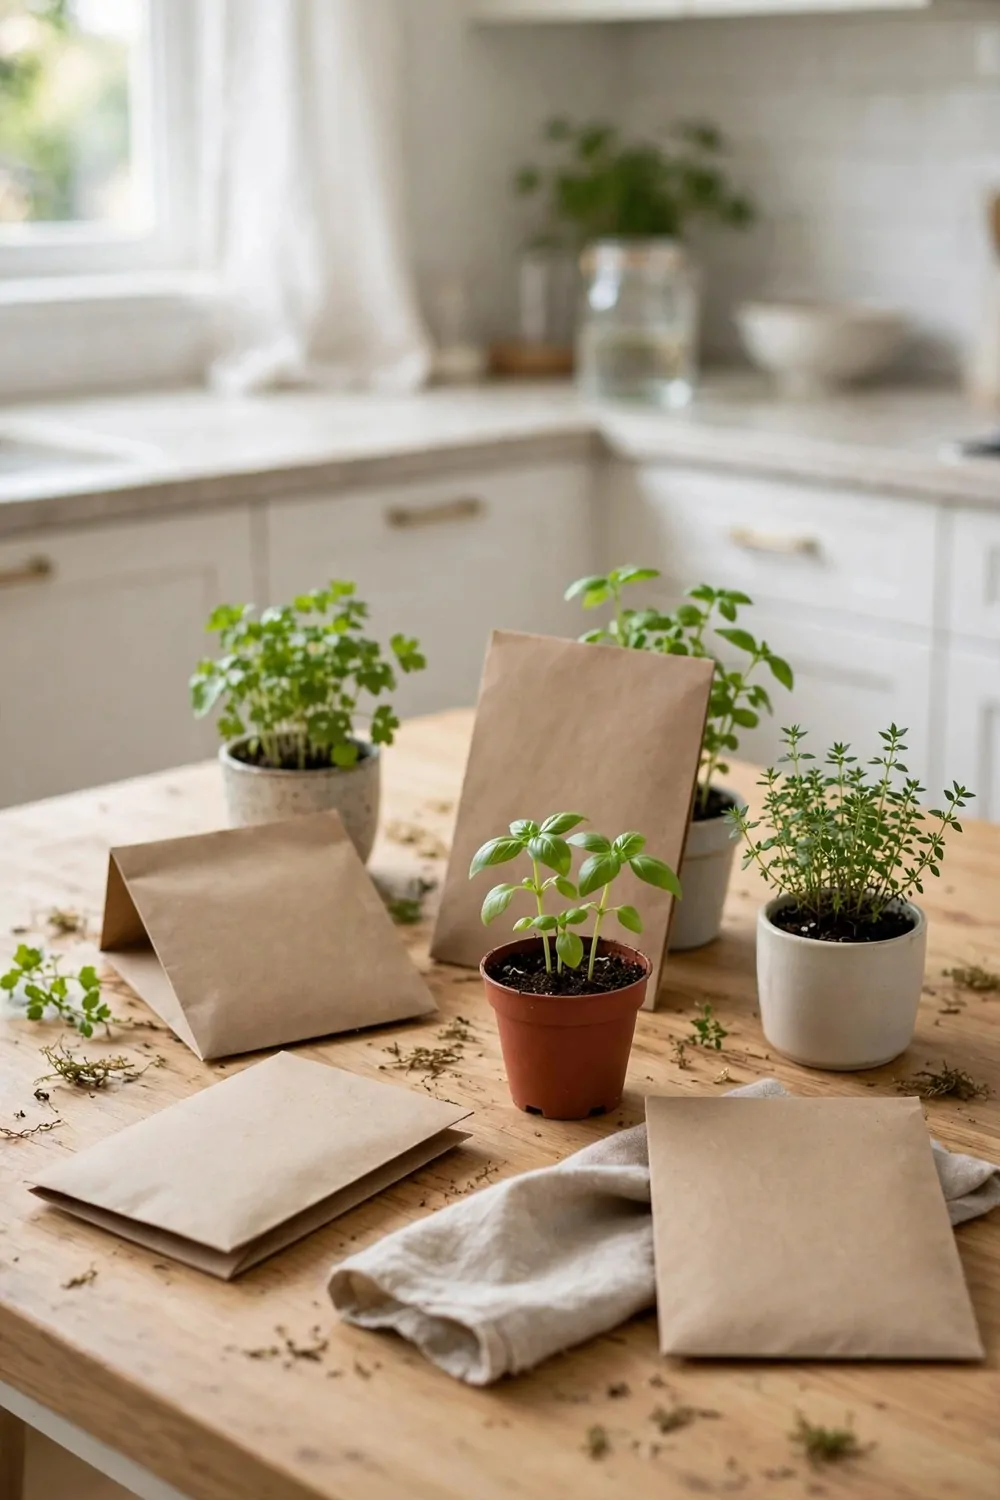
I have tried both ways in my own kitchen, and both can work well for you. Seeds feel slow at first, and young plants feel fast at first.
Seeds cost less, and you get more plants from one small pack.
You wait longer for leaves you can pick, and that wait can feel hard when you want to cook today. Young plants give you leaves in a few days. You can snip a little for your rice or pasta right away.
You pay more for each pot, and you have fewer plants to start with. I like young plants when I want one herb fast, like basil for pasta.
Seeds are fun when you want to try a lot of kinds at once.
I start seeds in small pots on my sill, and I keep the mix damp but not wet. I write the name on a plain label so I do not mix them up.
Some seeds sprout fast, and some take their time. I check them each morning, and I move them to more light when the first green shoots show. I do not pull them up to look, as that can hurt the tiny roots.
Young plants need a good drink of water on the first day home.
I spent $14 to $26 on seeds and small pots for my first try, and that gave me plenty to learn with. You can pick the slow way or the fast way, and both will give you fresh leaves for your cooking.
22. Herbs That Like Sun vs Shade in a Kitchen
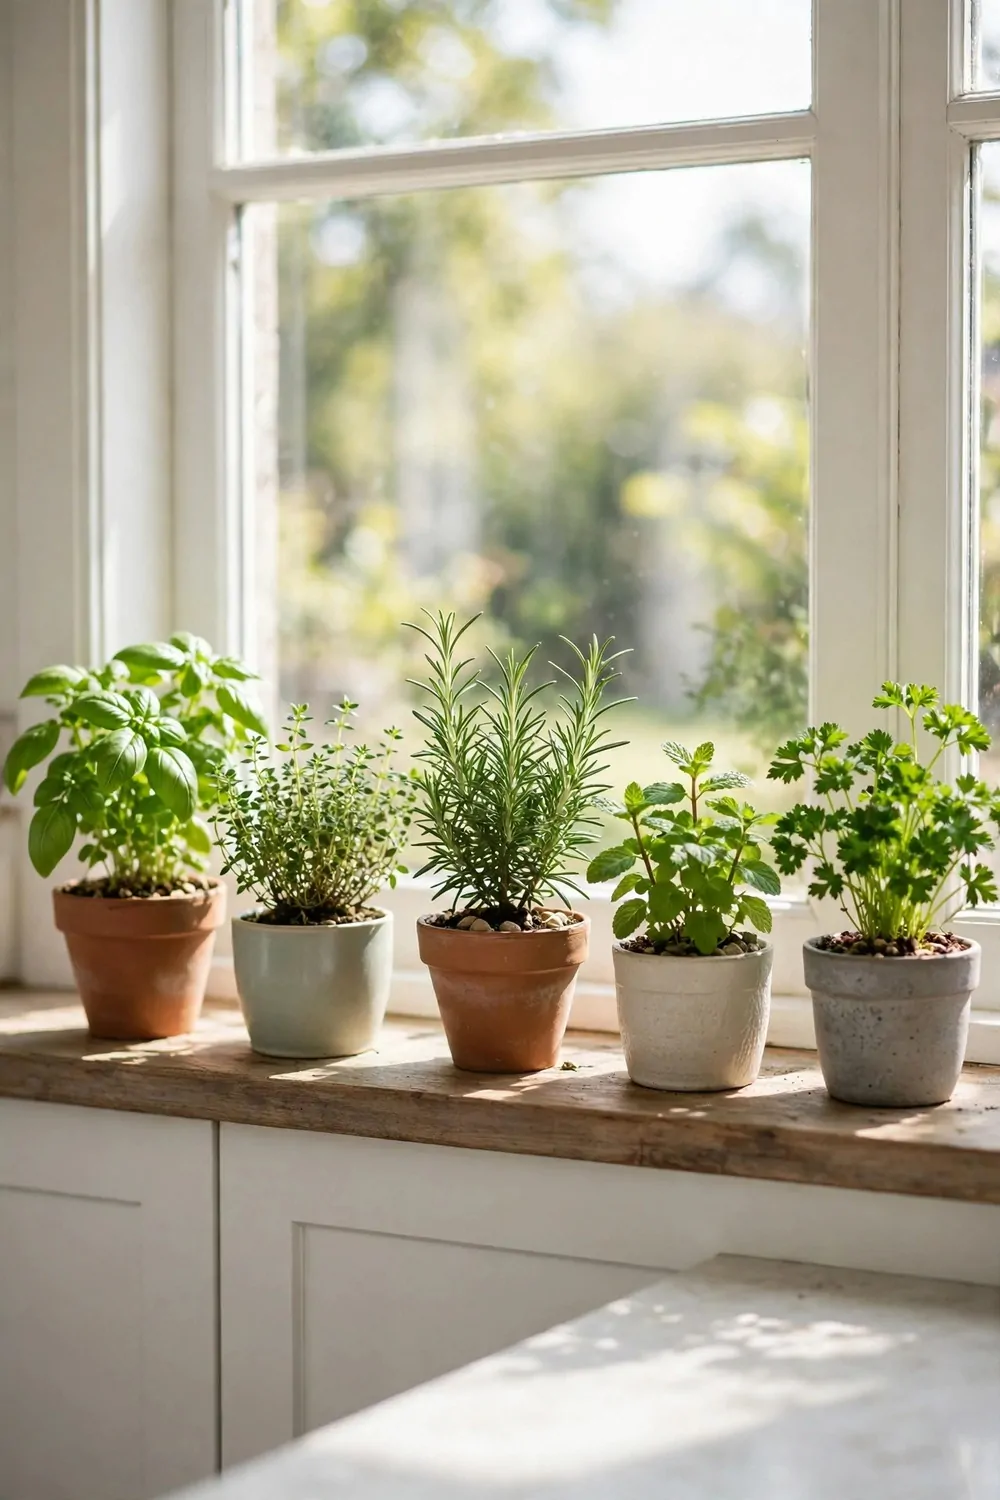
Not every herb wants the same spot in your kitchen.
Basil and rosemary love a bright sill, and they grow strong with lots of light. Mint likes light too, but it can cope if the light is a bit less. Parsley is happy in a bright spot or a spot with a little shade.
I put my sun lovers right by the window, and I turn the pots a little each week. That helps them grow even, and not lean all to one side.
Shade is not the same as dark, and herbs still need some light each day.
Chives and mint can sit a little back from the window, and they still give you plenty of leaves. I keep them where I can reach them while I cook. You will use them more if they are close to your hands.
If leaves look pale and thin, I move the pot closer to the light. If leaves look dry at the edges, I move it back a little and give it water.
A tray under the pots keeps water off your worktop.
A sunny shelf set up can run $18 to $35 if you need new pots and a tray. I bought mine bit by bit, and it still works well today.
Watch your herbs for a week after you move them, and you will see what they like. New leaves are a good sign, and droopy leaves tell you to change the spot. You learn fast when you look each day.
23. A Small Herb Trolley on Wheels
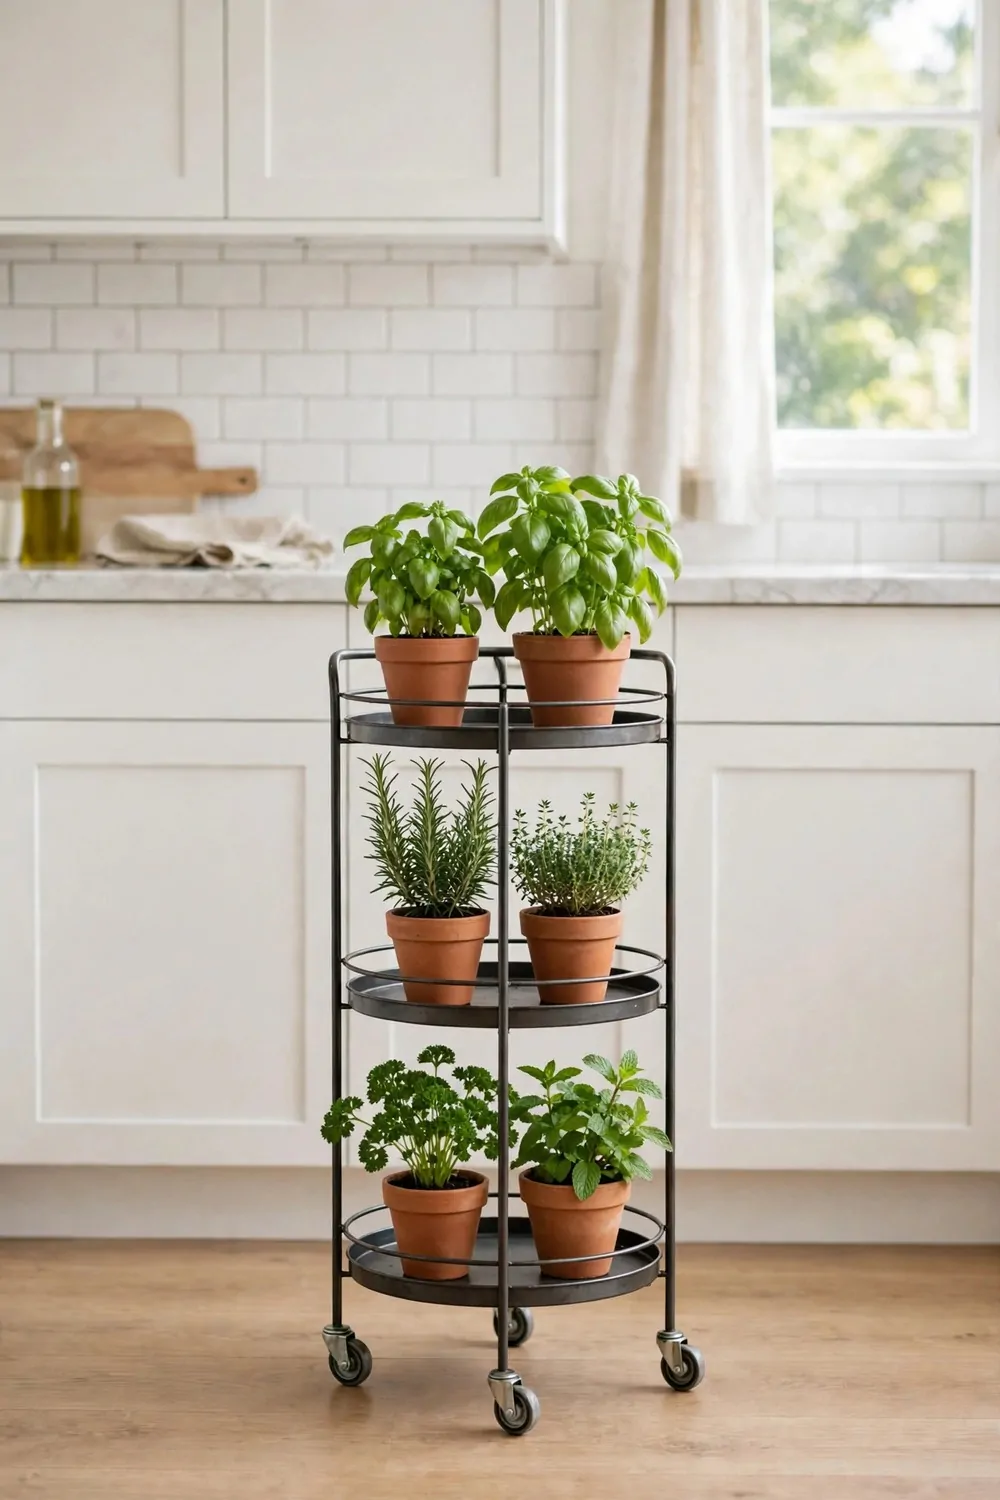
A small trolley on wheels changed how I use my herbs. I roll it to the window in the morning, and I roll it back to my cooking spot later.
It holds a few pots on each shelf, and I can reach them all without moving other things. The wheels lock, so it stays still when I want it to stay still. I pick a trolley that is not too tall, so the top shelf is easy to reach.
I keep my most used herbs on the top shelf.
Basil and parsley sit up top, and mint sits on the lower shelf. That way I grab what I need fast, and I do not knock pots over.
A trolley also helps when I clean my kitchen floor. I roll it out of the way, I wipe the floor, and I roll it back. It takes me less than a minute, and my pots stay safe.
I check the wheels once a month, and I wipe off any dust.
Do not load one side too much, or the trolley can tip when you move it. I spread the pots out, and I put the heaviest pots low down.
A small tray on each shelf stops water from dripping down.
You can put a small trolley together for $45 to $80, and it lasts a long time. I use mine every day, and it still rolls well.
24. A Herb Ladder on the Kitchen Wall
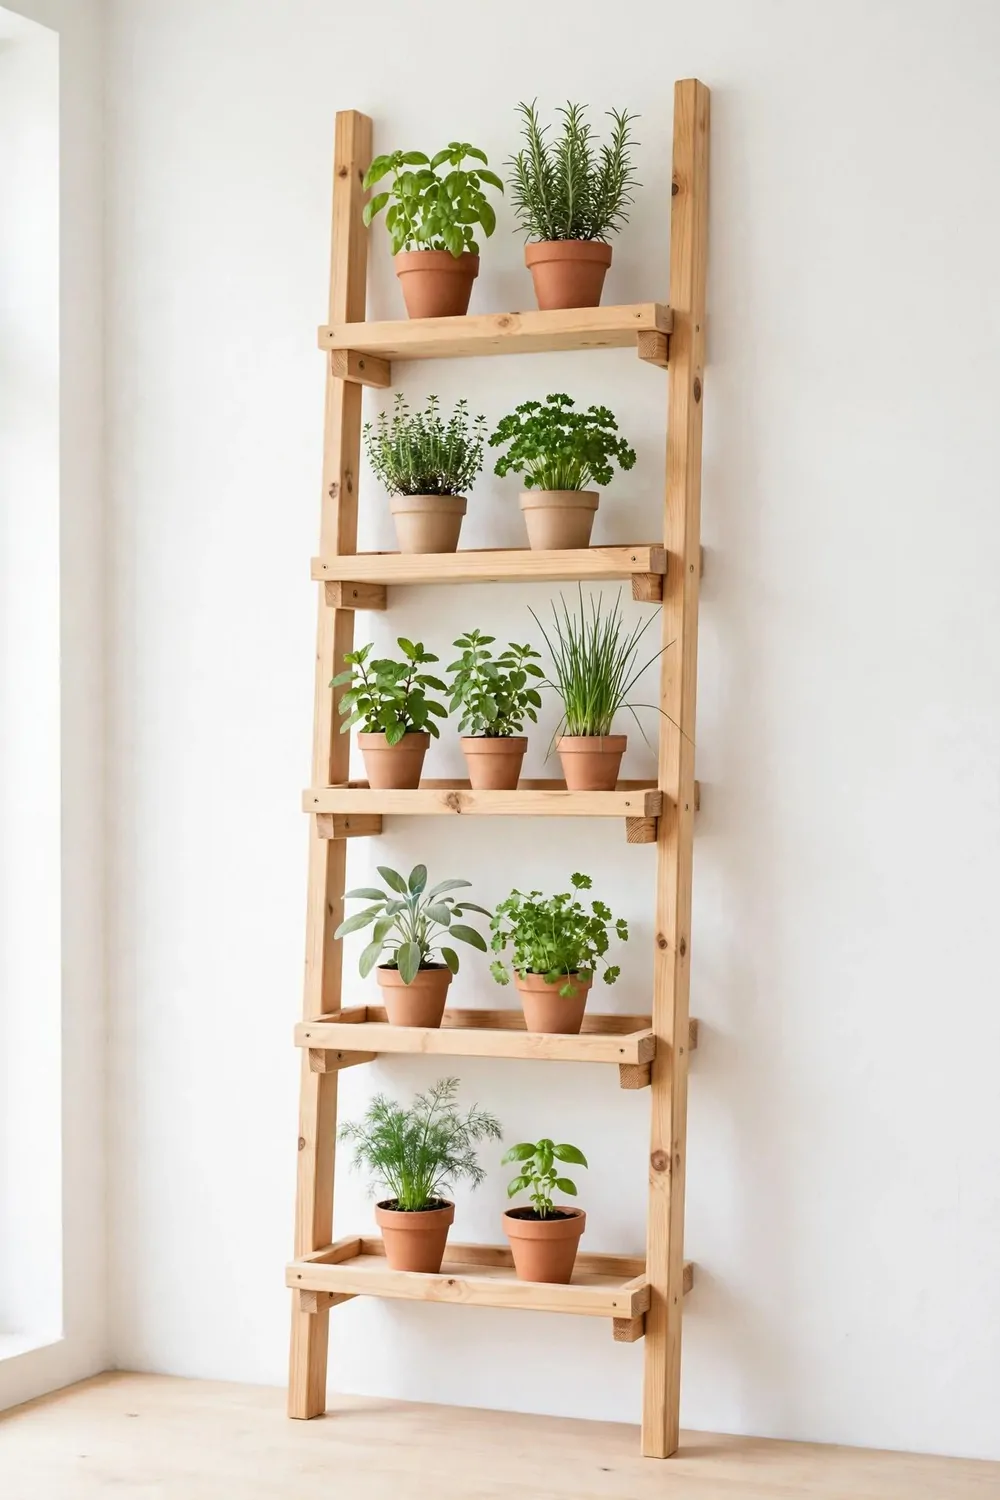
A herb ladder on the wall saves space on my worktop. It uses the wall, and it keeps my pots up where I can see them. I like how it turns a plain wall into a green spot.
I hang small pots on each rung, and I leave room for leaves to grow.
Rosemary and thyme do well up high, and they like the light from the window. I put mint lower, as it grows fast and can get bushy.
Fix the ladder well, as pots with wet mix can get heavy. I use strong hooks, and I test each rung with a gentle pull. If it moves, I fix it again before I hang a pot.
I water with a small can, and I water slowly so nothing spills.
A tray or a small lip on each rung helps hold the pot in place. I check the pots after I water them, and I wipe any drips right away.
Keep the ladder away from the stove, so heat does not dry the leaves.
I label each pot, and I pick from the top down so I do not miss a plant. New growth tells me the plant is happy in its spot. If a plant looks sad, I move it to a brighter rung.
My wall ladder cost me $32 to $58 with hooks and small pots. It was a simple job, and my kitchen feels fresh now.
25. Keeping Herbs Away from Stove Heat
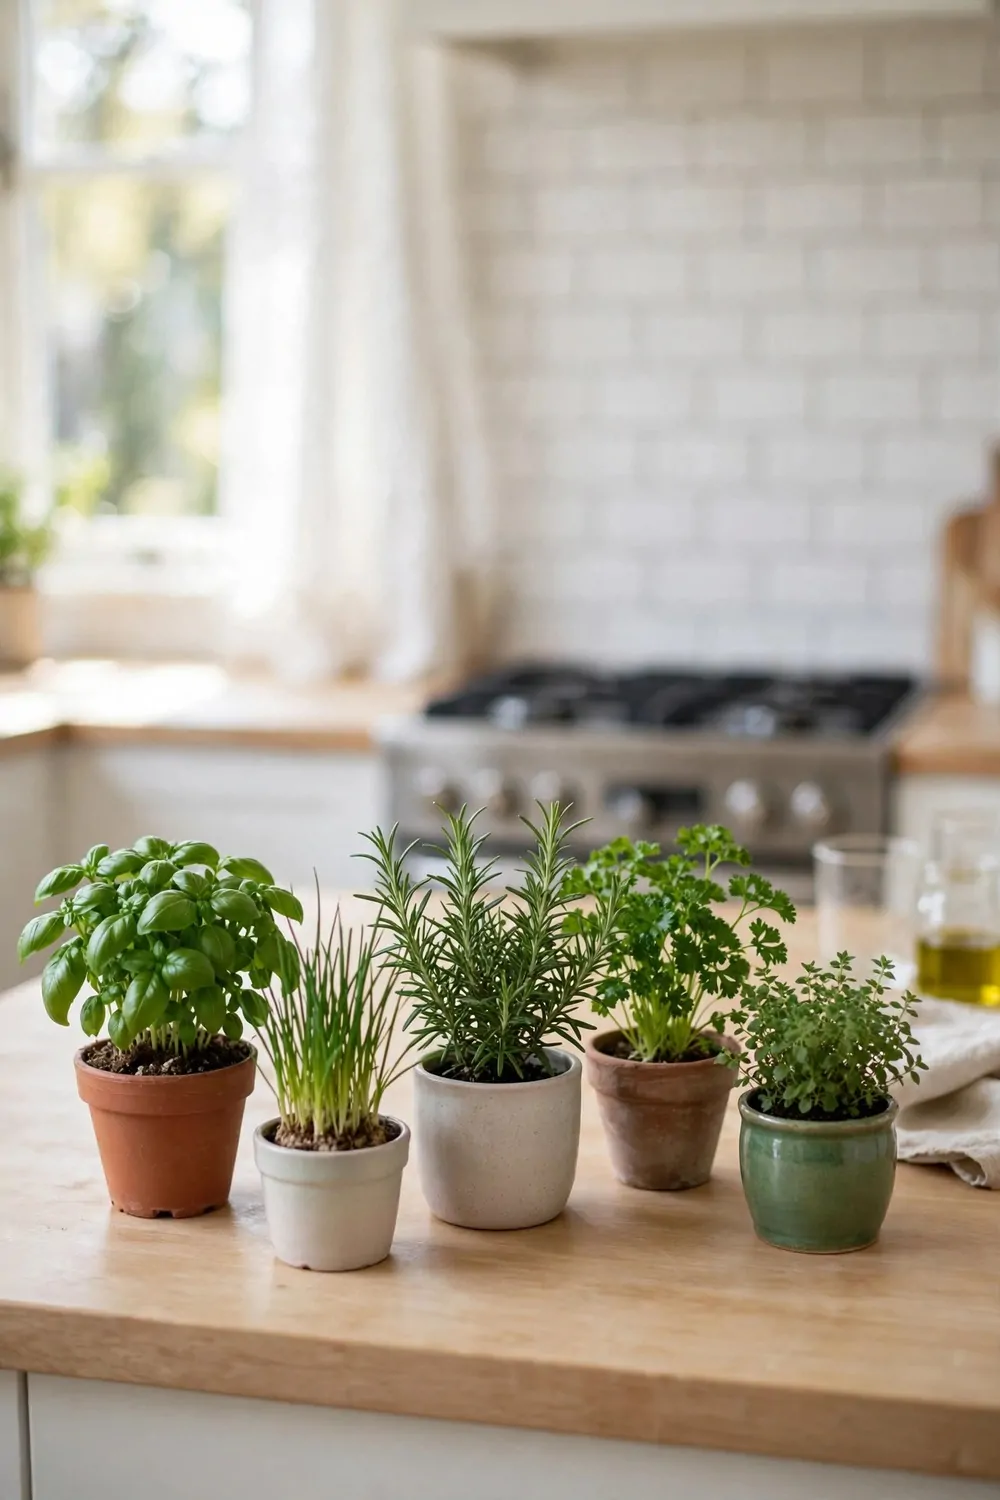
Heat from the stove can dry out herb leaves fast.
I learned this when my basil sat too close to the hob, and its leaves went limp by lunch. I moved it to the far end of the worktop, and it perked up again.
Steam can hurt leaves too, and hot pans make the air dry. I keep pots at least an arm away from the stove when I cook. That small gap makes a big change for the plants.
A cool spot near the window is often best.
I use a tray to move pots in one go when I need the space. I lift the tray, I set it down by the window, and I bring it back when the cooking is done.
If you have no other spot, try a shelf a little higher and to the side. Heat rises, so a side spot is safer than a spot right above the stove. I check the leaves after a hot meal, and I give them a little water if they look thirsty.
Do not put herbs on top of a warm oven, as that dries the mix out. A pot there can look fine in the morning and wilt by night.
I touch the mix with my finger, and I water only when the top feels dry.
A simple heat shield and a move of your pots can be done for $10 to $22. It is a small fix, and it keeps your herbs green for longer.
26. Herbs in Small Jars and Teacups
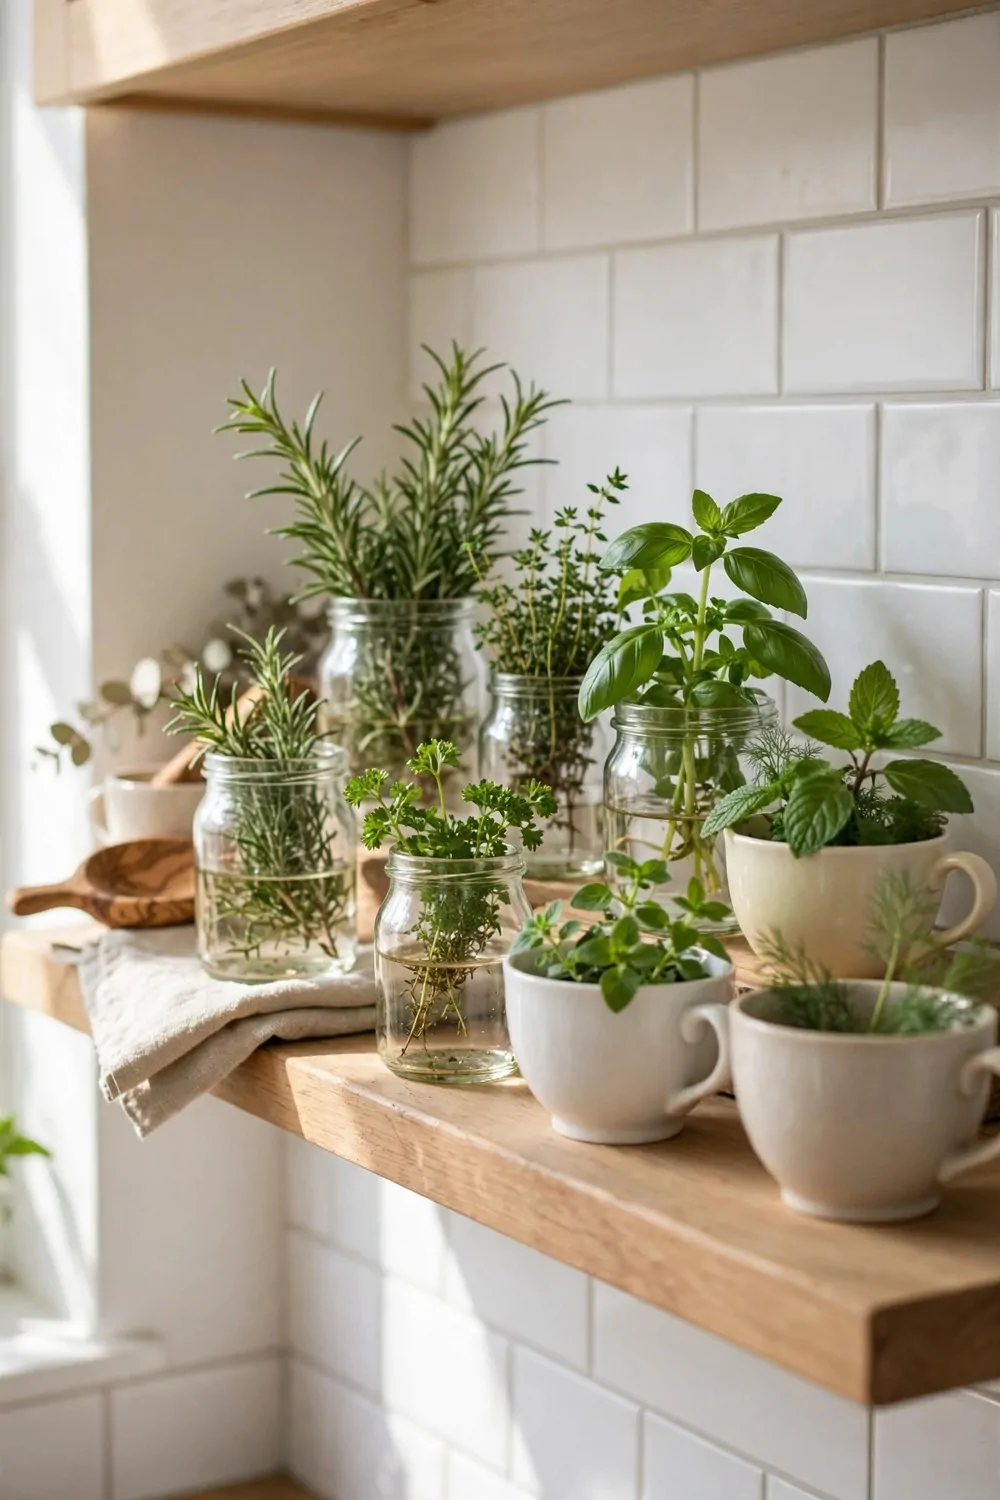
Small jars and teacups make sweet homes for herbs. I use ones I already have, and they look nice on my sill.
A teacup is just right for one small plant.
I put a few small stones in the base, and then I add potting mix on top. The stones help water drain, and the roots do not sit in a puddle. I plant one herb in each cup, so the roots have room.
Mint can take over a big pot, but it stays neat in a cup. I snip it often for my fruit and rice dishes, and it grows back fast.
I wash the jars first, and I dry them well before I plant.
Glass jars let me see when the mix is wet or dry. I water a little at a time, and I stop when the mix looks damp. If water sits at the base, I tip it out, as roots do not like to sit wet.
I set the cups on a tray, so drips do not mark the sill.
Chives look neat in a tall jar, and parsley looks full in a wide cup. I mix the shapes a little, and my sill looks bright and tidy.
I set up my jars and teacups for $16 to $30, and most of that was potting mix. You can start with what you have at home, and add a few new pots later.
27. Plain Labels So You Know What Is What
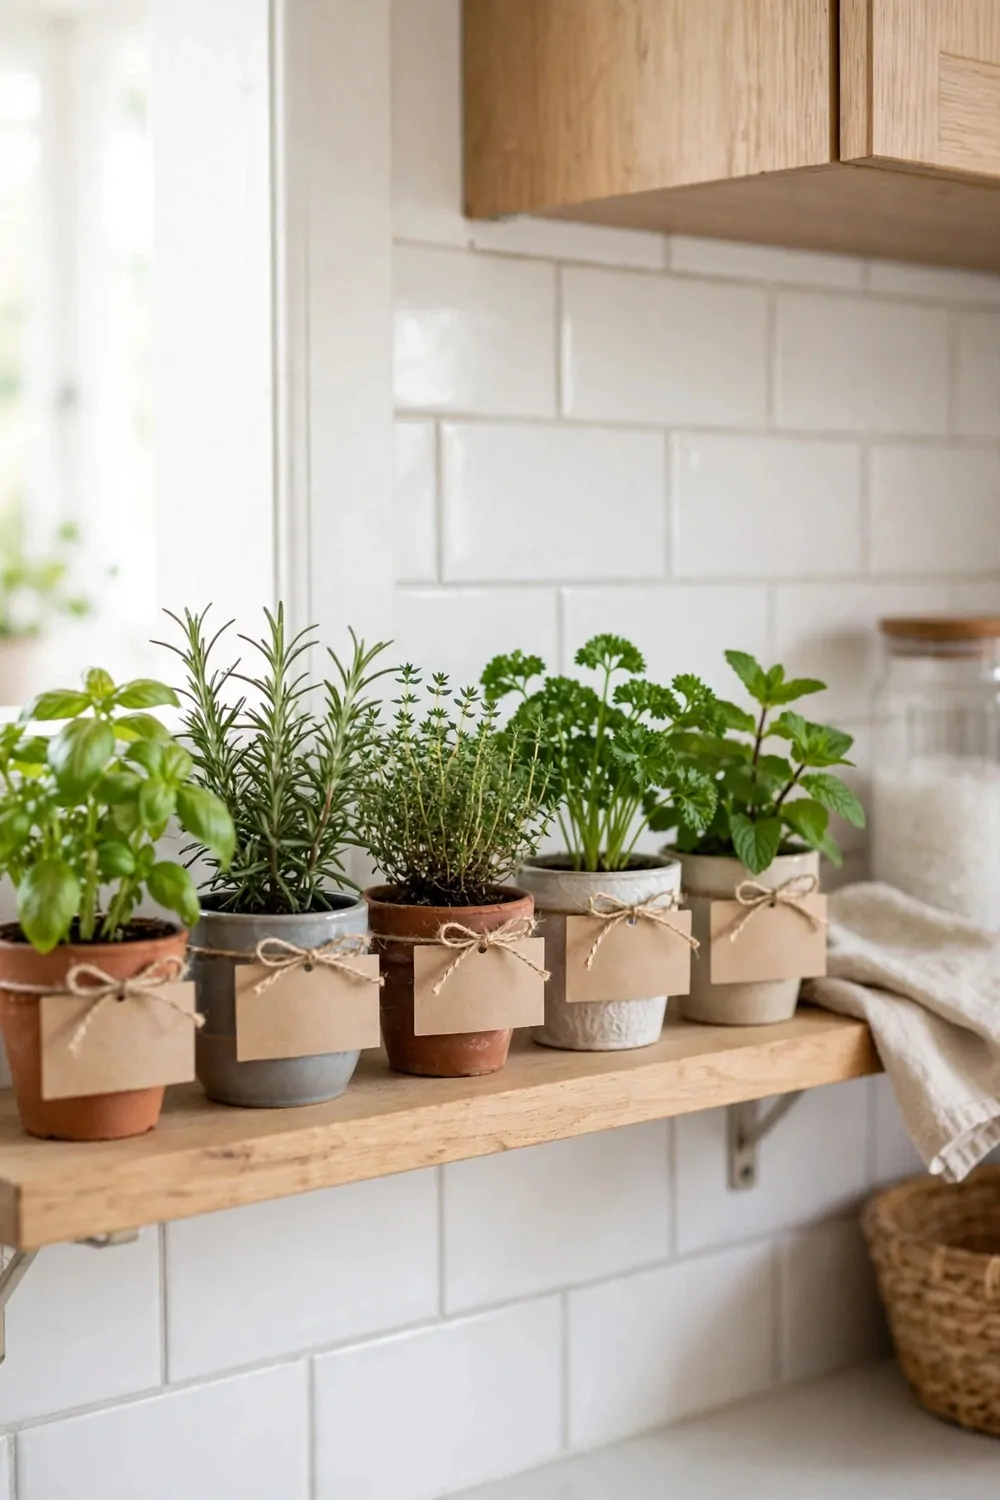
Young herbs can look a lot like each other.
Basil and mint both have soft green leaves when they are small. I have picked the wrong one more than once, and my pasta tasted odd. A plain label stops that mix up before it starts.
I write the name in big clear letters, and I add the date I planted it. That helps me know which plant is new, and which one is ready to pick.
A pencil works well, as it does not wash off fast in water.
I stick the label on the front of the pot, where I can see it. I do not put it at the back, or I will forget to read it.
Plain labels also help when friends ask for a cutting. I can tell them the name with no guess work, and they know what they are taking home. It saves time, and it stops me from giving the wrong plant.
I keep a spare pen by my pots, so I can label a new plant right away.
Labels and a pen set me back $6 to $12, and I use them all the time. I buy plain ones, as they are easy to read and easy to change.
If a label fades, I write a new one the same day. I do not wait, or I will forget the name by next week. Clear labels make cooking with herbs simple and calm.
28. Sharing Spare Herbs With Neighbours
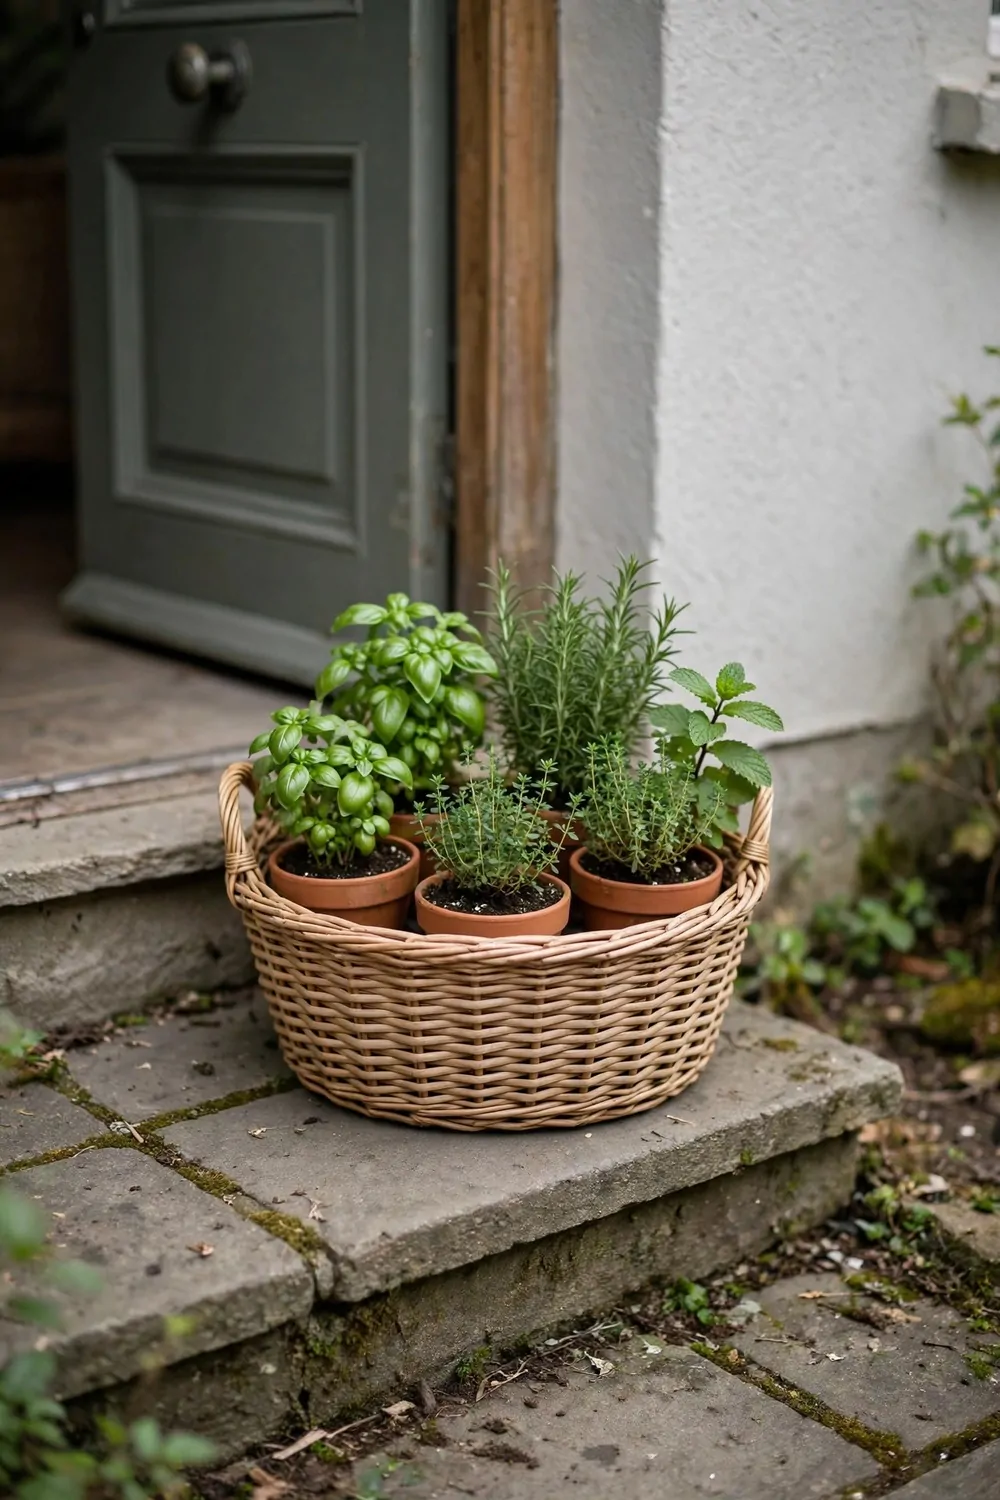
I grow more herbs than I can use, and sharing them feels good. A small pot of basil can make a neighbour smile, and it costs me very little.
I snip a few stems, and I put them in a small jar of water for the trip next door. I tell them to plant it in mix when they get home, and to keep it damp for the first week. Most of them take root, and they soon have a plant of their own.
I share mint and parsley most, as they grow fast for me.
I write the name on a label, so they know what they have. I add a short note on how much light it likes, and how often to water it.
Sharing also helps me keep my own pots from getting too full.
When I thin out a pot, I save the strong stems instead of throwing them away. I pot them up, I water them well, and I pass them on the next day. It feels good to see a plant I grew sitting on a neighbour’s sill.
I ask them what they cook, and I share the herb they will use most. A person who loves pasta gets basil, and a person who loves rice gets chives.
I never share a plant that looks sick, as that can spread trouble.
Sharing costs me $9 to $17 for spare pots and mix when I pass plants on. It is a small price for a kind gift, and my kitchen stays tidy too.
29. A One-Week Kitchen Herb Starter Plan
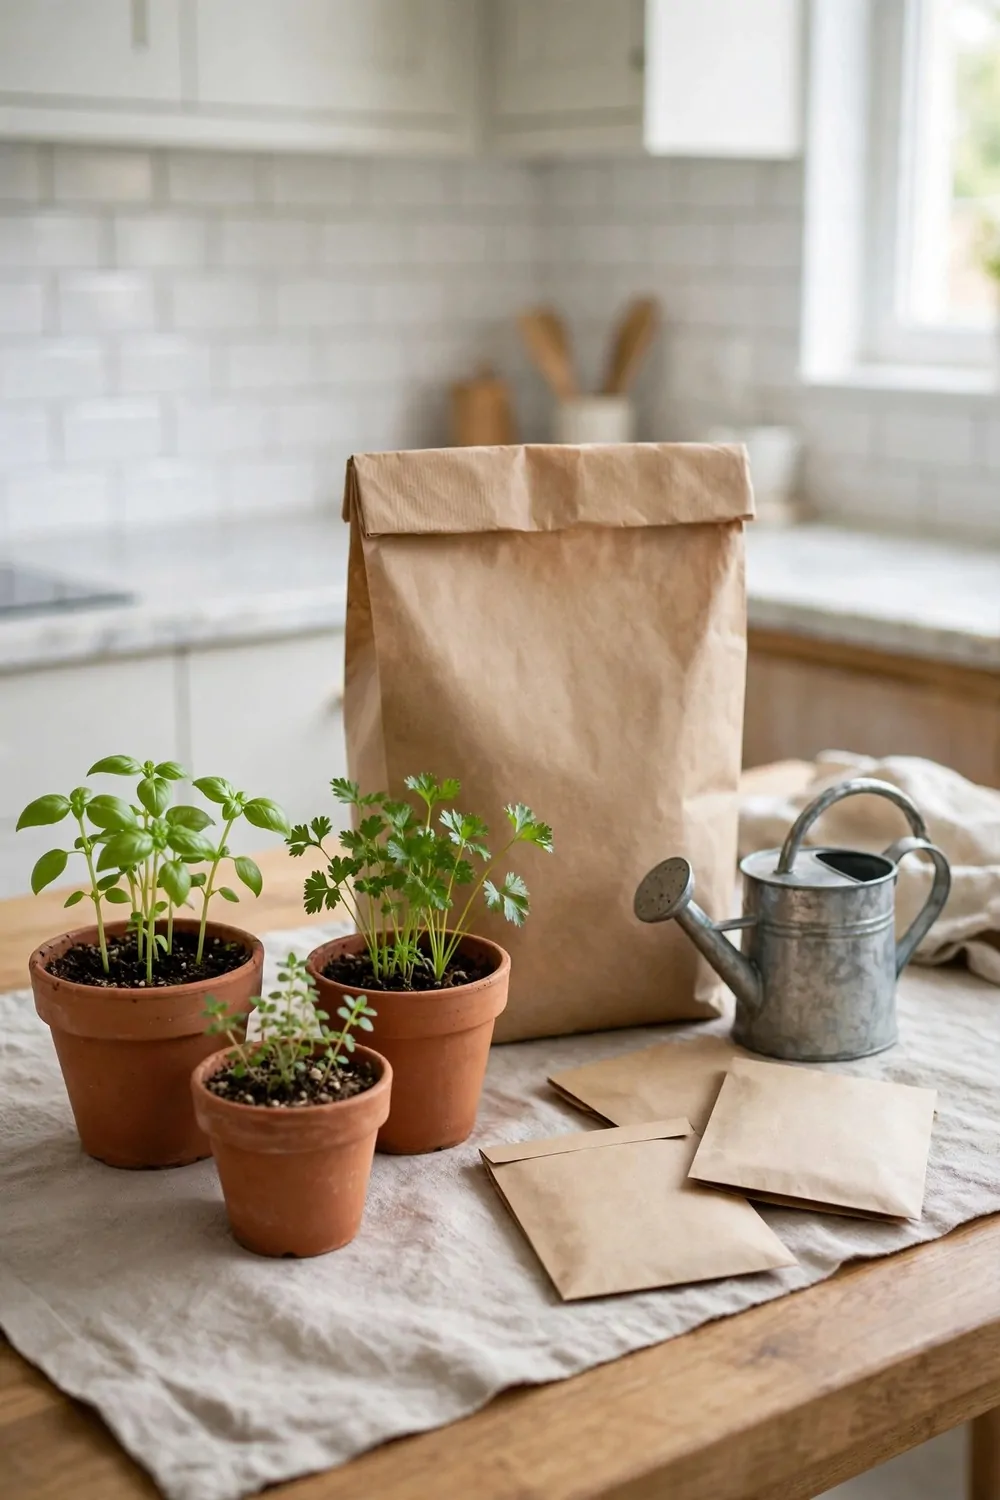
You do not need a big plan to start herbs in your kitchen.
One week is enough to set up three or four pots, and to learn how they like light and water. I started with basil, mint and parsley, as they are easy and I use them a lot.
Day one is for pots and mix, and I set them on a tray by the window. Day two is for seeds or young plants, and I label each pot as I plant it. Day three is for a first light water, and I check that no pot sits in a puddle.
By day four, I look for new green shoots or new leaves.
I snip nothing yet, as the plants need time to settle in. I just water a little when the top of the mix feels dry, and I turn the pots a touch.
Day five is for a tidy up, and I wipe the tray and check the labels. Day six is for a first small snip, and I use it in my chicken or vegetables. Day seven is for a look back, and I note what grew well and what needs more light.
Keep the plan simple, and do not add too many pots at once. Three pots are easy to care for, and you will learn fast from them.
If one plant looks weak, move it and give it a few more days.
My list for the week was small pots at $7 to $14, potting mix bags at $10 to $18, herb seeds at $5 to $9, a small watering can at $9 to $16 and plain labels at $3 to $6. All together that comes to $34 to $63 for the full starter week.
| Area | Main change | Typical Cost |
|---|---|---|
| Small pots | Small pots set on a tray by the window for the first herbs | $7 to $14 |
| Potting mix bags | Bags of light potting mix filled into every pot | $10 to $18 |
| Herb seeds | Herb seeds sown in the pots for the first plants | $5 to $9 |
| Small watering can | A small watering can for gentle watering each day | $9 to $16 |
| Plain labels | Plain labels on every pot so you know what is what | $3 to $6 |
| Total | One-week kitchen herb starter set | $34 to $63 |
Keep Reading
If you liked these ideas, you will love these posts too.
- 28 Raised Garden Bed Ideas for Small Backyards
- 31 Herb Garden Ideas for Beginners
- 24 Balcony Vegetable Garden Ideas That Actually Work
- 26 Container Garden Ideas for Patios and Small Spaces
- 33 Vegetable Garden Ideas for First Time Growers
- 22 Vertical Garden Ideas That Grow Up Not Out
Start with one small pot by the window and let fresh flavour find its way into your cooking, one snip at a time.