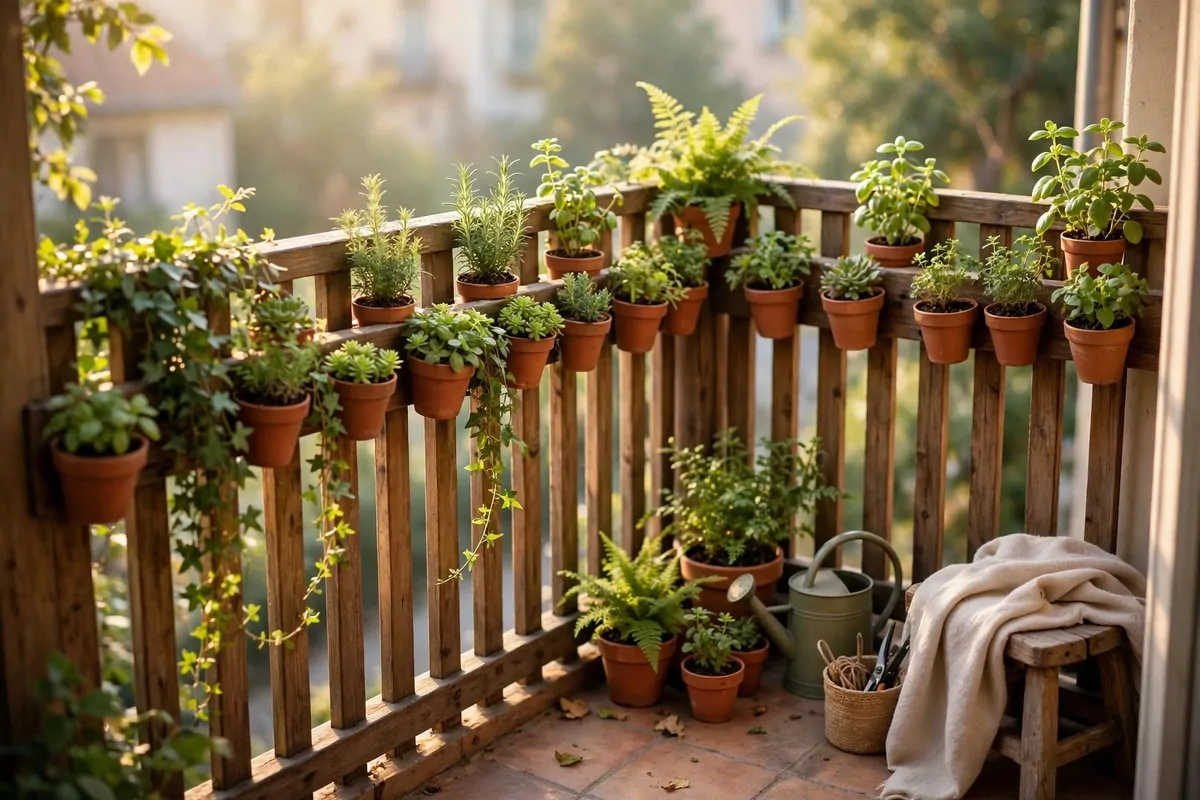
26 Container Garden Ideas for Patios and Small Spaces

Our back patio used to be a bare slab of concrete with two rusty chairs and a cracked step. Nothing grew there. Nothing lived there.
I wanted green around me, but I had no yard to dig in, no soil at all, and no idea if a garden could fit in such a small space.
Then a neighbour showed me her pots lined up along her fence. She had herbs in one, peppers in another, and flowers spilling out of a third. It looked full and happy, and it all sat on a slab no bigger than mine.
That day I bought three pots and a bag of soil. I filled them on the kitchen floor and made a mess I still laugh about. My first plants were wobbly and plain, but they were mine.
Over time I learned what works in small spaces. Some pots stay put for years, while others move with the sun. Some hold a whole salad bed in a space no wider than a chair.
You do not need a big garden to grow things you love. A patio, a balcony, or even a sunny step can hold enough pots to feed a few meals and lift your mood every morning.
In this one post I share all 26 ideas, from simple pots to clever stands, so you can pick the ones that fit your space and start today.
1. Terracotta Pots That Age Well
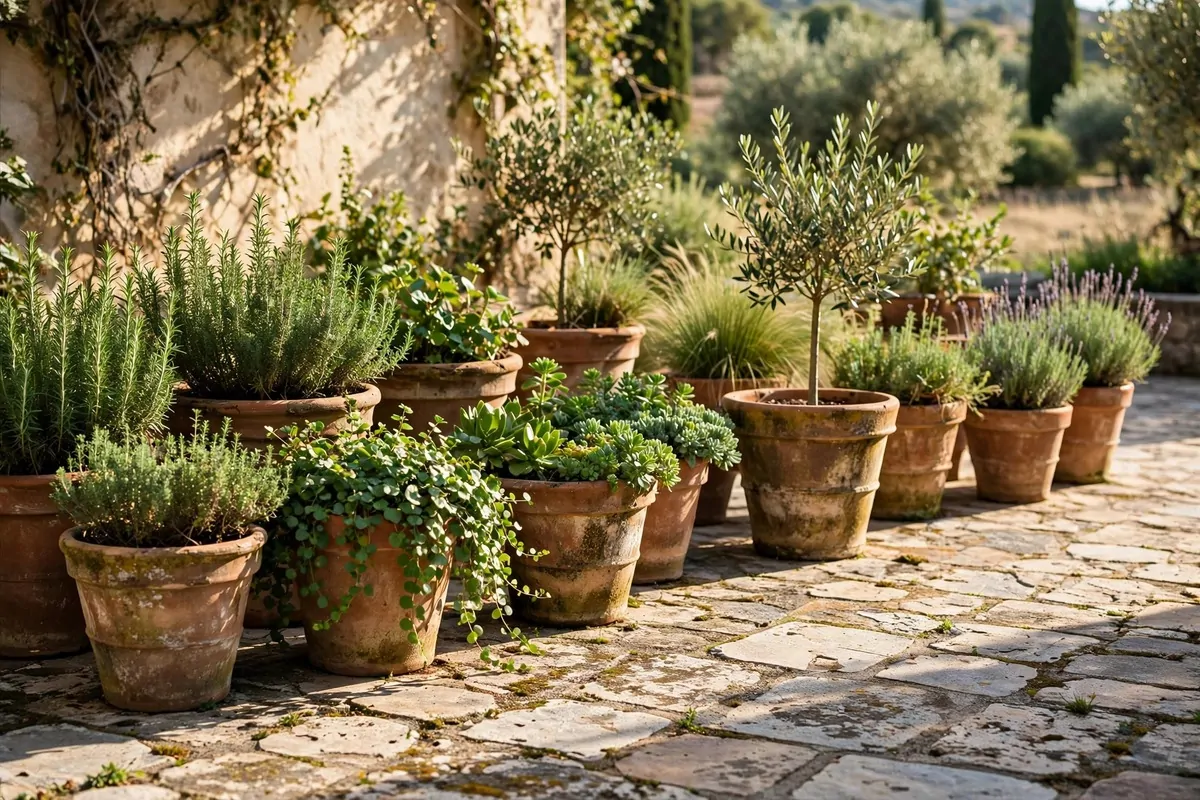
Terracotta pots are the plain orange pots you see everywhere, and I love them for that reason. They look warm and honest next to any wall.
The clay lets air pass through the sides, which helps roots breathe on hot days, though your plants dry out a bit faster, so you water a little more often.
Over time the pots pick up pale marks and a soft weathered look. I think that makes them prettier, not worse. Each mark tells a story of a season gone by.
They are heavy once filled with soil, so I put them where they will stay. A big one full of tomatoes does not move easily.
Start with one or two medium pots if you are new to this, and a herb like basil or a small pepper plant will fit well.
Set a small tray or a flat stone under each pot to keep water off your patio floor. It also stops stains from forming.
In cold snaps, I pull mine close to the house wall for a bit of shelter. The clay can crack if water inside it freezes hard.
I paid about $18 to $42 for the lot when I set up my first three, soil included. Bigger pots cost more, but one good pot lasts for years.
If you like a garden that looks better each season, terracotta is a safe first pick. It suits herbs, flowers, and small vegetables all the same.
2. Light Plastic Pots for Easy Moves
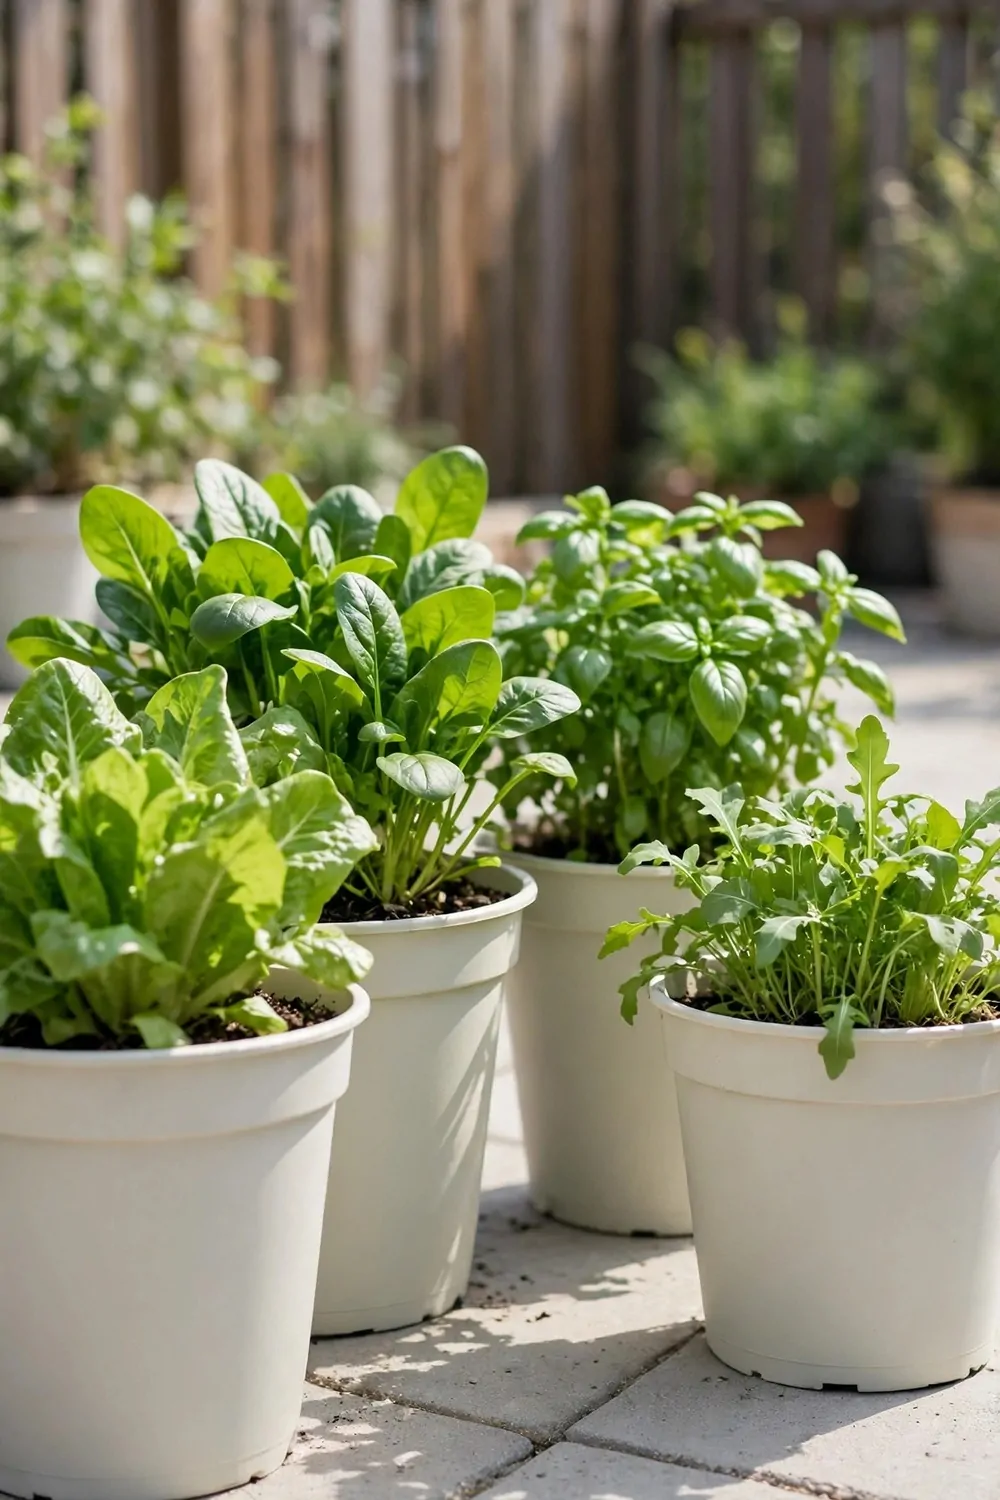
Plastic pots are light, cheap, and easy to carry even when full of soil. I can slide mine across the patio with one hand.
That matters when the sun shifts through the year. I move my pots to chase the light instead of watching plants sulk in shade.
Pick pots with holes in the bottom so extra water can drain away, because roots rot fast when they sit in a puddle.
Plain colours look best to me, like soft grey, white, or dark green. Bright colours fade in strong sun, so I keep it simple.
These pots work well for lettuce, beans, and small fruit plants. A row of them along a wall looks neat and tidy. I line mine up by height, tallest at the back.
Wash them out with soapy water before you reuse them next season. Old soil can carry bugs you do not want.
They will not break if they tip over in a storm, which is a real plus on a windy balcony. I have knocked mine over more than once.
Plan on around $12 to $30 for a small set of four or five pots. Add a bag of soil and you are ready to plant the same day.
When you want a garden you can rearrange like furniture, plastic pots make it easy. Try a few and see how your space feels.
3. Glazed Ceramic Pots for a Smart Look
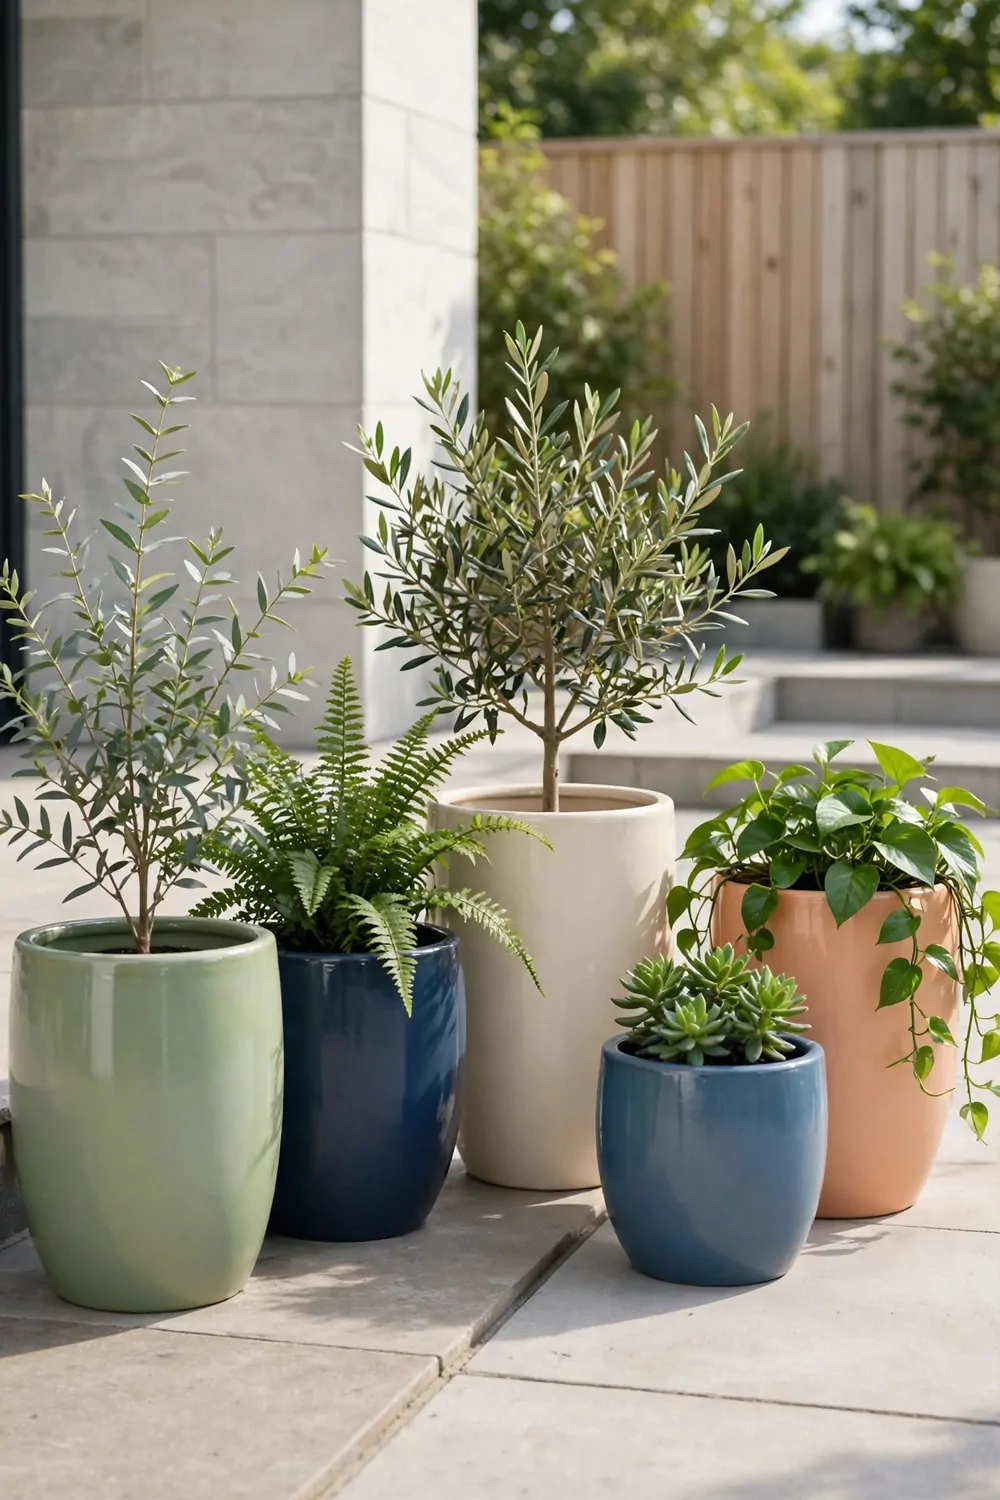
Glazed ceramic pots have a smooth shiny skin that looks smart on a patio. They come in deep blues, greens, and soft creams.
The glaze holds water in, so the soil stays damp longer than in clay pots. I water mine less often, which suits busy weeks.
One good pot can be the star of a corner. I put a leafy plant in mine and let the pot do the talking.
They are heavier than plastic and can chip if knocked hard, so I keep mine away from the spot where chairs get dragged.
A wide shallow bowl shape suits trailing plants that spill over the edge. The spill softens the hard lines of a patio.
Match the pot colour to your door or your outdoor cushions for a calm look. Too many colours in one small space can feel busy. One strong colour is often enough.
In winter I empty the soil and store the pots under cover. Frozen soil can crack the glaze from inside.
All in, it came to $25 to $60 for two medium pots and the soil to fill them. That is dearer than plastic, but the look is worth it to me.
If your patio is your outdoor living room, one or two glazed pots lift the whole space. Choose a colour you will love for years.
4. Wooden Crates Turned Into Planters
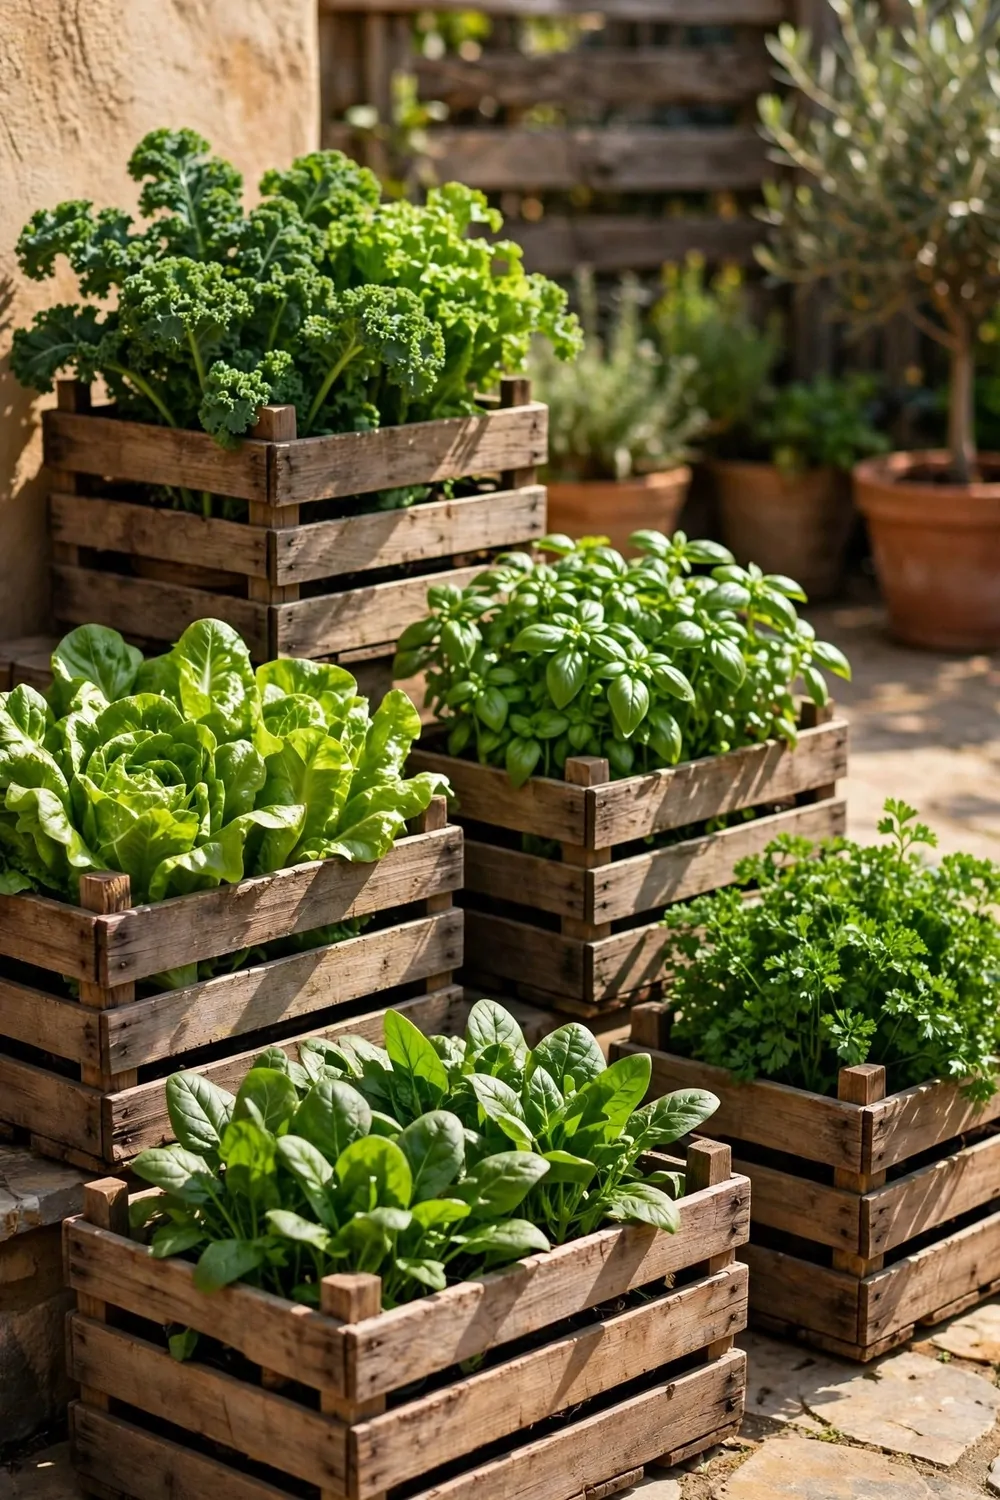
An old wooden crate makes a lovely planter with almost no work. I line mine with a thick plastic sheet and poke a few drain holes in it.
The wood gives a warm farm feel that suits vegetables well. A crate of lettuce or herbs looks right at home by a kitchen door.
Check the crate is solid before you fill it with soil, because loose boards bow out once the soil gets wet and heavy.
I set mine on small feet or bricks so air can move under it. That keeps the base dry and stops it rotting too fast.
Shallow crates suit salad leaves, radishes, and herbs with short roots. Deeper crates can hold carrots or beans.
Paint the outside if you want a pop of colour, but leave the inside plain. Paint near roots is not something I bother with.
One crate can hold a mix of plants if you give each one room. I plant tall things at the back and low leaves at the front. The front row is easy to reach when I pick leaves for dinner.
My first crate setup ran about $15 to $35 with the liner and soil. The crate itself was free from a neighbour who was clearing out.
Crates are a friendly way to start if you like a rustic look. They cost little and you can move on to other ideas later.
5. Half-Barrel Planters for Big Plants
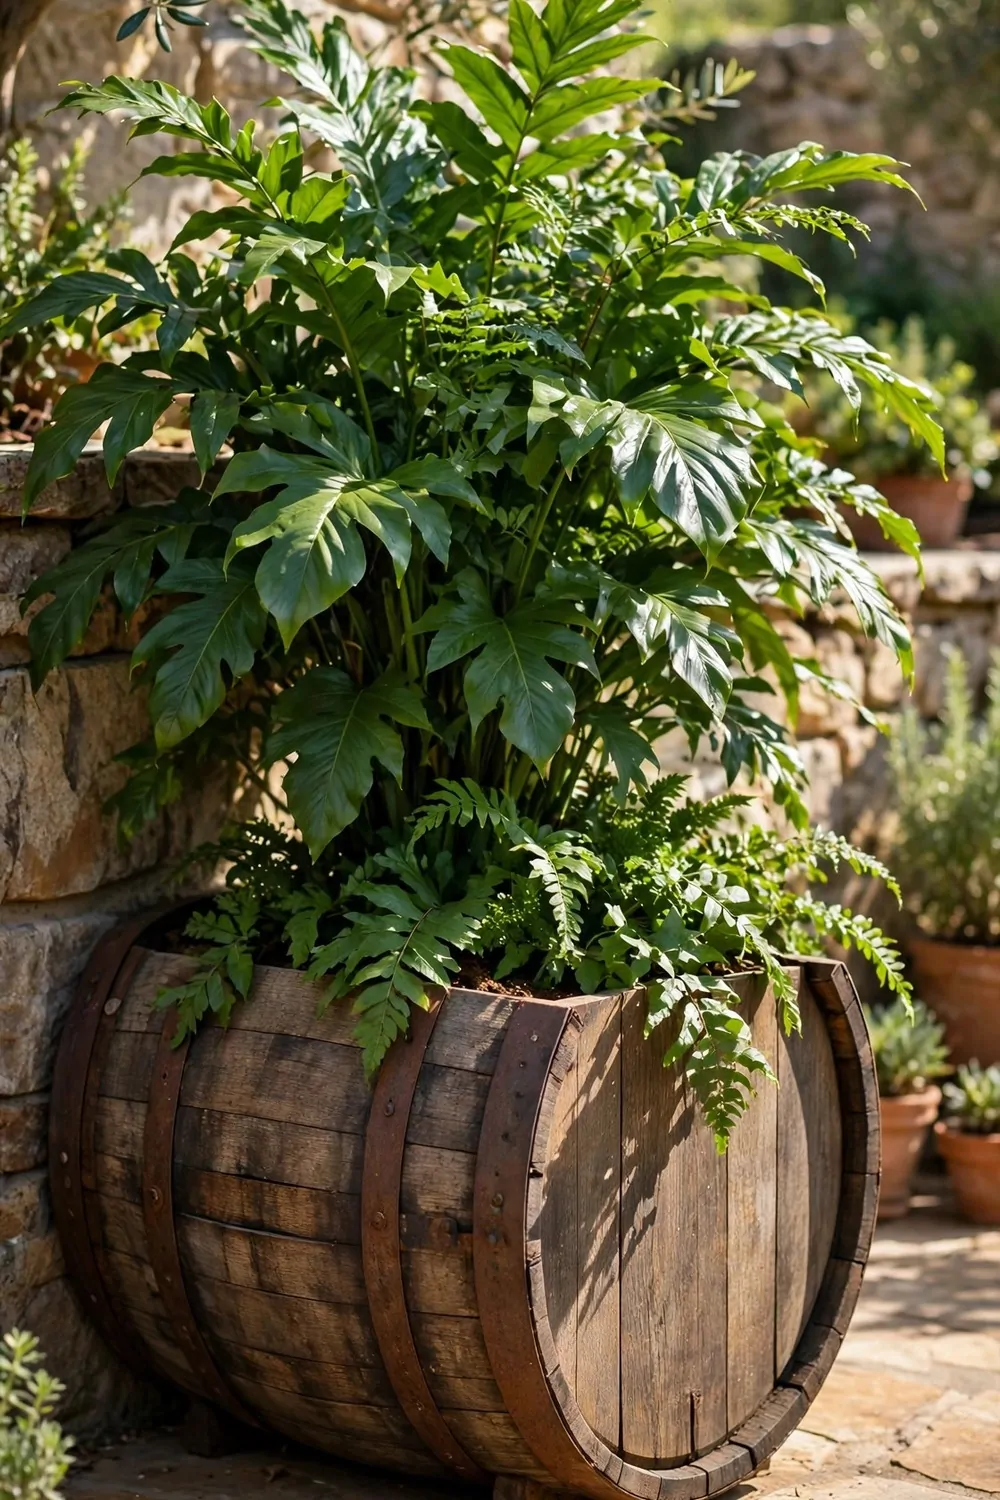
A half barrel is a big round tub cut from an old wine or water barrel. It holds a lot of soil, so big plants feel at home in it.
I grow a small fruit bush in one and a pair of tomato plants in another. The roots have room to spread, and the plants grow strong.
The wood is thick, so the soil stays cool on hot afternoons. That helps roots when the sun beats down on a patio.
Drill a few holes in the base if it has none, because without them your plants sit in wet soil.
Put the barrel in its final spot before you fill it. Once full, it is far too heavy to drag across a patio.
A barrel near a sunny wall is a good home for beans climbing up a cane. The height of the plants softens a bare wall nicely.
I top the soil with a layer of straw or bark to hold in damp. It also keeps the soil from splashing onto the patio when it rains. A tidy patio is much nicer to sit on.
Expect to spend $30 to $70 on a barrel and the soil to fill it. That is a fair price for a planter that lasts many seasons.
If you want one big statement pot instead of many small ones, a half barrel is hard to beat. It looks generous and it grows well.
6. Galvanised Buckets With a Rustic Feel
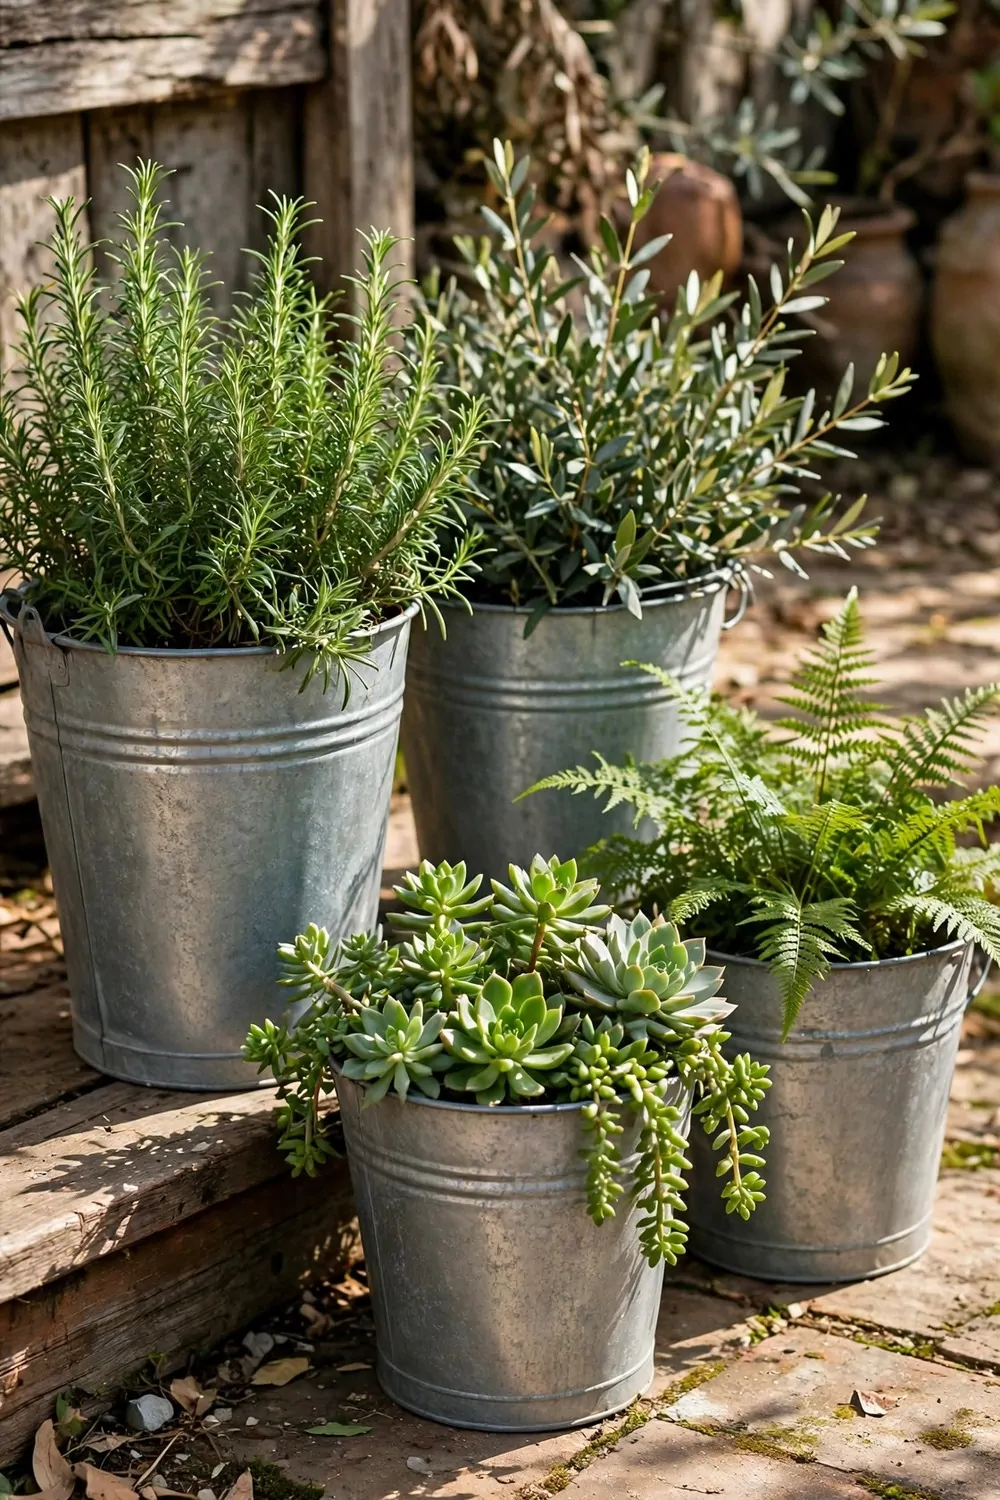
A galvanised bucket is a metal pail with a shiny silver finish. It looks a little rough and a little charming at the same time.
I use mine for herbs by the back door, where I can snip a few leaves while I cook. They sit in a neat row and look cheerful.
Metal heats up fast in full sun, so I keep buckets in a spot that gets morning light and afternoon shade. Hot roots are unhappy roots.
Poke drain holes in the bottom with a nail and a hammer, or rain will pool inside and drown your plants.
The handle makes it easy to carry a bucket to the table when you need fresh herbs. That small detail is more useful than it seems.
Try a group of three buckets in different sizes for a layered look. Small, medium, and large together fill a corner well. I put the tallest at the back so nothing hides.
After a few years the metal may show rust spots, and I find that adds to the charm. If you hate rust, a coat of outdoor paint slows it down.
The whole set cost me $20 to $45 for three buckets, soil, and seed. Buckets from a hardware shop are often the cheapest pots around.
Buckets suit a casual patio where nothing needs to look perfect. They are simple, sturdy, and full of character.
7. Fabric Grow Bags for Soft Beds
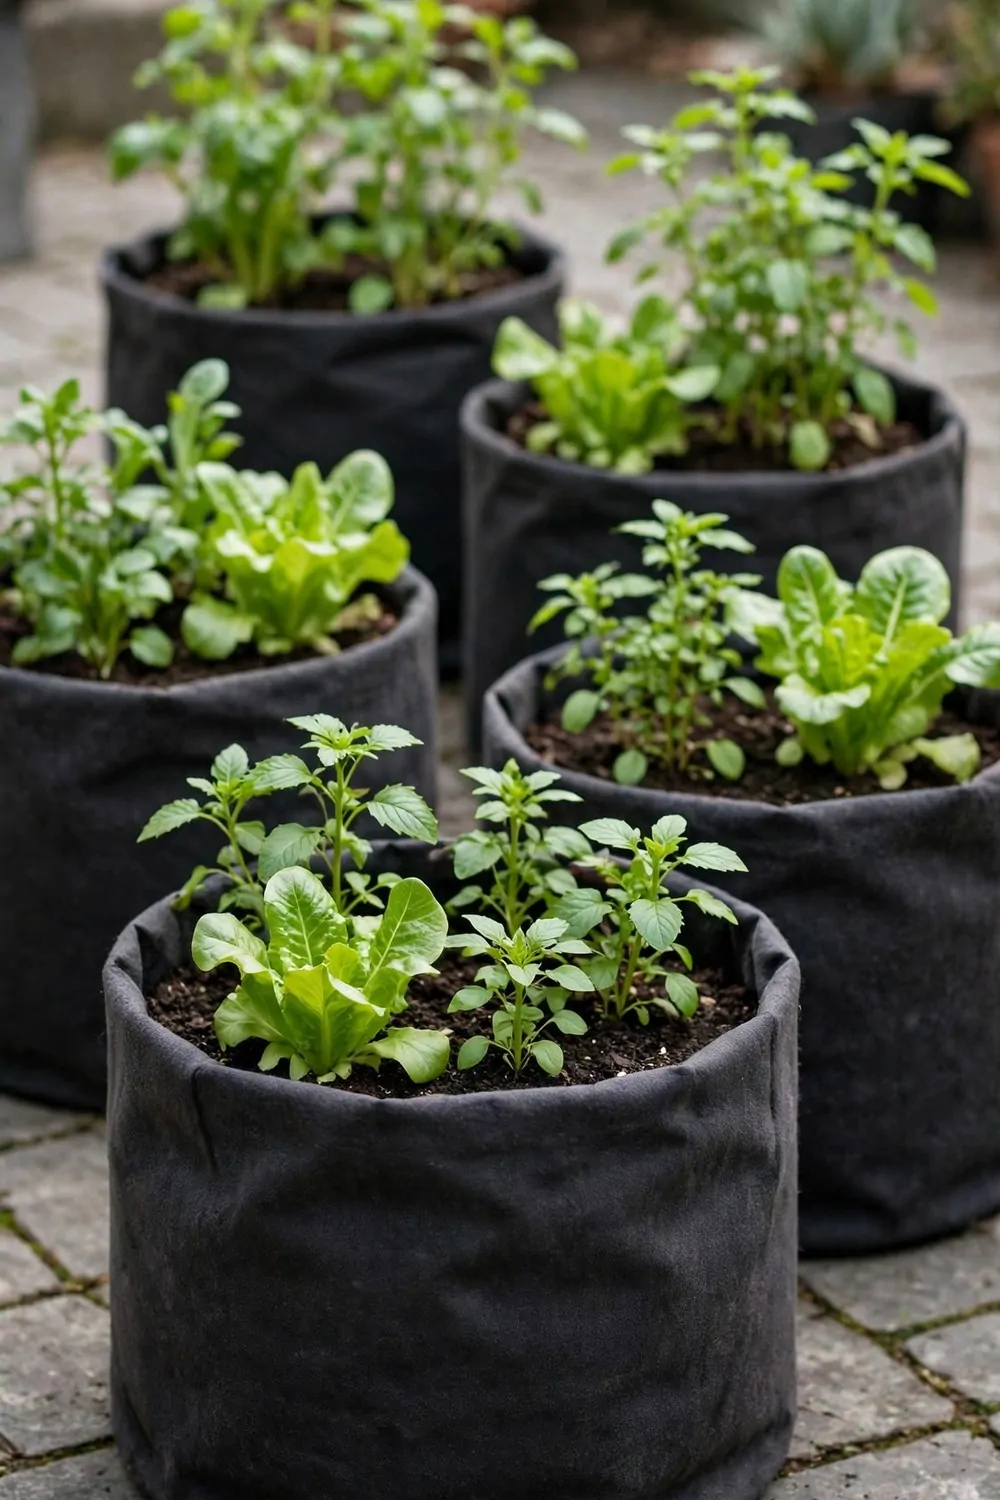
Fabric grow bags are soft pots made from thick cloth. They fold flat when empty, so I store a stack of them in a cupboard over winter.
The cloth lets air reach the roots from all sides, which helps plants grow strong. I notice my vegetables look healthier in them.
They dry out faster than plastic pots, so I check the soil with my finger each morning and water if the top feels dry.
Grow bags are great for potatoes, beans, and leafy greens. A few bags along a fence can give you enough for a few meals.
Handles on the sides make them easy to shift around. I move mine to follow the sun or to clear space for guests.
Set them on a tray or a flat surface, not straight on bare soil. That keeps slugs from creeping in through the bottom. It also keeps the patio clean when you water.
At the end of the season, I tip out the soil, shake the bags, and let them dry in the sun. They are ready to use again next spring.
A pack of five bags with soil worked out at $22 to $48 for me. Buying the bags as a set keeps the price down.
If you have no room to store hard pots, grow bags solve the problem. They are light, cheap, and kind to roots.
8. Hanging Baskets That Save Floor Space
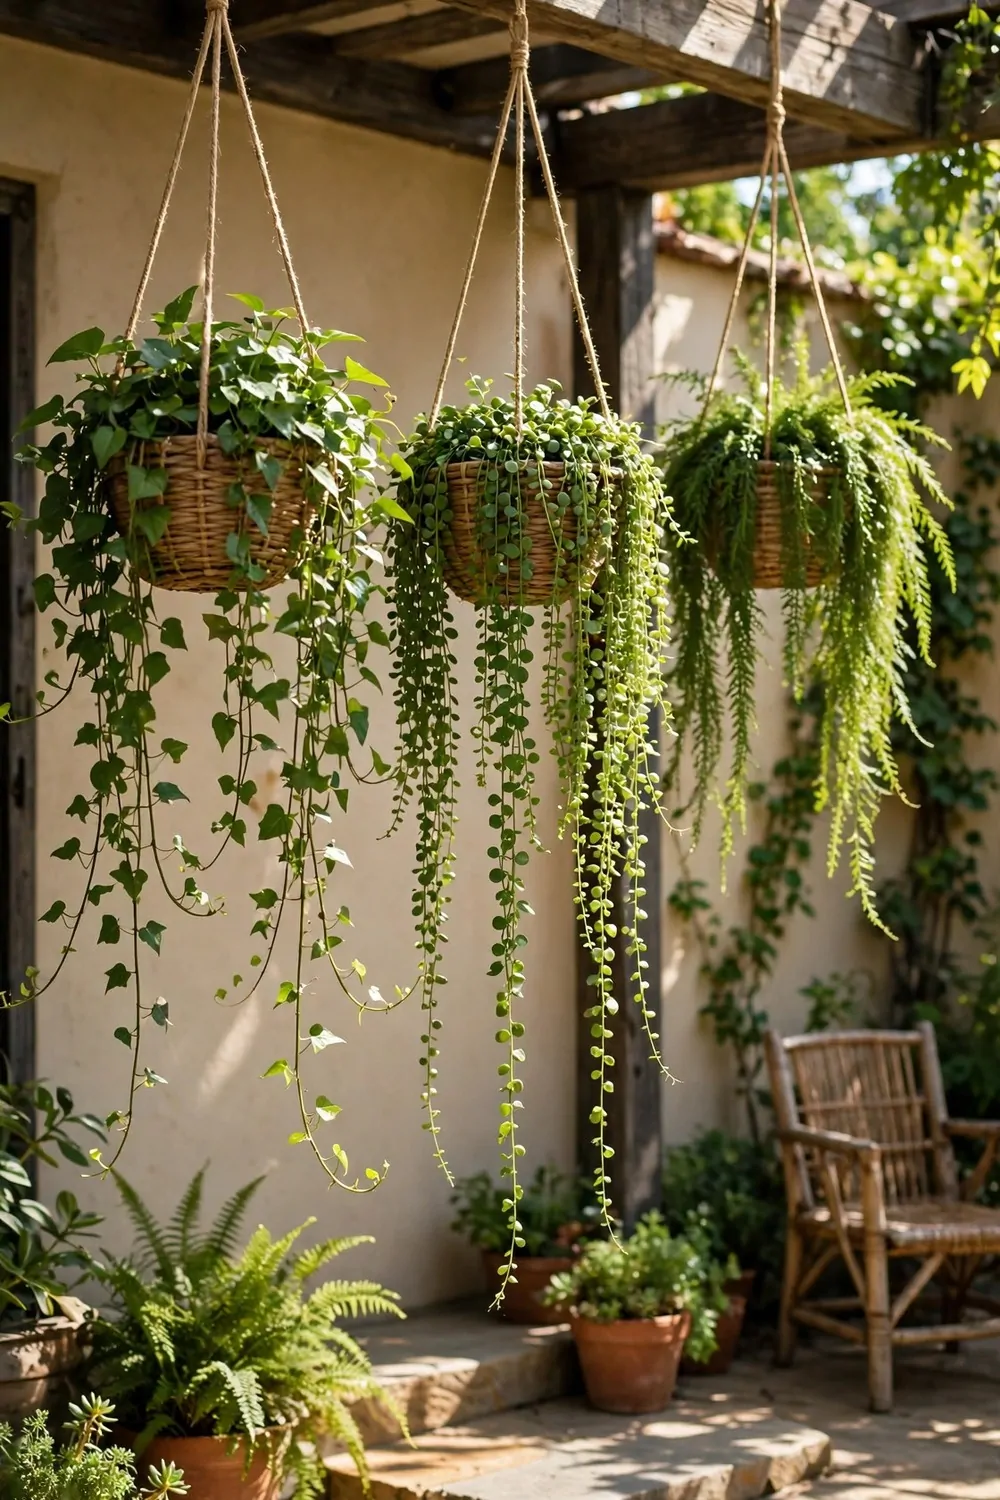
Hanging baskets lift your garden off the floor and into the air. They are perfect when your patio floor is already full.
I hang mine from hooks under a roof edge or from a sturdy bracket on the wall. The plants spill down and soften hard edges.
Trailing plants work best here, like strawberries, herbs, or bright flowers. They drape over the sides and look lovely from below.
Baskets dry out fast in wind and sun, so I water them more often than ground pots. A quick check each morning keeps them happy.
Line a wire basket with moss or a thick liner to hold the soil in, or it spills out every time you water.
Hang them at a height you can reach without a ladder. I learned that lesson after stretching too far with a watering can. My back thanked me for the change.
A mix of colours in one basket looks full and cheerful. I plant one tall thing in the middle and trailing things around it.
I spent roughly $18 to $40 on two baskets, hooks, and soil. The hooks were the dearest part, so buy strong ones once.
When floor space is tight, look up instead. Hanging baskets turn empty air into garden space.
9. Railing Planters for the Edge
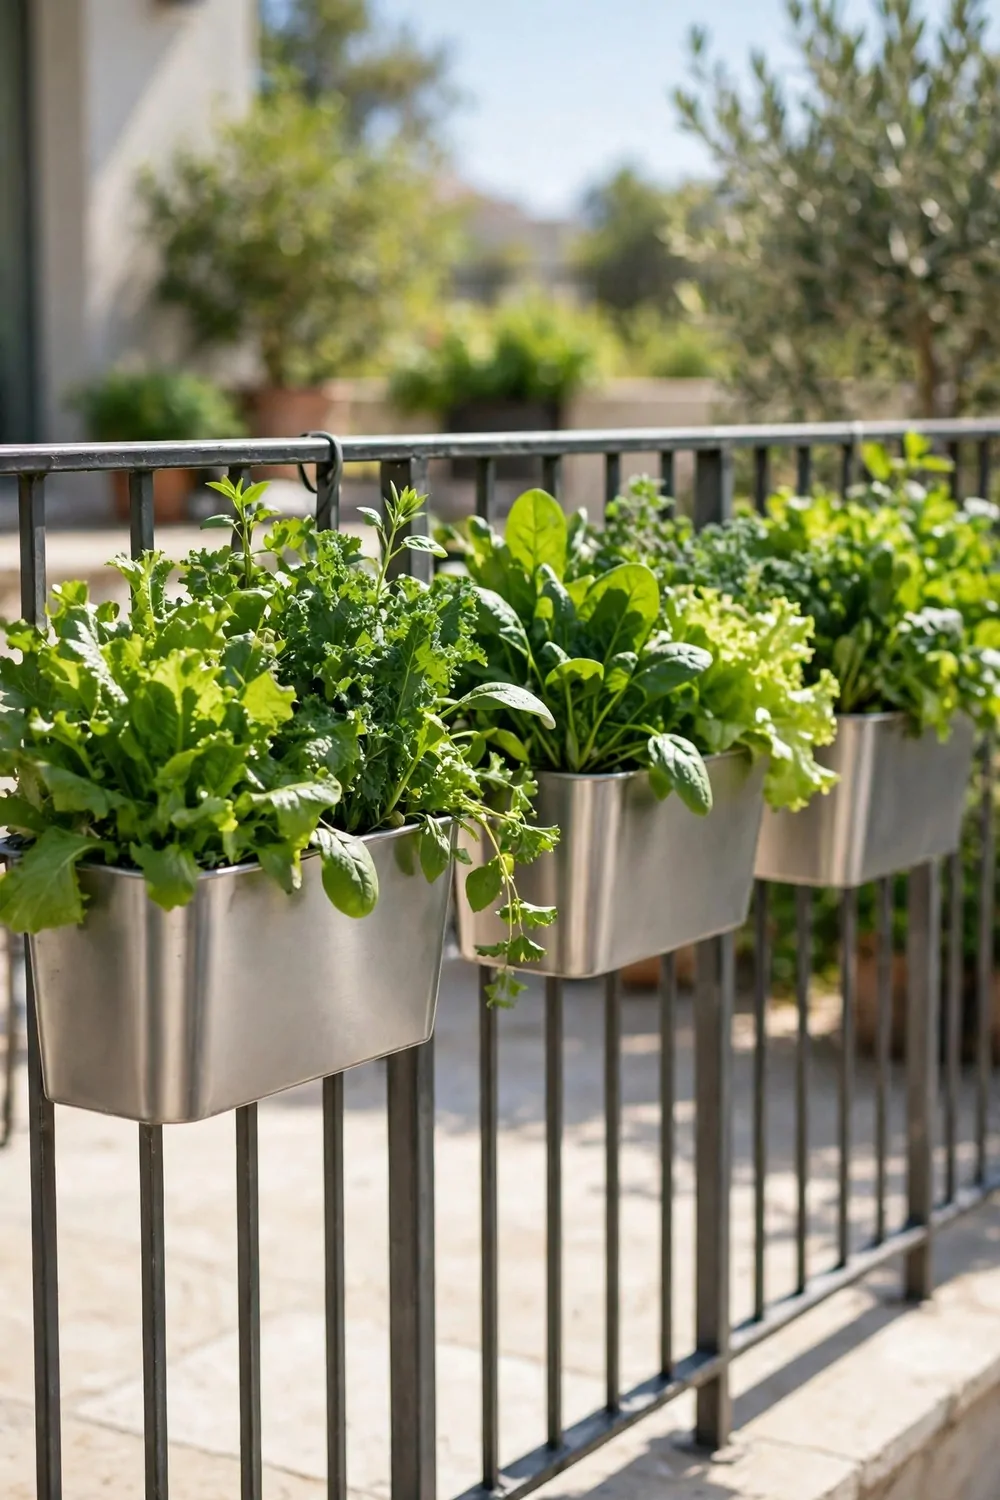
Railing planters are long boxes that hook over a balcony rail. They use the edge of your space, which is often wasted.
I grow herbs and small flowers in mine, where I can see them from the kitchen window. They make the rail look alive.
Measure your rail before you buy, because rails come in many widths. A planter that wobbles is a planter that will fall.
Fix it tight with the brackets or straps that come with it. Wind on a high balcony can lift a loose box clean off.
Shallow roots suit these boxes best, like lettuce, herbs, and small fruit plants, while deep-rooted vegetables feel cramped.
Water slowly so the soil soaks up the water instead of running straight out. A small can with a narrow spout helps a lot. I keep mine by the door so I never forget.
Put taller plants at the back of the box and low ones at the front. That way every plant gets its share of sun.
Each box set me back $16 to $38 with brackets and soil. Two boxes side by side fill a whole rail nicely.
Railing planters are a smart pick for balconies with no floor room at all. The edge becomes your garden bed.
| Idea | Typical Cost |
|---|---|
| Terracotta Pots That Age Well | $18 to $42 |
| Light Plastic Pots for Easy Moves | $12 to $30 |
| Glazed Ceramic Pots for a Smart Look | $25 to $60 |
| Wooden Crates Turned Into Planters | $15 to $35 |
| Half-Barrel Planters for Big Plants | $30 to $70 |
| Galvanised Buckets With a Rustic Feel | $20 to $45 |
| Fabric Grow Bags for Soft Beds | $22 to $48 |
| Hanging Baskets That Save Floor Space | $18 to $40 |
| Railing Planters for the Edge | $16 to $38 |
10. Window Boxes for Sunny Sills
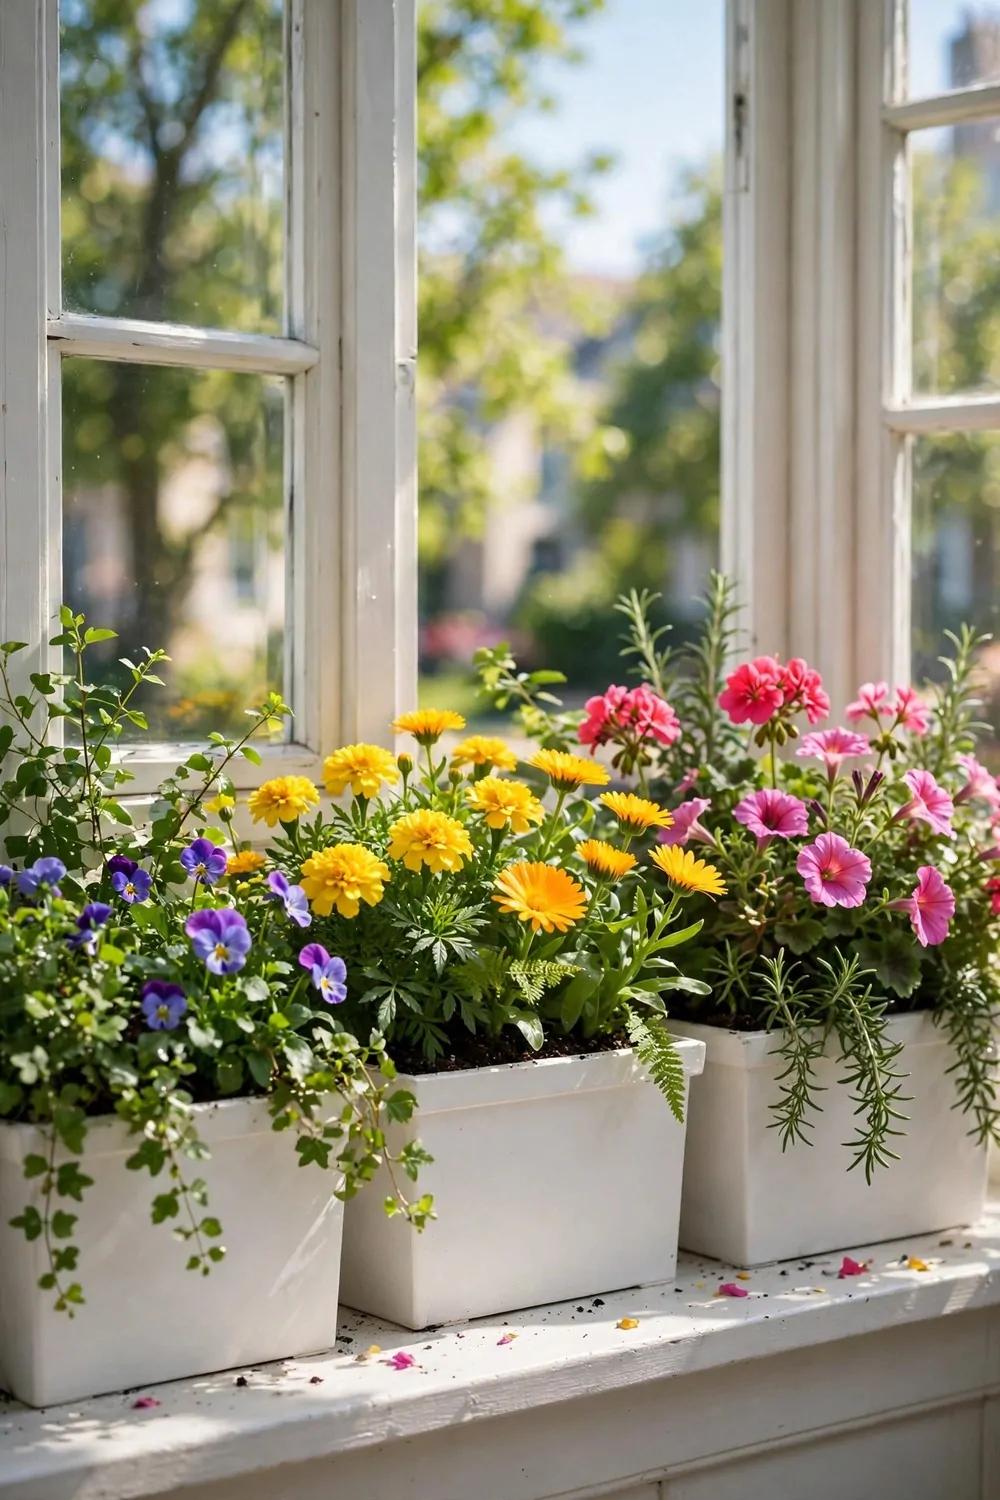
A window box sits on the sill outside your window and brings the garden to eye level. I see mine every time I look out.
Herbs are my first pick for a window box, because I can reach out and snip them while I cook. Fresh leaves a step from the stove are a joy.
Make sure the box is fixed well to the wall or sill, because a full box of wet soil is heavy and you do not want it slipping.
Pick plants that like the sun your window gets. A south-facing sill suits tomatoes and peppers, while a shadier one suits lettuce.
Water in the morning so the leaves have time to dry by dark. Wet leaves overnight can invite mildew on still summer days.
Mix a few flowers in with your herbs for colour. The flowers bring bees to your window. Bees help your vegetables set fruit, so the flowers earn their place.
I refresh the soil each spring and add a little compost on top. Fresh soil gives the new plants a strong start.
All told, one box with soil and plants came to $20 to $45. A second box doubles the joy for not much more.
A window box turns a plain sill into a small garden you see all day. It is one of the easiest ideas on this list.
11. Vertical Wall Planters for Small Walls
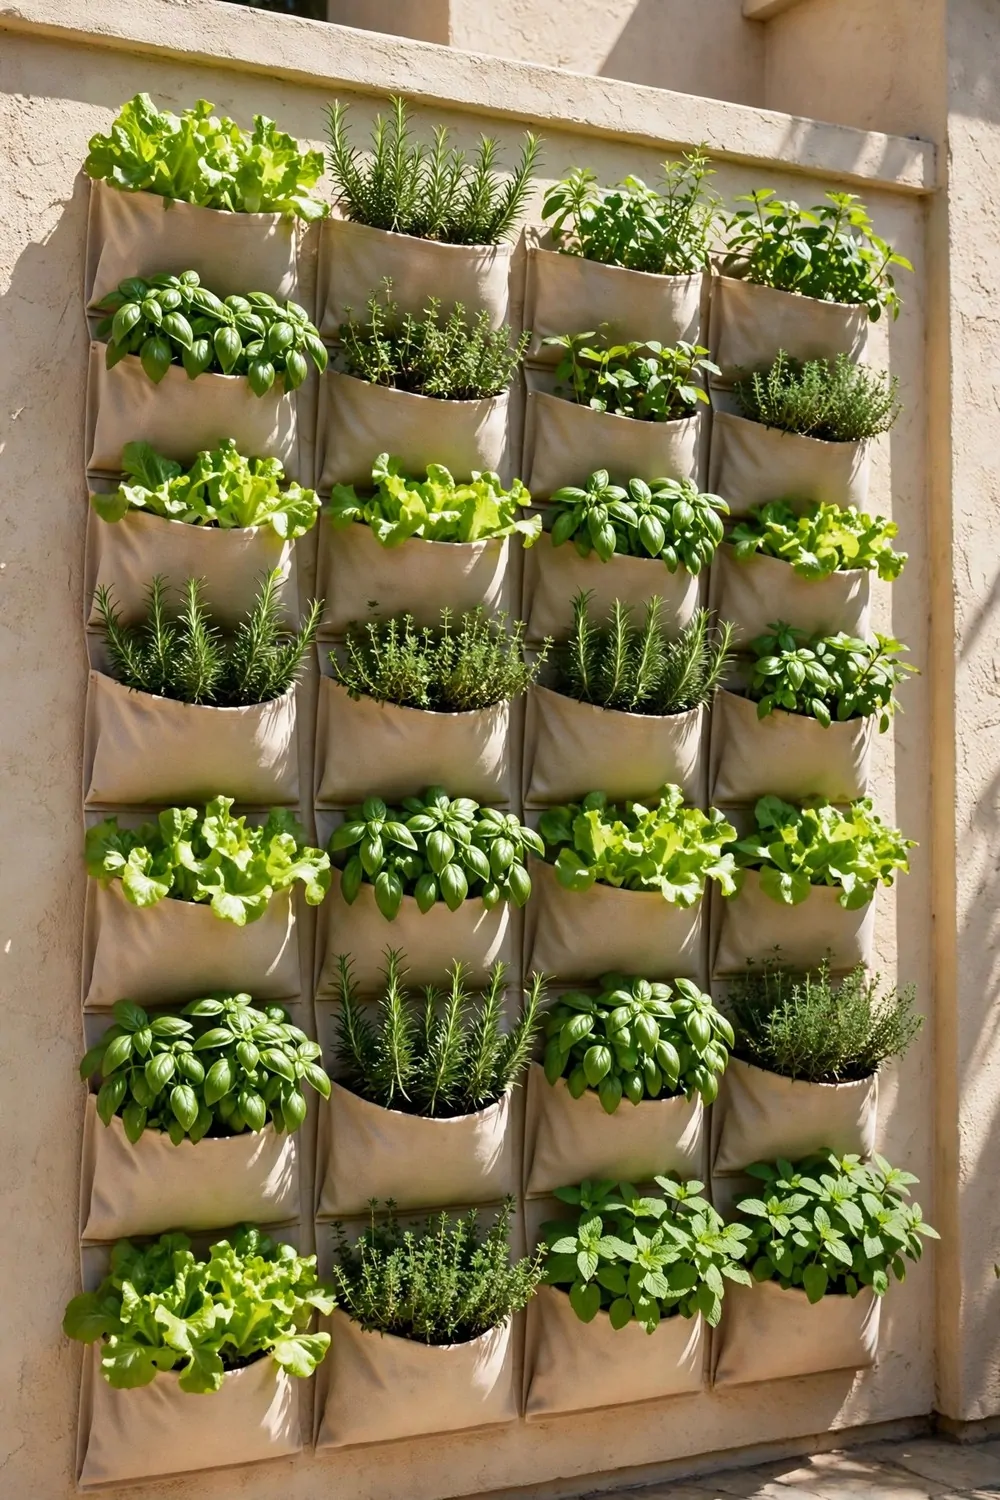
Vertical wall planters are pockets or shelves fixed to a wall, stacked upward. They let you garden on a wall that holds nothing else.
I fixed a row of pockets to the sunny side of our patio wall. Herbs grow in the top rows and leafy greens fill the lower ones.
Water from the top and let it drip down through the rows. The plants below get a drink too, so you use less water overall.
Check the wall can hold the weight of wet soil before you fix anything. Brick is fine. A thin fence panel may need extra support, so test it first.
Small plants suit pockets best, since the soil in each one is shallow, so herbs, strawberries, and salad leaves are all good picks.
Felt pockets dry fast in wind, so I water mine on hot days without fail. A drip bottle on a timer helps if you go away.
Leave a gap between rows so each plant gets light. Crowded rows shade each other and the lower plants grow thin.
The wall setup cost about $28 to $55 for the pockets, fixings, and soil. It was dearer than a few pots, but it freed up all my floor space.
If your walls are bare and your floor is full, go vertical. A plain wall can hold a whole herb garden.
12. Stacked Pots for Tight Corners
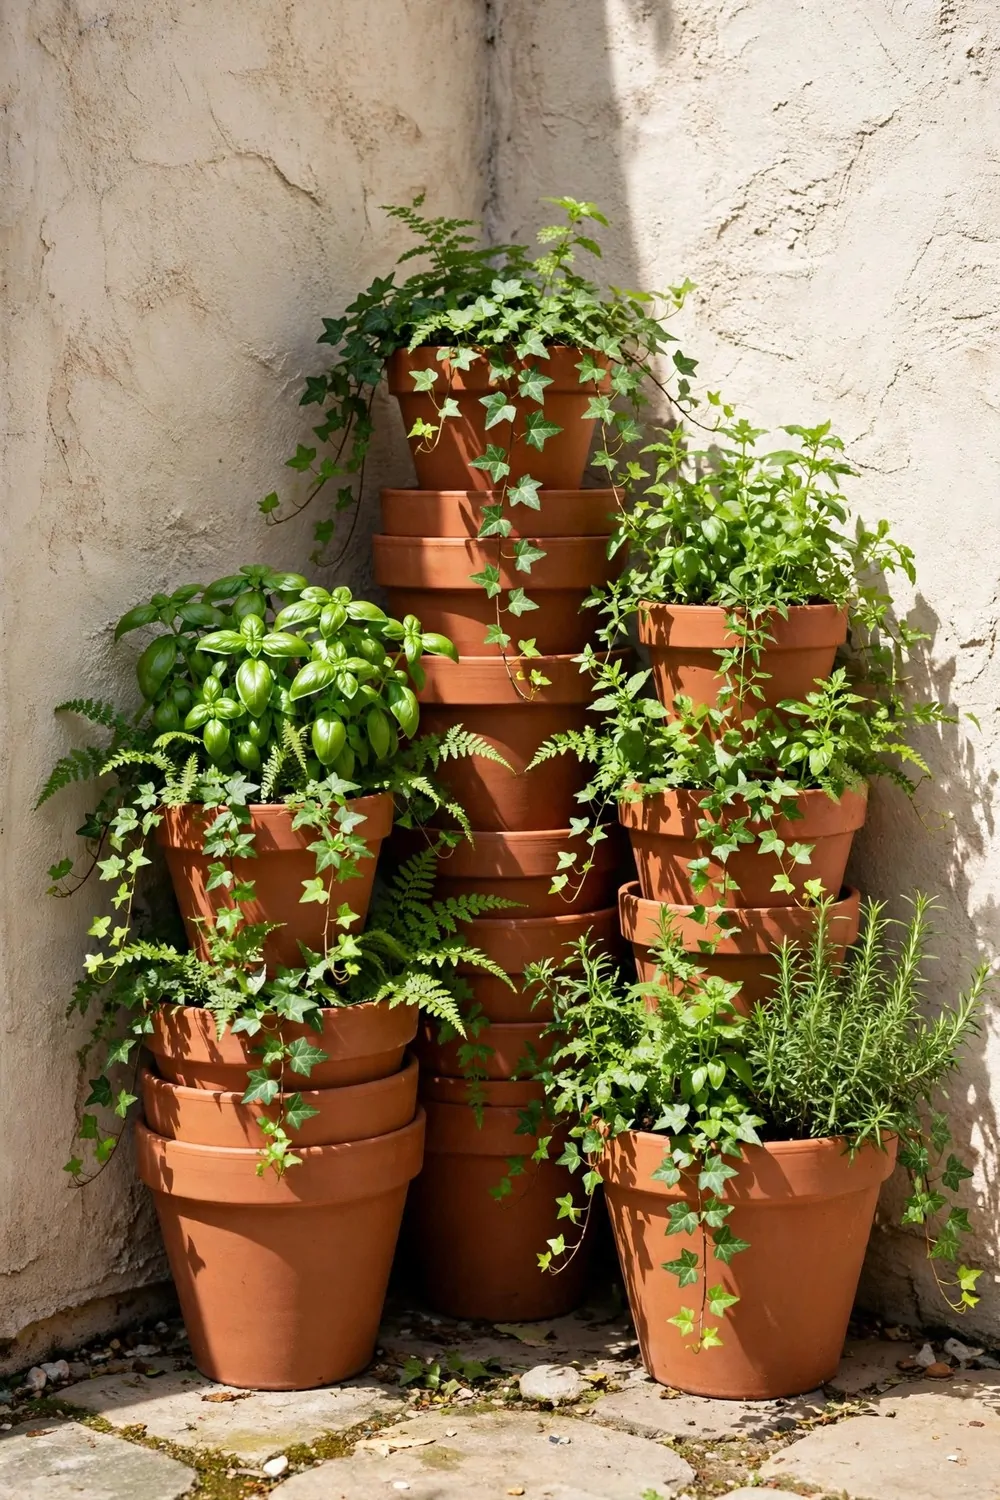
Stacked pots are pots piled one above another with a pole through the middle. They grow upward in a corner that holds nothing else.
I use a stack in the tight corner by our door, where a wide pot would block the path. It holds herbs in every layer.
Each pot sits at an angle so the plants can spill out sideways and every layer gets its own patch of light.
Start with the biggest pot at the bottom and smaller ones on top. A wide base keeps the whole tower steady.
Water the top pot slowly and let the water seep down through the stack. The lower pots get a drink on the way down.
Herbs and strawberries suit stacked pots well, since they stay compact. Big vegetables would crowd each other in a tower.
Spin the stack a quarter turn every few days so all sides get sun. Plants lean toward light. A regular turn keeps them growing even on all sides.
Building one tower added up to $24 to $50 with the pole and soil. The pots were plain ones I already had, so yours may cost less.
Stacked pots are a neat answer for a corner with no room to spare. They pack a lot of green into a tiny footprint.
13. Tiered Plant Stands for Layers
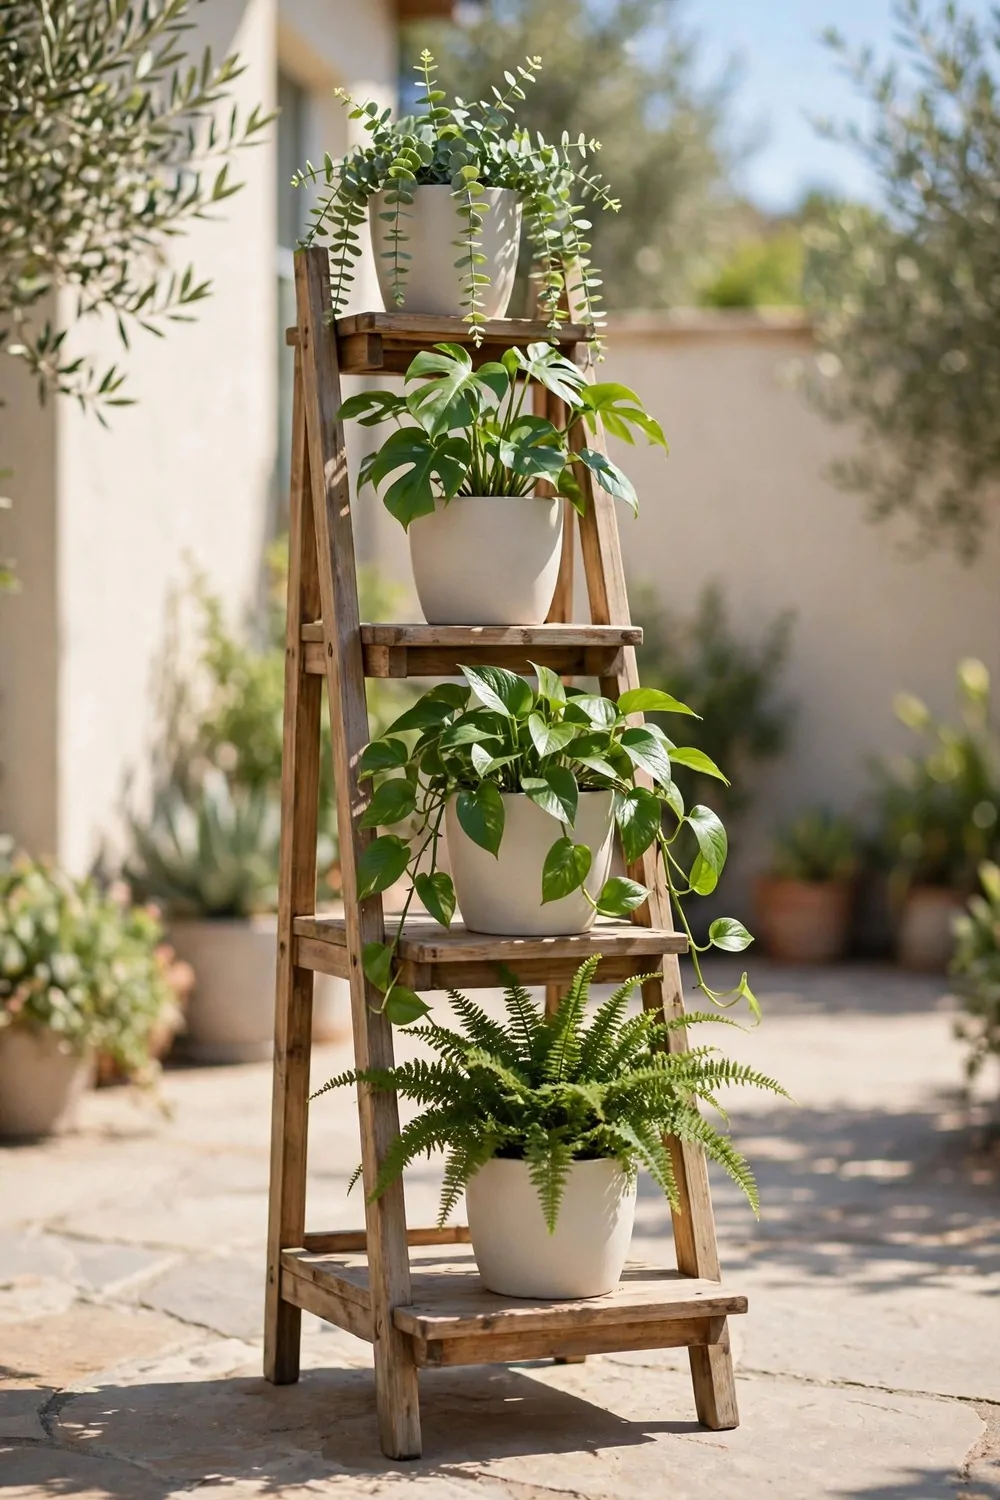
A tiered plant stand is a set of shelves, each one higher than the last. It holds many pots in the space of one.
I keep mine by the patio door, where I can see all my herbs at a glance. The top shelf gets the most sun, so tall plants go there.
Wood stands look warm and suit a rustic patio. Metal stands are slimmer and hold up better in rain, in my experience.
Put the heaviest pots on the lowest shelf to keep the stand steady. A top-heavy stand tips over in a gust of wind.
Leave a little space between pots on each shelf so air can move, because crowded leaves stay damp and invite bugs.
A stand also lifts pots off a cold patio floor in spring. Young plants stay a touch warmer up on a shelf. That small lift can save a tender seedling.
I group plants by how much water they need, one shelf per group. That way I never drown the herbs while watering the vegetables.
I picked up a three-tier stand and soil for $35 to $65 in total. It holds twelve small pots, so the cost per pot is low.
Tiered stands turn one patch of floor into three gardens. They are my favourite way to fit more plants into a small patio.
14. A Small Herb Corner by the Door
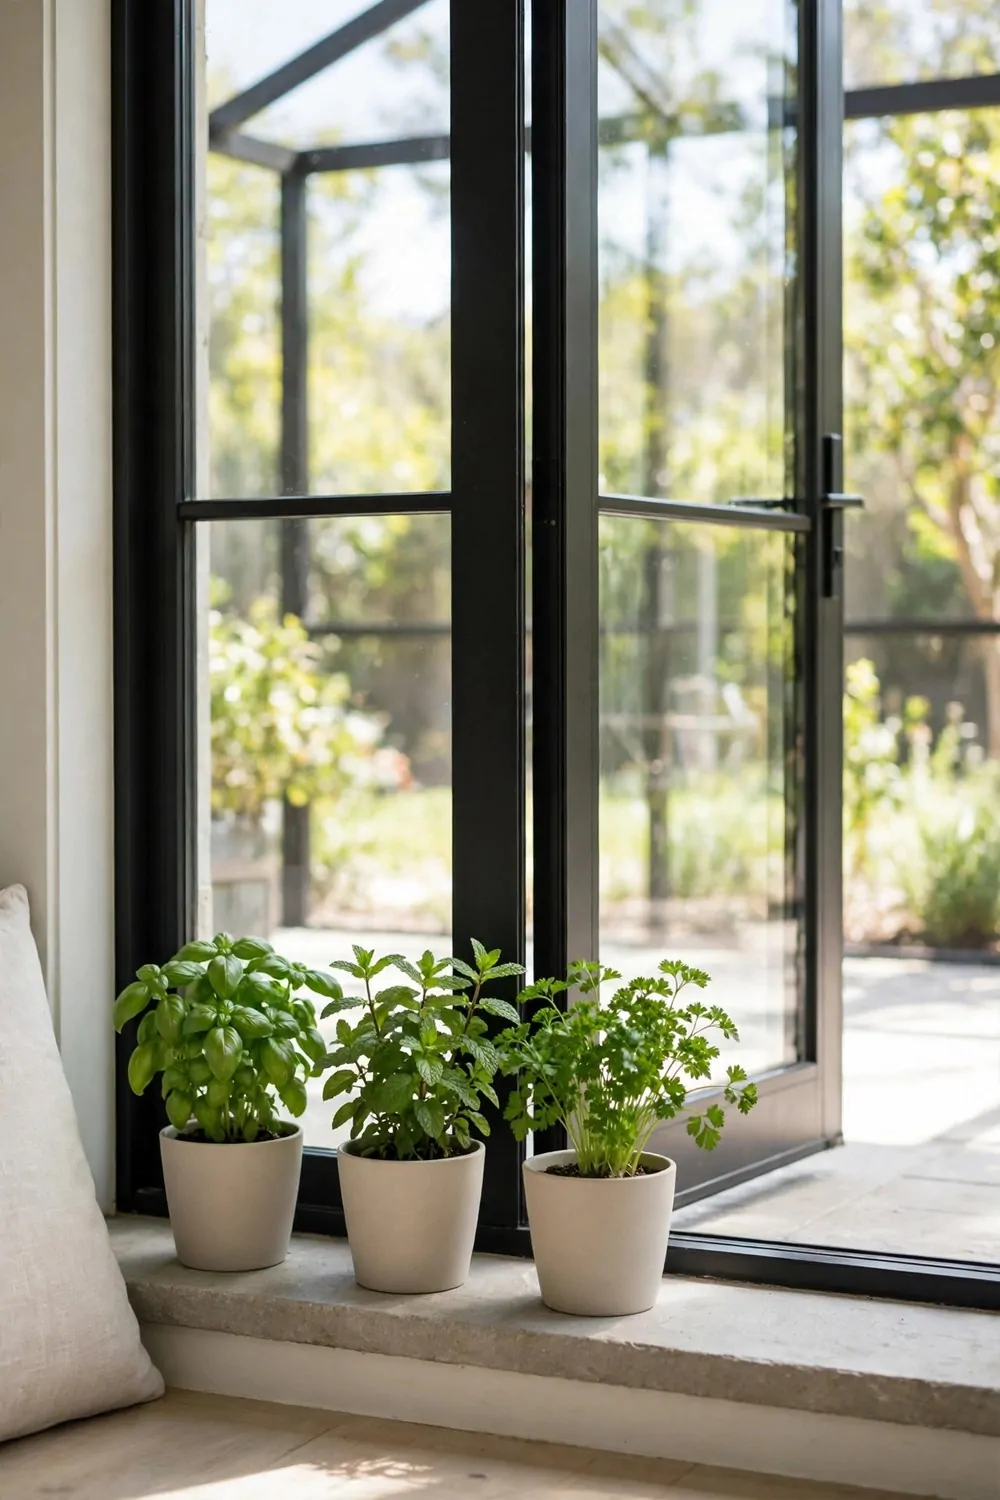
A few pots by the door can change how you cook. You step out, snip a little, and step back in.
Pick a spot that gets a good bit of sun in the morning. Herbs like light, but they do not need a full day of harsh sun.
Start with three pots if you are new to this. One for basil, one for mint, and one for parsley works well. You can add more later when you feel sure.
Use pots with holes at the base so extra water can leave. A small tray under each pot keeps the step dry.
I paid about $18 to $32 for the lot, pots and soil and young plants together. That felt fair for a corner I use almost every day.
Keep the pots close together so you can reach them in one move. Leave a little space between them for air to move. Crowded leaves can turn soft and sad.
Snip from the top and the plant will branch out below. Take a little at a time and it will keep giving you fresh leaves.
Mint grows fast and can take over a shared pot. Give mint its own pot and you will thank yourself later.
Water in the morning when the soil feels dry on top. A light water is enough most days. In hot spells, check again in the late afternoon.
15. Salad Leaves in Shallow Pots
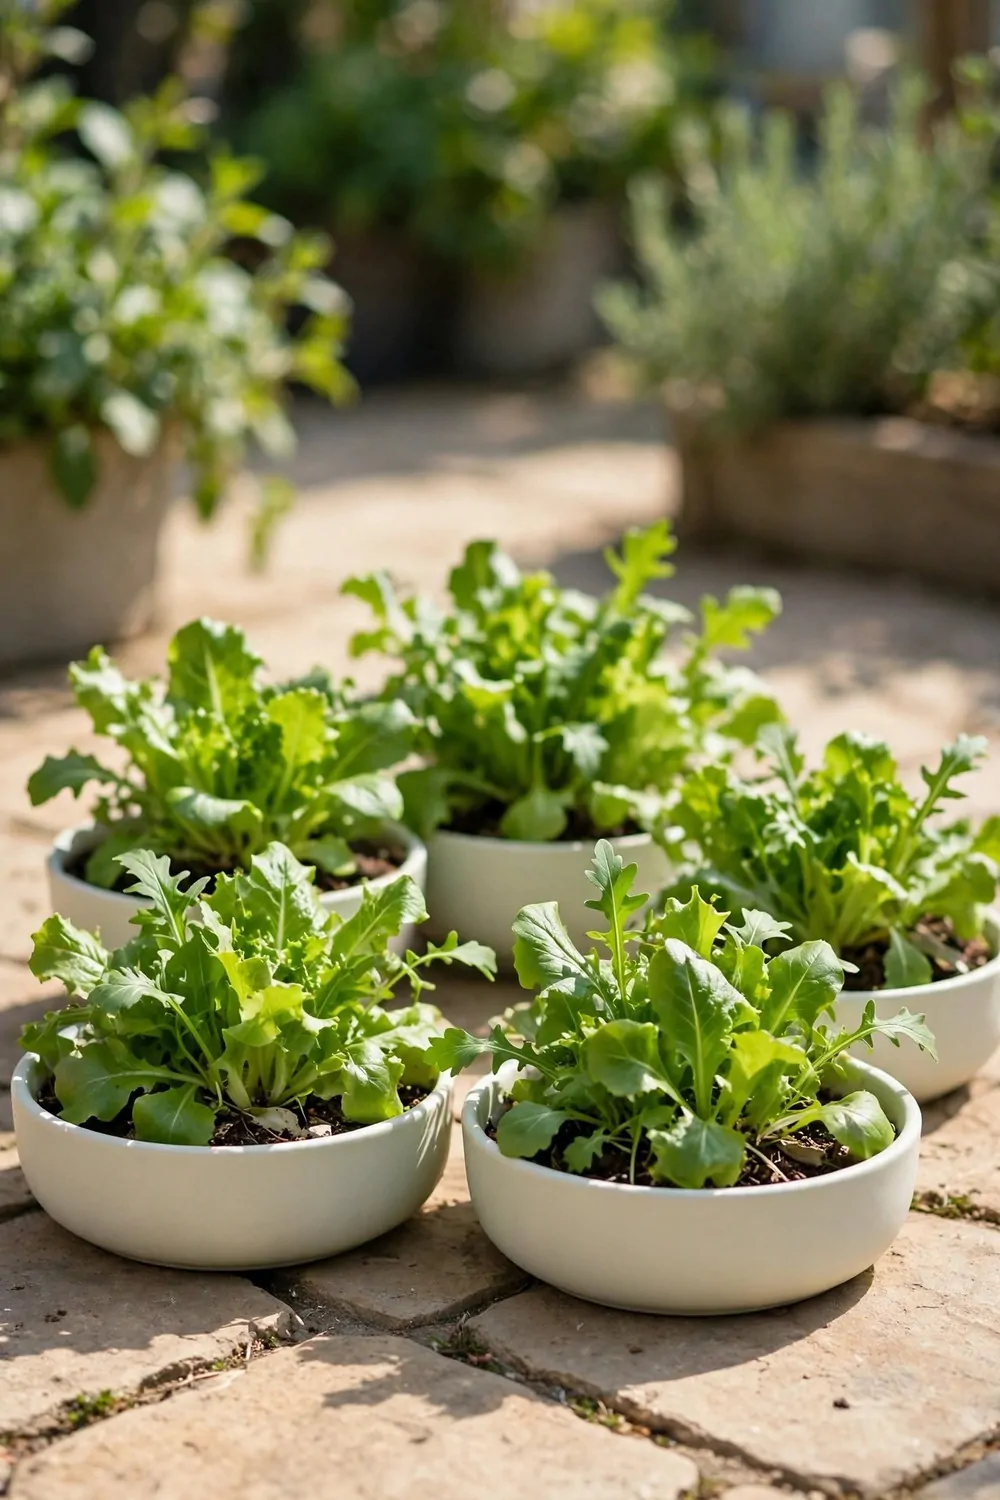
Shallow pots are perfect for salad leaves. The roots stay near the top, so they do not need deep soil.
Fill a wide pot with loose soil and press it down gently. Sprinkle the seeds thinly across the top. Cover them with a light dusting of soil and water softly.
Keep the soil damp while the seeds wake up. A spray bottle helps you water without washing the seeds away.
Thin the young leaves when they start to crowd each other. Pull the weakest ones out and leave room for the rest to grow.
Plan on around $12 to $24 for a wide pot, a bag of soil, and a pack of seeds. It is a small start for a lot of fresh leaves.
Pick the outer leaves first and let the centre keep growing. That way one pot can feed you for a few weeks. You get a few handfuls each time, enough for a few meals.
Salad leaves like cool mornings and a bit of shade at noon. Move the pot to a cooler spot if the leaves start to wilt.
Sow a new row every two weeks for a steady supply. You will always have young leaves ready to pick.
Wash the leaves well before you eat them. Shake off the water and tear them by hand. They taste best with bread and vegetables on the side.
16. Tomatoes in Big Containers
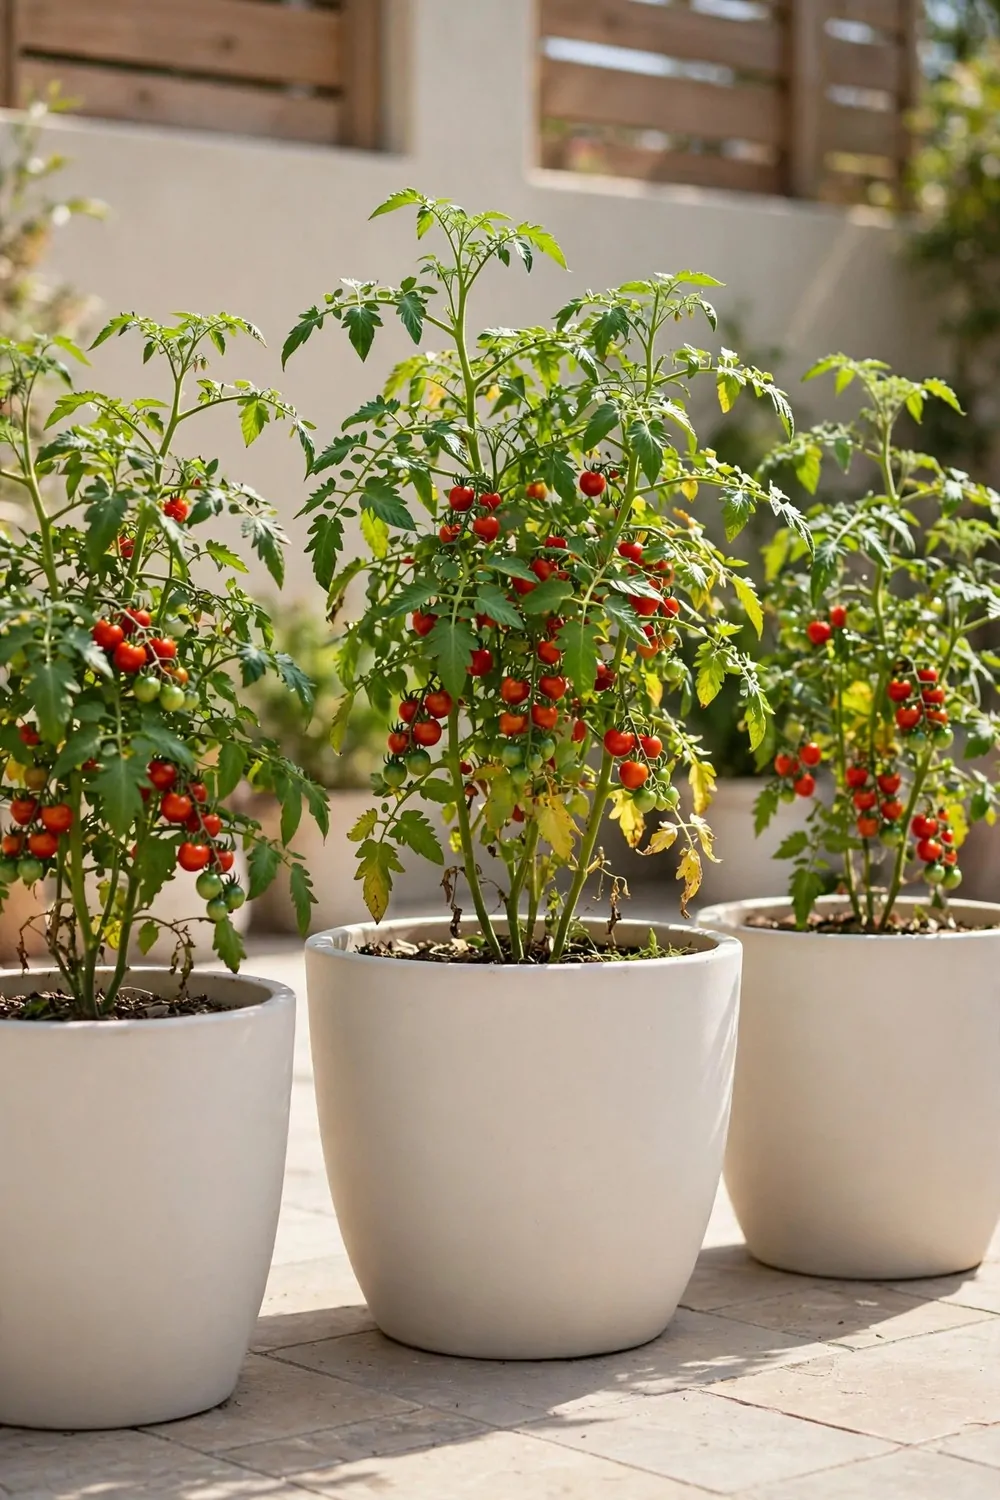
Tomatoes need a big pot and a sunny spot. A small pot will dry out fast and the plant will struggle.
Pick a pot that holds a good amount of soil. A deep pot gives the roots room to spread. That room helps the plant stay strong in wind.
Give the plant room to grow tall in the wide pot. The stems grow strong and hold the plant up on their own.
All in, it came to $28 to $48 for a large pot, soil, and a young plant. I bought the pot once and I use it year after year.
Water the soil, not the leaves, when you can. Wet leaves can spot and turn yellow. A slow, deep water in the morning works best.
Feed the plant lightly once it starts to flower. A little feed often is better than a lot all at once.
Pick the fruit when it feels soft and looks full in colour. Leave the green ones on the plant to ripen a bit more.
One plant can give you enough fruit for a few meals across the season. I slice them for bread and rice dishes. They also go well with beans and pasta.
Move the pot to a sunny spot if your patio has shade in the afternoon. A few hours of sun make a big difference.
17. Flowers Mixed With Vegetables
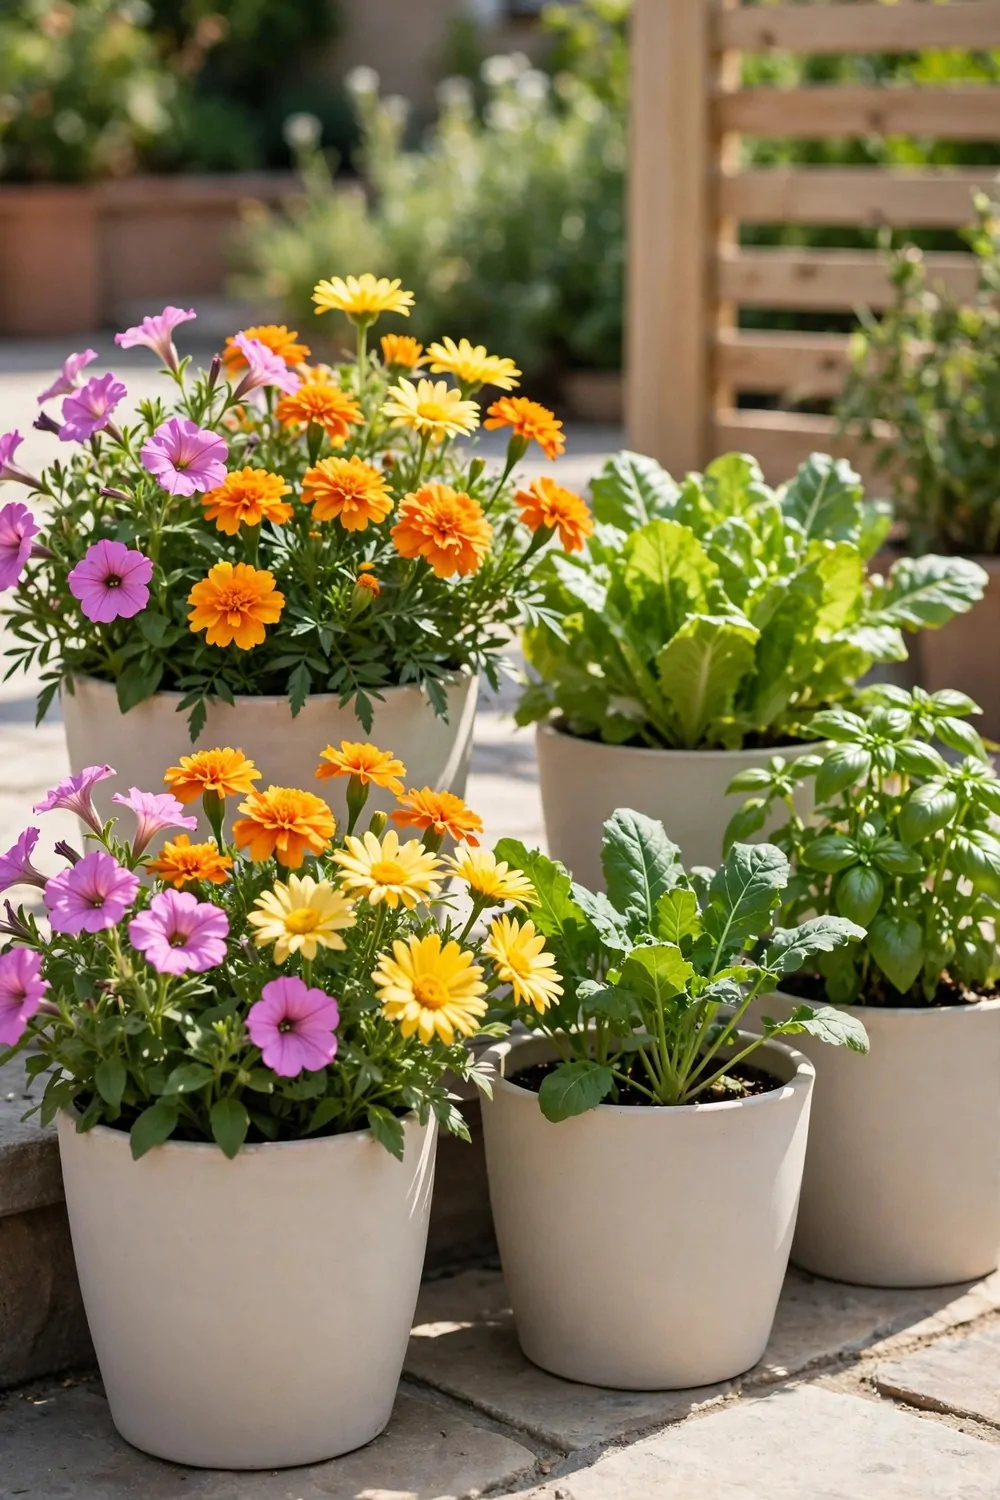
Flowers and vegetables can share a pot and look lovely together. The mix adds colour and keeps the patio feeling alive.
Pick flowers that stay low and do not crowd the vegetables. Marigolds and nasturtiums are good friends in a pot. They bring colour without taking too much room.
Plant the vegetables in the middle and the flowers round the edge. That way each plant has its own space to grow.
Water the whole pot evenly and let the top dry a little between waters. Both kinds of plants like soil that is moist but not wet.
My spend landed near $16 to $30 for plants, soil, and one wide pot. I split the cost with a neighbor and we shared the young plants.
Some flowers draw in helpful insects that visit the blooms. Those visitors help your vegetables set fruit. It is a quiet kind of help, and it works.
Trim dead blooms often so new ones can open. A quick snip each week keeps the pot tidy.
Harvest the vegetables when they are ready and leave the flowers to keep blooming. The pot will still look full after you pick.
Try one mixed pot first before you fill the whole patio. See what grows well together in your light. Then you can repeat the mix you like best.
18. A Patio Fruit Corner in Pots
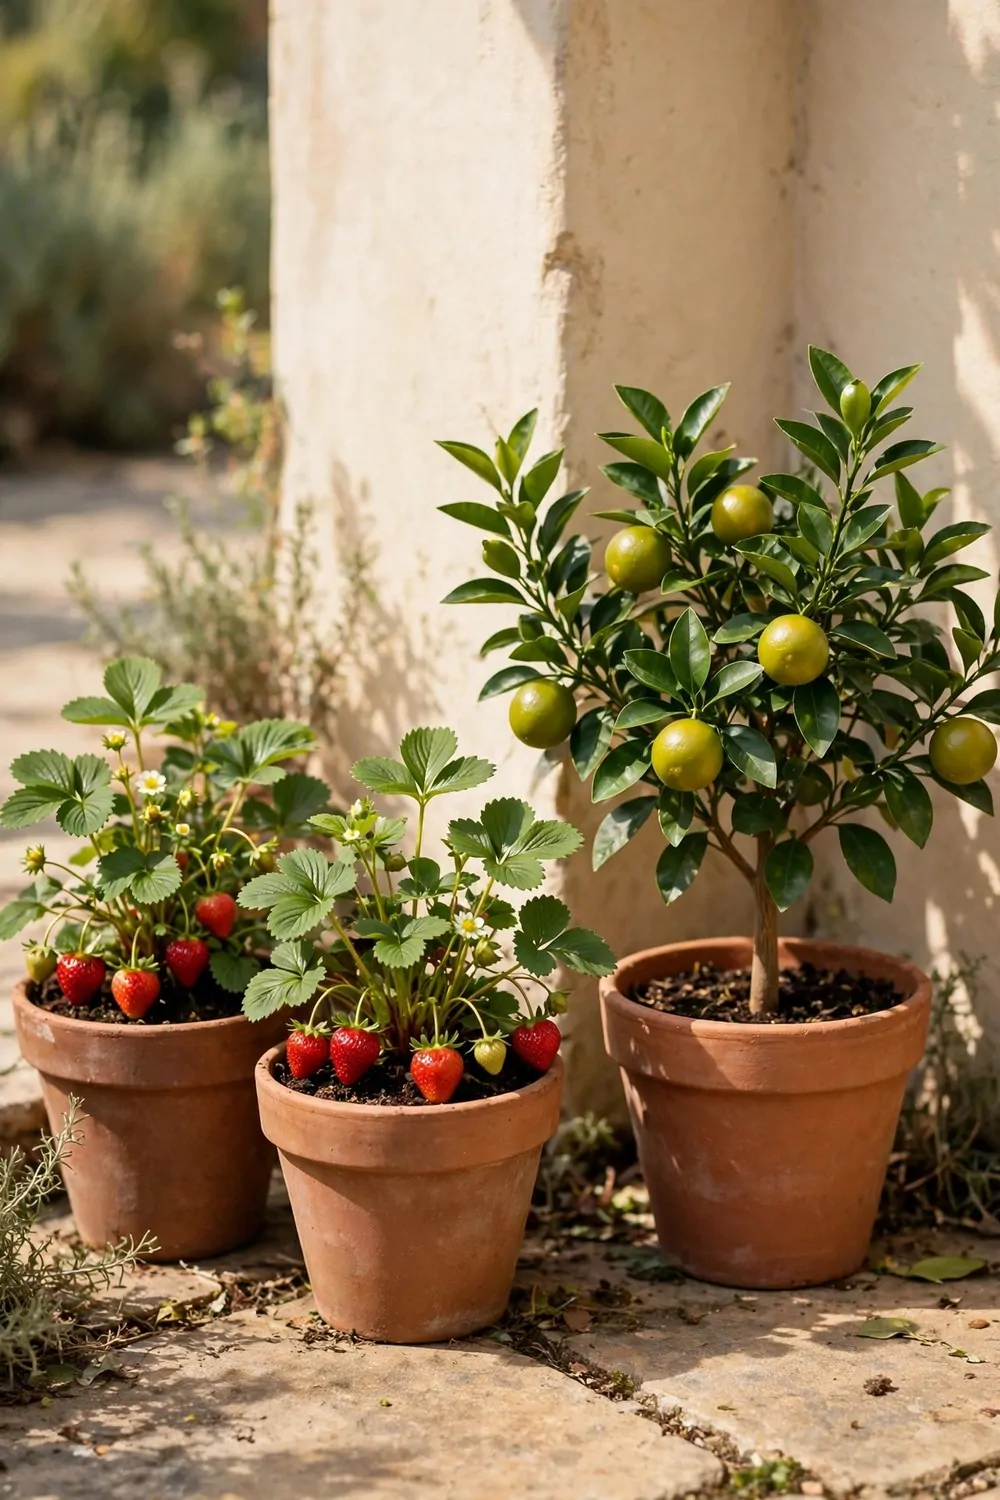
A fruit corner sounds big, but it can fit in three pots. Pick small types that stay tidy in a container.
Strawberries do well in wide, low pots. Blueberries like a pot of their own. A small lemon tree in a large pot can sit in the corner.
Give each fruit pot a sunny spot for most of the day. Fruit needs light to turn sweet and ripe.
Budget about $35 to $60 for the set-up, with pots, soil, and young fruit plants. I bought one plant at a time so the spend felt easy.
Water fruit pots often in warm weather. The soil dries fast when the sun hits the pot all day.
Pick fruit as soon as it is ripe and soft. Birds may visit if you leave it too long. A light net over the pot can help on busy days.
Prune a little in the cool season to keep the shape neat. Cut out weak stems and leave the strong ones.
One pot will not fill a basket, but it gives you a few handfuls now and then. That is enough for fruit with breakfast or a snack. Fresh fruit from your own patio tastes extra good.
Keep the pots near the door so you remember to check them. A quick look each morning is all it takes.
| Idea | Typical Cost |
|---|---|
| Window Boxes for Sunny Sills | $20 to $45 |
| Vertical Wall Planters for Small Walls | $28 to $55 |
| Stacked Pots for Tight Corners | $24 to $50 |
| Tiered Plant Stands for Layers | $35 to $65 |
| A Small Herb Corner by the Door | $18 to $32 |
| Salad Leaves in Shallow Pots | $12 to $24 |
| Tomatoes in Big Containers | $28 to $48 |
| Flowers Mixed With Vegetables | $16 to $30 |
| A Patio Fruit Corner in Pots | $35 to $60 |
19. Shade Pots for Cool Corners
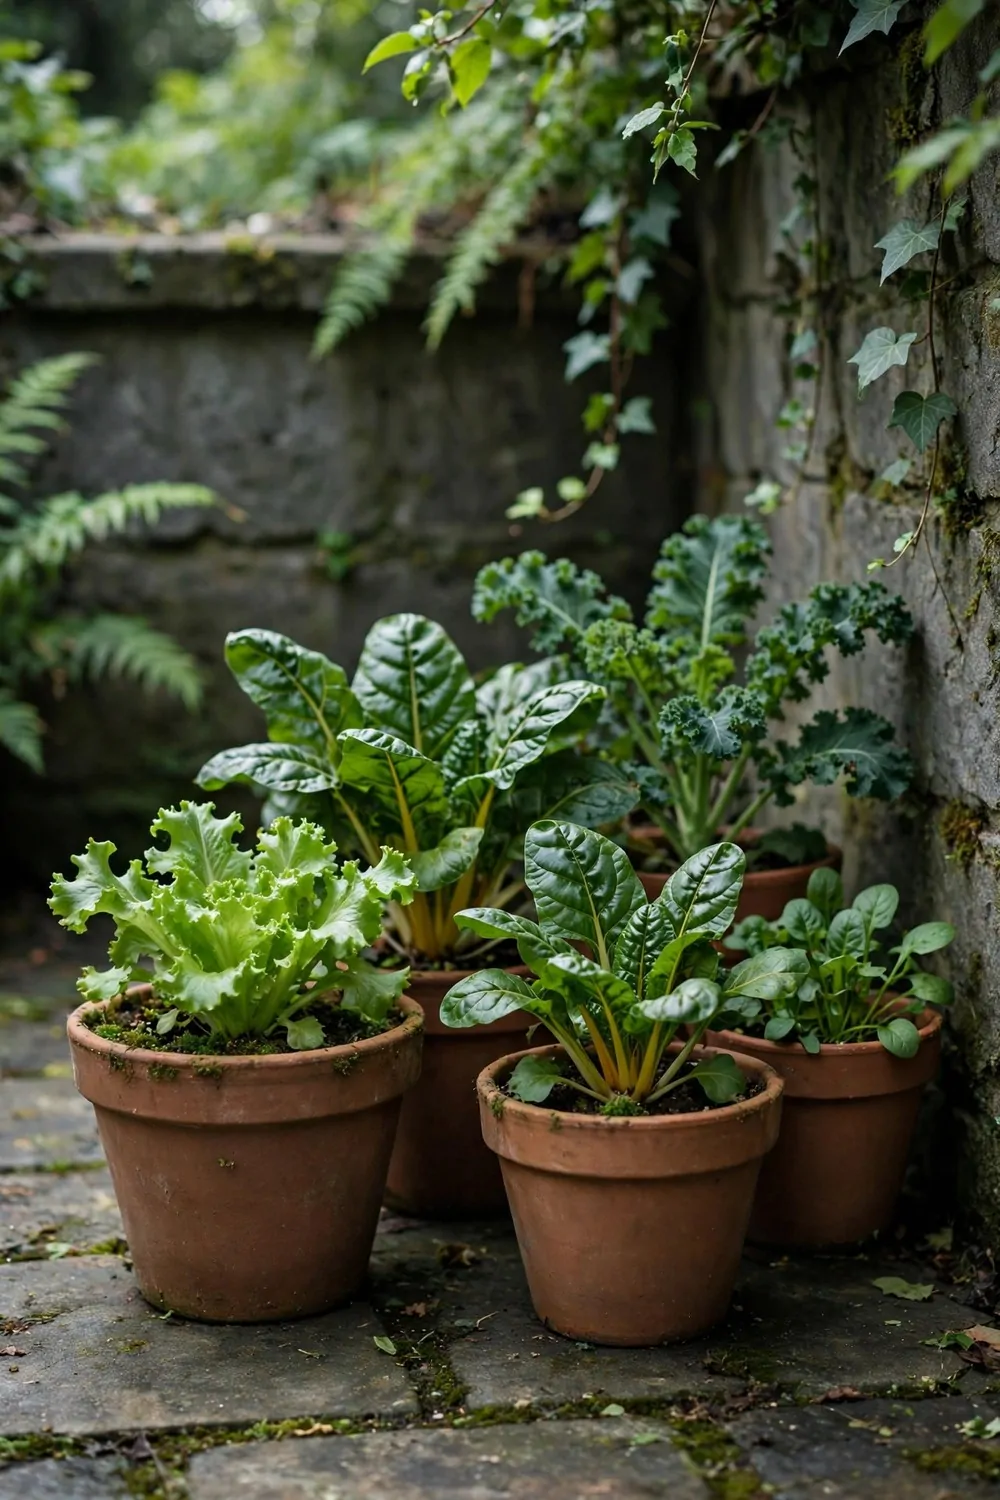
Not every patio corner gets full sun. Some spots stay cool and soft, and that is fine for the right plants.
Ferns, hostas, and leafy greens like a cool corner. They grow slow and steady in low light. Their leaves stay fresh when the sun is not too strong.
Use soil that holds a little water in shade pots. Shade soil dries slower, so you will water less often.
I spent roughly $14 to $27 here for three shade pots and young plants. The pots were plain, and that kept the price low.
Check the soil with your finger before you water. If the top feels damp, wait a day and check again.
Turn the pots a little each week so all sides get light. That keeps the growth even and full. A pot that never turns can lean to one side.
Keep fallen leaves out of the pots so the soil can breathe. A quick tidy each week is enough.
Mix leaf shapes and heights for a calm, full look. Tall leaves at the back and low leaves at the front work well.
Shade pots are good for a quiet reading spot. You can sit near them with bread and fruit in the morning. They make a cool corner feel like a small garden room.
20. Sun Pots for Hot Spots
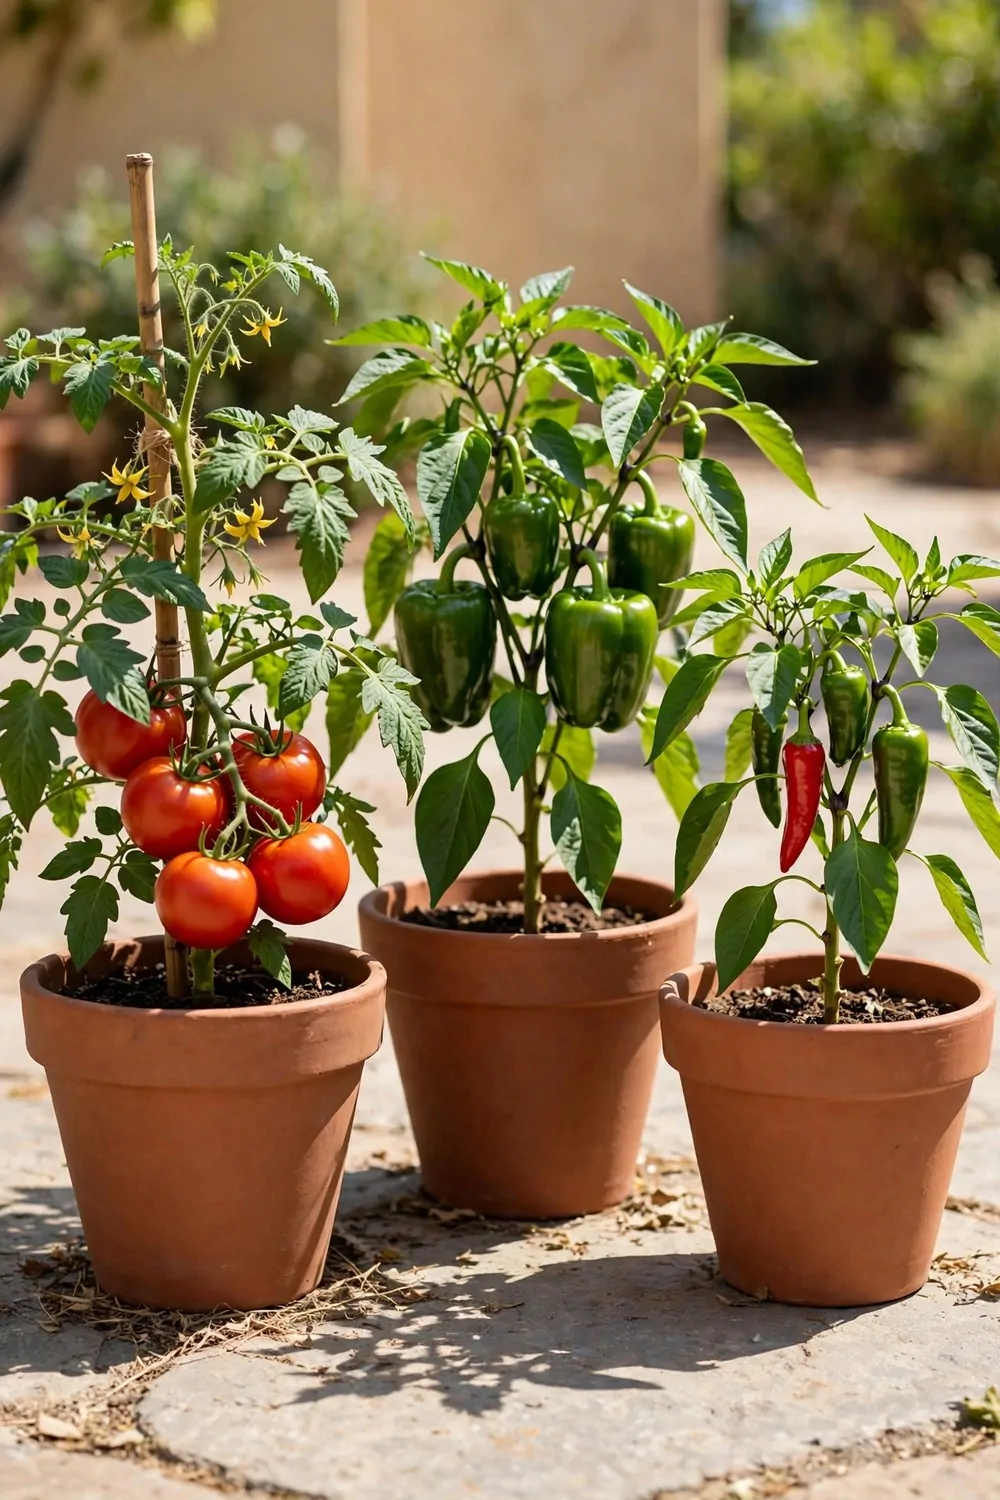
Hot spots need plants that love the sun. Pick types that can take strong light without wilting.
Lavender, rosemary, and succulents do well in hot pots. They like dry soil and bright light. Their leaves are built to hold water for a long time.
Use light-coloured pots in hot spots if you can. Dark pots heat up fast and dry the soil out.
Expect to spend $20 to $38 on sun pots, gritty soil, and young plants. I found the plants at a local market for a fair price.
Water early in the morning before the sun gets strong. That gives the roots time to drink. Water in the heat of the day can vanish fast.
Add a layer of small stones on top of the soil. The stones slow the drying and keep the soil cool.
Move sun pots a little if the leaves start to scorch. Even sun lovers need a break on the hottest days.
Group hot pots together so they shade each other’s soil. A group also looks better than one pot alone. You can water them all in one round.
Snip herbs from sun pots for chicken and rice dishes. A little rosemary goes a long way in a meal.
21. Watering Containers Without a Mess
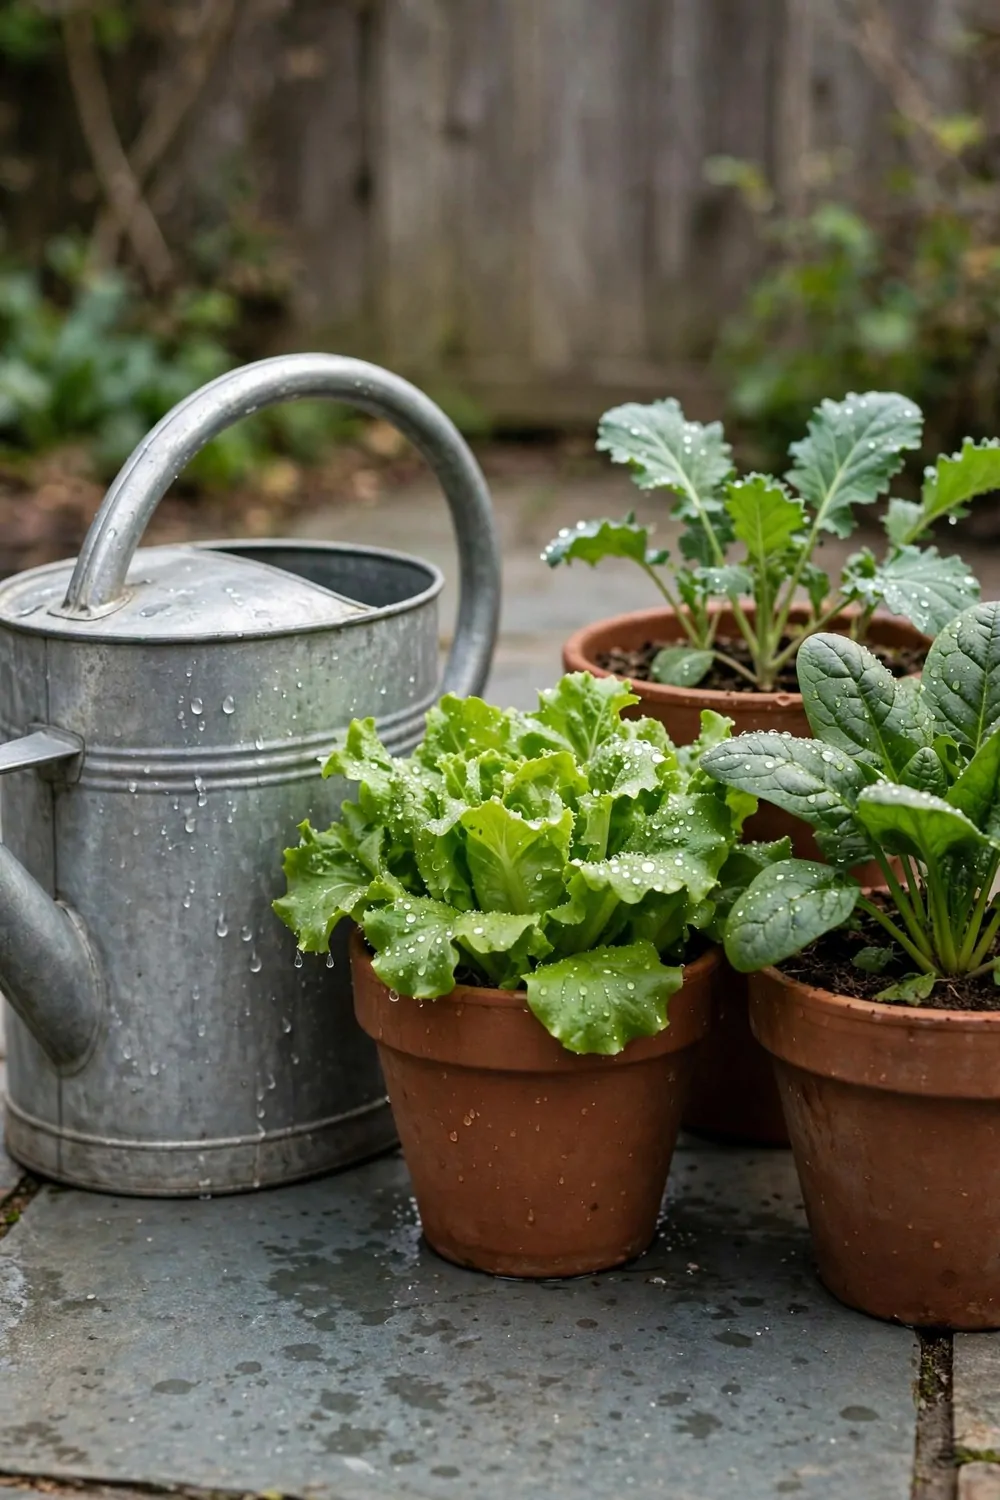
Watering pots can get messy fast. A few small habits keep the patio clean and dry.
Water slowly so the soil can take it in. Fast water runs off the top and onto the floor. Slow water reaches the roots where it is needed.
Use a can with a narrow spout for small pots. You can aim the water right at the soil and miss the leaves.
The whole job ran me $22 to $40 for a good can, a tray, and a simple timer. I use the timer so I do not forget a watering round.
Water in the morning when the air is cool. The plants drink well and the patio dries before noon.
Check the soil before you water again. Push your finger an inch into the soil. If it feels damp, wait until tomorrow.
Put trays under pots near the door. The trays hold the drips and you can tip them out after.
In a dry spell, water little and often for young plants. Big plants can take a deeper water less often.
Keep a small towel near the door for drips. Wipe the floor after you water and it stays clean. A tidy patio makes watering feel easy, not like a chore.
22. Drainage and Saucers That Work
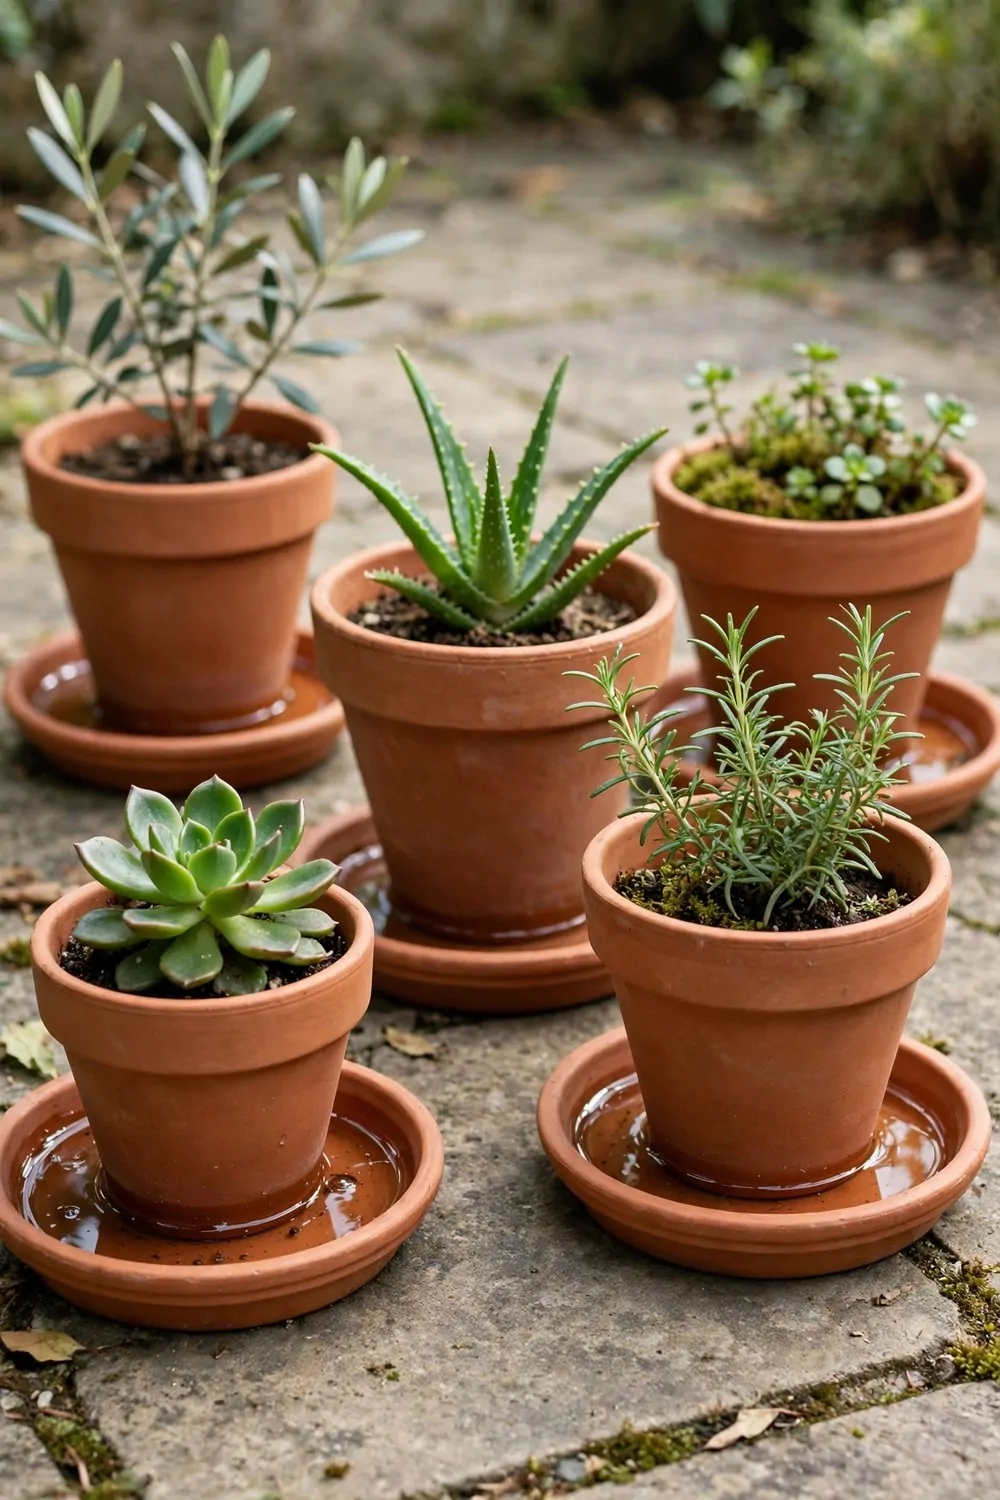
Good drainage keeps roots from sitting in water. Roots need air as well as water to stay healthy.
Every pot needs a hole at the base. If your pot has no hole, drill one or pick another pot. No hole means water has nowhere to go.
Put a few small stones over the hole inside the pot. The stones stop soil from blocking the hole.
Set aside $10 to $22 for this part, for saucers and a bag of small stones. It is a small spend that saves a lot of plants.
Use saucers that are wide enough for the pot. A small saucer will spill when you water. A wide saucer holds the extra water safely.
Tip out the saucer after half an hour. Standing water can rot the roots if you leave it all day.
Raise pots on small feet in wet weather. The lift helps water drain away from the base.
Check the holes in spring before you plant. Old soil can block them over winter. A quick poke with a stick clears them out.
If a pot smells sour, the soil may be too wet. Let it dry out and check the hole before you water again.
23. Soil Mixes for Happy Containers
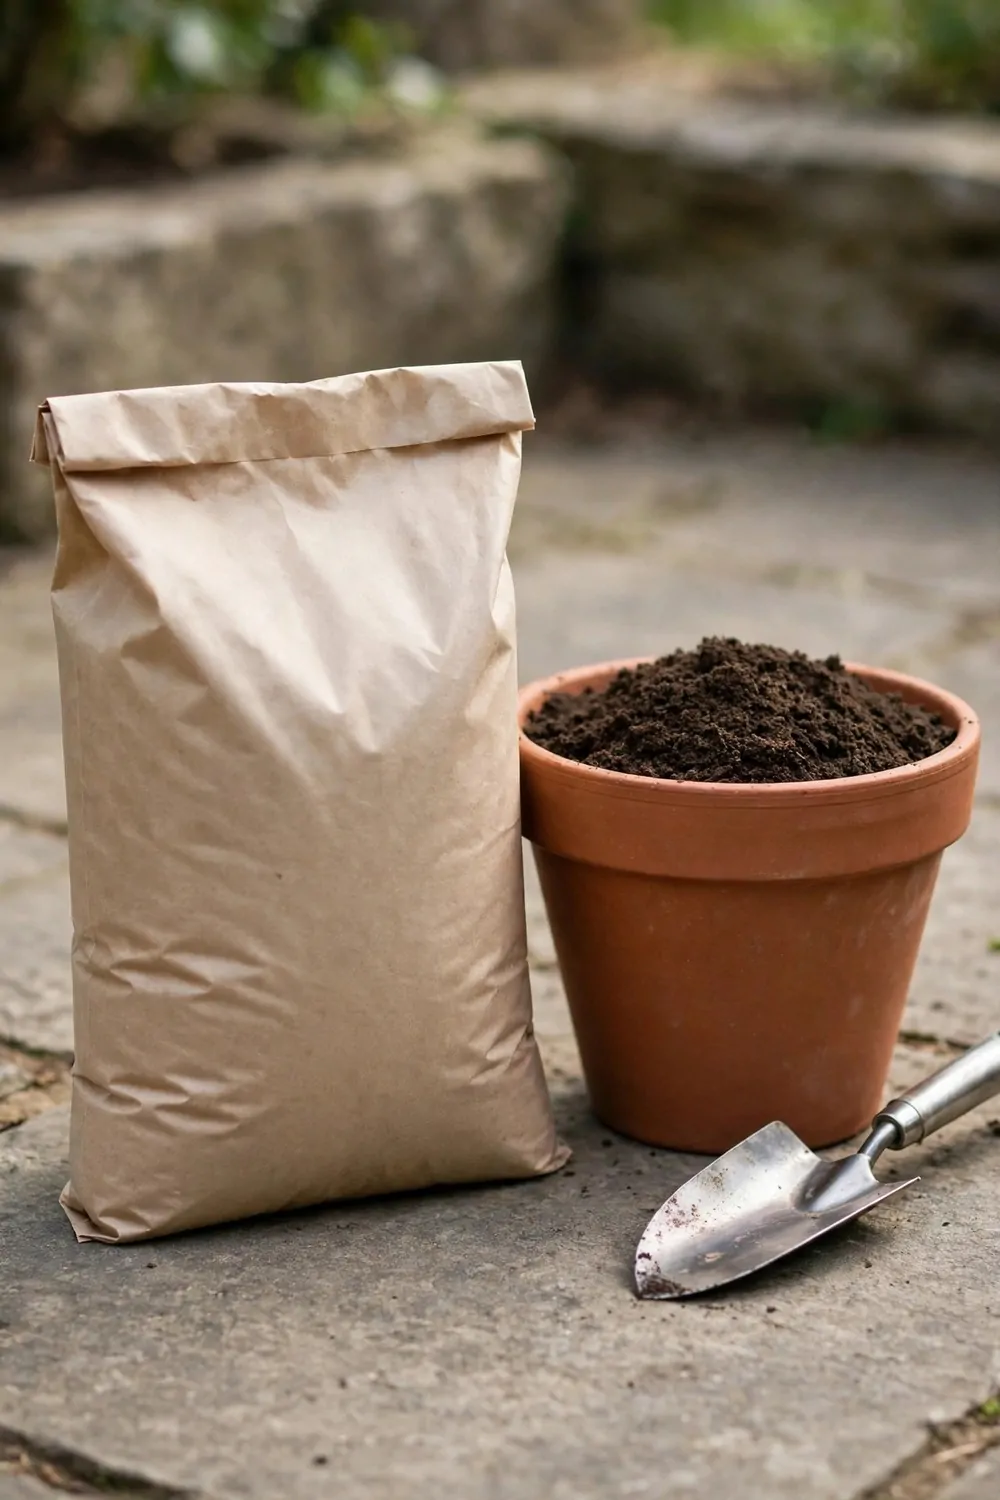
Good soil makes container plants happy. Garden soil alone is too heavy for pots.
A simple mix is potting soil with a little perlite. The perlite keeps the mix light and open. Air can reach the roots and water can drain.
For herbs, add a little grit to the mix. The grit helps the soil dry between waters.
A fair budget is $18 to $34 for two bags of potting mix and a bag of perlite. I mix it in a large tub and store what is left.
For vegetables, use a rich mix with compost mixed in. The compost feeds the plants as they grow. It also helps the soil hold water on warm days.
For fruit pots, use a mix that drains well. Fruit roots do not like to sit wet for long.
Fill the pot loosely and do not press the soil too hard. Loose soil lets roots spread with ease.
Top up the soil each season as it settles. A fresh layer on top gives the plant a boost. You do not need to change all the soil each time.
Label your mixes if you make more than one. A small tag on the pot helps you remember what is inside.
24. Feeding Container Plants the Simple Way
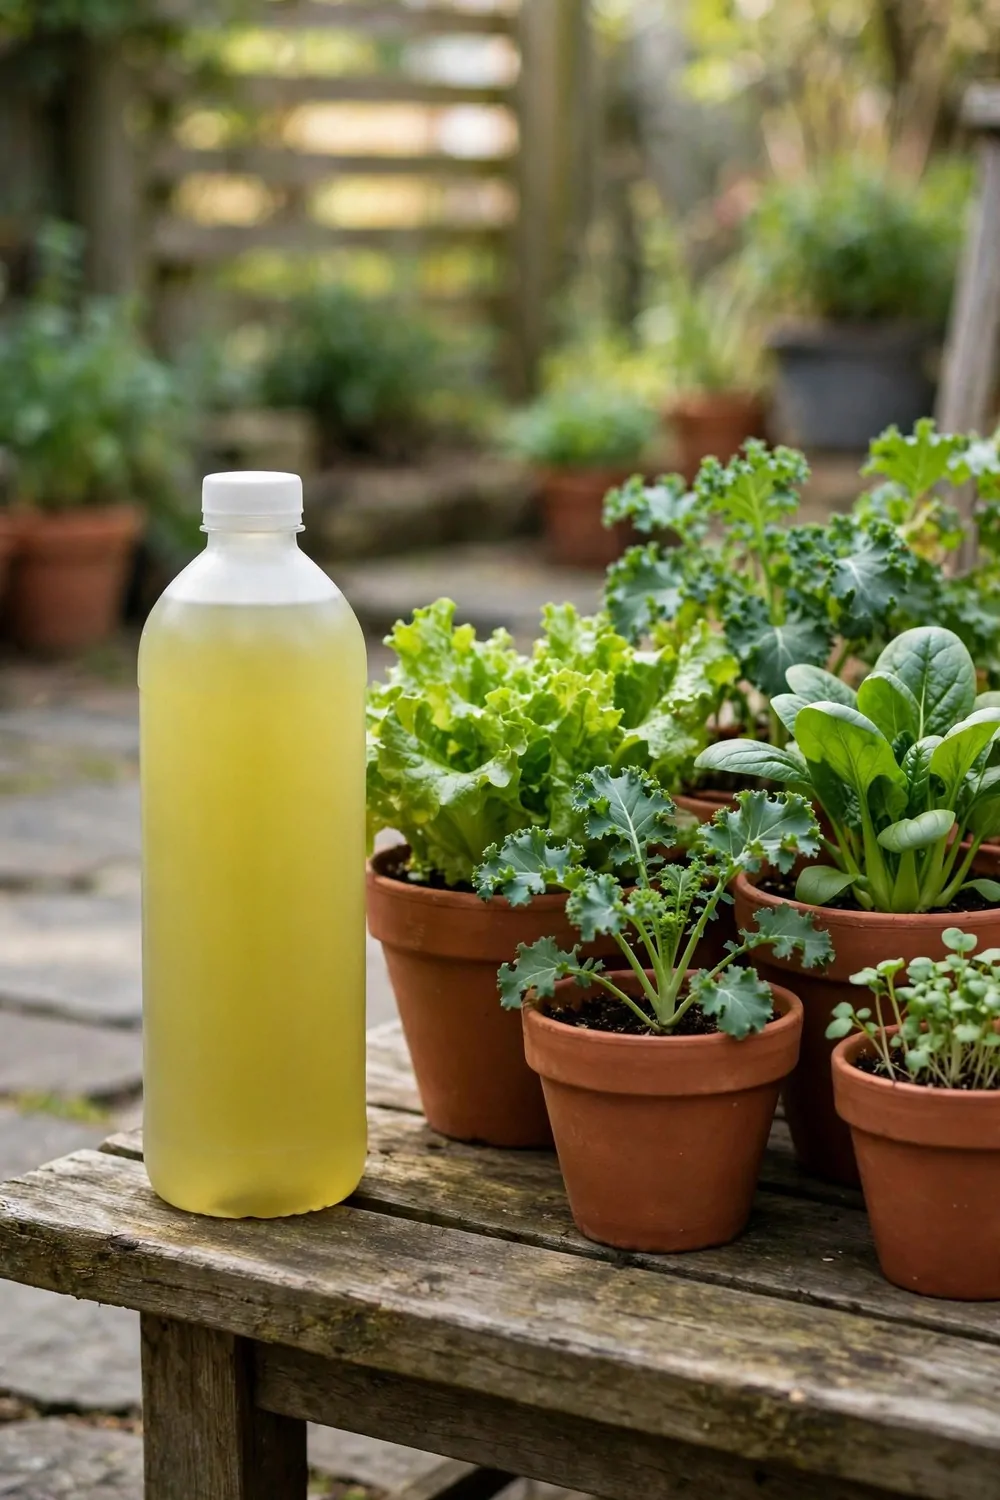
Plants in pots use up food in the soil fast. A little feed now and then keeps them growing well.
Use a liquid feed made for potted plants. Mix it weak, weaker than the label says at first. You can add a little more later if the plant looks pale.
Feed in the morning after a normal water. Feeding dry soil can burn the roots.
I put aside $12 to $25 for feeding, for a bottle of liquid feed and a small scoop. One bottle lasts me a long time.
Feed vegetables more often when they start to fruit. They need extra food to make fruit. Herbs need less feed and grow fine with a light touch.
Stop feeding in the cold season when growth slows. The plants rest and do not need extra food then.
Watch the leaves for clues about food. Yellow leaves can mean the plant is hungry, but check water first.
Keep a simple note of when you fed each pot. A note on the fridge helps you remember. That way you will not feed the same pot twice in one week.
A little feed goes a long way in a small pot. More is not always better, so start light and watch how the plant responds.
25. Moving Pots With the Seasons
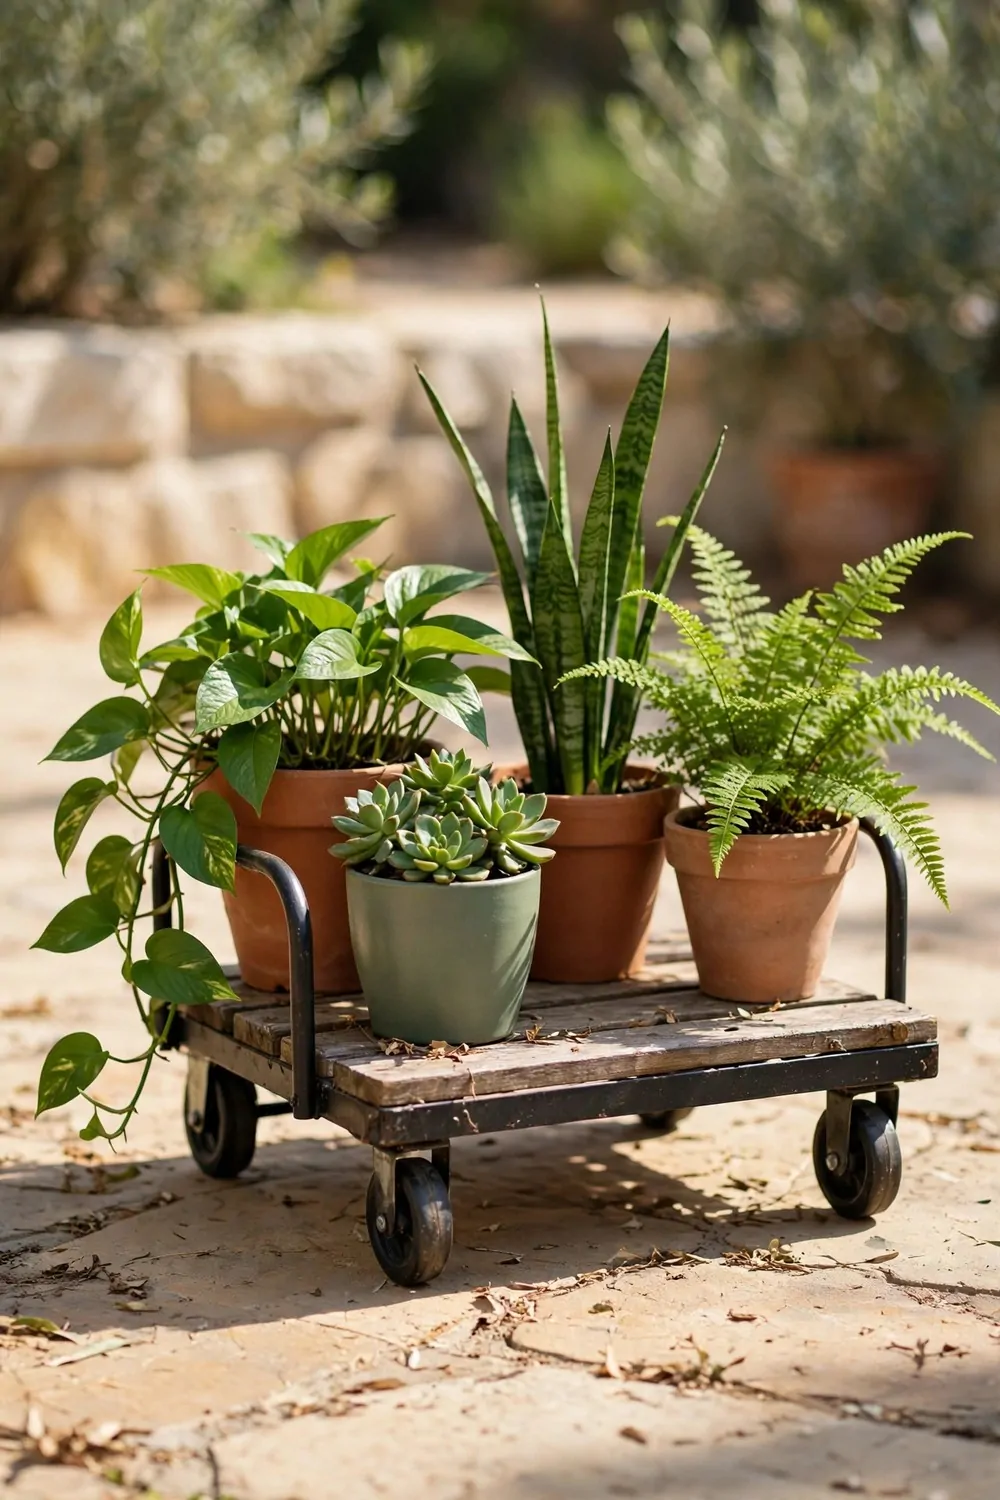
Pots are easy to move, and that is their best trick. You can follow the sun as the seasons change.
In spring, move pots to a warm, bright spot. Young plants like gentle sun and shelter from wind. A wall can block the wind and hold a little warmth.
In summer, move pots to a spot with shade at noon. The midday sun can be too strong for soft leaves.
Moving day cost me $15 to $29 in small bits, for pot feet, a small trolley, and a pair of gloves. I move the heavy pots on the trolley now.
In autumn, move tender plants near the house. The wall keeps them a little warmer at night. Bring the softest ones inside if frost is near.
In winter, group pots together in a sheltered corner. The group keeps each pot a little warmer than one pot alone.
Lift pots, do not drag them across the patio. Dragging can crack the pot and scratch the floor.
Check the weight before you lift a large pot. Move it before you water, when the soil is light. Ask for help with the biggest pots.
Make a small plan each season for where each pot will sit. A quick sketch on paper helps you remember the moves.
26. A One-Week Starter Patio Plan
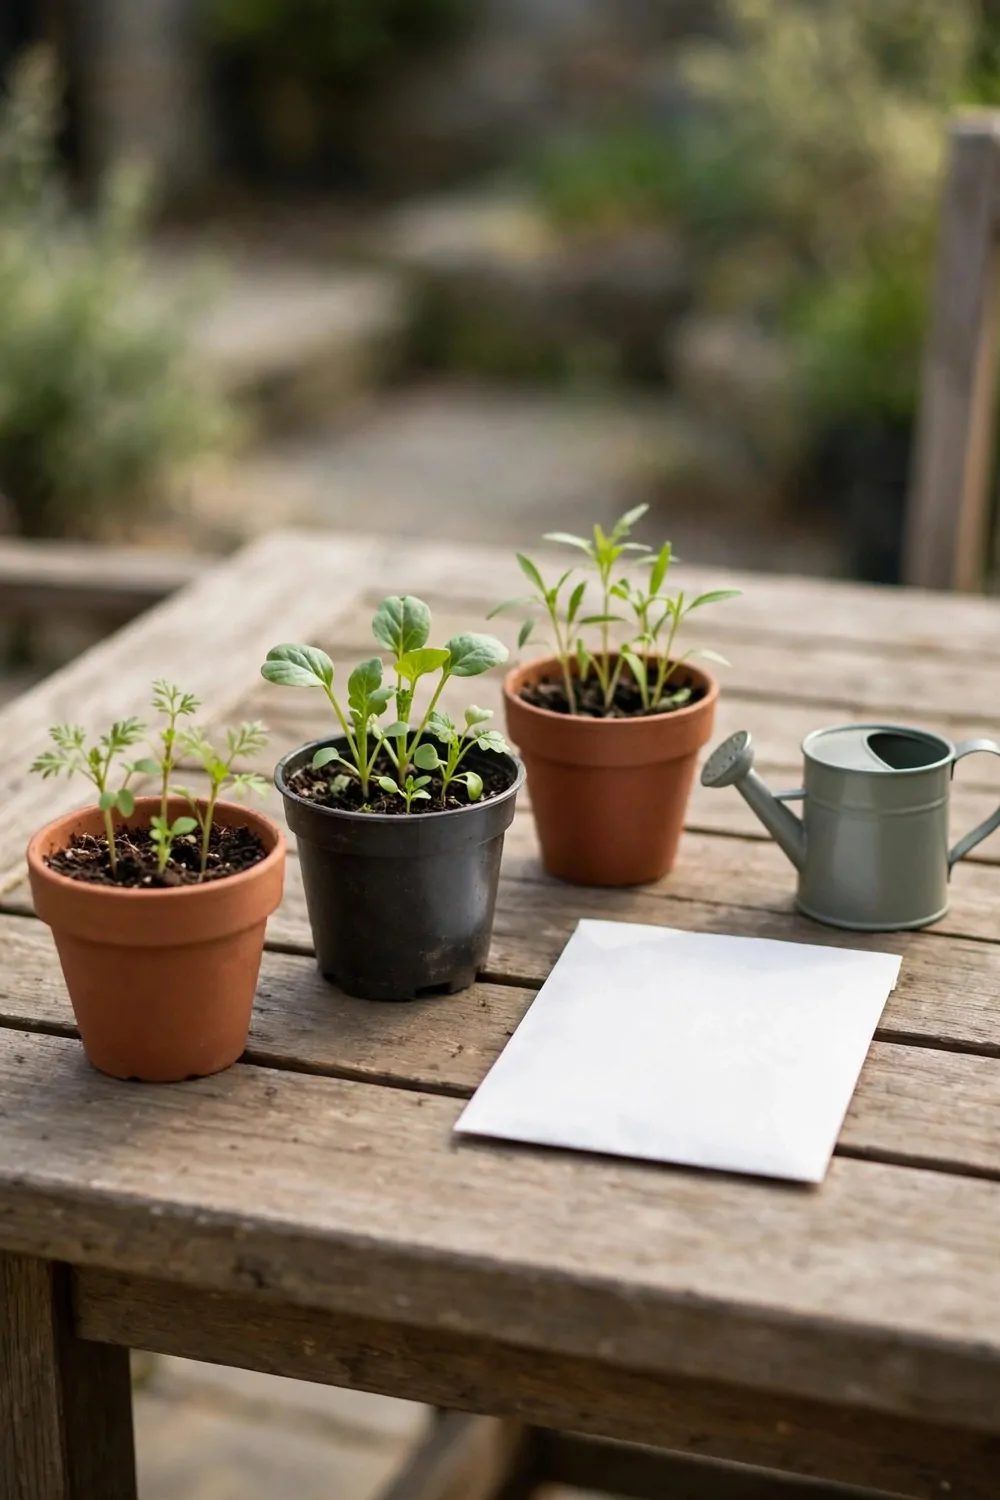
One week is enough to start a small patio garden. You do one small job each day and it never feels big.
Day one is for looking and planning. Walk around the patio and note where the sun falls. Pick three spots for pots and leave the rest clear.
Day two is for shopping. Buy your pots, soil, and young plants in one trip. Keep the list short so you do not feel rushed.
Day three is for potting. Fill the pots with soil and plant the young plants gently. Water them well and set them in their spots.
Day four is for herbs by the door. Plant basil and parsley in small pots. Put them where you can reach them while you cook.
Day five is for salad leaves. Sow seeds in a wide, shallow pot. Water softly and put the pot in a cool, bright spot.
Day six is for trays and tidying. Put saucers under each pot and wipe the patio floor. Check that every pot drains well.
Day seven is for looking and enjoying. Check each plant and water only the pots that feel dry. Sit with bread and fruit and enjoy your new patio garden.
My list for the week was terracotta pots at $18 to $32, potting mix bags at $14 to $26, and a watering can at $10 to $19. I also bought saucers at $7 to $13 and young plants at $16 to $30. All together that comes to $65 to $120 for the full starter week.
| Area | Main change | Typical Cost |
|---|---|---|
| Terracotta pots | Three terracotta pots filled and set in sunny spots | $18 to $32 |
| Potting mix bags | Bags of light potting mix for every pot | $14 to $26 |
| Watering can | A small can with a narrow spout for gentle watering | $10 to $19 |
| Saucers | A saucer under each pot to hold the drips | $7 to $13 |
| Young plants | Young herbs, salad and vegetable plants for the first pots | $16 to $30 |
| Total | One-week starter patio set | $65 to $120 |
Keep Reading
If you liked these ideas, you will love these posts too.
- 27 Small Bathroom Remodel Ideas That Look Expensive
- 30 Kitchen Remodel Ideas With Before and After Photos
- 28 Basement Remodel Ideas That Turn Dead Space Into Living Space
- 24 Attic Remodel Ideas That Add a Whole New Room
- 31 Open Plan Kitchen Ideas That Make Small Homes Feel Big
- 35 Whole Home Remodel Ideas Room by Room
Pick one pot idea this week and set it up on your own patio. A few green pots can change how your mornings feel. Then add one more when you are ready and watch your small space come to life.