19 Art Studio Layout Plans That Make Work Flow

My cat picked my first colour for me. Not by looking at my painting or sitting nicely beside me. She walked straight across my open paint box one afternoon when I was painting at the coffee table. Then she left neat little blue paw prints down the hallway and sat in the sun like she had done nothing wrong.
That day I learned something I wish someone had told me much earlier. Your art studio layout matters more than your paints.
I moved to the kitchen table next. That was only a tiny bit better. My brushes rolled off onto the floor. The light came from the wrong side, so my hand threw a shadow over everything I tried to draw. I spent half my time hunting for things and the other half cleaning up.
Over the years I tried corners of rooms, a spare bedroom, and one very cold garage. I kept moving the same furniture around like puzzle pieces. One day the room finally started to help me instead of fighting me, and I have never gone back.
These 19 art studio layout plans are the exact ideas that made my work flow. Steal the ones you like. Your paintings, your drawings, and even your cat’s paw prints will all thank you.
1. The Triangle Layout: Work, Store, and Wash
Picture your kitchen. The stove, the sink, and the fridge sit in a triangle. Cooks love that shape because you never walk far. Your studio can work the same way.
Make three points. One is your work spot, the easel or table. The second is your supplies. The third is your wash spot for brushes and dirty water.
Stand in the middle and turn slowly. You should be able to reach each point with a few steps. If you have to cross the whole room, the triangle is too big.
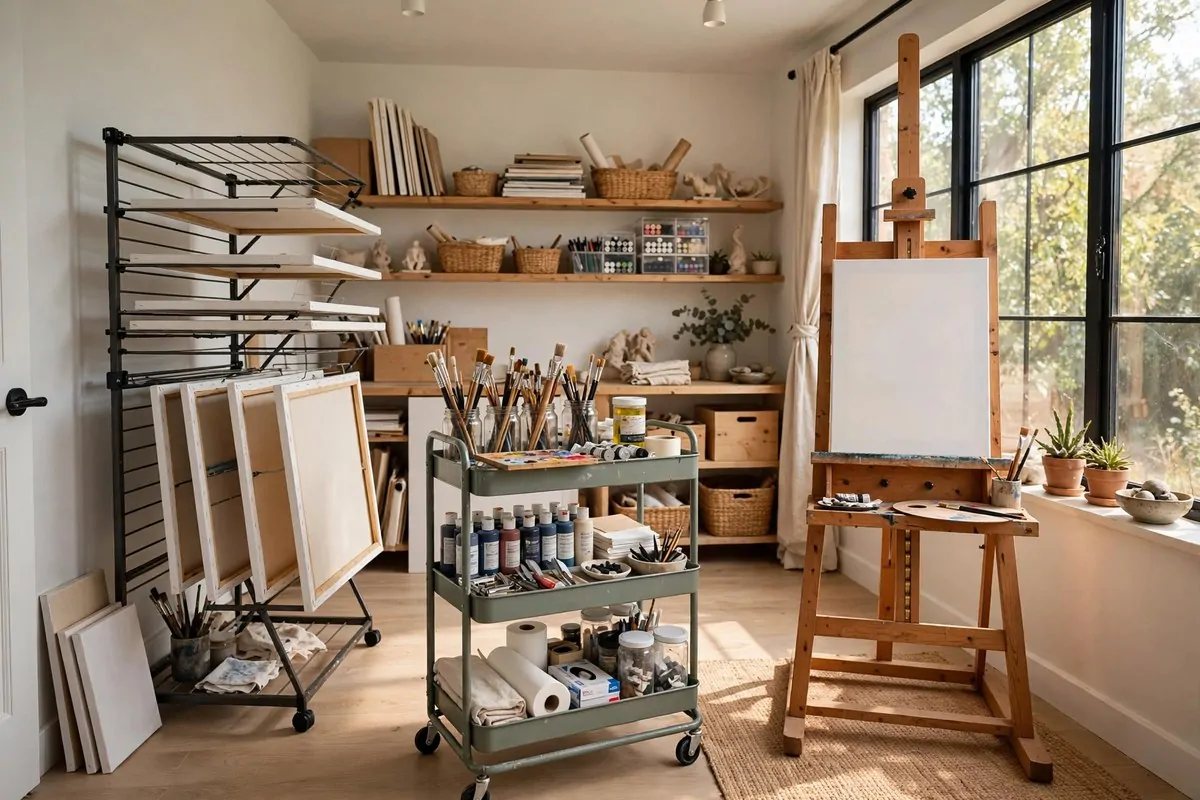
I put my easel in the centre. The cart with my paints sits on the right. My little wash bucket and jars sit on the left.
Here is what this saves you. No more walking across the room with a wet brush. No more drips on the floor.
It also saves your back. Small steps all day are much kinder than long walks.
Try this on paper first. Draw your room. Mark the three points. Move them until the triangle feels small and tight.
- Work point: easel or table, centre of the room or near the window
- Supply point: cart, shelf, or cabinet on your strong side
- Wash point: bucket, jars, or small sink near a water source
Here is a simple way to plan the distances.
| Leg of the triangle | Best distance | Why |
| Work to supplies | One or two steps | Grab a new colour fast |
| Work to wash | Two or three steps | Rinse without dripping |
| Supplies to wash | Close together | Refill jars easily |
My favourite part is how quiet the room feels now. Everything is near. My brain stops planning the walk and starts painting.
2. Face the North Window
Painters have loved north-facing windows for hundreds of years. The light from that side stays steady all day. It does not throw sharp shadows that move.
Sun from the south or west changes every hour. Morning light is cool. Afternoon light is warm. Your colours will look different each time you check.
If you paint near a north window, your colours stay honest. What you mix at ten in the morning looks the same at three in the afternoon.
Place your easel at a slight angle to the window, not straight on. Straight on can be too bright and can hurt your eyes.
I learned this one the hard way. My first easel faced west. Every sunset I had to stop because the light turned everything orange.
You do not need a huge window. Even a small one works if you sit close enough.
Digital artists can flip this idea. Keep the window to your side, not behind or in front of your screen. Glare on a screen is the enemy.
Test your room at different hours. Walk in at nine, at noon, at four. Notice which window feels calm and steady.
- Best window: north-facing for steady light
- Easel angle: slightly turned, not straight on
- Distance: close enough to see detail clearly
Once I moved my easel, my paintings changed. The colours matched better. I stopped repainting things the next morning.
3. The Skylight Sweet Spot
A skylight is like a window that points at the sky. The light falls straight down. It fills the room in a way a side window never can.
Many artists say overhead light is the closest thing to working outside. It spreads soft and even over your whole table.
Place your main work table right under the skylight. That is your sweet spot. The best light in the room lands on your brushes.
I once worked in a room with a small skylight and plain walls. My paints looked rich. My pencil lines looked crisp.
Keep the area under the skylight clear of tall furniture. Tall shelves will block the light and throw shadows.
If the light gets too strong at midday, add a simple shade or a light curtain. You want soft light, not a sunbeam in your eyes.
Skylights also help ventilation a little. Warm air rises and can escape if the skylight opens.
- Put your table directly below the skylight
- Keep tall shelves away from the light path
- Add a shade for harsh midday sun
I miss that skylight room. Everything I made in there felt easy. The light did half the work for me.
4. The Wet Zone Corner
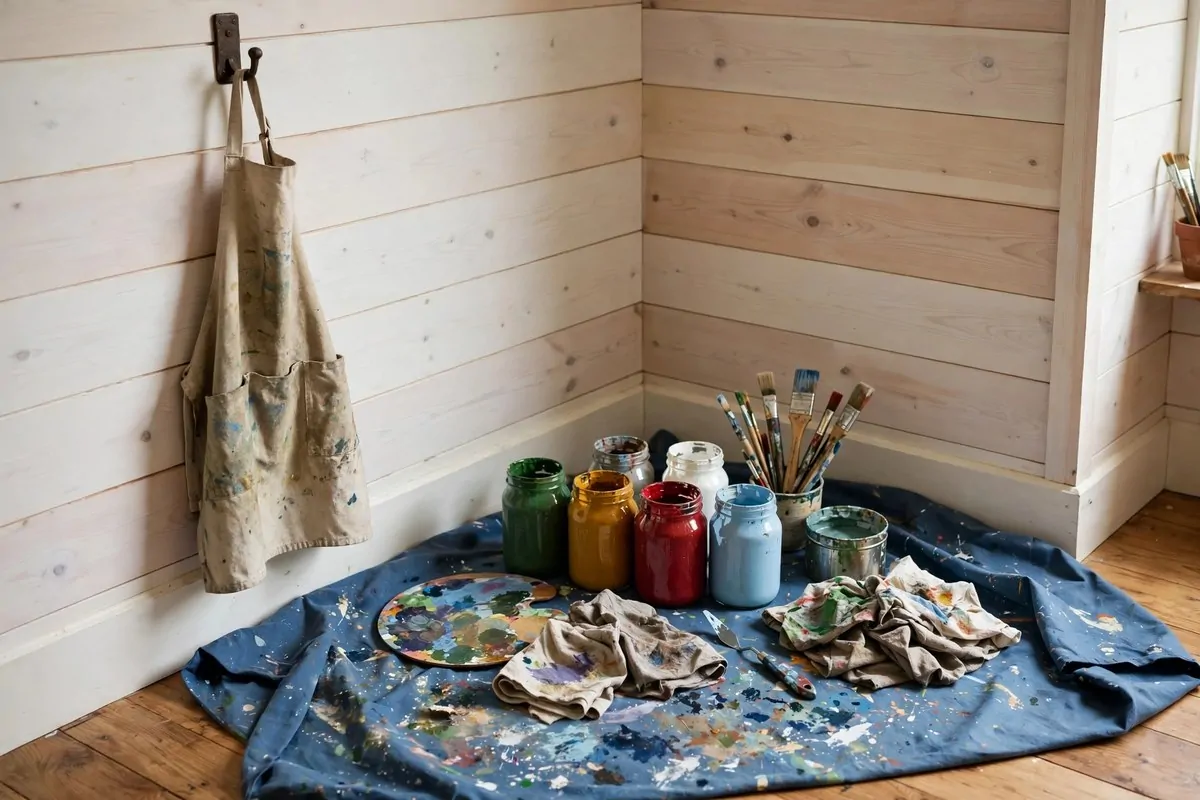
Paint is messy. That is not a flaw. It is just part of the fun. But the mess should stay in one corner, not spread across the whole house.
Pick one corner of your studio. Call it the wet zone. Every splashy thing happens here. Pouring. Mixing. Rinsing. Drips.
Put a drop cloth or a vinyl mat on the floor. Canvas cloths soak up drips. Vinyl mats wipe clean in seconds. I like vinyl because I can rinse it in the yard.
Keep rags, paper towels, and a trash bin in this corner. When a spill happens, you clean it in ten seconds.
I also hang my apron on a hook right there. I put it on when I enter the zone. It is like a little ritual that says painting time.
Keep this corner away from paper storage and finished work. Wet and dry should never mix. Water on paper ruins a whole stack.
One more tip. If you work with kids, the wet zone keeps their mess in one place too. They love having their own corner.
- Floor: drop cloth or vinyl mat
- Tools: rags, towels, bin, apron hook
- Rule: all wet work stays inside the zone
My hallway floors used to have paint dots. Since I made the wet zone, the dots stopped. My family noticed and said thank you.
5. The Drying Wall
Wet paintings need a place to rest where nobody leans on them. Acrylics dry in about half an hour. Oils can take days. Both need air.
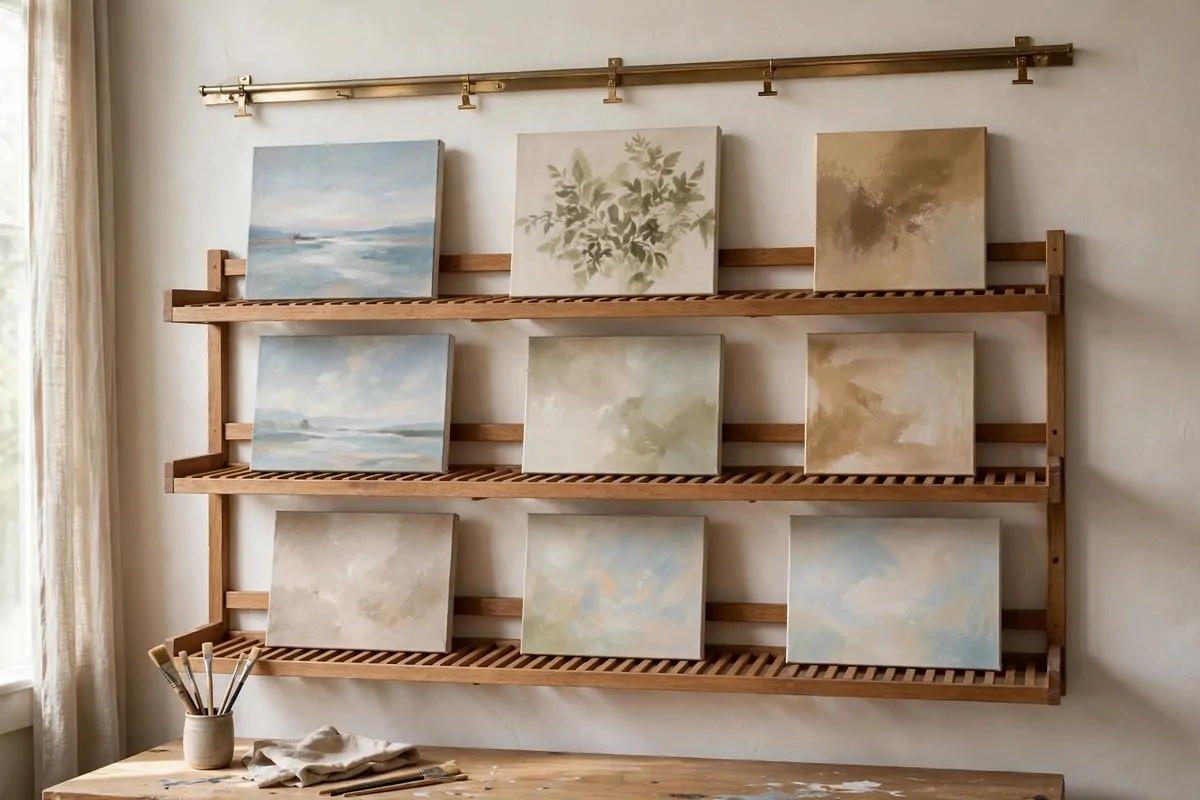
Give one wall of your studio to drying. Mount a rail or a few narrow shelves. Leave about two inches of air between each canvas.
The air gap matters. Paintings touching each other will stick. I ruined a good sunset that way once. Never again.
You can also buy a wooden drying rack with slots. It holds many paintings in a small floor space. It looks like a tall shelf with thin gaps.
Place the drying wall away from the wet zone. Splatter lands far when you least expect it. Give it the quiet side of the room.
Label your wet paintings with little sticky notes. Write the date. Then you know which ones are safe to touch.
Keep pets out of this area if you can. My cat once sat on a wet canvas. I still do not talk about it.
- Wall rail or narrow shelves with air gaps
- Sticky notes with the date on each wet piece
- Keep away from splatter and pets
A drying wall changed my whole routine. I finish a painting, hang it, and walk away. No more balancing canvases on chairs.
6. The Brush Wash Station
Dirty brushes are the fastest way to kill good tools. Paint hardens in the bristles. The brush spreads apart and never comes back.
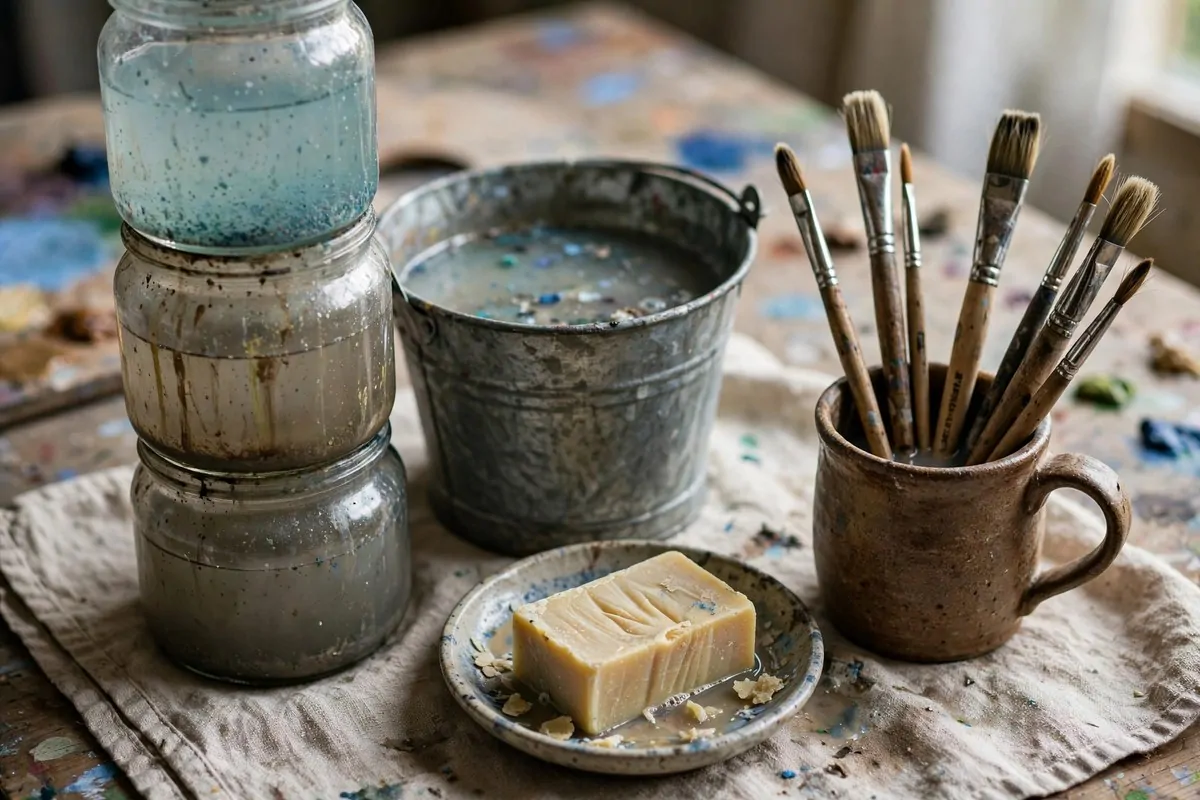
Build a small wash station near your work spot. It does not need plumbing. Just jars, a bucket, and soap.
Use two jars. One for the first rinse. One for clean water. When the first jar looks like mud, swap it.
I keep a bar of brush soap in a little dish. Once a week I wash every brush properly. They stay soft for years.
Dry your brushes tip-down or flat. Never standing tip-up in a cup. Water runs down into the glue and loosens the bristles. I lost three good brushes before I learned this.
Place a small towel under the jars. It catches splashes and saves the table.
Add a trash bin for paper towels and disposable palettes. Keeping it close means you actually use it.
- Two water jars: rinse jar and clean jar
- Brush soap in a dish
- Towel under everything
My brushes used to last months. Now they last years. The wash station is the reason. It takes two minutes and saves real money.
7. The Pegboard Wall
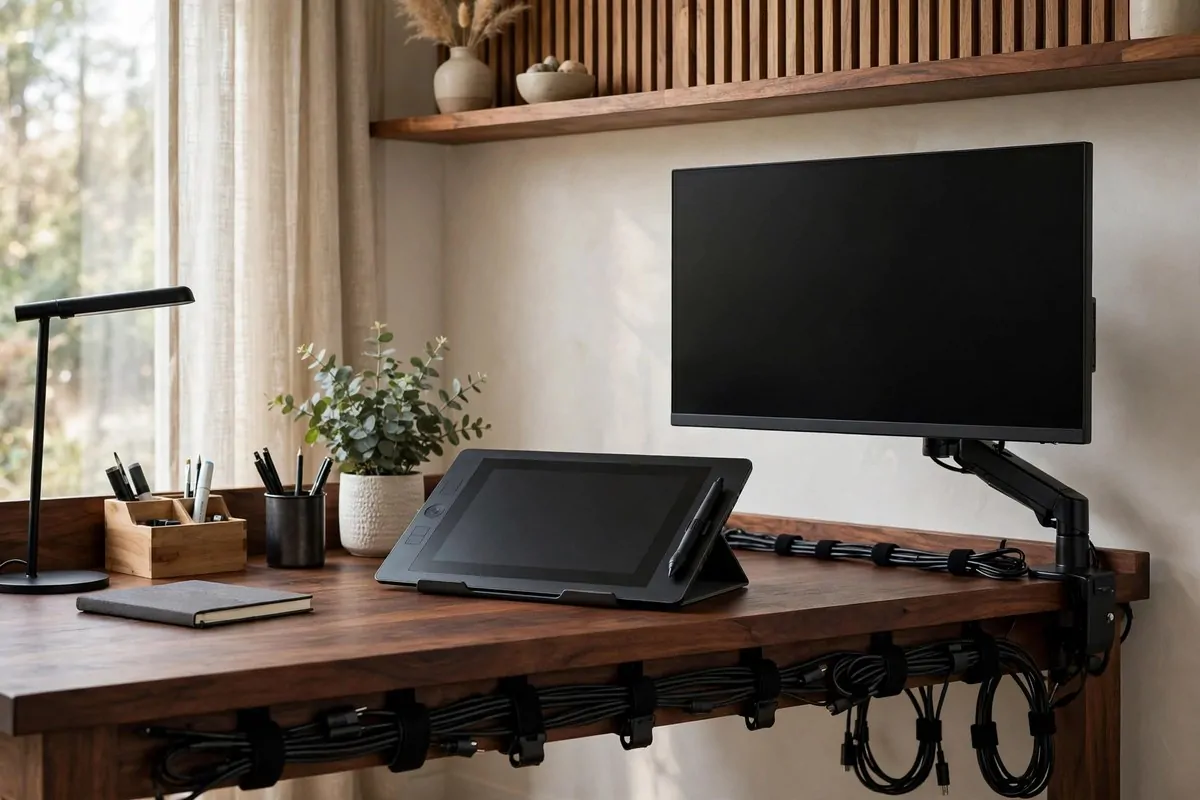
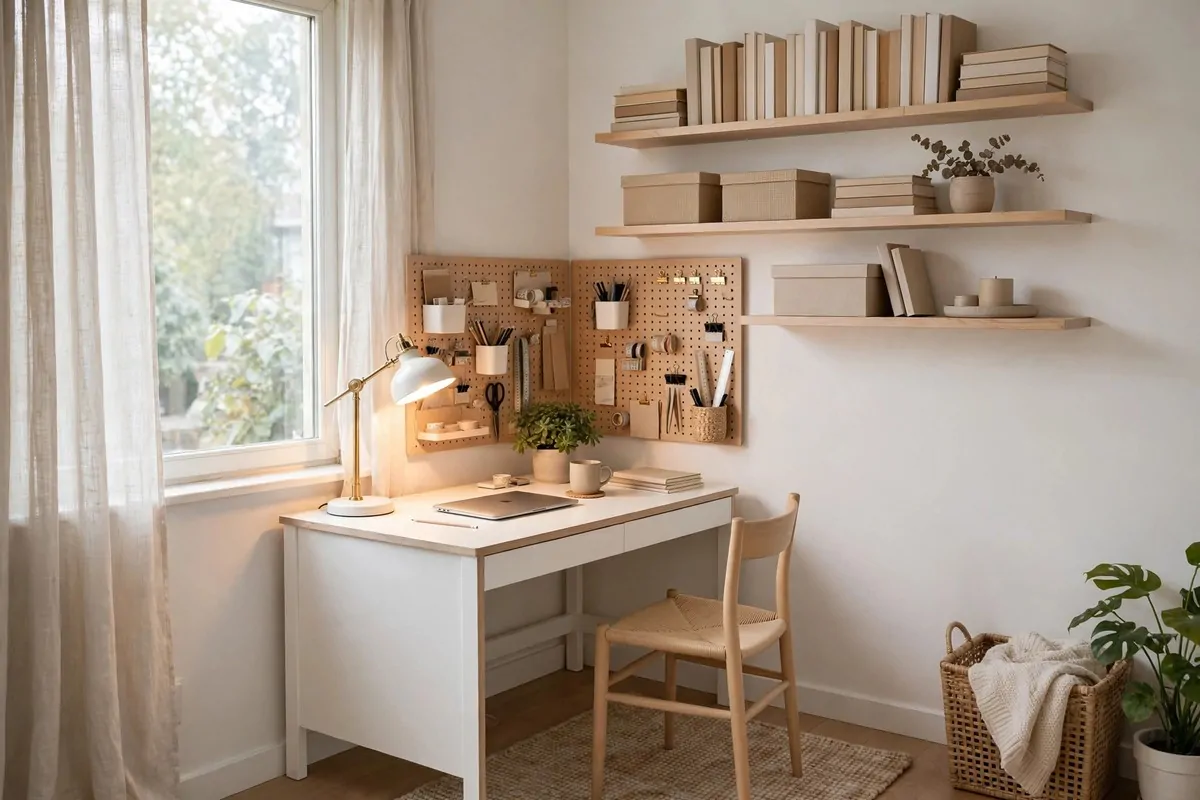
Walls are free storage. Most people forget them and crowd their tables instead. A pegboard turns a blank wall into a tool wall.
Hang a pegboard near your work spot. Add hooks, small baskets, and cups. Brushes, scissors, rulers, and tape all hang within reach.
I love this because I can see everything. No digging in drawers. No buying a second pair of scissors because I lost the first one.
Sort the pegboard by how often you use things. Daily tools at arm height. Rare tools up high.
Metal pegboards work well if you use little magnets. Wooden ones look warm and classic. Both hold plenty.
You can rearrange the hooks anytime. When I started charcoal drawing, I moved the pencil cups lower and the paint knives up.
Label a few baskets with tape and a marker. It takes two minutes and stops the slow slide into chaos.
- Pegboard at arm height near your work spot
- Hooks, baskets, and cups for daily tools
- Labels on baskets to keep order
The best part is the sound. When you finish for the day, you hang each tool back with a little click. The room feels tidy in seconds.
8. The Rolling Cart on Your Strong Side
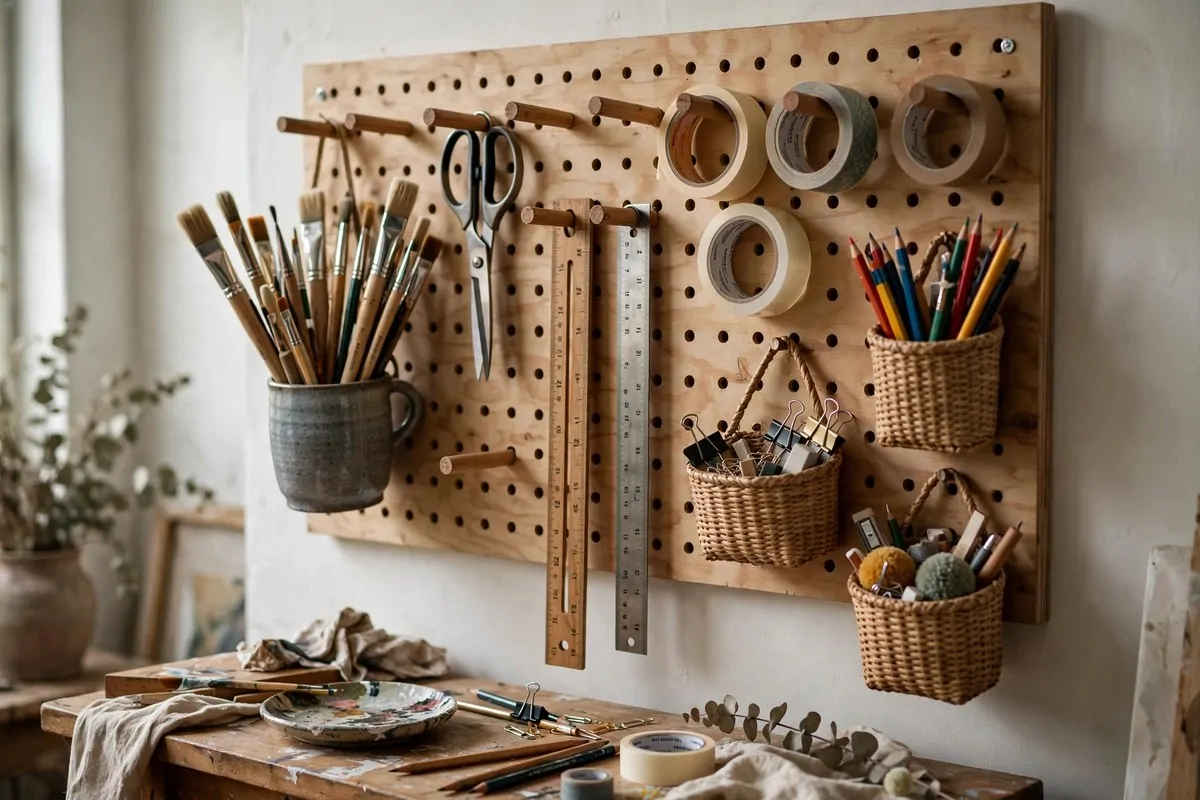
If I could only keep one piece of studio furniture, it would be my rolling cart. It follows me around the room like a helpful little dog.
Place the cart on your strong side. If you paint with your right hand, put it on the right. You grab a new tube without reaching across your wet canvas.
Pick a cart with shallow drawers. Deep drawers become dark caves where supplies disappear. Shallow drawers keep everything visible.
Sort each drawer by colour family or by medium. Warm reds in one. Blues in another. Brushes up top where you can grab them.
Lock the wheels when you work. I learned this after my cart rolled away mid-stroke and bumped my easel. Now the little locks click on every time.
When you finish, roll the cart against the wall. The room opens up. Guests think you are a tidy person.
A cart also helps when you move house. Everything is already packed. Just roll it to the van.
- Strong side placement, close to your hand
- Shallow drawers, sorted by colour or medium
- Lock the wheels while you work
Every artist I know has a cart story. Ours is the hardest working piece in the room. It earns its place every single day.
9. The Task Lamp Opposite Your Hand
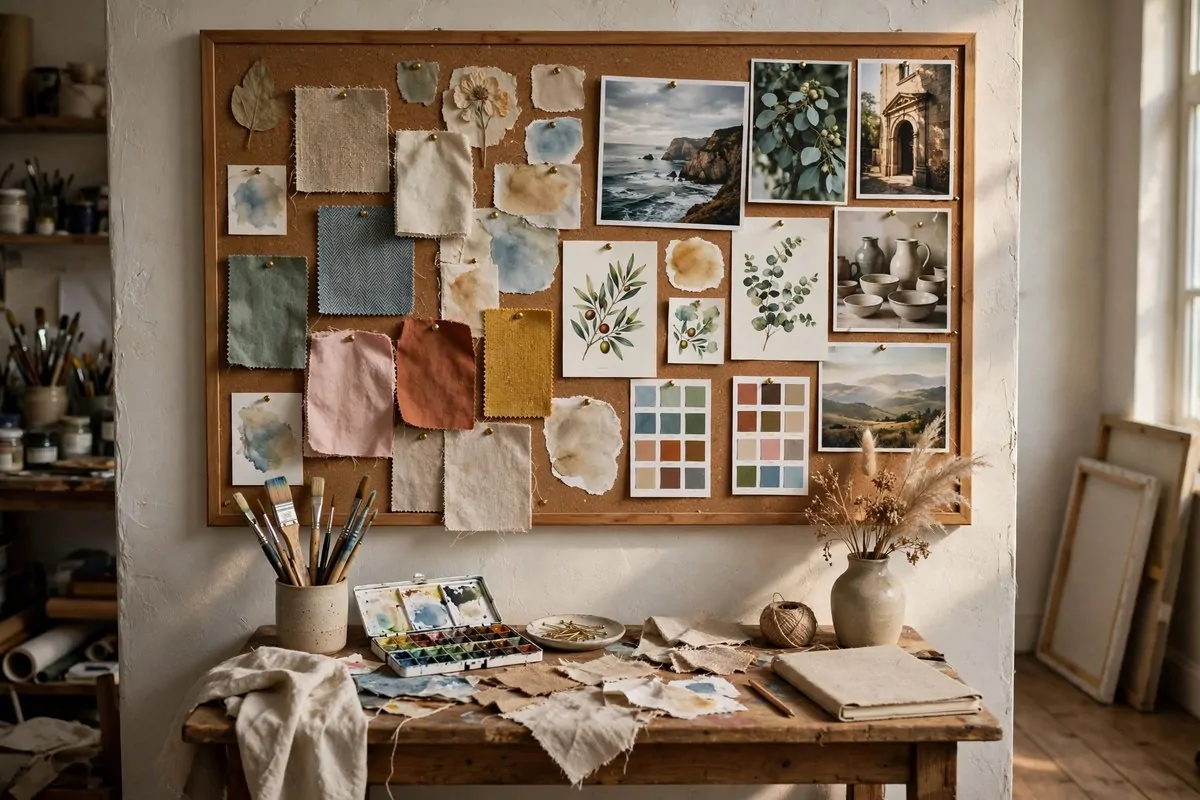
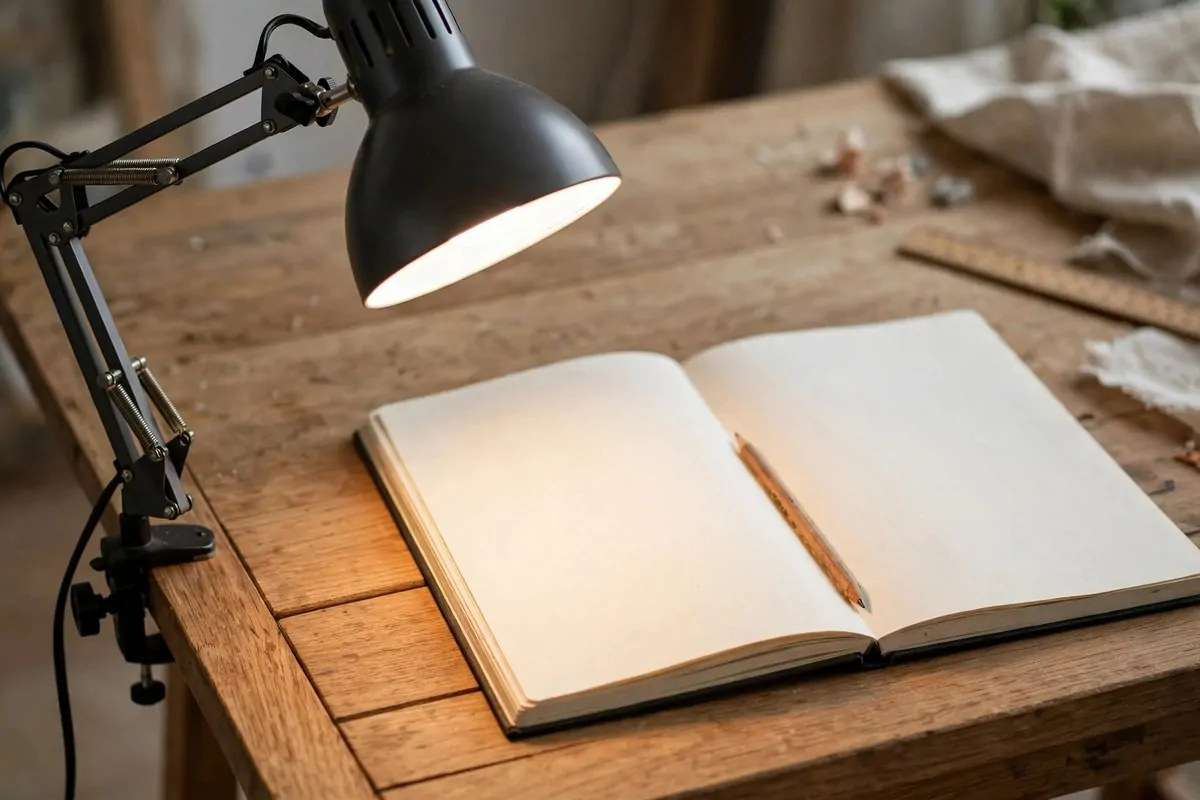
Your hand can be your worst enemy when you draw. The lamp sits on the wrong side. Your hand throws a big shadow over your line. You keep shifting your head to see.
The fix is simple. Put the task lamp on the side opposite your drawing hand. Right-handed? Lamp goes left. Left-handed? Lamp goes right.
Choose a daylight bulb around 5000K. Look for a high CRI number, 90 or more. That means colours look true, not yellow or blue.
Get a lamp with a flexible arm. You can aim the light exactly where you need it. I move mine lower for detail work and higher for washing paint.
Avoid placing the lamp behind you. Your body blocks the light. Avoid placing it in front too, because the glare hits your eyes.
I also keep a small lamp for evening work. Daylight bulbs let me paint at night and still trust my colours the next morning.
Test it with your own hand. Draw a line. Check for a shadow. Move the lamp until the shadow is gone.
- Lamp opposite your drawing hand
- Daylight bulb, 5000K, CRI 90 or more
- Flexible arm to aim the light
This tiny change made my evenings so much better. No more squinting. No more leaning. Just clean light and a clear line.
10. Flat Drawers for Paper
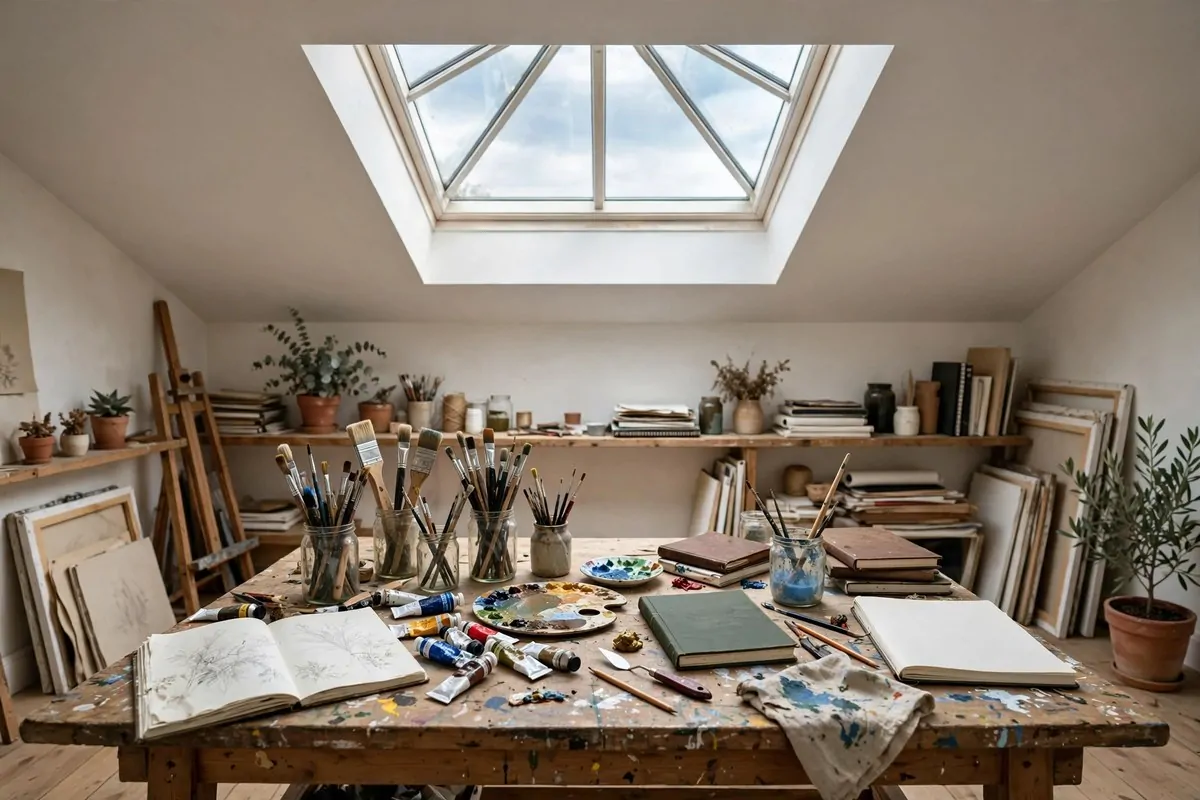
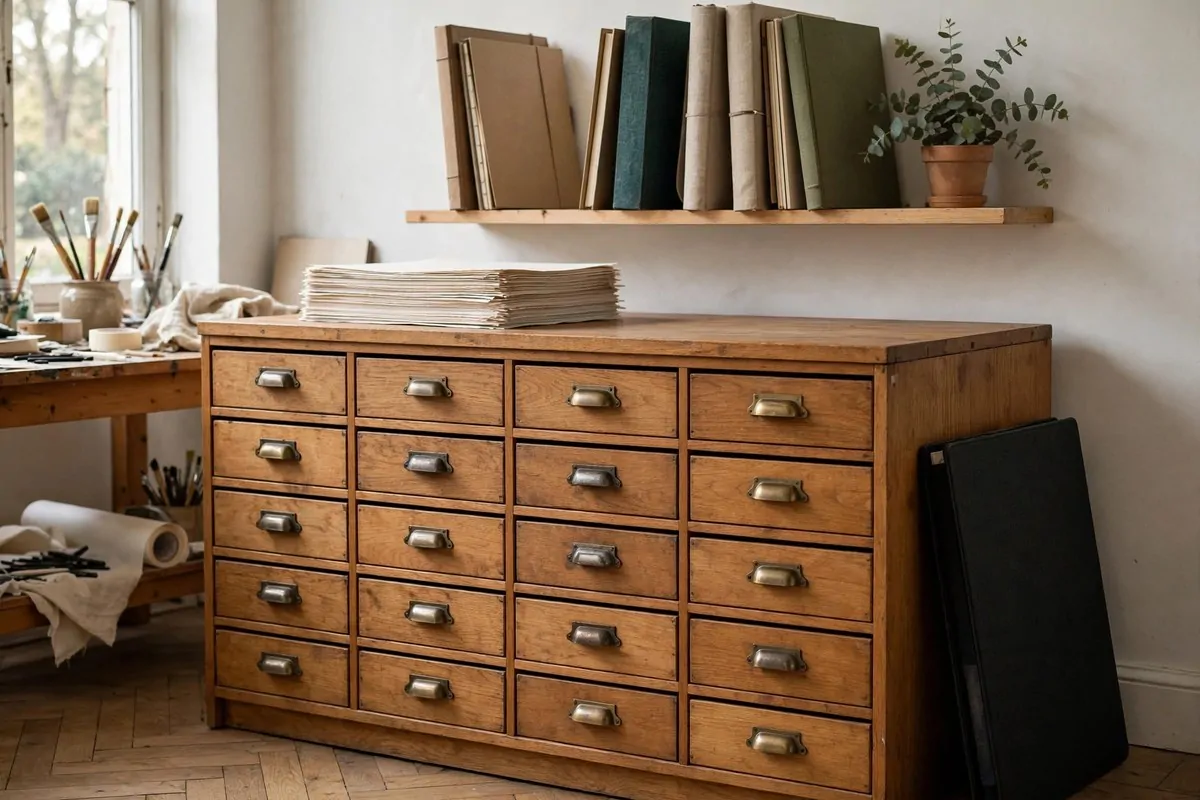
Paper is fussy. Store it at an angle and it grows a permanent wave. Leave it in the sun and it fades. Stack it damp and the sheets stick.
Give paper a home in flat drawers. Lay sheets flat, one stack per size. Big sheets at the bottom. Small sheets on top.
Sketchbooks can stand upright on a shelf like books. Loose sheets should always lie flat. That is the golden rule.
Keep paper away from windows. Sun fades paper faster than you think. A closed drawer or a dark corner is best.
I sort mine by type. Watercolour paper in one drawer. Mixed media in another. Cheap practice paper in the top drawer where I grab it most.
Add little labels on the drawer fronts. It stops me opening five drawers to find one sheet.
Humidity matters too. Very damp rooms can make paper curl. A small dehumidifier helps if your studio feels like a basement.
- Flat drawers, sheets lying flat
- Sketchbooks upright like books
- Away from sun and damp
Good paper is not cheap. Treating it well is part of the craft. When I open a drawer and see neat flat stacks, I feel rich.
11. The Quiet Digital Corner
Digital art needs measurements more than paint does. Get the desk, screen, and cables right, and long sessions feel easy. Get them wrong, and your neck aches.
Use a desk at least 30 inches deep. A drawing tablet needs room to tilt. Your forearm needs room to rest. Shallow desks force you into a hunch.
Put your monitor on an arm. The top of the screen should sit at or just below eye level. The arm lets you swing it away when you draw on the tablet.
Bundle your cables along the back edge of the desk. One snag can pull a tablet off the desk. I use cheap cable ties and a little basket under the desk.
Keep the window off to the side, not behind you or behind the screen. Glare washes out colours and makes you squint.
Put a matte board or a plain mat under your keyboard. It cuts the shine and keeps crumbs out of the tablet.
I also keep a small notebook beside the screen. Quick sketches and colour notes live there before they become files.
- Desk 30 inches deep or more
- Monitor arm, screen at eye level
- Cables tied and tucked away
My digital corner is the tidiest part of my studio. Everything has a place. When I sit down, the screen lights up and I am ready in seconds.
12. The Tilted Drawing Table
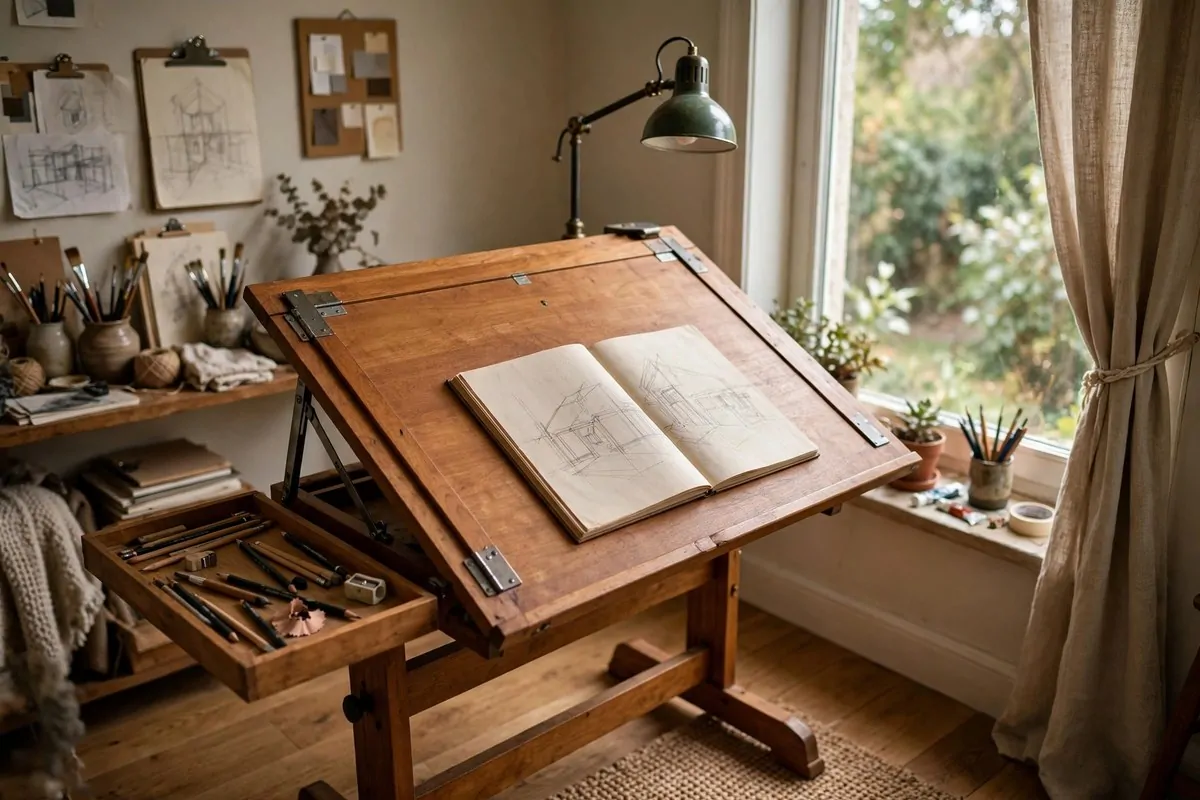
Hunching over a flat table hurts. Your neck bends down. Your shoulders roll forward. After an hour you feel like a question mark.
A tilted surface fixes this. Set your board or drafting table at 15 to 30 degrees. Your paper rises toward your eyes. You sit up straight without thinking.
Watercolour painters can use a smaller tilt, about 5 to 10 degrees. That keeps washes from running downhill while still easing the neck.
Add a lip or a pencil tray at the bottom edge. Otherwise your pencils roll off and your eraser makes a run for it.
I use a cheap drawing board on top of my regular table. Two doorstops underneath make the angle. It cost almost nothing and works perfectly.
Place a small tray beside you for pencils and blending tools. Keep your drawing hand free of clutter.
Put a scrap sheet under your resting hand. It stops skin oils from smudging the paper. Simple trick, big difference.
- Tilt 15 to 30 degrees for drawing
- Small tilt 5 to 10 degrees for watercolour
- Lip or tray so tools do not roll away
My shoulders thanked me within a week. Now I notice other people’s hunched shoulders and want to hand them a doorstop.
13. The Critique Wall
You cannot judge your own work from two inches away. You need distance. Step back. Squint. See the whole thing at once.
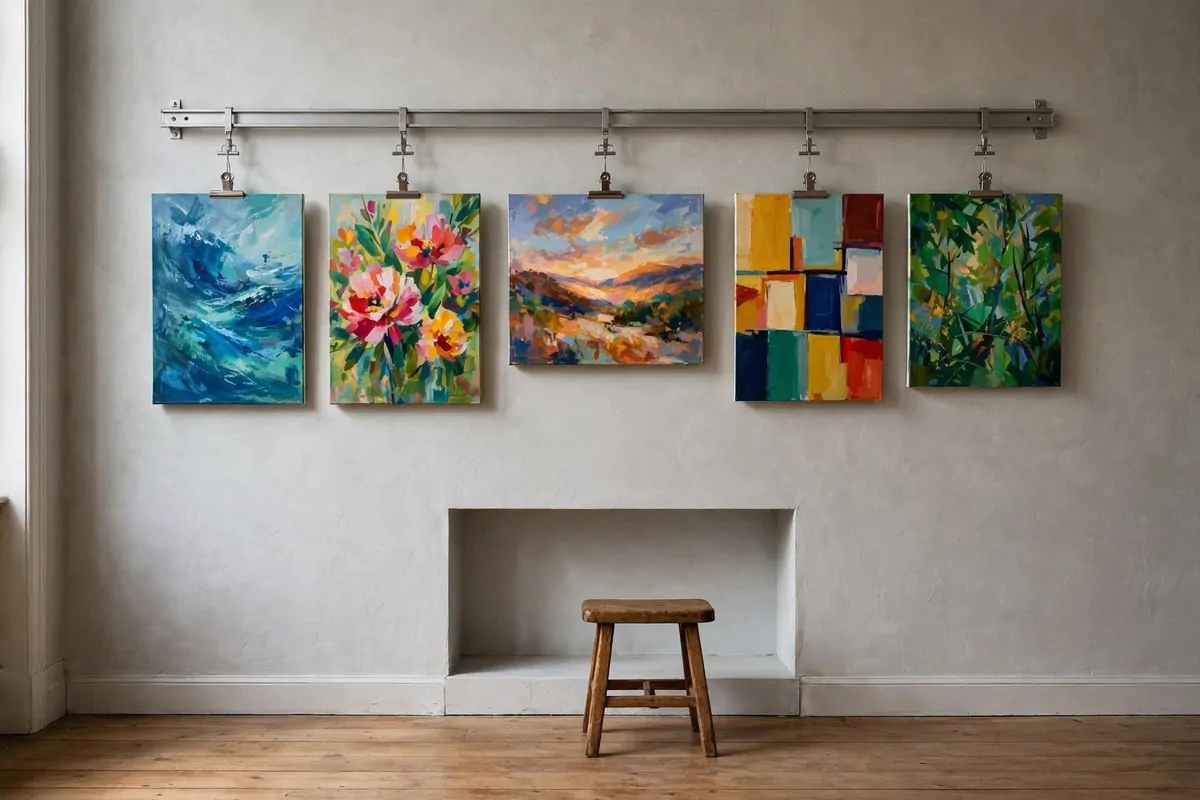
Give one wall to finished and nearly finished work. Hang a simple gallery rail or a row of clips. Pin up your pieces.
Leave a few feet of empty floor in front of the wall. That is your step-back zone. Stand there. Look. Walk closer. Step back again.
I put a small stool in front of mine. I sit. I stare. I drink tea. Problems in the painting jump out when I am relaxed.
Invite a friend to look too. Fresh eyes catch things you are blind to. My friend once pointed out that my tree looked like a broccoli. She was right.
Change what hangs on the wall every week or two. Old work becomes invisible. New work on the wall gets honest attention.
Keep this wall well lit. A simple picture light or a lamp aimed at the wall helps you see true colours.
- Gallery rail or clips on one wall
- Empty floor space to step back
- Good light on the displayed work
The critique wall is where my paintings grow up. They leave the easel as babies. They come back from the wall as something I am proud of.
14. The Mood Board Wall
Every artist needs a place for ideas that are not ready yet. A corner of the brain made visible. That is the mood board wall.
Pin up anything that sparks you. Colour swatches. Photos. Postcards. A leaf. A piece of fabric. A quote that makes you nod.
Use a big corkboard or just tape things straight to the wall. I use washi tape because it does not damage paint and it looks pretty.
Change the board when you start a new project. Take everything down. Start fresh. The old ideas can go in a box if you love them.
I keep mine where I see it from my easel. A quick glance can unblock a whole afternoon. Colours talk to you when you let them.
Do not curate too hard. The board should feel like a happy mess, not a museum. If everything matches, it is not a mood board, it is a catalogue.
Add one thing that is not art. A ticket stub. A pressed flower. Real life feeds paintings better than perfect references.
- Corkboard or taped wall space in your sight line
- Mix of colours, photos, textures, and bits of life
- Refresh it with each new project
My best painting this year started from a bus ticket on my board. The colours of the ticket became the whole palette. You never know.
15. The Armoire Studio
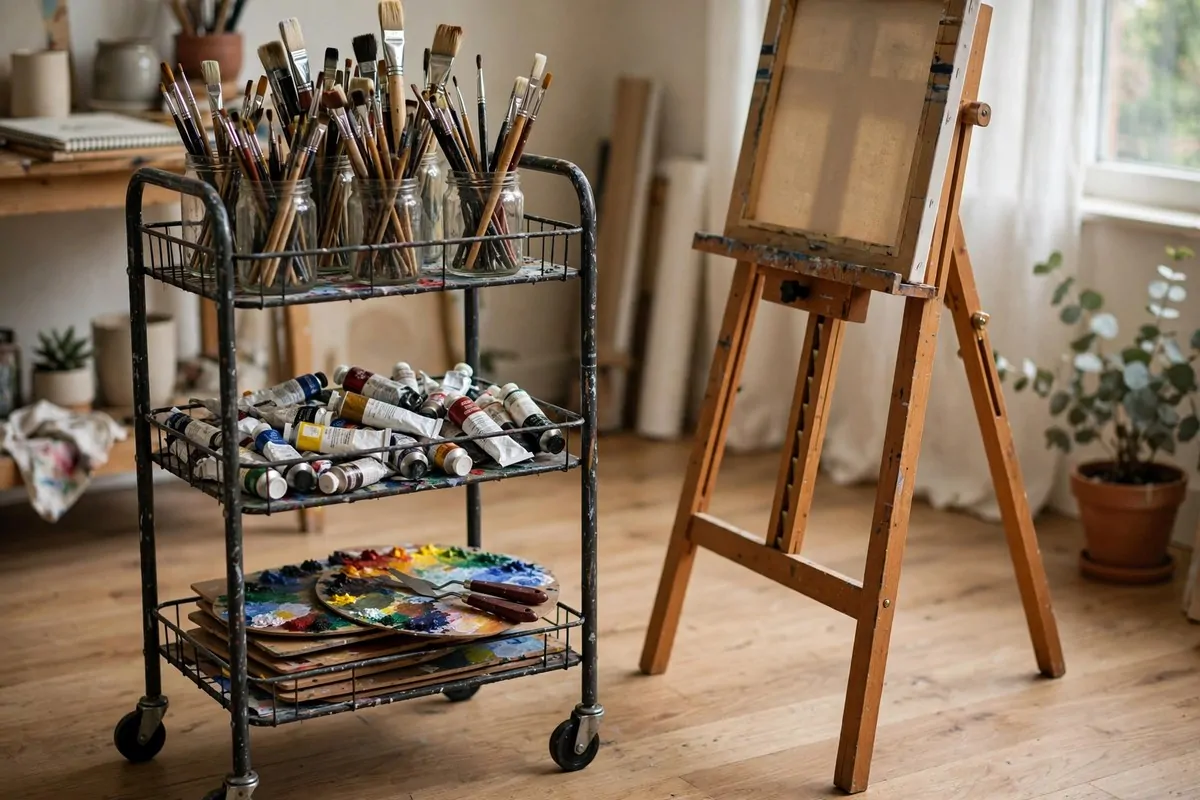
Not everyone gets a whole room. Sometimes your studio shares space with the dining table or the guest bed. That is where the armoire saves you.
A craft armoire is a tall cabinet with doors. Open them and you have shelves, a small work surface, and every supply in reach. Close them and the room is a room again.
Pick one with a fold-down table inside. That gives you a real work surface without a permanent desk. I painted whole pieces on a surface like that.
Sort the shelves by medium. Paints on one shelf. Paper on another. Brushes in jars on the door racks if it has them.
Five minutes is all it takes to open or close the studio. Guests arrive, you shut the doors. They leave, you open them back up.
Keep a small lamp inside or clipped to the top. Armoires are dark inside. Light makes the difference between using it and avoiding it.
Anchor it to the wall if it is tall. Safety first. A full armoire is heavy and you will pull the doors open hard when you are excited.
- Tall cabinet with fold-down work surface
- Sorted shelves, one medium per shelf
- Clip lamp inside for light
I used an armoire studio for two years in a shared flat. Nobody knew I was an artist until the paintings started appearing on the walls.
16. The Two-Easel Room
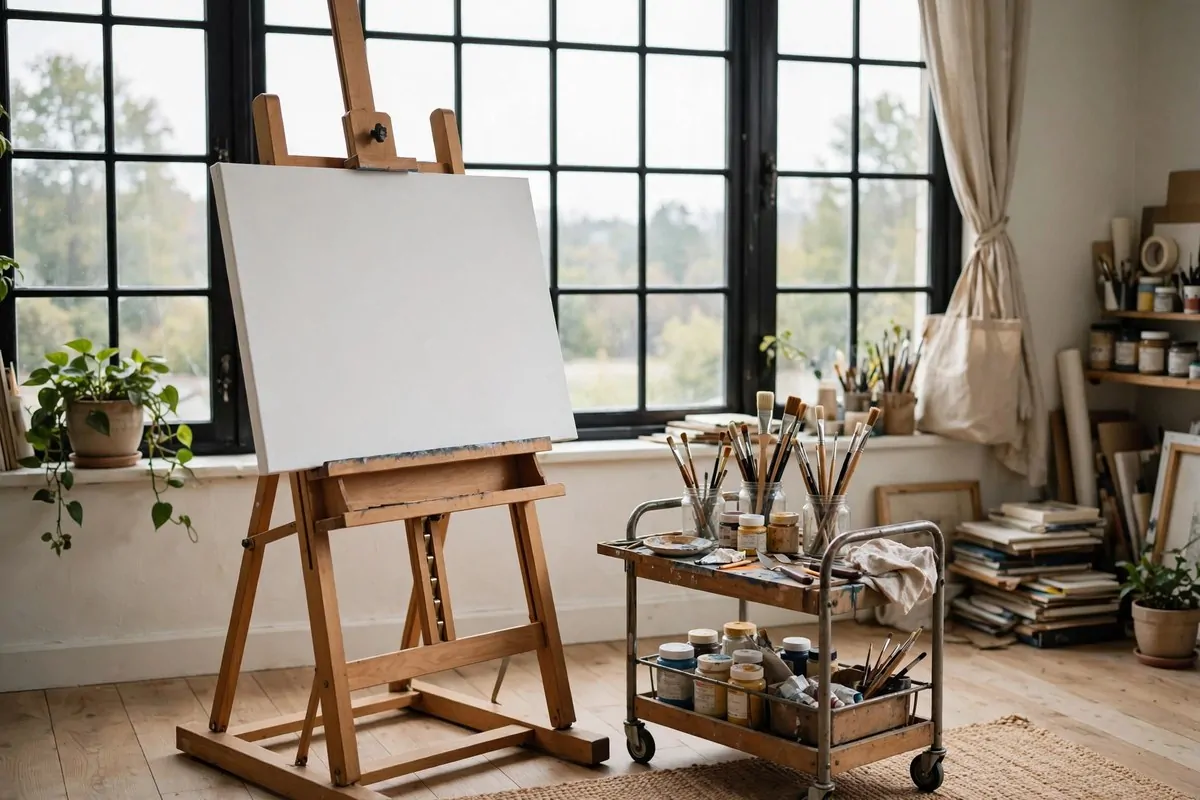
Working on one painting at a time is fine. Working on two at once is magic. When one needs to dry, you turn to the other. No waiting. No staring at wet paint.
Set up two easels in one room. Angle them so you can see both without walking far. A shared supply table between them keeps everything close.
I keep a big canvas on one easel and a small study on the other. The small one is where I try ideas. The brave ones move to the big canvas.
Two easels also let you work in two mediums. Oils on one. Charcoal on the other. Keep a little space between them so dust from one does not land on the other.
Label which painting is which with sticky notes. It sounds silly. It stops you from grabbing the wrong varnish for the wrong piece.
You need a bit more room for this layout. But even a medium room works if the easels face the walls and you stand in the middle.
Invite a friend to paint with you sometimes. Two easels, two people, one afternoon. That is a memory you will keep.
- Two easels angled toward a shared supply table
- One big piece, one small study
- Sticky notes to label each work
My output doubled the month I added the second easel. Not because I worked harder. Because I stopped waiting for paint to dry.
17. The Fan Path for Fresh Air
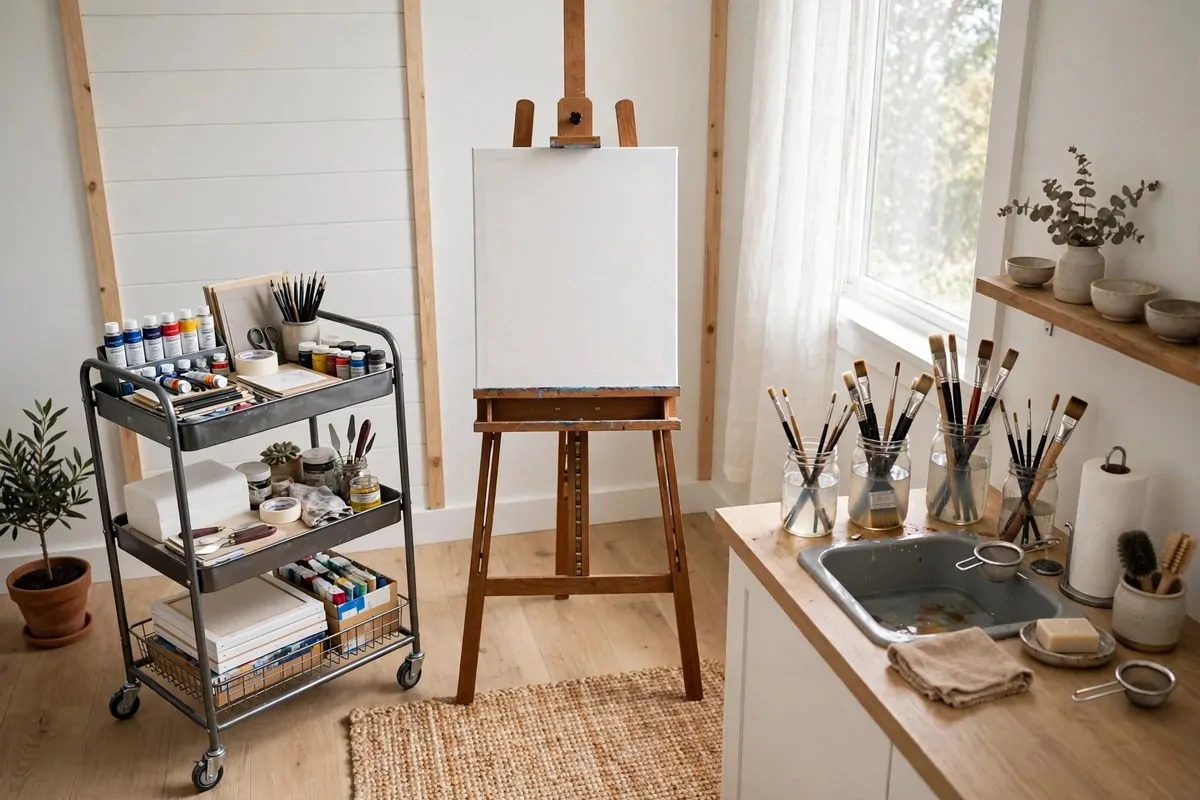
Some art supplies need air. Oils, solvents, spray fixative, and resin all release fumes. Your layout should move that air out.
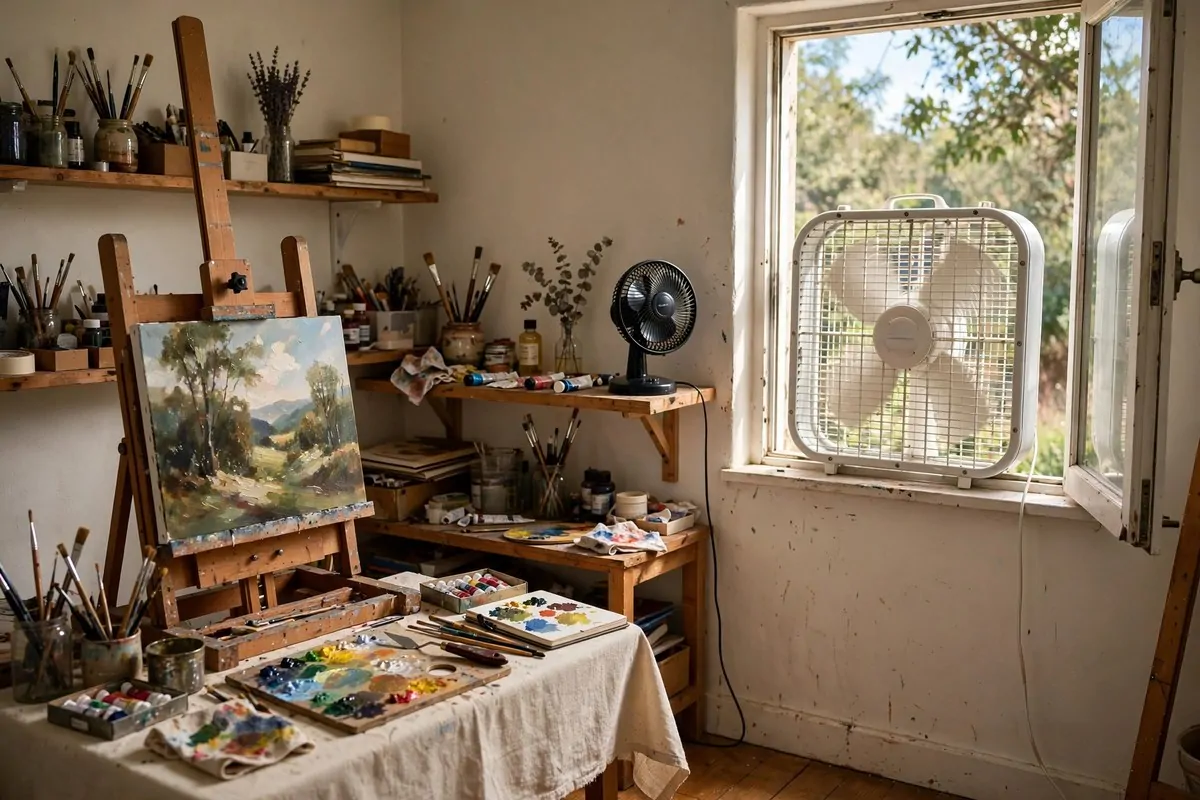
Place a box fan in the window, pointing out. This pulls fumes from the room and pushes them outside. Do not point it in. That just stirs the fumes around.
Work between the fan and the fresh air source. You sit near the open door. The fan sits in the window across the room. Air flows past you, not at you.
Keep solvent lids closed when you are not dipping. Small habit. Big difference. I keep my jar lids on little hooks so I never lose them.
Store oily rags in a sealed metal can. This is a safety rule, not just a tidy rule. Oily rags can heat up on their own as they dry.
Add a second small fan on a shelf for days you cannot open the window. It keeps air moving. Stuffy air makes headaches.
Keep a plant or two in the room if you like. They will not clean the air much, but they make the room feel alive. And alive rooms make better art.
- Box fan in window, blowing out
- You sit between fresh air and the fan
- Solvent lids closed, rags in a metal can
Fresh air changed how long I can paint. I used to get a headache after two hours. Now I paint all afternoon and feel fine.
18. The Separate Dry Zone
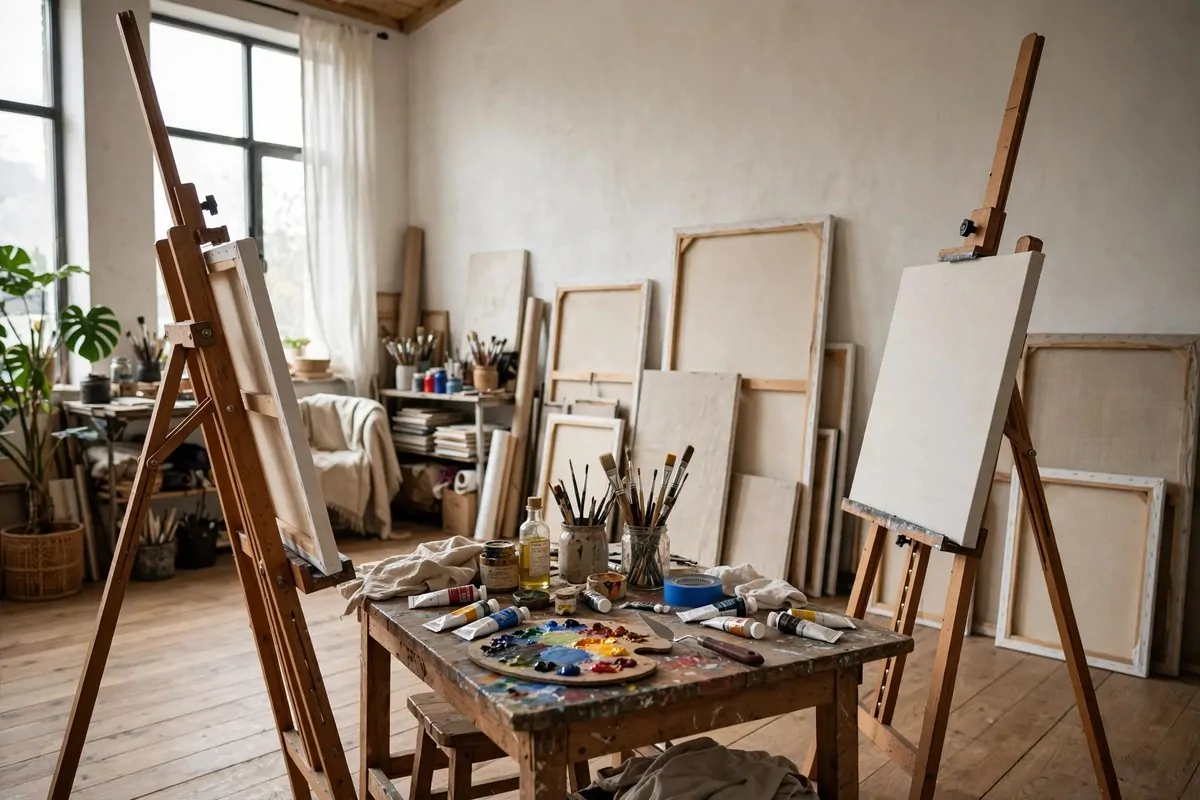
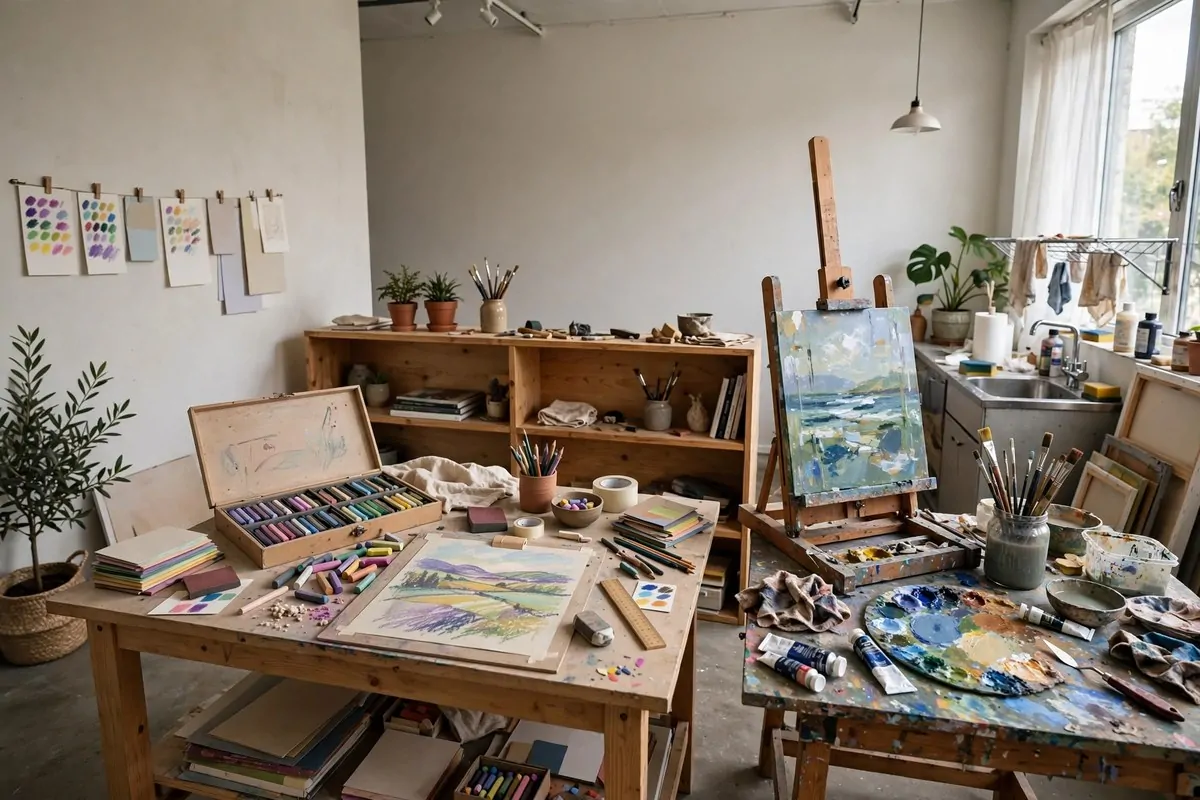
Water and paper should never share a tabletop. Wet paint near dry pastels is an accident waiting to happen. Give each medium its own zone.
Split your room into a wet side and a dry side. Painting, inks, and glue live on the wet side. Graphite, charcoal, pastels, and finished paper live on the dry side.
Use a low bookshelf or a rug to mark the border. You do not need a wall. A visual line is enough to remind your brain which side is which.
Keep at least an arm’s length between the two zones. A splash travels farther than you think. I once found blue dots on a sketch three feet away.
Wash your hands before crossing to the dry side. Keep a towel on the border as a reminder. It becomes a habit in a week.
Store water jars only on the wet side. This one rule prevents most accidents. No water glass wanders over to the drawing table.
I keep my finished drawings in a flat portfolio on the dry side. They stay clean. They stay flat. They stay safe from my own clumsiness.
- Wet side: paints, inks, glue, water
- Dry side: pencils, pastels, paper, finished work
- Low shelf or rug as the border
Since I split the room, I have not ruined a single drawing with a wet sleeve. My pastels stay dusty and my paints stay wet, exactly as they should.
19. The Sit-and-Look Chair Corner
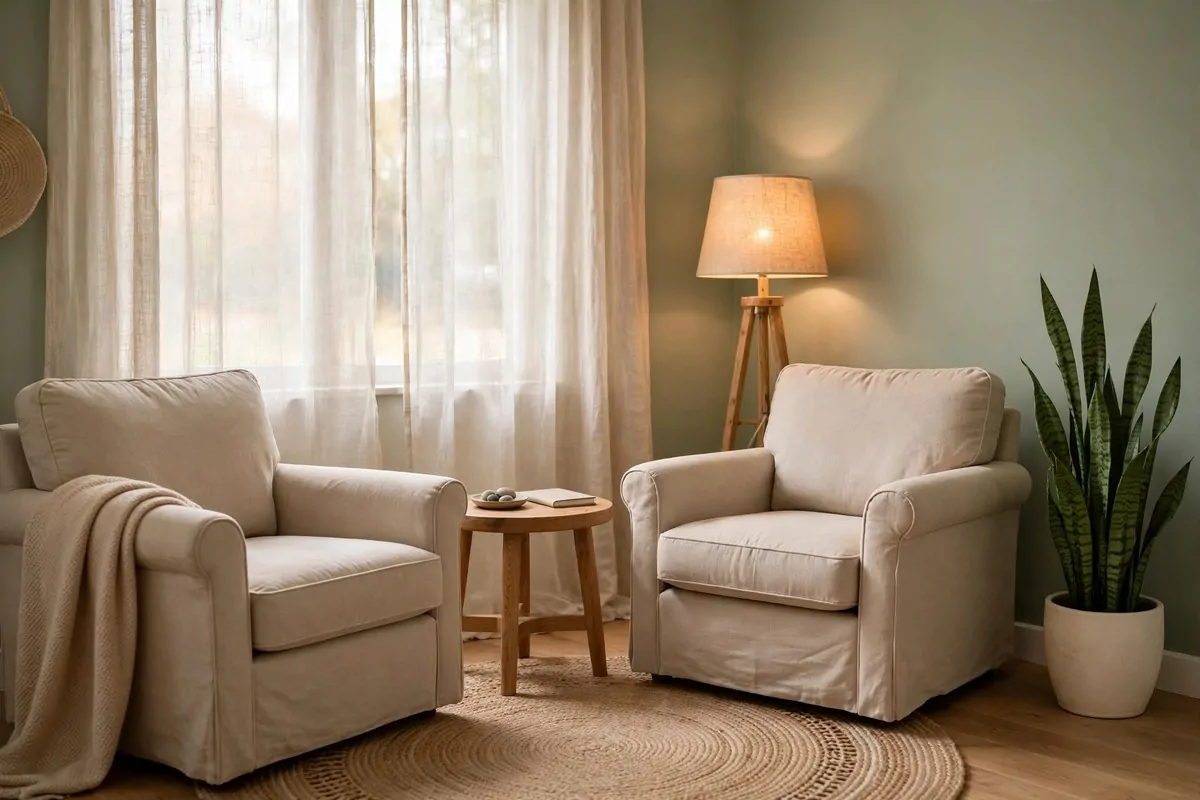
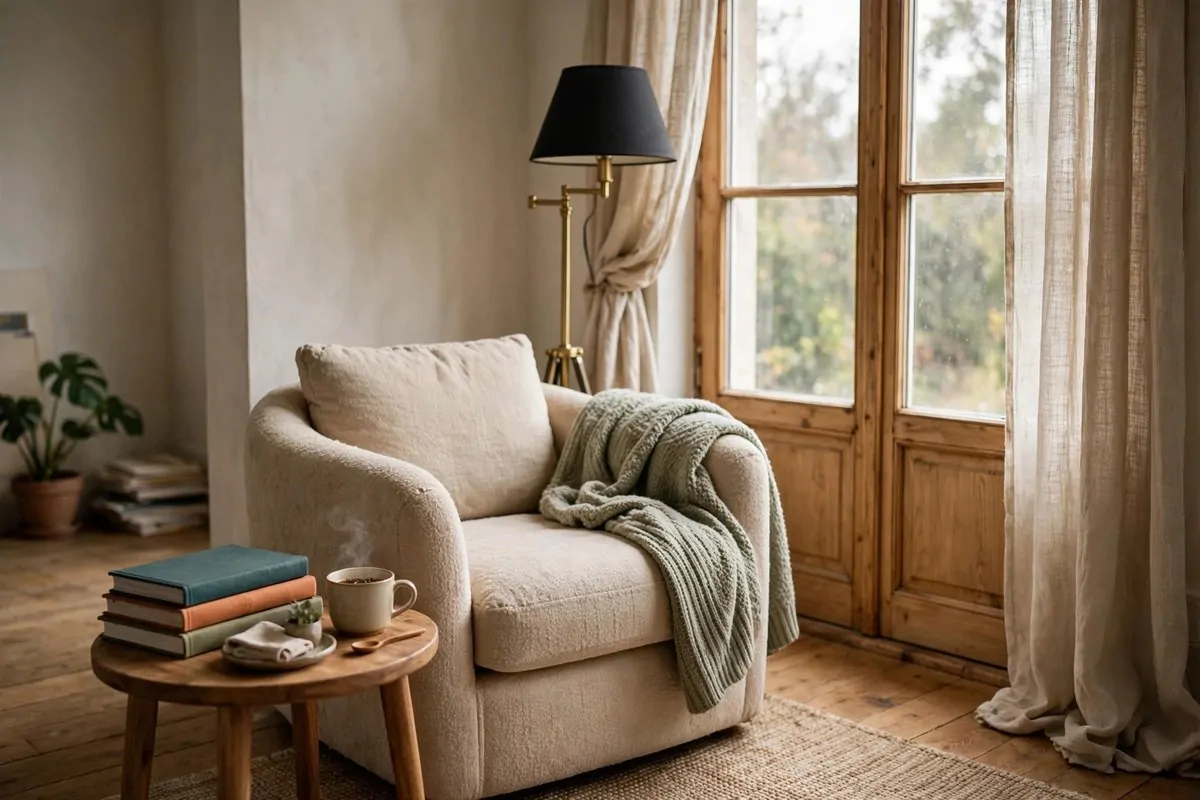
Every studio needs one spot where you do nothing. No brushes. No screens. Just a chair and your work in front of you.
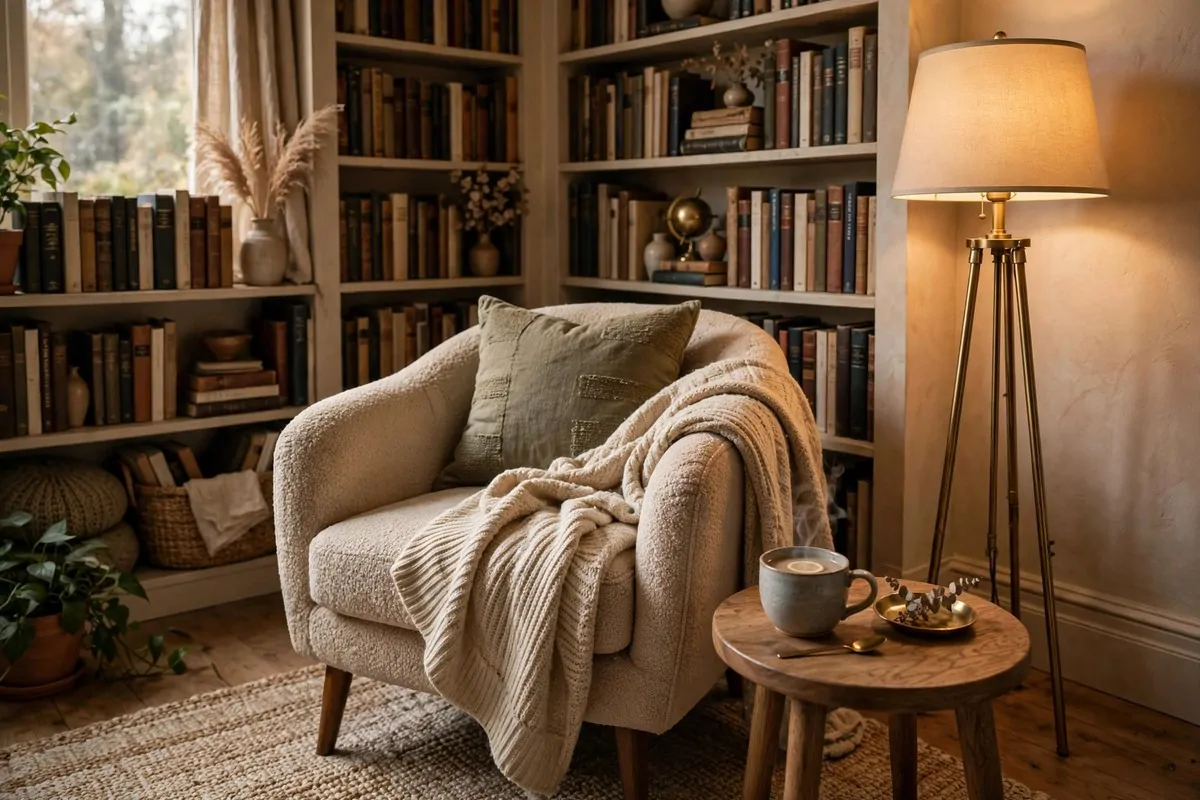
Put a comfortable chair in a corner with a good view of your easel or your critique wall. Add a small table for tea. Add a lamp for evening looking.
This corner is where paintings get finished. You sit. You look. You notice the edge that is too hard, the colour that is too loud. Then you stand up and fix it.
I do my best thinking in this chair. The painting talks to me when I am not touching it. Ideas arrive like quiet visitors.
Keep art books on the small table. Flip through them when you are stuck. Other artists’ solutions can unlock your own.
Do not put your phone charger here. This corner is for looking, not scrolling. The one time I broke this rule, I sat for an hour and saw nothing.
Invite the chair into your routine. Ten minutes of looking for every hour of painting. Your work will thank you.
- Comfy chair facing your easel or critique wall
- Small table with tea and art books
- No phone charger in this corner
Artists who look more, paint better. I am sure of it. My chair corner is the cheapest studio upgrade I ever made, and somehow the most precious.