17 Garden Art Studio Ideas for Creating Surrounded by Nature

Six in the morning, and the garden is still wearing last night’s rain. The soil smells strong and sweet. Little drops sit on every leaf and catch the first light. I stand at the back door with my tea and I do not think about bills or laundry. I think about paint. Because this wet green morning is the best art studio I will ever walk into.
You do not need a fancy room to make art. You need light, a surface, and something worth looking at. A garden gives you all three for free. The light changes every hour. The colors are real, not printed on a chart. And when your eyes get tired, you can look at a flower instead of a wall.
I have painted at my kitchen table for years. It works. But the day I dragged my easel outside, my paintings changed. They got looser. Brighter. Happier. There is something about birds singing in the background that makes your hand braver. You stop trying to be perfect.
These 17 garden art studio ideas are not about building a big new room. Most of them use what you already have. A shed. A corner of the patio. A bench under a tree. Some need a weekend of work. Some need nothing but a basket and a pencil. Pick the one that fits your garden and your life.
Start small if you are unsure. Try one idea this weekend and see how it feels. The worst thing that happens is you spend an afternoon outside. That is not a bad deal at all.
1. The Shed That Became a Painter’s Corner
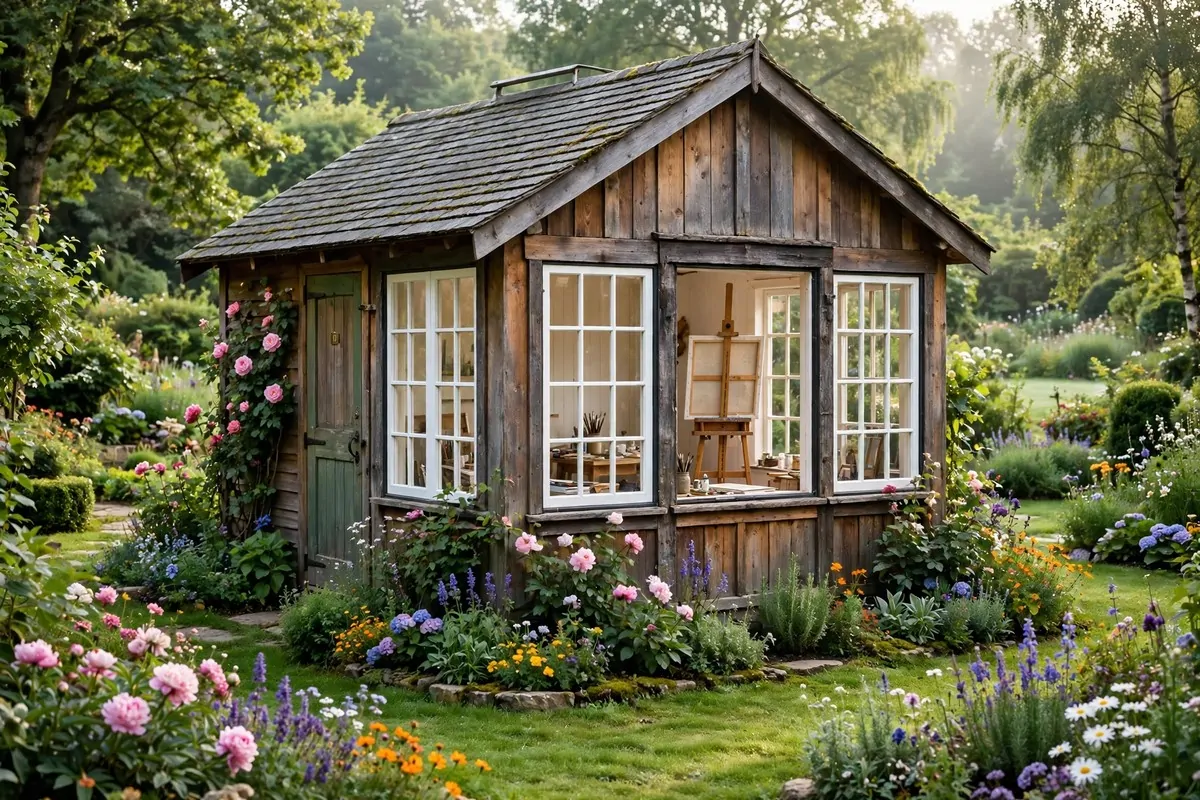
A garden shed is the easiest garden art studio idea of all. Most sheds already have four walls and a roof. You just need to clean it out and claim it. The junk inside has had that space for years. It is your turn now.
Start by pulling everything out and sweeping it well. You will be shocked how much room a small shed really has once the old boxes are gone. My shed looked twice as big after I cleared it.
Light is the whole point of this project. If your shed has small windows, put your easel right under the biggest one. Paint prefers soft light that comes from the side. If the shed is very dark, think about adding one more window or a skylight. It costs less than you fear.
Paint the inside walls white. White bounces light around and makes a small shed feel open. It also helps you judge your colors right. Dark walls lie to you about how dark your paint really is.
The floor needs to be easy to clean. A drop cloth works fine. So does an old rug you do not love. I keep a stack of cheap plastic tablecloths and swap them out when they get messy. They cost almost nothing.
For storage, keep it simple at first. A few shelves on the wall. Some jars for brushes. A small table for your palette. You will learn what you actually need after a month of working in there.
Heat matters if you want to use the shed in winter. A small oil filled radiator does the job in most sheds. Just make sure the space is ventilated when you use strong smelling paints. Fresh air keeps you safe and your head clear.
Here is what a basic shed setup can look like, from free to fancy:
- A folding easel you already own and a camping chair
- A plastic storage box that doubles as a side table
- A daylight bulb in a cheap clamp lamp for cloudy days
- A pegboard for hanging tools where you can see them
- A small rug so your feet stay warm on cold mornings
The best part about a shed studio is the walk. You leave the house. You cross the garden. You open the door. That little walk tells your brain that it is time to make art now. It is like a commute, but it takes thirty seconds and smells like flowers.
2. The Glass-Walled Garden Studio
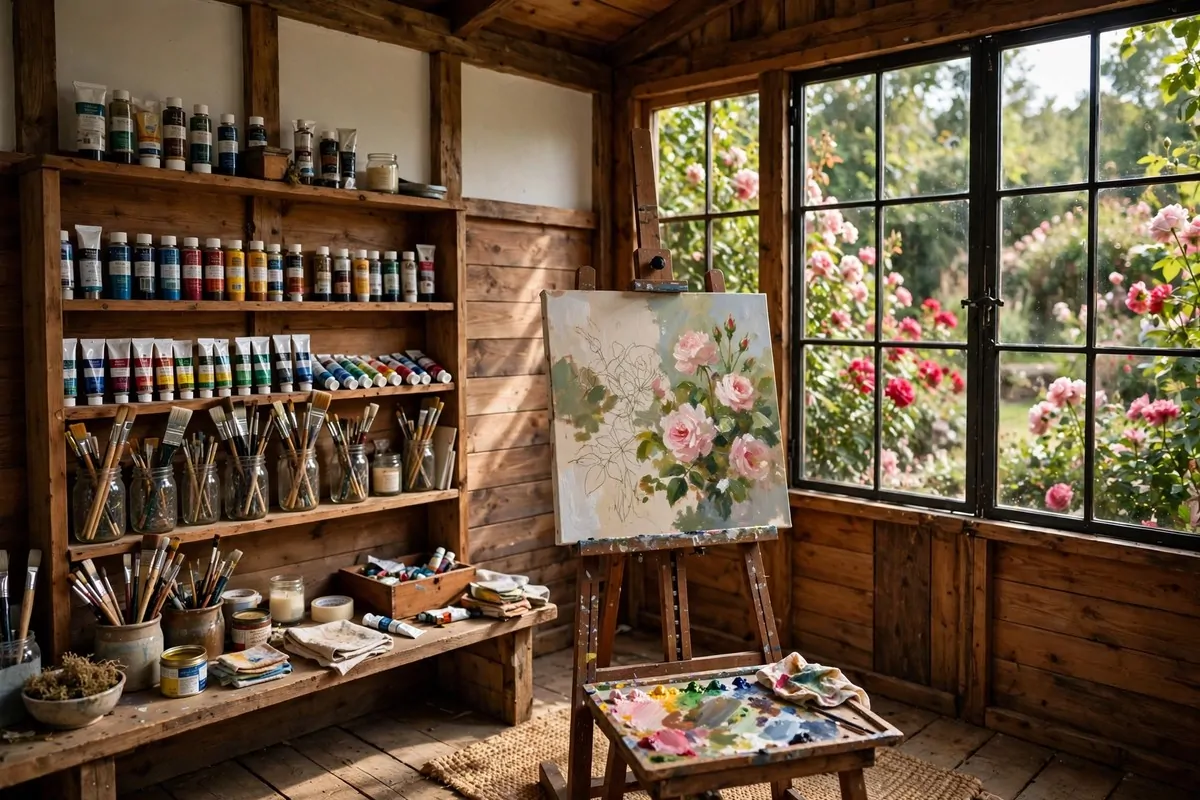
If you want light, walls of glass give you more than anything else. A small glass studio in the garden feels like sitting inside a lantern. You can see the garden from every seat. The garden becomes part of your studio.
You do not have to build one from scratch. Plenty of small prefabricated garden rooms have big window fronts now. Some even arrive ready to assemble. Measure your garden first so you know what size will fit.
Think about which way the windows face. North light is the painter’s favorite because it stays soft and steady all day. South light is strong and changes fast. Either can work, but you should know what you are getting.
A glass room can get hot in summer. Plan for shade from the start. A simple blind on the sun side helps. So does a roof vent you can open. A small fan makes a big difference on still days.
Inside, keep the furniture light and movable. A drafting table. A rolling cart for supplies. Easels you can shift around. You will want to move things as the seasons change the light.
The view is your decoration. You do not need art on glass walls. The garden outside does that job. In spring you watch buds open. In autumn you watch leaves turn. Your eyes never get bored.
One thing to watch is glare on your canvas. Turn your easel a little sideways to the brightest window. Side light is kind. Front light fights you and makes wet paint shine in your eyes.
Keep a watering can in your studio. I mean it. When you see your plants from your painting chair every day, you notice them more. I water mine between brush strokes now. They have never looked better.
3. The North-Light Easel Nook
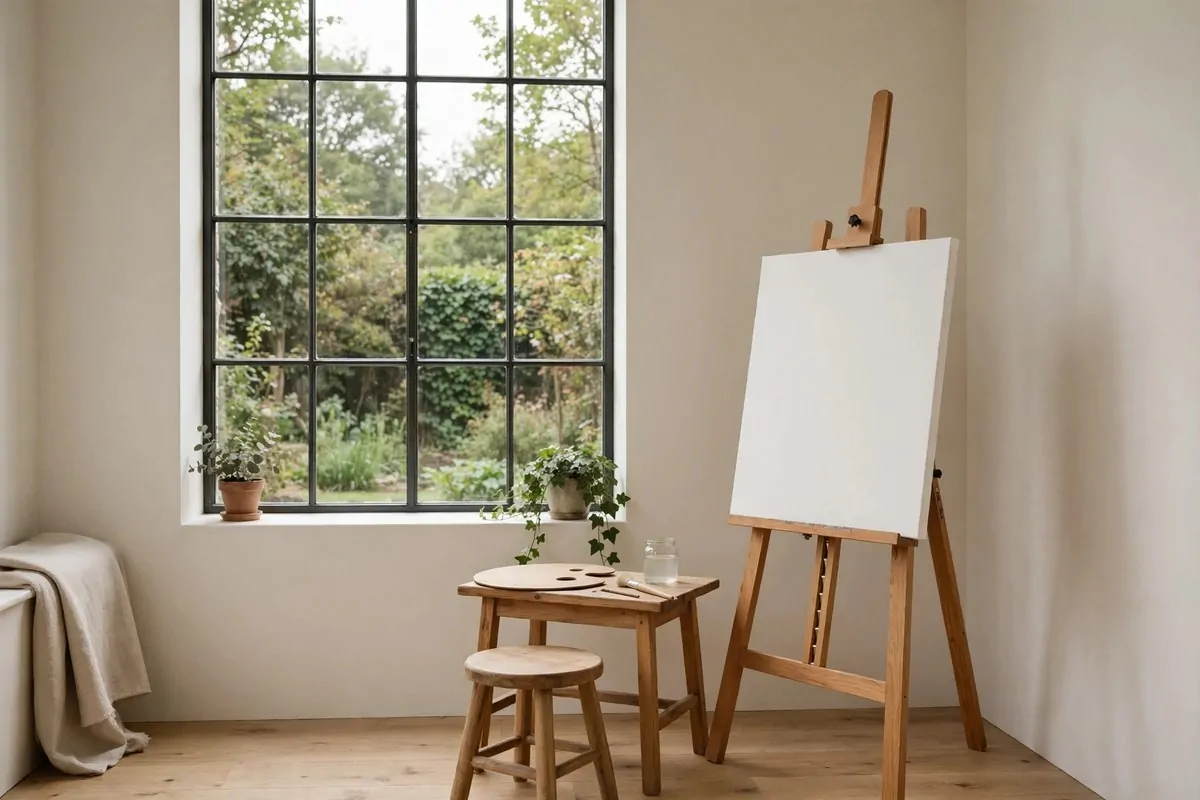
Artists have loved north light for hundreds of years. It does not move much during the day. It does not throw hard shadows. It just stays soft and honest from morning to evening. Your colors look the same at noon and at four.
You do not need a whole studio for this idea. One corner works. Find a window that faces north in your shed, sunroom, or conservatory. Put your easel there. That is the whole trick.
Set the easel so the light comes from the left if you are right handed. This keeps your hand from throwing a shadow over your work. Left handed painters do the reverse. Small detail, big difference.
A simple stool is enough for sitting. A table next to you holds the palette and water. Keep both within arm’s reach so you never have to stand up mid thought. Interrupting your flow for supplies is the worst.
Add a small mirror on the wall nearby. Looking at your painting in a mirror shows you mistakes your eyes miss. It is an old artist trick and it still works. The flaws jump out at you backwards.
Keep this nook tidy. A small space stays calm only if everything has a home. Brushes in a jar. Paints in a box. Rags in a basket. When the space is clean, your brain feels clean too.
This nook is also perfect for drawing and sketching, not just painting. The same soft light flatters pencil work. Your shading looks smooth because you can actually see the tiny changes in value.
The best part is how quiet this corner feels. No overhead lights buzzing. No harsh sun moving across your canvas. Just steady light and a view of the garden. I have lost whole afternoons in my nook without noticing the time at all.
4. The Potting-Bench Art Table
Gardeners already own the perfect art table. It is called a potting bench. It is the right height for standing work. It has a shelf on top and space below. And it was made to get dirty, which is perfect for art.
Move your potting bench to a spot with a nice view. Under a tree is good. Near the flowers is better. You want something pretty to look at while you work. A view of the compost bin does not inspire anyone.
Give the bench a good scrub first. Old soil washes off easily. Let it dry in the sun. Then decide if you want to paint it. A coat of white or pale green paint makes it look like an art table instead of a work bench.
The top shelf is made for jars, so use jars. Fill them with brushes, pencils, and pens. You can see everything at a glance. No digging through drawers. I sorted mine by type and it saves me minutes every session.
The lower shelf holds the bigger stuff. Paper stacks. Canvas boards. A box of watercolor sets. Keep a folded tarp there too. When rain comes fast, you can throw it over everything in seconds.
Standing at a potting bench is kind to your back. Sitting hunched over a table for hours hurts. Here you stand tall and move your whole arm. Your brush strokes get bigger and freer. It feels good.
Keep a watering can and a jar of drinking water separate. Label them if you have to. I once rinsed my brushes in my tea. Learn from my mistake. Two jars, different colors, problem solved.
- Top shelf: brushes, pencils, pens in jars
- Middle: palette, water jar, current project
- Lower shelf: paper, canvas boards, folded tarp
- Side hooks: apron, tote bag, garden scissors
In the evening, the bench takes five minutes to cover. Throw the tarp over it. Weigh the corners with bricks. Your art studio sleeps outside and wakes up ready when you are.
5. The Conservatory Sketch Corner
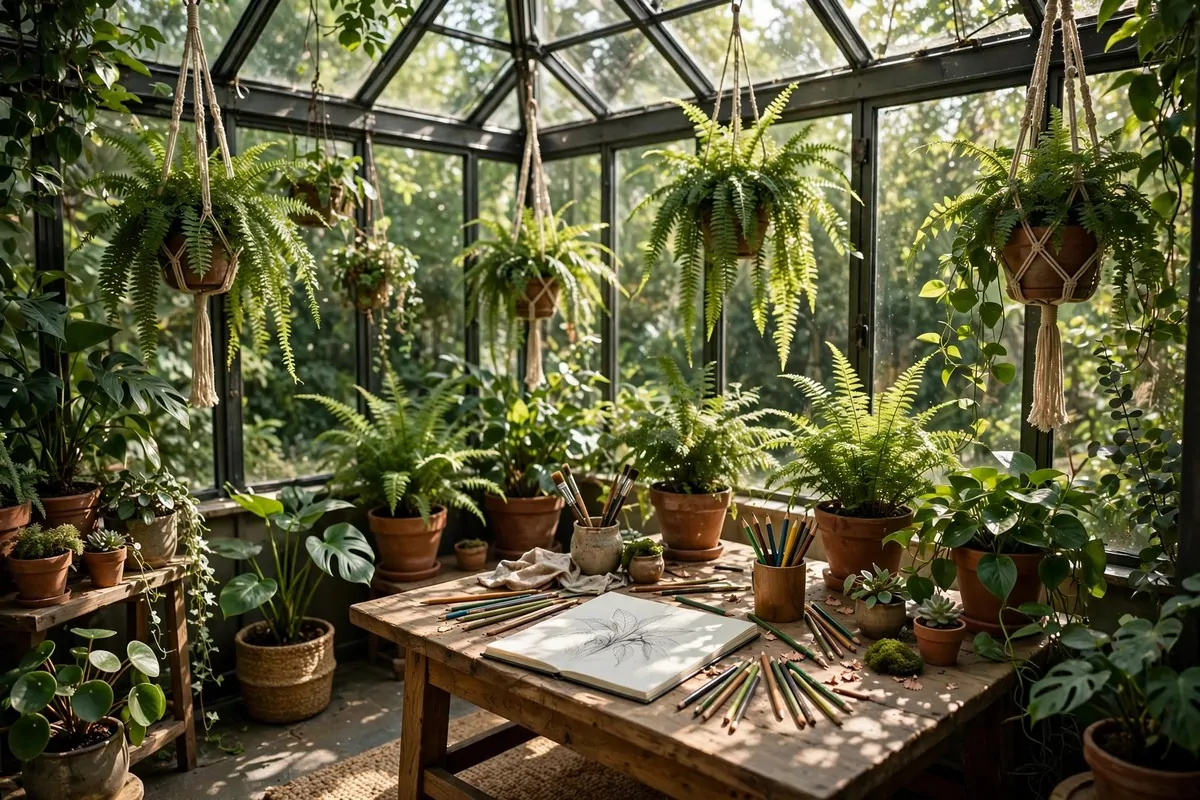
A conservatory is already half garden and half room. Plants live there. Light pours in from the glass roof. It might be the most natural art studio in your whole house. You just need a corner.
Pick the corner with the best view of your plants. Facing the garden doors is nice too. You want to sit where your eyes have something to rest on. Looking at green things calms you down fast.
A small wooden table is all the furniture you need. Nothing fancy. A folding table works. Cover it with a cloth that can take stains. Sketchbooks and watercolors do not need much room.
Plants are your models. Draw the fern. Paint the orchid. Sketch the way light comes through a leaf. You have free models that never complain and never charge. They just sit there being beautiful.
Conservatories can get very warm. Open the vents before you settle in. A small fan keeps the air moving. And keep your watercolors out of direct sun. Heat dries your palette too fast and makes a mess.
The glass roof means rain becomes entertainment. I love sketching during a rainstorm in my conservatory. The sound on the glass is better than any music. My pencil moves on its own.
Keep a plant journal next to your sketchbook. Note when things bloom. Note what the light looked like. Next year you will know exactly when to paint the roses. Gardeners keep notes. Artists should too.
This corner works all year round. In winter it is warm and green when everything outside is gray. That is when you will love it most. Your hands stay busy while the garden sleeps.
6. The Gazebo Sketch Spot
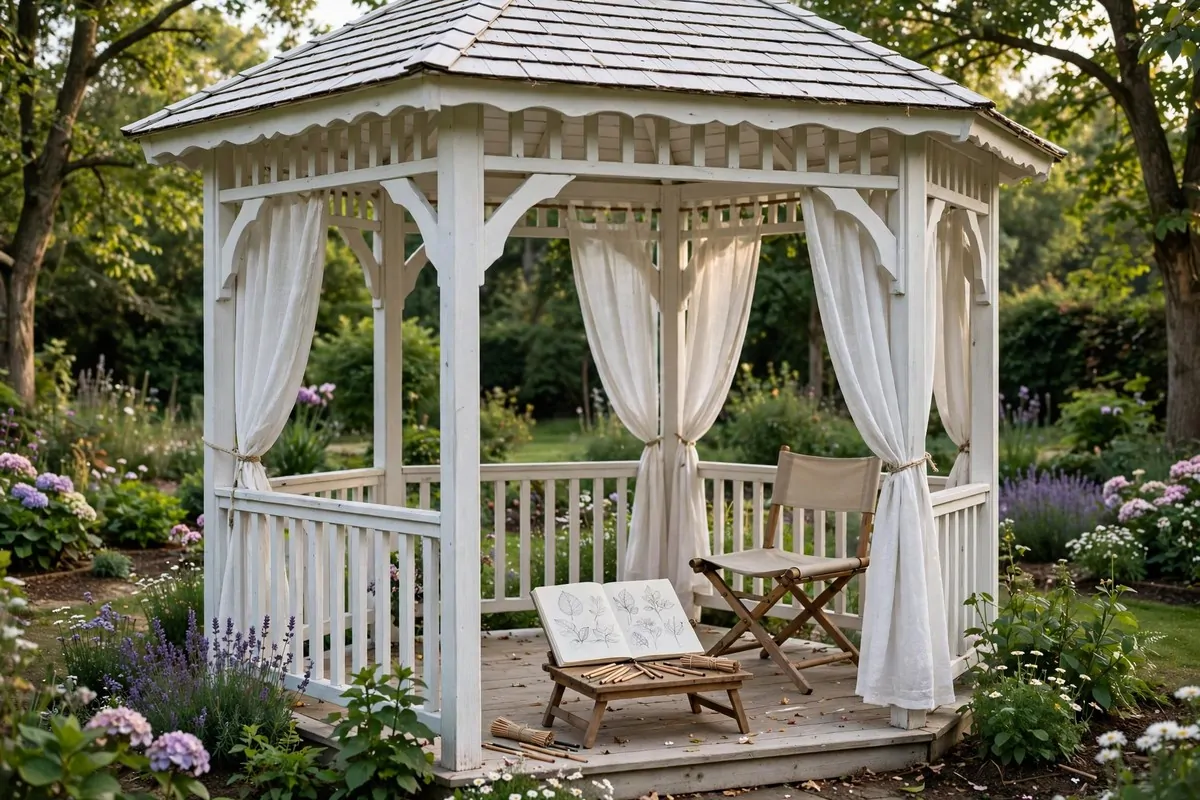
A gazebo is a roof with a view. That is all an artist needs on a sunny day. You sit in the shade. You look out at the garden. You draw what you see. It is the simplest studio idea on this whole list.
Set up a folding stool and a lap desk. A lap desk is just a small board with a cushion under it. Your sketchbook rests on top. Your whole studio fits in one armful. I keep mine by the back door.
Tie the gazebo curtains back on three sides. You want the view open. Let the breeze come through. A gazebo with closed curtains feels like a tent. An open one feels like the best seat in the park.
Bring only what you need for sketching. A sketchbook. A few pencils. Maybe a pen. Leave the big paint sets inside. This spot is for quick studies and loose drawings, not for big finished paintings.
Morning is the best time here. The light is soft and the garden is quiet. You will hear bees before you hear cars. My best sketches happened before eight in the morning, sitting right there.
Watch the weather. A gazebo roof keeps off light rain but not a storm. Keep a tote bag ready for a fast exit. I have run for the house more than once with my sketchbook under my shirt. It is part of the fun.
Hang a small bird feeder near the gazebo. Birds come close when you sit still. Then you have live models for free. I have filled whole pages with birds I watched from my stool. They do not pose, but they are fast and fun to catch.
In the evening, string some solar fairy lights around the gazebo posts. They charge all day and glow all night. Sketching at dusk with fairy lights on feels like magic. Your lines get dreamy and so does your mood.
7. The Pergola Canopy Workspace
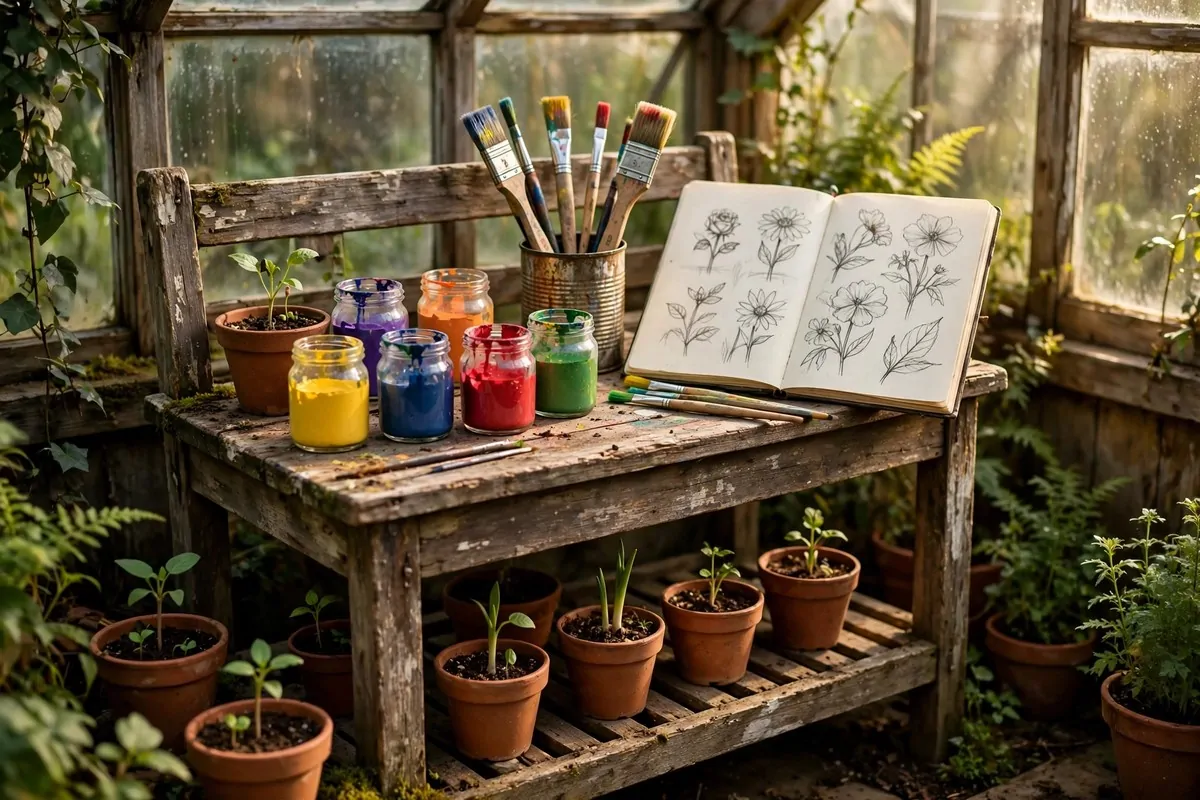
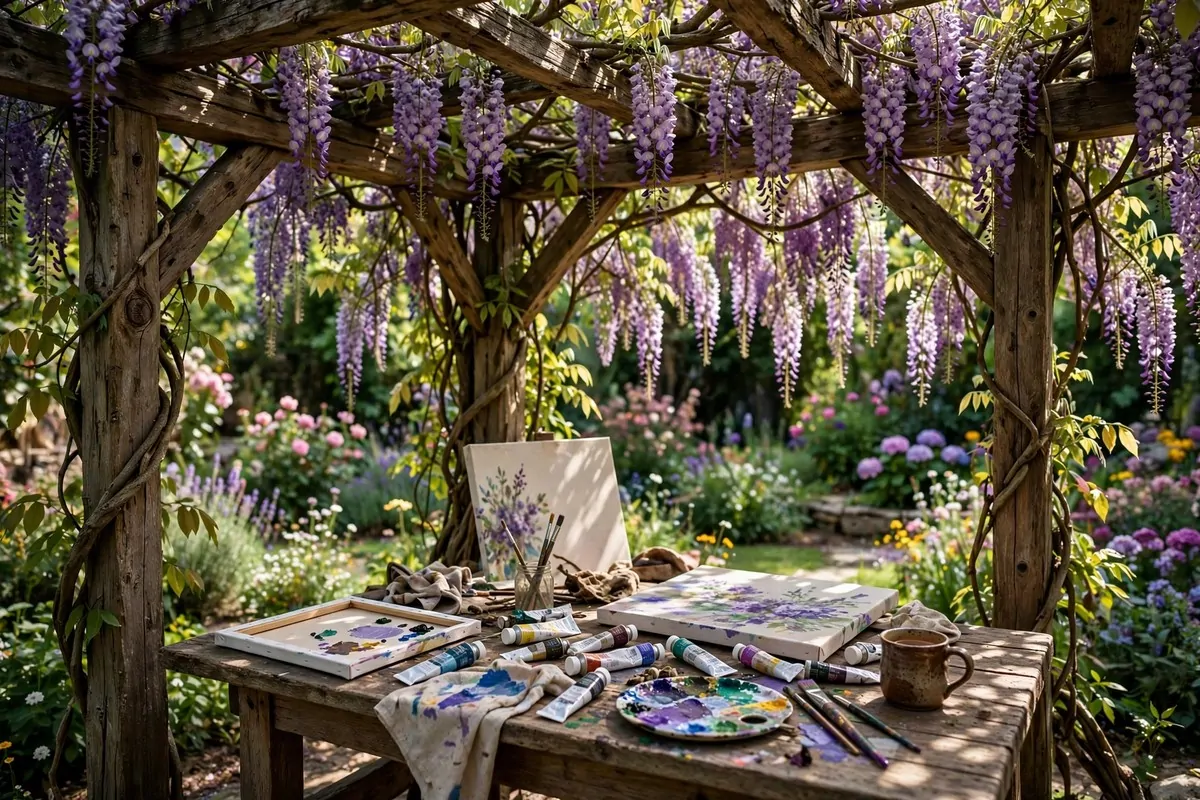
A pergola with climbing plants is a living roof. Wisteria, roses, or grape vines grow over the top and make dappled shade. Underneath, you get a workspace that changes with the seasons. In spring it drips with flowers. In summer it is cool shade.
Put a sturdy table under it. A farmhouse table is perfect. It is big enough for big paper and heavy enough to stay put in wind. Mine has paint spots from three years of projects. Each one is a memory.
The dappled light under a pergola is beautiful but tricky for painting. It moves. One minute your canvas is in shade, the next it has a sun spot. For serious color work, sit where the shade is deepest. Save the sunny spots for sketching.
Climbing plants drop things. Petals, leaves, the occasional bug. It is part of outdoor life. Keep a small brush handy to sweep your paper. I think of it as the garden signing my work.
This spot is great for group art days. The table is big. Invite a friend. Paint side by side. Share the shade and the snacks. Art is more fun when someone else is making a mess too.
Grow scented climbers if you can. Jasmine or honeysuckle makes the whole studio smell like perfume. Smell is a strange and powerful thing for creativity. I paint better when the air smells sweet. I cannot explain it.
In winter the vines go bare and the pergola gets sunny again. That is actually perfect. You get winter sun on your table when you need the warmth most. The garden gives you shade in summer and sun in winter without you doing anything.
Anchor your paper well. A light breeze under a pergola loves to steal loose sheets. Use clips, tape, or a heavy board. Chasing your drawing across the lawn is funny once. After that it gets old.
8. The Basket That Goes Anywhere
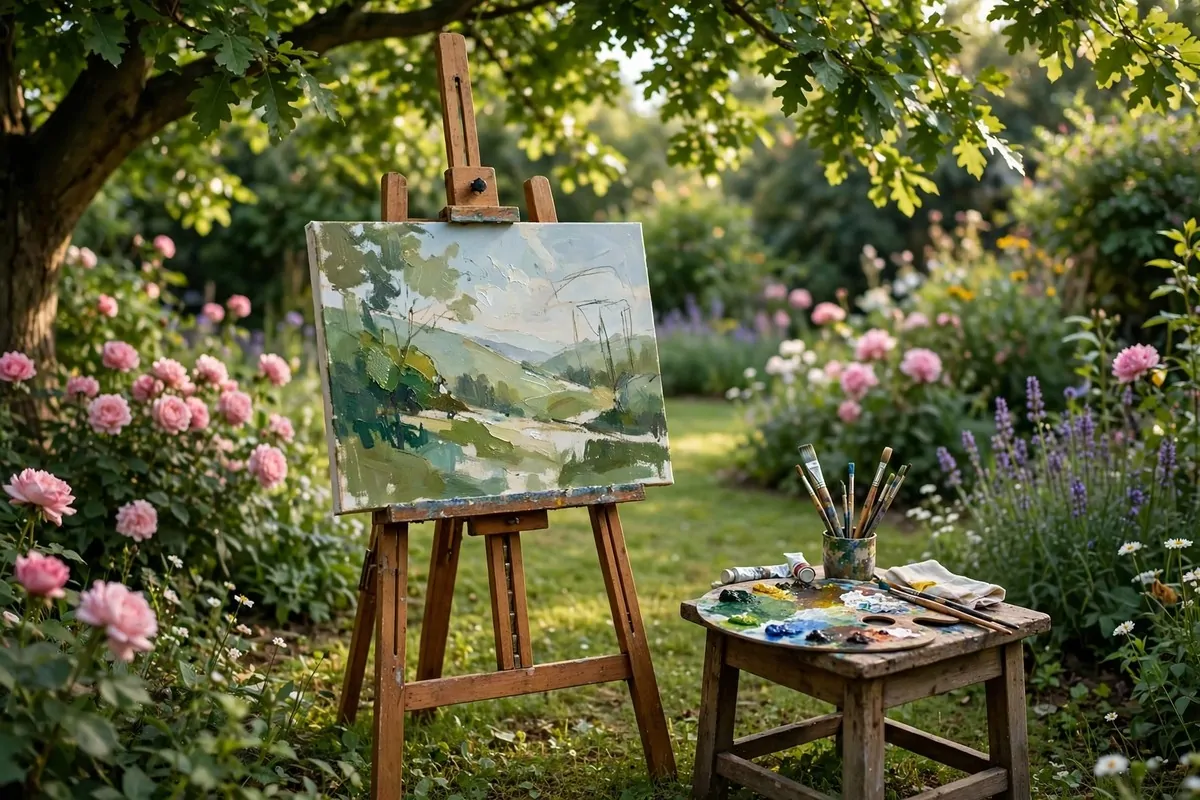
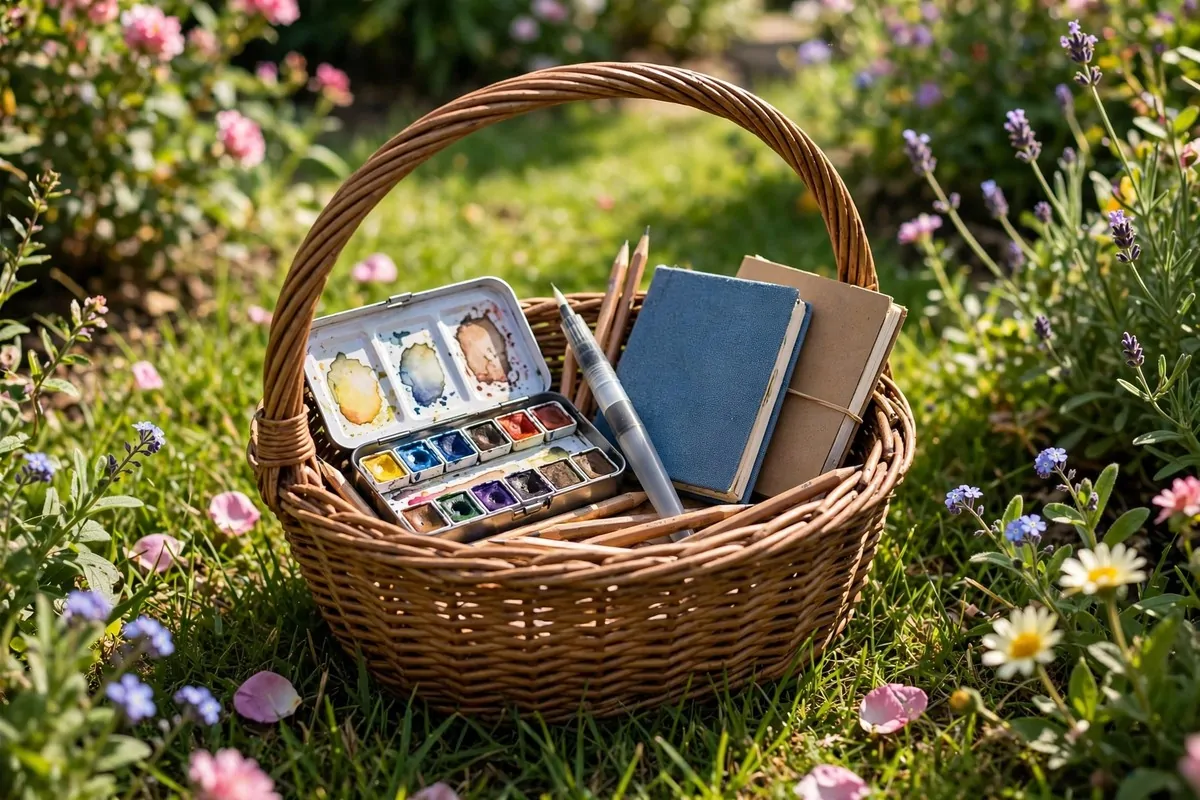
Not every garden art studio needs walls. Some fit in a basket. A portable studio goes wherever the prettiest light is today. By the roses. Under the apple tree. Next to the pond. You carry your studio to the view.
Pick a basket or tote with handles you like. A wicker basket looks charming. A canvas tote is lighter. What matters is that you will actually carry it. If it is too heavy, you will leave it in the hall.
Pack it like a little kit. Here is what mine holds:
- A small sketchbook that fits in one hand
- A travel watercolor set with a built in palette
- A water brush that holds its own water
- Two pencils, one pen, one eraser
- A folded paper towel and a tiny spray bottle
- A sandwich bag for finished wet paintings
The water brush is the secret weapon. It is a brush with a water tank in the handle. Squeeze gently and water flows to the tip. No separate water jar to spill on the grass. It changed my outdoor painting life.
Sit on the ground when you can. A garden kneeling pad makes a great seat. It is cheap and light. Sit near your subject and really look at it. Up close you see things you miss from a chair. The tiny hairs on a stem. The way a petal curls.
This is also the perfect studio for travel. The basket goes in the car. It goes on holiday. It goes to the park. Once you build this kit, you have a studio everywhere you go.
Paint fast with this setup. Do small studies, not big paintings. Ten minute sketches. Quick color notes. You are collecting ideas here, not finishing masterpieces. Those quick notes become gold later in your main studio.
9. The Botanical Dye Station
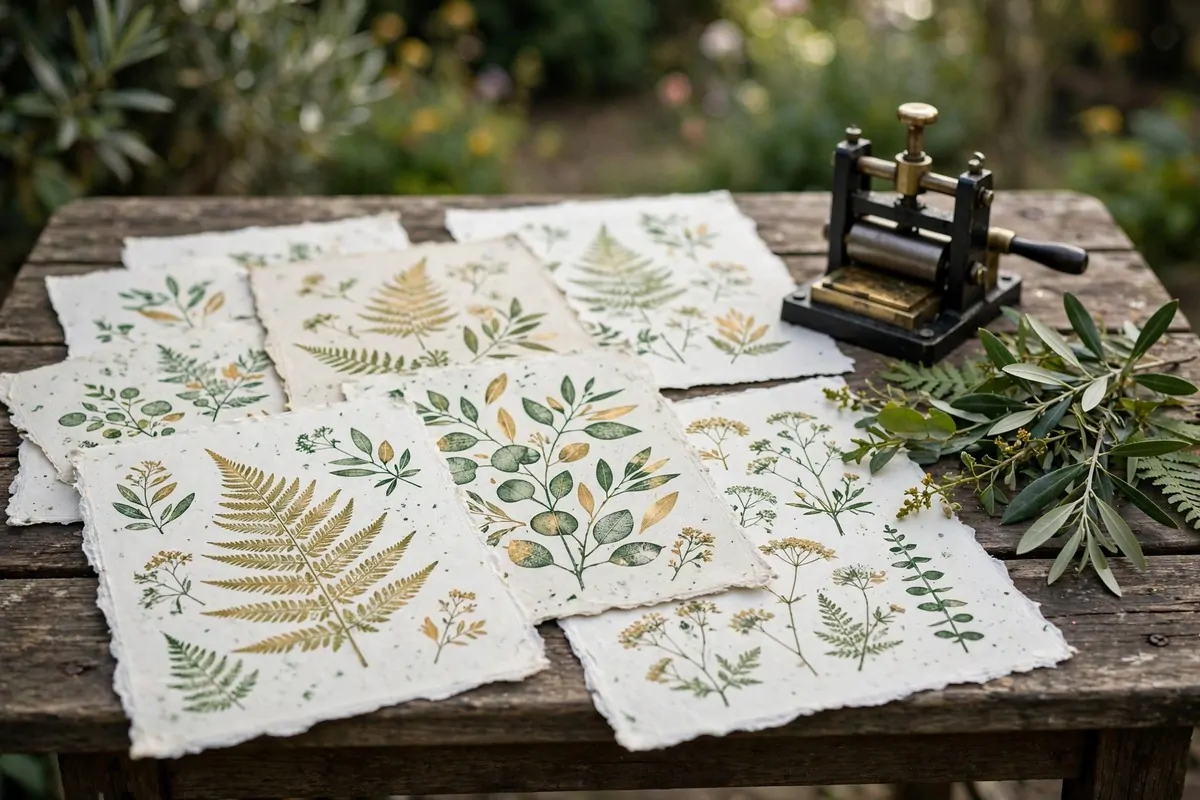
Your garden can make your art supplies. Plants give color. Marigold flowers make yellow. Beetroot makes red. Onion skins make gold. Leaves make soft greens. A dye station turns your garden into a paint factory.
Set up on a sturdy outdoor table. Dyeing is wet and messy, and you do not want it in the kitchen. Outside, spills land on grass. Keep a hose nearby for rinsing. Wear old clothes. This gets colorful.
You need a few big pots you do not cook in. Simmer the plant material in water to pull out the color. Strain it. Then simmer your fabric or paper in the colored water. The color soaks in slowly. Patience is the main ingredient.
Start with easy plants. Marigolds are the friendliest beginner dye. They grow like weeds and give a strong happy yellow. Onion skins from your kitchen work too. Save them in a bag until you have enough.
Write down everything you try. Which plant. How much. How long you simmered. Dyeing is a science as much as an art, and you will want to repeat your favorites. I keep a stained notebook just for dye recipes.
The colors are softer than store bought dyes. That is their charm. Plant colors look like the garden they came from. Gentle. Natural. A little uneven in a beautiful way. No two pieces ever match, and that is the point.
You can dye fabric, yarn, paper, even eggs in spring. Dye a scarf with your own roses. Make gift wrap from leaf printed paper. Suddenly your garden is not just pretty. It is productive in a whole new way.
| Plant | Color you get | Easy for beginners |
|---|---|---|
| Marigold flowers | Bright yellow | Yes, very easy |
| Onion skins | Warm gold | Yes, save from kitchen |
| Beetroot | Pink to red | Yes, but fades faster |
| Blackberries | Purple gray | Yes, medium |
Invite a friend for dye day. It takes hours, and company makes it fly. You will end the day with stained hands, a pile of beautiful fabric, and stories. Some of my happiest garden days were dye days.
10. The Leaf Print and Pressing Table
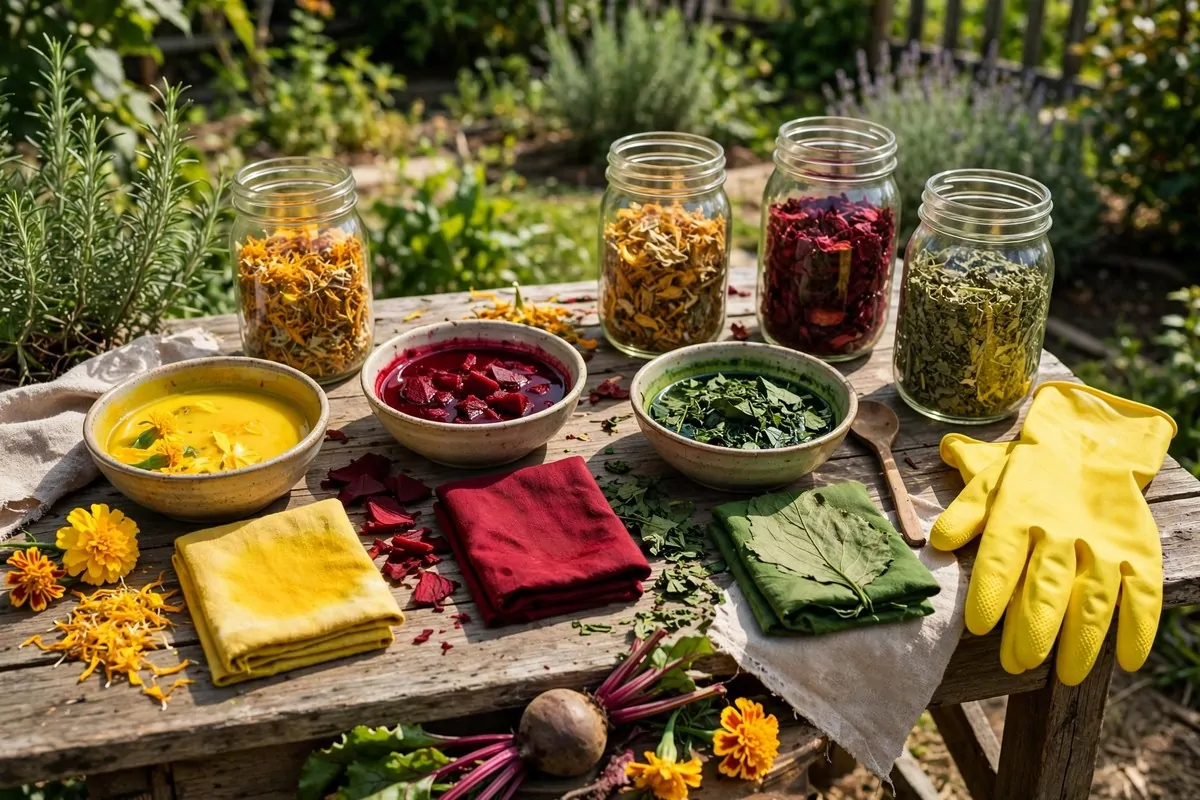
Leaves are free printing blocks. Paint one side of a leaf. Press it onto paper. Lift it off. You get a perfect print of every vein and edge. No drawing skill needed. Children love this. So do grown ups, if we are honest.
Set up a clean flat table outside. Cover it with newspaper. Lay out your inks or paints, a brayer or rolling pin, and a stack of paper. Keep a bowl of fresh leaves nearby. You will go through them fast.
Pick leaves with strong veins. Ferns make lace like prints. Big maple leaves make bold ones. Try flowers too, but press them gently. Flat petals work best. Thick petals make a mess, though a pretty one.
Roll a thin layer of ink on the leaf with the brayer. Thin is the key word. Too much ink hides the veins. You want just enough to coat the surface. It takes a few tries to learn. The first prints are always experiments.
Press the paper down firmly and rub the back with your hand. Then peel it up slowly, like a sticker. That slow peel is the best moment. You never know exactly what you will get. It feels like opening a gift.
Pressed flowers are the slower cousin of leaf prints. Pick flowers, press them in a heavy book for two weeks, then glue them onto cards or frame them. The colors fade a little but stay lovely. I have framed pressed pansies that are years old.
Make cards from your best prints. Fold the paper in half. Write a note inside. People keep handmade cards. I have a drawer of ones friends sent me, and the leaf print ones are my favorites. They feel like a piece of the garden arrived in the mail.
This table is wonderful on rainy days under a covered patio. The work is small and calm. You can do it with a cup of tea nearby. Some art should be quiet like this. Not everything needs to be a big painting.
11. The Easel Under the Tree
Find the biggest tree in your garden. Put your easel under it. Done. You now have a studio with the best ceiling in the world. Leaves filter the sunlight into soft green gold. It is the prettiest light you will ever paint in.
A French easel is perfect for this. It folds into a box with legs. It holds your canvas, your paints, and your palette all in one. Artists have carried these into fields for two hundred years. They knew what they were doing.
Face away from the sun if you can. Paint in the shade, look at the sunlit garden. This gives you shade on your canvas and a bright view to paint. Your eyes will thank you. Squinting at a bright canvas ruins your color judgment.
Bring a small side table or a stool for your palette. You want it at a comfortable height. Bending down to mix paint gets old fast. I use an old bar stool. It wobbles a little. I love it anyway.
Watch for falling things. Trees drop leaves, twigs, and in autumn, everything at once. A leaf landing on wet paint is not a disaster. Some artists leave them in. I painted a whole sky once with a real leaf stuck in the corner. It is still there.
Paint the tree itself sometimes. Look up. Paint the branches against the sky. Trees are hard and wonderful subjects. They teach you to see shapes instead of details. Squint at a tree and it becomes five big shapes. Paint those.
The ground is your floor. It is free and it does not stain. Drop a cloth if you worry about the grass, but grass recovers. My lawn has a faint blue spot from last summer. I think of it as a garden tattoo.
Pack up before the dew falls in the evening. Wet grass and art supplies do not mix. Give yourself twenty minutes to pack. Or leave the easel standing and throw a tarp over it. Tomorrow morning it will be waiting, and so will the tree.
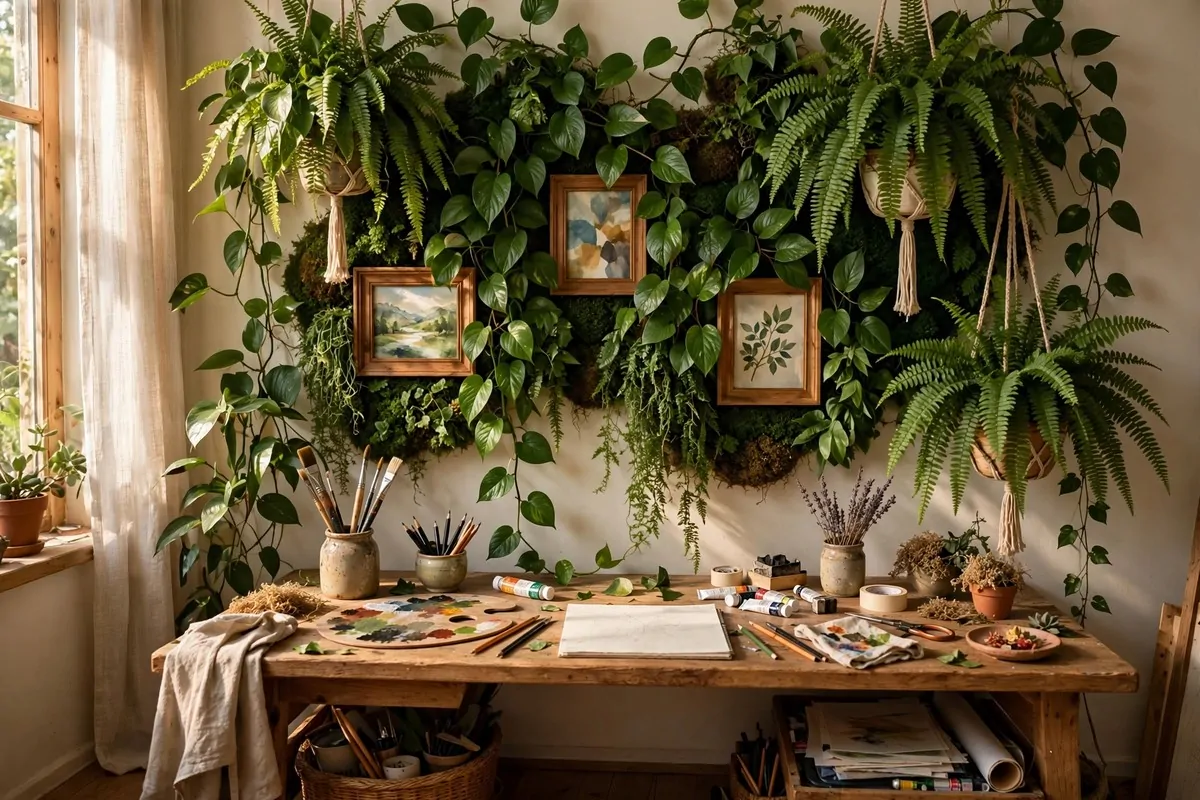
12. The Living Plant Gallery Wall
Who says studio walls have to be blank? Cover one wall with plants and hang your art among the leaves. A living gallery wall makes your studio feel like a greenhouse and an art show at the same time. Guests always gasp.
Start with strong hooks or a trellis panel on the wall. Hanging pots are easiest. Pothos, ferns, and spider plants are forgiving. They grow fast and forgive forgetful watering. I am a forgetful waterer. They still thrive.
Hang your framed pieces between the plants. Small frames work best. The plants frame your art naturally. A little painting of a leaf sitting next to a real leaf is a lovely joke. Visitors smile every time.
Choose plants that like your studio’s light. Low light corners need pothos and snake plants. Bright windows can host succulents and herbs. Match the plant to the spot and you will hardly have to think about them.
Watering day is studio cleaning day. I water my wall plants every Sunday and tidy the studio at the same time. The two jobs go together nicely. By the time the plants are watered, the studio is clean.
This wall changes your art. You start painting plants because they are right there. My last ten paintings all have leaves in them. I did not plan it. The wall just convinced me. Surround yourself with green and green shows up in your work.
Keep a small mister on your desk. A quick spray keeps the leaves happy and gives you a reason to pause. Those little pauses are when ideas arrive. I have solved more painting problems while misting ferns than I can count.
In winter this wall is a lifesaver. Everything outside is gray and bare. Inside, your studio is still green and growing. You will paint brighter things in January than you thought possible. The wall keeps your spirits up when the sky will not.
13. The Stone Patio Sculptor’s Yard
Art is not only flat. If you like to build things with your hands, the patio can be your sculpture yard. Clay, stone, wood, wire. Three dimensional art loves fresh air. The mess stays outside where it belongs.
A stone patio is the ideal floor. Clay washes off stone with a hose. Wood chips sweep up easy. You can be as messy as the work demands. Inside the house, mess has limits. Outside, it does not.
Set up a sturdy work table at standing height. Sculpting while standing lets you walk around your piece. You need to see it from every side. A table you can circle is better than a table against a wall.
Keep a bucket of water on the table. Clay needs to stay damp. Dip your hands. Wet your tools. Outside, a spilled bucket is a non event. It just waters the patio. I spill mine at least once a week.
Start with air dry clay if you are new. No kiln needed. Make small things first. Animals. Bowls. Funny faces. Let them dry in the shade, not full sun. Sun dries the outside too fast and cracks appear.
Cover works in progress with damp cloths and plastic. Clay dries out fast in a breeze. I learned this the hard way with a lopsided bird that hardened overnight. Now I wrap everything like leftovers. It works.
Display finished pieces around the garden. Sculptures belong outside anyway. A clay bird on a wall. A small face peeking from a flower bed. Your garden becomes your gallery. Neighbors will stop and stare. Let them.
Wire and found objects make great garden sculptures too. Twist wire into shapes. Add shells, stones, driftwood from walks. These weather well and look better with a little age. My wire heron has stood by the pond for two years. It looks more distinguished every season.
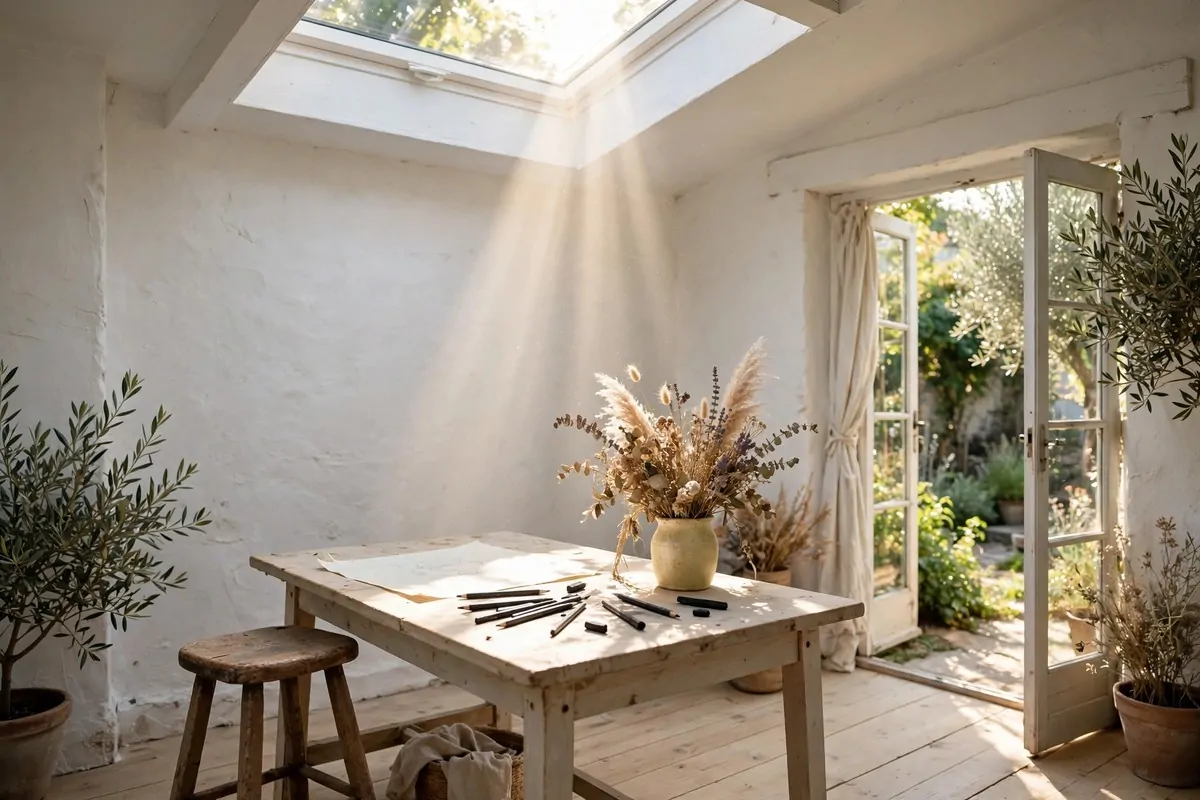
14. The Sunlit White Sketch Room
Sometimes the garden is best enjoyed through glass and white paint. A small whitewashed room with a skylight feels like the inside of a cloud. Everything is bright. Everything is calm. Your pencil makes the only dark lines.
Whitewash is just thin white paint. It lets the wood grain show through. It is cheaper than full paint and looks softer. One weekend, one bucket, one brush. The room will feel twice as bright when you finish.
The skylight is the star here. Light falls straight down onto your table like a spotlight. Put your sketching table right under it. Your work gets perfect even light with no shadows from your hand. It is the ideal drawing setup.
Keep the furniture pale and simple. A light wood table. A white or cream stool. Linen curtains if you want them. Dark furniture would shout in this quiet room. Let the room whisper instead.
A vase of dried flowers is the perfect decoration. Dried flowers never need water and never wilt. They are also patient models. A dried sunflower will hold still for your sketch for months. Fresh flowers never manage that.
This room is wonderful for detailed work. Pen and ink. Fine pencil shading. Colored pencil layering. The bright even light shows you every tiny mark. You will see your work truly, which is sometimes scary and always useful.
In winter, this bright room fights the gray days. The skylight catches every bit of pale sun. I do my January sketching here and pretend it is spring. By February my sketchbook is full of flowers that do not exist yet outside.
Keep the floor simple too. Painted wood or a washable rug. Charcoal dust shows on white floors, so keep a small hand brush nearby. A quick sweep takes a minute. A clean white room stays inspiring. A dusty one just feels sad.
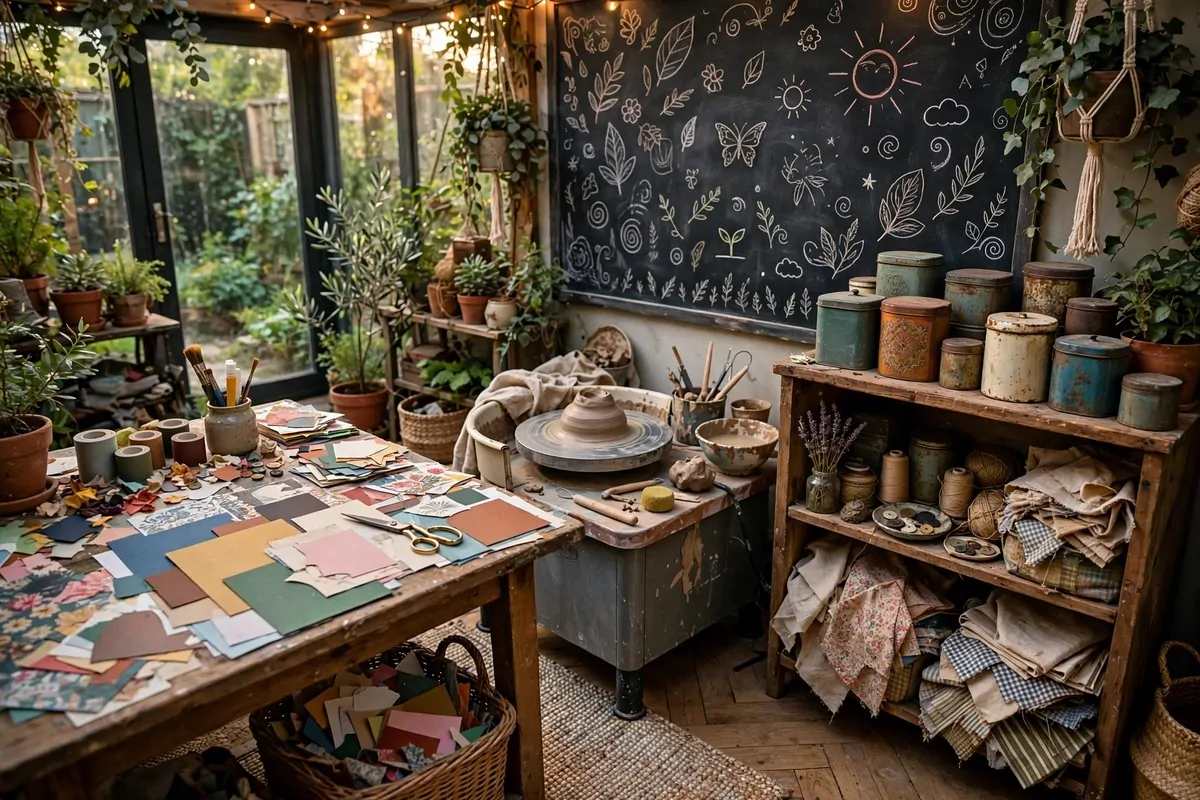
15. The Mixed-Media Corner
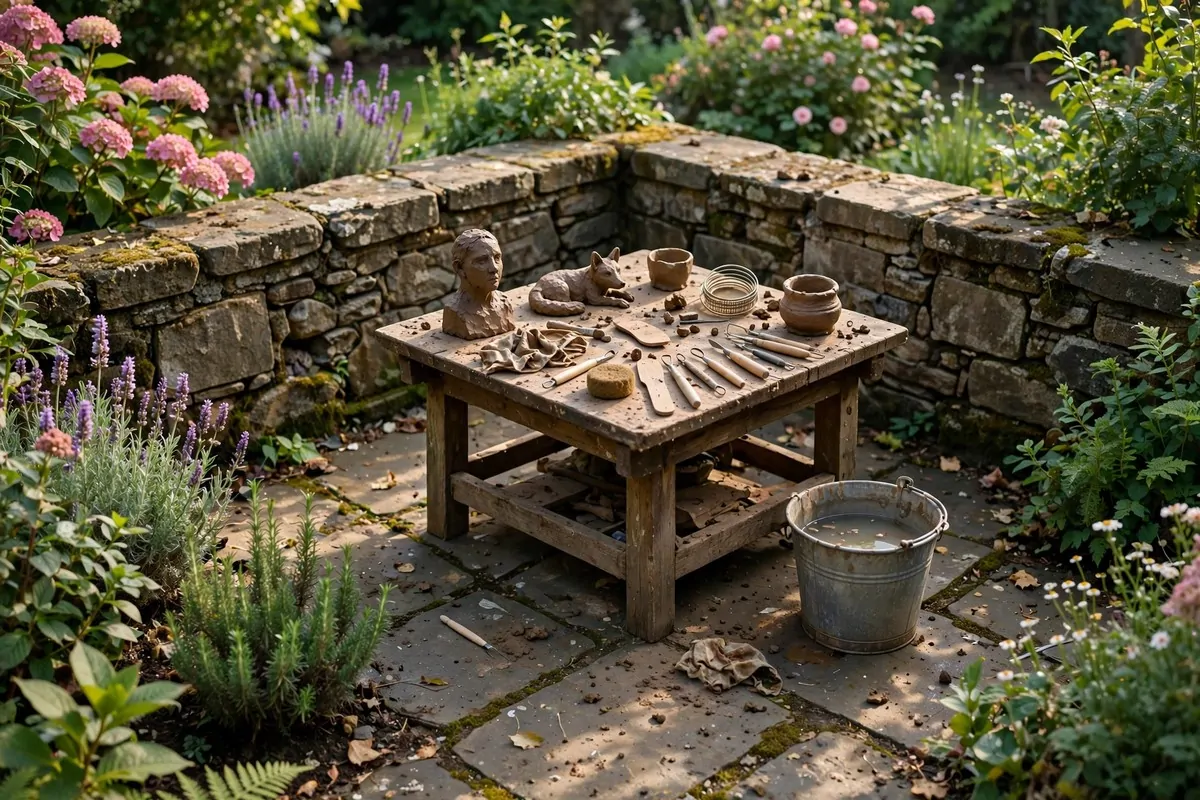
Some of us cannot pick one art form. We paint on Monday, glue collage on Tuesday, and play with clay on Wednesday. A mixed media corner gives each love its own station. No more clearing the painting stuff to make room for the sewing.
Divide your corner into zones. One table for wet work like paint and glue. One table for dry work like collage and drawing. A small shelf for clay and three dimensional things. Zones keep the messes from fighting each other.
Use a rolling cart between the zones. It holds the shared supplies. Scissors. Tape. Rulers. Brushes. Roll it to whichever table needs it. When you are done, roll it back. It is like a waiter for your art supplies.
A chalkboard wall or a big pinboard is gold for mixed media artists. Pin up ideas. Sketch plans. Color swatches. Photos from the garden. Your wall becomes your brain, visible. I plan whole projects on my pinboard before I touch materials.
Storage matters more here than in a single craft studio. Use clear boxes so you can see what is inside. Label them. Fabric scraps. Paper stacks. Buttons and beads. When you can see your materials, you use them. Hidden supplies get forgotten.
The garden feeds mixed media work beautifully. Pressed flowers for collage. Twigs for sculpture. Leaves for printing. Stones for mosaics. Keep a basket by the door for garden finds. Mine is always full. I cannot walk past an interesting leaf.
This corner is the best place for creative experiments. Try printing with a corn cob. Glue seeds onto cardboard. Paint on an old wooden shutter. When no single craft rules the space, you feel free to try silly things. Silly things often become wonderful things.
Clean one zone at a time, not the whole corner. Tidy the paint table on Friday. Sort the collage papers on Saturday. Small cleanups keep the corner usable without a scary big cleaning day. I do ten minutes at the end of each session. It is enough.
16. The Lantern-Lit Evening Studio
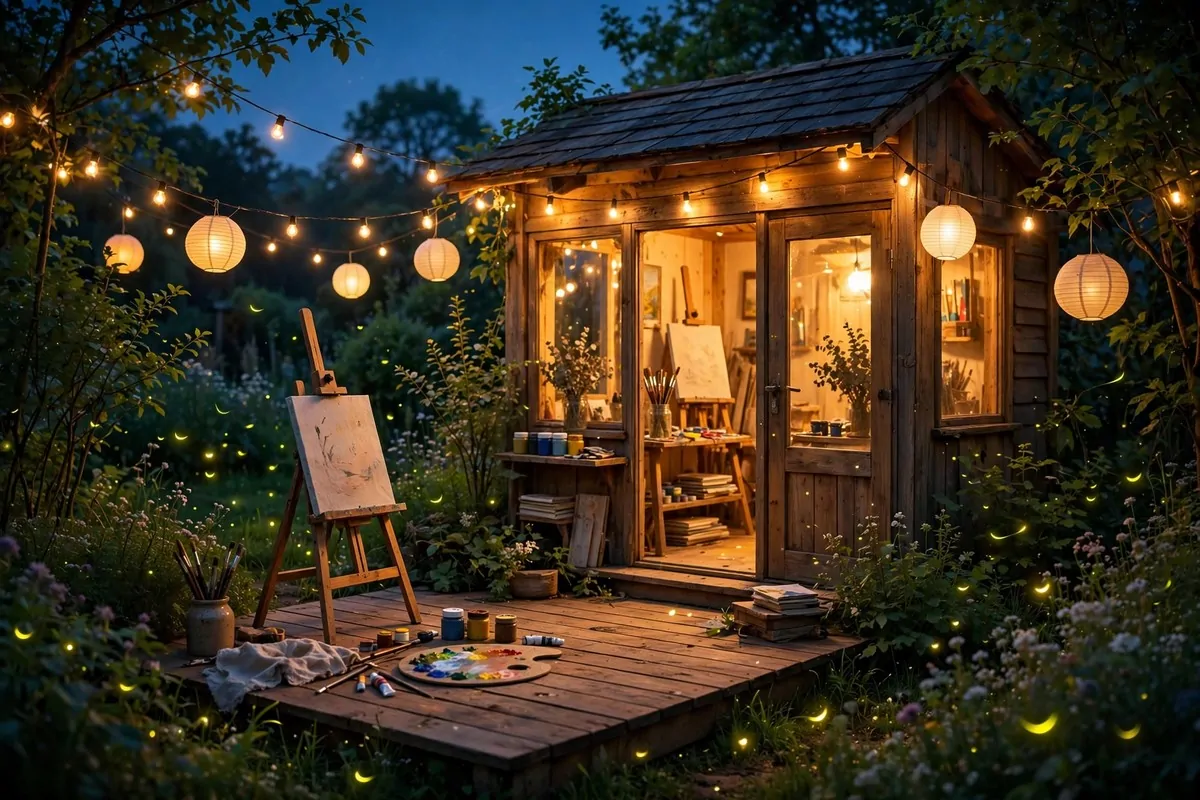
Who says art stops at sunset? String some lights, light some lanterns, and your garden studio gets a second shift. Evening painting feels completely different. The world goes quiet. The light goes golden, then blue, then dark. You paint by lantern glow.
Solar fairy lights are the easiest start. They charge all day and switch on by themselves at dusk. Drape them along a fence, a pergola, or your shed eaves. One strand costs little and changes everything.
Add a few real lanterns for warm light. Battery candles are safest. They flicker like real flames with no fire risk. Cluster them on your table. The warm glow makes every color look rich and deep. Evening paintings always look moody in the best way.
Paint the sunset while it happens. It only lasts twenty minutes. Work fast and loose. Big brushes. Big shapes. You are catching a feeling, not a photograph. My sunset studies are messy and I love them more than my careful daytime work.
When it gets truly dark, switch to drawing. The lantern light is perfect for sketching. Shadows get dramatic. Simple objects look mysterious. Draw your garden tools. Draw the lantern itself. Night makes ordinary things interesting.
Keep a warm layer nearby. Evenings cool down fast. A blanket over your shoulders lets you stay out longer. I keep an old shawl on my studio chair from September onward. It has paint on it now. Everything I own has paint on it.
Watch out for moths. They love lantern light and they love landing on wet paint. It is funny the first time. Cover your palette with a damp cloth when you pause. And maybe keep the brightest light a little away from your canvas.
End the evening by looking at your work in the morning light. Night paintings always surprise you. Colors you mixed by lantern look different in daylight. Sometimes better. Sometimes strange. It is like getting a gift from your evening self.
17. The Flower Still-Life Table
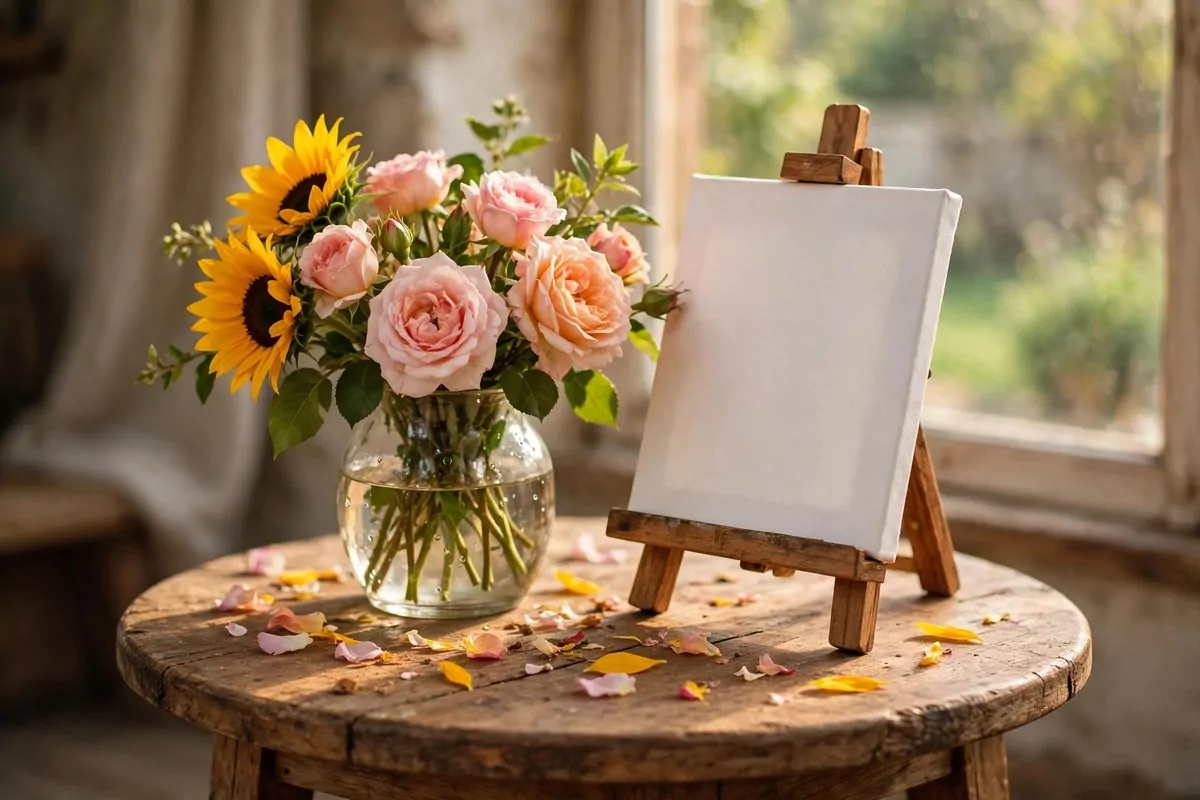
The oldest art subject in the world is also the easiest. Cut flowers from your garden. Put them in a vase. Paint them. Artists have done this for a thousand years because it works. Flowers are patient, colorful, and free.
Set up a small round table near a window or under cover. The table holds the vase and your small easel. Keep the background simple. A plain cloth behind the flowers makes them pop. Busy backgrounds fight with busy flowers.
Pick flowers in the morning when they are fresh. Cut the stems at an angle. Put them in water right away. A wilted flower is a sad model. I cut more than I need and pick the best ones at the table.
Arrange loosely. Do not fuss too much. A natural bunch looks better than a stiff formal arrangement. Turn the vase until you like the shape. Then do not touch it again. Every touch makes it worse. I speak from experience.
This is the perfect setup for learning color mixing. Flowers have every color. Mix the exact pink of that rose. Then the shadow side of the same rose, which is a whole different color. Your color skills will grow fast here.
Paint the same vase three days in a row. The flowers change. They open. They droop. Petals fall. Your three paintings become a little story about time. I did this with sunflowers once and the third painting, all droopy and dramatic, was the best of the three.
Save the petals when they fall. Press them. Use them for collage. Nothing wasted. A still life setup feeds your other art too. The garden gives and gives.
When winter comes, use dried flowers or even vegetables from the store. An onion is a beautiful still life subject. So is a pumpkin. The table works all year. Only the models change with the seasons.