24 Art Studio Storage Hacks That Tame the Supply Chaos

I spent more time hunting for a tube of paint than I spent painting with it. That was my worst studio day. The blue I needed had rolled behind the shelf. I found it at four in the afternoon, under a stack of sketchbooks, next to three dead brushes I should have tossed months ago. My light was gone. My mood was gone. The canvas stayed half done.
That day taught me something simple. Art supplies have a way of spreading like spilled water. They crawl across every flat surface. They pile up in corners. They hide in bags and boxes you forgot you owned. And the mess steals your painting time.
You do not need a bigger studio. You need better spots for your things. Every tube, brush, and canvas should have a home. When each thing has a home, you stop hunting. You start making.
I tried a lot of storage ideas over the years. Some were fancy. Most were cheap. The best ones all share one trait: they keep your tools where you can see and reach them. A good Art Studio Storage setup does not hide your supplies. It shows them off, like a little shop, ready to use.
Below are the 24 hacks that actually worked for me. They fit small studios and big ones. They use cheap items from dollar stores and things you already own. Pick the ones that fit your space and start with just two or three. Your future self, the one who paints instead of hunts, will thank you.
1. Put Up a Pegboard Wall for Brushes and Tools
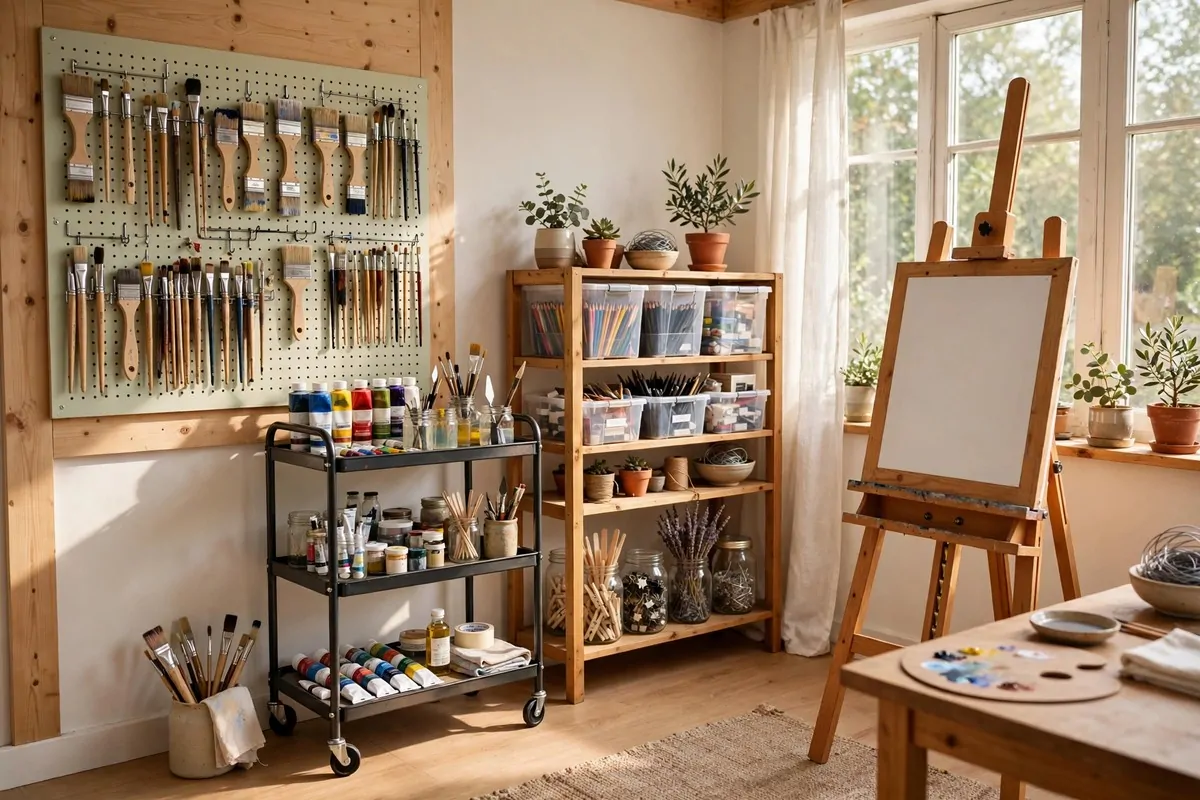
A pegboard is the hardest-working wall in my studio. It holds brushes, palettes, scissors, and even my reference photos. I hung mine right next to my easel. Everything I reach for lives at arm’s length now.
I bought a basic brown pegboard from the hardware store. It cost less than a big tube of paint. I painted it a soft gray to match my walls. The painting part took one afternoon and it dried while I worked on a sketch.
Hooks are where the magic happens. I got a big pack of assorted hooks for cheap. Short hooks hold scissors and palette knives. Long hooks hold jars of brushes. Small baskets hook on too, and they catch loose items like clips and tape rolls.
I arranged my brushes by size. Big flat brushes on the top row. Detail brushes in the middle. It looks pretty, like a store display. It also means I never grab the wrong brush mid-stroke.
Reference images get their own corner of the board. I use little wooden clips to hang them. I can swap photos in seconds. It is my mood board and my tool wall in one place.
The board freed up my whole desk. Before, brushes rolled around and fell on the floor. Now the desk holds only my current painting and my palette. Less clutter means fewer accidents.
Dust does collect on the board. I wipe it down with a dry cloth once a month. It takes five minutes. That is the whole maintenance plan.
If you rent, you can mount a pegboard with sturdy removable hooks. Mine is screwed in, but the hook option works fine. Ask your landlord first and keep the screws small. The wall forgives a lot.
2. Roll In an Art Cart That Follows You
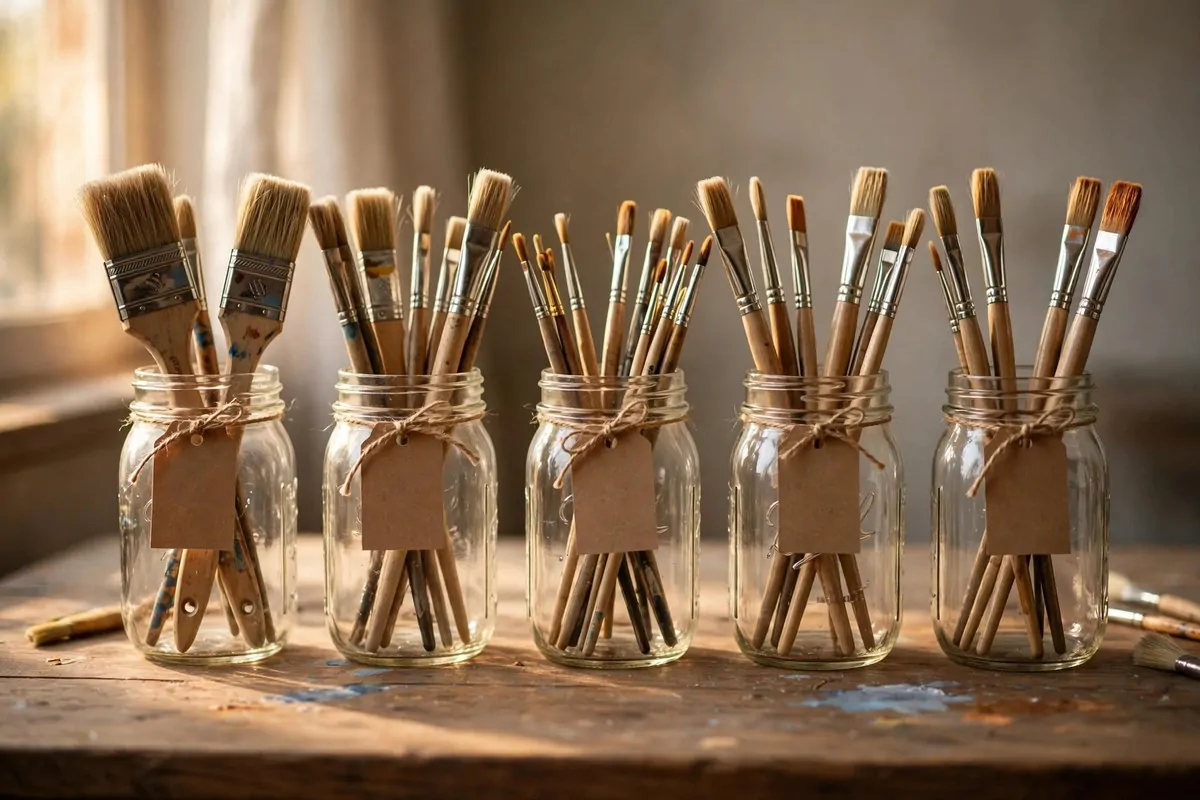
My rolling cart is my favorite thing in the studio. It is a three-tier metal cart on wheels. I load it with whatever my current project needs. Then I wheel it to my easel, my desk, or even the balcony on a sunny day.
The top shelf holds my daily paints. I only put out the tubes I am using this week. The rest stay in the closet. This rule keeps the cart light and useful.
The middle shelf holds jars of brushes and my water cup. I line the shelf with a silicone mat. Spills wipe right off. I learned this after a blue disaster soaked the metal tray.
The bottom shelf holds paper pads and sketchbooks. Big ones lie flat. The cart is narrow, so pads hang over the edges a little. It works anyway. Nothing falls off because the shelf has little rails.
Carts like this come in bright colors or plain metal. I picked a mint green one. It makes me happy every time I roll it across the room. Small joy matters in a studio.
When I finish a project, I reload the cart for the next one. Old supplies go back to their spots. This takes ten minutes. It feels like resetting a tiny shop between customers.
The wheels lock, which is important. Nothing is worse than a cart rolling away mid-stroke. I lock two of the four wheels. The cart stays put until I want it to move.
These carts cost very little and they save a ton of space. When guests come over, I roll the whole studio into the closet. Out of sight in ten seconds. My tiny apartment thanks me.
3. Keep Brushes Standing in Mason Jars
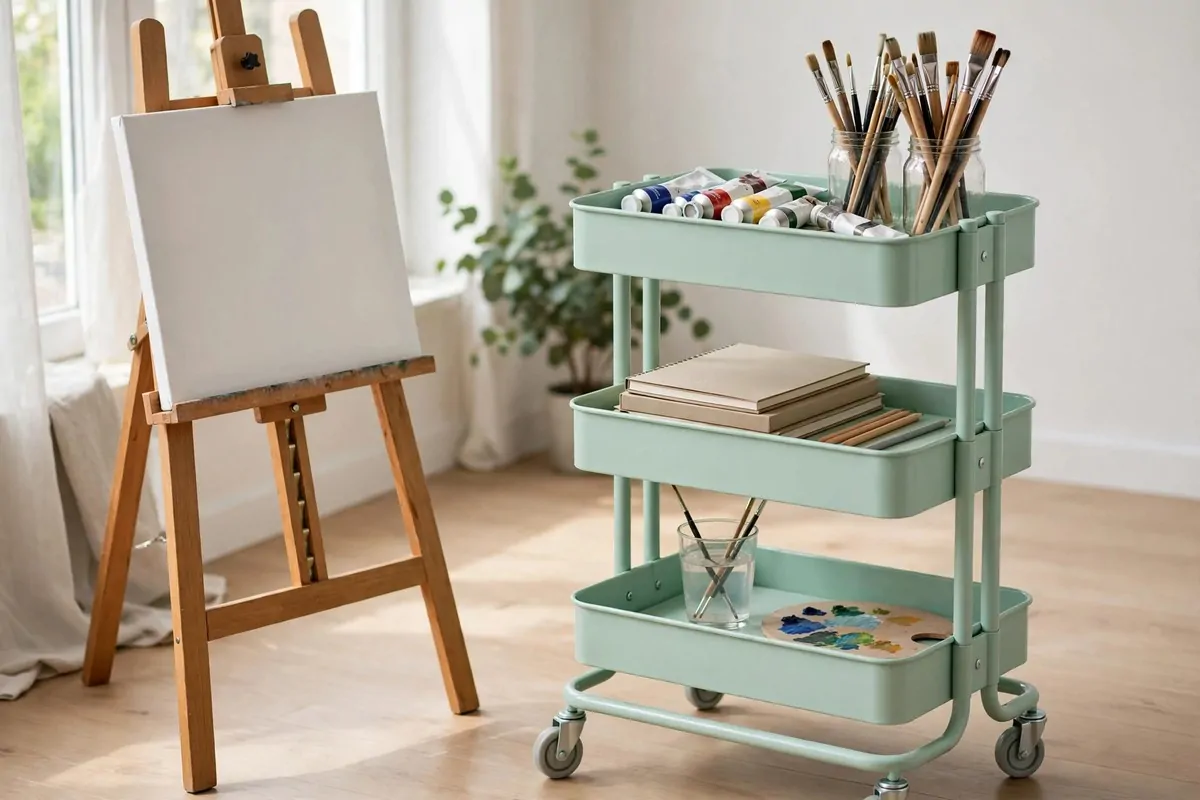
Mason jars changed my brush game forever. Before them, my brushes lived in a drawer, tangled and bent. Bristles broke. Handles scratched. Now every brush stands upright in a jar, bristle end up, and they stay in great shape.
I sort my brushes by type. One jar for flat brushes. One for round ones. One for the tiny detail brushes I guard with my life. It takes me three seconds to find the right one.
Glass jars are perfect because you can see everything. No guessing. No digging. I can see at a glance which jar holds what. Clear plastic cups work too, but glass feels nicer.
I put a little rice in the bottom of each jar. This sounds weird, but it works. The rice holds the brushes steady so they do not wobble. It also soaks up any drips. Replace the rice every few months.
Wash the jars once a month. Paint builds up on the glass. Hot water and soap do the trick. I wash my brushes in the same sink trip, so it all happens together.
Do not store wet brushes bristle-down in the jar. Water runs into the ferrule and loosens the glue. Let brushes dry flat on a towel first. Then stand them up. Your brushes will last years longer.
I label my jars with little tags tied around the neck. Flat. Round. Detail. Old and scruffy ones I keep anyway. The tags are handwritten and a bit messy. I like that.
These jars sit on my desk, my cart, and my windowsill. They look good enough to be decoration. Visitors always ask about them. Functional and pretty is the best combo.
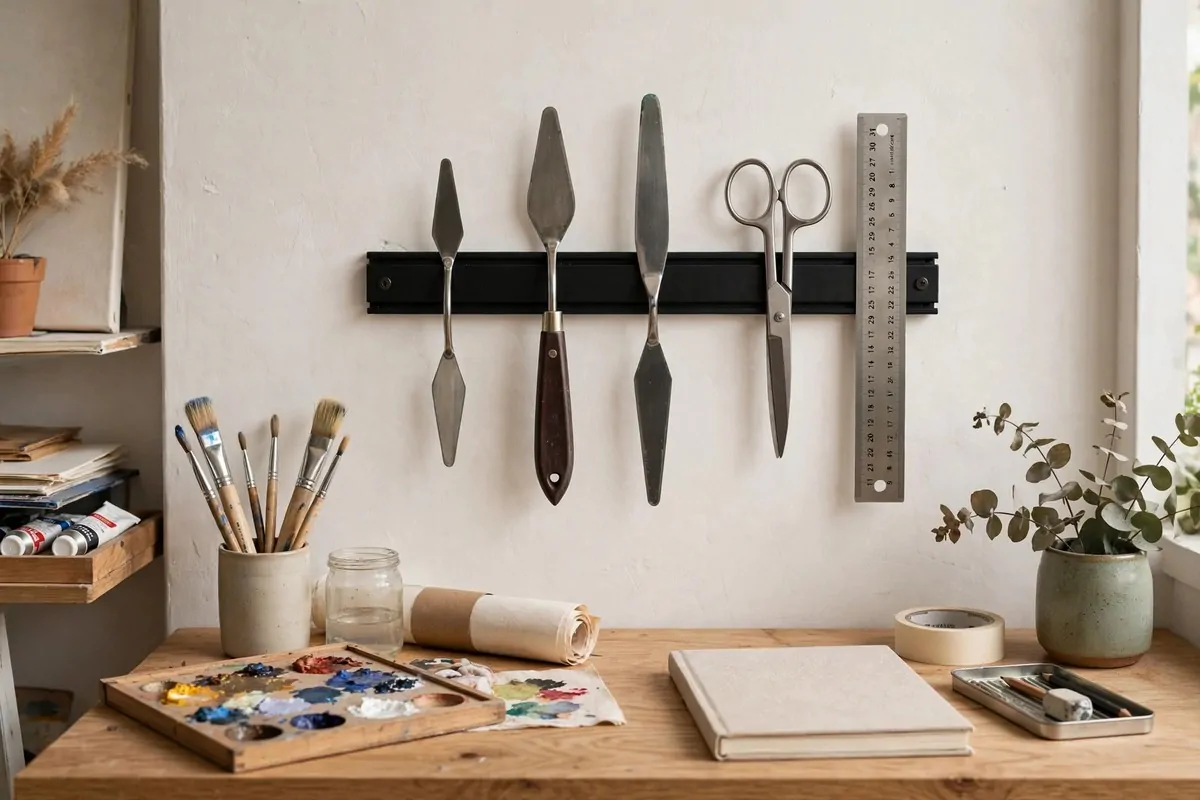
4. Mount Magnetic Strips for Metal Tools
Magnetic knife strips are not just for kitchens. I mounted one on my studio wall and it holds all my metal tools. Palette knives, scissors, metal rulers, and tweezers click onto it with a satisfying little snap.
Installation took ten minutes. The strip came with screws and anchors. I held it up, marked two dots, drilled, and done. It sits right above my desk where I used to lose scissors every single day.
Now I never lose my scissors. That alone is worth it. Before the strip, I bought five pairs of scissors in one year. They kept vanishing into the studio void. Now they all live on the wall.
The strip keeps sharp edges off the desk. Palette knives lying flat are accidents waiting to happen. Hung upright on the magnet, they are safe and visible. I grab what I need without touching the blade.
I added a second strip inside my supply closet door. It holds spare blades and small metal clips. The closet door was dead space before. Now it works for me.
Dust sticks to magnets a bit. I run a cloth over the strip every couple of weeks. Quick job. The tools themselves I wipe when I wash my brushes.
Cheap strips hold less weight. If you want to hang heavy tools, get a strong one. Mine holds a big metal ruler with no sliding. Test yours before you load it up.
This hack costs almost nothing and saves constant frustration. My scissors have not gone missing once since. That is a studio miracle.
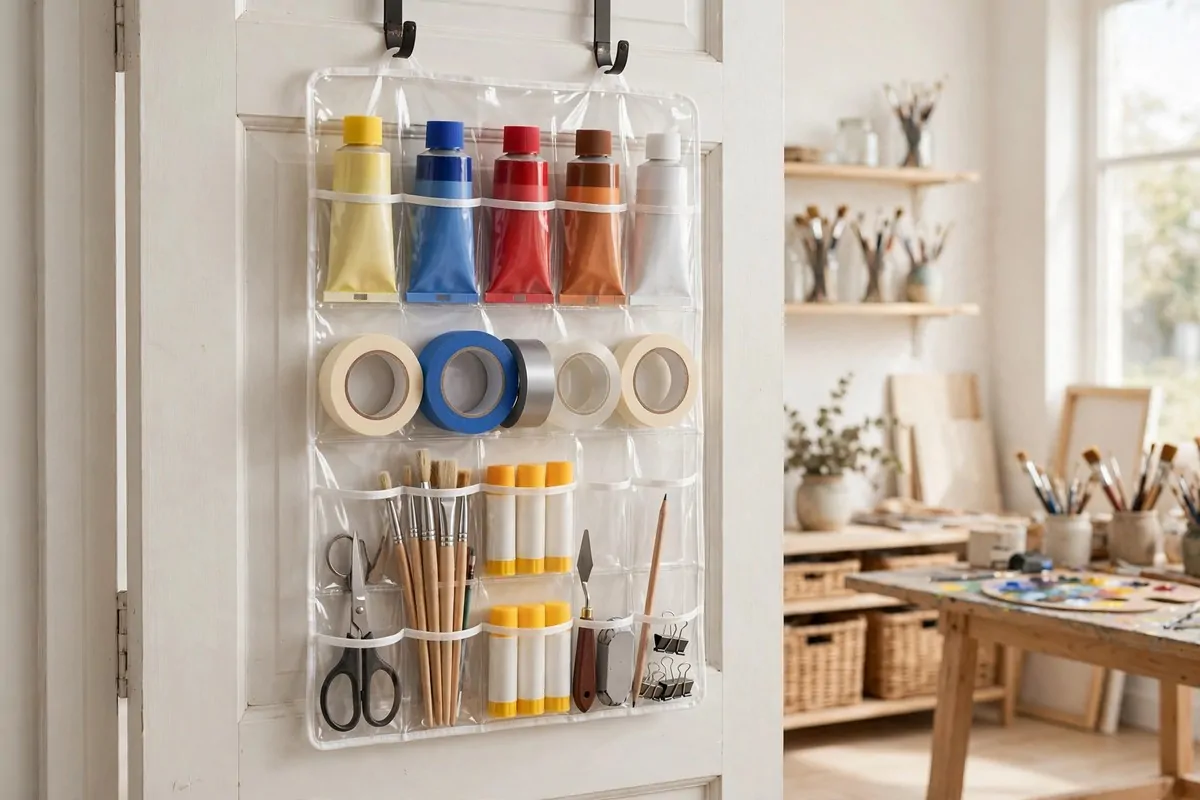
5. Hang an Over-the-Door Organizer
The back of my studio door was wasted space for years. Then I hung a clear over-the-door shoe organizer on it. Now it holds paint tubes, tape rolls, glue sticks, and all the small things that used to drown in my drawers.
Clear pockets are the whole point. I can see every tube without opening anything. I sort by color family. Reds and oranges in one row. Blues and greens in another. It looks like a paint shop display.
The organizer hangs on two hooks over the door top. No screws. No damage. I took it down once when we painted the room. It went back up in two minutes.
Small pockets hold pencils and markers. Big pockets hold spray bottles and jars. I use the very bottom row for rags. It keeps everything off the floor and the desk.
I check the pockets when I run low on something. If the red pocket looks empty, I know to buy red. It is my inventory system without any apps or lists. Very low tech and it works.
Dust settles on top of the organizer. I shake it out when I do my monthly wipe-down. The pockets themselves stay clean because the door closes them in.
One warning: do not overload it. Too much weight makes the door hard to close. I keep it to light supplies. Heavy stuff stays on shelves.
This organizer cost me about the price of two brushes. It holds maybe fifty items. Best money-per-item deal in my whole studio.
6. Use Clear Bins So You See Everything
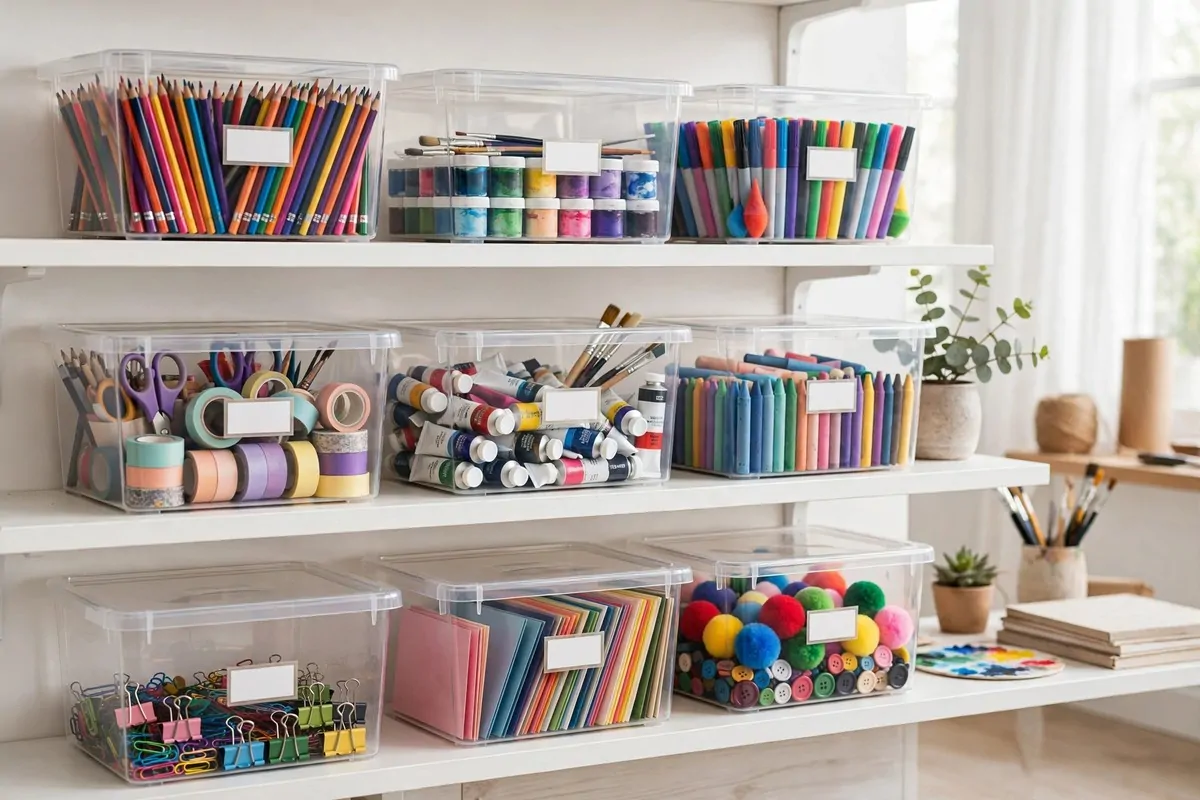
Opaque boxes are where art supplies go to disappear. I replaced mine with clear bins and my life changed. Now I see the contents without opening a single lid. That one change cut my search time in half.
I buy stackable clear bins in a few sizes. Small ones for things like beads, glitter, and findings. Medium ones for paper and fabric. Big ones for canvases and stretched frames.
Labels go on every bin. I use a cheap label maker. “Watercolor paper.” “Acrylics.” “Sketchbooks.” The labels face the front. When the bin is full of color, the label still tells me exactly what is inside.
I stack bins by how often I use them. Daily stuff at arm height. Weekly stuff higher up. Seasonal things I rarely touch sit on the top shelf. My back thanks me for this system.
The bins keep dust off my supplies. Dust is the silent enemy of a studio. It dulls paper and sticks to wet paint. Closed bins keep everything clean between sessions.
Here is the rough way I split my bins. It might help you plan your own.
| Bin Size | What Goes Inside | Where It Lives |
|---|---|---|
| Small | Beads, glitter, clips, findings | Desk drawer shelf |
| Medium | Paper pads, fabric, sketchbooks | Main shelf, eye level |
| Large | Canvases, frames, big rolls | Floor stack or top shelf |
I wipe the bins down twice a year. They get a little cloudy from studio dust. A damp cloth brings back the clarity. Clear bins only work if you can actually see through them.
Do not buy bins before you sort your supplies. I made this mistake. I bought twenty bins and needed twelve. Sort first, measure your piles, then shop. Your wallet will be happier.
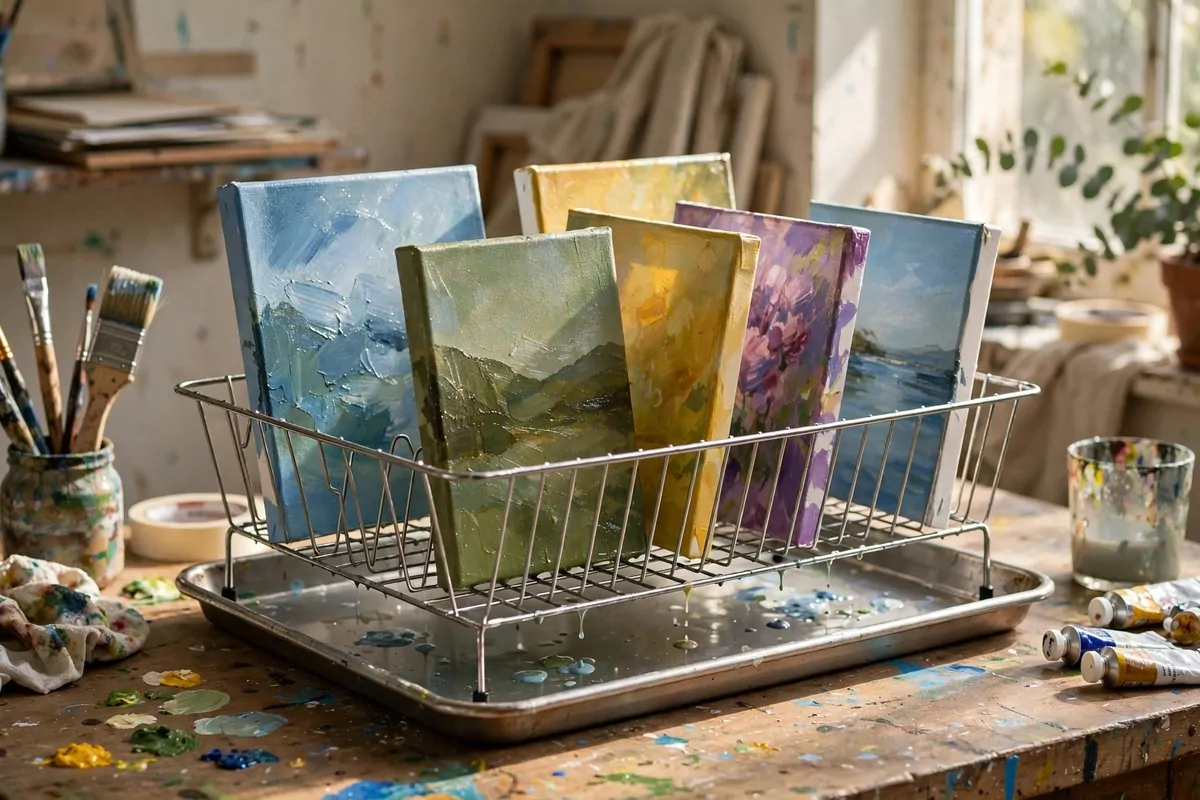
7. Build a Drying Rack From a Dish Rack
Wet paintings need a safe place to dry. The floor is not safe. The table is not safe. My cat proved this twice. So I built a drying rack from a cheap wire dish rack, and my paintings have been safe ever since.
Dish racks have perfect slots for small canvases. I slide each canvas between the wires, upright. Air flows around them. They dry faster and nothing touches the wet surface.
I lined a baking tray under the rack to catch drips. Acrylic drips happen. The tray saves my table. I wipe the tray with a wet rag after each painting session.
A secondhand cooling rack works too. The kind you cool cookies on. I got one at a thrift store for almost nothing. It holds paper pieces flat while they dry. Watercolors especially like this.
For bigger paintings, I stack two dish racks. It looks silly. It works great. Each rack holds a different project. I can dry four paintings in the footprint of one.
I keep the drying rack on a side table by the window. Air moves there. The paintings get a gentle breeze. Just keep direct sun off wet oil paint. That can crack the surface.
Label wet paintings with a sticky note. I write the date on it. This tells me how long they have been drying. Some mediums need days. The note stops me from touching them too soon.
When the rack is empty, it folds flat against the wall. It takes up almost no space. A real studio drying rack costs hundreds and eats floor space. My dish rack cost a few dollars and hides behind the door.
8. Store Canvases Upright in a Slot Rack
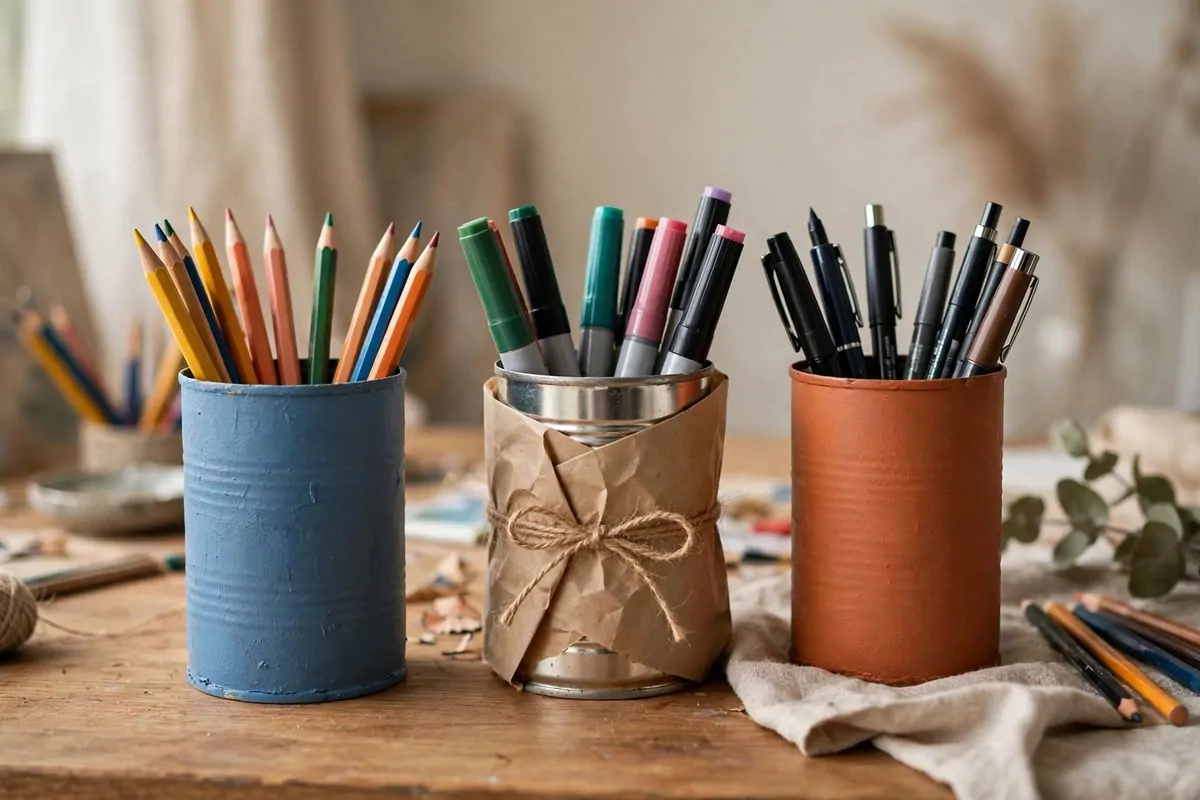
Canvases stored flat pile up and warp. Canvases leaned in a corner slide and scratch each other. A slot rack fixes both problems. It holds canvases upright, separated, like records in a crate.
I made mine from two wooden boards and some dowels. The dowels divide the space into slots. Each canvas slides into its own slot. Nothing touches the painted side.
If you do not want to build, a dish rack or a magazine file holder works for small canvases. The idea is the same. Upright, separated, easy to pull out.
I sort my canvases by size in the rack. Big ones in back. Small ones in front. I can flip through them like a portfolio. Clients love this. It looks professional and tidy.
Blank canvases live in the rack too. I keep them on the left side. Finished work sits on the right. This stops me from painting over a finished piece by accident. It happened once. Never again.
The rack sits against the wall under my shelf. It uses dead floor space. About one foot deep. The whole canvas collection lives in that one foot.
Dust covers do help. I drape an old sheet over the finished canvases. It keeps them clean. Blank ones do not need the cover.
Measure your biggest canvas before you build or buy. My rack slots are tall enough for my largest frame. One measurement saved me from a rebuild.
9. Repurpose Spice Racks for Small Supplies
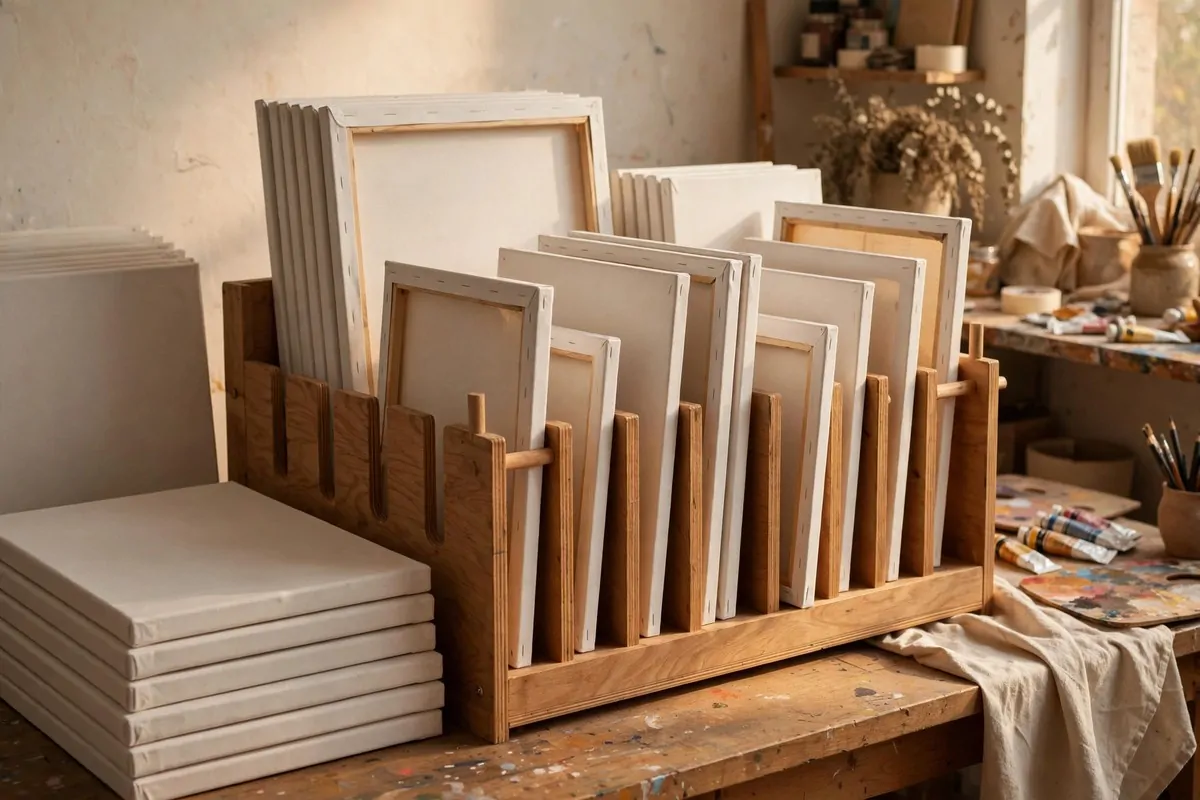
Spice racks are secretly perfect for art studios. The little shelves hold paint pots, ink bottles, and small jars at just the right angle. I mounted two on my wall and they became my color bar.
Each tiny shelf tilts slightly. You can read the label on every pot without moving anything. I arranged mine in rainbow order. It is the prettiest corner of my studio.
Small watercolor pans fit perfectly in spice rack shelves. The pans sit flat and do not slide. I keep my travel set in one rack by the door. Grab and go.
Ink bottles are tippy on a desk. In the spice rack, each bottle has its own little fence. They cannot fall over. I knocked one over on my desk last year and my white tablecloth is still blue.
You can find wooden spice racks at thrift stores for almost nothing. I painted mine white. They look custom now. Guests assume I bought fancy studio furniture.
I use the bottom shelf of one rack for my most-used mixing colors. White, black, and my favorite ochre. They are always within reach. The rest of the rack holds the full collection.
Clean the shelves once in a while. Paint drips happen when you grab pots in a hurry. A damp cloth keeps the wood nice. Dried paint on wood is forever, so wipe fast.
This idea costs little and looks amazing. My spice rack color bar is in half my studio photos. It is storage and decoration at once.
10. Save Every Tin Can and Jar
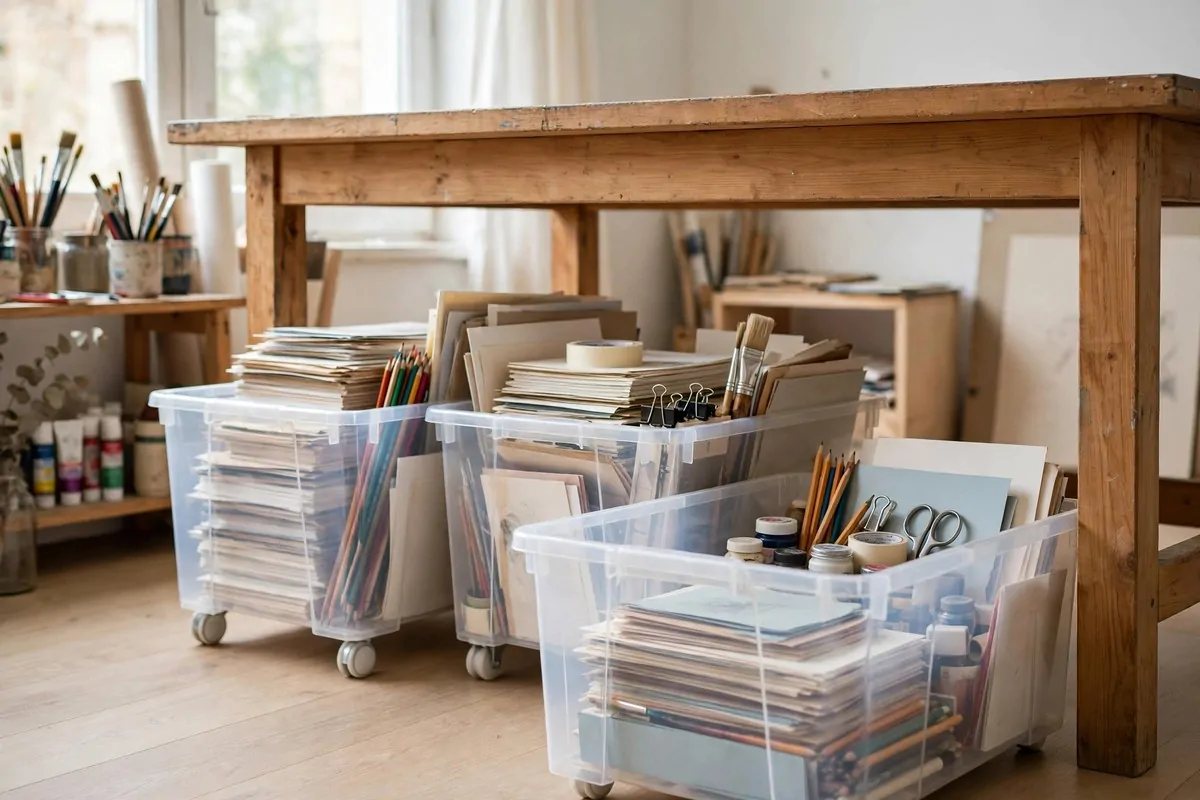
Tin cans are free storage. I stopped throwing them away years ago. Now they hold colored pencils, markers, pens, and every long skinny tool I own. My studio runs on soup cans.
I wash each can well and peel off the label. Some edges are sharp. I fold a strip of tape over the rim to be safe. It takes a minute and it prevents cuts.
Then I decorate them. Some I spray paint. Some I wrap in kraft paper. A few I left plain silver. They look intentional, not trashy. People ask where I bought them.
I group the cans by tool type. Colored pencils in the tall ones. Markers in the wide ones. Pens and fineliners in a small one. Each can has a job.
Coffee tins work great for bigger items. The tall round ones hold rolled paper and long brushes. The metal lids close tight. They keep dust out between projects.
Glass food jars hold the messy stuff. Buttons, beads, glitter, sequins. I can see the colors through the glass. The lids screw on tight so nothing spills if I knock one over.
My rule is simple. A can gets one month to earn its spot. If I do not use it, it goes to recycling. This stops the jar collection from becoming its own mess.
Free is the best price. These cans would have gone in the trash. Instead they organize my whole pencil collection. I smile every time I remember.
11. Slide Bins Under Your Table
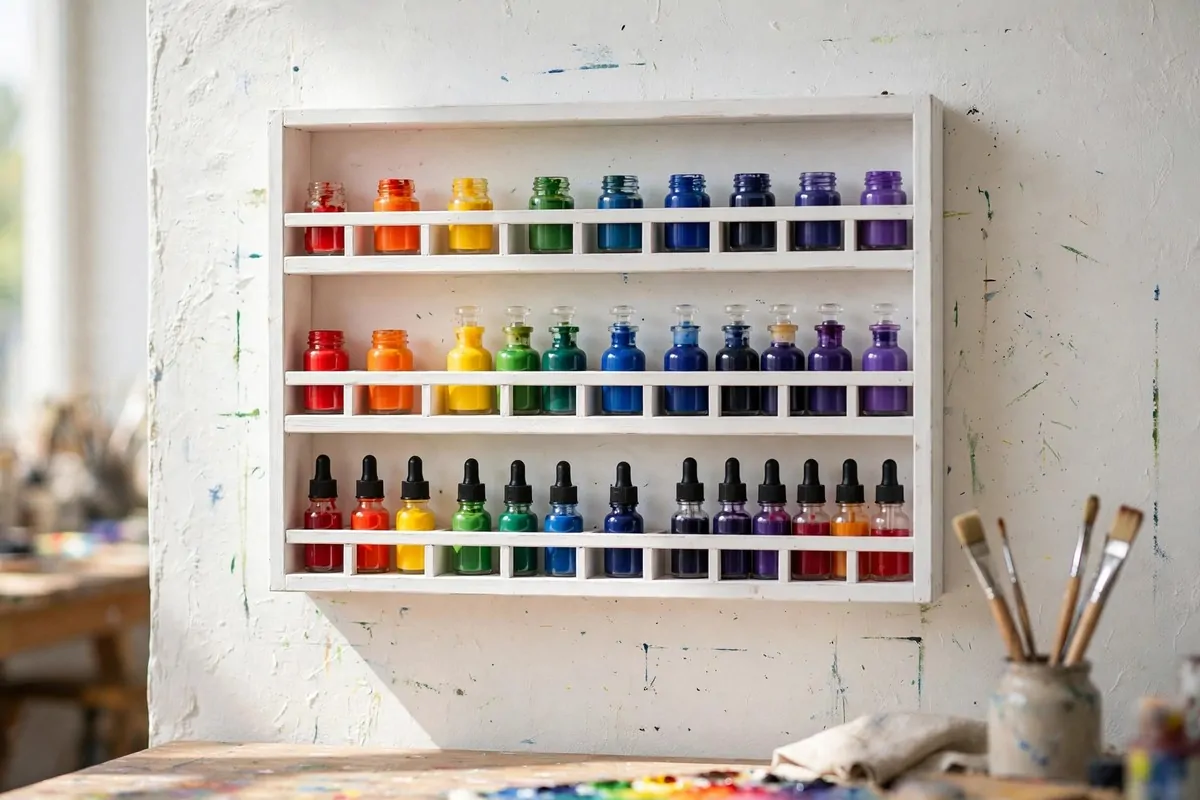
The space under my work table was dead zone for years. Dust bunnies lived there. Then I bought low flat bins on wheels and slid them underneath. Now that space stores a whole art department.
Flat under-bed bins fit perfectly under most tables. Mine are clear with snap lids. I can see the supplies inside. The wheels let me roll them out with one hand.
I sort by project in these bins. One bin for the current painting. One for watercolor supplies. One for paper and sketchbooks. Rolling out the right bin feels like opening a drawer of possibilities.
The lids keep dust off everything. Studio floors are dusty places. Without lids, my supplies would get gritty. With lids, they stay clean and ready.
I put a label on the front edge of each bin. The labels face out when the bin is pushed in. I read them like book spines. Quick to find, quick to roll out.
Heavy stuff goes in these bins. Paper stacks are heavy. Canvas packs are heavy. The floor supports the weight better than any shelf. My back agrees with this plan.
I clean under the table twice a year. Dust gathers around the bins. A quick vacuum does it. The bins themselves wipe clean with a damp cloth.
This hack adds a whole shelf of storage without taking any floor space. The table was already there. The bins just filled the gap. Free square footage.
12. Divide Drawers Into Little Homes
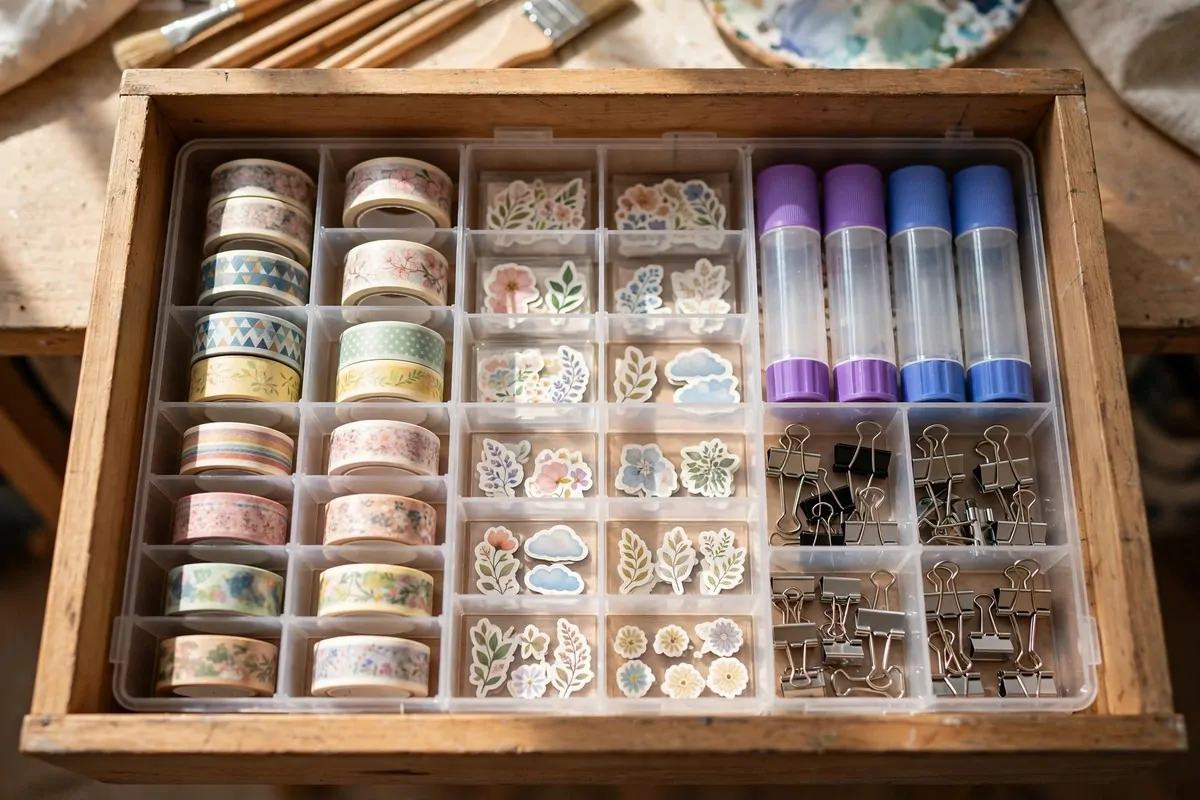
A drawer without dividers is a junk drawer. Everything slides into one sad pile. I added cheap dividers to my studio drawers and each small item got its own little home. Tape with tape. Clips with clips.
I use small plastic containers as dividers. The kind from the dollar store. I arrange them inside the drawer like a puzzle. They do not slide around because they fit snug.
Drawer organizers from the kitchen aisle work perfectly. The ones meant for silverware hold pens and pencils. The square ones hold erasers and sharpeners. Kitchen tools make great studio tools.
Each compartment has a category. Washi tape. Stickers. Glue sticks. Small scissors. Binder clips. Rubber bands. I know where everything lives and so does anyone helping me.
The dividers stop the slide problem. Before, opening the drawer fast sent everything flying to one end. Now each item stays in its box. Open it fast or slow, it stays tidy.
I purge the drawers every season. Old dried-up pens go out. Dull pencils get sharpened or tossed. The dividers make it easy to see what I actually have. Less guessing, less buying doubles.
One drawer is my “fix it” drawer. Tape, glue, stapler, spare clips. When something in the studio breaks, I open that drawer first. It saves trips around the room.
Tiny items love drawers. They vanish on shelves and get lost on desks. In a divided drawer, they are safe and findable. My sticker collection has never been happier.
13. Sort Paint Tubes in Shoeboxes
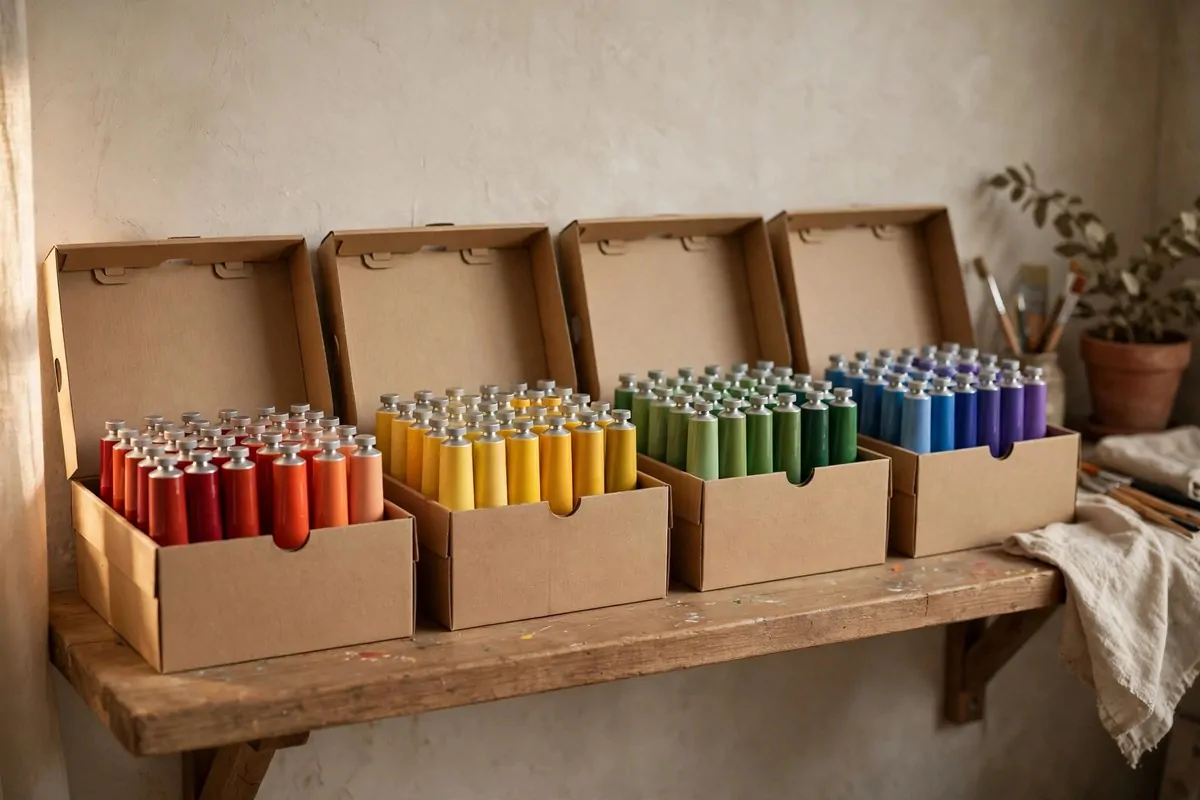
Shoeboxes are the unsung heroes of my studio. They are free, sturdy, and exactly the right size for paint tubes. I keep a whole shelf of them, each one holding a color family.
I sort my tubes by color. Warm colors in one box. Cool colors in another. Neutrals and metallics in a third. Finding the right tube takes seconds now.
I cut the lids off so the boxes are open on top. The tubes stand upright, caps up. I can read every label. No digging through a deep box of tangled tubes.
I lined each box with a paper towel. Paint leaks happen, especially with old tubes. The towel catches the drips. I replace it when it gets grimy.
The boxes stack neatly on my shelf. They are all roughly the same size. The shelf looks organized even though the system cost me nothing. Uniform boxes are a visual trick that works.
I write the color family on the box end with a marker. The labels face out on the shelf. From across the room I can see where the blues live. It is like a library for paint.
Old tubes go in a separate “test first” box. Paint separates with age. I squeeze a dab on scrap paper before using old tubes. Good ones stay. Bad ones go.
When a shoebox wears out, I replace it for free. Shoes keep coming with boxes. This system renews itself forever. I have never spent a cent on it.
14. Go Floor to Ceiling With Shelves
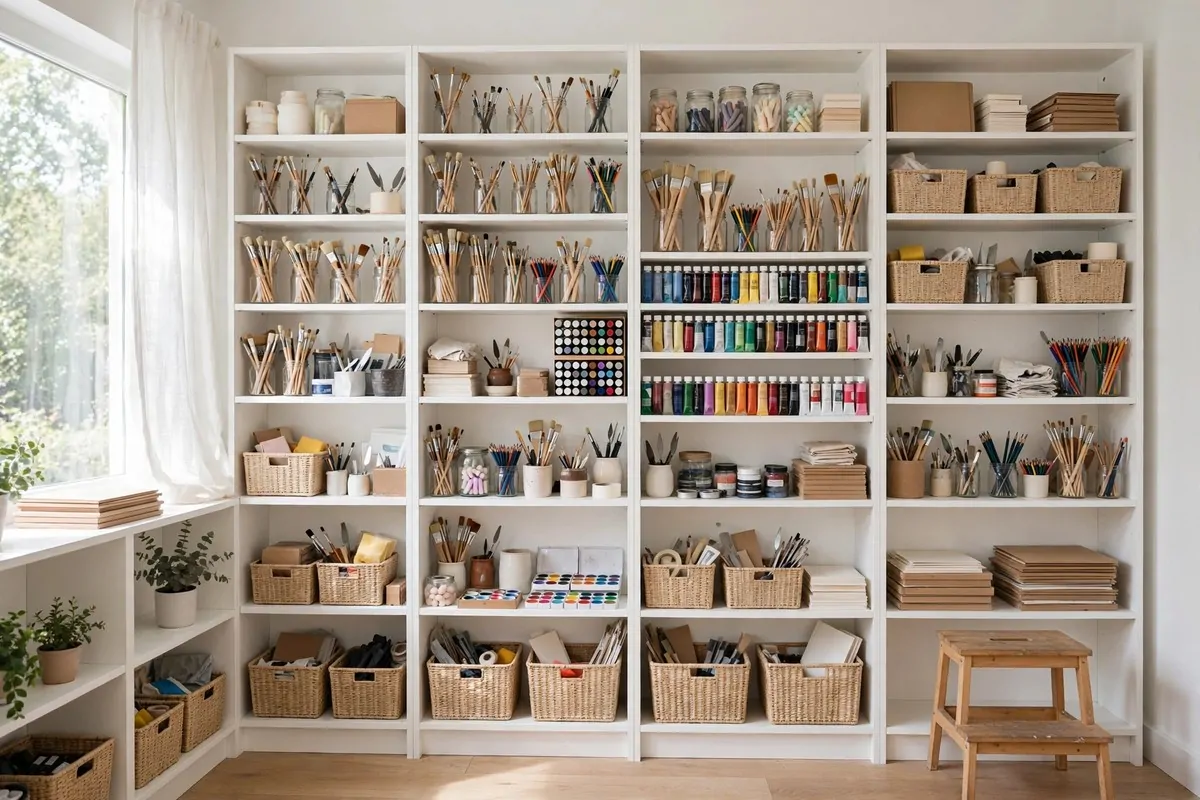
My studio walls go all the way up, so my storage goes all the way up too. Floor-to-ceiling shelves hold more supplies than any other single change I made. The vertical space was free. I just had to use it.
I installed simple white shelves with brackets. Nothing fancy. Three long shelves run the full wall. The bottom shelf is at desk height. The top one needs a step stool.
Daily supplies live at eye level. Paints, brushes, my water cup station. Everything I touch every day sits where I can grab it without thinking. This is the golden rule of shelf layout.
Weekly supplies go lower. Extra paper, backup canvases, the big glue bottle. I bend down for these sometimes. That is fine. They are not in my daily path.
Rarely used stuff goes up high. Seasonal decorations. The giant roll of backdrop paper. Things I touch twice a year. I keep a small step stool in the studio for these trips.
I anchor tall shelves to the wall. This matters. Shelves full of supplies are heavy and tippy. Two brackets into a stud keep everything safe. I never skip this step.
The shelves hold my clear bins, jars, and shoeboxes. All my other storage hacks stack on these shelves. The shelves are the backbone. Everything else hangs on them.
I dust the shelves once a month with a microfiber cloth. Dust falls down, so I start at the top. It takes ten minutes. A dusty studio feels sad. A clean one feels alive.
15. Hang Paper With Binder Clips
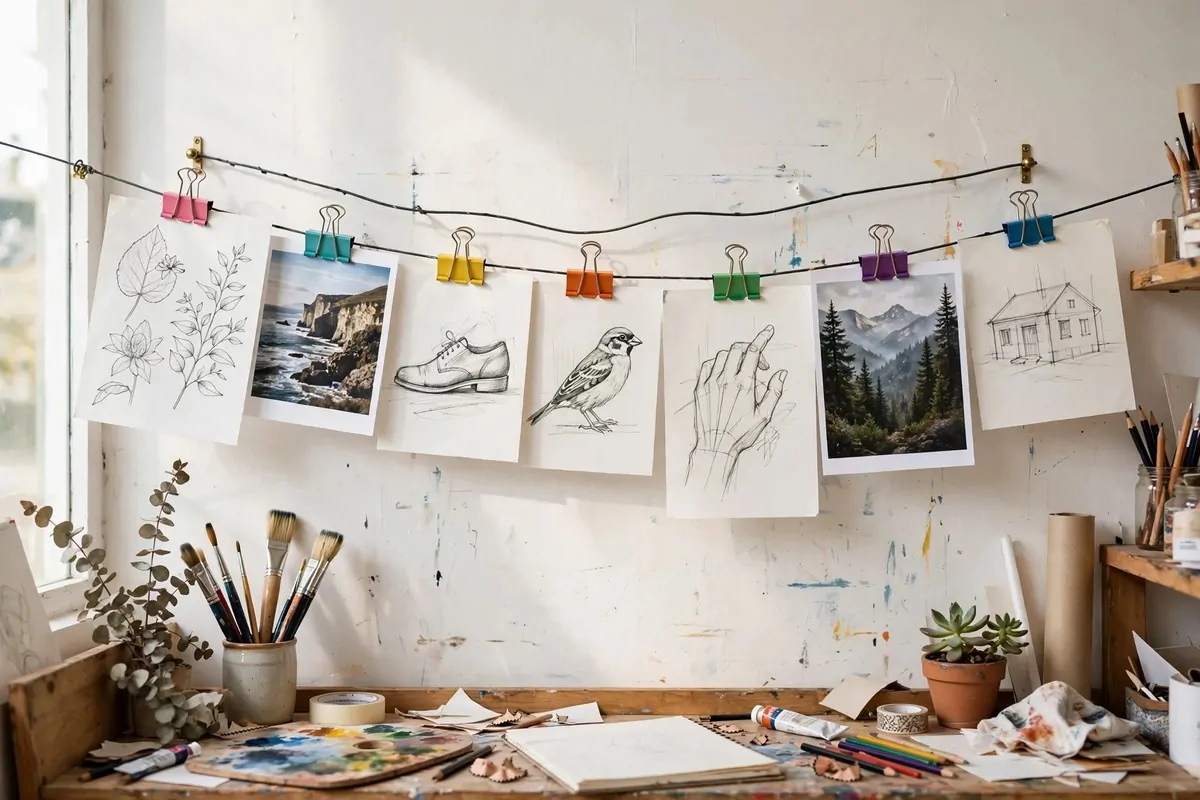
Binder clips are tiny and mighty. I hang my sketches, reference prints, and works in progress on a wire with big binder clips. It is my gallery wall and my drying line in one.
I strung a wire across one wall with two hooks. The clips slide along it. I can rearrange my papers in seconds. It is like a clothesline for art.
Big clips hold thick watercolor paper. Small clips hold sketches and photos. The metal grips are strong. Nothing has ever fallen off. My papers stay flat and safe.
I use the wire for drying small pieces. Fresh sketches hang to dry while I work on the next one. Air hits both sides. They dry faster than on a flat table.
The clips double as labels. I write notes on sticky paper and clip them to the art. “Needs darker sky.” “Fix the hand.” The notes hang right on the piece. I never lose my to-do list.
Colored clips make the wall fun. I bought a bag of colorful ones. Red clips mean finished. Blue clips mean in progress. My wall tells me my project status at a glance.
The whole setup cost very little. Two hooks, one wire, a bag of clips. It holds twenty papers. It looks like an art school display. I love walking into the room and seeing it.
When I finish a piece, it comes off the wire. The spot fills with the next work in progress. The wall is always alive. It shows me what I am working on right now.
16. Make Zones for Messy and Clean Work
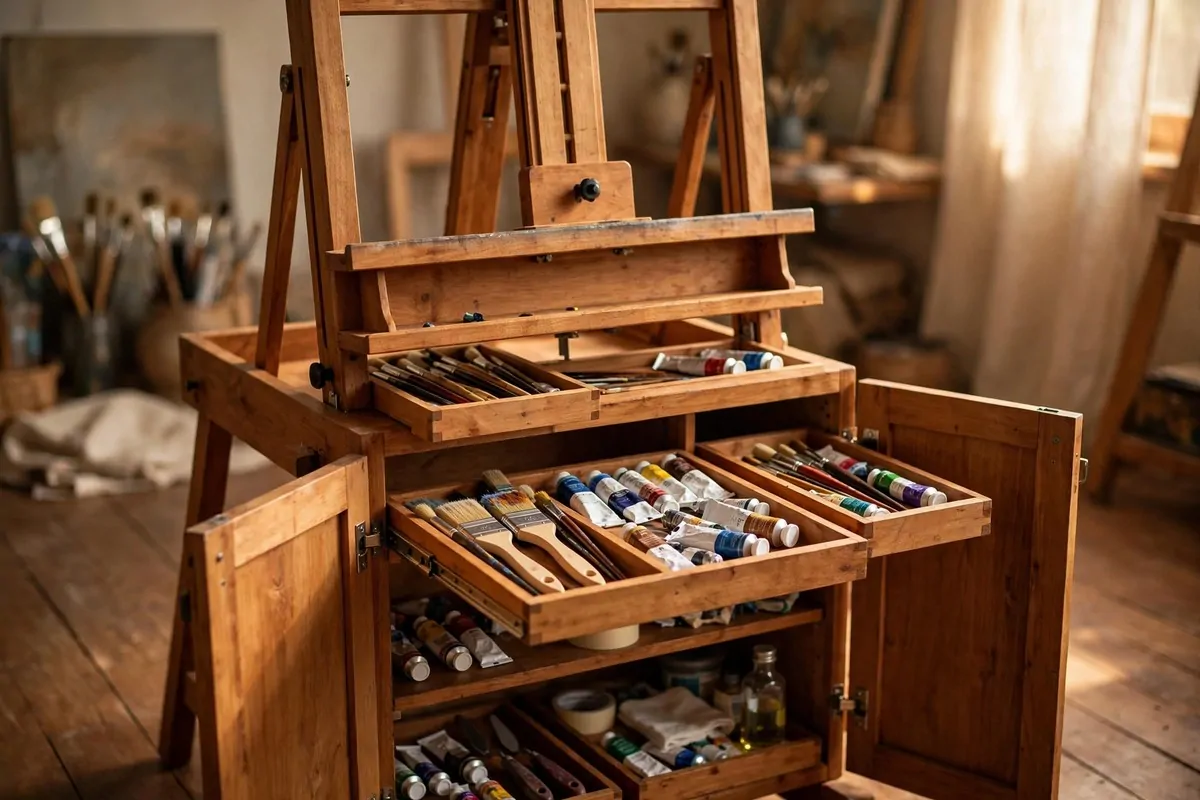
My studio has two zones now. A messy zone for painting. A clean zone for drawing and computer work. This split saved my sketchbooks from paint smudges and my sanity from constant cleanup.
The messy zone holds my easel, my paint cart, and my drying rack. The floor there is covered with a washable rug. Spills happen in this zone. That is what it is for.
The clean zone holds my desk, my drawing tools, and my laptop. No wet paint enters this zone. Ever. This is my rule and I keep it. My keyboard has survived three years.
Each zone has its own trash can. The messy zone gets the big one. Paint rags and used paper towels fill it fast. The clean zone gets a small one for paper scraps.
I store supplies near where I use them. Painting tools live in the messy zone. Drawing tools live in the clean zone. I do not carry wet brushes across the room anymore. That was a disaster waiting to happen.
The zones help me switch tasks. When I move from painting to drawing, I move my body to a new space. My brain shifts gears. It feels like changing rooms even though it is one studio.
Guests understand zones instantly. They sit in the clean zone. They admire from the clean zone. The messy zone is my workshop. Nobody touches the wet paintings.
Here is how I think about the split, in case it helps you plan yours.
| Zone | What Happens There | What Lives There |
|---|---|---|
| Messy zone | Painting, gluing, spraying | Easel, paint cart, drying rack |
| Clean zone | Drawing, planning, computer work | Desk, pencils, laptop, sketchbooks |
Even a tiny studio can have zones. A corner and a desk are enough. The zones are about rules, not square footage. Keep the mess where it belongs.
17. Live by the One-In-One-Out Rule
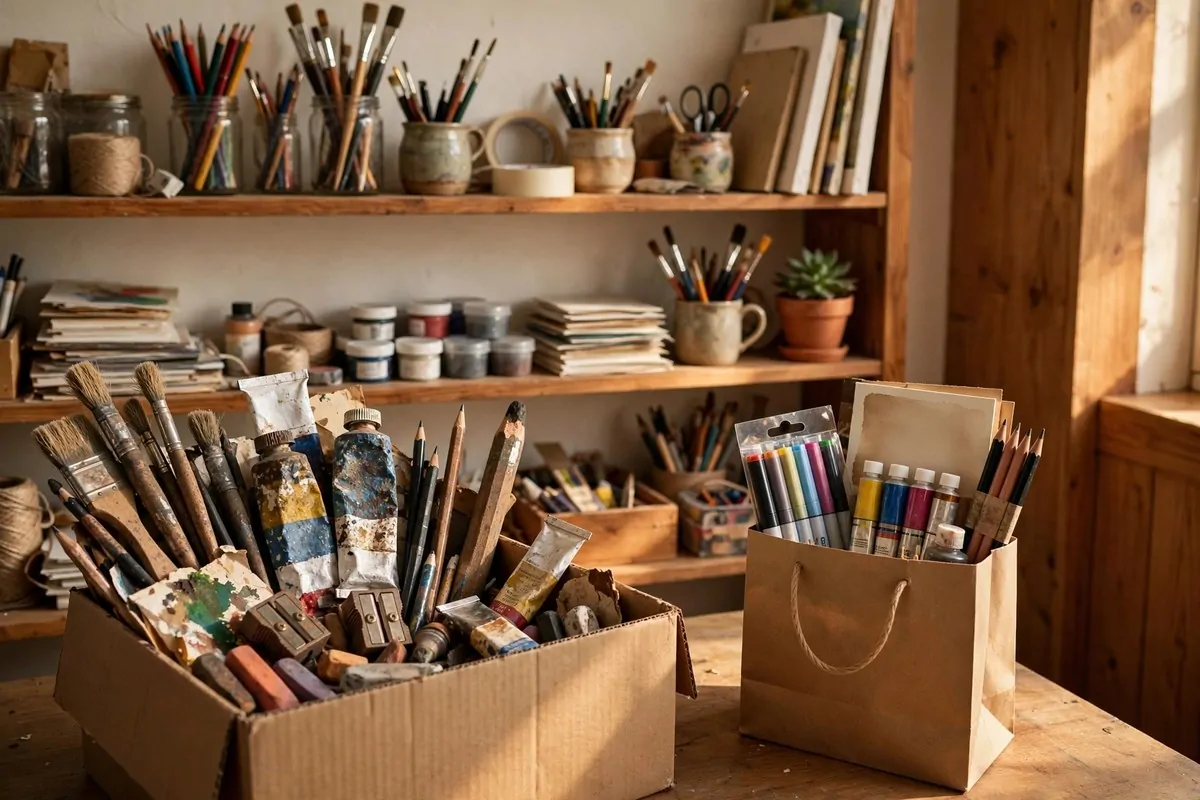
Art supplies multiply like rabbits. I buy a new set of markers and suddenly I have forty. The one-in-one-out rule stops the pileup. When something new comes in, something old goes out.
I keep a donation box by the door. Old but usable supplies go in it. Dried markers go in the trash. The box fills slowly. When it is full, it goes to the school down the street.
This rule forces honest choices. Do I love this brush enough to give up another one? Sometimes yes. Often no. The rule has saved me from many impulse buys.
I do a quick audit every season. I pull out everything in one category. Brushes, say. I test each one on scrap paper. Dead ones go out. The keepers go back. It takes an hour and feels great.
New supplies get a trial month. If I do not reach for the new thing in thirty days, it goes in the donation box. This keeps my collection honest. Everything I own gets used.
The rule also applies to paper and canvases. I buy a pack of ten canvases. I finish them before buying more. My storage stays flat. My wallet stays happy.
Kids and students love my donation box. Old supplies find new homes. Nothing good goes to waste. It feels better than hoarding tubes I will never open.
This is the only storage hack that costs nothing and saves money. Less buying means less storing. The tidiest studio is the one with only what you use.
18. Hook Baskets on the Side of Wire Shelves
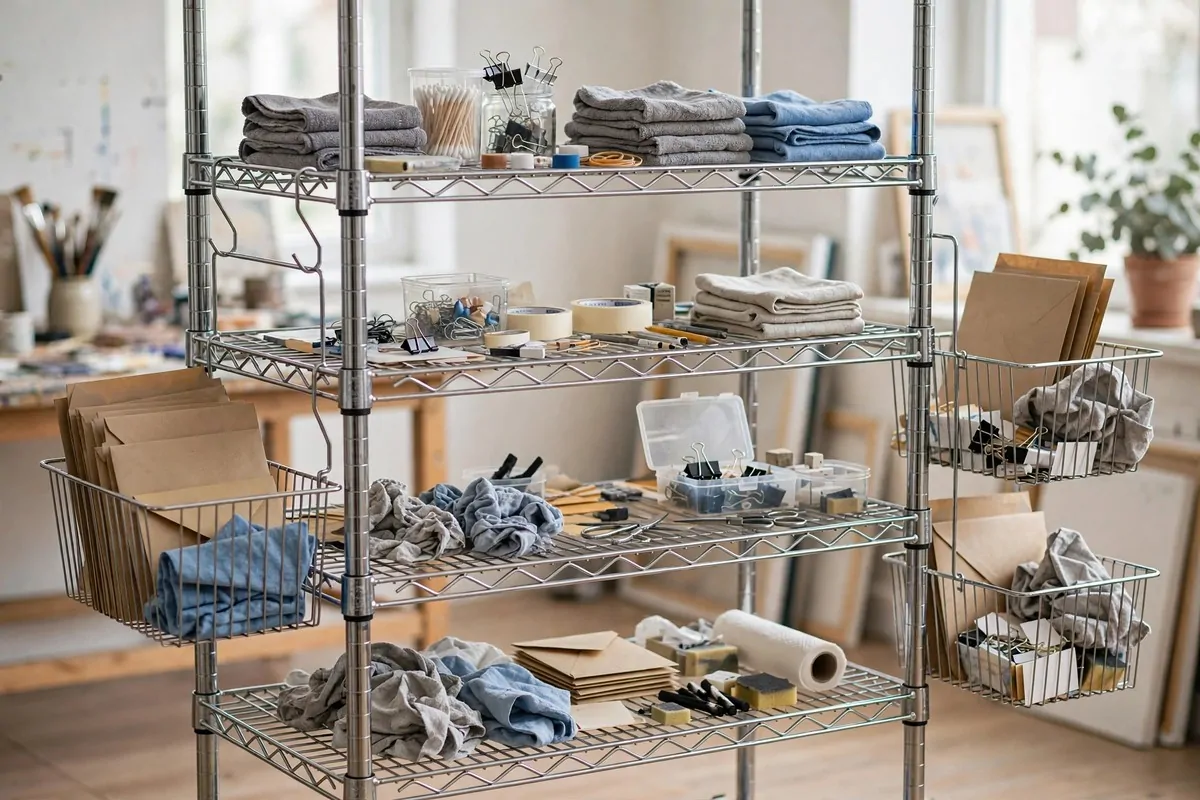
Wire shelves have sides that most people ignore. I hang wire baskets on the sides of mine. Each basket adds a whole extra shelf of storage without taking any floor space.
The baskets hook right onto the wire frame. No tools needed. I bought a set of three for a few dollars. They slid on in seconds and they have not moved since.
I use one basket for packaging supplies. Mailers, tape, labels. I ship prints from my studio. Everything I need for shipping lives in that one basket by the door.
Another basket holds my cleaning rags. Studio rags multiply fast. The basket keeps them corralled. Dirty ones go straight in. I wash the whole batch on laundry day.
The third basket holds works in progress. Small canvases that are drying. Sketchbooks I am using this week. It is my active project basket. I check it every morning.
The baskets do not block the shelf. The front stays open. I reach past them easily. The sides were dead space. Now they work hard.
Weight matters here. Do not overload hanging baskets. Mine hold light items only. Heavy things stay on the shelves themselves. A full basket of paint tubes would stress the hooks.
This hack feels like finding hidden rooms in your house. The storage was always there. You just had to hang a basket on it. My shelves gained three bonus cubbies for almost nothing.
19. Pick an Easel With Built-In Storage
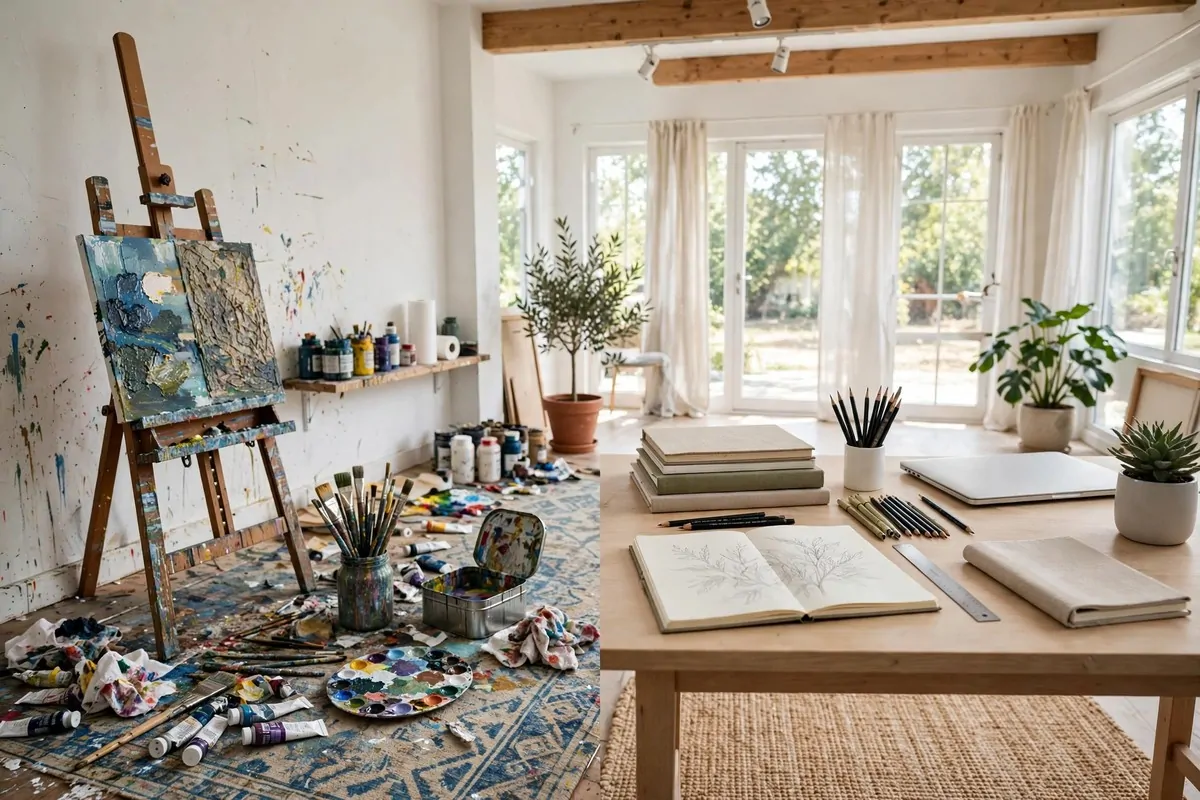
My easel is also a cabinet. It has trays and shelves built into the frame. Brushes, paints, and my palette all live inside it. When I close the doors, the whole painting station disappears.
Built-in storage means zero setup time. I open the easel and I am ready to paint. No hunting for supplies. No carrying things across the room. This is the dream for small studios.
The trays hold my daily brushes. They lie flat in shallow slots. The bristles stay protected. I can see all of them when I open the doors. It is like a toolbox that stands up.
The shelves hold paint tubes and mediums. I keep the current project’s colors there. Everything else lives in the closet. The easel only holds what I am using right now.
The top surface folds down as a palette rest. I put my mixing palette there. It is always at the right height. My back does not hurt after long sessions anymore.
These easels cost more than plain ones. Mine was a birthday gift to myself. It replaced a cart, a shelf, and a side table. When I add it up, it saved space and money.
Dust is the enemy of an open easel. I close the doors when I am done. The supplies stay clean inside. The room looks tidy. Guests have no idea a studio hides in the furniture.
If a full storage easel is too much, look for ones with a single tray. Even one tray helps. Every bit of built-in storage means one less thing on your desk.
20. Pin References on a Corkboard Wall
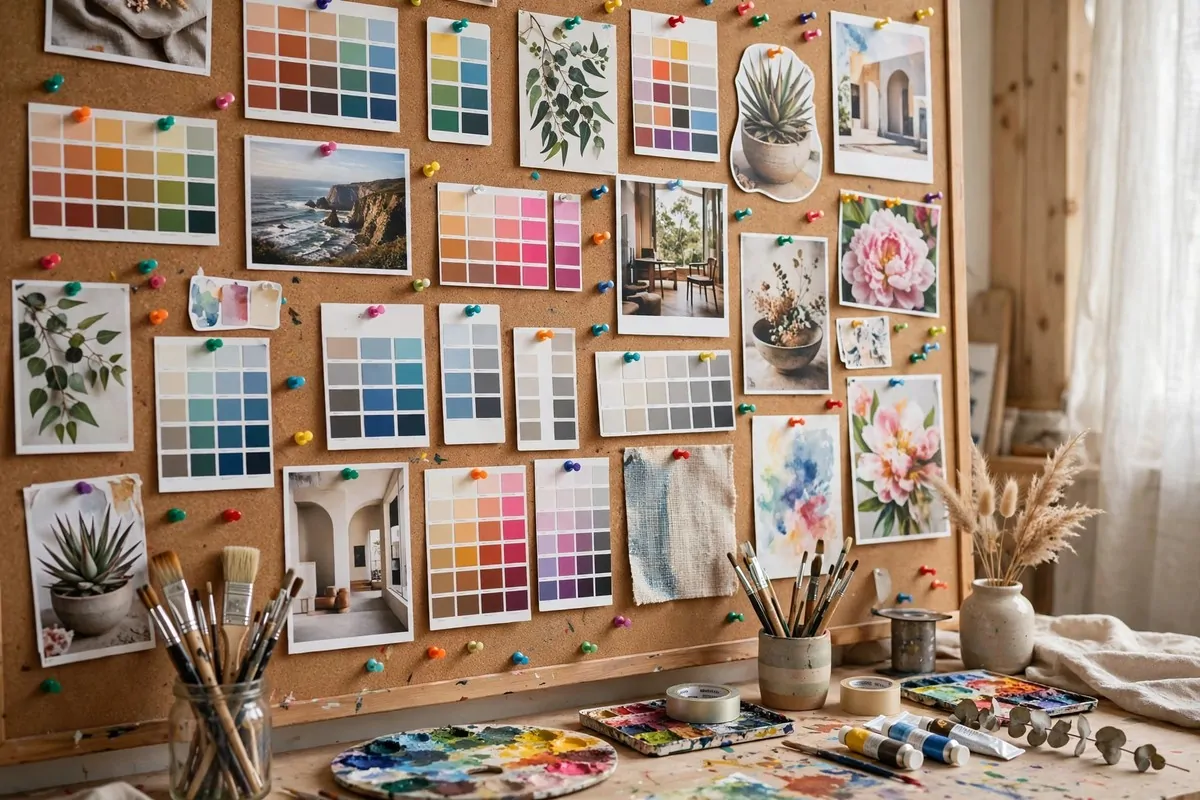
Reference photos used to live in a pile on my desk. I never looked at them. Now they live on a corkboard wall where I see them every day. Out of the pile, into the light.
I covered one wall section with cork tiles. They stick on with adhesive. No drilling. The whole wall cost less than a big canvas.
I pin up color swatches, reference photos, and magazine cutouts. Each project gets its own corner of the board. I can see all my inspiration at once. It keeps my ideas organized visually.
The board holds my to-do lists too. I pin my current project list where I can see it. “Finish the sky.” “Varnish on Friday.” The board nags me gently. I finish more work because of it.
Pushpins come in cute colors. I use red for urgent notes. Yellow for ideas. Green for finished tasks. My board is a mood ring for my studio. I read my week at a glance.
I swap the board contents with each project. Old references come down. New ones go up. The board is always current. It never becomes wallpaper I stop seeing.
The cork holds more than paper. I pin small paint tubes I am testing. Color charts. A ribbon I want to match. Anything flat and light finds a home on the board.
One wall of inspiration beats a drawer of forgotten photos. I look at my board while my coffee brews. Ideas arrive on their own. The board is storage for my brain, not just my supplies.
21. Use Wooden Crates and Vintage Boxes
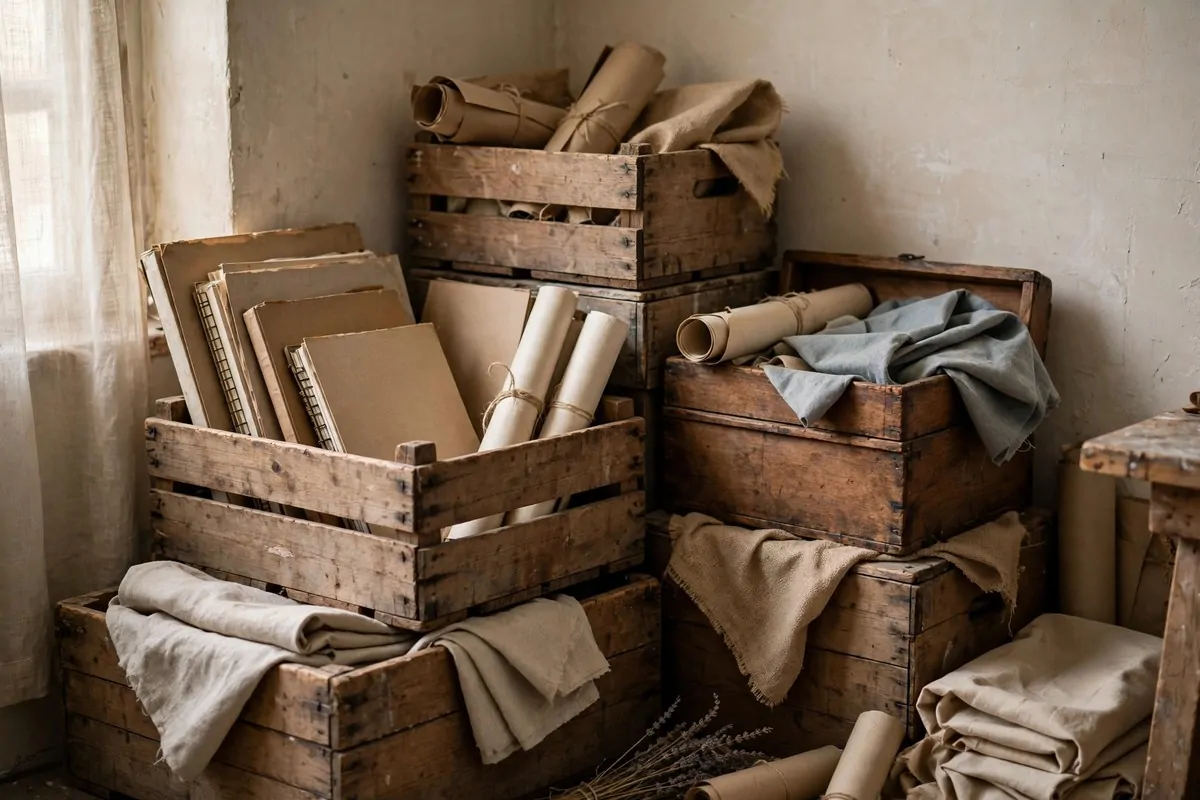
Wooden crates look like they belong in an art studio. I stack them in the corner and they hold sketchbooks, paper rolls, and fabric. They are storage that doubles as decoration.
I found my crates at flea markets and thrift stores. Old wine crates. Apple boxes. A wooden soda crate from the sixties. Each one has a story. They cost very little.
The crates stack safely two or three high. I put the heaviest items on the bottom. Paper stacks are heavy. The top crate holds light things like fabric and finished sketchbooks.
Cigar boxes are perfect for small treasures. Mine hold specialty pens, gold leaf, and beads. The boxes are beautiful. The hinged lids keep dust out. They feel like treasure chests.
I line the crates with old fabric. It protects the supplies and looks nice. A scrap of linen in a wooden crate is a pretty sight. Small touches make storage feel intentional.
The crates are easy to rearrange. I restack them when my needs change. Nothing is screwed down. My studio layout evolves with my projects. The crates evolve with it.
Dust settles on the top crate. I wipe it when I dust the shelves. The open fronts mean supplies get a little dusty. I keep everyday items in the crates and dusty-proof the rest in bins.
These crates make my studio feel like an artist’s loft. They are cheap, sturdy, and full of character. Plastic bins are practical. Wooden crates are soulful. I use both.
22. Nest Containers Inside Containers
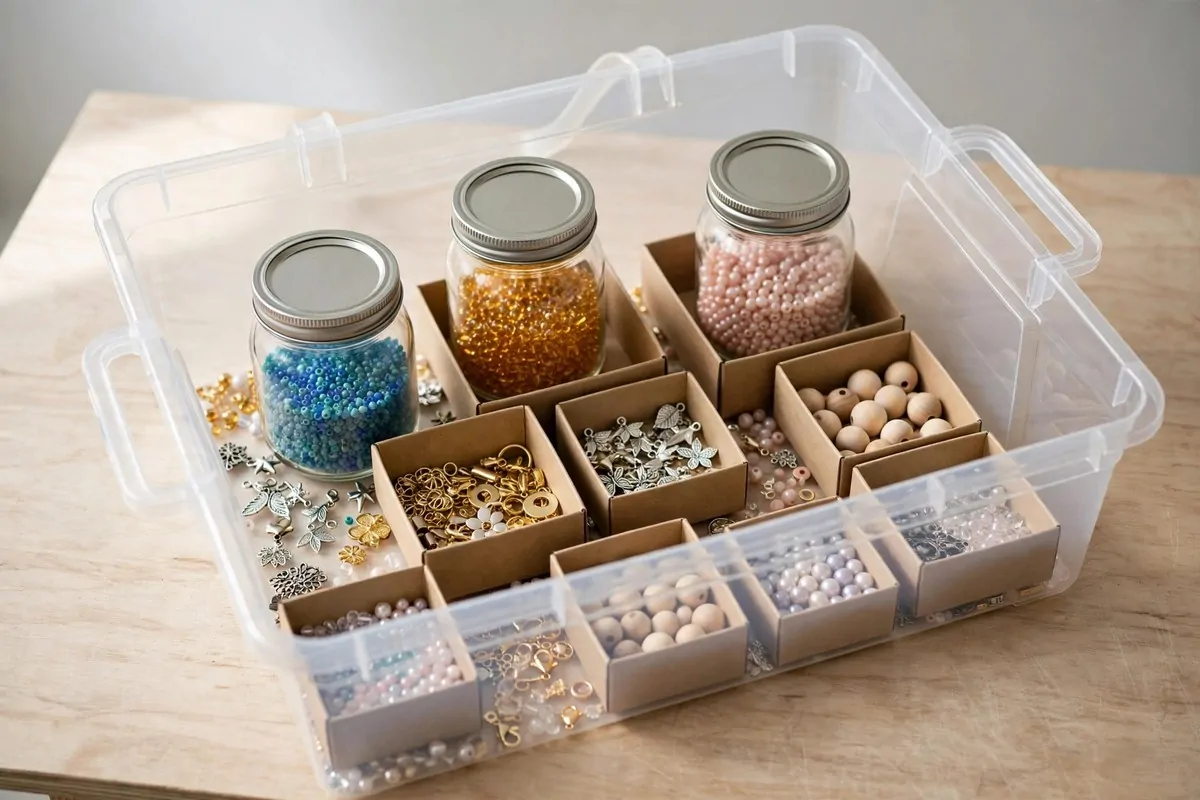
Big bins get messy fast. Everything sinks to the bottom. The fix is containers inside containers. Small jars and boxes live inside the big tote. Each little thing has its own tiny home.
I use baby food jars for the smallest items. Beads, sequins, tiny findings. The jars are free if you know a parent. The lids screw tight. Nothing mixes.
Small plastic boxes hold medium items. Buttons. Charms. Sticker sheets. I label each box. The labels face up so I can read them when I open the tote.
The big tote holds the whole category. All my jewelry-making supplies in one tote. All my paper crafting in another. I grab one tote per project. Everything I need is inside.
This system makes cleanup fast. I toss small items into their jars. Jars go in the tote. Tote goes on the shelf. Three steps and the desk is clear. I can do it in two minutes.
The nesting stops the avalanche problem. You know the one. You pull out a tube and five things fall on your head. Nested containers keep everything in place. Pull one jar, the rest stay put.
I label the outside of the big tote too. “Beading.” “Paper crafts.” “Fabric scraps.” The label tells me which tote to grab. The inside labels tell me which jar. Two levels of labels, zero guessing.
Start with one tote. Nest a few jars inside. See how it feels. Then expand. This system grows with your supply collection. It never gets messier. It only gets more organized.
23. Steal Organizers From the Kitchen
The kitchen aisle is a secret art supply store. Utensil organizers, spice racks, and cutlery trays all work perfectly in a studio. I stole half my organization system from the kitchen section.
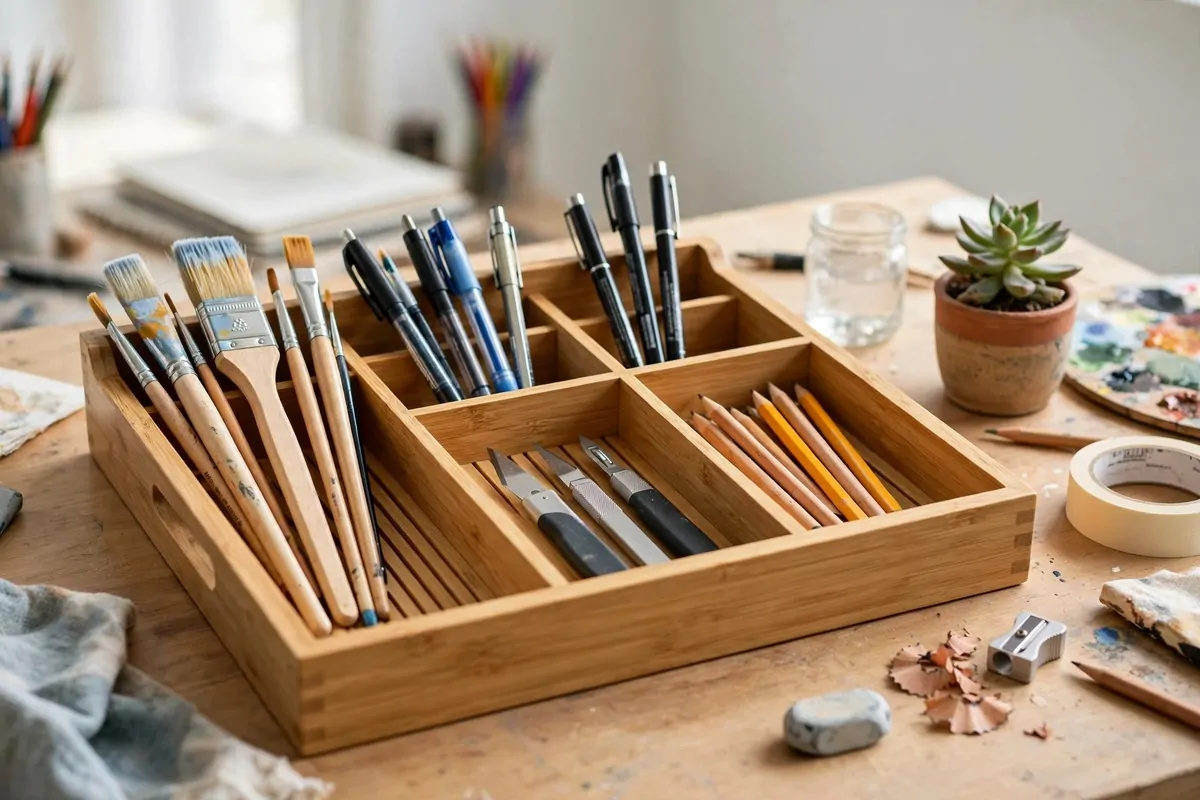
A silverware tray sits in my desk drawer. Fork slots hold pens. Knife slots hold craft knives. Spoon slots hold small scissors. The tray was made for utensils. It was born for art tools.
Tiered kitchen shelves double my shelf space. I put one inside a cabinet. Two levels of supplies where there was one. The metal ones are sturdy. The bamboo ones are pretty.
A lazy Susan spins my paint collection. I put my most-used tubes on it. One spin and I see every color. No more reaching to the back of the shelf. The back comes to me.
Mug trees hold rolls of tape. I slide tape rolls onto the little arms. They spin freely. I pull tape with one hand while holding paper with the other. It is weirdly satisfying.
Dish drainers hold sketchbooks upright. The slots are the right width. My sketchbooks stand like dishes. I flip through them to find the one I want. It works better than stacking.
Kitchen stores sell these things cheap. They are made to be washed and used hard. Studio life is easy compared to kitchen life. These organizers last for years.
Walk the kitchen aisle with artist eyes. Every tray, rack, and caddy is potential studio storage. My studio is half kitchen store now. It works beautifully.
24. Fold Your Table Away When You Are Done
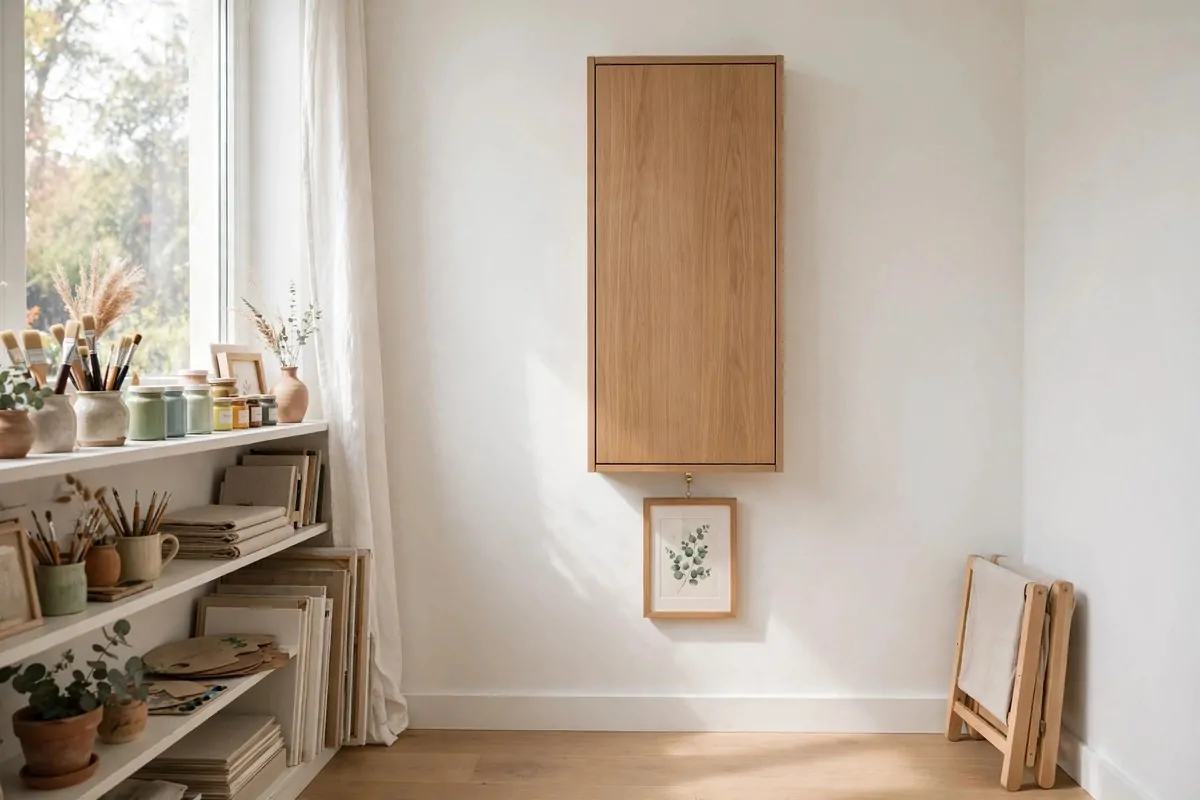
Some days my studio needs to be a dining room. Or a guest room. Or just an empty floor. My fold-down wall table makes that possible. I fold it flat against the wall and the room transforms.
The table mounts to the wall with sturdy brackets. It folds down to work size in seconds. It folds up flat when I am done. The whole operation takes ten seconds.
I store my current project supplies in a caddy. When I fold the table, the caddy goes on a shelf. The table folds up. The room is clear. My studio vanishes.
The folded table looks like a slim cabinet on the wall. I hung a small print on the underside. When it is folded up, it is wall art. Nobody guesses it is a table.
This setup forces tidiness. I cannot leave a mess on a table that folds up. Every session ends with cleanup. My studio stays neat because the furniture demands it.
The table is strong enough for painting. I lean on it. I press hard with pastels. The brackets hold. I checked the weight rating before I bought it. Do not skip that step.
I keep a small stool that folds too. Table up, stool open. Table down, stool folded in the closet. The whole studio fits in a closet and a wall. Tiny living approved.
This is the ultimate hack for shared spaces. Your studio exists when you need it. It disappears when you do not. The room serves two lives. So do you.