24 Refrigerator Organization Ideas for a Beautiful, Clutter-Free Kitchen

I opened my fridge last Tuesday and a jar of pickles fell out and rolled across the floor. It hit my foot, then it rolled under the table, and I just stood there and laughed at myself.
My fridge was a mess. I had three half used jars of jam, two bags of spinach I forgot about, and a container in the back that I did not even want to open. I knew I bought milk last week, but I could not see it. Food kept getting lost behind other food.
You know that feeling, right? You buy fresh food, you put it in the fridge, and then it hides. A few days later you find it, and it is too late. It feels like you throw money away.
I decided to fix my fridge for good. I tried simple ideas, one by one, and they worked. You do not need fancy tools or a big budget. Most of these ideas use things you already have at home.
These 24 ideas will help you make your fridge neat, pretty, and easy to use. Let us start with the first 12.
Clear Out the Fridge First
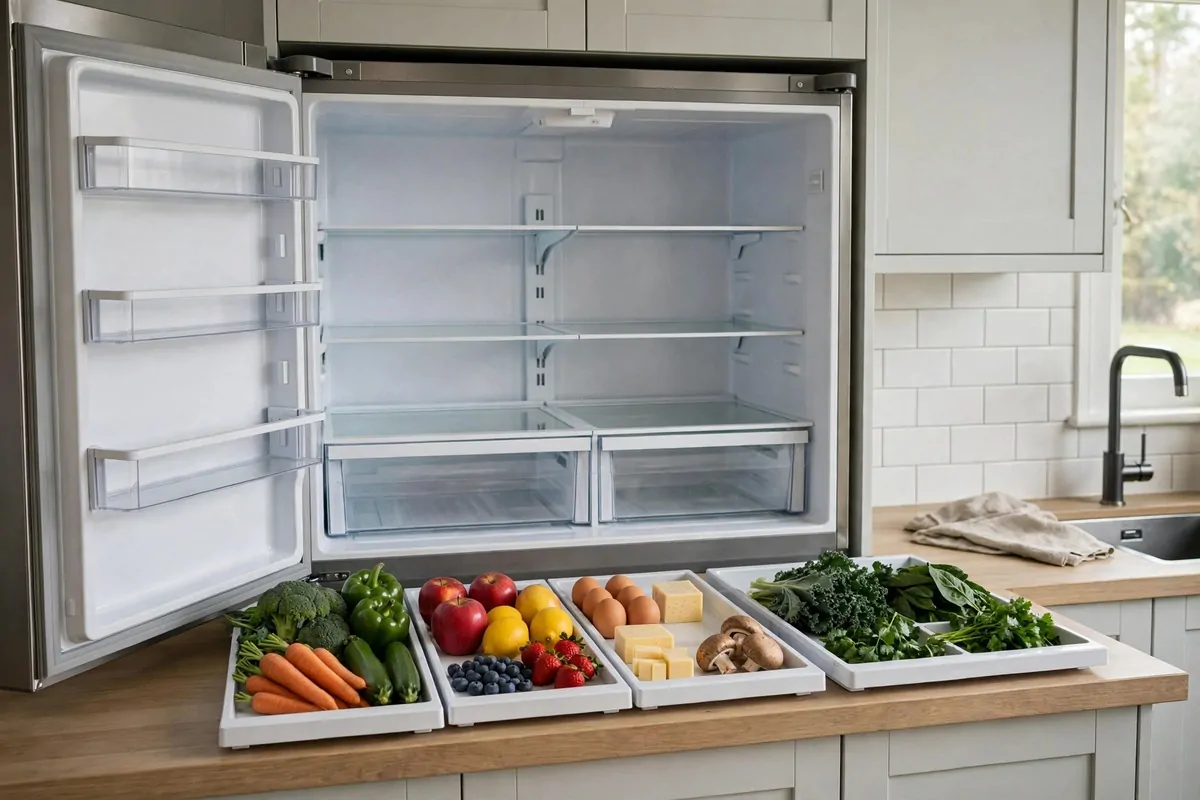
You cannot organize a full fridge. You have to clear it out first. I know it sounds like a big job, but it is not. It takes less time than you think.
Start by taking everything out. Yes, everything. Put it on your kitchen counter in groups. Cold food goes in a cooler bag if you have one, so it stays cold while you work.
Now look at each item. Check the date on it. If it smells bad or looks strange, toss it. I found a sauce in my fridge that expired two months ago. I had no idea it was still there.
Wipe the shelves while they are empty. Use warm water and a little soap. Dry them with a clean towel. Your fridge will smell fresh right away, and it will feel like new.
Sort what you keep into piles. One pile for dairy. One pile for sauces. One pile for leftovers. One pile for fruit and veg. This makes the next step so much easier.
Put back only what you still use. If you have not touched it in months, let it go. A clear fridge is a happy fridge, and you will find things fast from now on.
Do this clear out once every month if you can. It keeps the mess from coming back. I put a note on my phone to remind me, and it helps a lot.
Take a photo of your empty fridge before you put food back. It helps you see how much space you really have. I was shocked at how big my fridge looked when it was empty.
Sort Your Fridge Into Zones
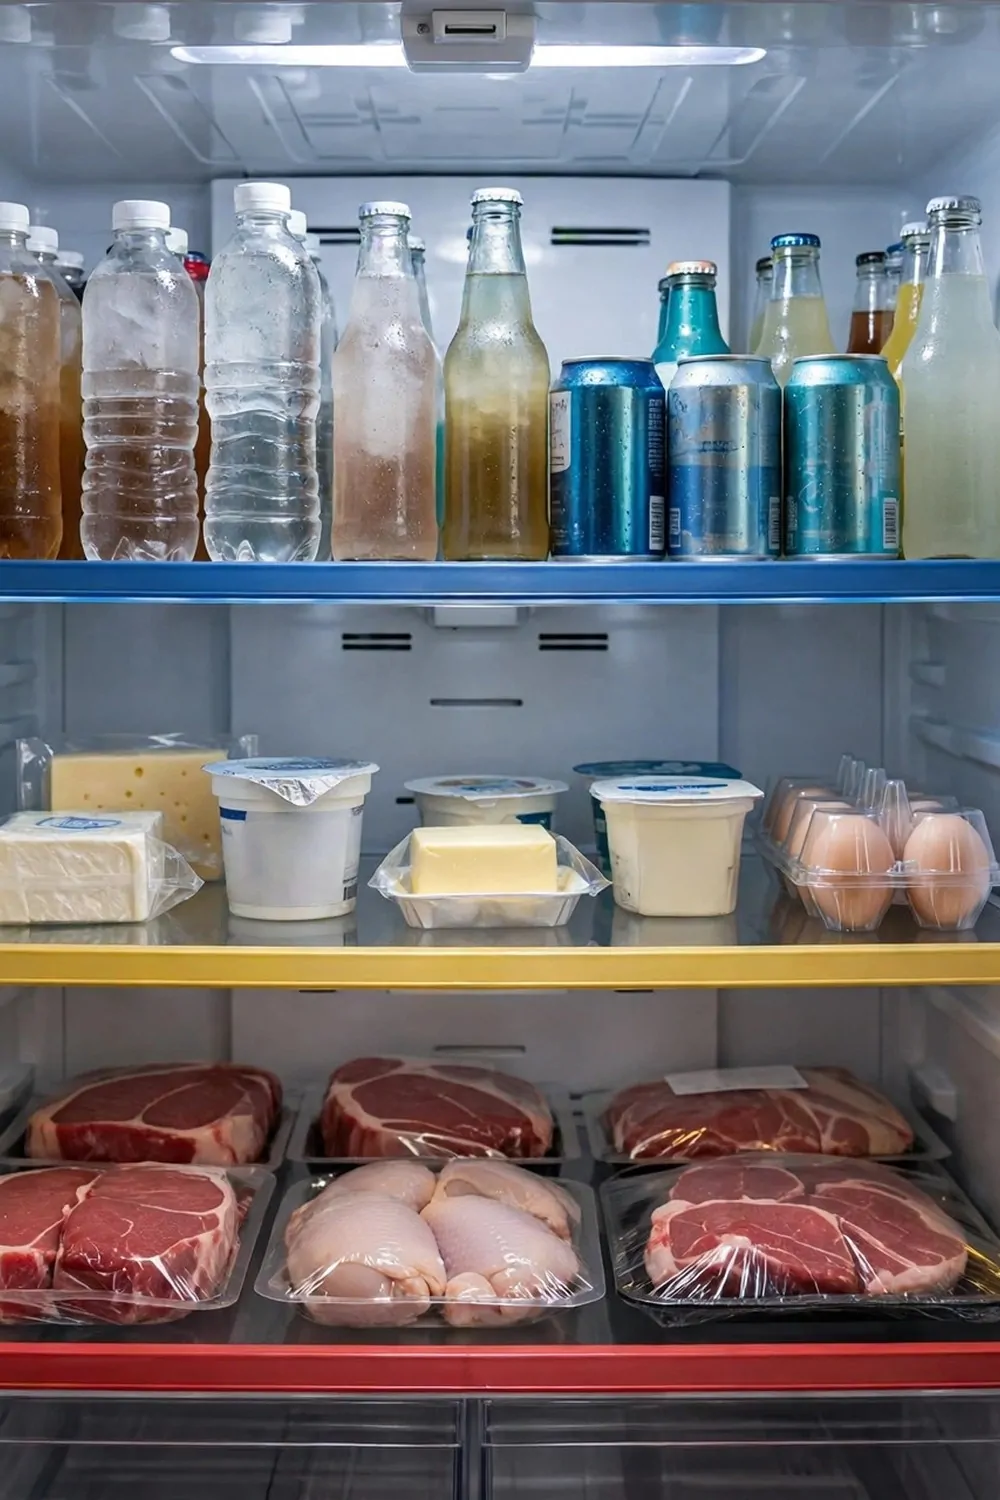
A fridge works best when every shelf has a job. I call these jobs zones. When each zone has a clear job, you always know where things go.
The top shelf is for leftovers and drinks. The cold there is steady, and you can see things fast. I put my leftover pasta and my juice boxes up there.
The middle shelf is for dairy and eggs. The temperature in the middle is the most even. Milk, cheese, and butter stay fresh longer there. I keep my yogurt there too.
The bottom shelf is the coldest spot. Raw meat goes there. If it drips, it cannot fall on your other food. That keeps your food safe, and it gives me peace of mind.
The drawers are for fruit and vegetables. They hold a little humidity, and that keeps fresh food crisp. I keep my carrots and apples in the drawers, and they last longer now.
The door is the warmest part of the fridge. It is fine for condiments and drinks. Ketchup, mustard, and salad dressing live on my door. They are sturdy, so the warm spot does not hurt them.
Here is a simple table to help you remember each zone:
| Zone | What goes there | Why it works |
|---|---|---|
| Top shelf | Leftovers and drinks | Steady cold, easy to see |
| Middle shelf | Dairy and eggs | Most even temperature |
| Bottom shelf | Raw meat | Coldest, drips cannot fall on other food |
| Drawers | Fruit and vegetables | Humidity keeps them fresh |
| Door | Condiments and drinks | Warmest spot, only for sturdy items |
Once you set your zones, try to keep them the same every week. Your family will learn the zones too. Soon no one has to ask where the butter is, because it is always in the same spot.
Give Every Shelf One Job
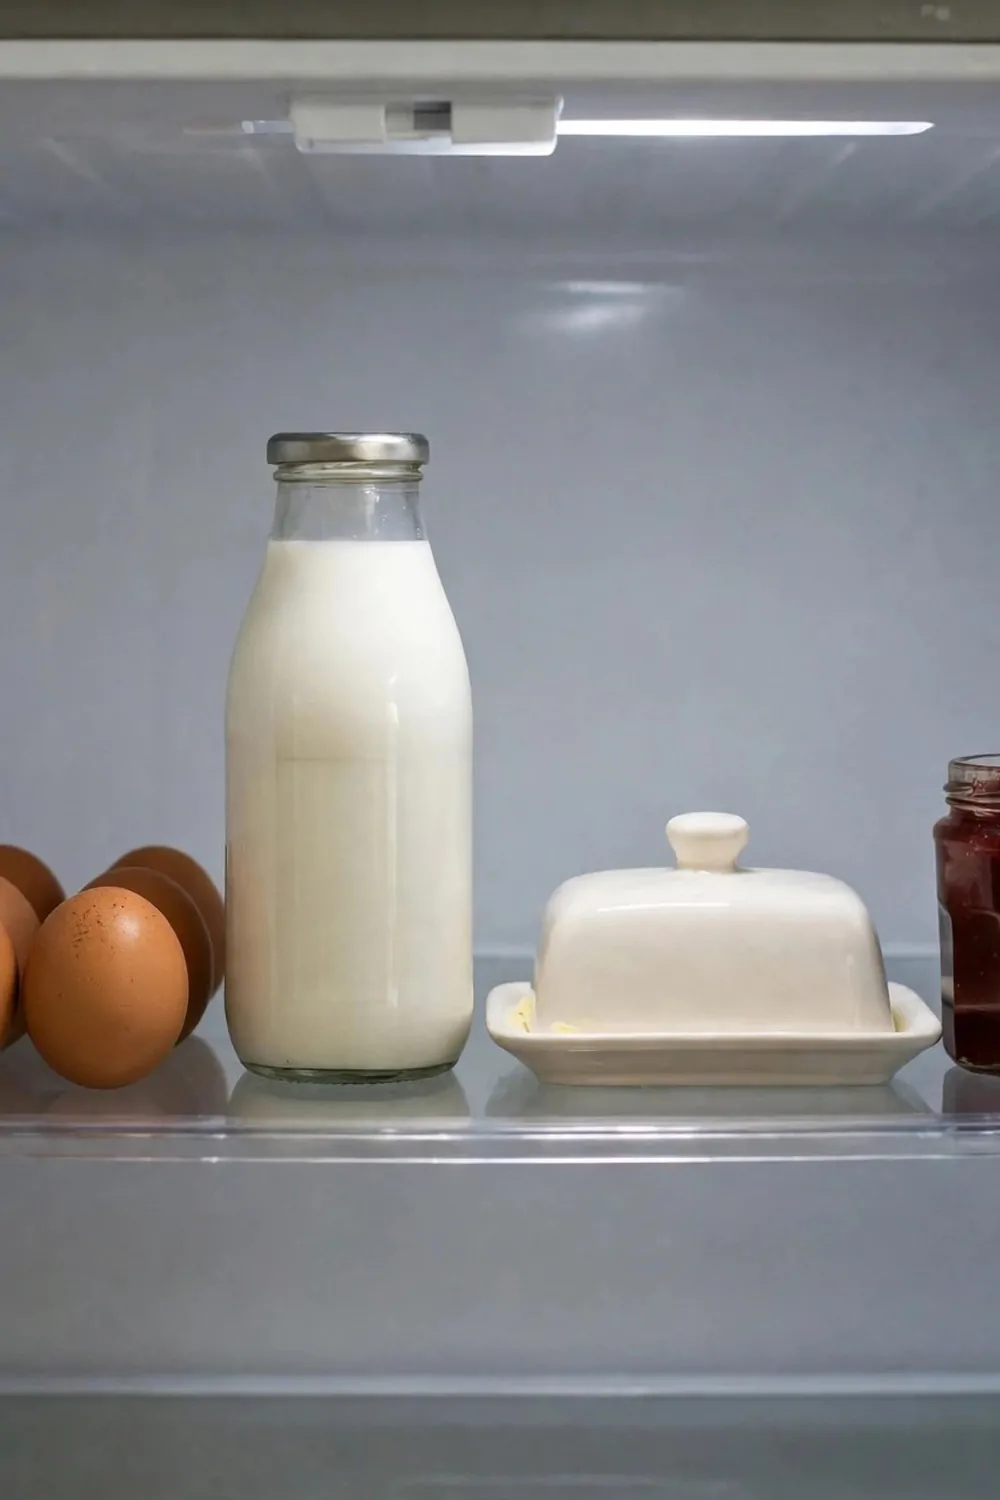
Zones are good, but you can go one step further. Give each shelf one clear job. I love this idea because it makes mornings so much faster.
Make one shelf your breakfast shelf. Put eggs, milk, butter, and jam there. In the morning you open the fridge, and everything for breakfast is in one place. No more hunting around.
Make another shelf your lunch shelf. I keep sandwich stuff there. Bread spreads, cheese slices, and cold cuts sit together. My kids can make their own lunch now, and they love it.
Use a third shelf for dinner ingredients. I put the meat, the veggies, and the sauces I need for that night in one spot. When it is time to cook, I grab it all at once.
This trick also stops food from getting mixed up. Breakfast stuff does not end up next to dinner meat. Each shelf stays neat because it has a small job, not a big messy job.
If you live alone, you can still do this. You can have a snack shelf and a cooking shelf. The idea works for any home, big or small. Just pick jobs that fit your life.
Try it for one week. I think you will see the change fast. Your fridge will look calm, and your mornings will feel calm too.
Tell your family about the new shelf jobs. When everyone knows the plan, the shelves stay neat longer. I put a small note on the fridge door for the first week, and it helped us all learn the system.
Use Clear Bins for Groups
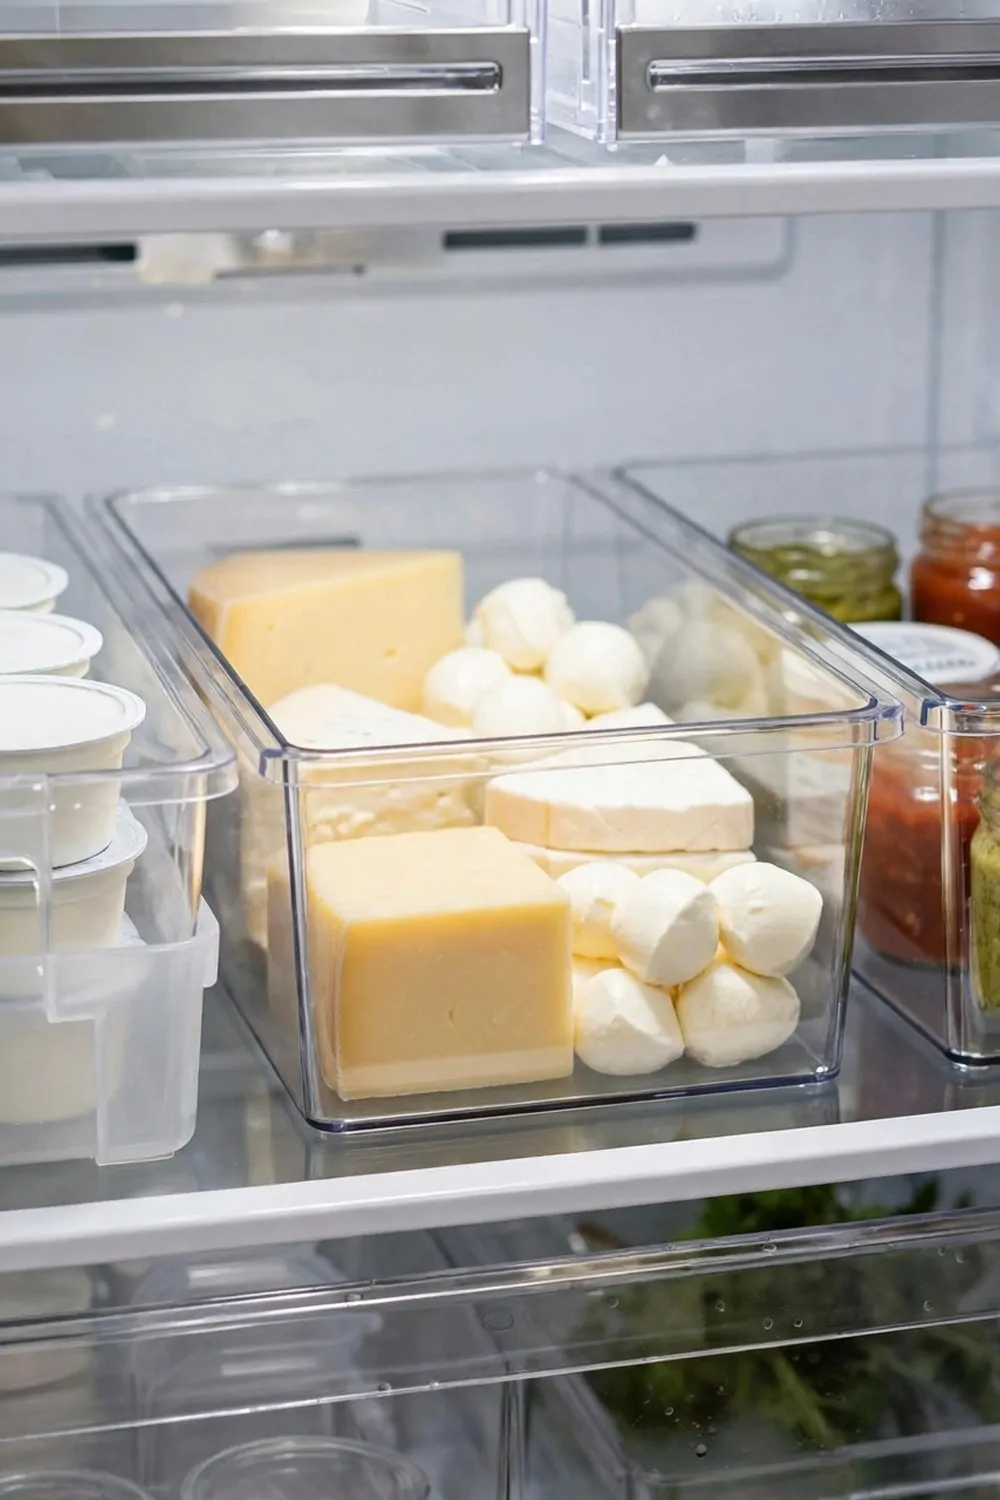
Clear bins changed my fridge. I bought a few cheap ones, and they made a huge difference. You can see right through them, so nothing hides.
Put one bin for yogurts. Put one bin for cheeses. Put one bin for sauces. Each group gets its own home. When you want yogurt, you pull out the yogurt bin, and that is it.
The bins work like drawers. You pull them out, grab what you need, and slide them back in. No more reaching to the back of the shelf and knocking things over. I used to do that all the time.
Clear bins also stop small things from falling over. Little jars and small cups stay upright in a bin. My fridge looks tidy even when I am in a rush, because the bins hold everything in place.
You do not need to buy a lot of bins. Start with three or four. Measure your shelf first so they fit well. I found mine at a discount store, and they were very cheap.
Wash the bins once a month when you clean the fridge. They wipe clean in seconds. I think you will wonder how you lived without them.
Put the bins you use most at eye level. You reach for snacks and yogurt a lot, so keep those bins where you can see them fast. Bins you use less can go lower down, where they are still easy to pull out.
If a bin gets sticky, wash it with warm soapy water and let it dry. A clean bin keeps your food clean too. I wash mine when I do my monthly fridge clear out, and it only takes a minute.
Label Every Bin in Plain Words
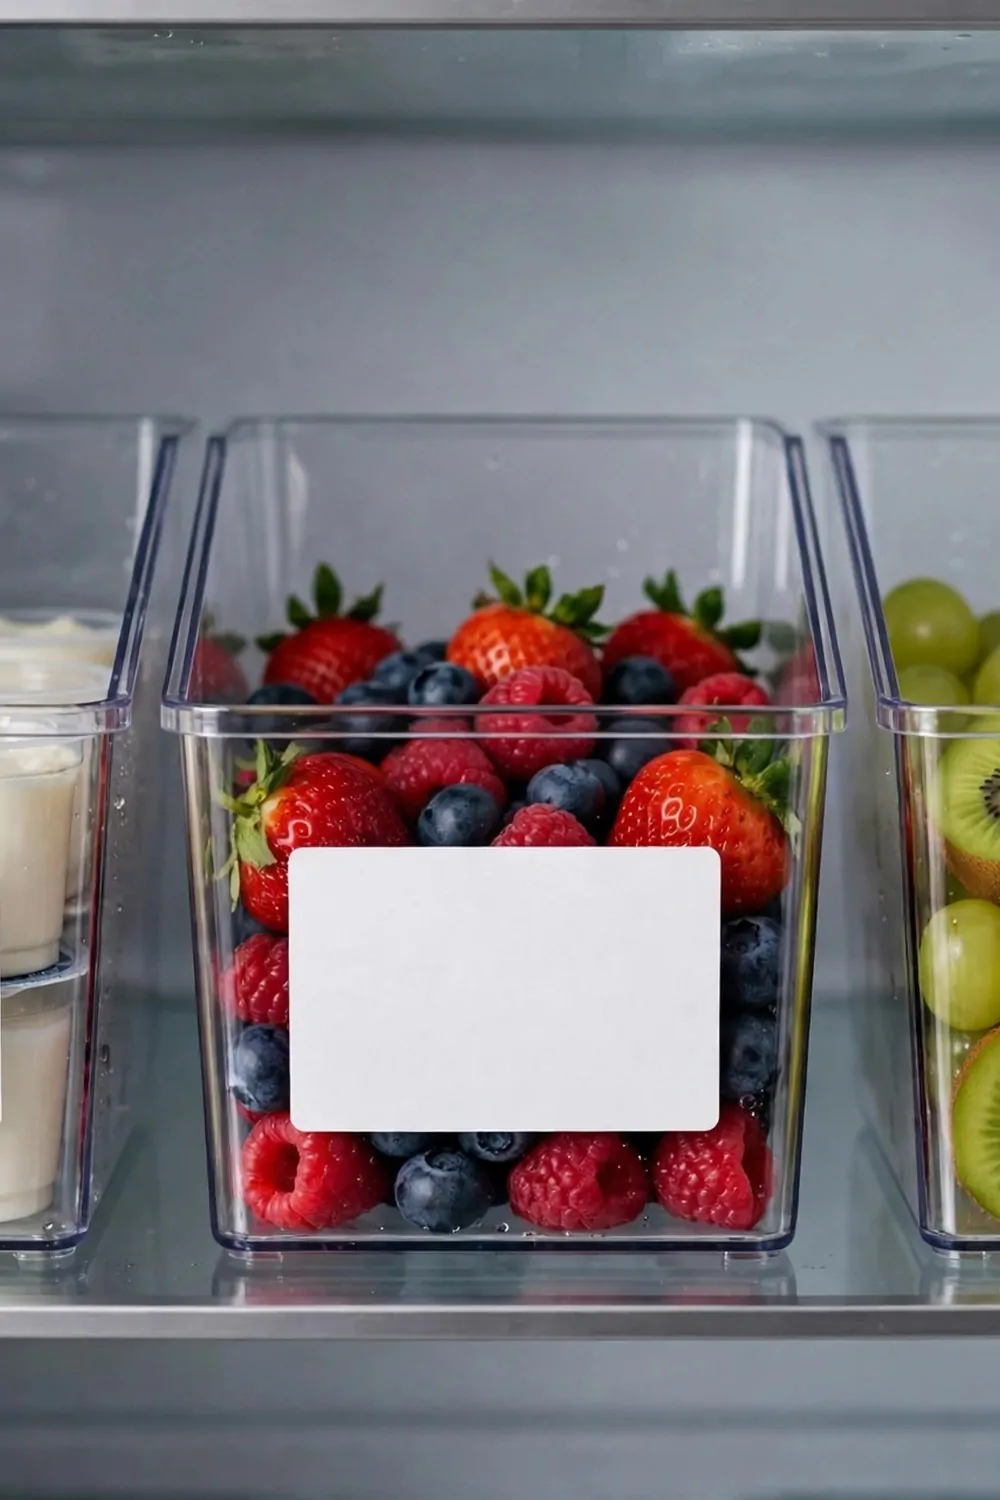
Bins are great, but labels make them even better. A label tells you what is inside without opening the bin. It sounds small, but it saves time every day.
Use plain words. Write Snacks on one bin. Write Dairy on another. Write Sauces on a third. Do not use fancy words. Simple words work best for everyone in the house.
Kids can find things on their own when bins have labels. My kids used to ask me where the cheese was. Now they just read the label and grab it. That small change gave me a few quiet minutes back.
You can use sticky labels, tape, or a marker. I used plain white labels from a stationery shop. They cost almost nothing. If a bin changes jobs, I just peel the old label off and write a new one.
Labels also help you put things back in the right place. When you come home from shopping, you see the label and you know where the food goes. No more guessing, and no more random piles.
Keep the labels big enough to read fast. One or two words is enough. Your fridge will look neat, and your whole family will know the system without a long talk.
Use the same style of label on every bin. It makes the fridge look neat and calm. I used white labels with black pen on all of mine, and the fridge looks so much tidier now.
Ask your kids to help you write the labels. They will feel proud of the fridge, and they will remember where things go. My kids loved picking the words for their snack bin.
Keep Leftovers Where You Can See Them
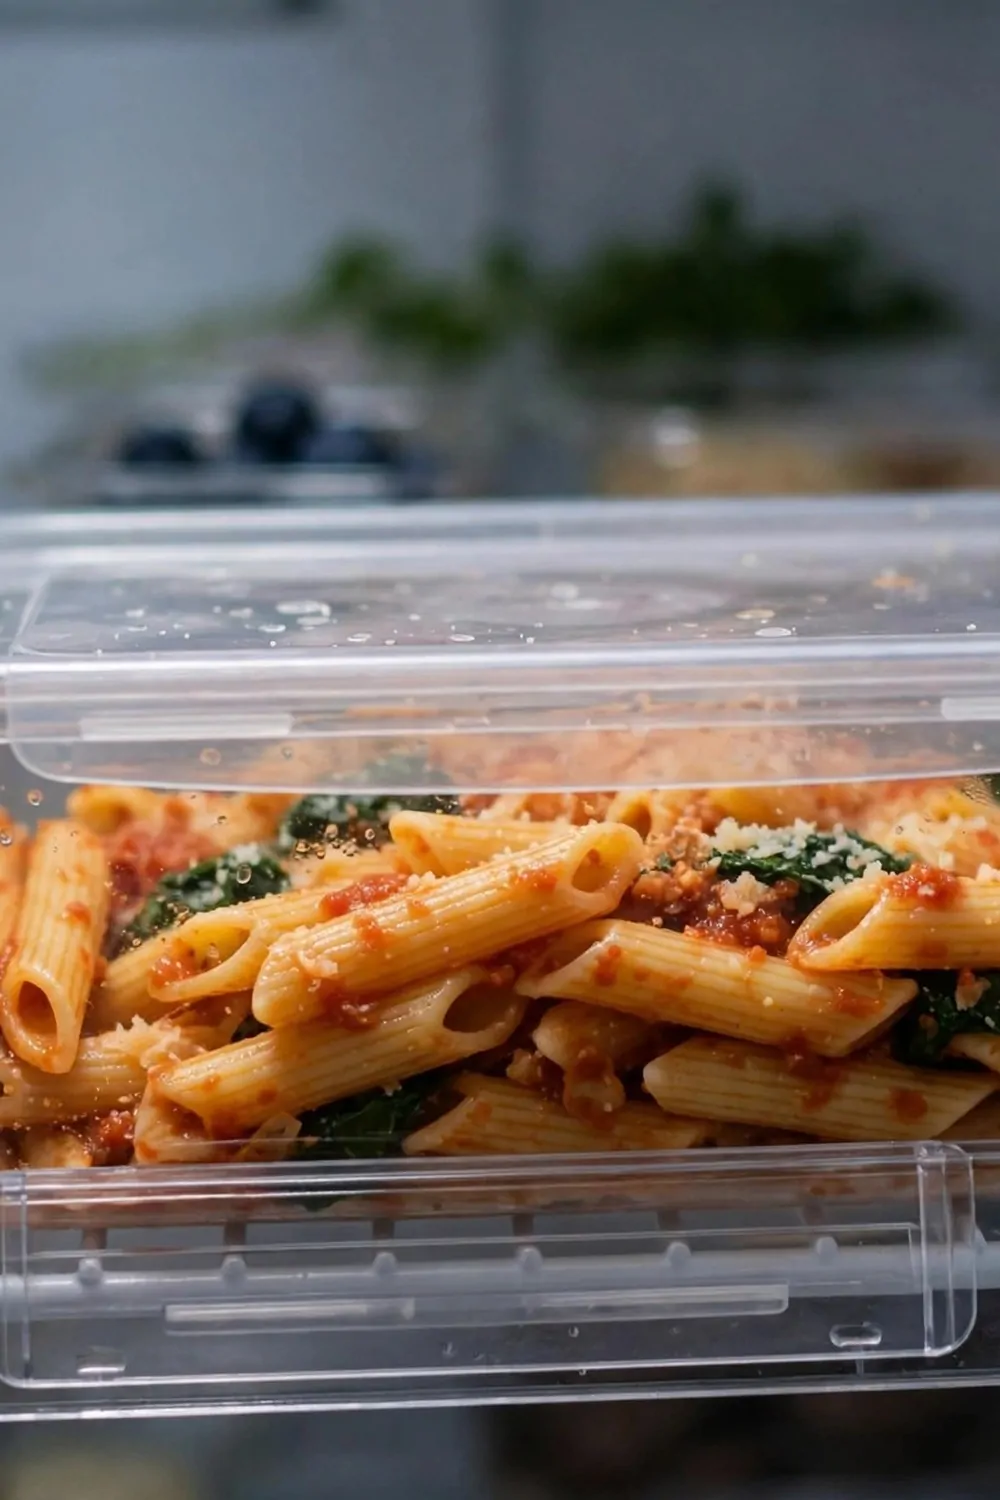
Leftovers are the food we forget most. We put them in the back, and then we forget them. A few days later, we throw them away. That wastes food and money.
Put your leftovers at the front of the middle shelf. That is the first place your eyes land when you open the door. If you see it, you will eat it. It is that simple.
Use clear containers with lids. Clear containers let you see the food inside. I stopped using solid tubs because I could never tell what was in them. Now I can see the pasta or the rice right away.
Try to eat leftovers within a few days. I try to eat mine in two or three days. If I know I will not eat it soon, I put it in the freezer instead. That way it does not go bad in the fridge.
Put a small note on the lid if it helps. I write the day I cooked it on a piece of tape. Then I know at a glance if it is still good. It takes five seconds, and it saves a lot of waste.
When leftovers sit where you can see them, you eat more of them. Your fridge stays cleaner too, because old food does not pile up in the back. It is a small habit with a big payoff.
Eat the oldest leftovers first. I put the newest container behind the older one, so the older food gets eaten first. It is a tiny trick, but it cuts waste a lot.
If you have a lot of leftovers, plan a leftover night. We eat leftovers for dinner on Fridays, and it saves us cooking a full meal. It also clears the fridge before the weekend shop.
Put Drinks on the Door
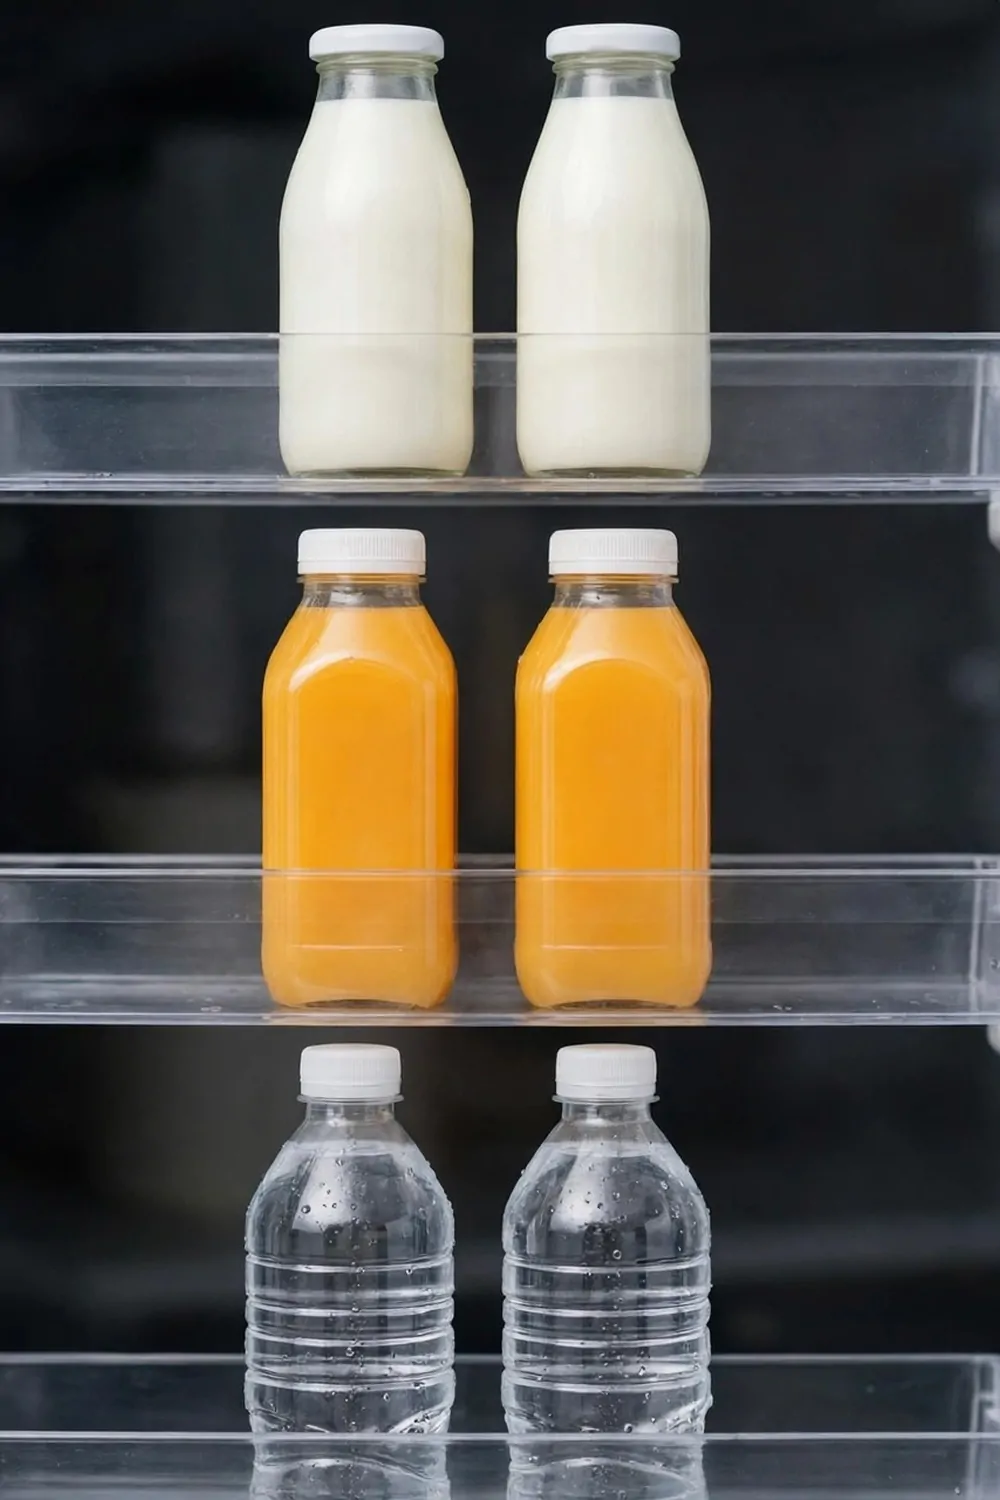
The door is made for drinks. It has deep shelves, and bottles fit there well. I keep my juice, water, and soda bottles on the door, and they are easy to grab.
The door is the warmest part of the fridge. That is fine for most drinks. Juice and water do not mind a little warmth. Condiments like ketchup and mayo are happy there too.
But milk is different. Milk spoils fast when the temperature moves up and down. The door opens and closes all day, so the temperature swings a lot. Keep milk on a shelf inside the fridge, not on the door.
I learned this the hard way. I kept milk on the door for years, and it went bad faster than I expected. Once I moved it to the middle shelf, it stayed fresh longer. It was such a simple fix.
Line your bottles up in a neat row on the door. Put the tall ones at the back and the short ones at the front if you can. That way you can see every bottle, and nothing tips over.
Check the door shelves once a week. Toss any bottle that is empty or past its date. A tidy door makes the whole fridge look tidy, and it makes your kitchen feel calm.
Keep a small tray on the door shelf if your bottles tip over. A tray holds them upright and stops spills. I use a small plastic tray, and it keeps the door neat even when the fridge is full.
Do not overfill the door. Heavy bottles can make the door sag a bit over time. I keep only the drinks we use each day on the door, and the spares stay on a shelf inside.
Use the Crisper Drawers the Right Way
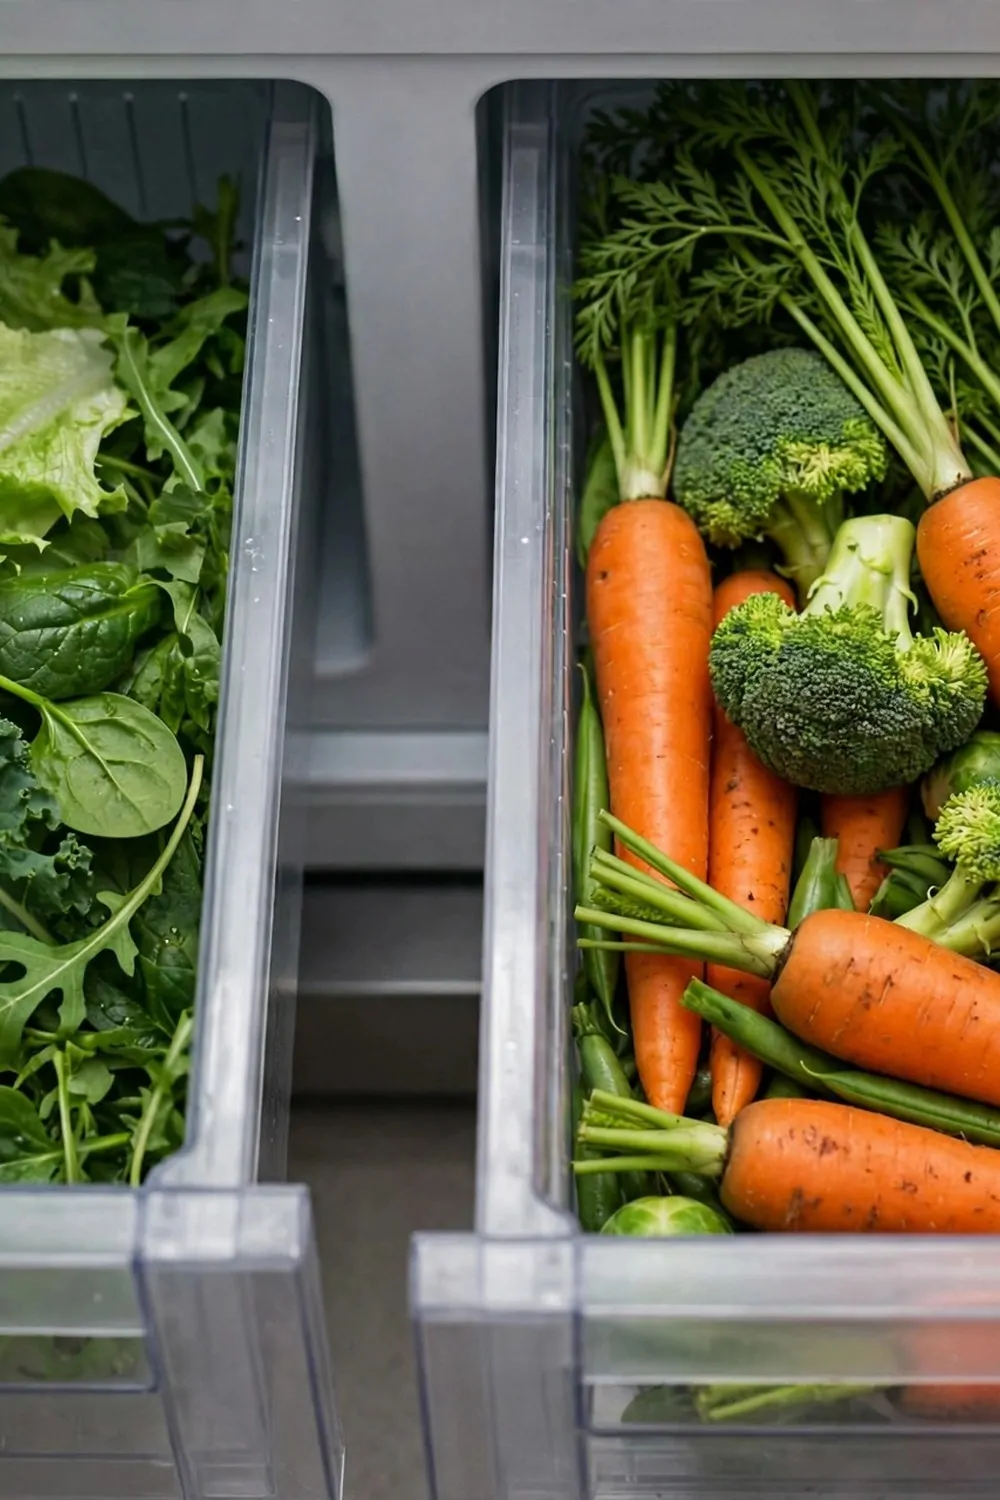
Crisper drawers are not just extra space. They have a job. They hold humidity, and that keeps your fresh food crisp for longer. But you have to use them the right way.
Most fridges have two drawers. Use one for leafy greens. Set it to high humidity if your fridge has a little slider. Lettuce, spinach, and herbs love moist air. They stay green and fresh.
Use the other drawer for fruit. Set it to low humidity. Apples, grapes, and oranges do better with drier air. If you mix fruit and greens in one drawer, one of them will suffer.
Do not mix them up. I used to toss everything in one drawer, and my lettuce went limp fast. Once I split them, my greens stayed fresh for days longer. It really works.
Keep the drawers clean and dry on the outside. Wipe them when you clean the fridge. If water pools in the bottom, your veggies can go soft. A quick wipe once a week is enough.
Put a paper towel in with your leafy greens if you like. It soaks up extra water and keeps the leaves dry. I do this with my spinach, and it stays fresh much longer.
Do not overfill the drawers. Air needs to move around the food to keep it fresh. I leave a little space at the top of each drawer, and my veggies last longer now.
Put a damp cloth over herbs if you keep them in the drawer. It keeps them moist without making them soggy. I do this with parsley and coriander, and they stay green for days.
Store Dairy on the Middle Shelf
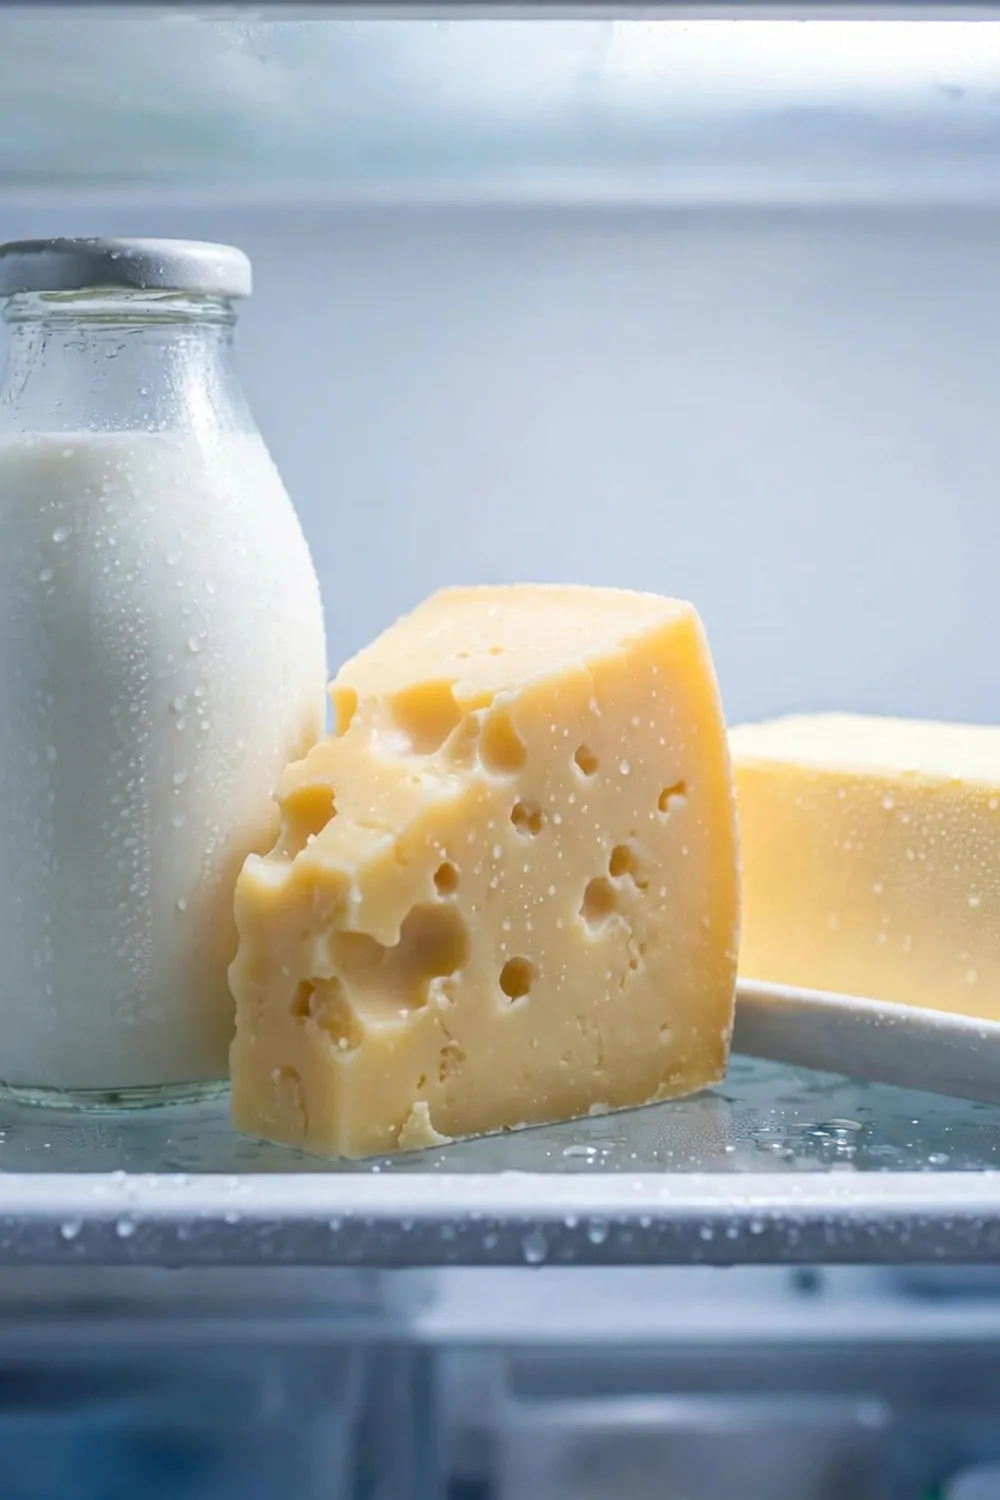
Dairy needs steady cold. Milk, cheese, and butter go bad fast when the temperature keeps changing. The middle shelf has the steadiest cold in the whole fridge.
I keep my milk on the middle shelf now. It stays fresh longer than it did on the door. I also keep my cheese and butter there, in one neat group. It is easy to find them all in one spot.
Do not put dairy on the door. The door warms up every time you open the fridge. That warm and cold swing is hard on milk and soft cheese. Your dairy will last longer if it stays on a shelf.
Keep butter in its box or in a covered dish. It picks up smells from other food if you leave it open. I learned that when my butter tasted like onions once. A lid fixes that fast.
Group your dairy together in a bin if you have one. A dairy bin on the middle shelf keeps everything tidy. You pull it out, grab the cheese, and slide it back. It is quick and neat.
Check your dairy dates once a week. Use the oldest milk first. A simple habit like this saves money, and it keeps your fridge smelling fresh.
Keep soft cheese in a closed container. It can pick up strong smells from onions and garlic if it sits open. I use a small tub with a lid, and my cheese stays fresh and tasty.
Put the milk at the front of the middle shelf so you grab it fast. When you are in a rush in the morning, you do not want to move five things to reach the milk. Front and centre works best for us.
Keep Eggs Off the Door
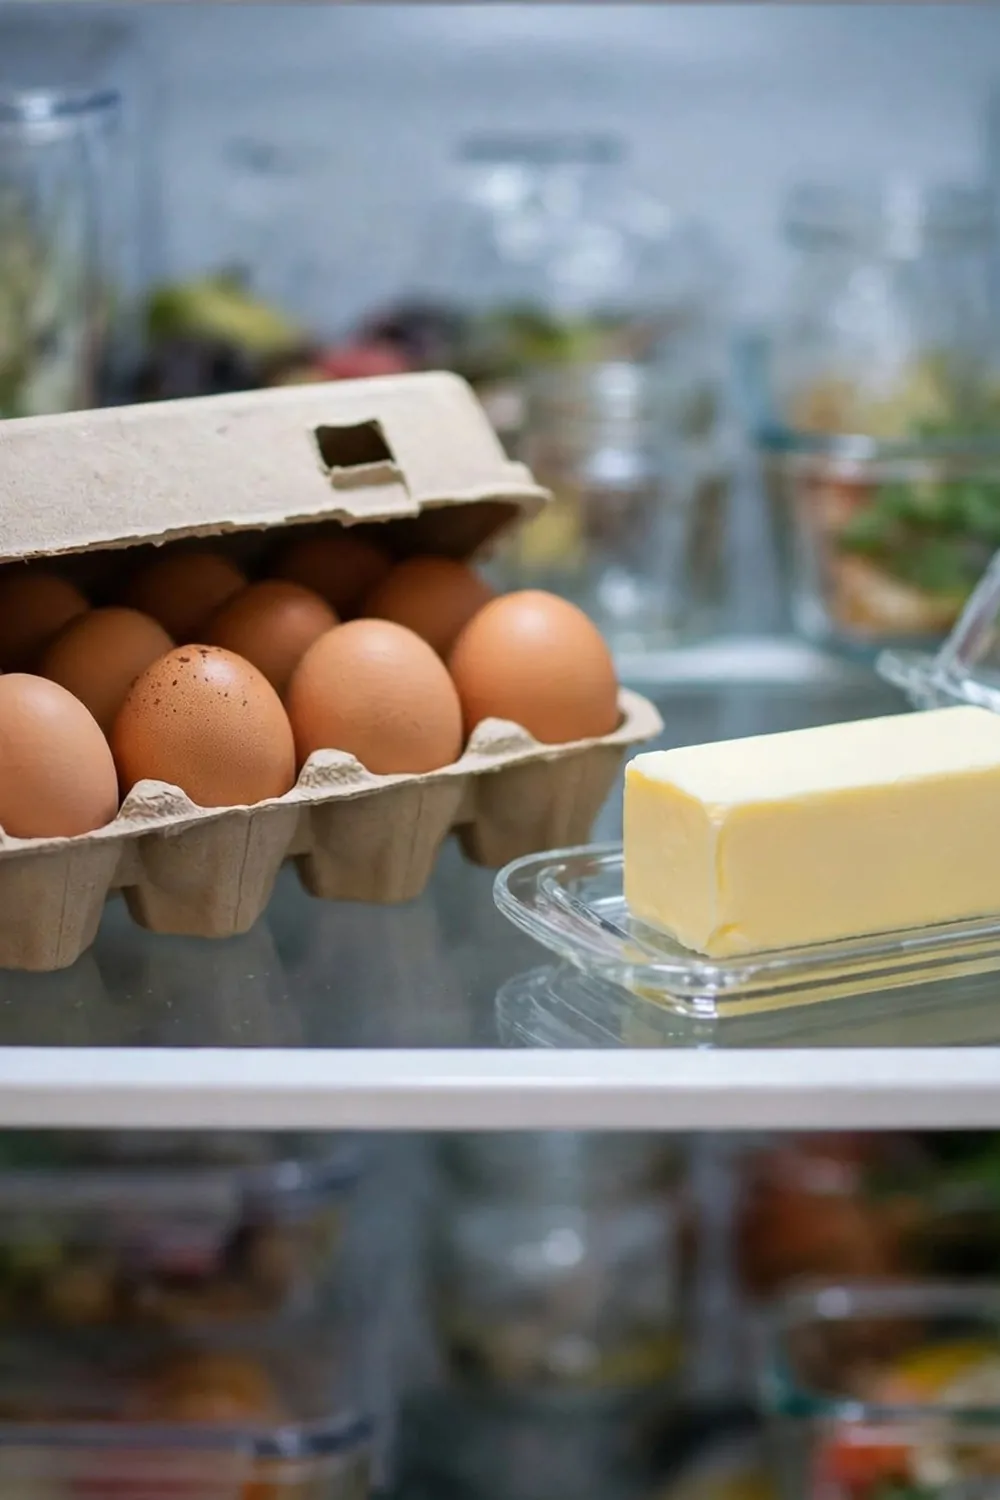
Many fridges have a little egg holder on the door. It looks handy, but it is not the best spot for eggs. The door is too warm, and the temperature swings too much.
Eggs stay fresh longer on a middle shelf. The cold there is steady. I keep my eggs in their carton on the middle shelf, right next to the butter. It is a small move, but it helps a lot.
Keep eggs in their carton. The carton protects them from cracks, and it stops them from picking up smells. I never take eggs out of the carton until I use them. It is the safest way.
Do not wash eggs before you store them. The shell has a thin coat that keeps germs out. Washing can remove that coat. Just put the carton straight in the fridge and use the eggs as you need them.
If you buy a lot of eggs, use the oldest carton first. I write the date on the carton with a pen so I know which one to open first. It is a tiny habit, and it stops waste.
Your eggs will taste better and last longer on a shelf. Move them off the door today, and you will see the difference in a week or two.
If your eggs crack, wipe the shelf right away. Egg can get sticky and smell bad if you leave it. A quick wipe with warm water keeps the shelf clean and safe.
Buy eggs in the size you use each week. I buy one carton at a time now, and I never have old eggs left at the back. Smaller shops more often can mean fresher eggs.
Use a Lazy Susan for Jars and Sauces
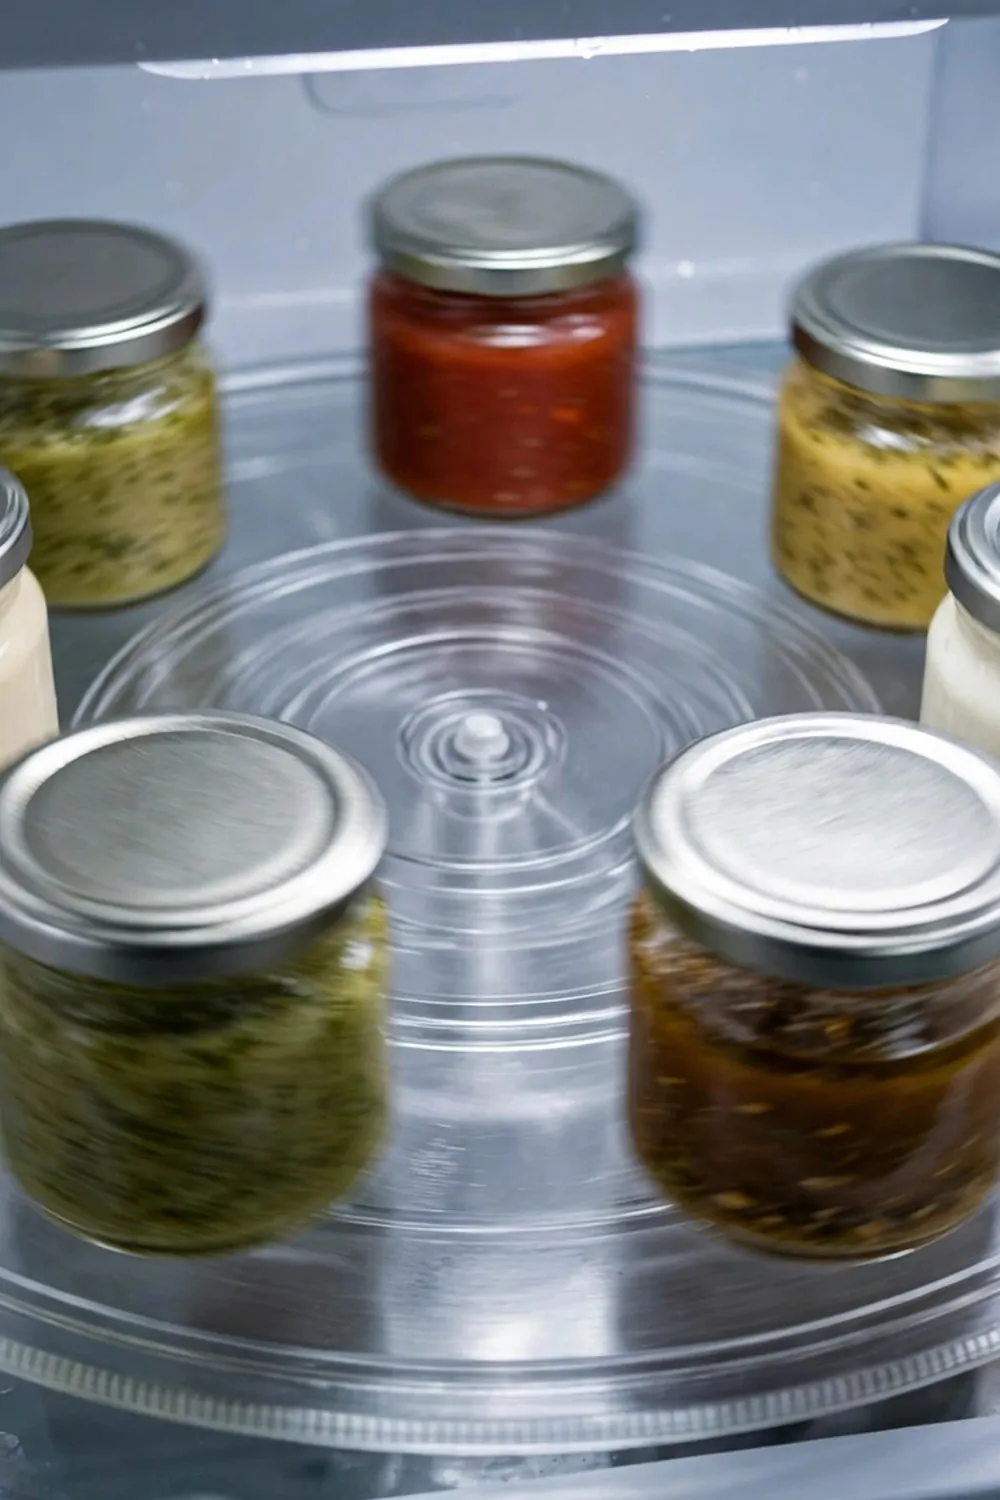
Jars love to hide at the back of the fridge. You buy a sauce, you push it to the back, and then you forget it. A few months later you buy the same sauce again. I did this so many times.
A lazy Susan fixes this. It is a round spinning tray. You put your jars and sauces on it, and you spin it to find what you need. No more lost jars at the back.
Put your small jars on the turntable. Mustard, jam, salad dressing, and hot sauce all fit well. I keep mine on the middle shelf where I can reach it fast. One spin, and I see everything.
Pick a turntable that suits your shelf size. Measure first, so it can spin without hitting the sides. I found a clear one that fits my fridge well, and it was not pricey at all.
Wipe the turntable when you clean the fridge. Sauces can drip, and a sticky tray is no fun. A quick wipe with a damp cloth keeps it clean and smooth.
Try one lazy Susan first. If you love it, you can add a second one for another shelf. It is a small tool, but it makes a big change in how fast you find things.
Put the sauces you use most at the front of the turntable. I keep ketchup and mayo where I can reach them without a big spin. The ones I use less sit at the back, and I spin to find them.
Check the turntable once a month for old jars. I found a dressing that had been there for a year, and I tossed it. A quick spin and a quick check keeps the turntable useful.
Stack With Shelf Risers
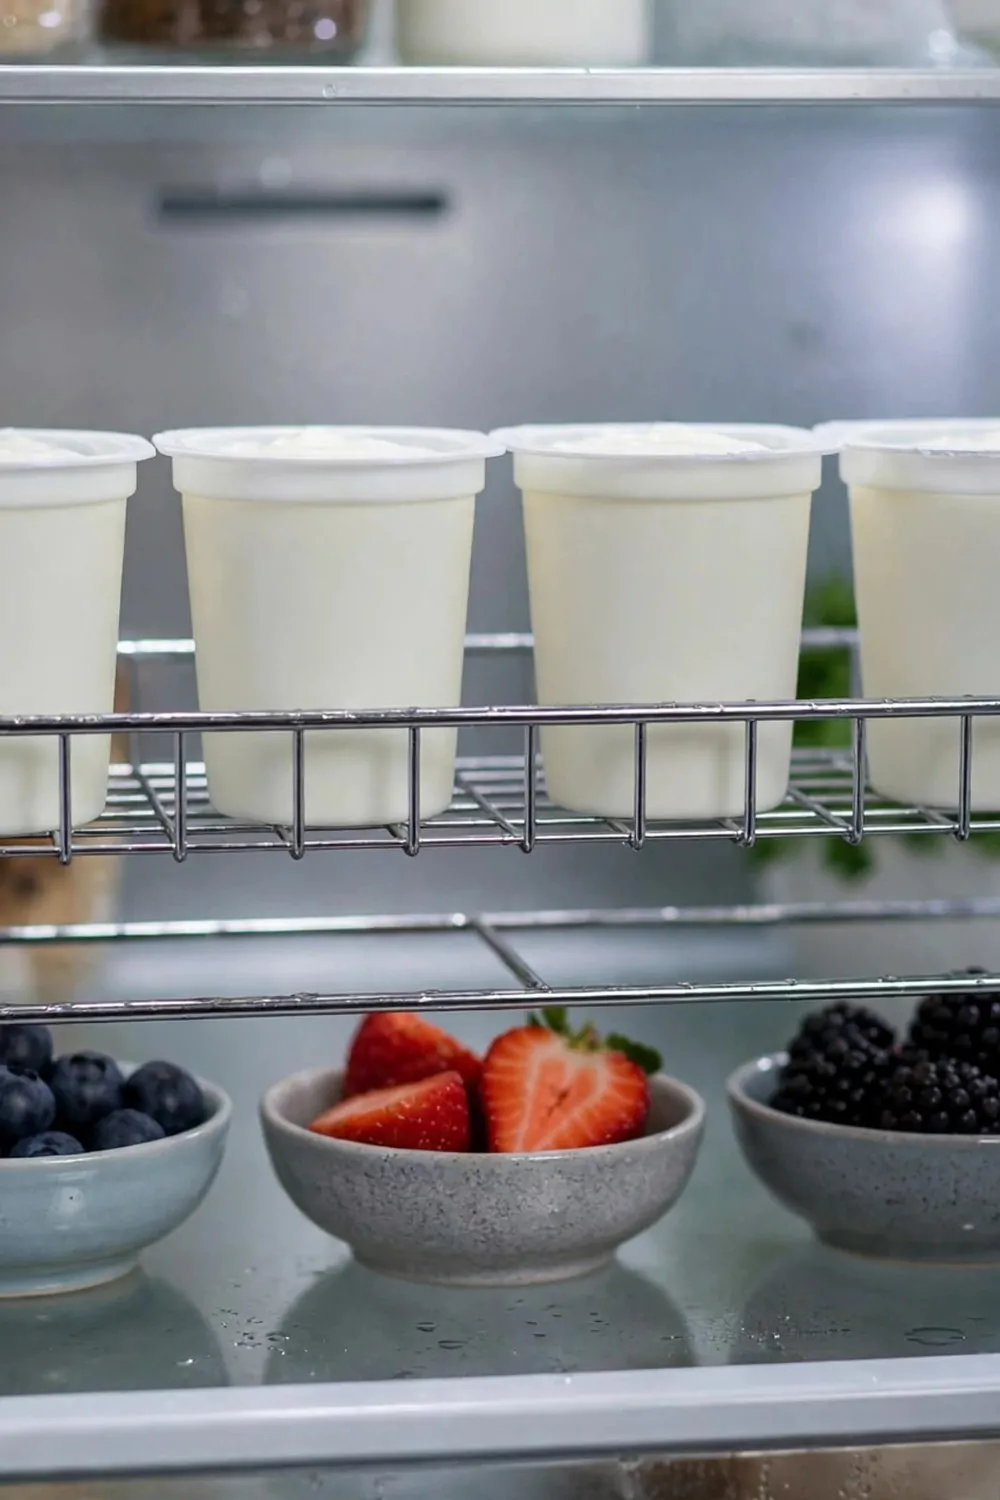
Short items waste a lot of height. Yogurt cups, small bowls, and little tubs sit low on a shelf, and the space above them stays empty. That empty space is wasted.
A shelf riser adds a second level. It is a small wire or plastic stand that sits on your shelf. You put short items under it, and other items on top of it. You get twice the space.
I use a riser for yogurt cups. The cups sit on top, and small bowls sit under. Everything is easy to see and reach. My shelf holds more food now, but it looks less crowded.
Risers are cheap and easy to find. I bought mine at a home store for very little money. You can also use a small sturdy box if you do not have a riser yet. Just make sure it is clean and stable.
Do not stack heavy things on a riser. Keep it light. Yogurt cups, small tubs, and little bowls are perfect. Heavy jars can tip it over, so keep those on the shelf itself.
Try one riser on your most crowded shelf. I think you will love how much space it frees up. It is a tiny change that makes your fridge feel bigger right away.
Make sure the riser sits flat on the shelf before you load it. A wobbly riser can tip and spill food. I press mine down and give it a little shake first to check it is steady.
Use risers in the pantry too if you have a spare one. I put one in my cupboard for small spice jars, and it freed up space there as well. One cheap tool can help in two places.
Line Shelves for Easy Cleaning
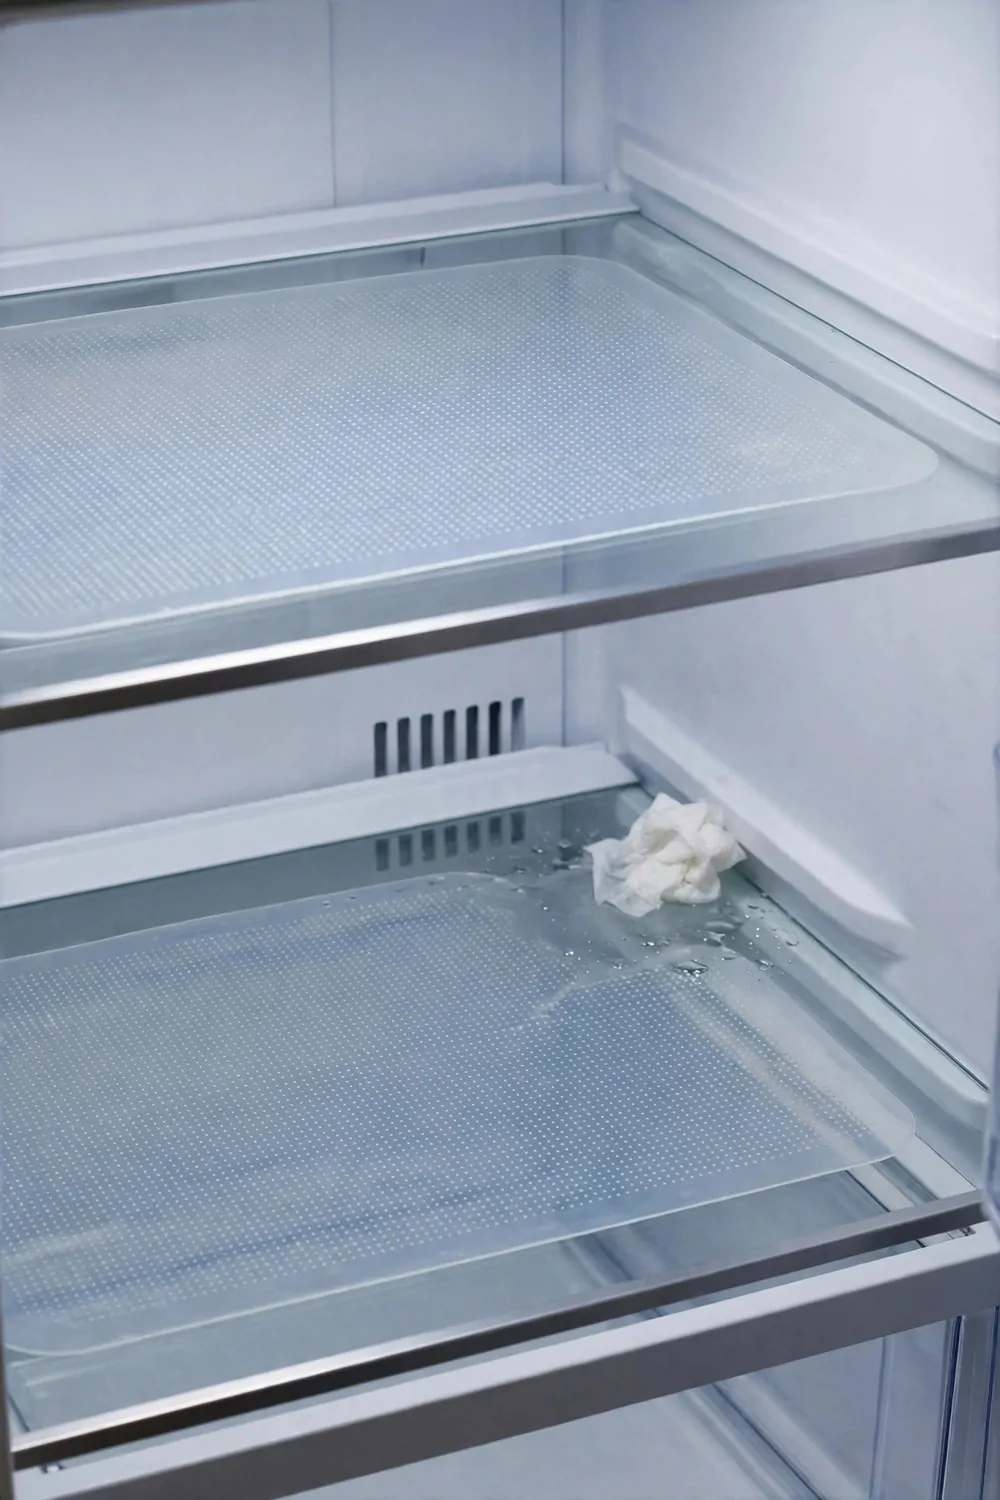
I used to hate cleaning my fridge shelves. A little spill would dry on the glass and I had to scrub it for ages.
Then I found shelf liners and they changed everything for me. You just lay a clear mat on each shelf and you are done.
When something spills now, it lands on the mat, not on the glass. I lift the mat out and rinse it in the sink.
It takes me about ten seconds and the shelf looks clean again. No scrubbing and no sticky spots left behind.
You can cut the mats to fit your shelves with normal scissors. I measured mine once and then I just cut and placed them.
I like the clear ones best because I can still see through the shelf. It keeps the fridge looking light and open.
Wash them once a month with warm soapy water and let them dry. Then put them back and your fridge is fresh again.
I keep a spare mat cut and ready in the cupboard. When one is in the wash, I lay the spare down so the shelf is never bare. It takes ten seconds and the fridge stays neat even on wash day.
Store Meat on the Bottom Shelf
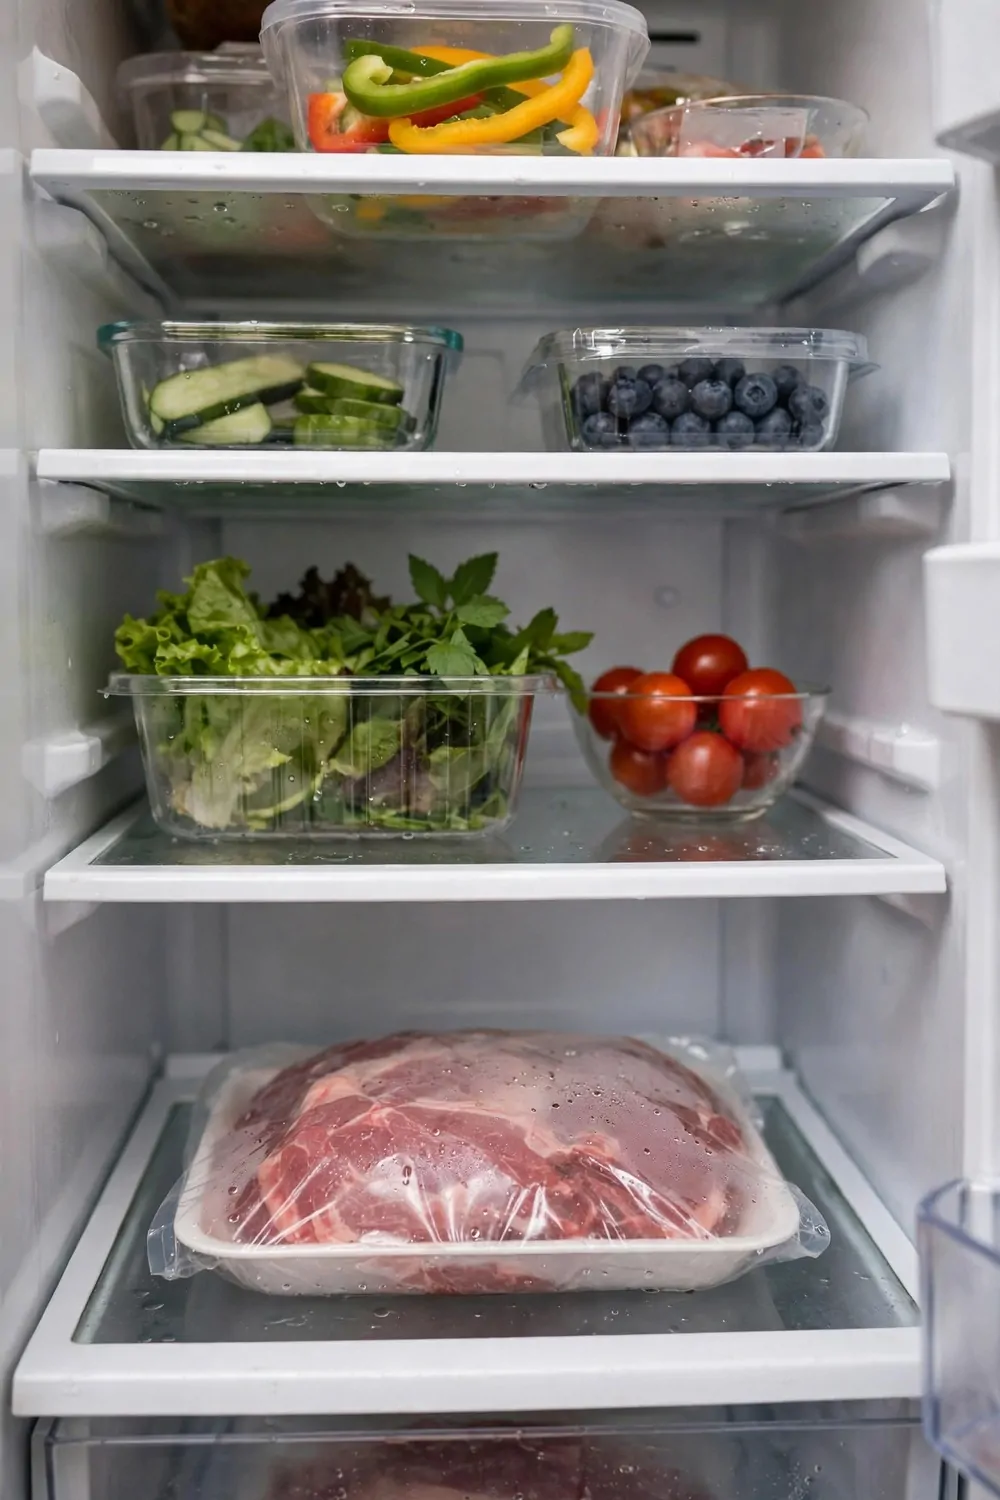
Raw meat should always live on the very bottom shelf of your fridge. That is the coldest spot and it is also the safest spot.
I learned this the hard way one time when juice dripped onto my salad below. I had to throw the salad away and I felt so silly.
Now I put all raw meat in a sealed tray on the bottom shelf. The tray catches any drips before they can fall on other food.
You can use a shallow tray or a big plate with a rim. Just make sure it is big enough to hold the pack you buy.
Keep the meat in its shop pack or move it to a sealed box. Either way, keep it closed tight so nothing leaks out.
I also keep meat away from ready to eat food like cheese and fruit. They should never sit side by side on the same shelf.
If you cook the meat the same day, great. If not, check it each morning and cook it before it sits too long.
I put the meat tray in the same spot every time. My hands know where to reach now, and I never have to move five things to find it. A fixed spot makes the whole fridge easier to use.
Freeze Flat in Bags
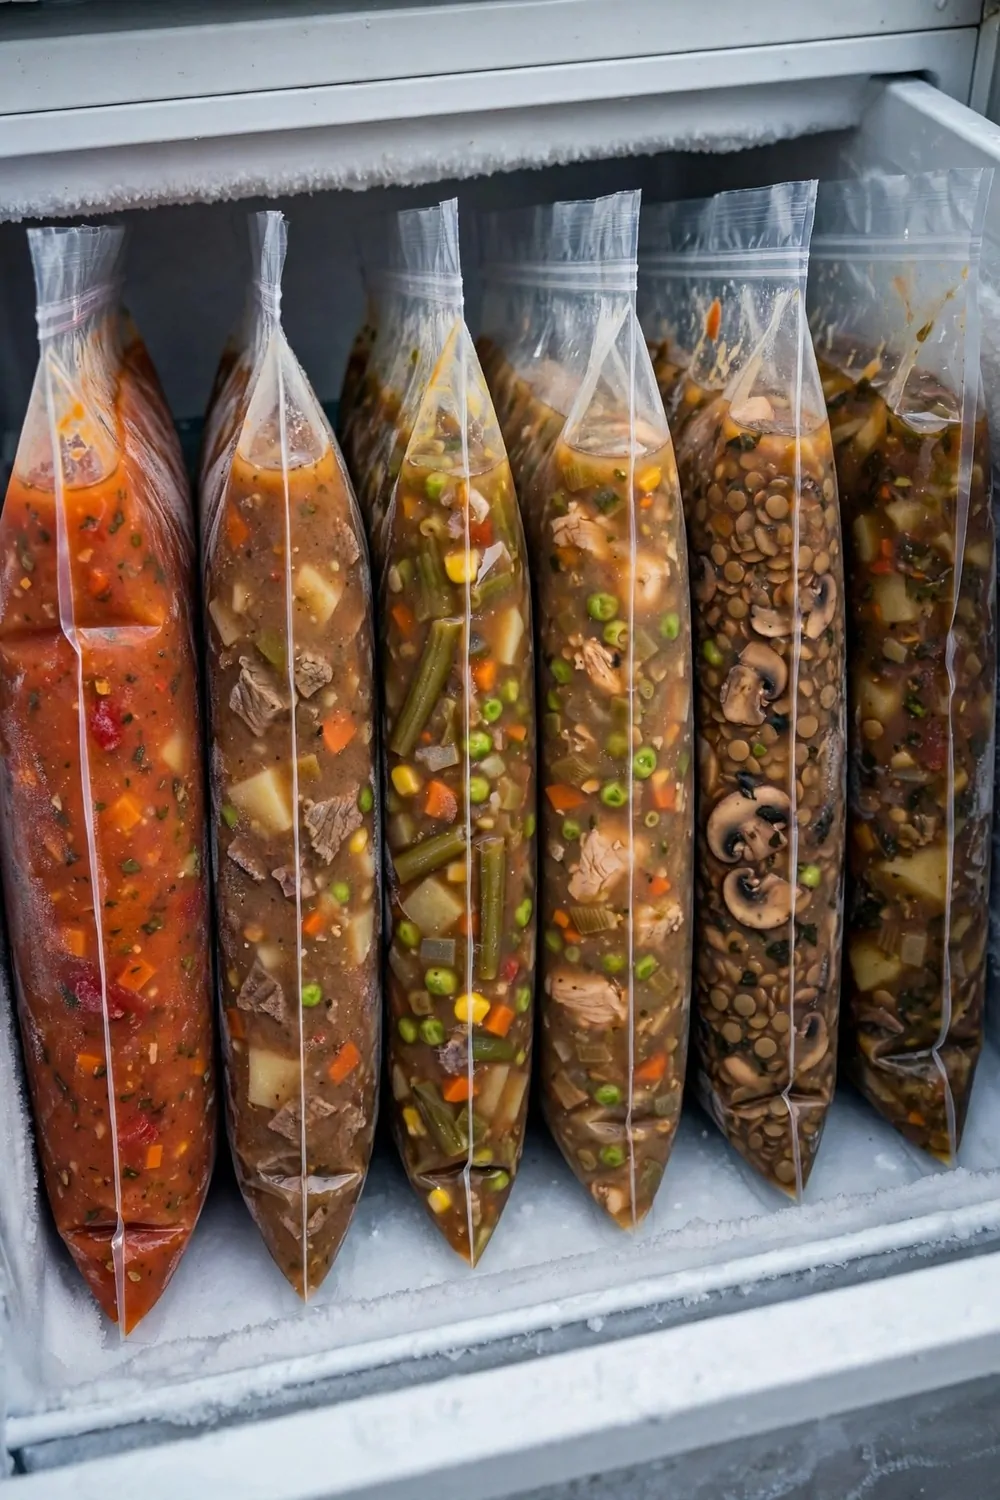
Freezing soup in big tubs used to eat up all my freezer space. The tubs were round and they never stacked well at all.
Then I tried flat bags and I never went back. You pour the soup in a bag, push the air out, and seal it flat.
Lay the bag flat in the freezer until it is hard. Once it is frozen solid you can stand it up like a book on a shelf.
I stack mine side by side in a drawer and I can see every meal at a glance. No more digging through a pile of tubs.
Label each bag with a blank sticker before you freeze it. Write what it is and the date you made it.
That way you will not open a bag of stew and think it is soup. I have done that before and it was a funny surprise at dinner.
Flat bags thaw much faster too, which I love on busy nights. Just drop one in a bowl of cool water and it is ready soon.
I write the date on each bag with a pen before it goes in the freezer. A small blank sticker works too. Then I always use the oldest bag first and nothing sits there for a year.
Keep a Snack Bin for Kids
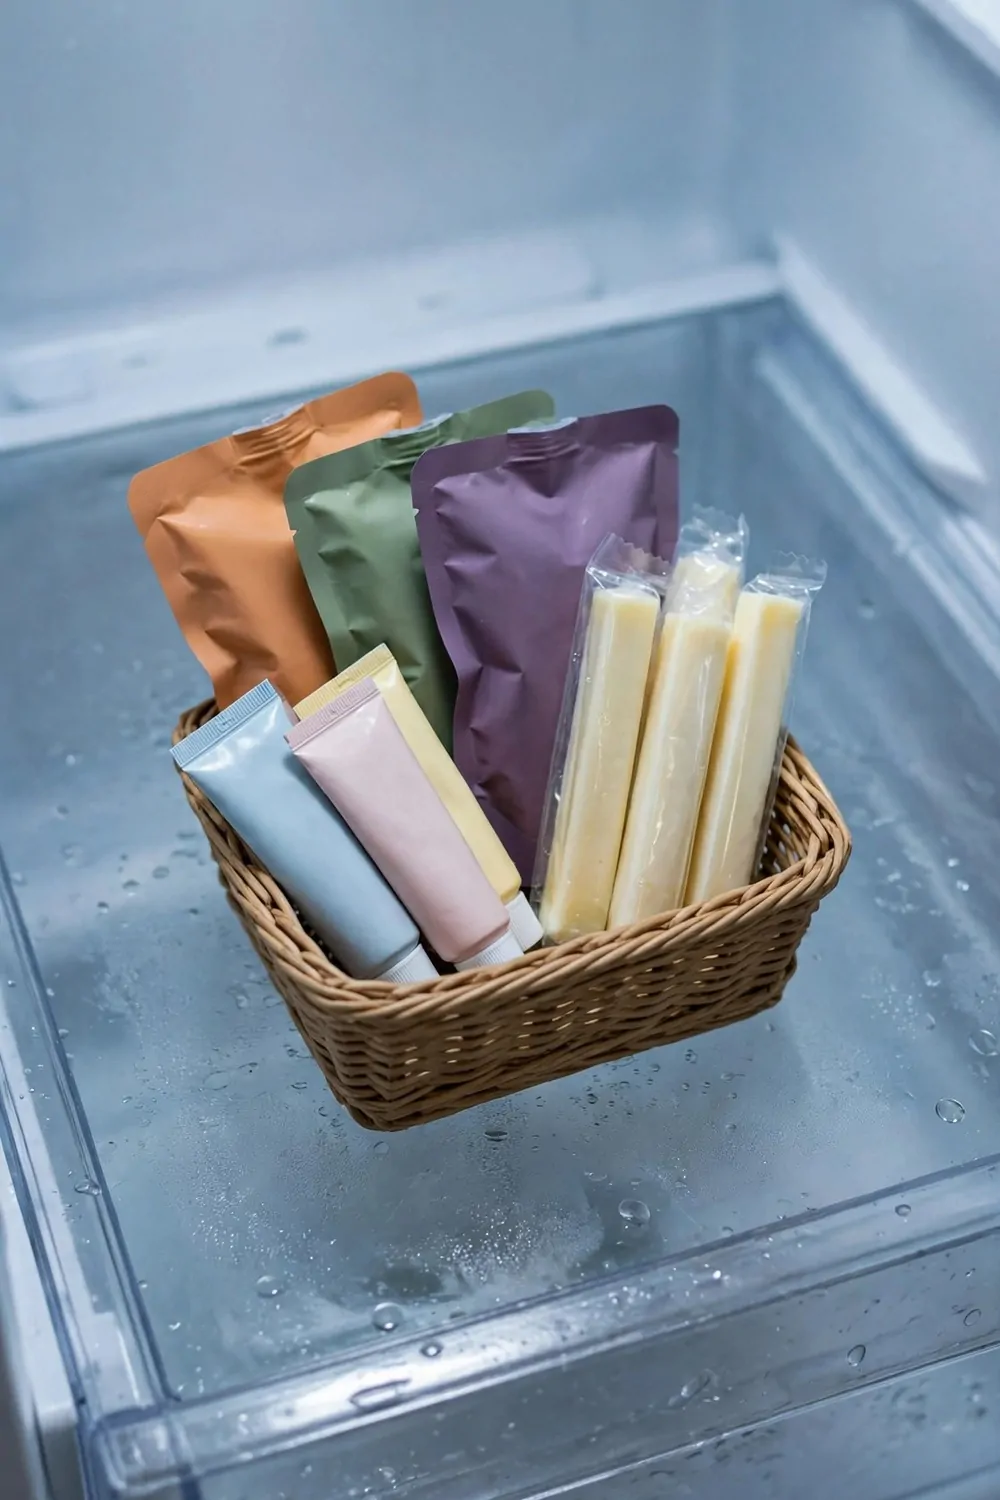
Kids always want a snack and they always ask you to get it for them. A snack bin on a low shelf fixes that in one move.
I put a small basket where my kids can reach it on their own. Inside it I keep fruit pouches, cheese sticks and yogurt tubes.
They can open the fridge and pick one thing by themselves. It makes them feel big and it saves me a lot of trips to the kitchen.
I refill the basket once a week, usually on shopping day. I wash the fruit, pack the cheese, and line up the yogurt tubes.
Keep the bin small on purpose so it does not get messy. A small bin is easy to clean and easy to fill again.
You can let your kids help you pick what goes in it. When they choose, they are more likely to eat it all up.
It also stops them from pulling out big packs and making a mess. Everything they need is right there in one little spot.
I let my kids pick one new snack for the bin each week when we shop. They feel proud of their picks, and they eat what they chose. It is a small choice that makes them happy.
Use Small Baskets for Packets
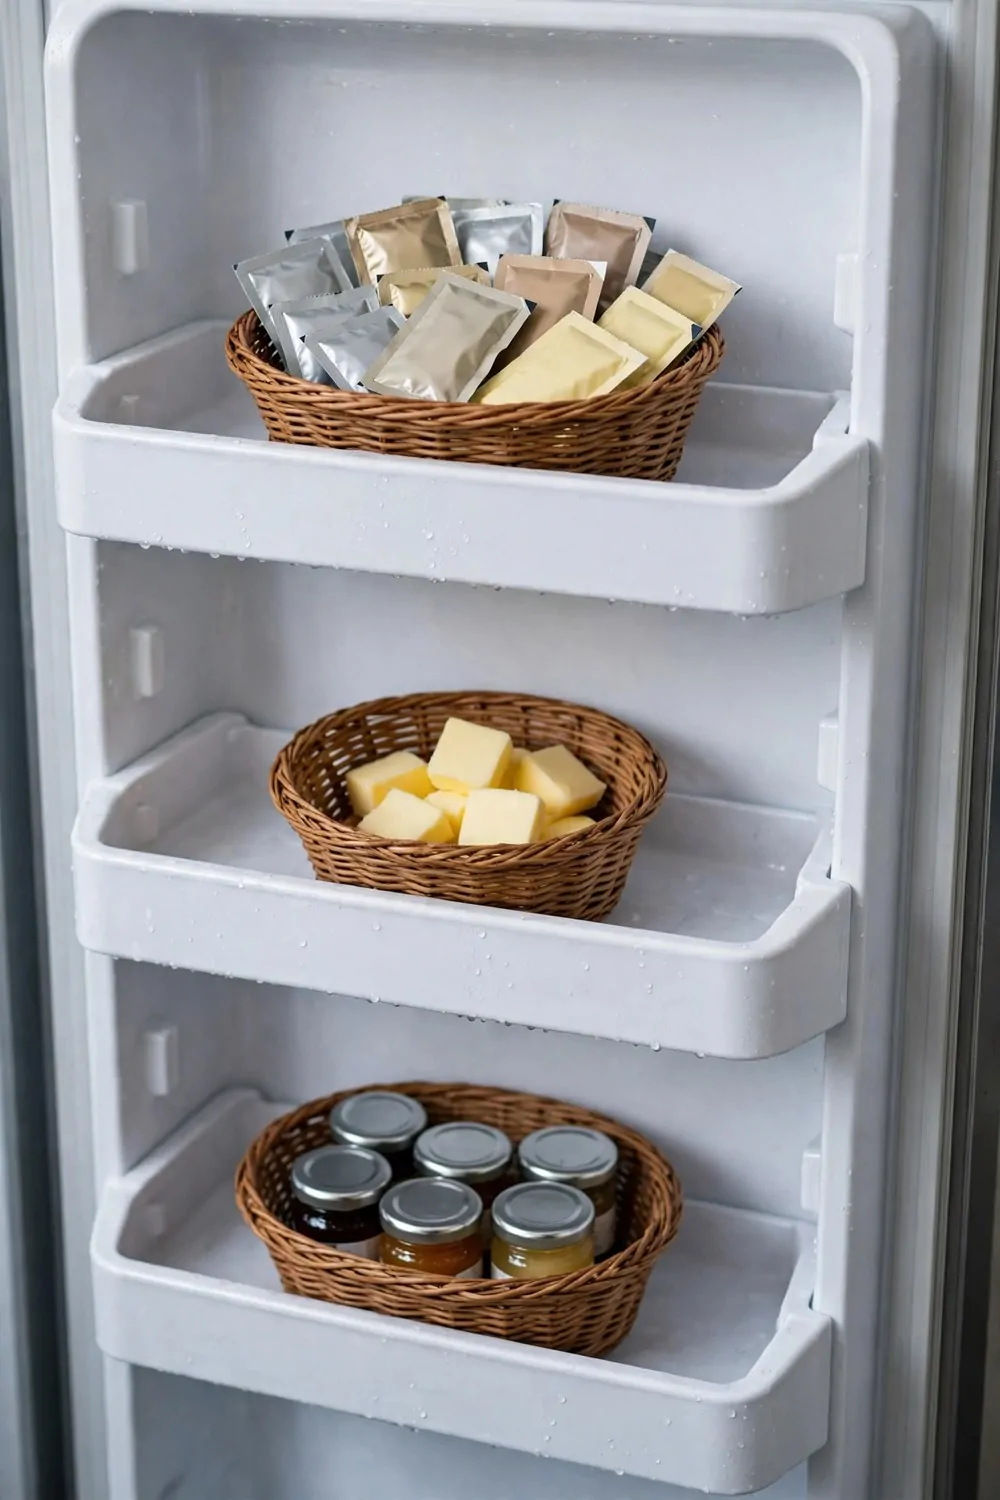
Little packets are the worst thing in a fridge. They slide around, fall behind jars, and hide in the back for months.
I fixed this with a few small baskets in the fridge door. Now all my sauce packets live in one basket and they stay put.
Butter pats go in a second basket and tiny jam jars go in a third. Each little thing has a home and I can find it fast.
The baskets stop the packets from sliding when I open and close the door. That used to drive me a bit mad, to be honest.
You do not need fancy baskets for this trick. Small cheap ones work just fine as long as they fit in the door shelf.
I pull a basket out when I need a packet and slide it back in when I am done. It takes two seconds and it keeps things neat.
Check the baskets once a month and toss any old packets. Old sauce packets pile up fast if you do not watch them.
I keep one basket just for butter and small cheese packs. They are easy to lose in a big fridge. Now they all live in one spot and I grab them in one second.
Put Condiments in One Caddy
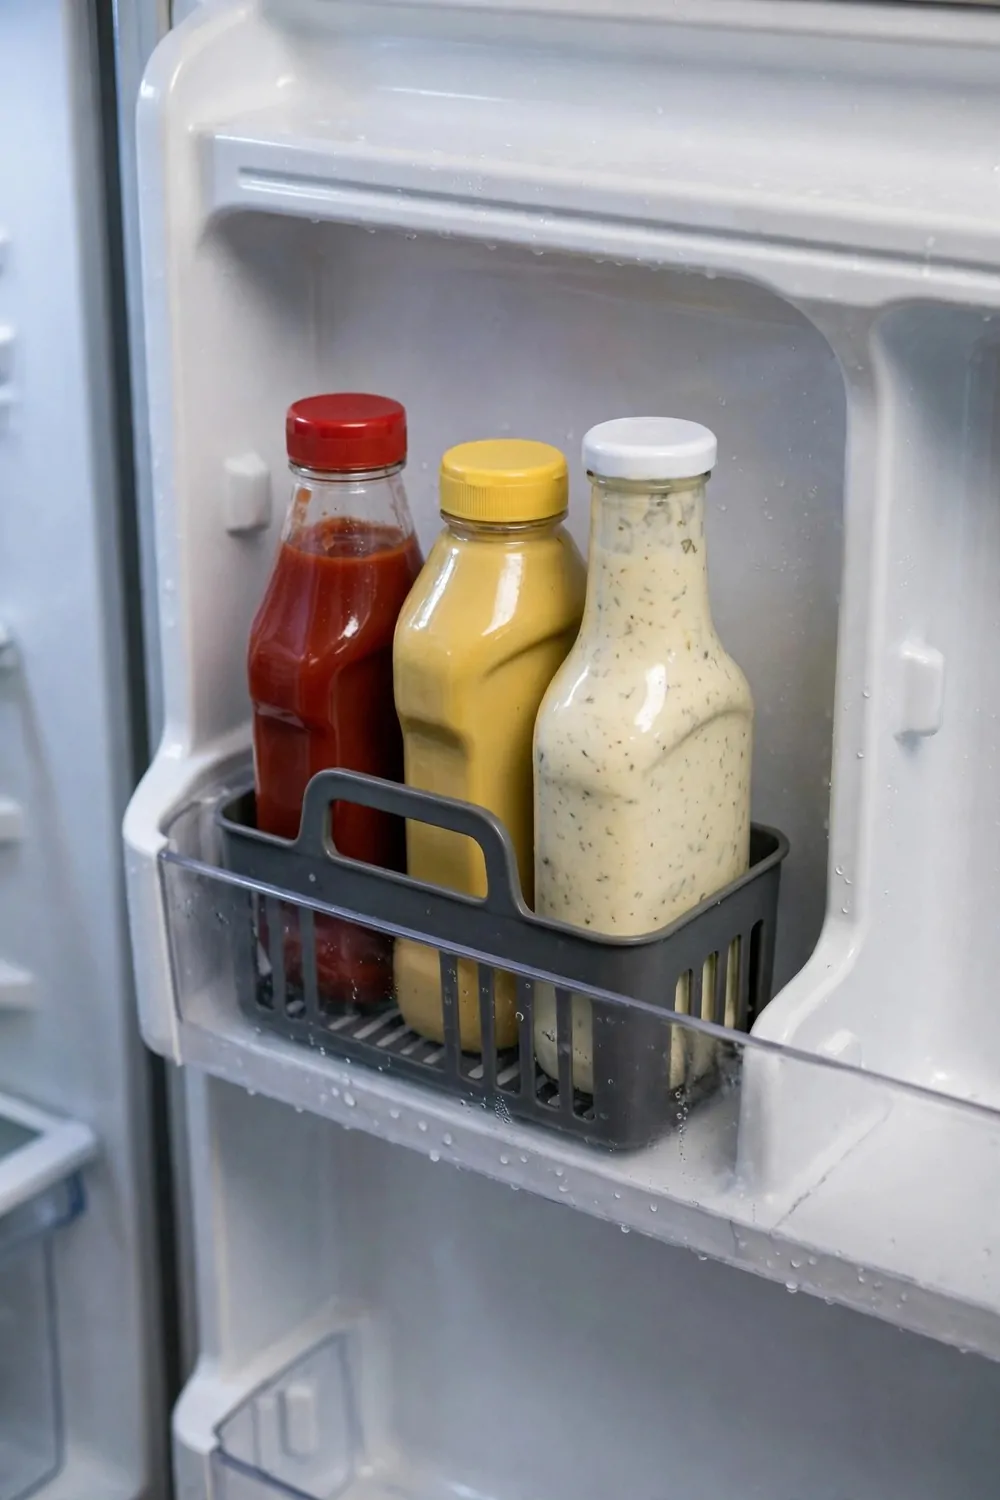
My ketchup used to live on one shelf and my mustard on another. Dressings were lost in the back and I bought the same bottle twice.
Now all my condiments live in one small caddy in the fridge door. Ketchup, mustard and dressings sit side by side in it.
When it is dinner time I just lift the whole caddy out and put it on the table. Everyone can grab what they need.
After dinner I lift it back into the fridge in one move. No more carrying five bottles back and forth with both hands full.
Pick a caddy with a handle if you can find one. A handle makes it so much easier to carry to the table and back.
Keep the bottles standing up straight inside the caddy. That way they do not leak and you can read every label at a glance.
I wipe the caddy once a week because drips happen. A quick wipe keeps it clean and it only takes a minute.
When we eat outside, I lift the whole caddy out and carry it to the table. It saves me four trips back to the fridge. After lunch I just set it back in the door.
Track Dates With a Simple System
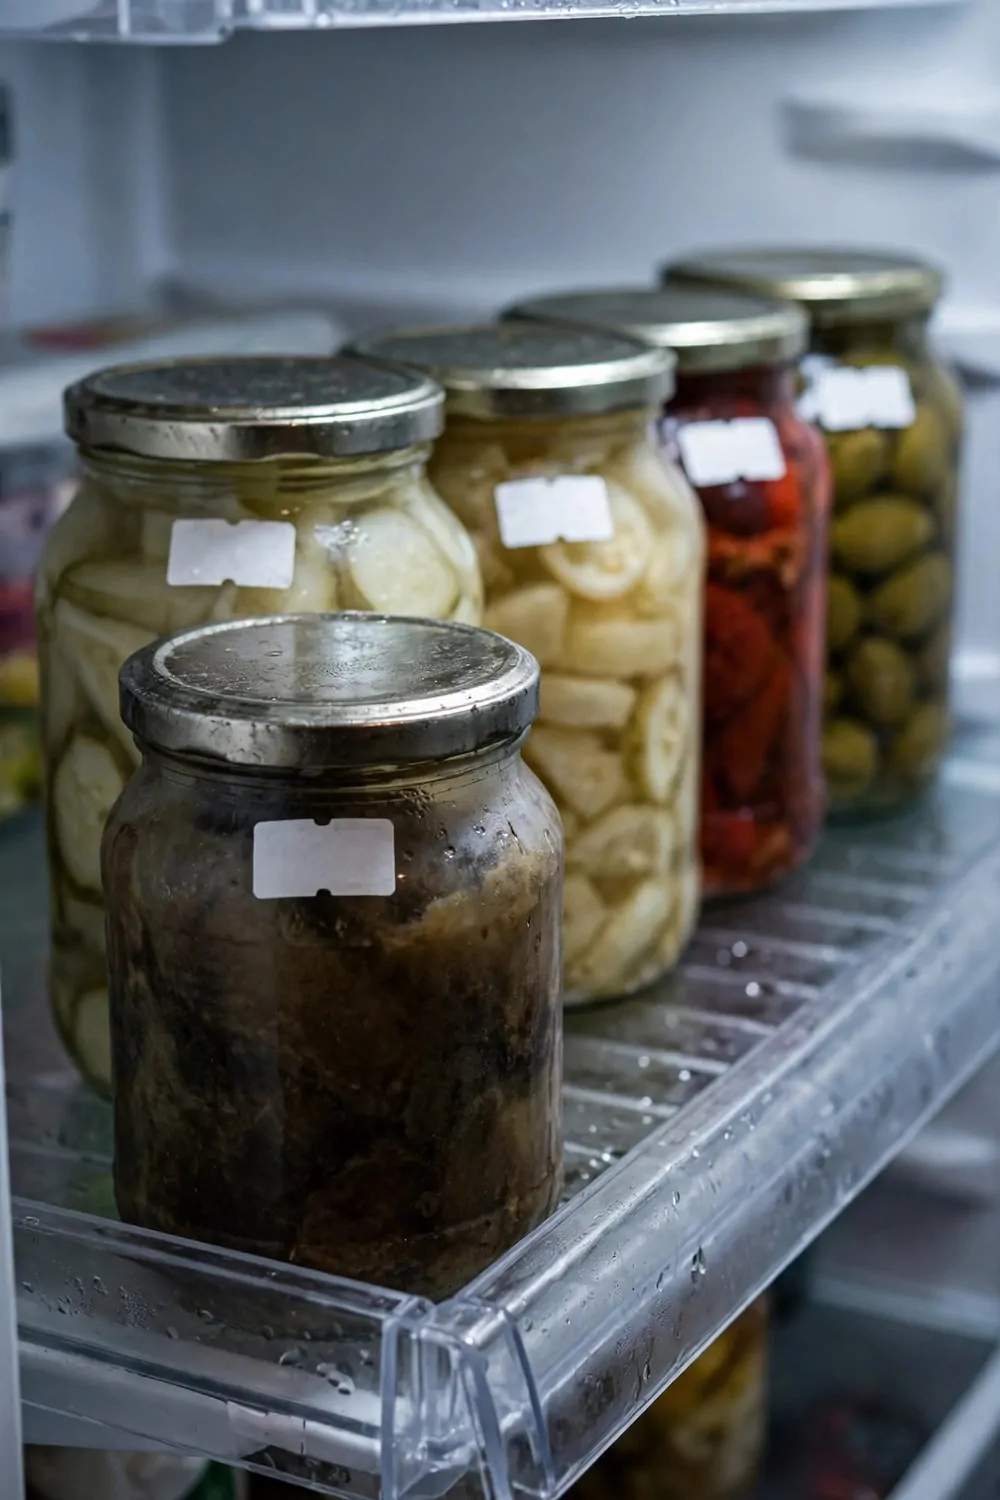
Dates are hard to track when food is all mixed up in the fridge. A simple sticker system makes it so much easier for me.
I stick a small blank date sticker on every jar and box I open. I write the date I opened it right on the sticker.
Then I put the oldest food at the front of the shelf. New food goes behind it, so I always use the old stuff first.
I check my dates once a week, usually on the same day I shop. It only takes a few minutes and it saves food from going bad.
You do not need a fancy app or a big chart for this. A pack of blank stickers and a pen is all you need to start.
If a sticker is hard to read, just write a fresh one. Clear dates mean no more guessing if something is still good to eat.
This little habit has saved me money too. I throw away much less food now than I did before I started it.
| Item | When to check | What to do |
|---|---|---|
| Leftovers | Every 2-3 days | Eat or toss |
| Open sauces | Once a month | Toss if it smells off |
| Dairy | Before the date on the pack | Move to front |
| Fruit and vegetables | Twice a week | Use soft ones first |
I do my date check on Sunday night while dinner cooks. It takes five minutes and I toss one or two old things. Monday morning starts with a fridge I can trust.
Keep a Use First Box
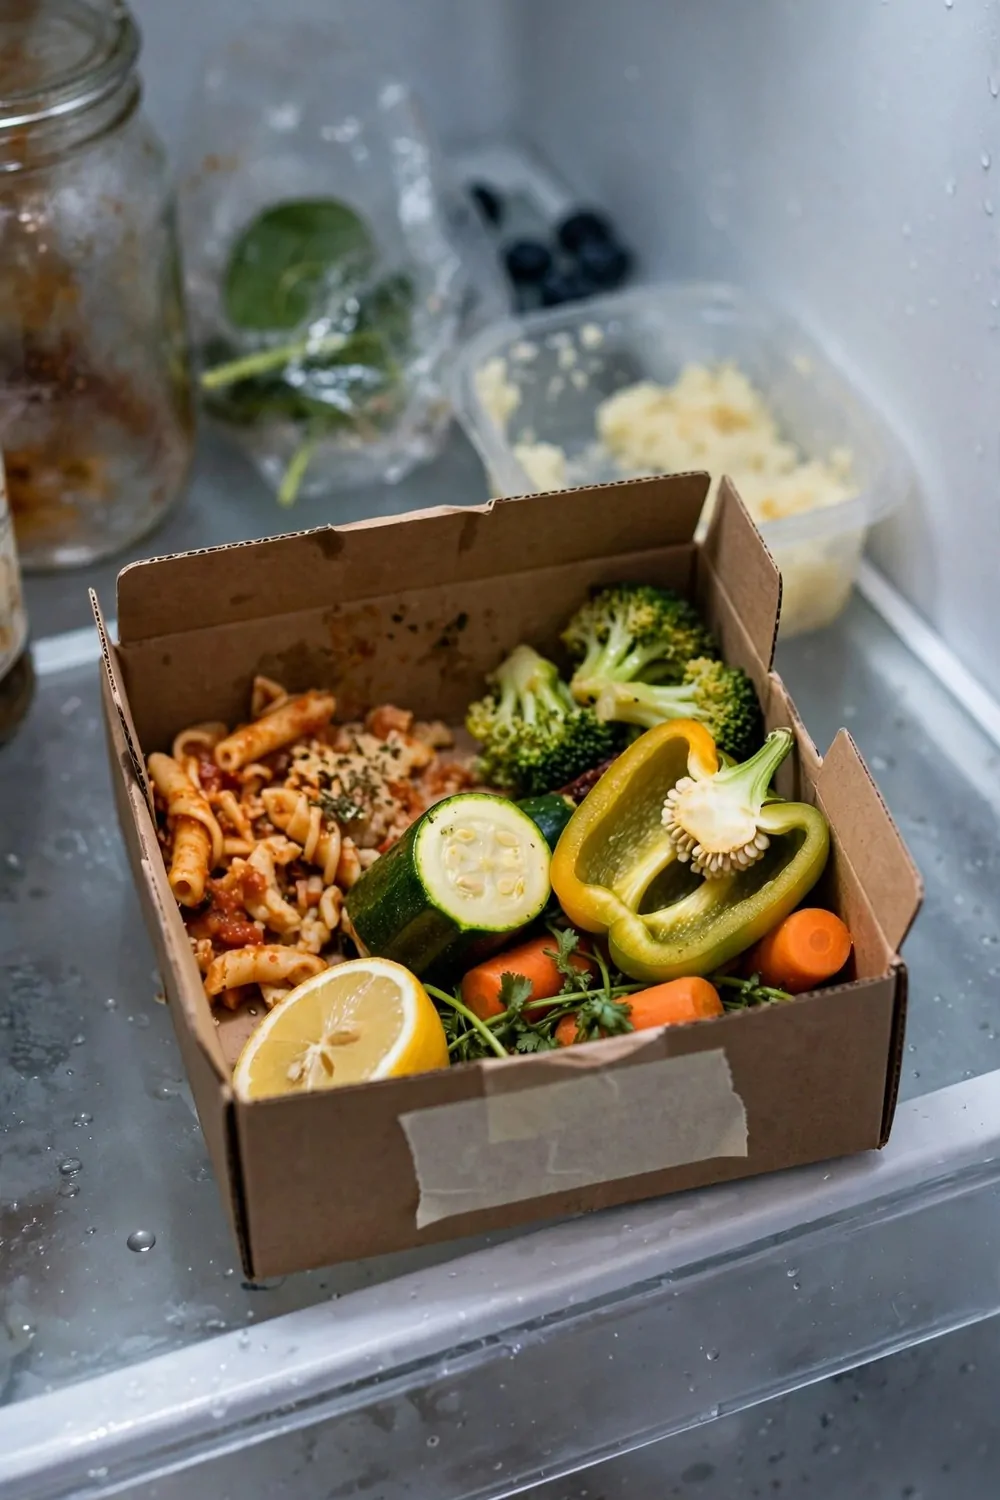
Half used vegetables always got lost in my fridge. I would find a sad half onion days later and feel bad for wasting it.
Now I keep one open box at the front of a shelf just for food to use first. Leftovers and half used veg all go in there.
When I cook, I look in that box first before I open anything new. It tells me what needs to be used up today.
The box is small and open so I can see everything inside it. Nothing hides at the back where I might forget it.
I put a little label on the front so my family knows what it is for. They know to cook from that box before they grab fresh food.
Leftovers go in the box right after dinner, not the next day. That way they are fresh and I remember they are there.
This one box has cut down my food waste a lot. It is such a simple idea and it works every single week for me.
I put the box at eye level so I see it first every time I open the door. If it is hidden at the back, I forget it is there. Front and center is the whole trick.
Organize the Freezer by Meal
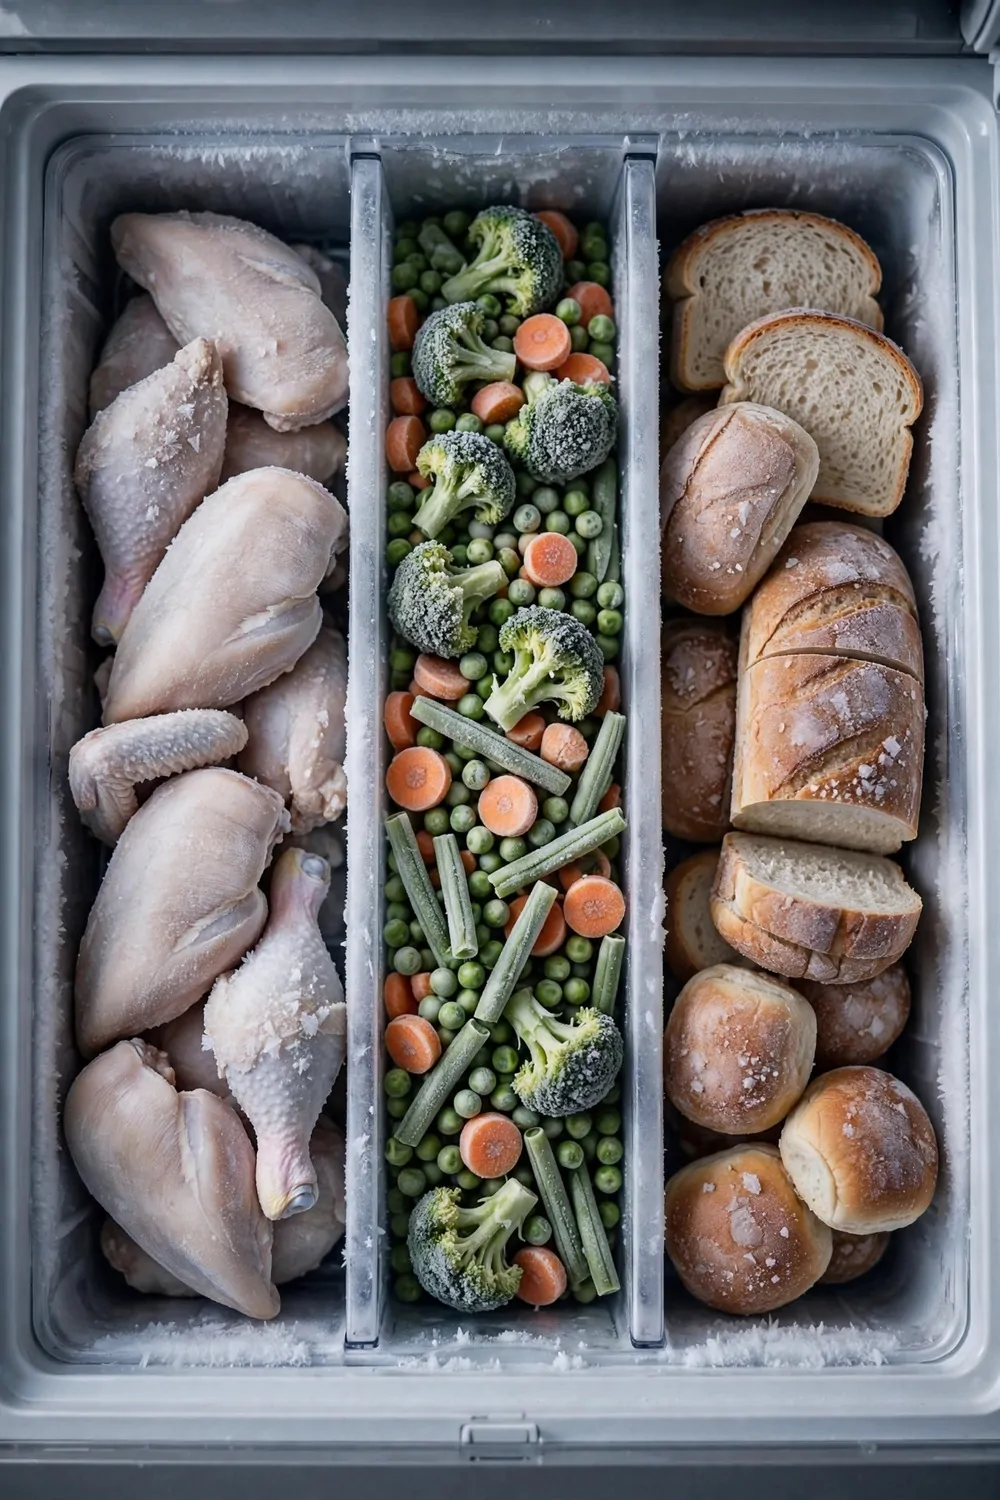
My freezer used to be one big jumble of bags. I never knew what was in there until I pulled half of it out.
Now I sort my freezer by meal and it is so much easier. Chicken goes together in one spot, vegetables in another, and bread in a third.
I keep one bag per meal so I only thaw what I need. No more thawing a huge bag when I only need a small bit.
Label each bag with what it is and how many people it feeds. That helps me grab the right bag fast on a busy night.
You can use small boxes or dividers to keep the groups apart. Even a few shopping bags can work as dividers in a pinch.
When I shop, I put new bags behind the old ones in each group. Old food gets used first and nothing sits for too long.
Dinner planning is faster now because I can see my choices at a glance. I open the drawer and I know what I can cook.
I keep one bag for each dinner in the freezer, with everything for that meal inside it. On busy nights I grab one bag and dinner is half done. It feels like a gift to myself.
Add Battery Lights Inside
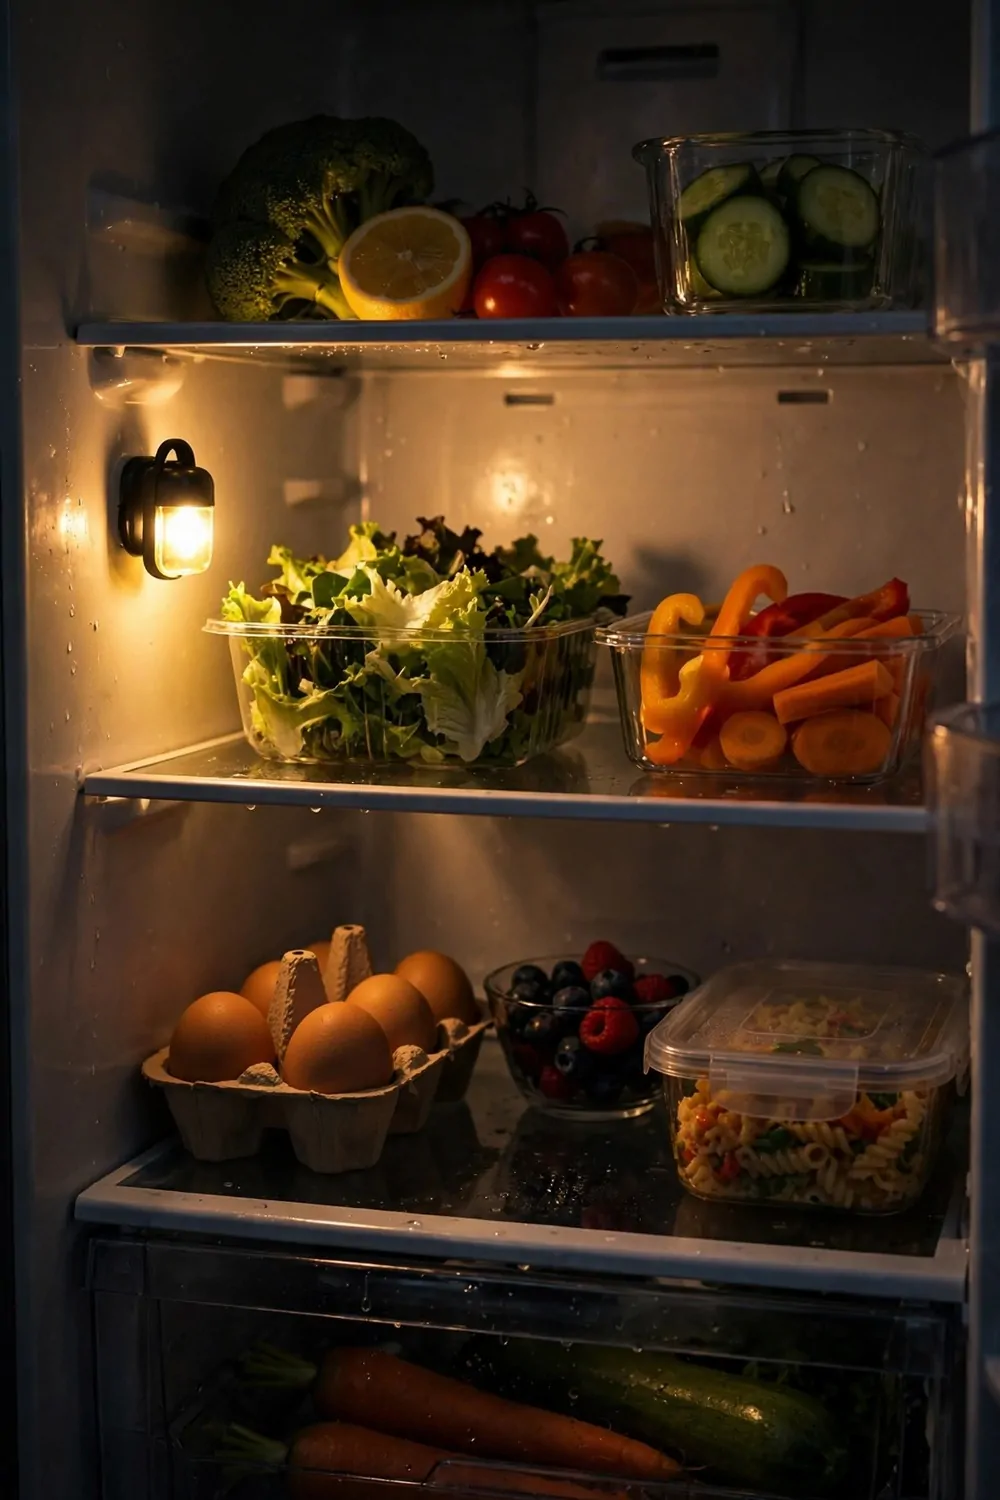
The back corners of my fridge were always dark. I could never see what was hiding back there until it was too late.
Battery lights fixed that for me in a few minutes. You just stick them on the inside wall and they light up the shelves.
I like the warm light ones best because they feel soft and homey. Cold bright light feels a bit harsh to me in the kitchen.
The motion sensor kind are the best ones to buy. They light up when the door opens and go dark when it shuts.
That saves battery and you never have to remember to switch them off. I have had mine for months and they still work well.
Put one light near the top and one near the bottom if you can. That way light reaches every shelf, not just the top one.
Now I can see every jar and box, even in the dark corners. No more forgotten food hiding where I cannot see it.
I keep spare batteries in the drawer next to the fridge. When the light gets dim, I swap them in one minute. A dark fridge is no fun, so I never let it stay dark long.
Do a Quick Weekly Wipe
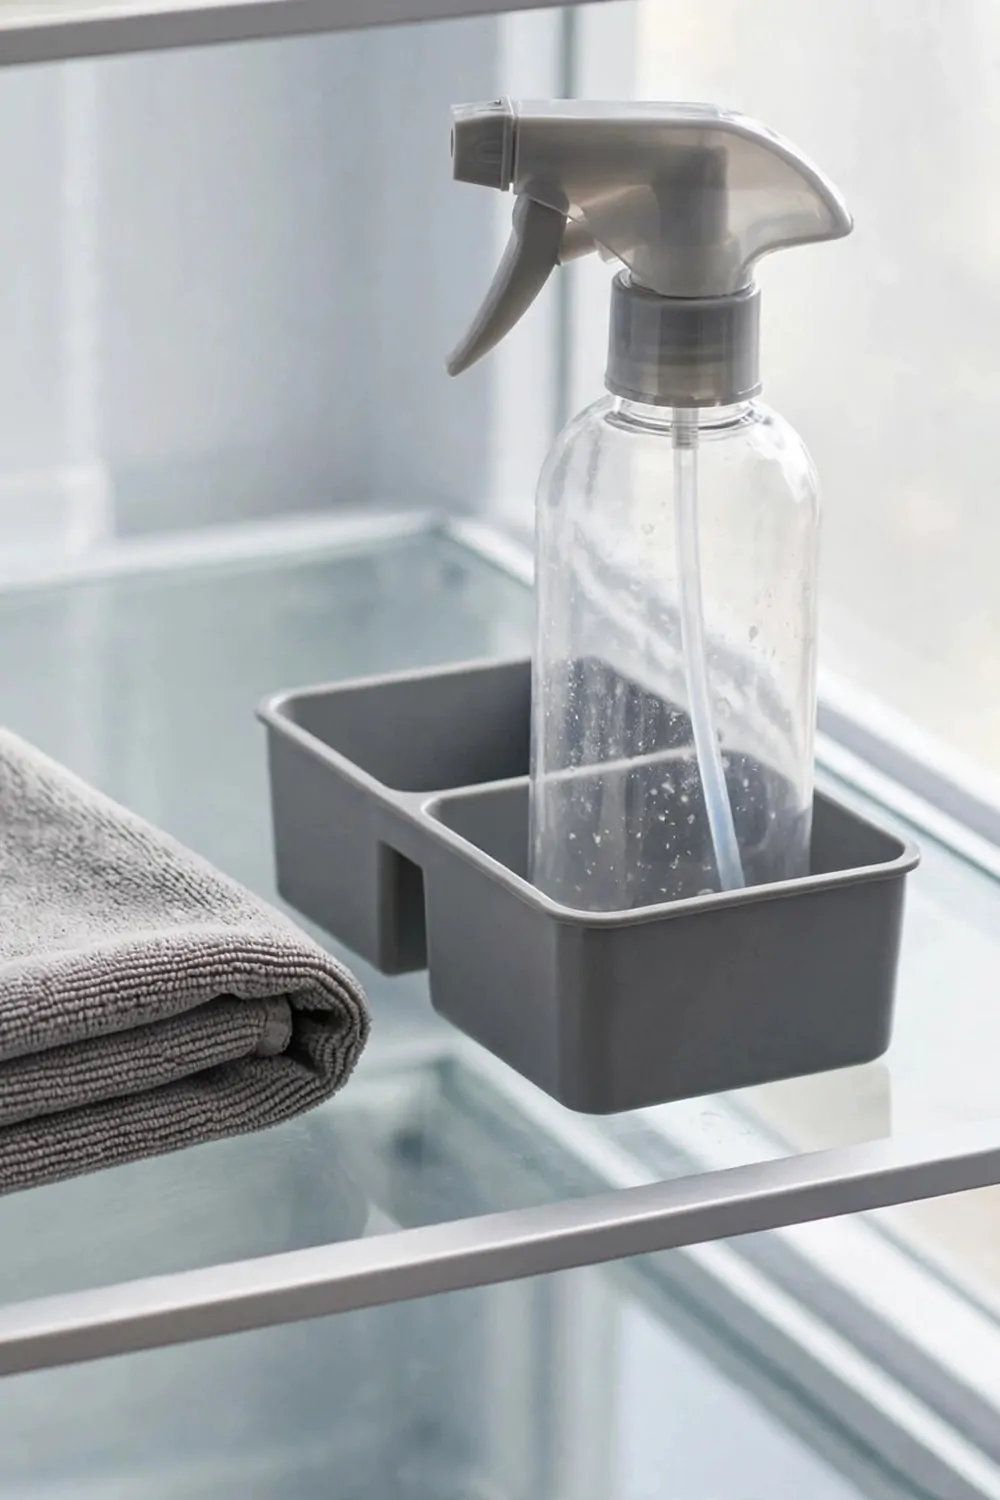
A full fridge clean feels like a big job, so I used to put it off for weeks. A quick weekly wipe is much easier to keep up.
I give myself just ten minutes once a week for this job. I pick one shelf, wipe it down, and toss one old thing.
I keep a small caddy of cleaning spray and cloths right next to the fridge. When the tools are close by, I actually use them.
Start at the top shelf and work your way down. That way any drips fall onto shelves you have not wiped yet.
Check the dates as you wipe and move old food to the front. If something smells off, just toss it and move on.
You do not need to empty the whole fridge for this. Just wipe around the food that is there and keep it simple.
Ten minutes a week keeps my fridge fresh all year long. It never gets bad enough to need a huge deep clean again.
I wipe the door handles too while I am at it. Little hands touch them all day. A quick wipe keeps them clean and the whole fridge feels fresh.
Keep One Shelf Half Empty on Purpose
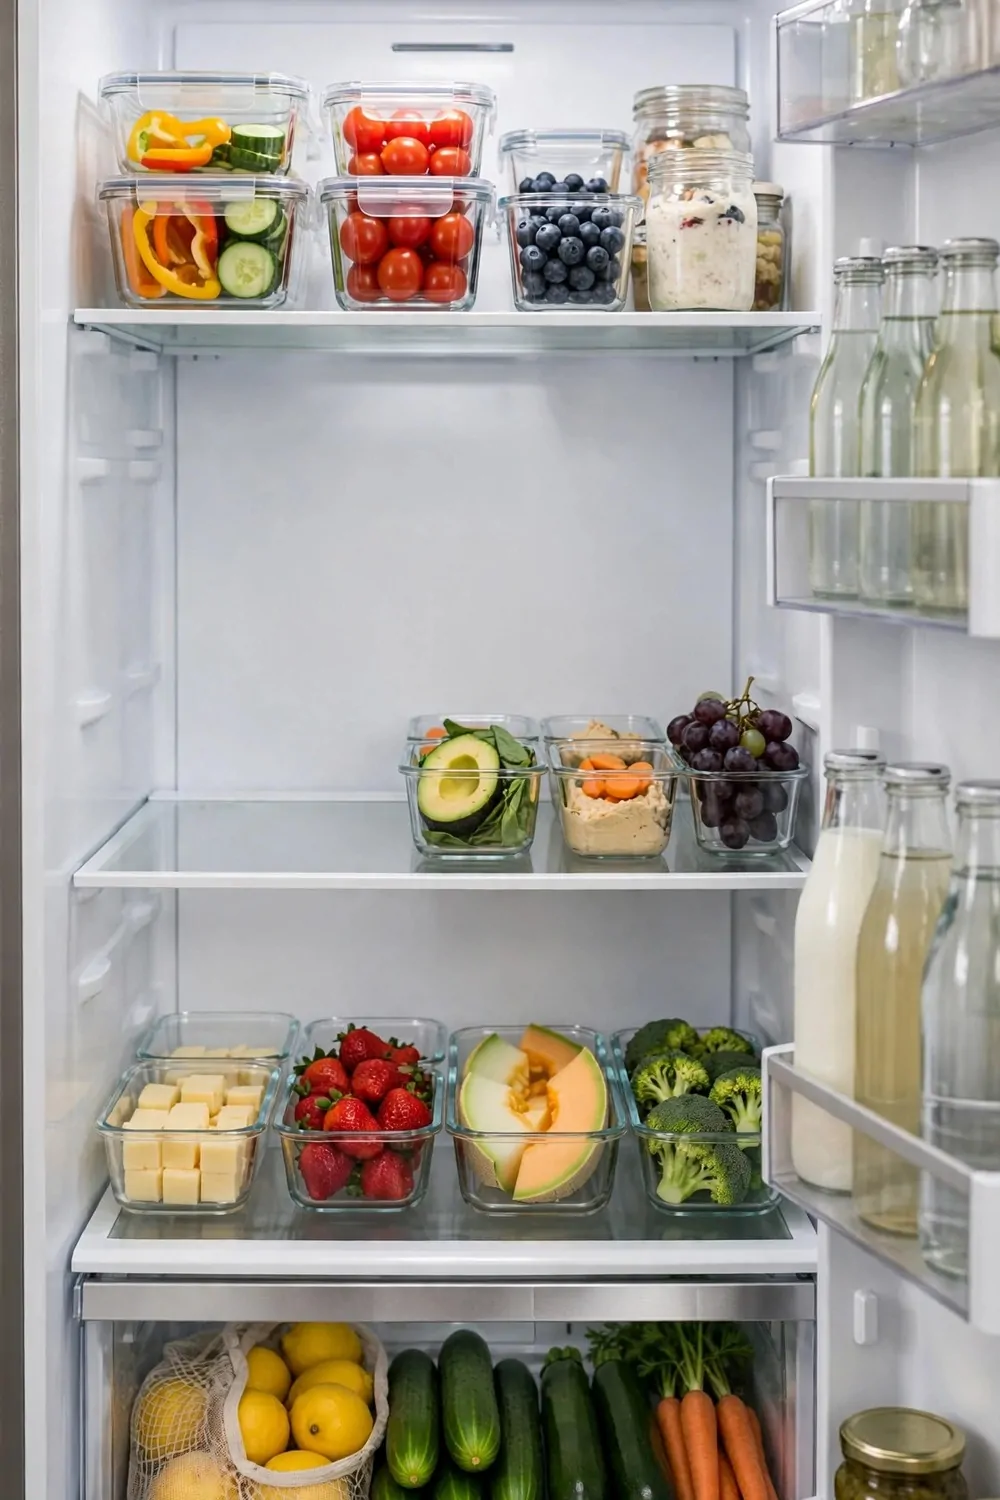
It feels strange to leave a shelf half empty on purpose. My first thought was that I was wasting good space in my fridge.
But that empty space is actually one of my best tricks. It gives me room for new groceries when I come home from the shop.
It also gives me a landing spot while I cook. I can set a bowl down for a minute without moving five other things first.
When every inch is full, the fridge feels packed and messy fast. A little breathing room makes the whole fridge look calmer.
I keep my half empty shelf in the middle where I can reach it easily. It is the first place I look when I need space.
Do not feel guilty about the empty space. It is not wasted space at all, it is space that makes your kitchen work better.
Try it for one week and see how it feels. I think you will love having that little bit of room to play with.
When friends drop by with food, I have room to put it away right away. No more bowls balanced on top of other bowls. That spare space is worth more than one more jar.
Keep Reading
If you liked these fridge ideas, you will love these kitchen posts too. They are full of the same simple storage feeling, just in different corners of the room.
- 25 Small Kitchen Ideas You’ll Wish You Knew Sooner
- 26 Kitchen Design Layouts That Look Stunning and Work Hard
- 27 Home Decor Ideas Living Room and Kitchen Looks That Match
- 26 Modern Home Decor Updates That Look Instantly Fresh
Pick one shelf and start there. Just one. Clear it, sort it, and put back only what you use. Your fridge will feel calmer before you know it.