31 Custom Kitchen Drawer Ideas That Make Cooking Easier

I opened my cutlery drawer this morning and a fork slid out and fell on my foot.
It did not hurt much, but it made me laugh at myself. My drawer was a mess again, even though I had tidied it only last week.
Drawers get messy fast because we open them a hundred times a day and toss things in without thinking. A spoon lands on top of the knives. A roll of tape rolls under the scissors.
These ideas fix that. You do not need to buy a whole new kitchen or spend a lot of money. Pick one idea and start today, and your drawers will feel calm again by tonight.
Sort Every Drawer by One Job
I used to keep everything in one big drawer by the stove.
Forks, spatulas, batteries, and a random screwdriver all lived together. Every time I cooked I had to dig through the pile.
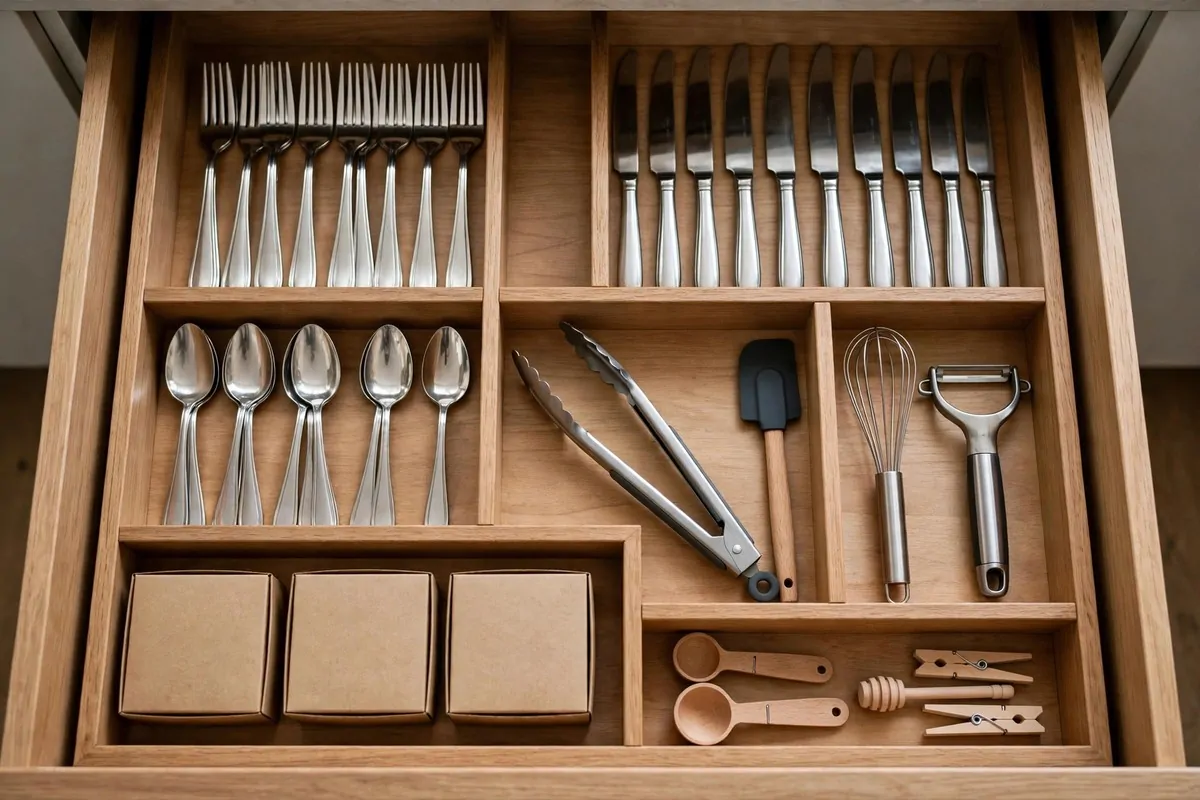
Then I gave each drawer one job. One drawer holds only cutlery. One holds only cooking tools. One holds the odds and ends.
It sounds so simple that you might think it cannot work. But the moment I did it, I stopped digging.
You can start with the drawer you open most. Take everything out and put it on the counter.
Now ask yourself what that drawer is really for. If you use it for forks and knives, then only forks and knives go back in.
The rest moves to a drawer that fits it better. Spatulas go with the cooking tools. The screwdriver goes to the junk drawer.
I felt a bit silly standing there with a pile of stuff on my counter. Then I finished, and the drawer closed smooth and easy.
Now I open it and see only what I need. Cooking feels faster because I am not hunting for a spoon.
Try it with just one drawer tonight. You will want to do the rest tomorrow.
Use Adjustable Dividers That Fit Any Drawer
My drawers are not all the same size. One is wide, one is narrow, and one is a strange size I still do not understand.
Fixed trays never fit right. They left gaps on the sides, and small things slipped into the gaps.
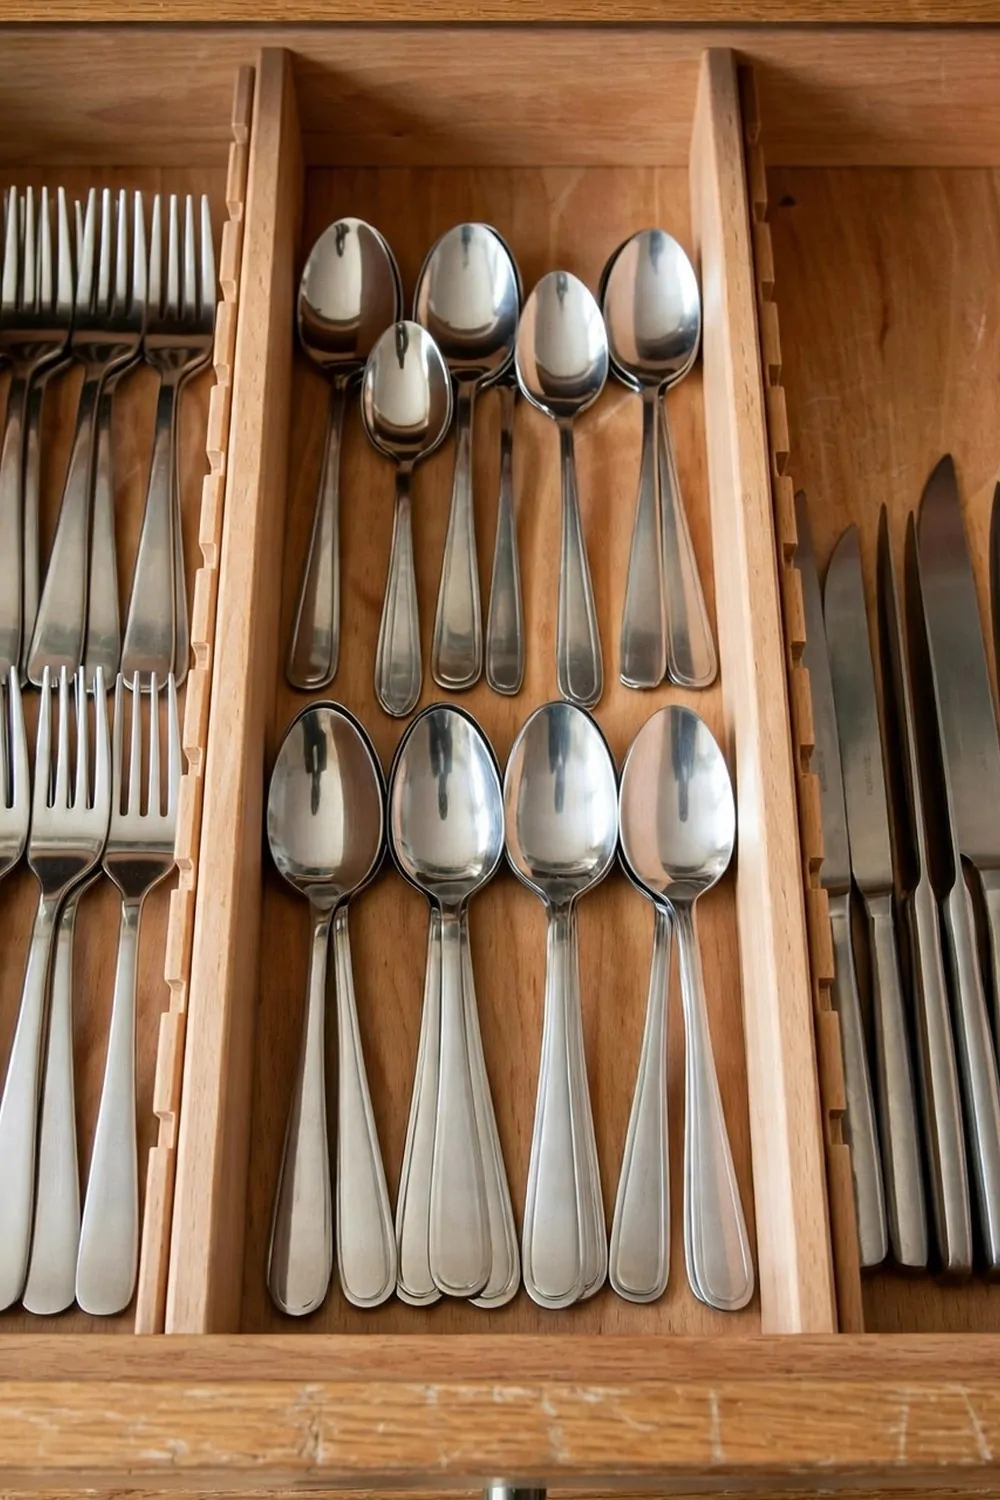
Adjustable dividers fixed that problem for me. They slide open and shut, so they fit any drawer you own.
I bought a set of wooden ones that spring out to hold themselves in place. No screws, no glue, just a gentle push.
You can move them around whenever you want. If you buy new spoons, you slide a divider over a bit.
I put two dividers in my cutlery drawer to make three lanes. Forks on the left, knives in the middle, spoons on the right.
The lanes stay put even when I slam the drawer shut. That was my big worry, and it turned out fine.
Some dividers come in bamboo and some in plastic. I like the wooden ones because they feel solid and they look nice.
Measure your drawer before you order. Just a quick check with a tape measure saves you a return trip.
Once they are in, your drawer looks like it was made just for you. And the best part is you can change it any time.
Add a Bamboo Tray for Your Cutlery
I love how warm bamboo looks in a kitchen. It makes even a plain drawer feel a bit fancy.
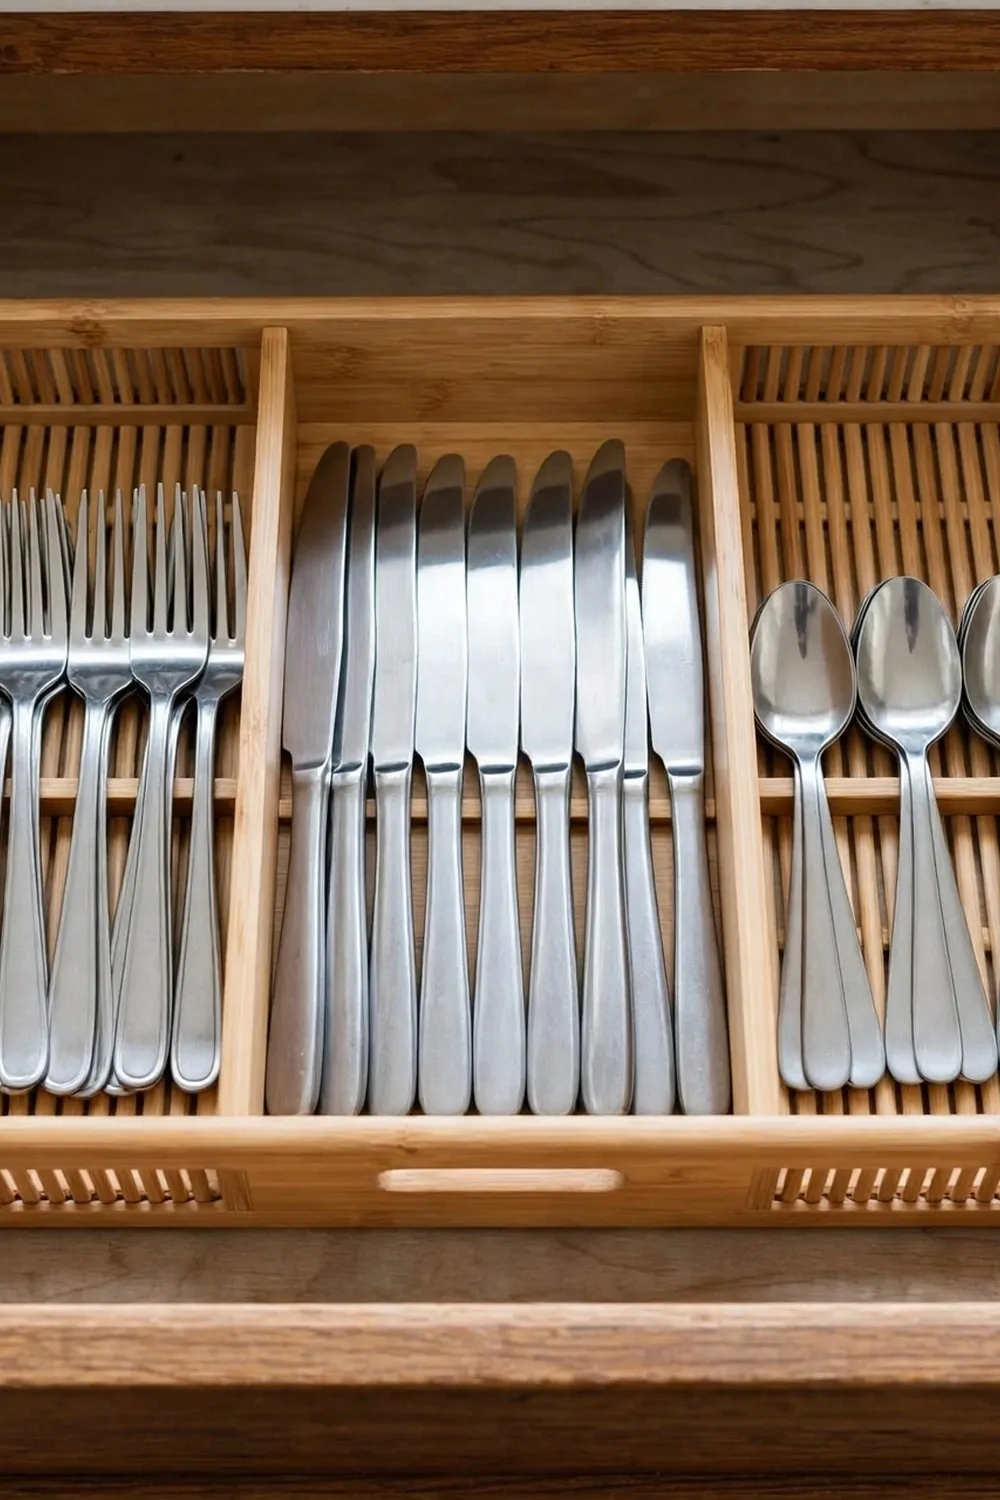
A bamboo tray sits inside the drawer and gives every fork and spoon its own little home. Nothing slides around anymore.
My old tray was plastic and it always felt a bit flimsy. The bamboo one is heavier, so it stays put when I open and close the drawer.
You can find trays with five or six slots. I picked one with a long slot for big spoons and a small slot for teaspoons.
It took me about five minutes to set up. I wiped the drawer, dropped the tray in, and sorted the cutlery.
The best thing is how quiet it is now. No more clatter when I pull the drawer open in the morning.
Bamboo is easy to clean too. I just wipe it with a damp cloth and let it dry.
If your tray is a little too small for the drawer, tuck a rolled tea towel in the gap. It stops the tray from moving and fills the space nicely.
I keep my everyday cutlery in the bamboo tray and my fancy forks in a box in the back. That way the daily stuff is always right there.
It is a small change, but it makes setting the table feel tidy instead of rushed.
Keep Knives Safe in a Drawer Insert
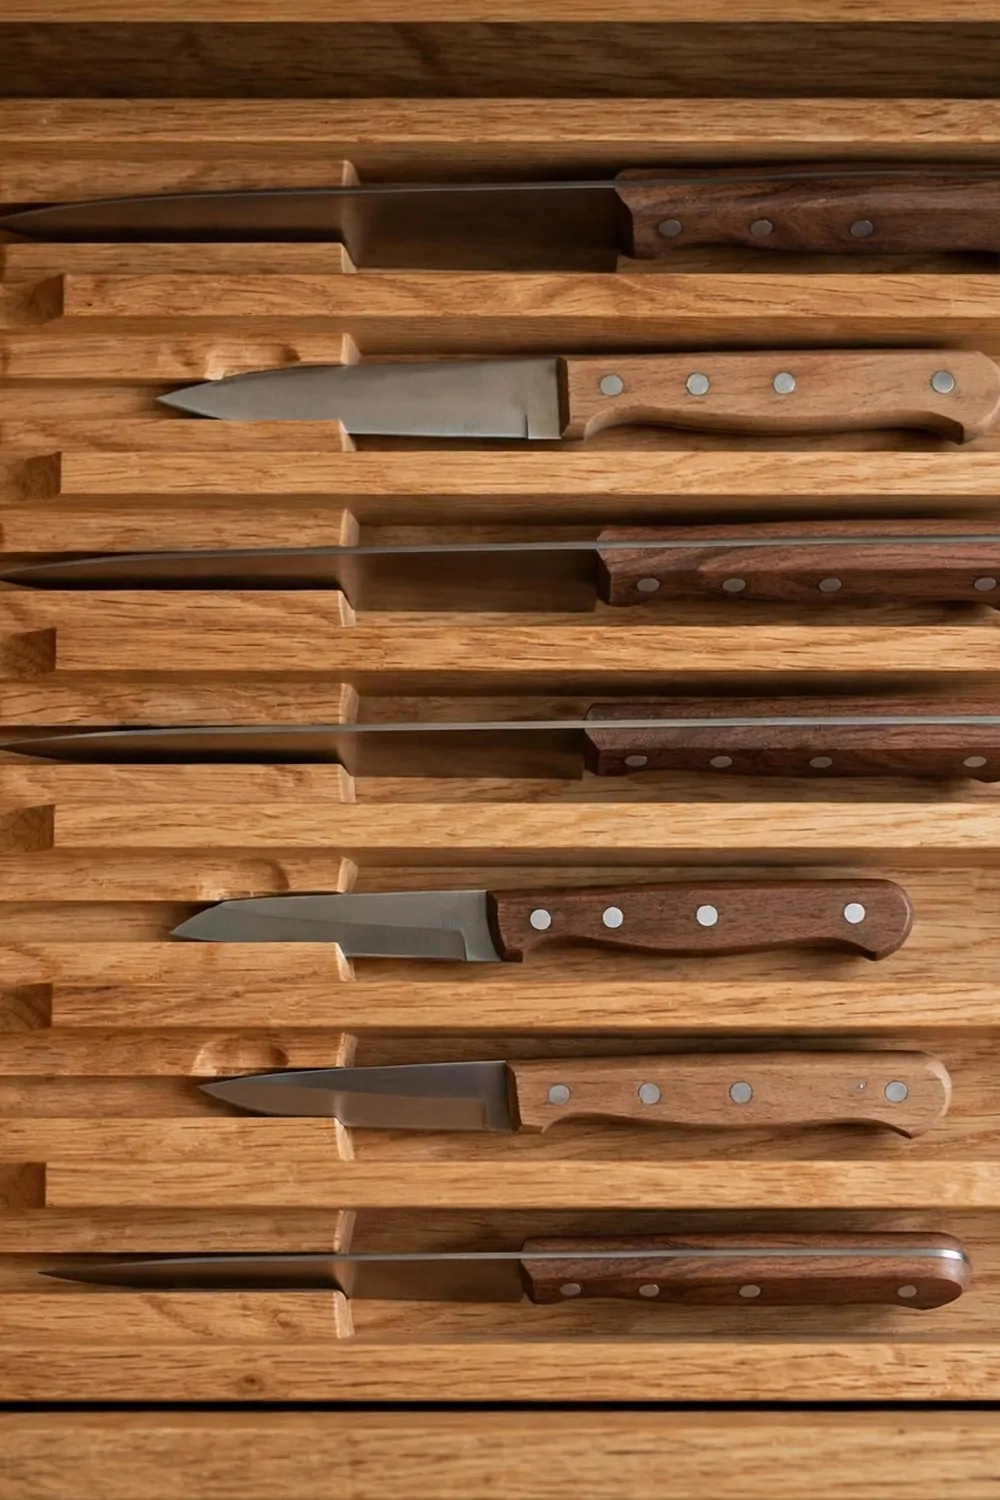
I used to keep my knives in a block on the counter. It took up space and the kids could reach it too easily.
A drawer insert changed all that. The knives lie flat in slots, blades tucked away, handles lined up where I can grab them.
I picked an insert made of wood with slots in different widths. My big chef knife fits, and so does the small paring knife.
It feels so much safer now. I can open the drawer and reach in without worrying about a sharp edge.
The insert also keeps the blades sharp longer. They are not banging against other tools anymore.
You need a drawer that is wide enough for the insert. Measure first, and check the depth too.
I put mine in the drawer right next to the chopping board. It makes sense because that is where I stand when I cut things.
When I cook now, I slide the drawer open, pick up the knife I need, and slide it shut. It is one smooth move.
If you have very small children, this is a good idea to try. The knives are out of sight and out of easy reach.
Just remember to put each knife back in its slot when you are done. That habit keeps the drawer safe and tidy.
Store Cooking Tools in a Deep Drawer
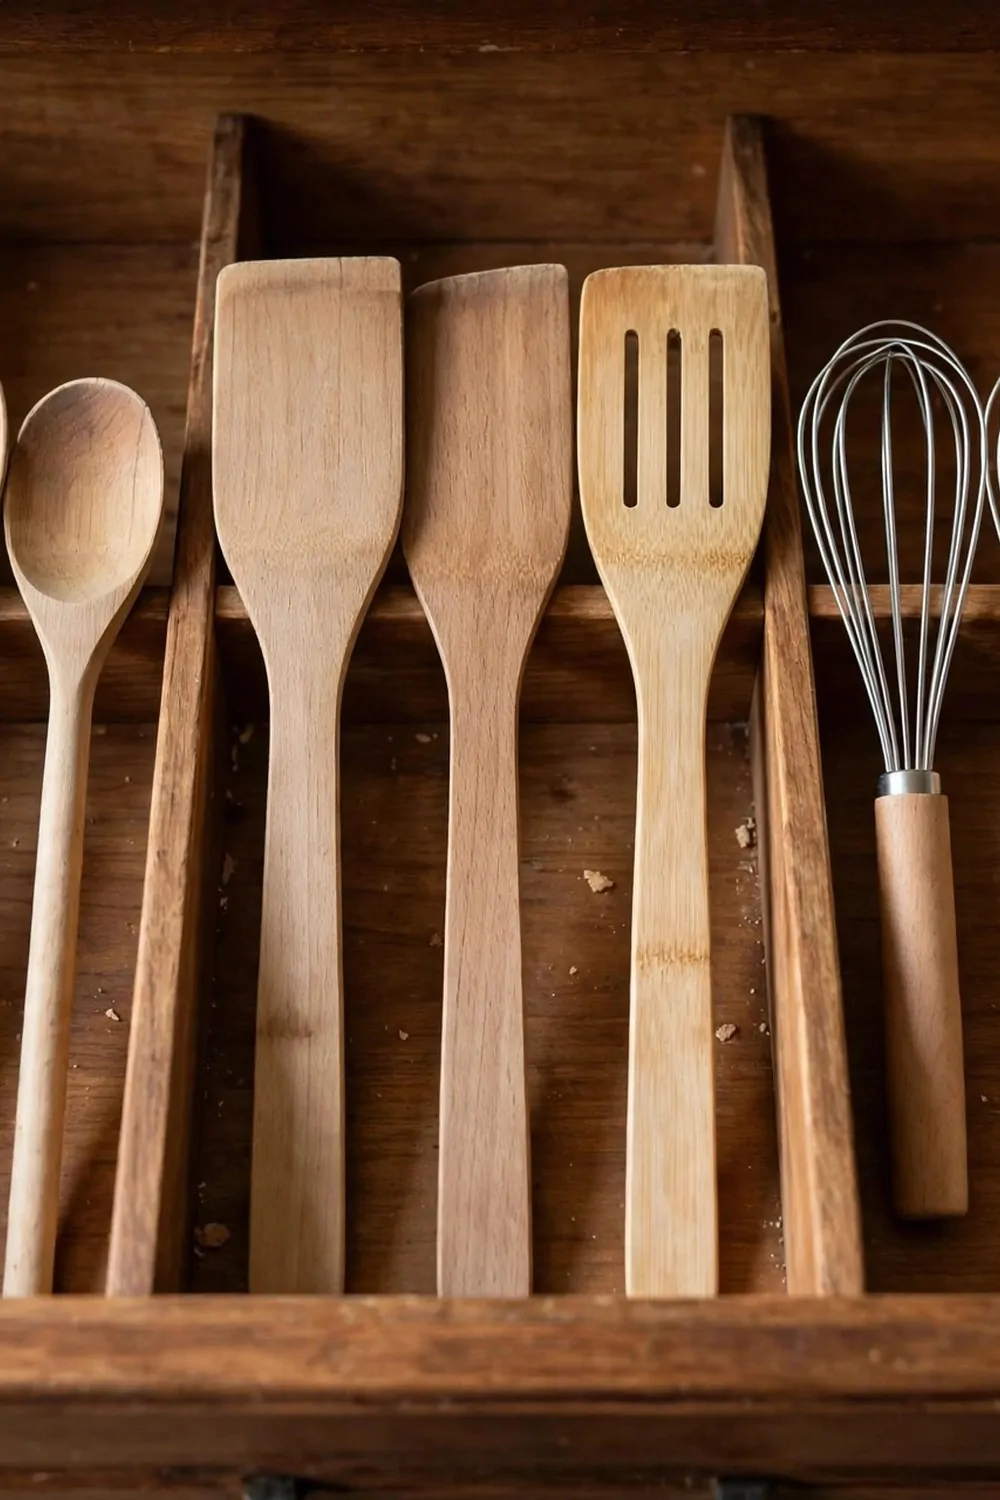
My cooking tools used to live in a tall jar on the counter. It looked nice, but the jar was always crowded and things fell out.
A deep drawer works much better. The spoons and spatulas lie flat or stand in a row, and I can see them all at once.
I moved my wooden spoons, my spatulas, and my whisk into the deep drawer by the stove. They fit with room to spare.
The trick is to give the tall tools their own space. I stand the whisk upright in a small cup inside the drawer so it does not roll around.
Deep drawers are great because they hold a lot without looking messy. You can fit a ladle and a masher in there too.
I also keep my tongs in this drawer. They are long and awkward, but a deep drawer swallows them up fine.
One thing I learned is to not overfill it. If the drawer is too full, the tools tangle up and it is hard to close.
I try to keep only the tools I use every week. The ones I use twice a year live somewhere else now.
When I cook, I pull the drawer open and everything is right there at hip height. No more reaching up to a high shelf.
It makes cooking feel easier, and that is the whole point.
Tame the Junk Drawer With Small Boxes
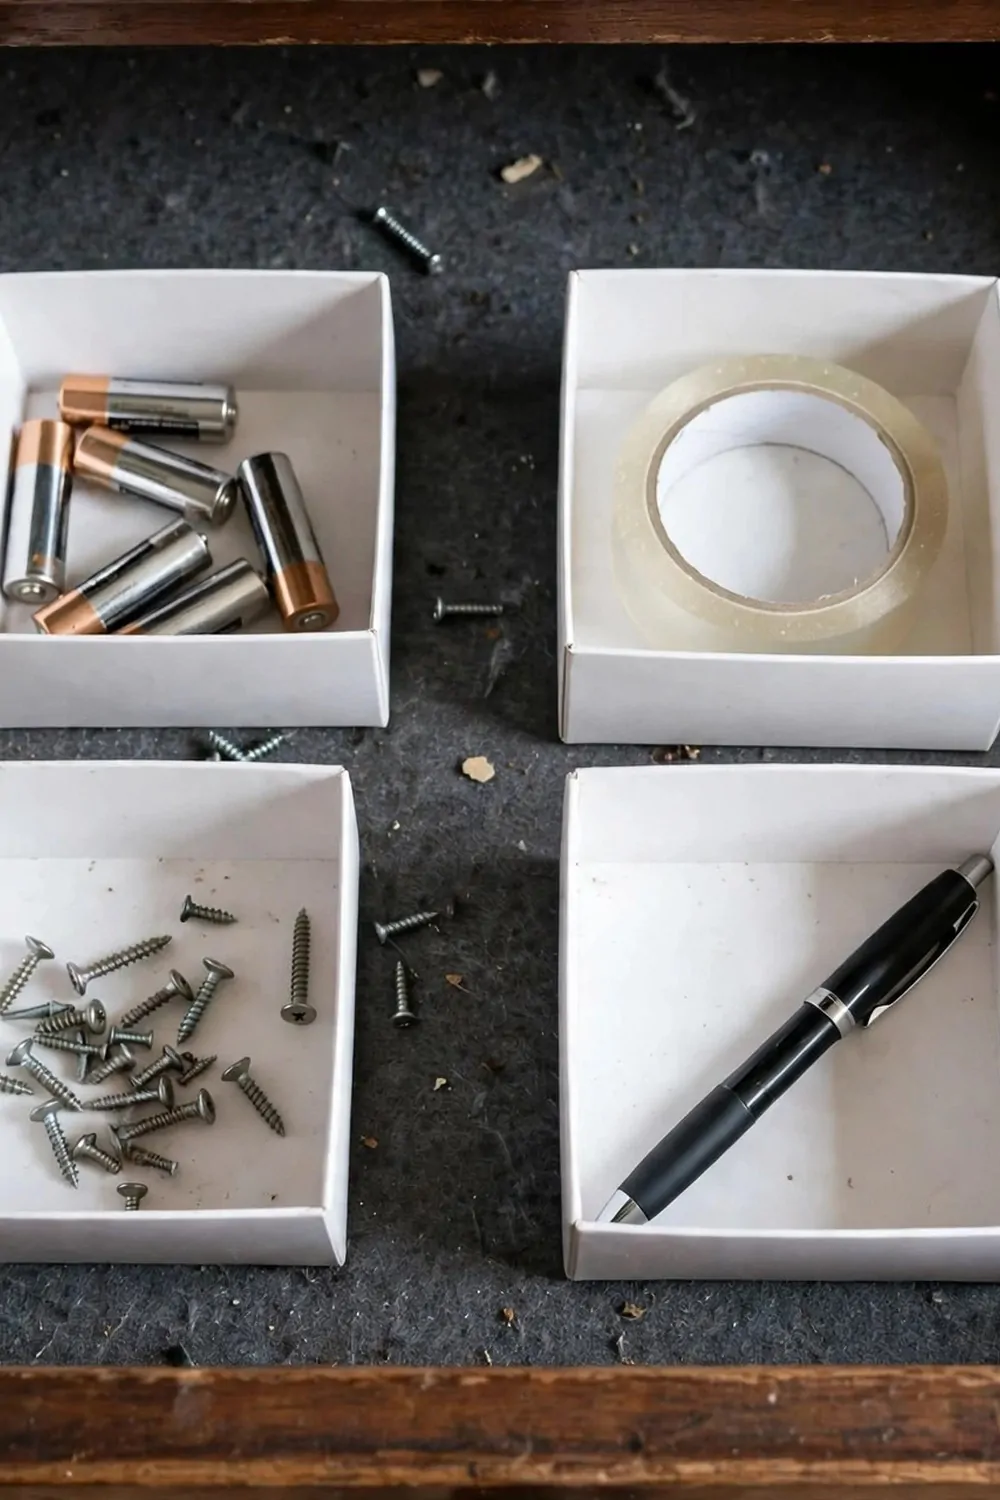
Every kitchen has a junk drawer. Mine had batteries, tape, a screwdriver, rubber bands, and a key I still cannot place.
It was a mess, but I did not want to throw it all away. Those little things are useful, just not all mixed up together.
Small boxes saved my junk drawer. I used little white boxes, one for each kind of thing.
Batteries go in one box. Tape and glue go in another. Screws and little bits go in a third.
I found the boxes at a cheap shop, and they cost almost nothing. You can use small food containers too, if you have spares.
The first step is to empty the whole drawer and throw out what is broken. I found three dead pens and a battery that had leaked.
Then sort what is left into little piles. It only takes ten minutes, and it feels good to see the piles get neat.
Now when I need tape, I open the drawer and grab the tape box. I do not have to dig past a tangle of string anymore.
I also keep one small box empty on purpose. That is where new little things go until I find a home for them.
The junk drawer is still a junk drawer. It is just a tidy one now, and that makes a big difference.
Make a Spice Drawer With Tiny Jars
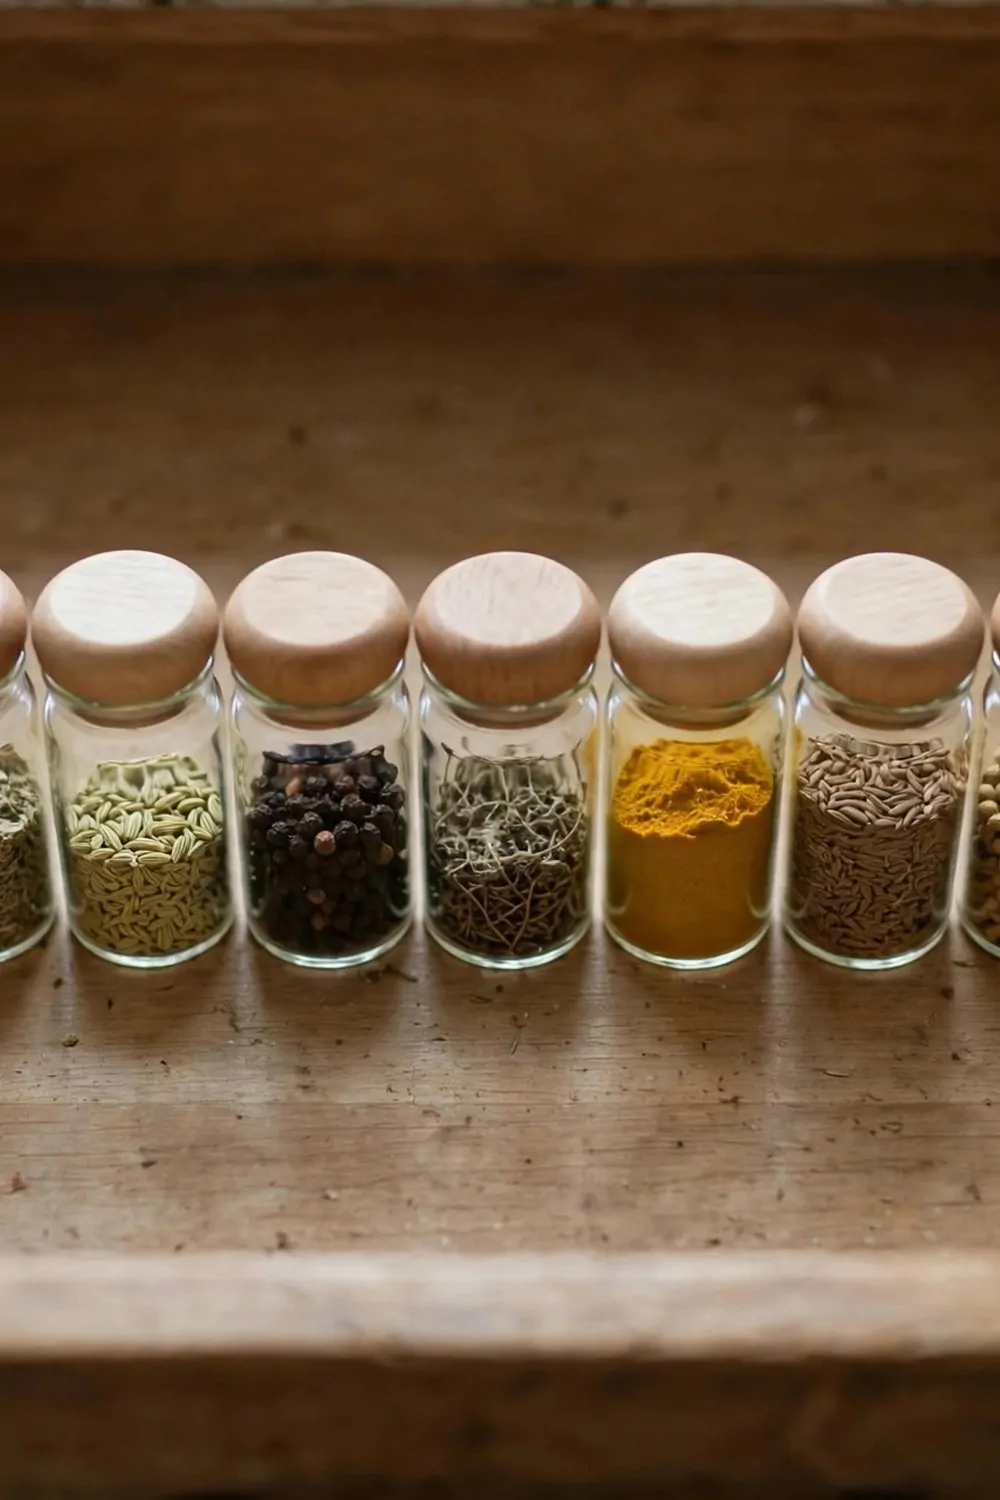
I used to keep my spices in a cupboard, all in different jars and packets. Finding the cumin meant moving five other jars out of the way.
A spice drawer fixed that. The jars lie flat in a shallow drawer, labels facing up, and I can see them all at a glance.
Tiny glass jars with wooden lids work best. They look pretty, and the lids keep the spices fresh.
I bought matching jars so the drawer looks neat. Then I wrote the spice names on the lids with a marker.
You can also lay the jars on their sides in a shallow drawer. Just make sure the lids screw on tight so nothing spills.
I keep the spices I use most near the front. Paprika, salt, and cumin are right there when I reach in.
The drawer sits next to the stove, which is handy. I can grab a spice while the pan is hot without walking across the room.
One tip is to fill the jars only halfway at first. That way you can see how much you use before you buy a big bag of spice.
Cooking feels calmer now. I am not hunting through a dark cupboard while the garlic burns.
If you love cooking, this is one of the nicest little upgrades you can make.
Keep Foil and Wrap in a Slim Drawer
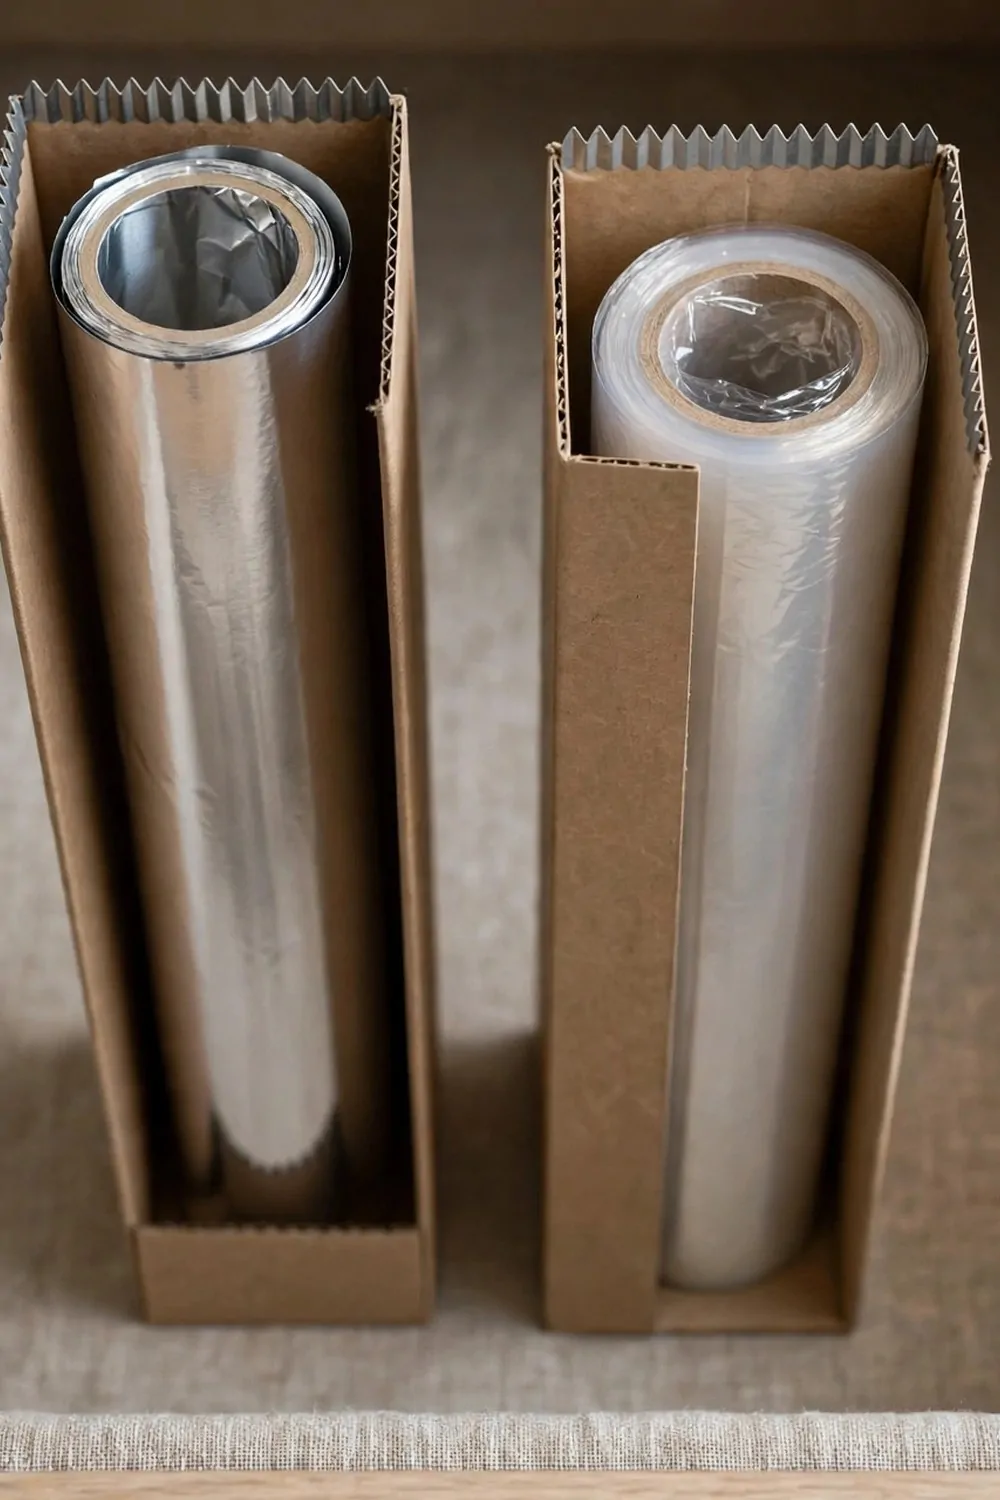
Foil and cling film rolls are long and awkward. They never fit nicely in a normal drawer.
A slim drawer is perfect for them. The rolls lie side by side, and you can pull out what you need without a tangle.
I use a narrow drawer near the counter where I pack lunches. It is just the right size for three rolls.
Some slim drawers have a cutter edge built in. You pull the foil across and it cuts a clean line. That is so much better than tearing it by hand.
If your drawer does not have a cutter, you can buy a small organizer with one built in. It drops right into the drawer.
I keep foil, cling film, and baking paper in mine. Three rolls, each in its own slot, and nothing rolls around.
The trick is to keep the rolls from moving. A small piece of non-slip liner under them does the job.
I used to store these rolls on top of the fridge. They fell down more than once, and one roll unrolled all over the floor.
Now they live in their slim drawer, safe and tidy. Packing lunch takes half the time it used to.
It is a tiny change, but tiny changes add up to a calmer kitchen.
Store Pot Lids Flat in a Shallow Drawer
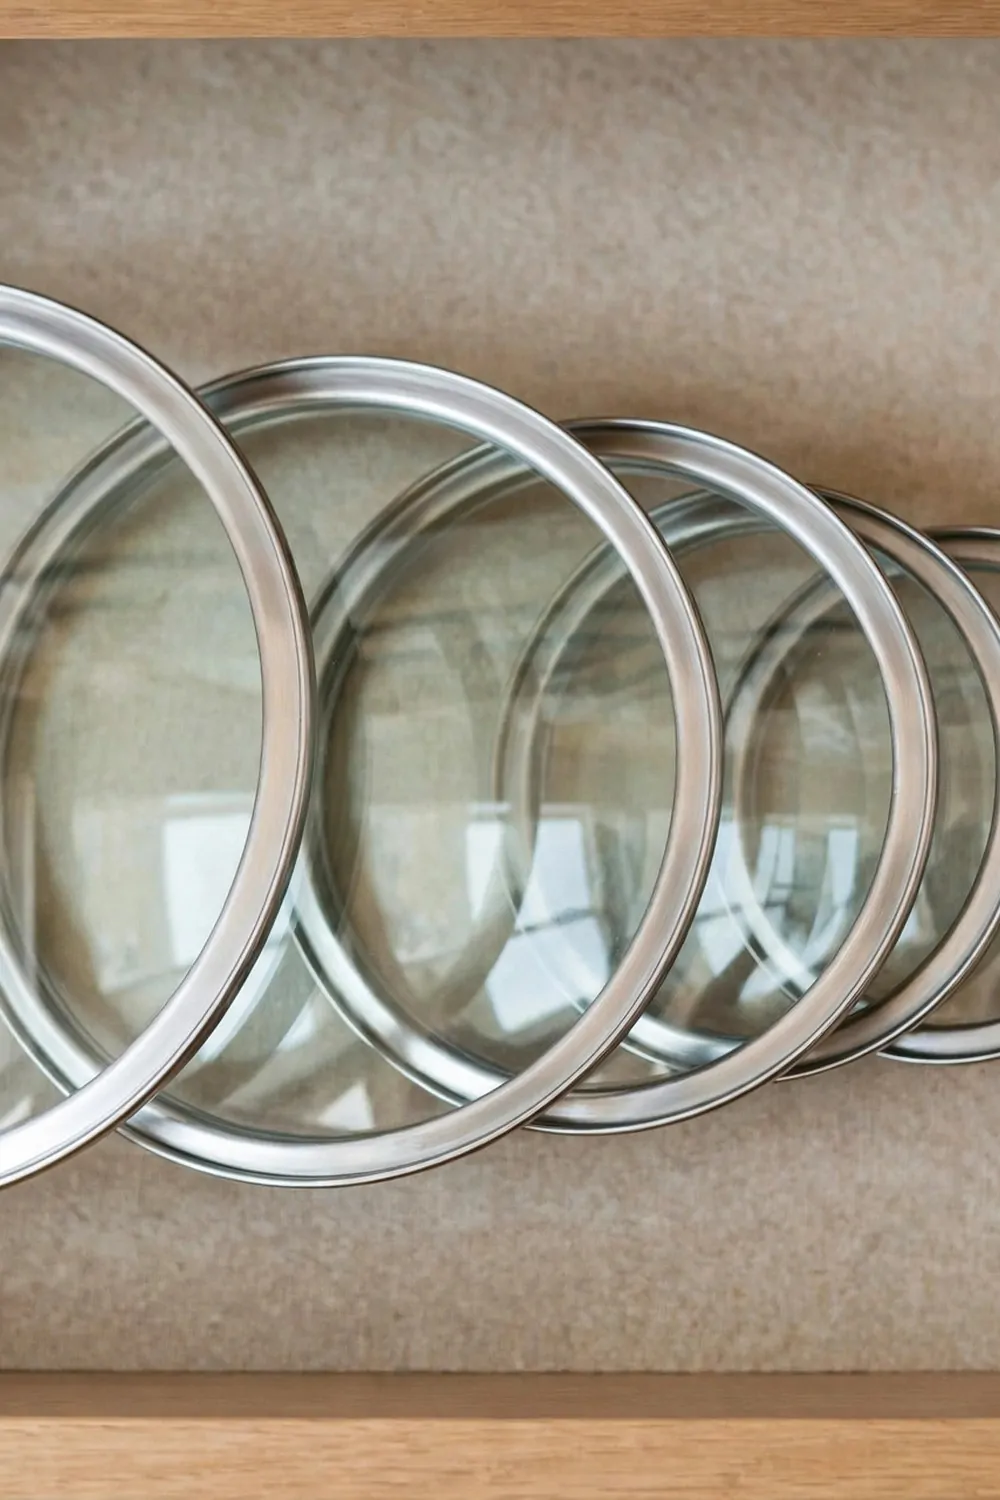
Pot lids are the worst thing to store. They clatter, they slide, and they never stack nicely in a cupboard.
I started storing mine flat in a shallow drawer, stacked by size. It works so much better.
The biggest lid goes at the bottom and the smallest on top. They sit in a neat row and I can see them all.
A shallow drawer is best because the lids do not have room to tip over. They lie flat and stay put.
I added a small divider to keep the stack from sliding when I open the drawer. It is just a little wooden strip, but it helps a lot.
You can also store lids upright with a rack inside the drawer. That works well if your drawer is a bit deeper.
I keep the lids in the drawer right under the pots. That way I grab the pot and the lid in one spot.
Before this, my lids lived in a cupboard and crashed down every time I opened the door. My kids used to run when they heard the noise.
Now the kitchen is quieter. The lids slide out smooth and easy, and nothing falls.
If you have a shallow drawer you are not using well, try this. It might become your favorite drawer.
Build a Baking Drawer for Measuring Cups
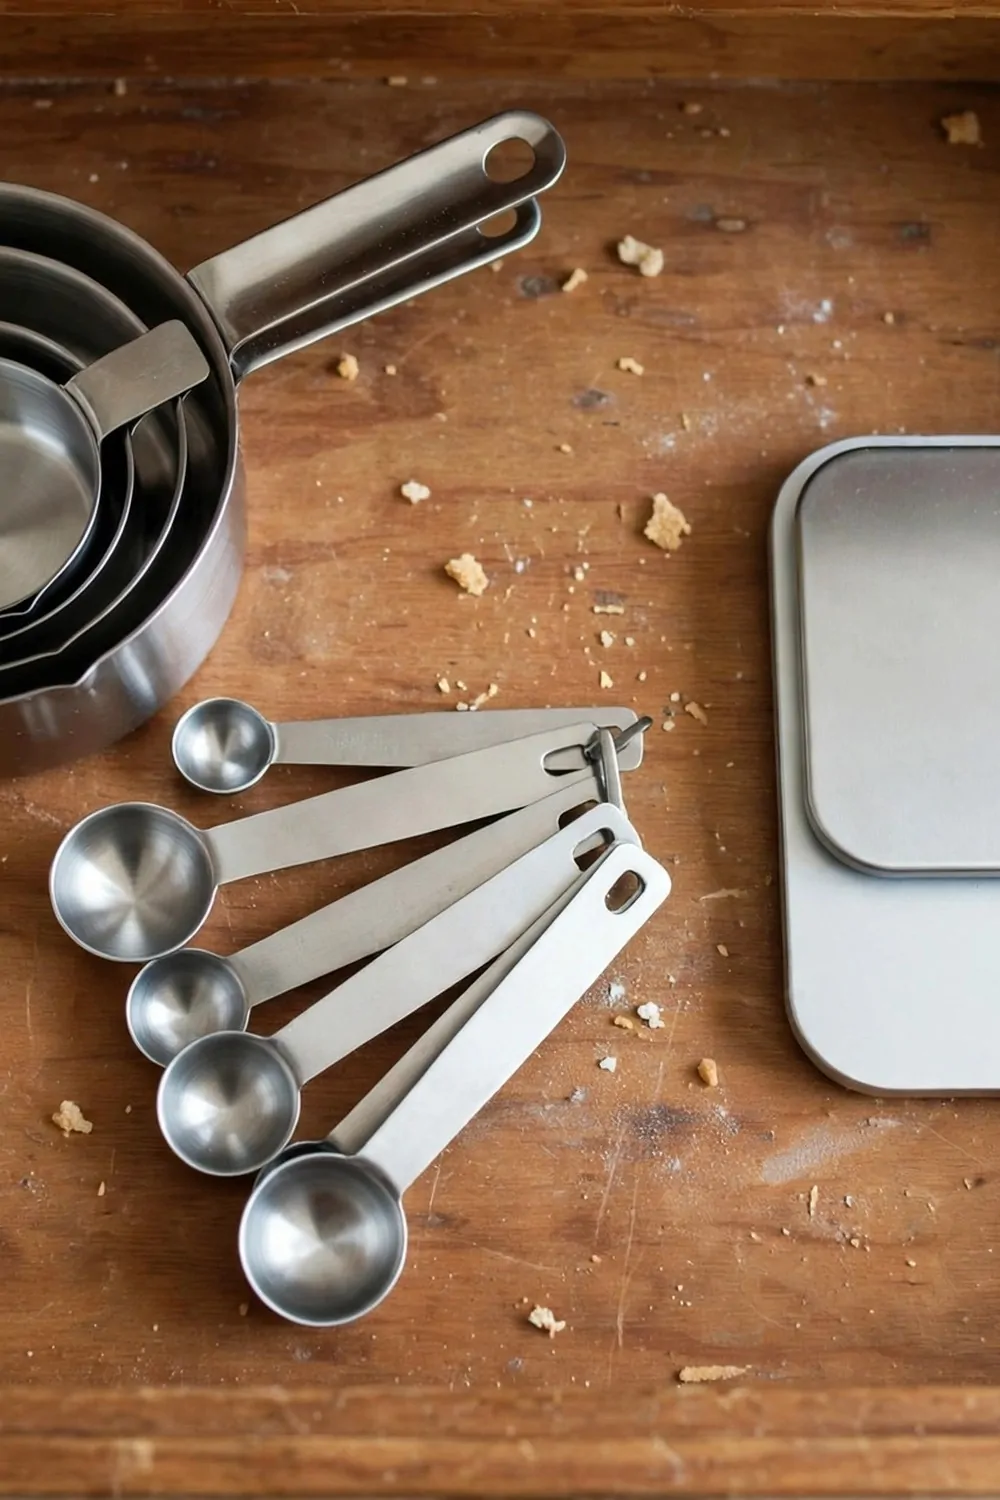
I bake on Sundays, and I used to hunt all over the kitchen for my measuring cups. One was in a drawer, one was in a cupboard, and the spoons were somewhere else entirely.
A baking drawer changed that. Everything I need for baking lives in one drawer now.
My measuring cups nest together in a little stack. The measuring spoons hang on a small ring so they do not get lost.
I also keep a small kitchen scale in the drawer. It sits flat at the back and comes out when I need it.
The drawer is near the counter where I mix things. I pull it open and everything is right there.
I added a small bin for the little tools, like a whisk and a spatula for scraping bowls. They stay in their own corner.
Baking feels more fun now because I am not searching for things. I can focus on the recipe instead of the mess.
If you bake a lot, try keeping your baking tools together. It saves time and it saves your patience.
My kids like to help me bake, and they know where everything is now. They pull out the cups themselves, and I love that.
One drawer, all the baking tools, no more hunting. It is that simple.
Use Clear Bins Inside Wide Drawers
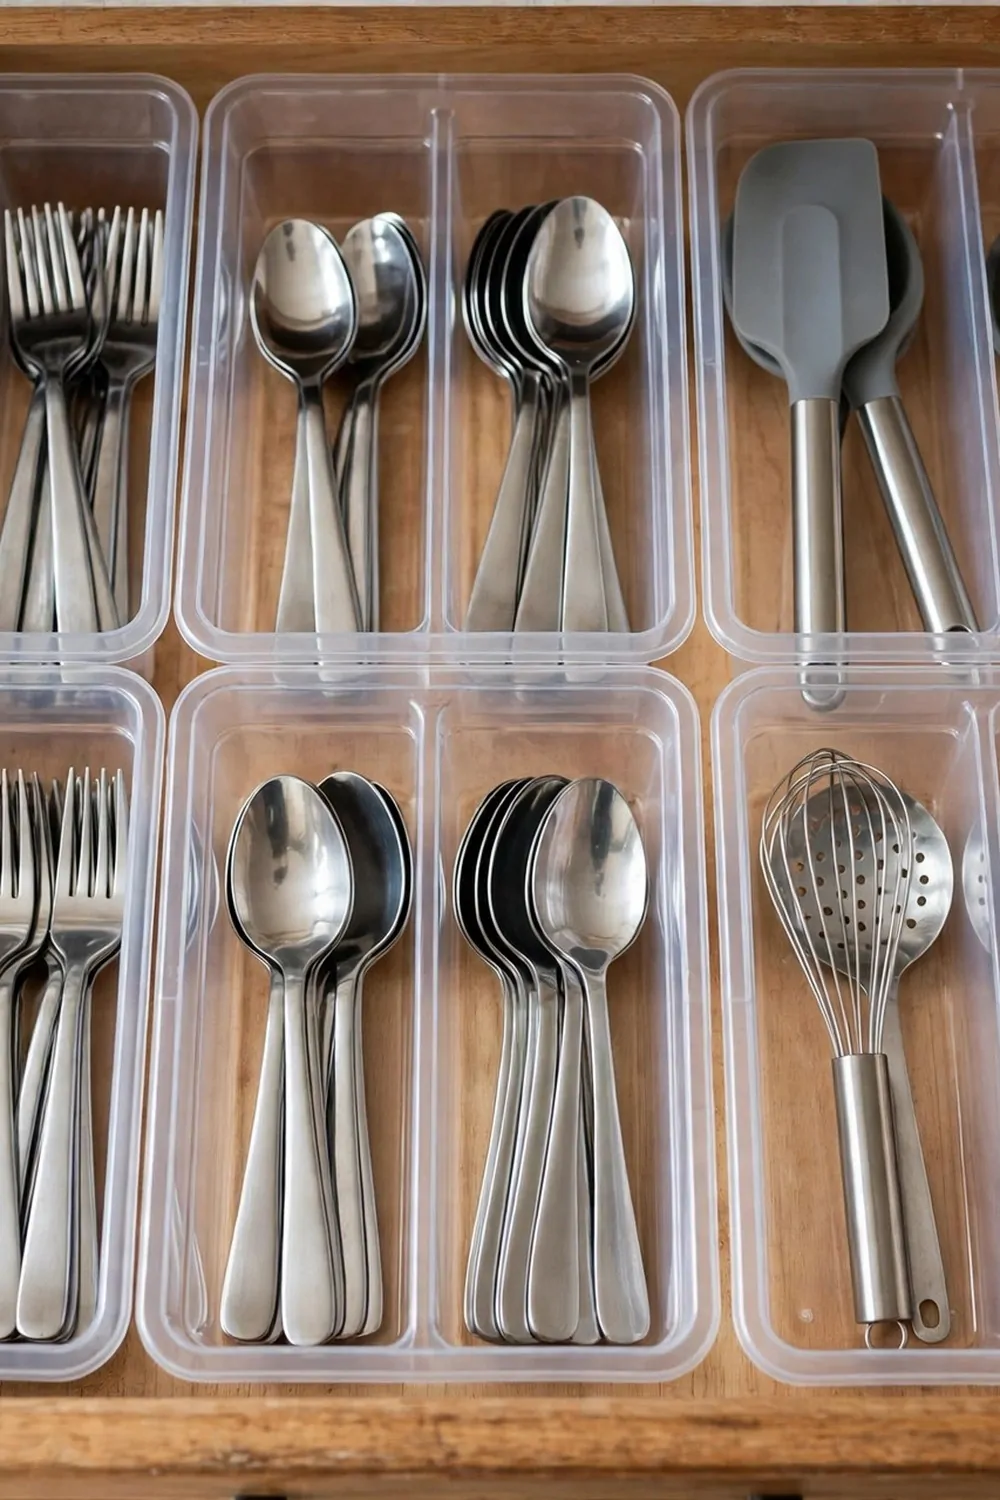
Wide drawers are great for space, but they can turn into a big messy pit. Everything slides to one side and mixes together.
Clear bins fix that. You can see what is inside each bin without lifting it up.
I use small clear bins to group things. One bin for cutlery, one for cooking tools, one for little gadgets.
The clear plastic is light, so I can lift a whole bin out if I need to clean the drawer. That is handy.
You can buy bins in different sizes. I measured my drawer first and picked bins that fit side by side with no gaps.
The best part is that the bins stop things from sliding. When I open the drawer fast, nothing crashes to the back.
I also use a bin for the odd things, like a garlic press and a peeler. They used to get lost under the spatulas.
If you share your kitchen with family, clear bins help everyone. They can see where things go, so they put them back in the right spot.
My husband used to just toss things in anywhere. Now he drops them in the right bin because it is easy to see.
Wide drawers do not have to be messy. A few clear bins turn them into neat little zones.
Label Each Drawer Zone in Plain Words
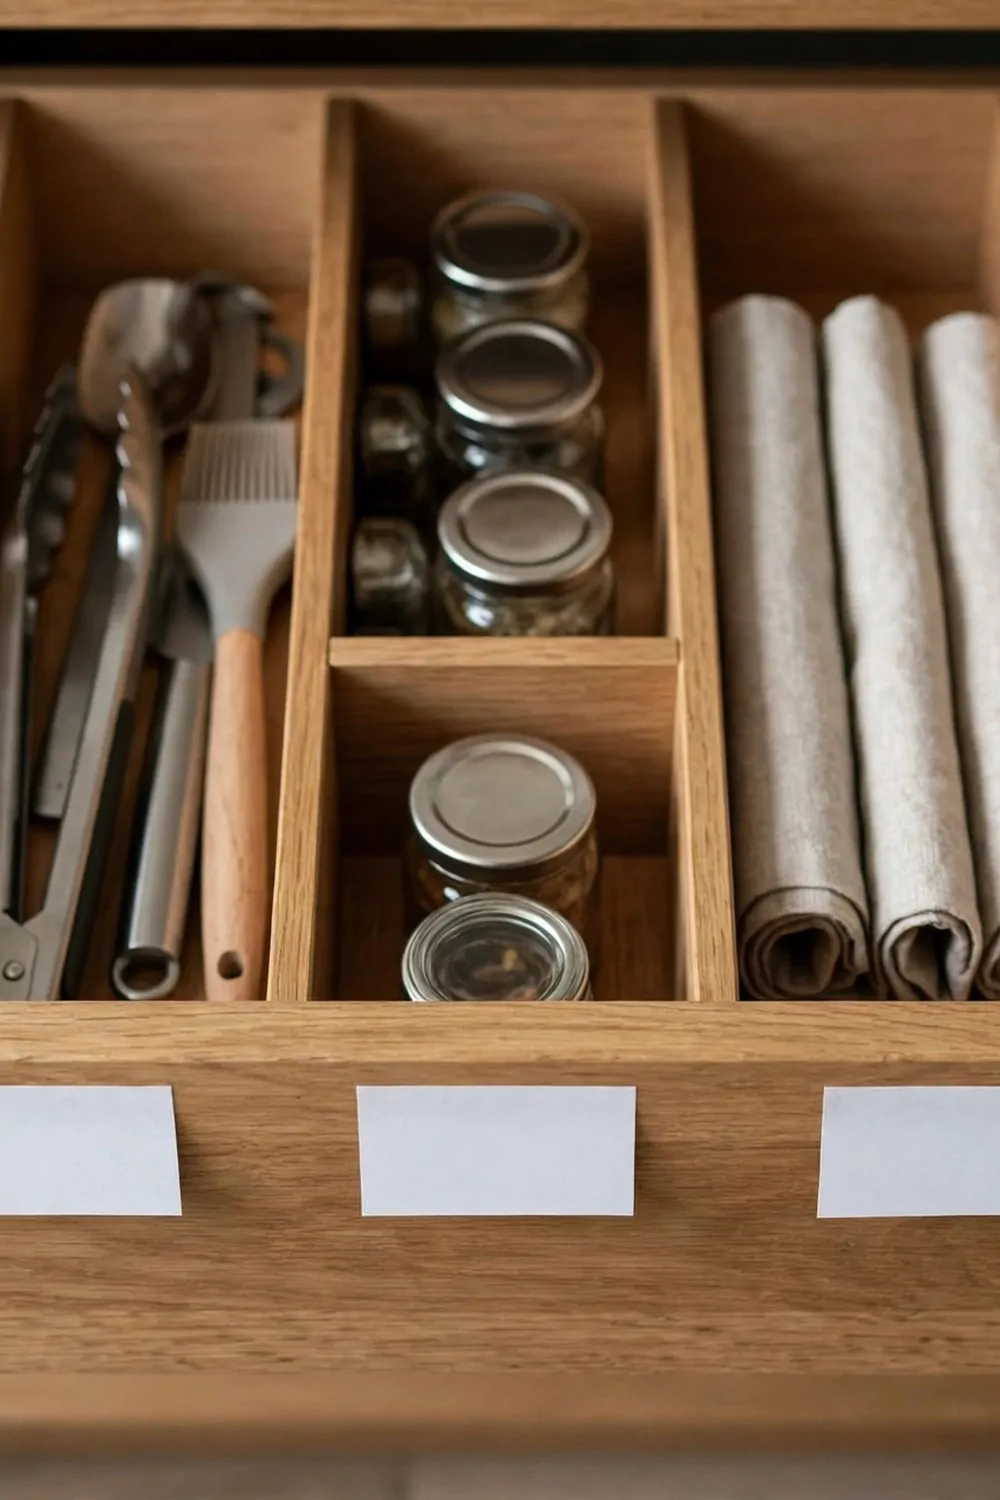
I thought labels were only for offices and shops. Then I tried them in my kitchen, and I never looked back.
Plain white labels on the front edge of a drawer tell you what is inside before you open it. That saves time when you are busy.
I use simple words. "Forks and spoons." "Baking." "Tea towels." Nothing fancy, just clear words anyone can read.
You can write them by hand on sticky labels, or print them if you like neat letters. I wrote mine by hand and they look just fine.
The labels also help everyone else in the house. My kids know which drawer holds the cutlery, so they set the table without asking me.
I put the label on the front edge of the drawer, not inside. That way I can read it even when the drawer is shut.
If you change what is in a drawer, just peel the label off and write a new one. It takes ten seconds.
Here are a few labels that work well in my kitchen:
- Forks and spoons
- Baking tools
- Tea towels
- Snacks for lunchboxes
Labels might sound like a small thing, but they stop the guessing. No one opens three drawers to find one spoon anymore.
Try labeling just your two busiest drawers first. You will be surprised how much calmer the kitchen feels.
Keep Everyday Cutlery at the Front
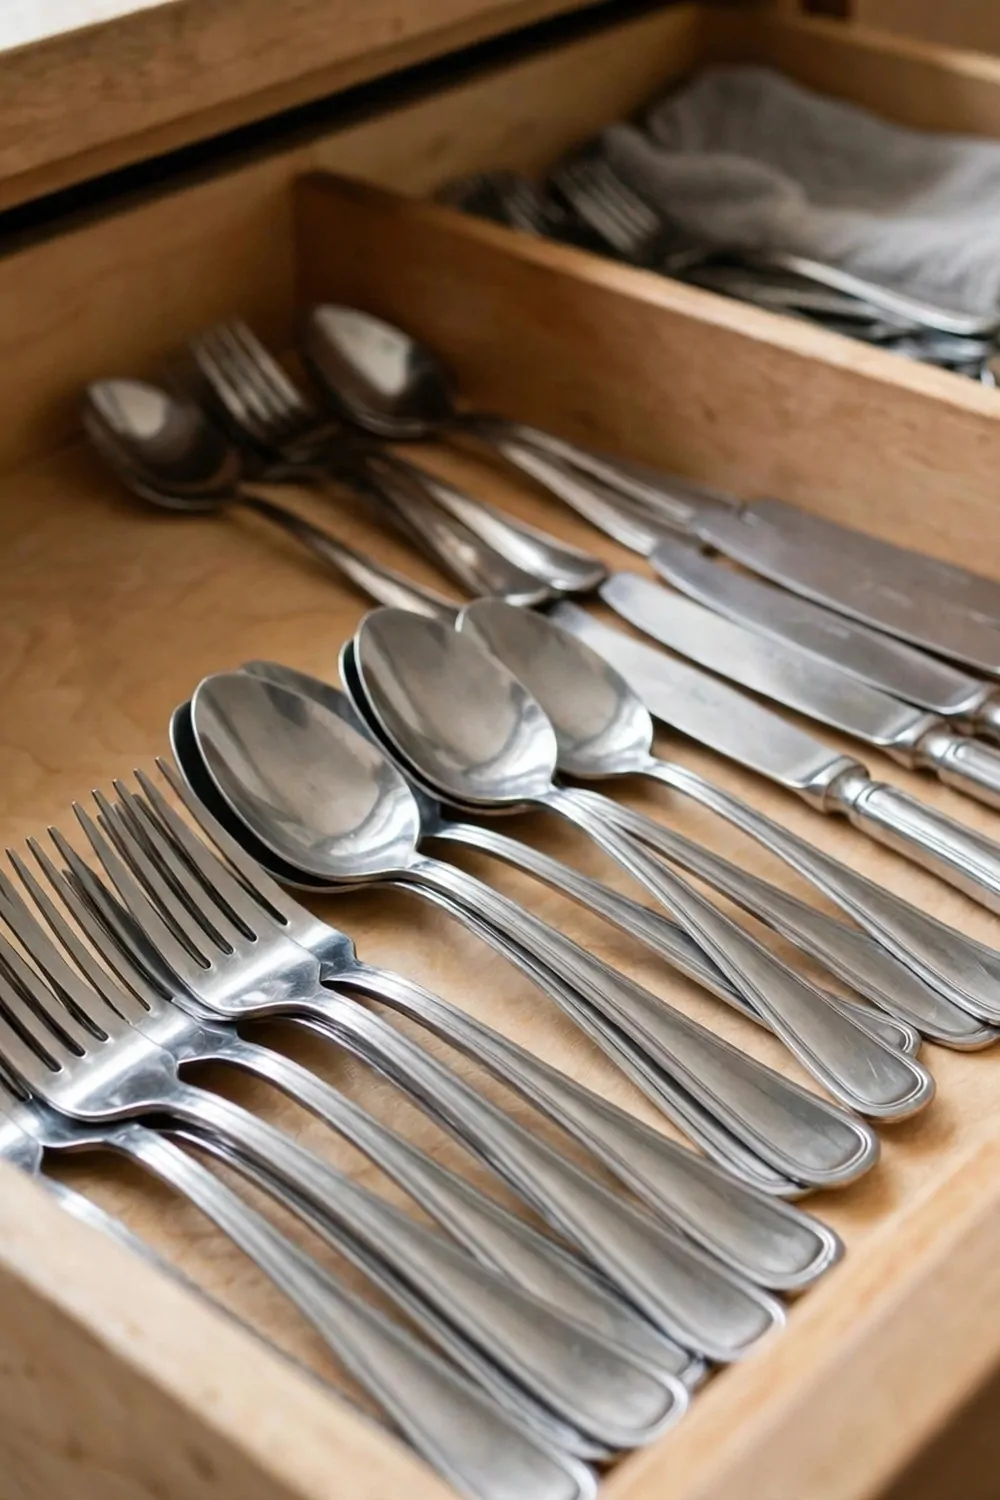
The front of the drawer is the easiest spot to reach. So that is where your everyday cutlery should live.
I used to mix my everyday forks with my fancy ones. Every meal meant sorting through forks I only use twice a year.
Now the front of the drawer holds only the forks, knives, and spoons we use every day. The fancy set lives in a box at the back.
It sounds obvious, but it took me years to do it. I just never thought about which spot was easiest to reach.
When you set the table now, you grab what you need in one second. No digging, no sorting, no fuss.
I also keep a few extra teaspoons at the front. We use them for tea and coffee all day long.
The trick is to count how many you really need. A family of four does not need twenty forks in the front of the drawer.
Keep the extras in the back or in a box. They are there when guests come, but they are not in your way every day.
This is a free idea. It costs nothing, and it makes every meal a little bit easier.
Try it tonight when you empty the dishwasher. Put the daily forks at the front and see how it feels tomorrow.
Move Rare Tools to the Back
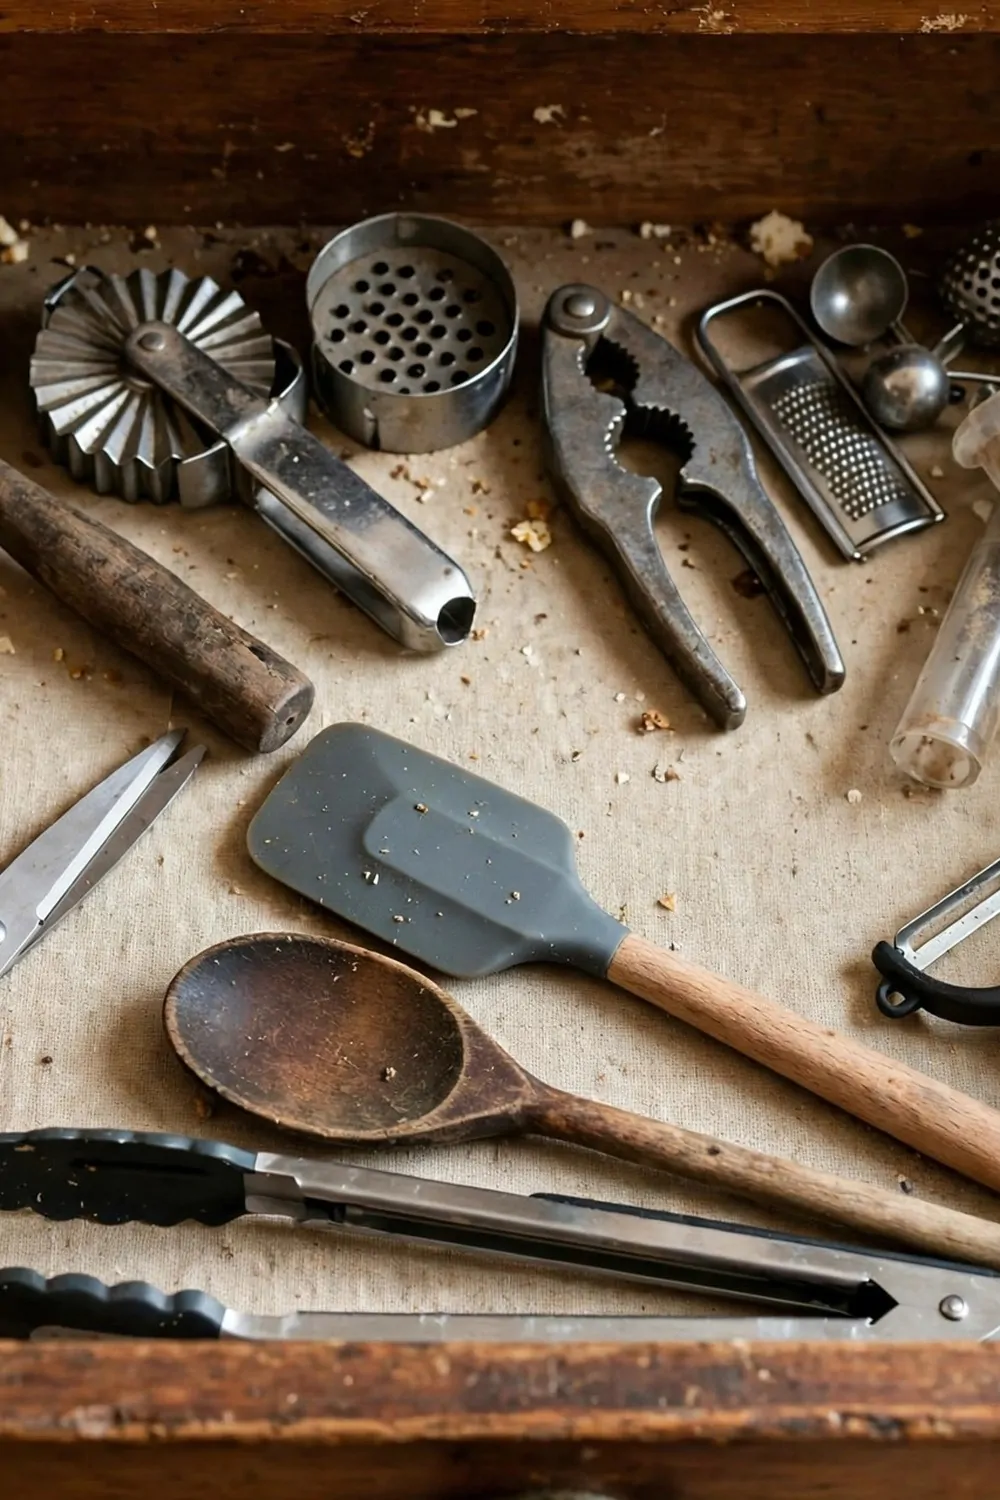
Some kitchen tools I use once a year. The turkey baster, the melon baller, the fancy piping tips. They are nice to have, but they do not need the best spot.
I moved them all to the back of a deep drawer. The daily tools stay at the front where I can grab them fast.
It is like the front of the drawer is the VIP area, and the back is for the guests who visit rarely. That made me smile when I thought of it.
The back of the drawer is still easy to reach when I need it. I just slide the drawer all the way open and there they are.
I used a small bin to keep the rare tools together at the back. That way they do not drift forward and mix with the daily tools.
Once a year I go through that back bin and check what is still useful. If I have not used something in two years, I give it away.
That little clean-out keeps the drawer from filling up again. It is a good habit, and it only takes a few minutes.
My drawer feels lighter now. The front is clear, and I can see my daily tools at a glance.
You do not need to buy anything for this idea. Just move the rare stuff back and enjoy the space you get.
It is a small shift, but it makes the drawer work for you instead of against you.
Add a Charging Drawer for Phones
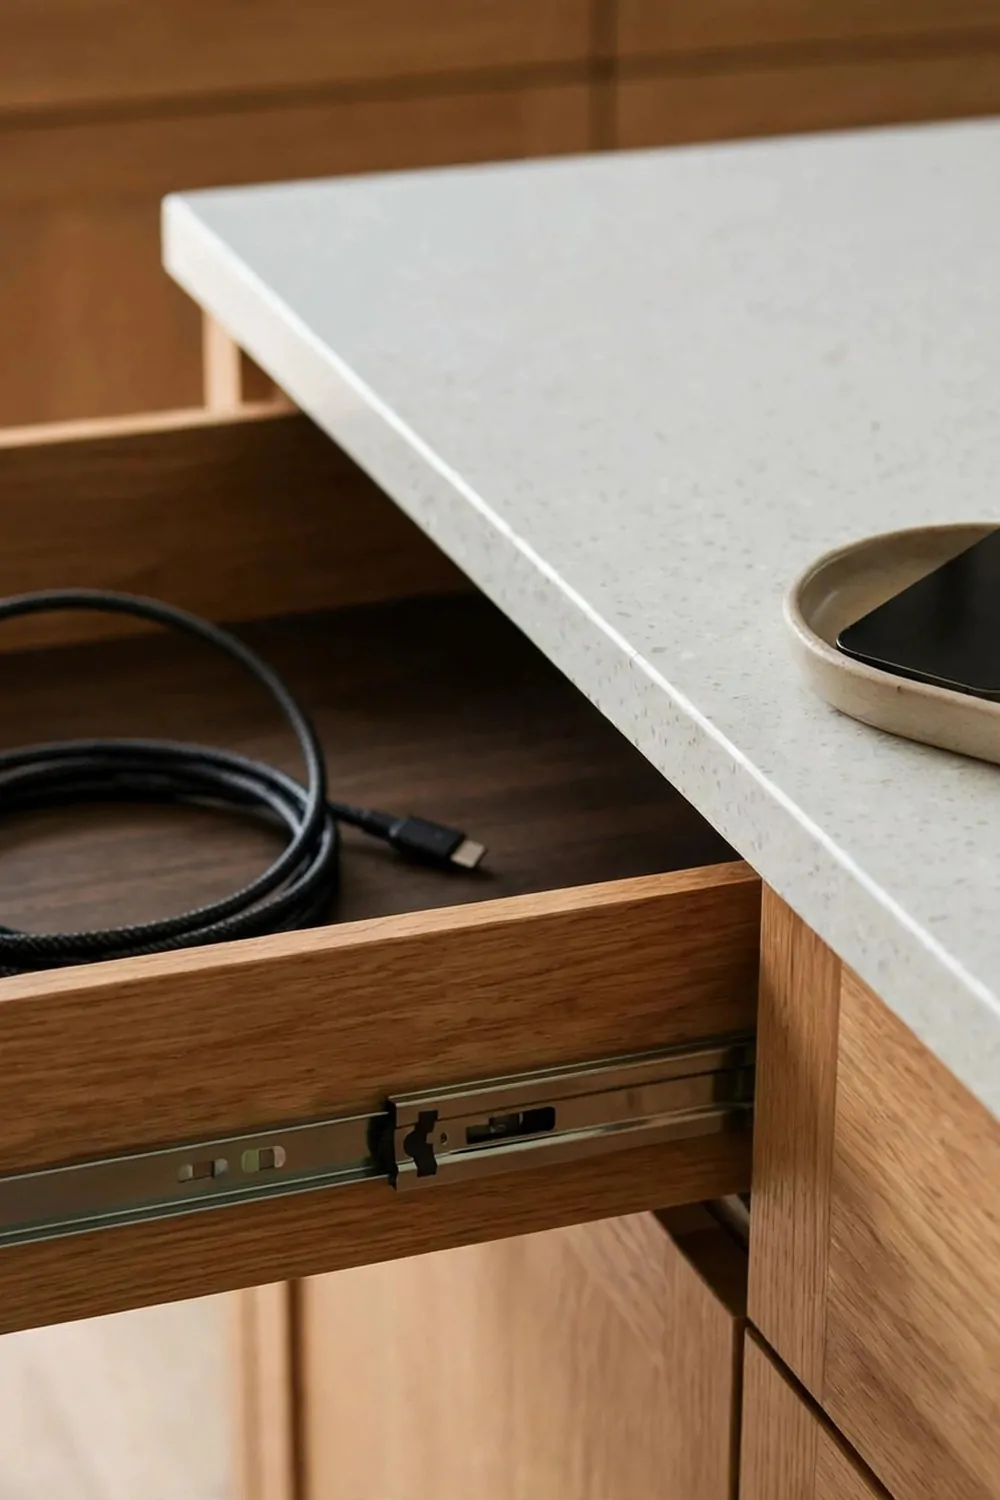
Phones on the kitchen counter drive me mad. They get splashed, they get in the way, and someone always knocks one off.
A charging drawer fixed that for me. The phones live in the drawer, plugged in, out of the way while they charge.
I picked a drawer near a power point. My husband drilled a small hole in the back of the drawer for the cable, and it works a treat.
Inside the drawer I put a small tray. The phones rest in the tray, and the cables stay neat behind them.
Now when we come home, the phones go straight in the drawer. No more phones next to the chopping board.
It also helps at dinner time. The phones are tucked away, so we actually talk to each other instead of checking screens.
You need to be careful with safety. Only use proper chargers, and do not overload the drawer with too many plugs.
If drilling a hole sounds too much, you can run the cable through the back gap of the drawer. Many drawers have a small gap that works fine.
I love how clear my counter looks now. It feels like I have more space, even though nothing else changed.
Try it with one drawer and one charger first. You might love it as much as I do.
Keep Tea Towels in a Drawer by the Sink
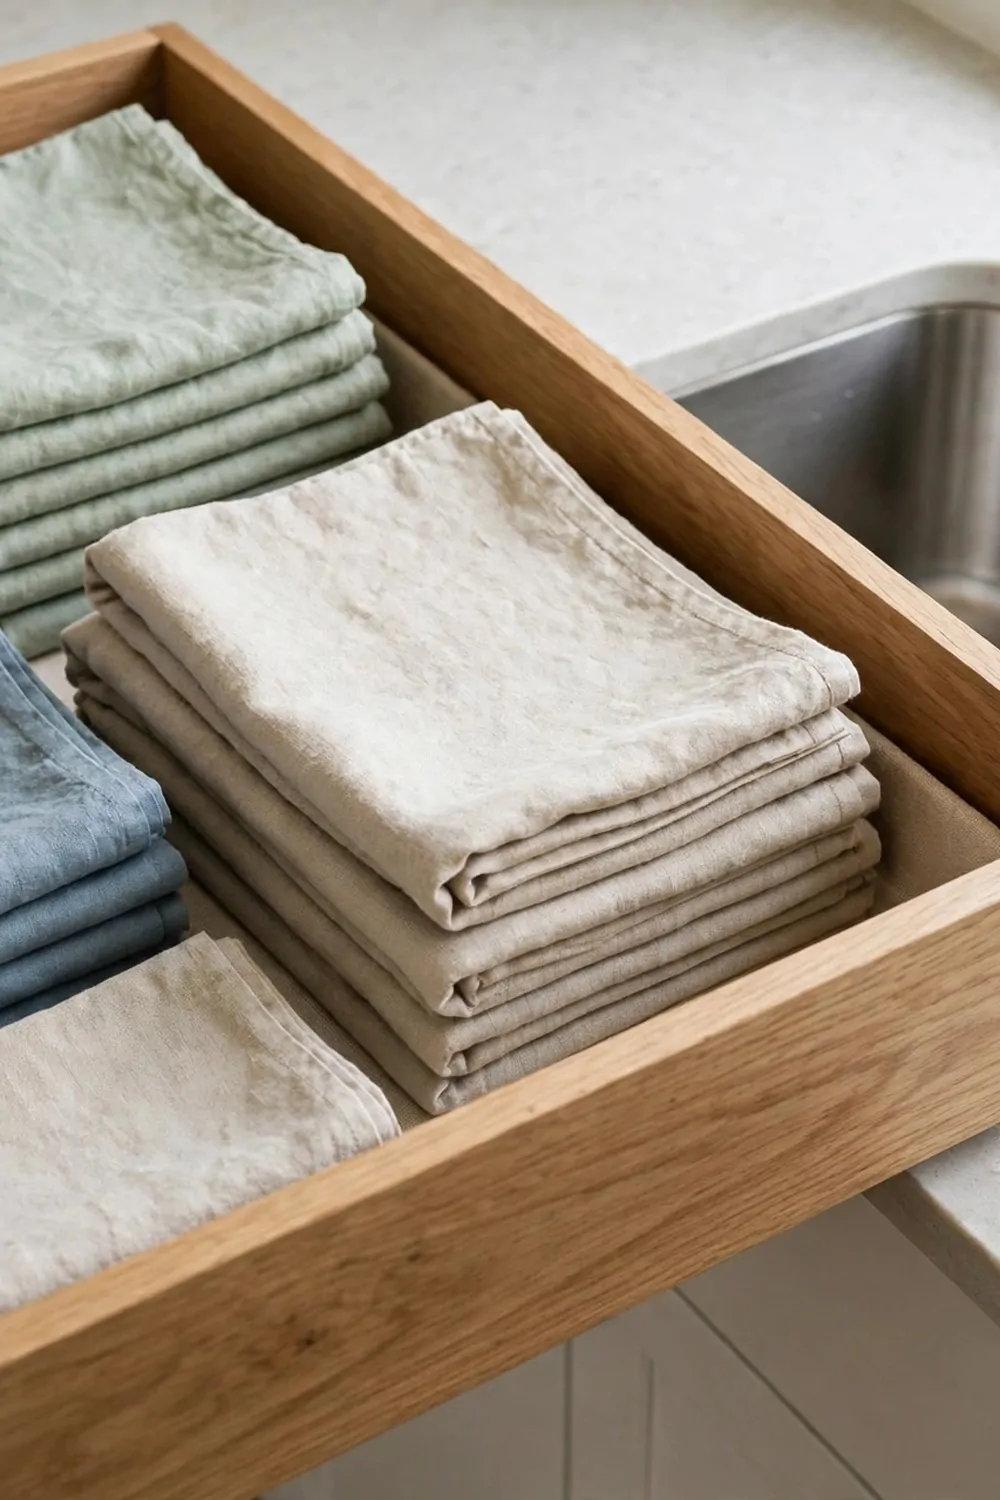
Tea towels used to live in a cupboard above the sink. I had to reach up with wet hands every time I needed one.
Now they live in a drawer right by the sink. I pull it open, grab a towel, and dry my hands in one second.
I fold them in a neat stack so I can see them all. The one on top is the one I grab first, and the rest wait their turn.
The drawer is shallow, which is perfect. The towels lie flat and do not get squashed or wrinkled.
I keep about six towels in the drawer. That is enough for a few days, and then I swap them for clean ones.
It is also handy when I am drying dishes. I can pull a towel out without walking across the kitchen.
One thing I do is keep the clean towels at the bottom and use the top ones first. That way they all get used and none sit there for weeks.
My kids know where the towels are now too. They dry their own hands instead of wiping them on their shirts.
It is a small idea, but it makes the sink area feel so much tidier. No more damp towels draped over the tap.
If you have a drawer by your sink that holds random things, try giving it to the tea towels instead. You will wonder why you did not do it sooner.
Store Cleaning Cloths in a Small Drawer
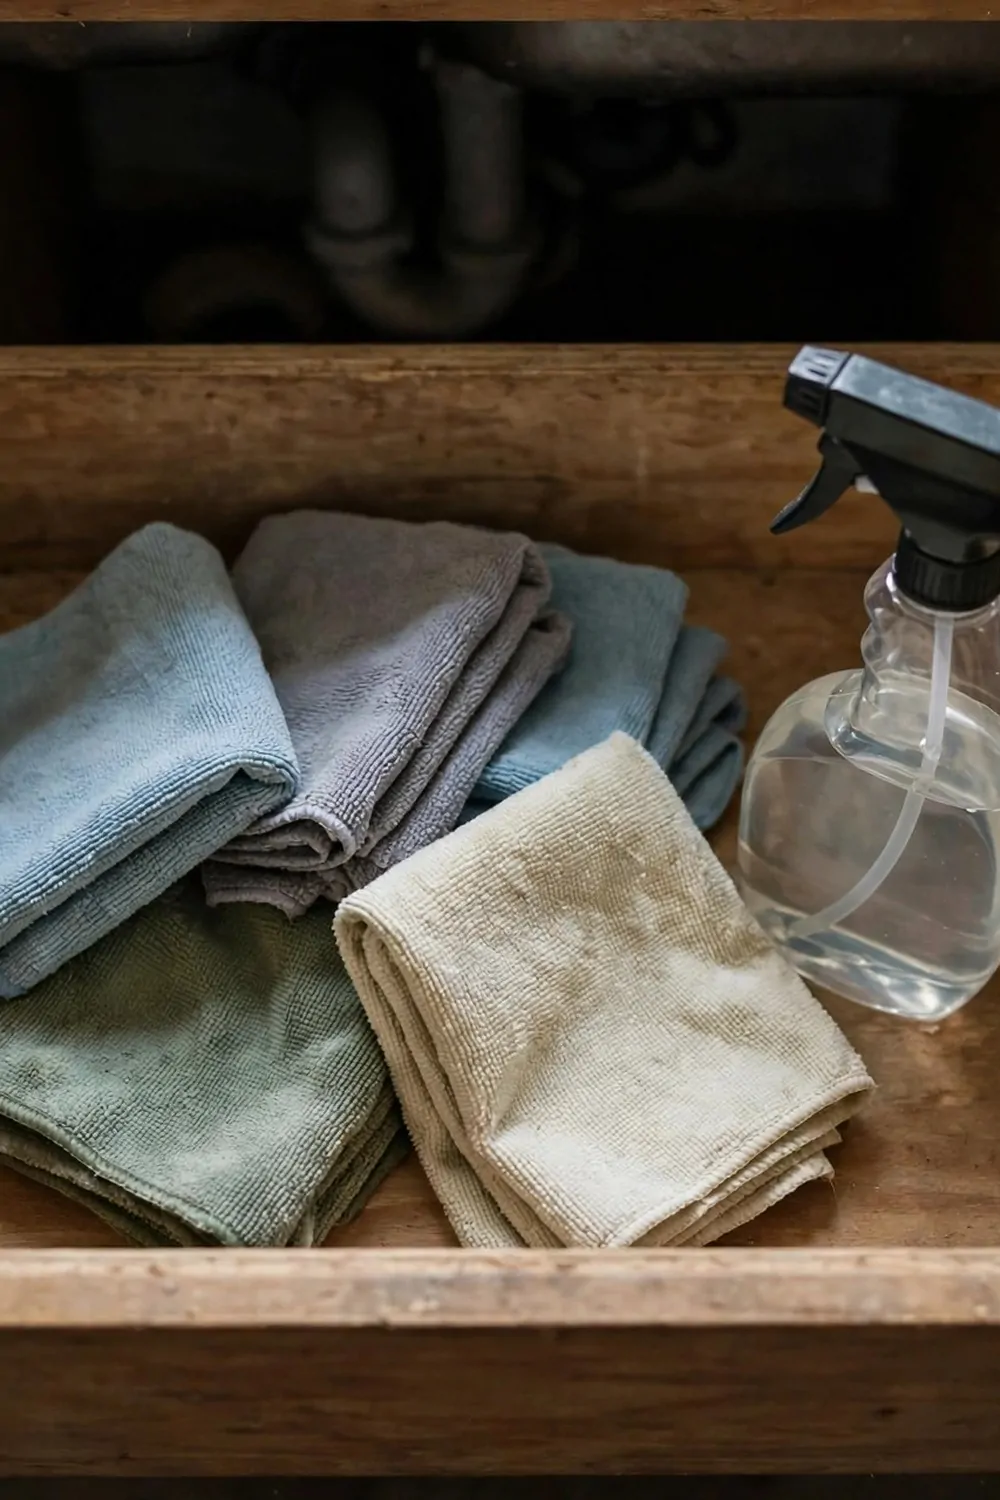
I used to keep my cleaning cloths under the sink in a big messy pile. Every time I needed one I had to dig past the bin bags and the old sponges.
Now they live in a small drawer right under the sink, and I grab one without even thinking. It is one of those tiny changes that makes the whole kitchen feel calmer.
I fold each cloth into a neat little square. They stack up like a pile of soft books and I can see every colour at a glance.
The spray bottle sits at the back of the drawer, upright and easy to reach. I stopped keeping it under the sink because it always fell over and leaked.
A small drawer is perfect for this job because cloths do not need much room. A big drawer would just let them slide around and get lost.
I keep three kinds of cloths in there. One for the worktops, one for the dishes, and one for wiping the floor when something spills.
My rule is simple. When a cloth is dirty it goes straight in the wash, and a clean one takes its place.
I put a little basket inside the drawer to hold the cloths in place. It cost almost nothing and it stops the stack from falling over when I open the drawer fast.
You will notice the difference the first morning you use it. No more hunting, no more wet hands from the puddle under the sink.
If you have a drawer near the sink that holds junk right now, empty it today. Give it to your cloths and your spray bottle and see how it feels.
Put Kids' Cutlery in a Low Drawer
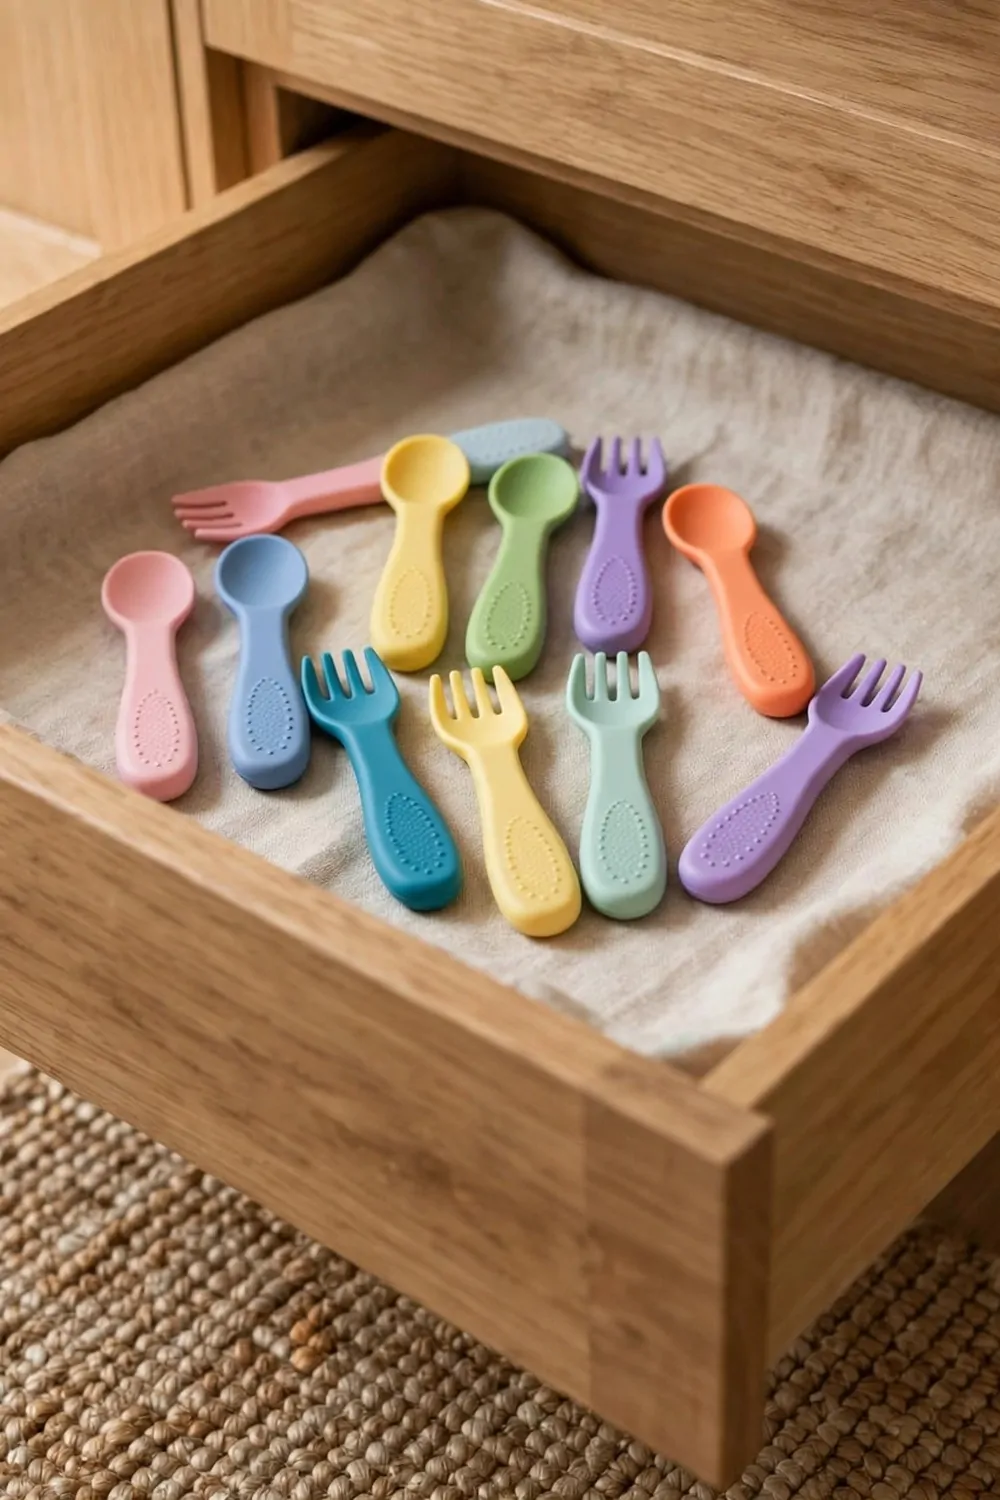
My little one wanted to help set the table, but every fork and spoon was up high in a drawer she could not reach. She would tug at my sleeve and wait, and I would stop what I was doing to get them out.
So I gave her the low drawer by the fridge. Now she opens it herself and picks out her own fork and spoon like a little chef.
I put her colourful cutlery in a small tray inside the drawer. The bright handles make her smile, and she can tell her spoon from her fork without asking me.
It also keeps the grown up cutlery safe from sticky little hands. My good knives stay in the top drawer, and her things stay in hers.
I added a few small cups and a plastic plate too. When she wants a snack she can set her own place at the table, and she feels so proud.
The drawer is low enough that she can reach it without climbing on anything. That matters to me, because I do not want her pulling a chair over to reach a high drawer.
She learned where everything goes in about a week. Now she even puts her clean cutlery back in the right spot after I wash it.
It is a small thing, but it changed our mornings. She sets the table while I make breakfast, and we both feel like a team.
If your kids are always asking for help at meal time, try this. One low drawer, their own things inside, and watch how fast they take charge.
Add a Pull-Out Cutting Board Drawer
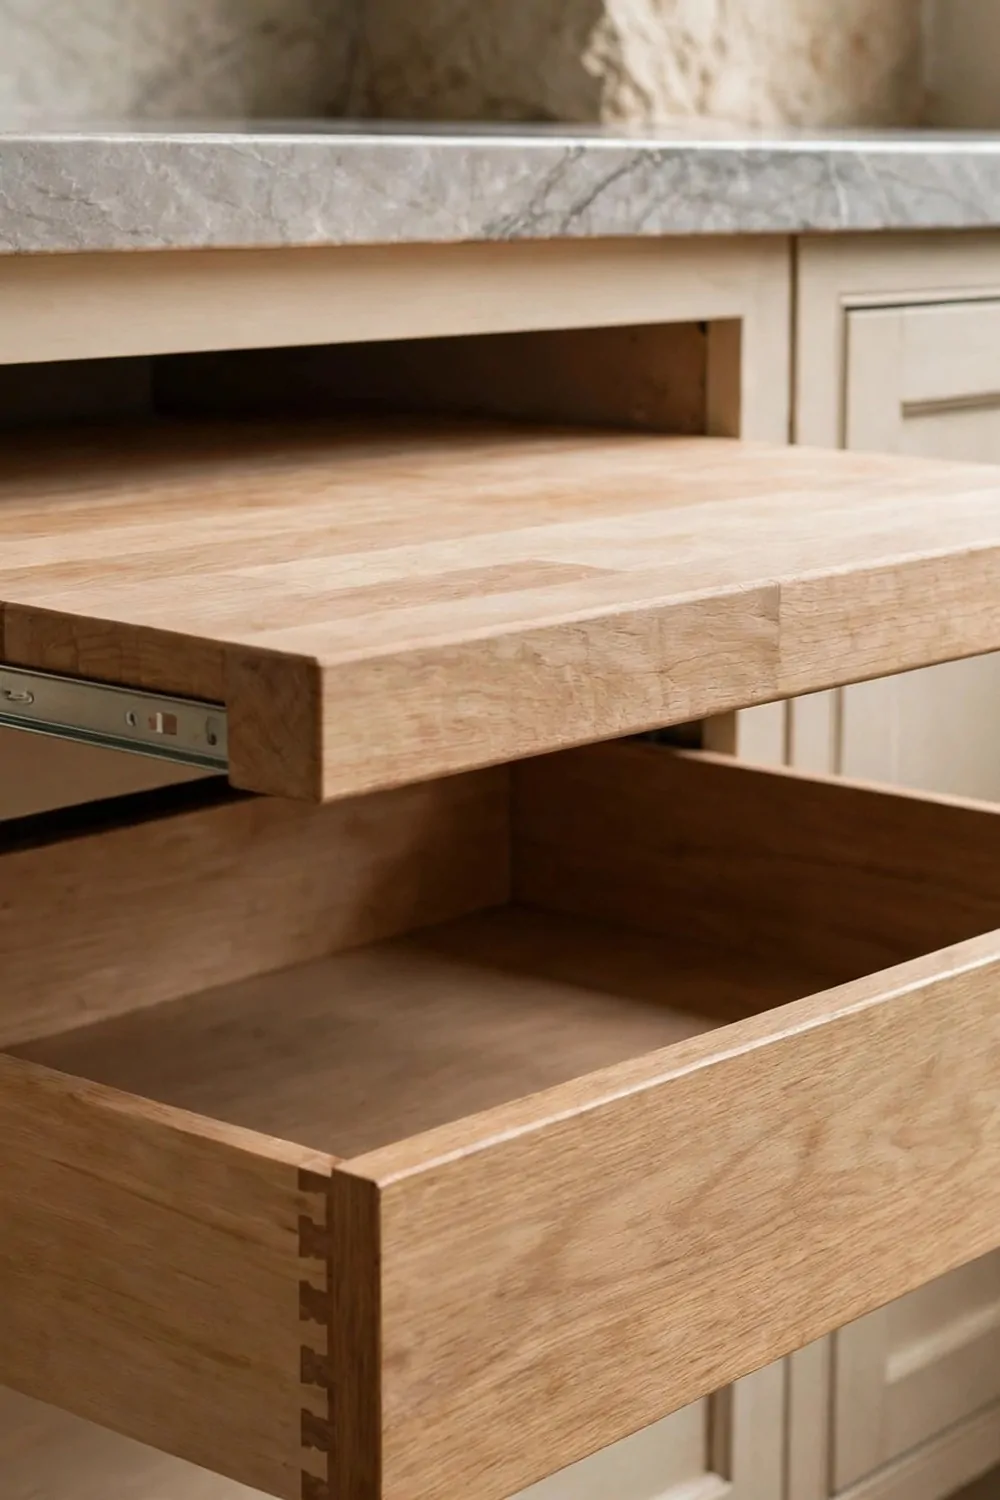
I never had enough counter space for chopping. The board would sit on top of everything else, and I would end up chopping onions on a tiny corner while the rest of the counter held jars and bowls.
Then I saw a pull-out cutting board in a friend's kitchen. It slides out from under the counter like a secret drawer, and I knew I had to have one.
Mine sits right above the drawer where I keep my knives. I pull the board out, grab a knife, and I am chopping in seconds.
The best part is that it slides back in when I am done. The counter stays clear for serving dinner, and the board is out of sight until I need it again.
I wipe it down after every use and let it dry for a minute before I slide it back. That keeps it fresh and stops any smell from building up.
You can buy one ready made, or a handy person can fit one into an old drawer space. Mine was made from a thick wooden board and two simple rails.
It saves my back too. I used to lean over a crowded counter, and now I stand straight and chop at a comfy height.
If you chop a lot of veg like I do, this is worth the effort. It feels like the kitchen grew a whole extra counter just for you.
One tip I learned fast: keep a small bowl beside you on the counter for scraps. Then you just slide them off the board and straight into the bowl, and the board stays clean for the next thing.
Line Drawers So Nothing Slides
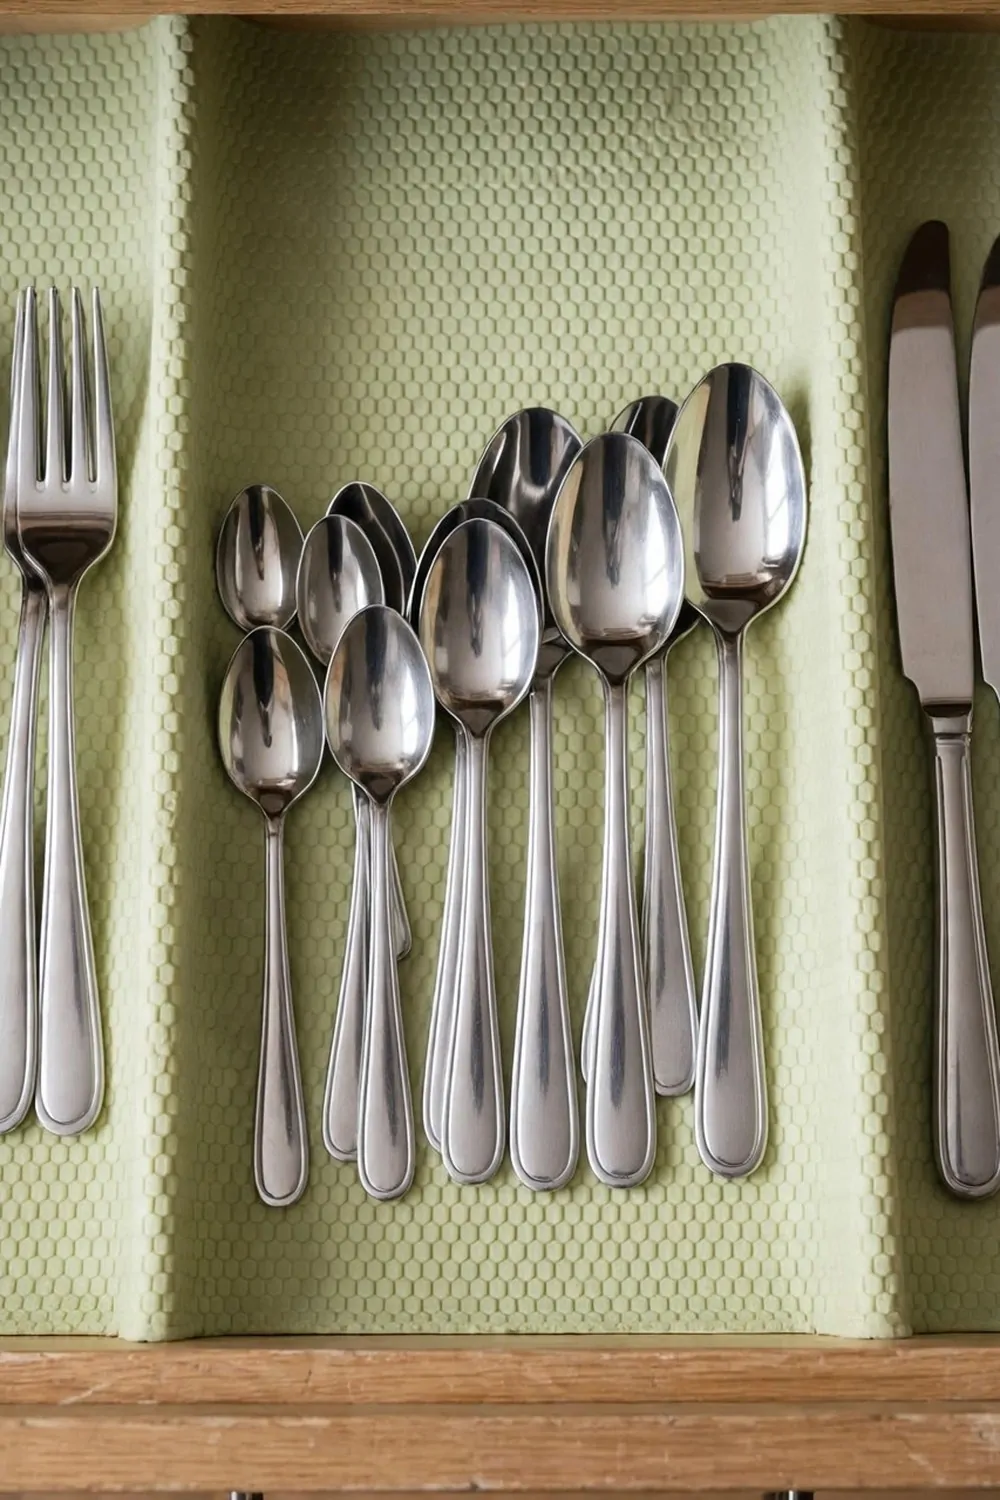
I opened my cutlery drawer one morning and every fork had slid to one side in a big metal heap. It happened every single day, and I was tired of sorting forks before breakfast.
A roll of non-slip liner fixed it in about ten minutes. I cut it to fit the drawer, laid it down flat, and the cutlery stopped moving.
The liner grips the bottom of the drawer and grips the tray on top of it. Nothing slides now, not even when I shut the drawer a bit too hard.
I picked a pale green liner because it makes the drawer look fresh. It also makes it easy to see if a crumb has fallen in, so I can wipe it up fast.
You can buy this liner in rolls at most home shops, and you only need scissors to cut it. No glue, no fuss, just measure and cut.
I lined all my kitchen drawers in one afternoon. The spice drawer, the utensil drawer, and even the junk drawer feel better now.
It also protects the wood inside the drawers. Spills and scratches land on the liner instead of the drawer, and I can just lift the liner out and wash it.
| Liner type | Best for | My verdict |
|---|---|---|
| Non-slip grip liner | Cutlery and utensil drawers | My top pick, nothing moves |
| Cork liner | Pans and heavy items | Soft and quiet, good grip |
| Wipe-clean plastic liner | Drawers near the sink | Easy to wash, handles spills |
If your drawers sound like a cutlery avalanche every time you open them, try a liner first. It is the cheapest fix in this whole list, and it works the very same day.
Keep Snacks in a Shallow Drawer
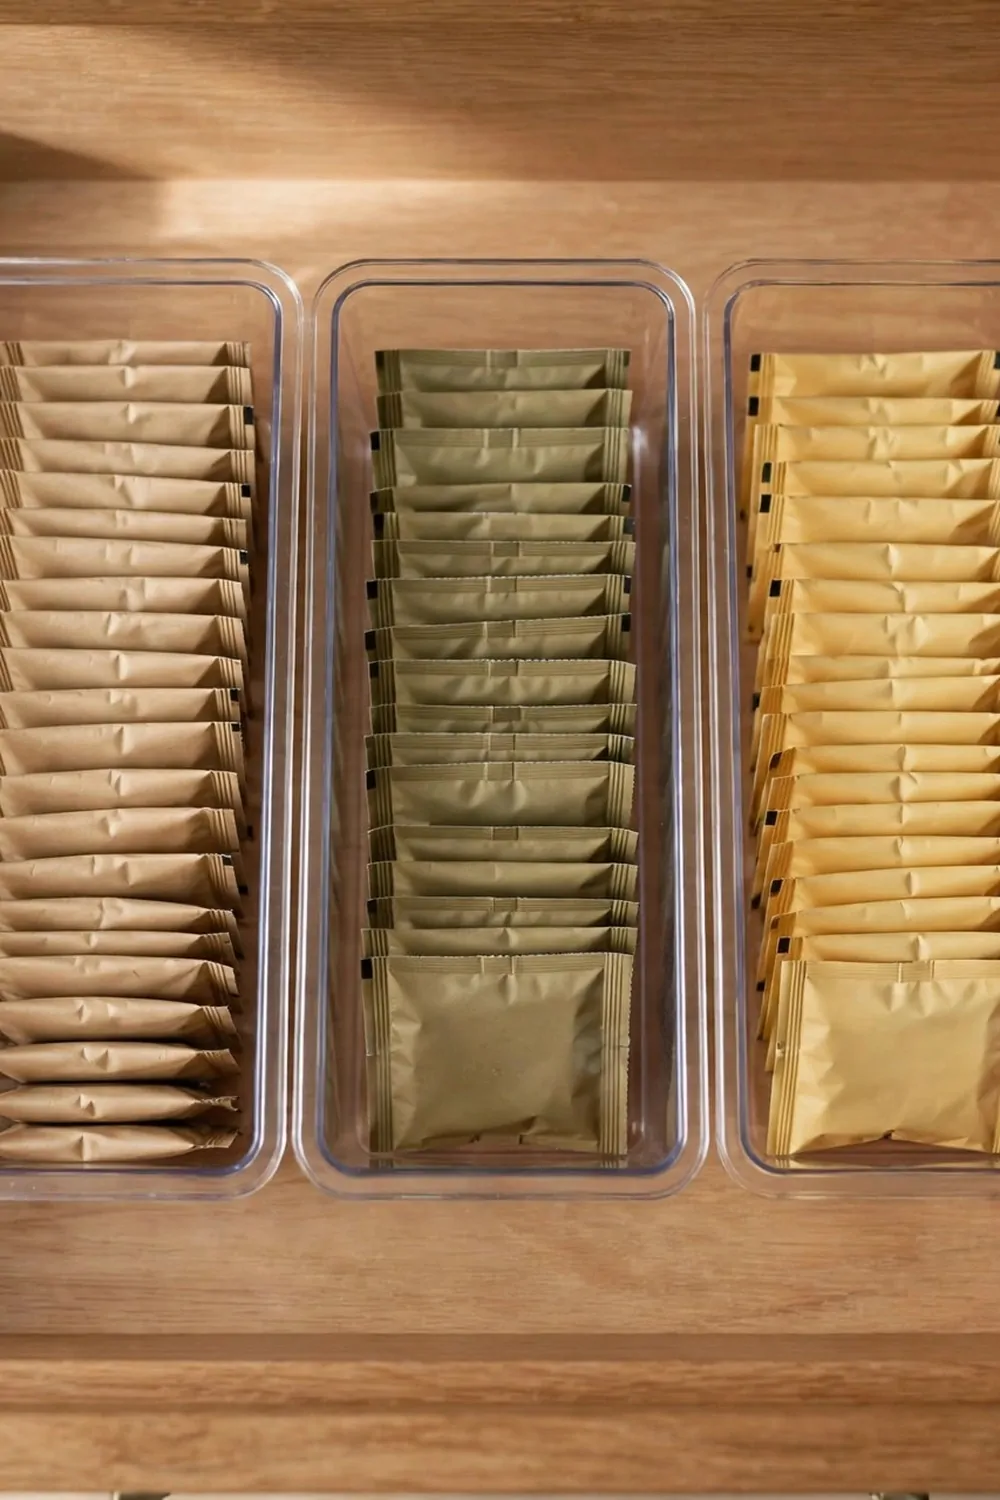
My snacks used to live in a cupboard where I could not see them. Packets fell behind the cereal boxes, and I would find stale crisps months later at the very back.
A shallow drawer changed all that. Now I open it and see every snack in a neat row, like a little shop shelf in my own kitchen.
I use clear bins inside the drawer so each snack has its own spot. One bin for crisps, one for biscuits, and one for the little fruit bars the kids love.
A shallow drawer works best here because snacks are small and flat. In a deep drawer they would sink to the bottom and get forgotten.
I keep the drawer near the table so snack time is easy. The kids open it, pick one thing, and close it again. No climbing, no mess.
I also put a small note on the inside of the drawer with the snack rules. One packet each after school, and the fruit bars are for lunch boxes.
When I go shopping I can see at a glance what is running low. I just look in the drawer and add the missing snacks to my list.
It stops me buying the same snacks twice too. Before, I would buy more crisps because I thought we were out, then find three bags hiding in the cupboard.
If your snack cupboard is a black hole, move the snacks to a shallow drawer. You will be surprised how much calmer snack time feels.
Store Placemats and Napkins Flat
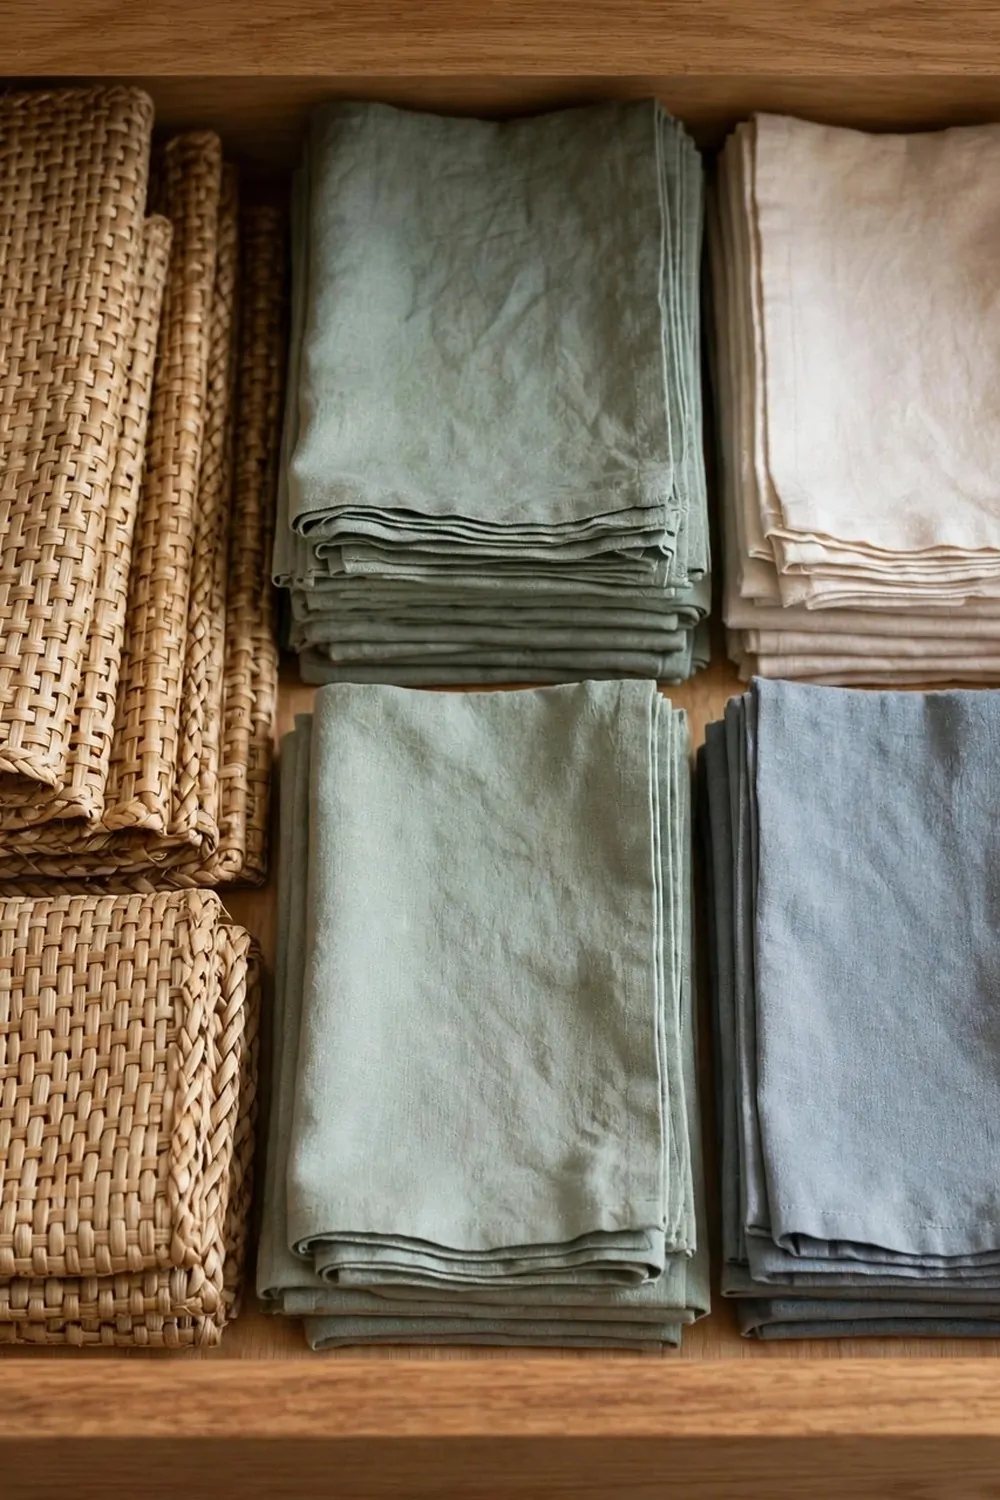
I used to fold my placemats and shove them in a cupboard, and they always came out creased and bent. The napkins lived in a basket that fell over every time I reached for a plate.
A wide drawer fixed both problems at once. Now the placemats lie flat in a neat stack, and the napkins sit beside them in a tidy pile.
Flat storage is the secret here. Placemats do not like being folded, and a wide drawer gives them room to lie still and stay smooth.
I stack them by colour so I can pick a set fast. The blue ones for everyday, the plain ones for guests, and the bright ones for the kids' birthday meals.
The napkins go in a little tray at the front of the drawer. I fold them in half so they are easy to grab with one hand while I am setting the table.
It also makes the table look better. A smooth placemat and a clean napkin make even a simple dinner feel a bit special, and it costs me nothing extra.
I keep the drawer close to the dining table so setting up is quick. I open it, take out four placemats and four napkins, and the table is ready in a minute.
Every few weeks I give the stack a quick shake and restack it. That keeps the edges neat and stops the bottom ones from getting dusty.
If your placemats are always creased, try a wide drawer. They will stay flat, and your table will thank you.
Make a Drawer for Recipe Cards
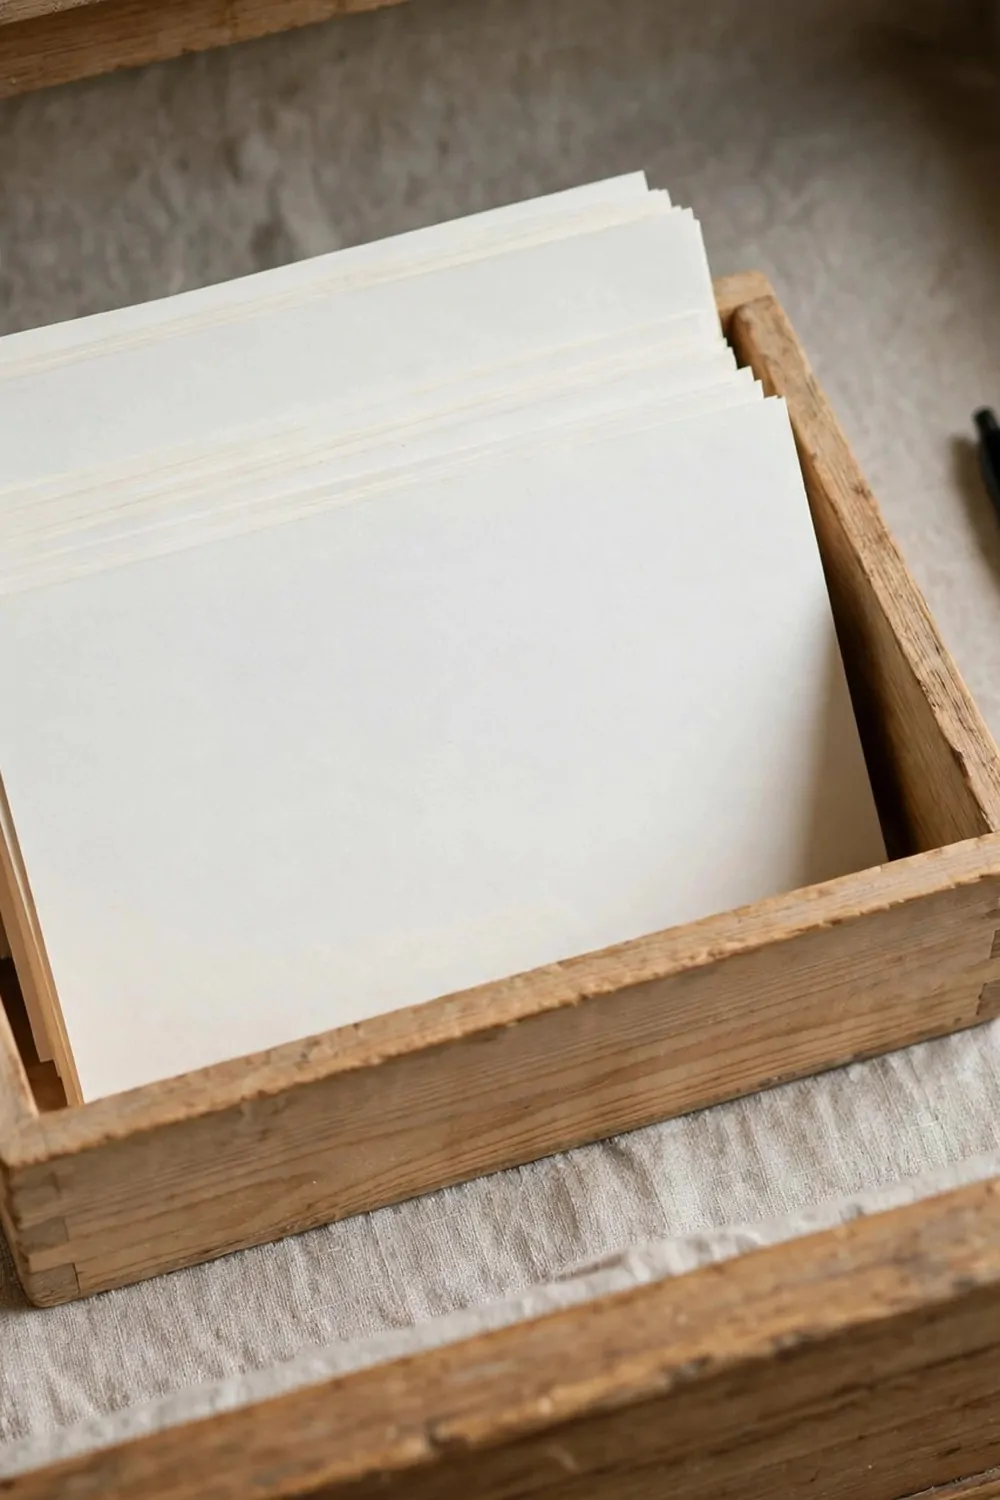
I have recipe cards from my mum, from friends, and from old magazines I cut up years ago. For a long time they lived in a shoebox on top of the fridge, and I never looked at them.
Now they live in a small wooden box inside a kitchen drawer, and I actually use them. The box sits in the drawer with a pen beside it, ready whenever I want to cook something new.
I sorted the cards into little groups with dividers. Soups and stews in one part, cakes and bakes in another, and quick weeknight meals at the front.
When I try a new recipe I write my notes right on the card. A little star if we loved it, a note if it needs less salt next time.
The drawer is close to the stove, so I can pull a card out while I cook and prop it up where I can see it. No more floury phone screen or a laptop balanced on the counter.
I also keep a few blank cards in the box. When a friend shares a recipe I love, I write it down right away before I forget it.
It feels good to cook from a card someone wrote by hand. It is slower than a screen, but it feels warmer, like the recipe came with a hug.
If your recipes are scattered in books and phone notes, gather them into one drawer box. You will cook from them more, and you might find an old favourite you forgot you loved.
Use a Deep Drawer for Your Pots
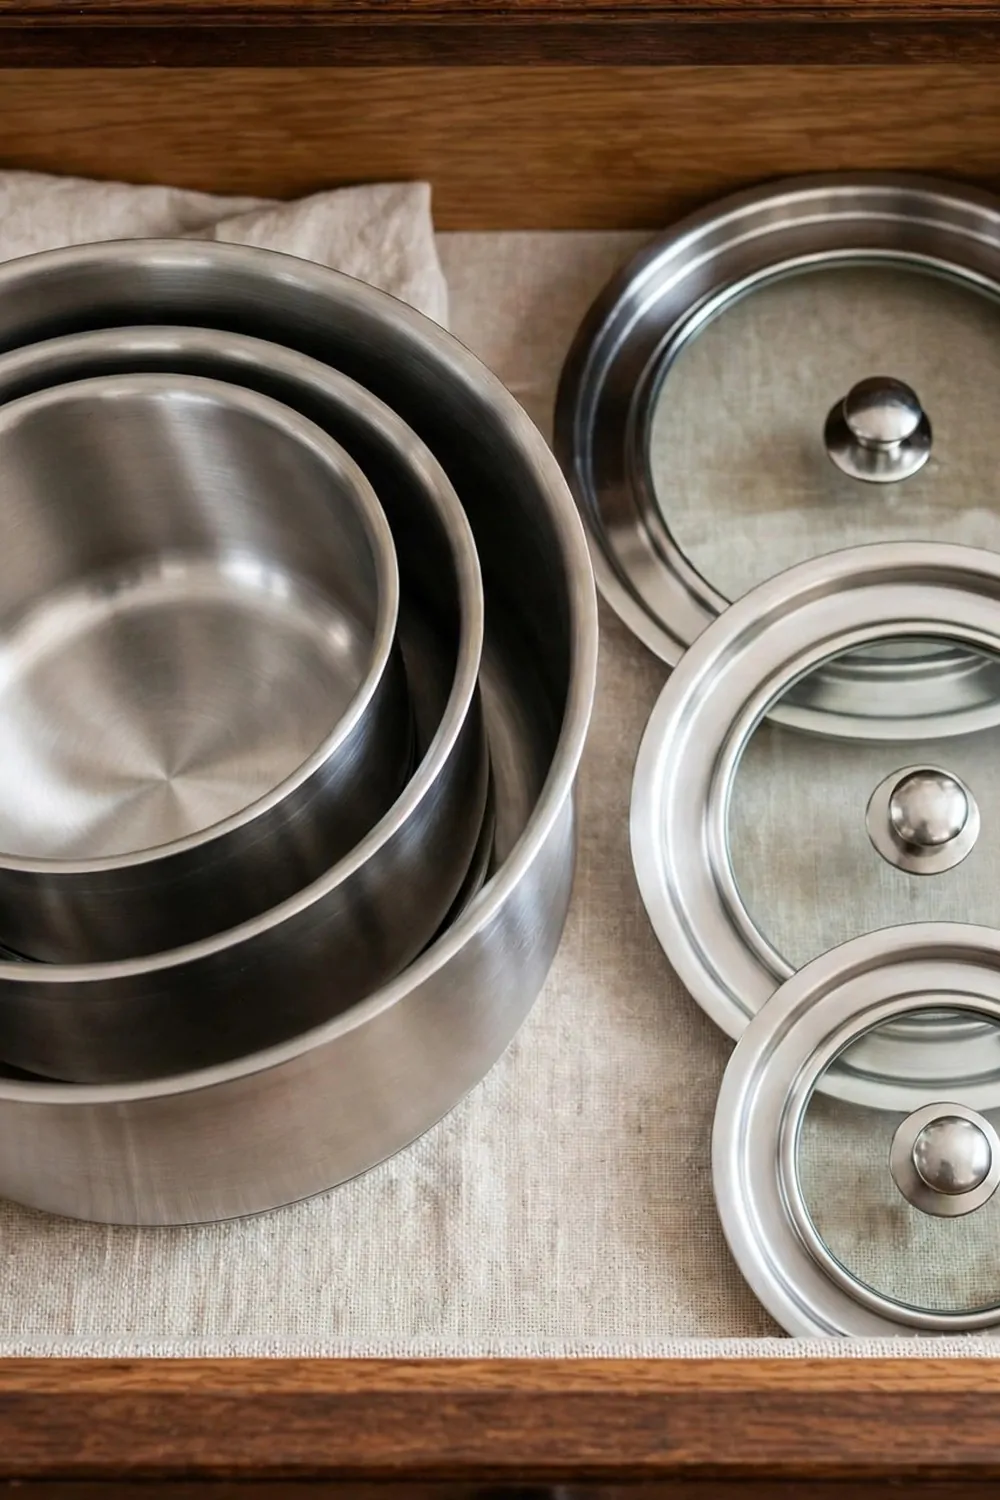
I used to keep my pots in a low cupboard, and I had to get down on my knees to reach the one at the back. It was dark in there, and I always banged my head on the shelf above.
A deep drawer changed everything. Now I pull the drawer out and see all my pots at once, standing there like they are waiting for me.
I stack the pots by size, biggest at the bottom and smallest on top. It feels like a little tower, and it takes up far less room than I thought it would.
The lids sit flat beside the pots in a neat row. I stopped stacking lids on top of pots because they always slid off and clanged onto the floor.
A deep drawer is strong enough to hold heavy pots, and it slides out so I never have to reach into a dark corner. My knees thank me every single day.
I keep the pots I use most at the front of the drawer. The big soup pot and the frying pan are always within easy reach, and the ones I rarely use sit at the back.
It also keeps the kitchen quieter. No more clanging and crashing when I pull out a pot, just a smooth slide and a soft click.
If you are still digging pots out of a cupboard, ask about a deep drawer. Your back will feel the difference the very first time you cook.
Store Baking Trays in a Tall Drawer
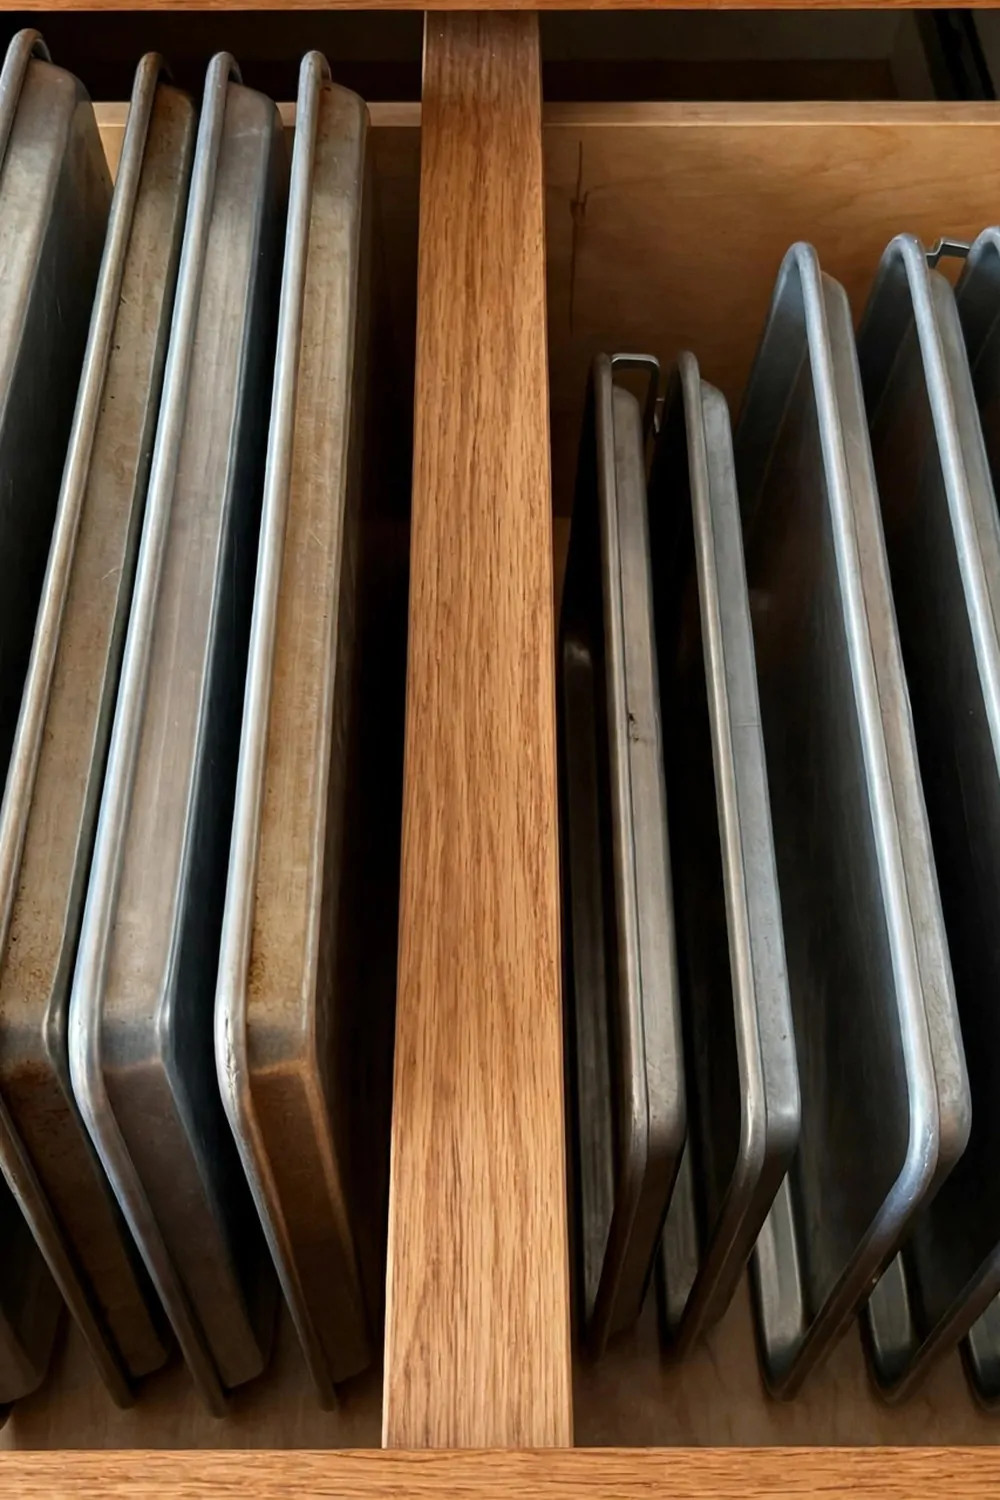
My baking trays used to lie in a stack on top of the oven, and the whole pile would slide off every time I opened the oven door. It was loud, and it scared the cat every single time.
A tall drawer fixed it. Now my trays stand upright in a row, held by a simple wooden divider, like books on a shelf.
Standing them up is the trick. I can pull out just the tray I need without lifting a whole stack, and nothing crashes to the floor.
The divider keeps them from falling over when I shut the drawer. I made mine from a scrap piece of wood, and it fits snug across the drawer.
I keep the big roasting tray at one end and the flat baking sheets at the other. The muffin tray sits in the middle where I can grab it fast on baking days.
It also saves the trays from scratches. When they lie in a stack they rub against each other, but standing up they barely touch.
I put this drawer right under the oven so the trays are close to where I use them. I open the oven, pull out a tray, and slide it straight in.
| Tray | Where it stands | How often I use it |
|---|---|---|
| Large roasting tray | Front of the drawer | Every Sunday roast |
| Flat baking sheets | Middle of the drawer | Two or three times a week |
| Muffin tray | Back of the drawer | On baking days |
If your trays live in a wobbly pile, give them a tall drawer. They will stay neat, stay safe, and you will never chase a sliding tray across the floor again.
Add a Pet Food Drawer by the Back Door
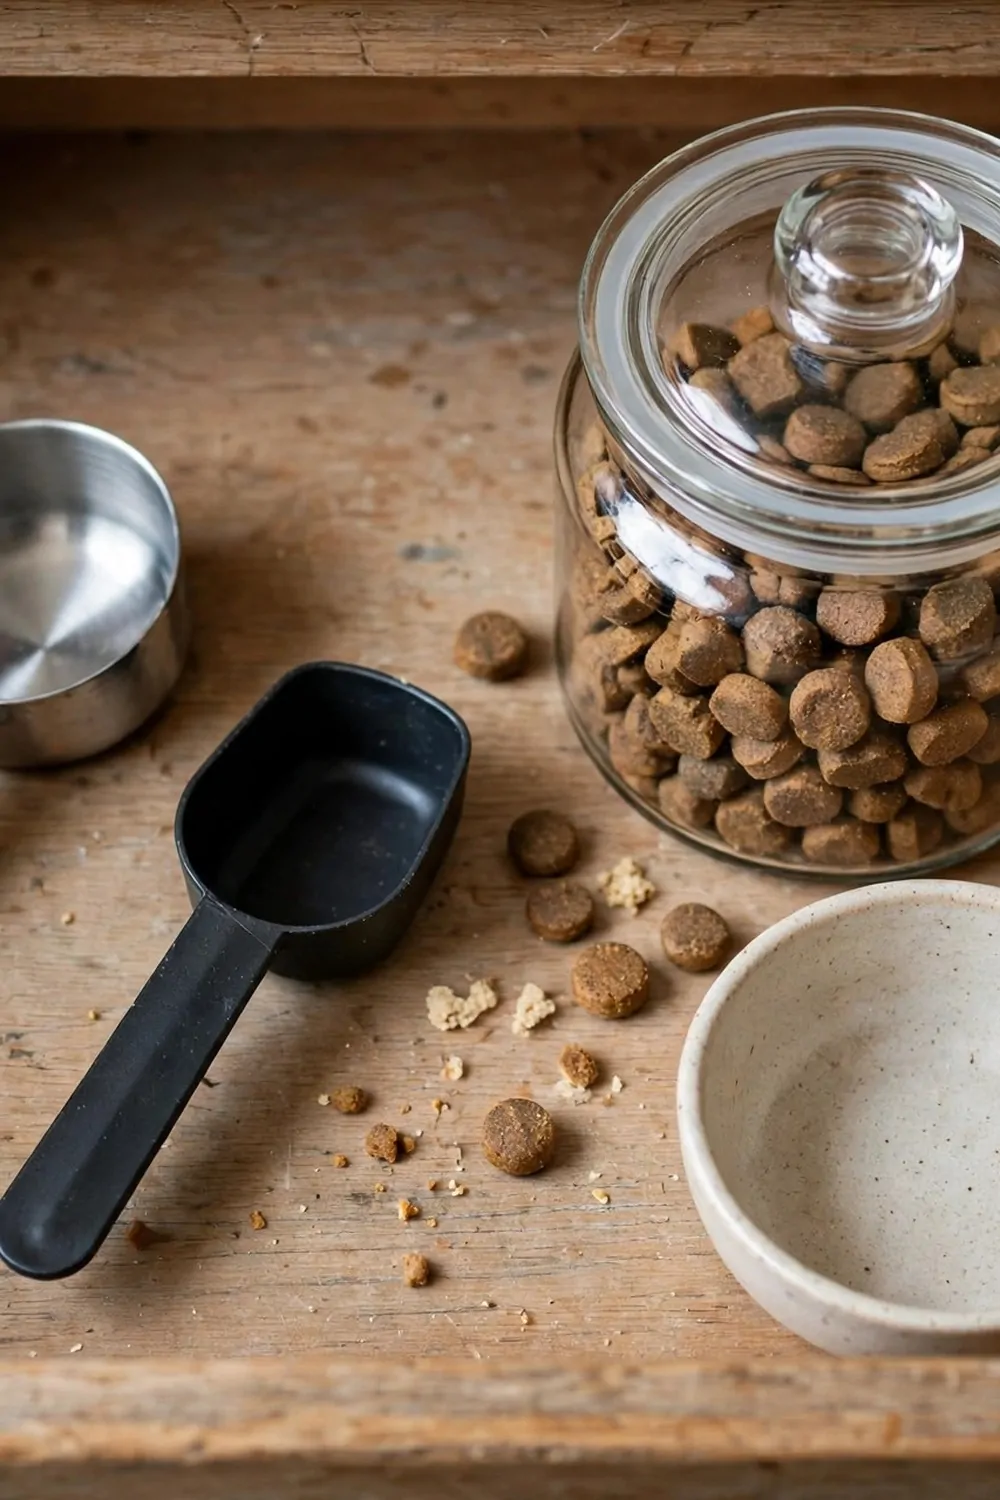
My dog's food used to live in a big bag on the floor by the back door, and the scoop always went missing. Treats were in three different cupboards, and feeding time felt like a treasure hunt.
Now everything lives in one drawer by the back door. The scoop, the treats in a jar, and a small bowl all sit together, ready for meal time.
I put the drawer low so it is easy to reach when I come in from the garden. I can grab the scoop with one hand while the dog waits at my feet.
The treats stay in a sealed jar so they stay fresh and the dog cannot smell them through the drawer. He still tries, but the jar wins every time.
I keep a little cloth in the drawer too, for wiping the bowl after meals. It is a small thing, but it stops crumbs from ending up all over the floor.
Feeding time is calmer now. I open the drawer, scoop the food, and the dog eats while I get on with my day. No more hunting for the scoop in a cupboard.
It also keeps the kitchen looking tidy. The big food bag hides in a cupboard now, and the drawer holds just the daily bits I need.
If you have a pet, try a drawer by the door they use most. It makes feeding time feel easy, and your pet will learn where the good stuff lives.
Keep Menus and Clips in One Drawer
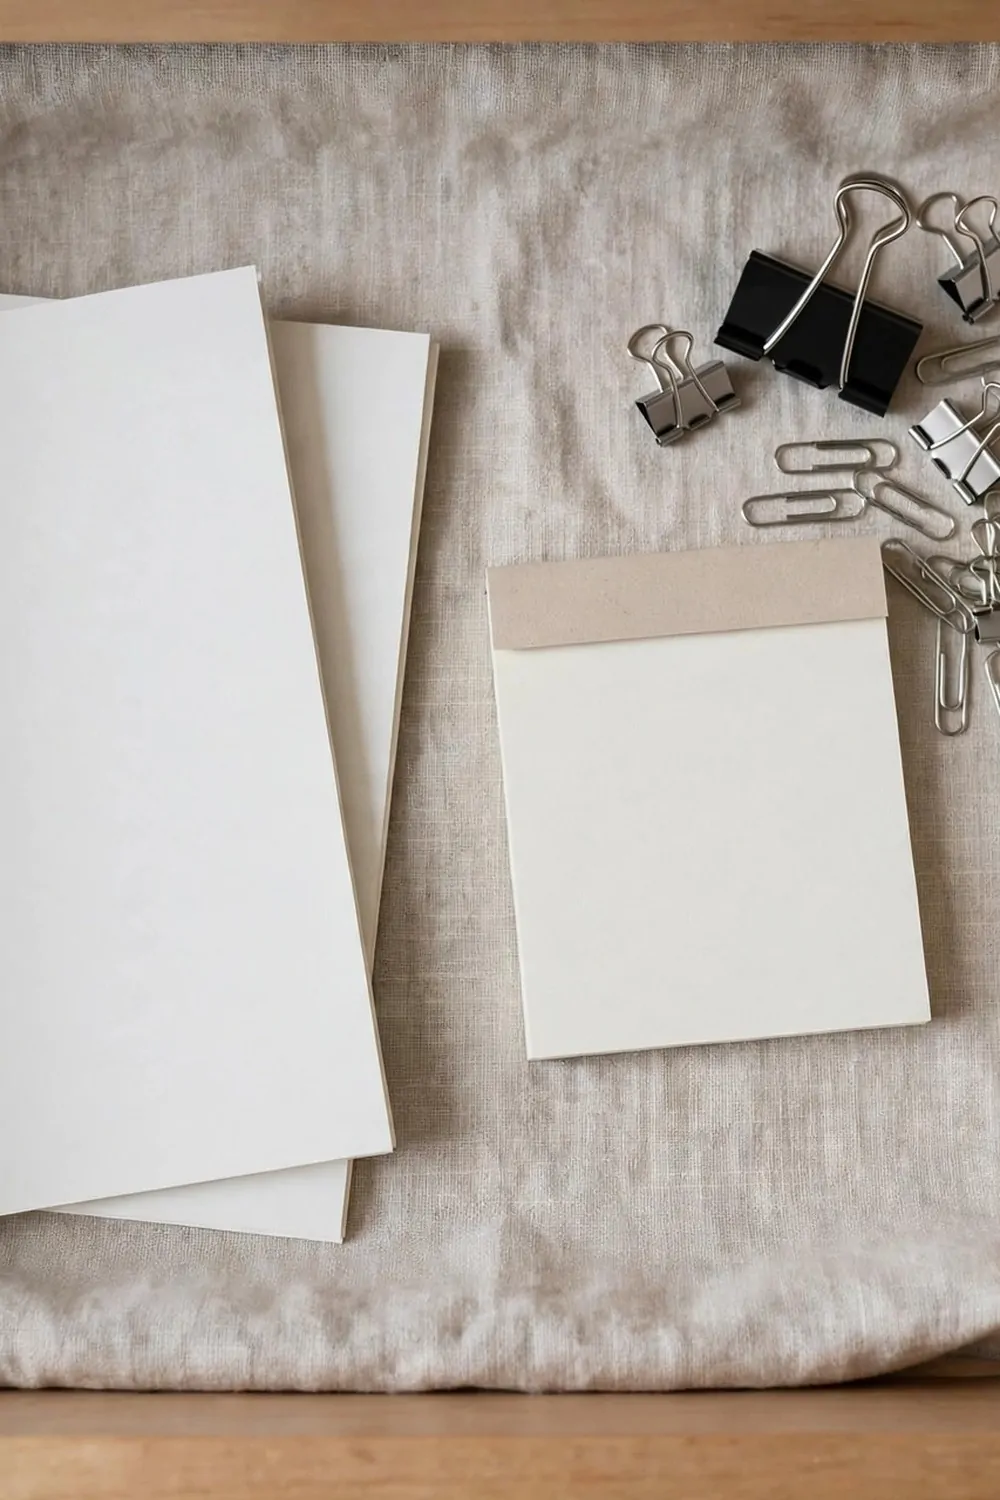
Takeaway menus used to live all over my kitchen. One was stuck to the fridge, one was under a pile of post, and one had fallen behind the microwave.
Now they all live in one drawer, and I know exactly where to look on a Friday night when nobody wants to cook.
I keep the menus in a thin folder inside the drawer so they stay flat and clean. The pizza place, the noodle place, and the one we order curry from are all in there.
The clips sit in a small pot at the front of the drawer. I use them to seal open bags of crisps and pasta, and they never go missing now.
I also keep a little notepad and a pen in the drawer. When I order, I jot down what we had and what it cost, so next time I can order fast without asking everyone what they want again.
It is a tiny drawer, but it holds all the little bits that used to clutter the worktop. The fridge door looks calmer too, with just one photo and nothing else stuck to it.
When friends come over and ask what takeaway we like, I just open the drawer and show them. It feels organised, and it makes me smile.
If your menus are scattered around the kitchen, gather them into one drawer. You will find them in seconds, and your worktop will stay clear.
Make a First Aid Drawer in the Kitchen
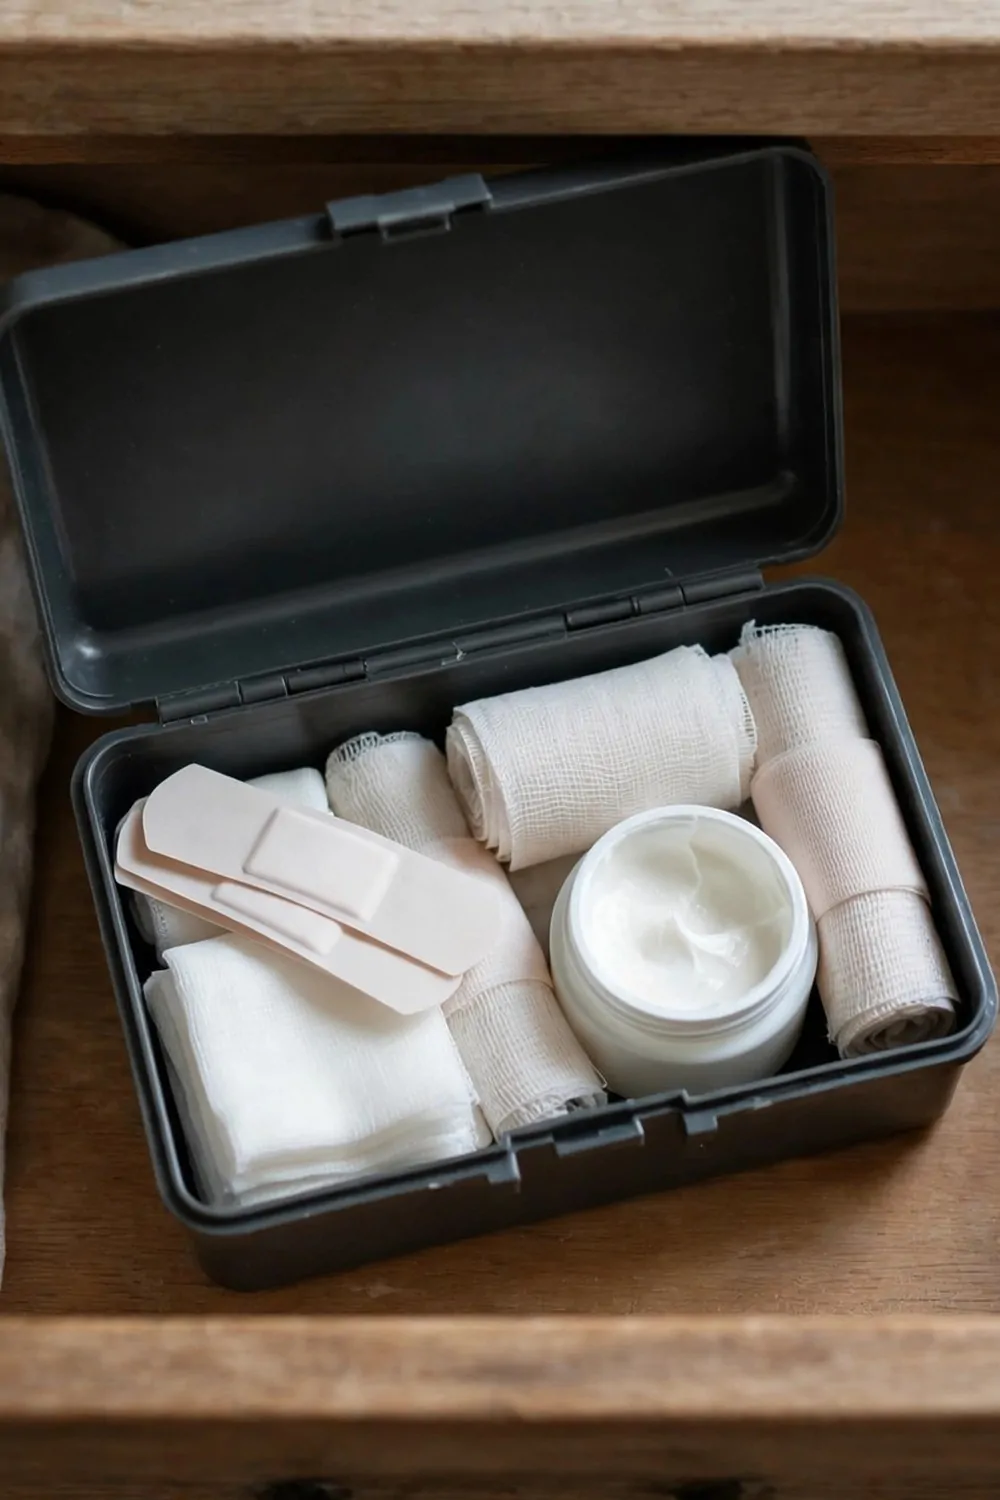
Kitchens are where most little accidents happen in my house. A small cut while chopping, a burn from the oven, a bump on a sharp corner.
So I made a first aid drawer, and I put it where everyone in the house knows to look. It is the top drawer beside the sink, and it is marked with a small cross sticker so the kids can find it too.
Inside is a small first aid box with bandages, cream, and a pair of tweezers. I also keep a cool pack in the freezer, but the drawer holds everything else.
I check the drawer once a month to make sure nothing is out of date. The cream and the plasters get used up fast in my house, so I keep a few spares at the back.
It is also where I keep the thermometer and a small notebook. If someone feels unwell I can write down their temperature and the time, which helps if I need to call the doctor.
The kids know the rule: if you hurt yourself, come to the kitchen drawer first. It makes them feel braver, because they know help is close by.
I never thought a kitchen drawer could be a first aid kit, but it makes sense. The kitchen is the heart of the house, and help should live where everyone already goes.
If you do not have one yet, set it up this week. A small box, a few bandages, and a drawer everyone can reach is all it takes.
Keep Candles in a Drawer for Cosy Nights
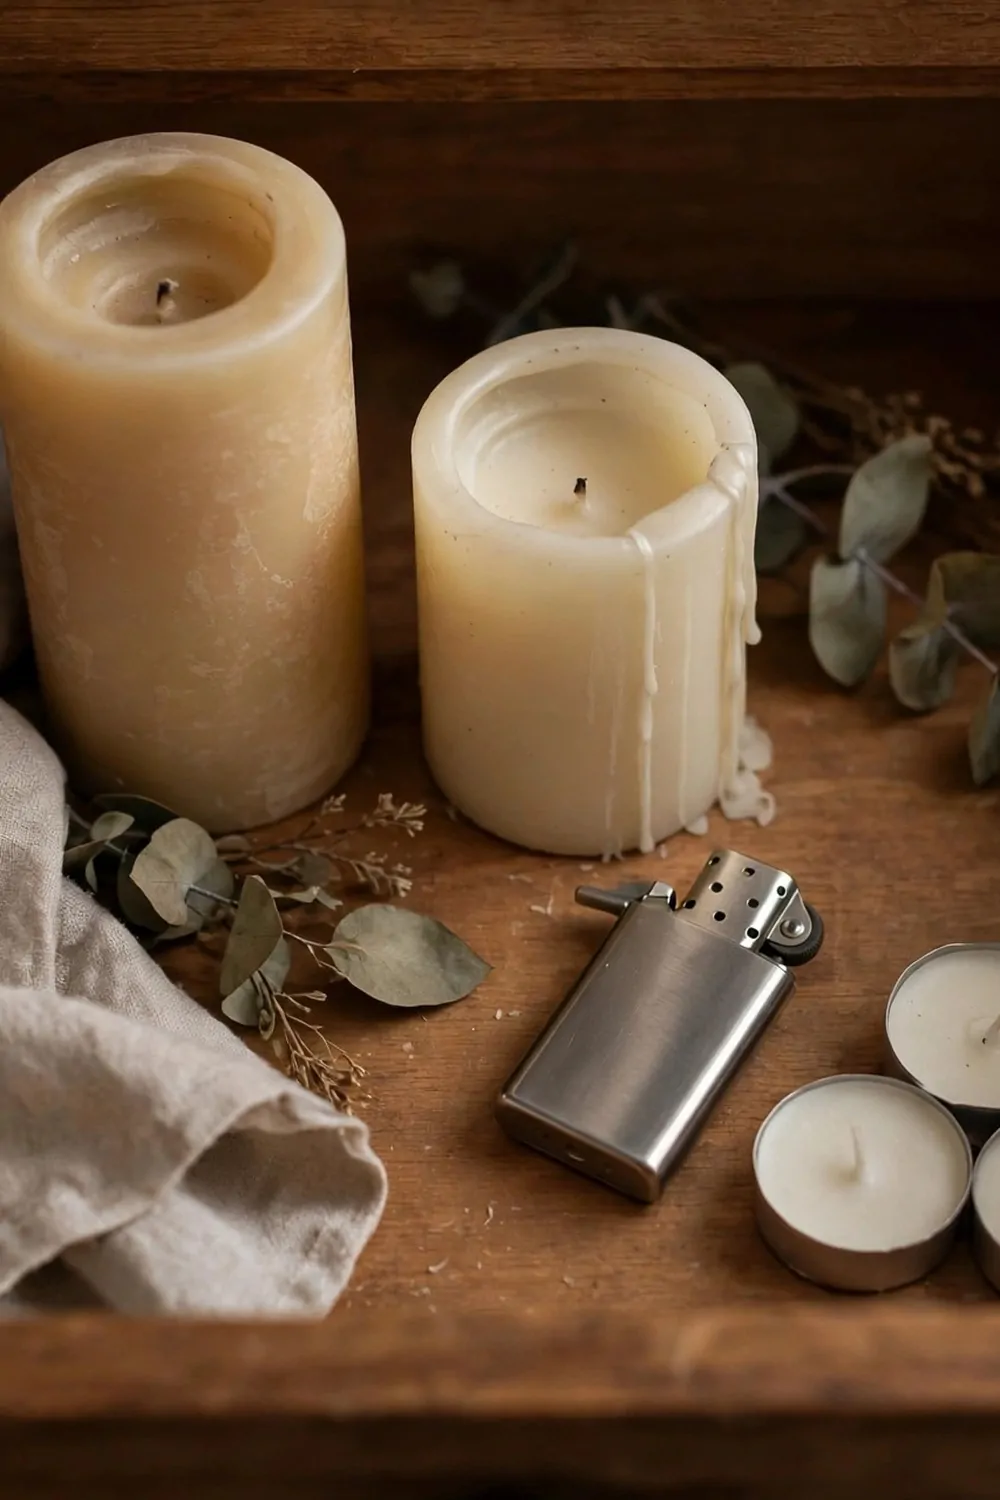
I love a cosy night in, and candles are my favourite way to make the house feel warm. But my candles used to live in a box in the garage, and by the time I went to get them the mood had passed.
Now they live in a kitchen drawer, and lighting one takes ten seconds. I open the drawer, pick a candle, and the evening feels special straight away.
I keep a few different scents in there. A soft vanilla one for quiet nights, a fresh one for after dinner, and a big chunky one for when friends come round.
The lighter sits in a little tray at the front of the drawer so I can always find it. I used to lose lighters in every room, and now I only ever need the one.
I also keep a small plate in the drawer to set the candle on. It catches any drips and keeps the table safe, and it looks pretty too.
On cold nights I light two candles while I make tea, and the kitchen glows. It is a tiny habit, but it makes the whole house feel calm and warm.
I keep the matches in a little tin beside the candles, just in case the lighter runs out. It is nice to have a backup when you want light fast.
If you love candles but never light them, move them into a kitchen drawer. You will reach for them more, and your evenings will feel a little softer.
Store Party Cutlery in Its Own Drawer
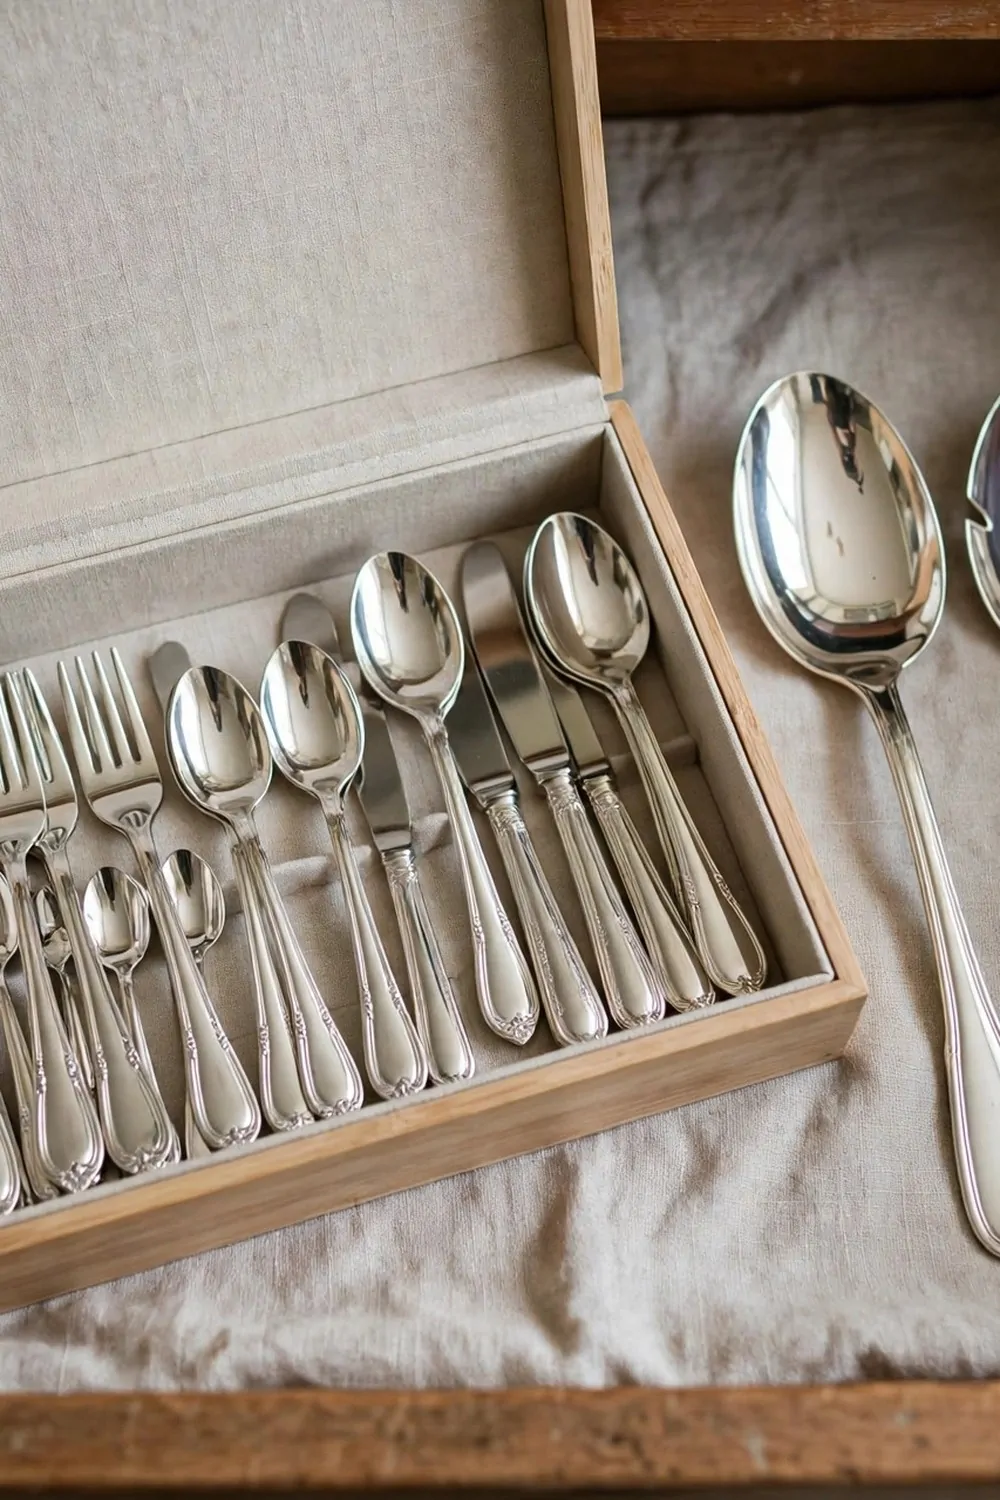
My party cutlery used to sit at the back of a cupboard in a box I could never find. Every time guests came I would dig through cupboards while the food went cold.
Now it has its own drawer, and it feels like a little treasure chest every time I open it. The shiny forks and spoons sit in a lined box, and the serving spoons lie beside them.
I keep the party set separate from my everyday cutlery because it is nicer, and I want it to stay that way. It does not get used every day, so it stays bright and clean.
The lined box stops the pieces from scratching each other. I learned that the hard way after my best forks came out of a jumbled drawer with tiny marks all over them.
I also keep a few pretty napkin rings in the drawer, and a small stack of paper napkins for big parties. Everything for a nice table is in one place.
When guests are coming I open the drawer, take out the box, and set the table in minutes. No hunting, no panic, just a calm start to a lovely evening.
It also makes the everyday drawer less crowded. My normal forks and spoons have room to breathe now, and the drawer closes without a fight.
| Party item | Where it lives | Why it matters |
|---|---|---|
| Best forks and knives | Lined box in the drawer | Stays shiny, no scratches |
| Serving spoons | Beside the box | Easy to grab at serving time |
| Napkin rings | Small tray at the front | Makes the table look special |
If you have a special set you only use for guests, give it its own drawer. It will stay beautiful, and you will feel like a host who has it all together.
Start With One Drawer This Weekend
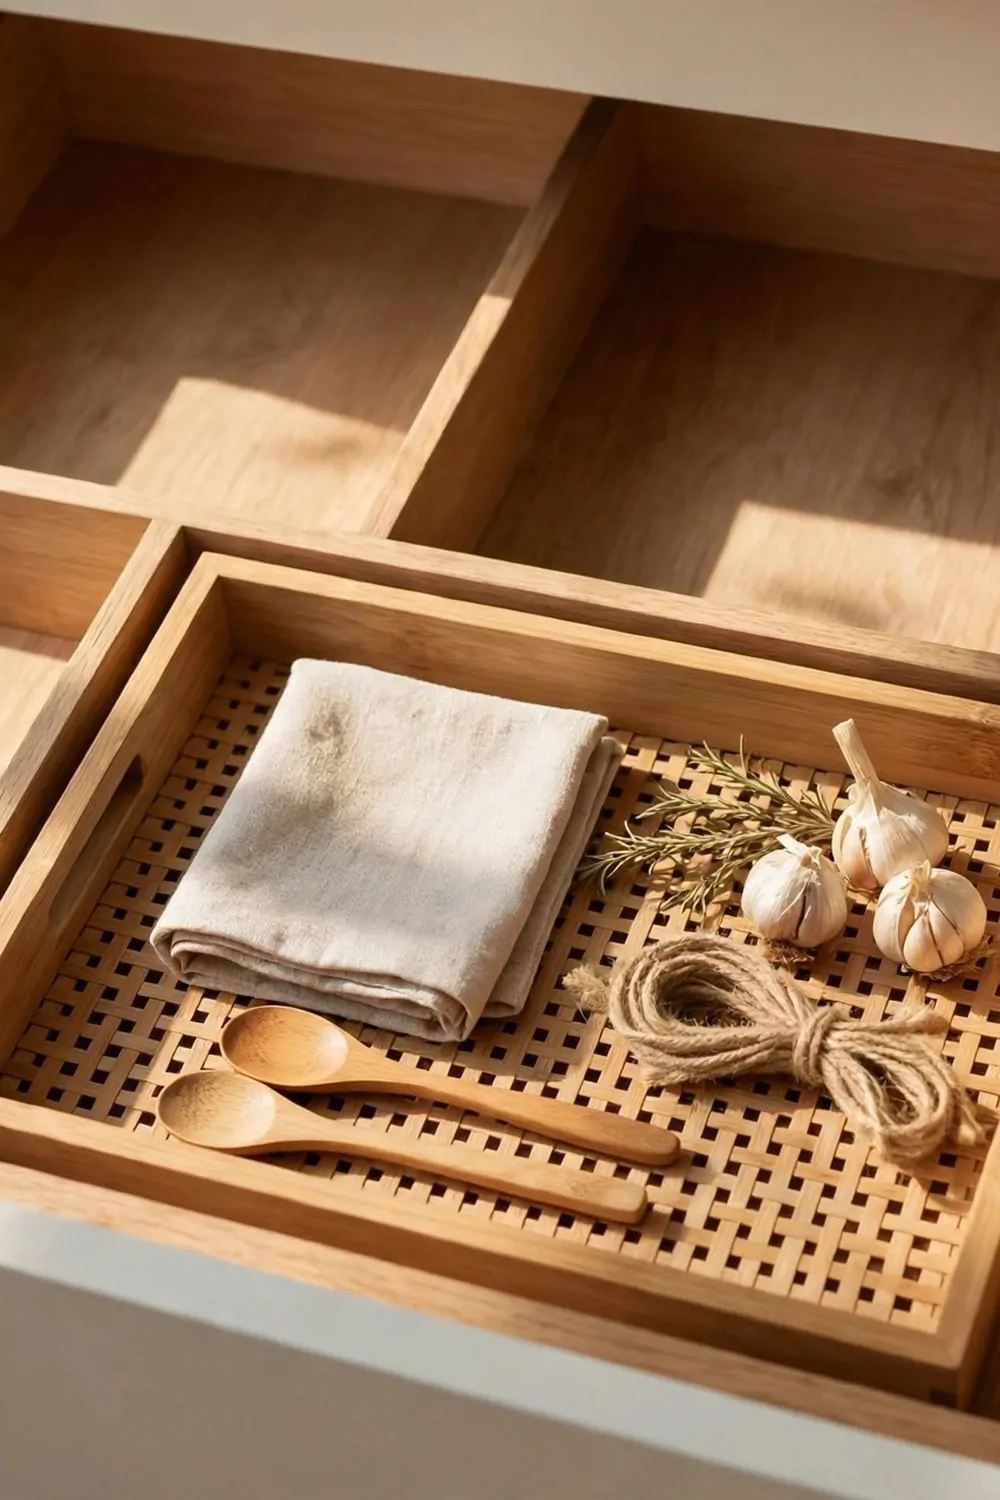
You do not need to fix every drawer in your kitchen this weekend. Just one. Pick the drawer that bugs you most, and start there.
I started with my cutlery drawer on a Saturday morning, and it took me less than half an hour. I pulled everything out, wiped the drawer clean, and put back only what I actually use.
The rest went in a bag. Some things went to a new home in another drawer, and some things went straight in the bin because I had not touched them in years.
I put a bamboo tray inside to hold the forks and spoons, and the drawer suddenly looked like it belonged in a magazine. It was the same old drawer, just loved a little.
That one drawer made me want to do the next one. Then the next. Within a month every drawer in my kitchen had a job and a home for its things.
Here is a simple plan if you want to try it too.
- Pick the drawer that annoys you most.
- Take everything out and wipe it clean.
- Put back only what you use every week.
- Add one tray or liner to keep it neat.
You will be done before your tea goes cold, and you will open that drawer a dozen times the next day just to look at it. I did.
Cooking feels easier when your drawers work with you instead of against you. So start small, start this weekend, and let one tidy drawer lead to a calmer kitchen.
Keep Reading
If you liked these kitchen drawer organization ideas, there is more waiting for you on the site. I picked a few of my favourite kitchen posts to share with you, and each one is full of simple ideas you can try in your own home.
Take your time and look through them when you have a quiet cup of tea. You might find your next favourite idea hiding in one of these posts.
- 25 Small Kitchen Ideas You’ll Wish You Knew Sooner
- 26 Kitchen Design Layouts That Look Stunning and Work Hard
- 27 Home Decor Ideas Living Room and Kitchen Looks That Match
- 26 Modern Home Decor Updates That Look Instantly Fresh
I hope these drawer ideas make your kitchen feel easier and calmer, one drawer at a time. Come back soon, because I am always sharing new ideas to help your home feel more like you.